- Elements (Objects)
- Web Applications
 Record Single Element
- Record Multiple Elements
- Create Elements
- Supported Locator Types
- Formulating Elements
- Shadow DOM Elements
- Verifying elements in Chrome DevTools
- Handling iframe Elements?
- Create Image Based Elements
- Dynamic Locators using Parameter
- Dynamic Locators using Runtime
- Using Environment Test Data for Dynamic Locators
- Locating Dynamic Elements in Date Widget
- Freeze & Inspect Dynamic Elements (WebPage)
- Locating Dynamic Elements in Tables
- Import/Export Elements
- Locator Precedence (Web Apps)
- Verify Elements from Test Recorder
Verify Elements from Test Recorder
There is no need for additional effort to verify elements manually!
When using the Test Recorder to create test steps and elements, you might encounter issues where the Test Recorder captures incorrect locators for UI elements. These elements can impact test executions. You can verify elements during recording to quickly resolve this issue. This article discusses how to verify elements from the Test Recorder in Testsigma.
Prerequisites
Before you begin, ensure that:
- You have installed the Testsigma Chrome Extension. For more information on installing Testsigma Chrome Extension, refer to the documentation on Testsigma Chrome Extension.
- You have a web application that is available for testing.
Steps to Verify Elements from Test Steps
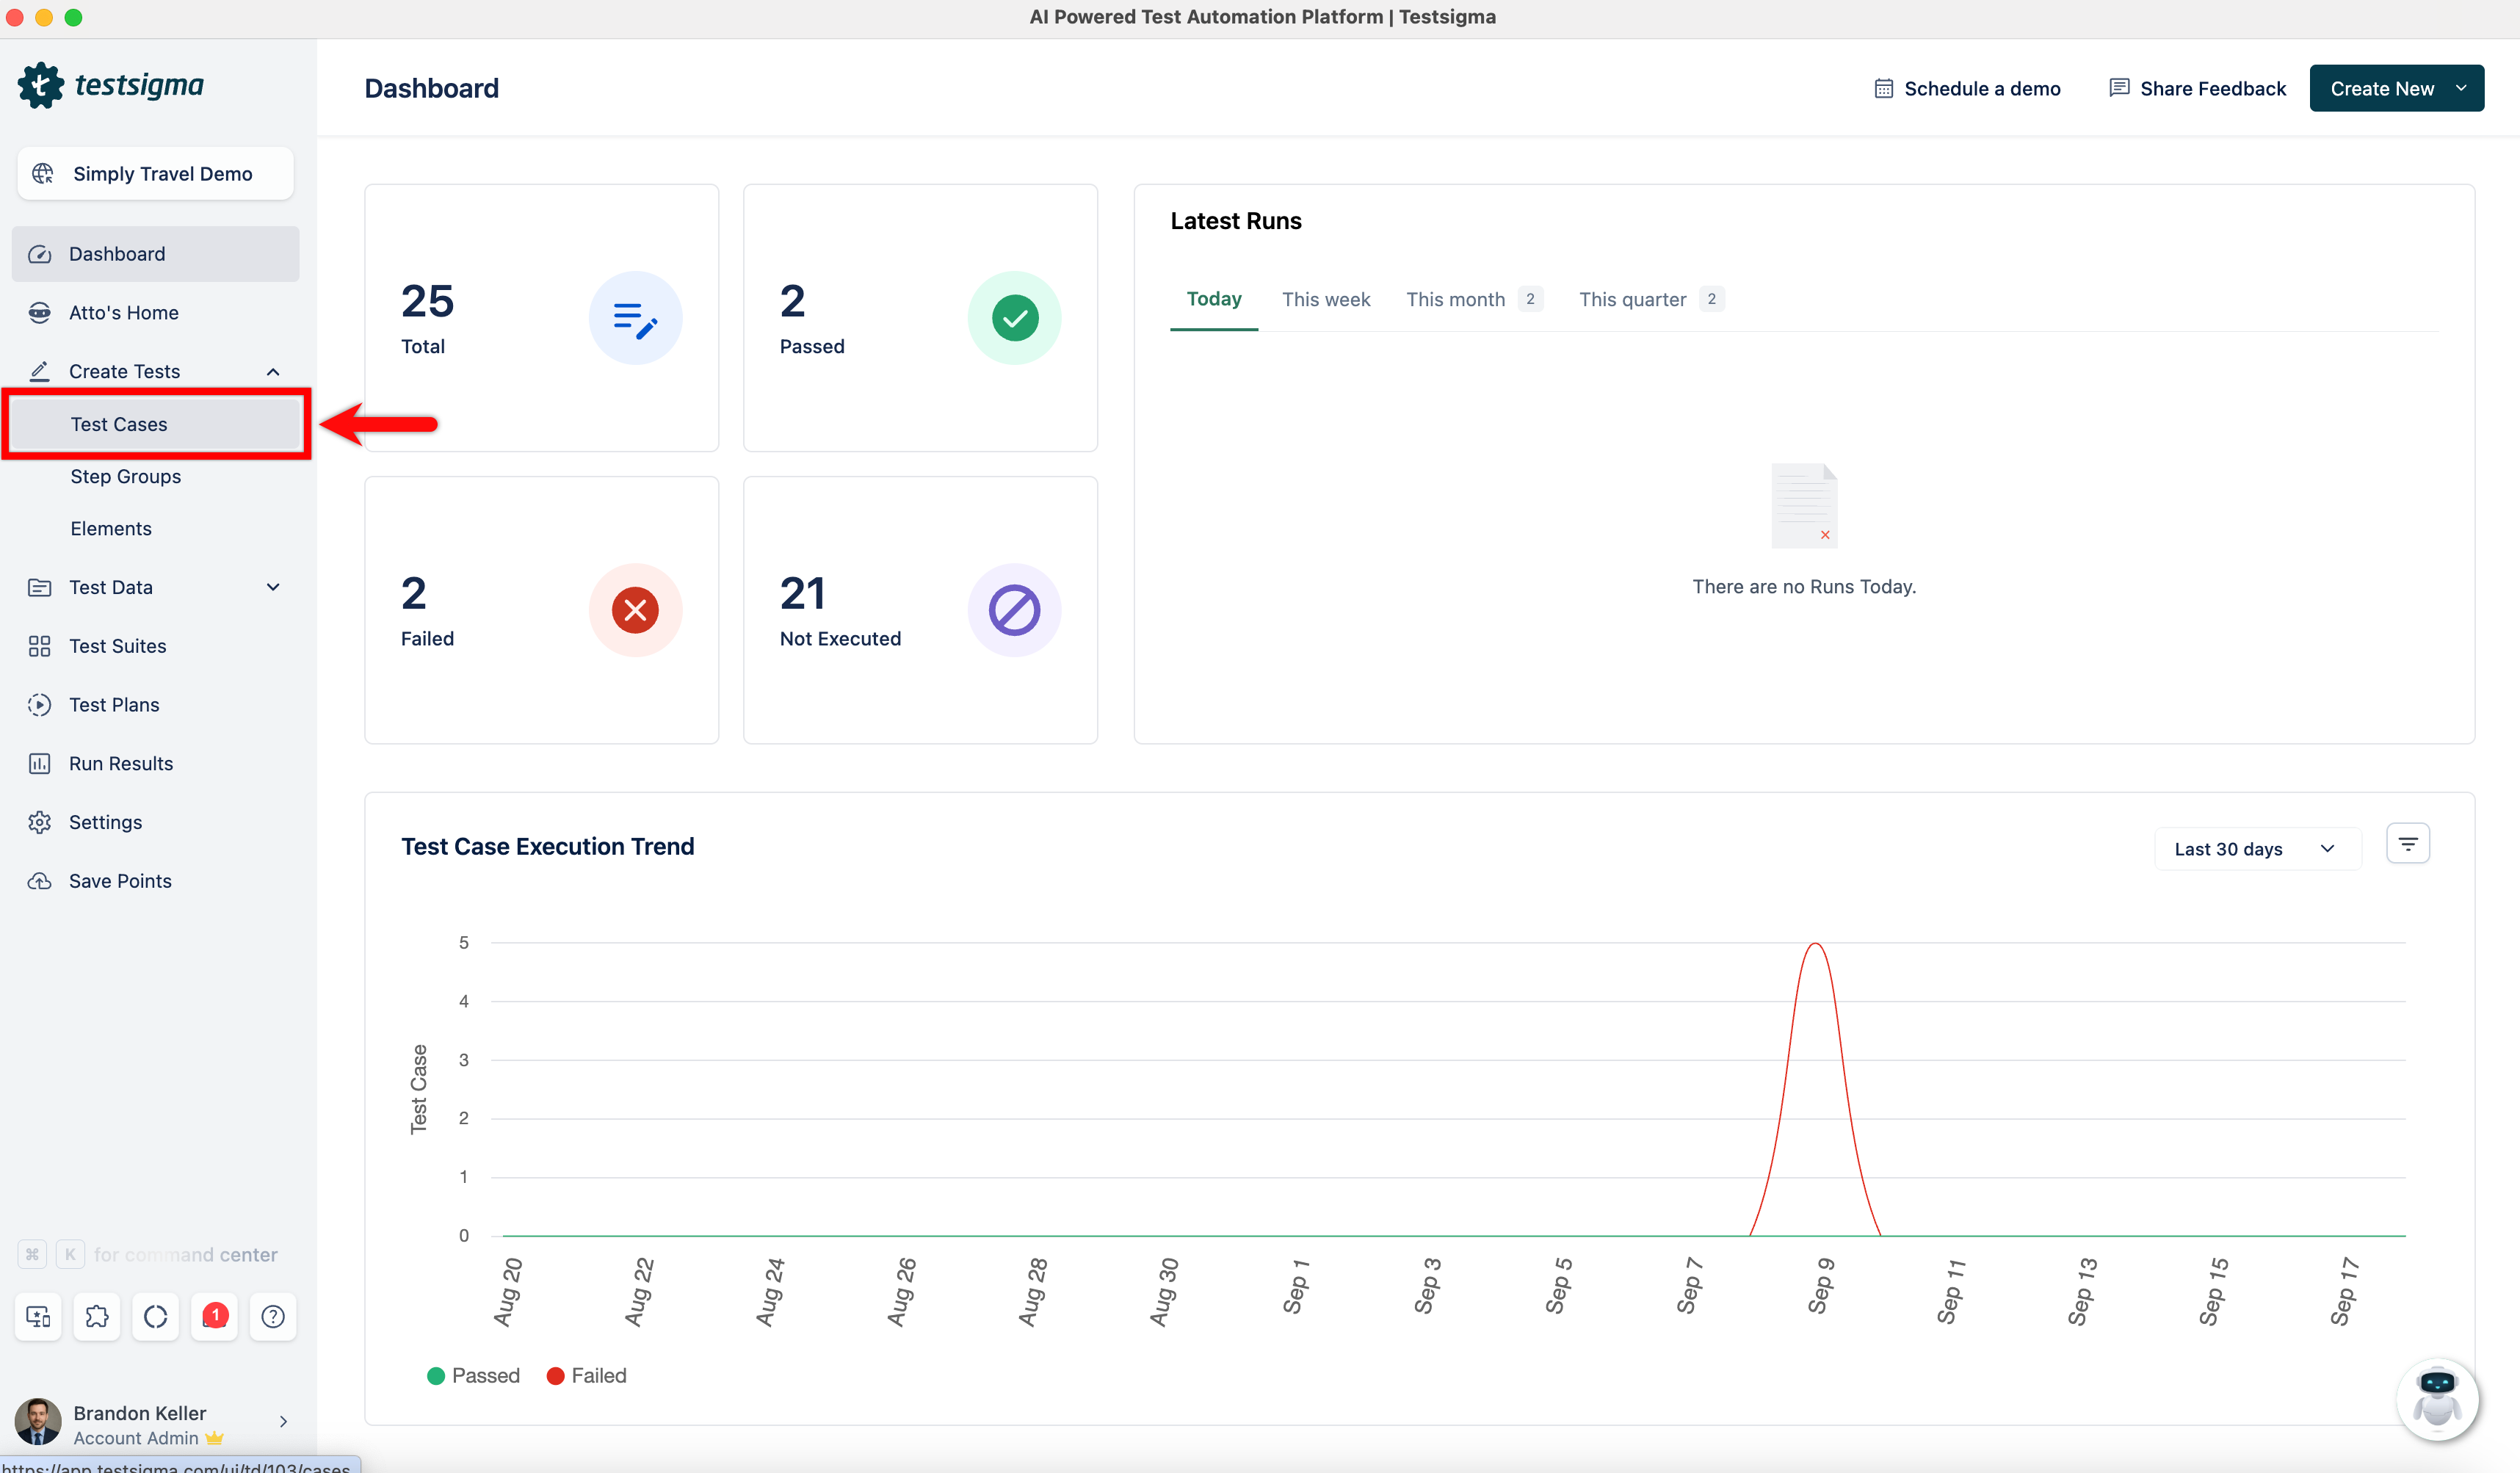
- From the left navigation bar, go to Create Tests > Test Cases.
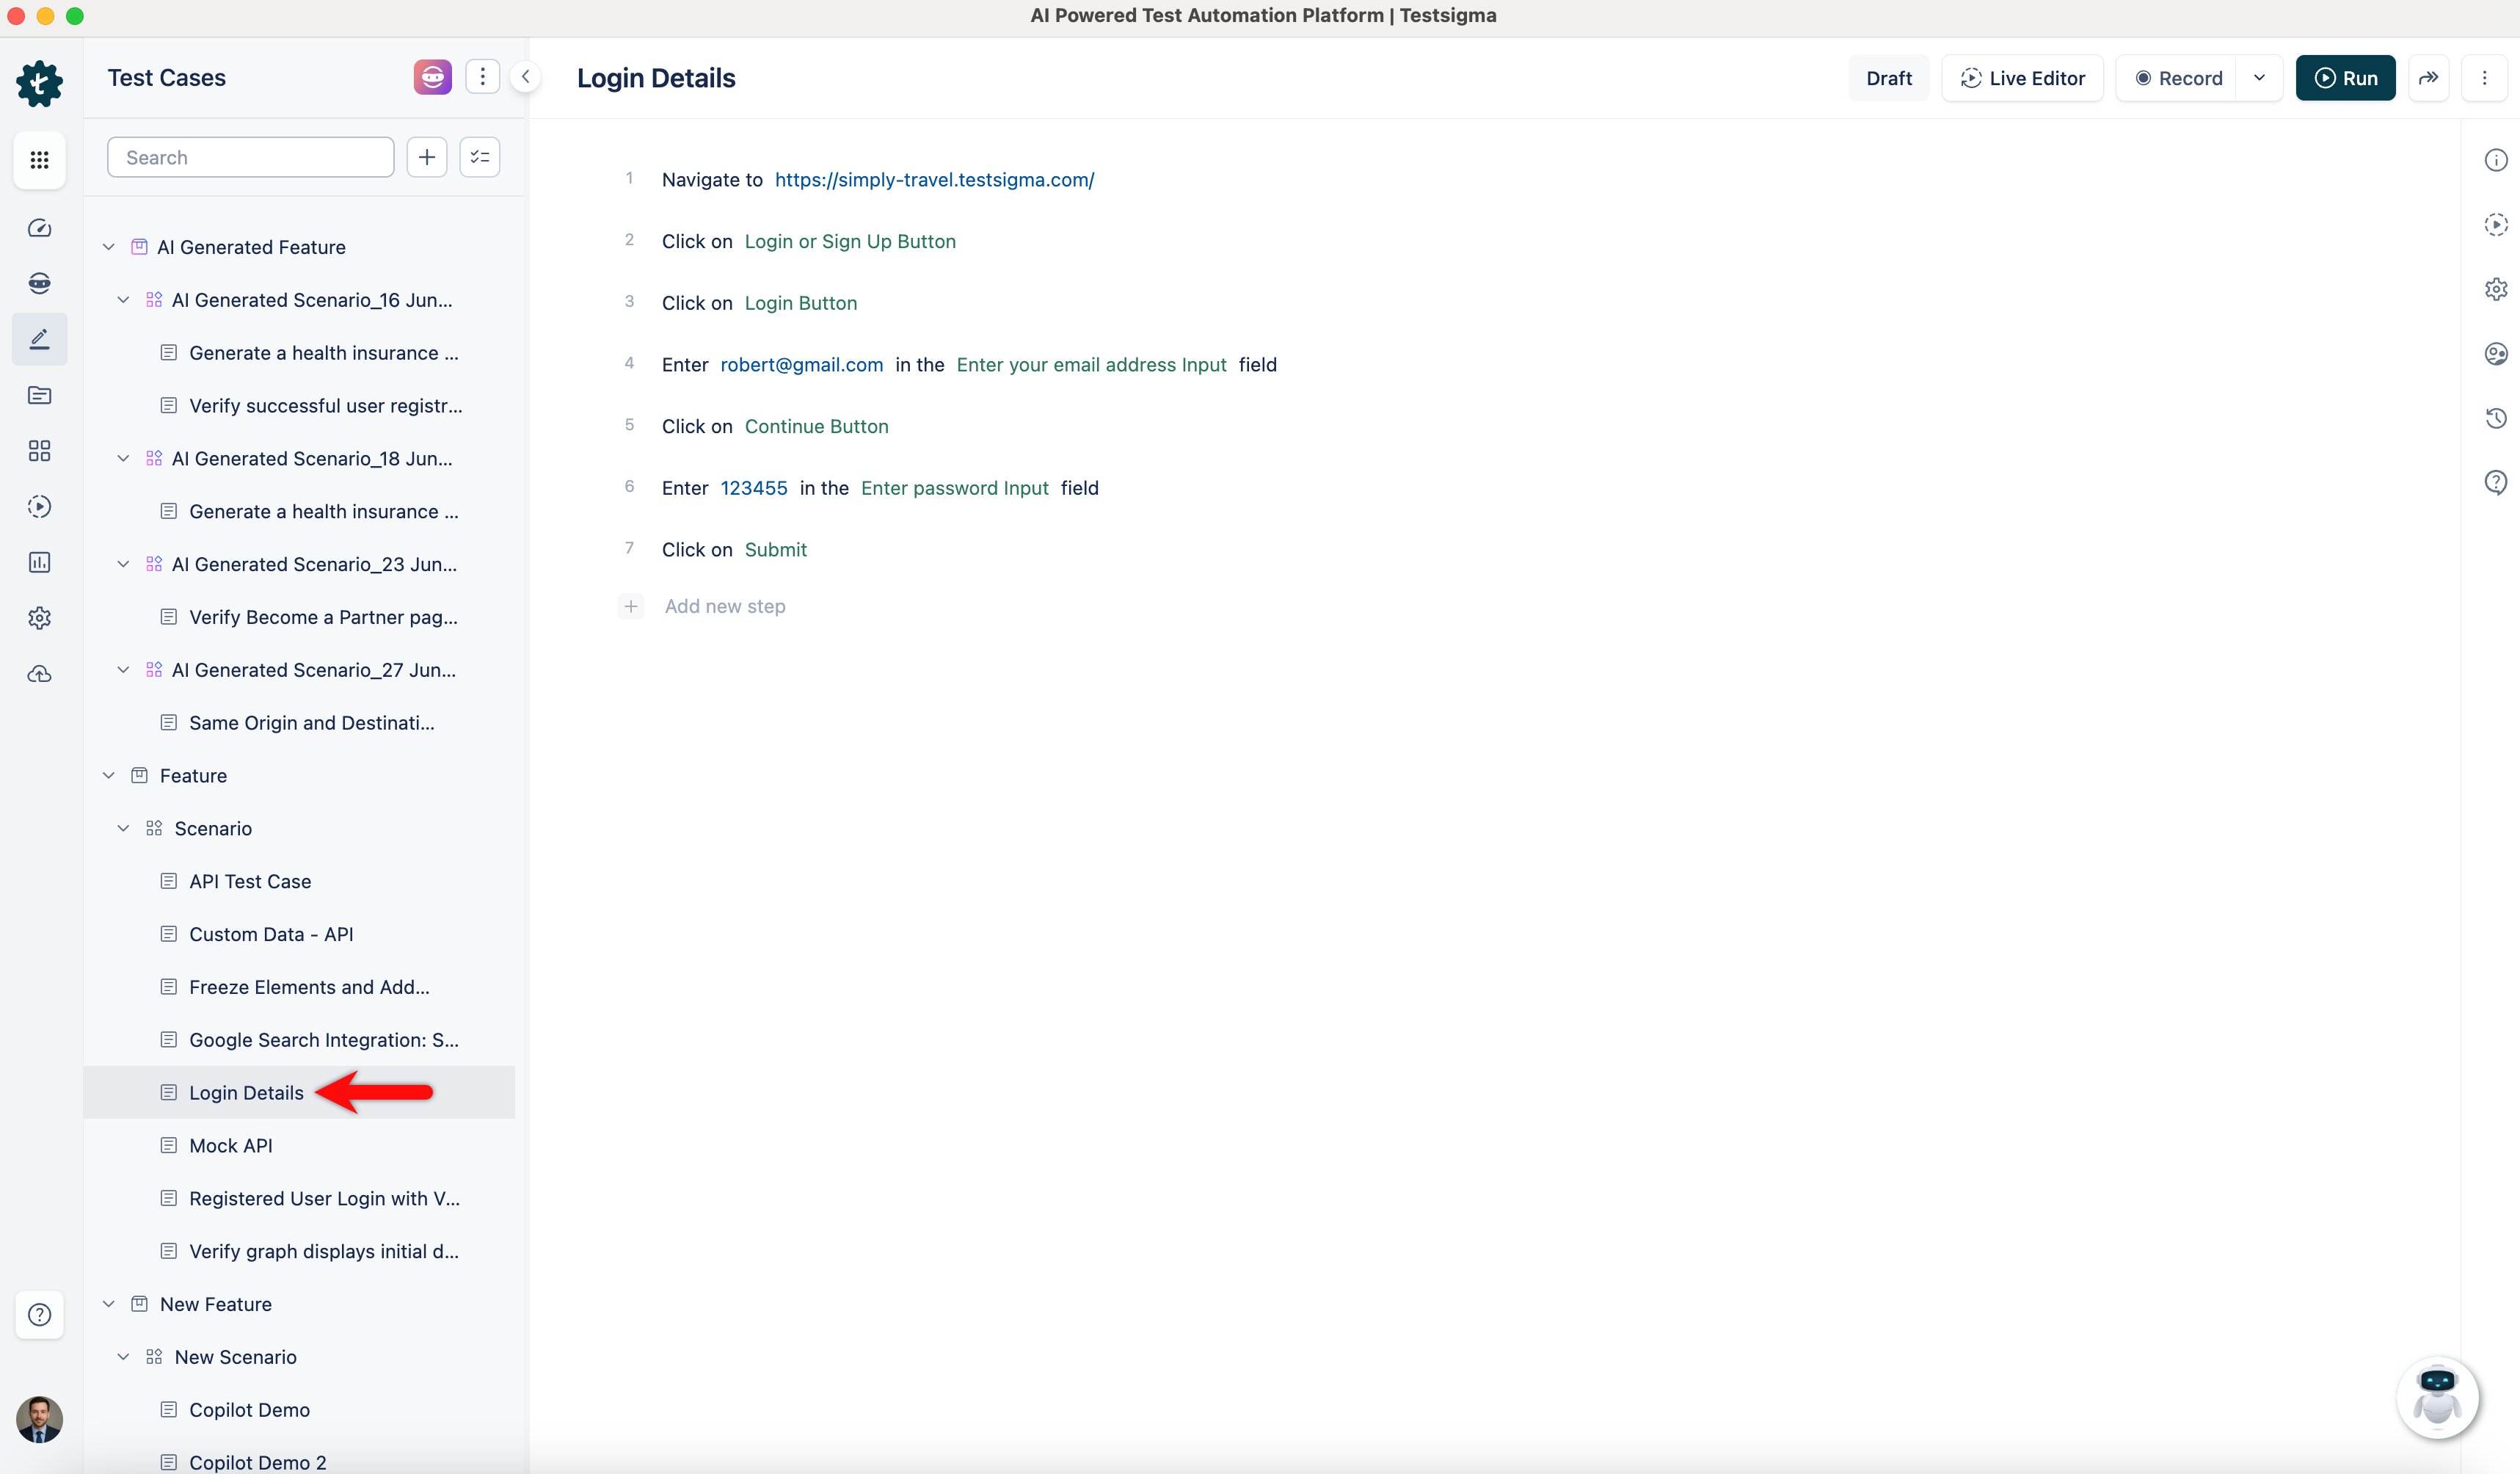
- Create a test case by selecting Create Test Case in the top right corner, or open an existing test case.
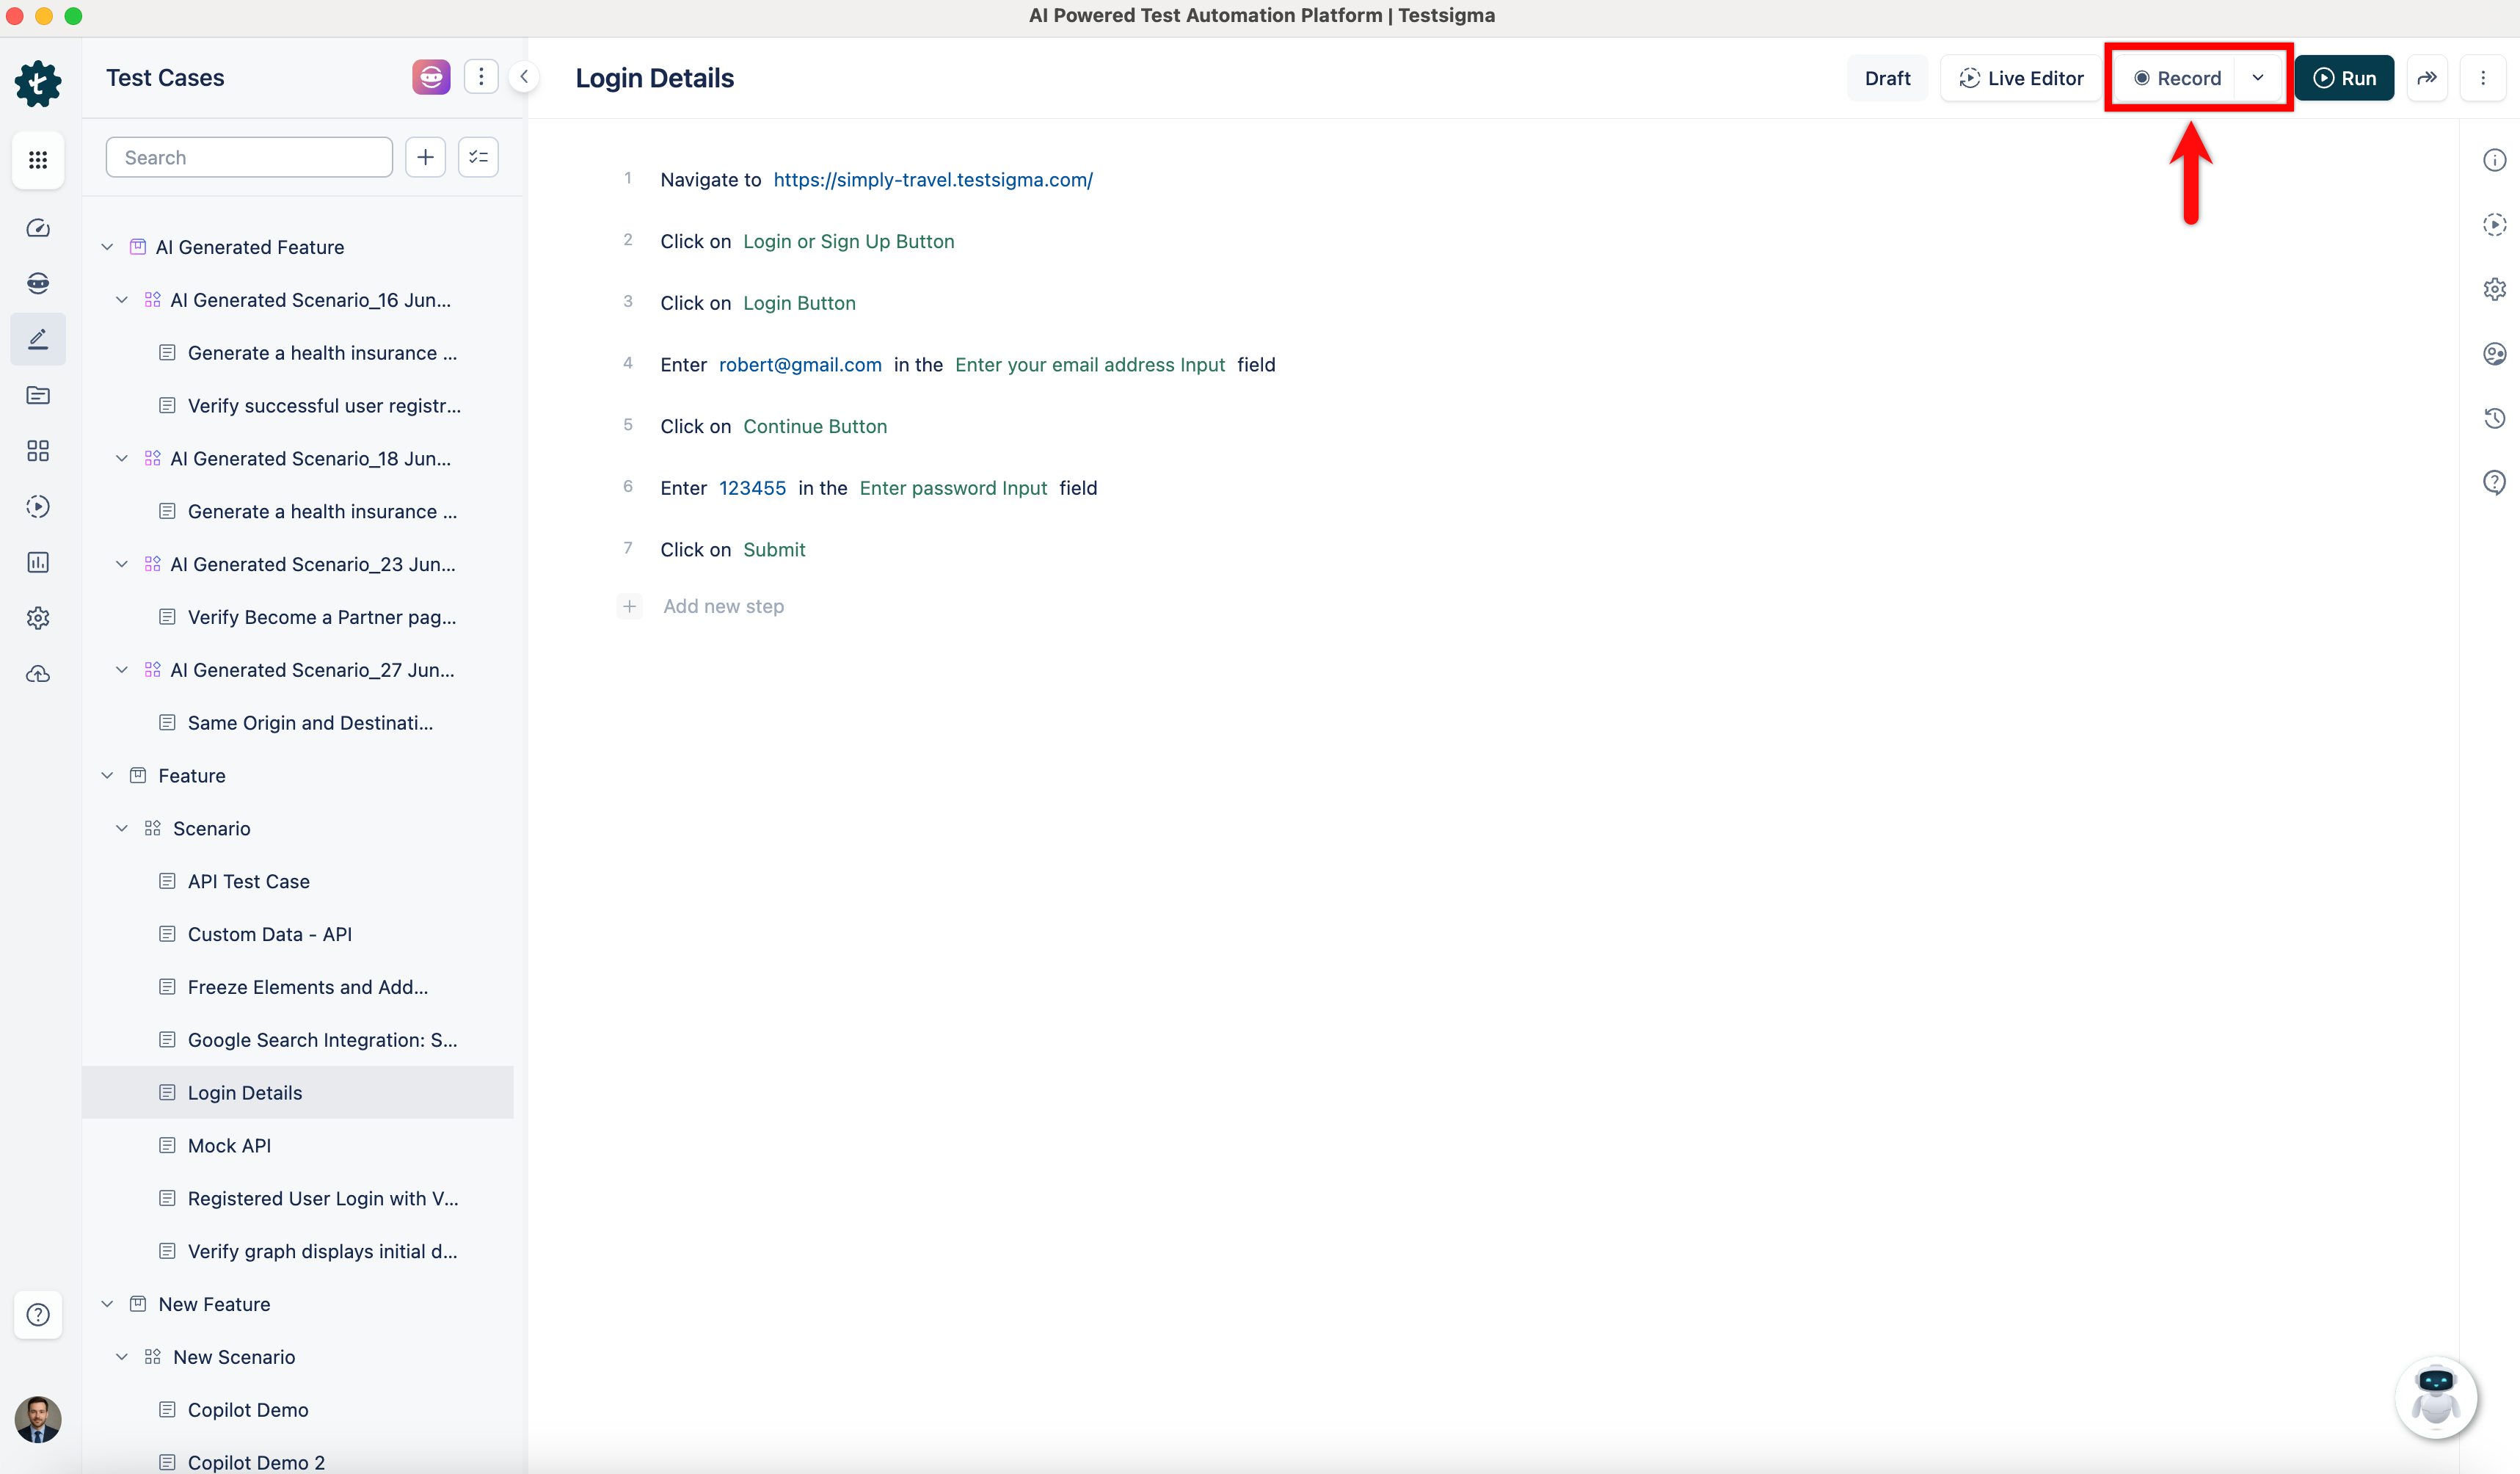
- On the Test Case Details page, click Record in the top right corner.
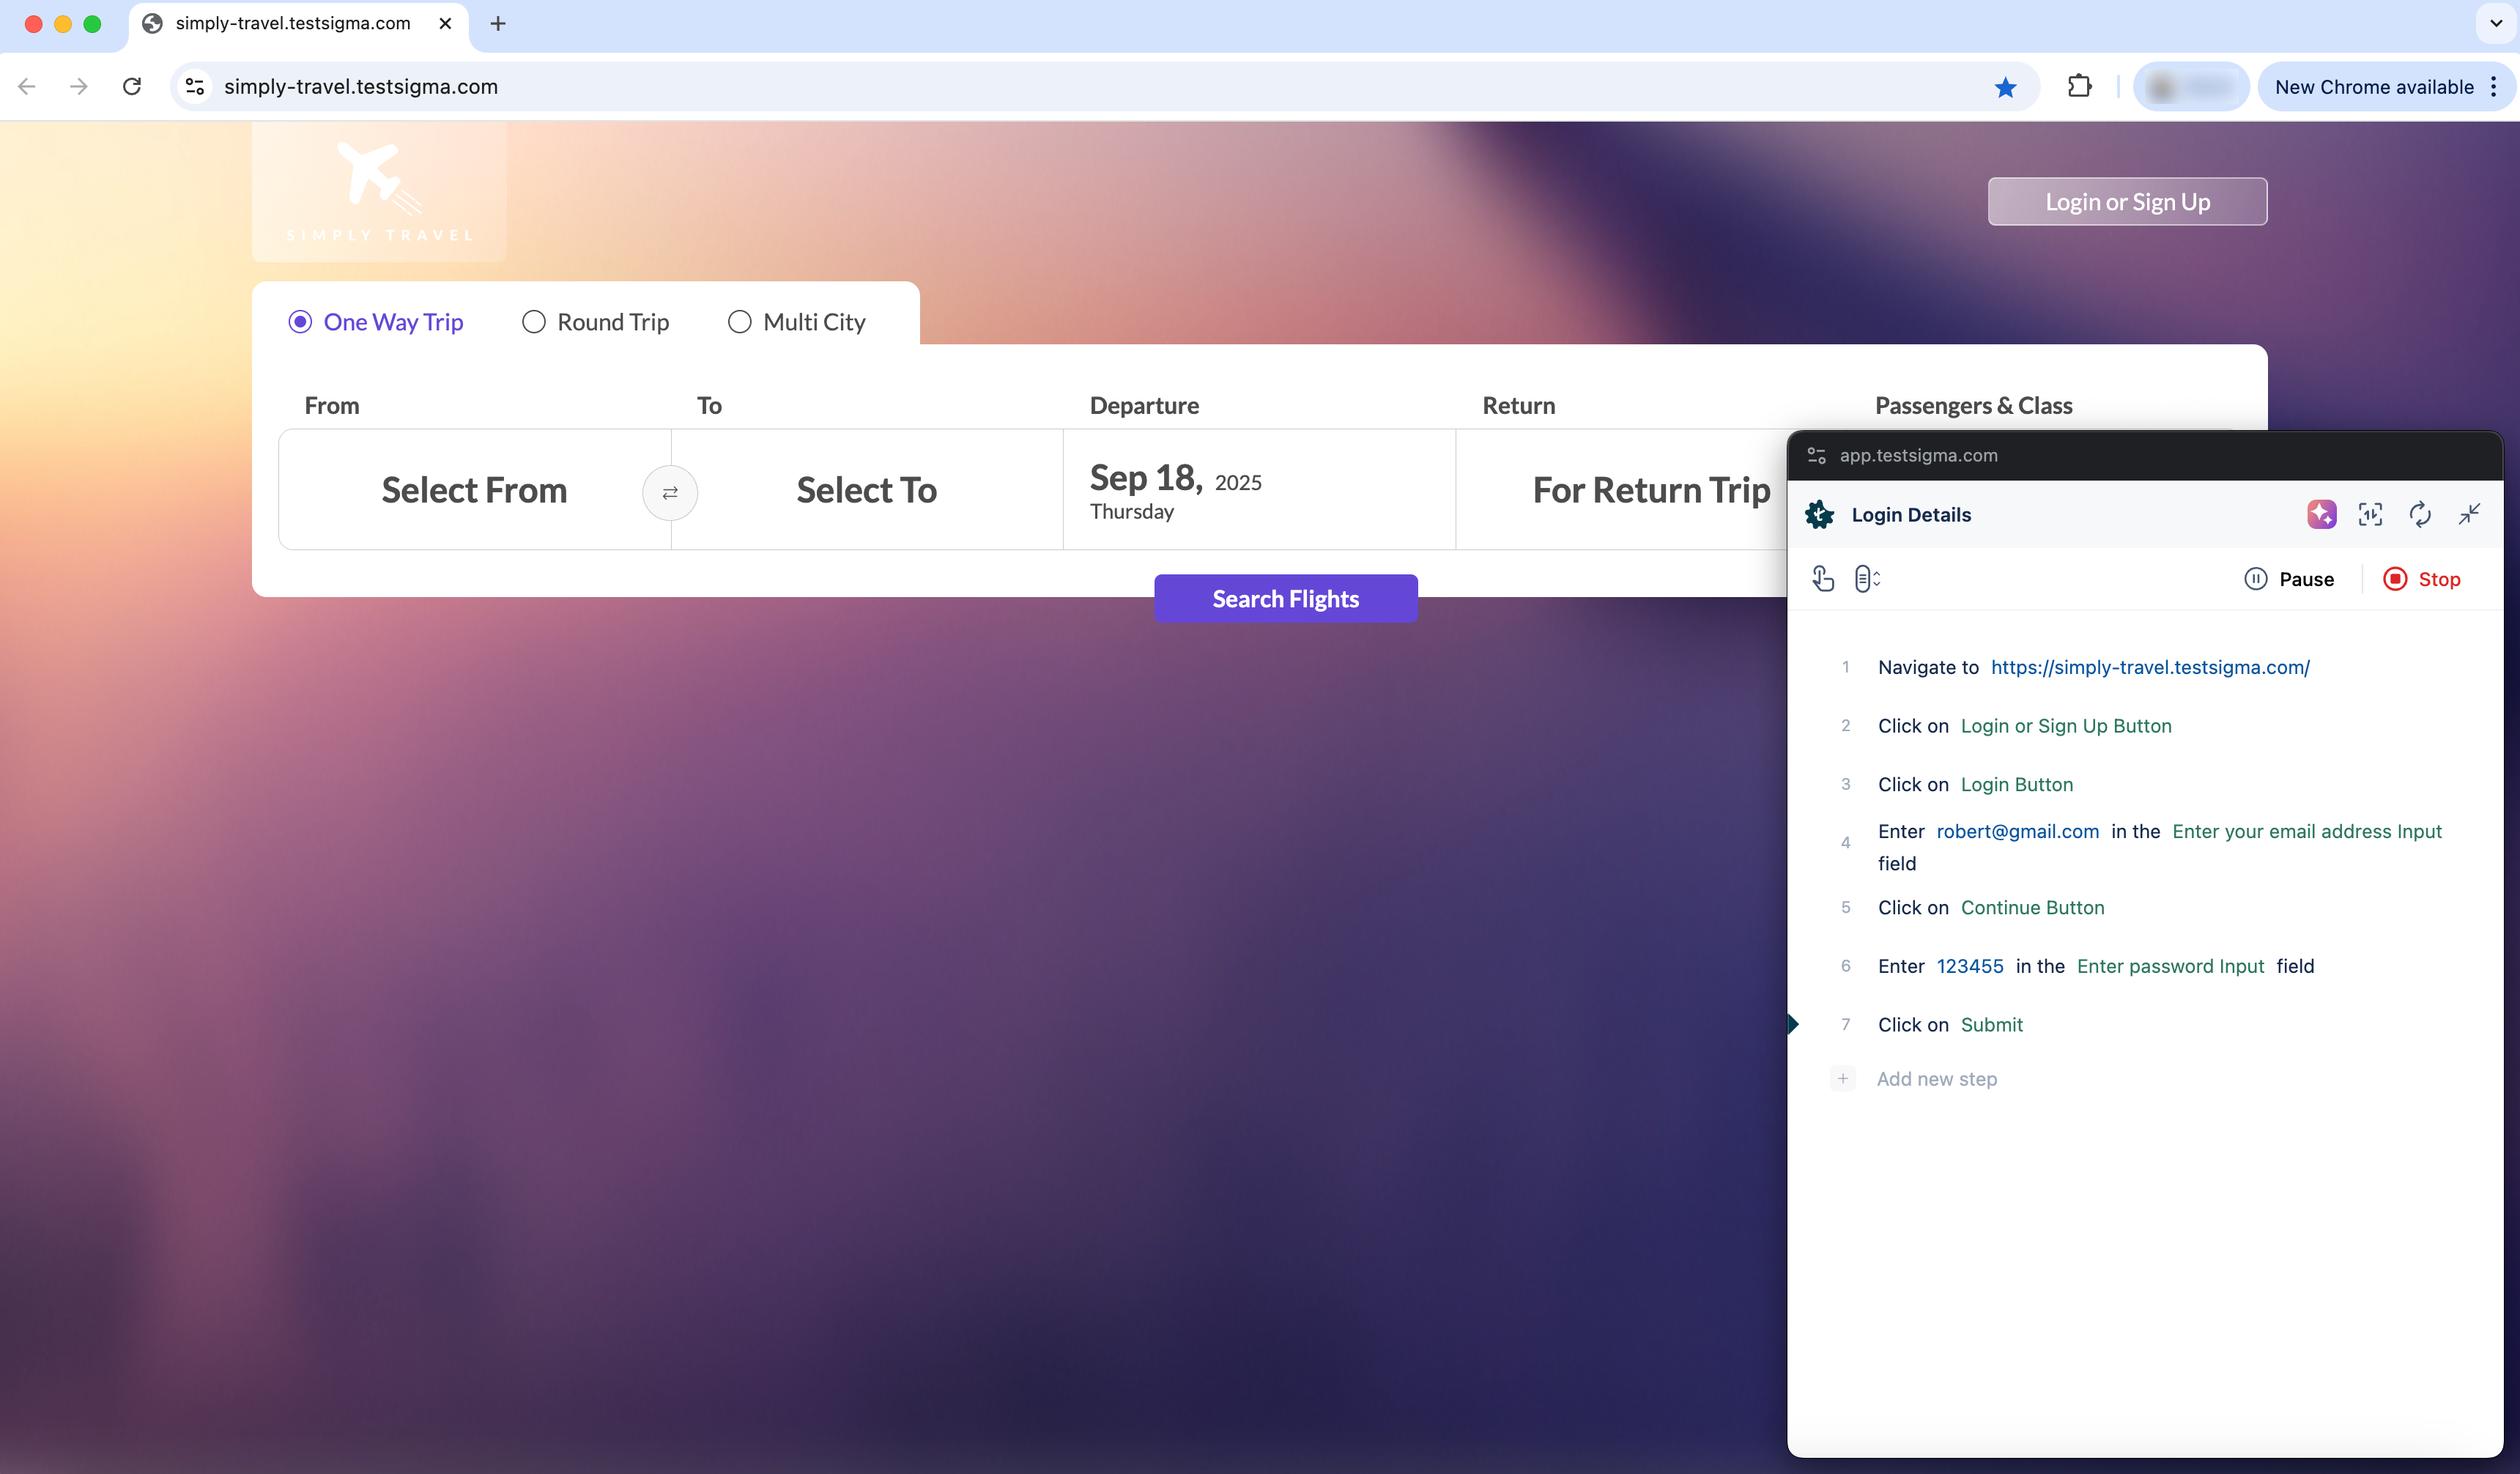
- A new window with the given URL will open, allowing you to record the test steps.
- Go to the test step and hover over the element which you want to verify.
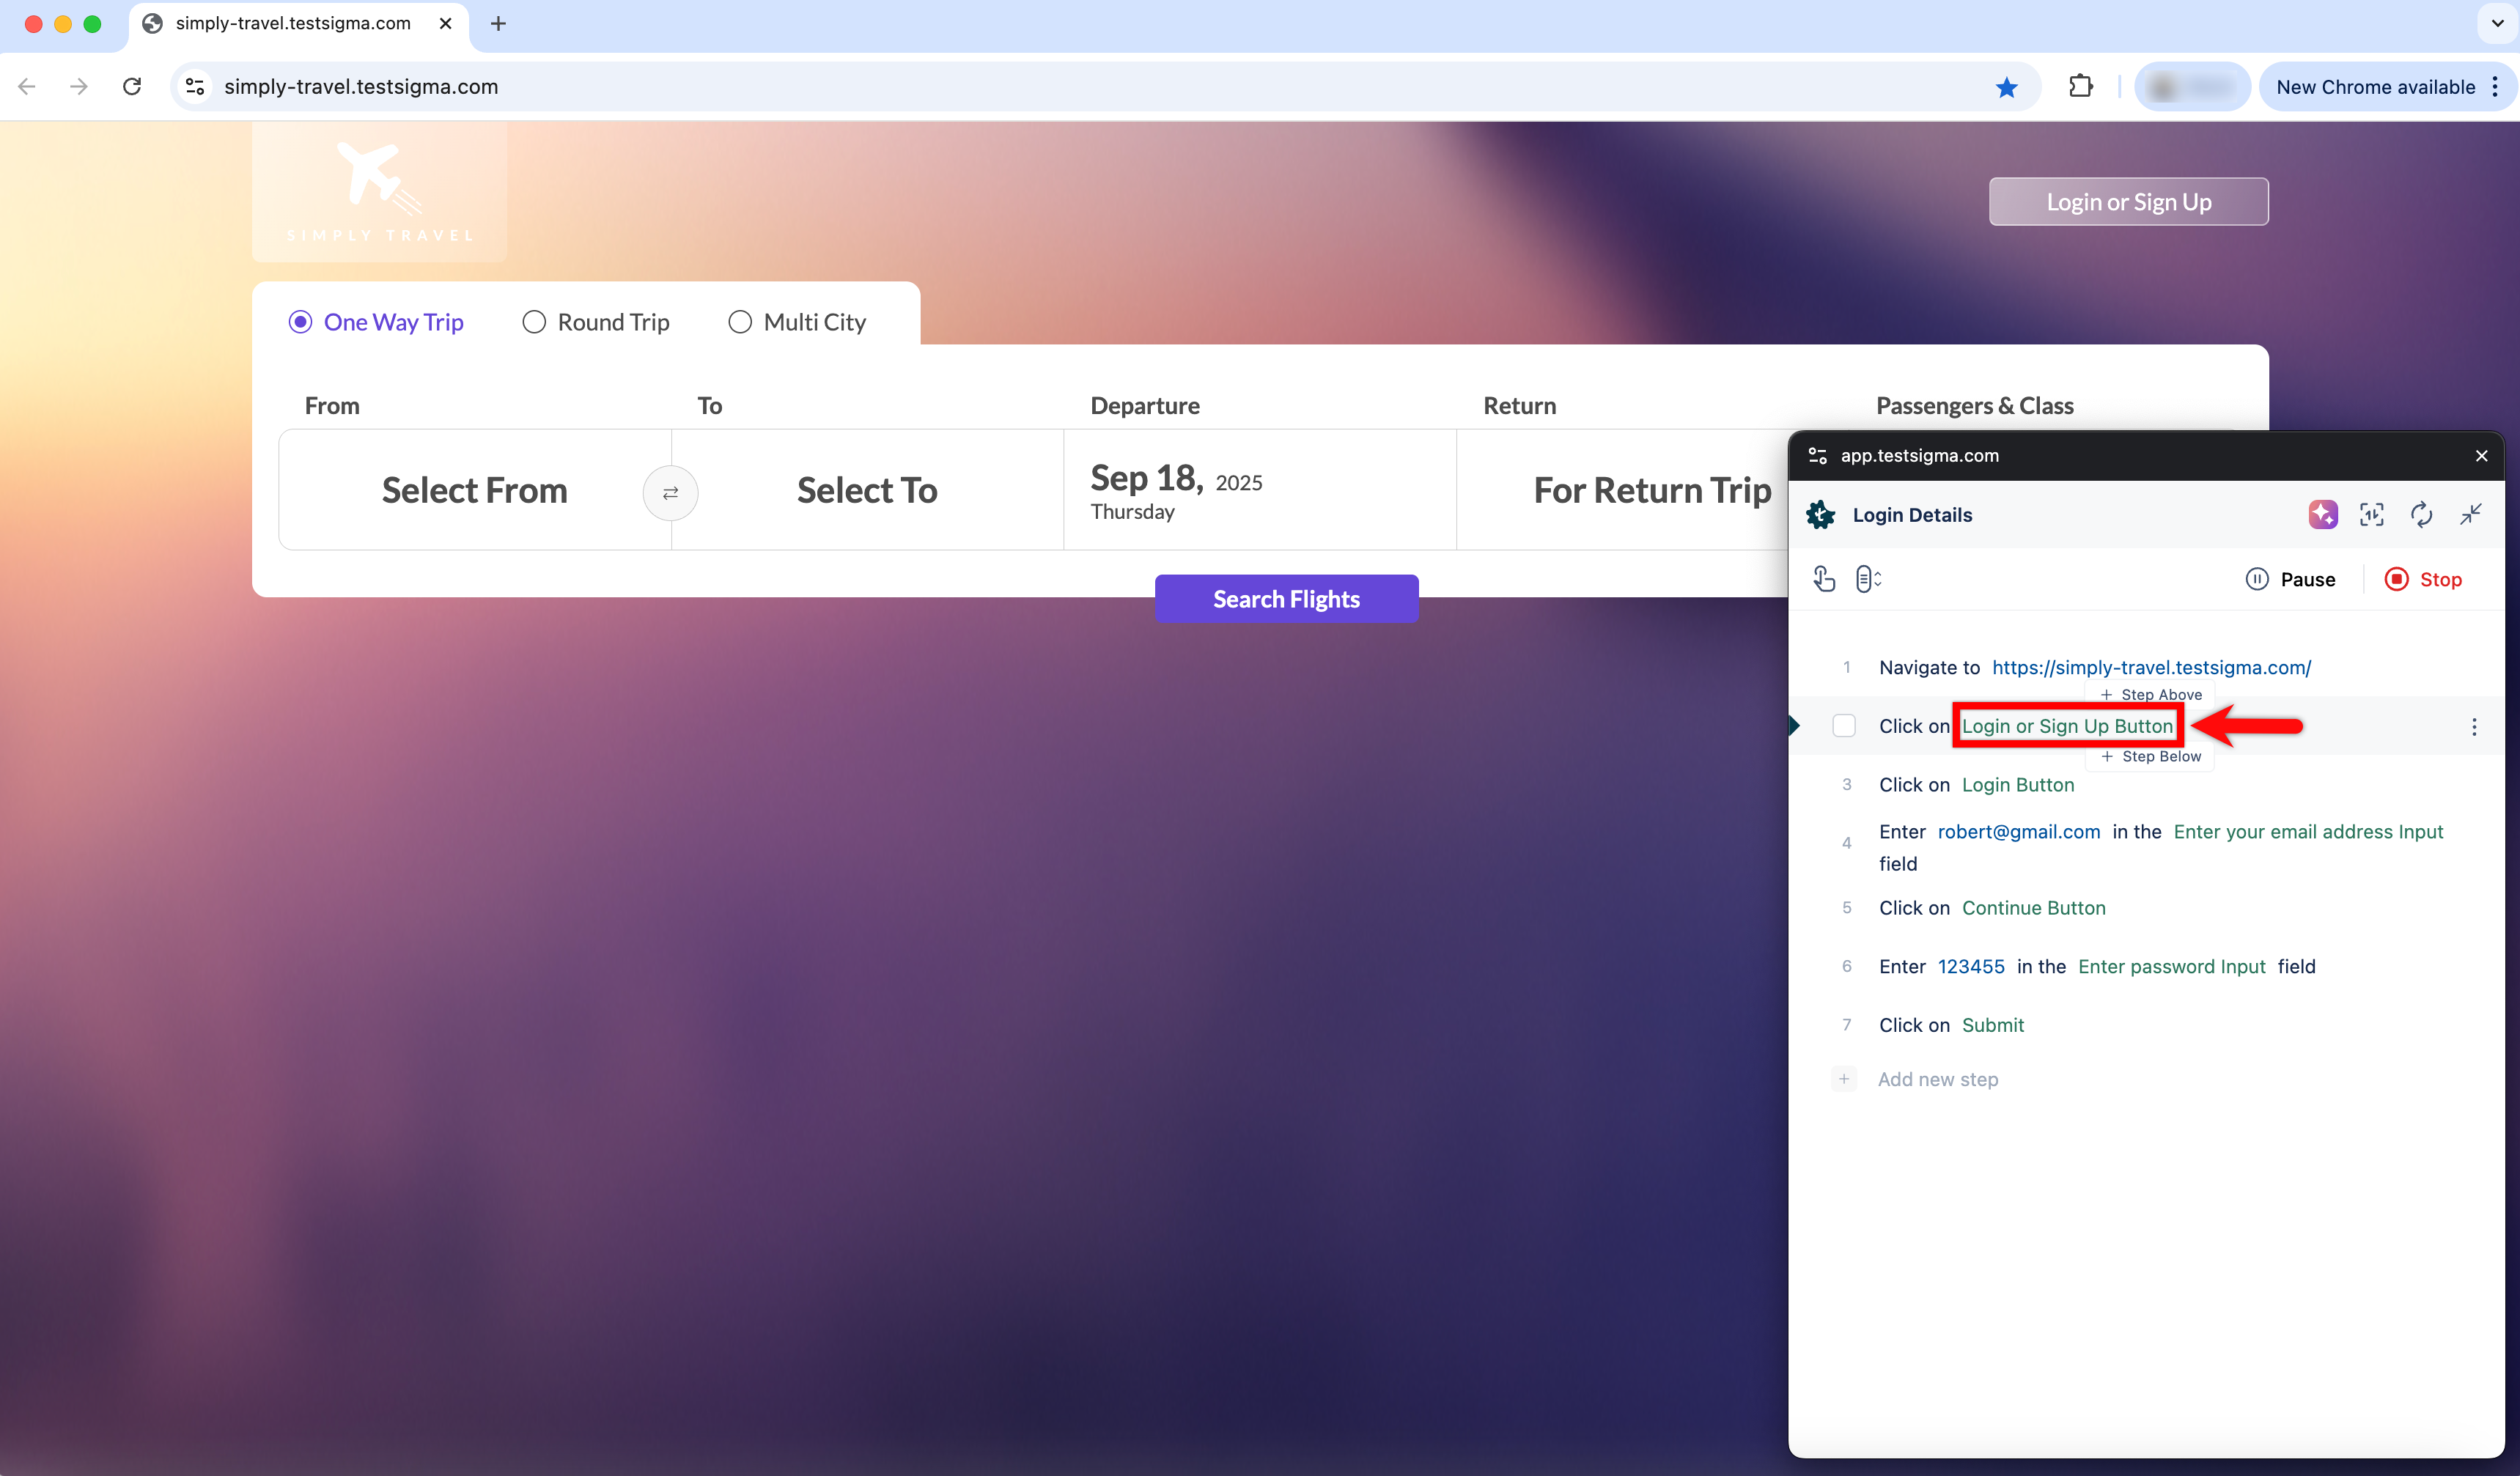
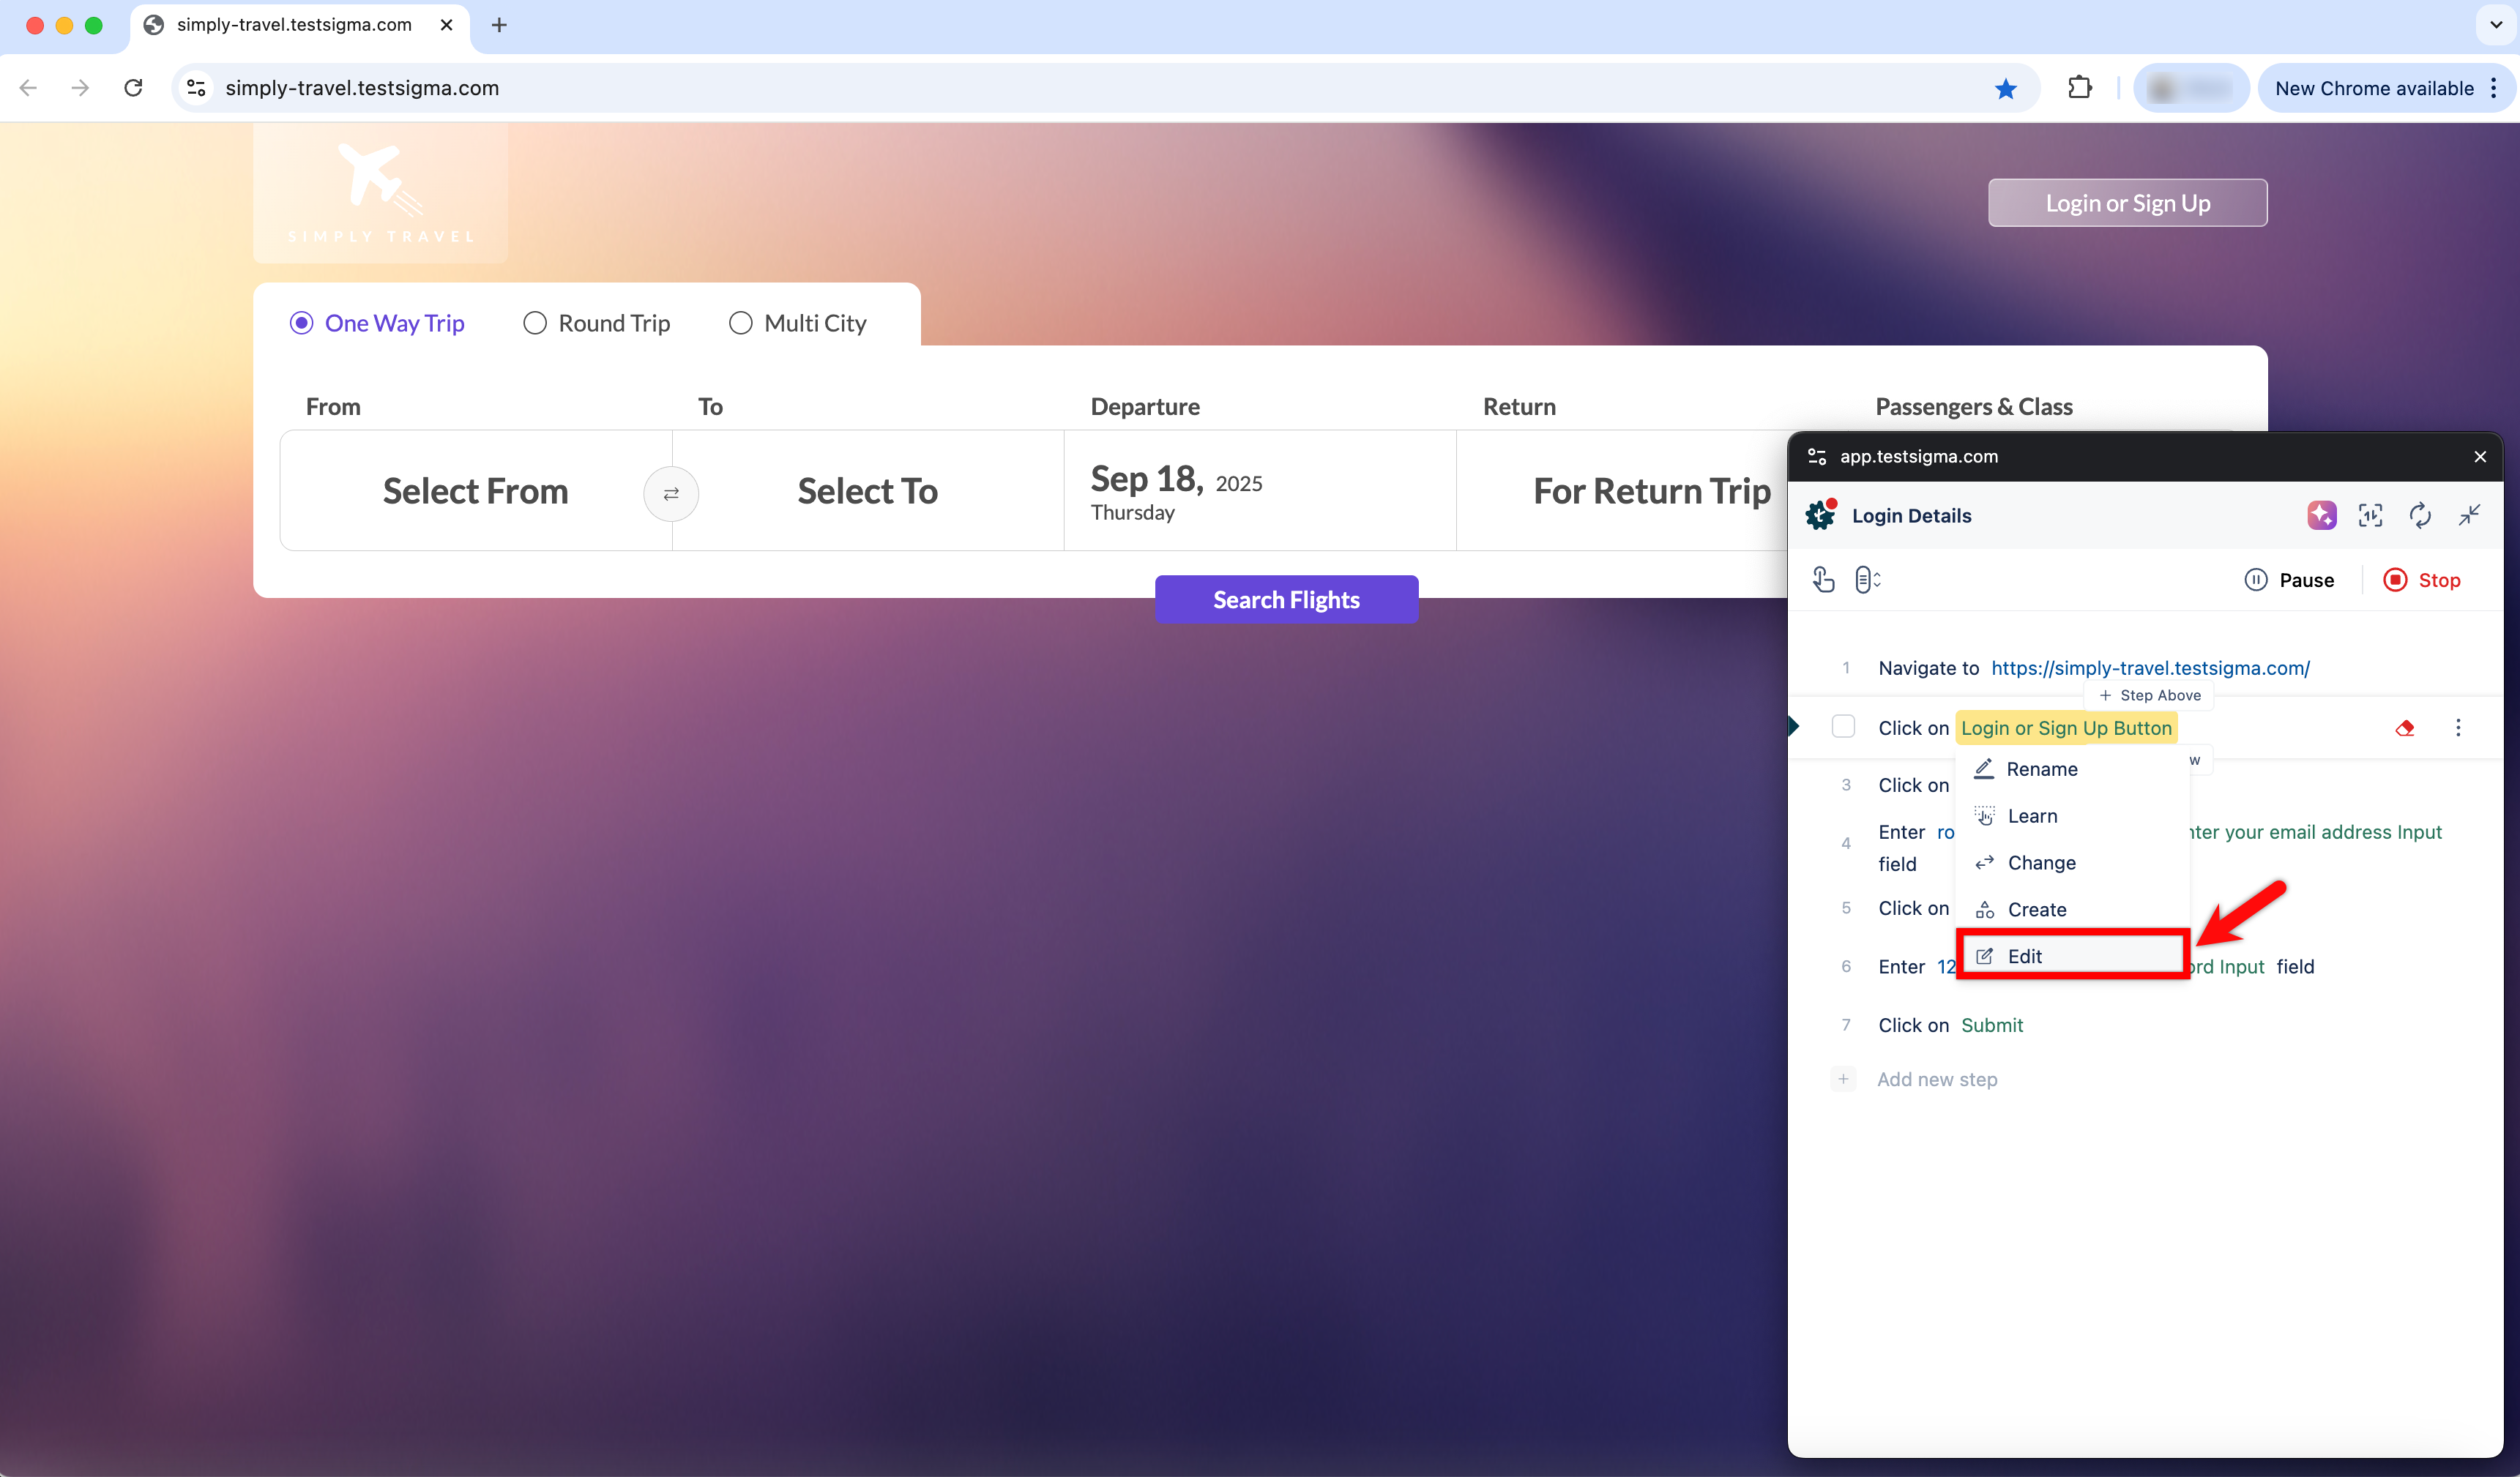
- Click on element and choose Edit Element from the drop down menu. This will open the Update Element screen on Recorder.
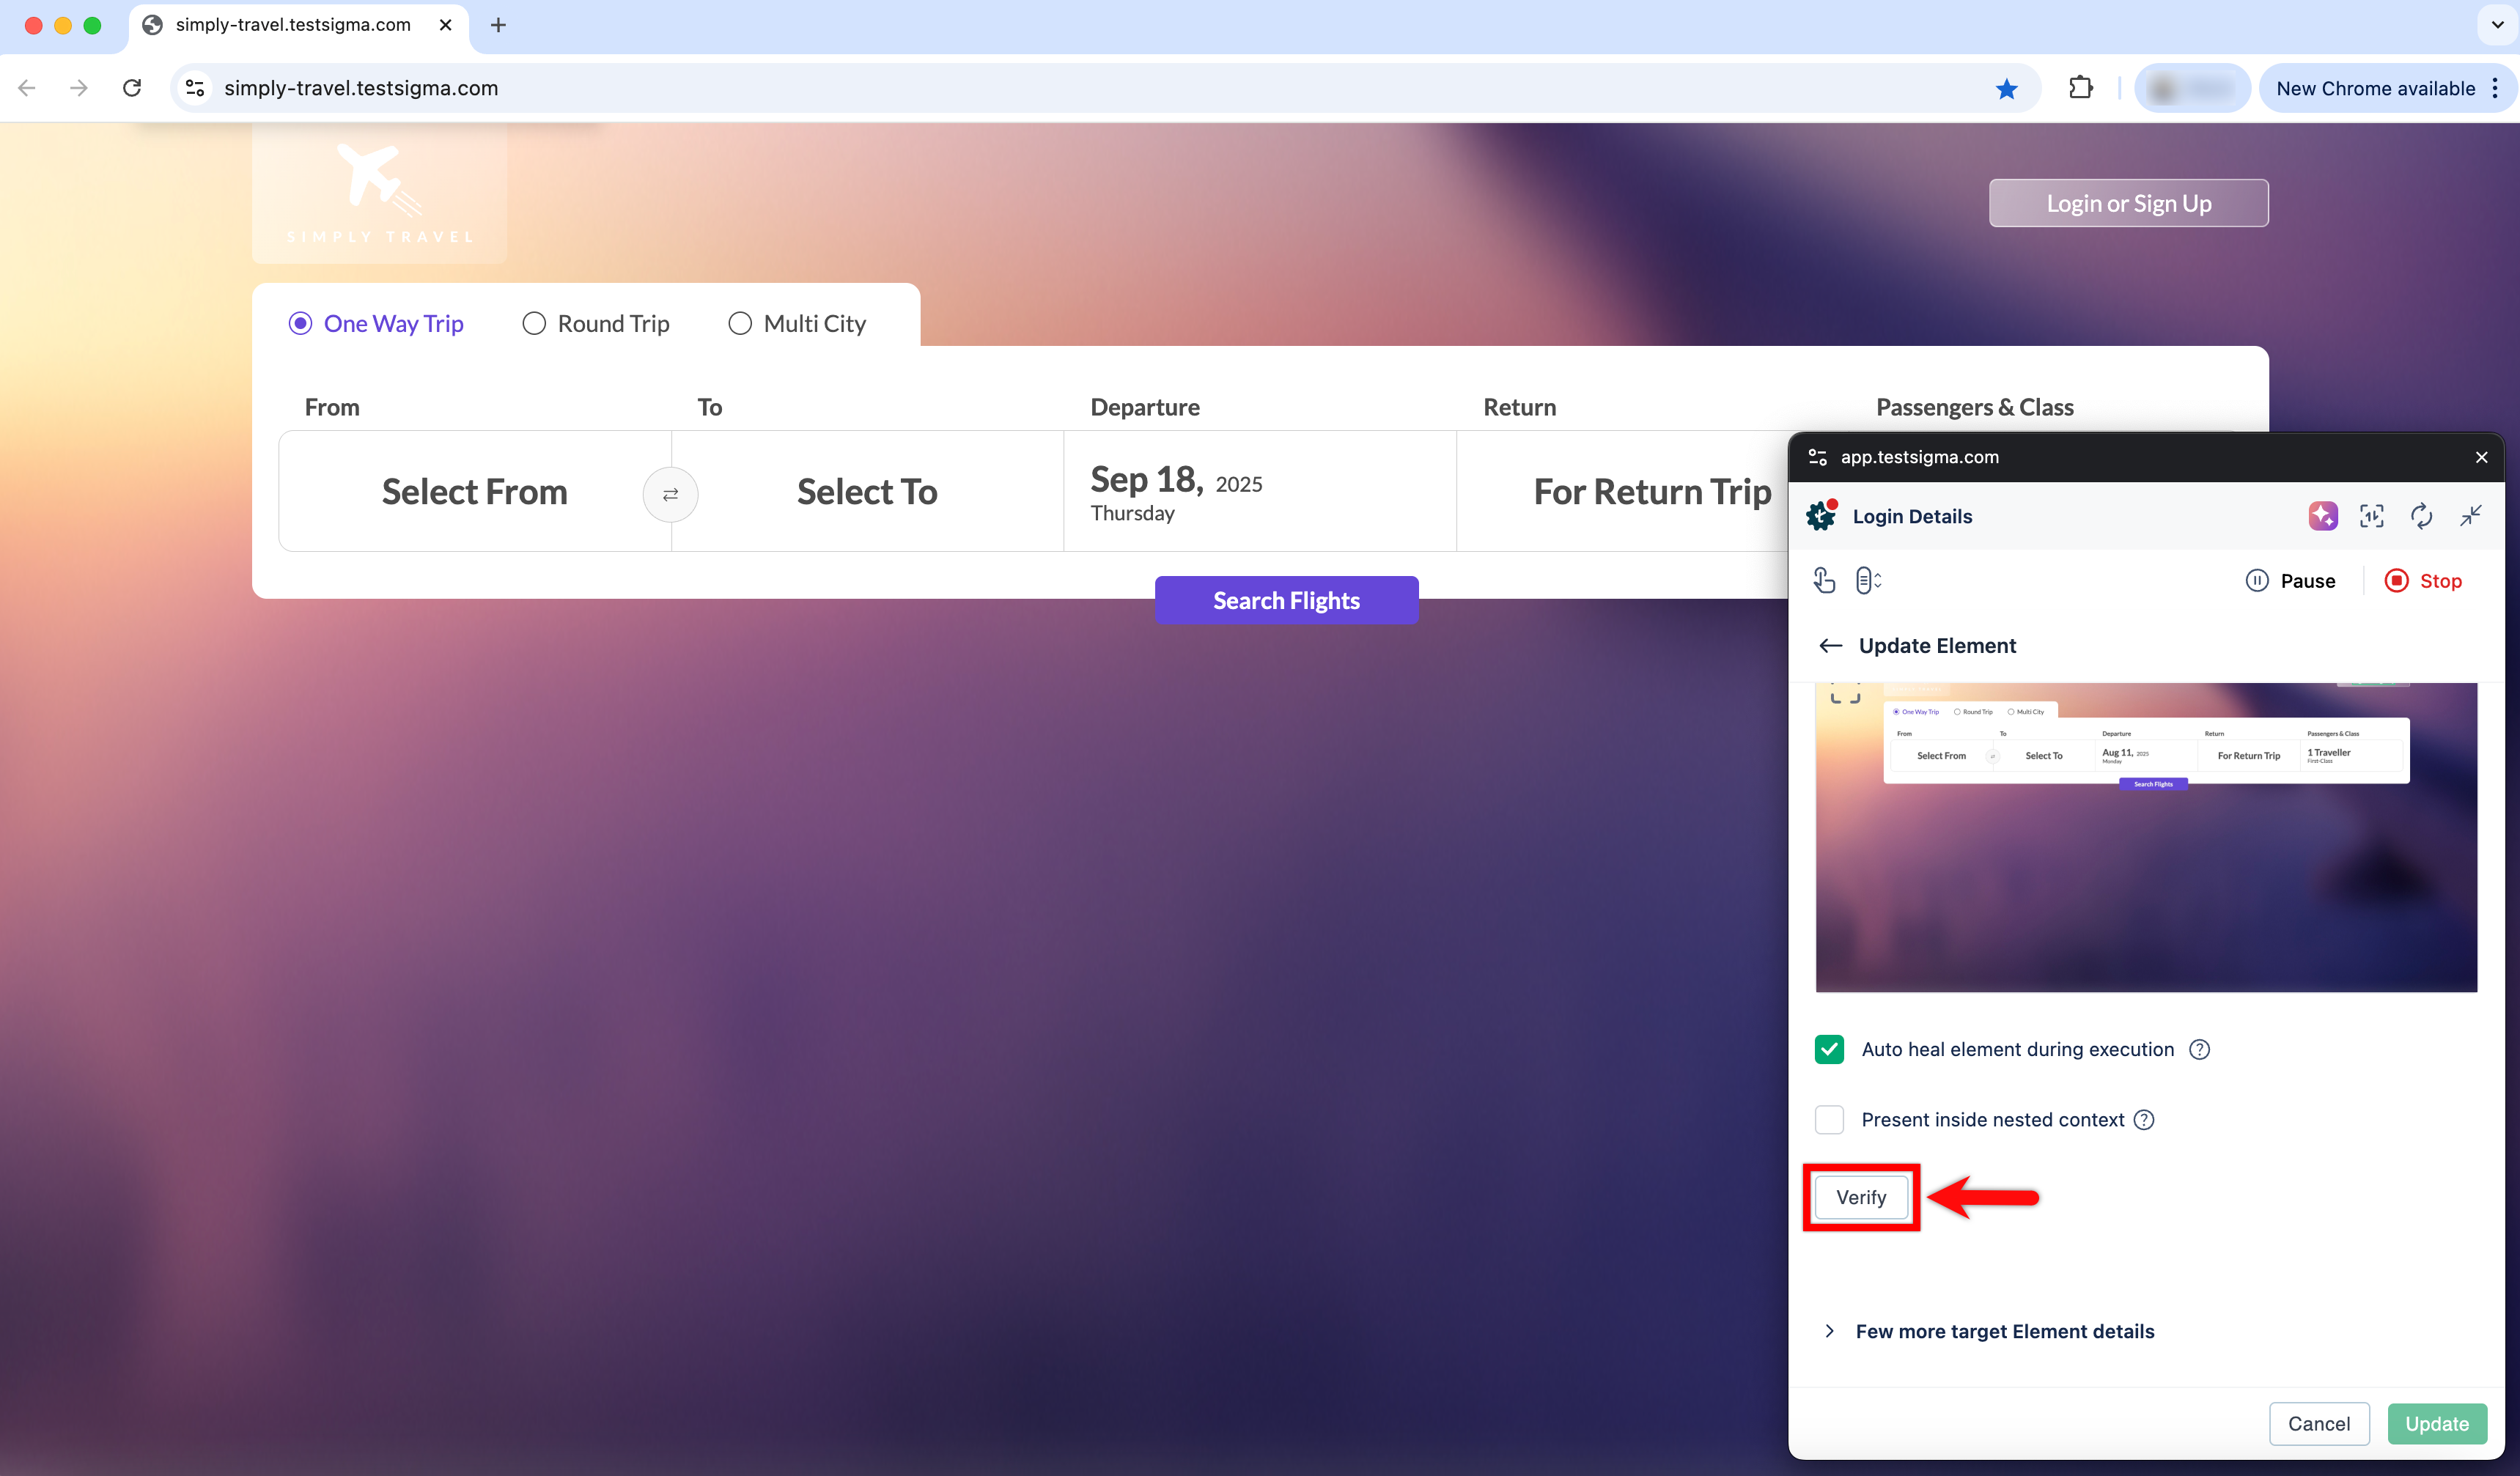
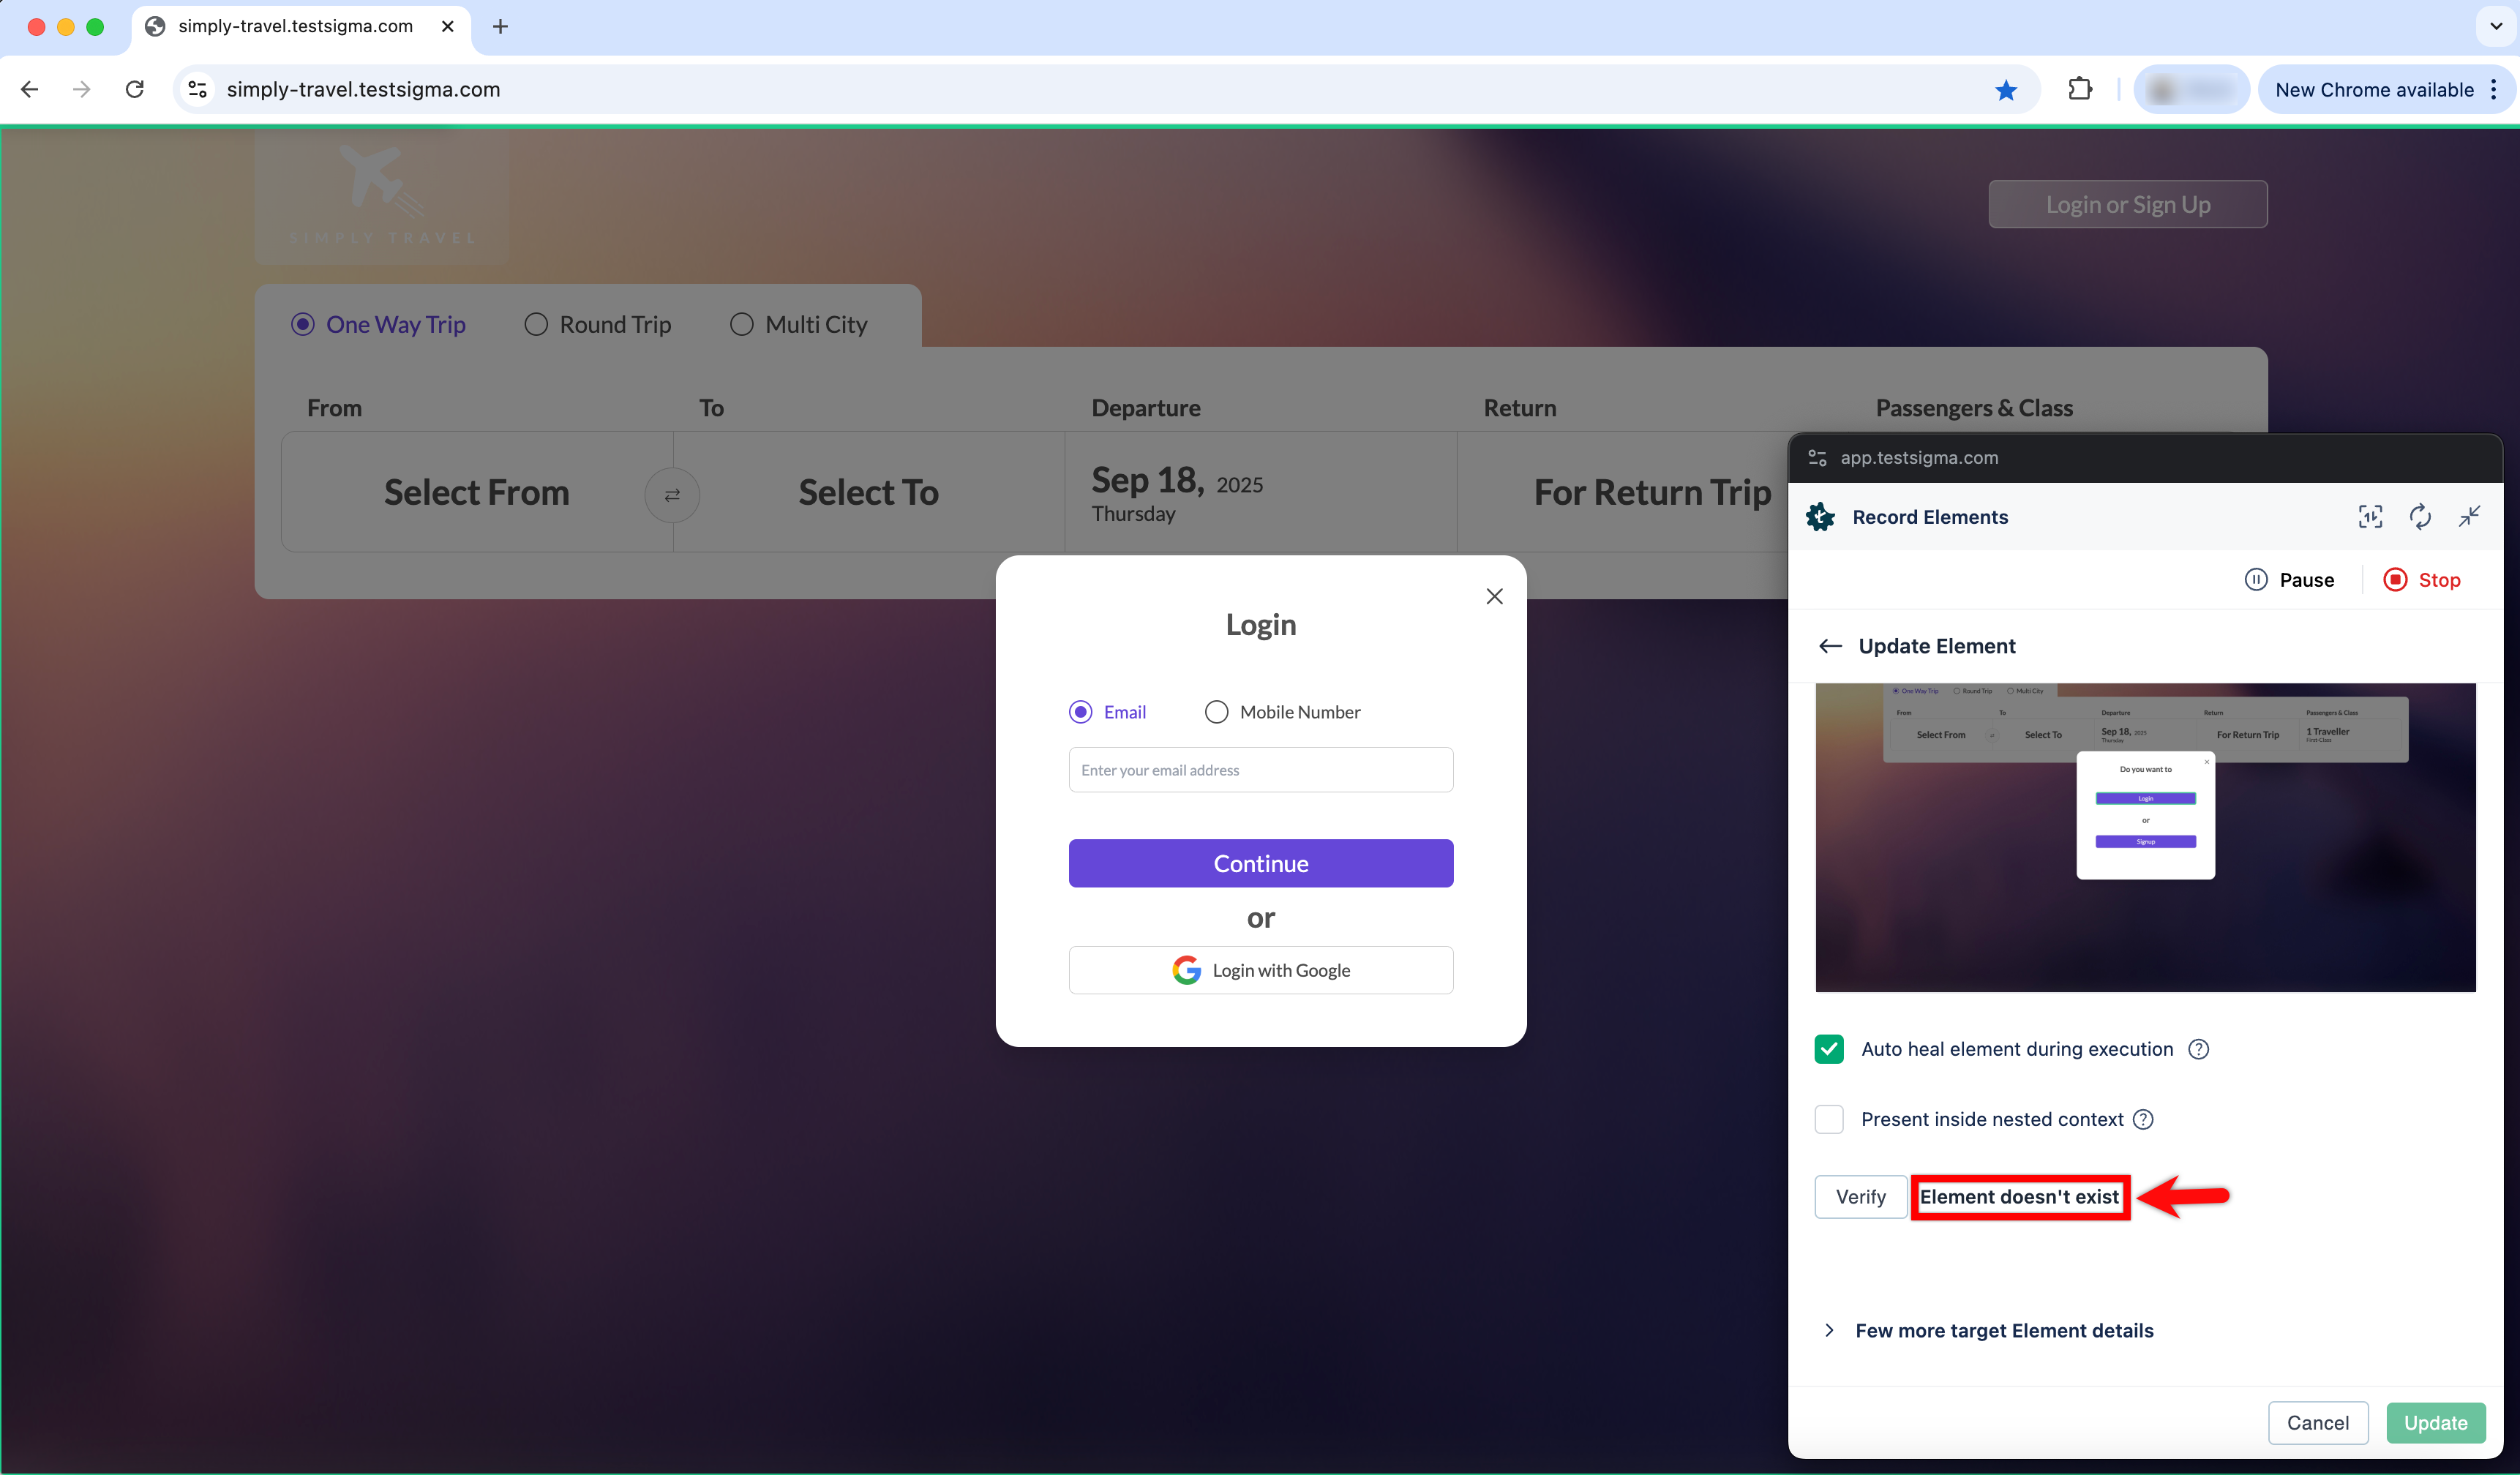
- Click on Verify to validate the element location. The element will be highlighted on the web page.
- If the element location is incorrect, a message will display indicating that the element doesn't exist.
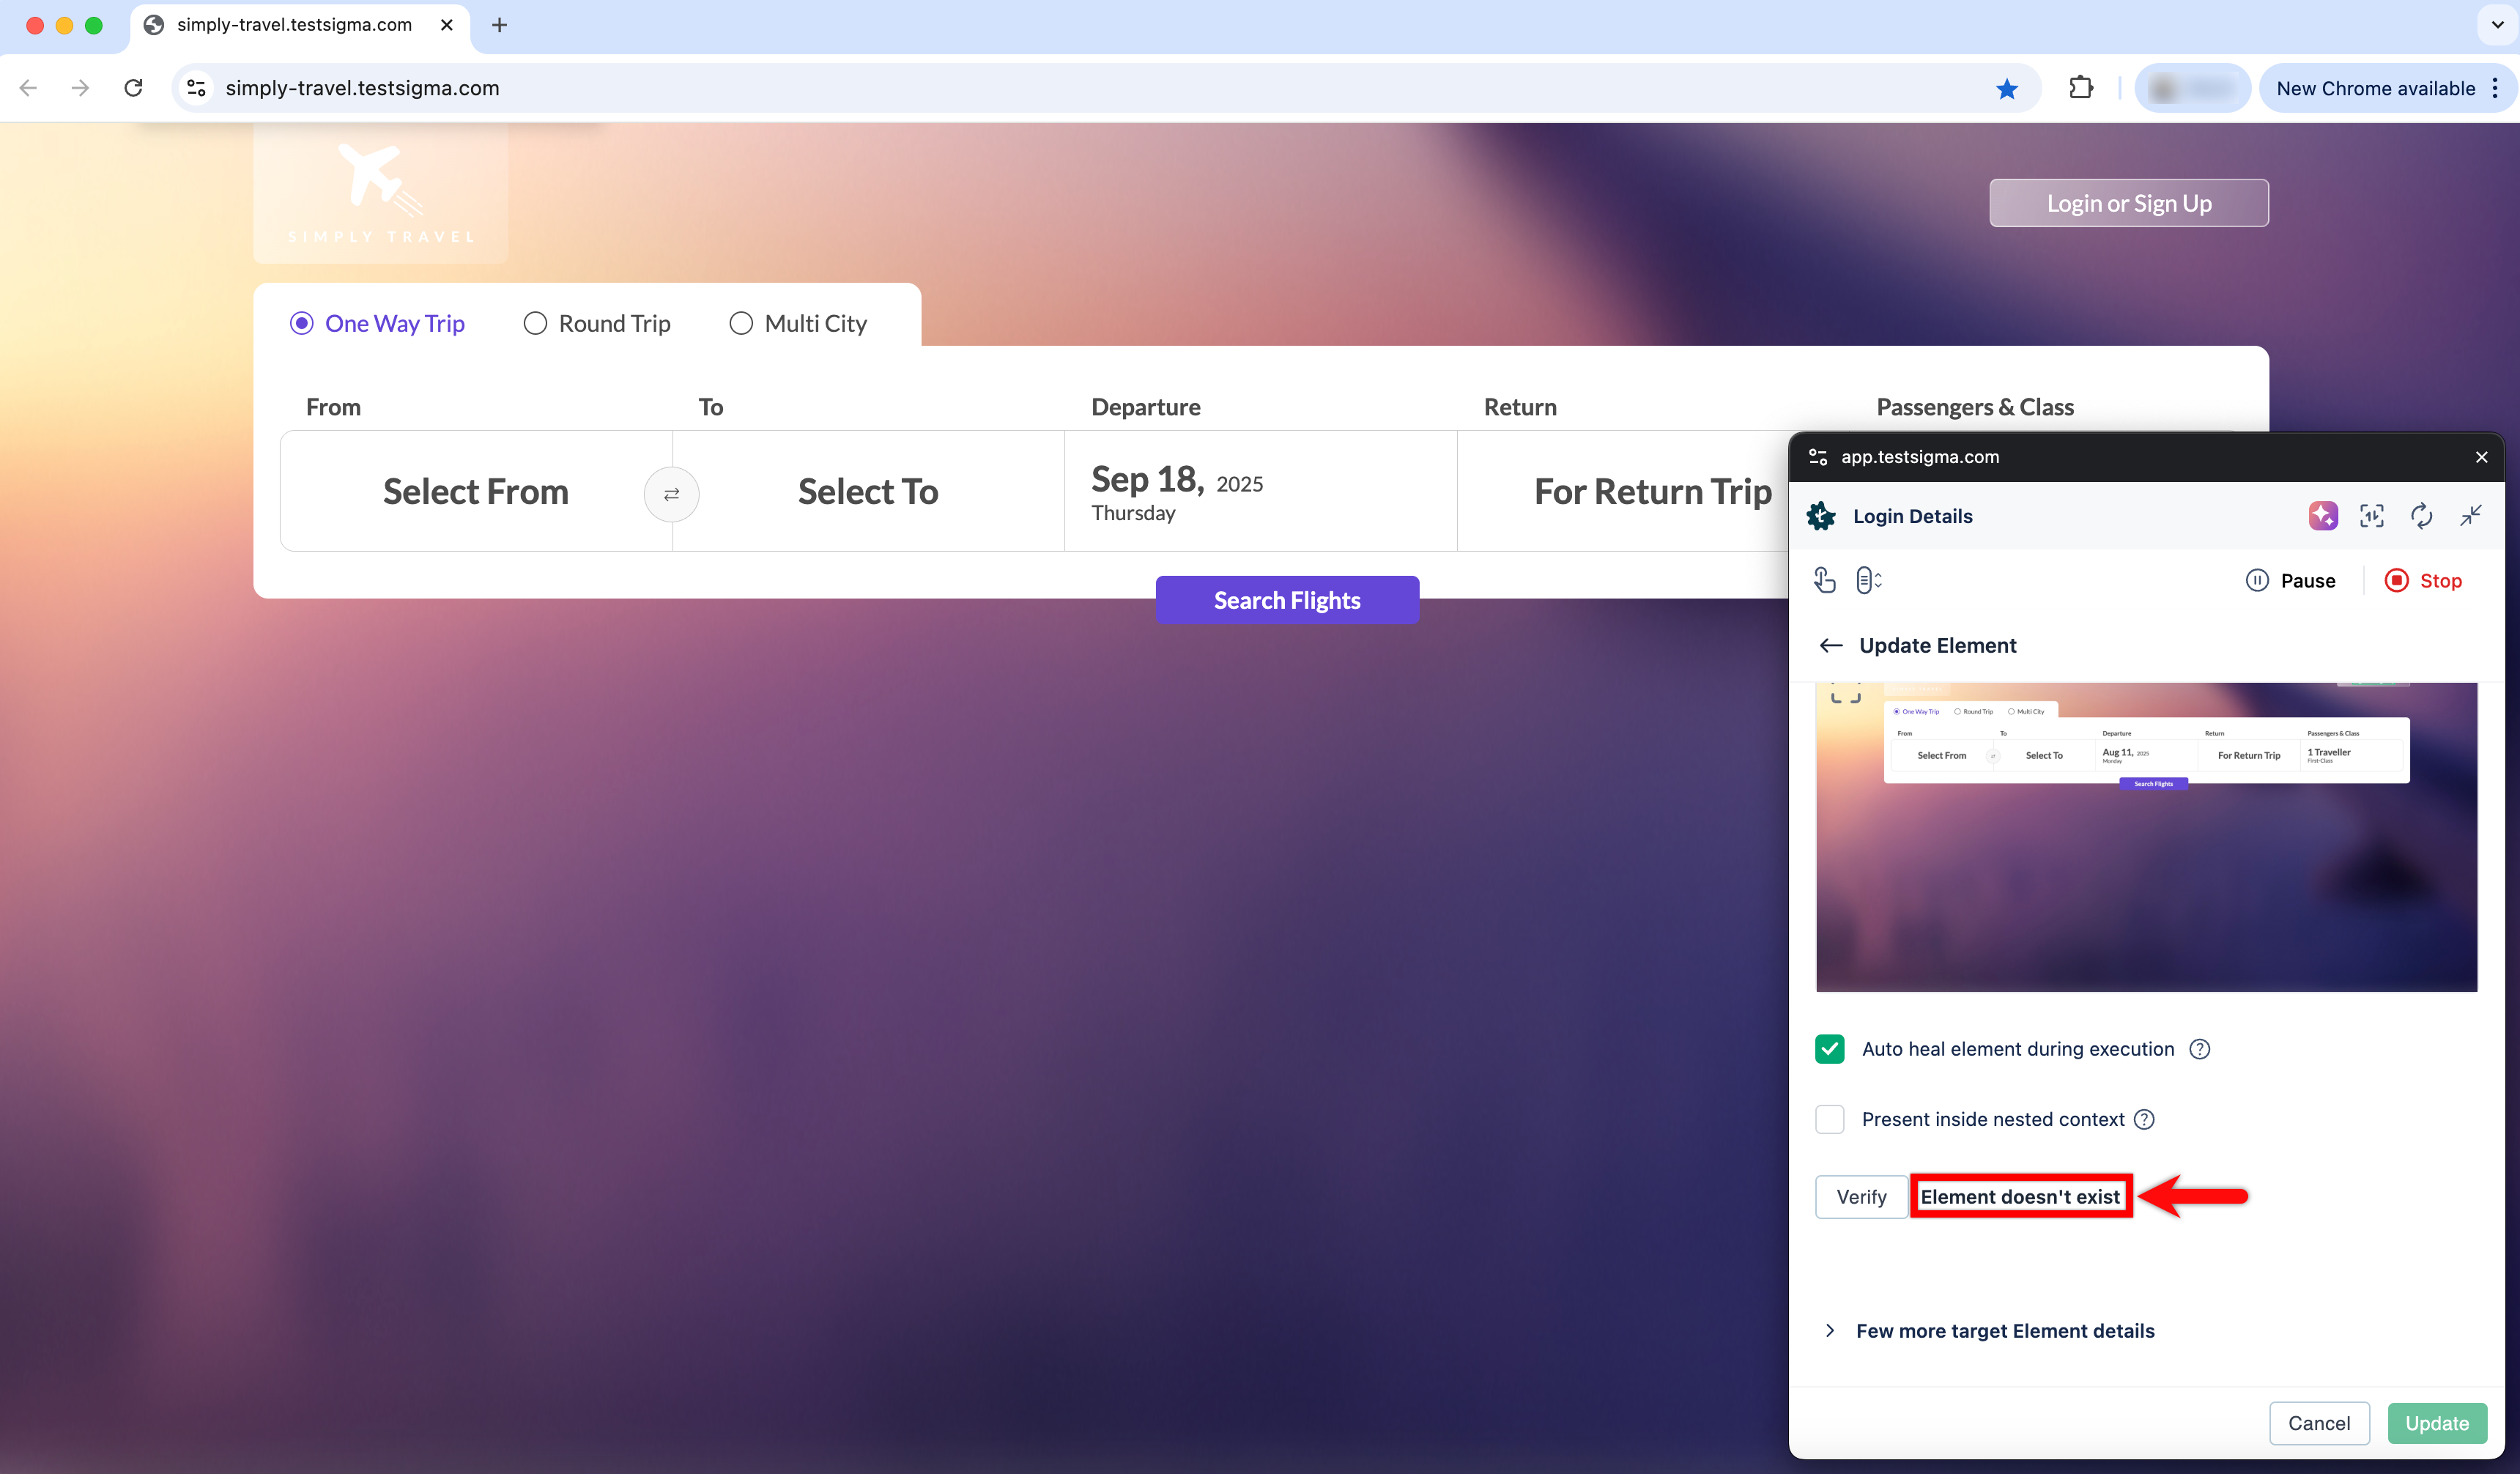
- Correct the element location and continue verifying until the recorder highlights the correct element on the web page.
Steps to Verify Elements from Elements
- From the left navigation bar, go to Create Tests > Elements.
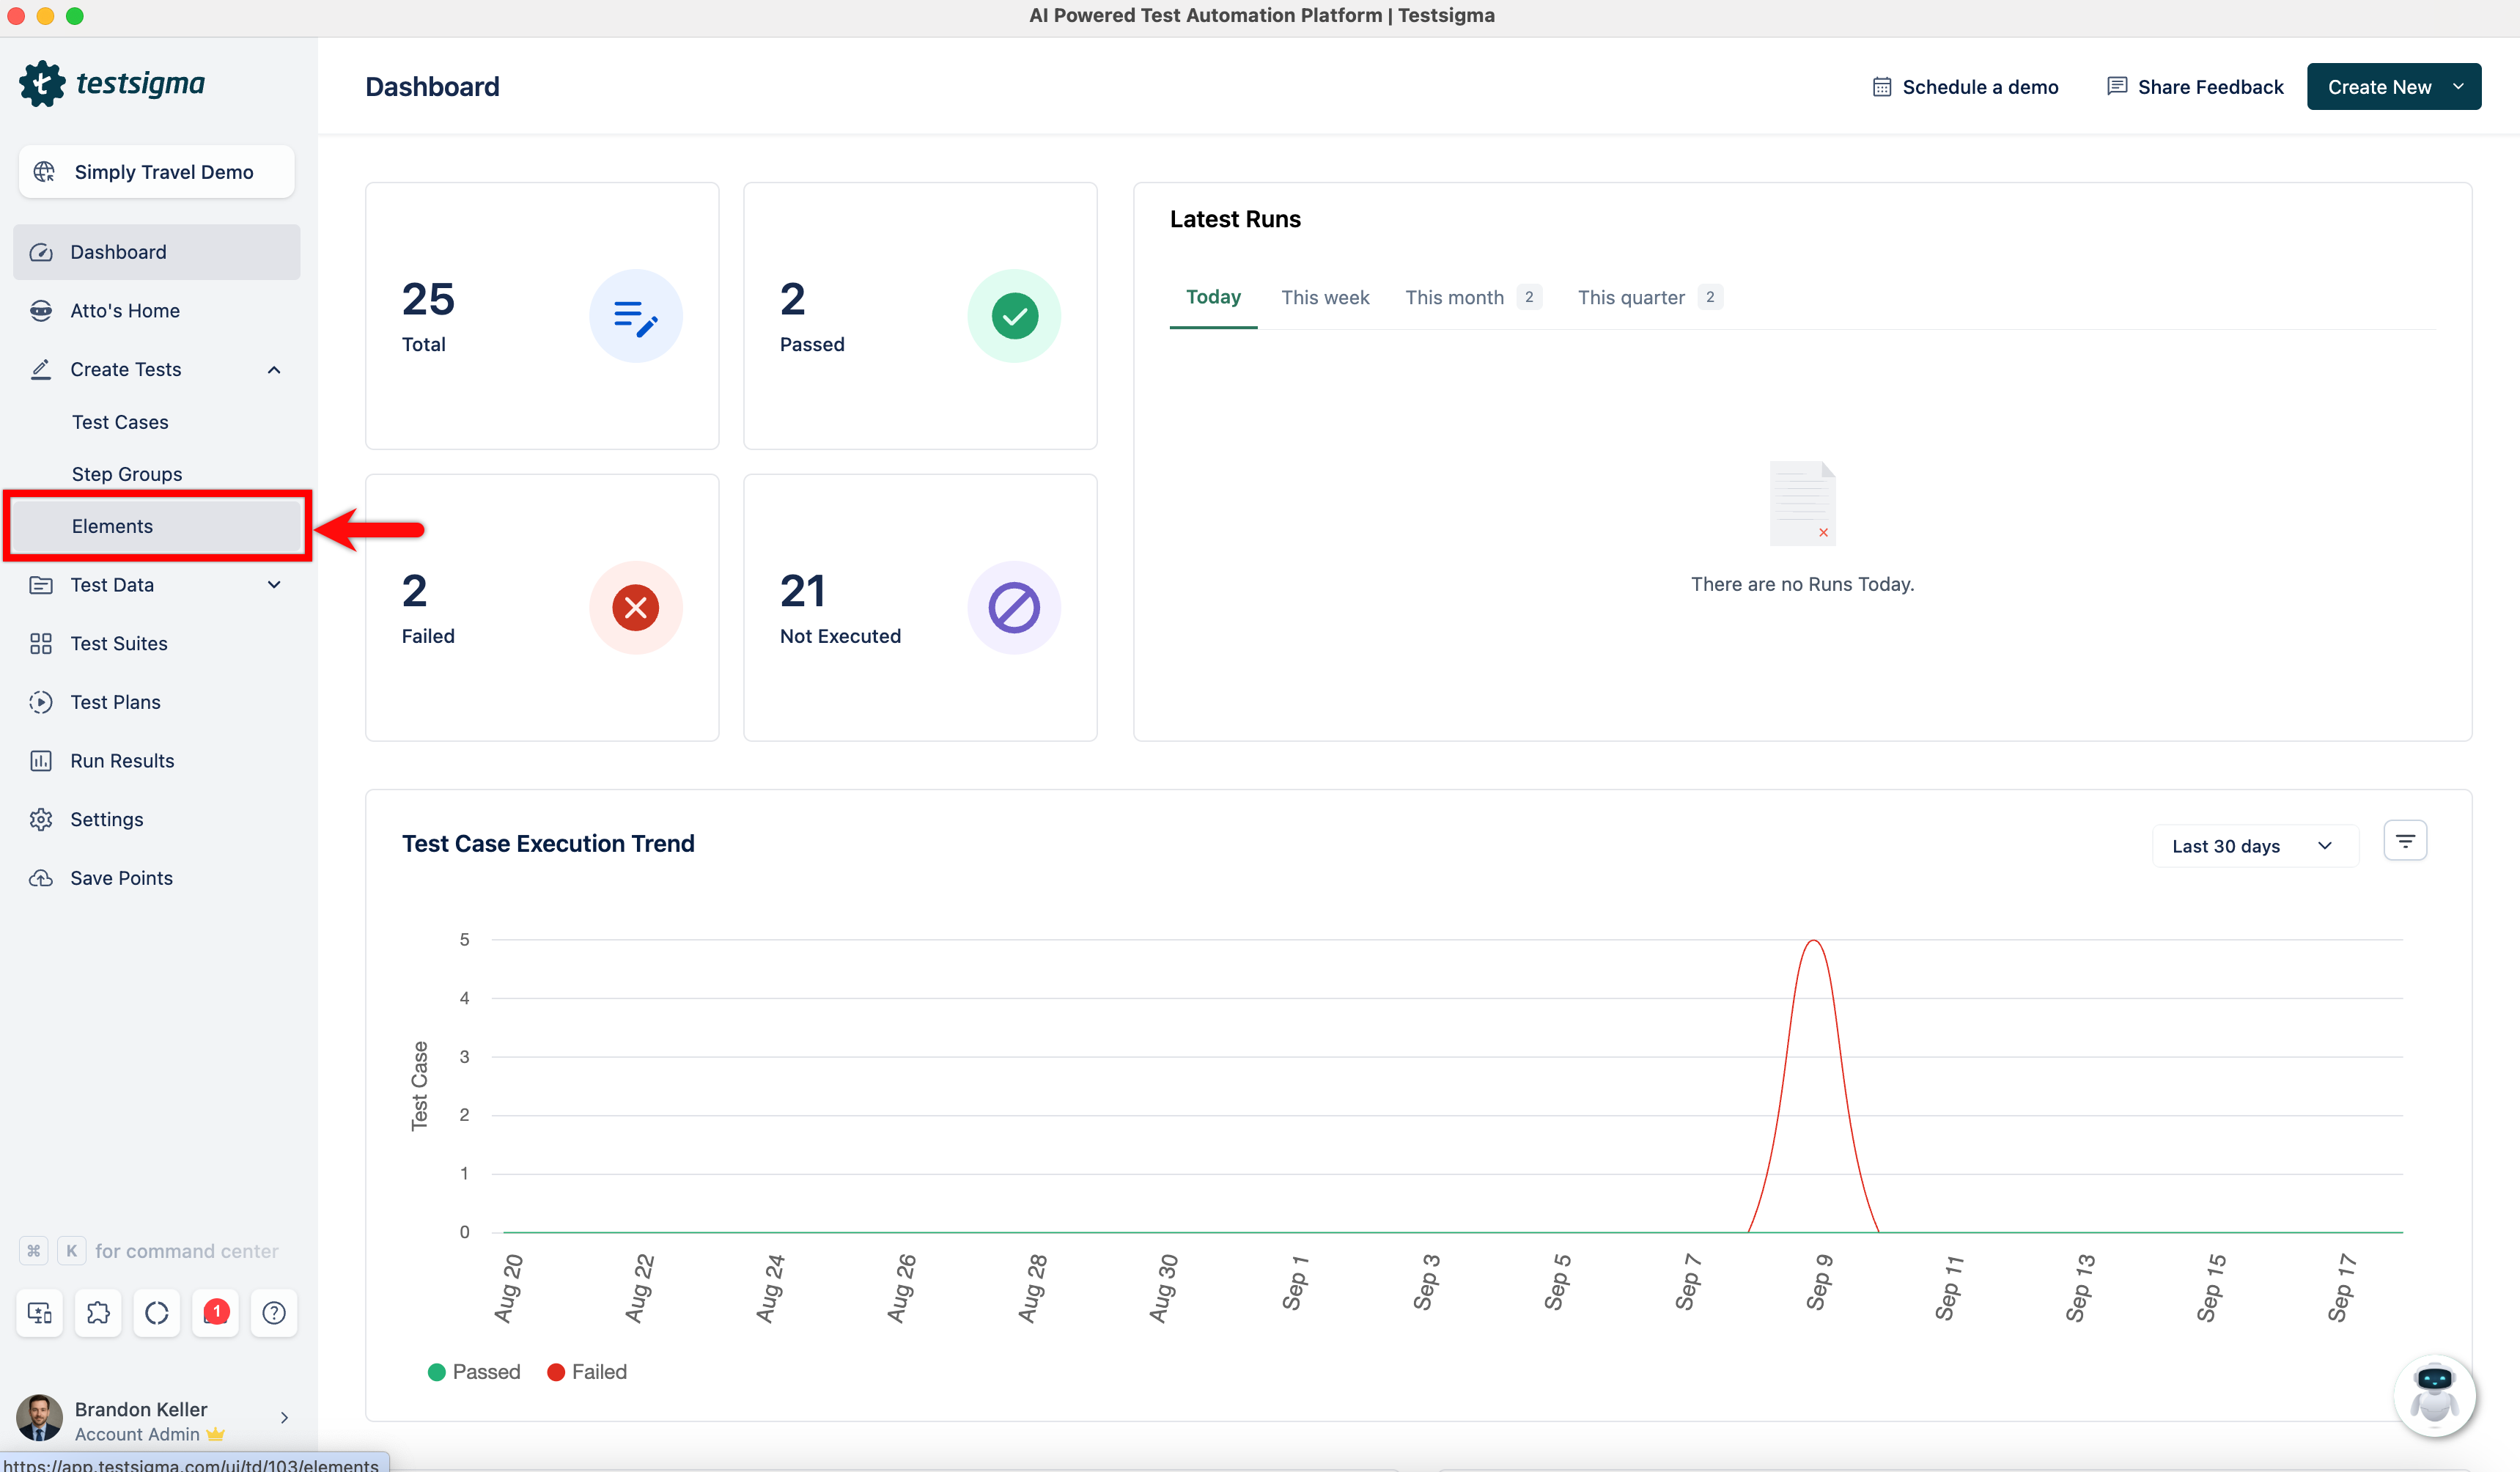
- Create an element by clicking on Record in the top right corner.
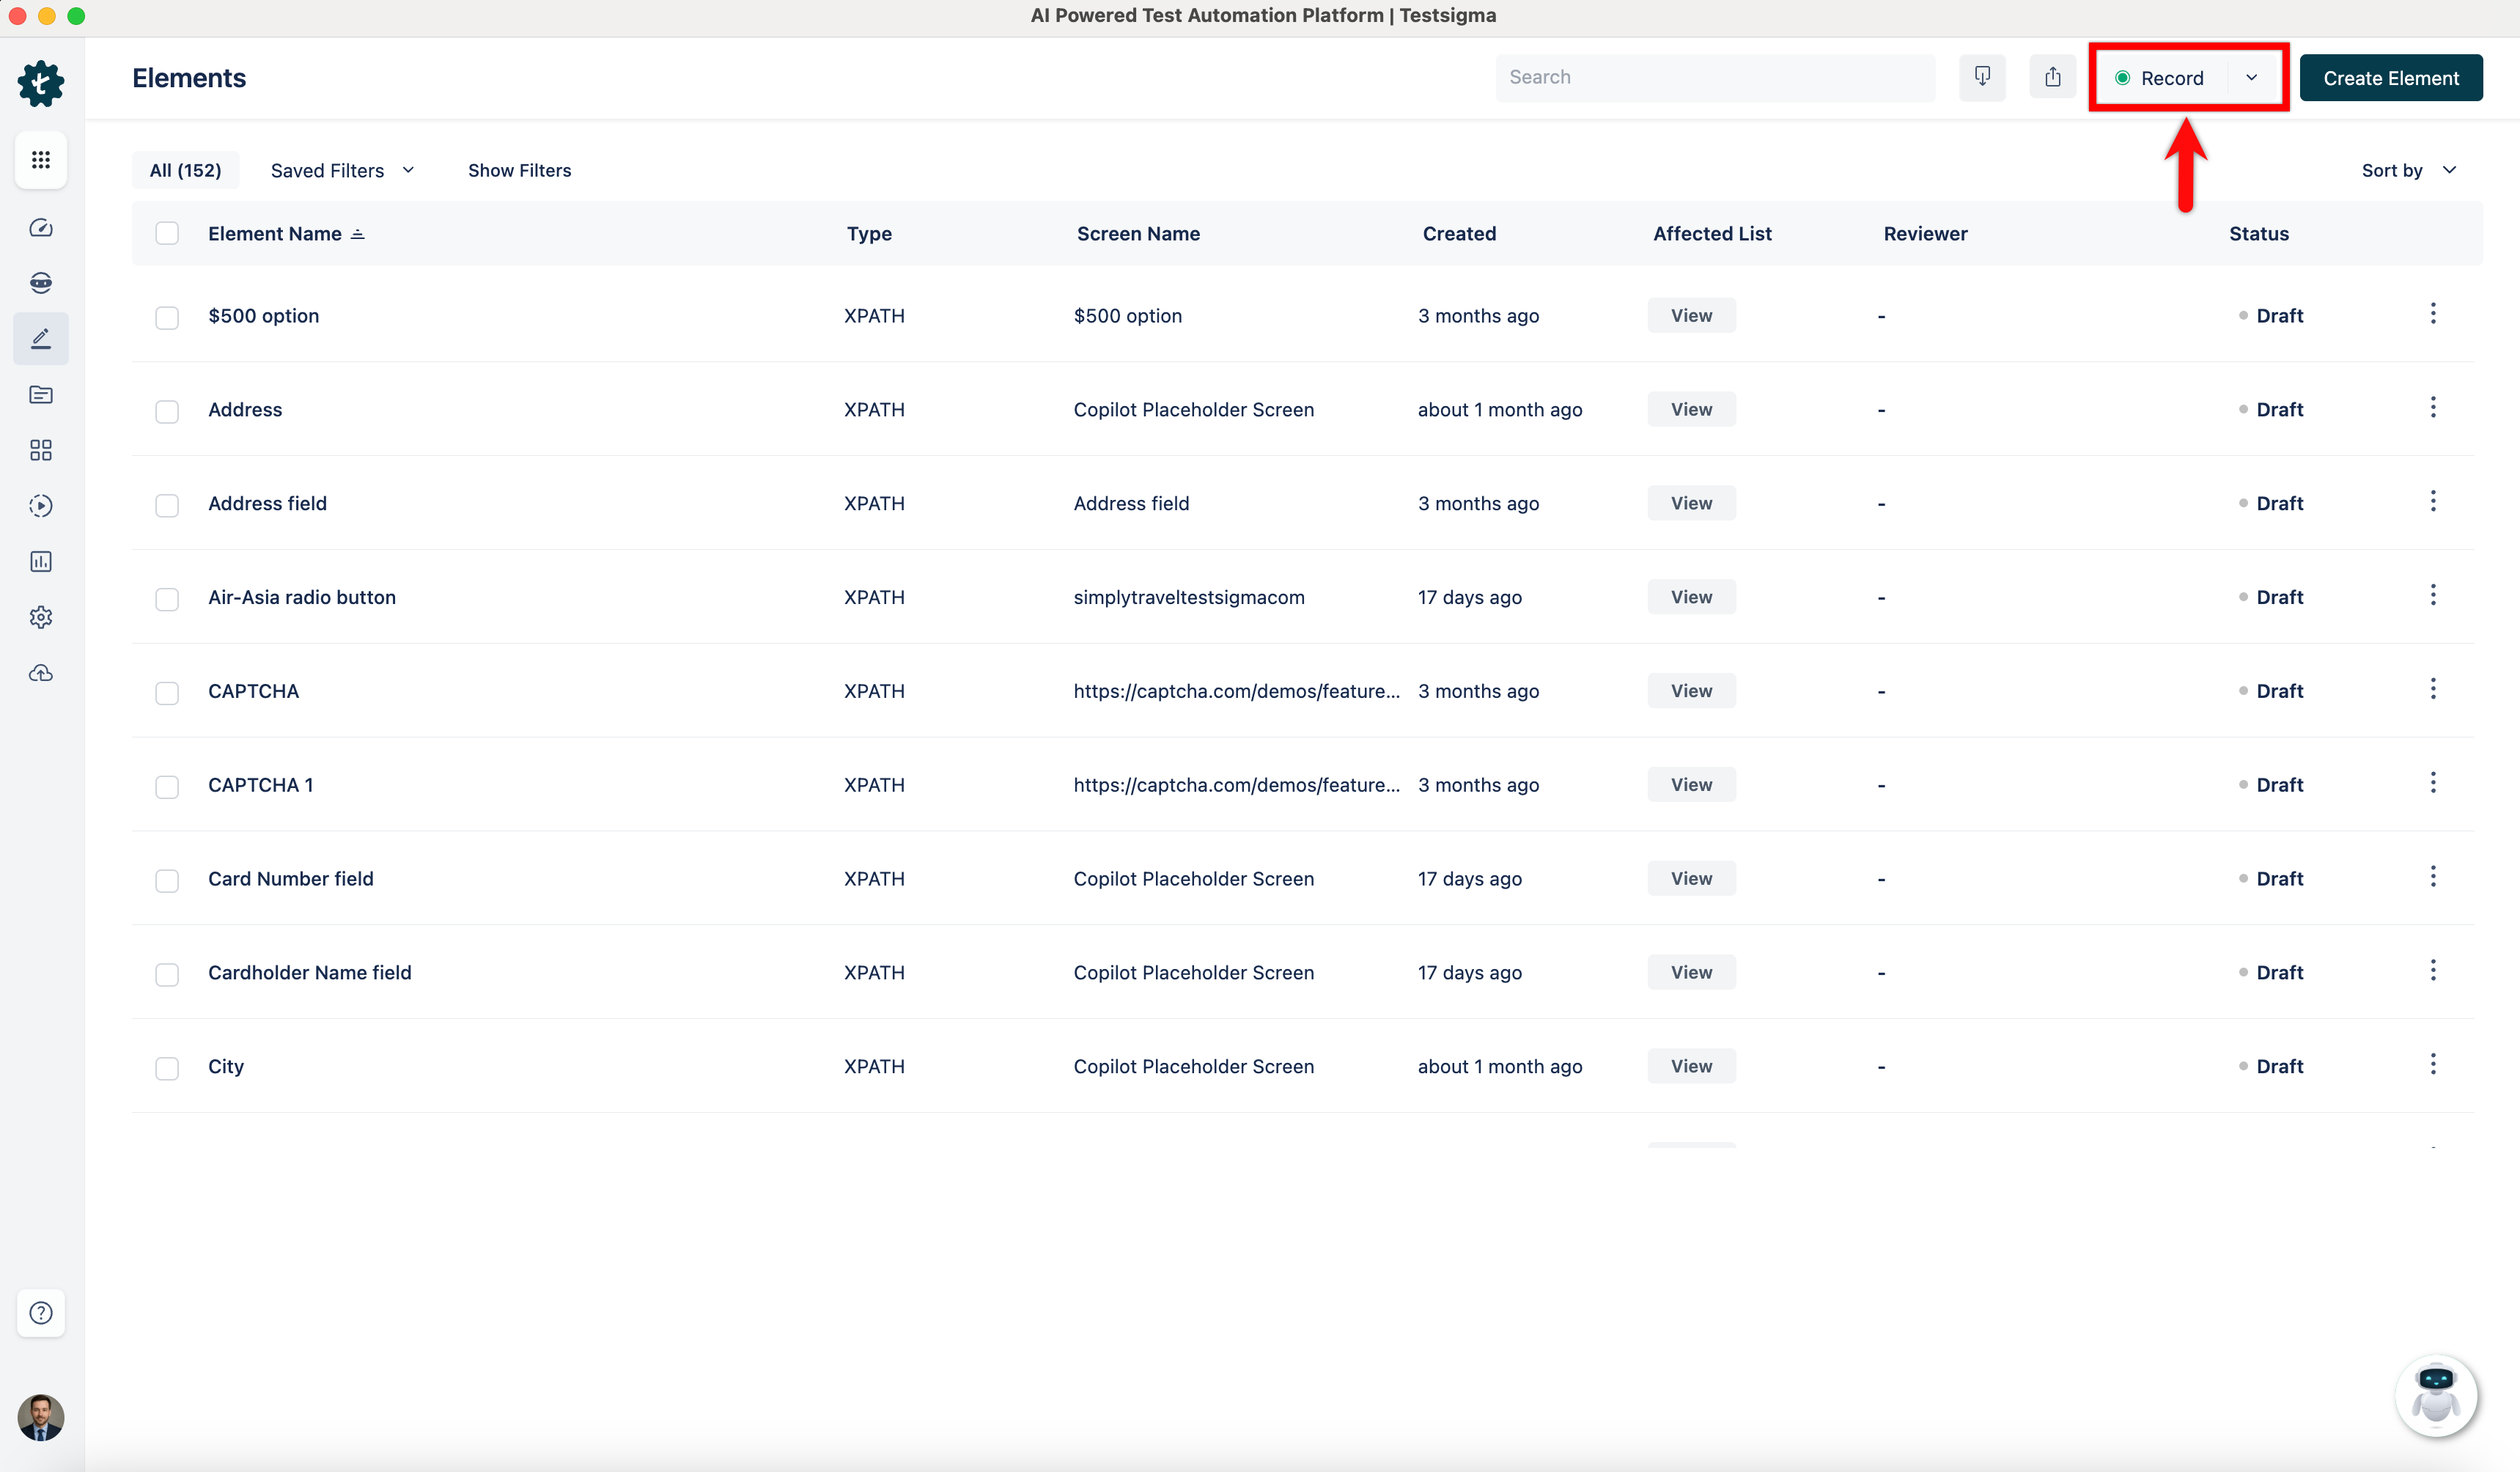
- In the new window, enter the URL of the website that you want to record.
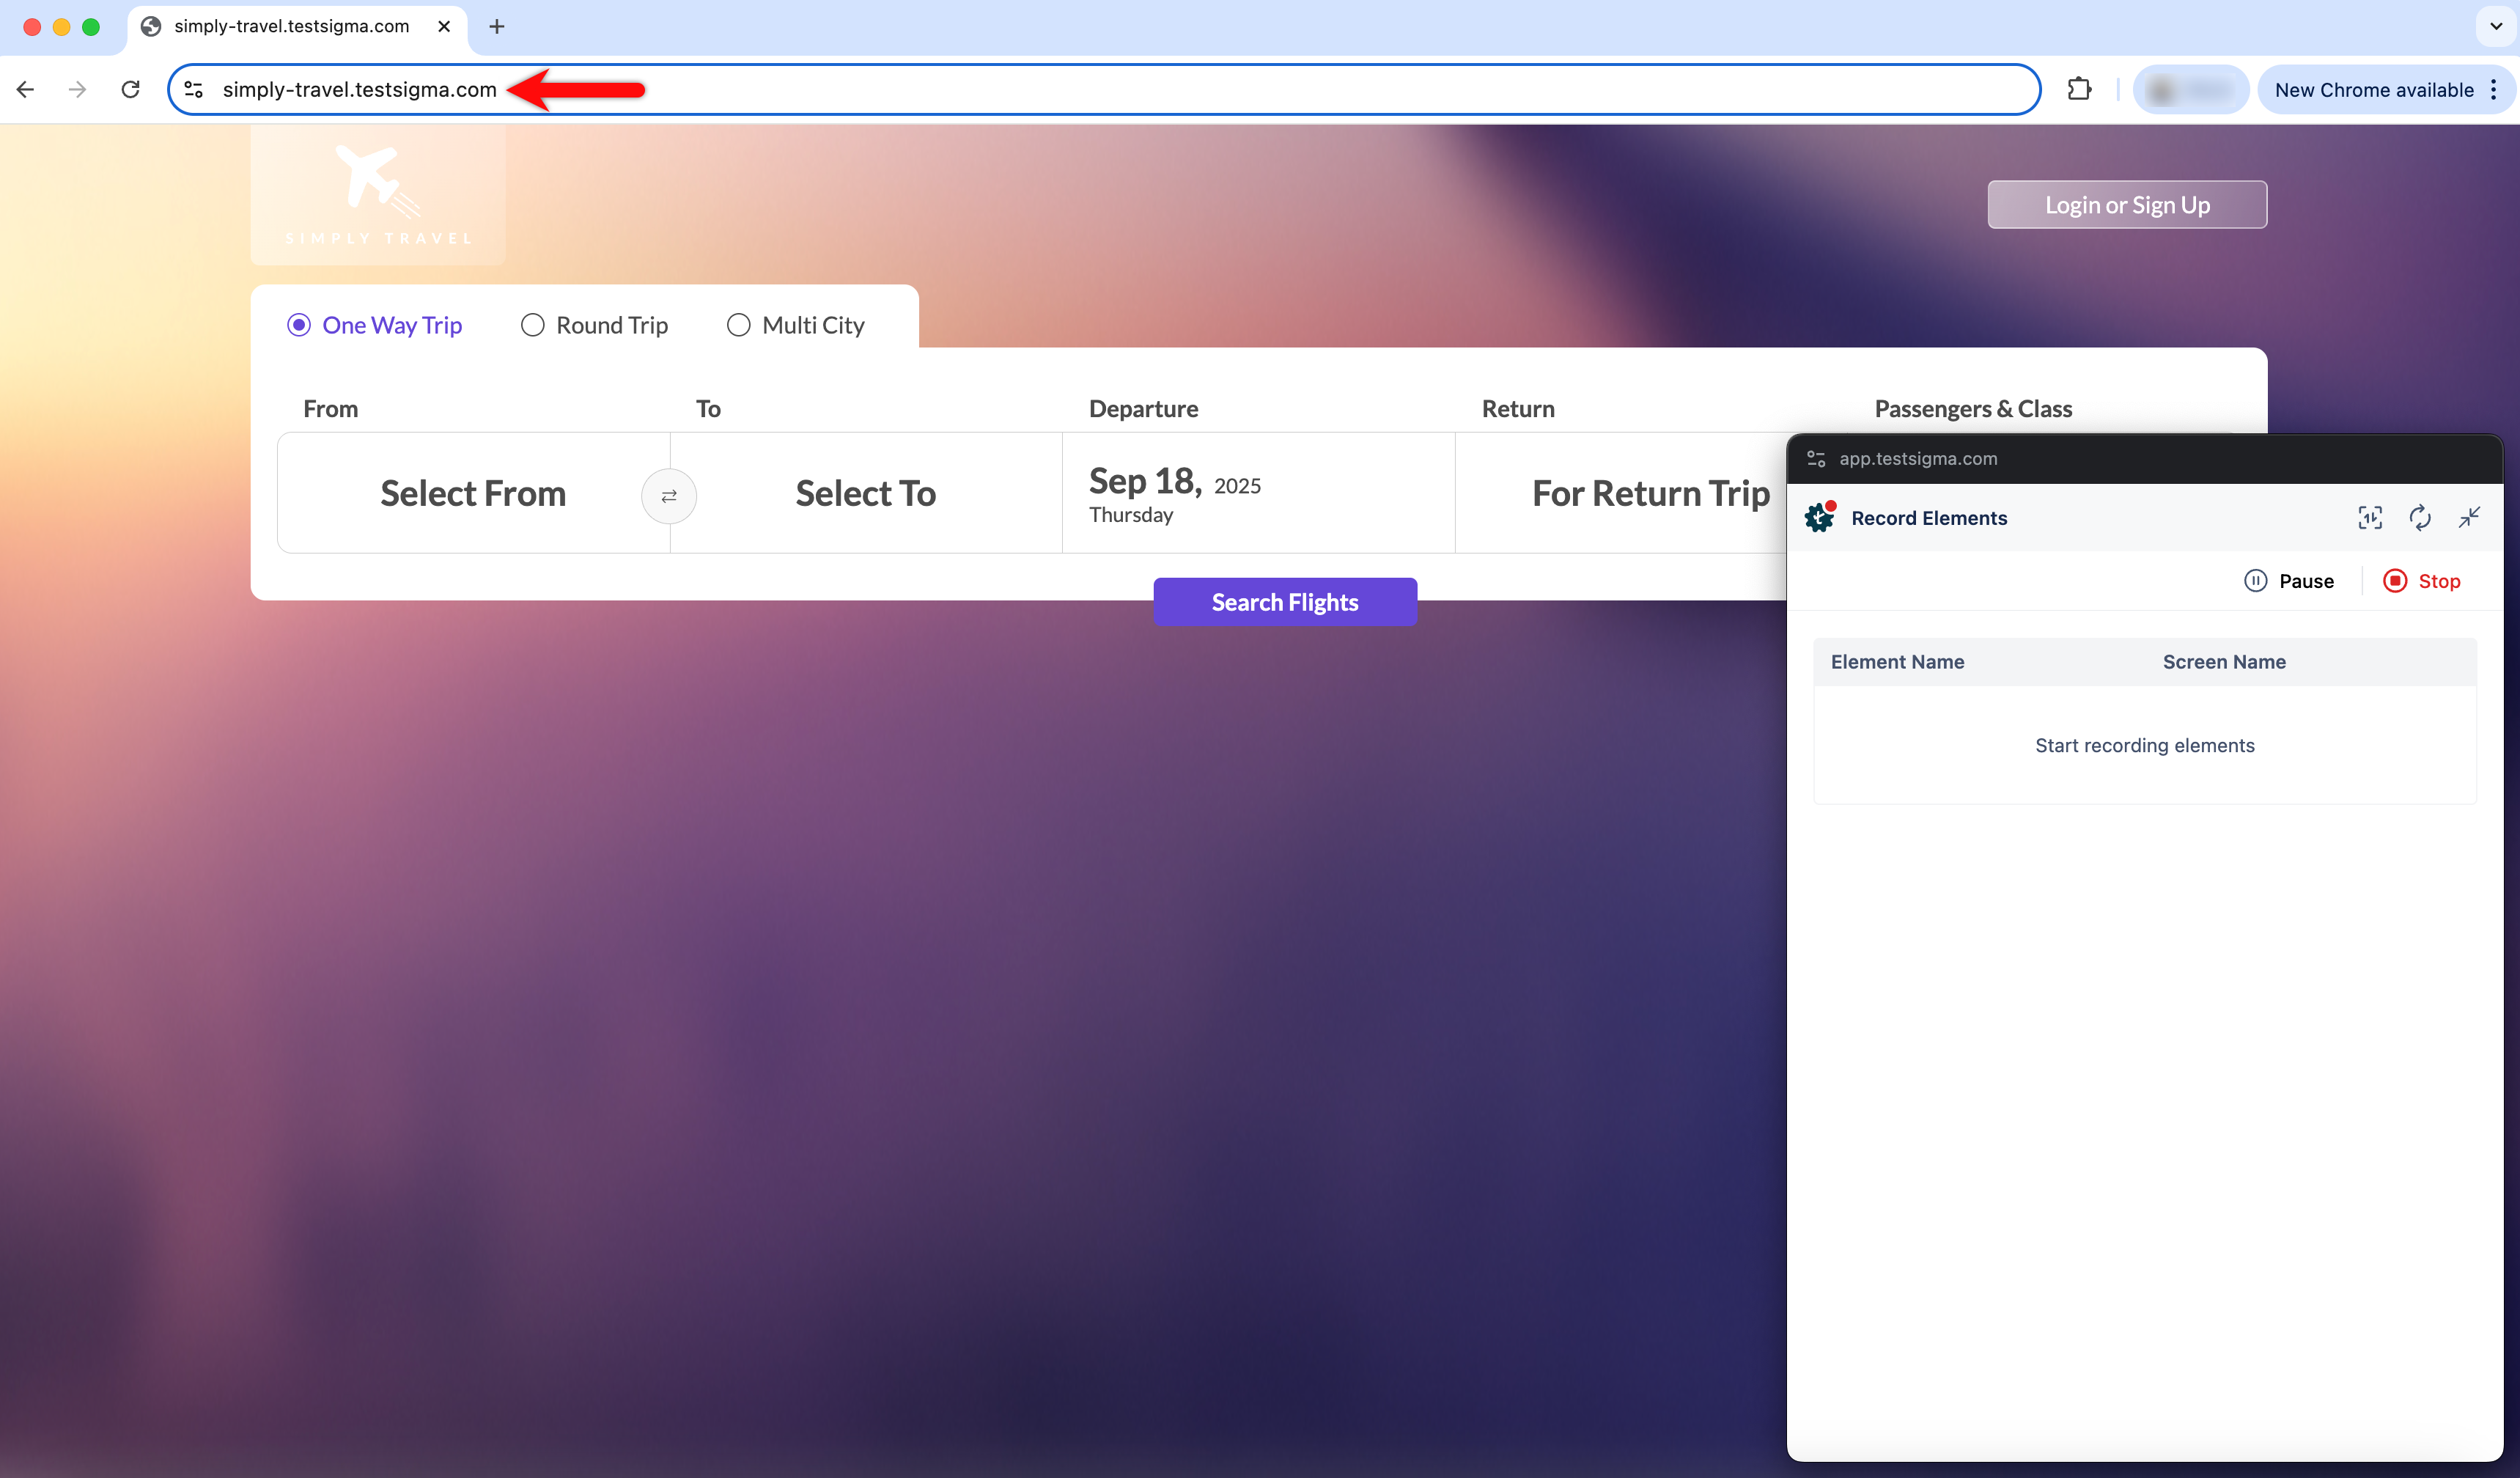
- Click on the element you want to record.
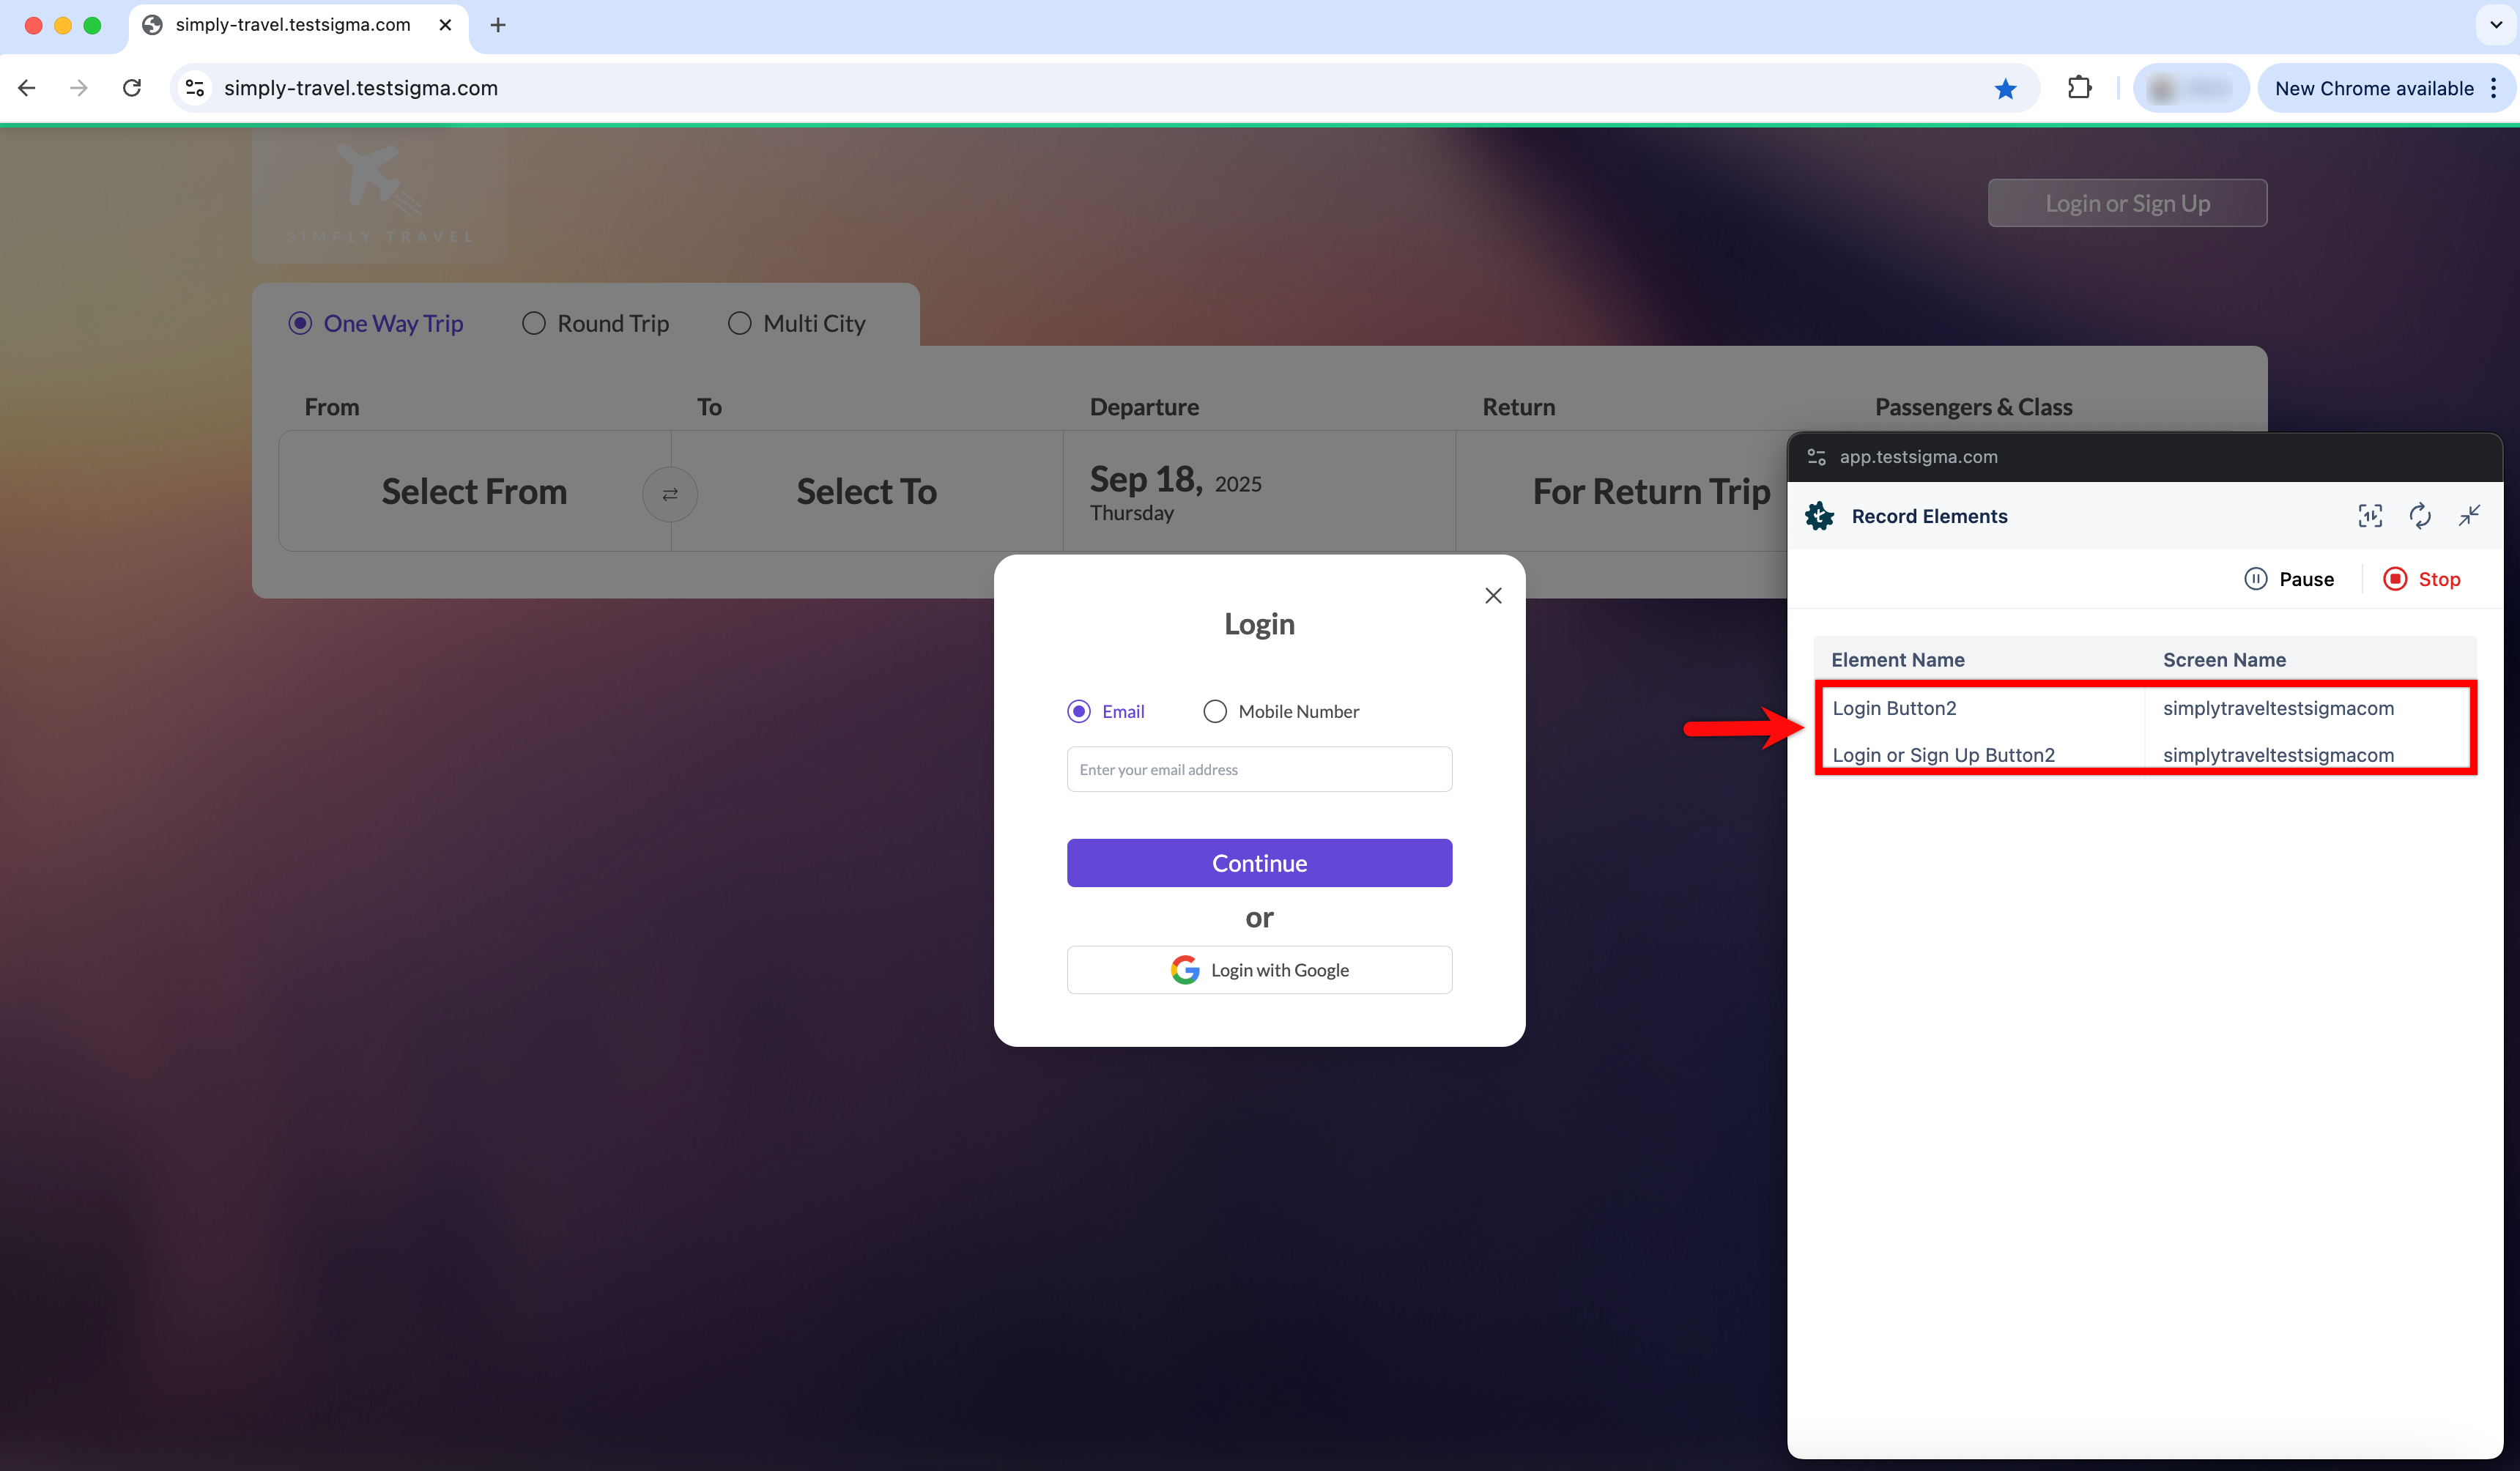
- Click on Verify to validate the element location. The element will be highlighted on the web page.

- If the element location is incorrect, a message will display indicating that the element doesn't exist.
- Correct the element location and continue verifying until the recorder highlights the correct element on the web page.
NOTE:
You can also verify while updating the element details. Open the existing element and click on Edit on the Update Element overlay and follow the same steps as above.
Want to contribute or report missing content?