- Results & Reports
 Test Plan Run Results
- Filters on Run Results
- Custom PDF Report Generation
- Custom Allure Reports Generation
- Custom JUnit Report Generation
- Dashboard
Custom PDF Report Generation
Custom PDF Report Generator in Testsigma allows you to create detailed and customized reports according to your needs. This feature lets you generate reports for test cases, suites, or machines without restrictions. You can also adjust your reports using different preferences, making it a strong tool for in-depth analysis and presentation.
Prerequisites
Before you begin, ensure that:
- You have referred to the documentation on generating API keys from your Testsigma account.
- Java 17 or a newer version installed on your system.
- You can request the JAR file from the Customer Support team and download it before executing a Custom PDF Report Generation.
- An HTML template for the PDF report. Click here to download the HTML template.
Retrieving Result IDs
To generate reports, you need specific IDs depending on the level of detail you want:
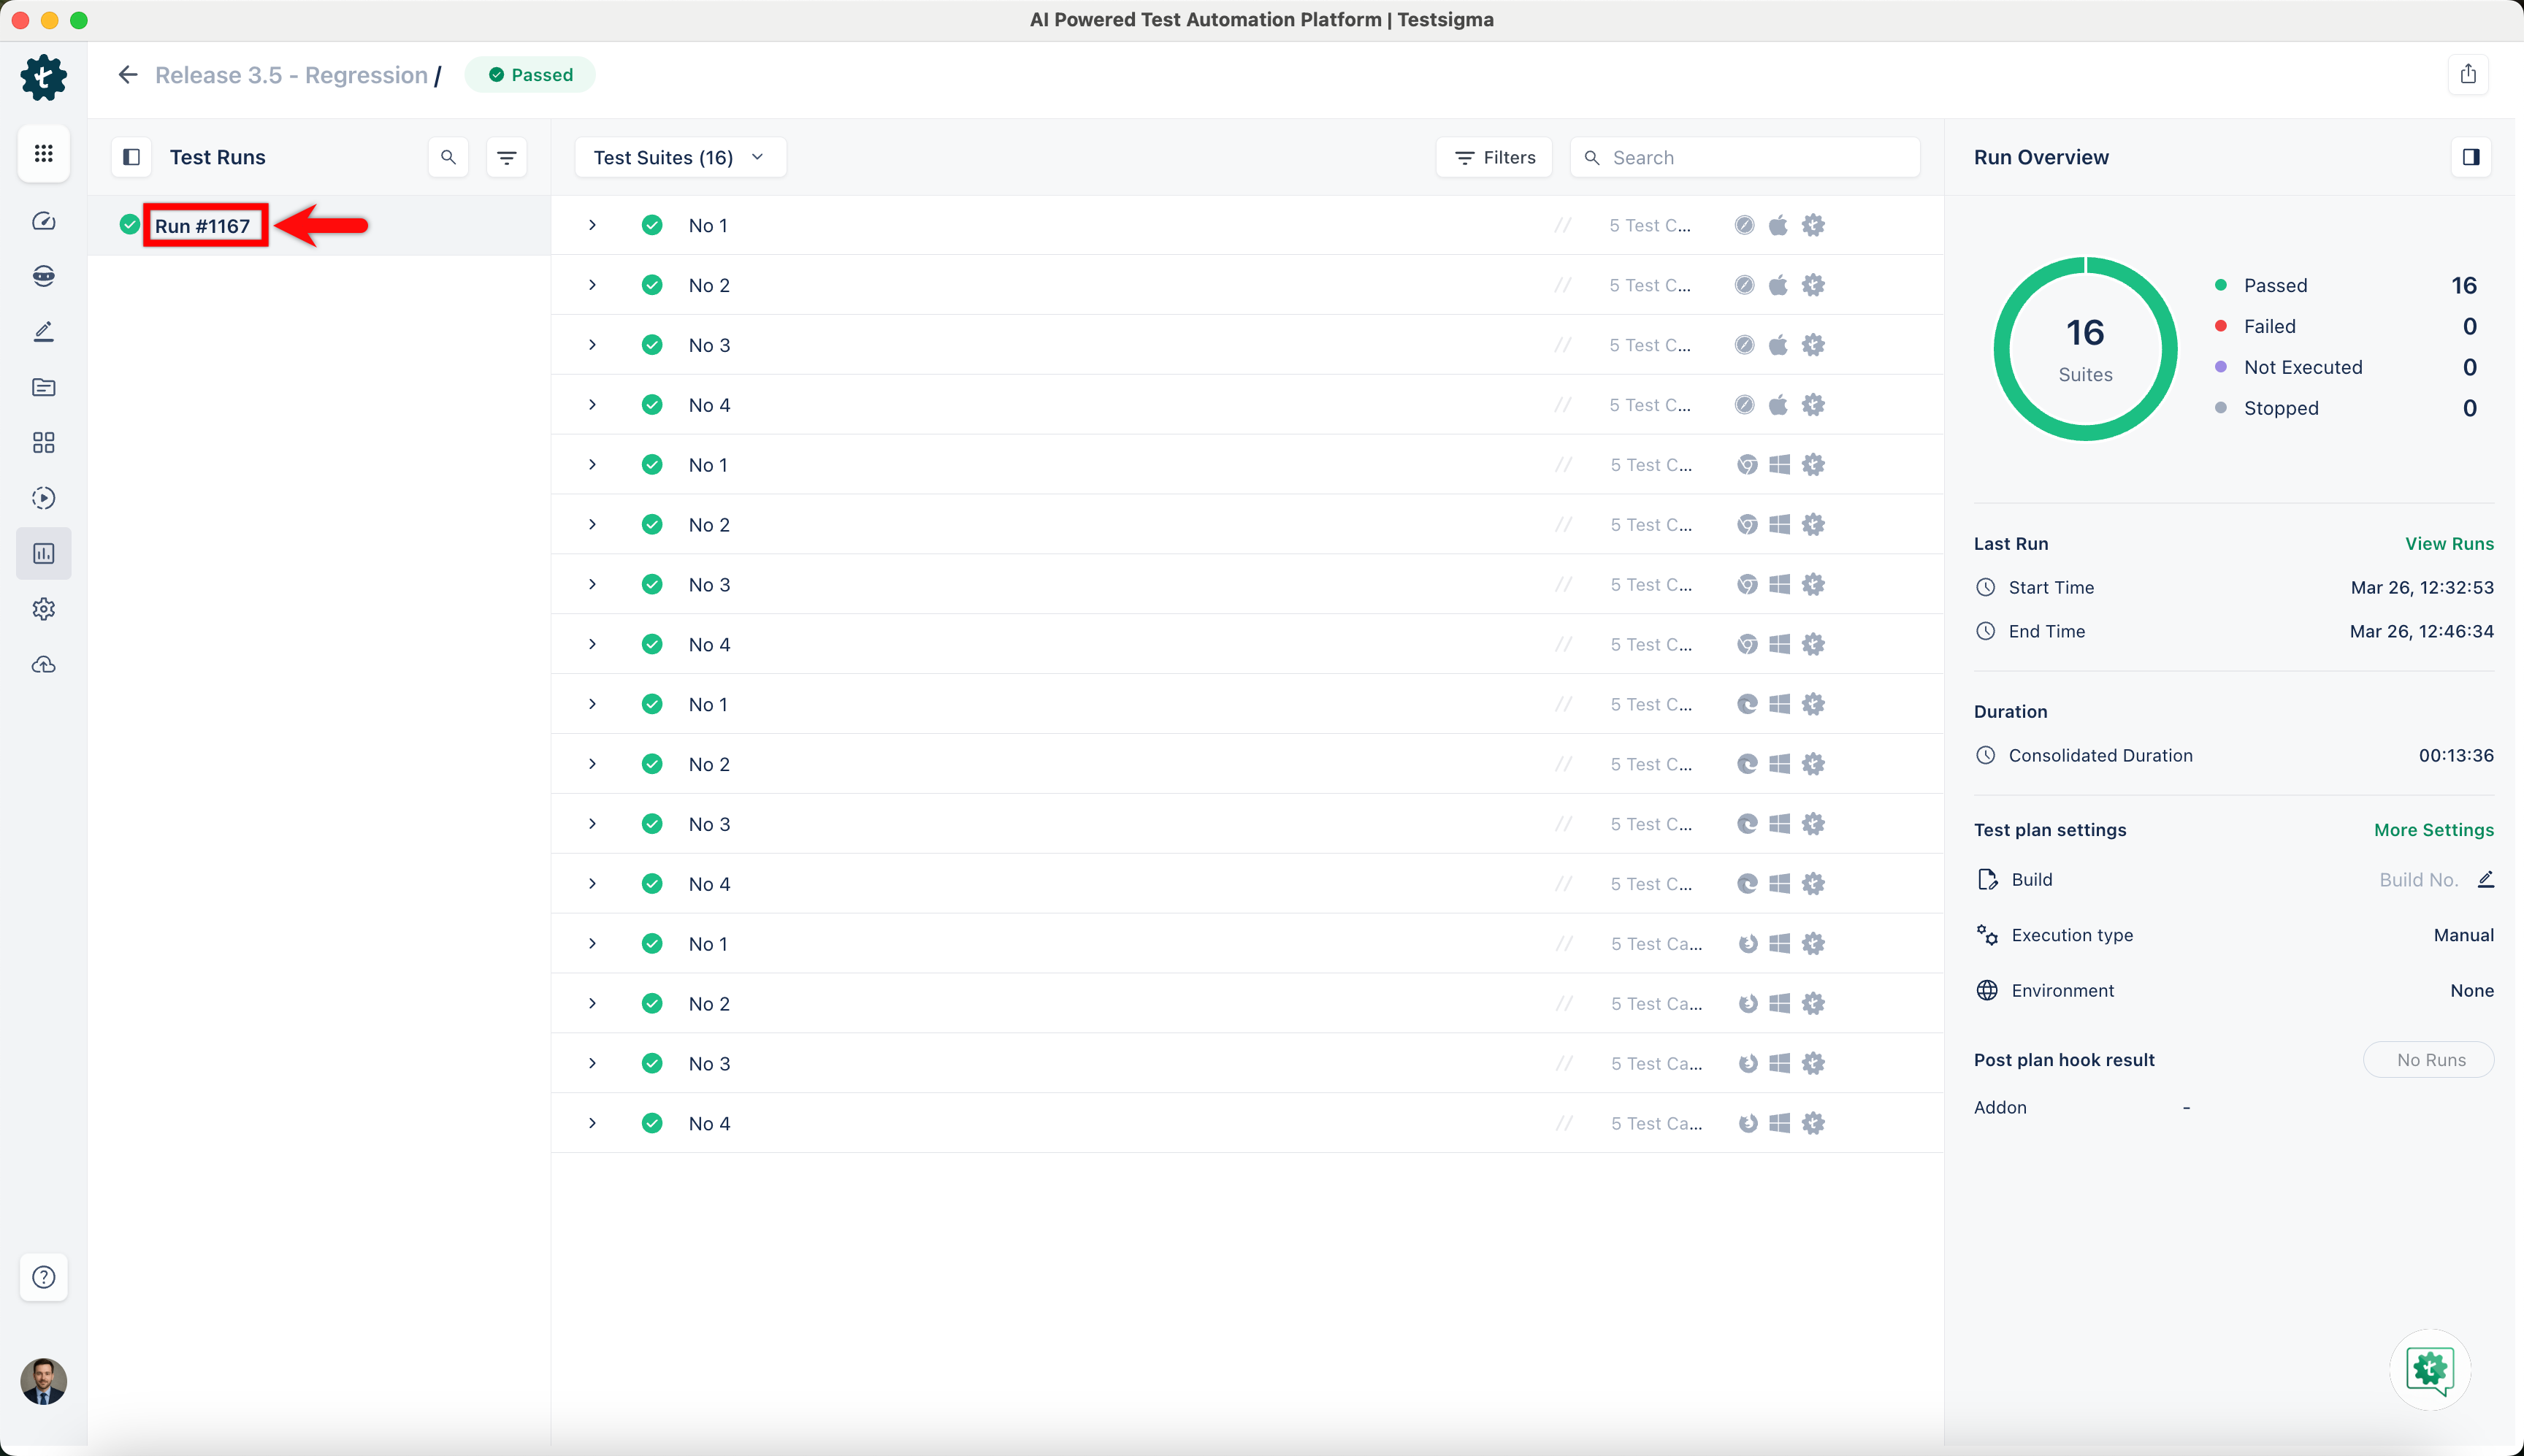
- Navigate to the Run Result from which you want to retrieve the Run ID.
- For test plan level reports, use the Run ID shown on the Run Result page (found in the Execution ID or the URL).
-
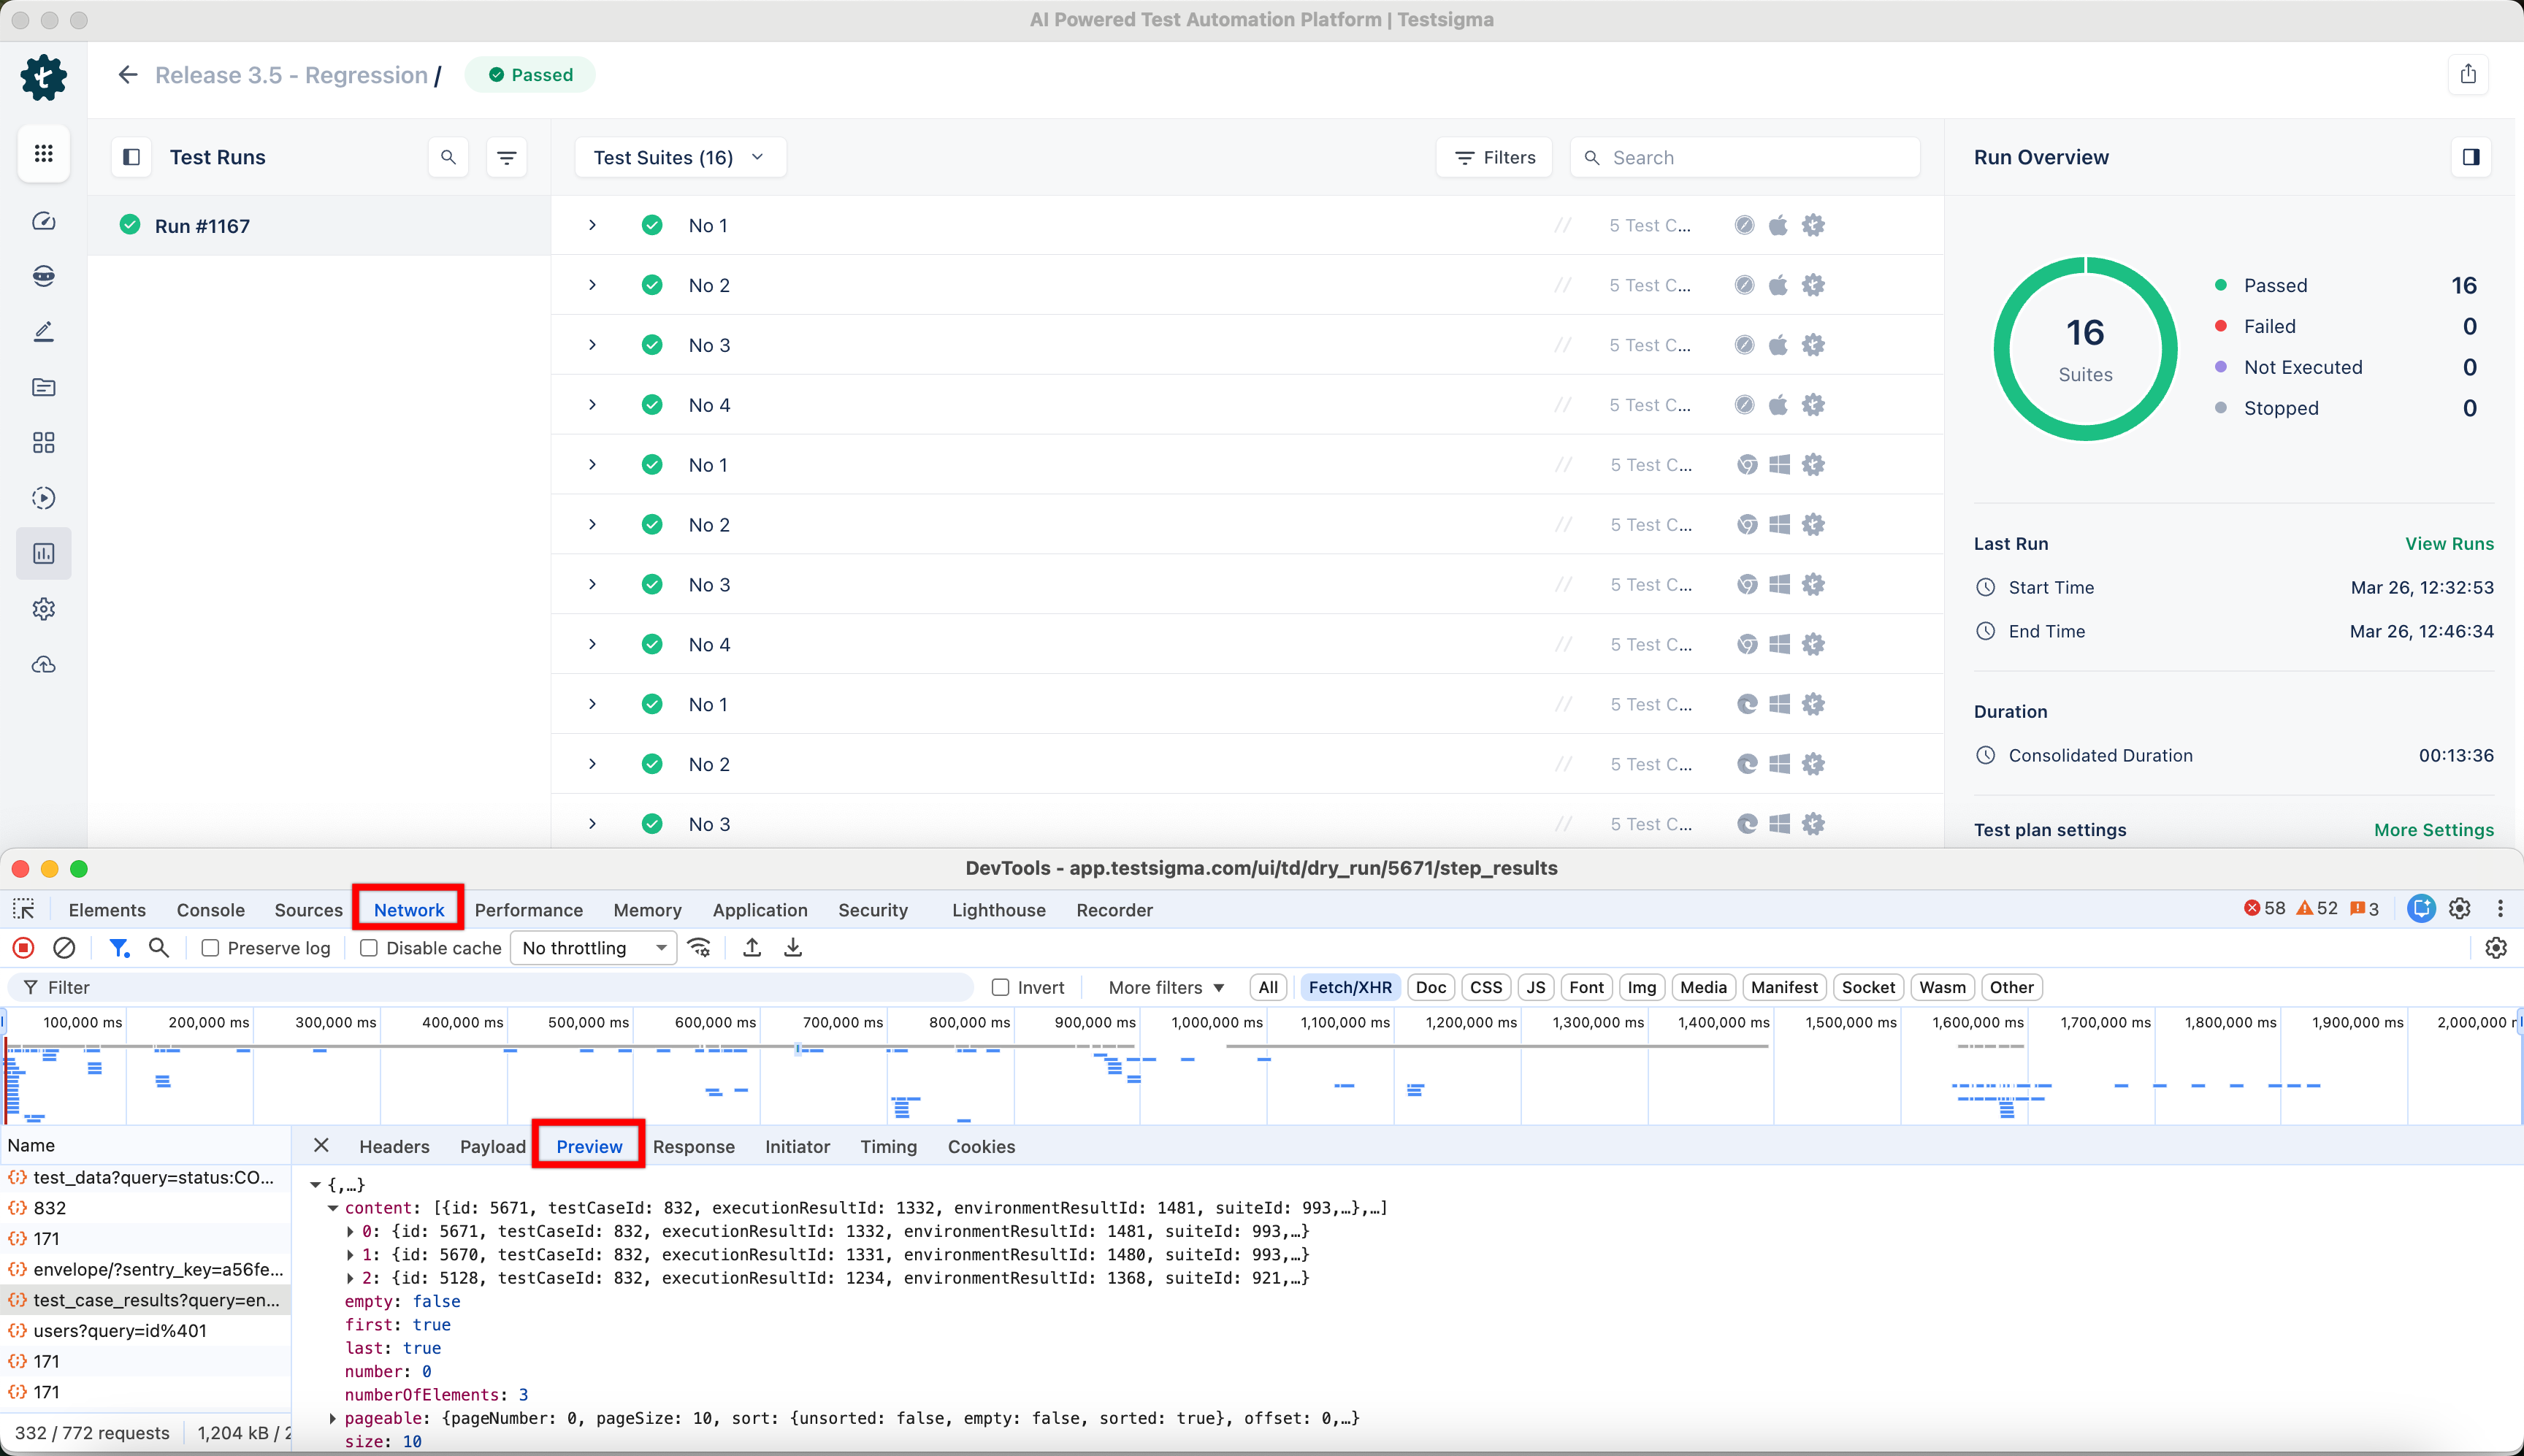
For Test Machine, Test Suite, or Test Case level reports:
- Right-click on the page and select Inspect to open Developer Tools.
- Go to the Network tab.
- In the Testsigma application, select the test case, suite, or test machine in the Run Result details page to get the response.
- In the Developer Tools, under the Network tab, find the response results in the name section and click Preview.
- Expand the Content section and copy the required ID.
Executing the JAR File for Test Plans
Run the Custom Report Generator with the required inputs to create a PDF report. This step converts your HTML template into a PDF based on your preferences. To execute the JAR file, follow these steps:
- Open Terminal or Command Prompt and navigate to the folder containing the JAR file.
-
Run the following command,
-
For Mac
java -jar custom_pdf_generator-0.0.1-SNAPSHOT.jar \ --config.apiKey=YOUR-API-KEY \ --config.plan.runId=YOUR-PLAN-RUN-ID \ --config.template.location=/path/to/your/template.html \ --config.pdf.directory=/path/to/save/report.pdf -
For Windows
java -jar custom_pdf_generator-0.0.1-SNAPSHOT.jar --config.apiKey=<API-KEY> --config.plan.runId=97040 --config.template.location=/path/to/template.html --config.pdf.directory=/path/to/save/report.pdf
-
Replace the placeholders with your actual values:
- YOUR-API-KEY: Your API key for authentication with Testsigma.
- YOUR-PLAN-RUN-ID: The run ID of your test plan.
- /path/to/your/template.html: Path to your HTML template file.
- /path/to/save/report.pdf: Location where the generated PDF report will be saved.
Executing Custom PDF Report for Test Case, Test Suite, or Test Machine Level
Generate reports at the Test Case, Test Suite, or Test Machine level by following these steps::
- Get the Run ID. Refer to the documentation on retrieving result IDs section.
- Use the following command, including your specific preferences:
java -jar custom_pdf_generator-0.0.1-SNAPSHOT.jar \
  --config.apiKey=YOUR-API-KEY \
  --config.plan.runId=YOUR-PLAN-RUN-ID \
  --config.id=YOUR-ID \
  --config.preference.resultLevel=YOUR-PREFERENCE-RESULT-LEVEL \
  --config.template.location=/path/to/your/template.html \
  --config.pdf.directory=/path/to/save/report.pdf
Replace the placeholders with your actual values:
- YOUR-API-KEY: Your API key for authentication with Testsigma.
- YOUR-PLAN-RUN-ID: The run ID of your test plan.
- YOUR-ID: The specific ID for Test Case, Test Suite, or Test Machine level reports.
- YOUR-PREFERENCE-RESULT-LEVEL: Specifies the detail level of the report (CASE, MACHINE, SUITE).
- /path/to/your/template.html: Path to your HTML template file.
- /path/to/save/report.pdf: Location where the generated PDF report will be saved.
Using Preferences to Generate Custom PDF Report
Customize your report content and structure using various preferences:
java -jar custom_pdf_generator-0.0.1-SNAPSHOT.jar \
  --config.apiKey=YOUR-API-KEY \
  --config.plan.runId=YOUR-PLAN-RUN-ID \
  --config.id=YOUR-ID \
  --config.preference.resultLevel=YOUR-PREFERENCE-RESULT-LEVEL \
  --config.preference.step=(YOUR-PREFERENCE-STEP) \
  --config.preference.screenshot=(YOUR-PREFERENCE-SCREENSHOT) \
  --config.preference.visualDifference=(YOUR-PREFERENCE-VISUAL-DIFFERENCE) \
  --config.preference.summaryFields=(YOUR-PREFERENCE-CASE-DETAILS-HEADERS) \
  --config.template.location=/path/to/your/template.html \
  --config.pdf.directory=/path/to/save/report.pdf
Replace the placeholders with your actual values:
- YOUR-API-KEY: Your API key for authentication with Testsigma.
- YOUR-PLAN-RUN-ID: The run ID of your test plan.
- YOUR-ID: The specific ID for Test Case, Test Suite, or Test Machine level reports.
- YOUR-PREFERENCE-RESULT-LEVEL: Specifies the detail level of the report (CASE, MACHINE, SUITE).
-
YOUR-PREFERENCE-STEP:Defines the steps to include in the report. Possible values:
- PASSED: Only include passed steps.
- FAILED: Only include failed steps.
- EXECUTED: Only include executed steps.
- NOT_EXECUTED: Only include steps that were not executed.
- ALL: Include all steps.
- NONE: Exclude all steps.
-
YOUR-PREFERENCE-SCREENSHOT: Defines which screenshots to include. Possible values:
- PASSED: Only include screenshots for passed tests.
- FAILED: Only include screenshots for failed tests.
- ALL: Include all screenshots.
- NONE: Exclude all screenshots.
-
YOUR-PREFERENCE-VISUAL-DIFFERENCE: Defines which visual screenshots to include. Possible values:
- PASSED: Only include visual screenshots for passed tests.
- FAILED: Only include visual screenshots for failed tests.
- ALL: Include all visual screenshots.
- NONE: Exclude all visual screenshots.
-
YOUR-PREFERENCE-CASE-DETAILS-HEADERS: Specifies which headers to include in case details. Example values:
- testCaseName
- testSuiteName
- /path/to/your/template.html: Path to your HTML template file.
- /path/to/save/report.pdf: Location where the generated PDF report will be saved.
Preferences for Custom Report Generation
List of configurable preferences to tailor your PDF reports according to your needs.
| Preference | Description | Allowed Values | Input Type |
|---|---|---|---|
| config.preference.resultLevel | Defines the level of detail for the report | PLAN, MACHINE, SUITE, CASE | Single value |
| config.preference.step | Specifies which steps to include in the report | PASSED, FAILED, EXECUTED, NOT_EXECUTED, ALL, NONE | Single value |
| config.preference.screenshot | Indicates which screenshots to include | PASSED, FAILED, ALL, NONE | Single value |
| config.preference.visualDifference | Specifies which visual screenshots to include | PASSED, FAILED, ALL, NONE | Single value |
| config.preference.summaryFields | Fields to display in the report summary | name, executedBy, environment, testPlanName, testDeviceName, testSuiteName, result, buildNo, runId, screenshotCapturedFor, screenshotMode | Multi-value (comma-separated) |
| config.preference.caseListColumns | Columns to show in the test case list | ETF, testSuite, testMachine, assignee, reviewer | Multi-value (comma-separated) |
| config.preference.caseDetailsHeaders | Columns to show in case details headers | testCaseName, testSuiteName | Multi-value (comma-separated) |
| config.preference.stepListColumns | Columns to show in the step list | reasonForFailure, testDataDetails, duration, apiResponseUrl | Multi-value (comma-separated) |
Want to contribute or report missing content?