- salesforce testing
 Intro: Testsigma for Salesforce Testing
- Creating a Connected App
- Creating a Salesforce Project
- Test Salesforce Connection
- Creating Metadata Connections
- Adding User Connections
- Build Test Cases: Manual+Live
- Salesforce Element Repositories
- Intro: Testsigma Special NLPs
- SOQL as Test Step
- Query Builder for Salesforce Testing
- Automating Listview Table NLPs
- Error Handling On Metadata Refresh
Test Cases for Salesforce (Manual + Live)
With Testsigma, creating test cases for Salesforce is easy as we can leverage Metadata artifacts, smart NLPs, and the debugger to Automate Salesforce Testing. Metadata artifacts help auto-learn Salesforce components, smart NLPs simplify test scenario expression, and the debugger facilitates real-time test authoring. This article discusses creating test cases for Salesforce Automation and using the debugger for Live Test Authoring in Testsigma.
Prerequisites
Before you begin, ensure that you have referred to:
- Documentation on Salesforce Connected App.
- Documentation on Salesforce Metadata connected to Testsigma.
- Documentation on installing Testsigma Chrome Extension on your browser.
Steps to Create Test Cases for Salesforce
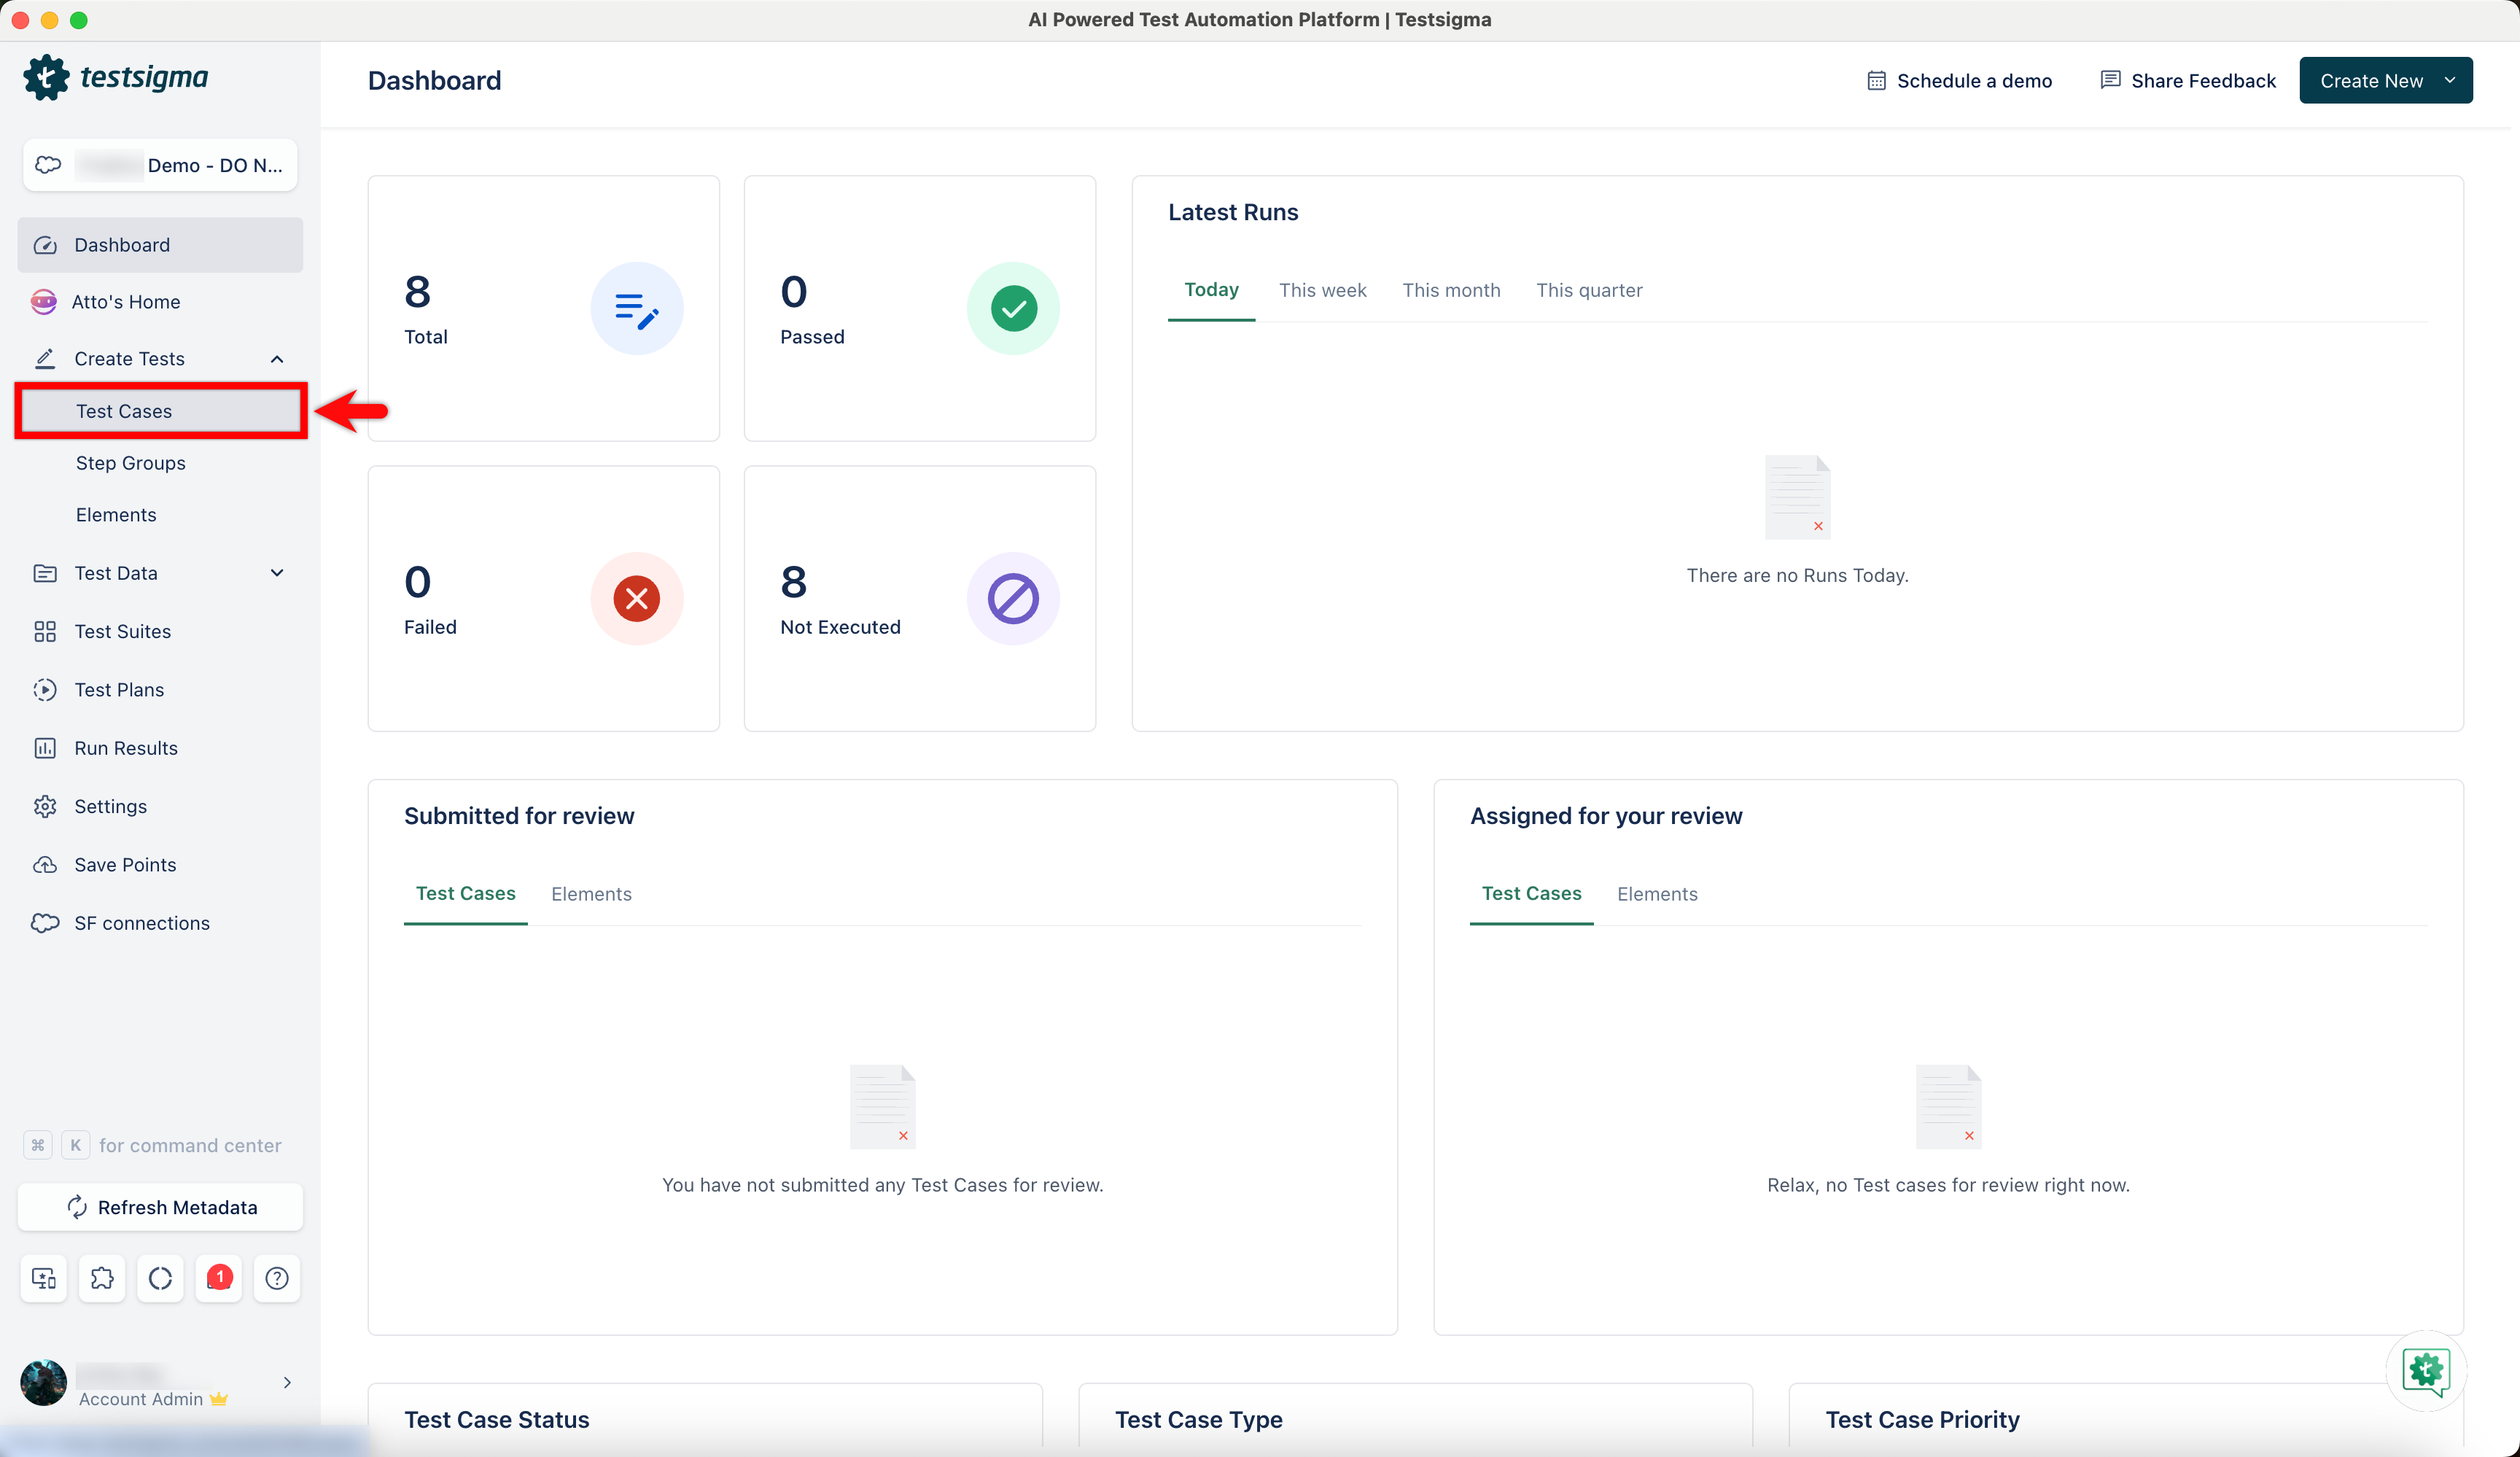
- Navigate to Create Tests > Test Cases and create a test case.
-
From the Test Case Details page, you can create the test steps for your test case using either of the following methods:
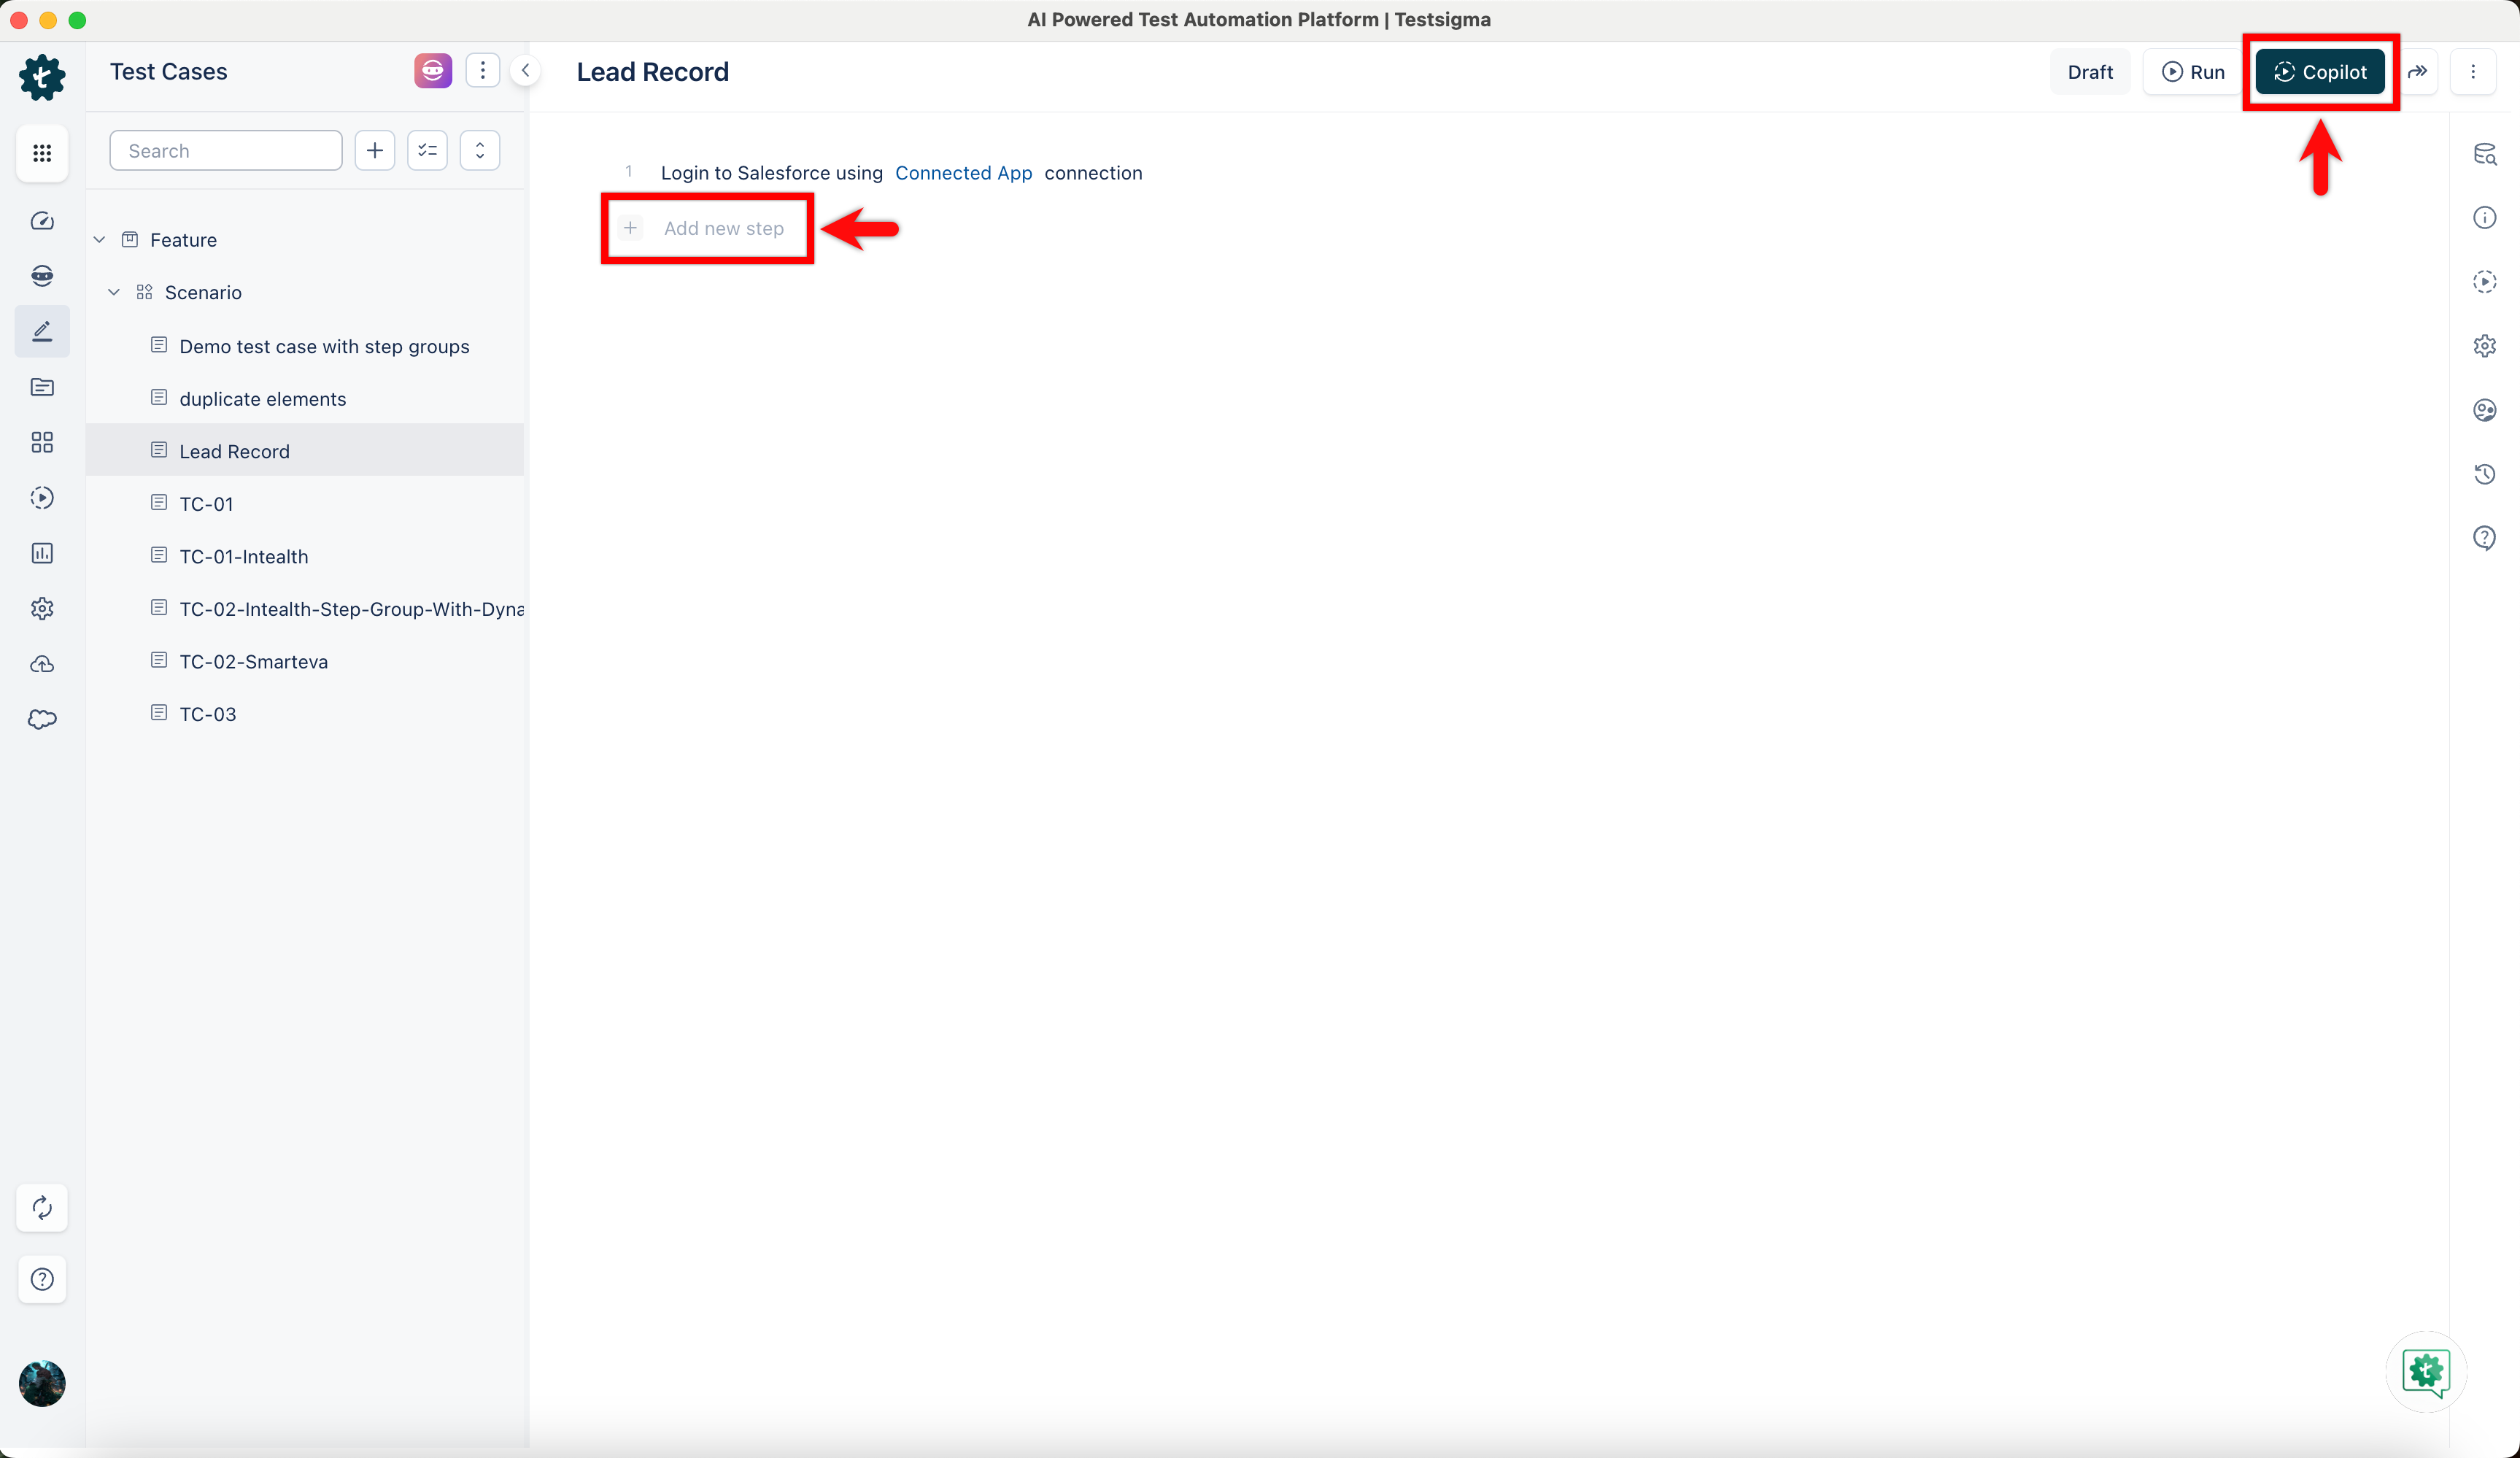
- Write test steps manually using Smart NLPs by clicking Add new step.
- Use Copilot to record steps.
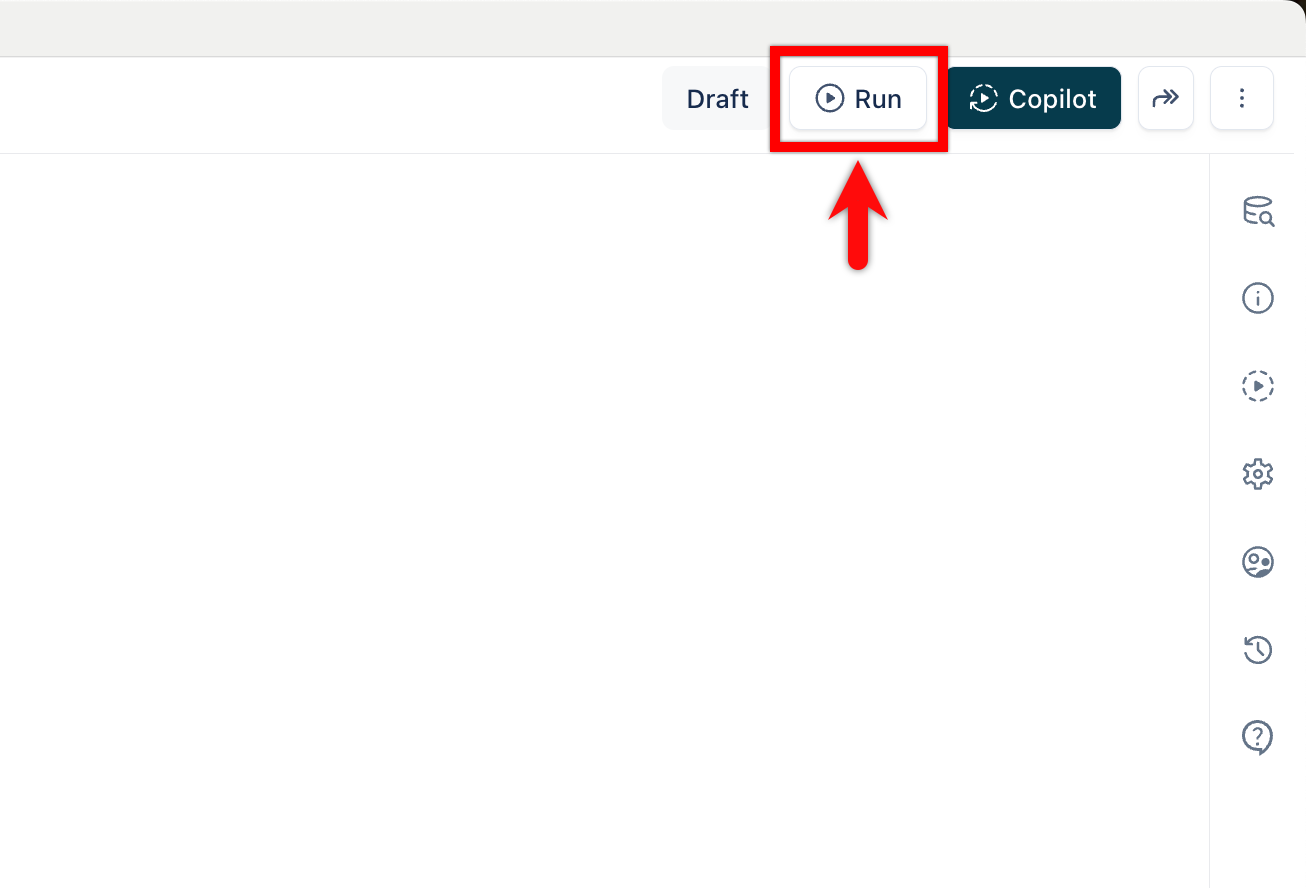
- Once the test steps are created, click on Run to execute the Test Case.
For advanced options, refer to the documentation on configuring test case advanced options.
Sample Test Case for Salesforce Automation
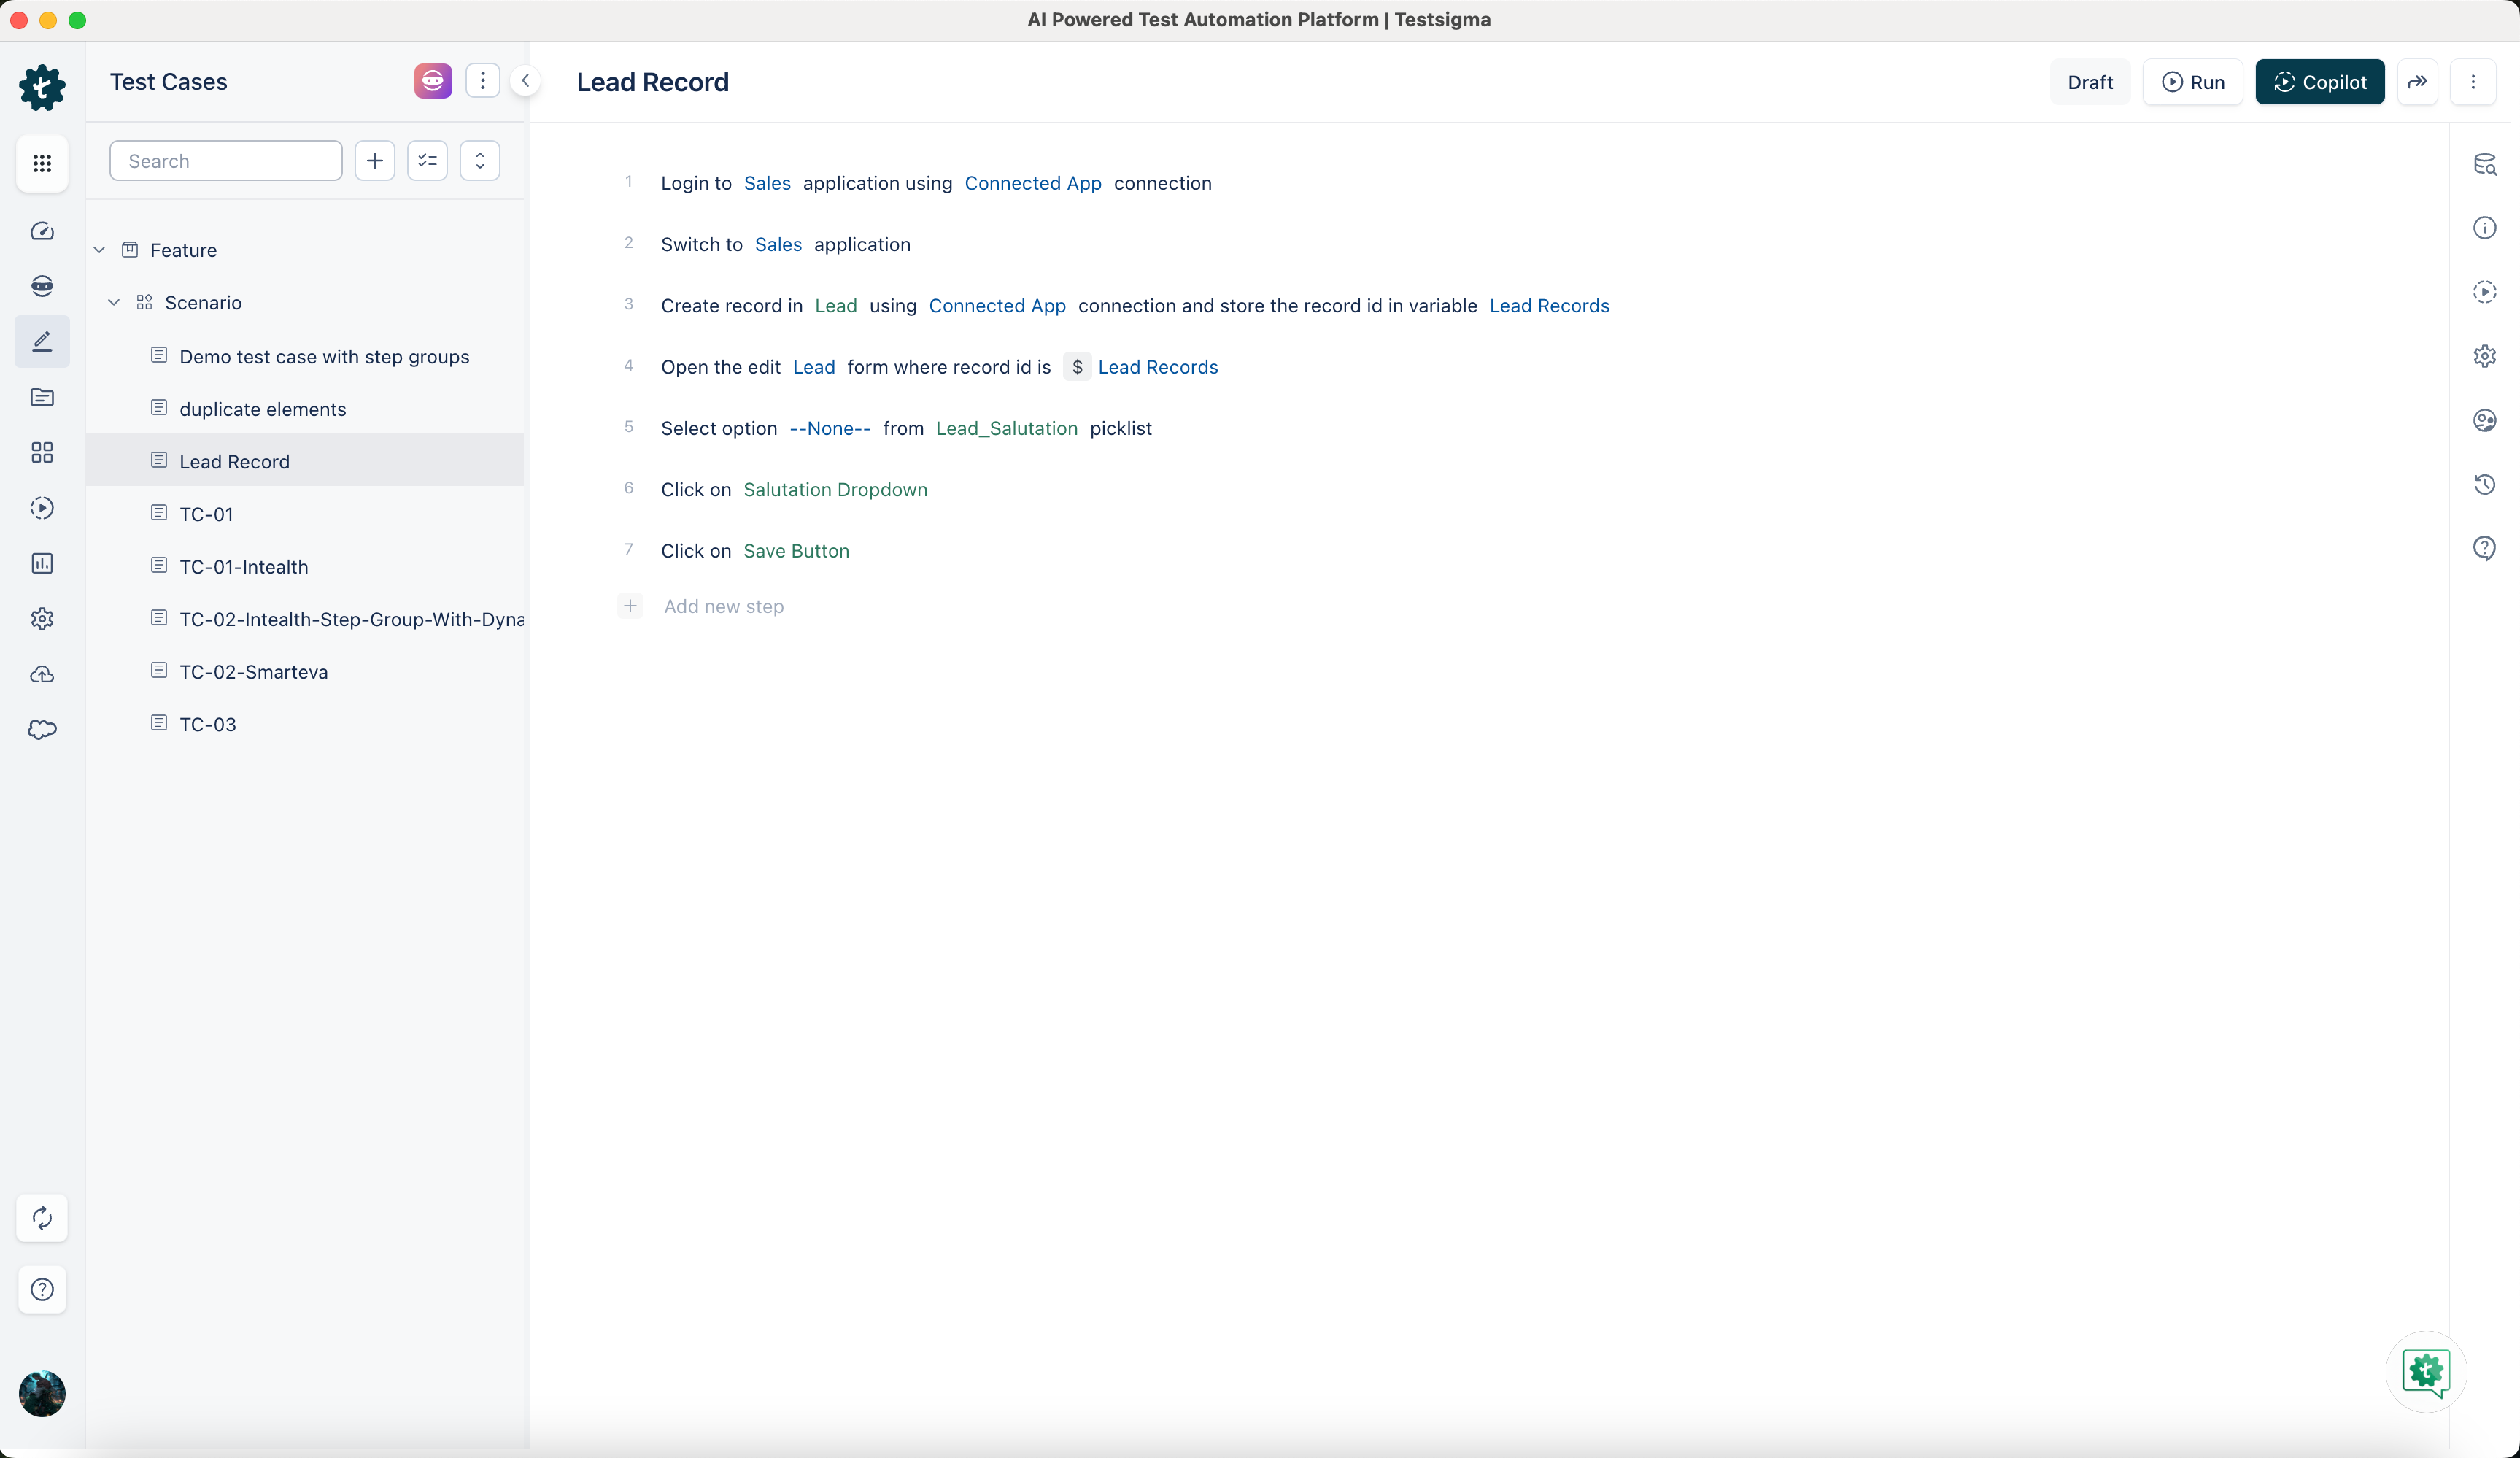
Let's say we have a scenario where we want to log in to Salesforce, navigate to the Sales tab, create a Lead record, and Edit the record form. Regular UI interactions require a lot of steps. However, with Testsigma's smart NLPs, we can automate the same flow in just four steps.
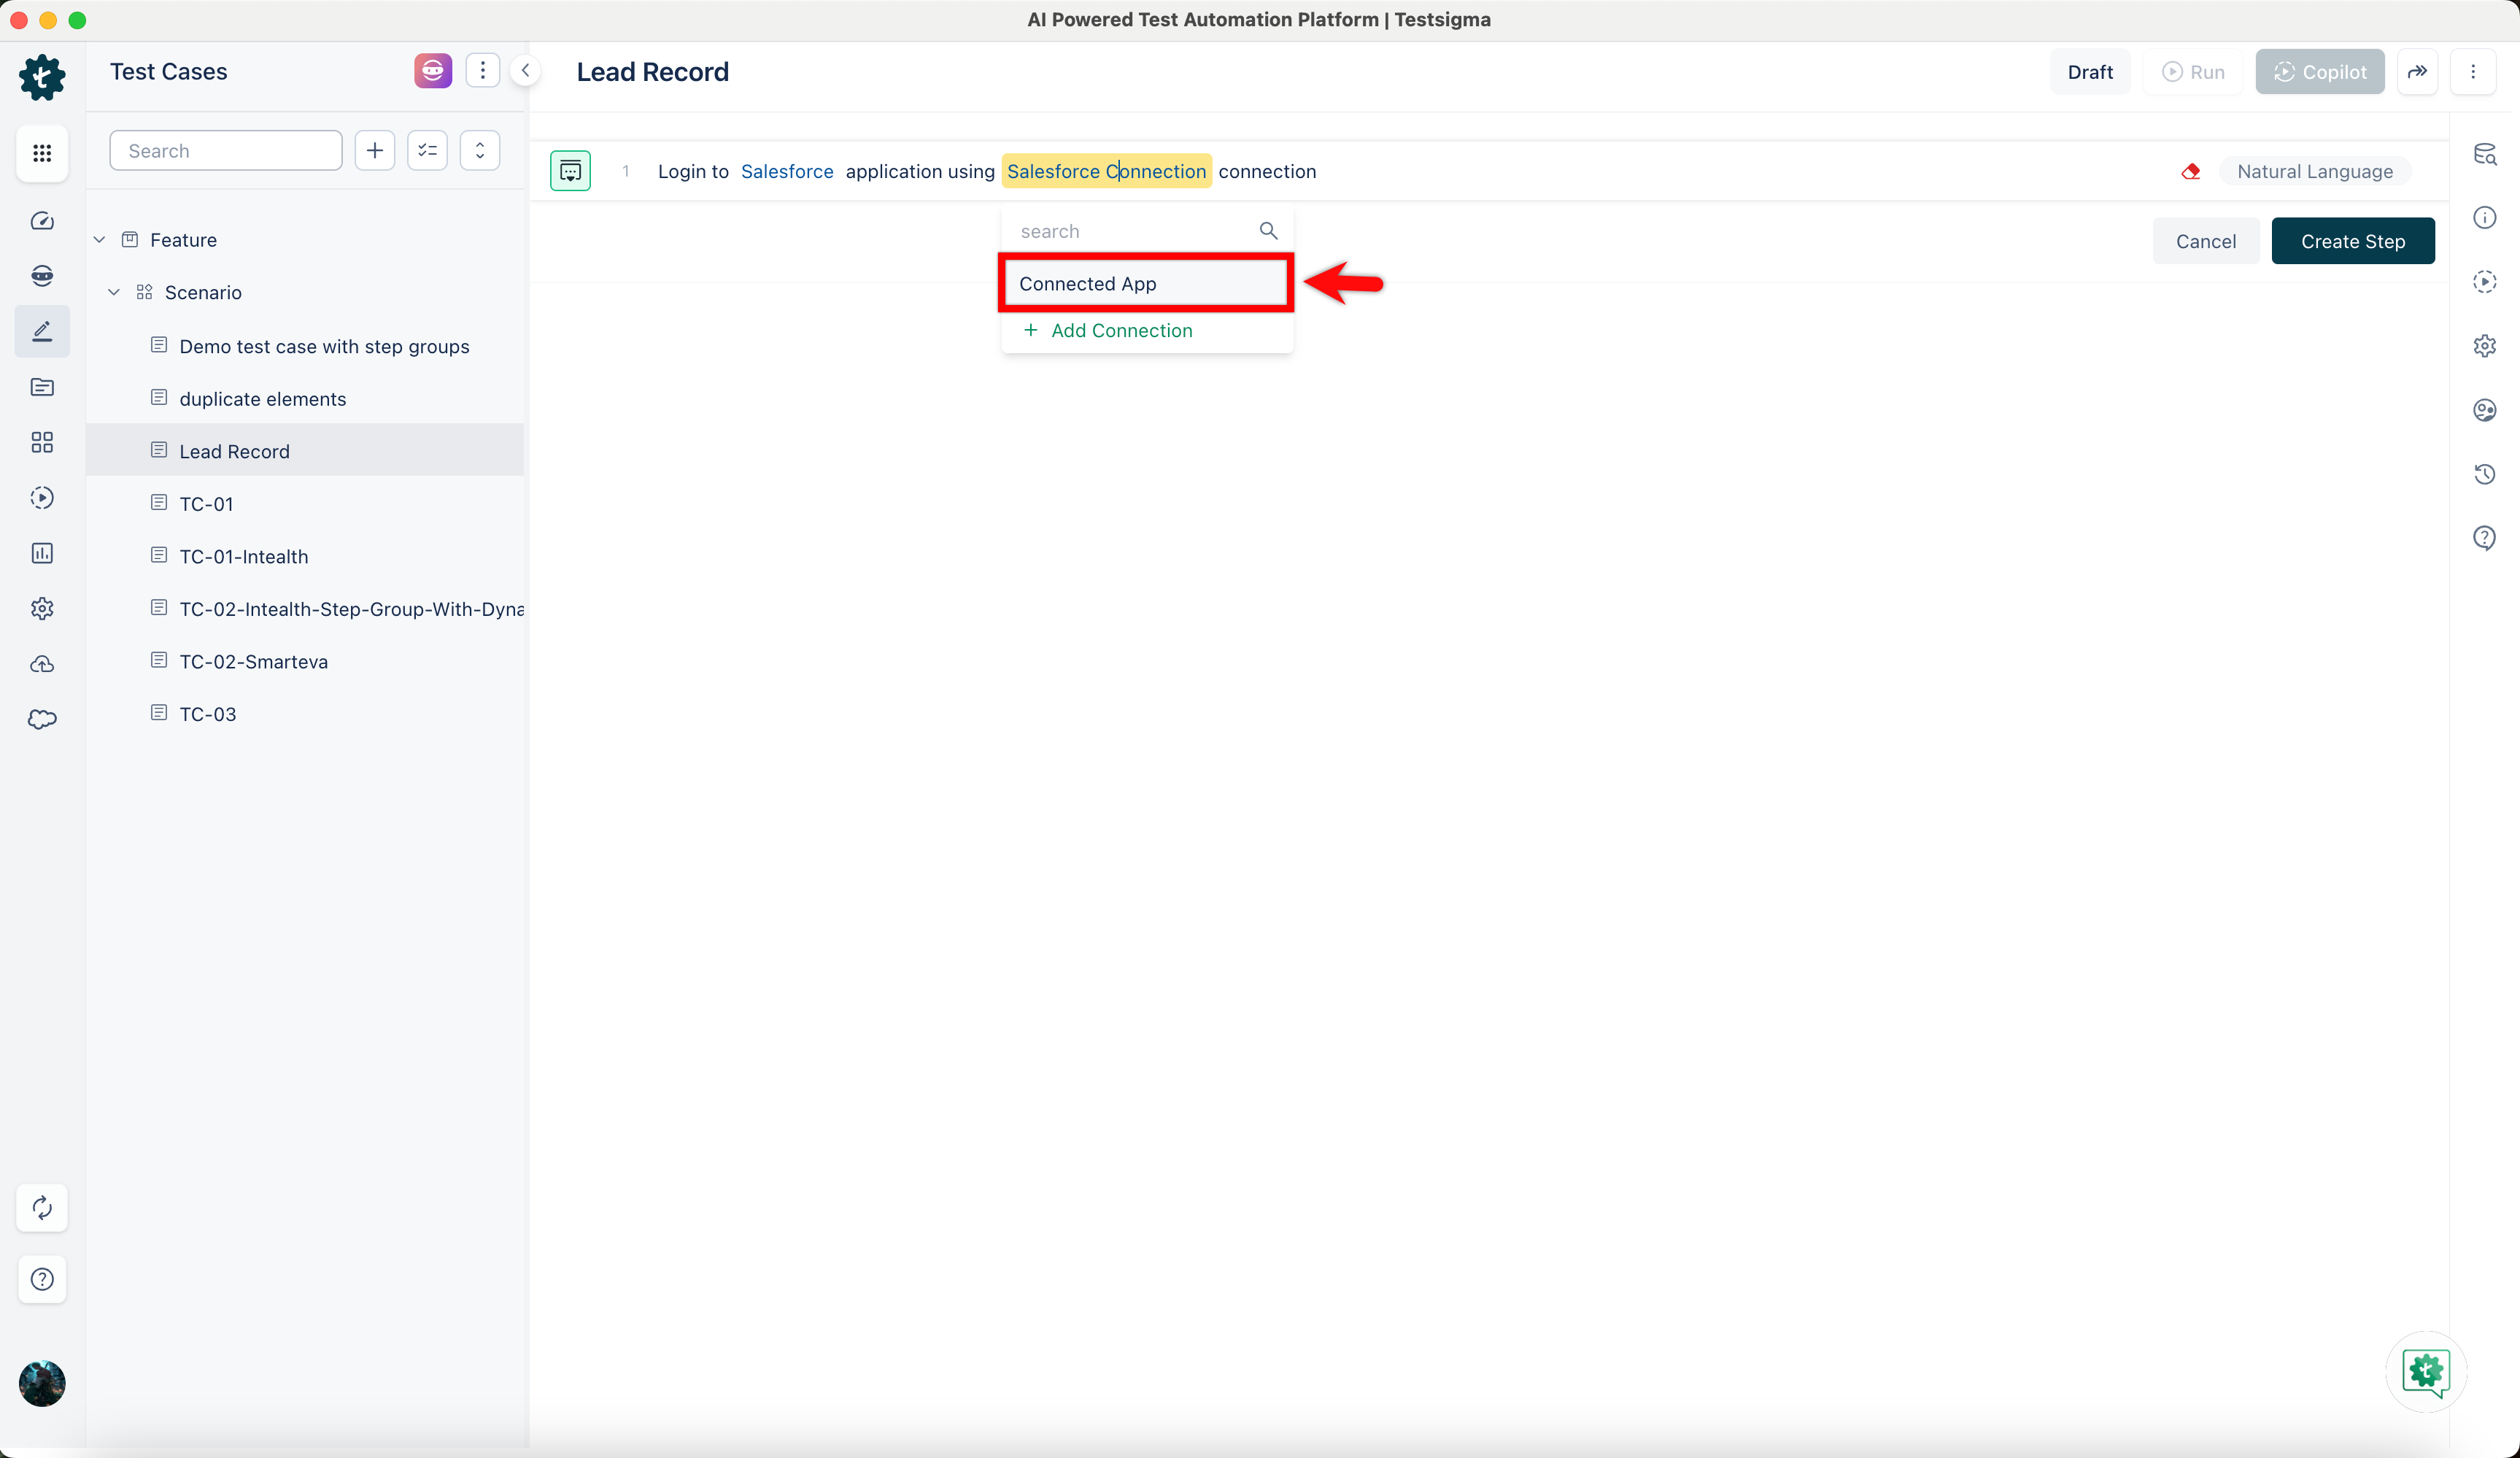
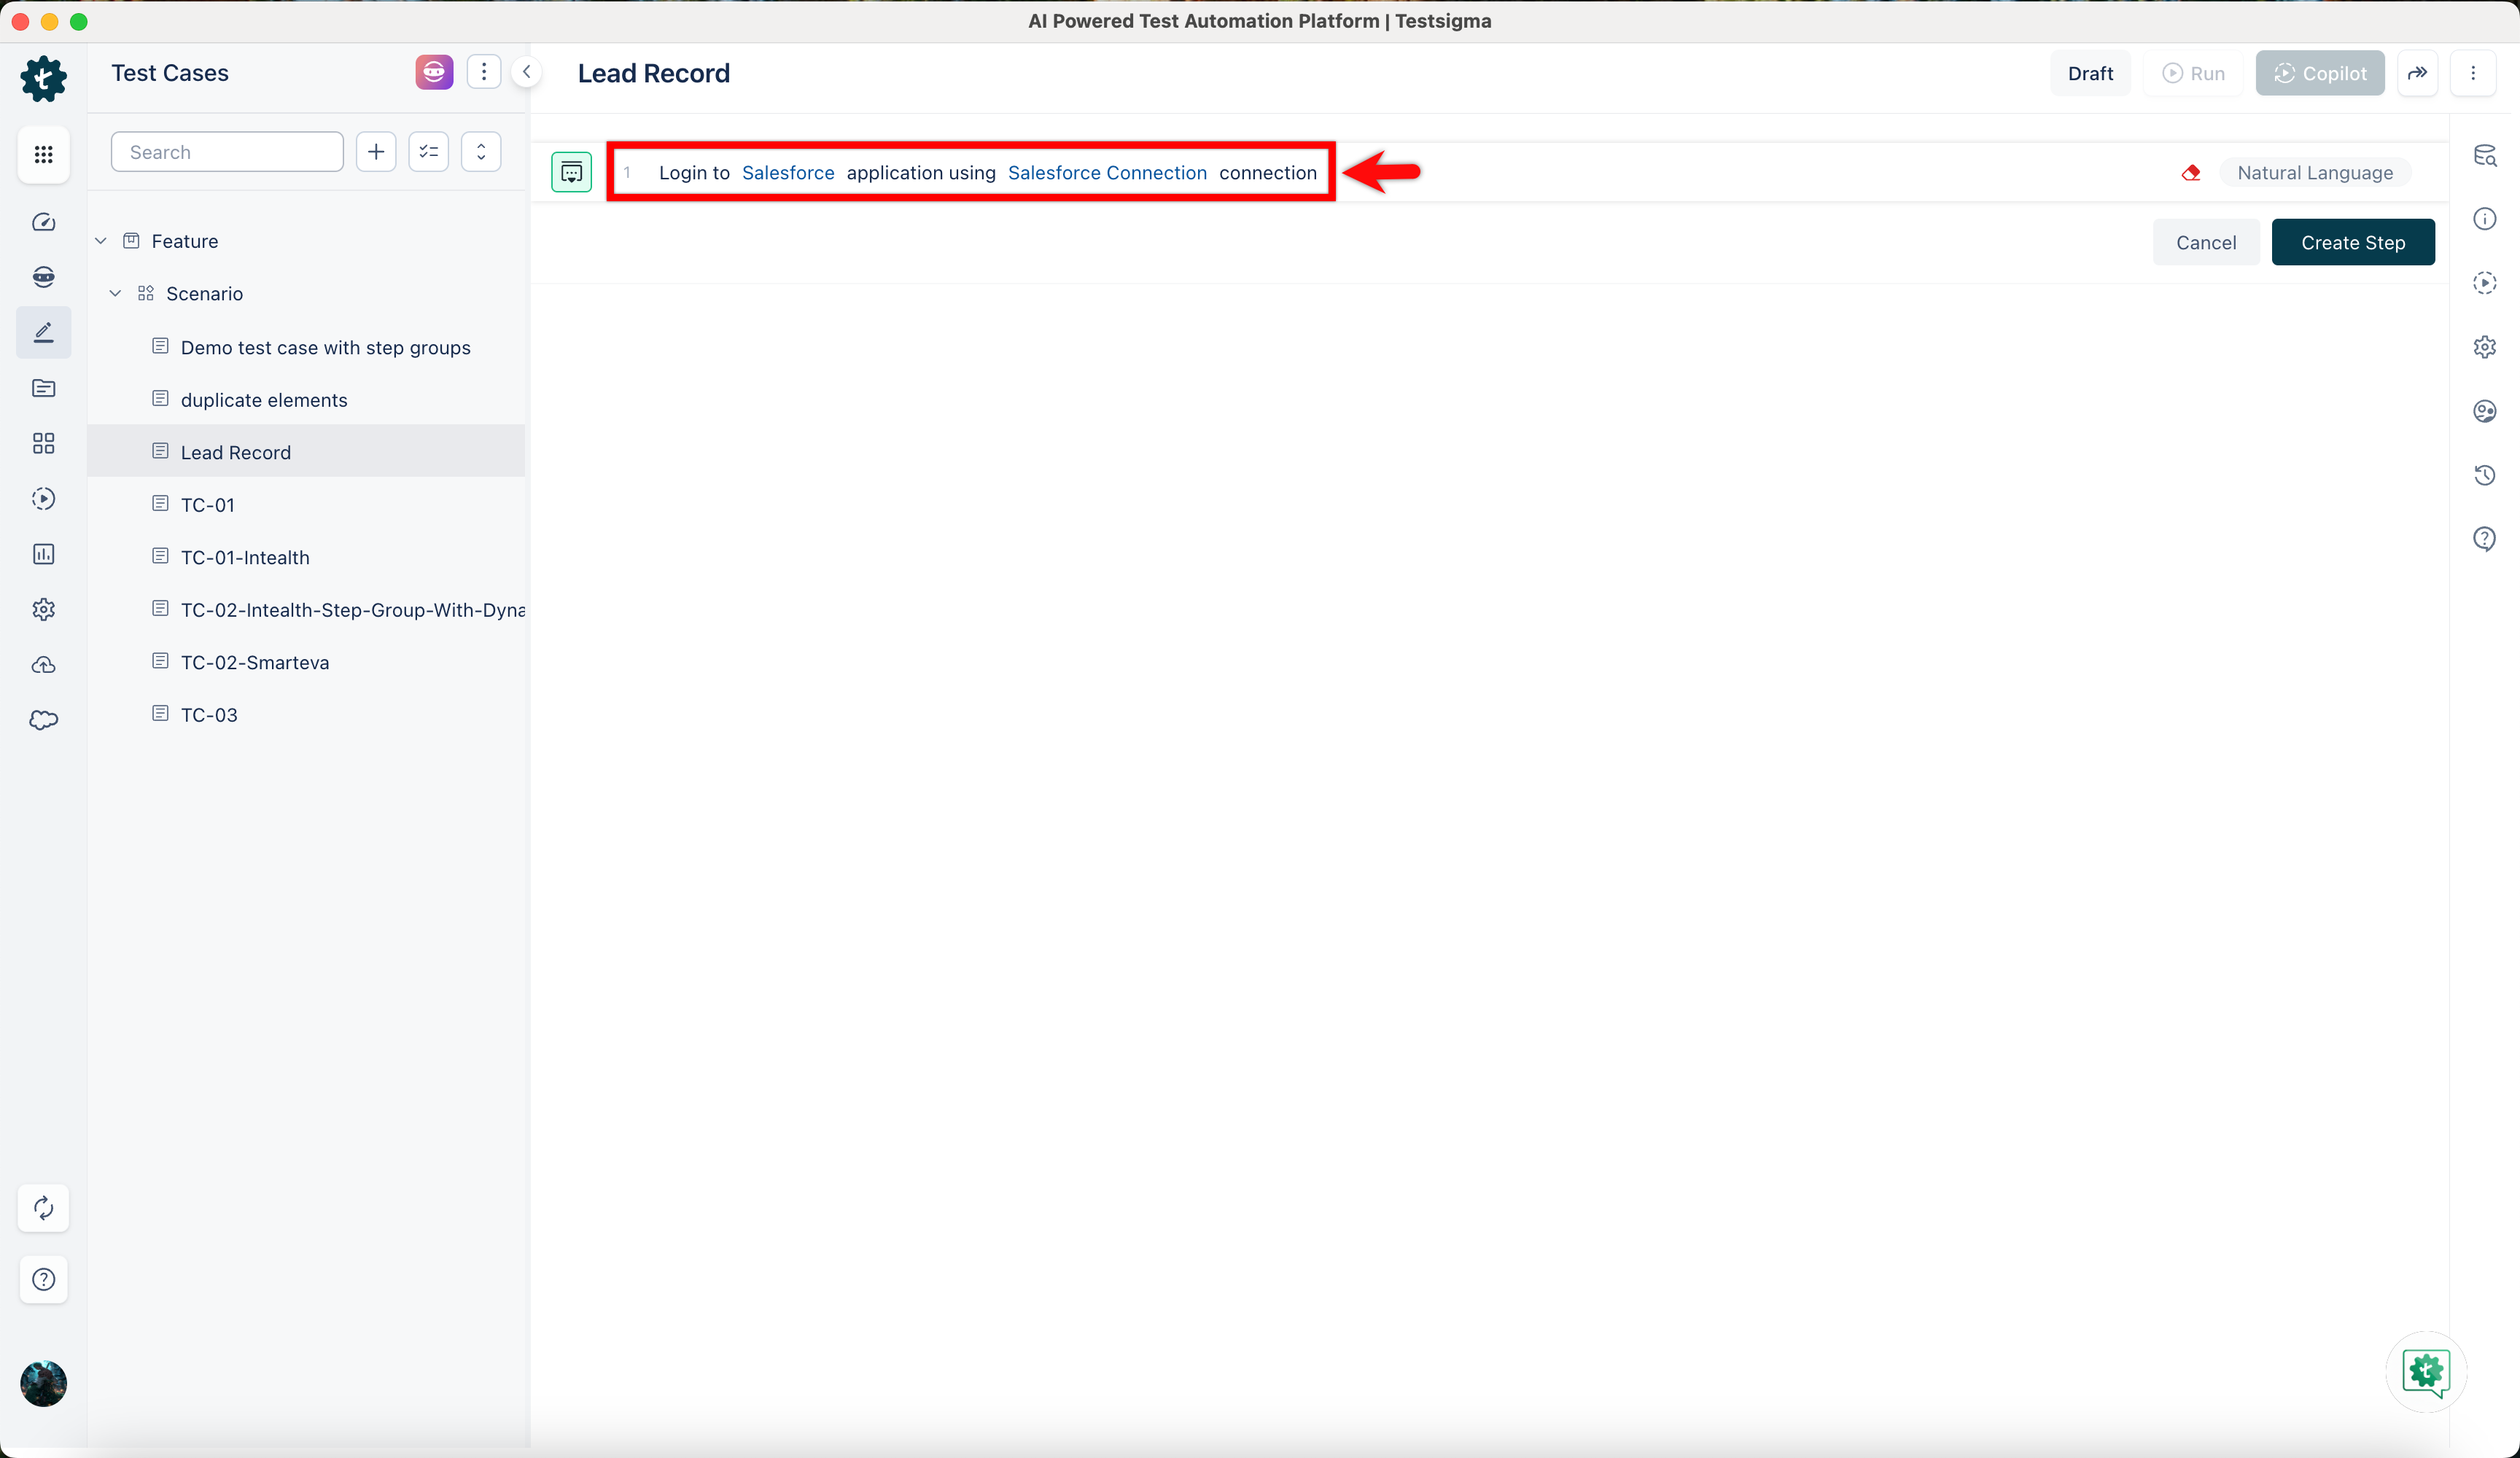
- Use the NLP, Login to Salesforce application using Salesforce Connection connection.
Here, we can choose a connection or create a connection by clicking on Add Connection.
- Use the NLP, Switch to Application and replace application from the dropdown.
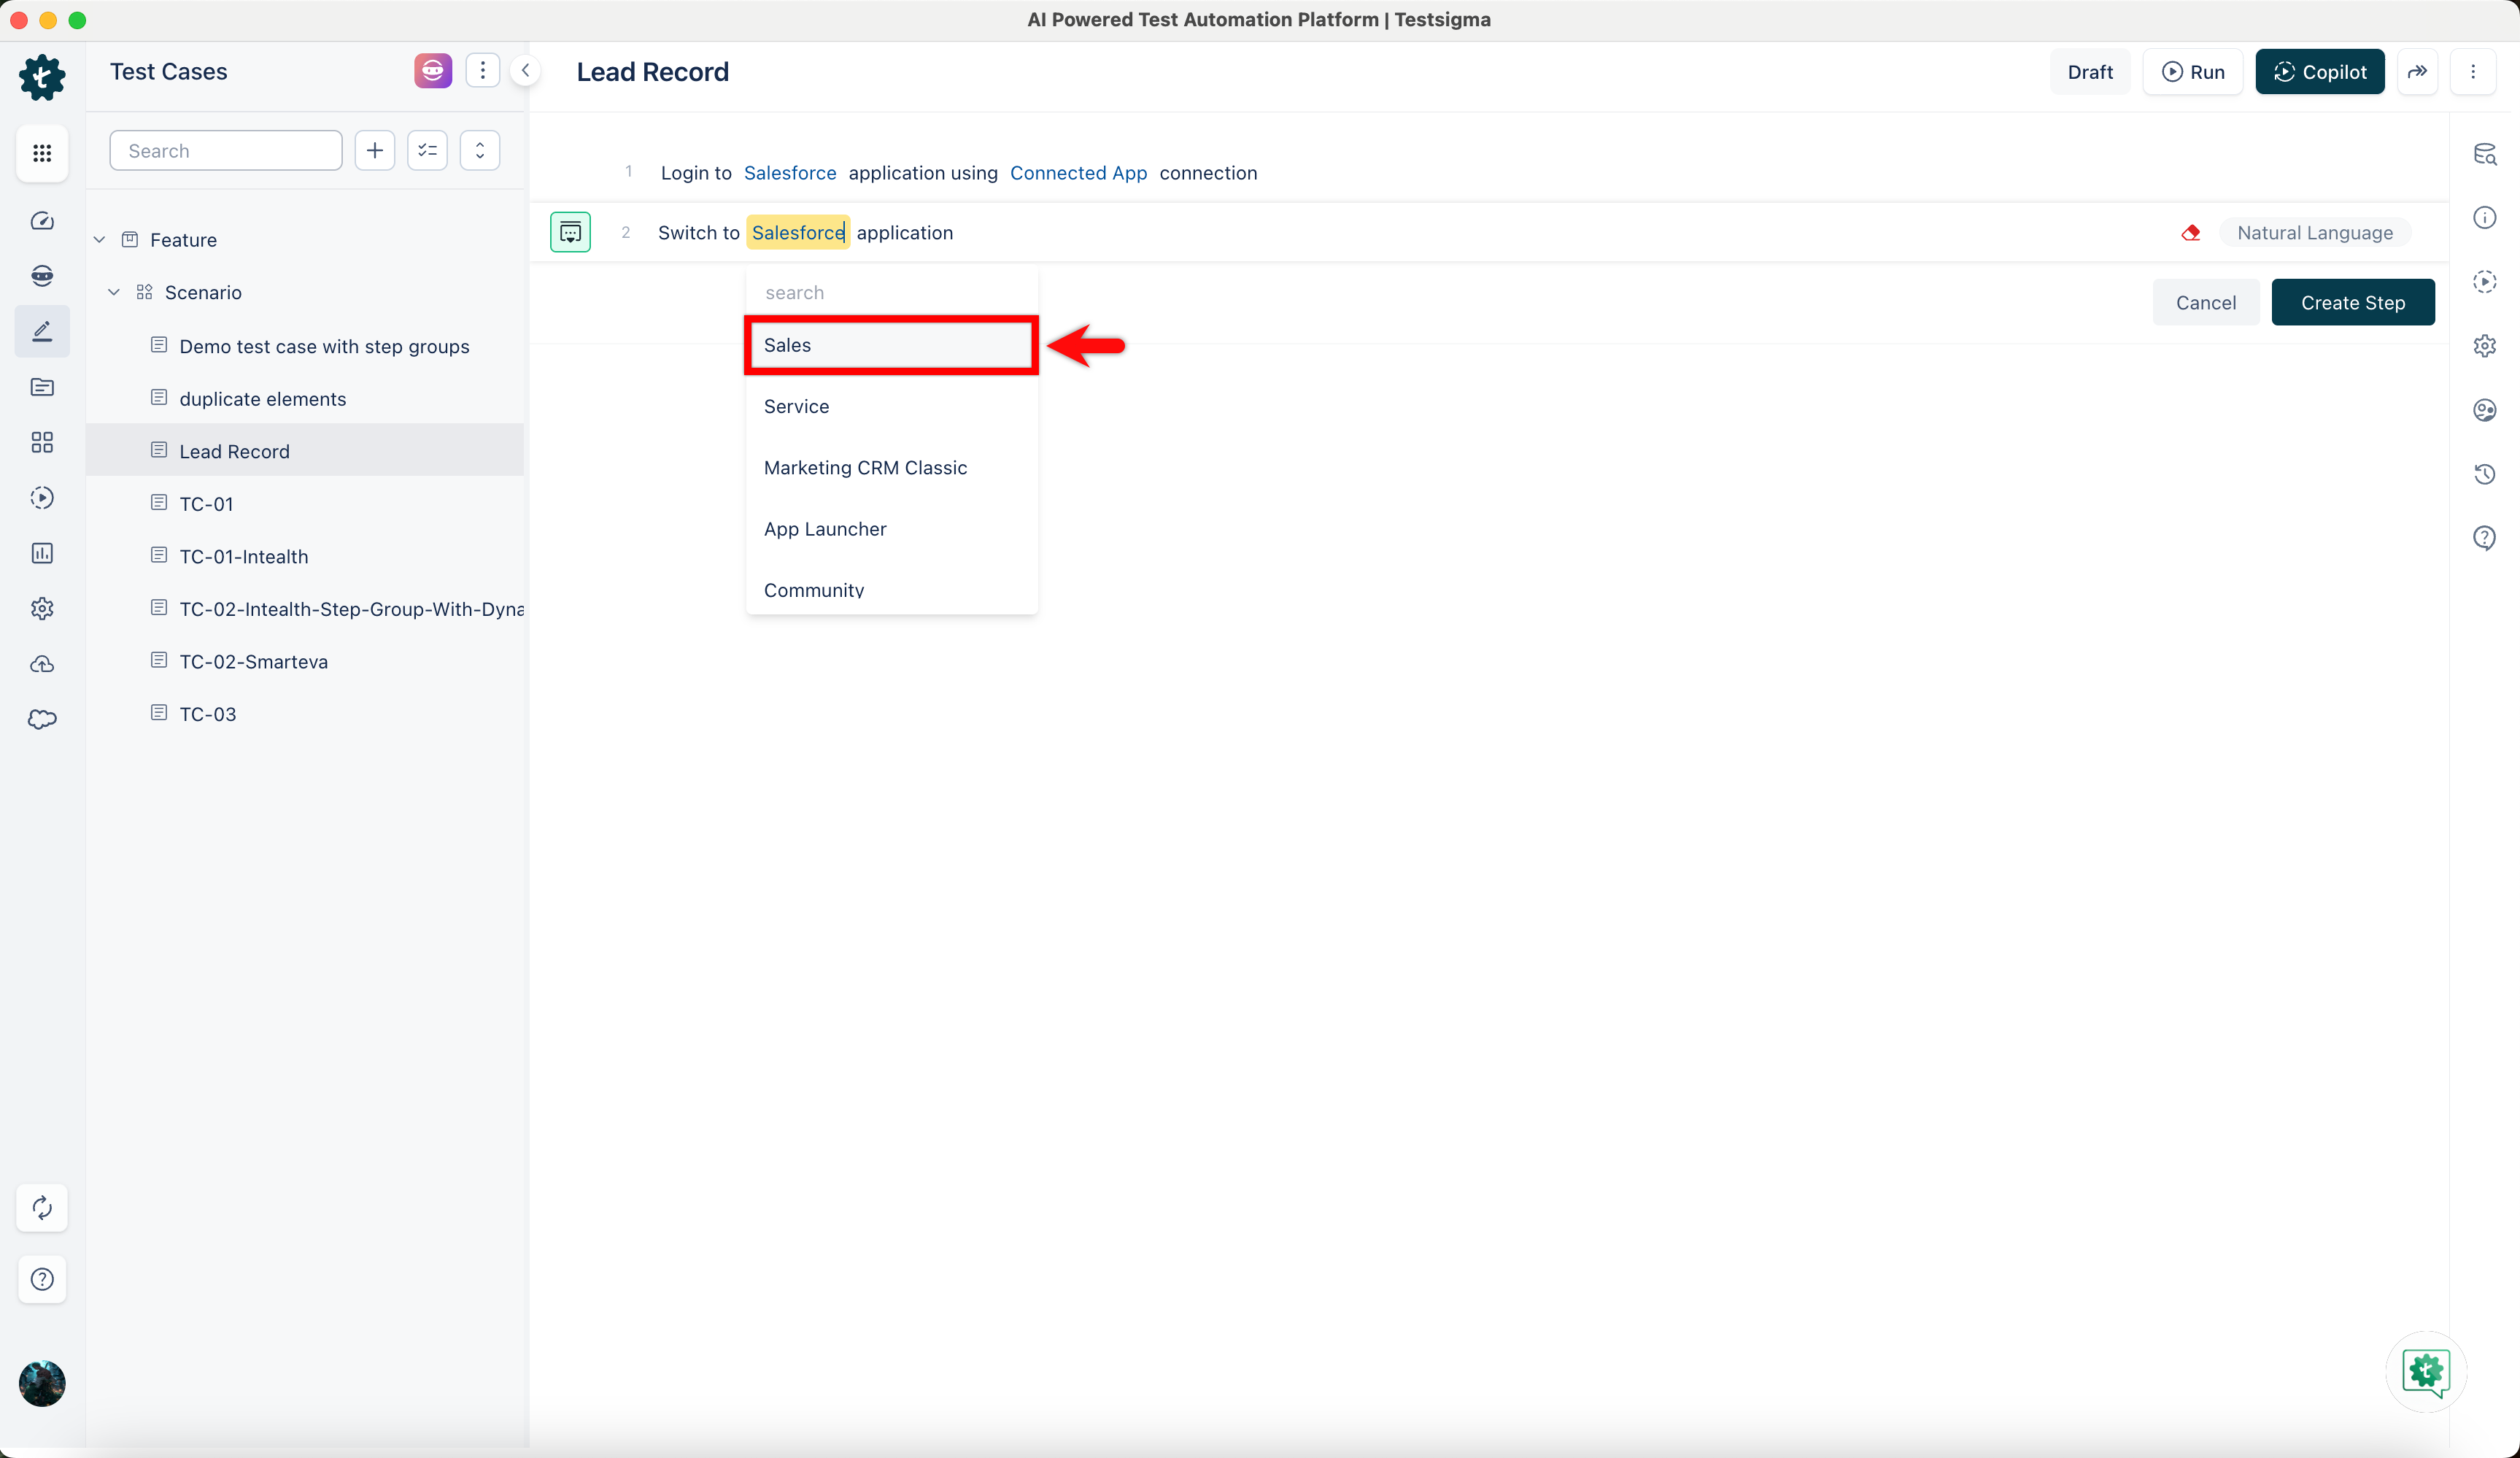
-
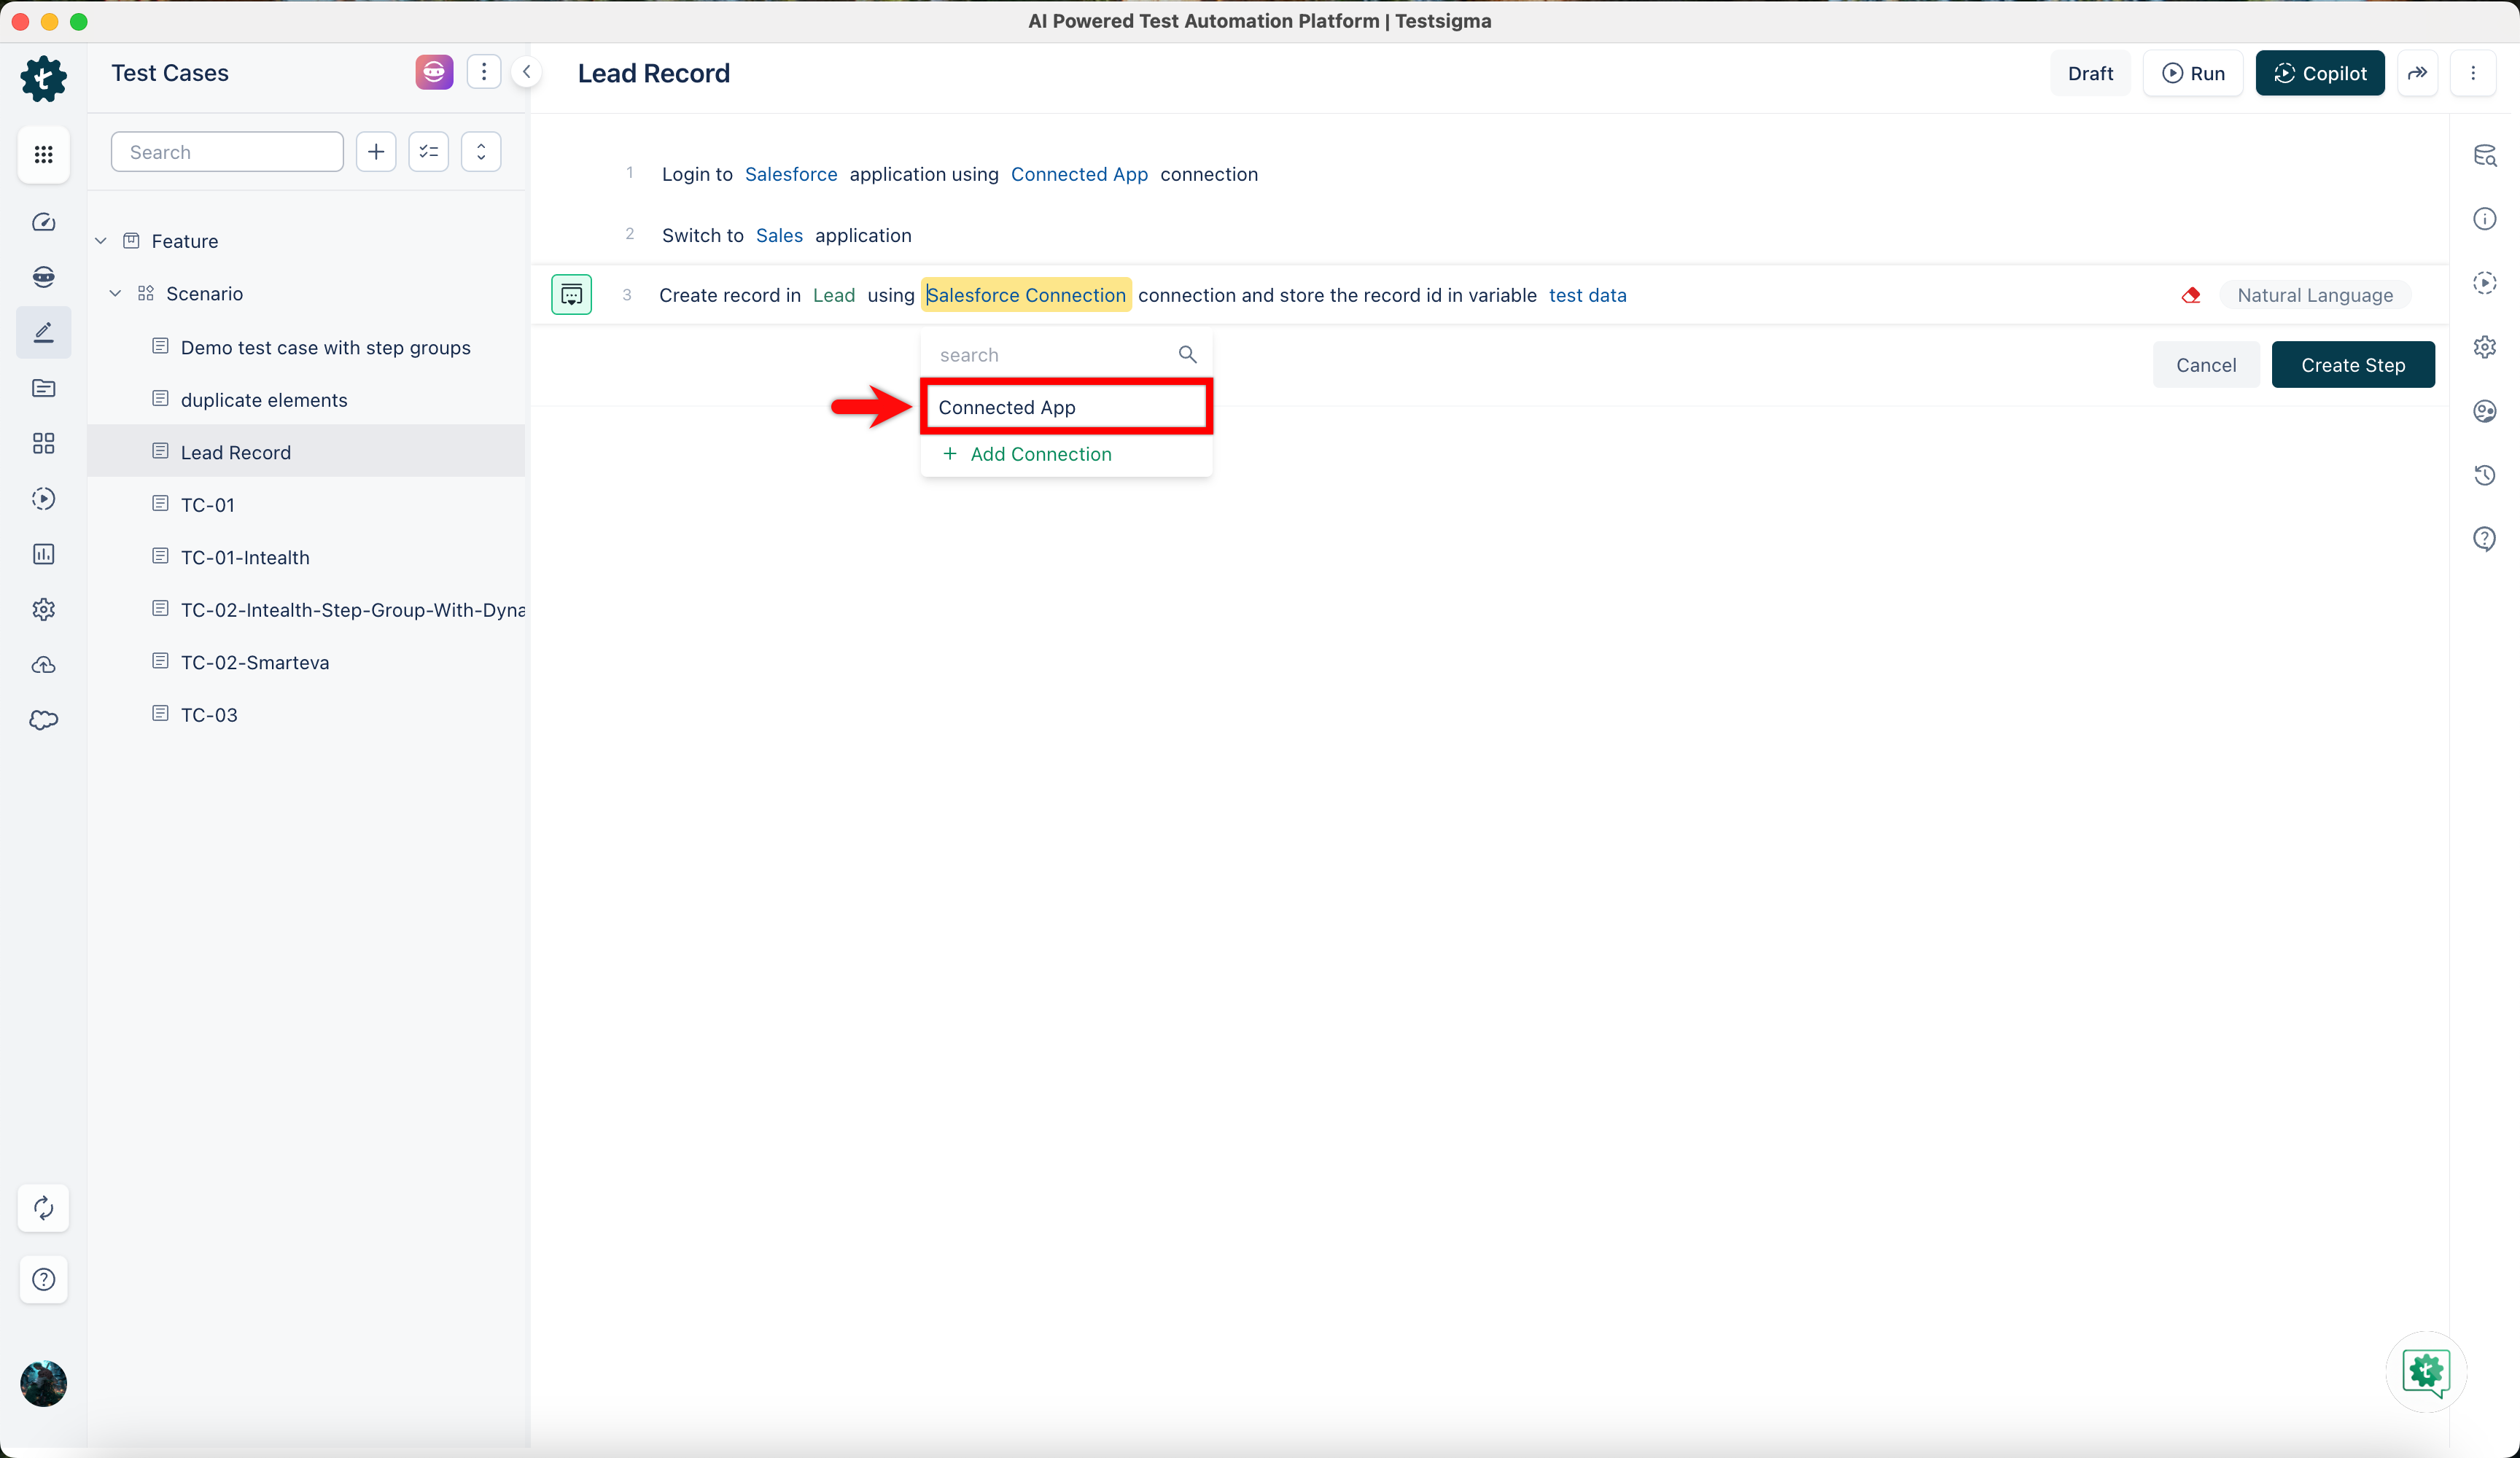
Use the NLP, Create record in Salesforce Object Form using Salesforce Connection and store the record id in variabel *test data. This is an API step.
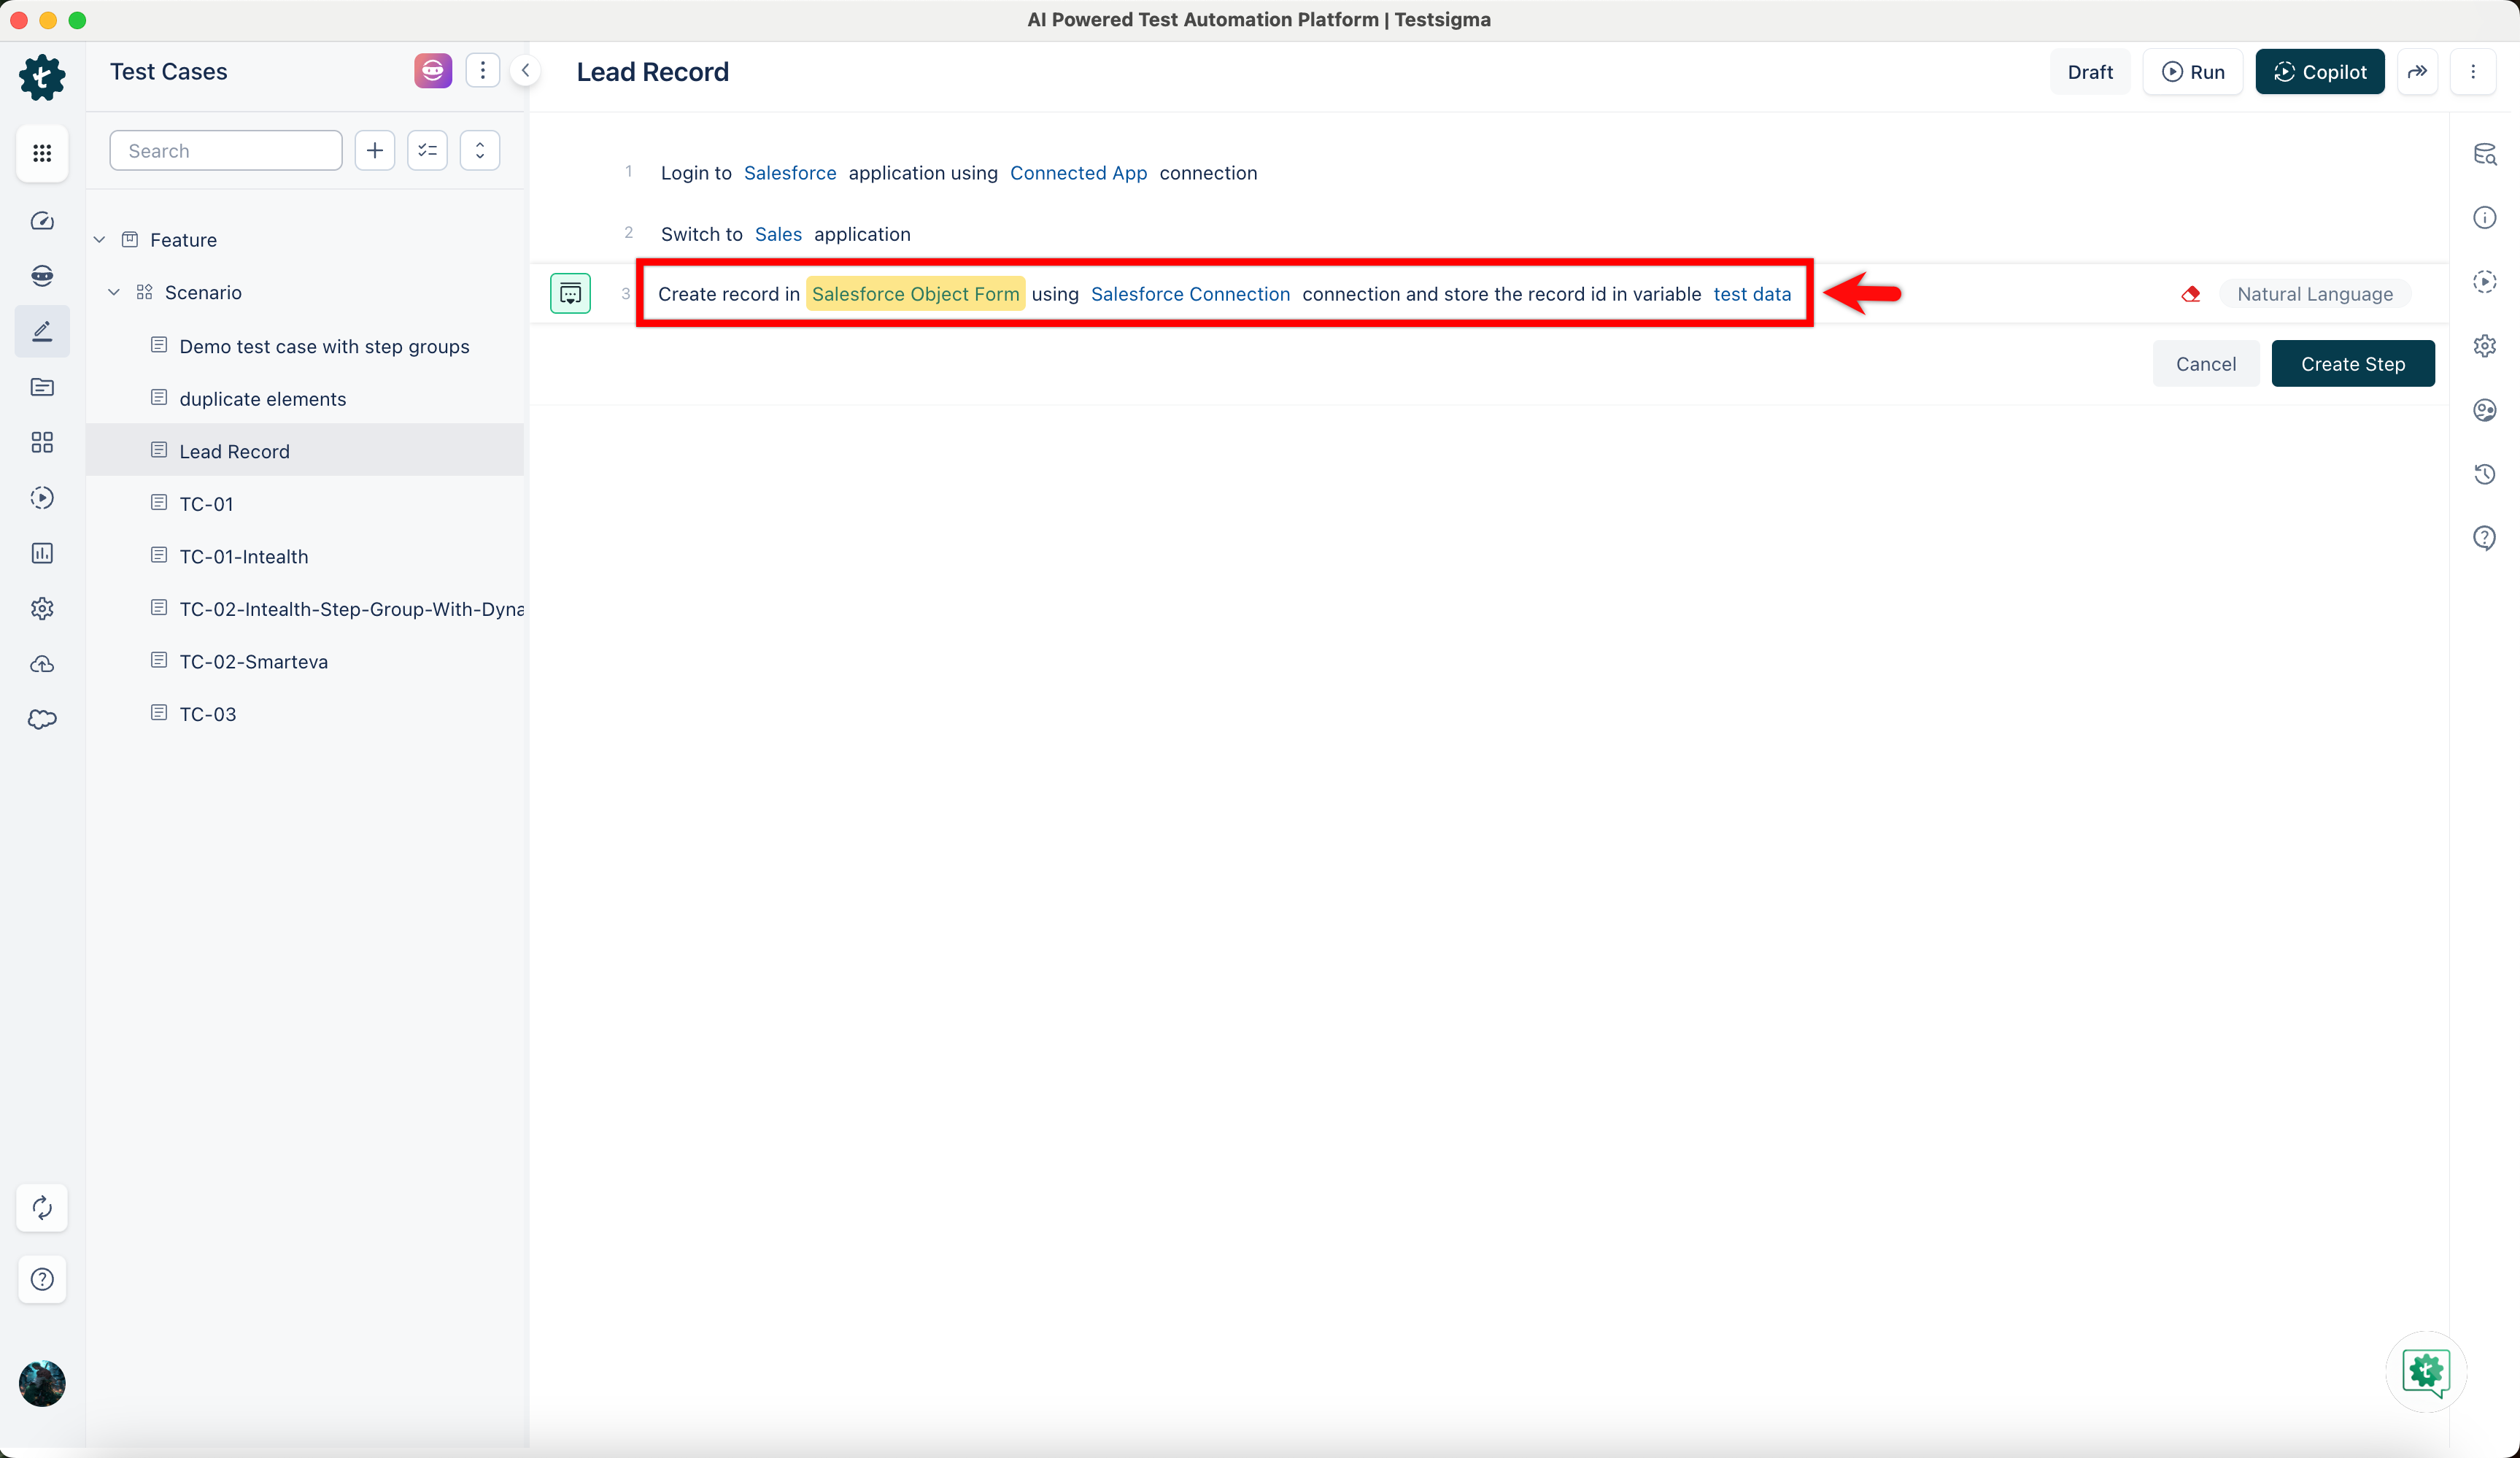
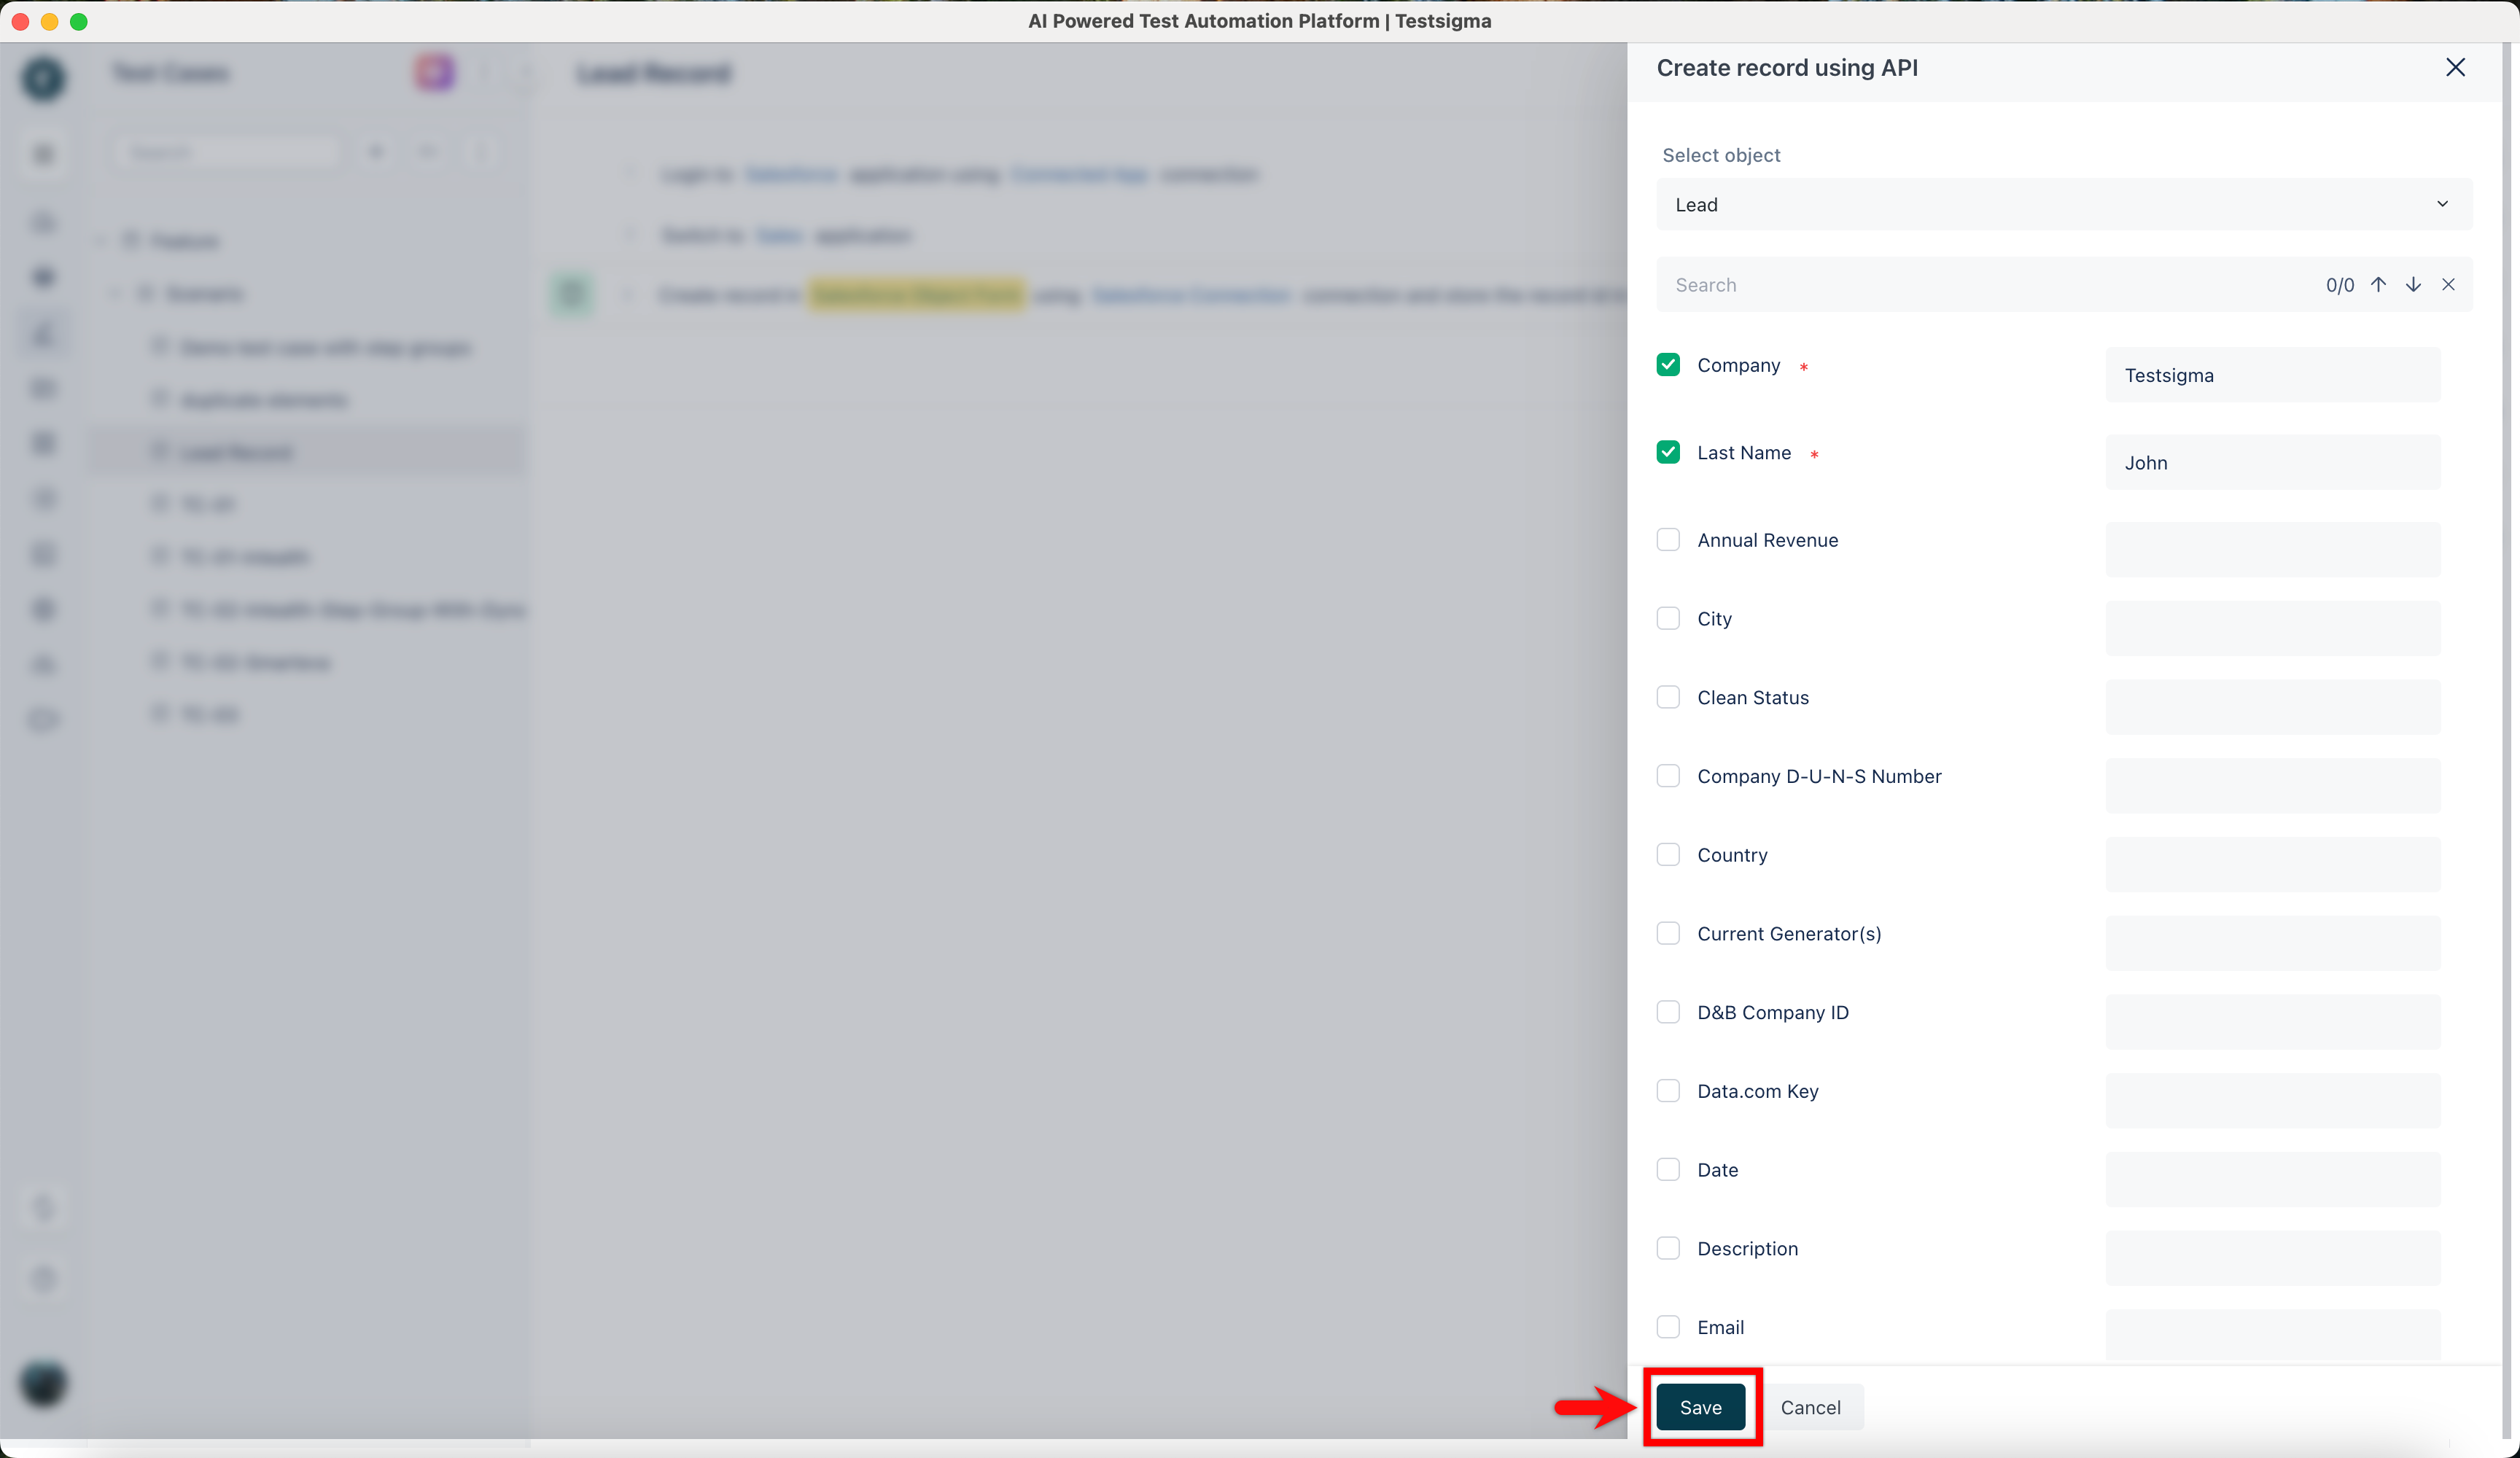
- Click Salesforce Object Form. This will open Create record using API overlay.
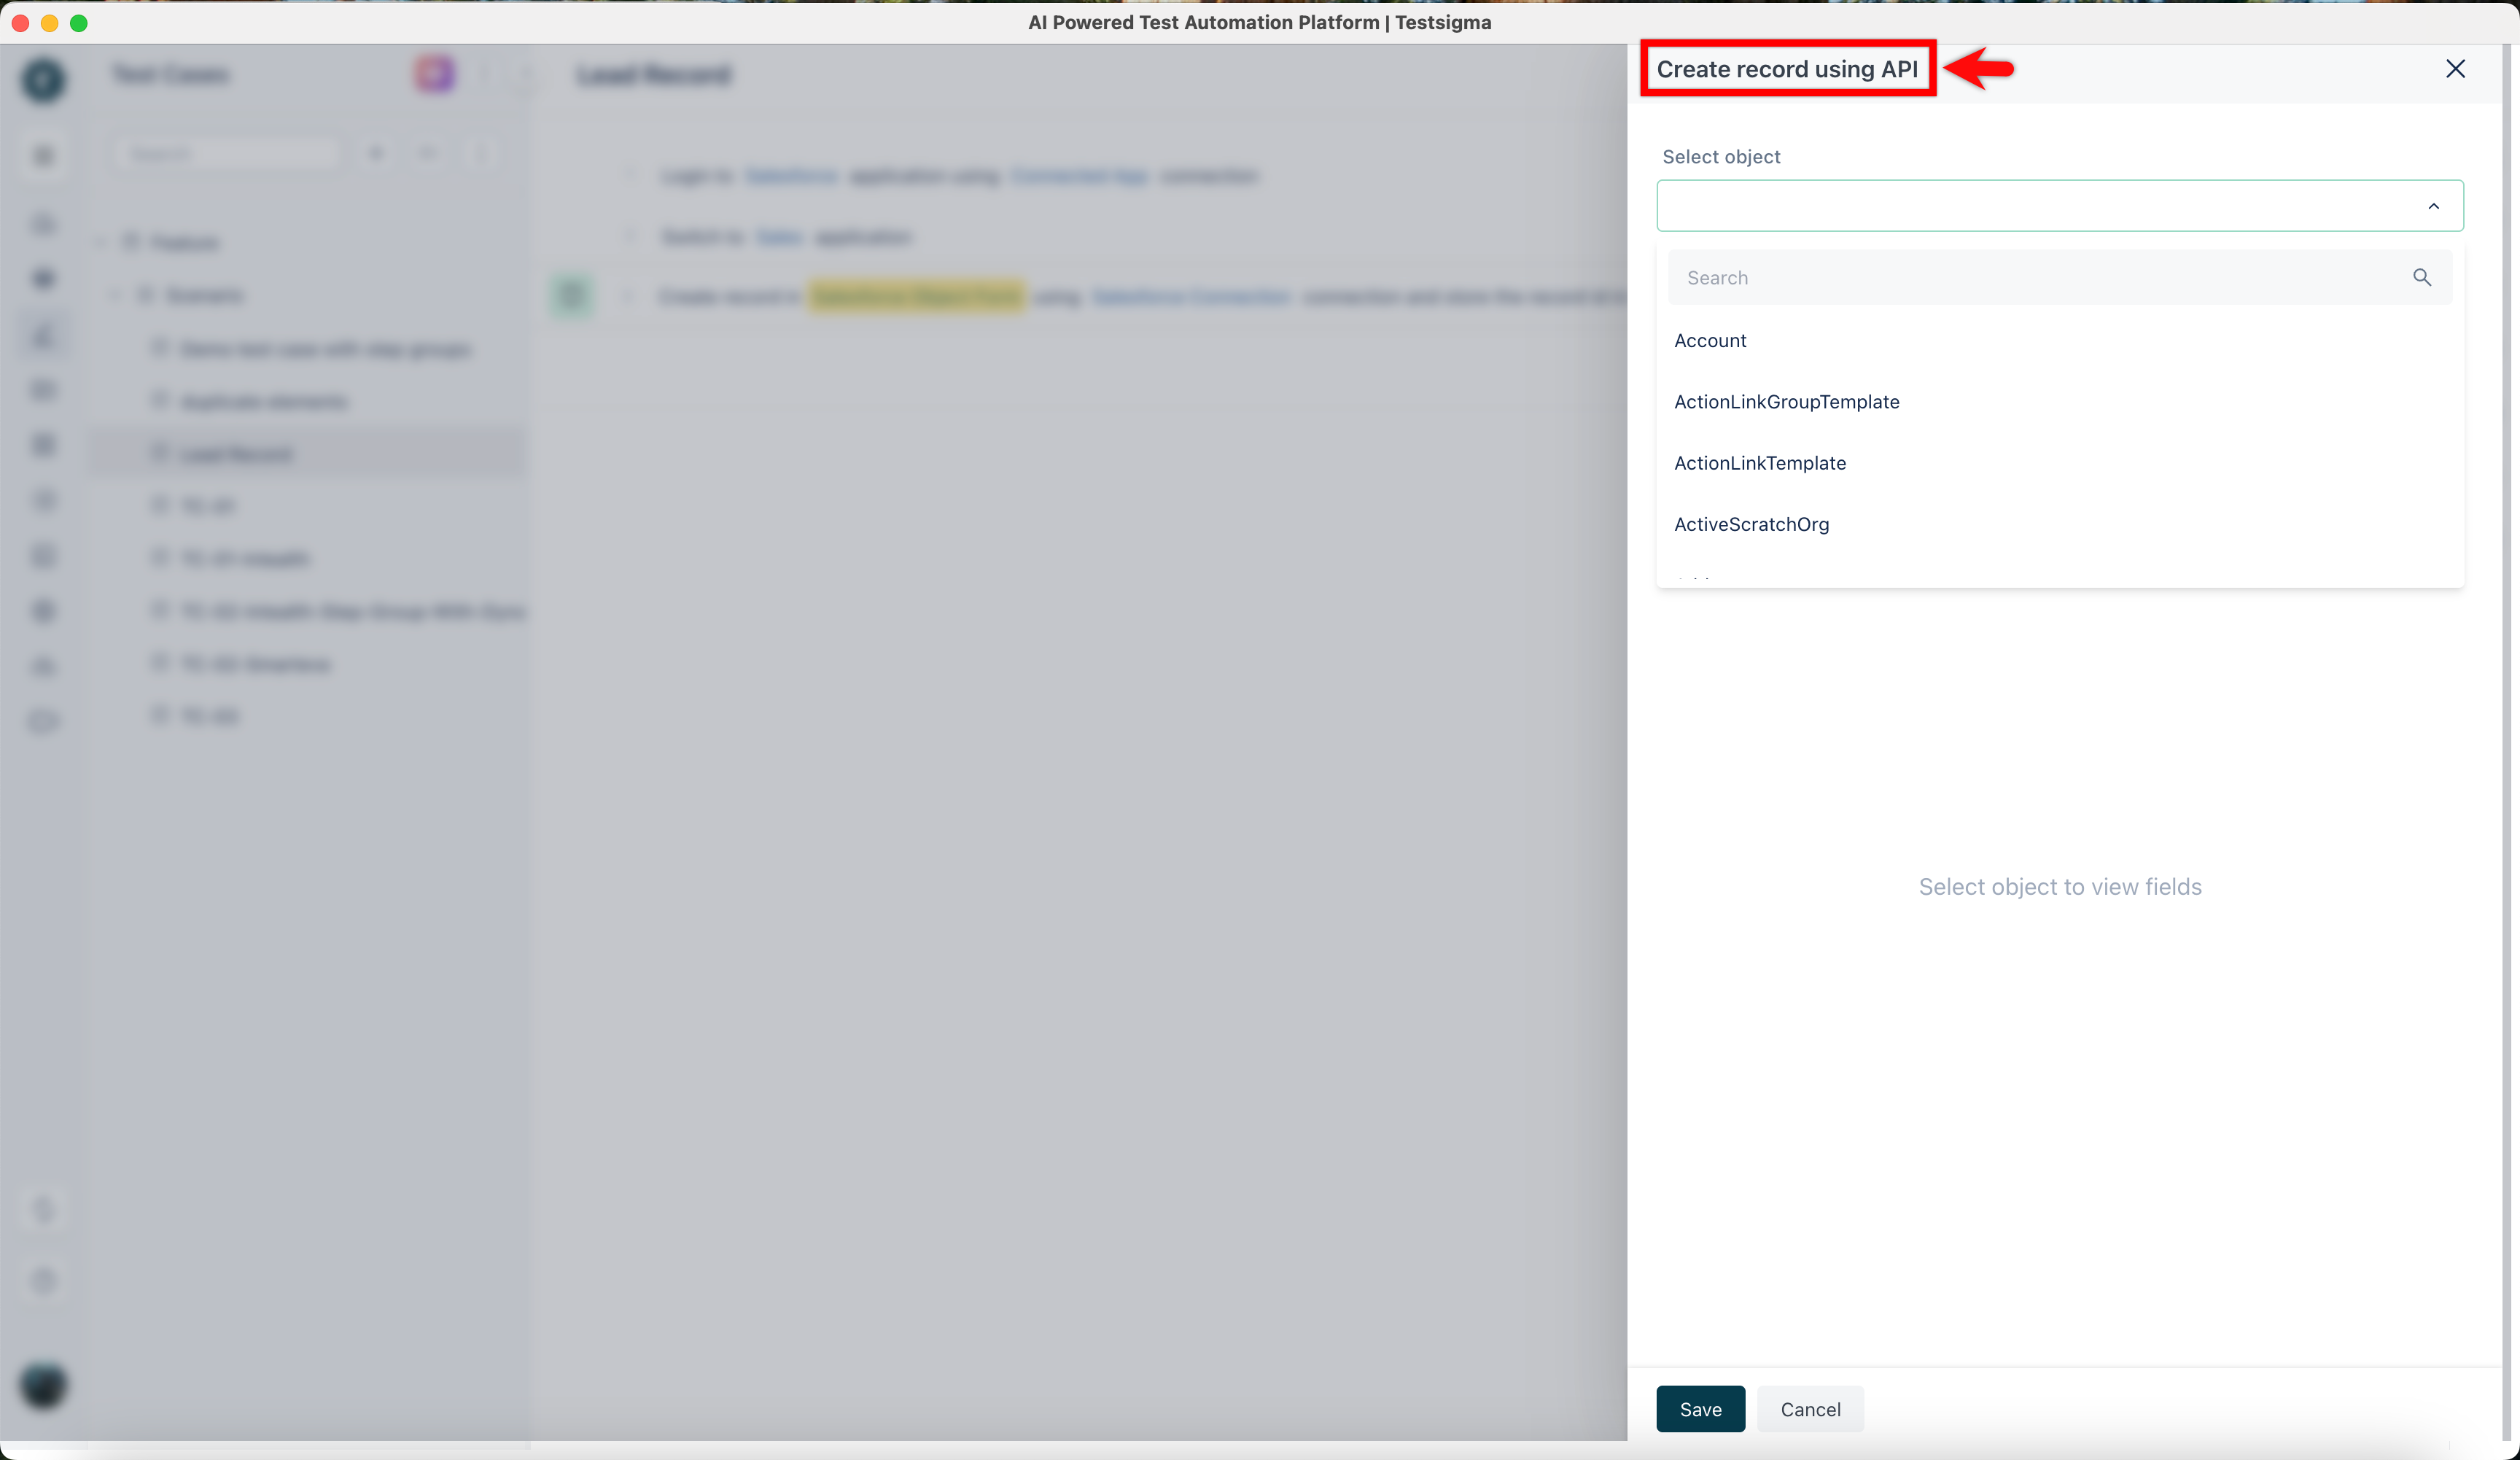
- Choose the object form Select object dropdown menu. Alternatively, you can also search & choose the Object Form. This will open the form where we need to enter the details.
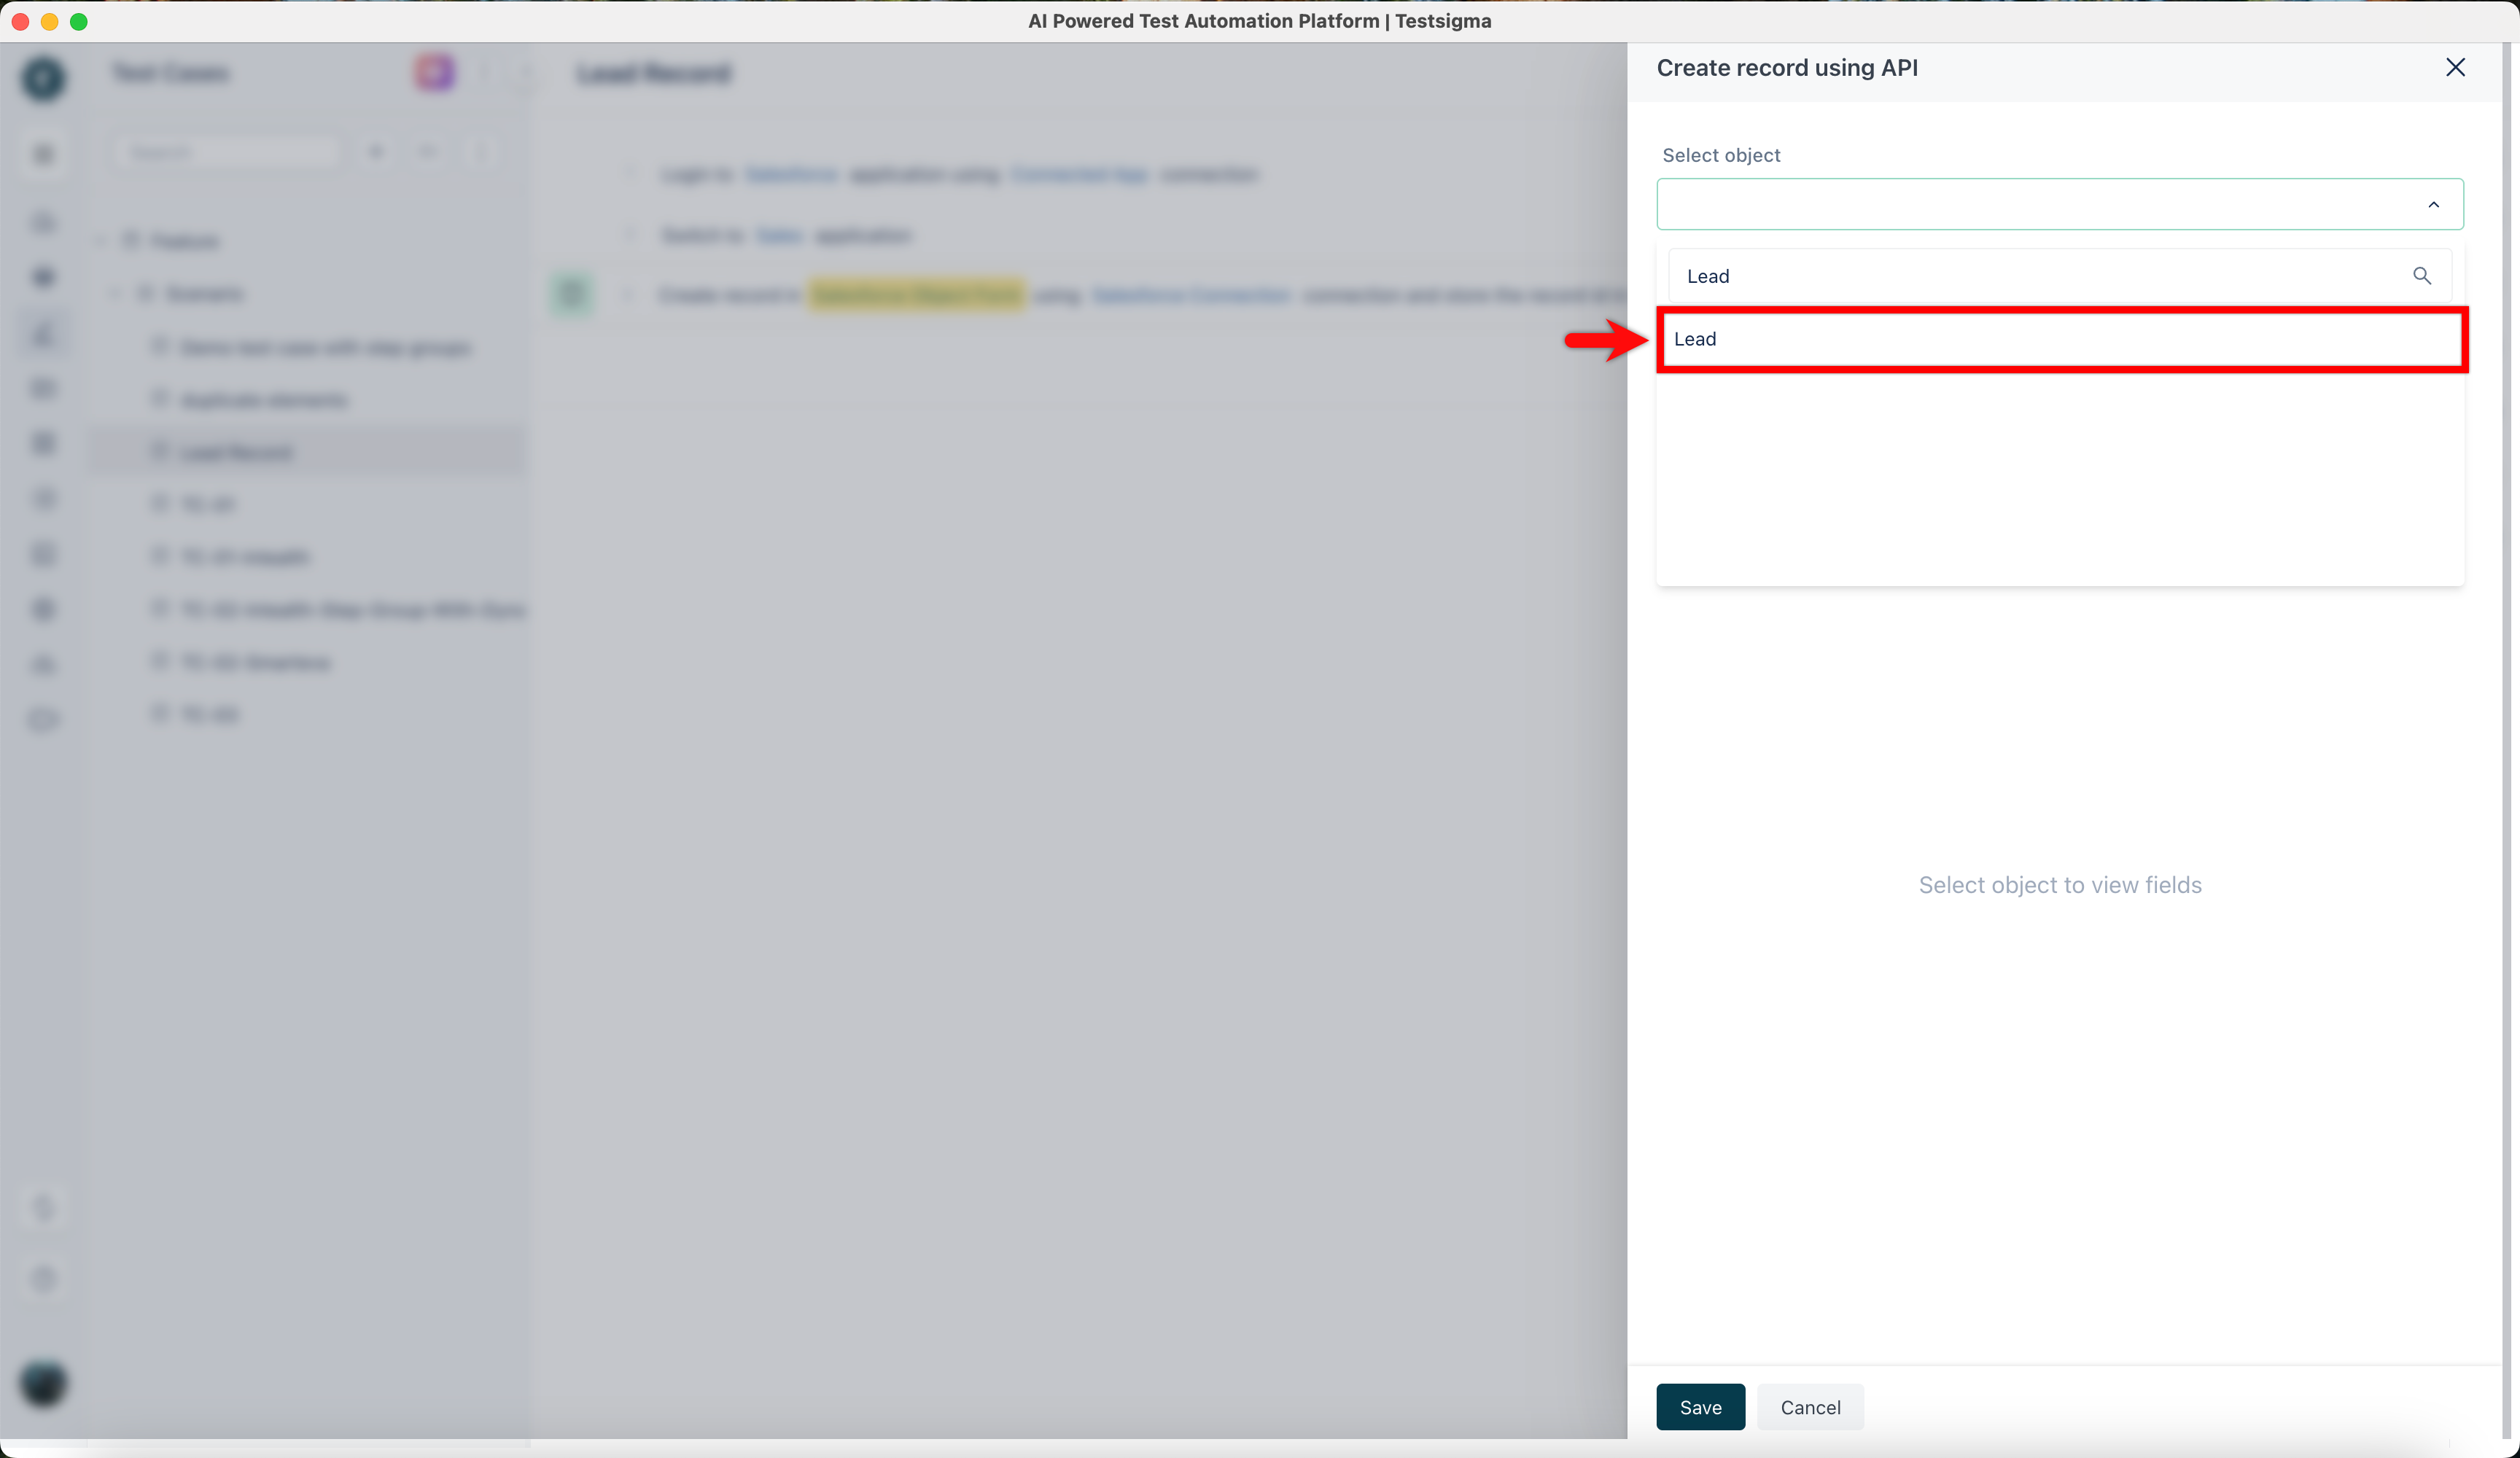
- The form populates for the selected object. Enter data in the fields and click Save. Only the selected fields are sent in the API request.
- Click Salesforce Object Form. This will open Create record using API overlay.
- Click Salesforce Connection and choose the available connection from the dropdown menu.
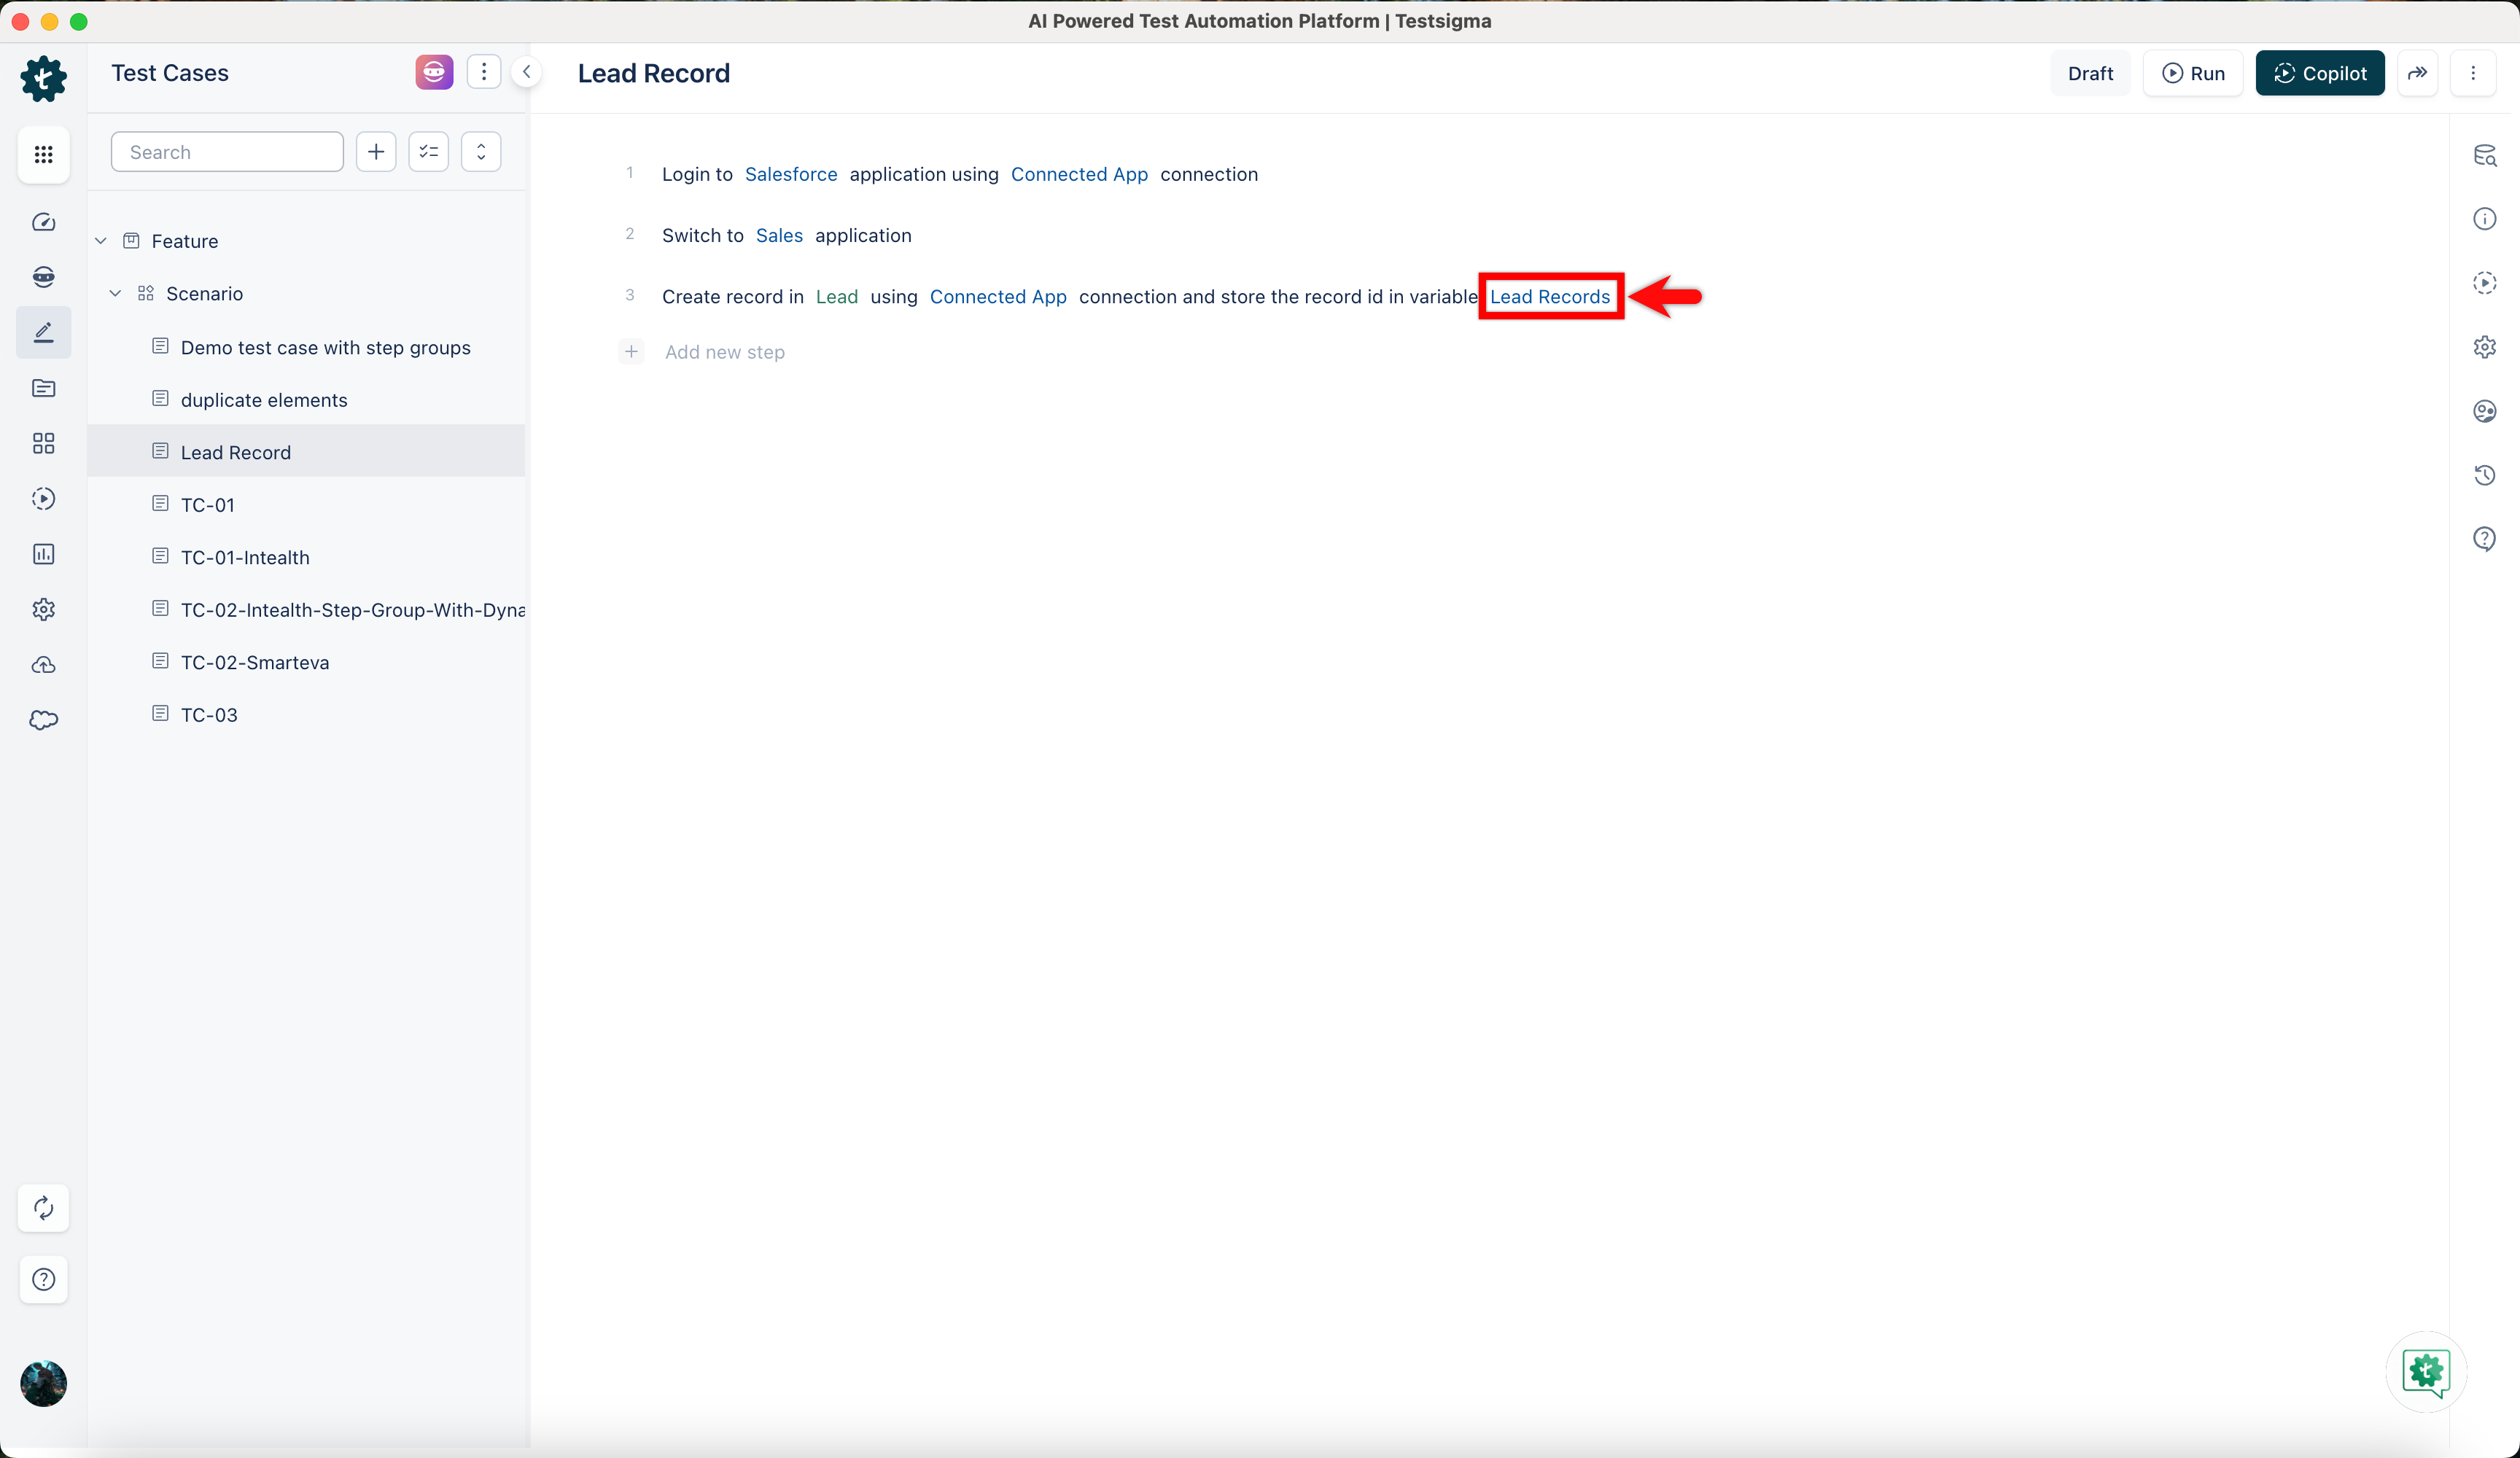
- Store the Record ID in a variable, which we’ll call Lead Records here. We can use this variable in the next test step to edit a record or across any test cases.
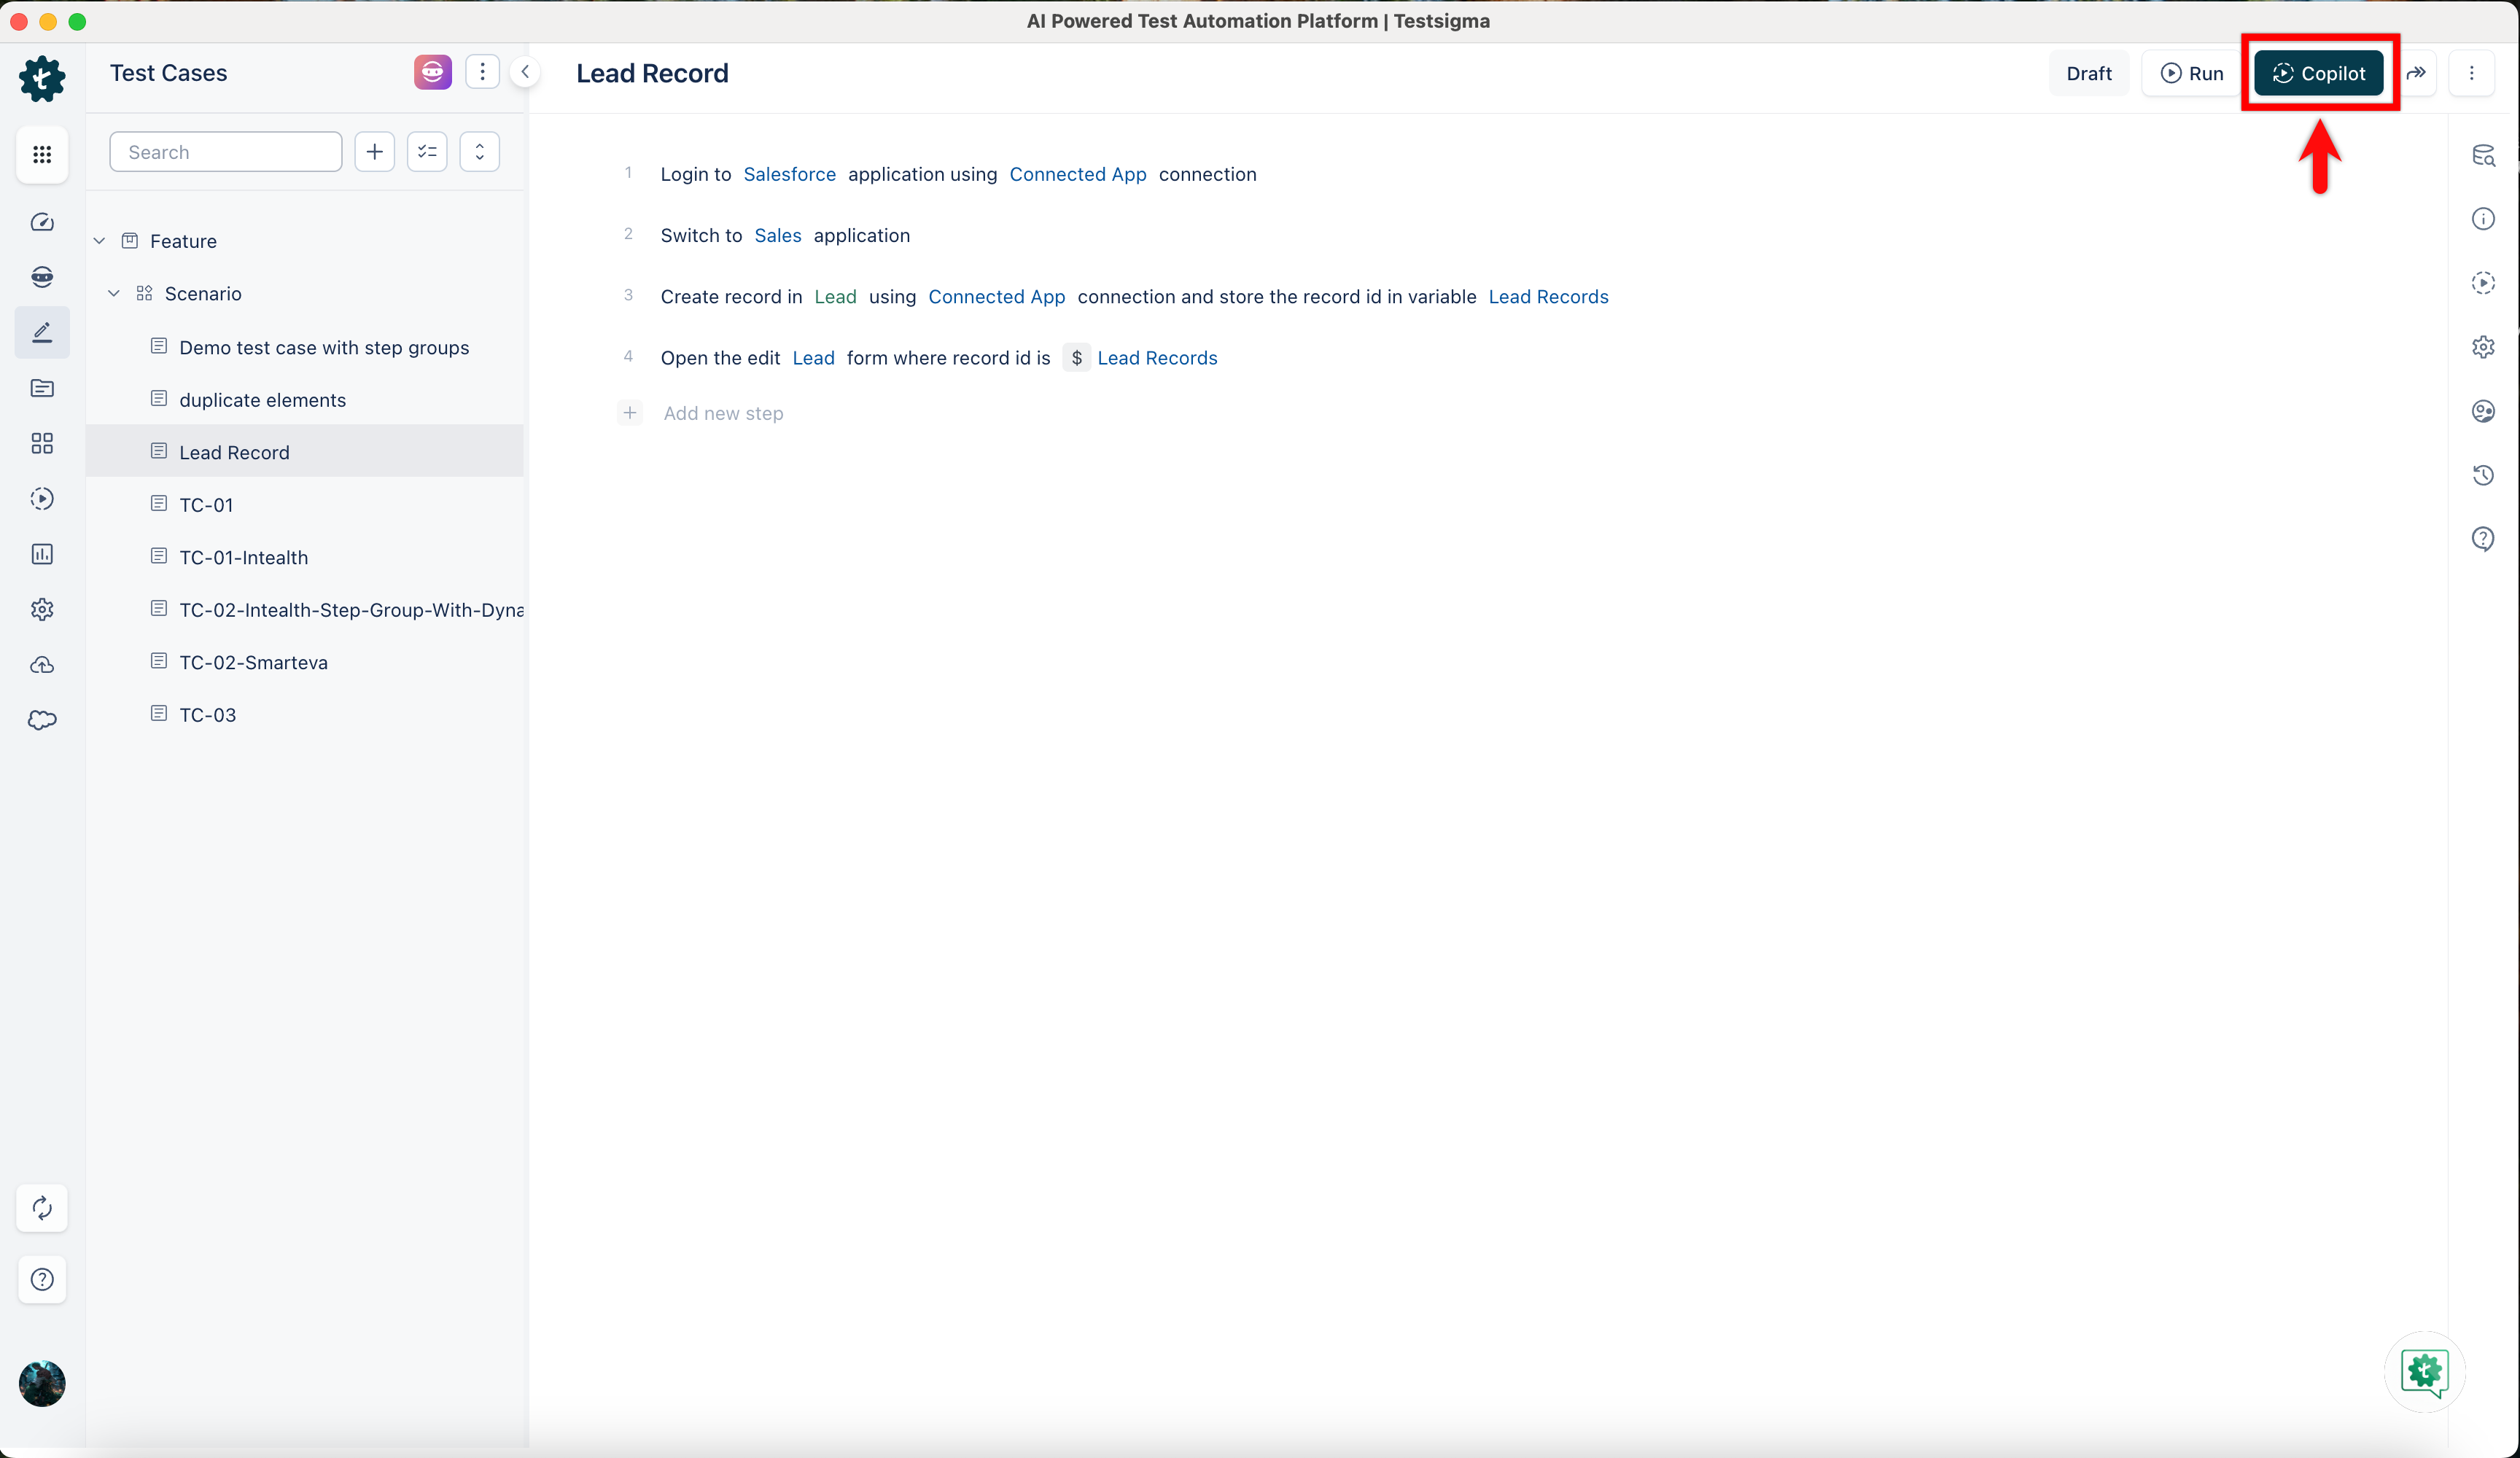
- Use the NLP, Open the edit Salesforce Object form where record is Record ID. Here, you open the edit form using the $ Runtime test data type with the Record ID stored in the variable from the previous step.

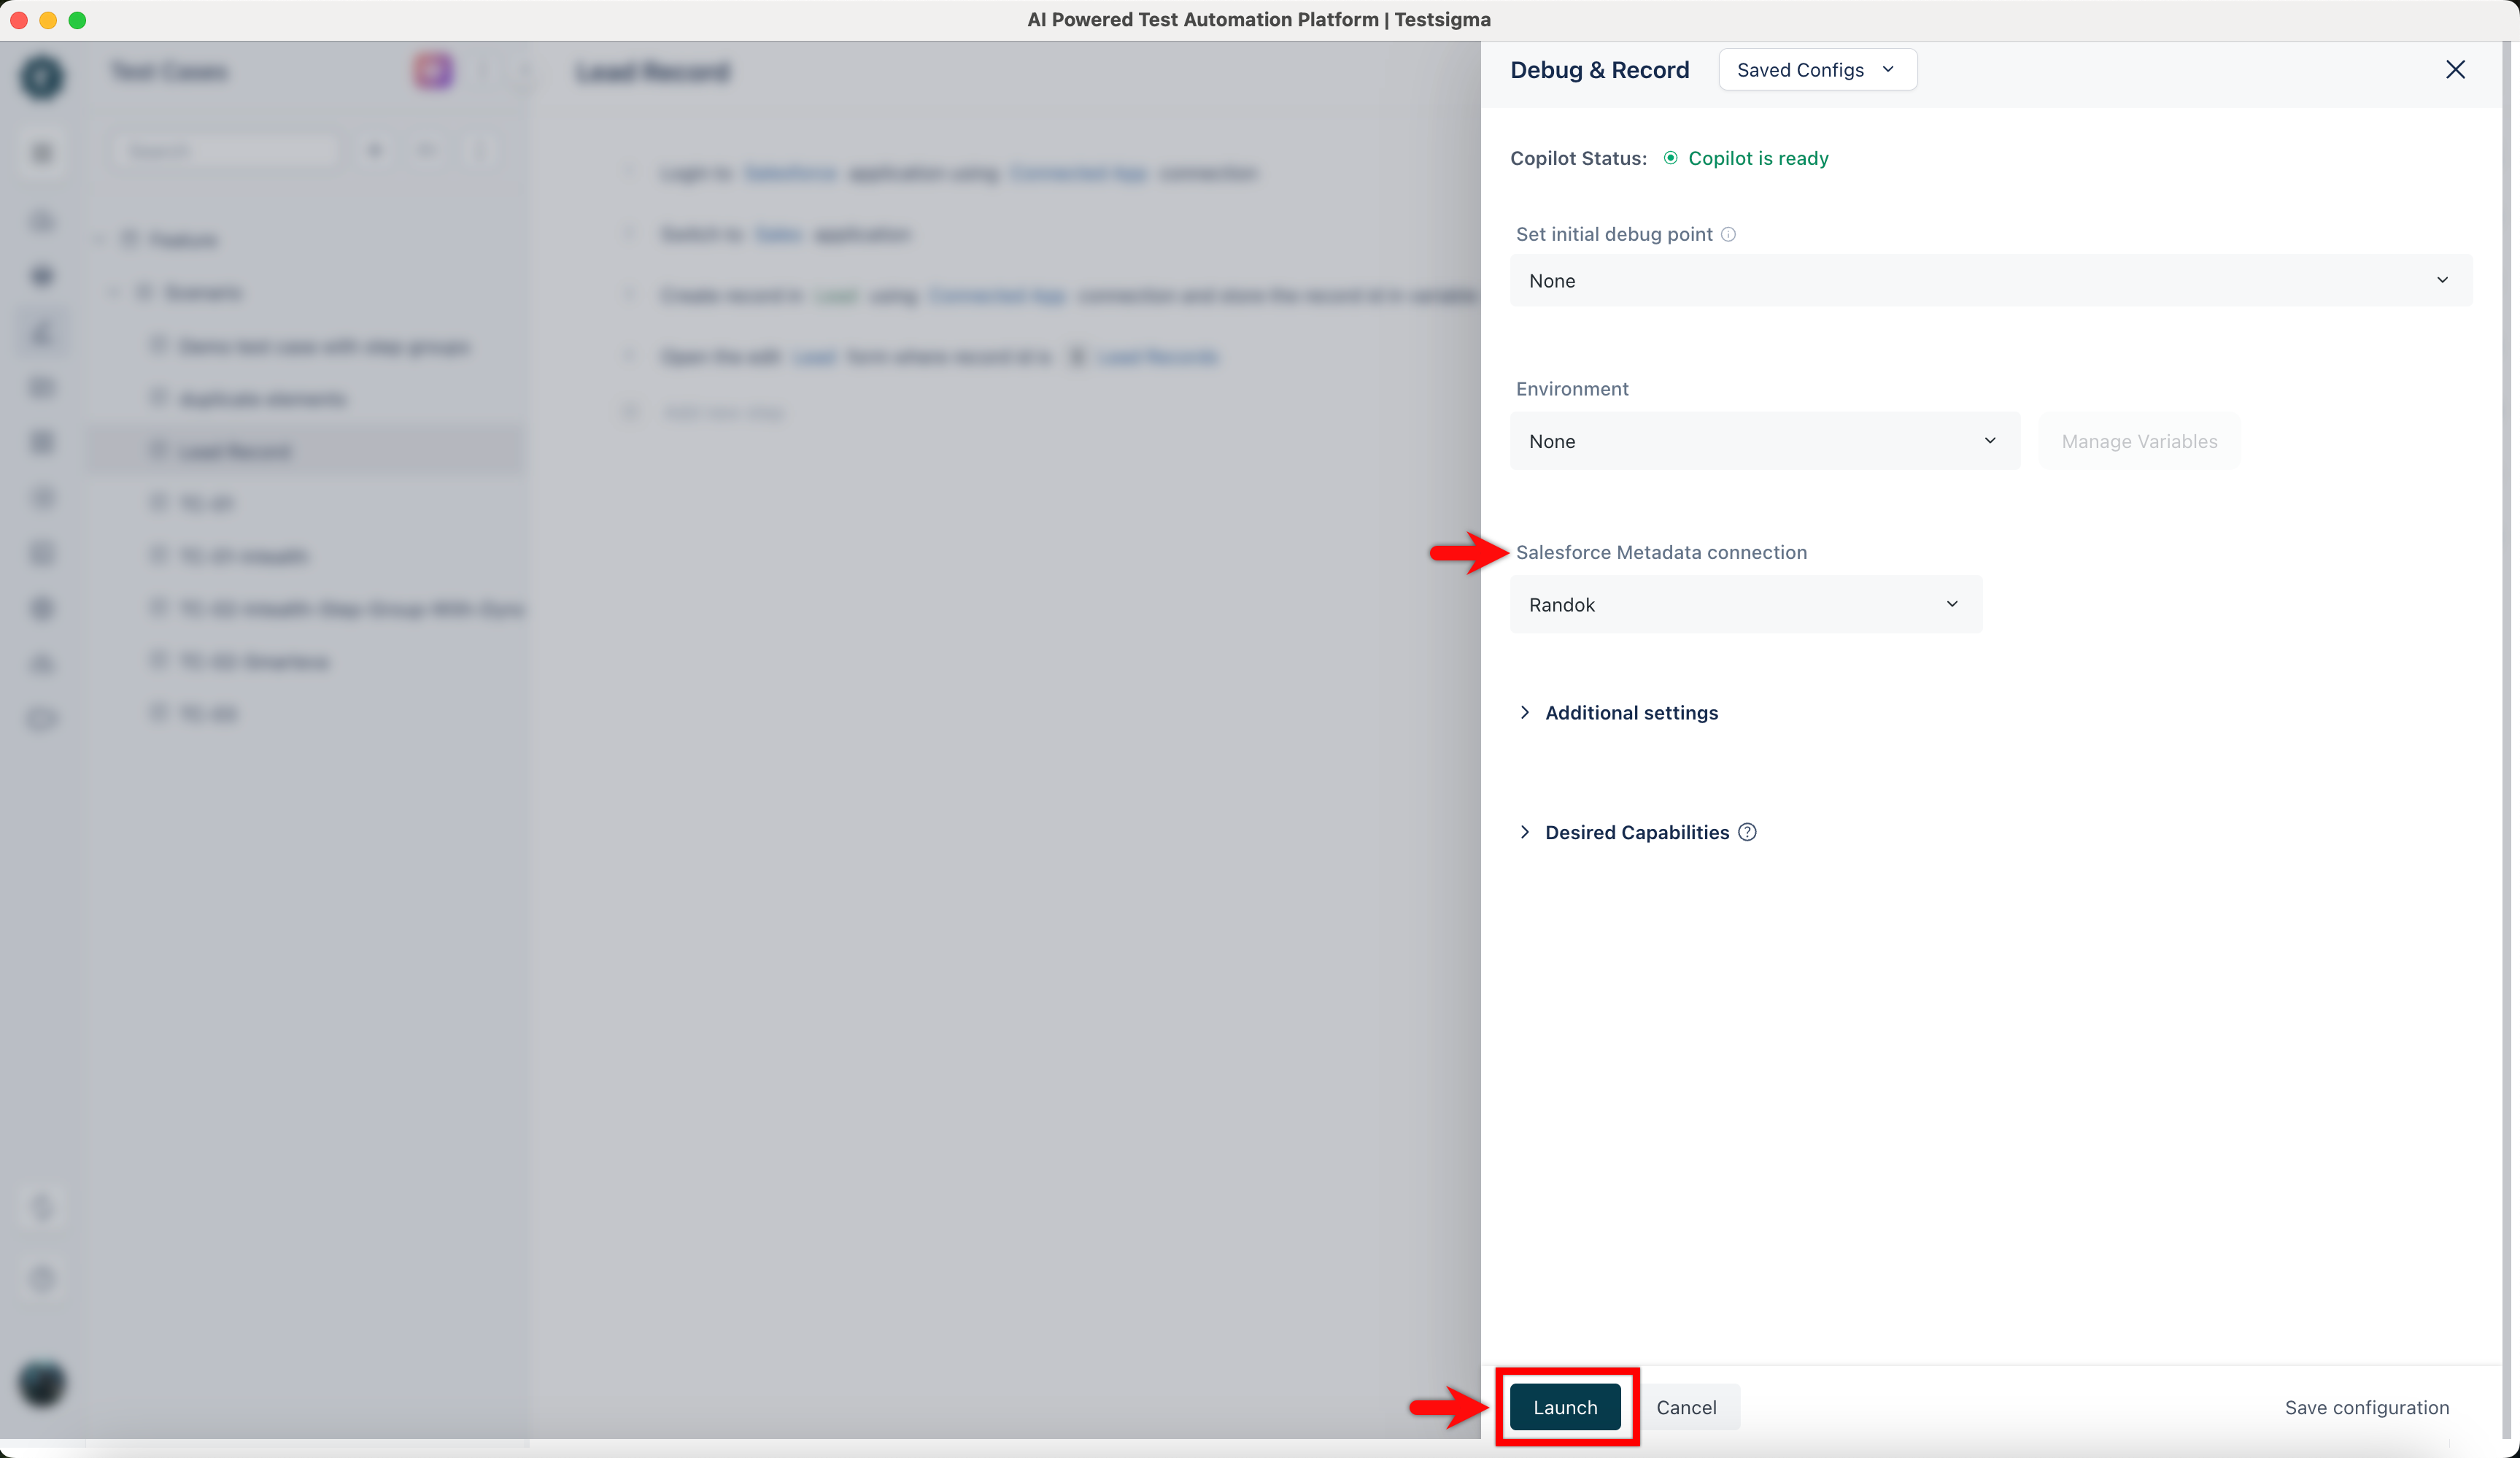
- Click Copilot.
- In the Debug & Record overlay, verify the Copilot is ready and click Launch
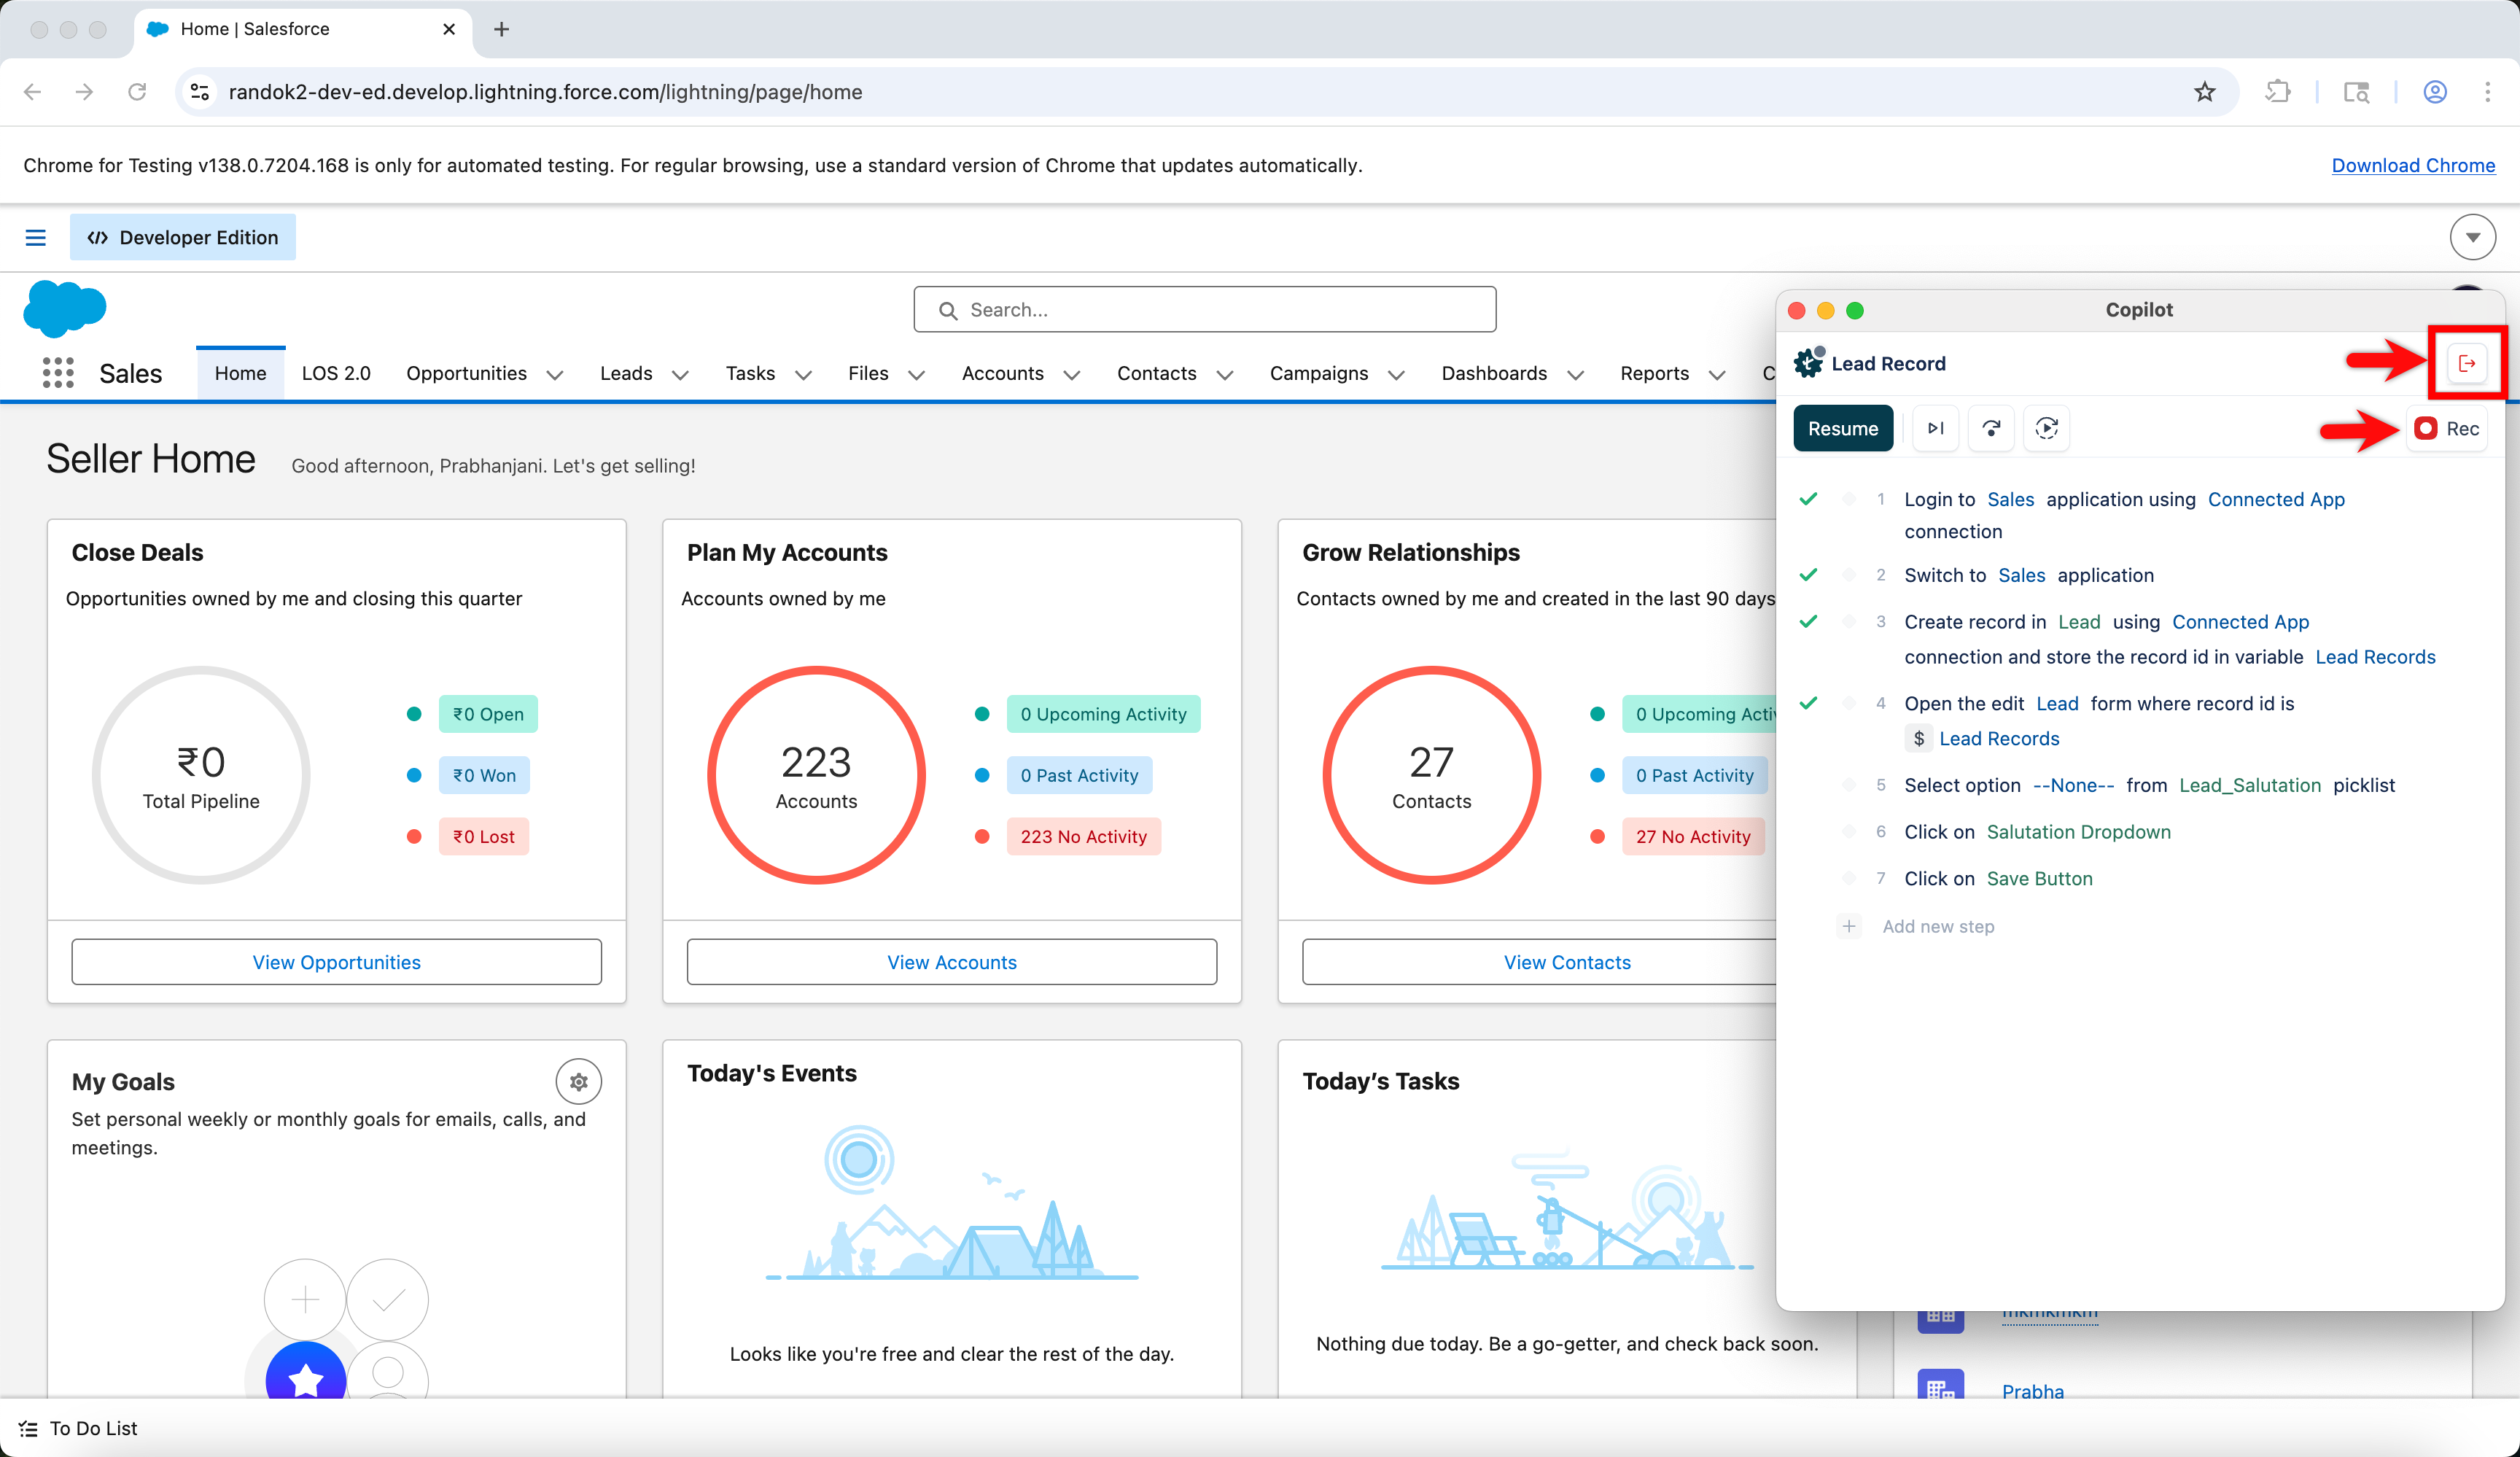
- In the Copilot dialog, click Rec and perform the desired actions on the application. Once done, click Stop Recording, then click Exit Copilot to save the recorded test steps to the test case details page.
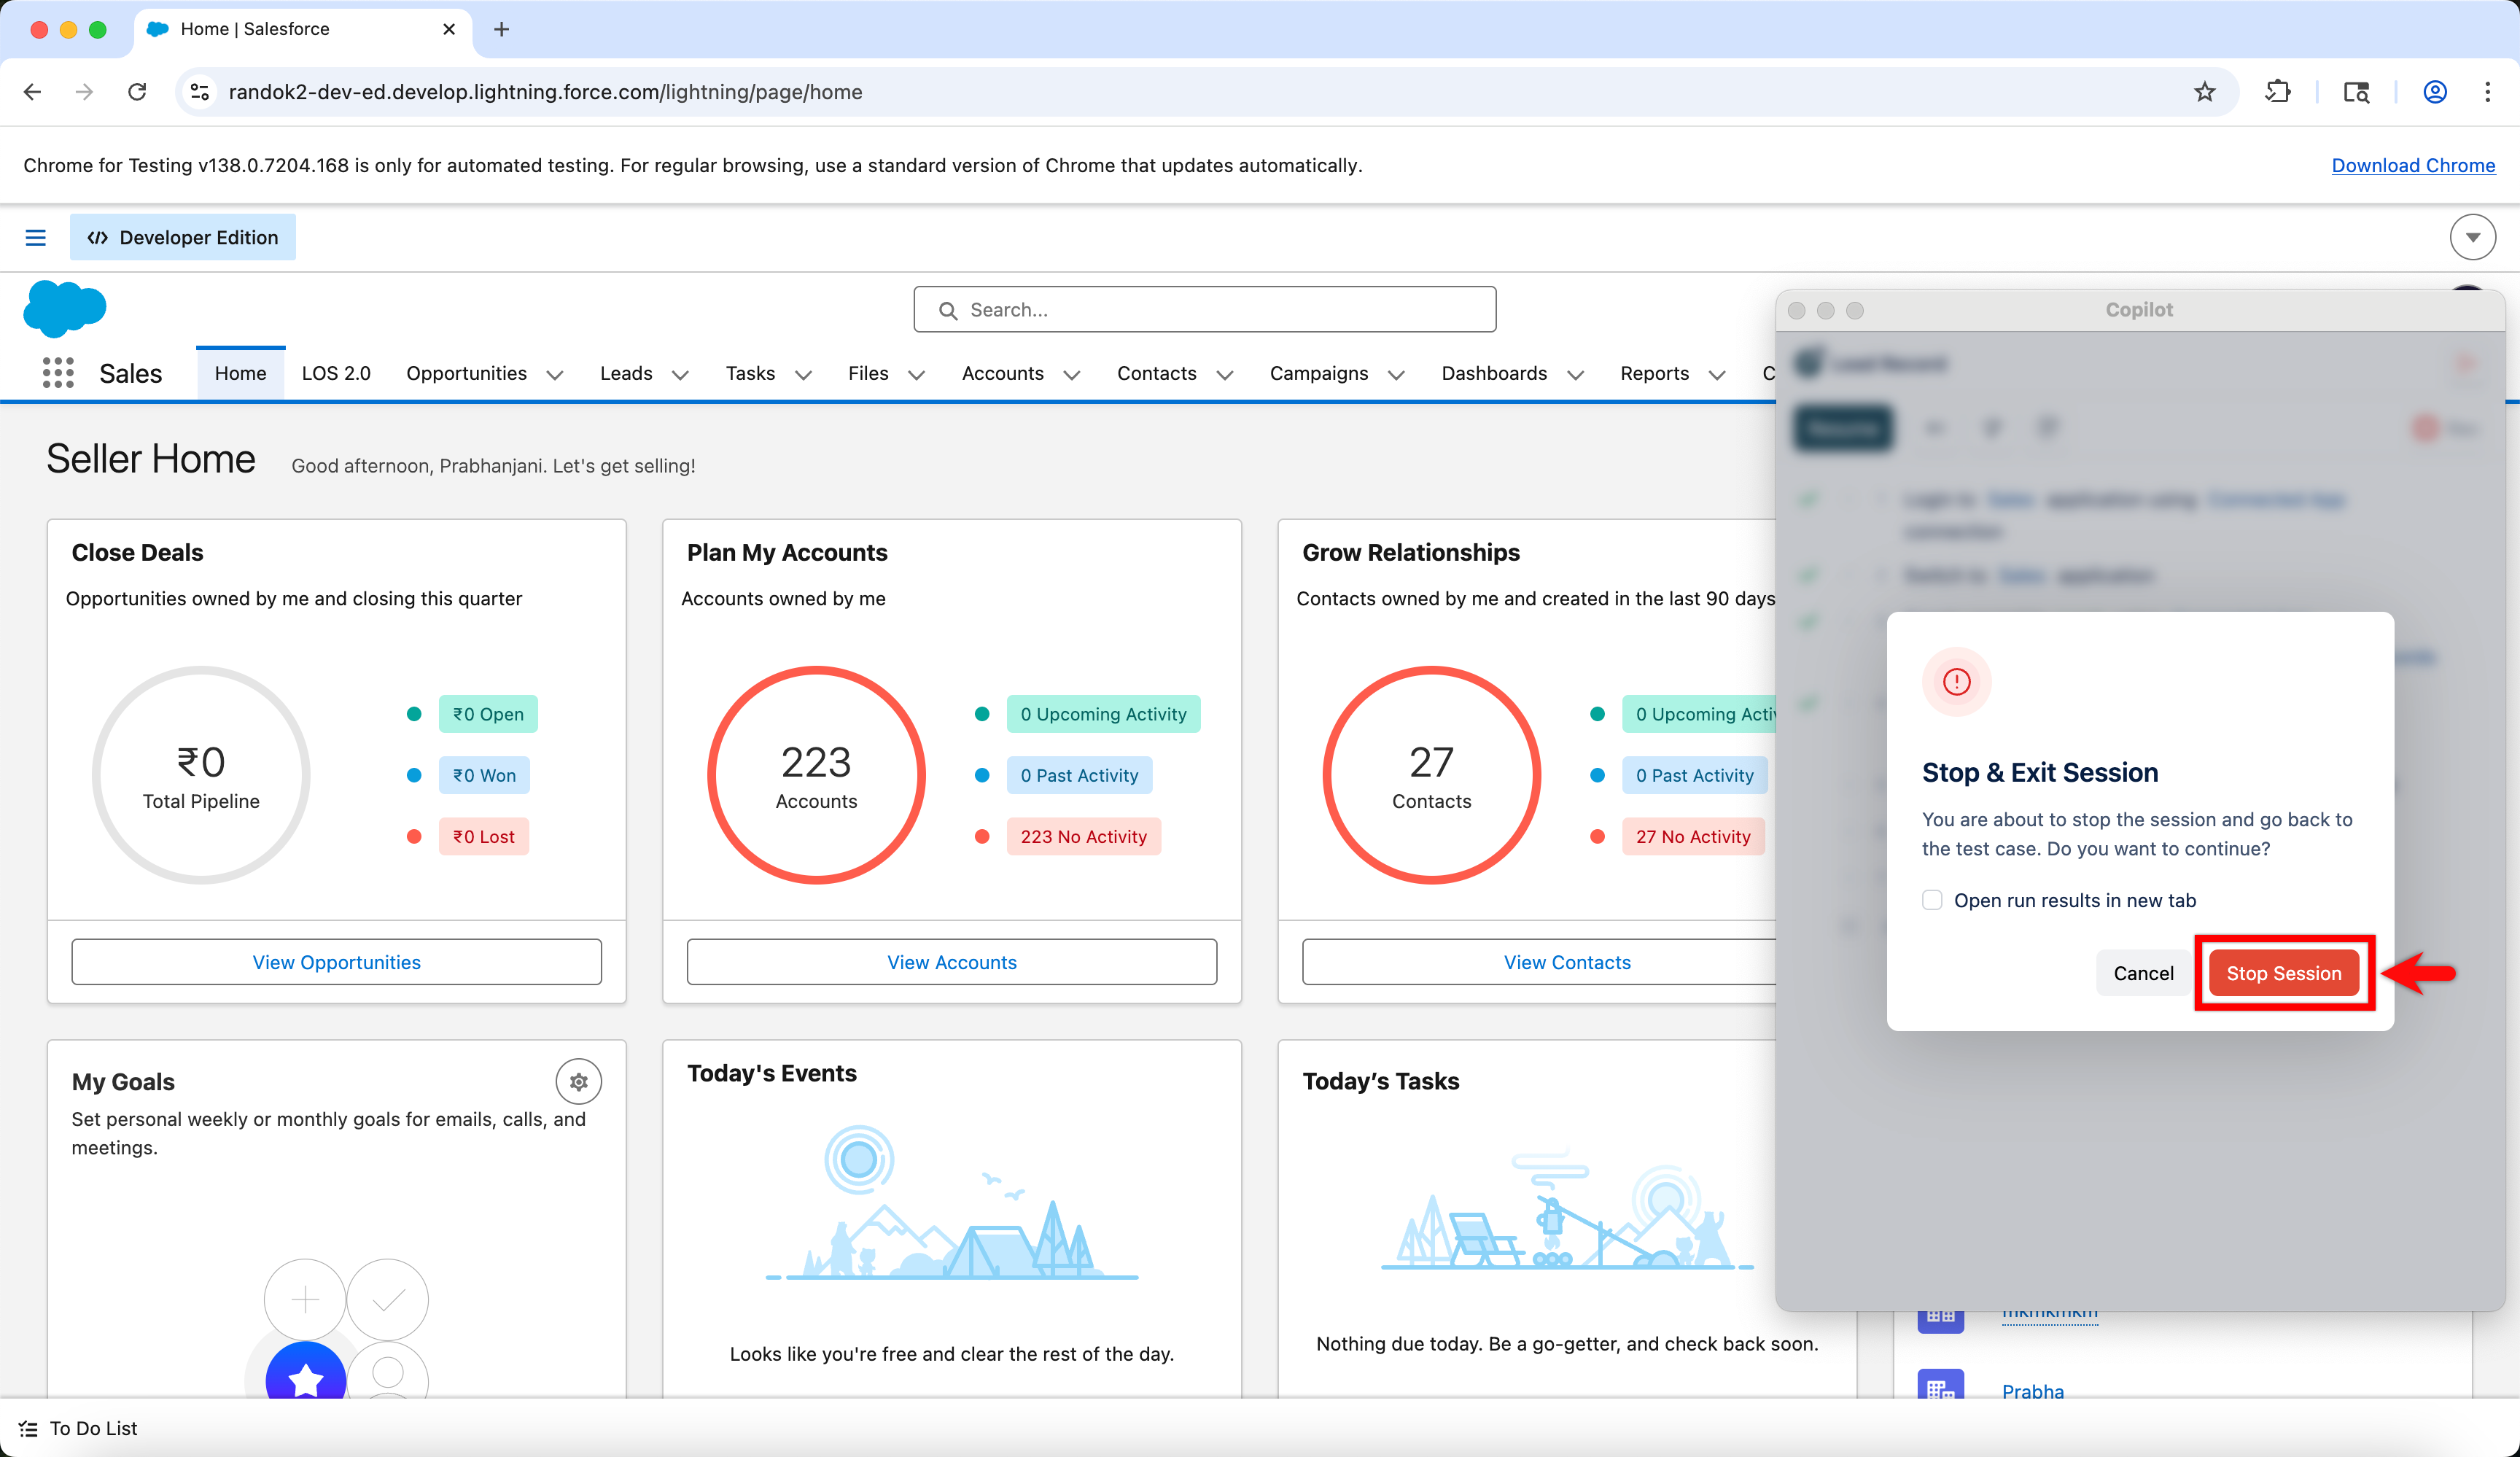
- In the Stop & Exit Session dialog, click Stop Session.
- Refresh the Test Case Details page to see all the recorded steps.
Parametrization of Login NLP
- From the Test Case Details page, create the test steps using the inbuilt Login NLP.
- Click on Salesforce Connections, type ‘/’ and choose *Environment from the dropdown menu.
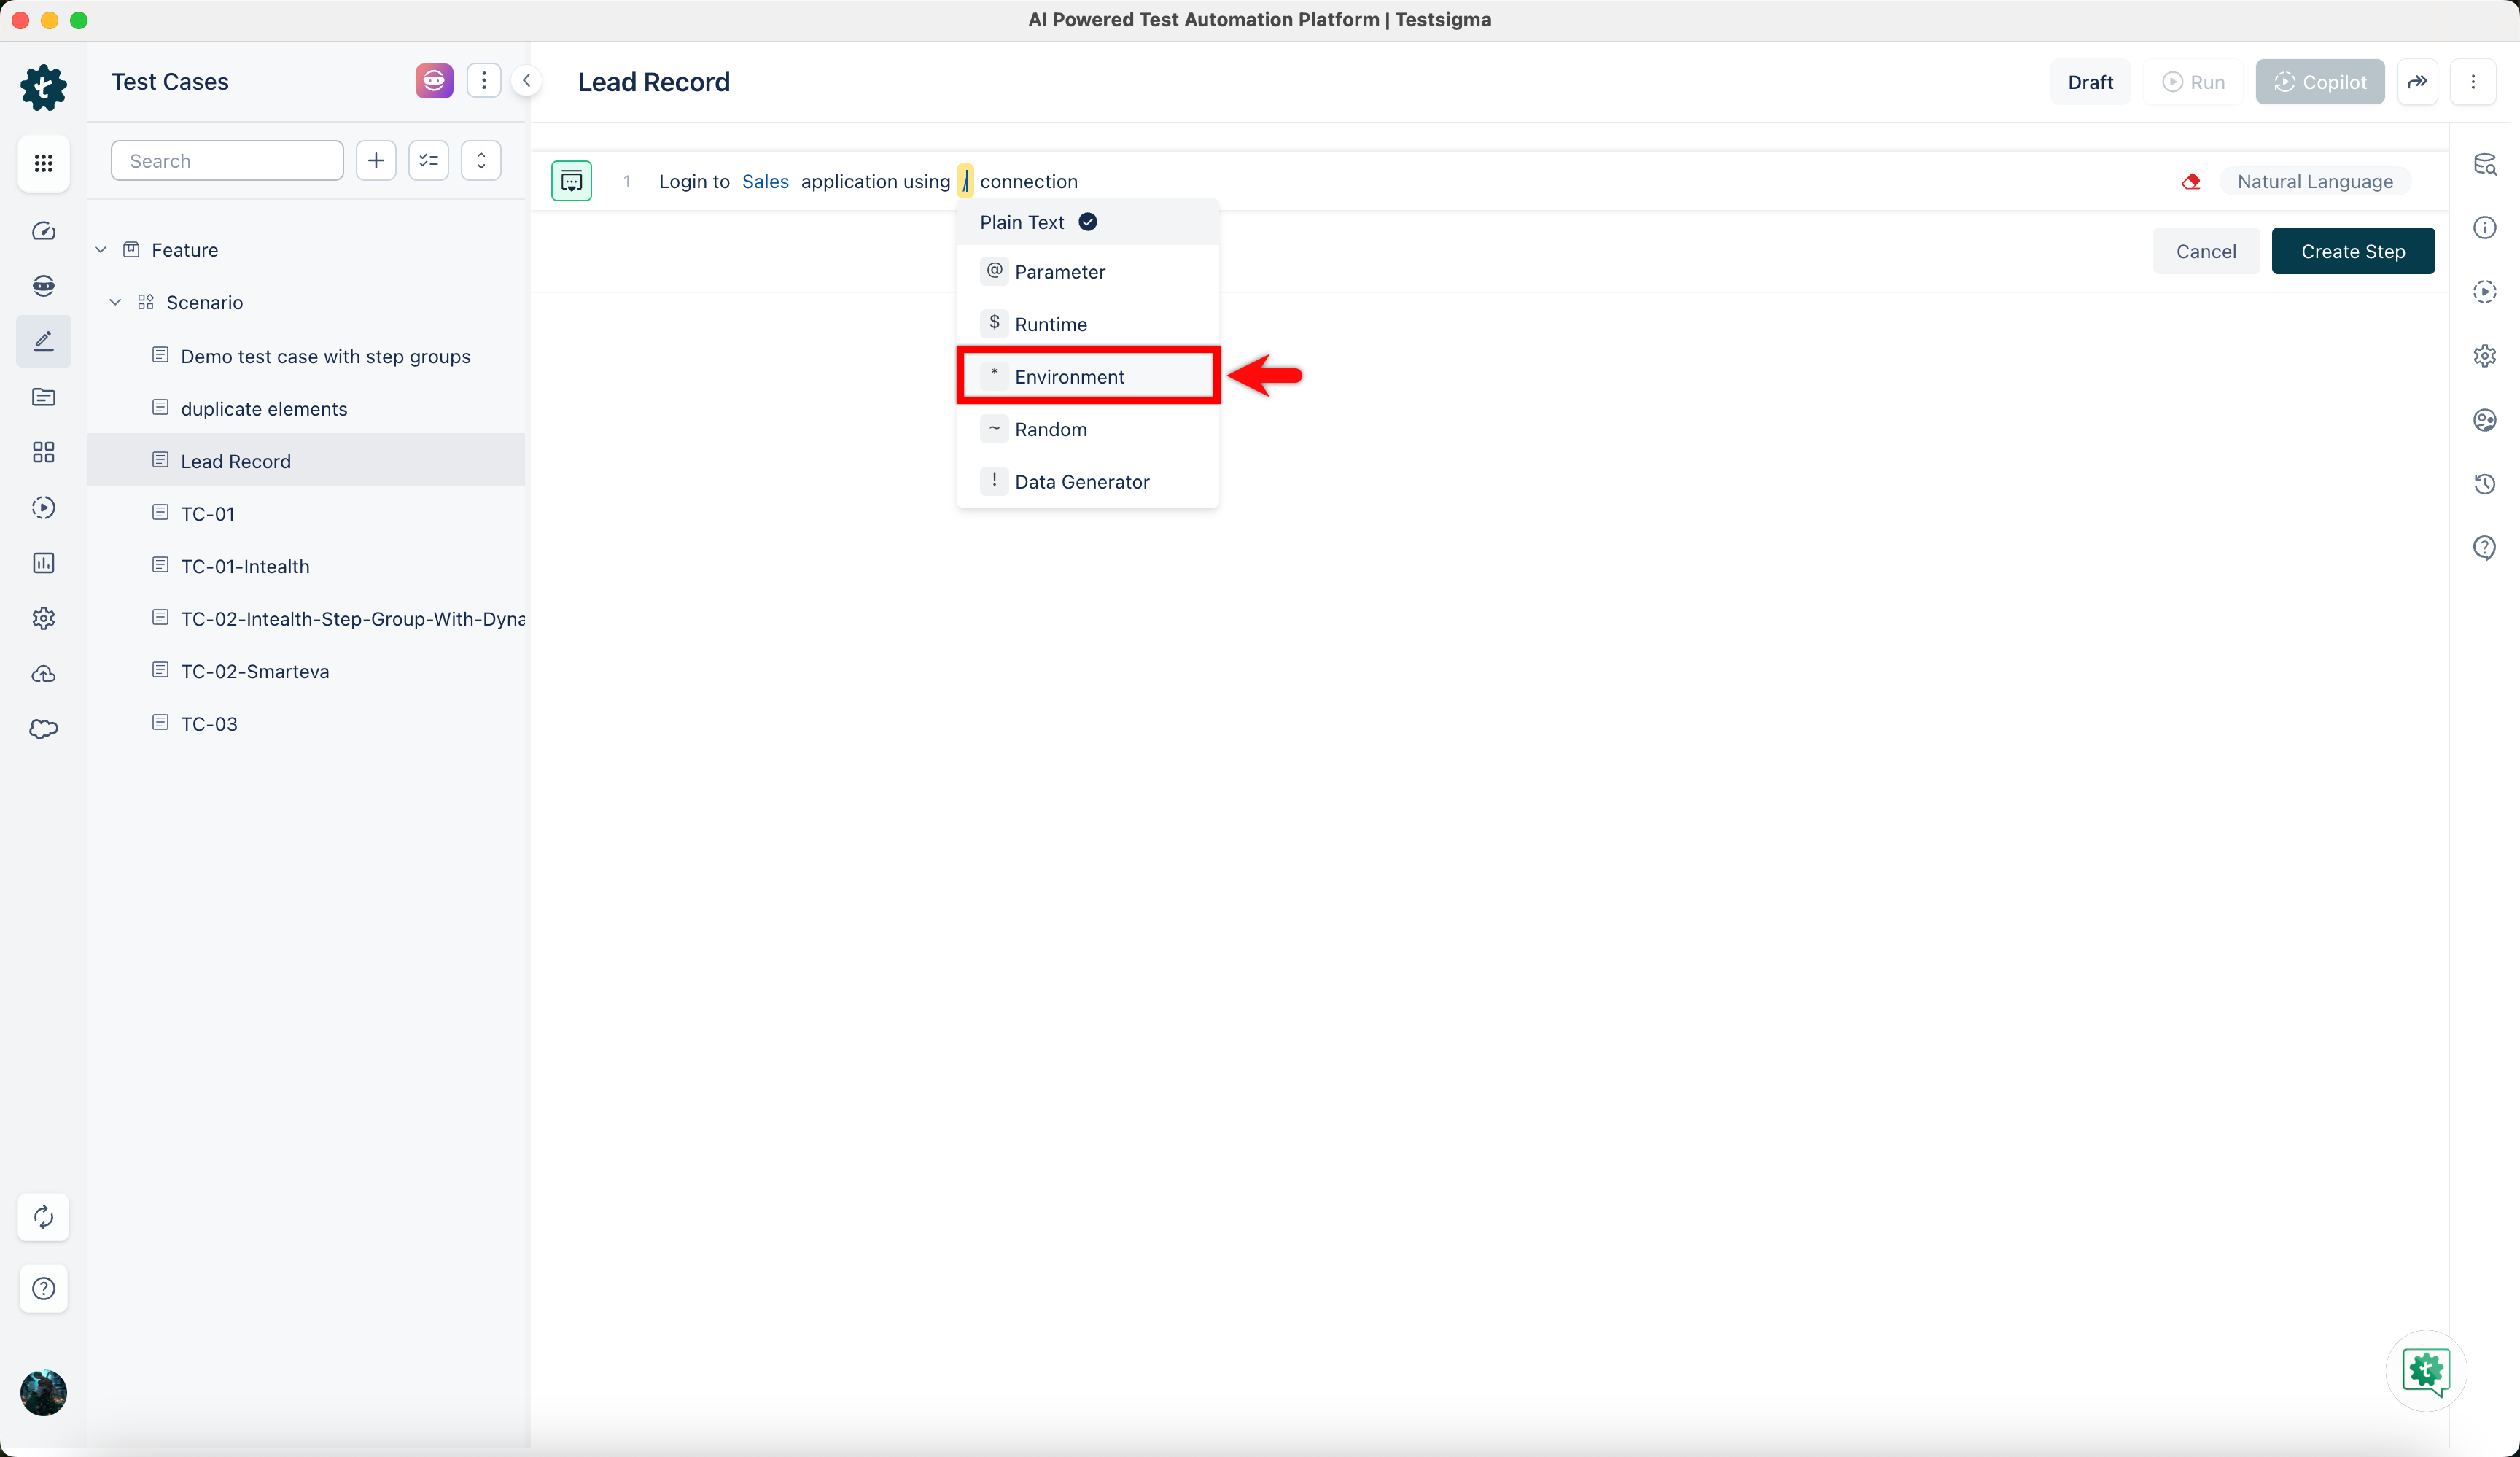
You can choose any test data type as needed from the dropdown menu.
- In the *Environment overlay, select an environment from the available Environments.
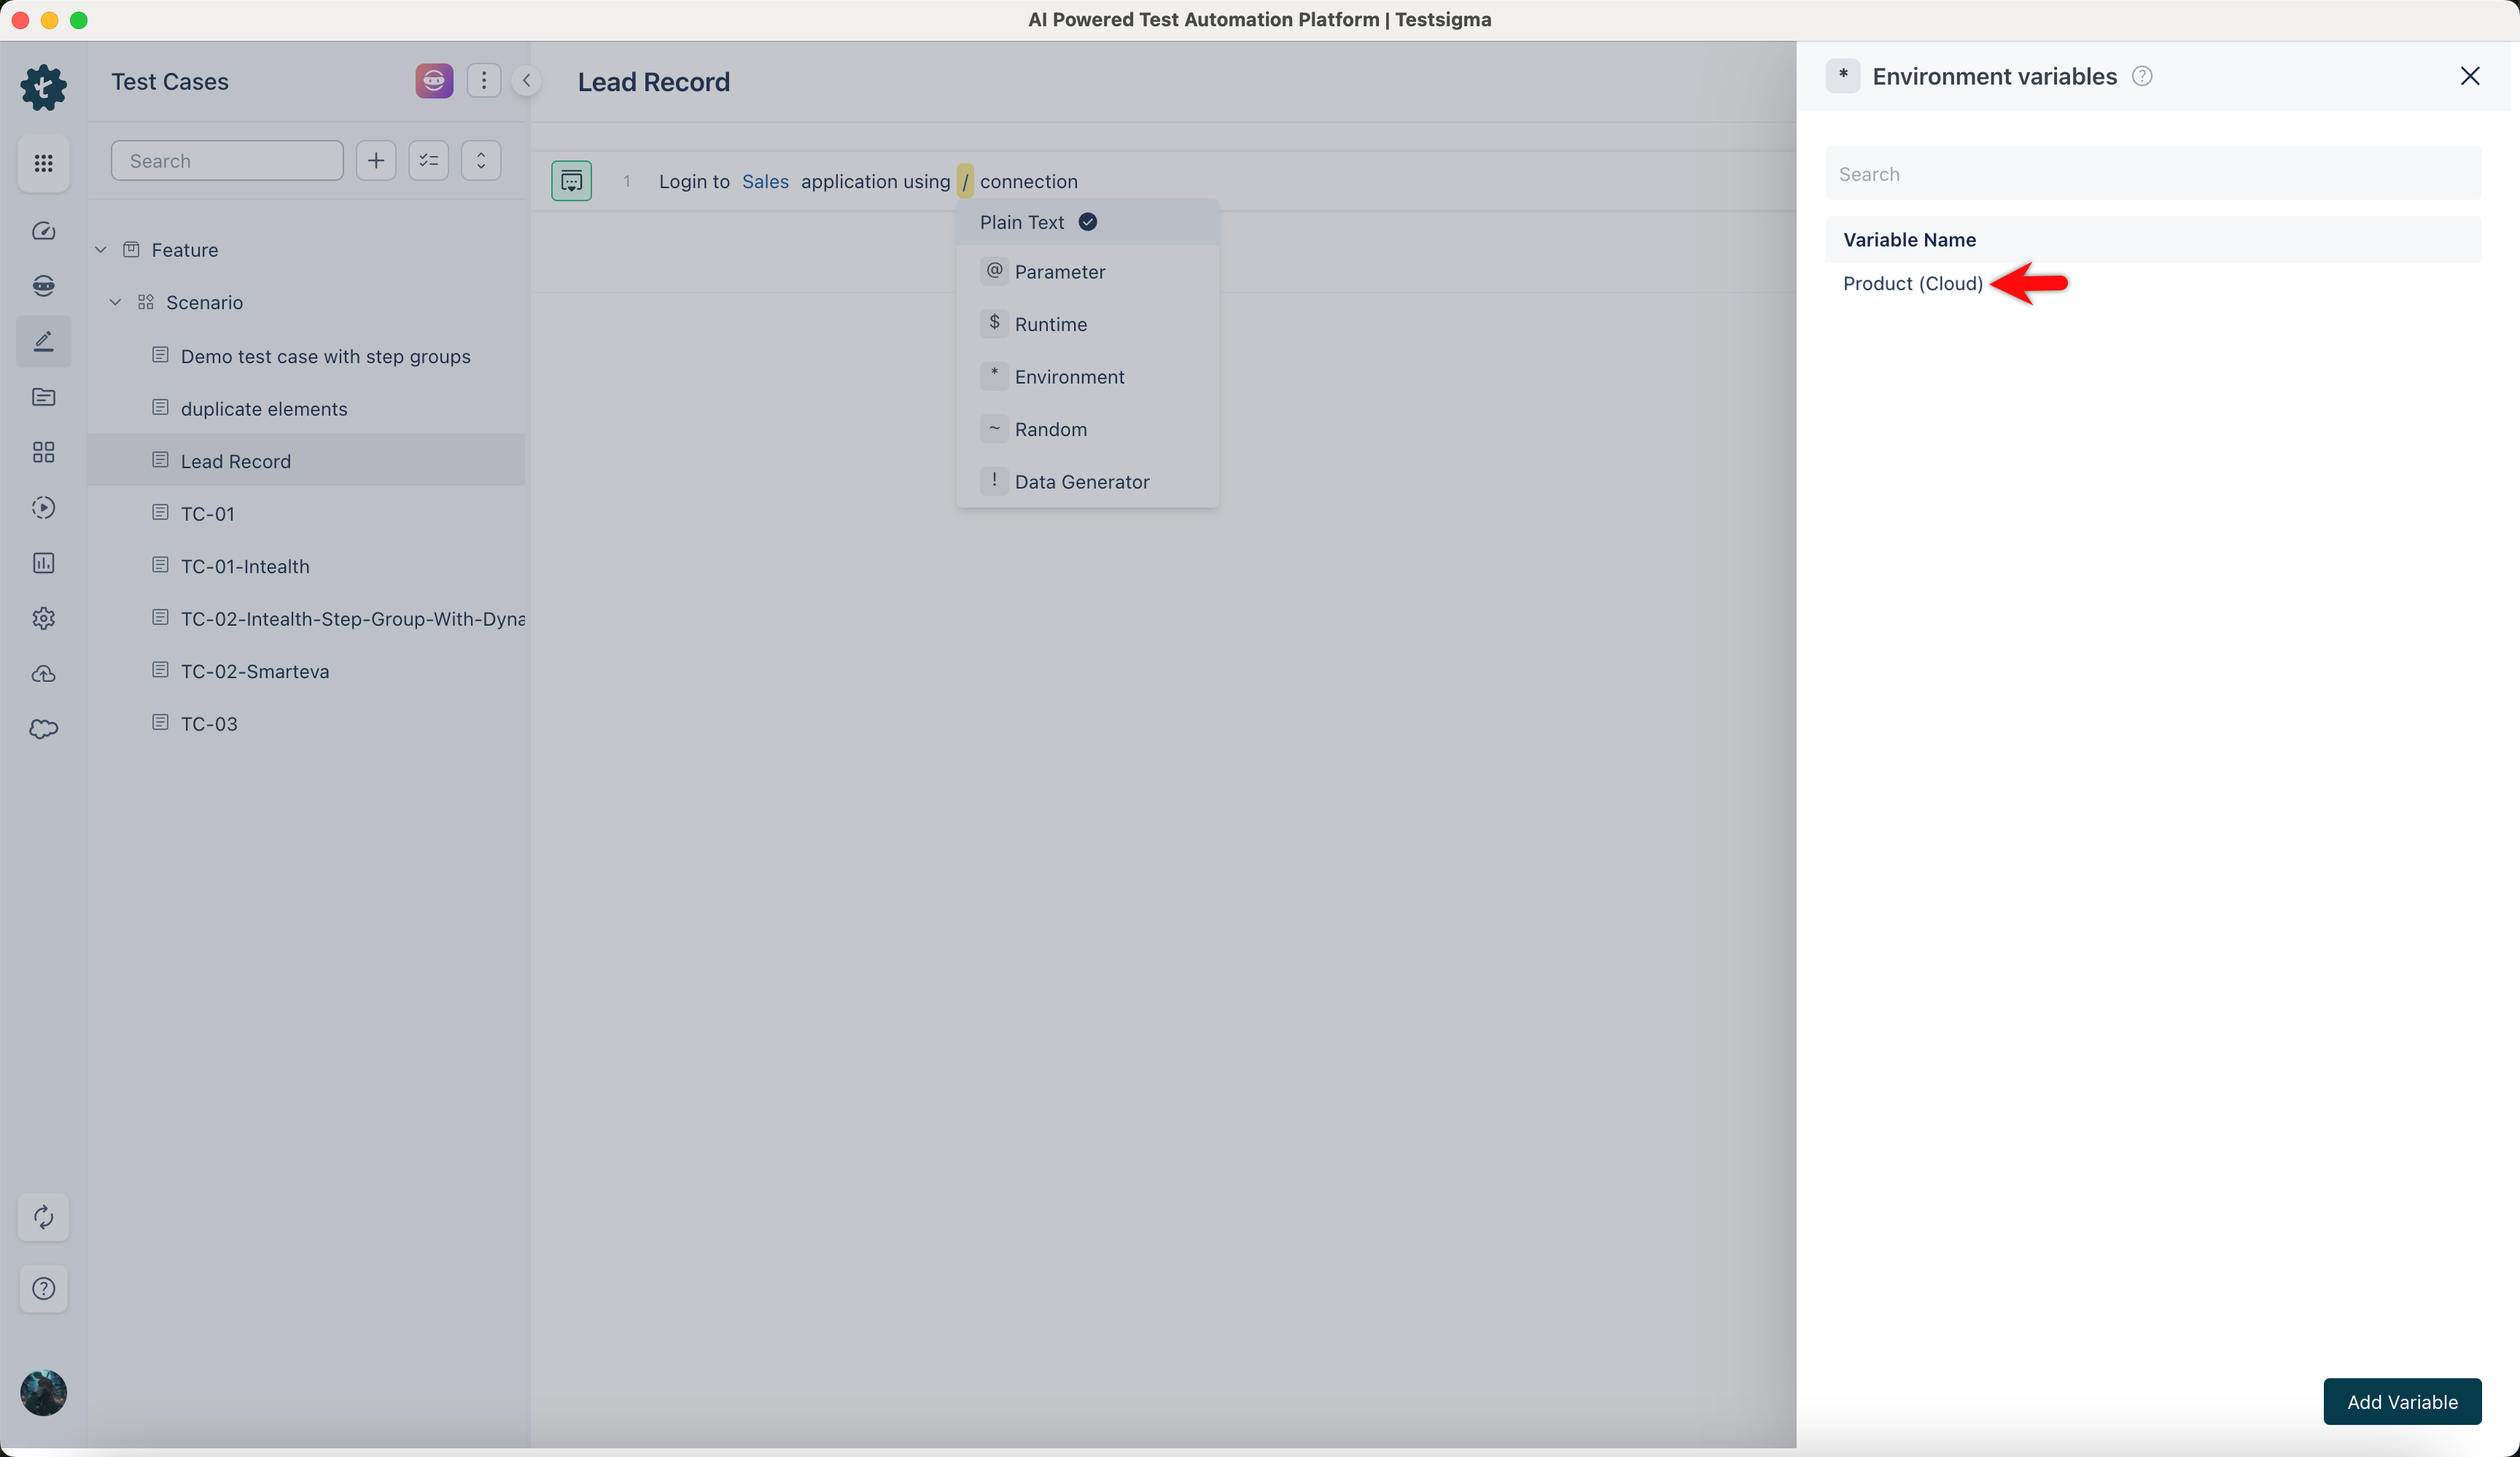
Make sure that the value added in Environment has the same name as in User Connections.
Want to contribute or report missing content?