- Elements (Objects)
- Web Applications
 Record Single Element
- Record Multiple Elements
- Create Elements
- Supported Locator Types
- Formulating Elements
- Shadow DOM Elements
- Verifying elements in Chrome DevTools
- Handling iframe Elements?
- Create Image Based Elements
- Dynamic Locators using Parameter
- Dynamic Locators using Runtime
- Using Environment Test Data for Dynamic Locators
- Locating Dynamic Elements in Date Widget
- Freeze & Inspect Dynamic Elements (WebPage)
- Locating Dynamic Elements in Tables
- Import/Export Elements
- Locator Precedence (Web Apps)
- Verify Elements from Test Recorder
Record Single Element Using Recorder
You can also selectively capture single element of a web application using Testsigma recorder. This article discusses how to capture a single element using the Testsigma test recorder.
Prerequisites
Before you begin, ensure that:
- You have installed the Testsigma Chrome Extension. For more information on installing Testsigma Chrome Extension, refer to the documentation on Testsigma Chrome Extension.
- You have a web application that is available for testing.
Steps to Capture an Element
- From the left navigation bar, go to Create Tests > Elements.
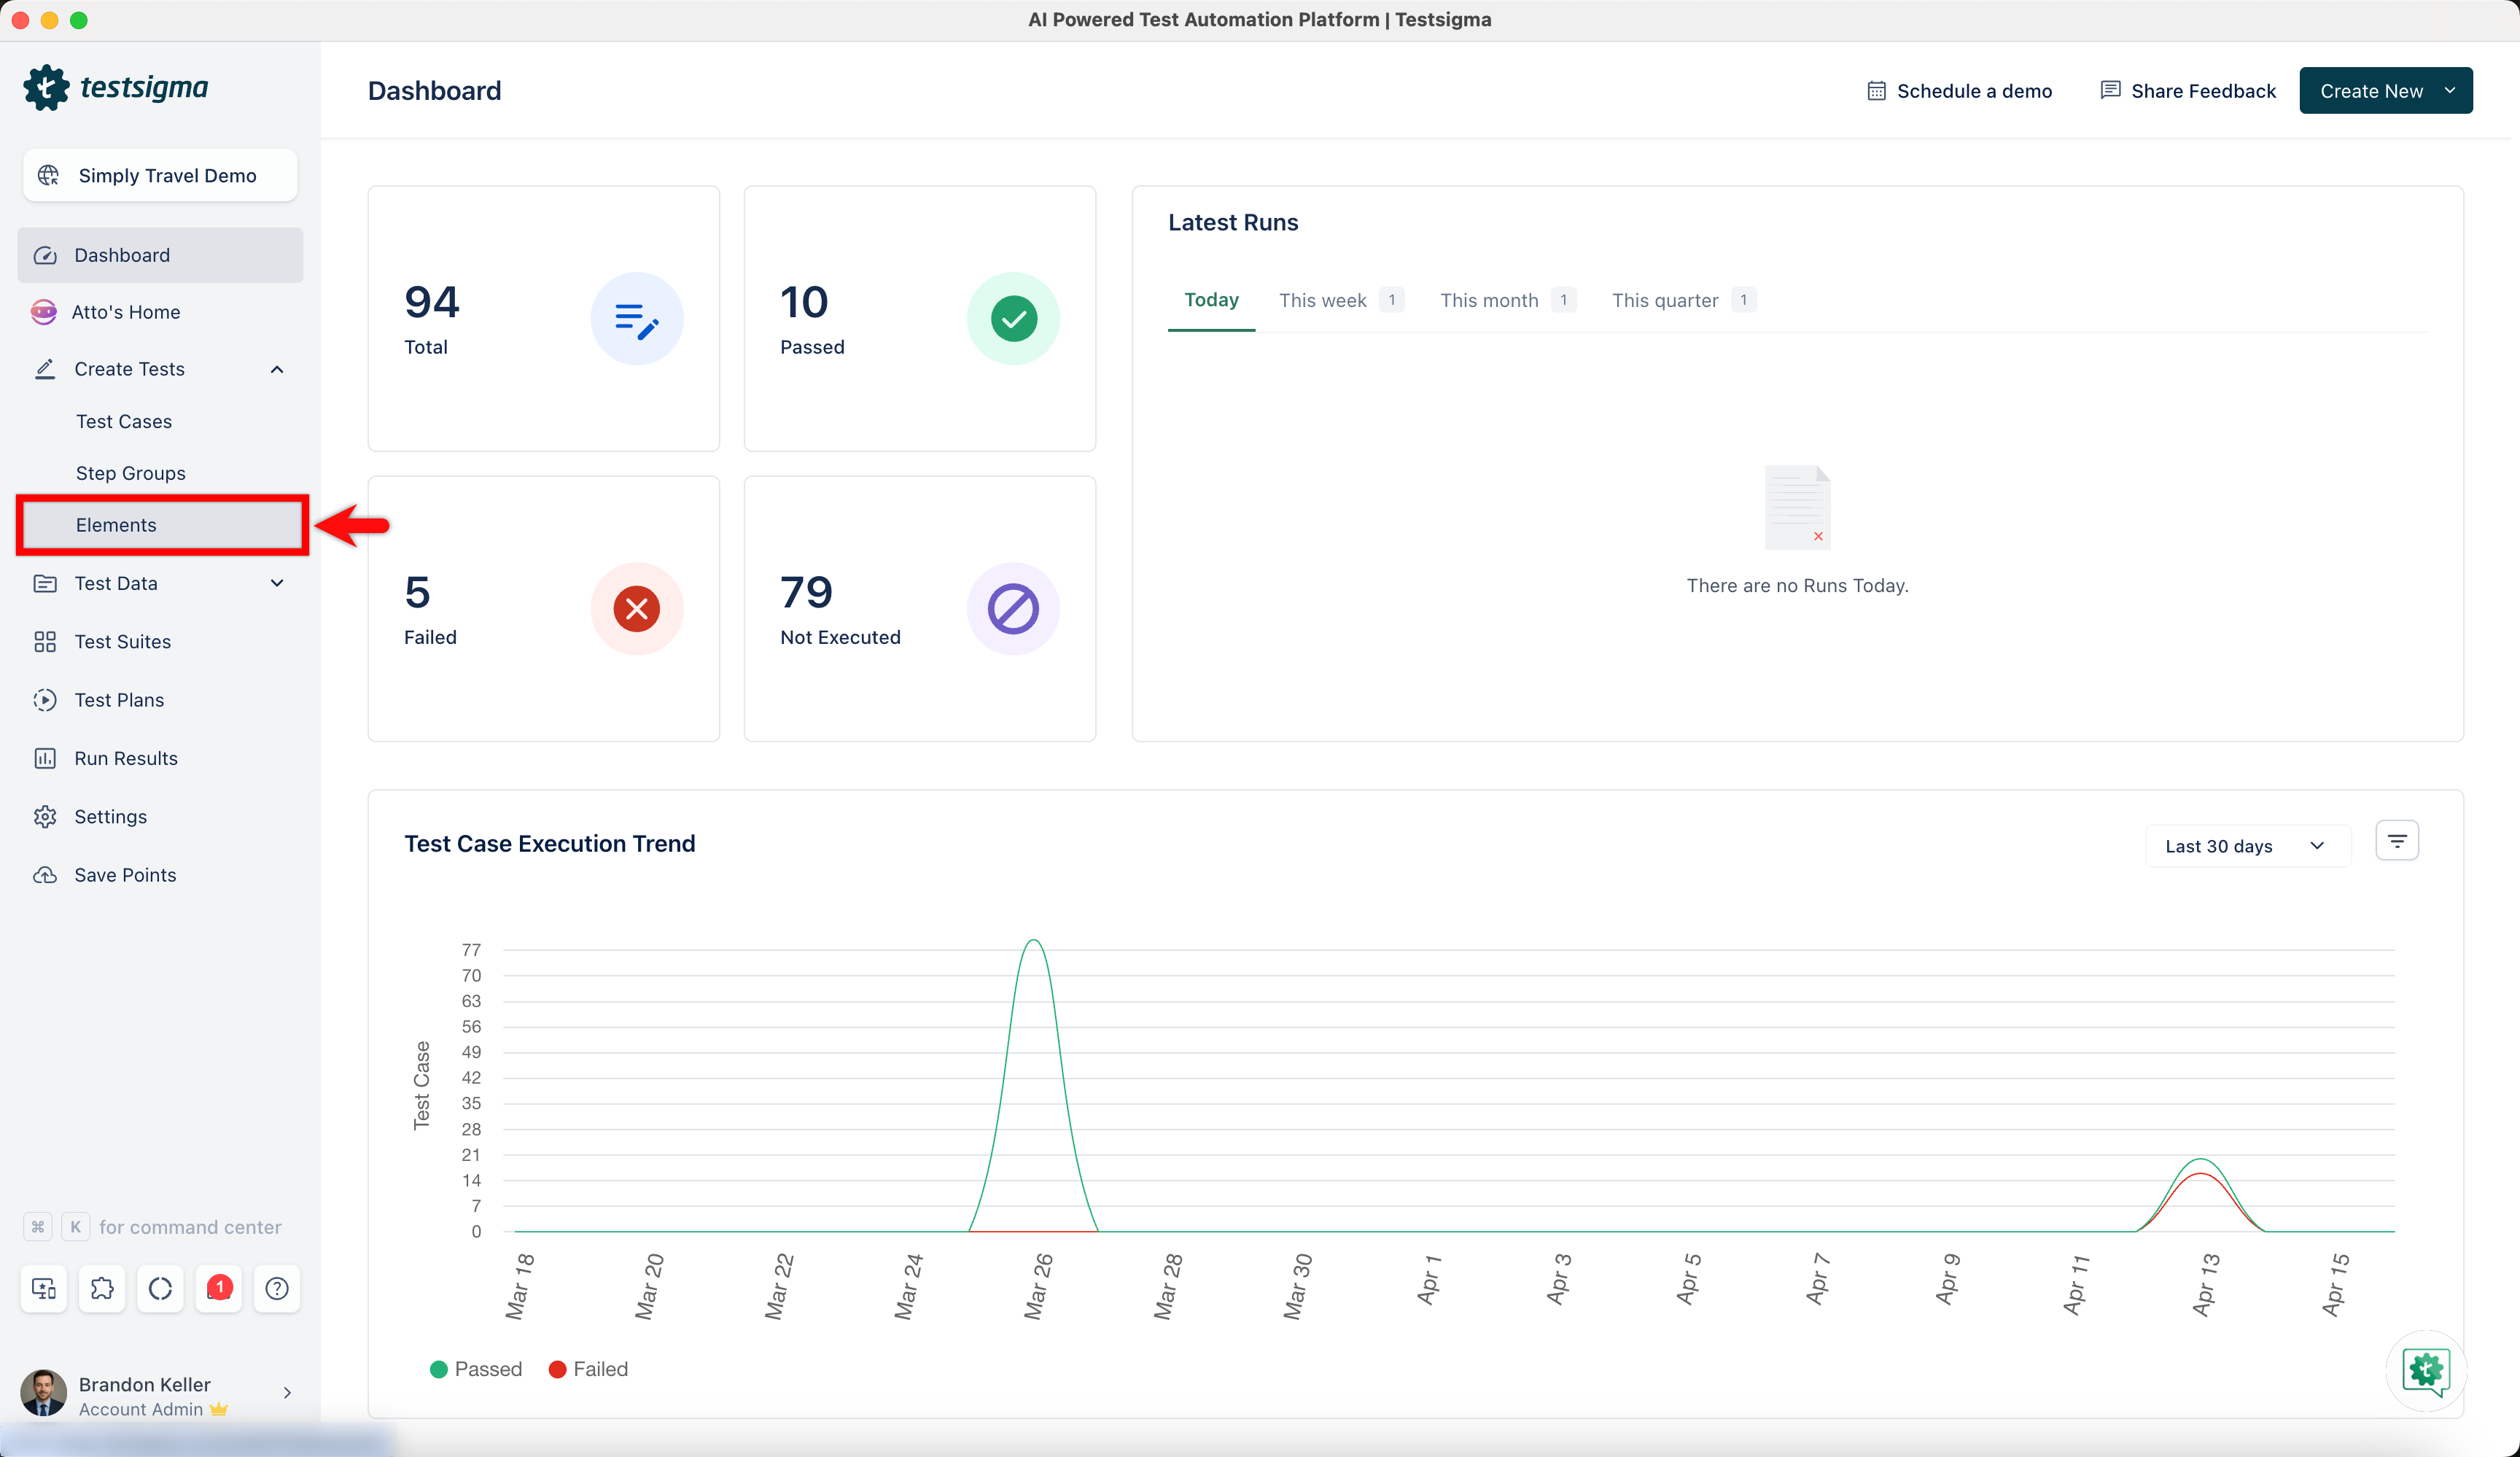
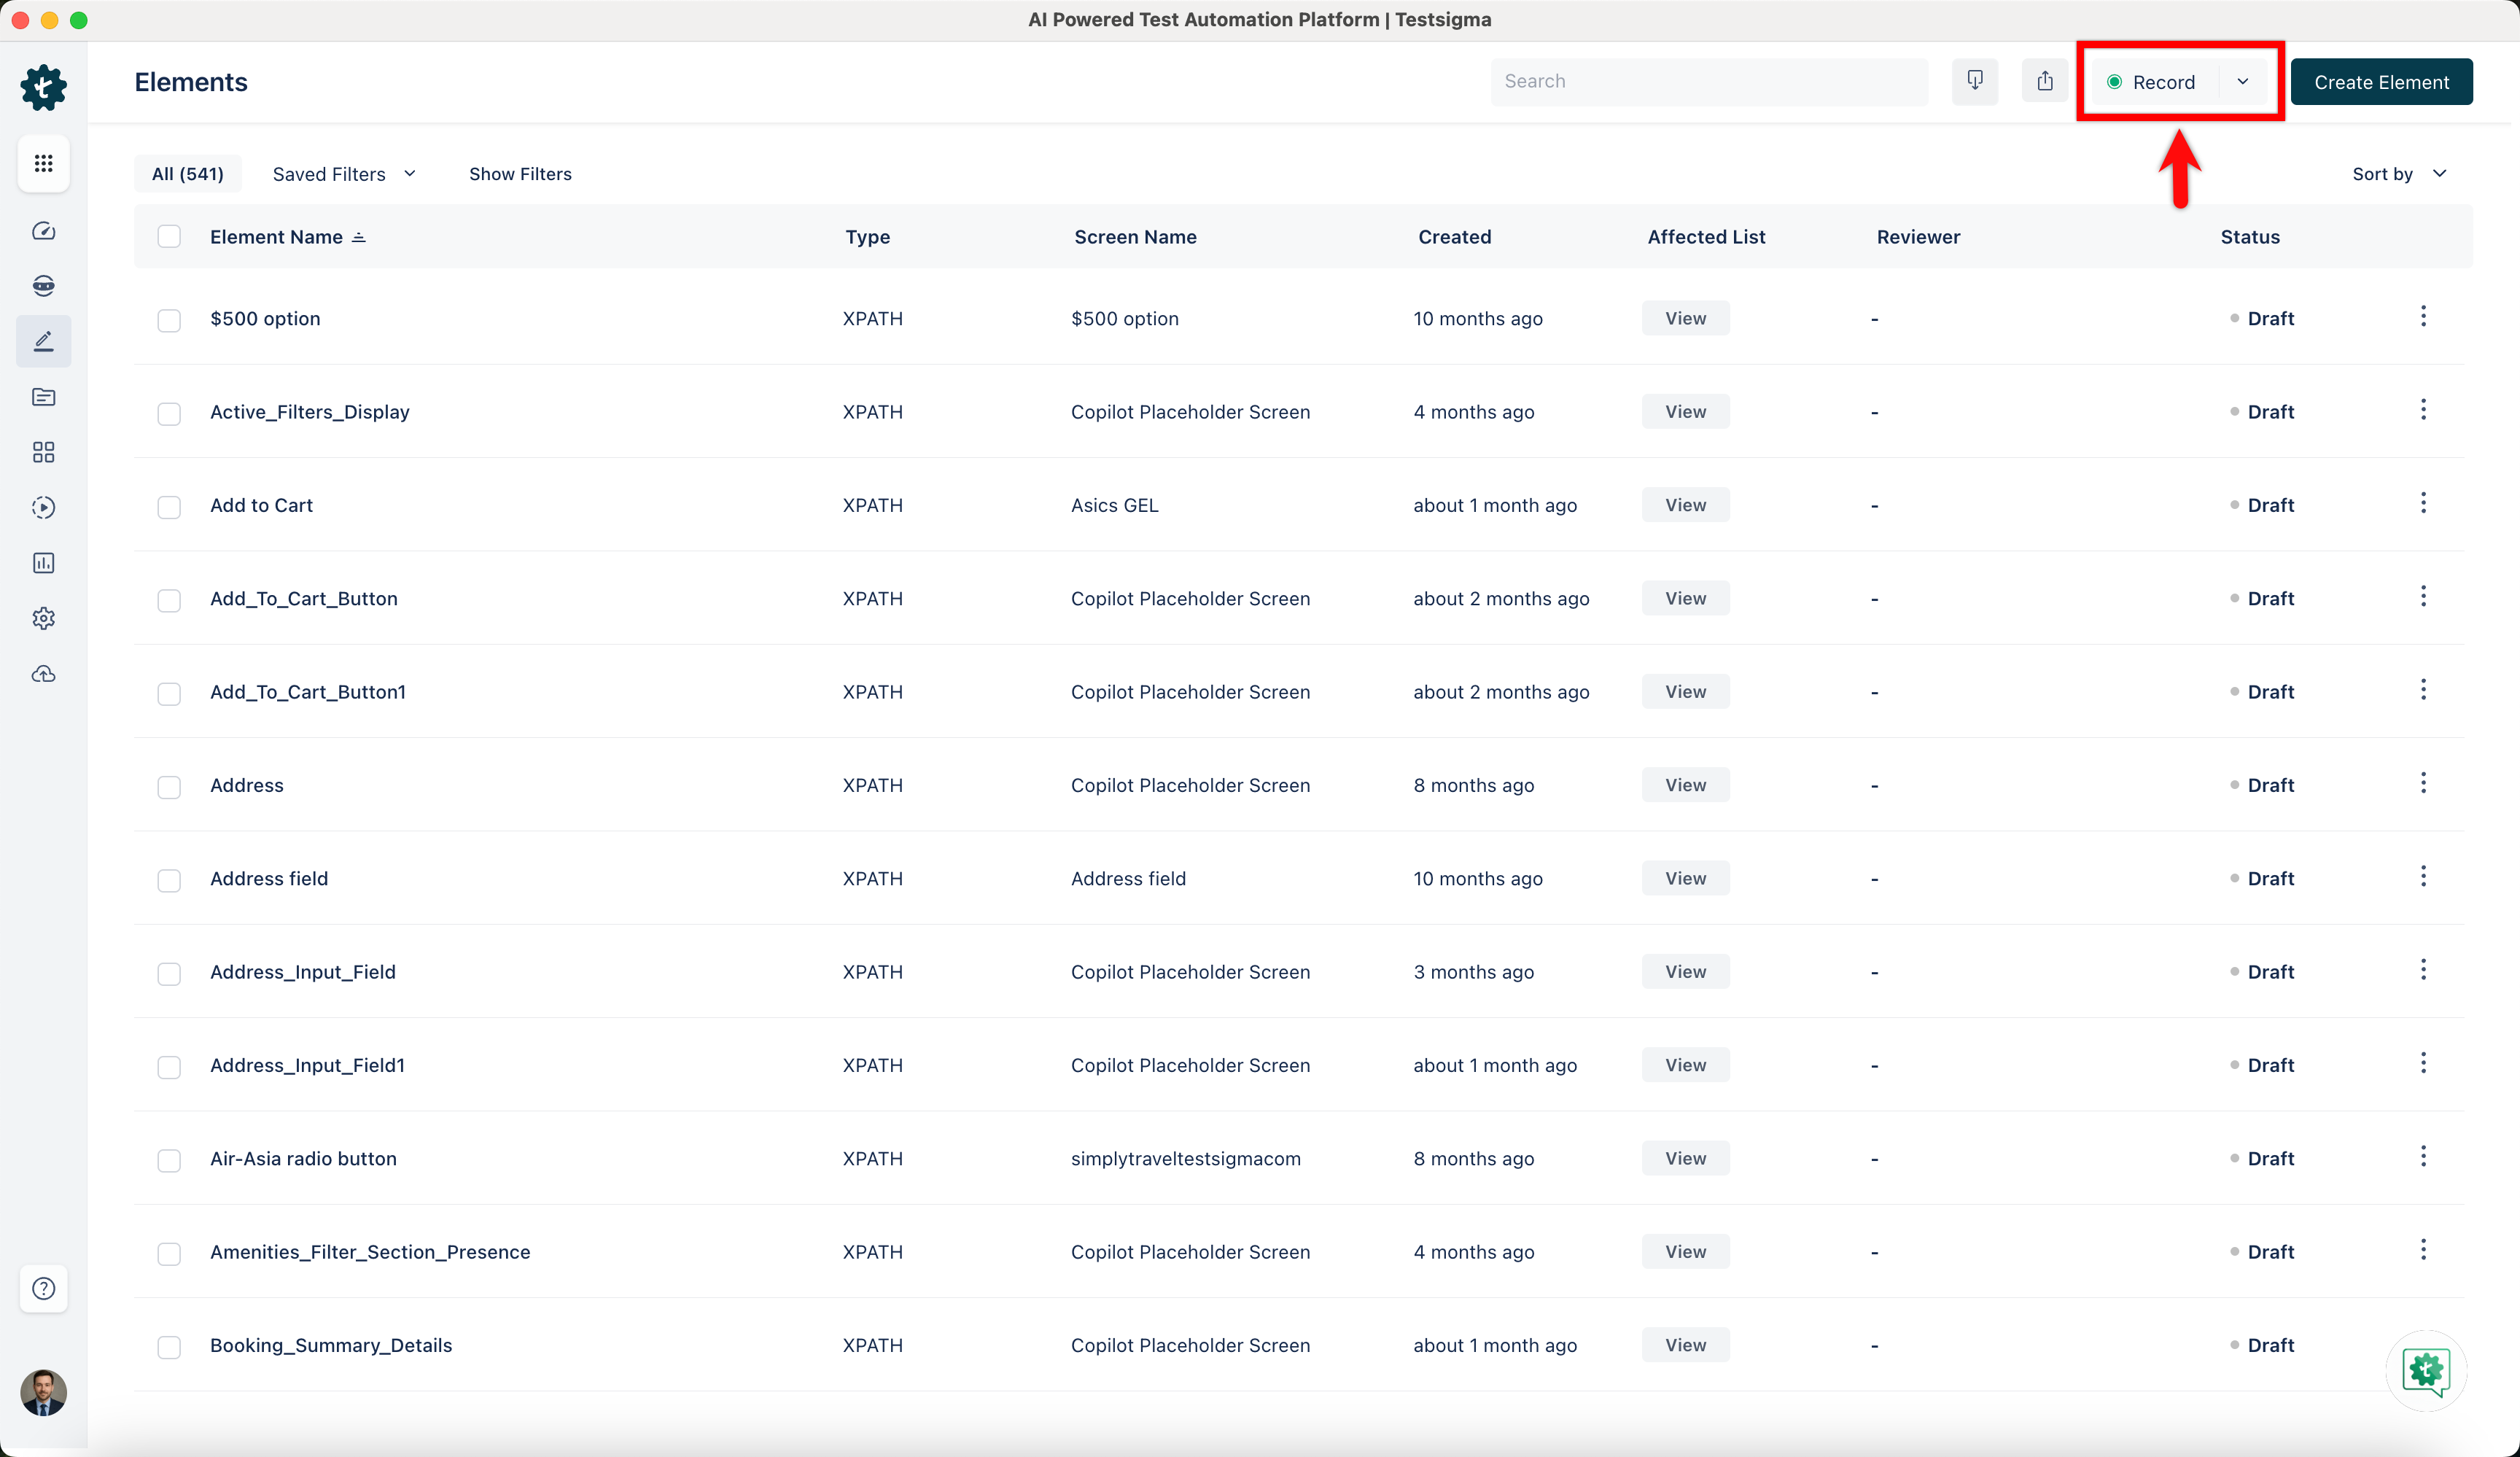
- Click on Record on the top right corner.
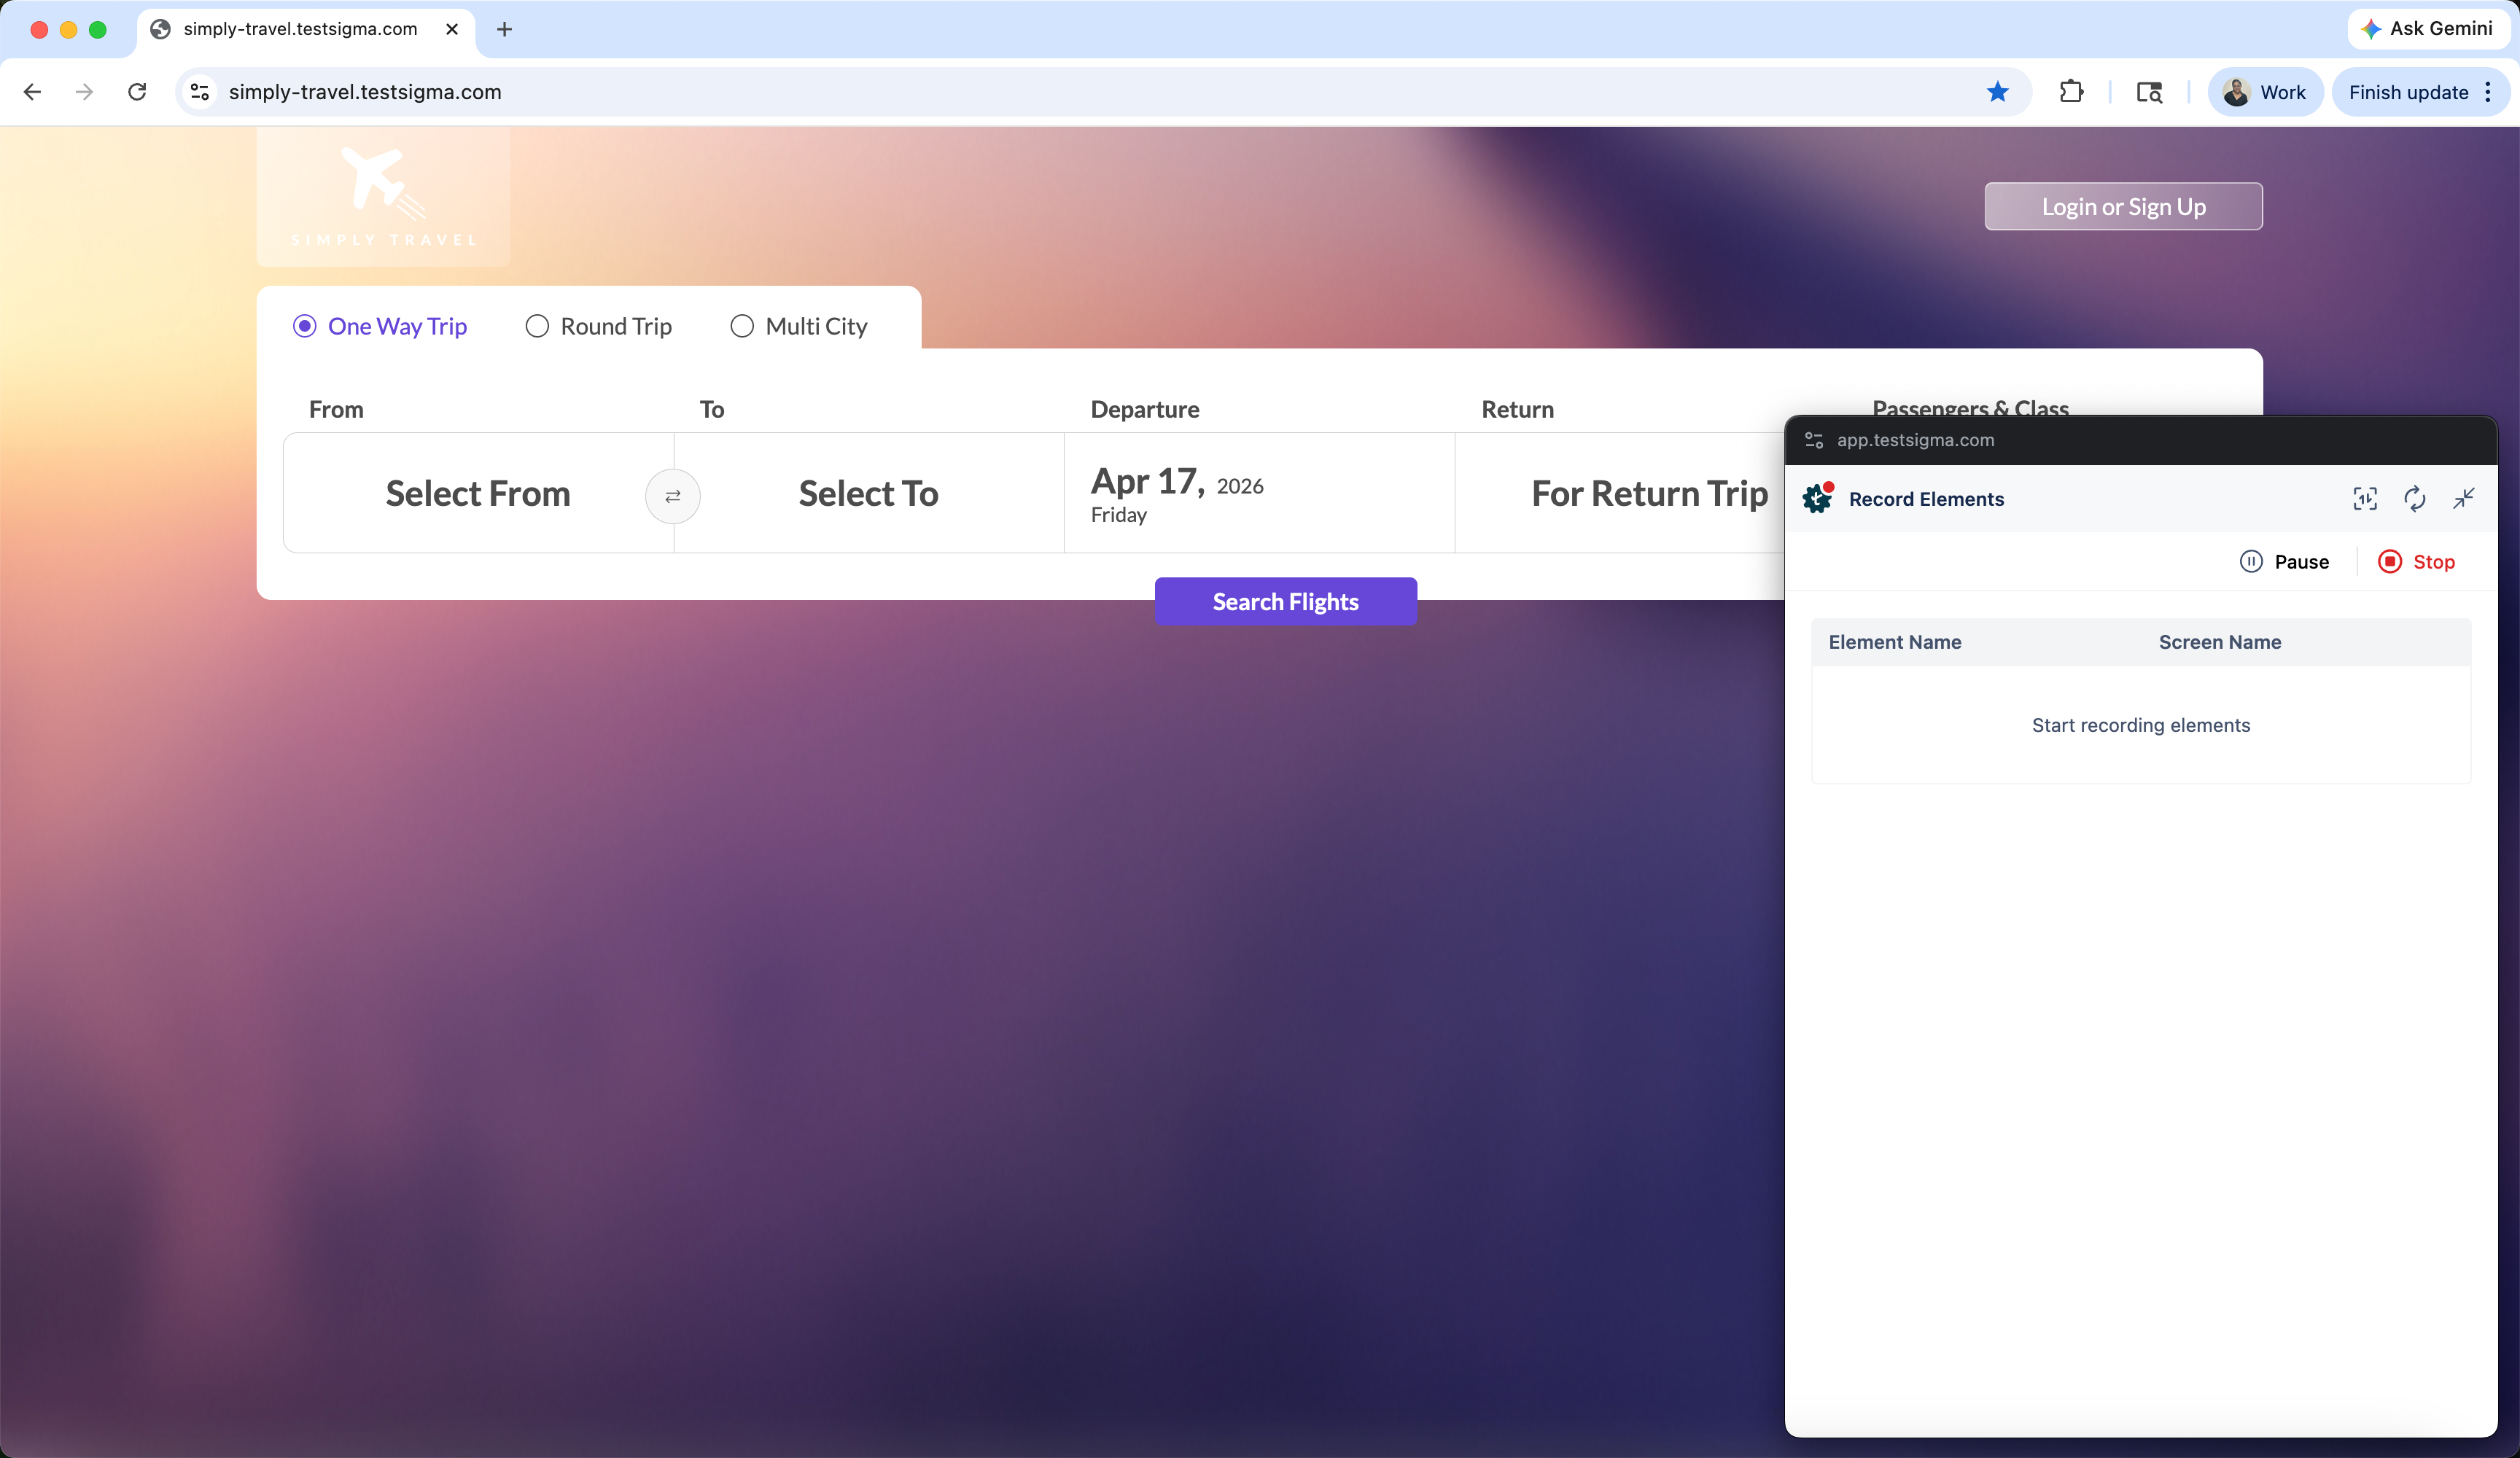
- This will open a new tab. Enter the URL from which you want to capture the elements. The Testsigma test recorder will appear and will be ready to start recording. Here, we entered the URL for Simply Travel Web.
- Hover over the element you want to capture and make sure that it is highlighted in green (for example, here we are capturing the Login or Signup field):
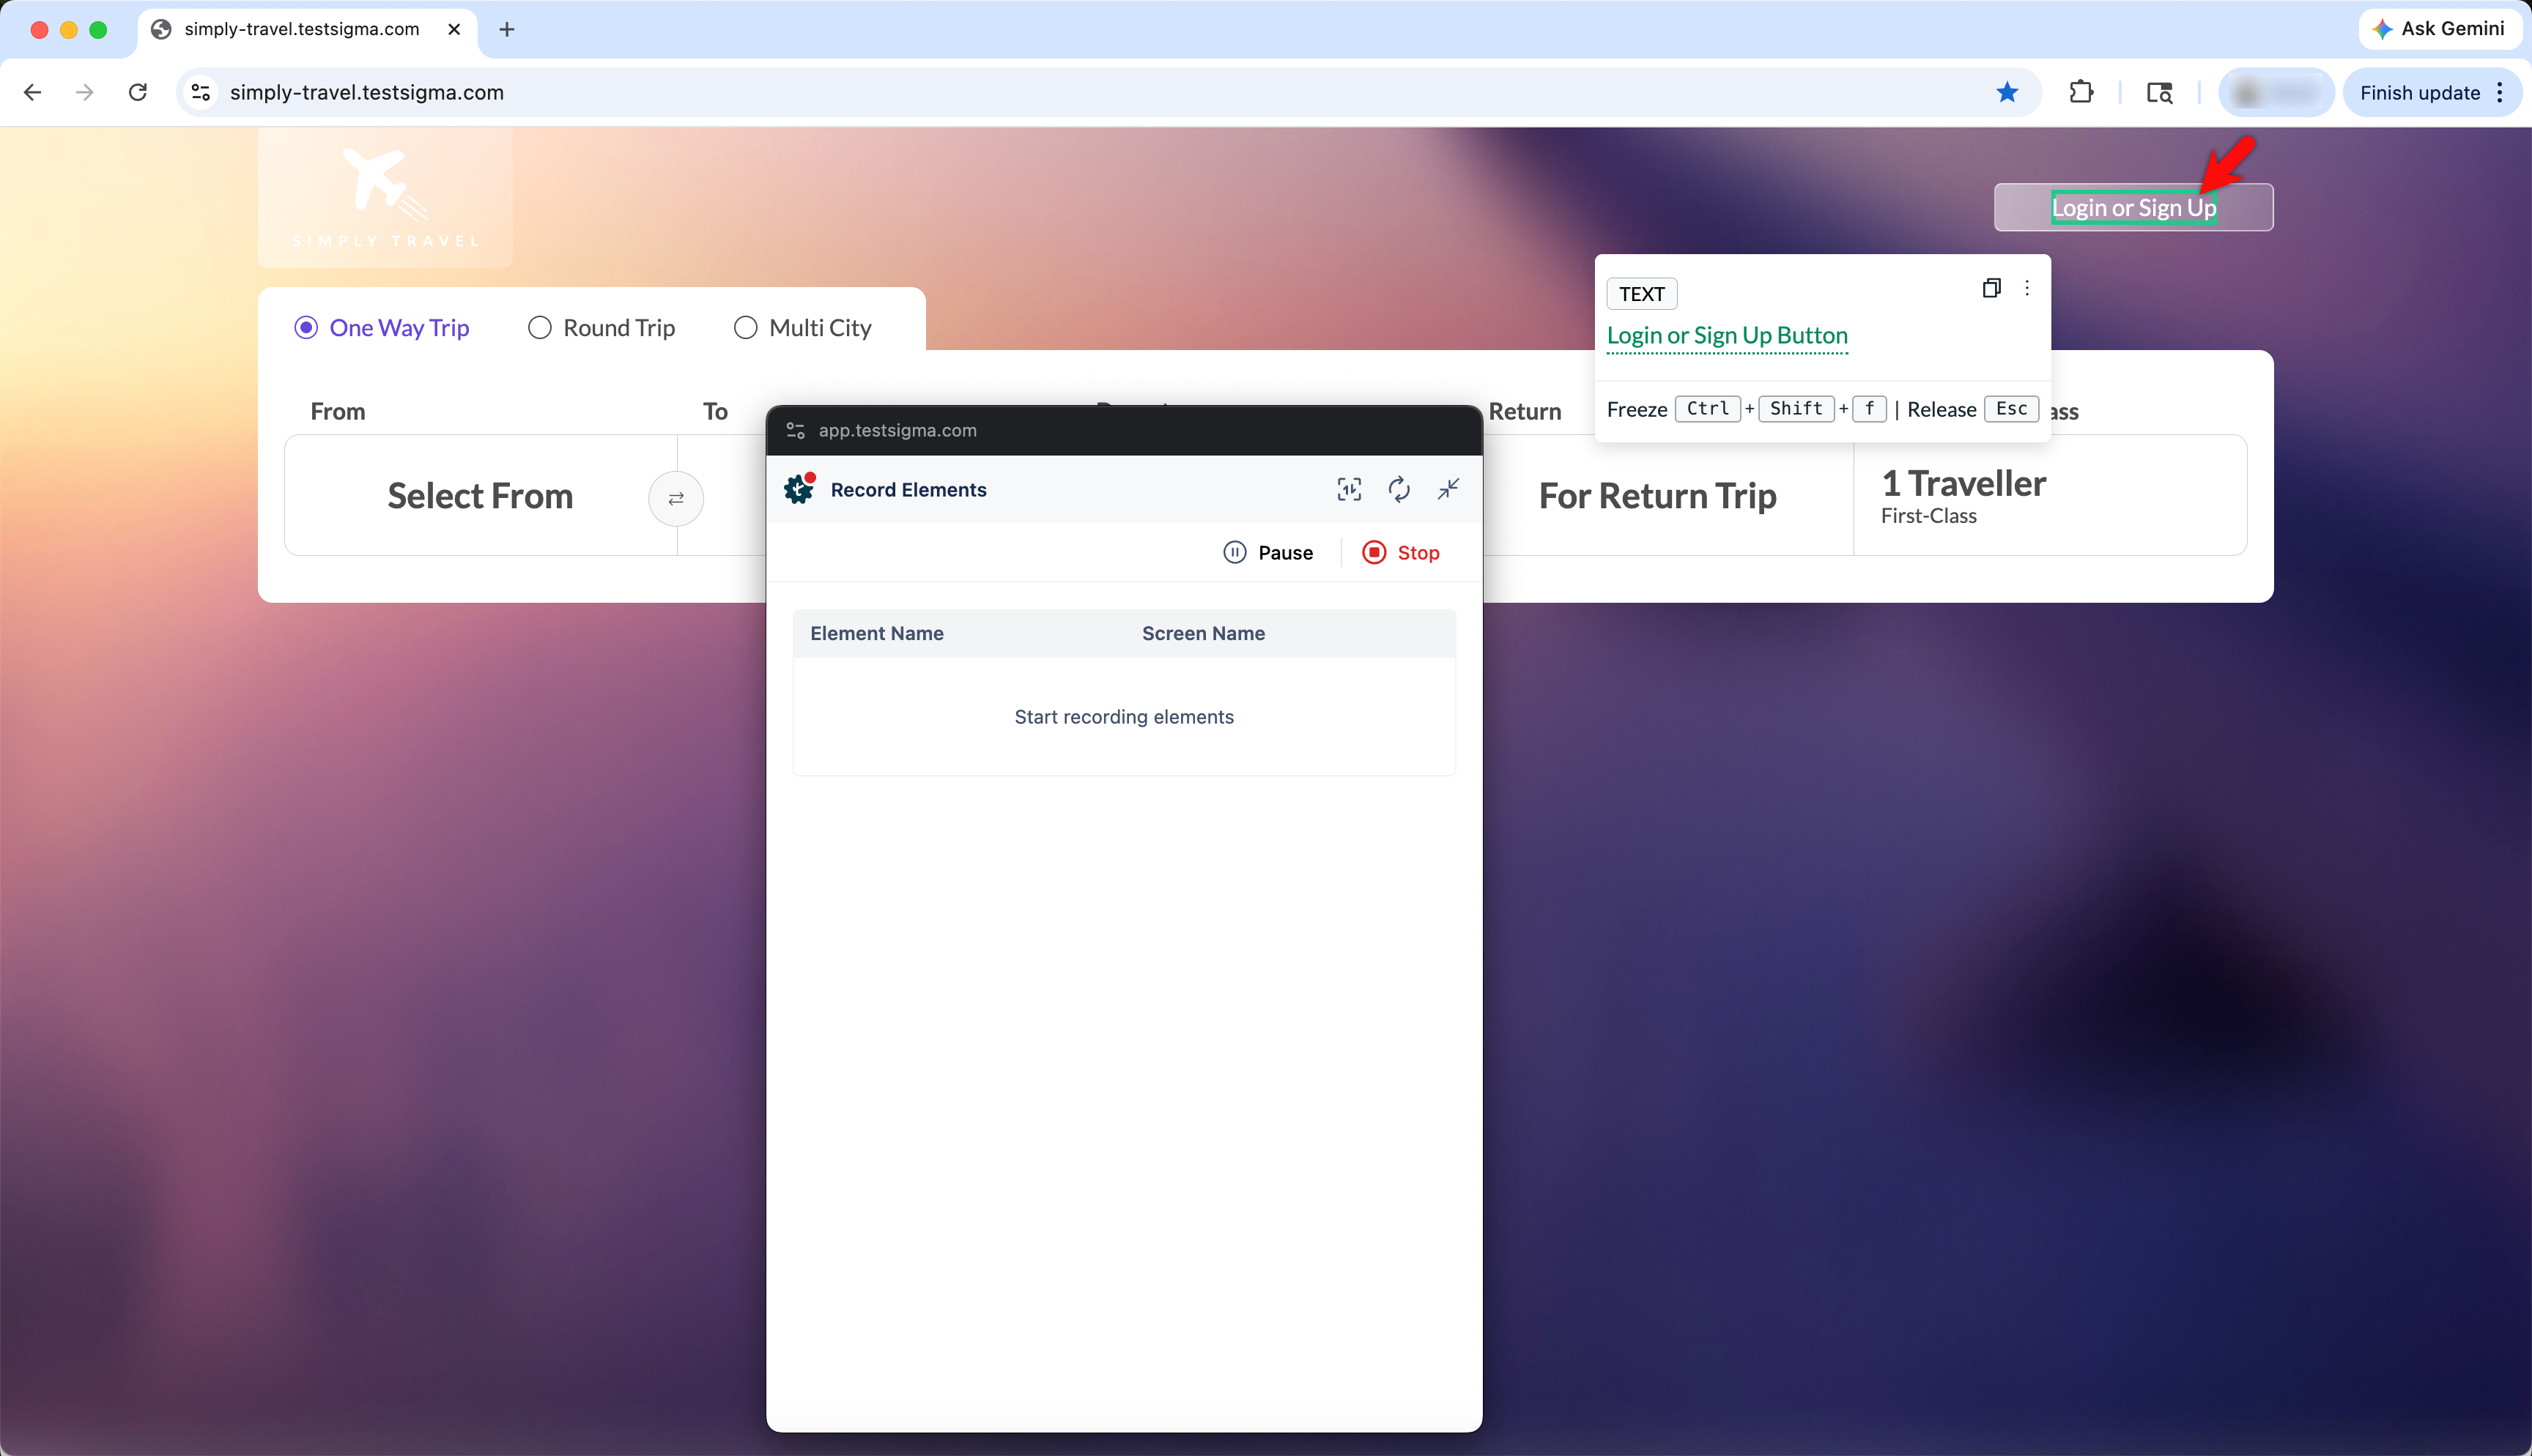
- Click on the hovered element and wait for the element to appear in the recorder.

- Once you have captured the necessary element, click on Stop.

- You'll be redirected to the Elements page, where you can see all recorded elements.
NOTE:
While recording elements, the recorder will also capture the page image, highlighting the respective element. This provides visual context along with the element details.
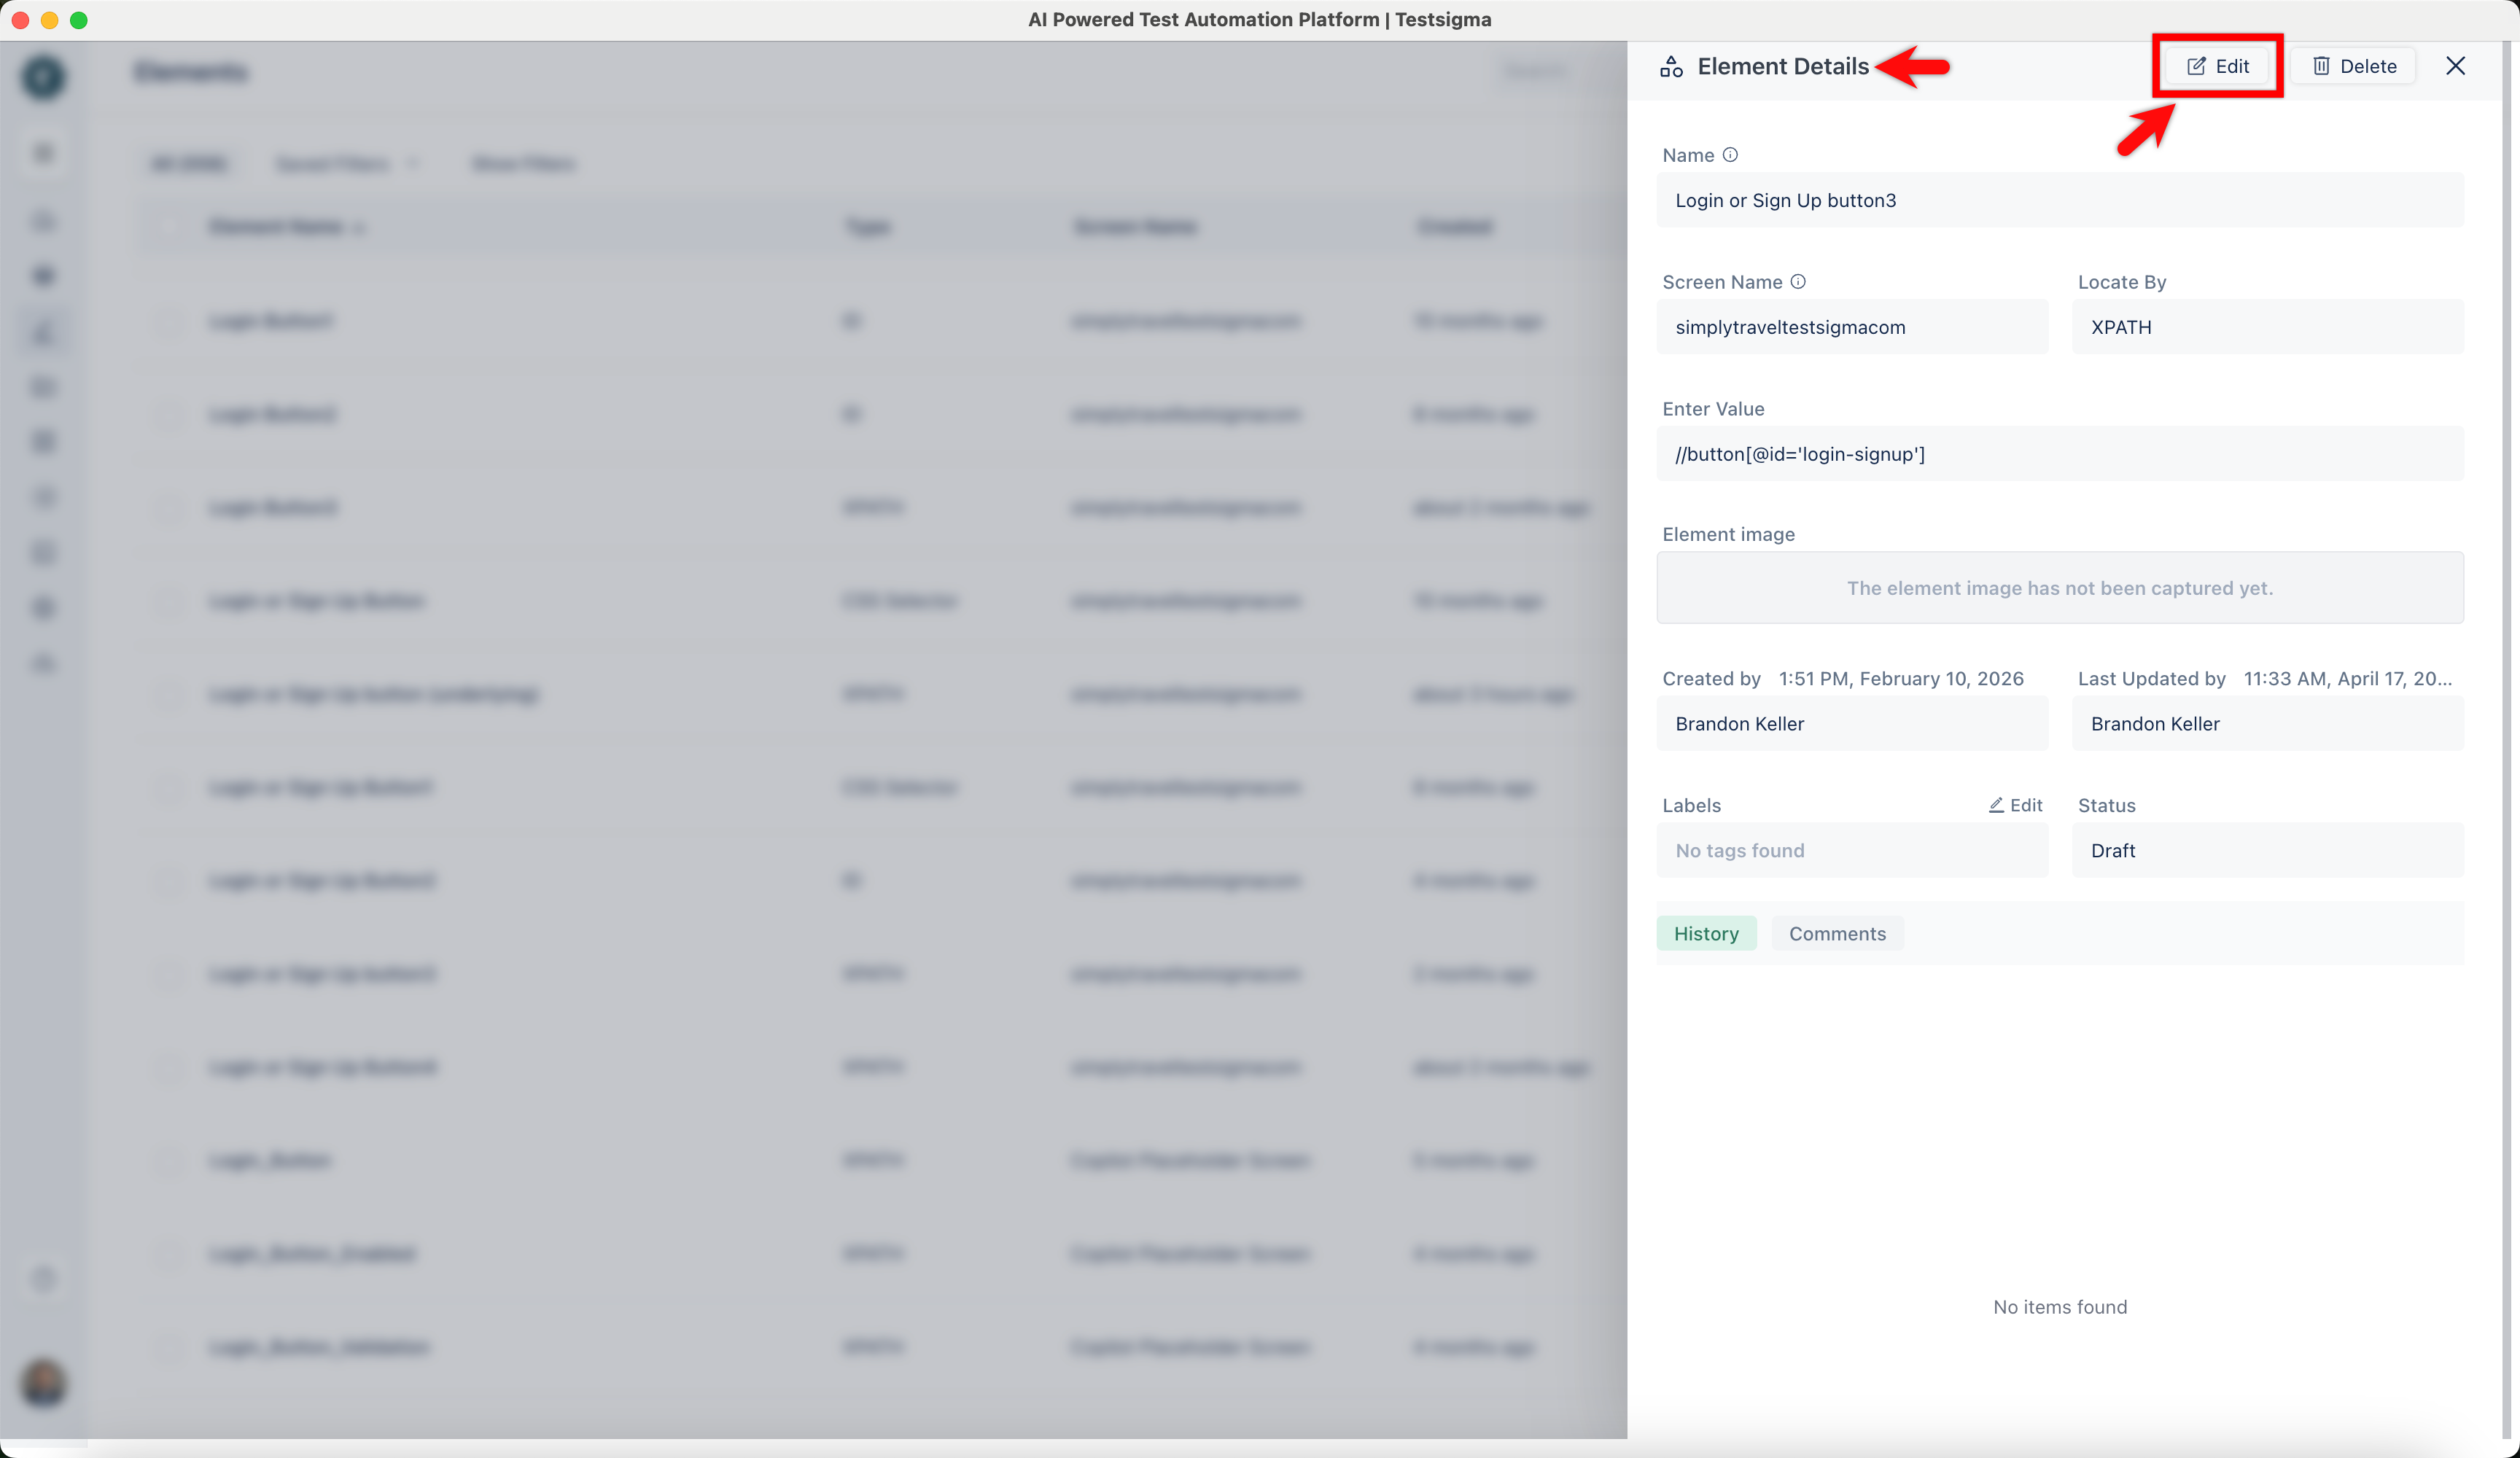
Steps to Update an Element
- From the left navigation bar, select Create Tests > Elements.
- From the Elements list page, click on an element.
- In the Element Details overlay, click Edit. This will open the Update Element overlay.
- In the Update Element overlay, manually update the details you want to change, and click Update Element.
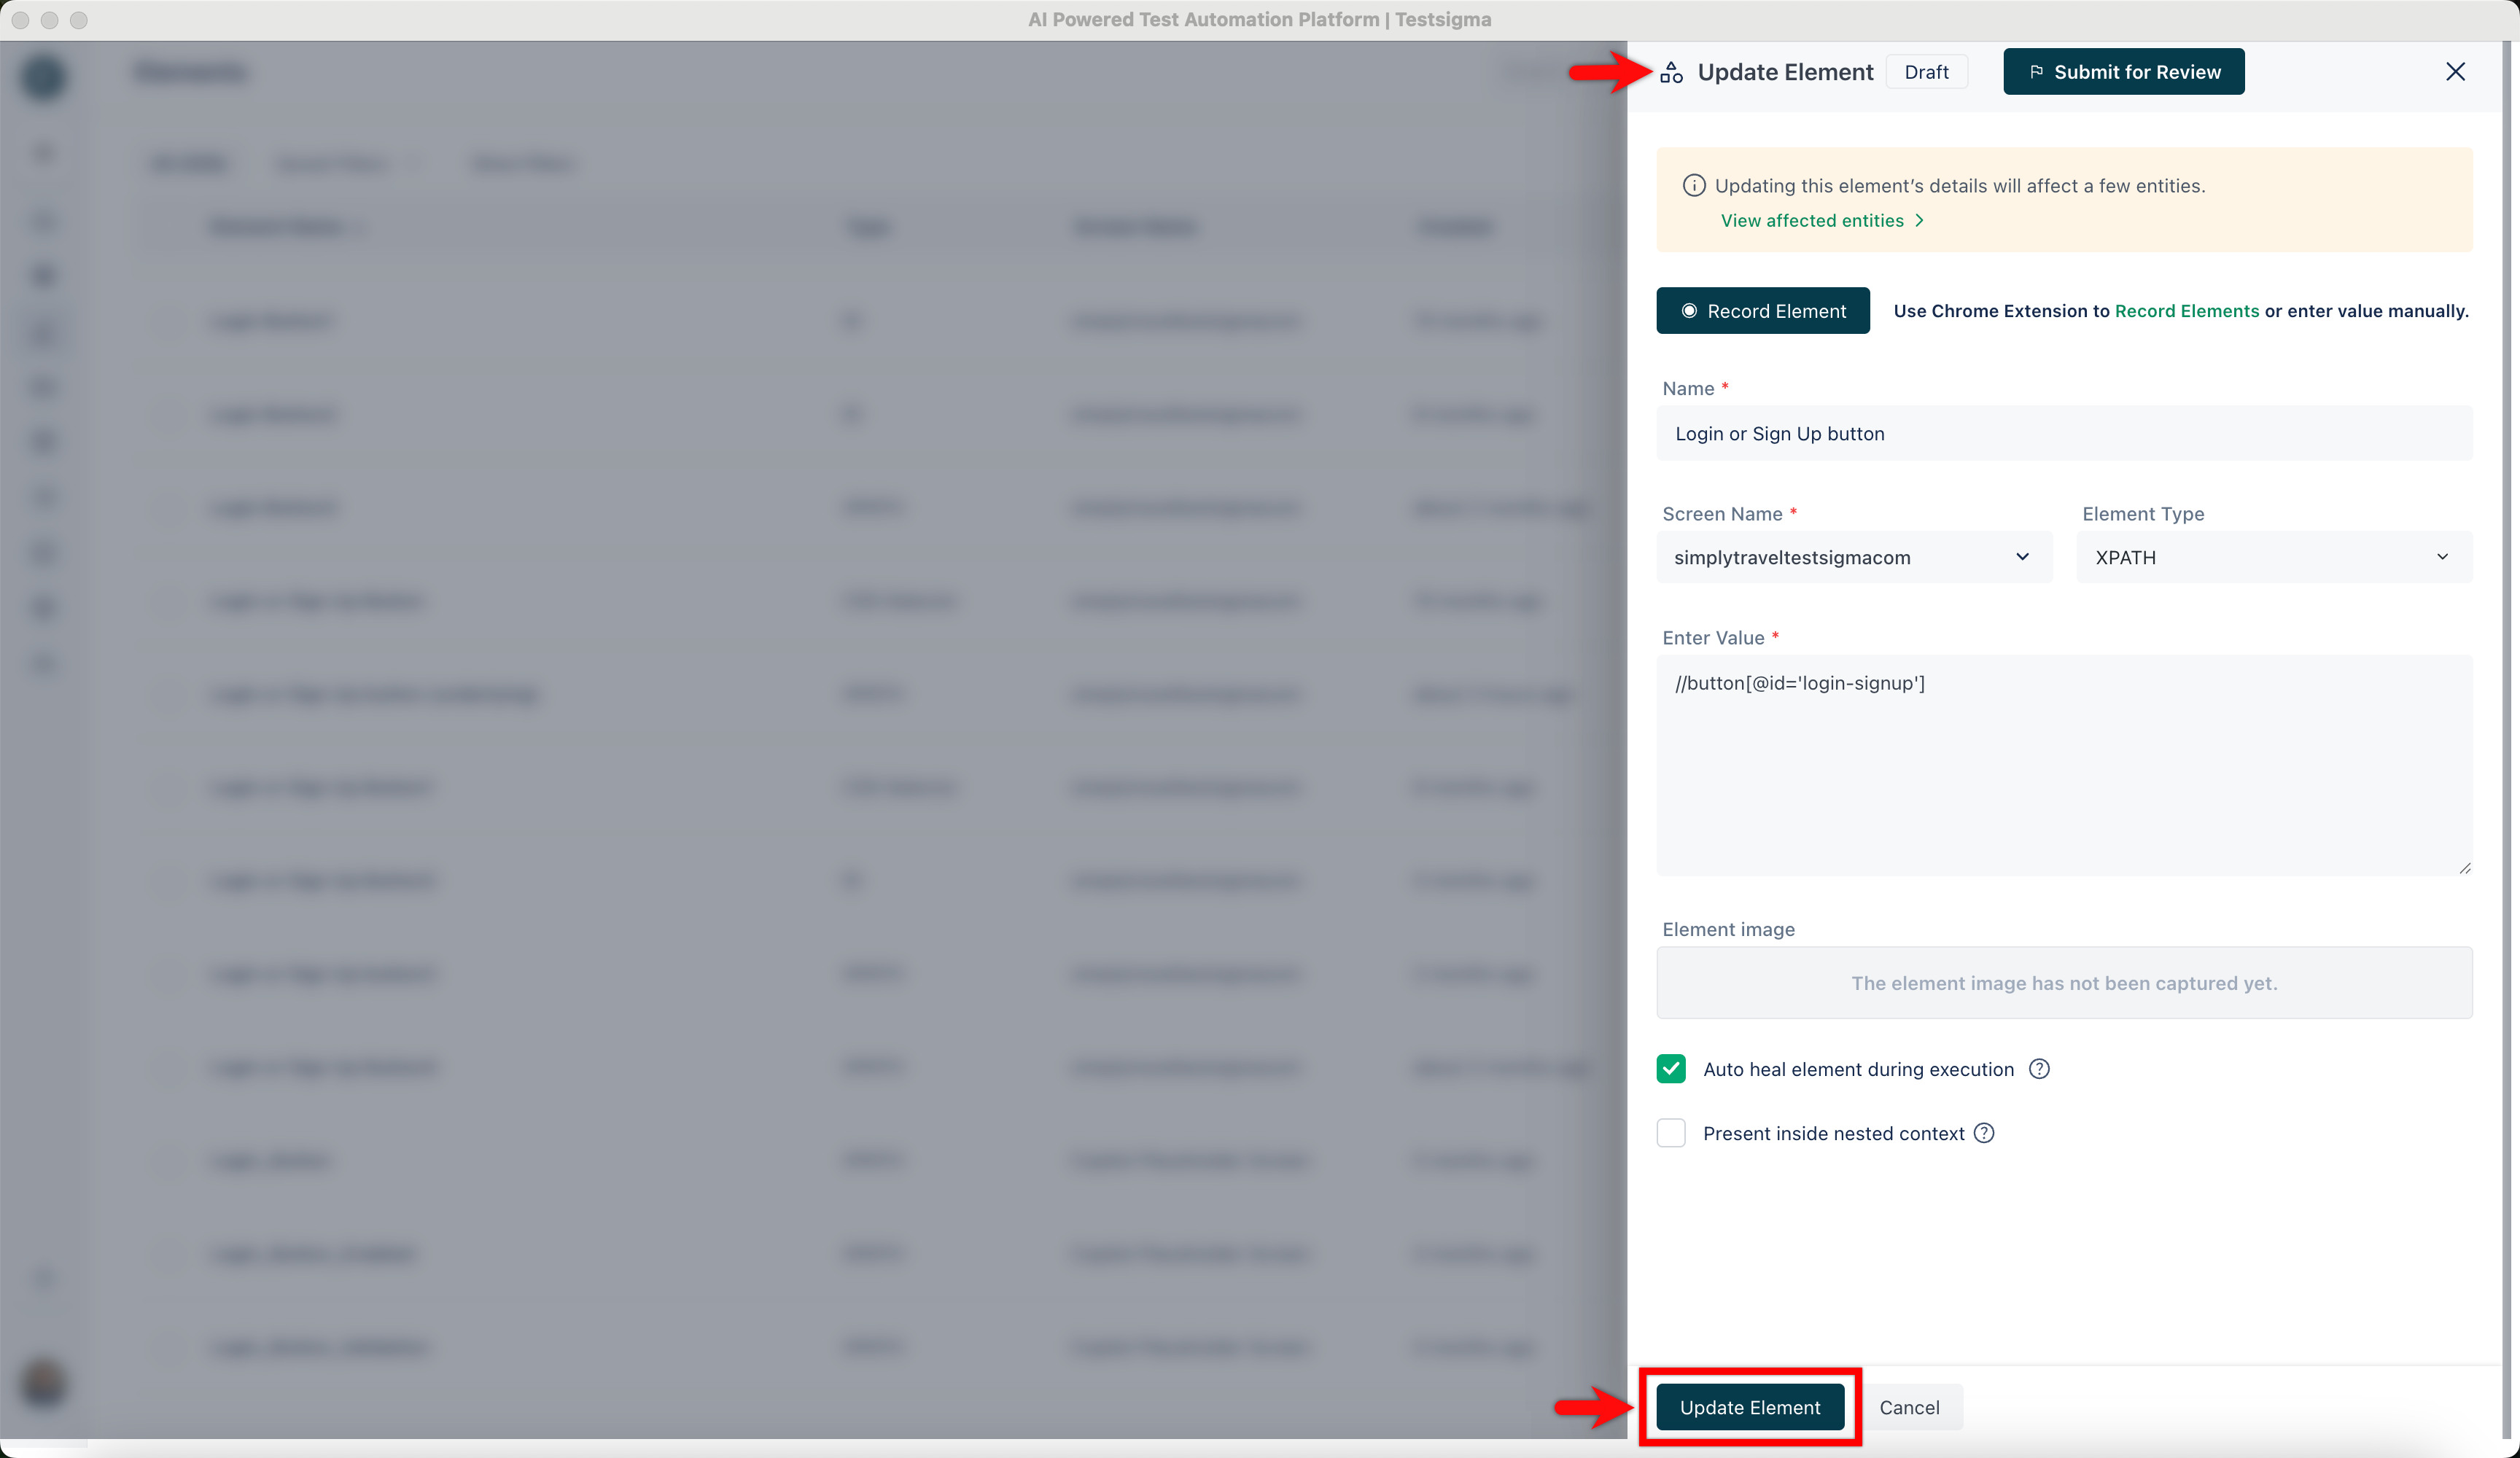
💡 Additional Info:
You can update the following fields:
- Name
- Screen Name
- Element Type
- Value
- You can also check the highlighted element in the Element Image section in the same overlay for your reference.
NOTE:
You can also update the element from the run results by navigating to Ad-Hoc Runs > Test Step > Element > Edit Element.
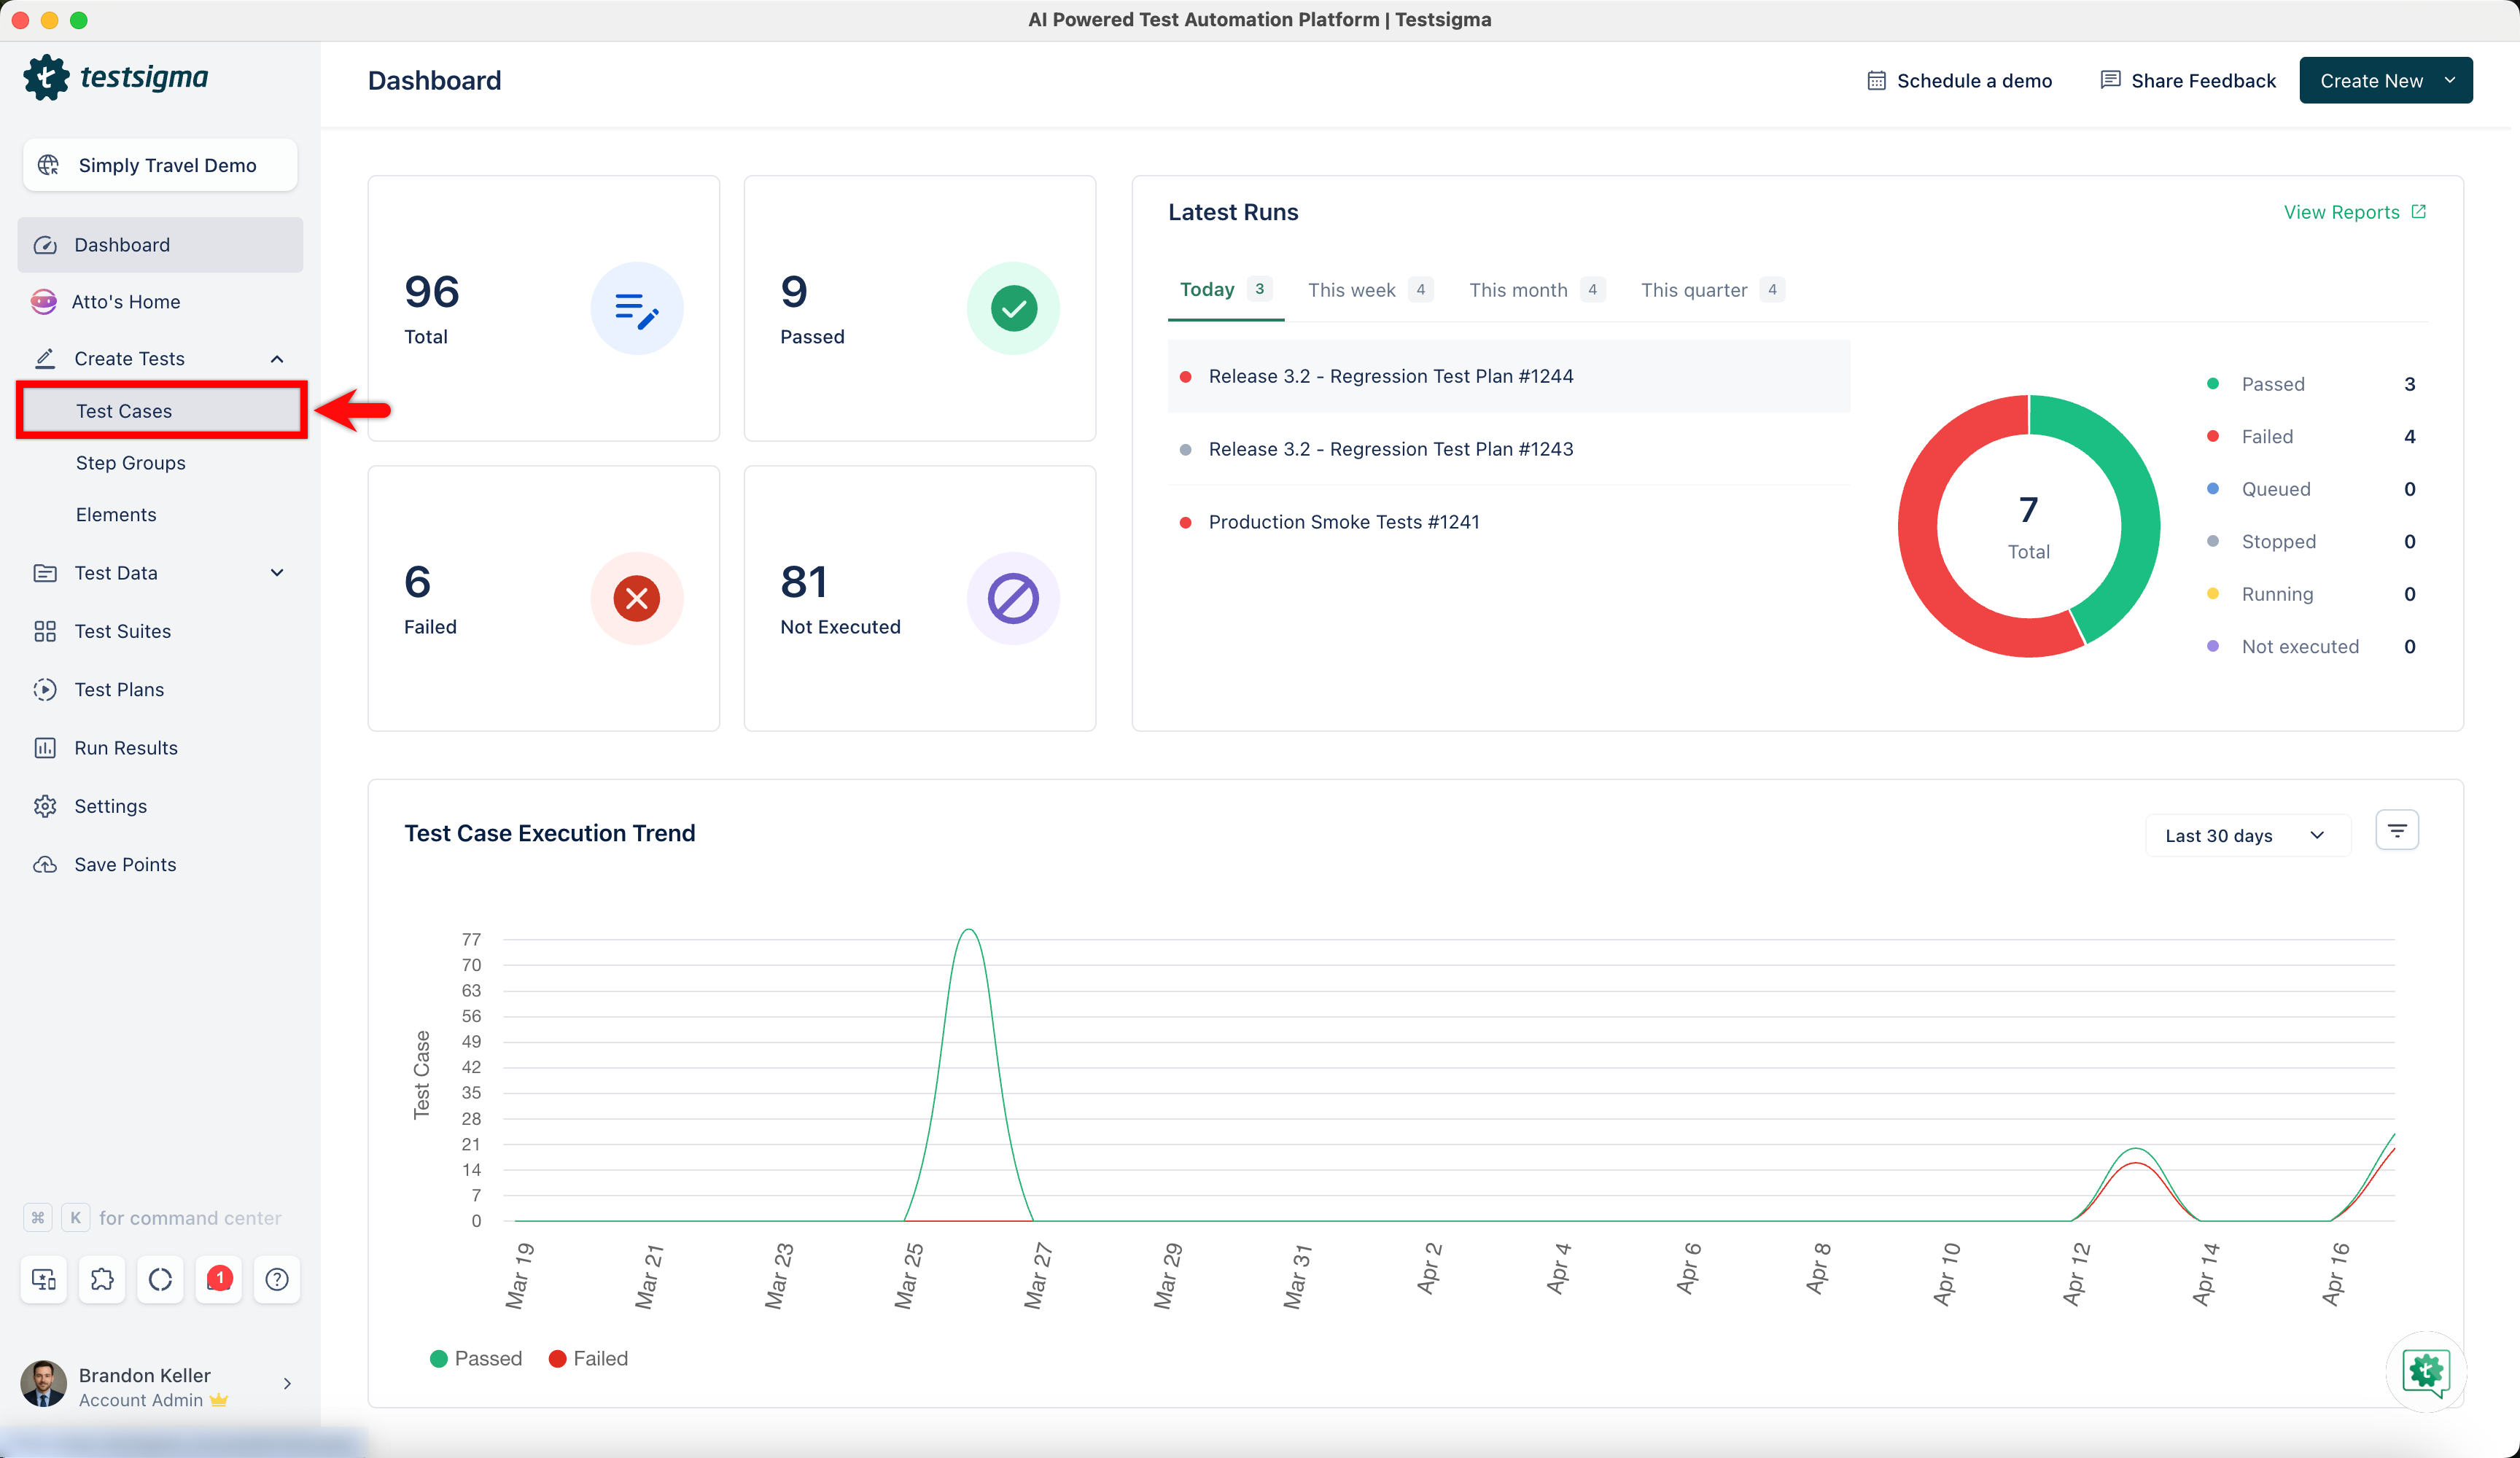
Creating an Element While Creating Test Case
- From the left navigation bar, go to Create Tests > Test Cases, create a new test case or select an existing test case.
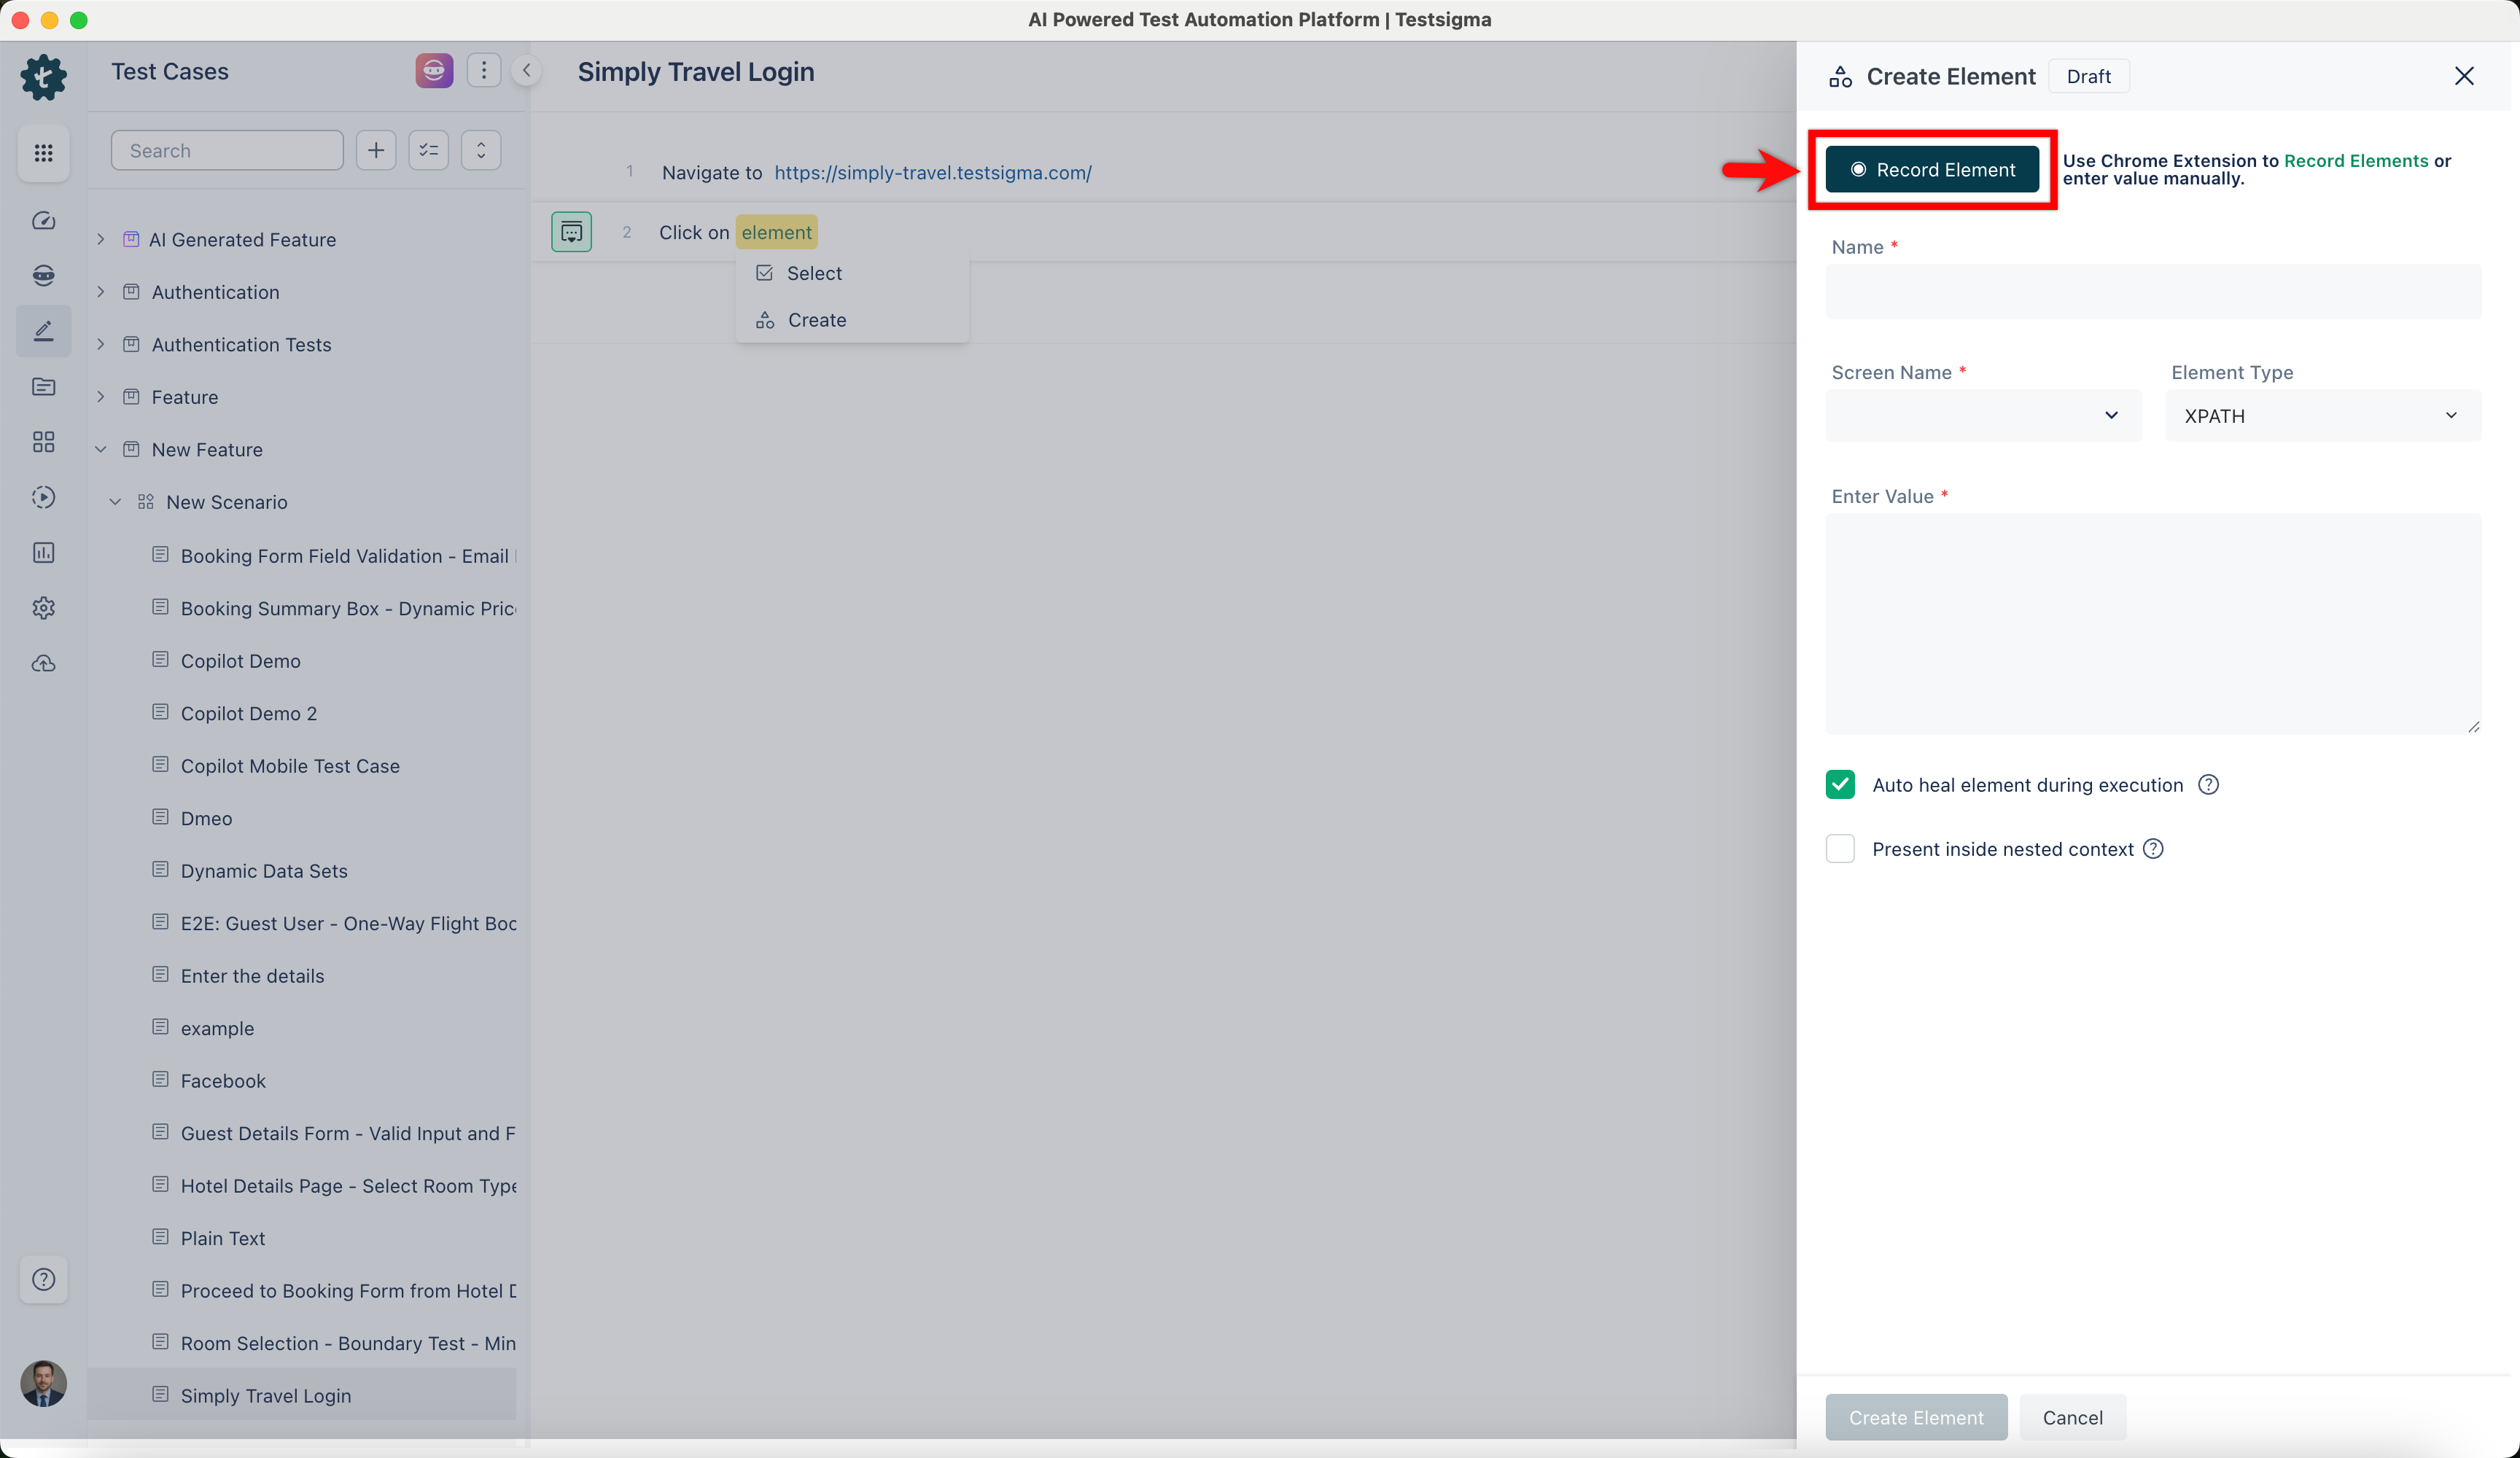
- Click on element in any test step and choose Create Element from the dropdown. This will open the Create Element overlay.
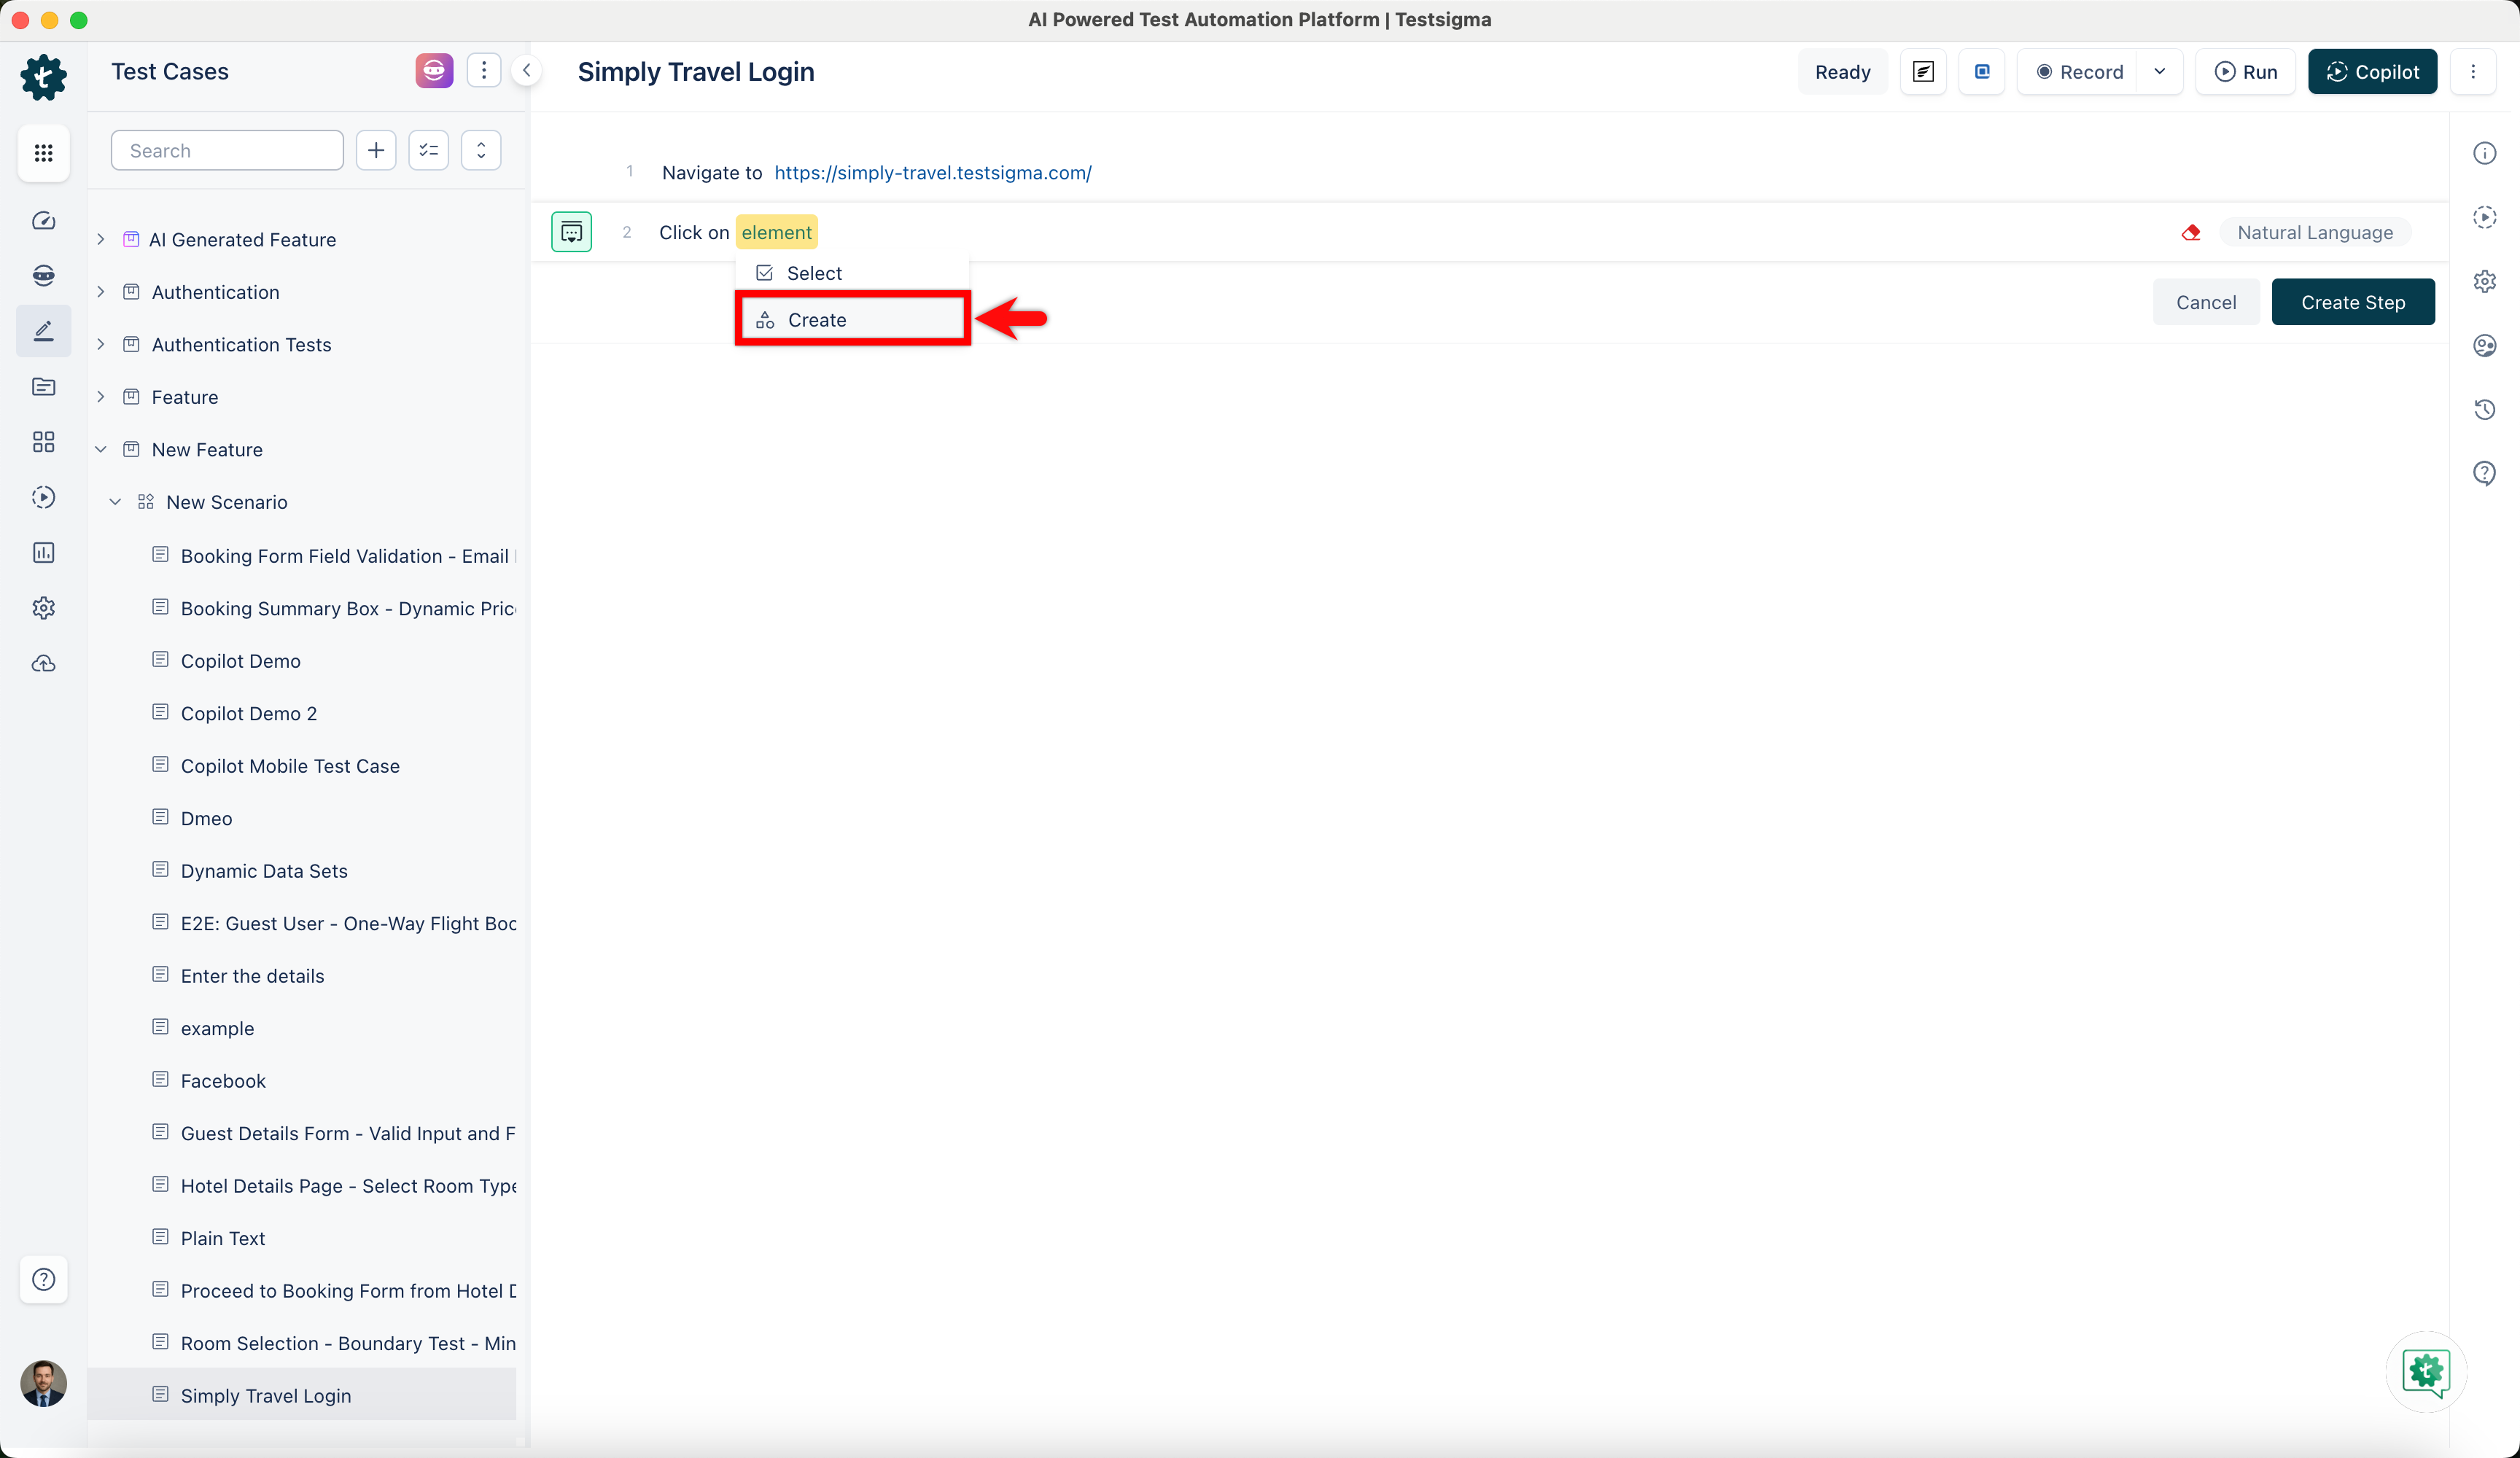
- Click on Record Element and follow the steps 3-8, mentioned in steps to create an element from the elements page to create an element.
Reusing Elements Recorded
- Create a test case in which you will be reusing your pre-recorded elements.
- Start recording test steps for the test case.
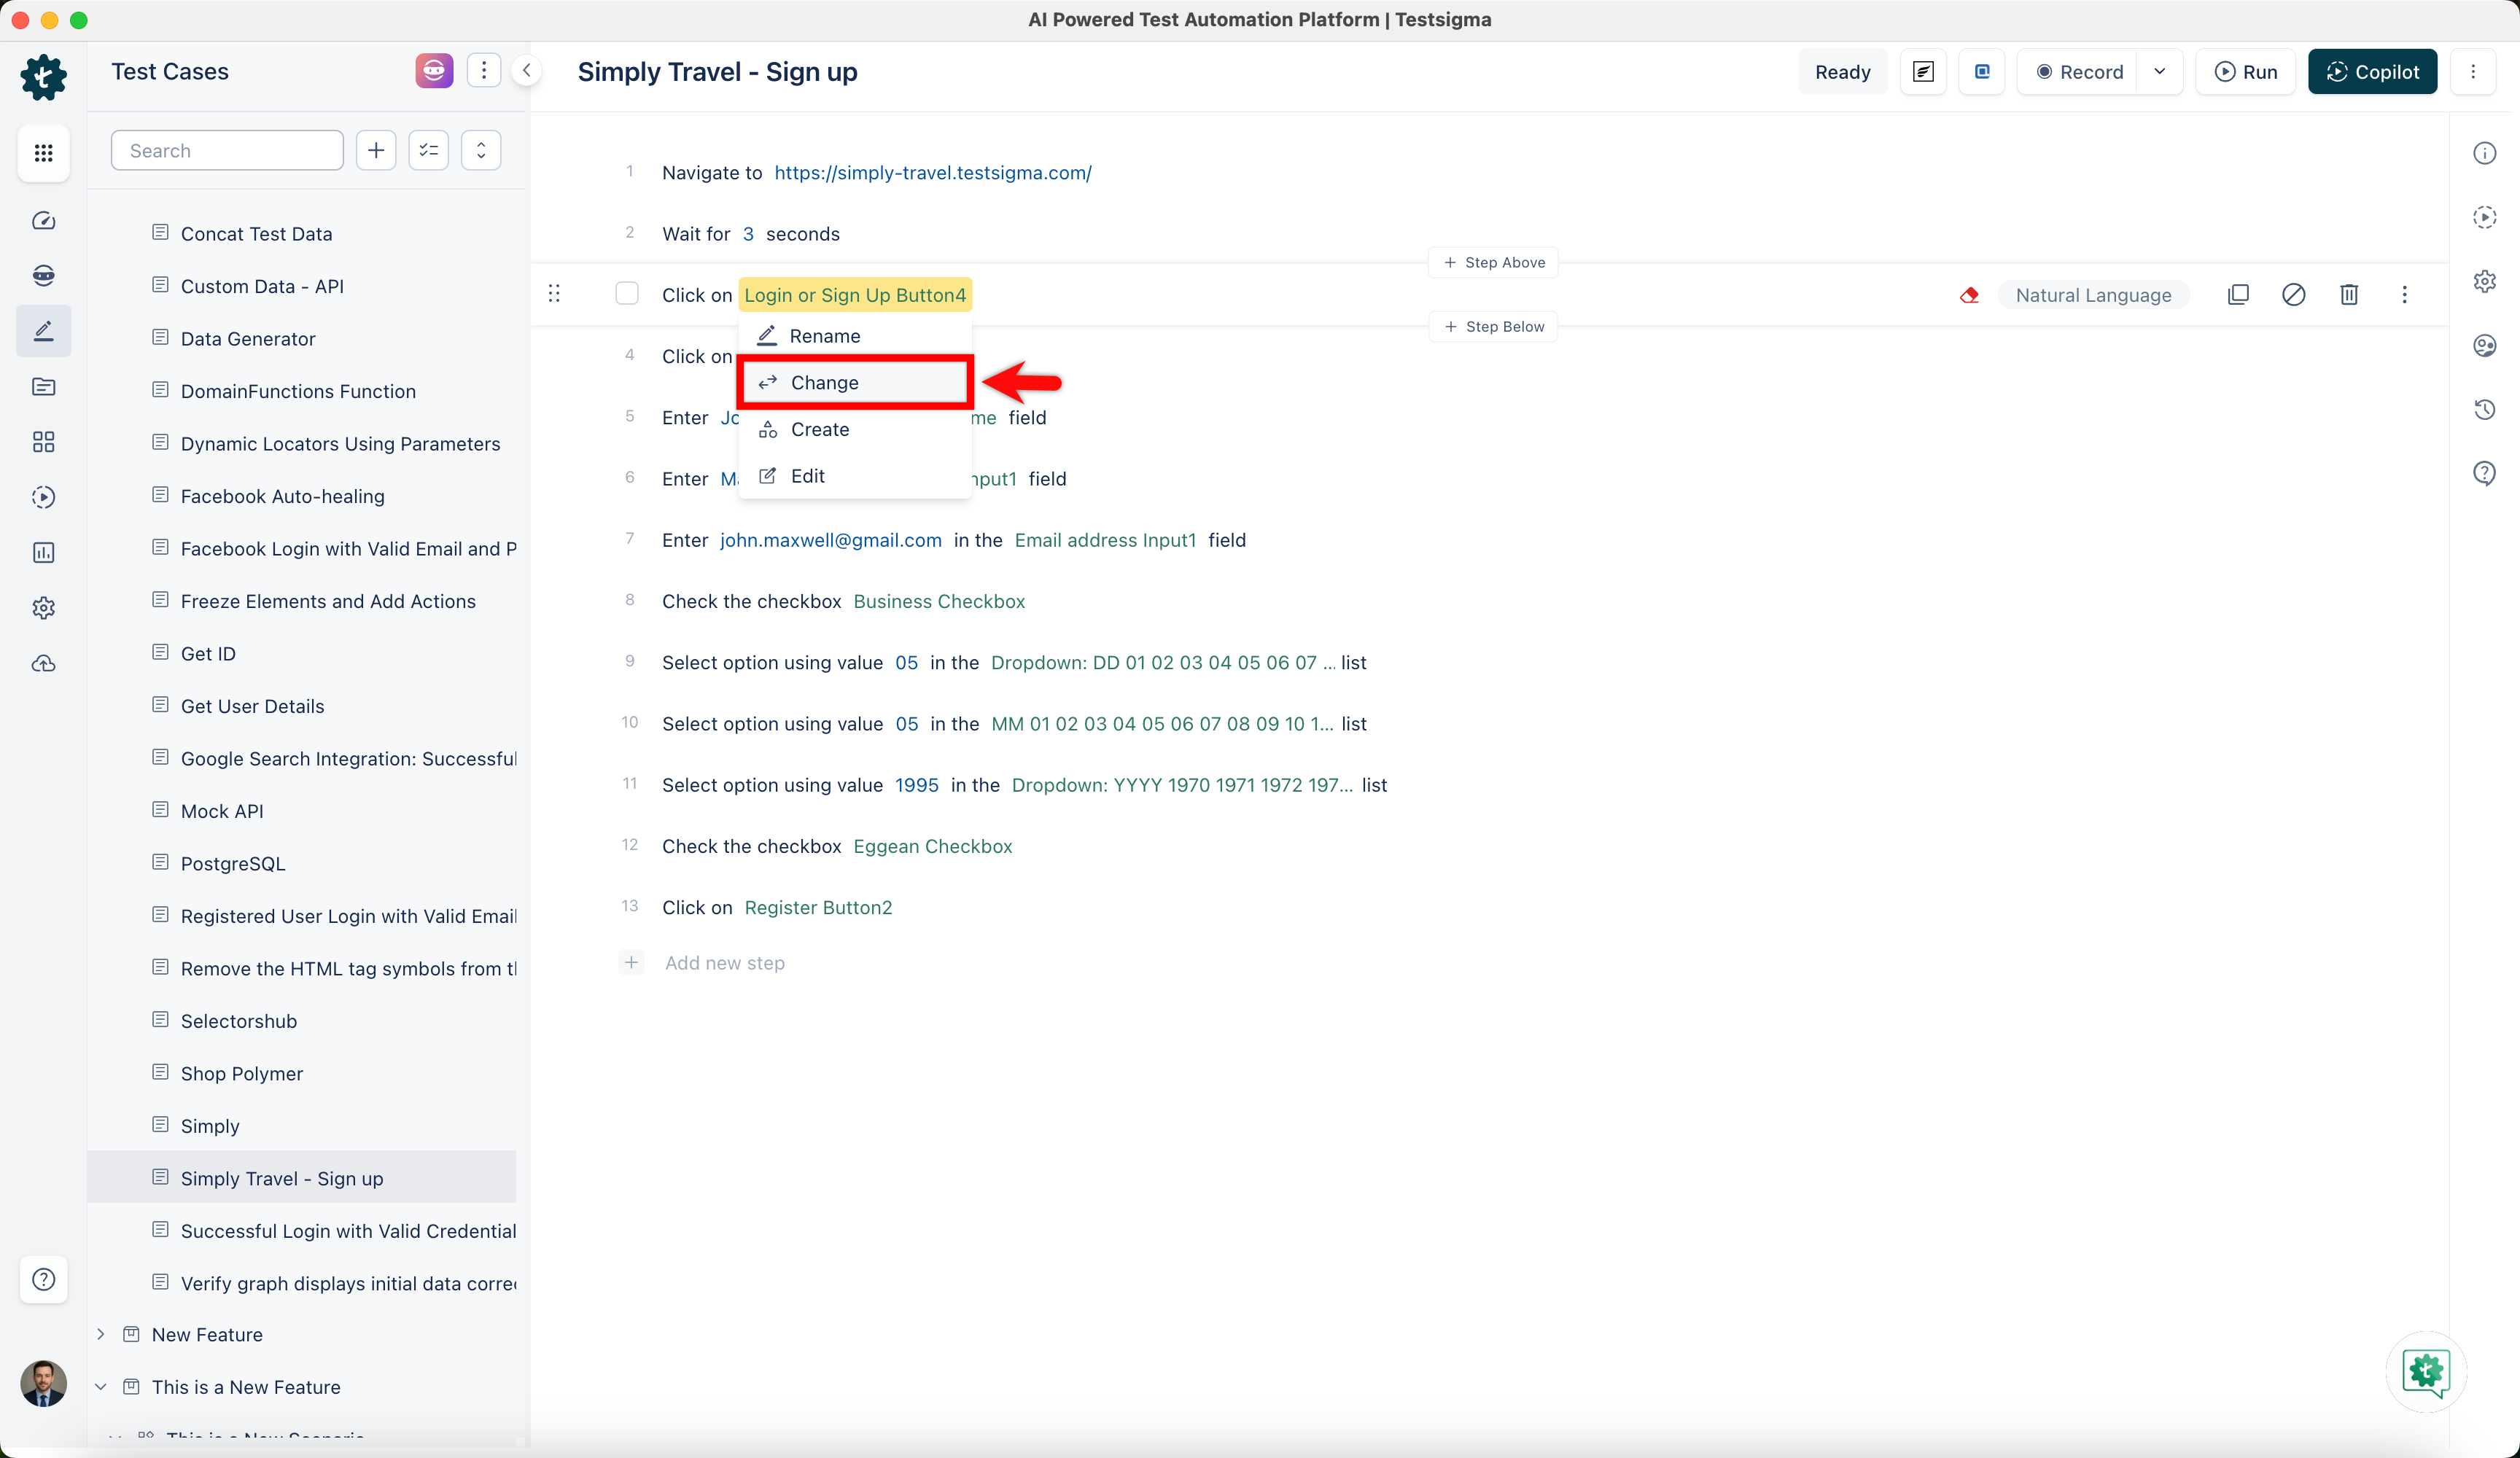
- Hover over the element on the test step where you want to reuse the saved element and click on Change Element.
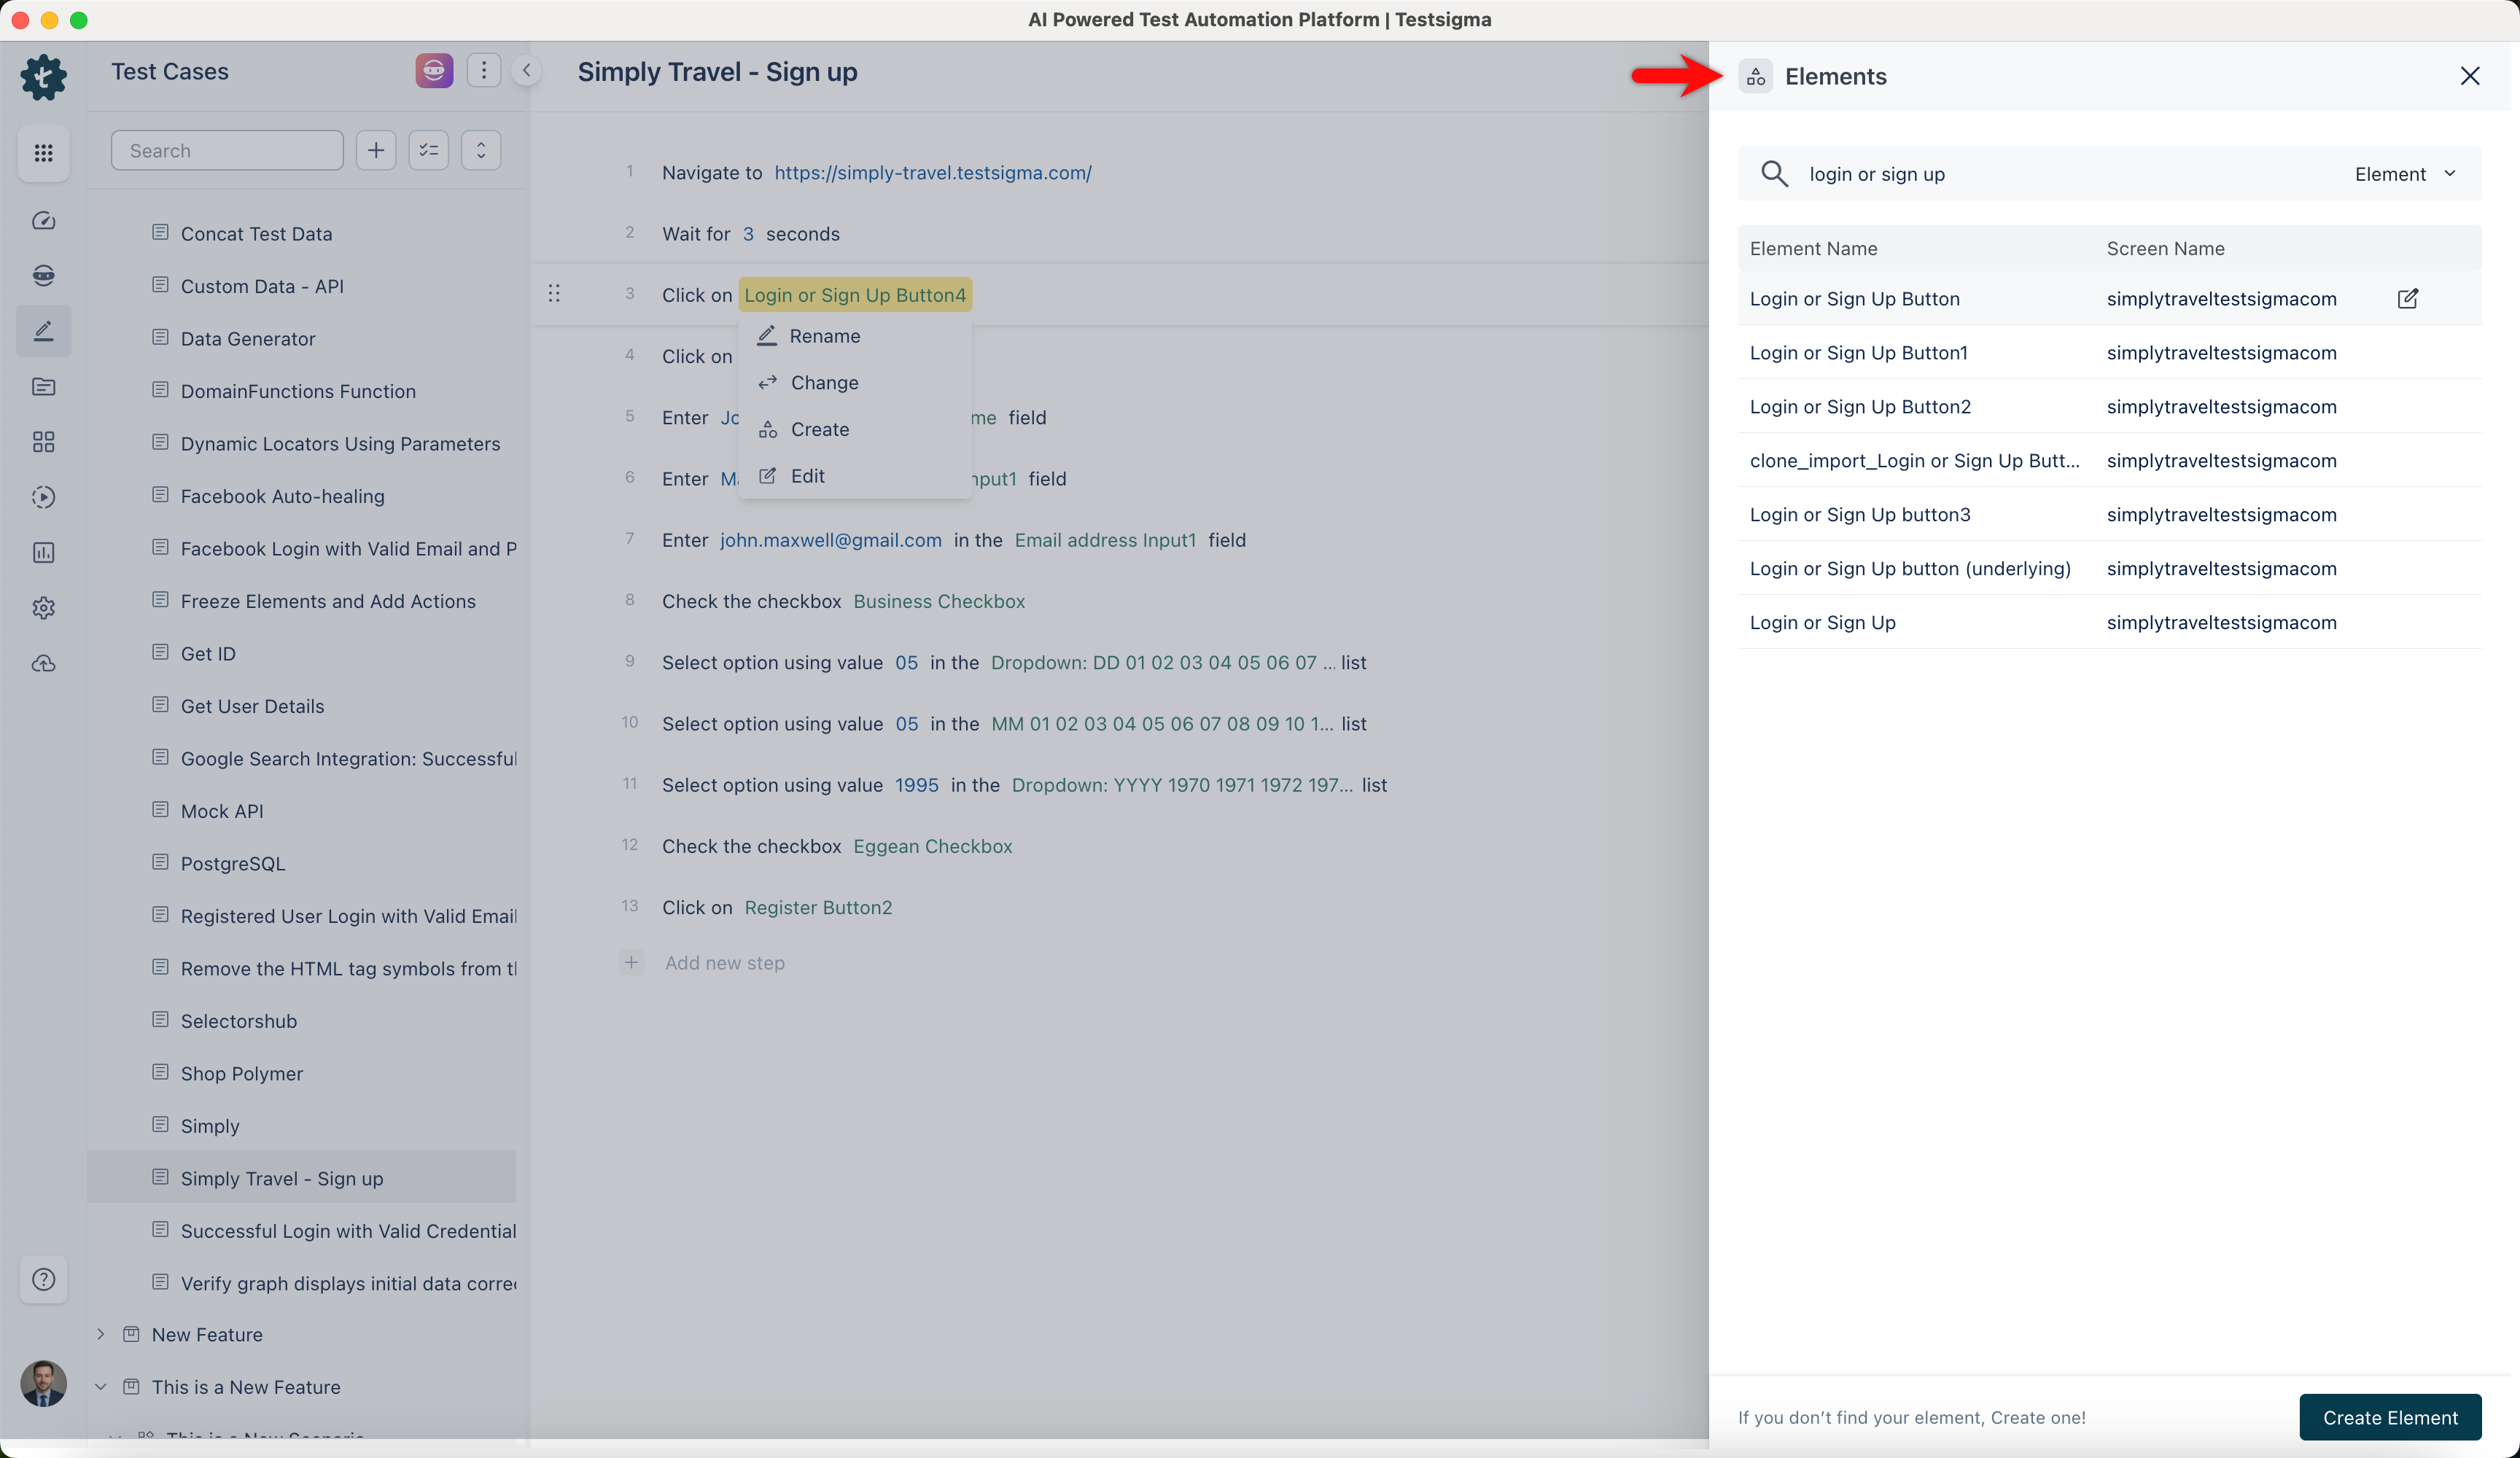
- On Elements overlay, select the element you want to reuse.
NOTE:
You can also reuse the element by following the same steps while creating a test case manually.
Want to contribute or report missing content?