- continuous integration
 Test Plan Details
 - REST API (Generic)
- Jenkins
- Azure DevOps
- AWS DevOps
- AWS Lambda
- Circle CI
- Bamboo CI
- Travis CI
- CodeShip CI
- Shell Script(Generic)
- Bitrise CI
- GitHub CI/CD
- Bitbucket CI/CD
- GitLab CI/CD
- Copado CI/CD
- Gearset CI/CD
- Codemagic CI/CD
- Google Cloud Build CI/CD
Integrate Testsigma with Circle CI
Testsigma offers webhooks for triggering Testsigma Executions remotely from any third-party tool that provides a Command Line Interface (CLI). This article will help you to integrate Testsigma with CircleCI for automatically triggering Test Executions after some code is changed on your code repository.
Prerequisites
- A CircleCI Account with connected Source Code Management (SCM) tool (Github, Azure, etc.)
- A CI/CD pipeline set up in CircleCI.
Steps to follow:
We will complete the integration in 3 parts:
- Obtain API and Test Plan ID from Testsigma App
- Add the Shell Script to Code Repository
- Configure the CircleCI Pipeline
Obtain API and Test Plan ID from Testsigma App
- Create API Key by navigating to Settings > API Keys.
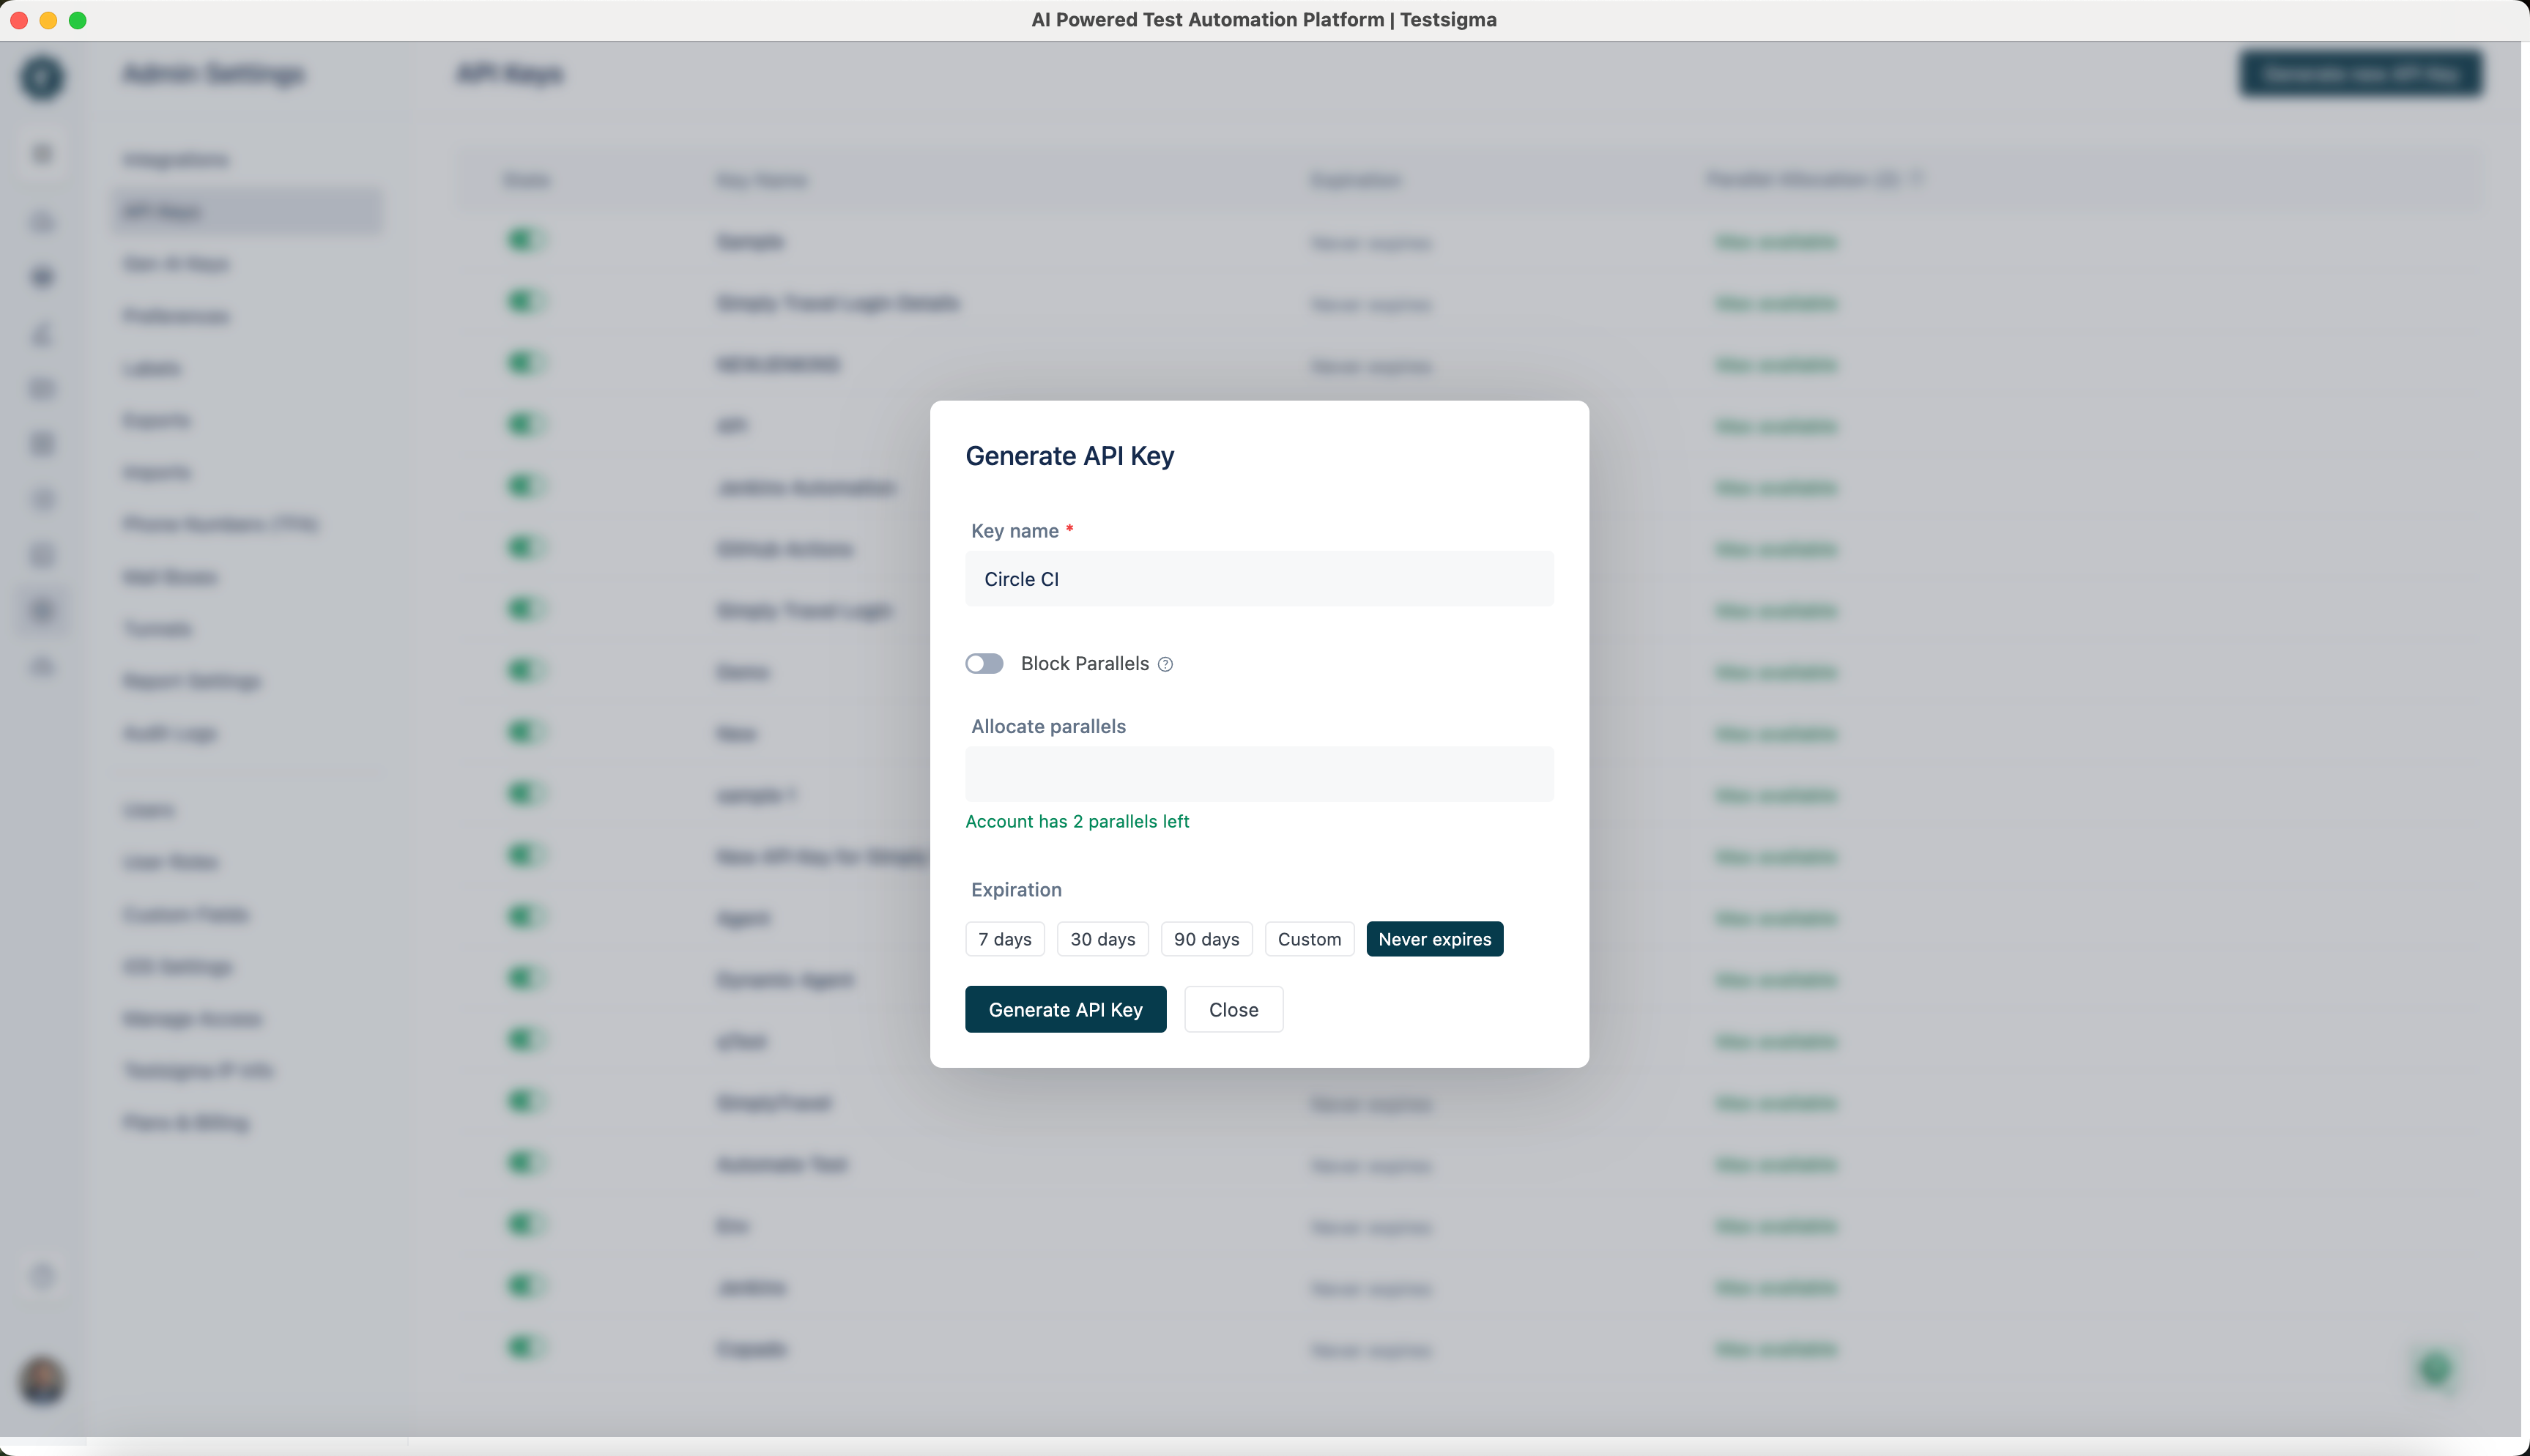 We will use this API Key to authenticate our remote Test Plan trigger requests from CircleCI.
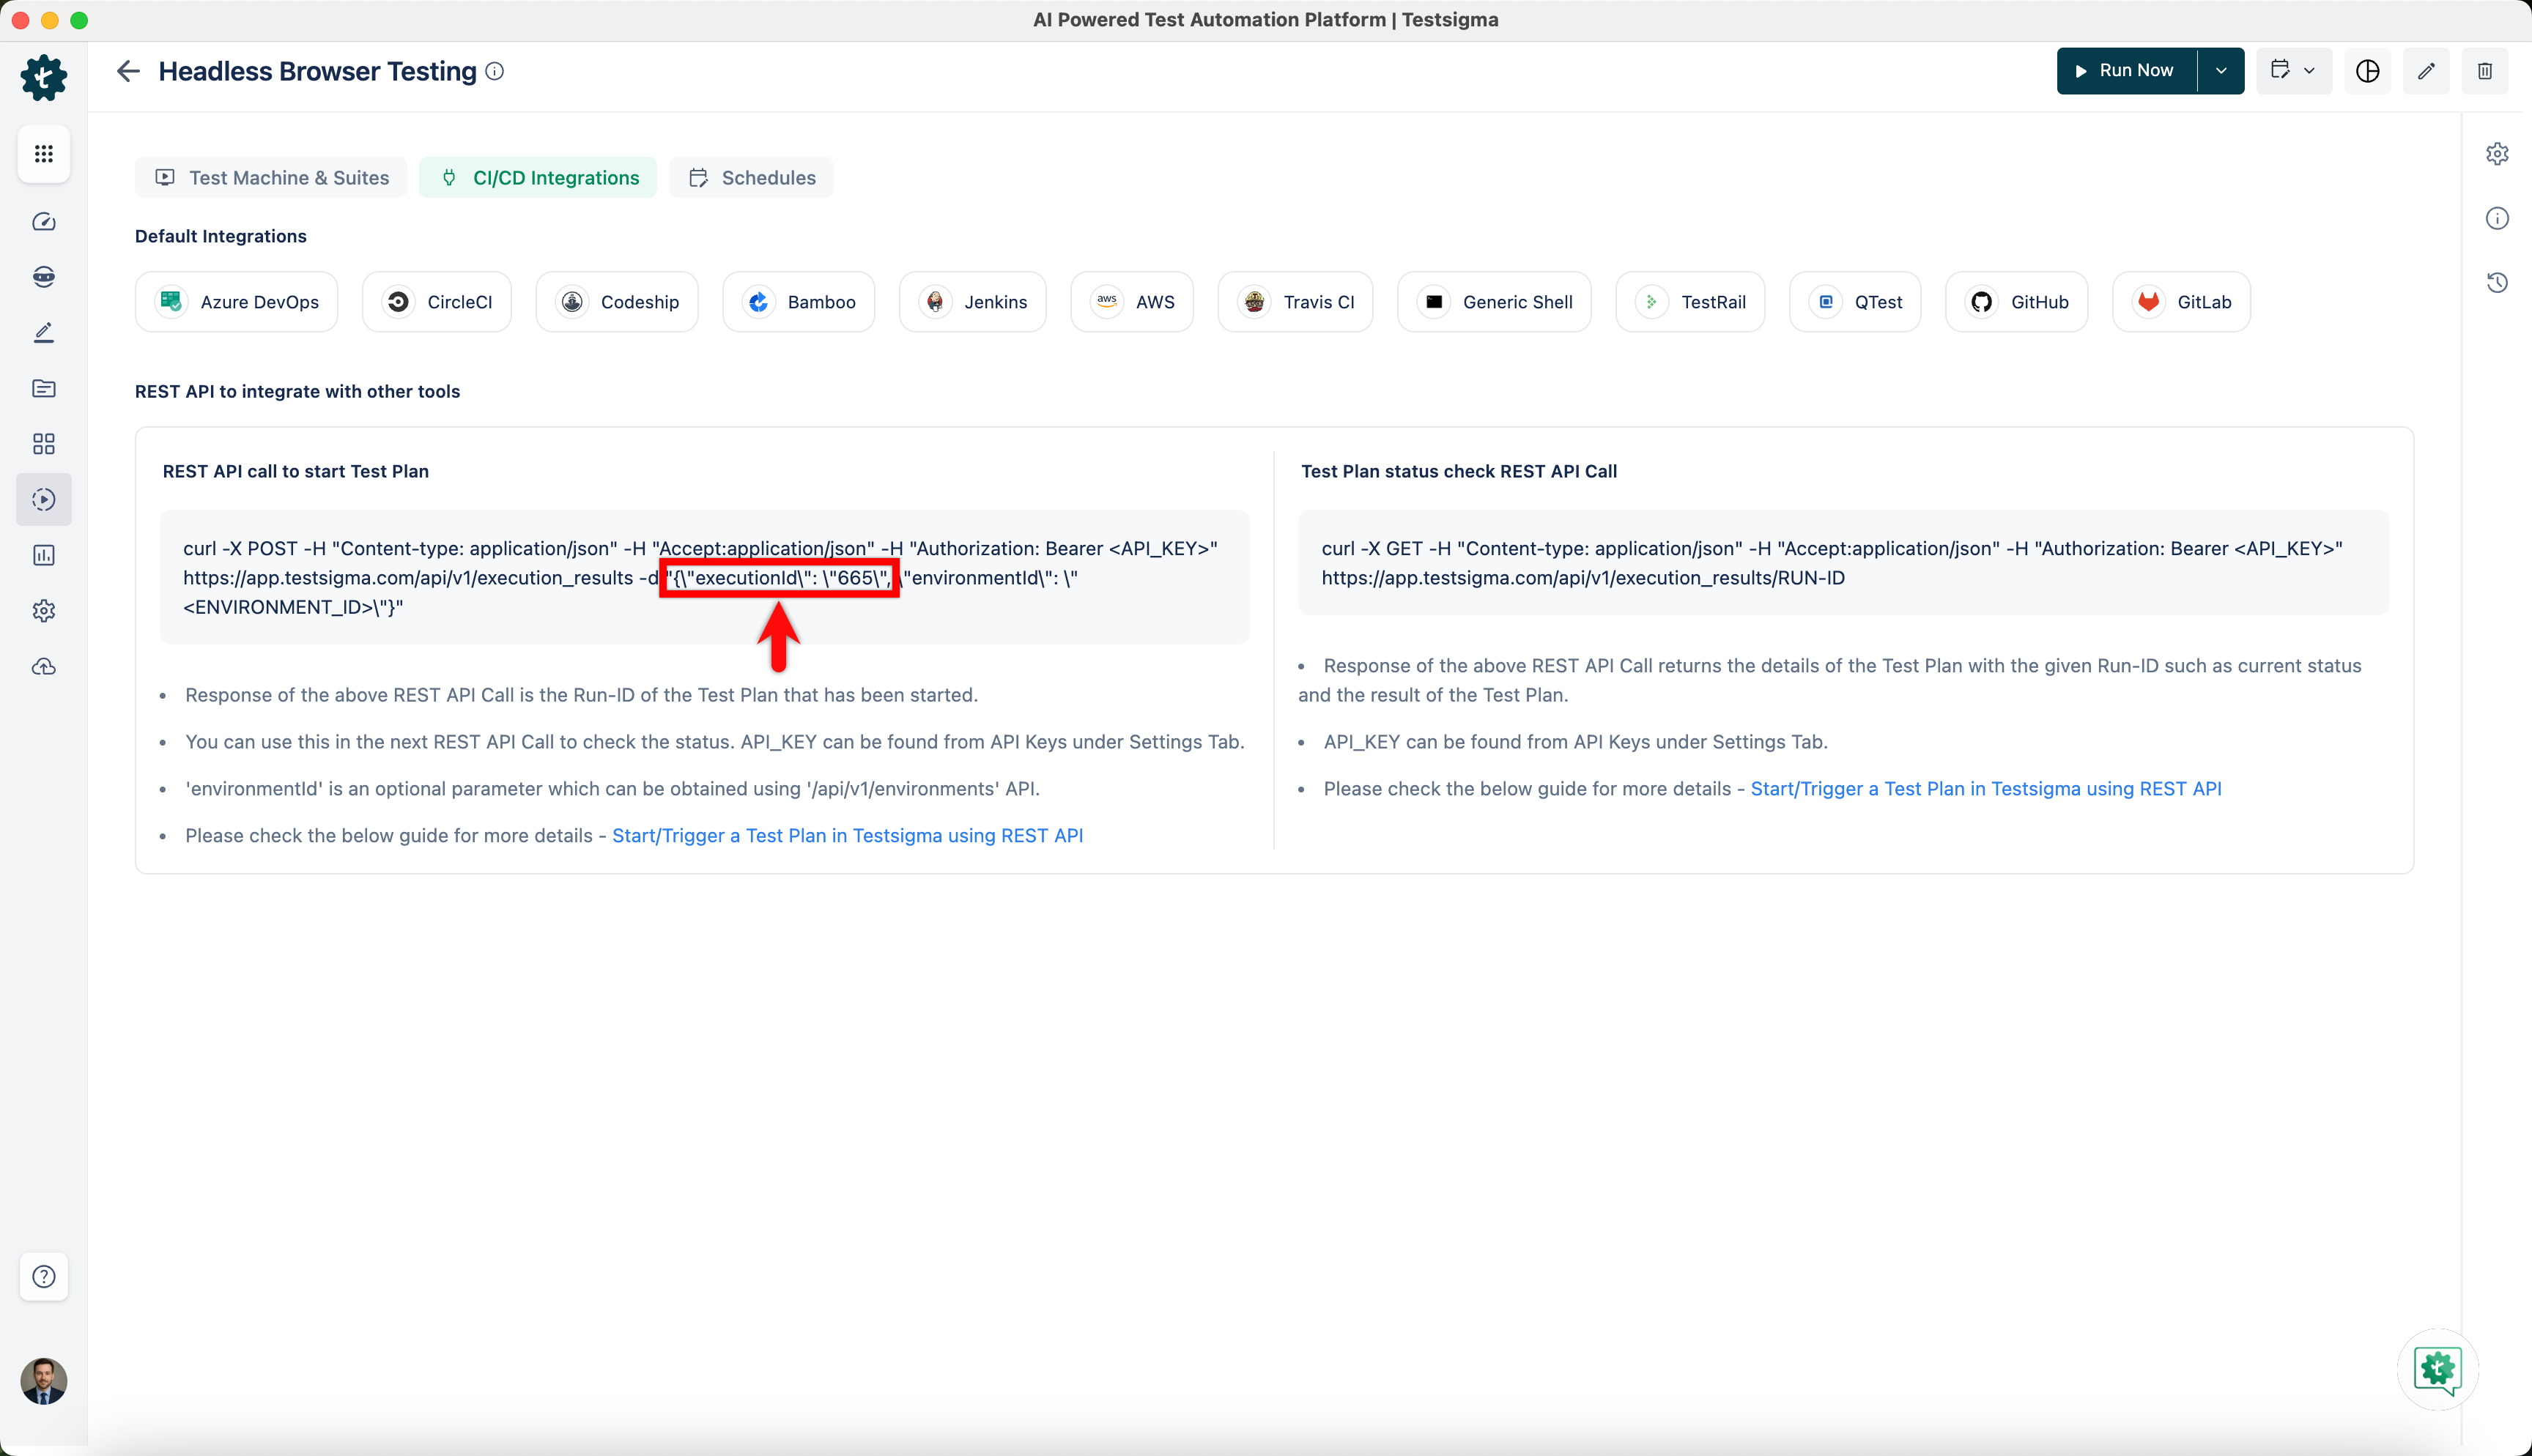
 - Create a Test Plan in Testsigma that you will execute as part of the CircleCI Pipeline. Obtain the Test Plan ID for the Test Plan from the CI/CD Integrations tab within Test Plan details as shown below:
 We will add Testsigma API Key and the Test Plan ID to a Shell script, and the shell script file to your Code Repository.
Add the Shell Script to Code Repository
You need to add a script file in your Code Repository stored on Github, Bitbucket, Azure, or any such platform. This script file contains commands to trigger the Testsigma Test Plan remotely.
- Copy the shell script from Generic Shell Script. Refer to the documentation on Generic Shell Script for Integrating with CI/CD tools.
- Update your Testsigma API key and Test Plan ID in the above script. Refer to the documentation on generating API keys and documentation on test plan ID
- Now upload the script file to your Code Repository and commit.
Configure the CircleCI Pipeline
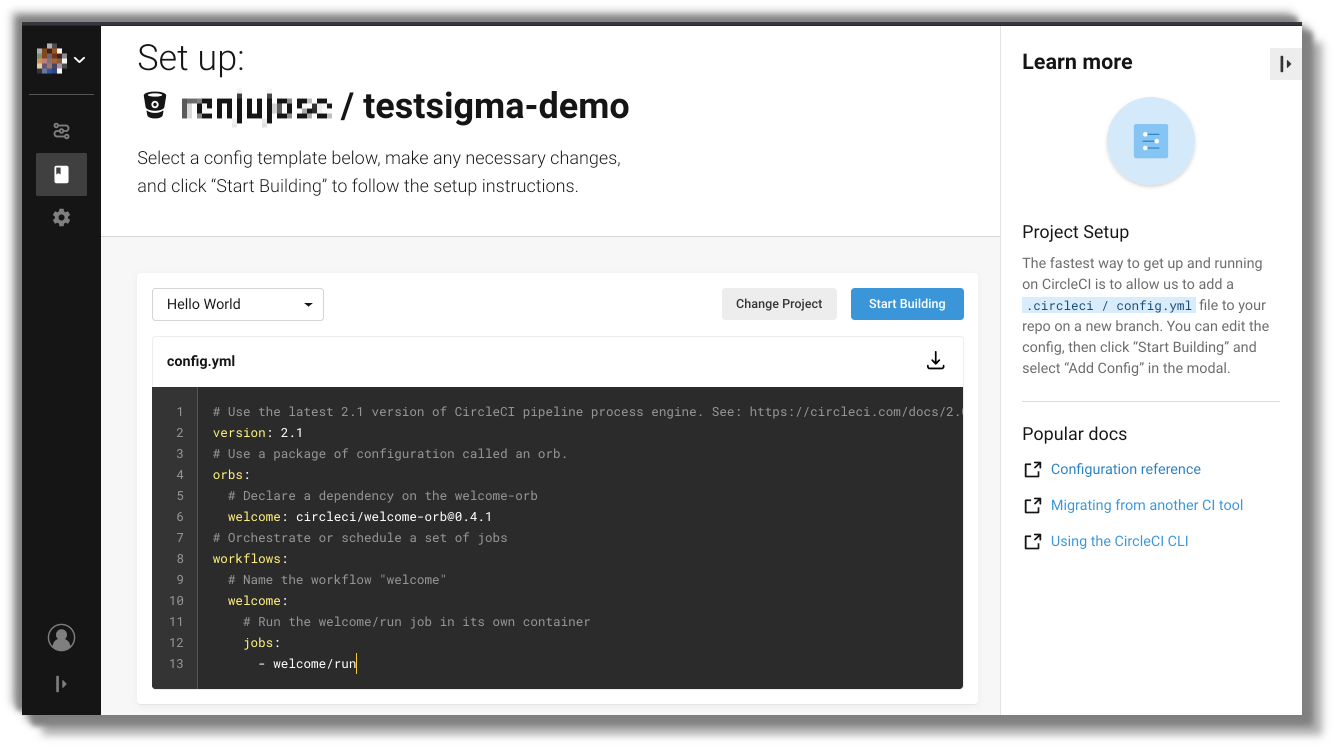
- In CircleCI, create a new project or select the Project that you want to integrate with Testsigma.
- Clicking on Setup Project takes us to the Set Up page as shown below:
- Modify the config.yml file and include a job to run the specified bash script file that initiates Testsigma Execution and waits for its completion before deployment. Here's a sample entry for config.yml file:
# Java Maven CircleCI 2.0 configuration file
#
# Check https://circleci.com/docs/2.0/language-java/ for more details
#
version: 1.0
jobs:
 build:
   steps:
     - run: chmod a+x ./trigger_testsigma_tests_and_wait.sh
     - run: ./trigger_testsigma_tests_and_wait.sh
Check the section that starts with the comment run tests!
Set executable permission for the script file that triggers test run on Testsigma using the following:
run: chmod a+x ./trigger_testsigma_tests_and_wait.sh
Run the shell script and this triggers the test plan on Testsigma using the following:
run: ./trigger_testsigma_tests_and_wait.sh
- Now, click on the ‘Start Building’ button on the top right to start a test build. You will be greeted with a dialog stating that the config.yml will be added to the selected Repo by CircleCI.
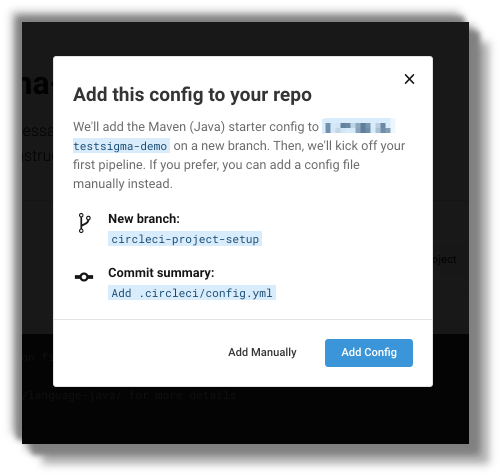
- Click on Add Config button to Add the Config and start building. It will take you to the Pipelines page.
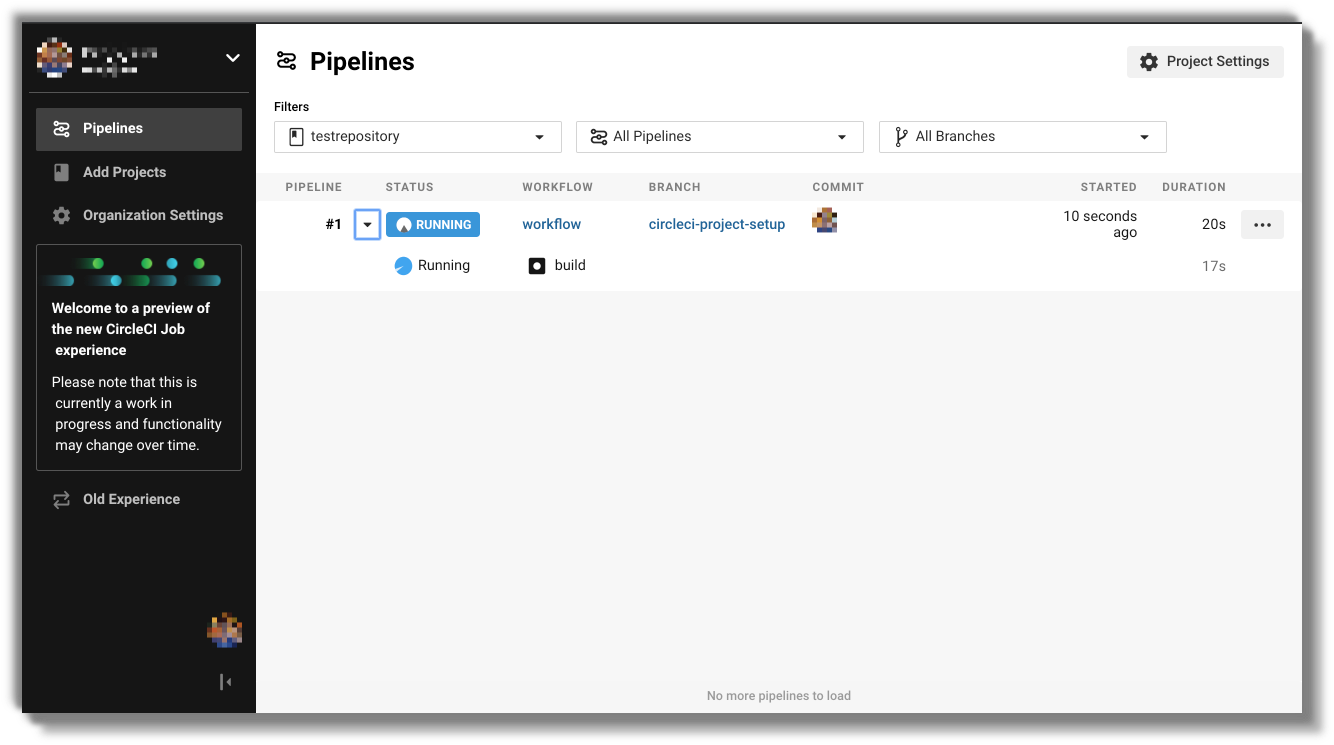
That's it.
With the above settings, the build will be triggered whenever there is a change in the repository and as soon as the build is triggered, the tests will begin in Testsigma. The script will wait until the test completes and checks that the result of the tests is passed.
Want to contribute or report missing content?