- GenAI Capabilities
 Testsigma Copilot
- Generate TDP Using Copilot
- Generate Tests from User Actions
- Generate Tests from Requirements (Jira)
- Generate API Test Cases (Swagger)
- Generate Tests from Figma Designs
- Testsigma Copilot for Mobile Apps
- Agentic Test Generation with GitHub
Generate Tests from Figma Designs
With Testsigma, you can effortlessly generate test cases directly from Figma designs, ensuring more accurate and efficient testing. You can integrate your Figma account, select the relevant designs, provide a prompt, and generate multiple test cases with a single click.
Prerequisites
Before you begin, ensure that:
- You have enabled AI features from Settings > Preferences > Generative AI features.
- You have referred to the documentation on creating test cases.
Prerequisites for Figma Integration
Getting Team ID in Figma
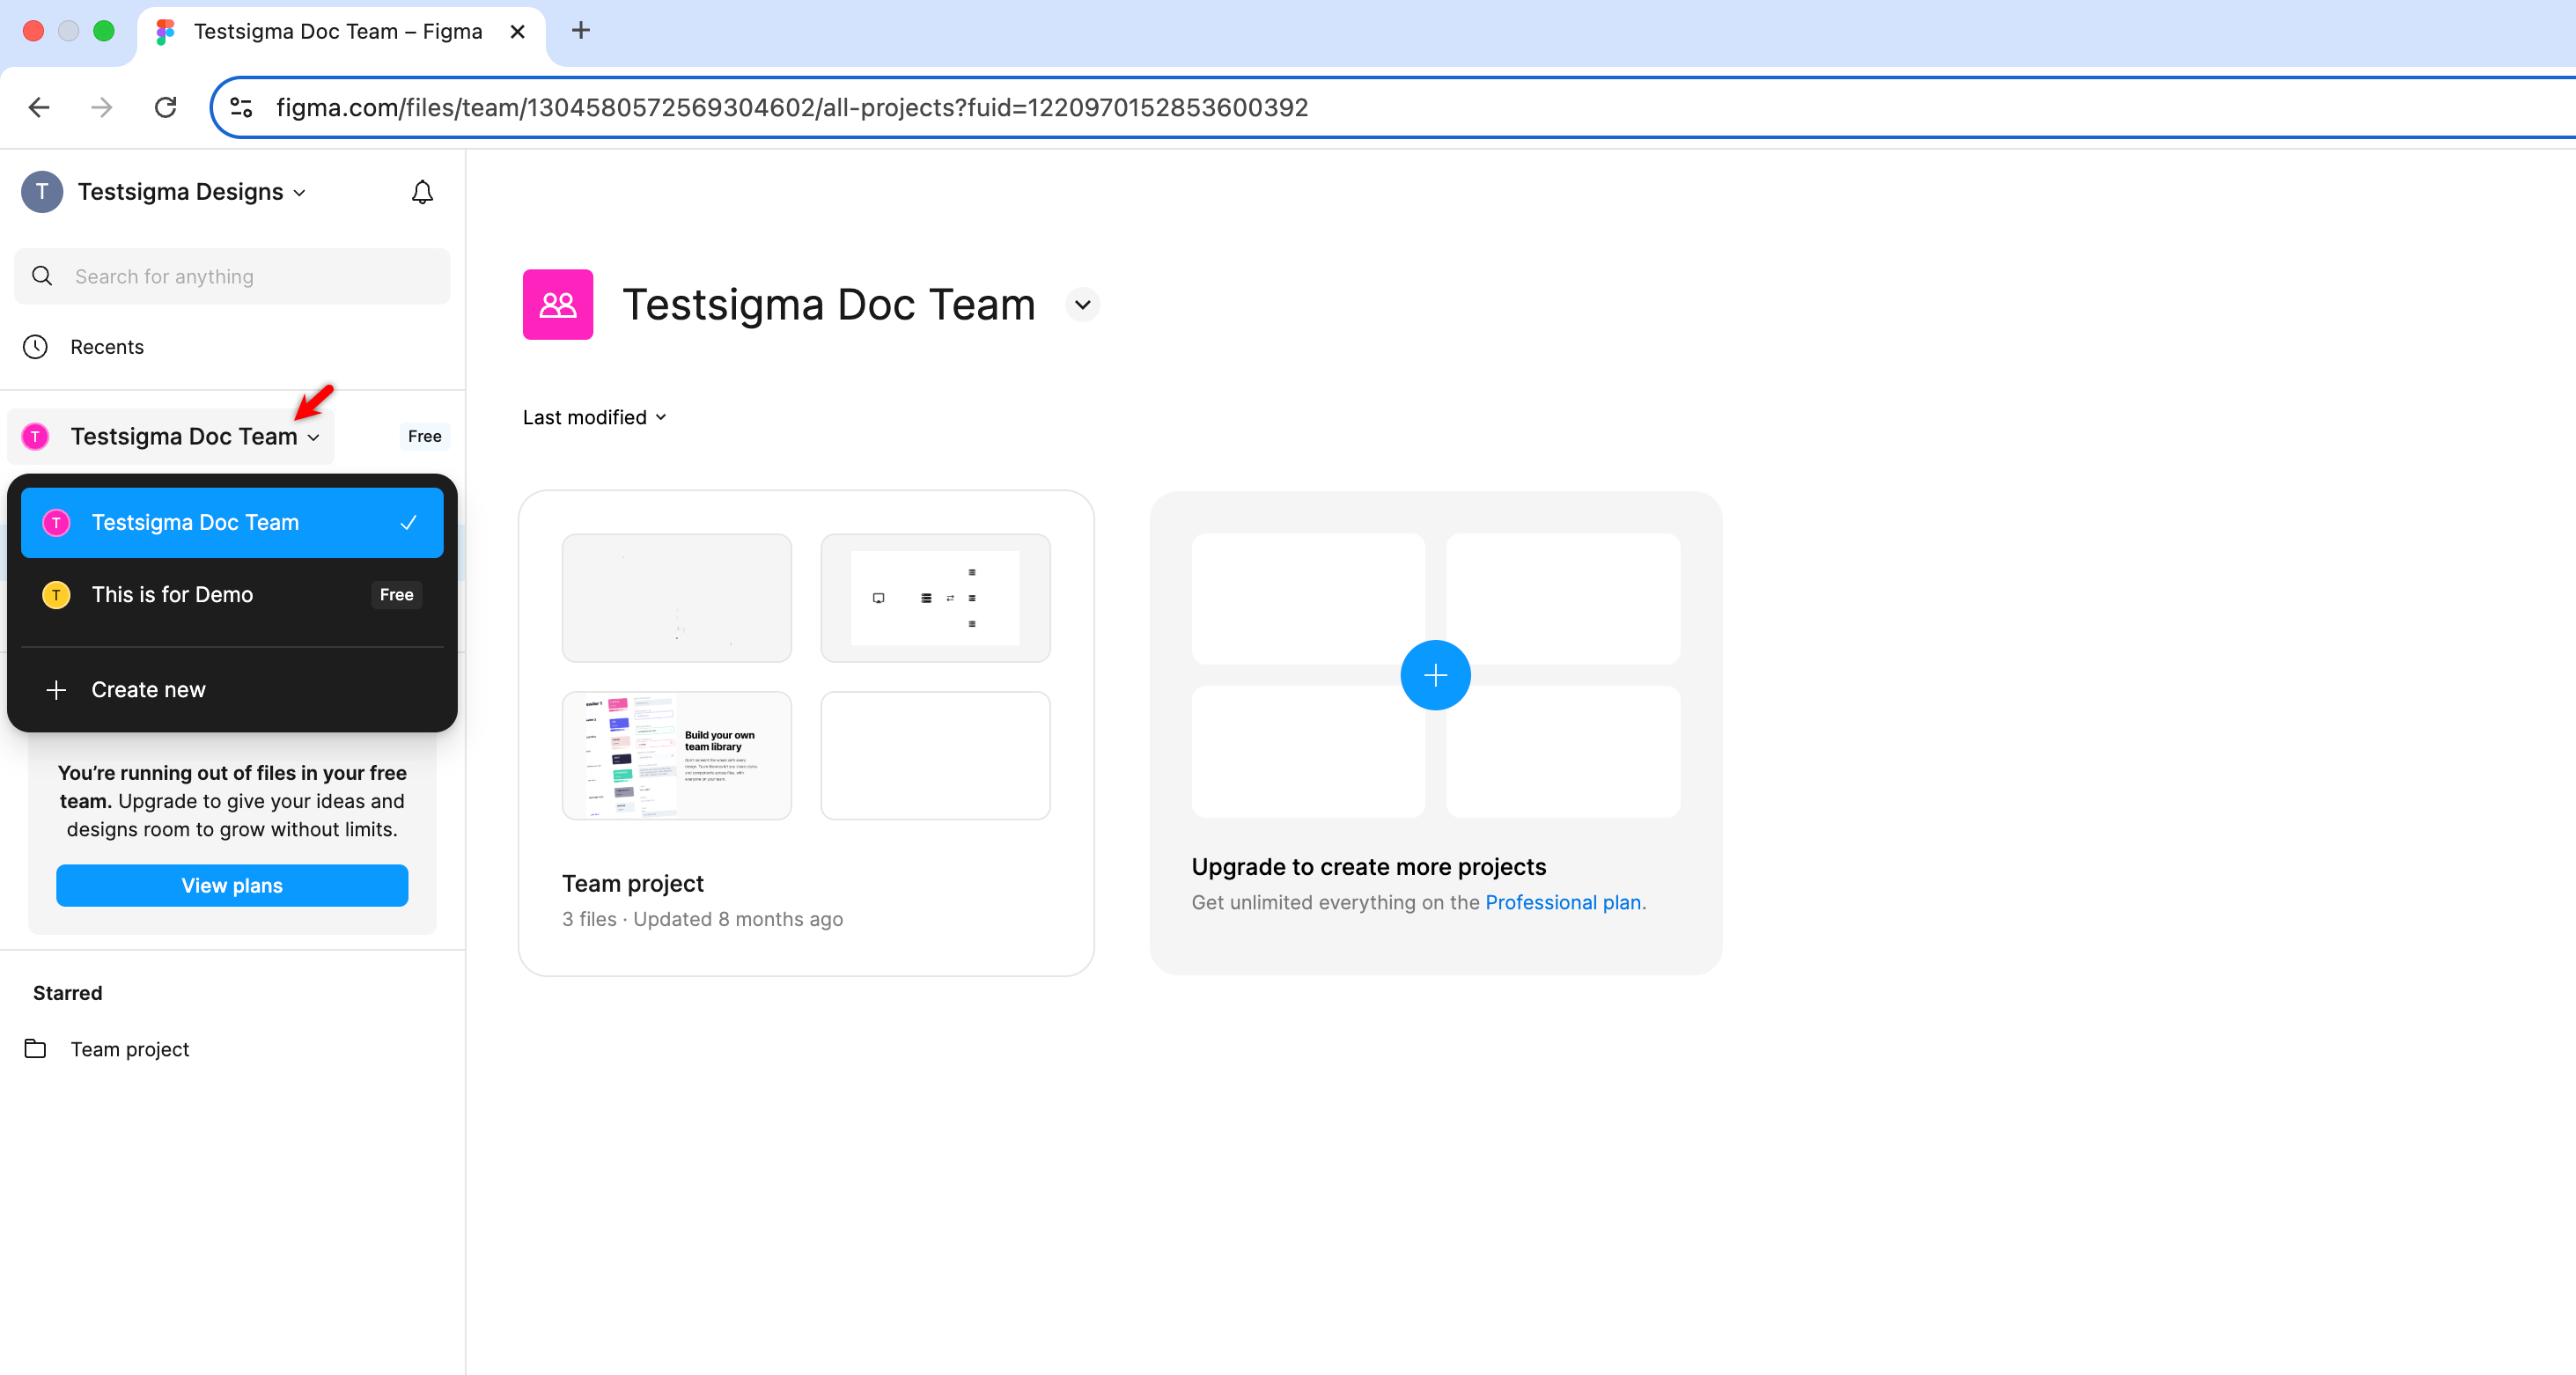
- Open Figma in a web browser.
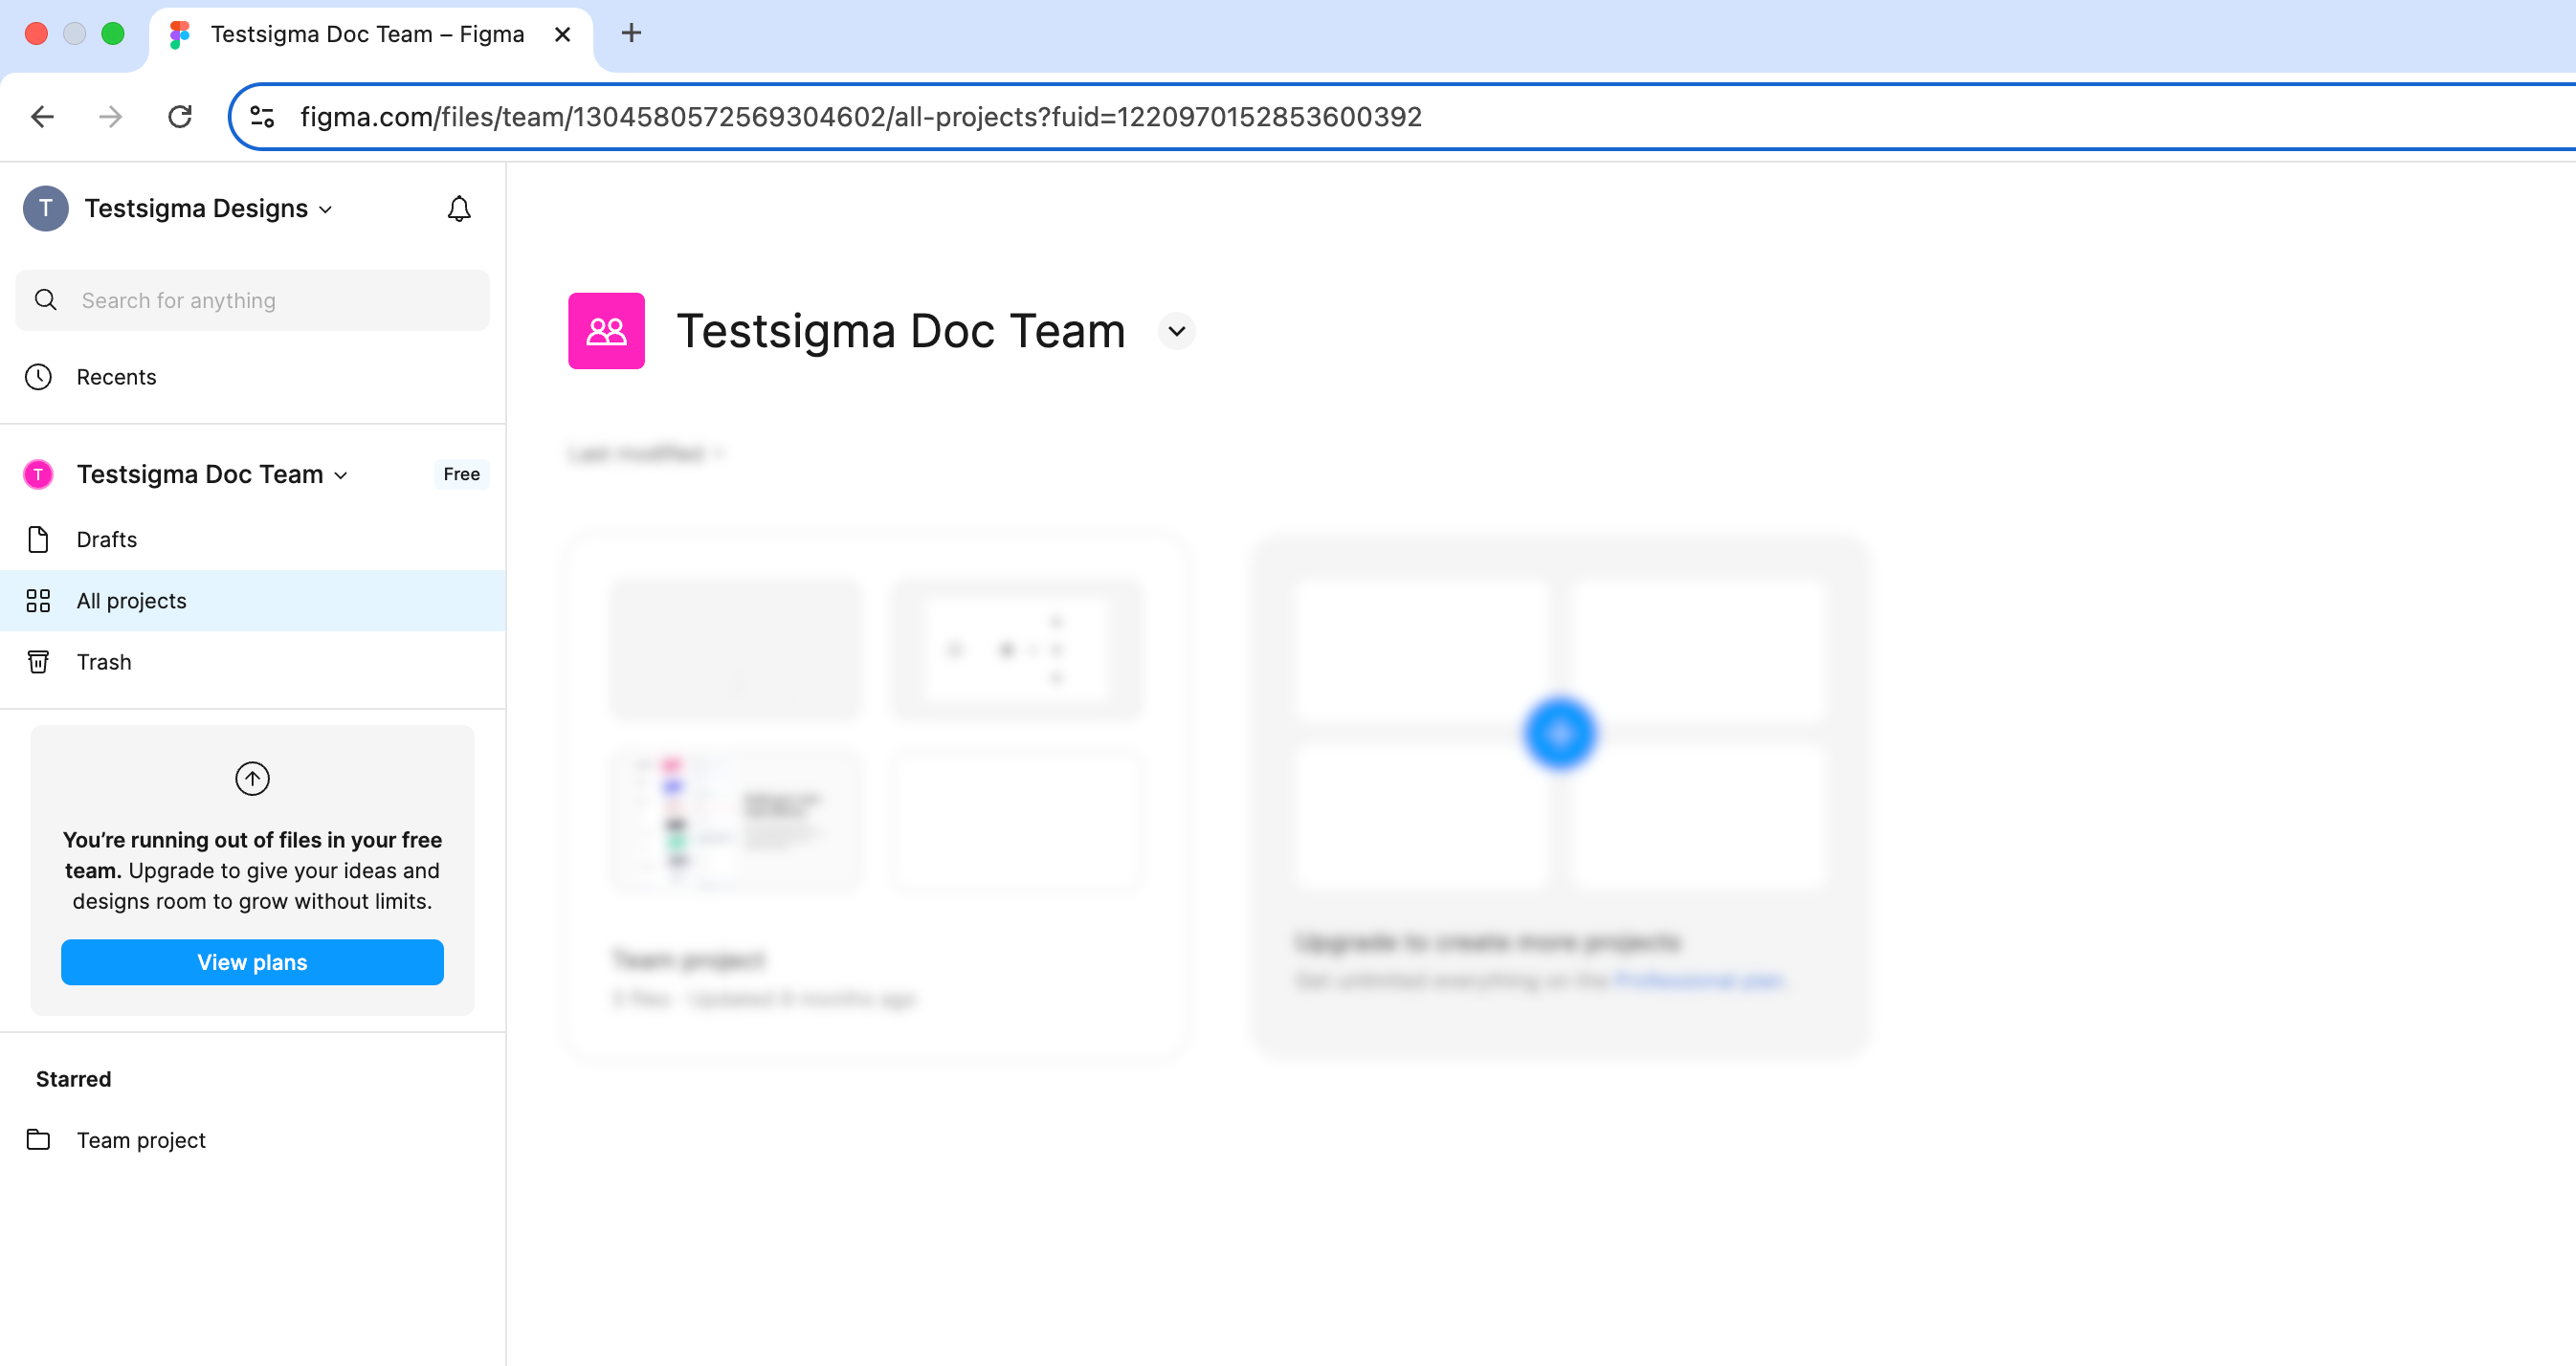
- In the left navigation bar, select the team from the dropdown menu.
-
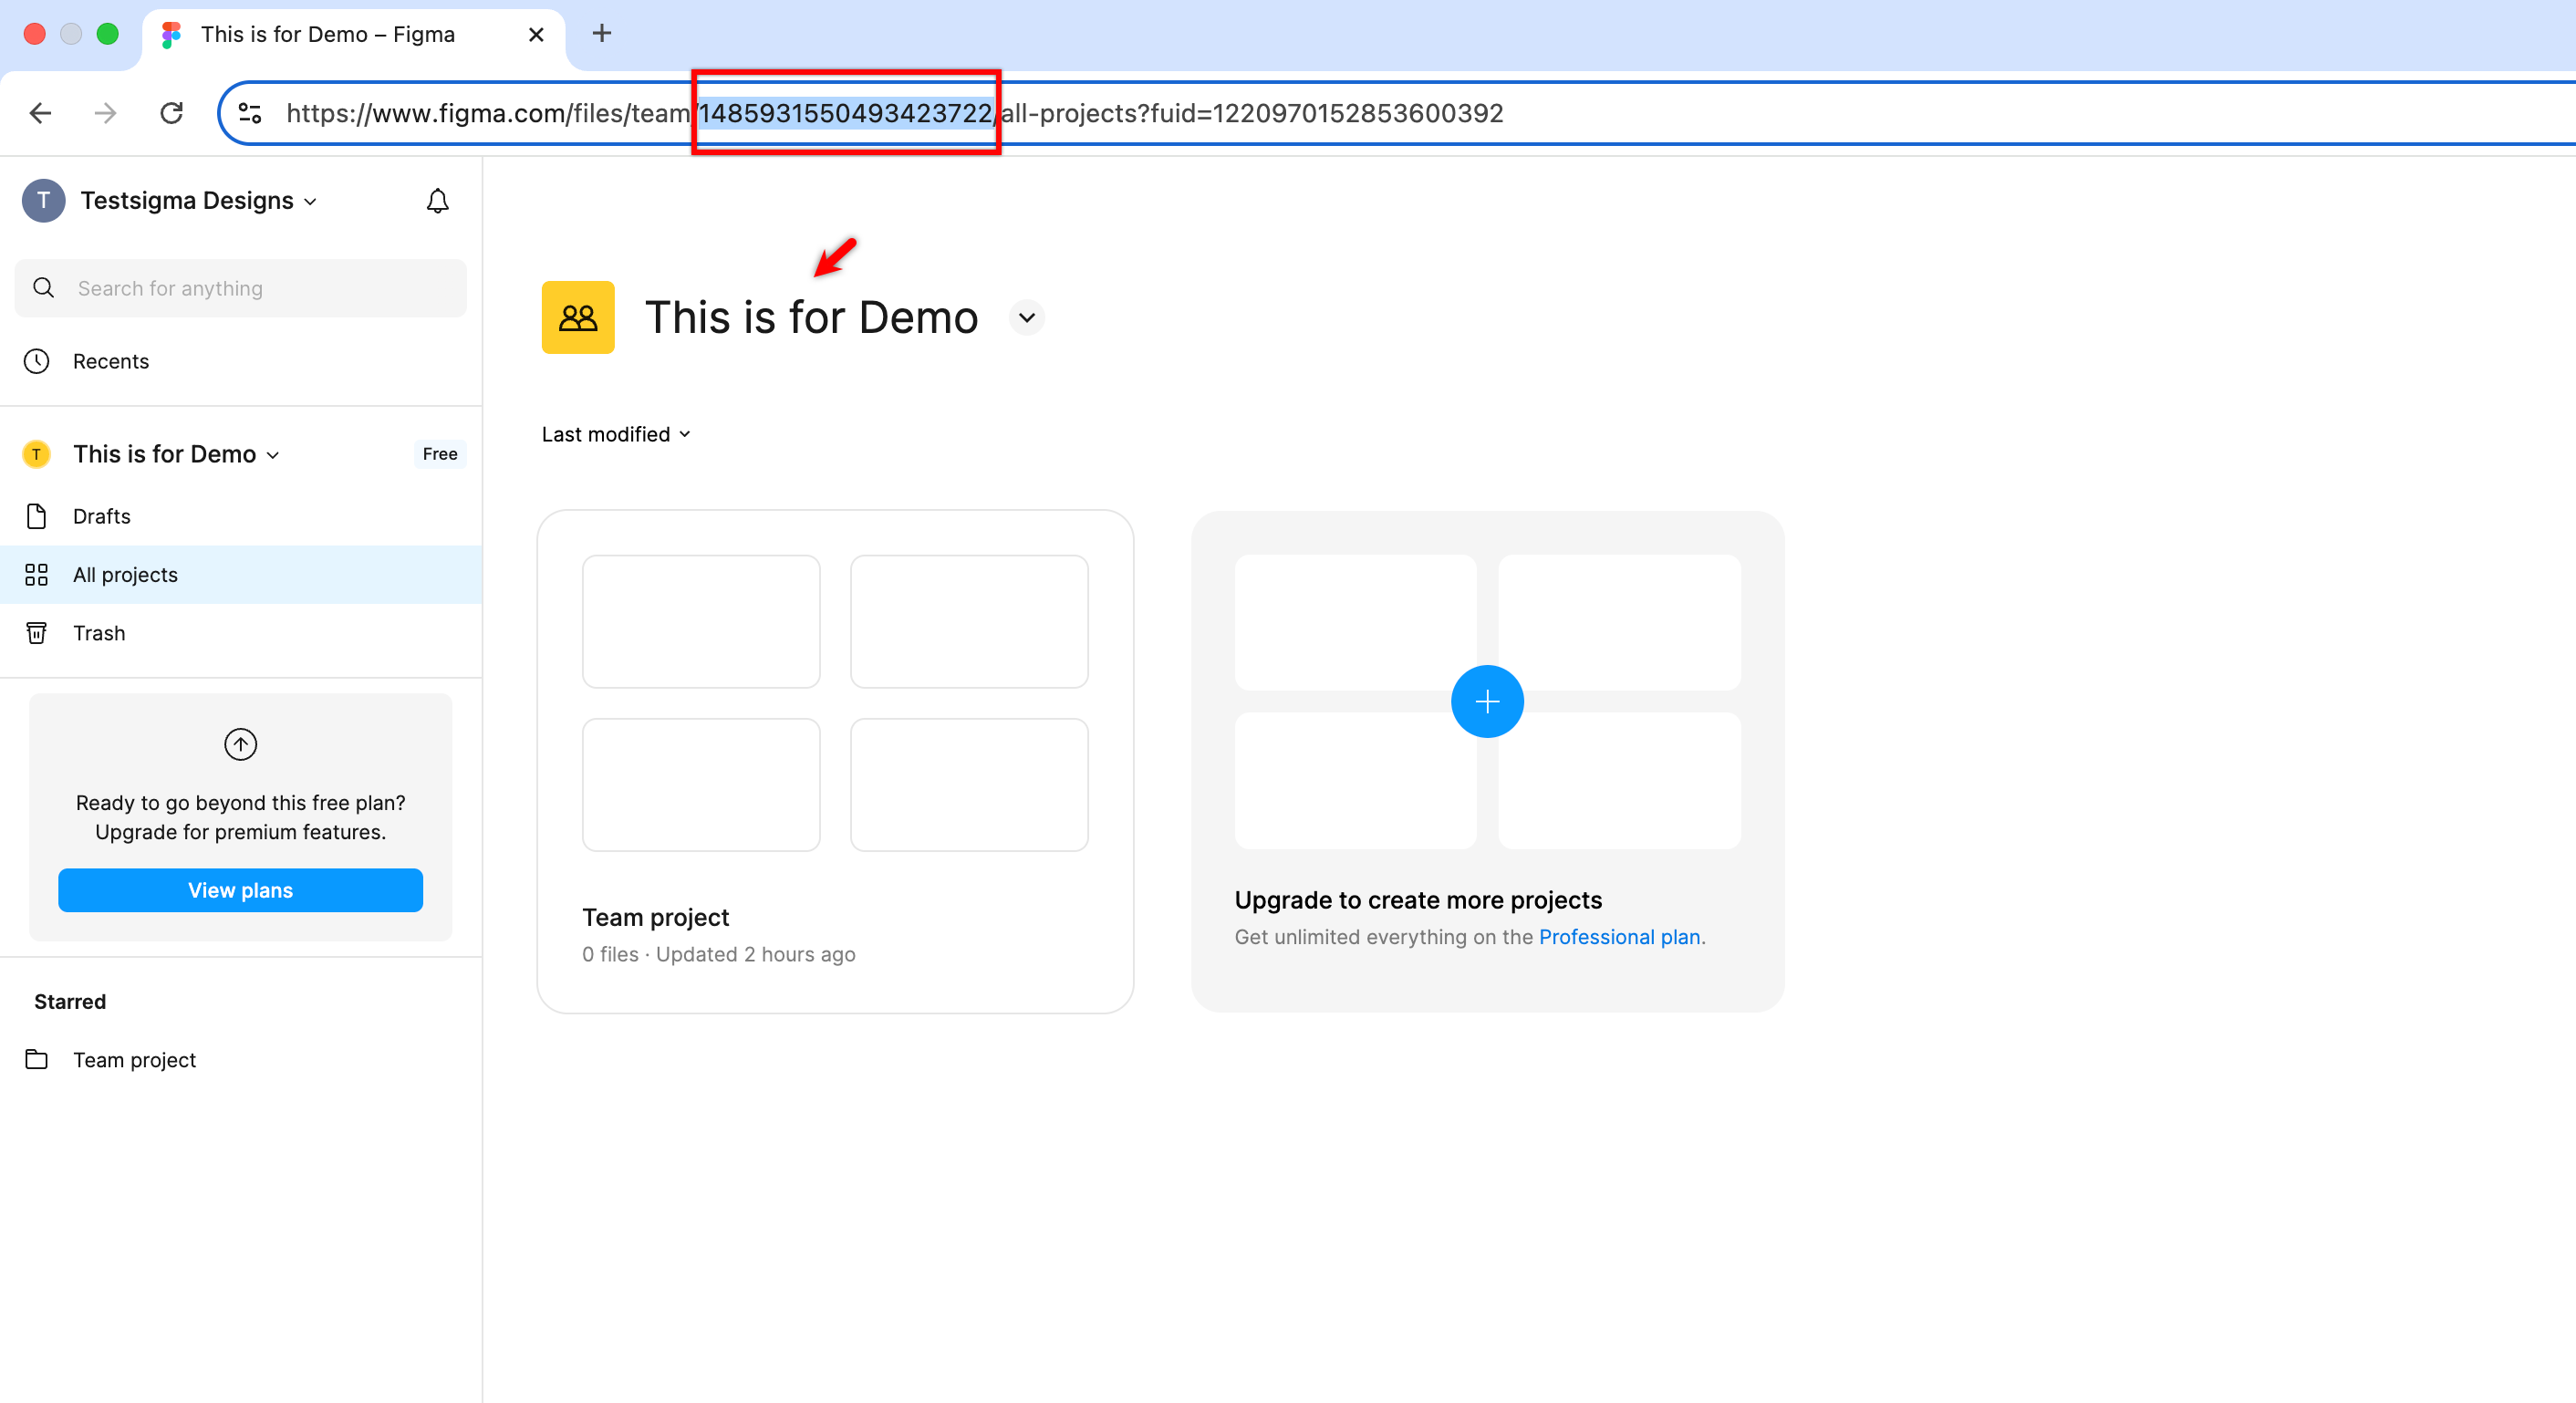
In the address bar, locate the URL in the following format:
https://www.figma.com/files/team/{TEAM_ID}/your-team-name
The {TEAM_ID} in the URL is your Figma Team ID.
If you don’t have access to the team page, contact your Admin to get the Team ID.
Generating a Personal Access Token in Figma
- Open Figma in a web browser.
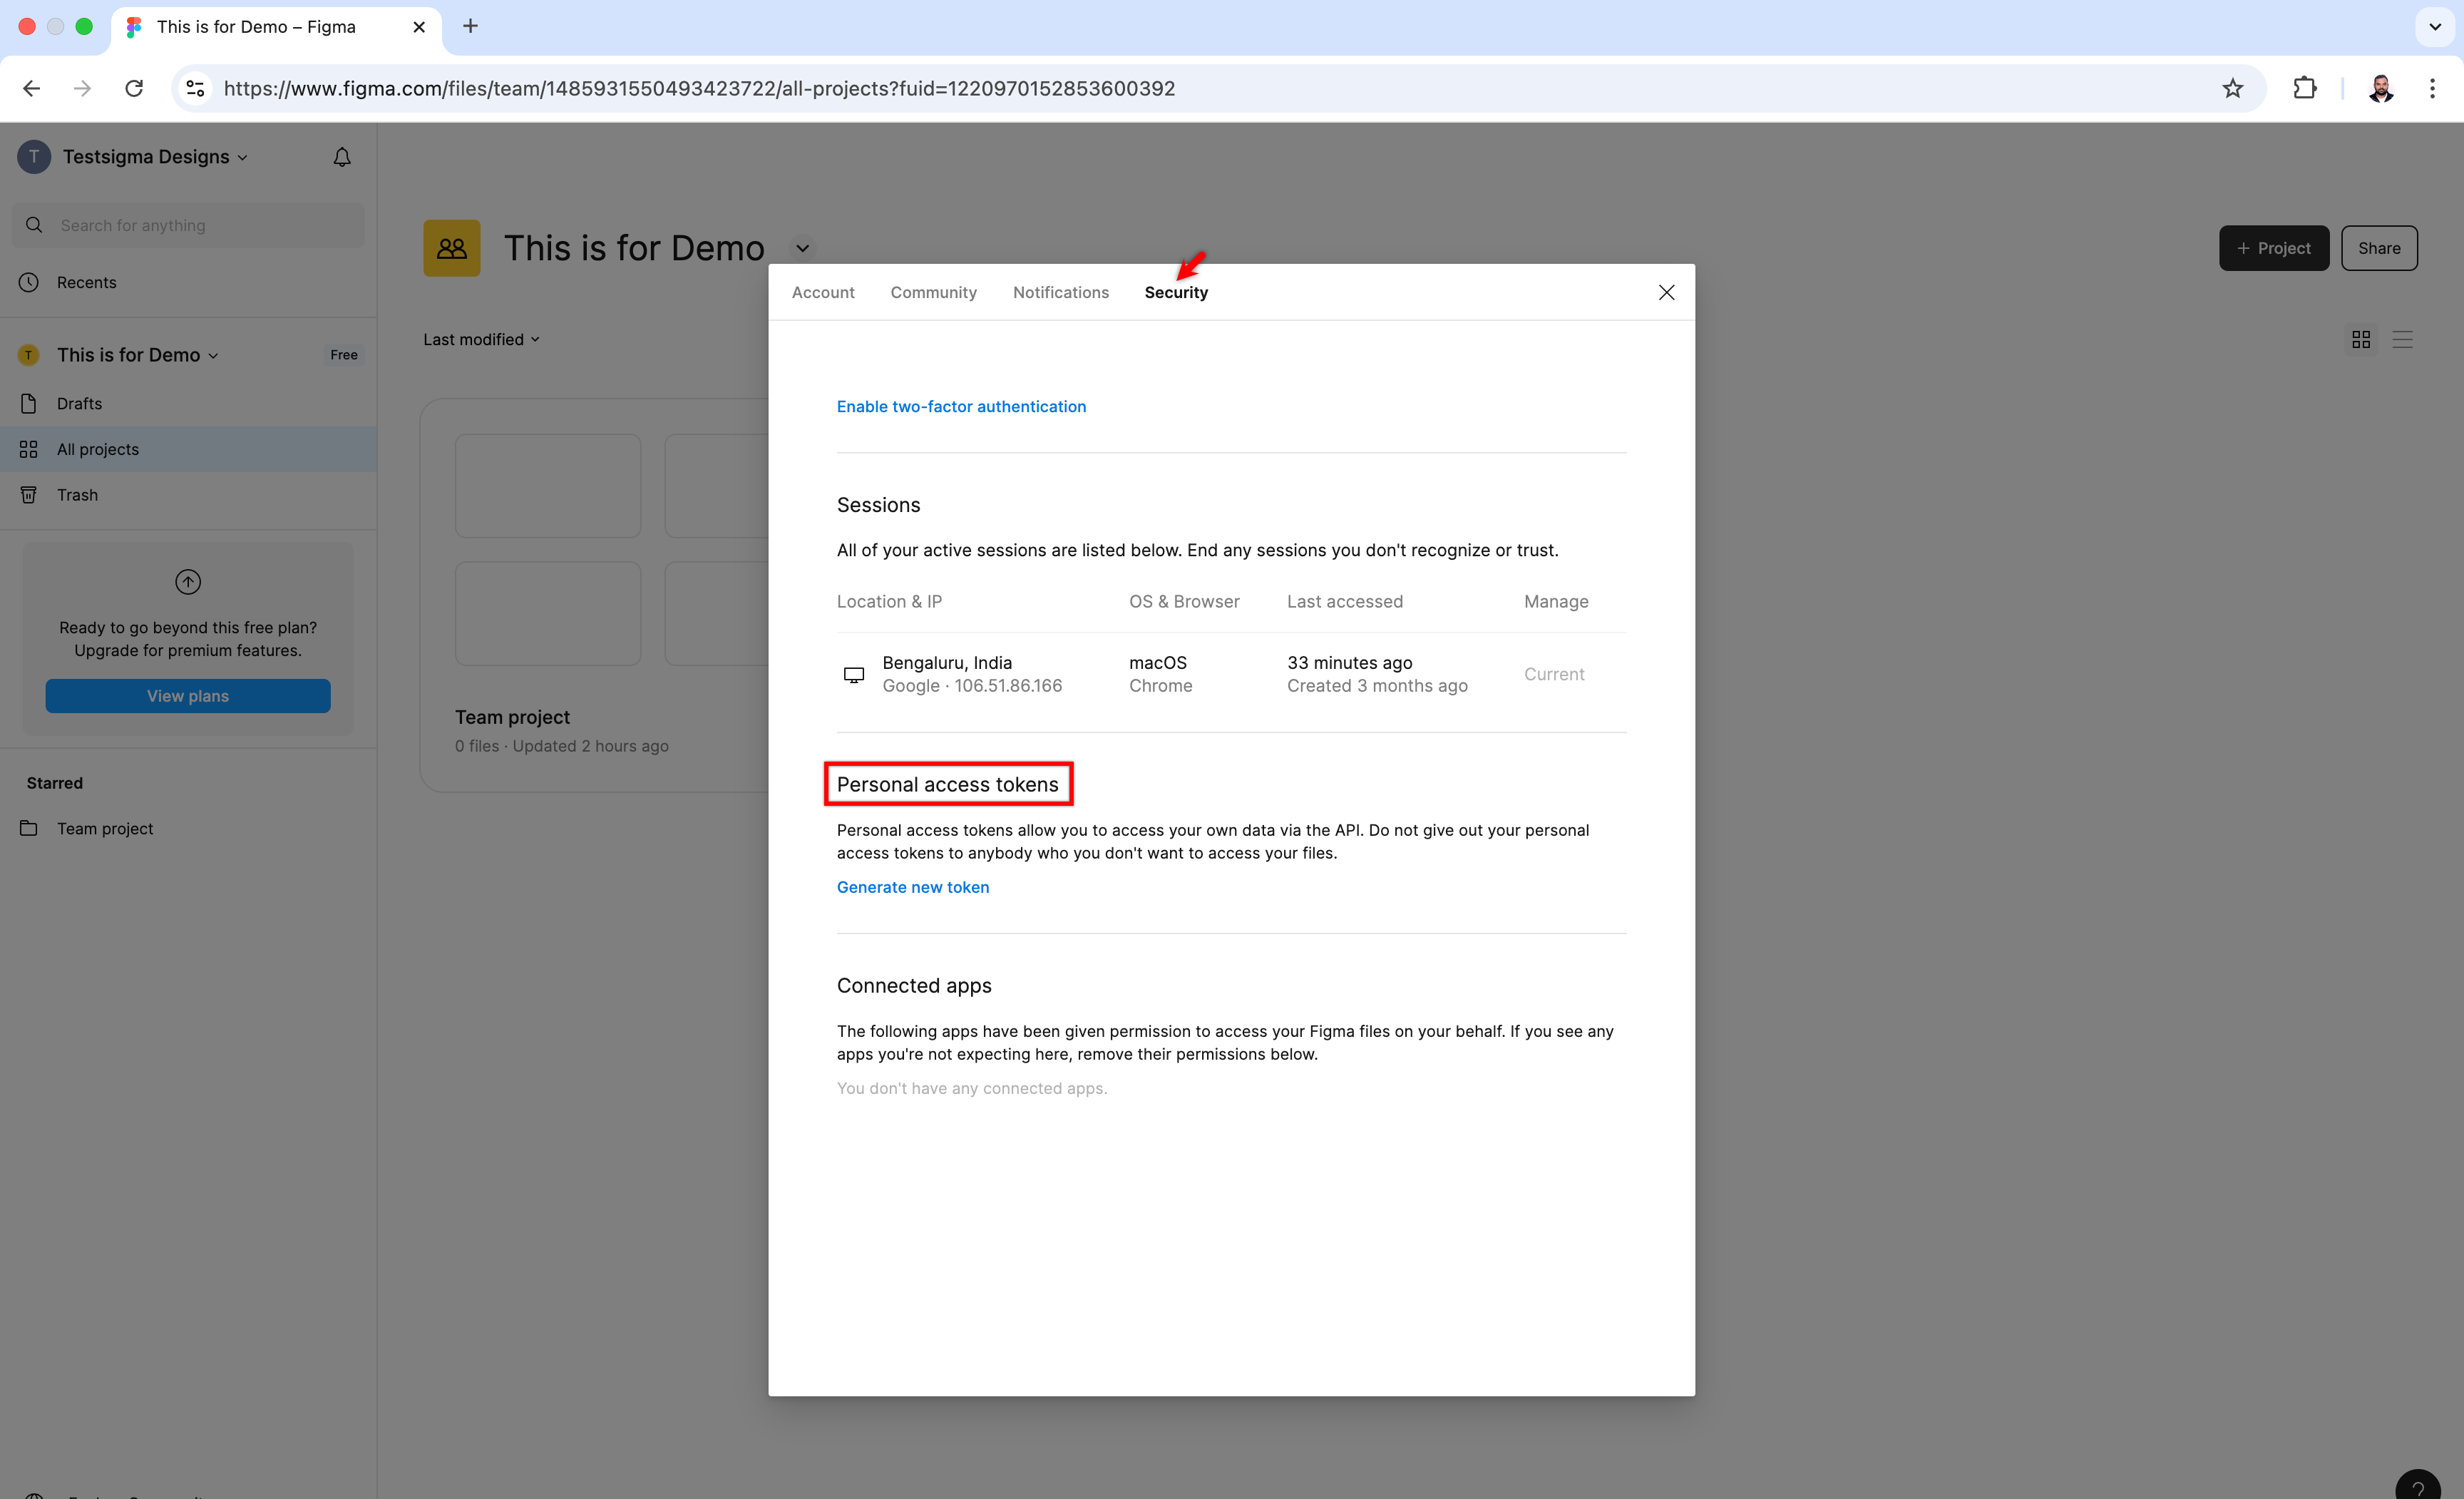
- In the top-right corner, click your profile icon, and select Settings.
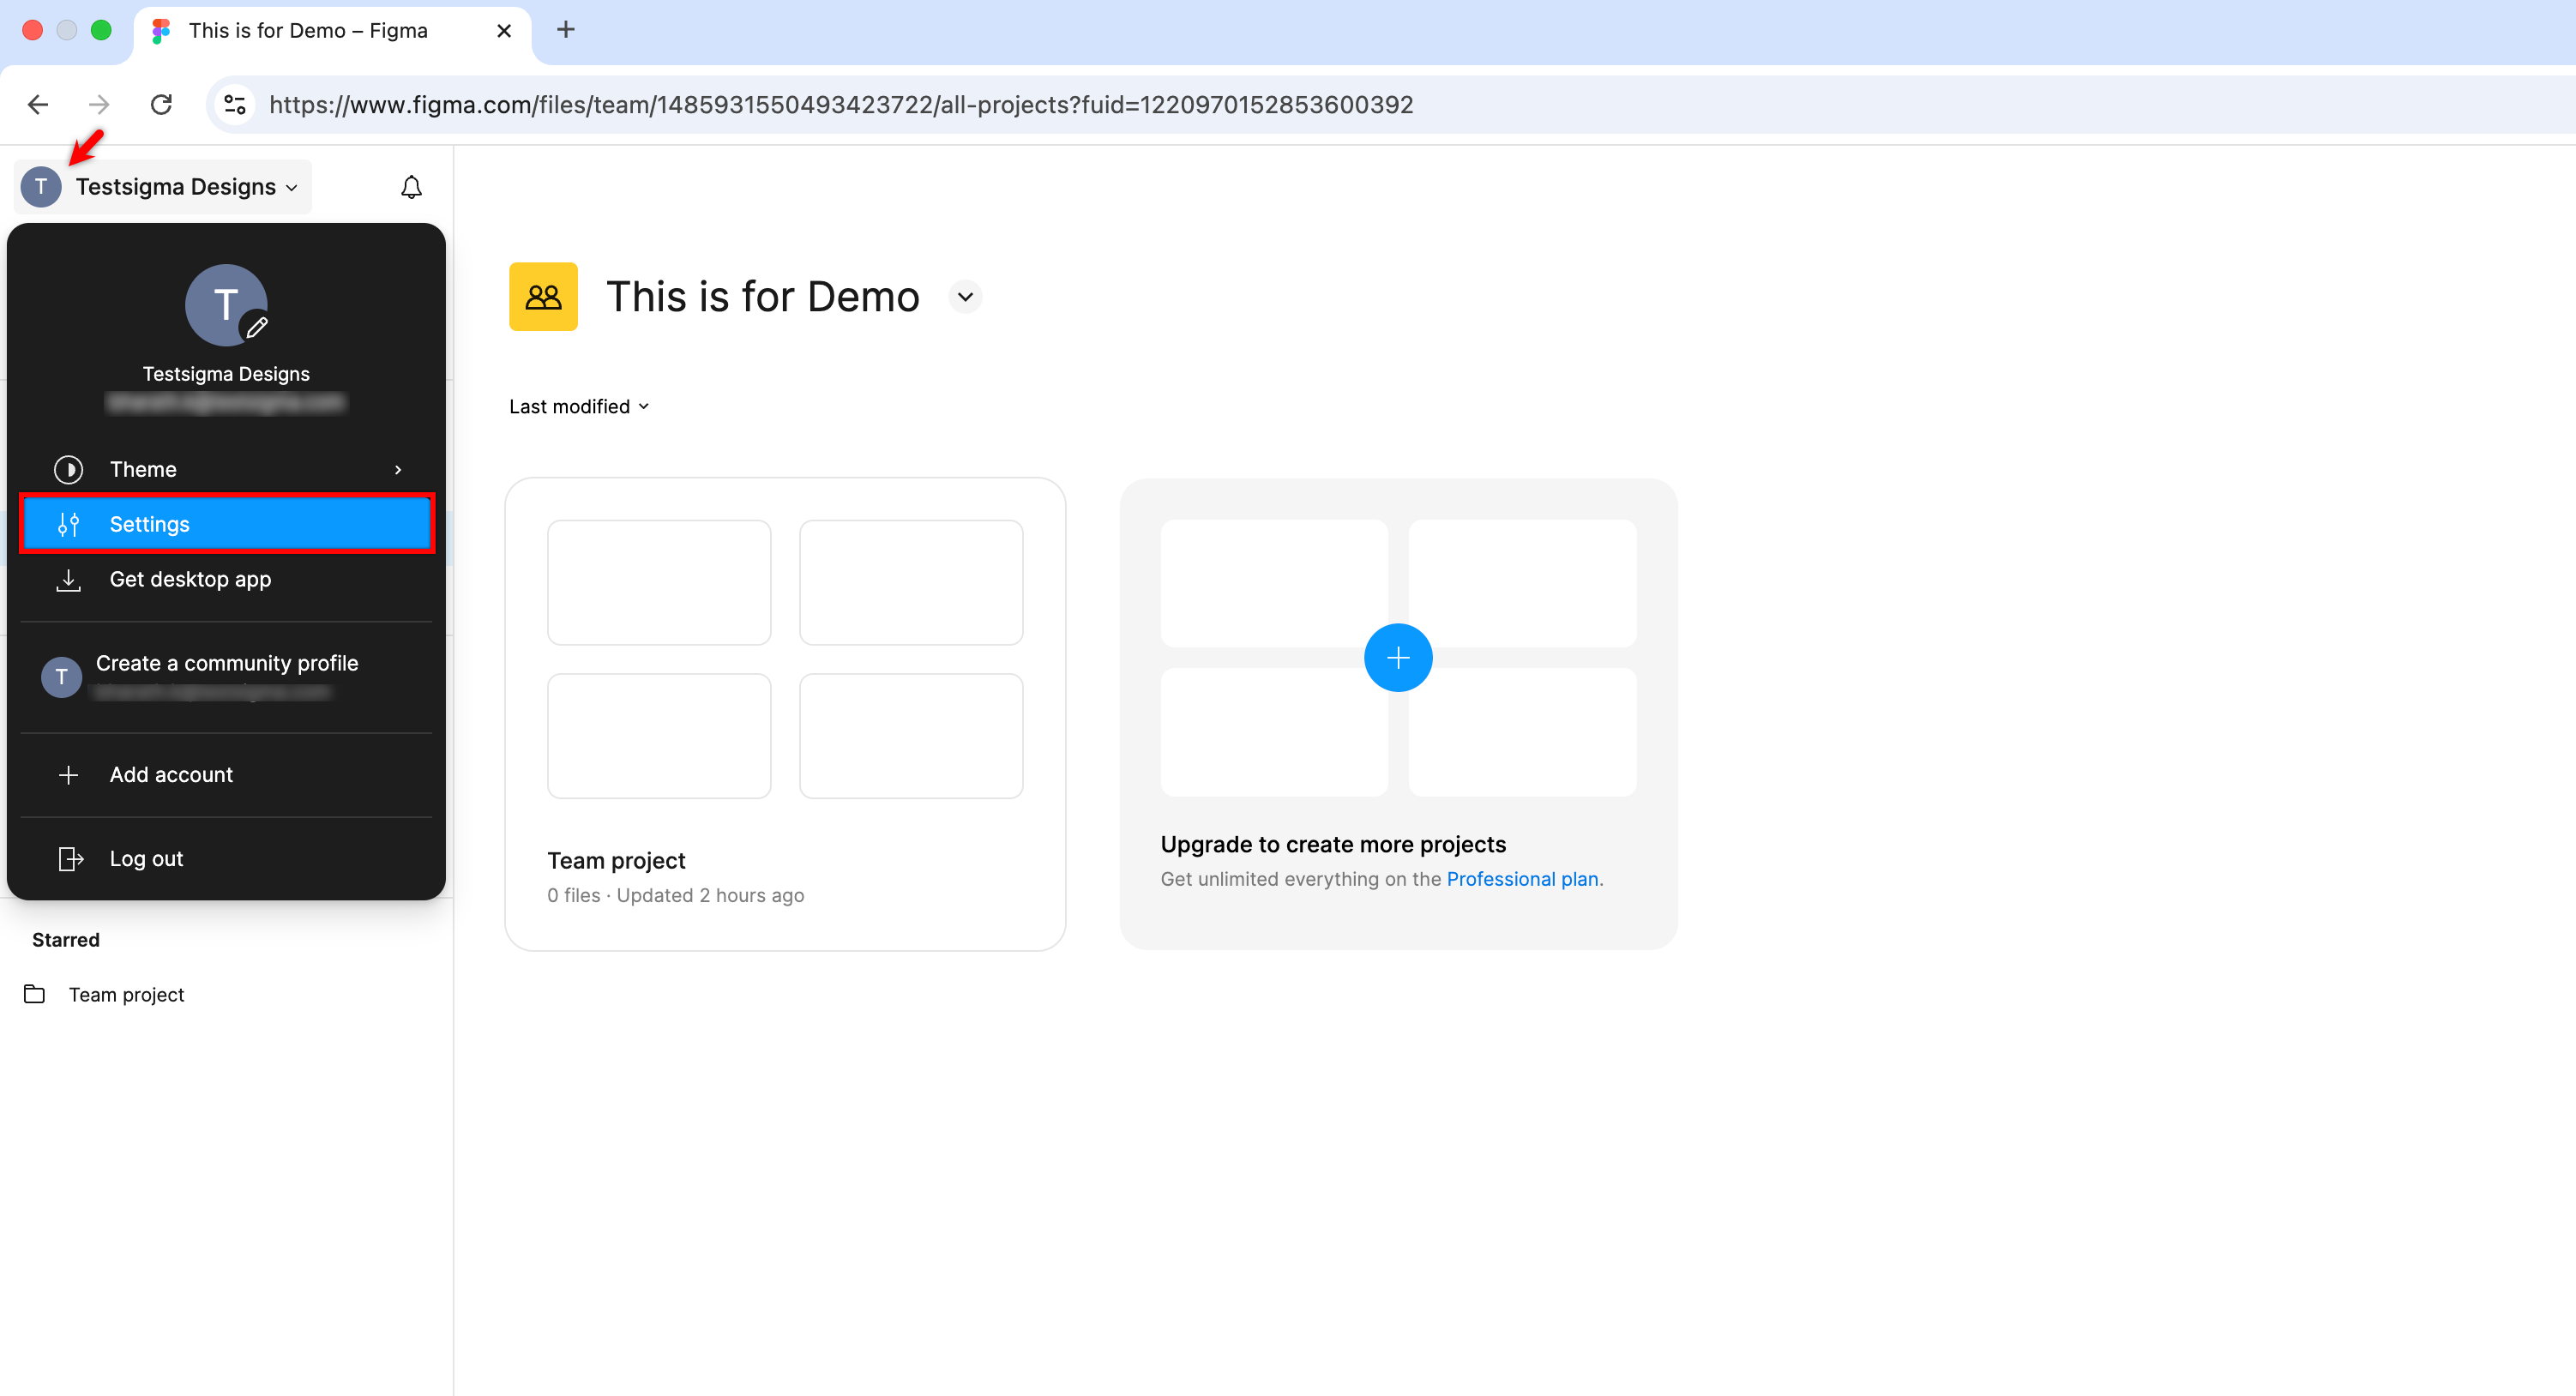
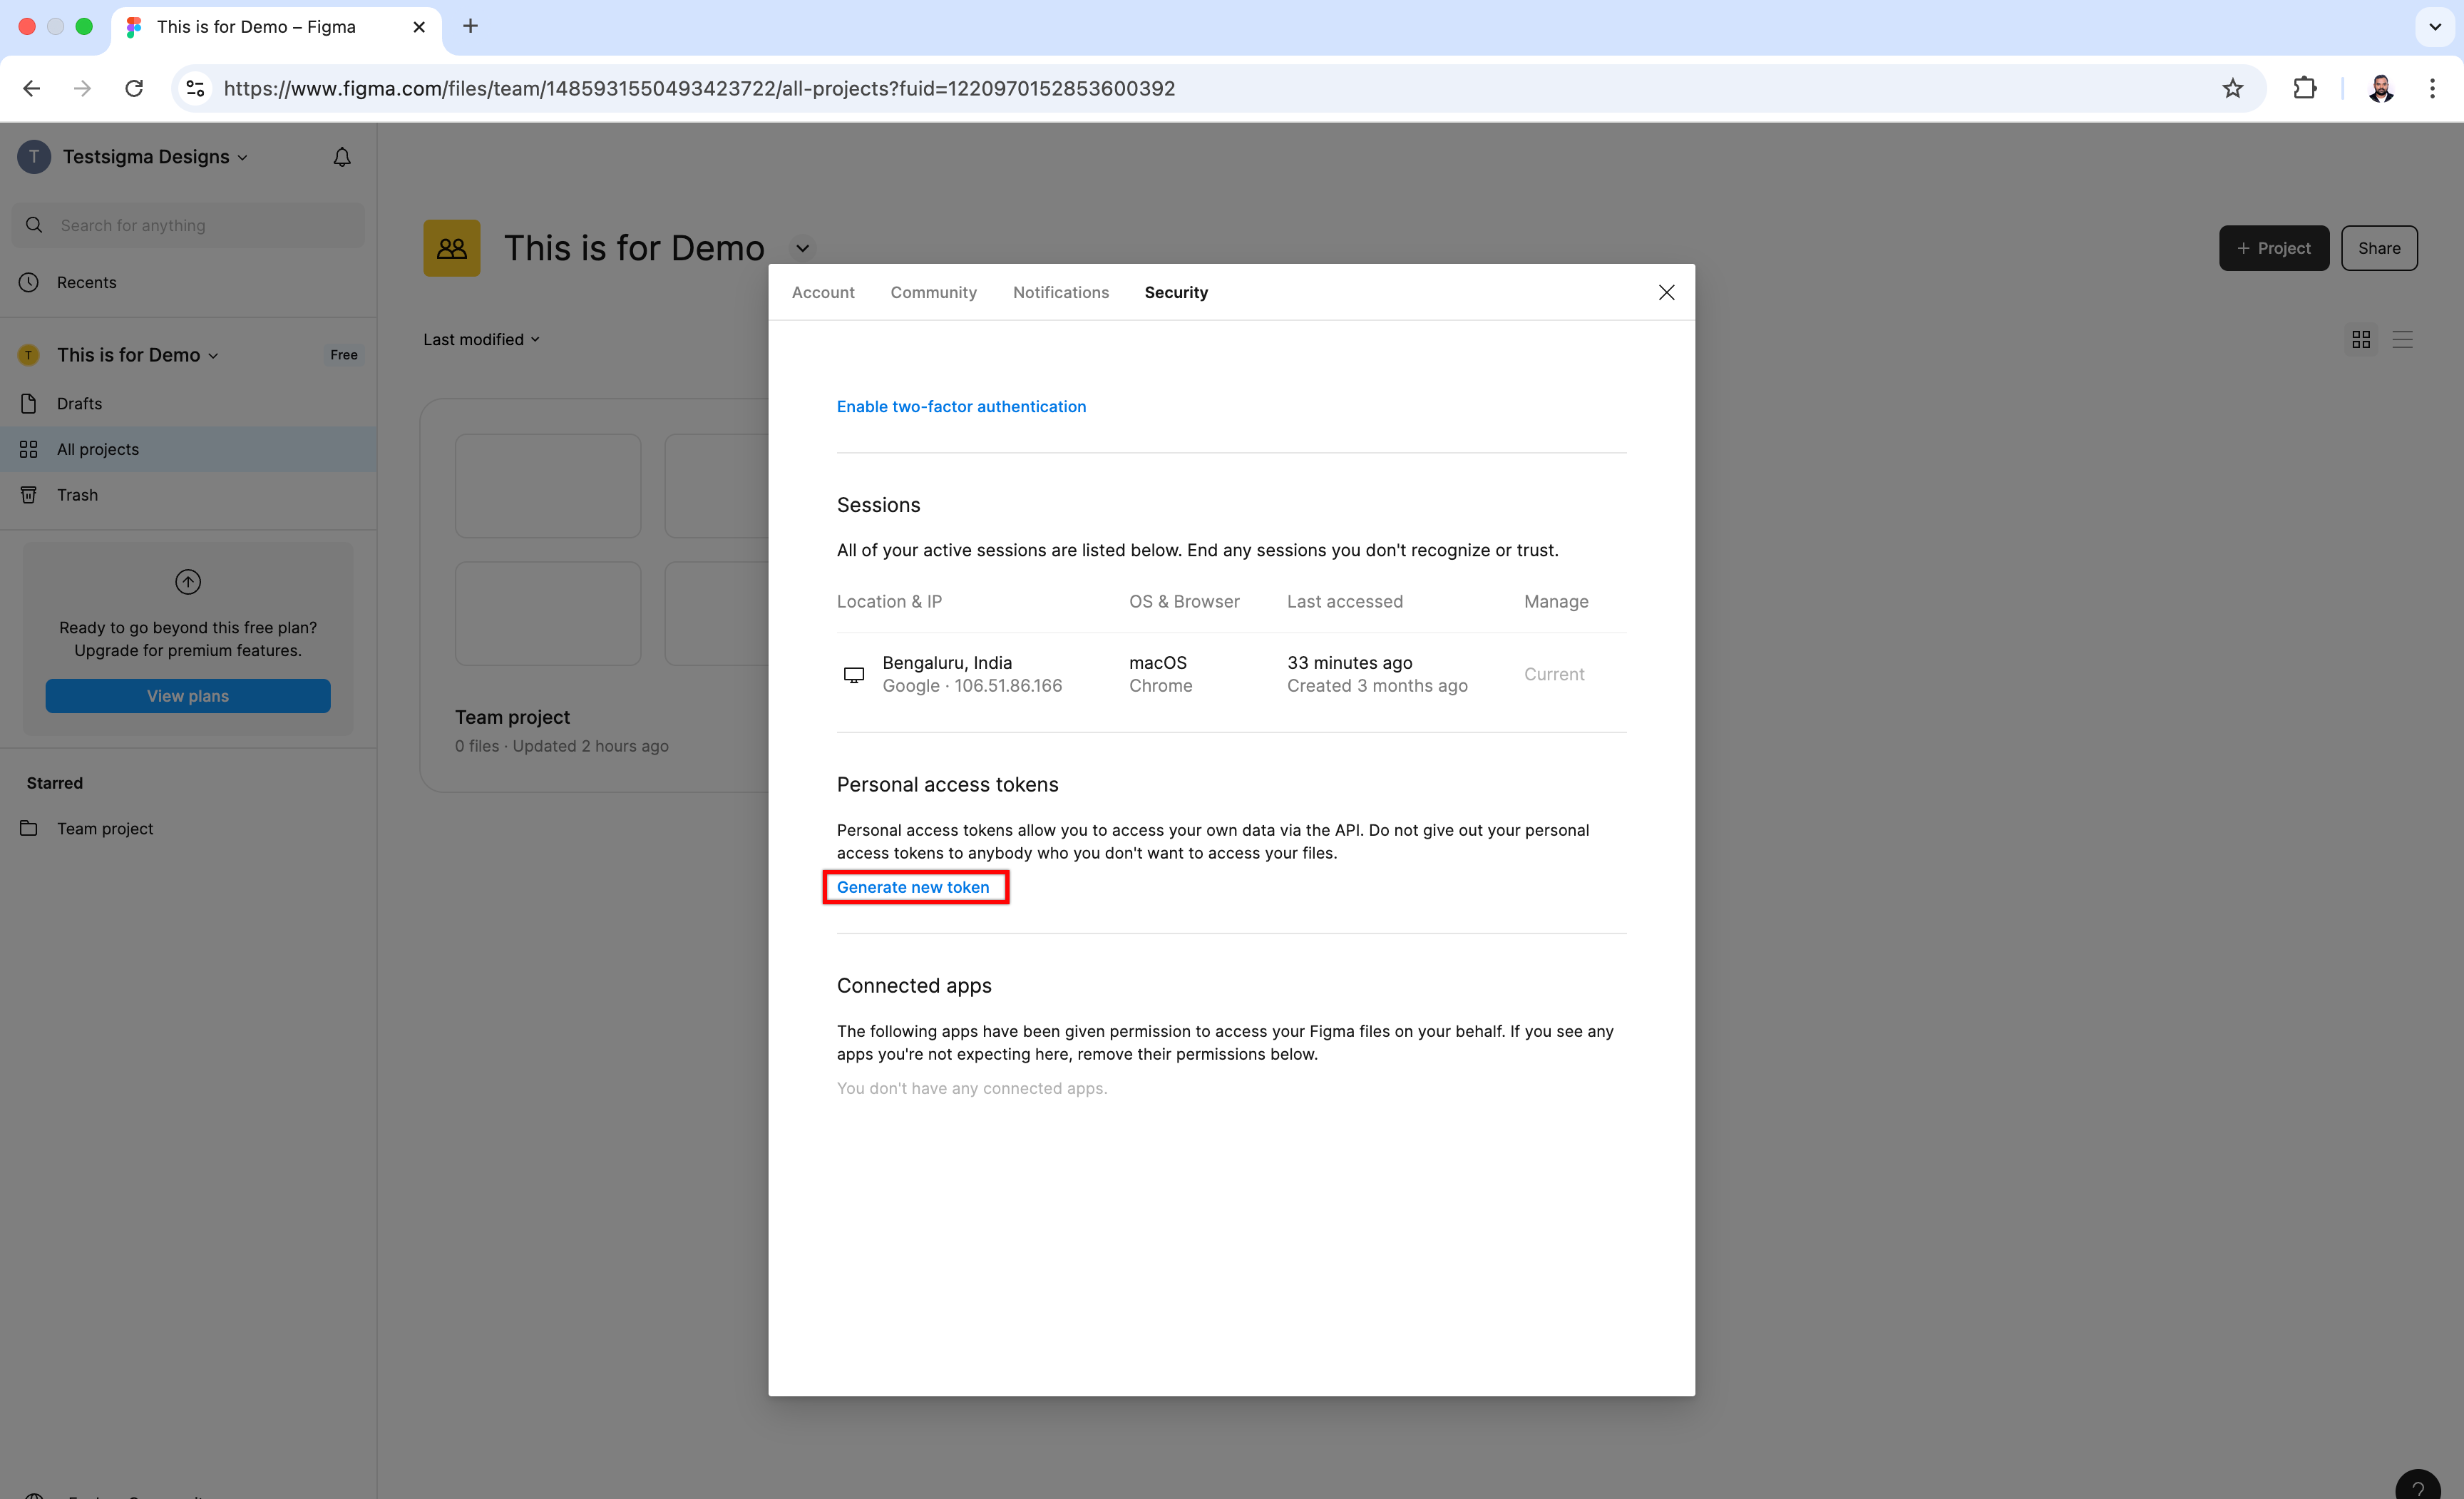
- Navigate to Security > Personal access tokens section.
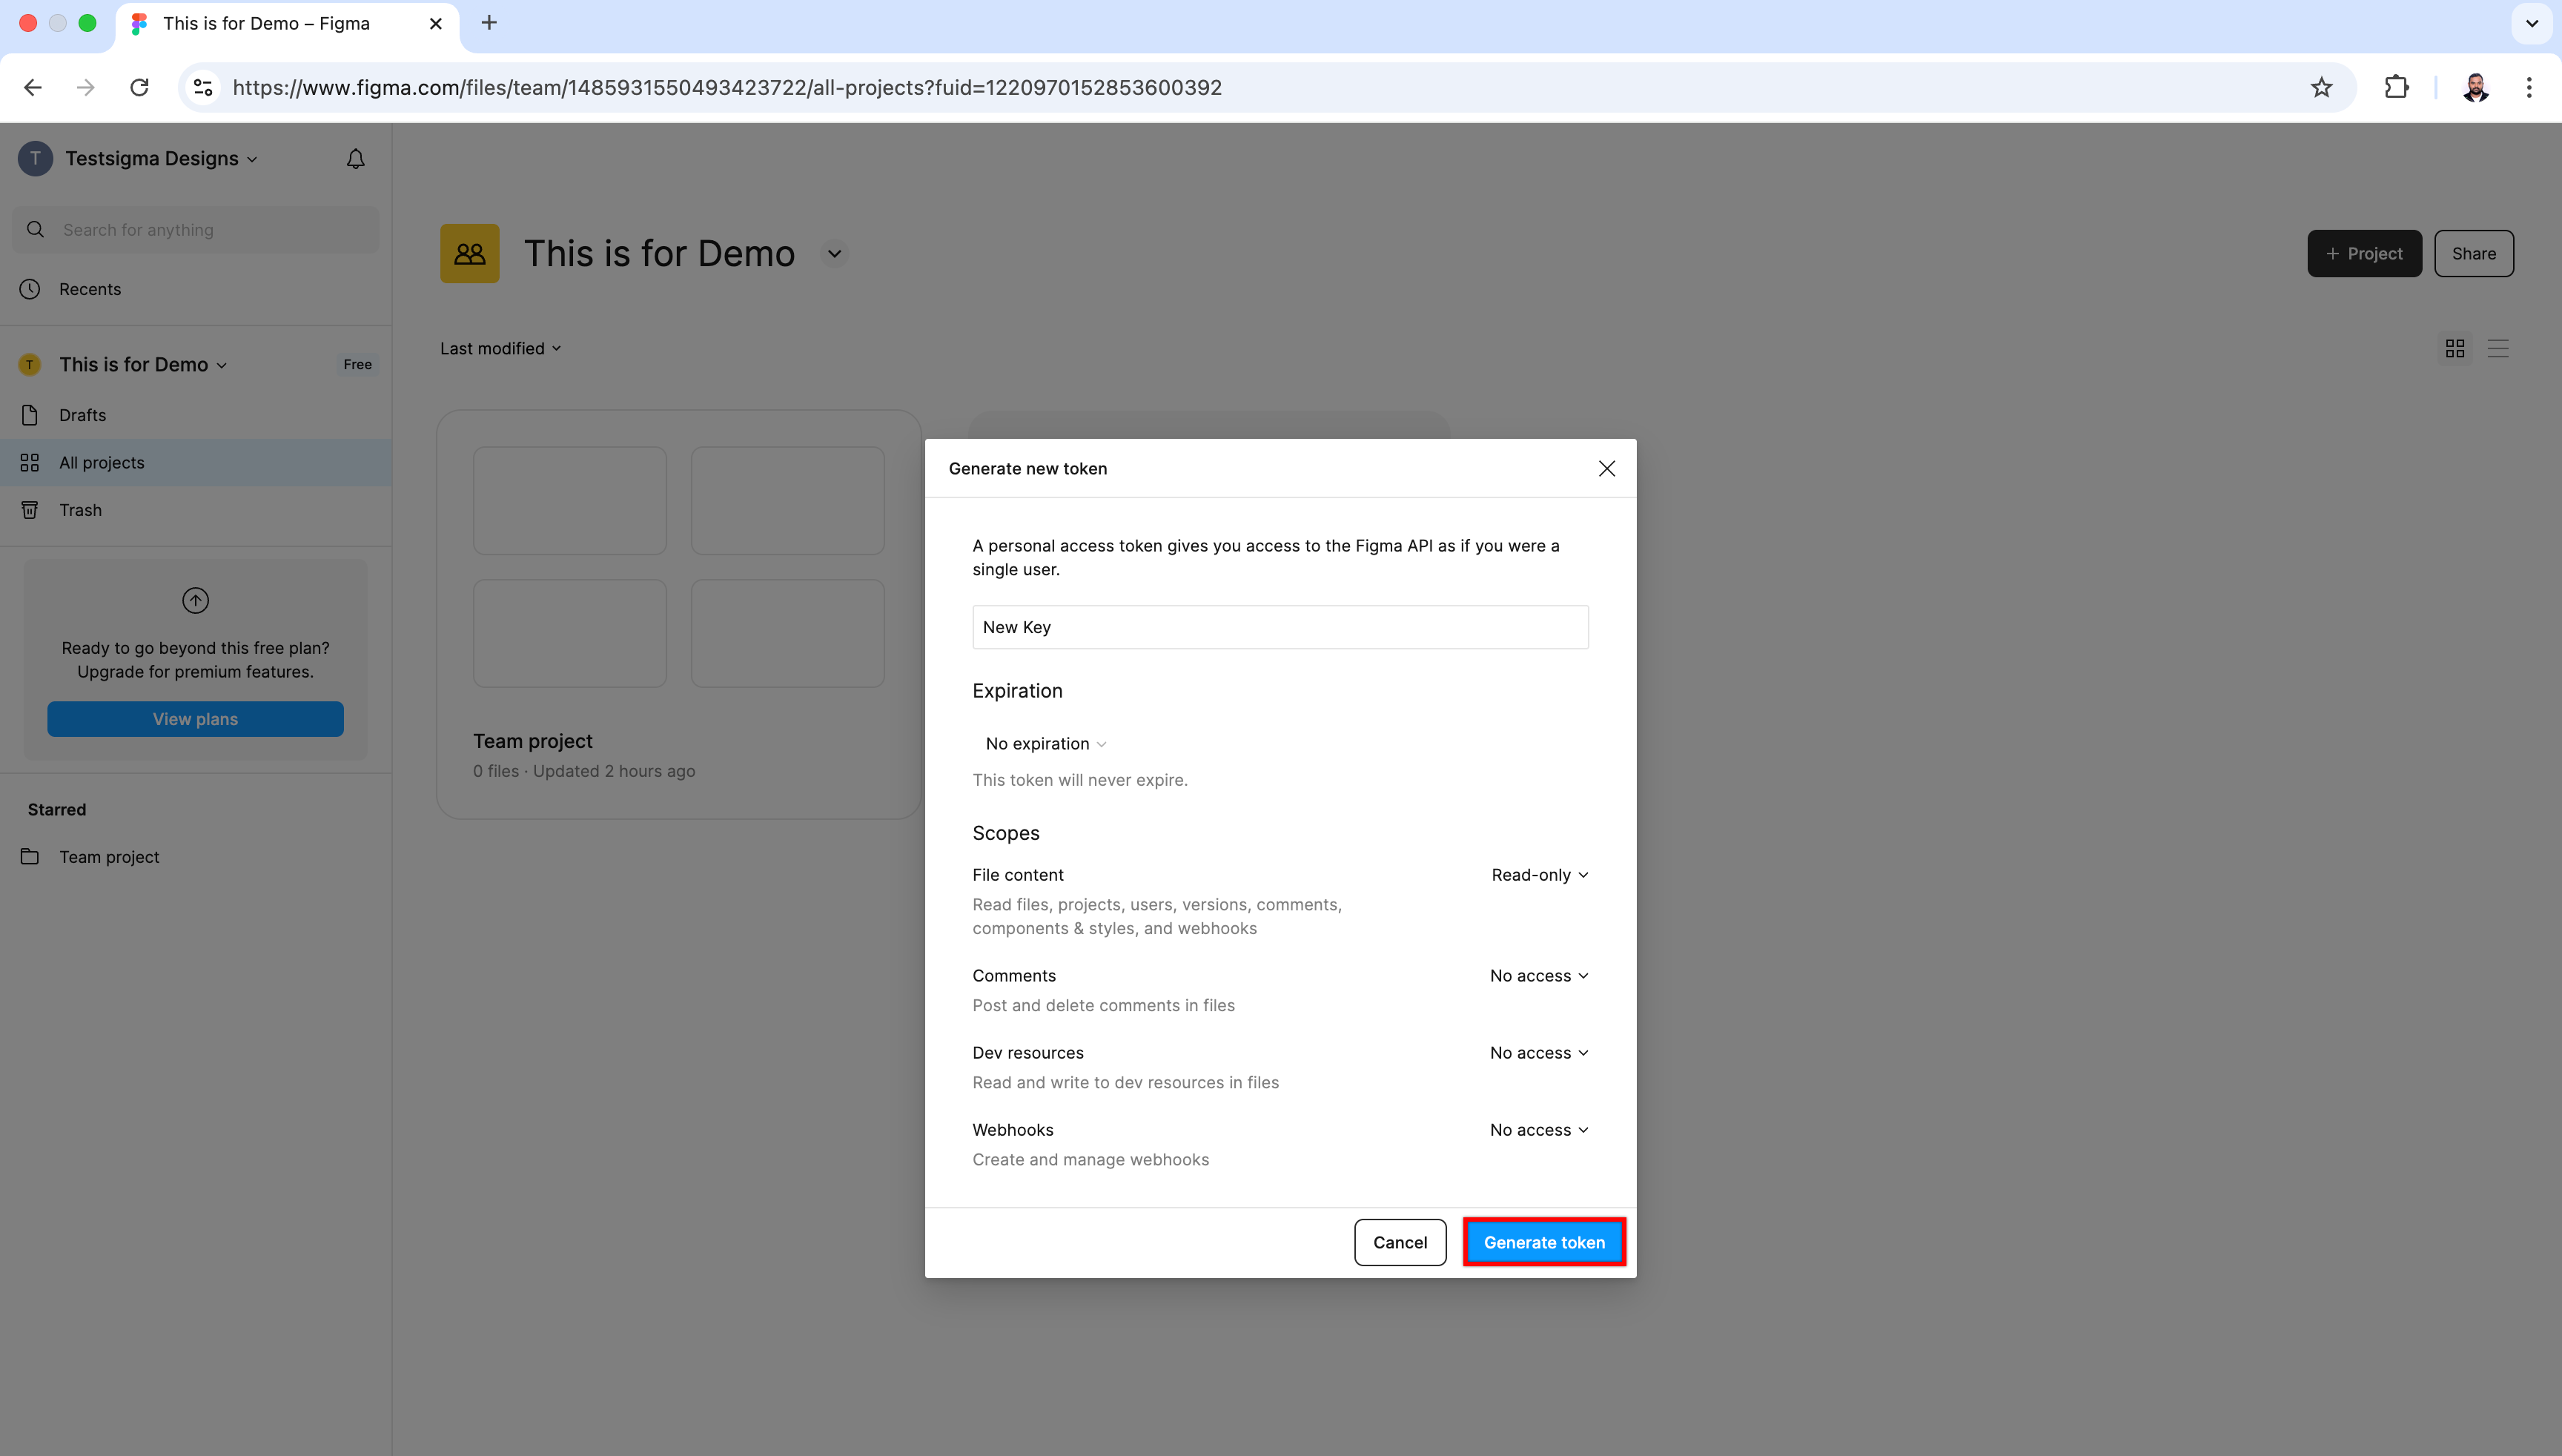
- Click Generate new token.
- In the Generate new token dialog, enter a Token name.
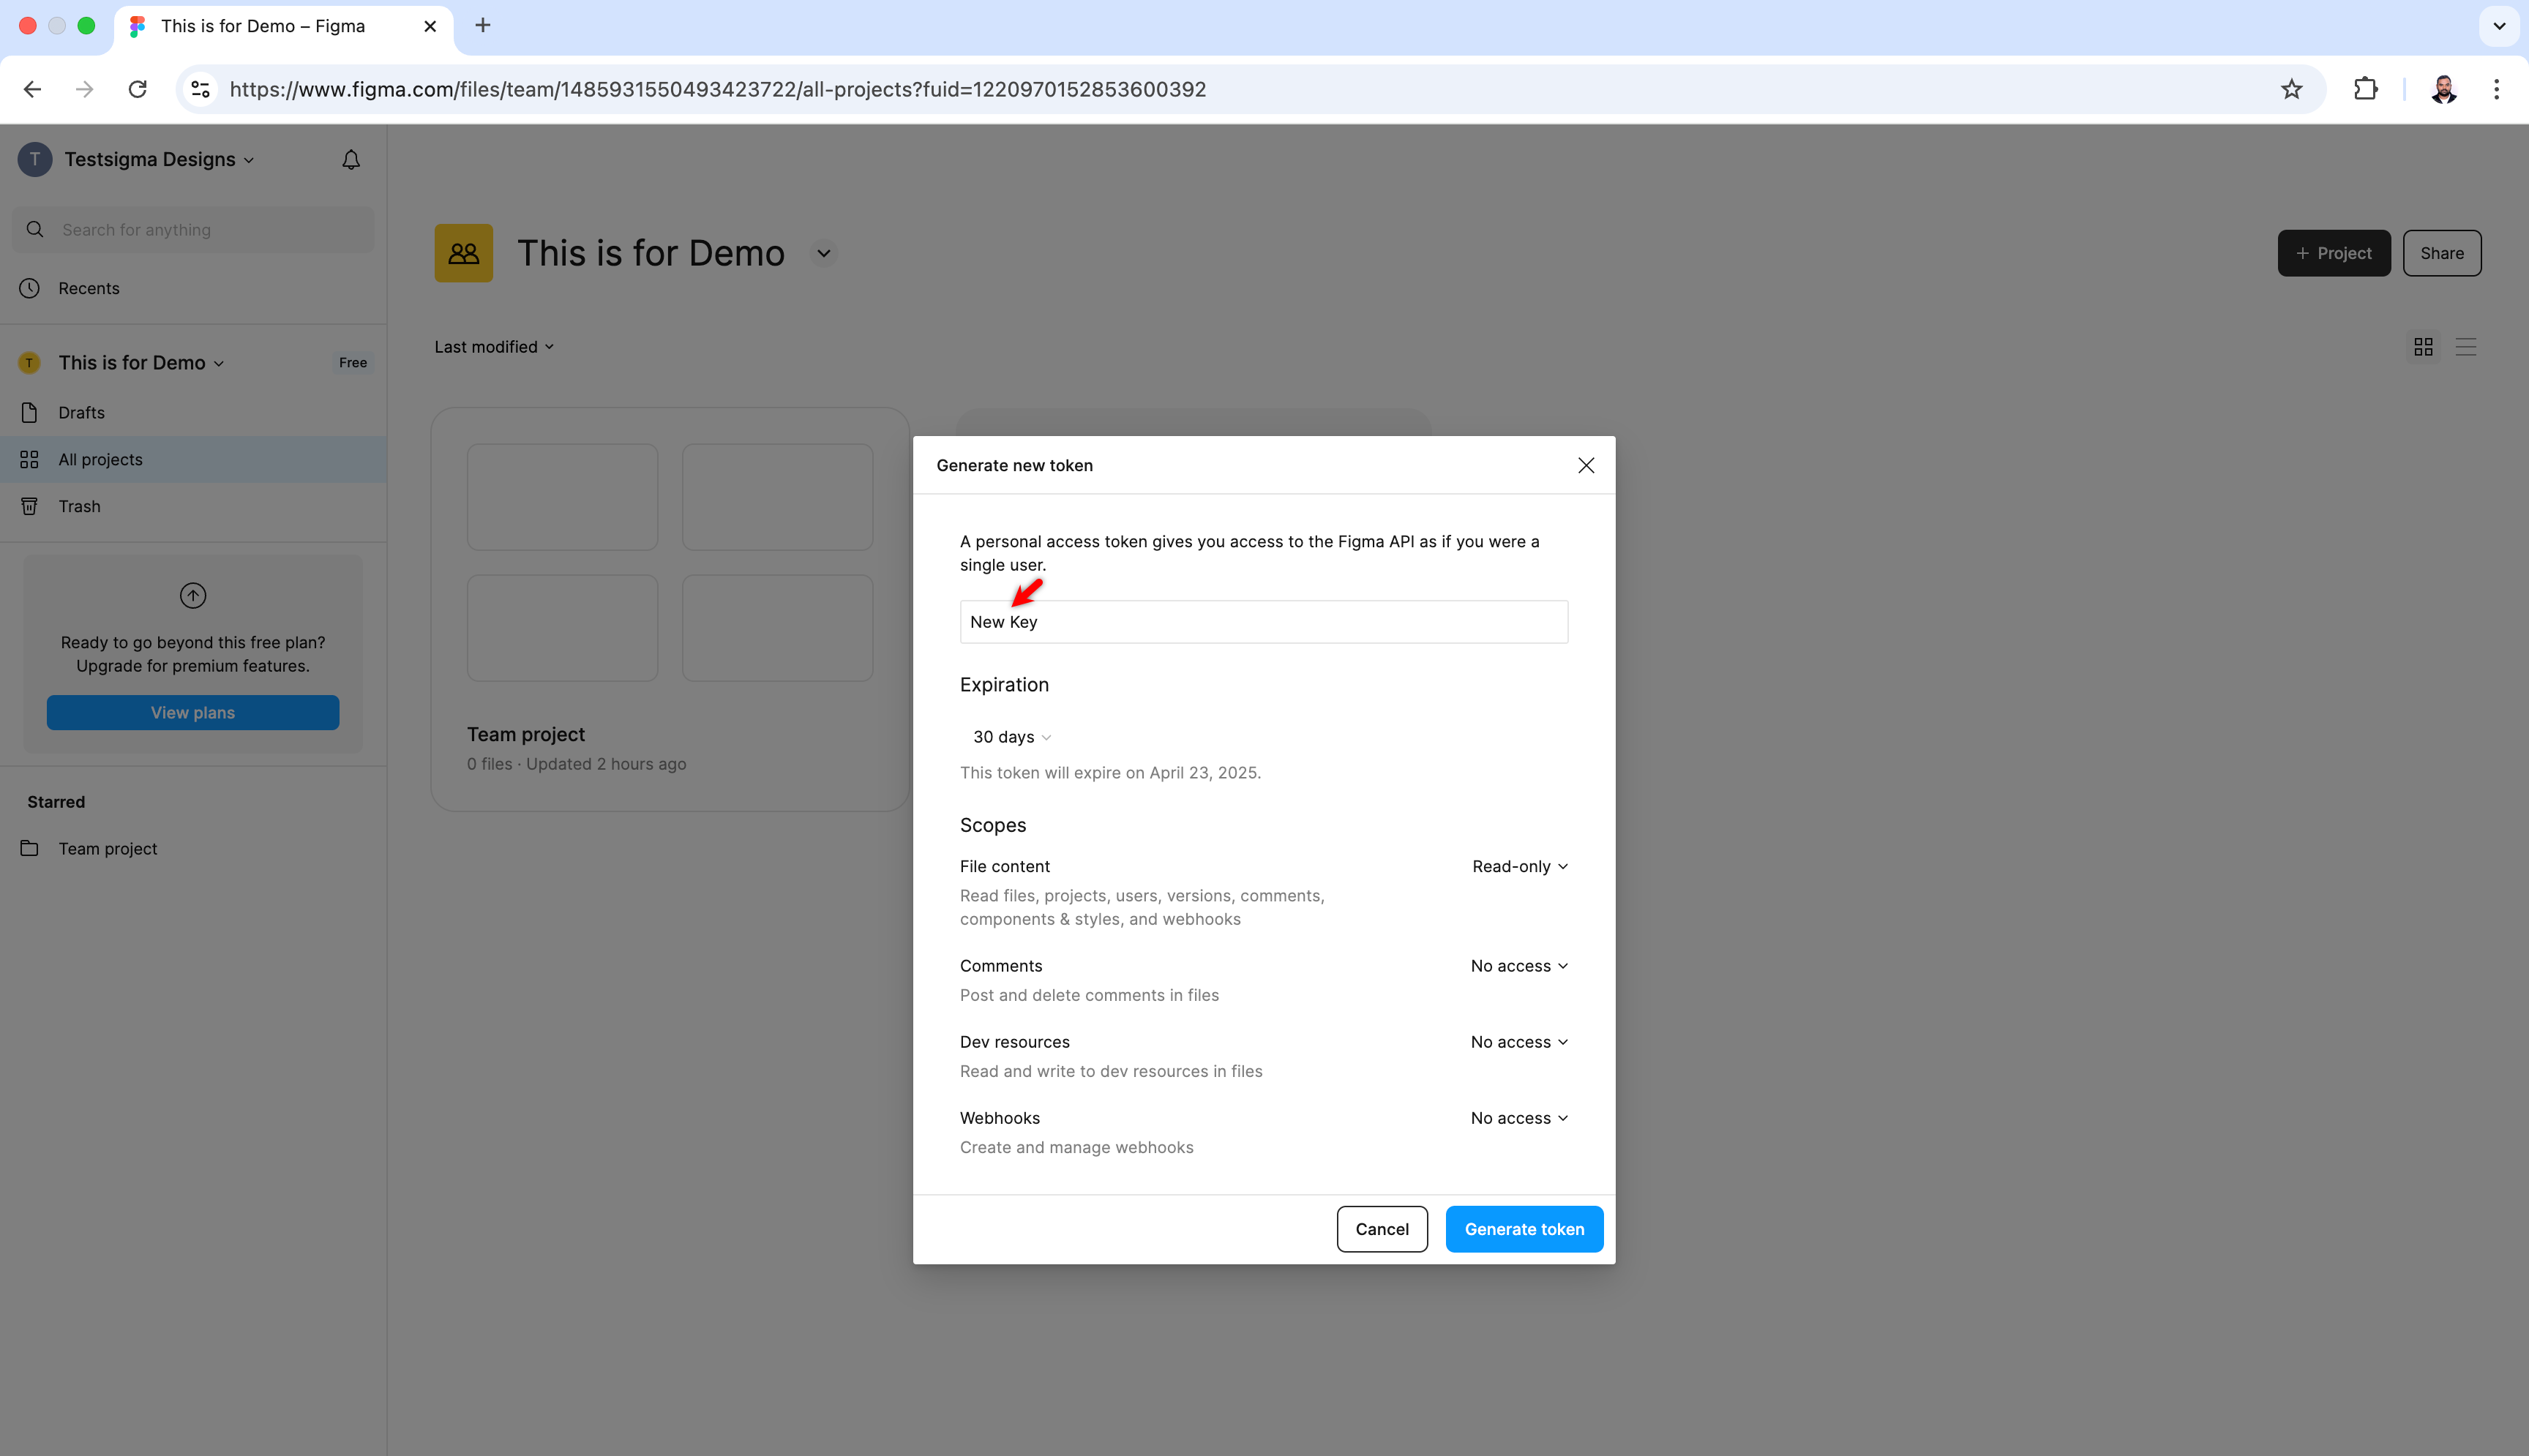
- From the Expiration dropdown, select an expiration period.
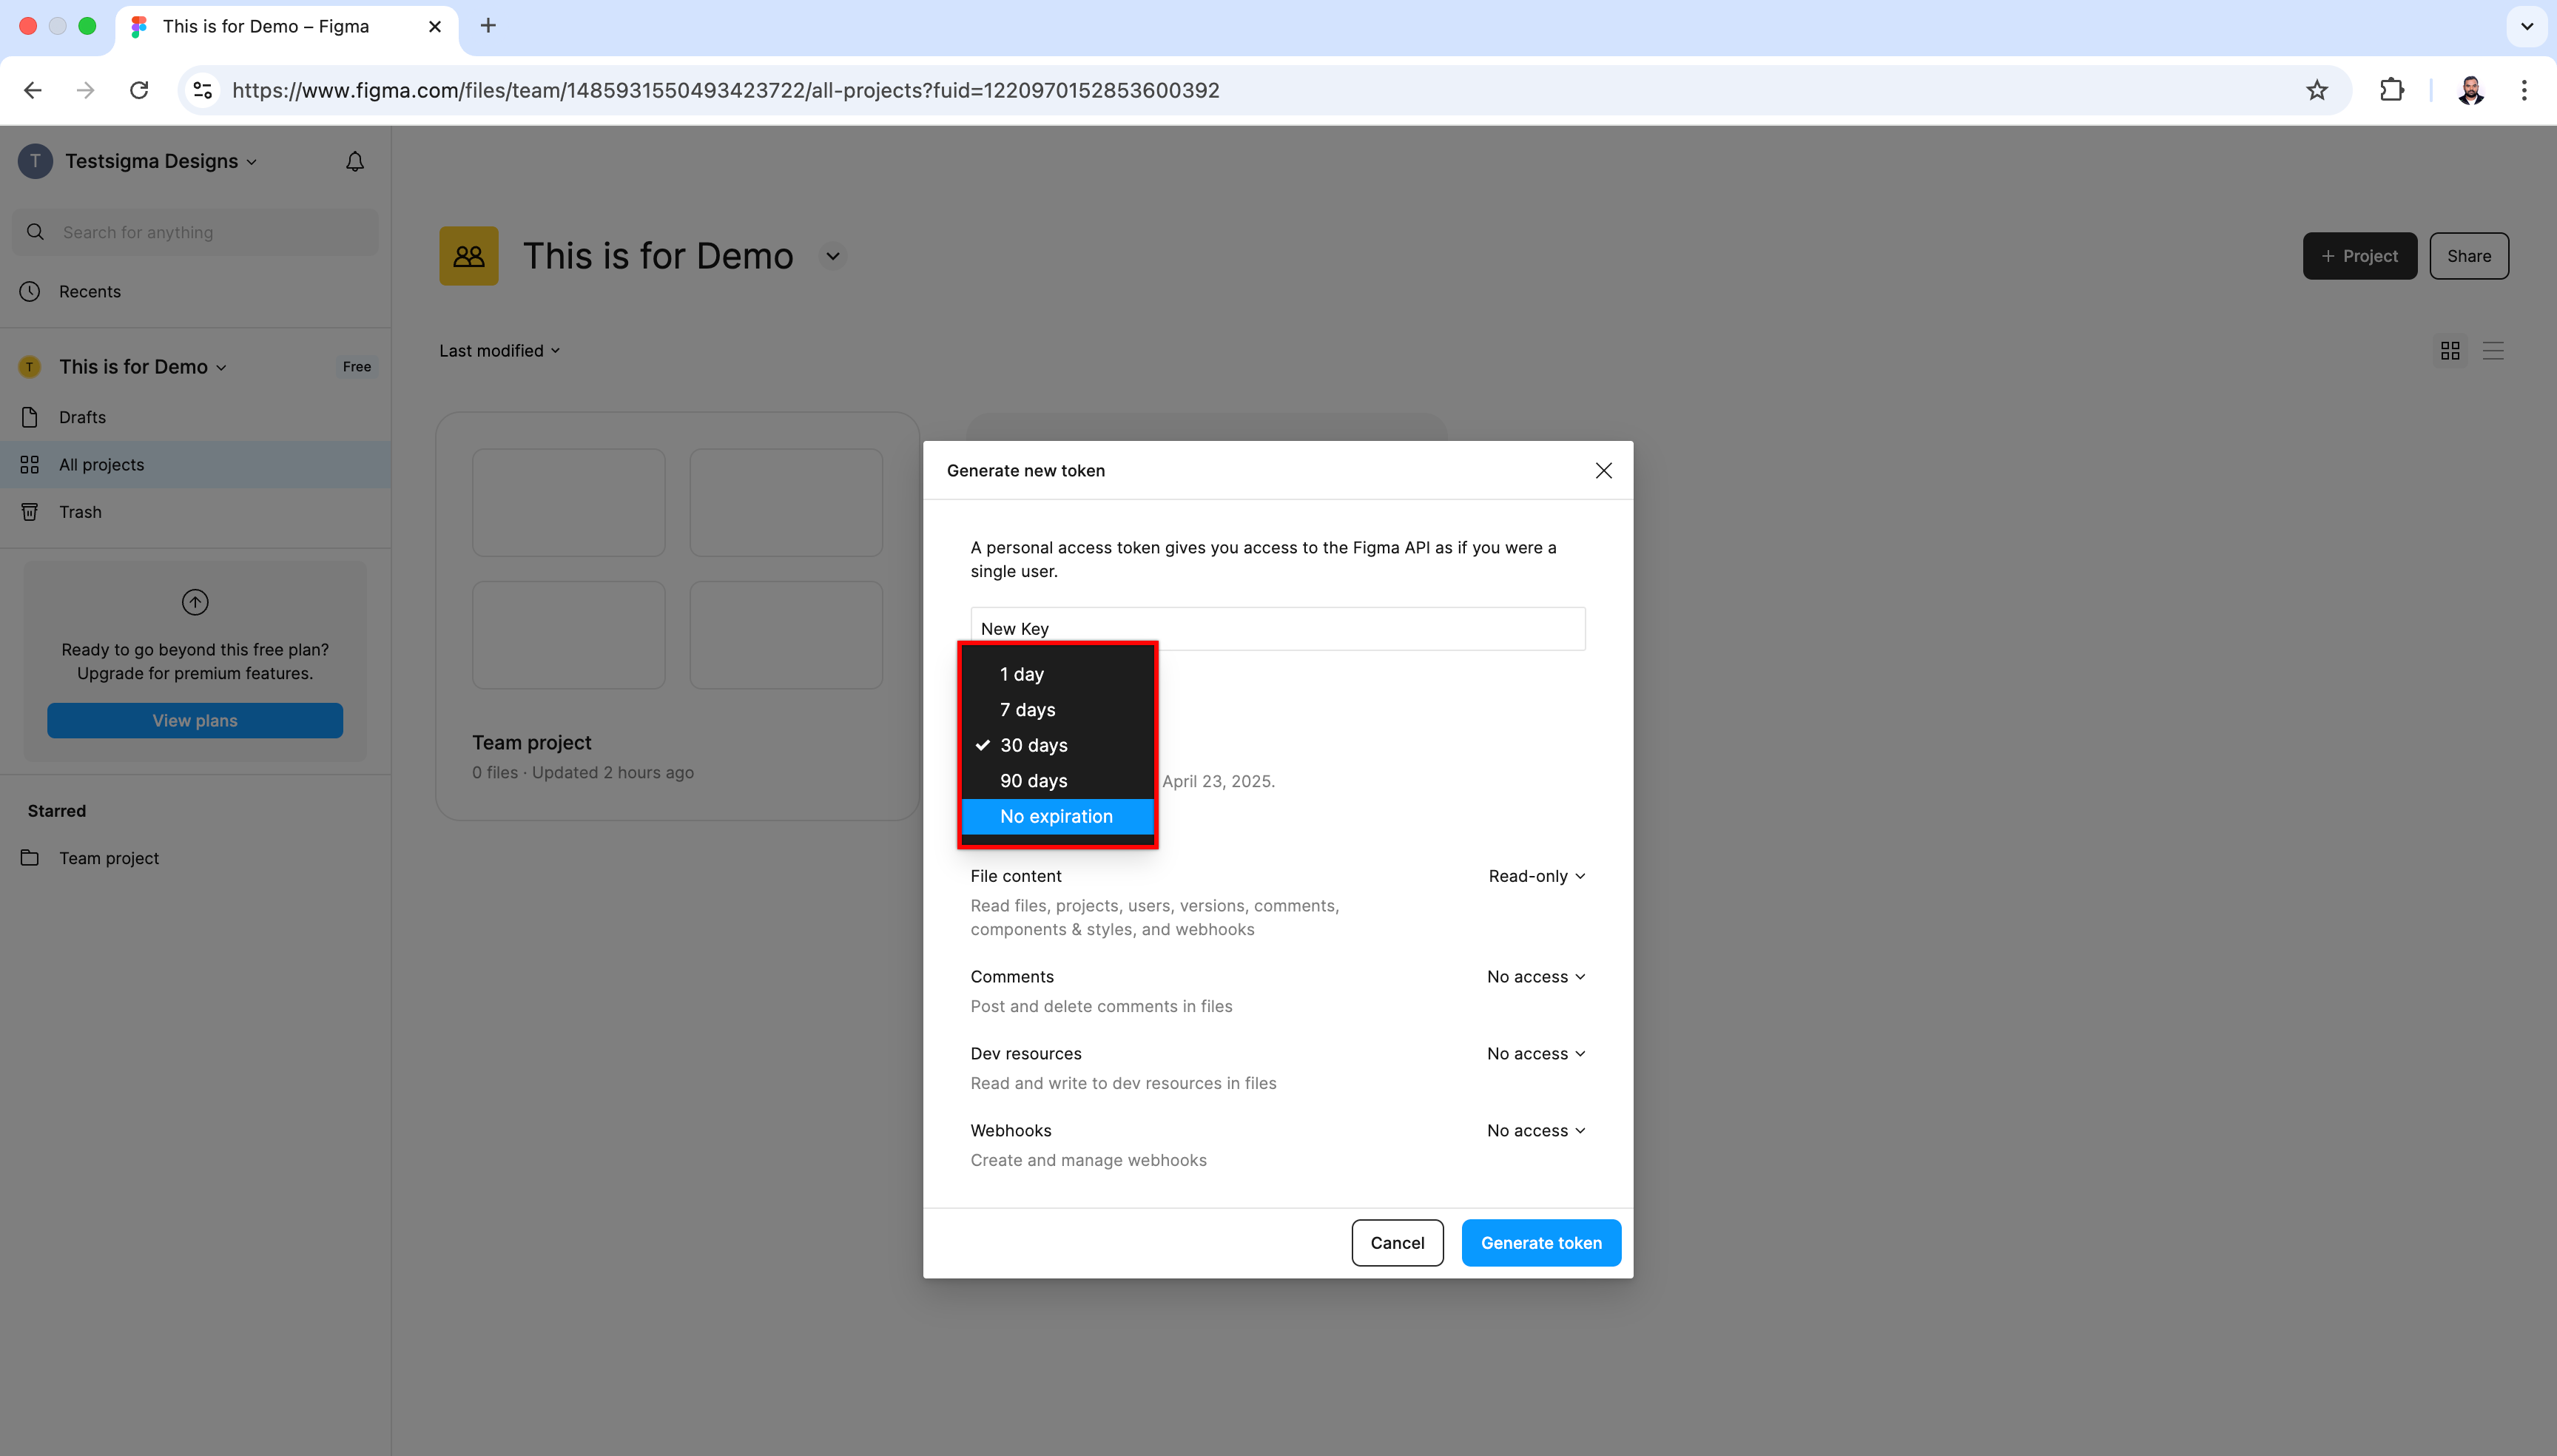
- Click Generate token.
- Click Copy this token to copy the key.
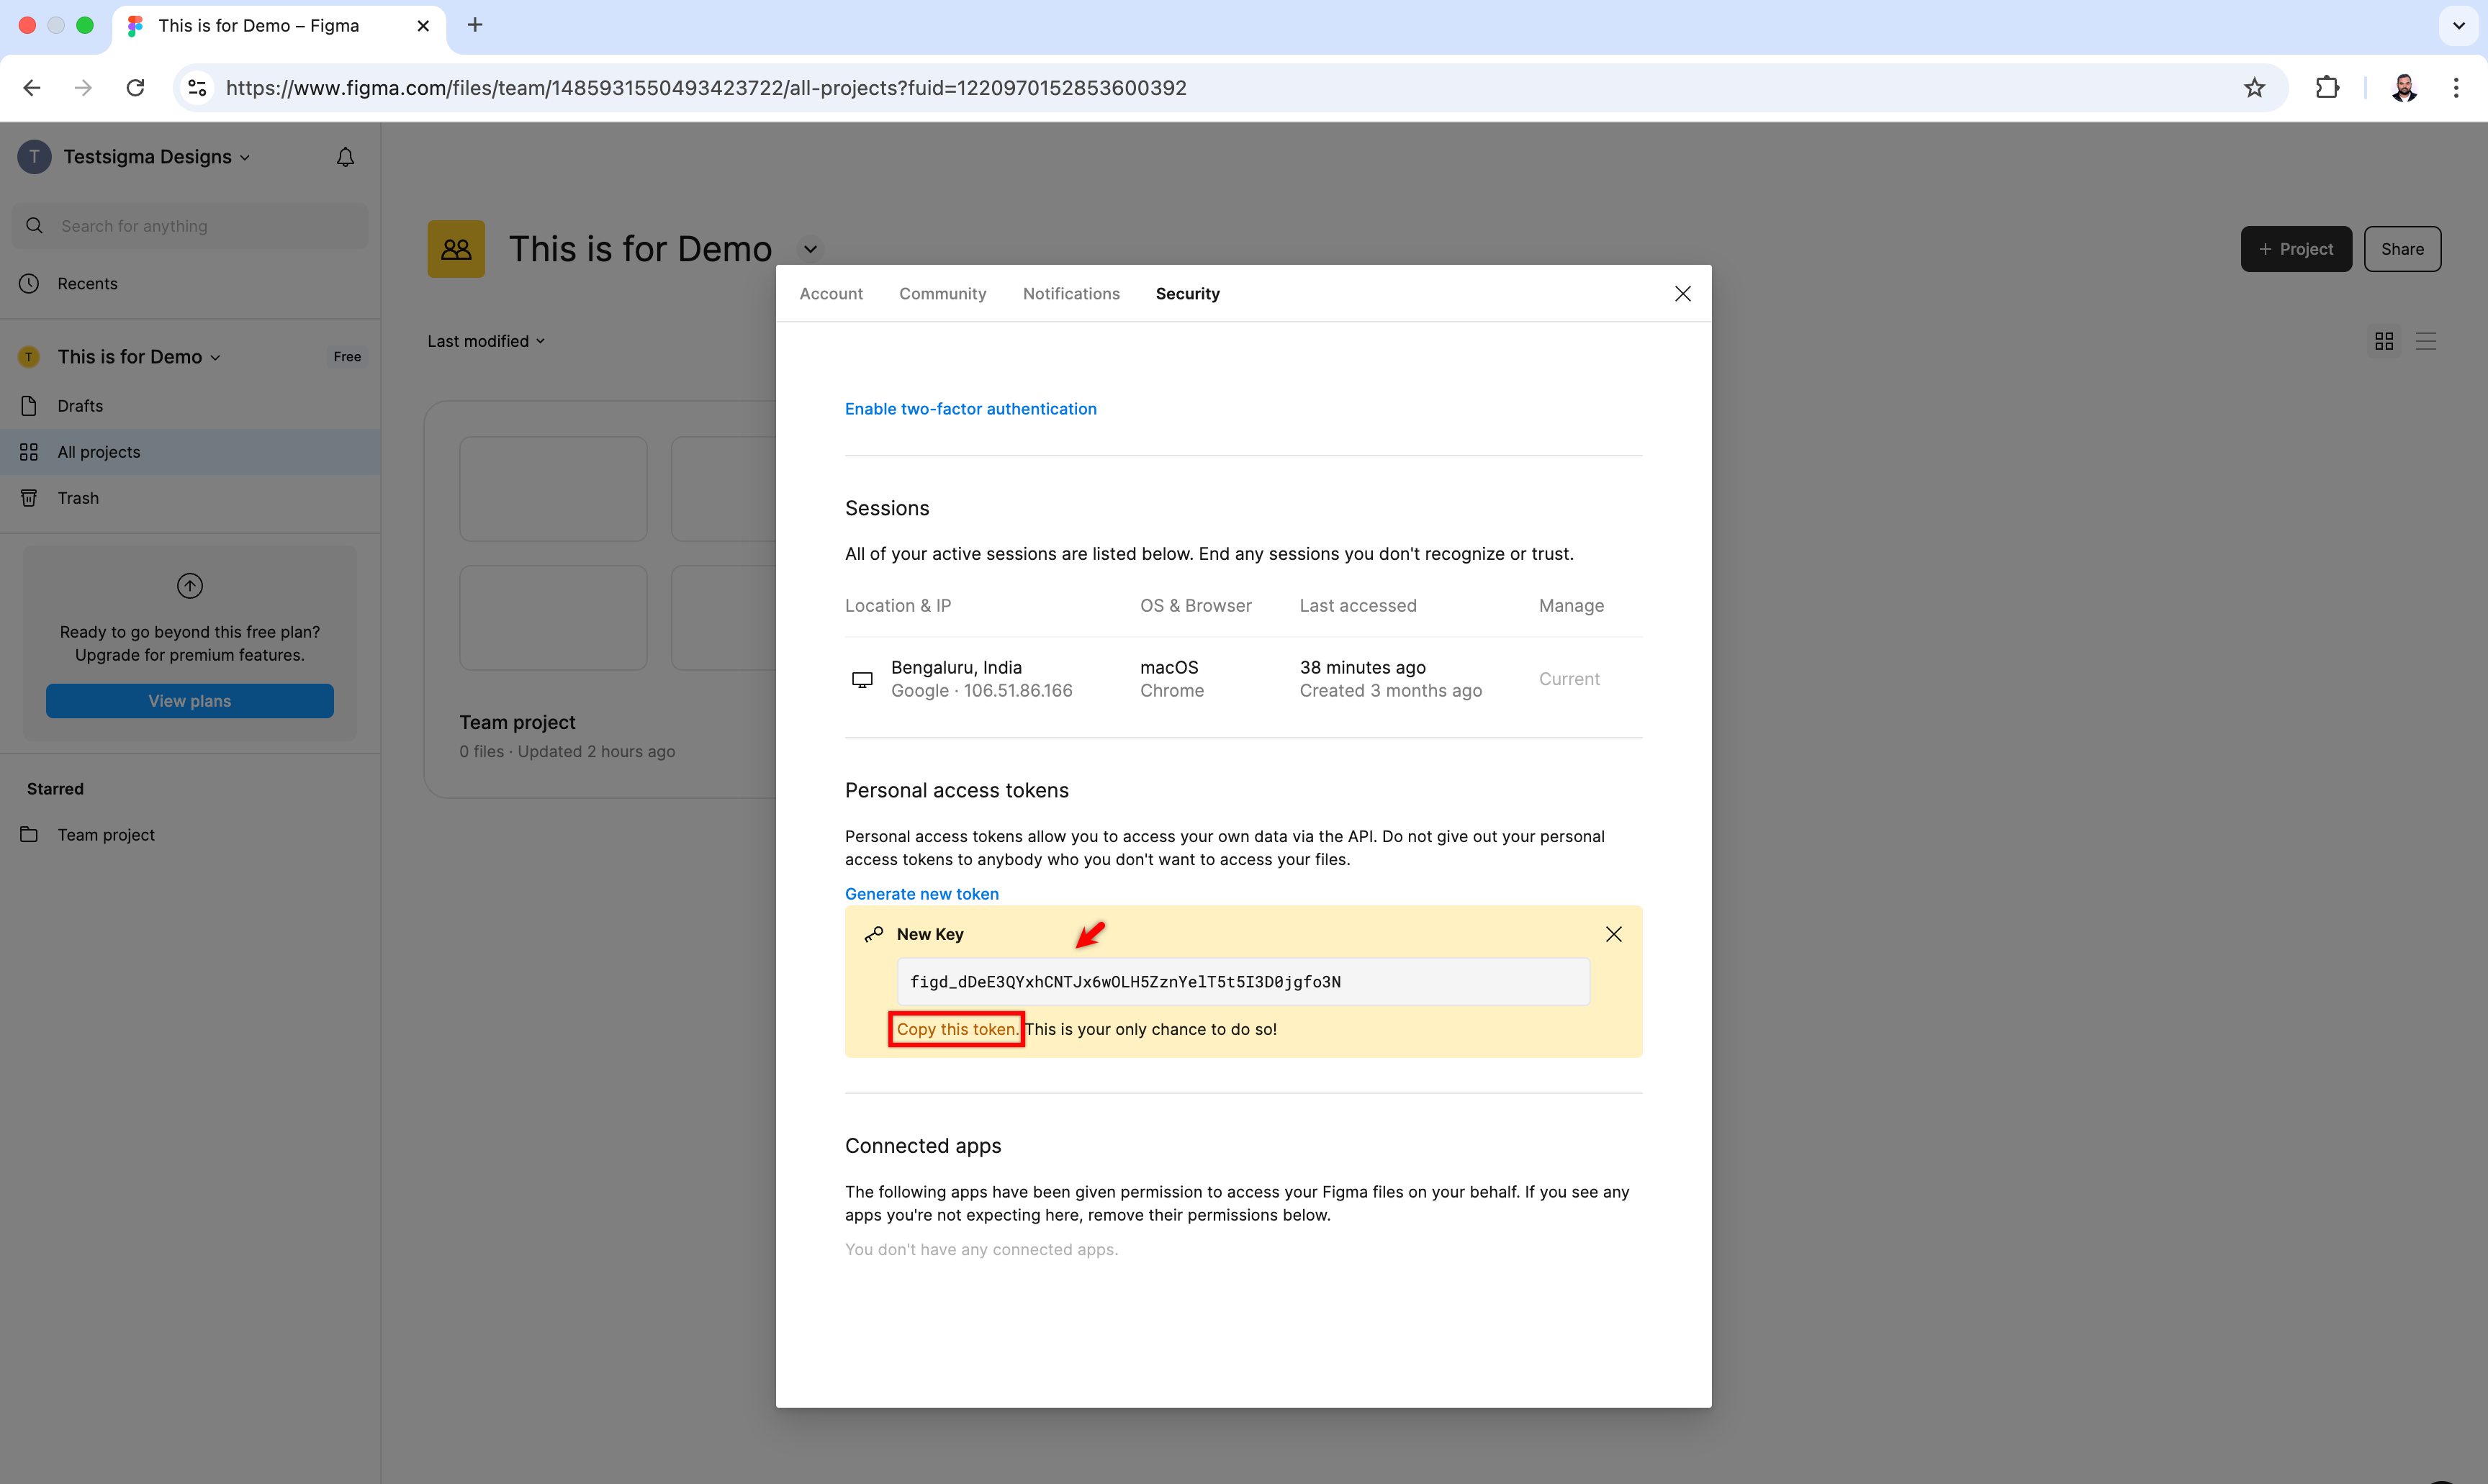
Store the token securely. You won’t be able to view it again.
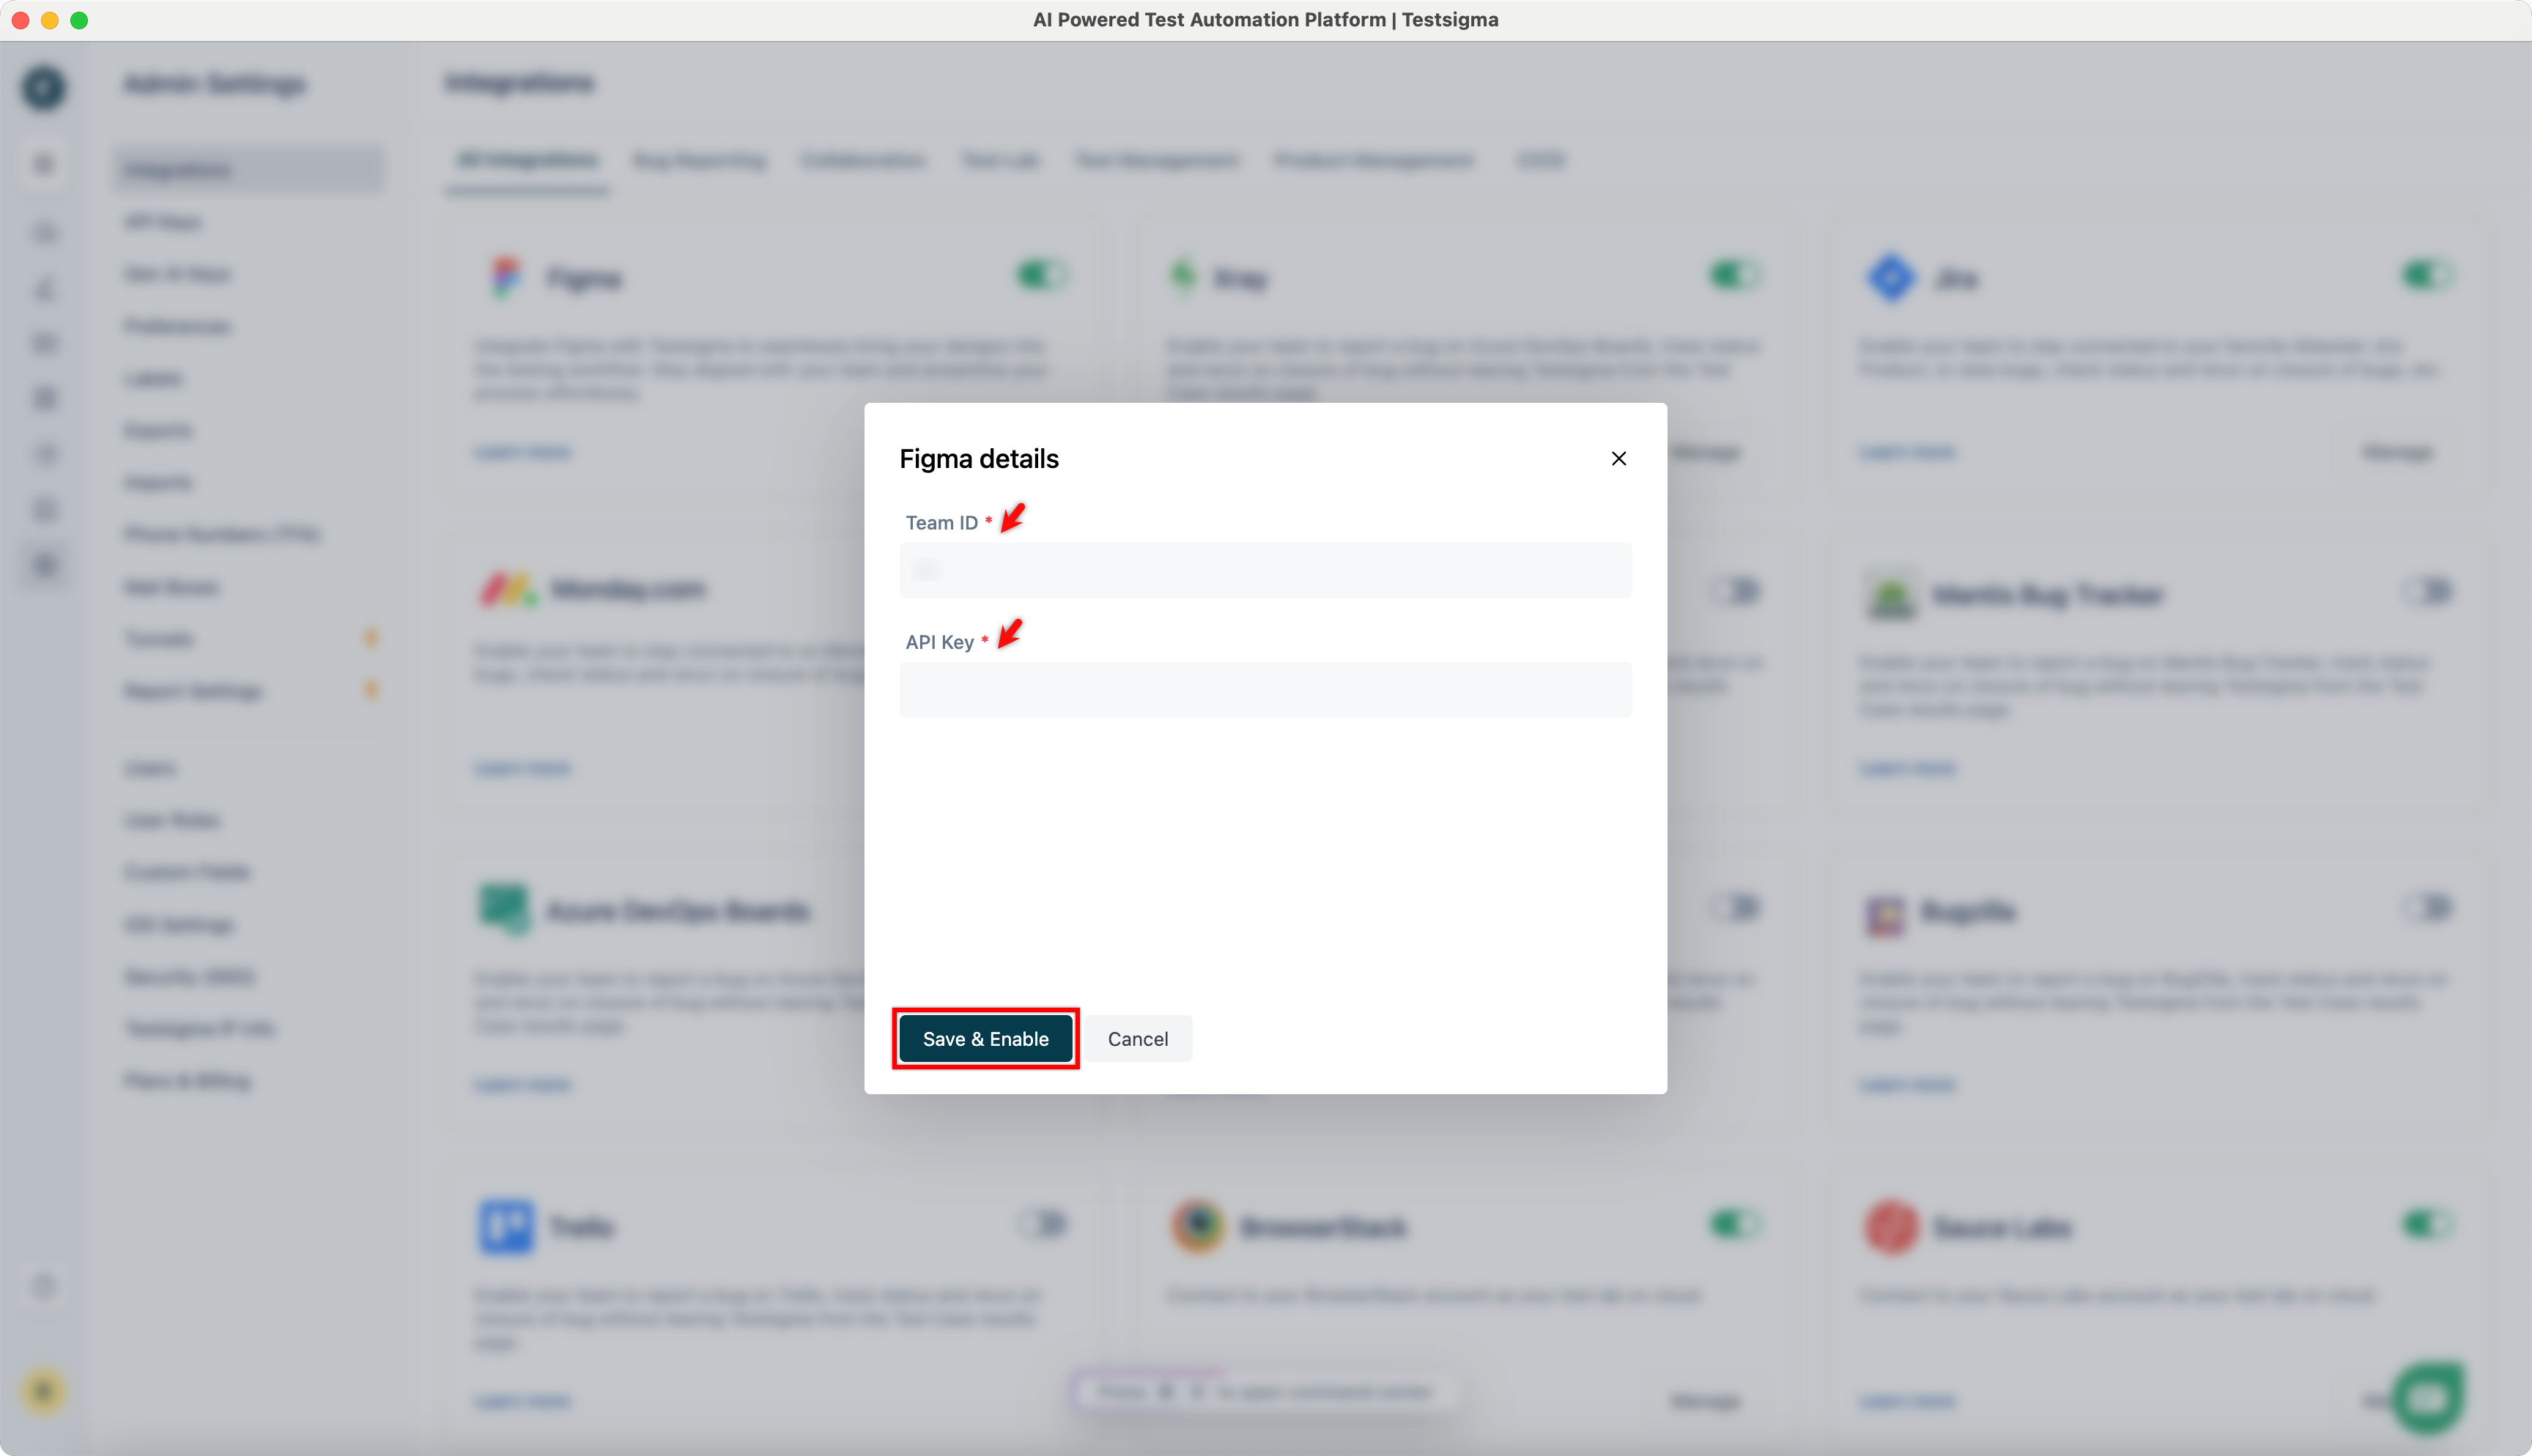
Integrating Figma with Testsigma
- From the left navigation bar, go to Settings > Integrations.
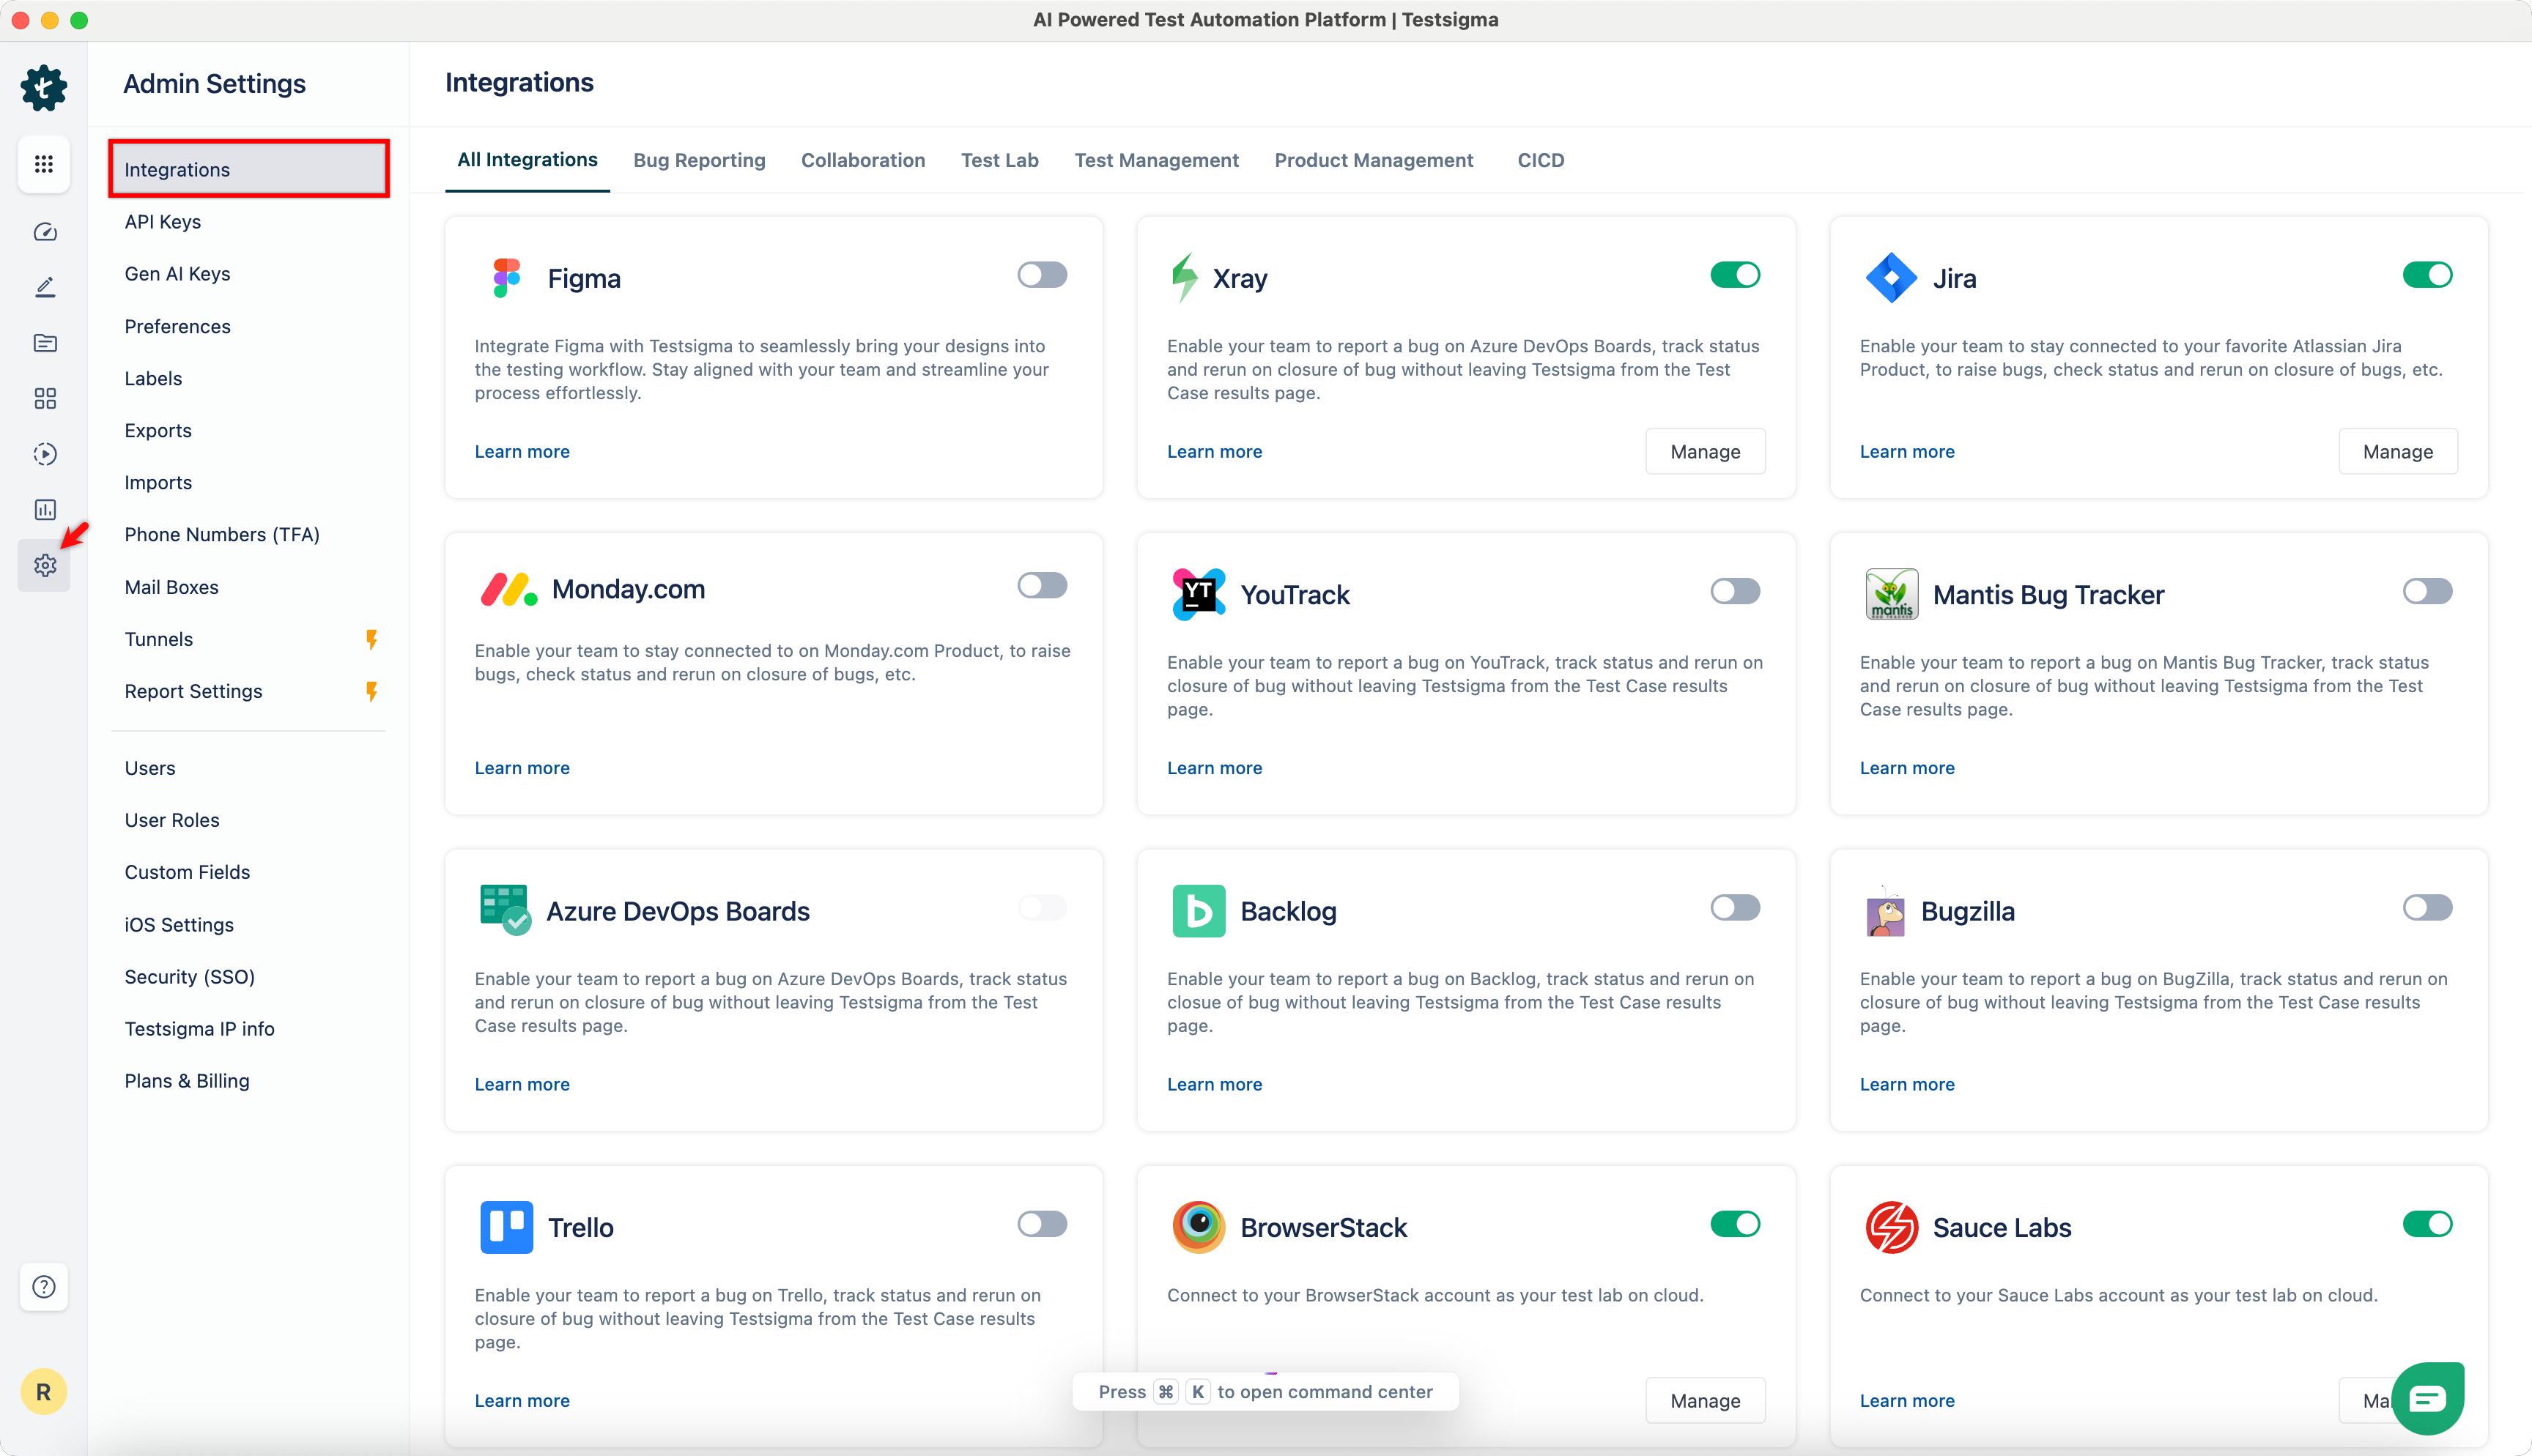
- Enable the toggle on Figma widget.
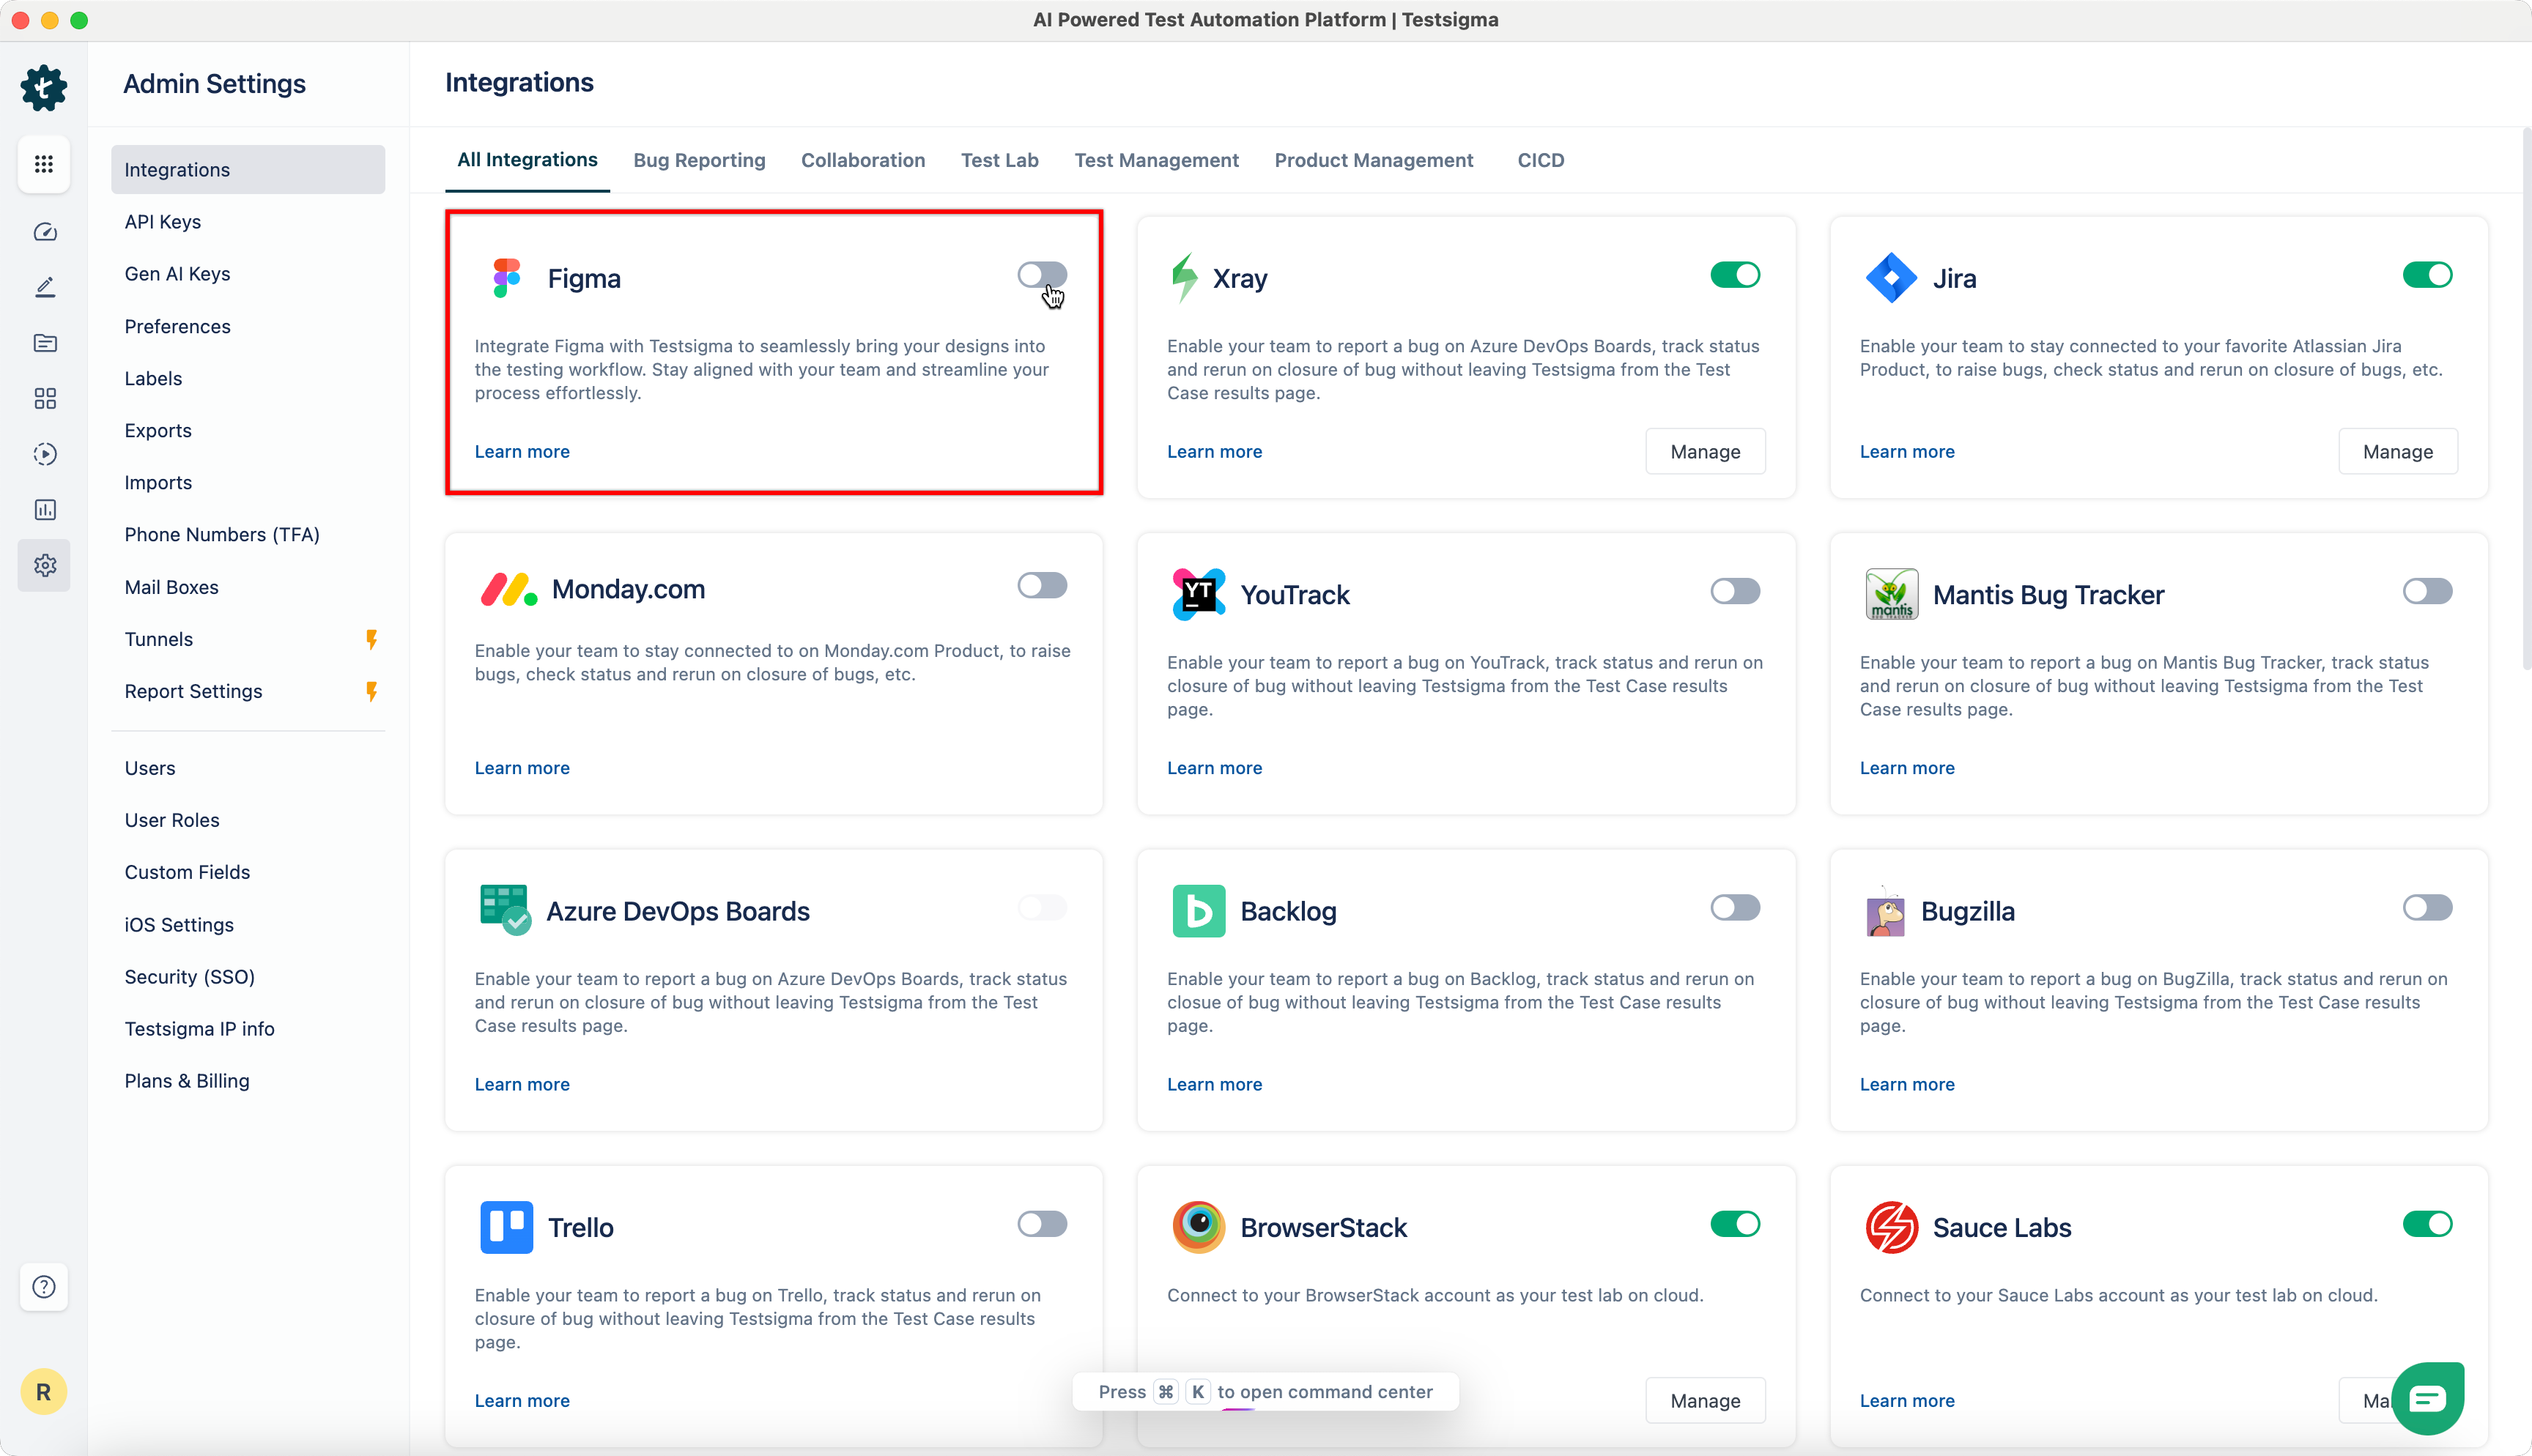
- On the Figma Details prompt, enter the Team ID and API Key and click Save & Enable.
Components of Figma
Before generating test cases from Figma design, it’s essential to understand how Figma and its features work. Figma is a powerful, cloud-based design tool that is widely used for UI/UX design, prototypes, and collaboration.
A Figma file hierarchy is in this way Project > Design File > Pages > Sections > Frames.
Projects
Projects act as containers for organizing related design files and can hold multiple design files.
To view all projects, navigate to the left panel and select All Projects.
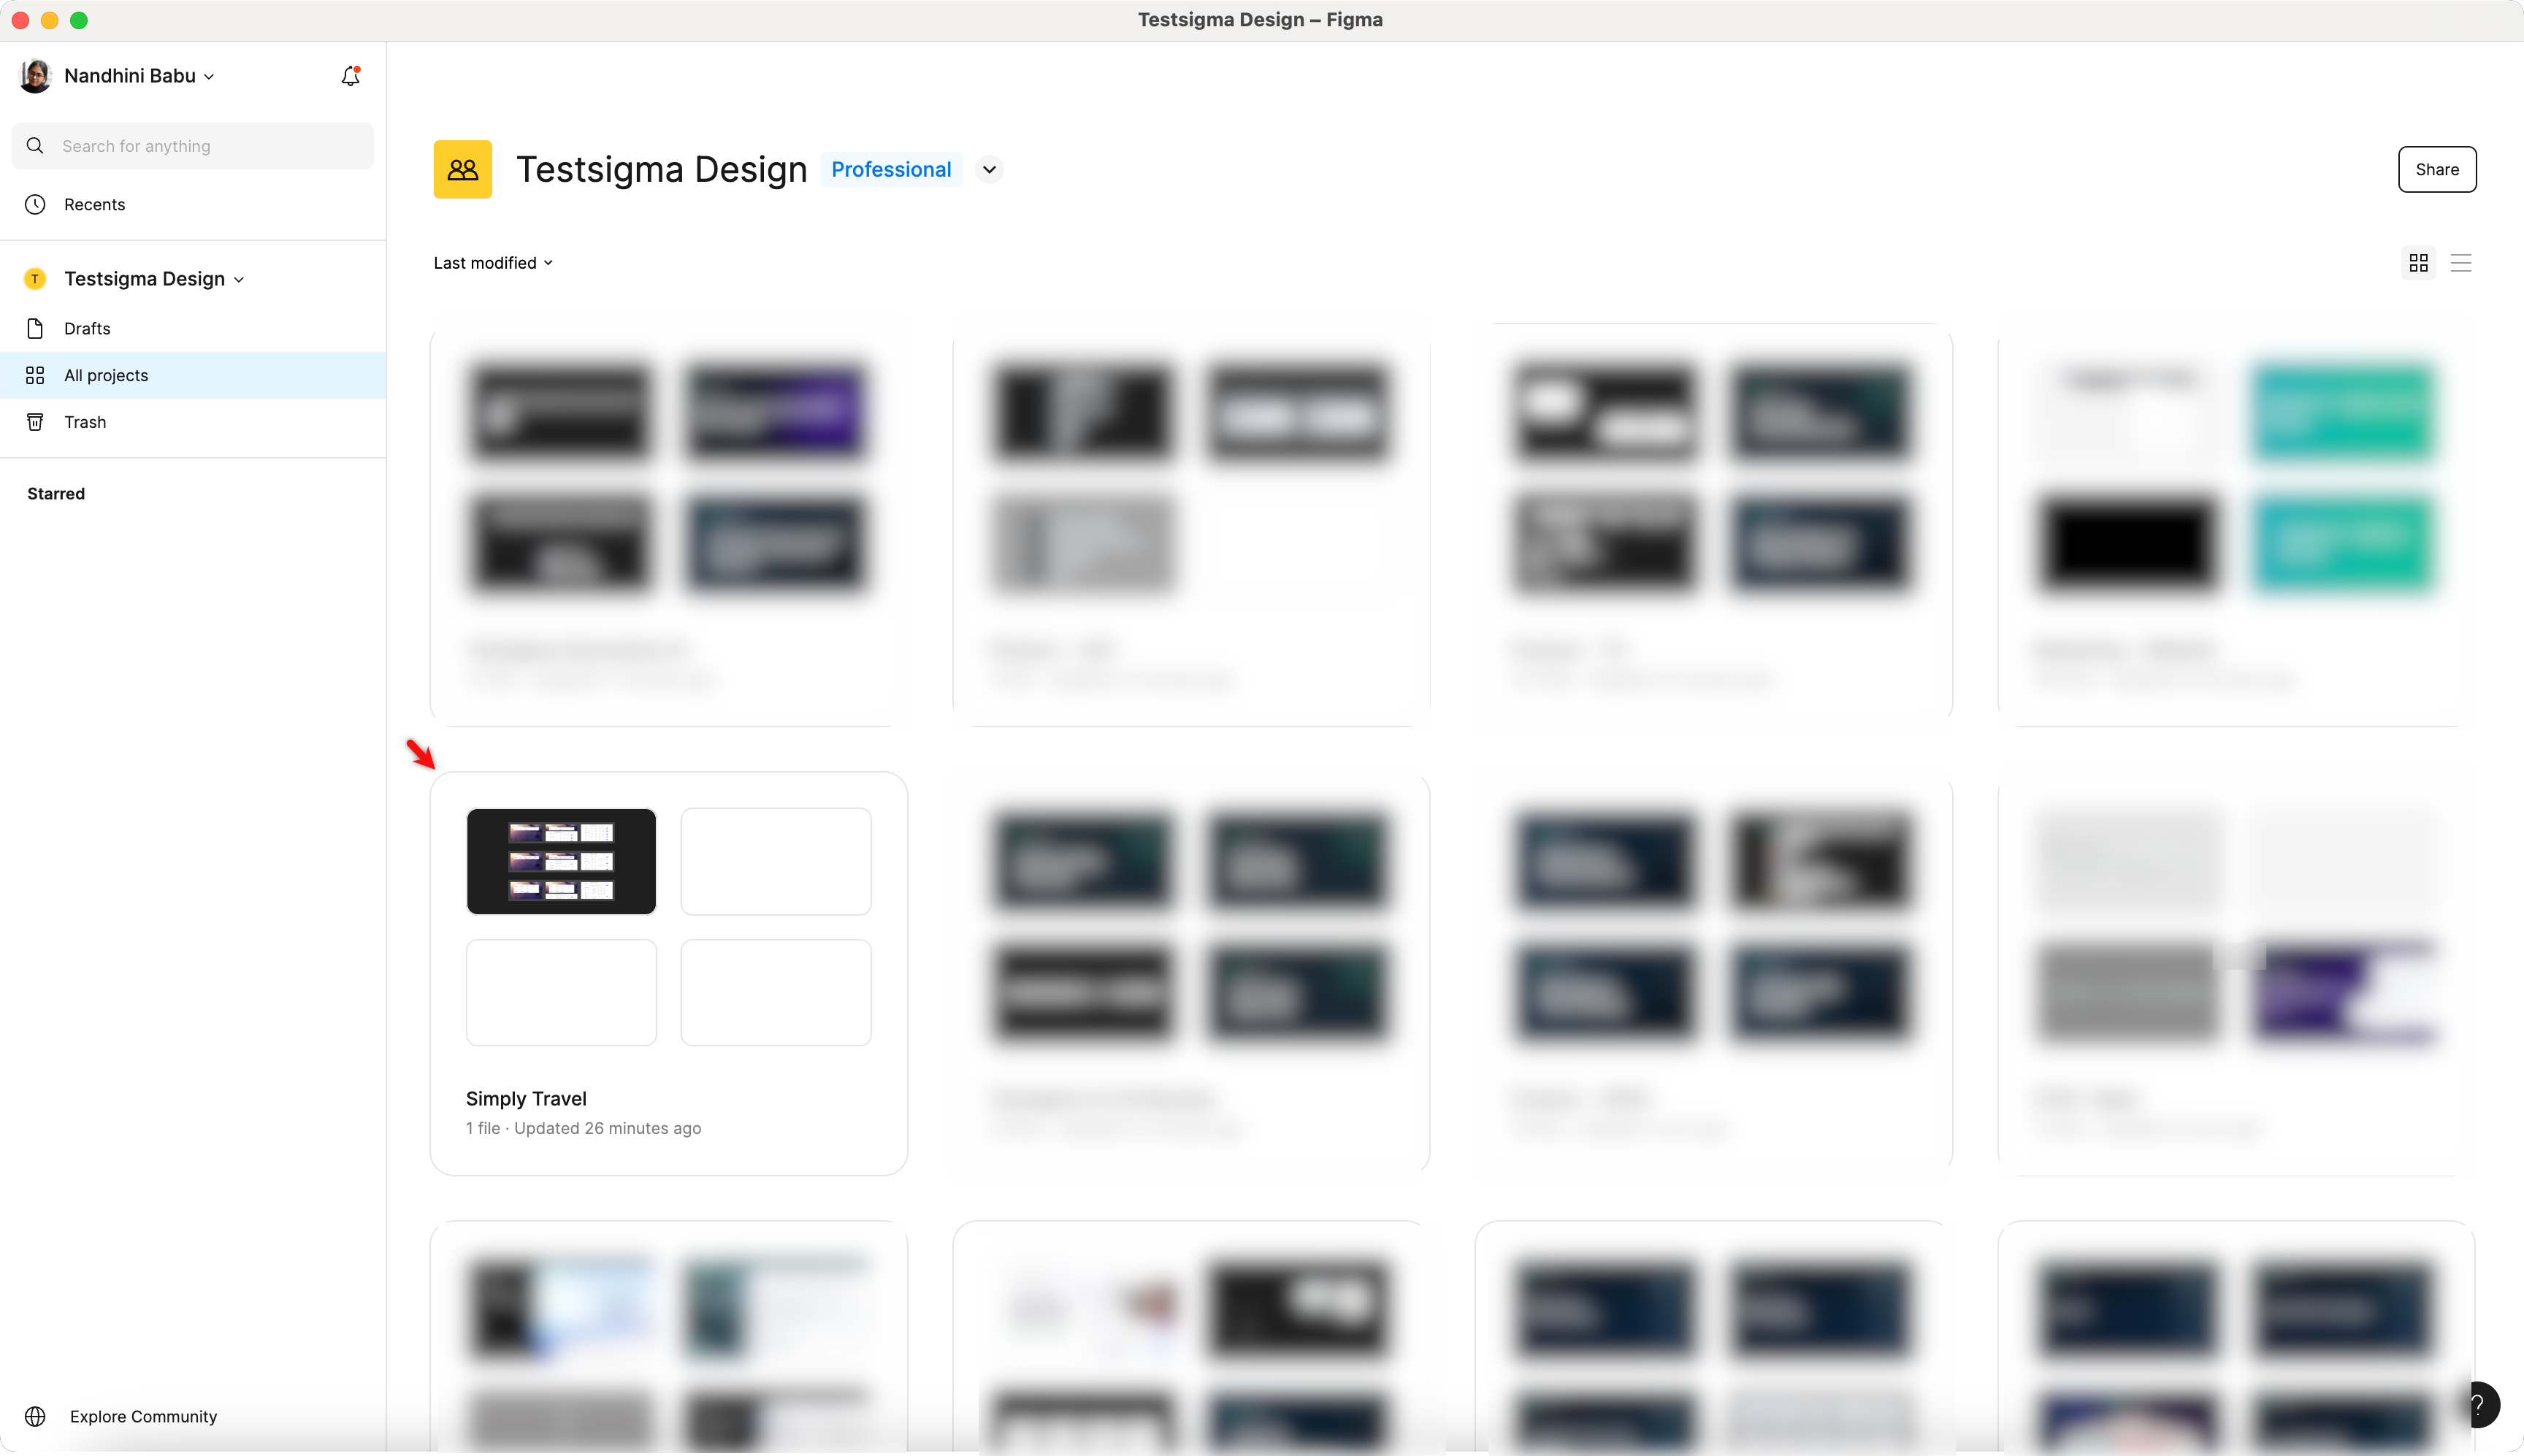
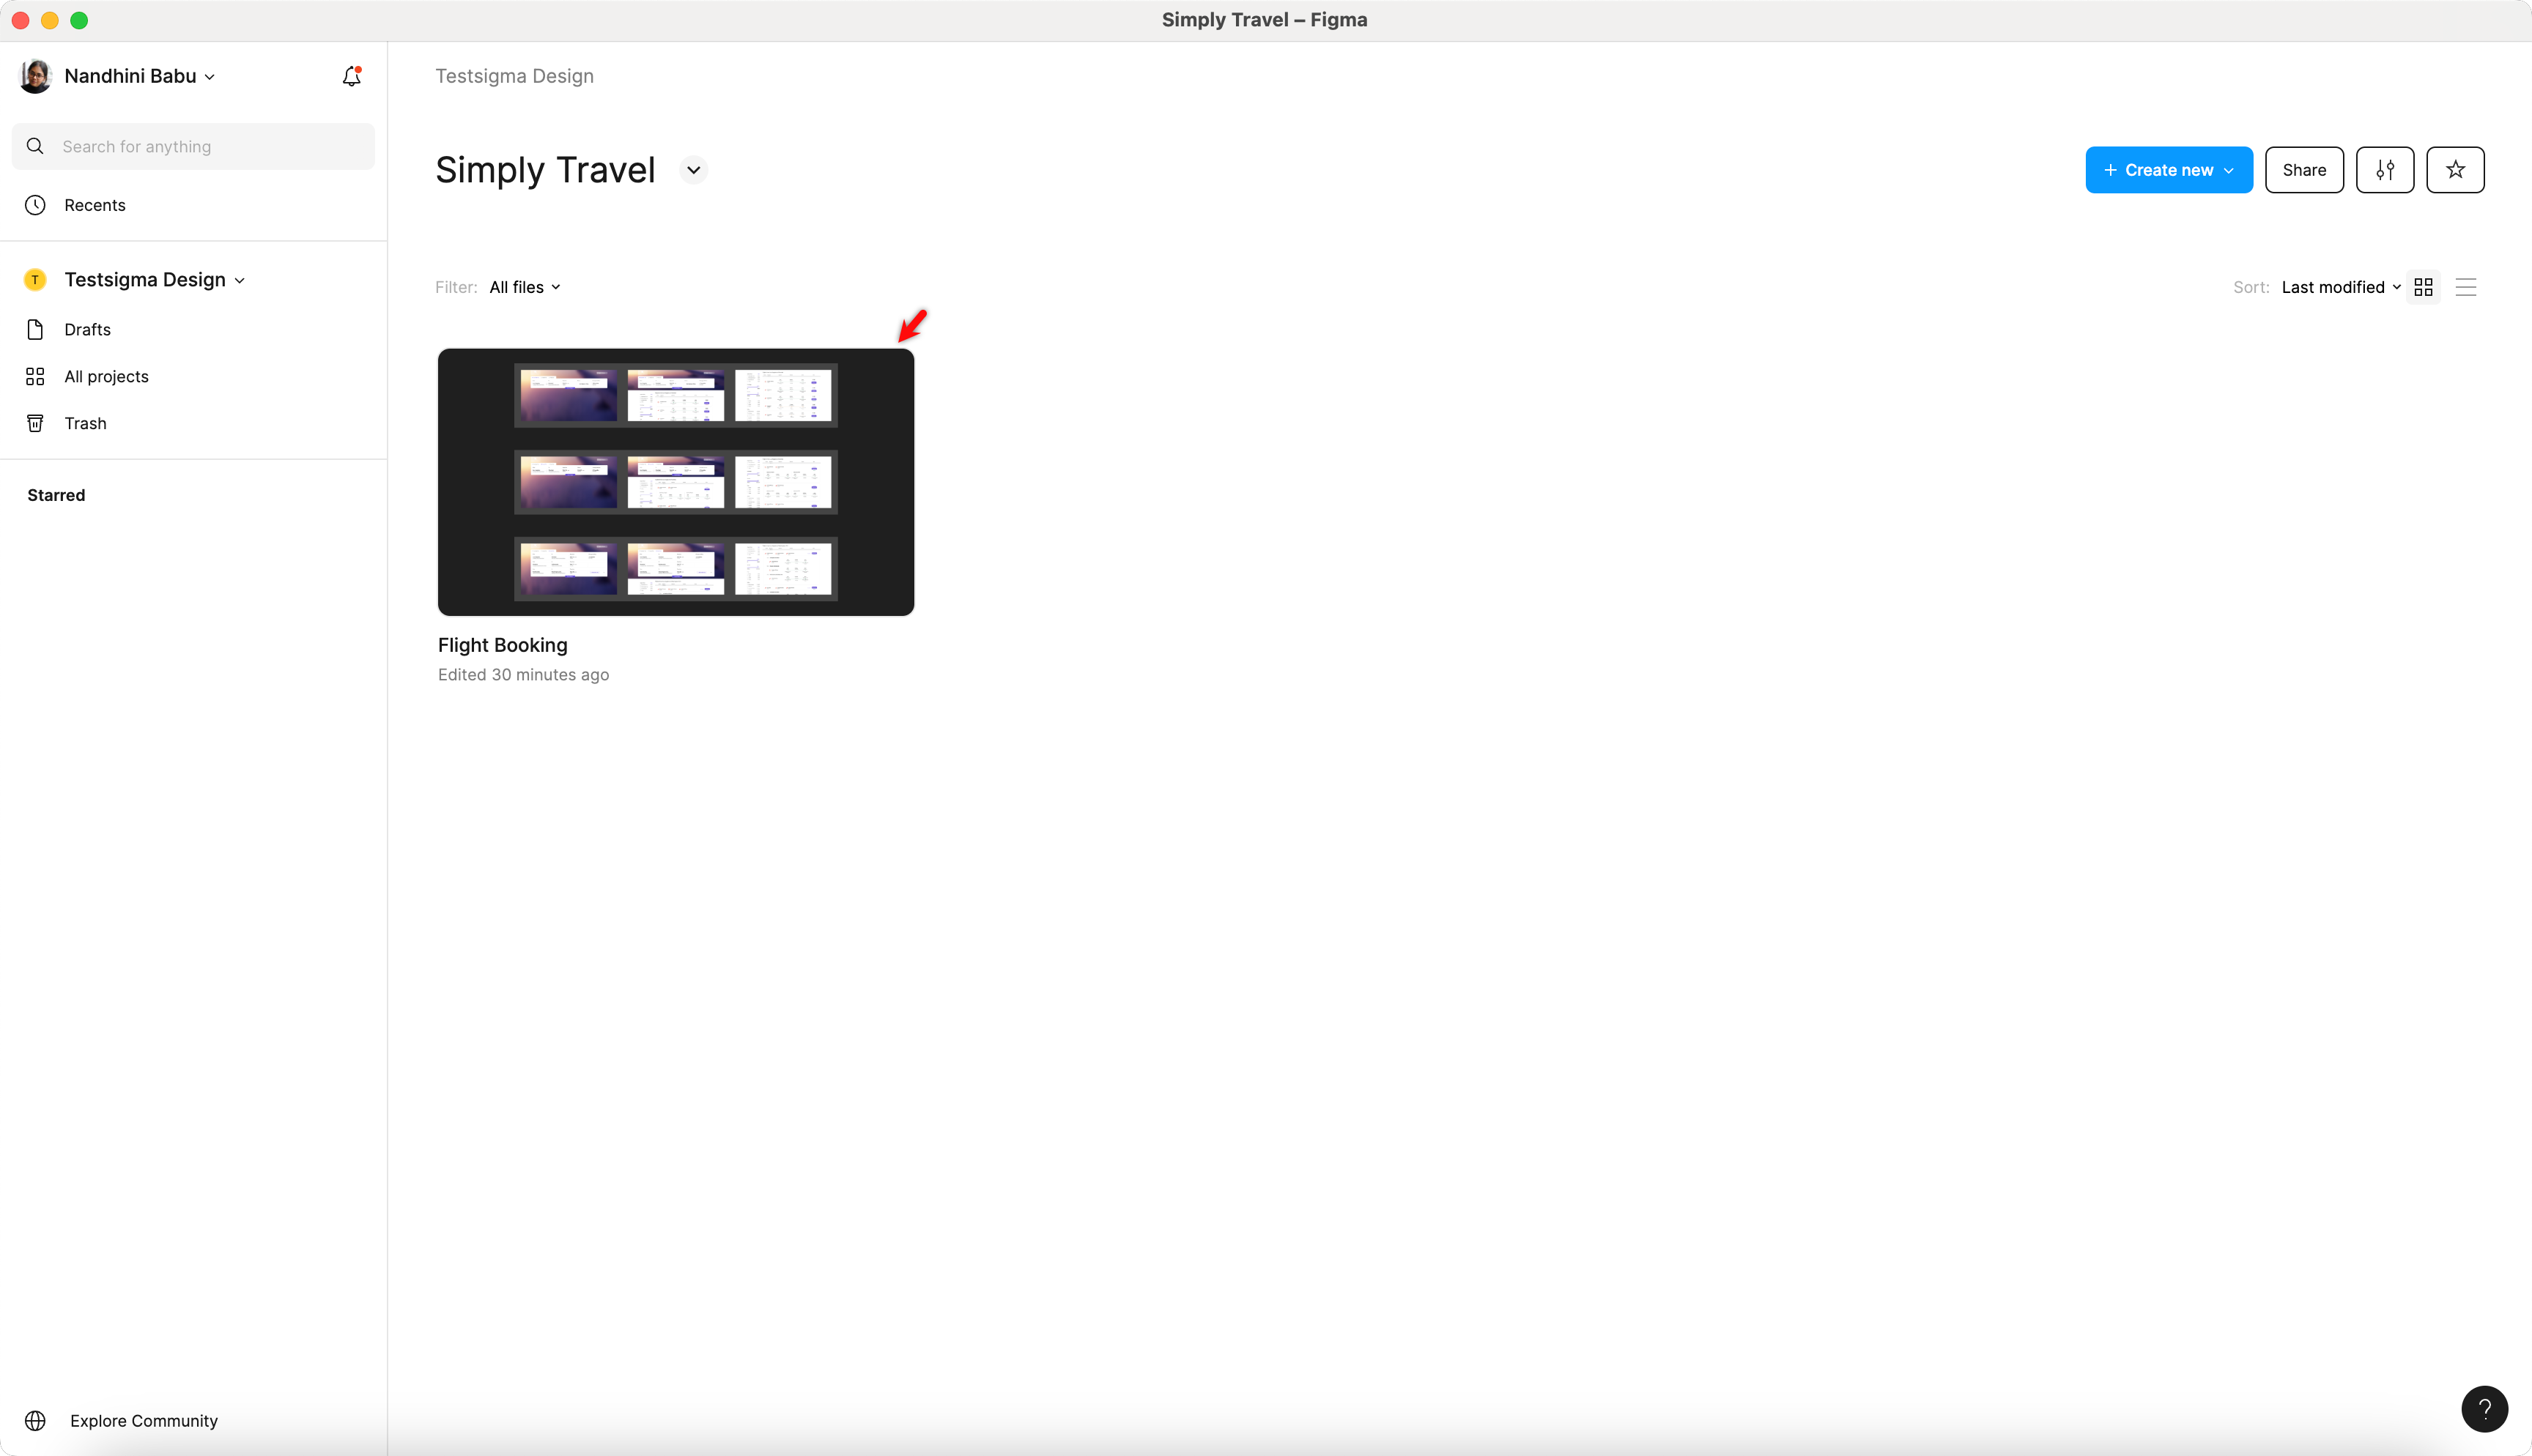
Files
Files contain the actual design work. Each file contains multiple pages where designers create and store UI elements, prototypes, etc.
To access the files within a project, double-click on the project.
Pages
A page inside Figma can have Sections as well as Frames.
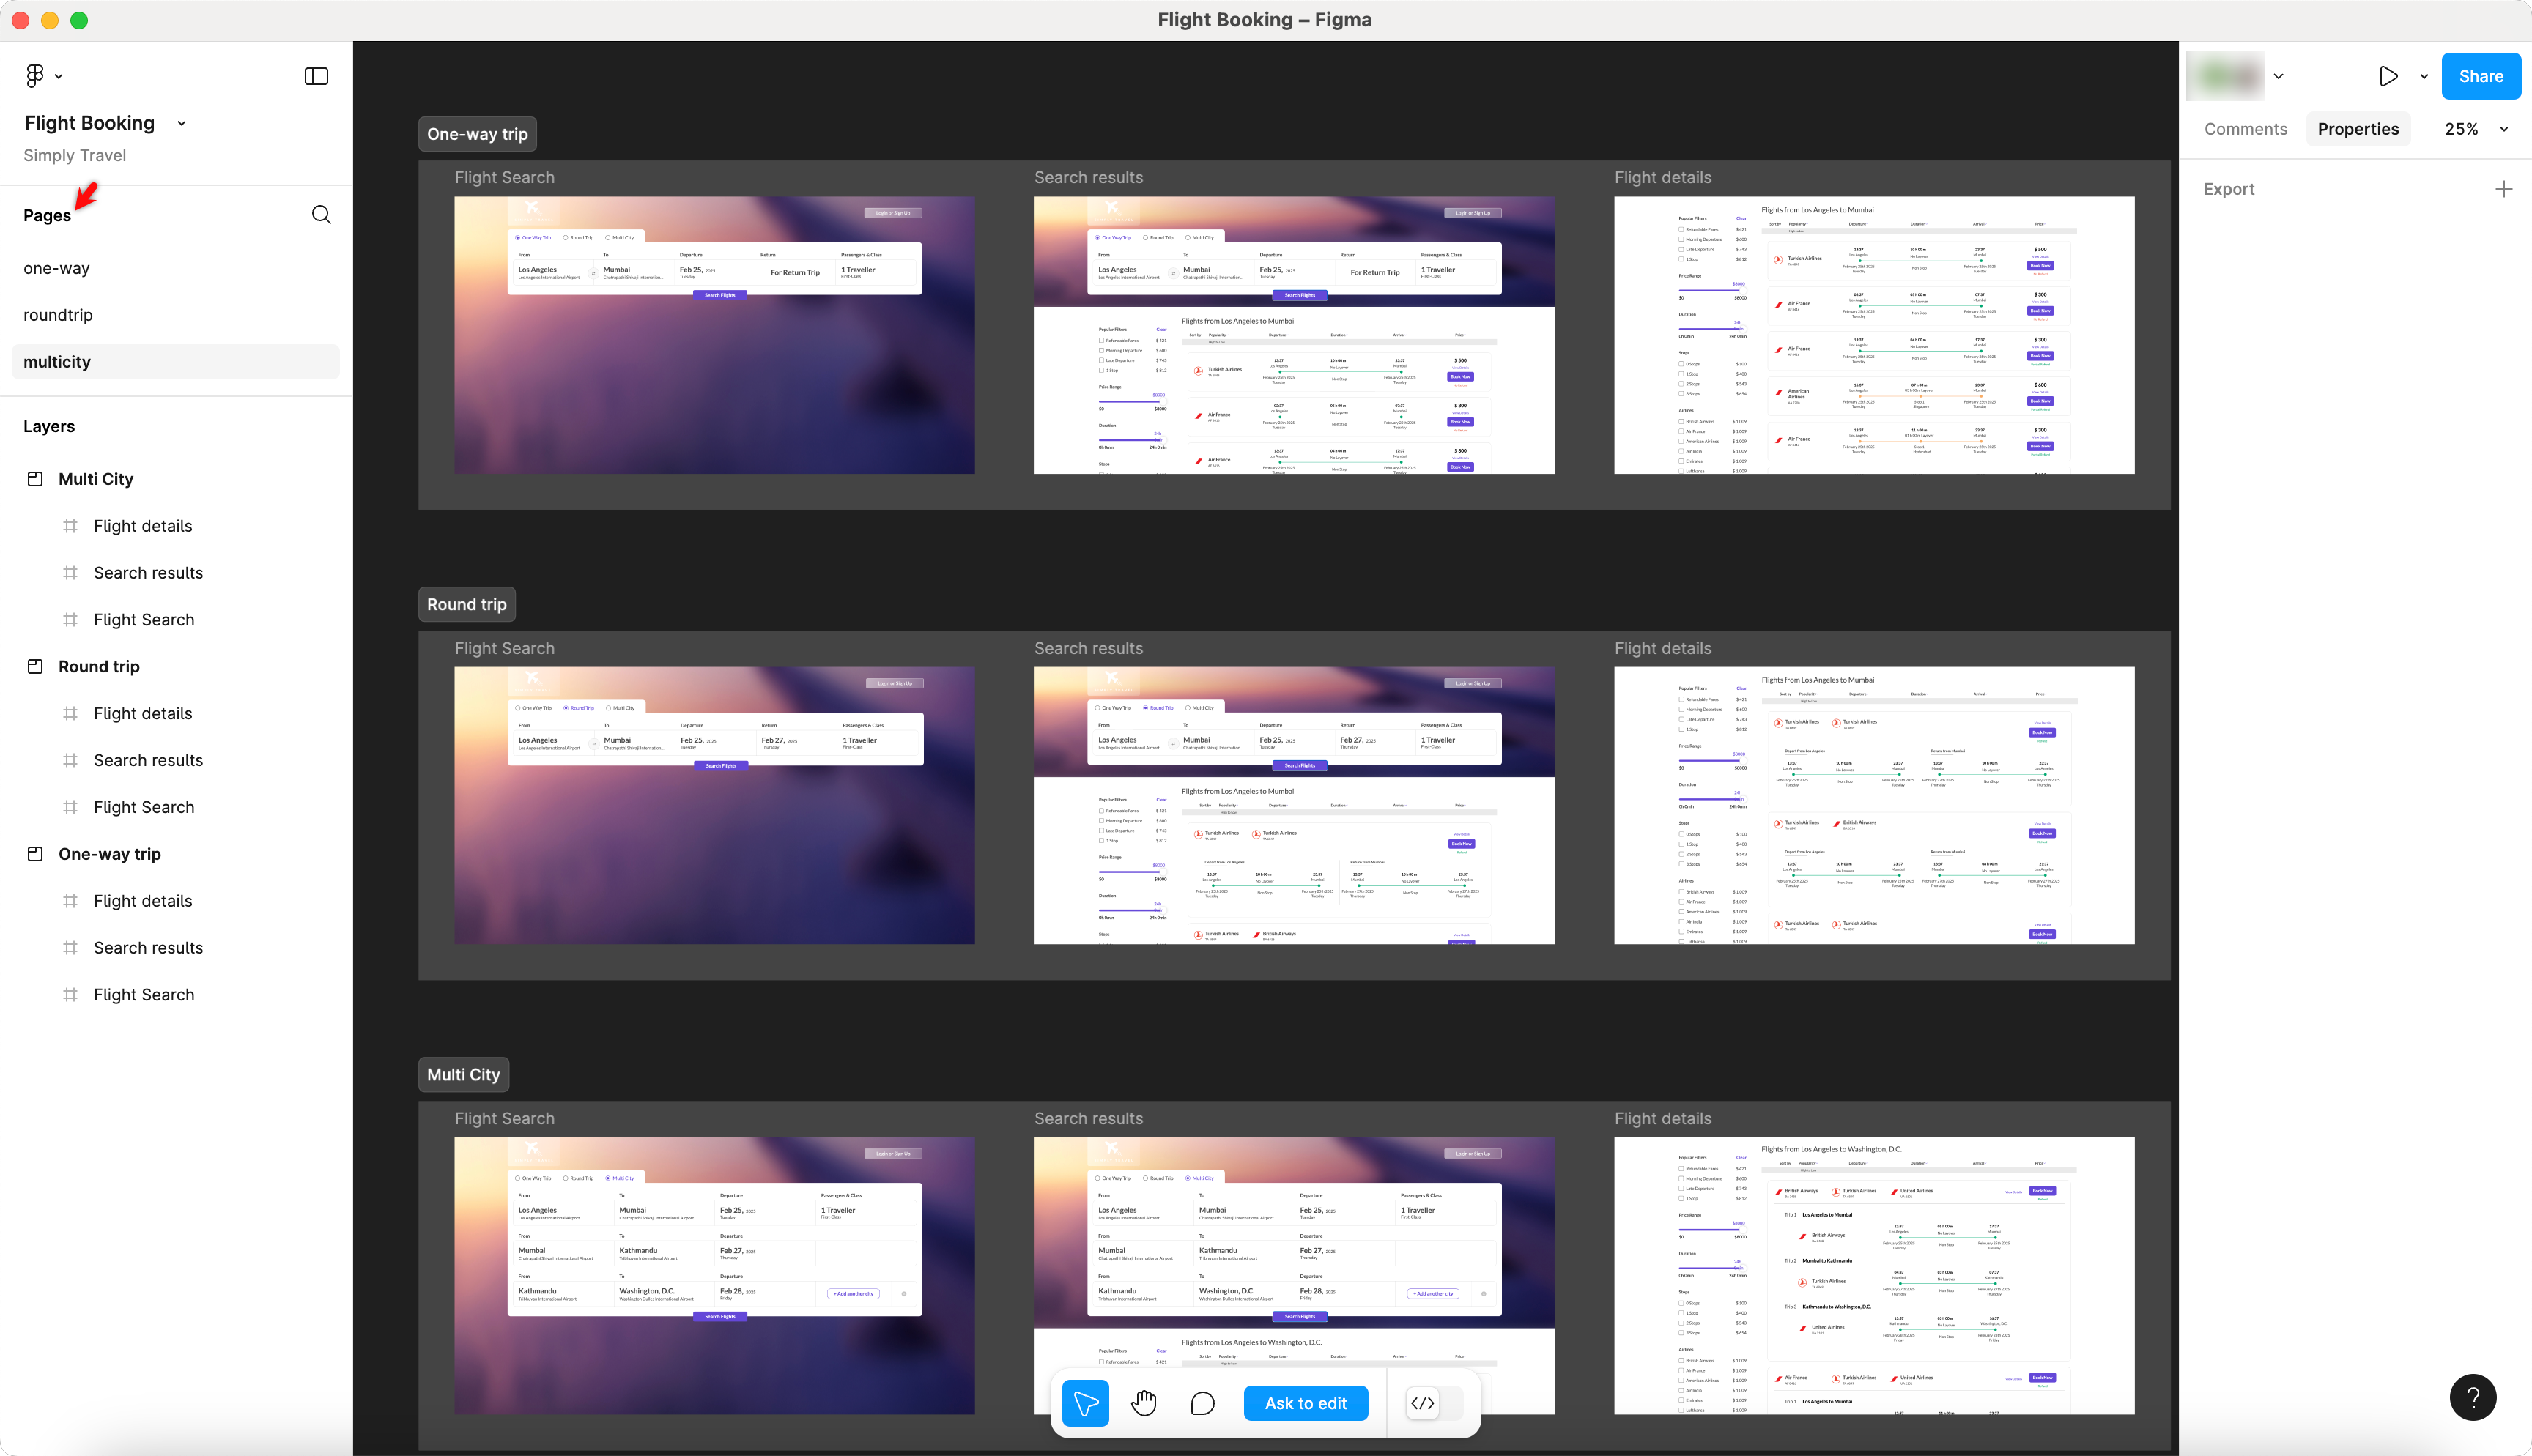
Sections
Sections are used within a page to organize related frames visually.
A section inside a page, can have a set of Frames.
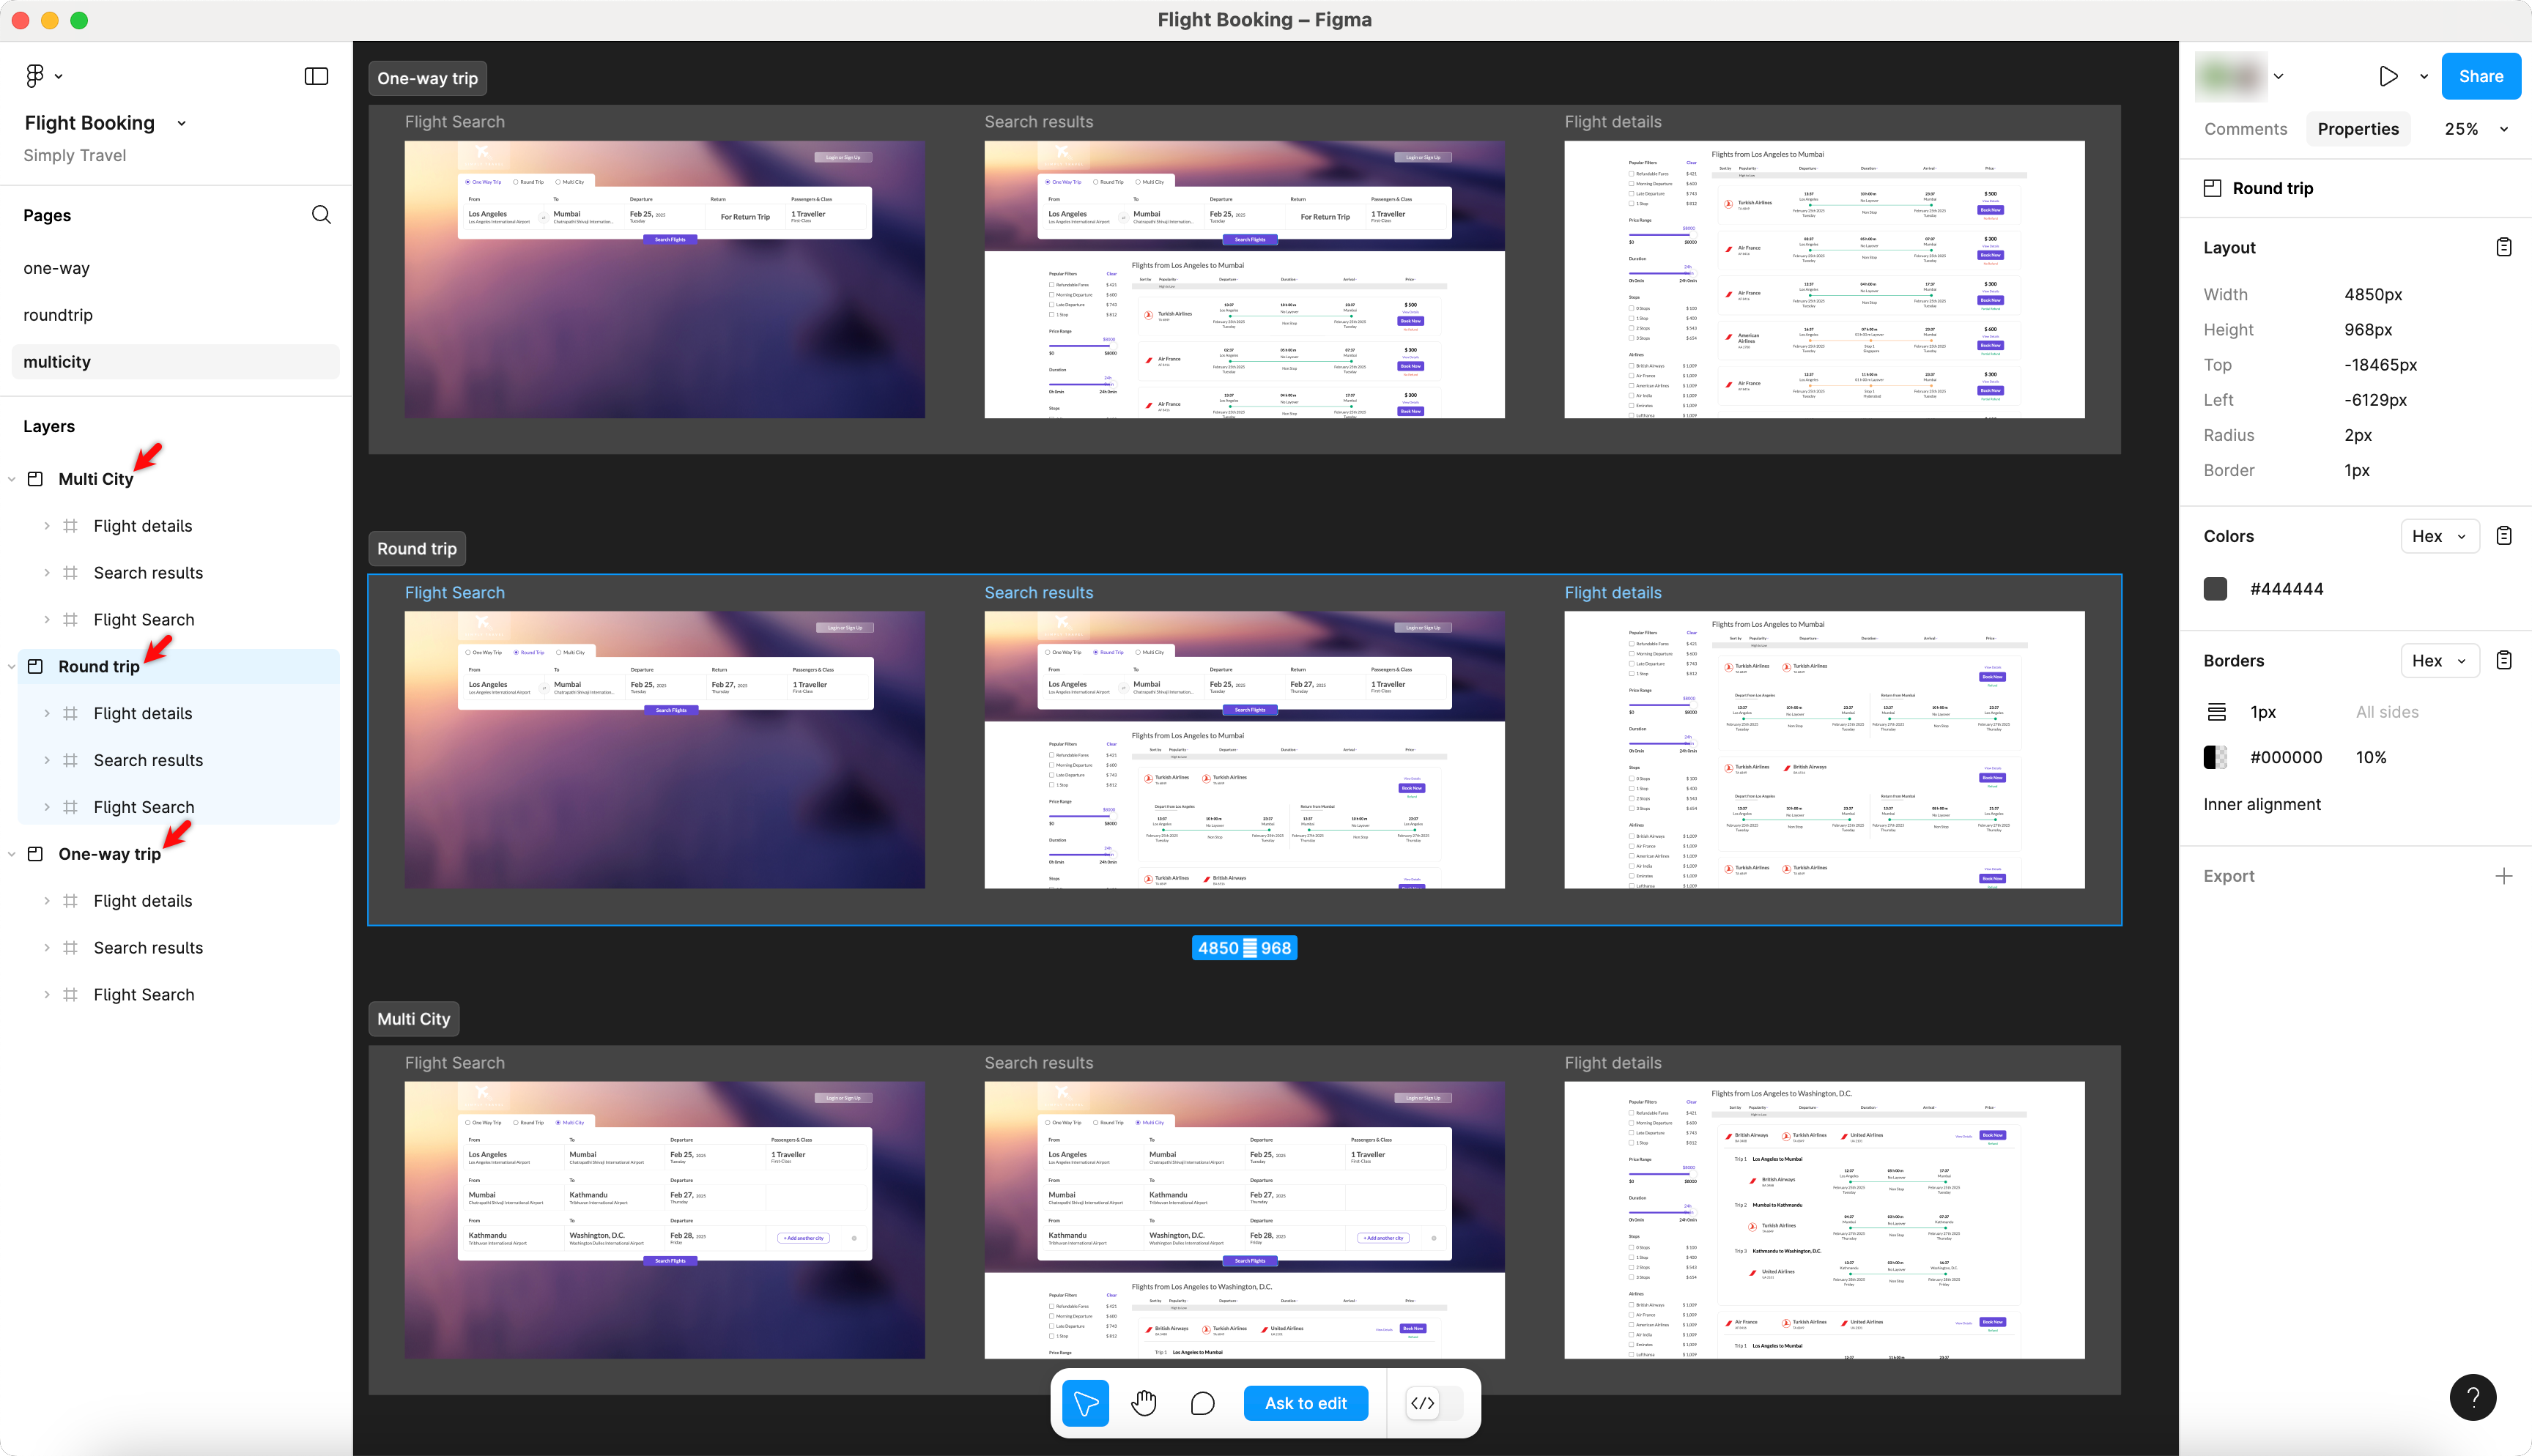
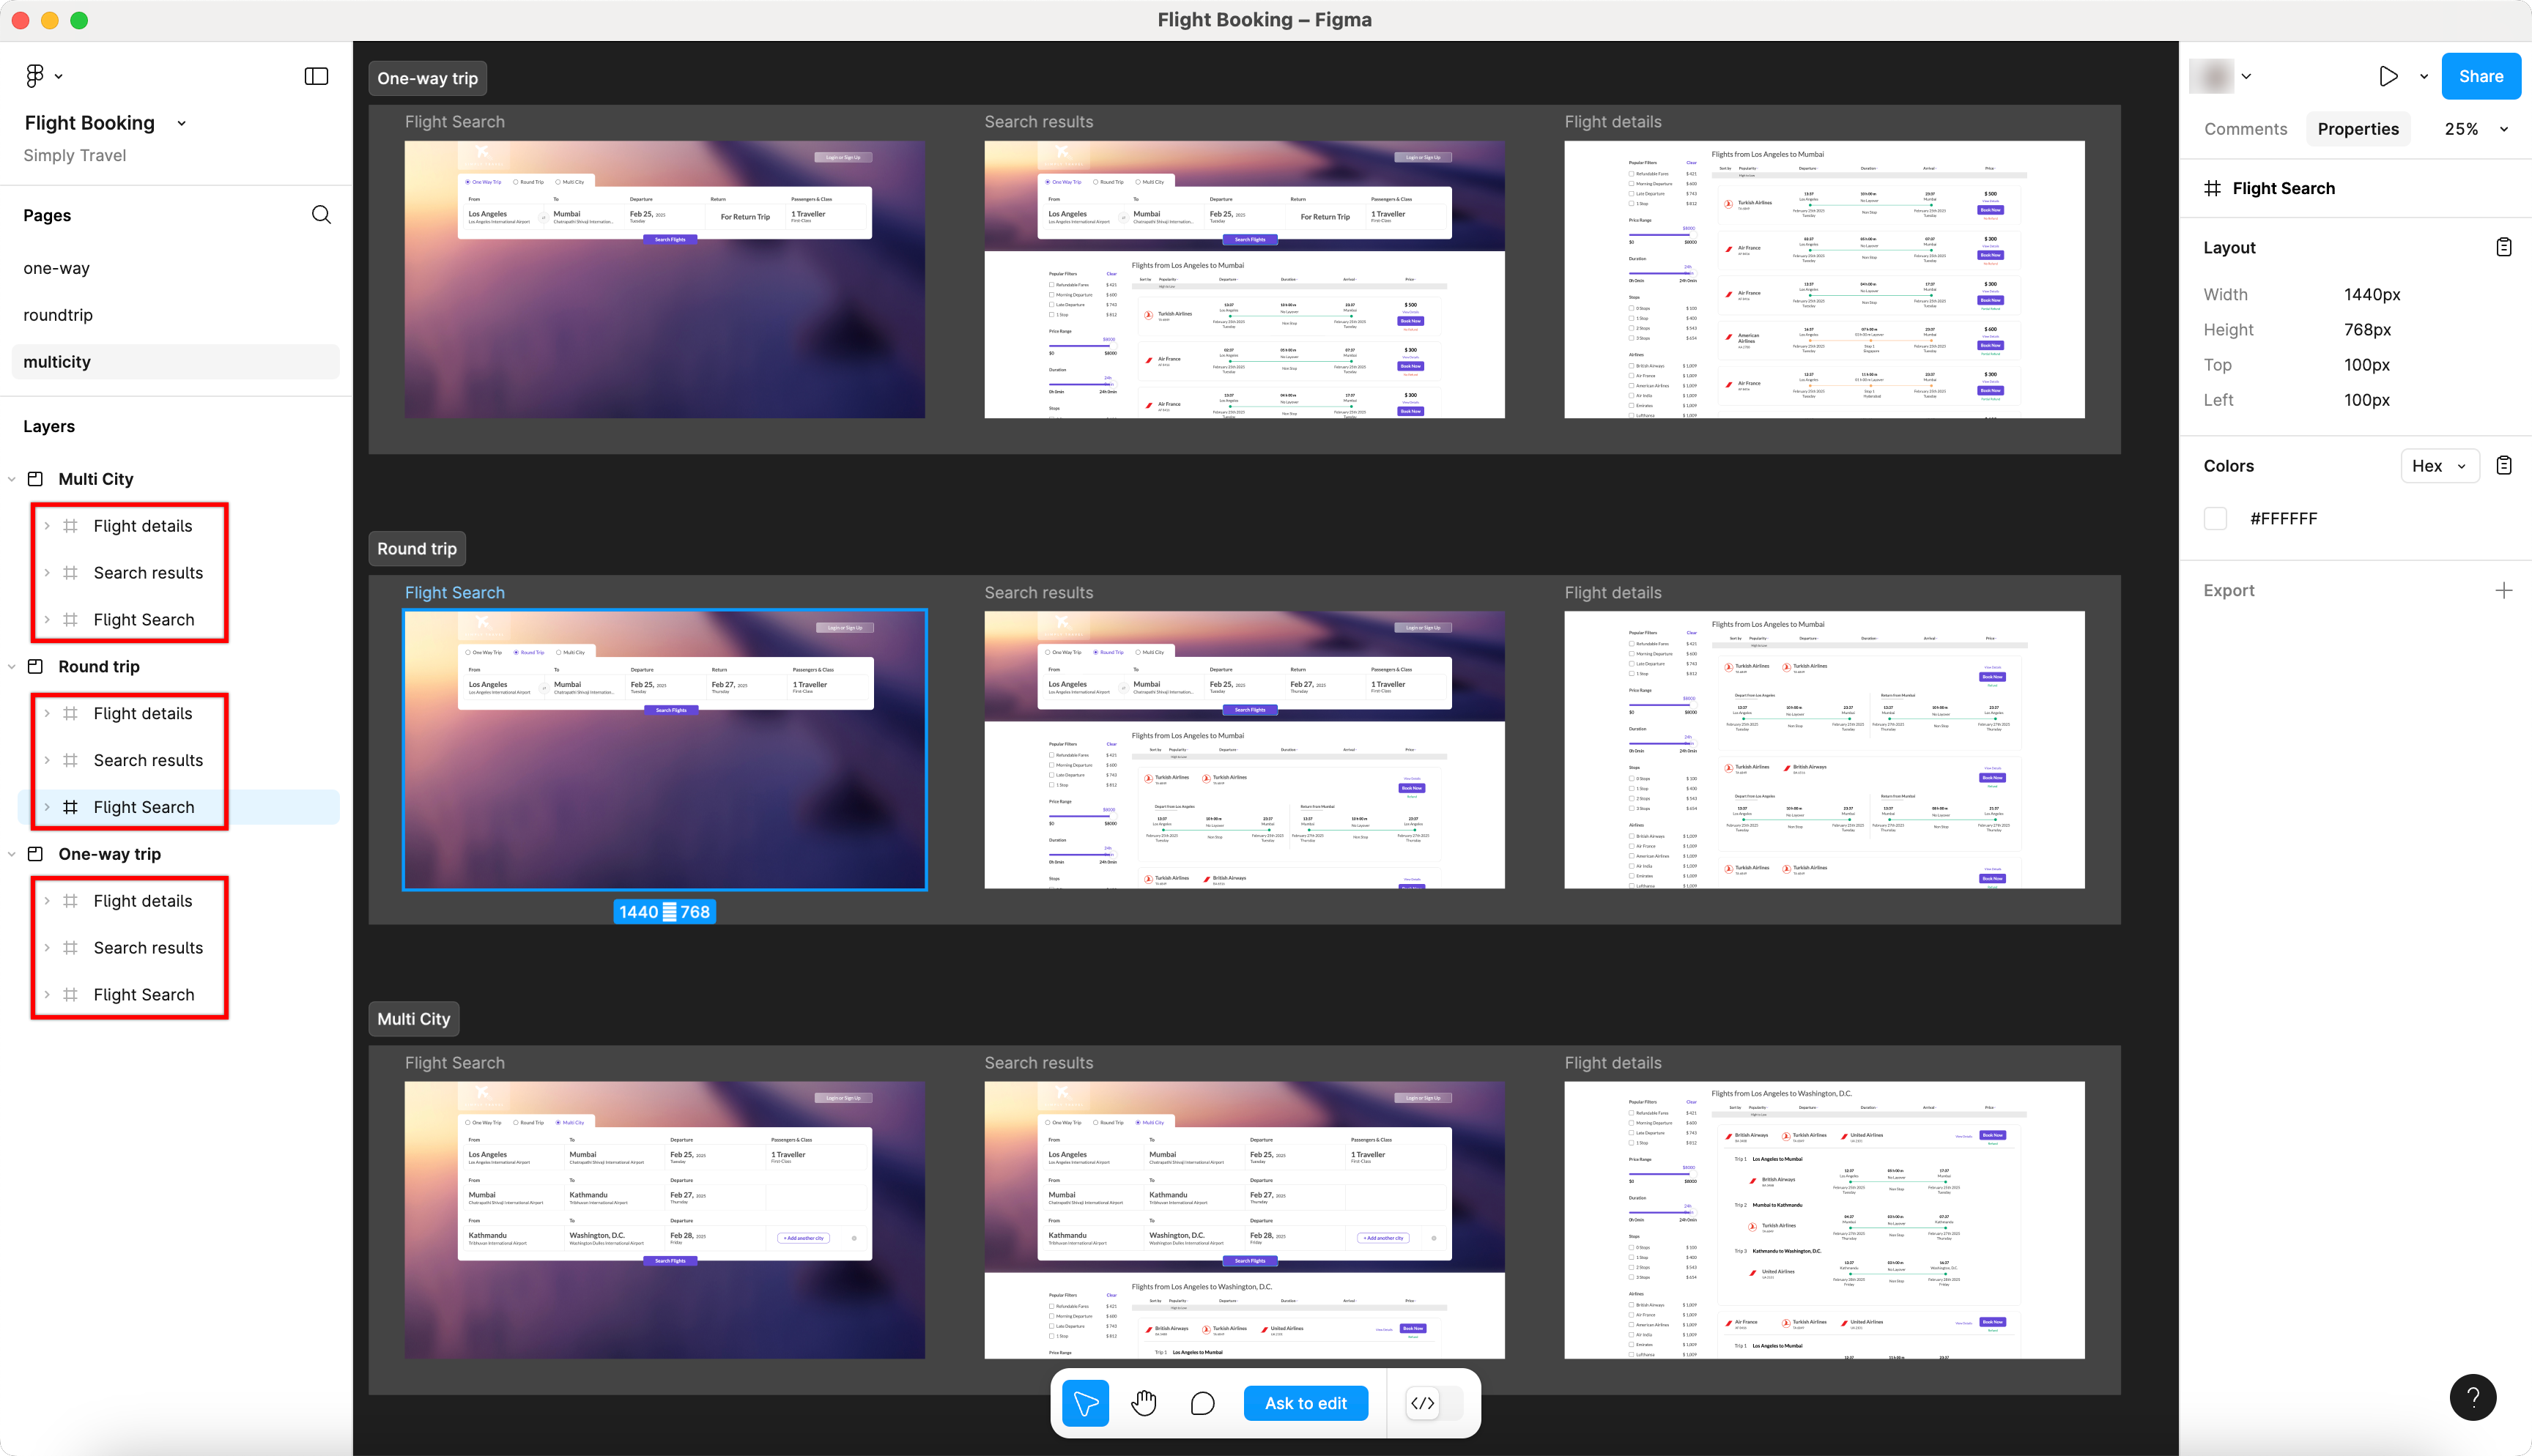
Frames
Frames are the primary design components in Figma. Each UI/UX design screen is typically represented by a frame.
A frame inside a page or a section represents a screen of web or mobile app.
Try this interactive demo to learn how Figma components work!
Generate Test Cases for Web Apps
- From the left navigation bar, go to Create Tests > Test Cases.
- Click Copilot and then select Generate Test Cases from the dropdown menu.
- In the Generate Test Cases screen, select Figma Designs.
-
In the Add Figma Designs section,
- Select a Project, Figma File, Section and Page from the respective dropdown menus.
- Click + Select Frames, select the required frames in the Select Frames screen, and click Add Frames.
- If you want to remove all the selections that you have made, click Clear Selection.
- If the selected page has no sections, you can directly select the frames.
- The maximum limit for selecting frames is 10.
- In the prompt field, enter the required details, and click the Play button.
- Wait for Testsigma to generate the test cases with the test steps.
- Select the test cases you want to save, and click Save Test Cases.
- You’ll be redirected to the Test Cases page, where the generated test cases appear under the AI-Generated Feature / Scenario.
Interactive Demo for Web Apps
Generate Test Cases for Android & iOS Apps
- From the left navigation bar, go to Create Tests > Test Cases.
- Click Copilot, and then select Generate Test Cases from the dropdown menu.
- In the Generate Test Cases page, select Figma Designs as input source.
-
In the Add Figma Designs section,
- Select a Project, Figma File, Section and Page from the respective dropdown menus.
- Click + Select Frames, select the required frames in the Select Frames screen, and click Add Frames.
- In the prompt field, enter the required details, and click the Play button.
- Wait for Testsigma to generate the test cases with the test steps.
- Select the test cases you want to save, and click Save Test Cases.
- You’ll be redirected to the Test Cases page, where the generated test cases appear under the AI-Generated Feature / Scenario.
Interactive Demo for Android & iOS Apps
Want to contribute or report missing content?