- create test cases
 Organizing Test Cases in Folders
- Test Cases for Web Applications
- Test Cases for Mobile Applications
- Test Cases for Mobile Web Applications
- Manage Test Cases for Web Applications
- Manage Test Cases for Android & iOS Apps
- Manage Test Cases for Mobile Web Applications
- Test Case List Actions
- Importing Postman Collections and Environments
- Custom Fields for Test Cases
- Label Management
- Update Test Case Result in a Test Plan
- Test Case: Advanced Options Guide
- Test Step Types
- Type: Natural Language
- Type: REST API
- Type: Step Group
- Type: For Loop
- Type: While Loop
- Type: Block
- Type: If Condition
- Nested Step Groups
- Image Injection
- Cross-application testing
Test Case List Actions
You can efficiently manage and organise your test cases in Testsigma through the Test Case List Actions. The Test Case List Actions allows you to easily search, sort, filter, and save your test cases.
Search Test Cases
From the left navigation bar, go to Create Tests > Test Cases and click the list view icon.
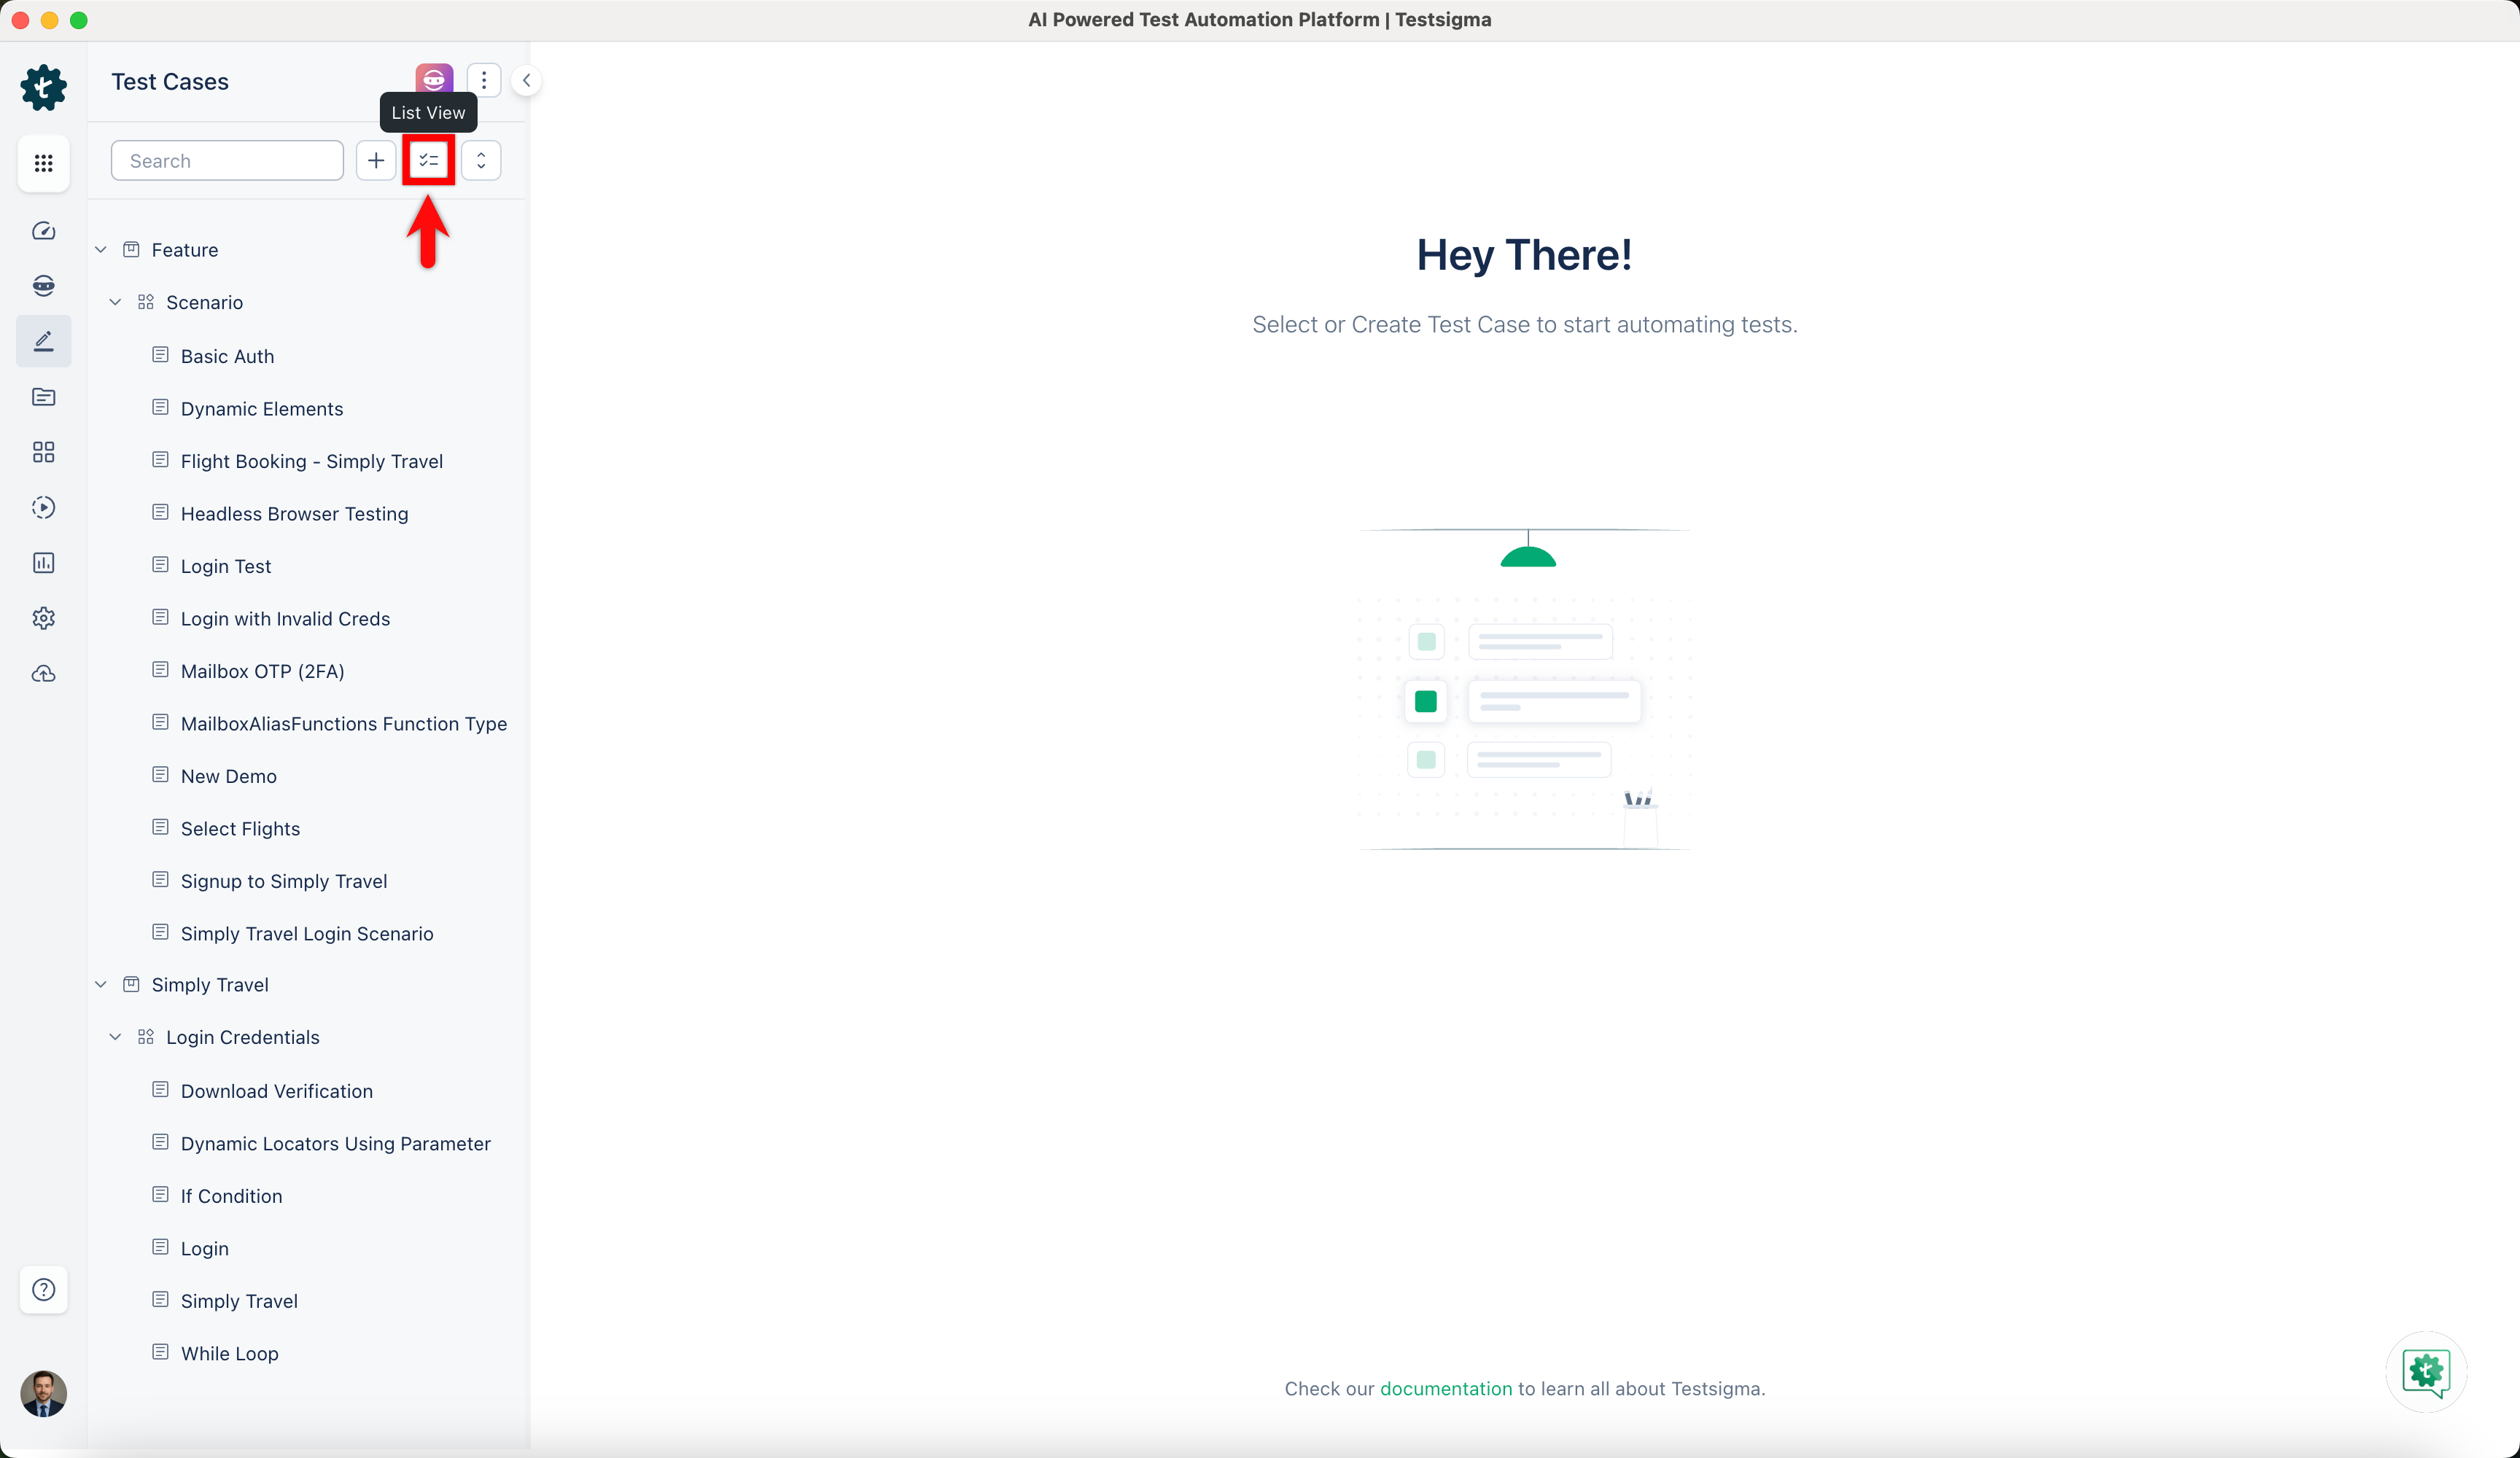
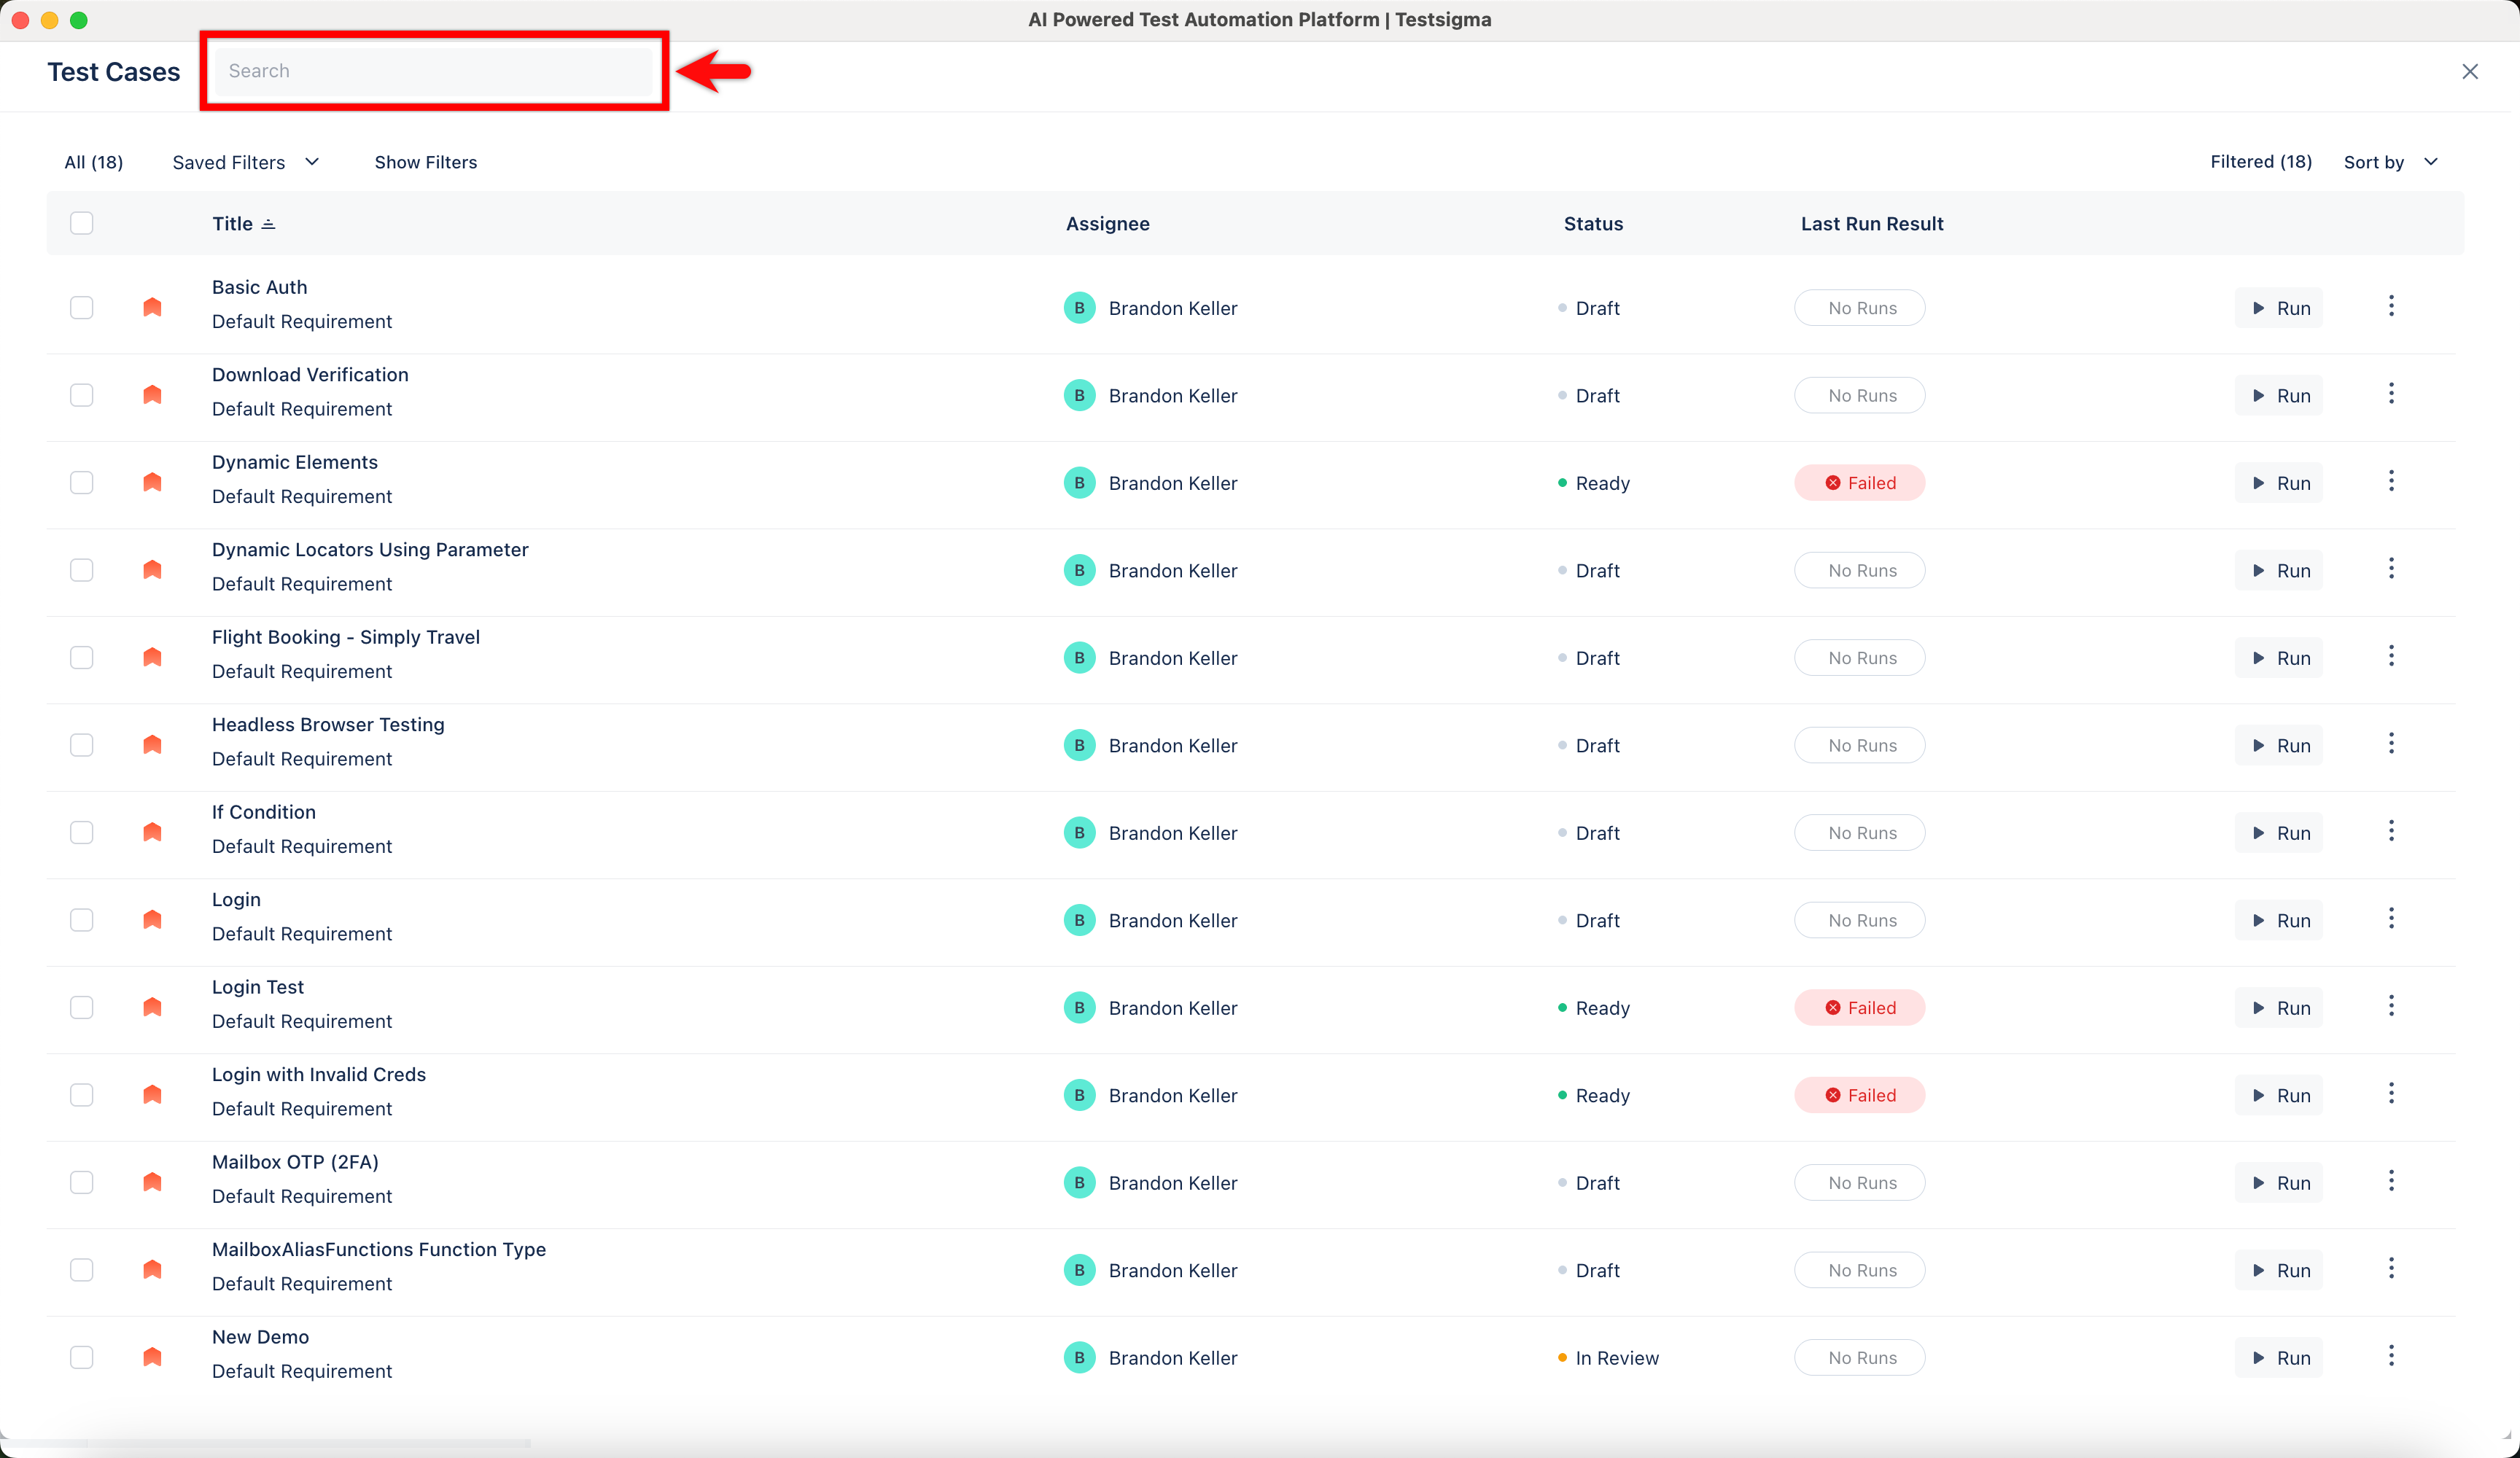
Click inside the Search bar in the top right corner of the Test Case List page and type the name of the Test Case you want to find. As you type, Testsigma will show you matching test cases. View the test case you want by clicking on it in the search results
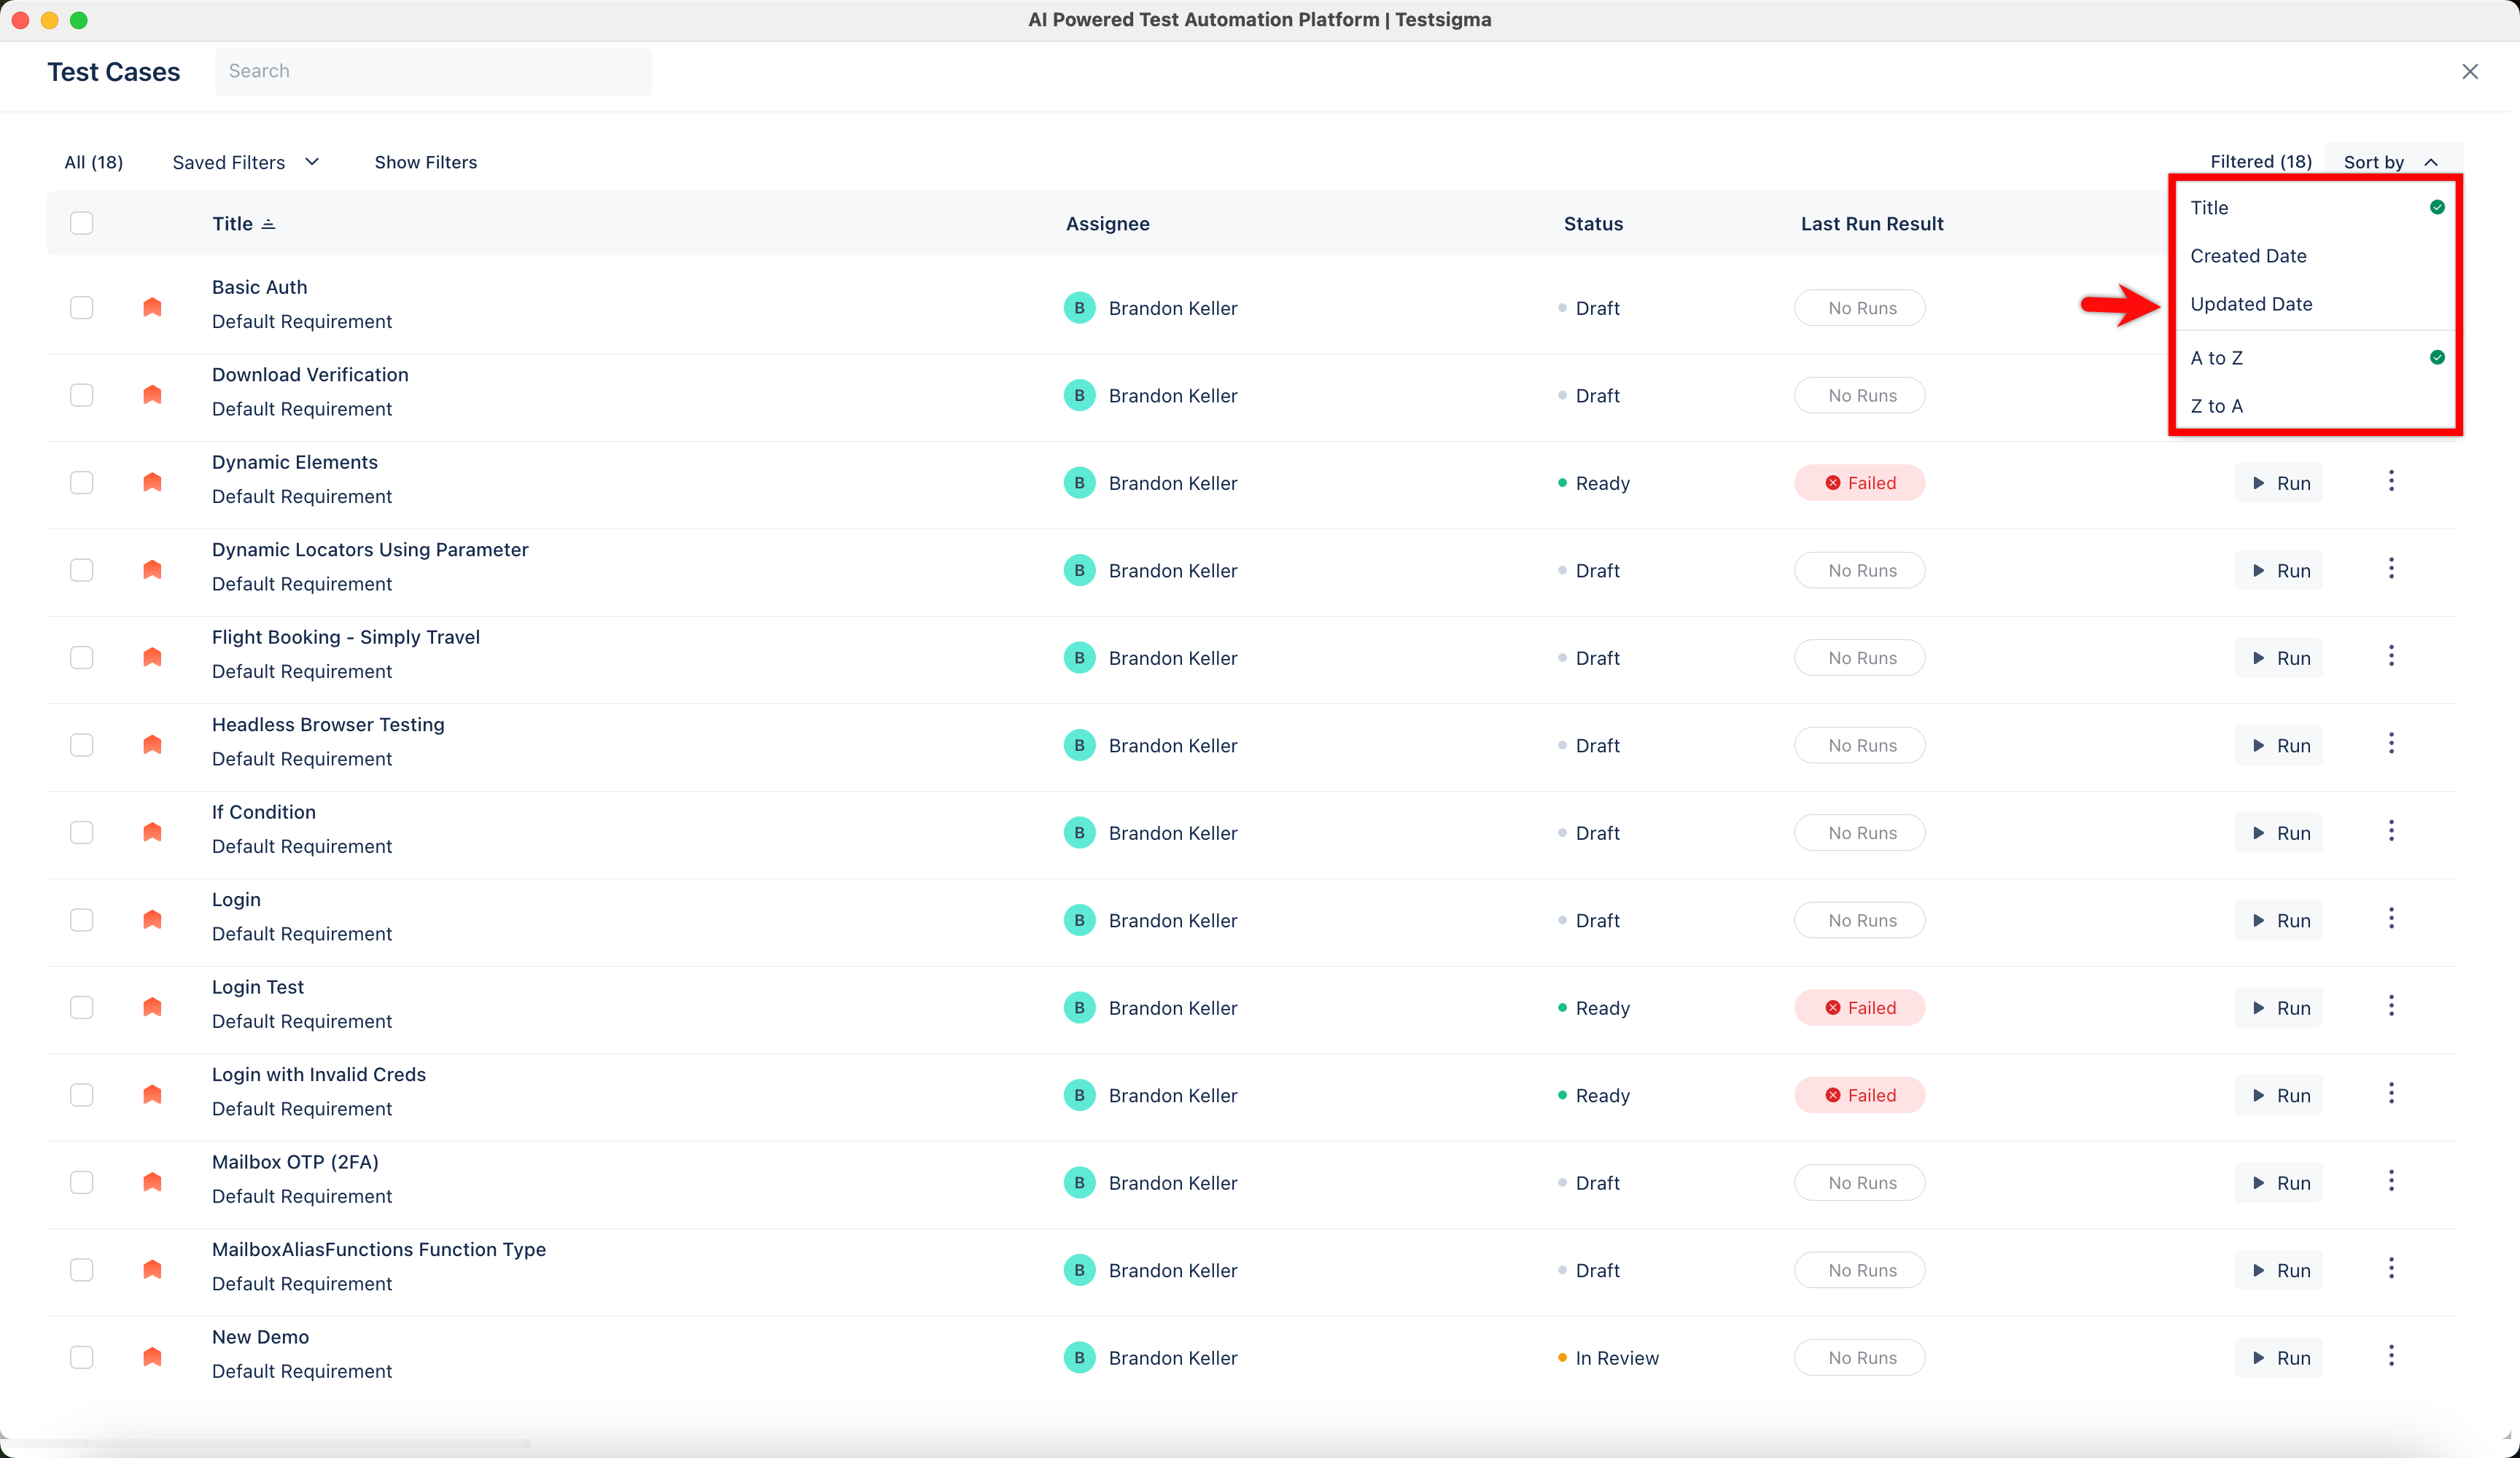
Sort Test Cases
Click the Sort by option in the menu bar on the Test Cases List page and arrange your test cases based on criteria such as Title, Created Date, or Updated Date. Sorting will help you prioritise and manage your test cases easily.
Filter Test Cases
- Click on Show Filters in the menu bar on the Test Cases List page.
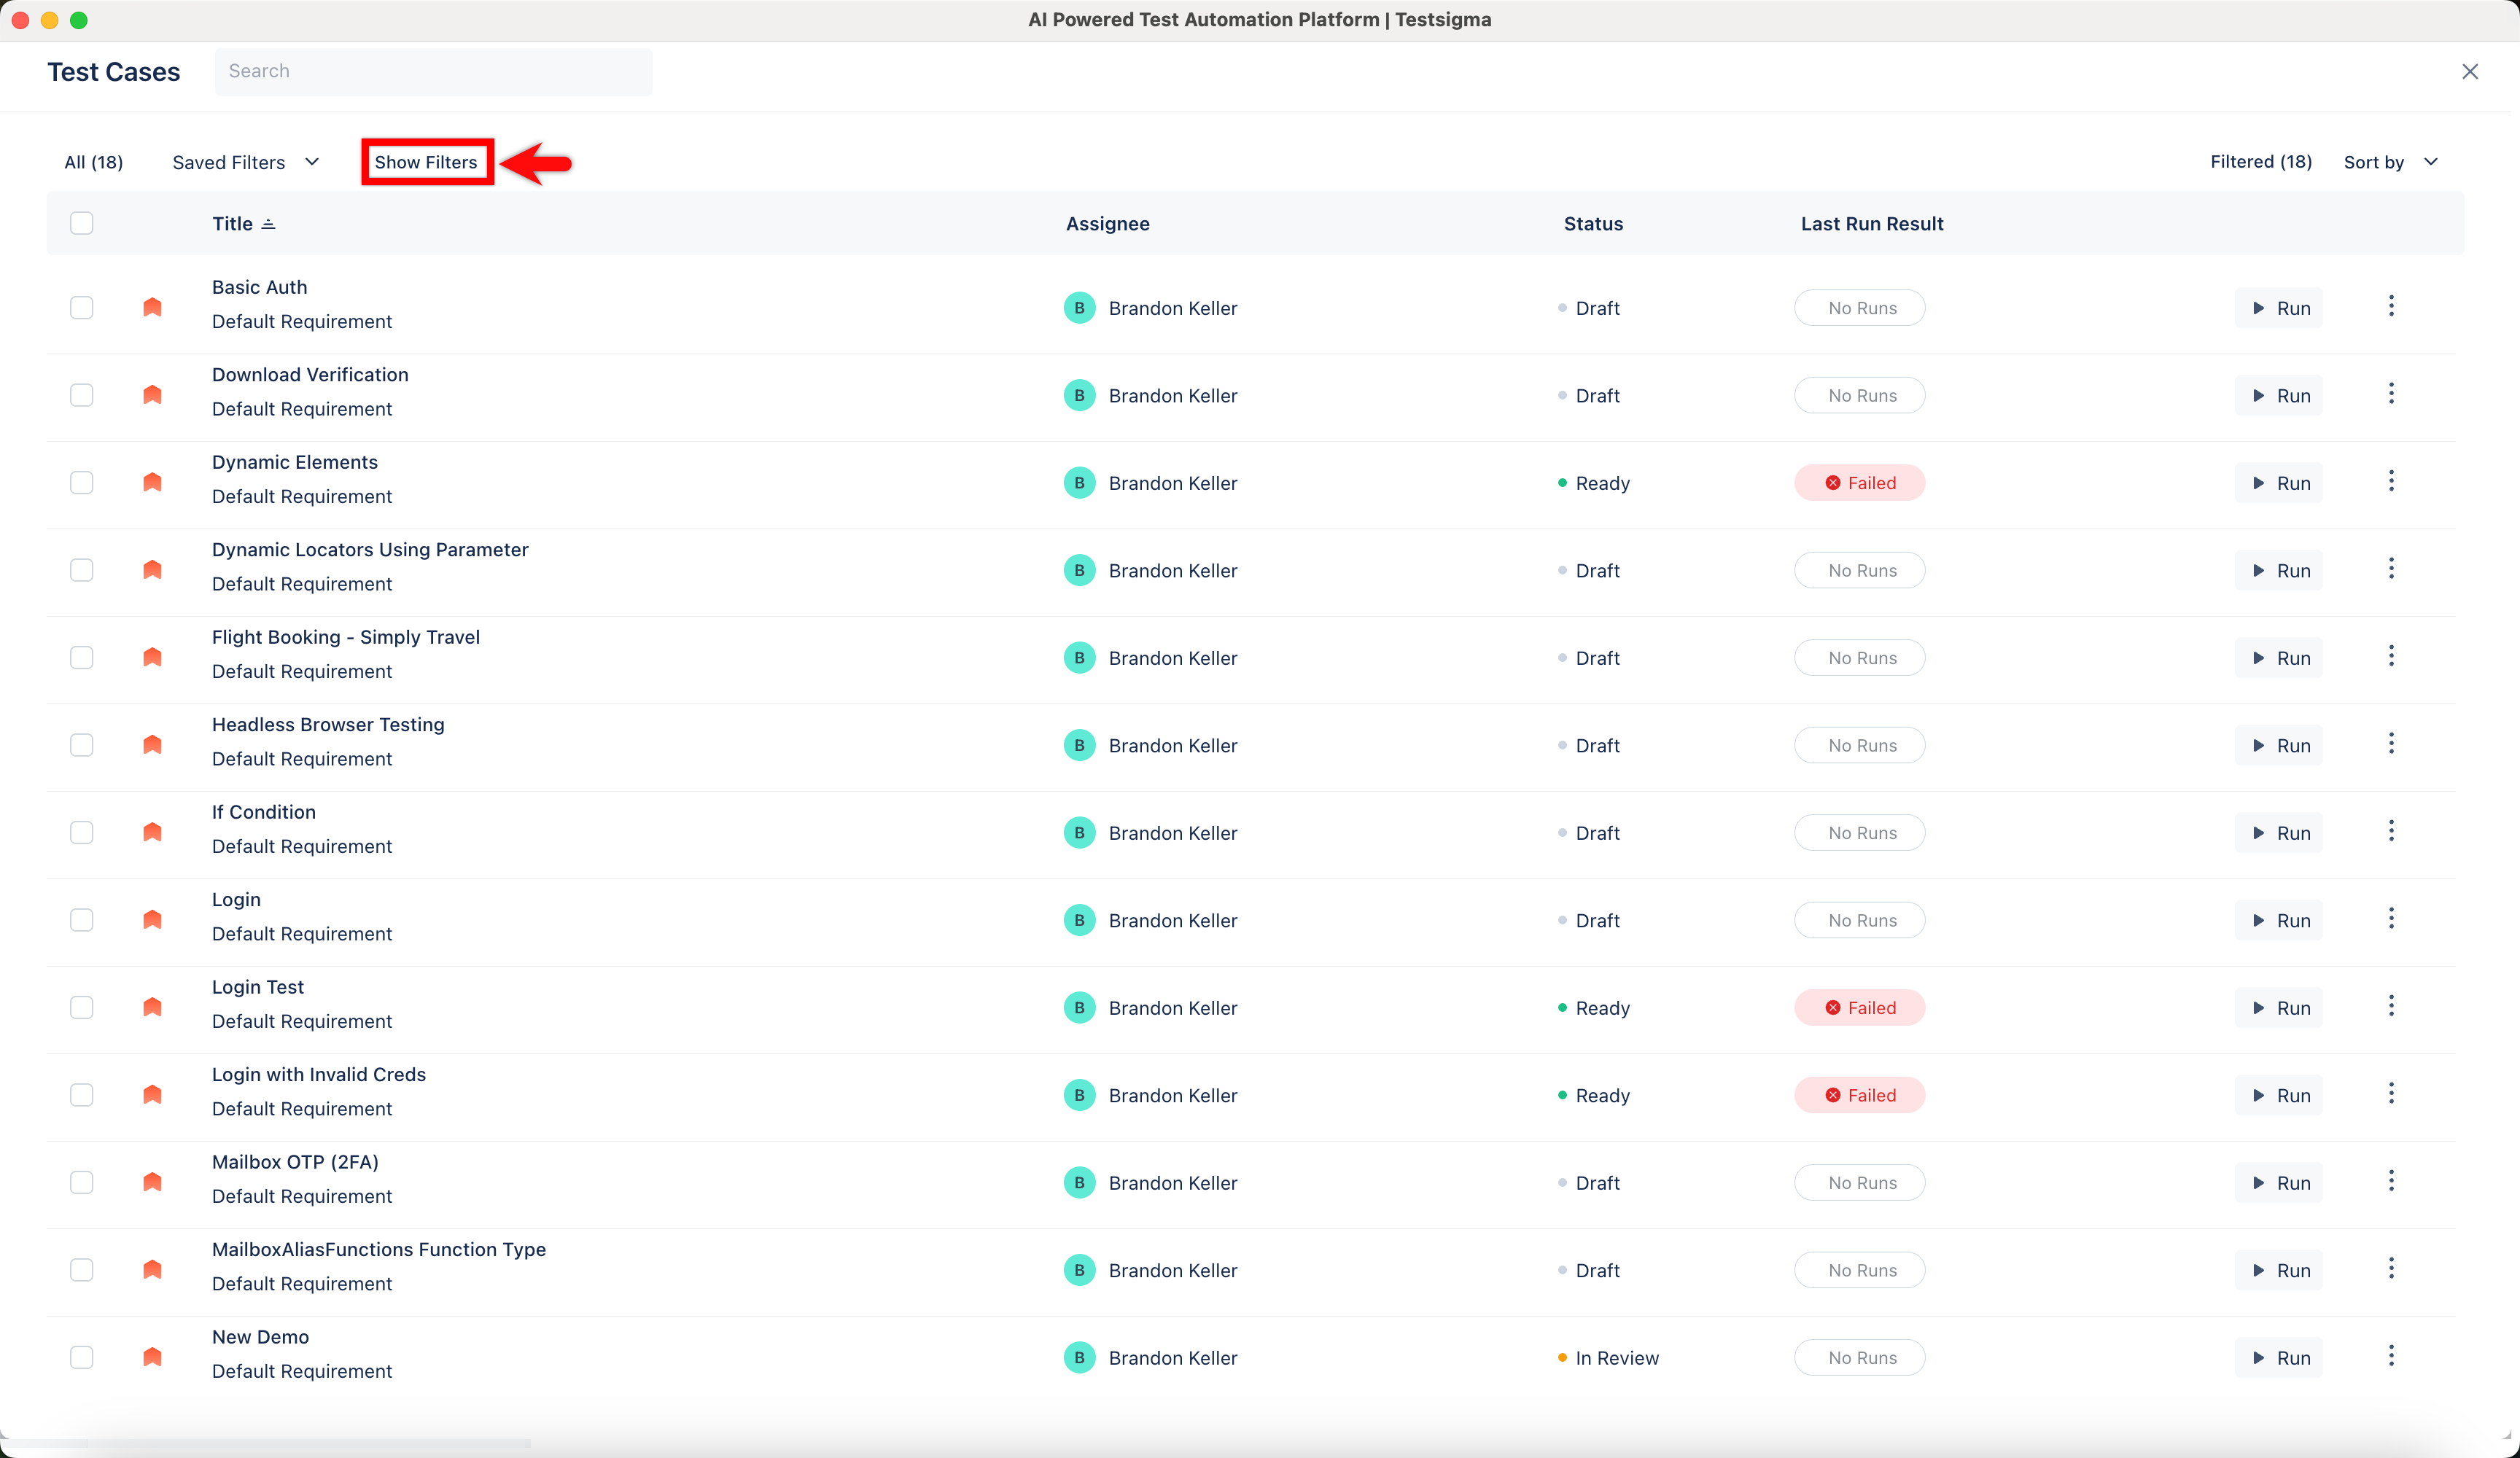
- Select Add Filter from the drop-down list. Choose from the following filtering options: Status, Priority, Last run result, Added to Test Suite, Assignee, Created By, Created Date, Updated Date, Reviewer, Test Case Type, Labels, Requirement and Requirement Type.
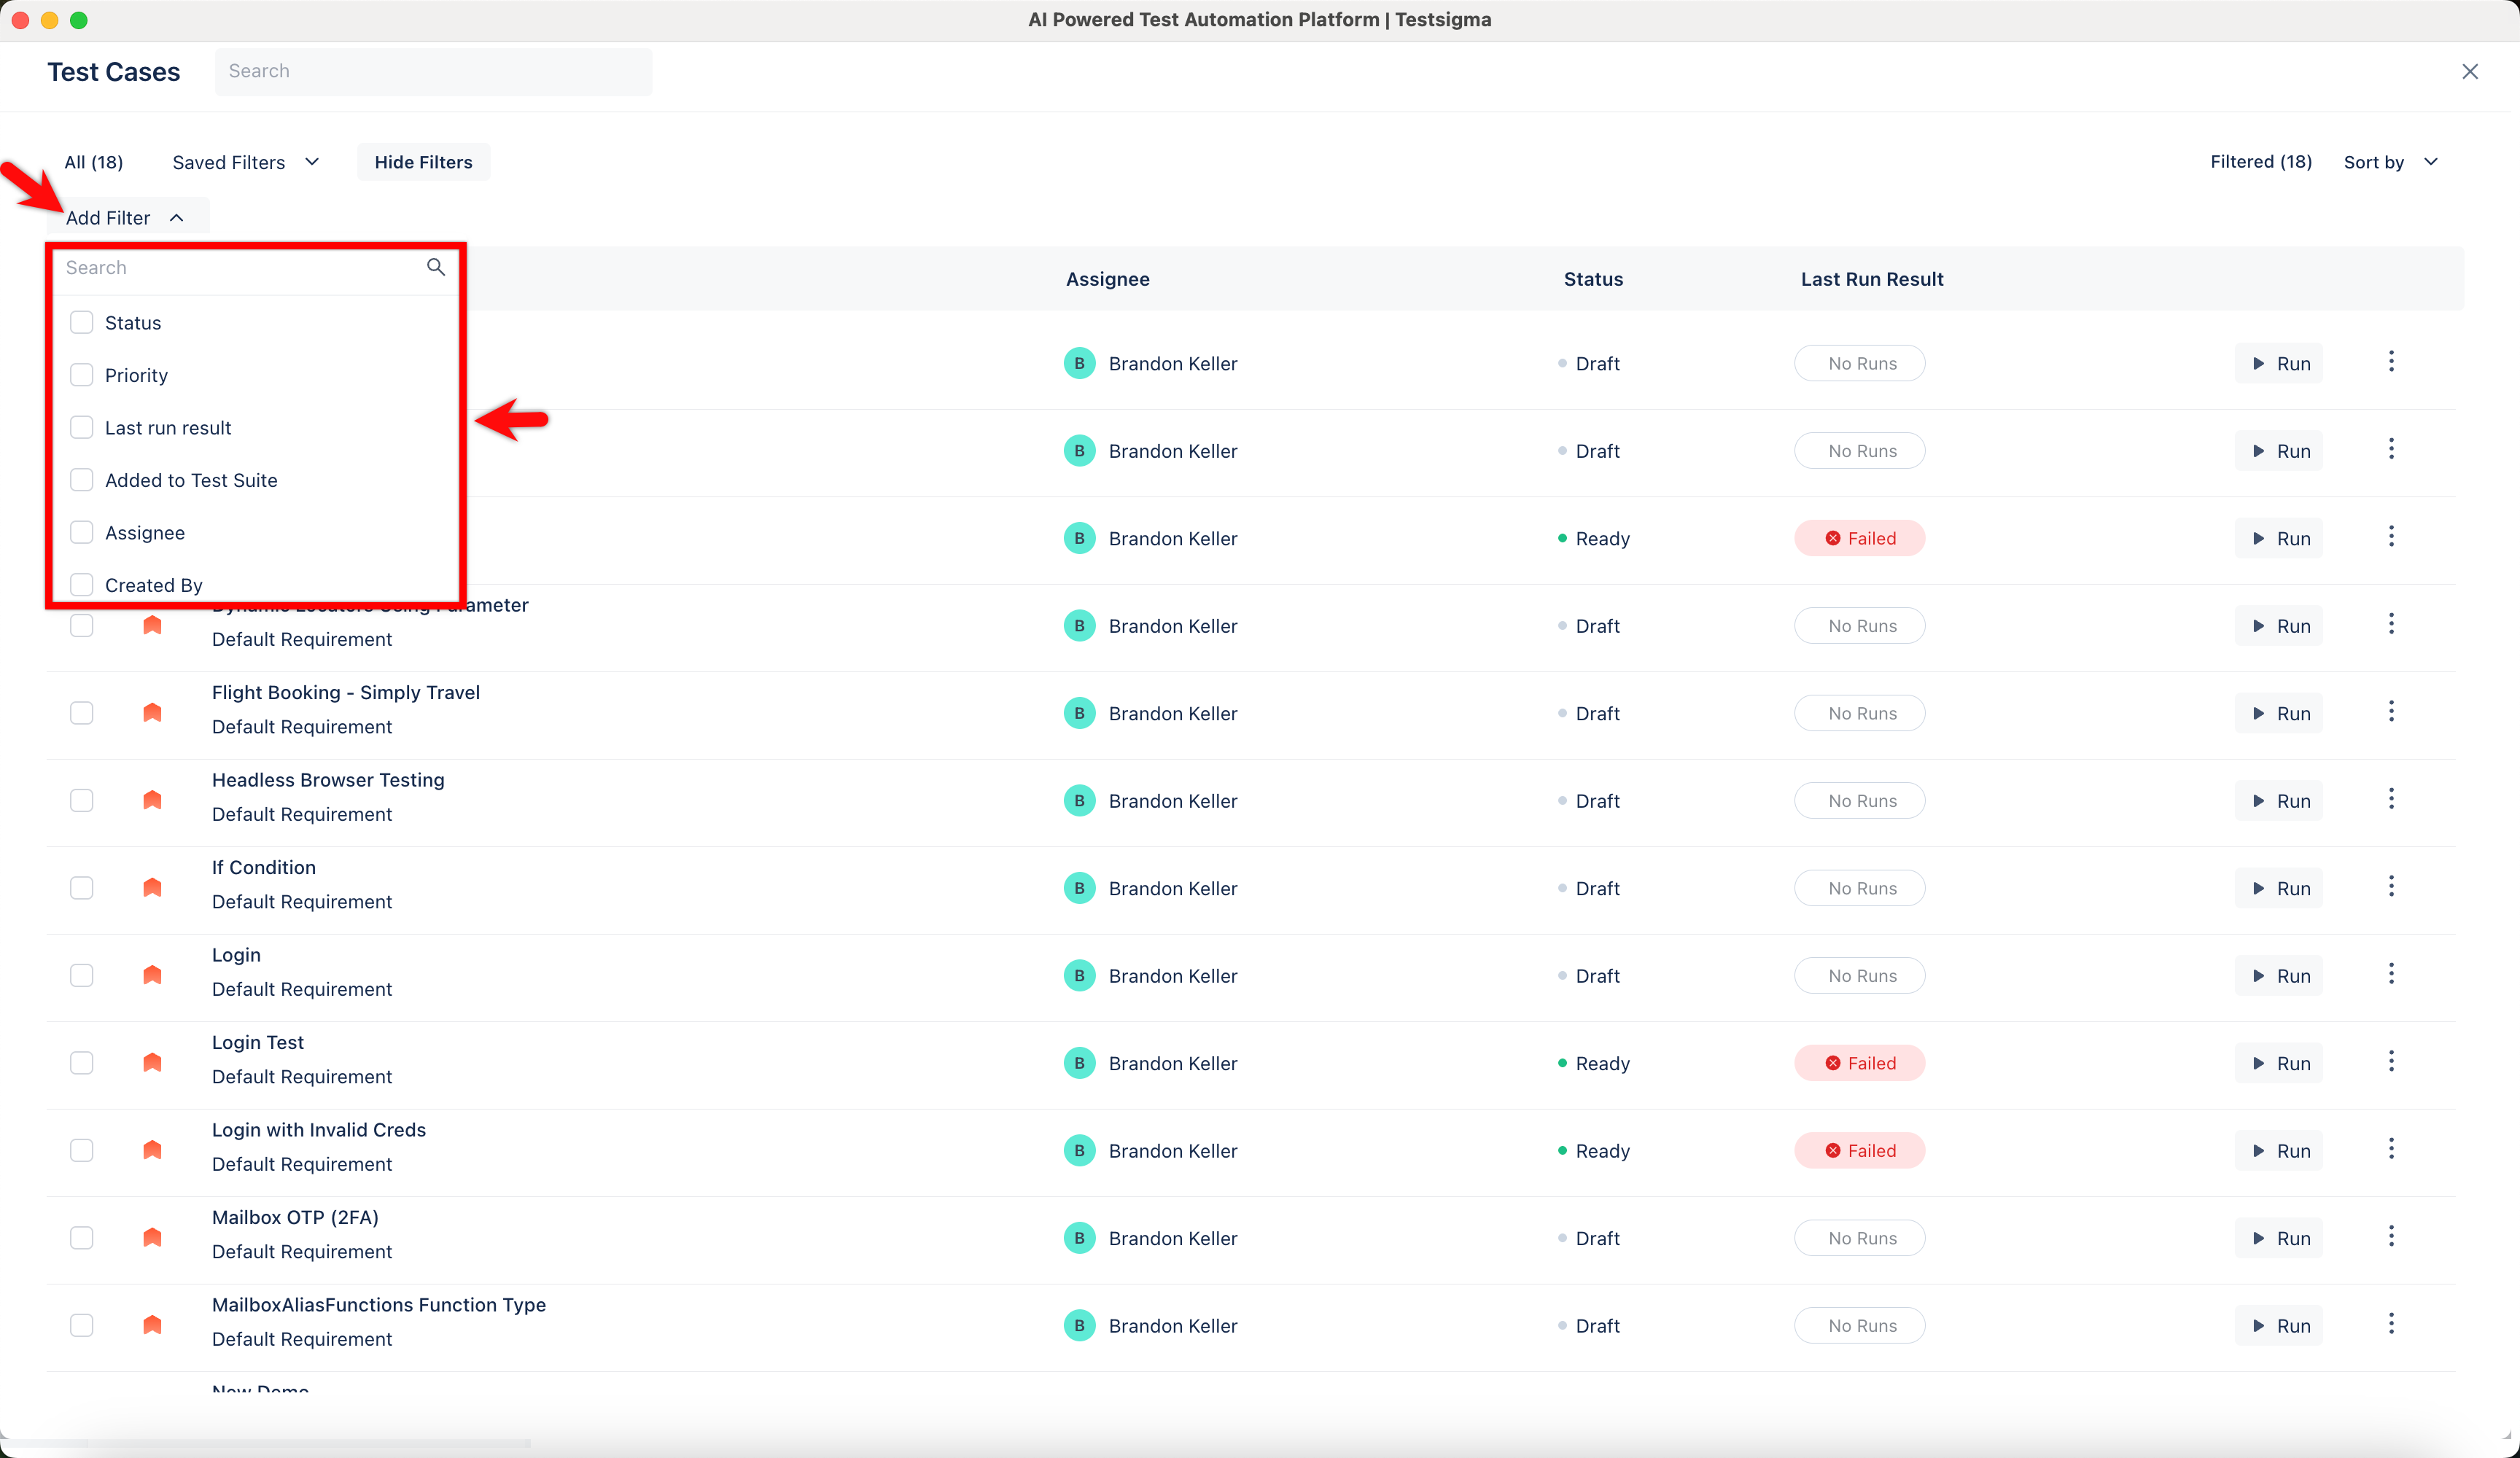
You can filter Test Cases using user-defined custom and default fields. You can modify the filtering options by selecting Add Filter from the drop-down list and using multiple filters to obtain granular results.
Save Test Case Filter
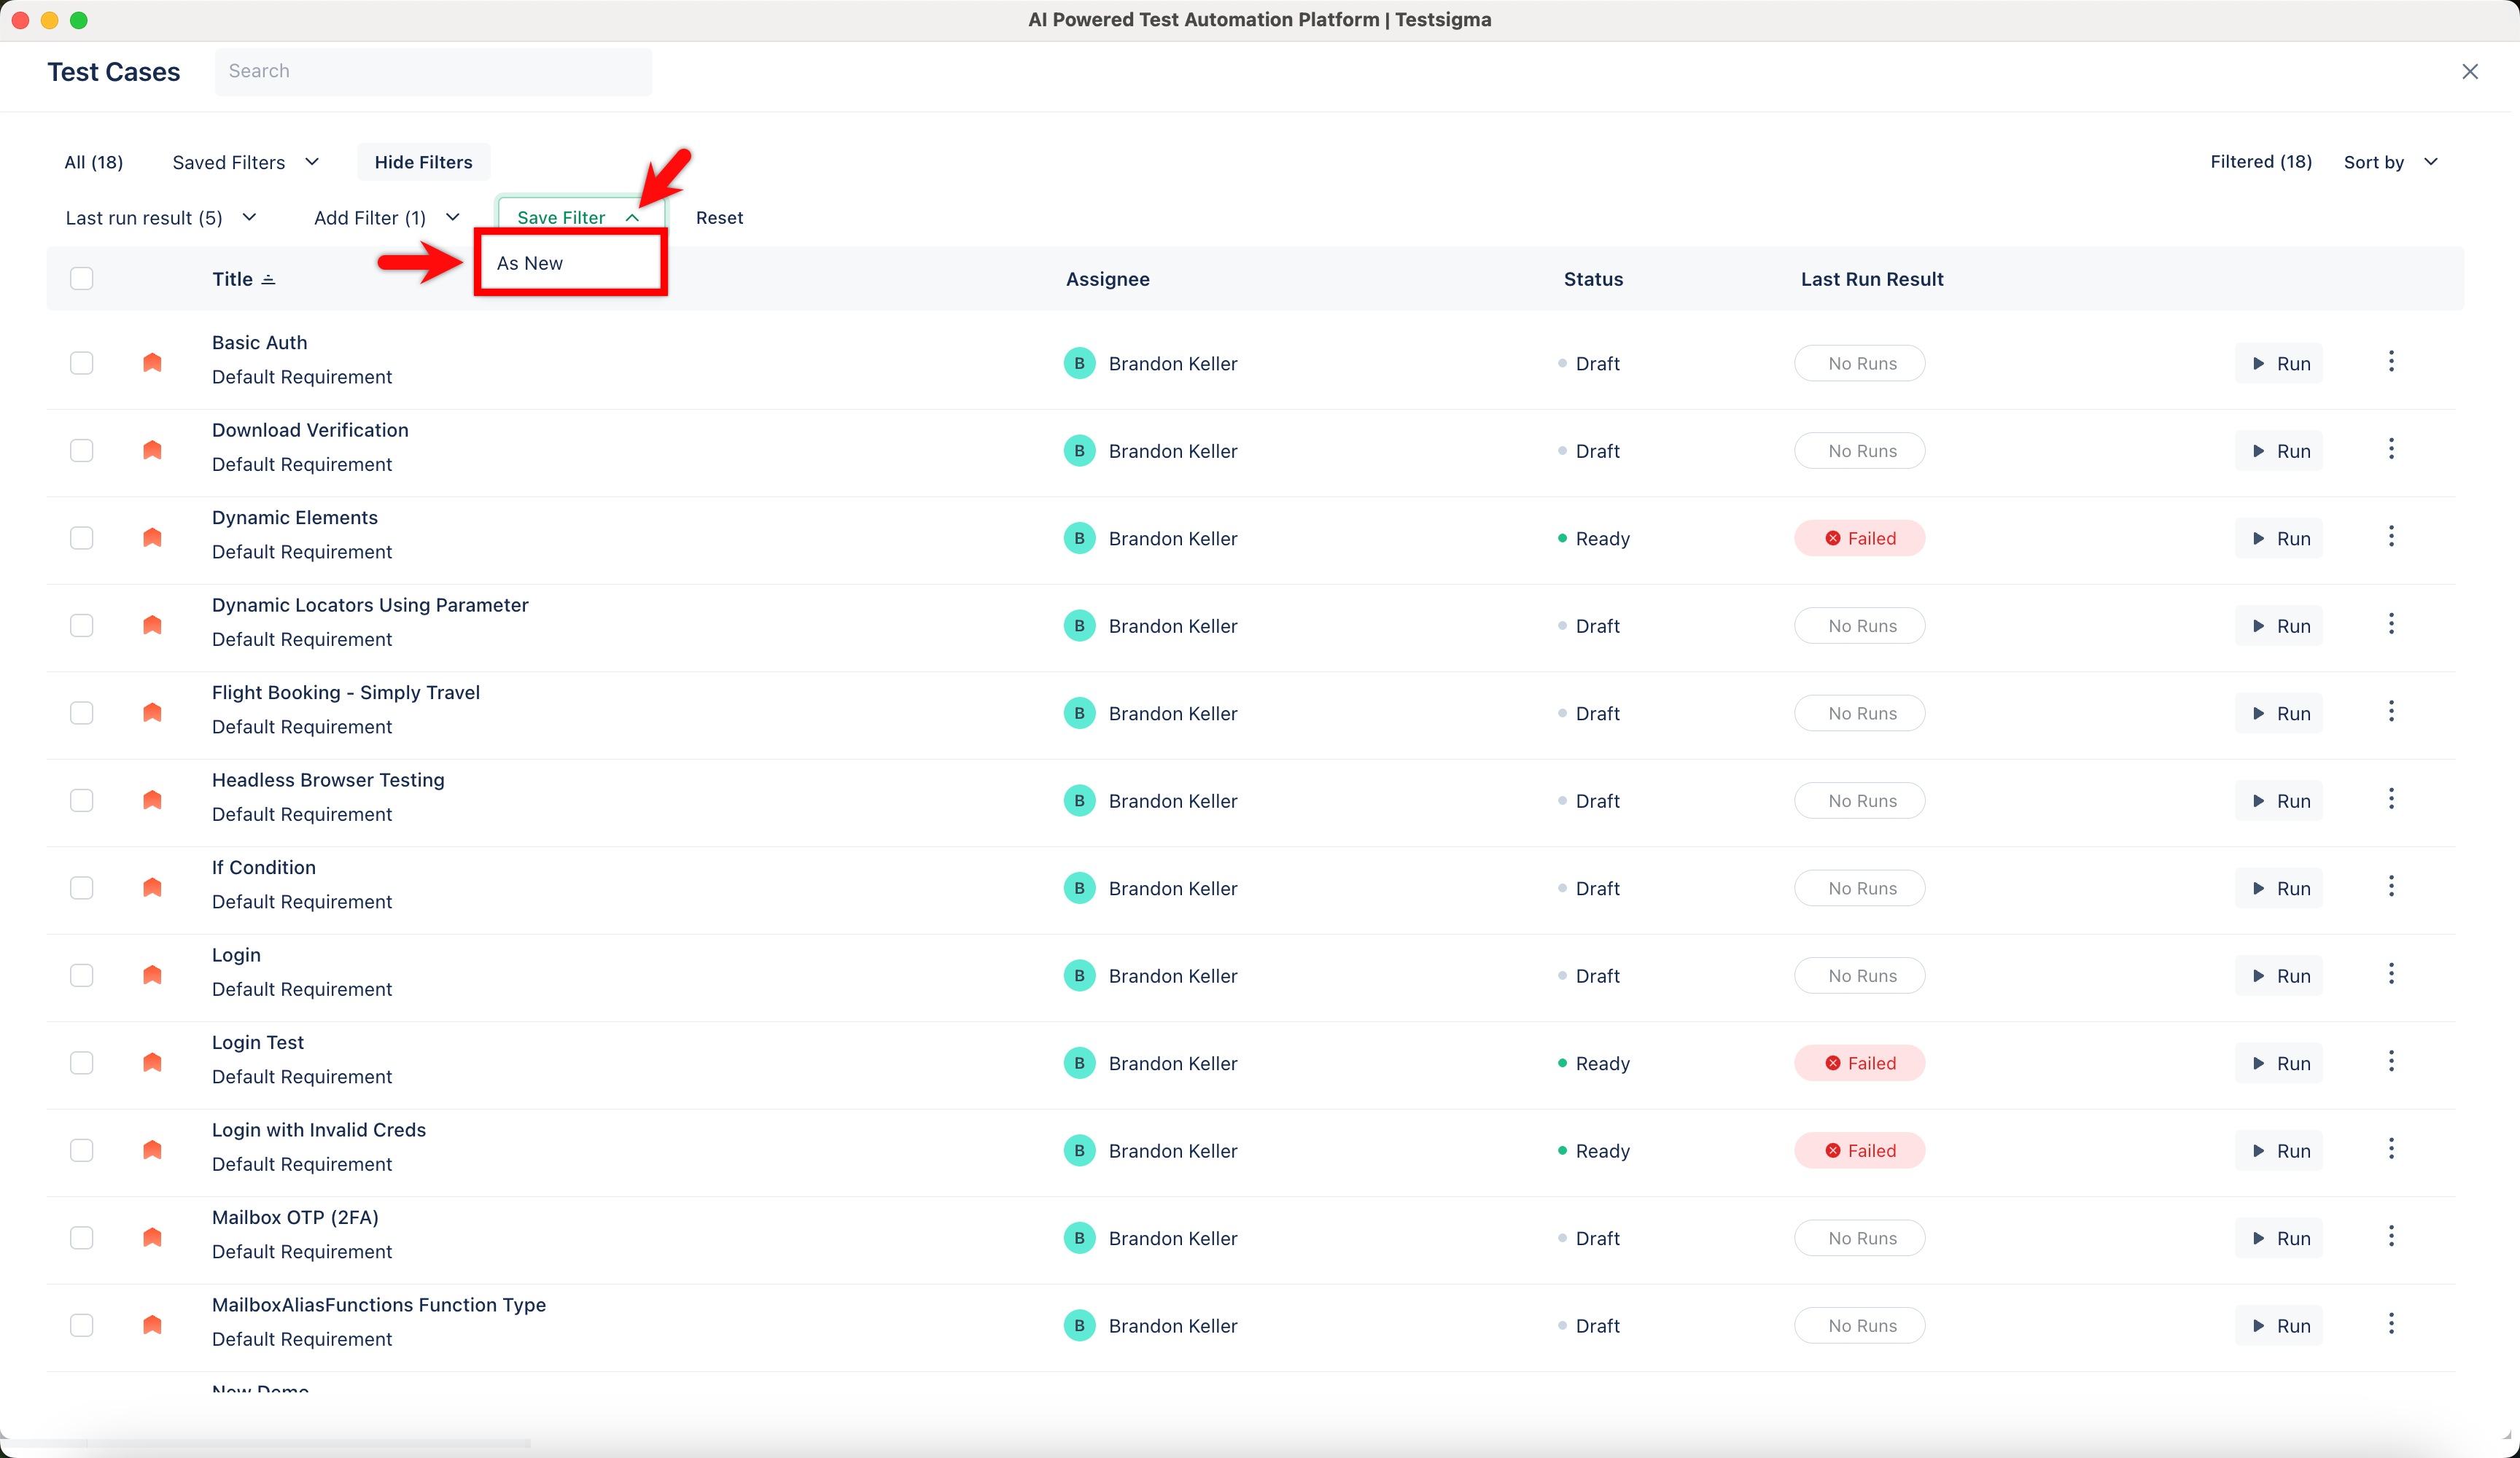
- Click Show Filters in the menu bar on the Test Cases List page.
- Click Add Filter to open the drop-down list and select the desired filters.
- Click Save Filter will make the drop-down list appear for saving the current filter, and select As New.
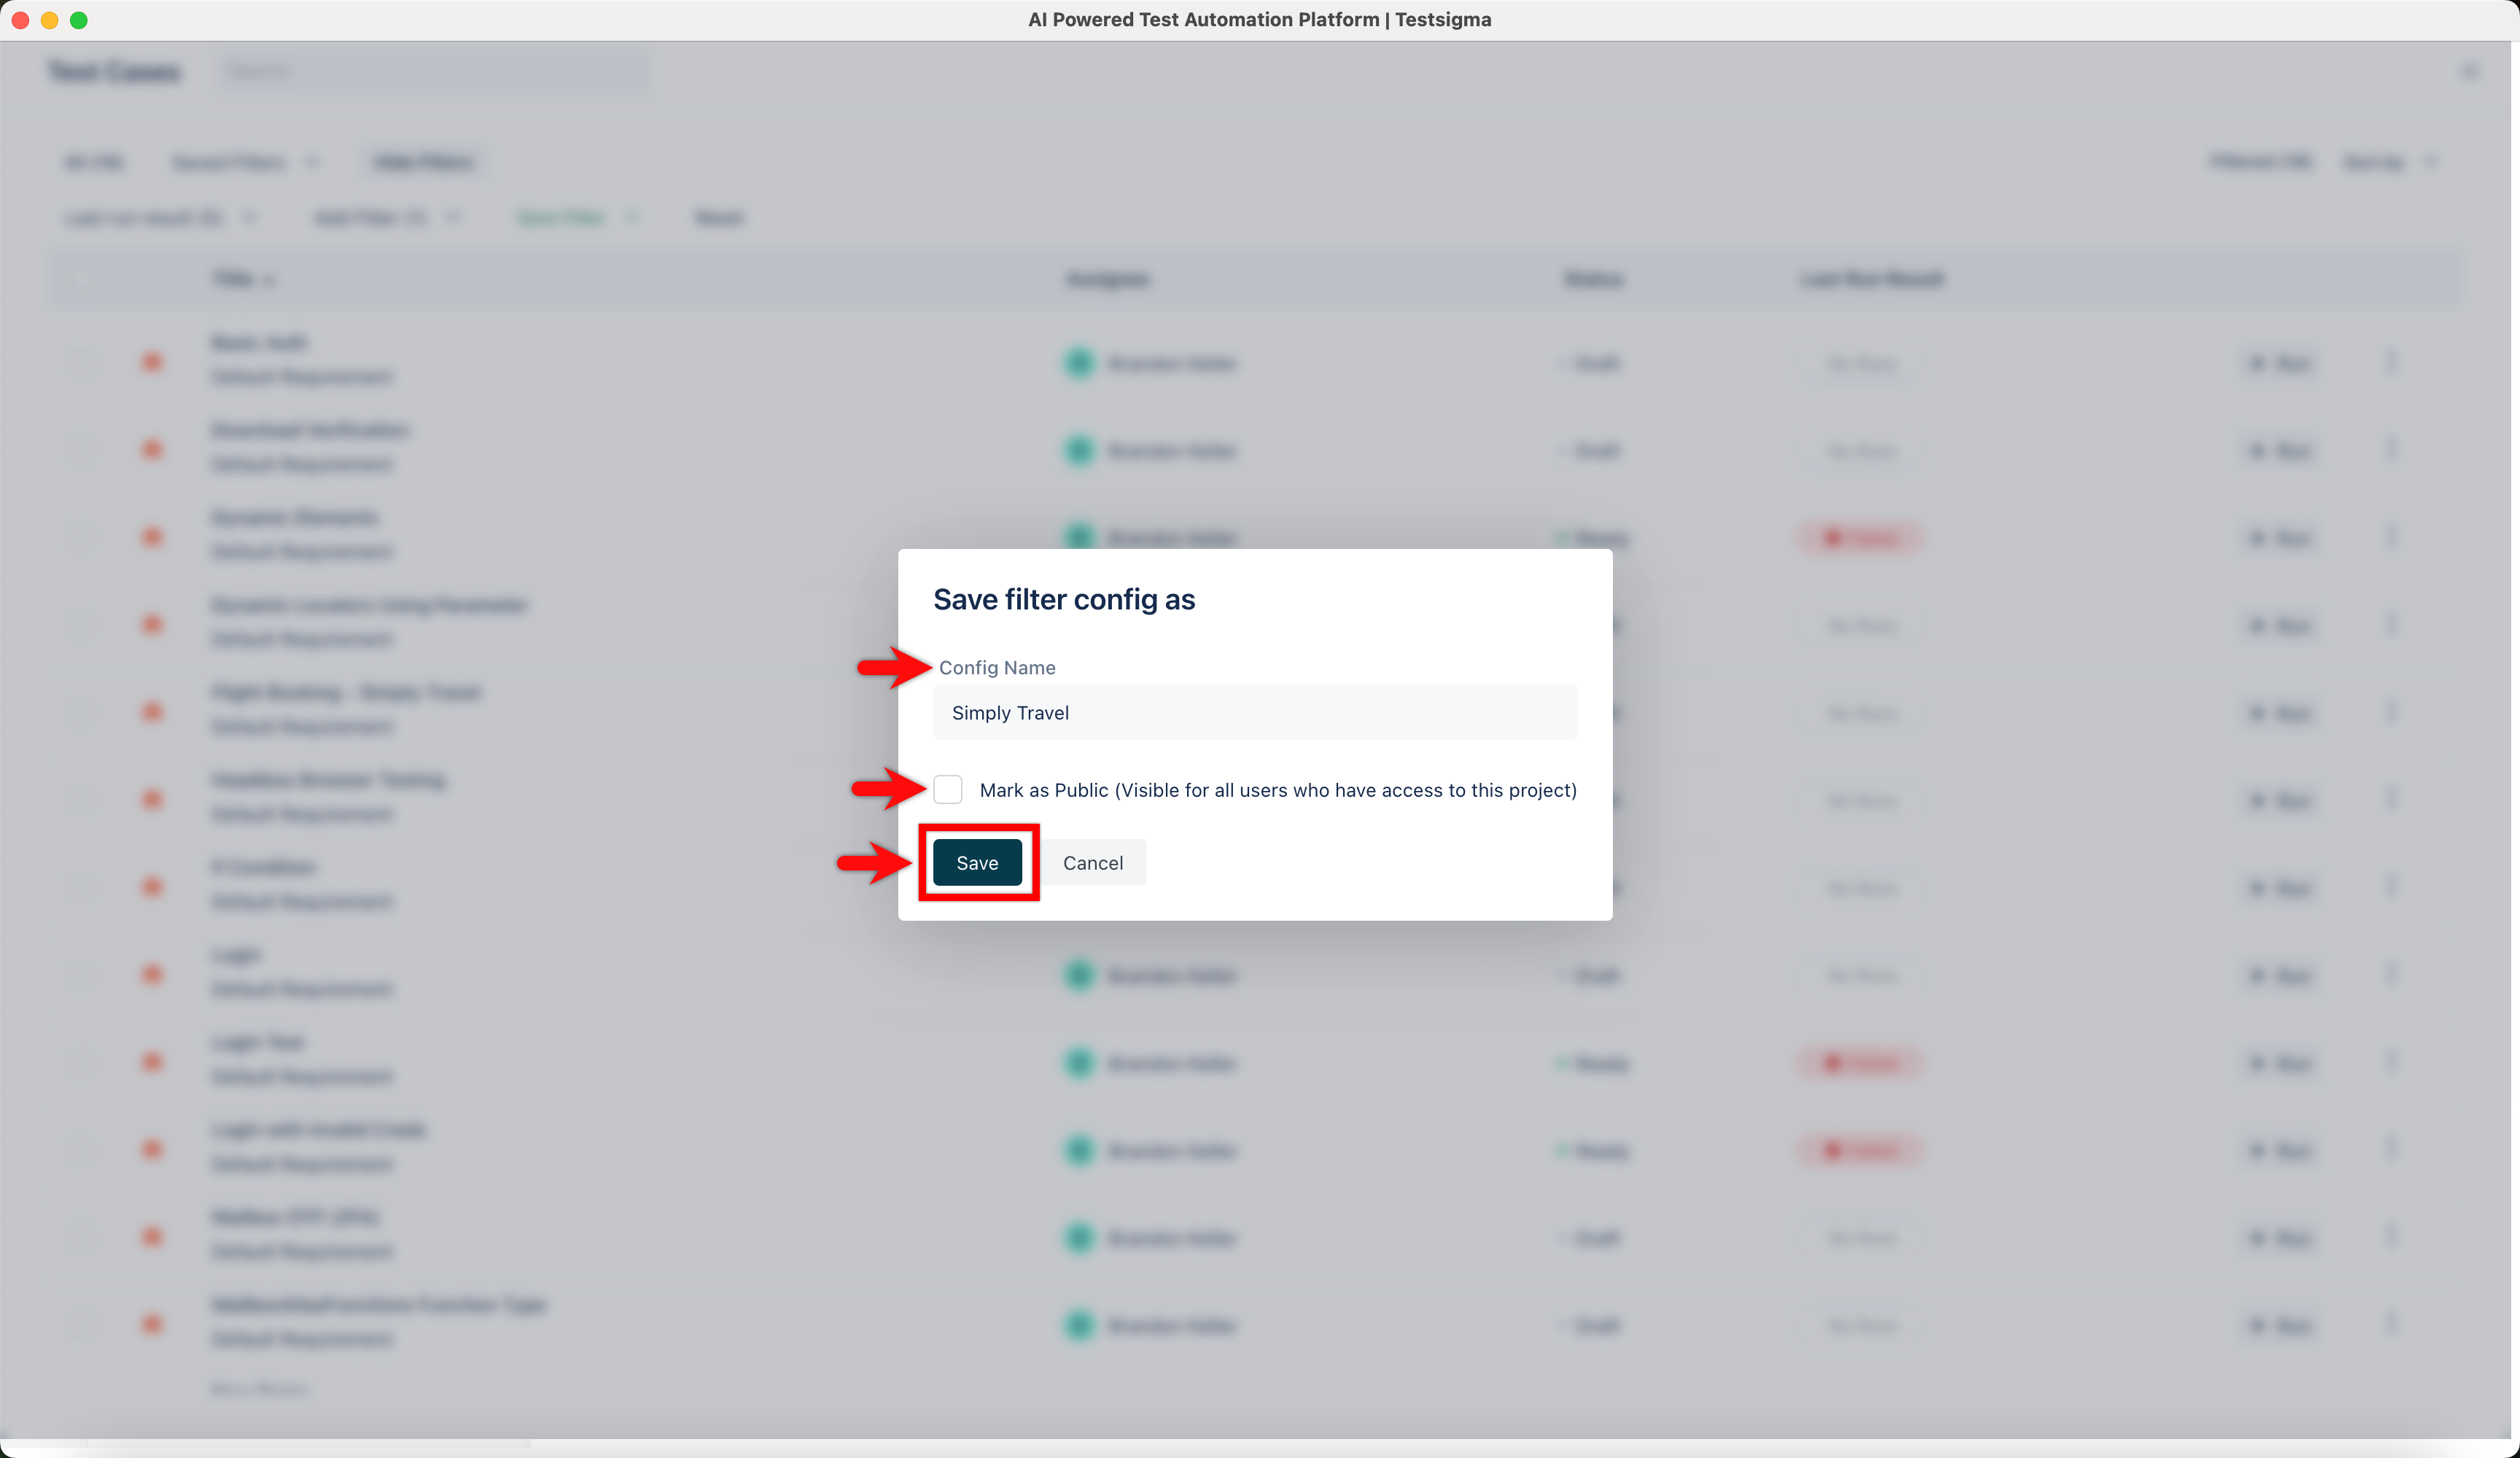
- In the Save filter config as dialog, enter a name, select the Mark as Public checkbox if needed, and click Save.
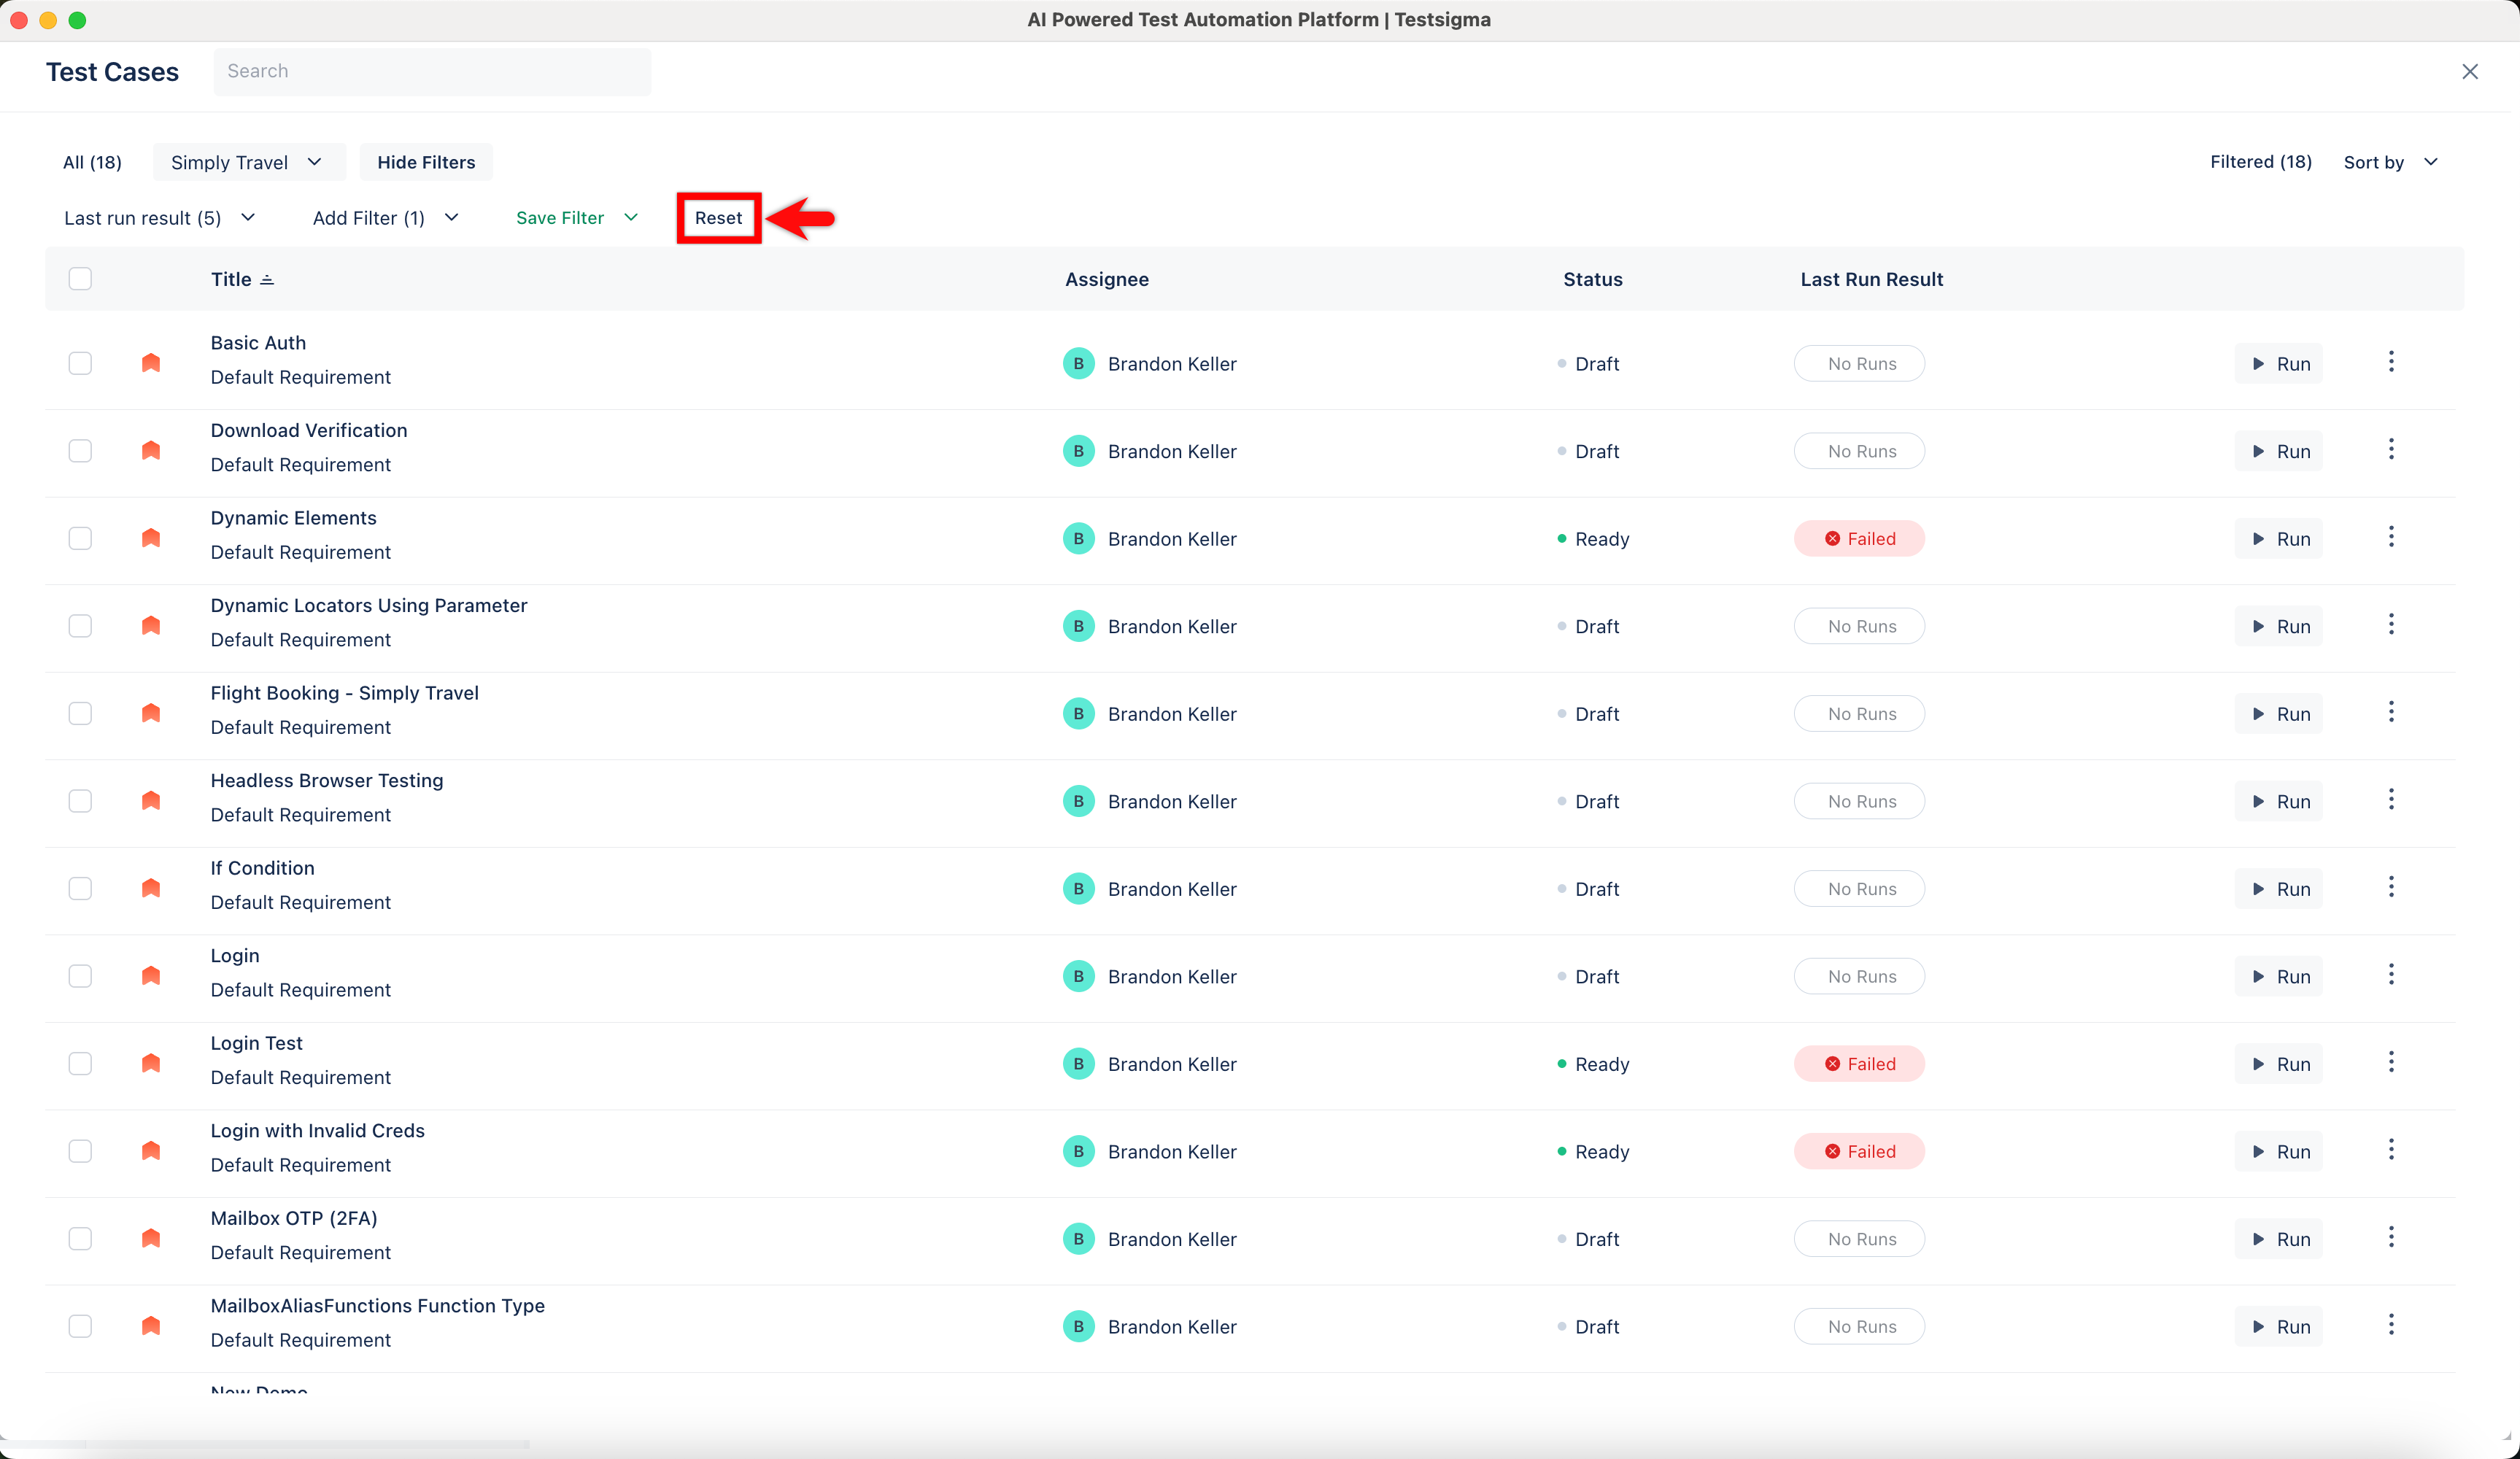
- Click Reset to discard the current filter.
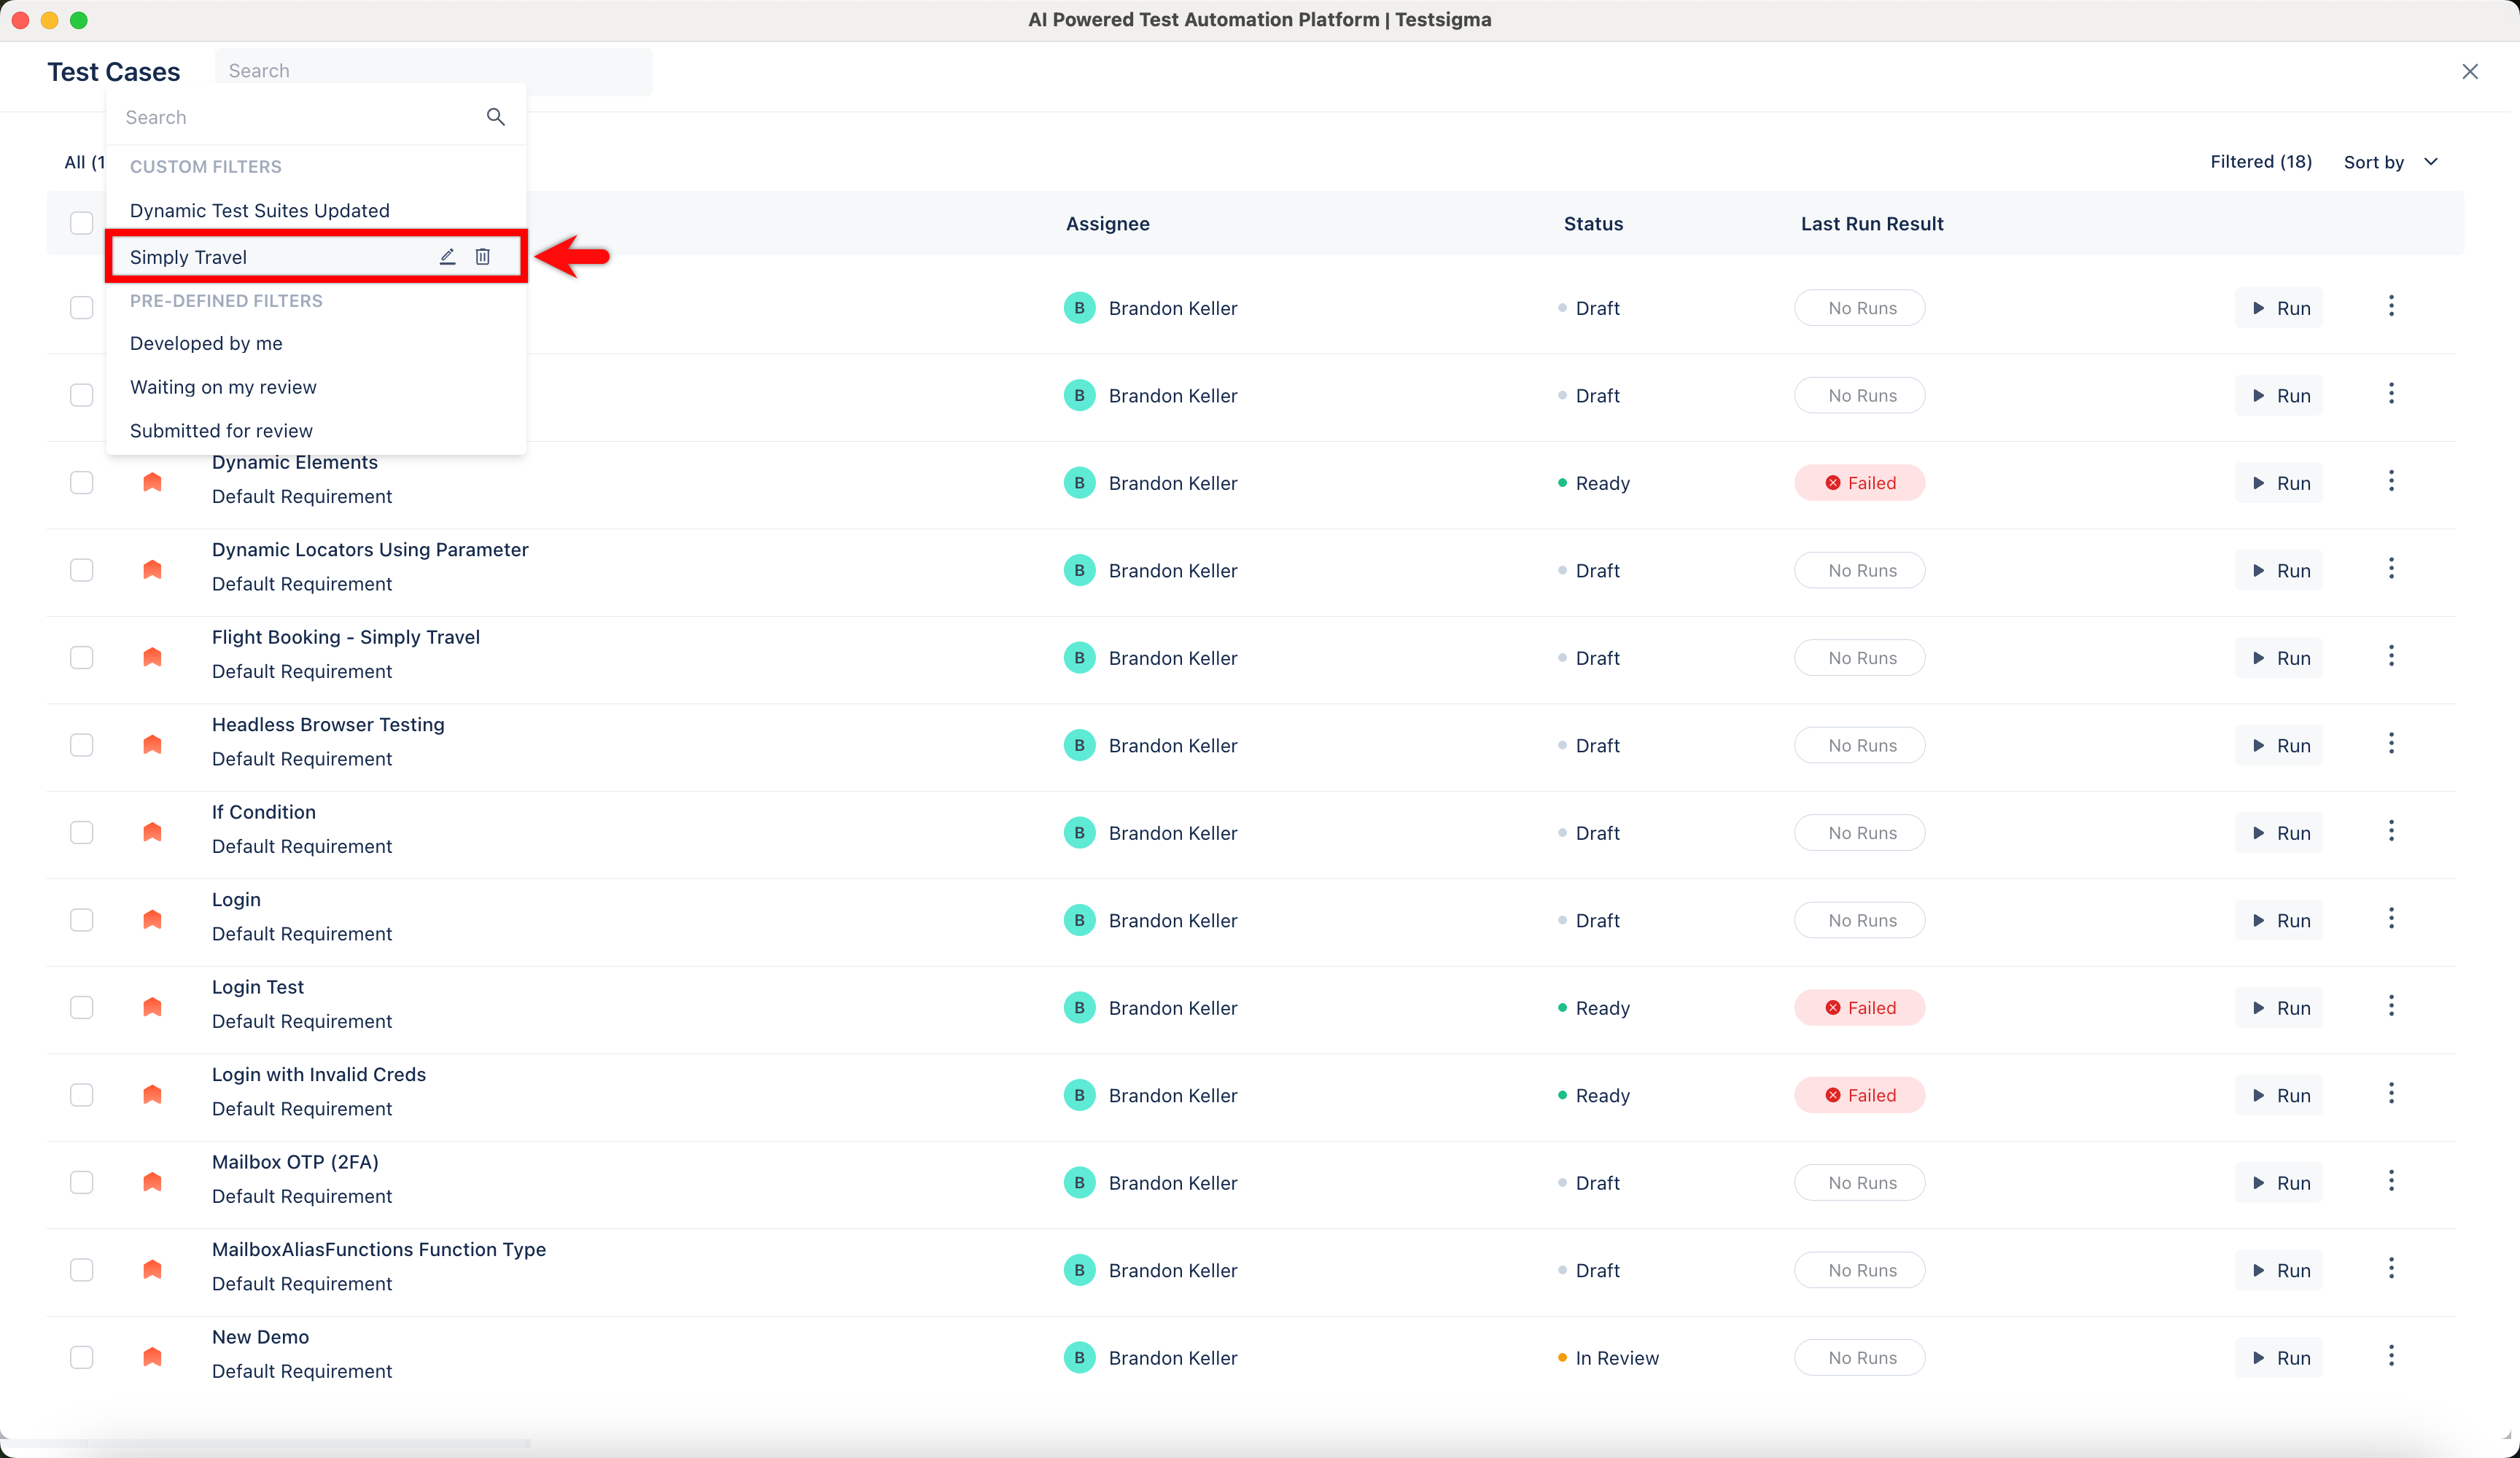
- Expand Saved Filters in the menu bar on the Test Cases List page to open the drop-down list. In Custom Filters, locate the saved filter, select the filter and mouseover to the filter, and click the Edit button next to the filter name to edit it. To delete the saved filter, click the Delete button.
View Saved Test Case Filters
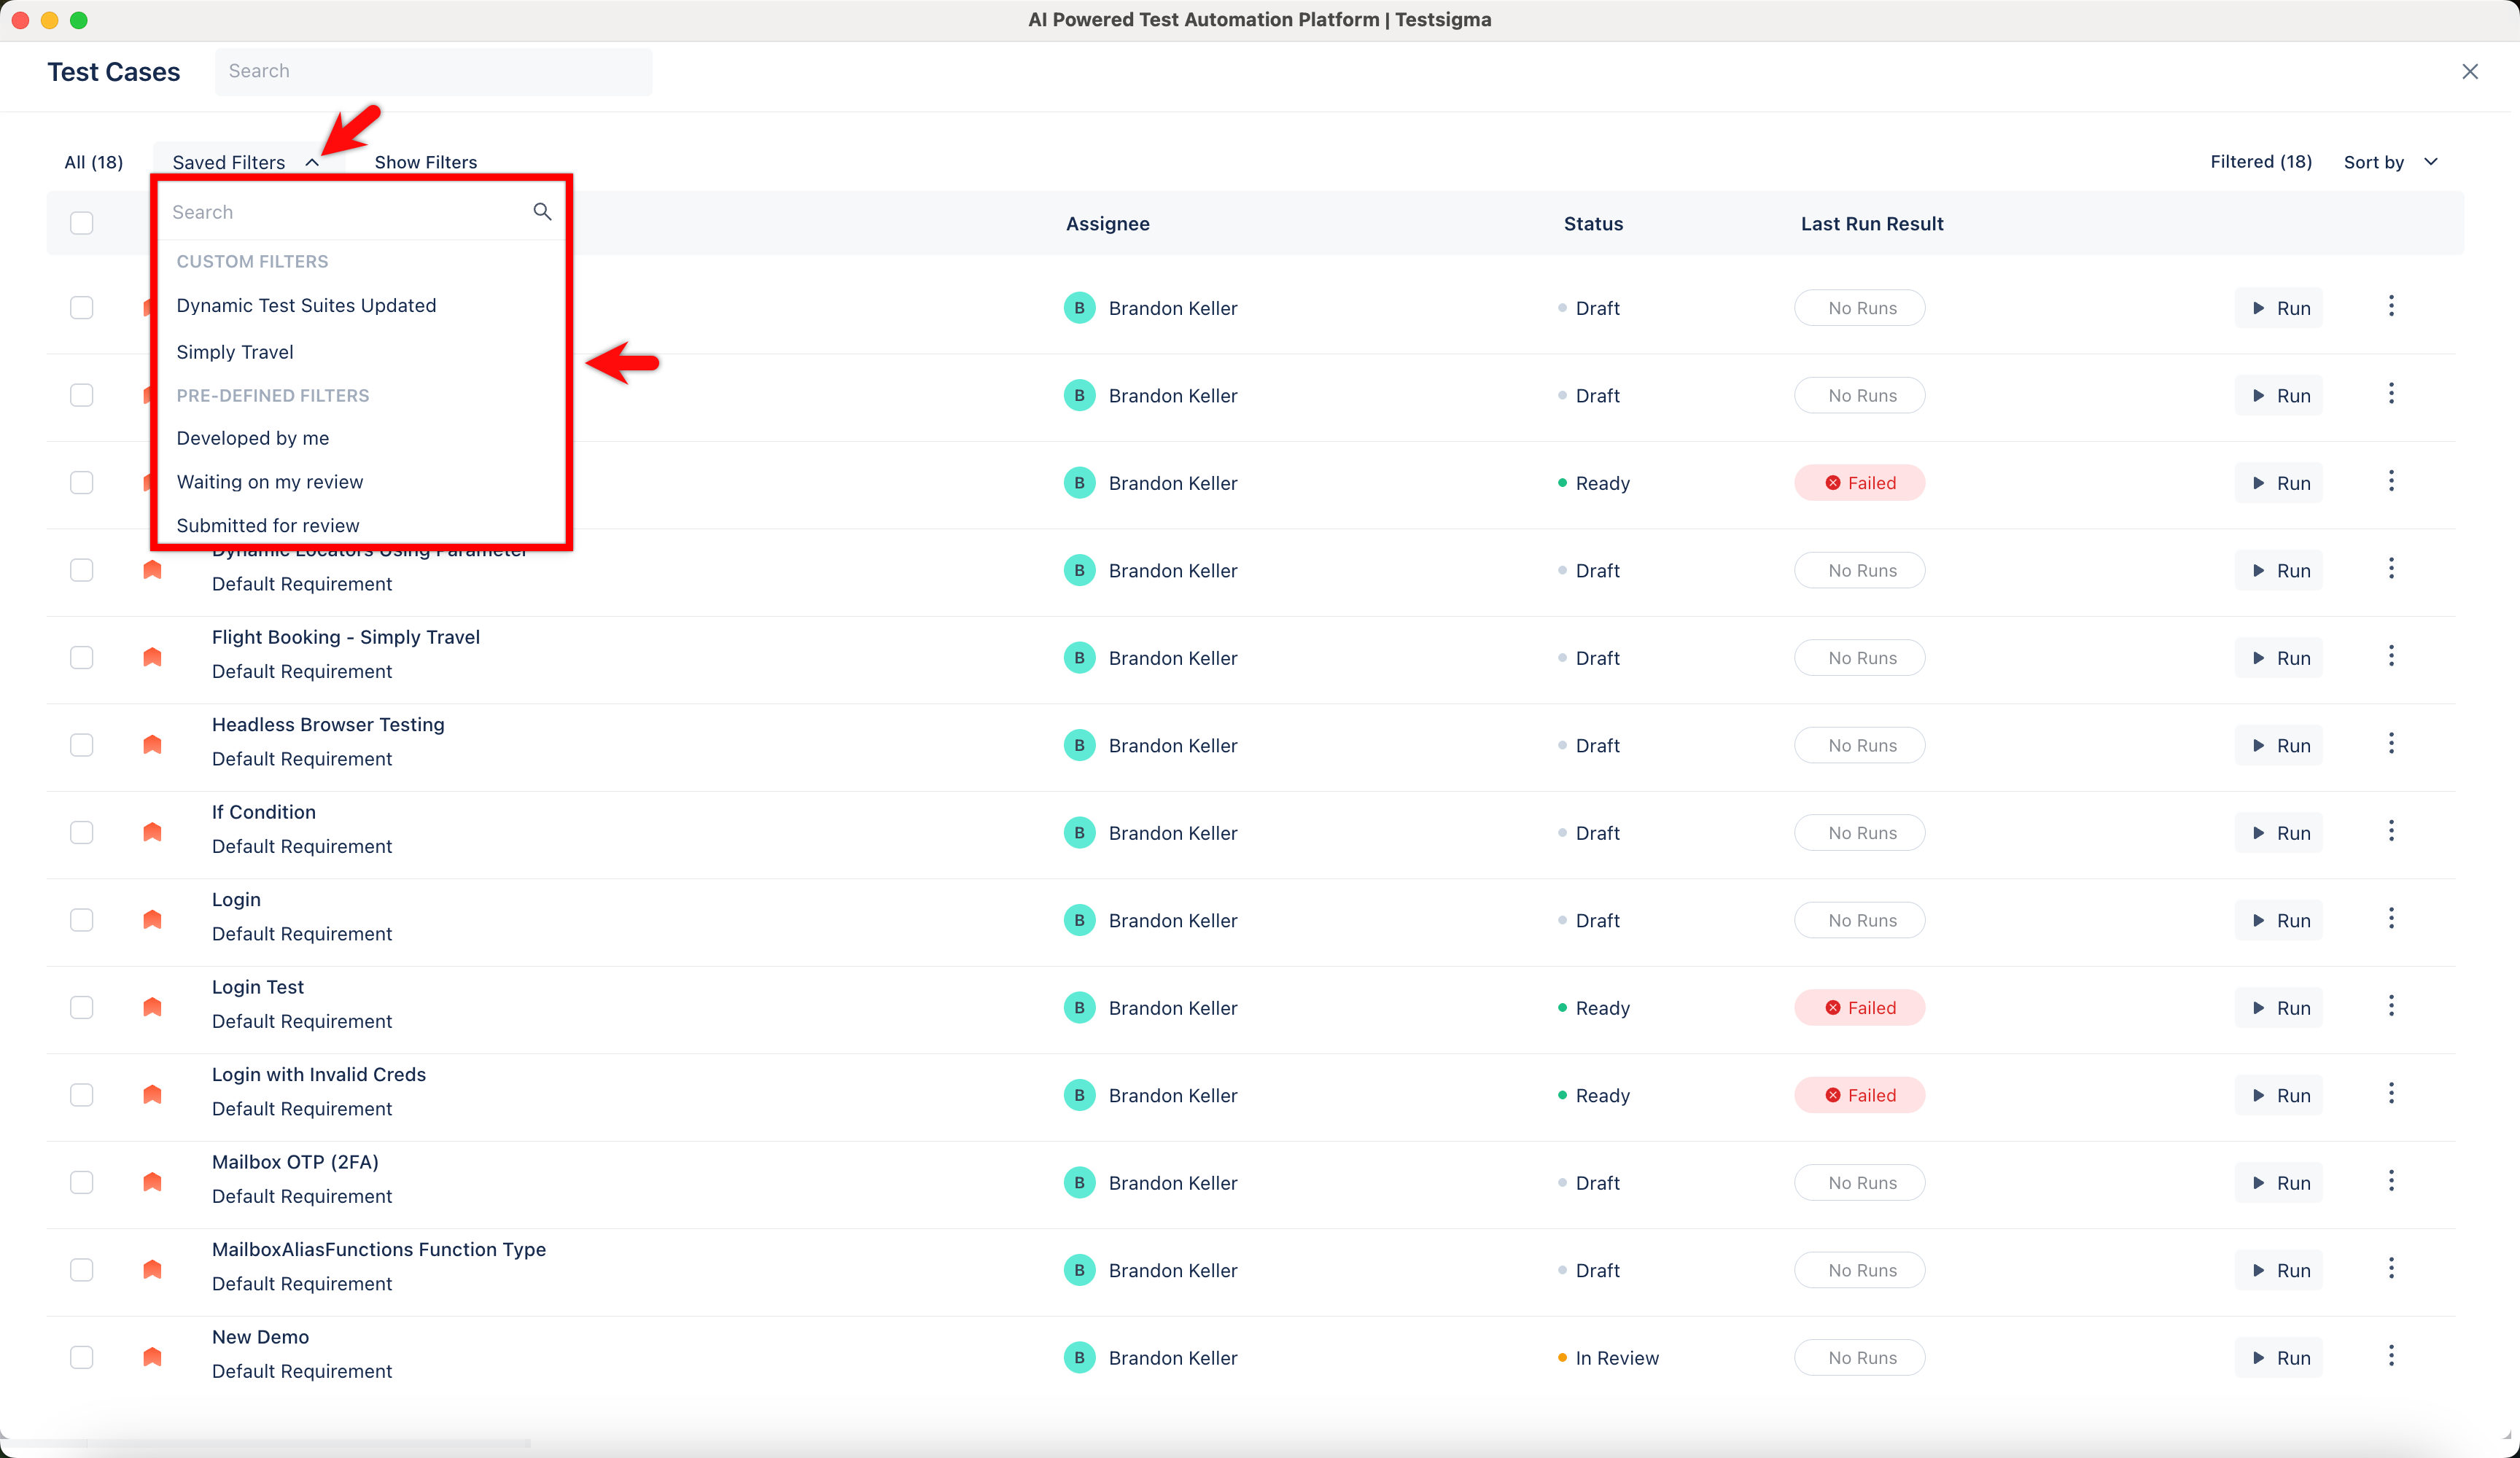
- Click on Saved Filters in the menu bar to open the drop-down list on the Test Cases List page.
- Find the saved filter within Custom or Predefined Filters and choose it to view the filtered version.
Update Saved Test Case Filter
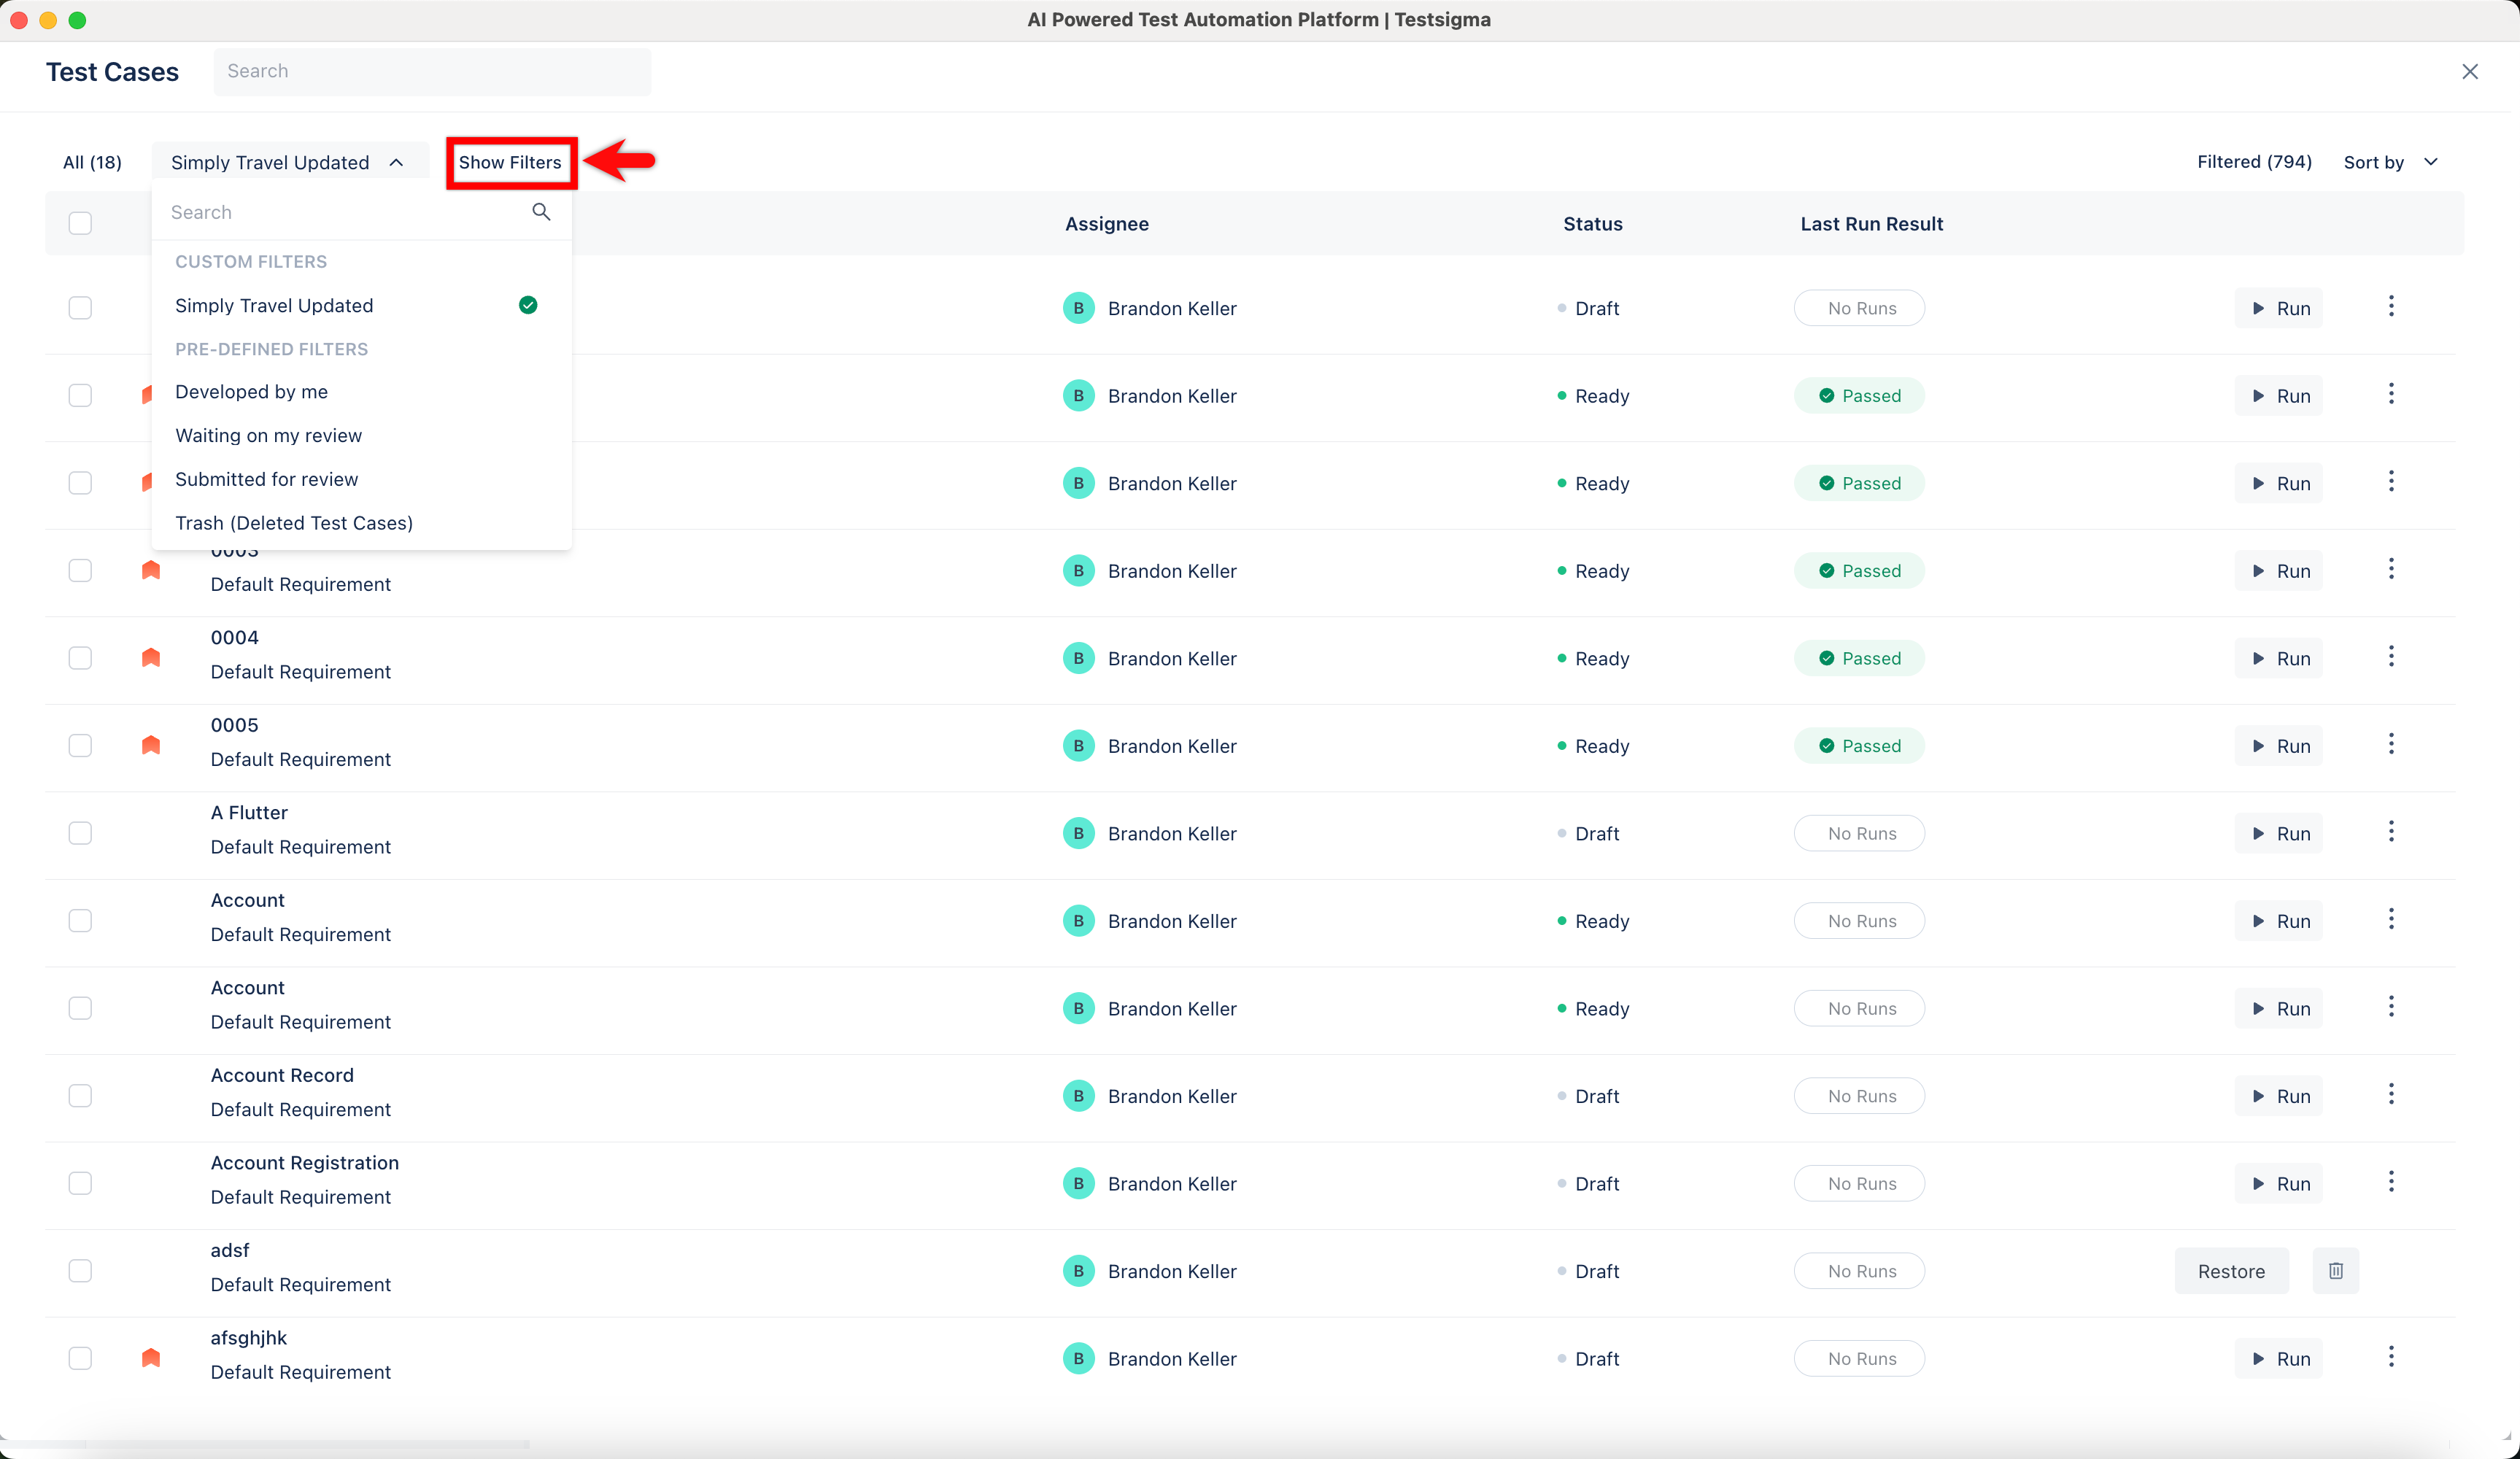
- In Test Case List Page, expand Saved Filters and click on a filter.
- Click Show Filters to view all the existing filters and add the required filters.
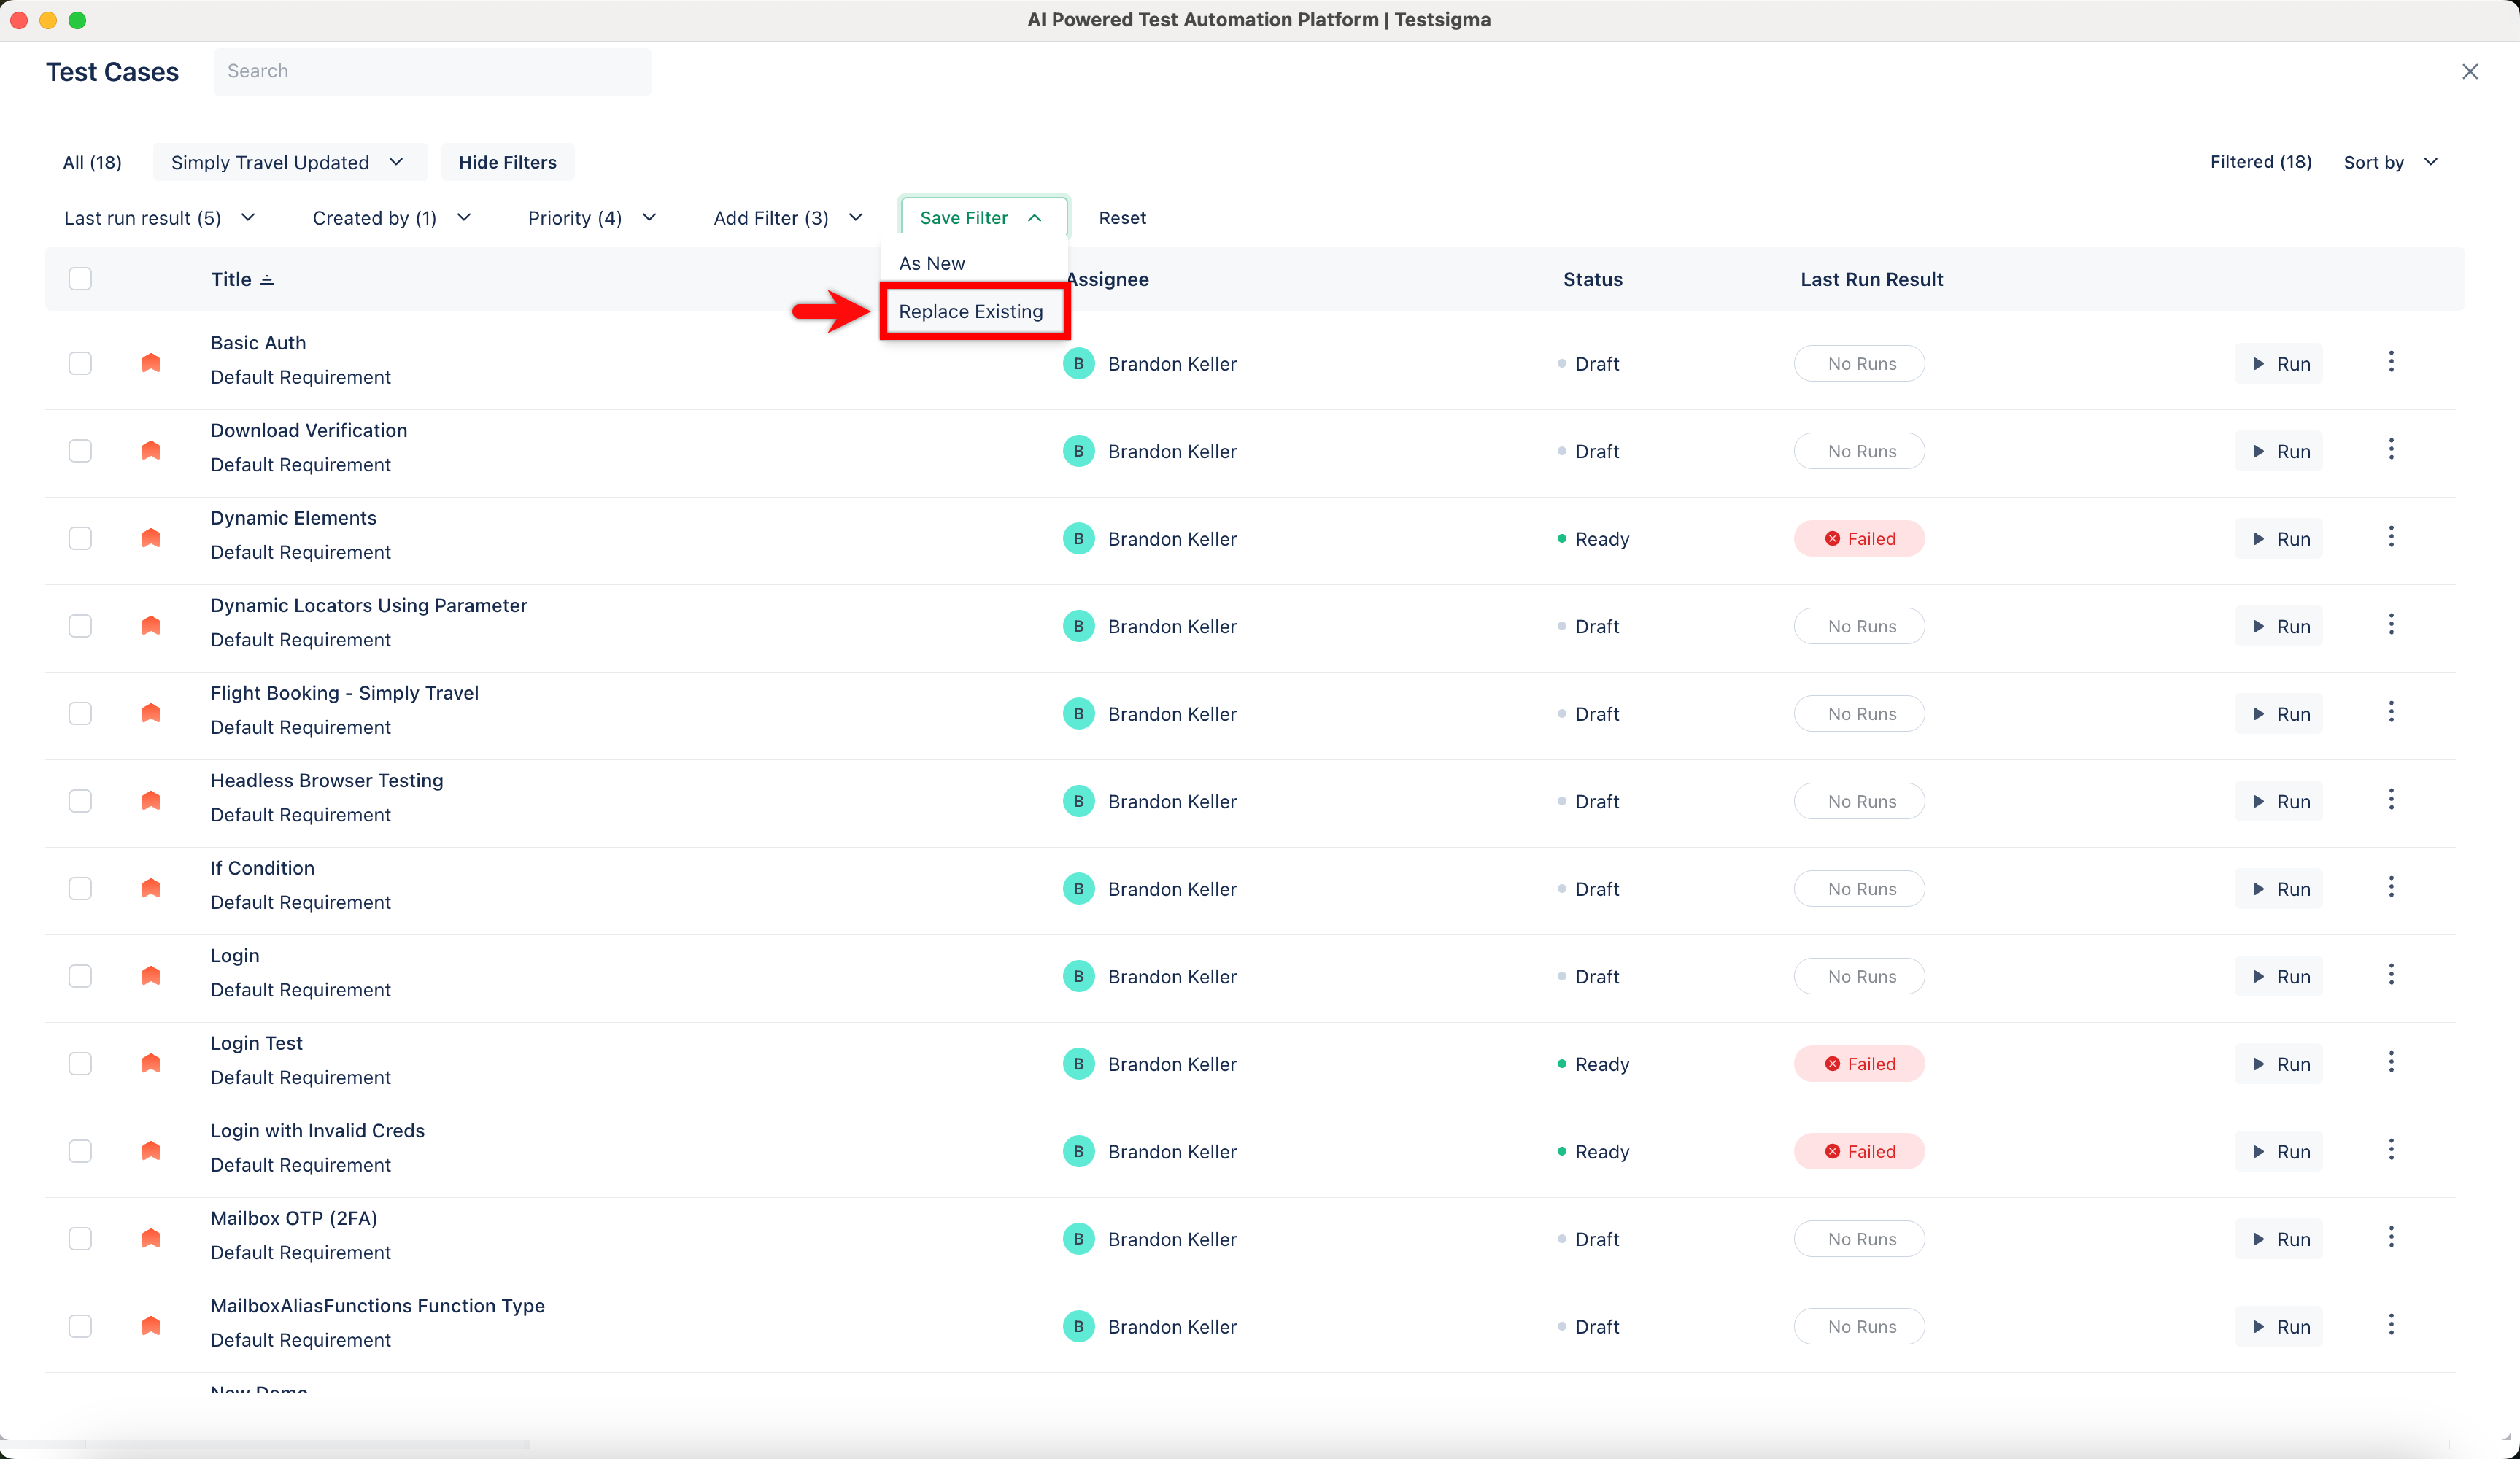
- Once you have added the filters, expand Save Filter and click Replace Existing.
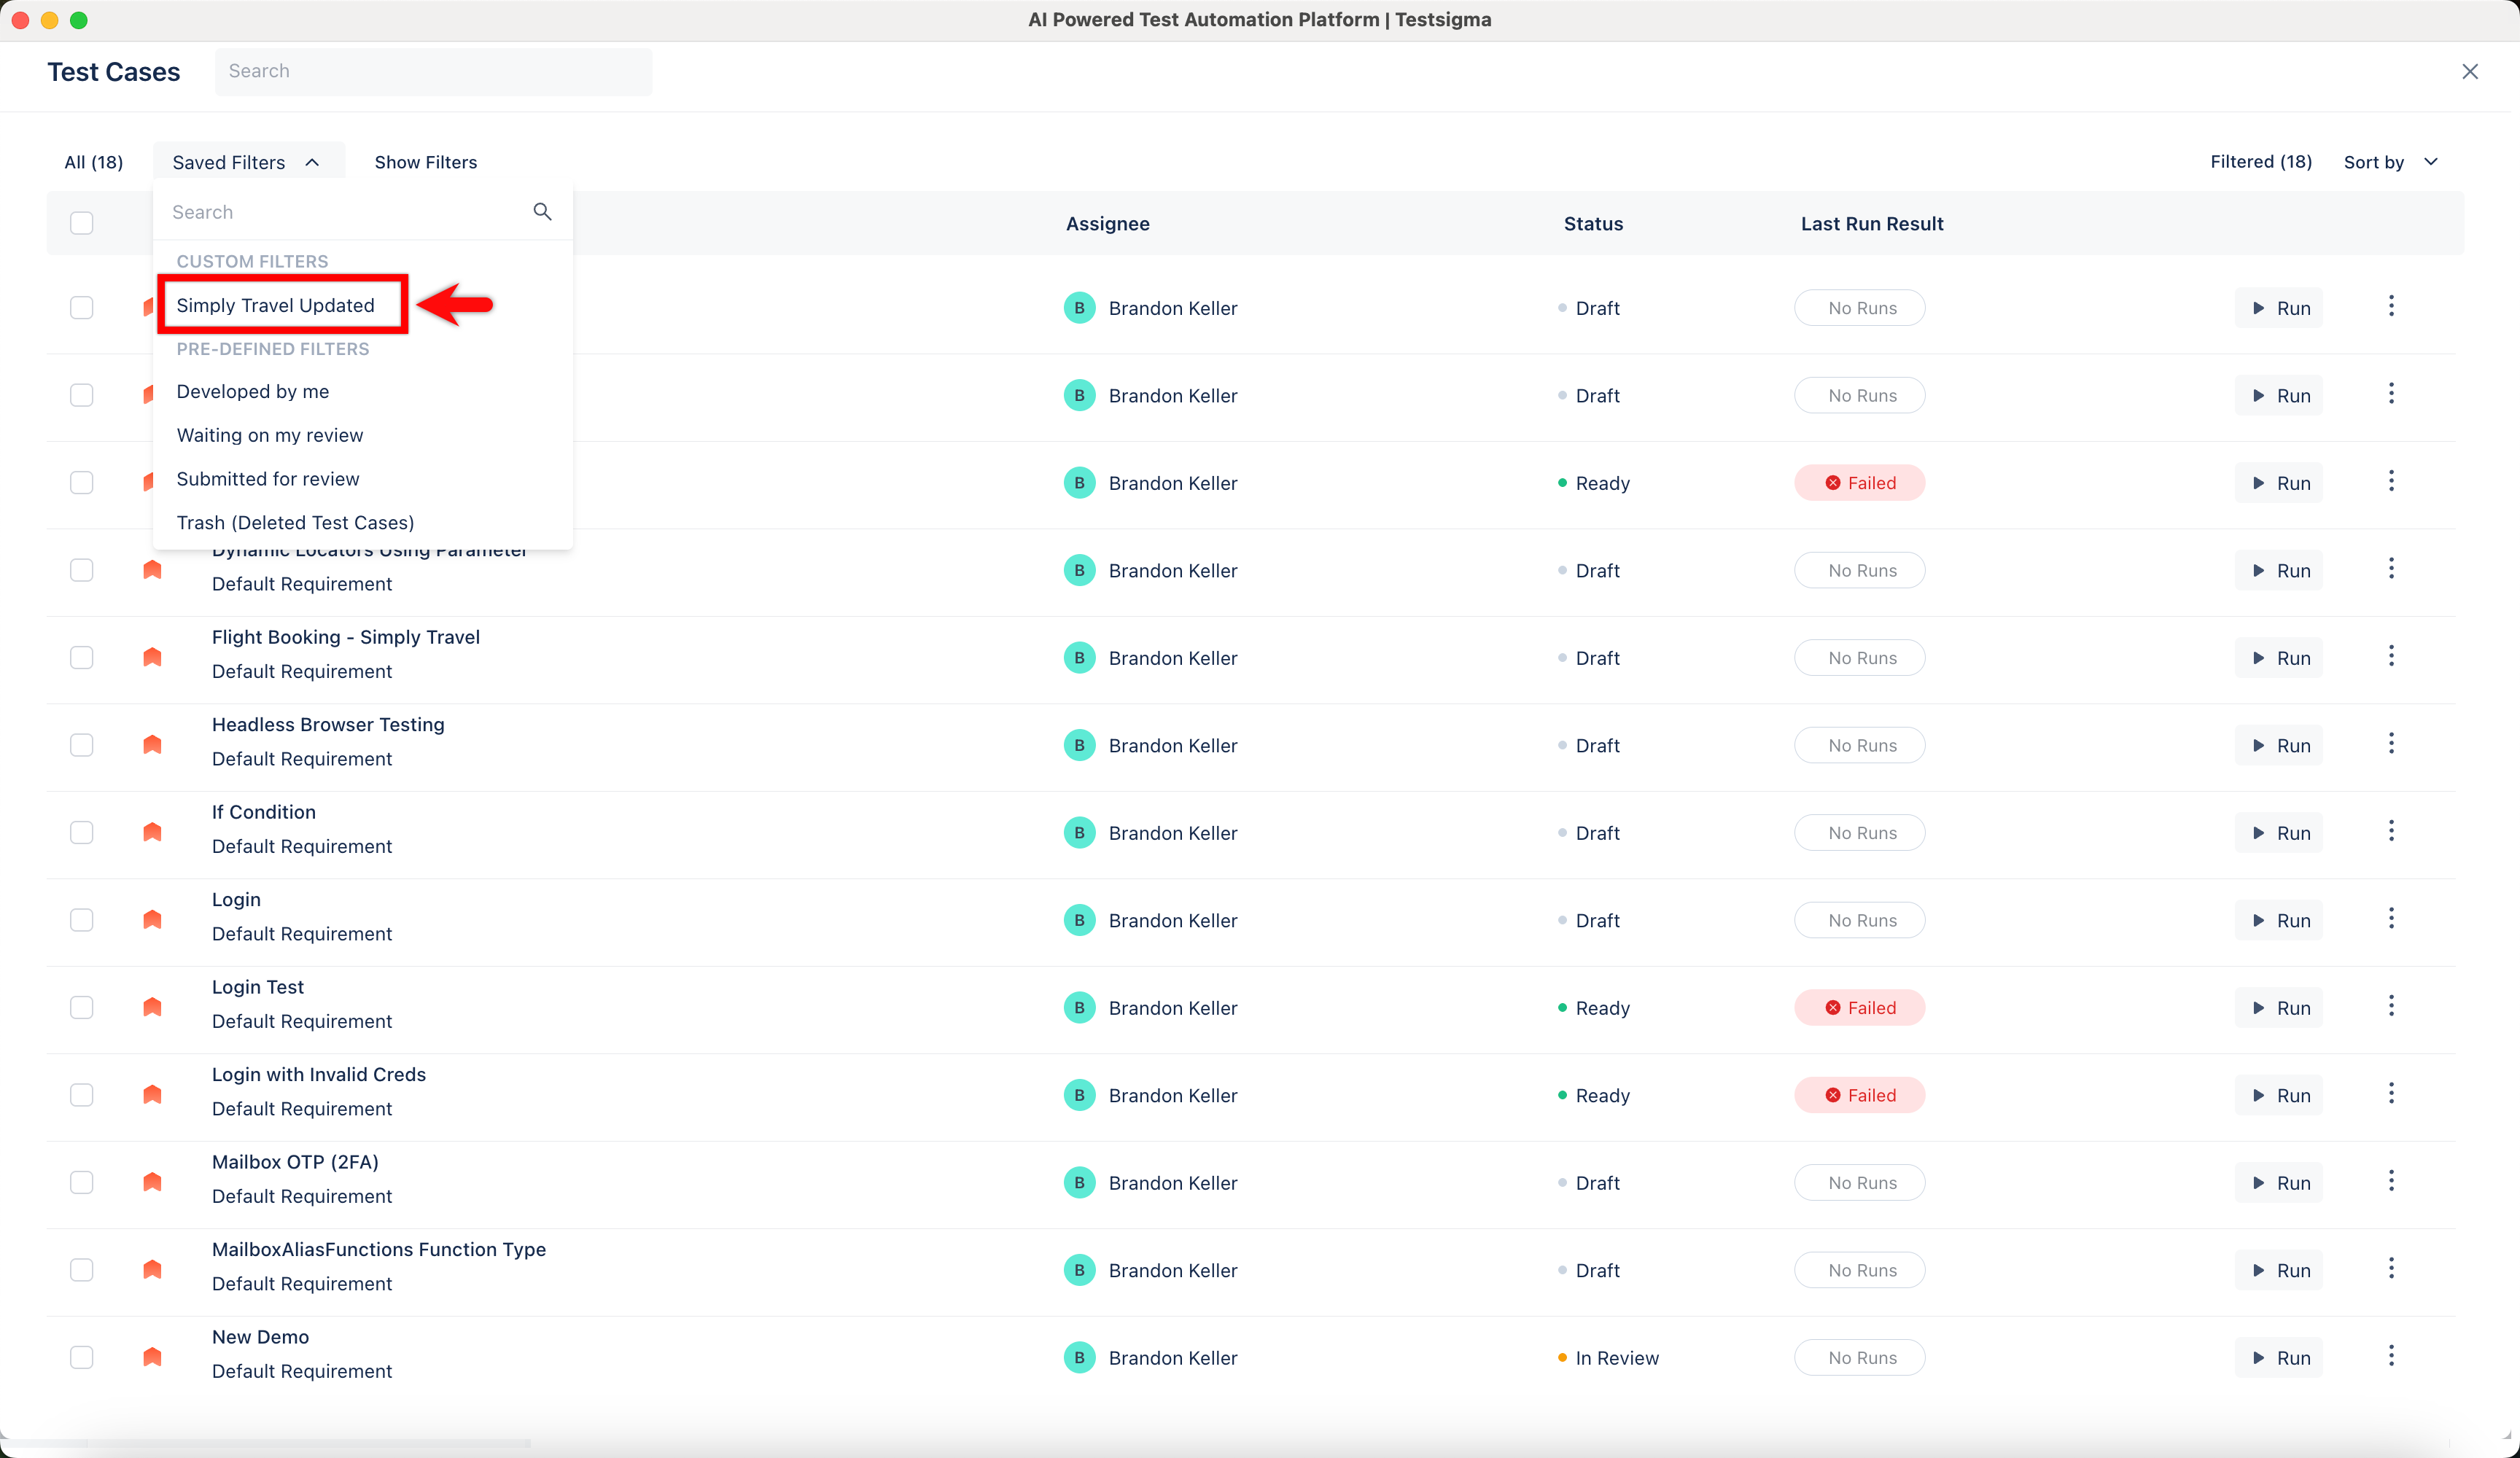
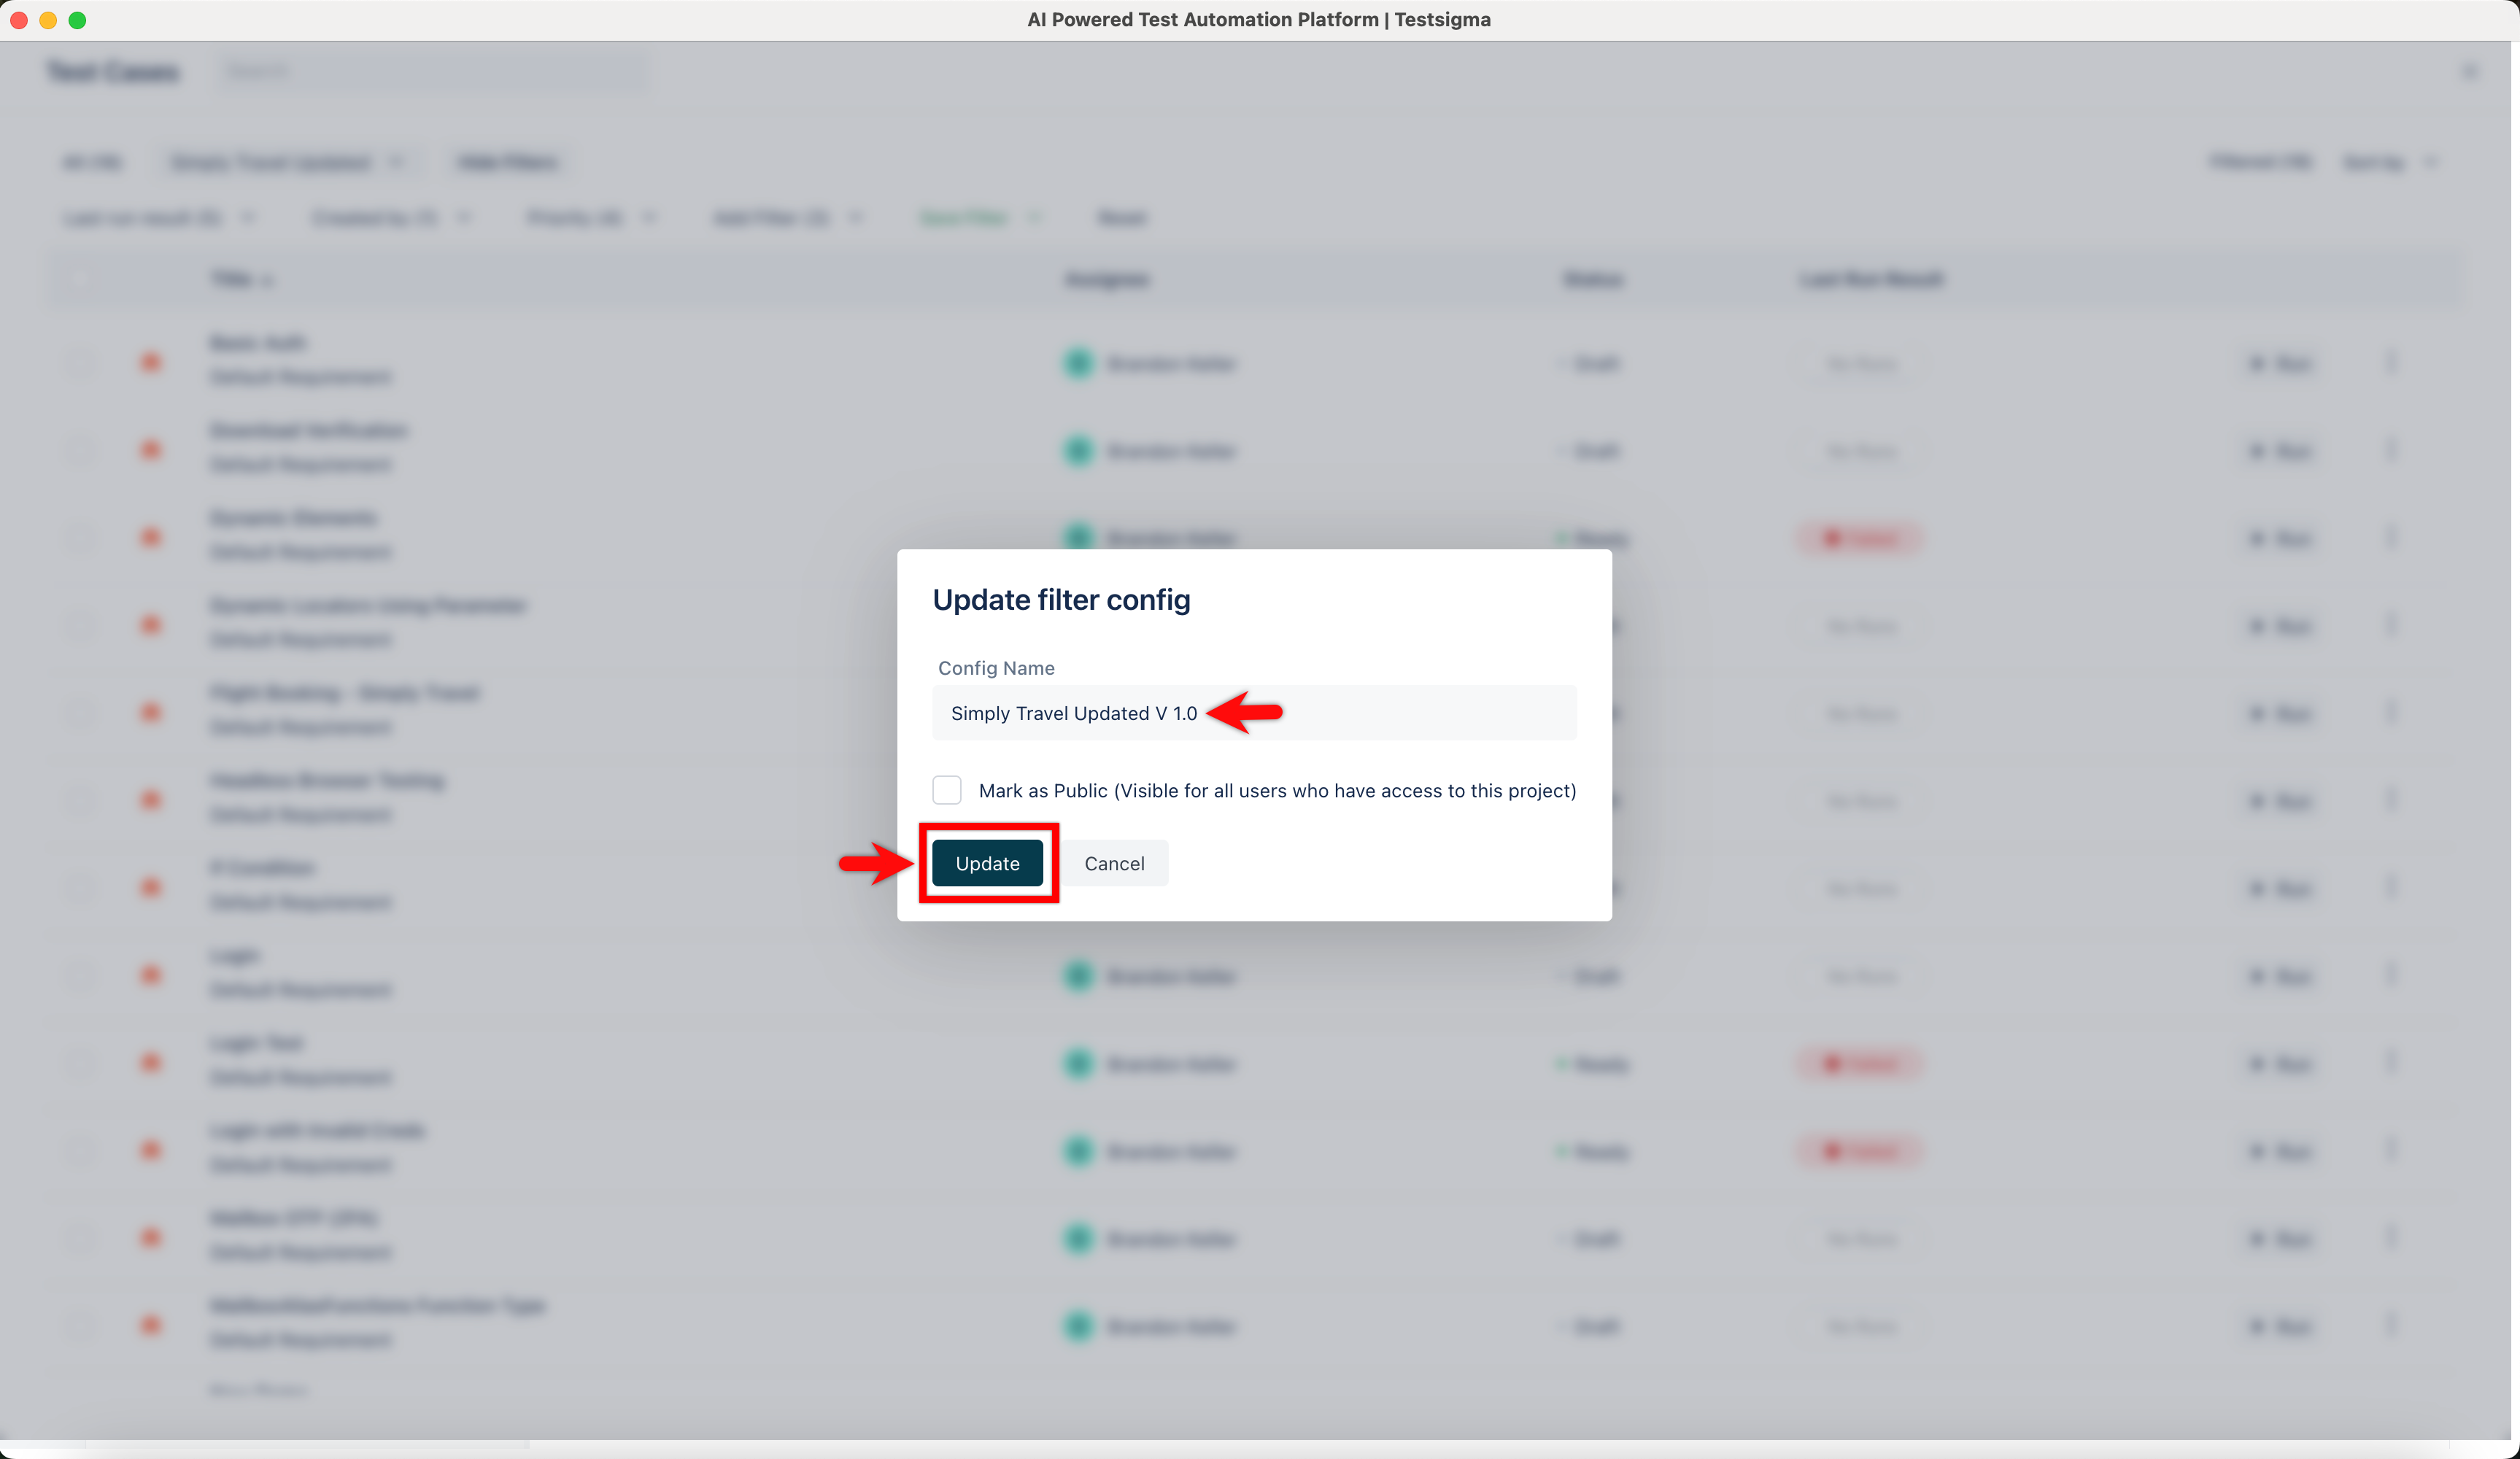
- In the Update filter config dialog, edit the name, and click Update.
If you wish to discard the current filter, click All in the menu bar on the Test Cases List page.
Want to contribute or report missing content?