- testsigma terminal
 Introduction: Testsigma Terminal
- Installing Testsigma Terminal
- Installing Testsigma Terminal on Linux
- Installing Testsigma Terminal on Windows
- Components of Testsigma Terminal
Installing Testsigma Terminal
Copilot is the primary tool for test authoring and validating through local execution for Salesforce, Desktop and will be the same for other applications soon. To use this feature, you must install the Testsigma Terminal application. This article discusses downloading, installing, and setting it up on your machine.
Prerequisites
Ensure you have the following requirements:
1. System Requirements
- Memory: Minimum 8 GB (dedicated for tests).
- Disk Space: At least 20 GB (includes reserved space for test resources such as screenshots and downloaded files).
- Processor: Dual-Core Processor or higher.
2. Ports Required
- Ensure these ports are available: 8383, 8484, 18329.
3. Installation Size
- Download Size: 850 MB
- Extracted Size: 1.5 GB
Download Location: The ZIP file is automatically deleted after successful extraction.
- Windows: %user_profile%\ .testsigma\TestsigmaTerminal\
- Linux: $HOME/.testsigma/TestsigmaTerminal/
- Mac: /$HOME/.testsigma/TestsigmaTerminal/
Download Formats Available
Testsigma Terminal is available in the following formats:
| Platform | Executable | Compressed |
|---|---|---|
| Mac (Intel) | .dmg | .zip |
| Mac (M Series) | .dmg | .zip |
| Windows | .exe | .zip |
| Linux | .bin | .zip |
| Docker | .docs | — |
Steps to Install Testsigma Terminal
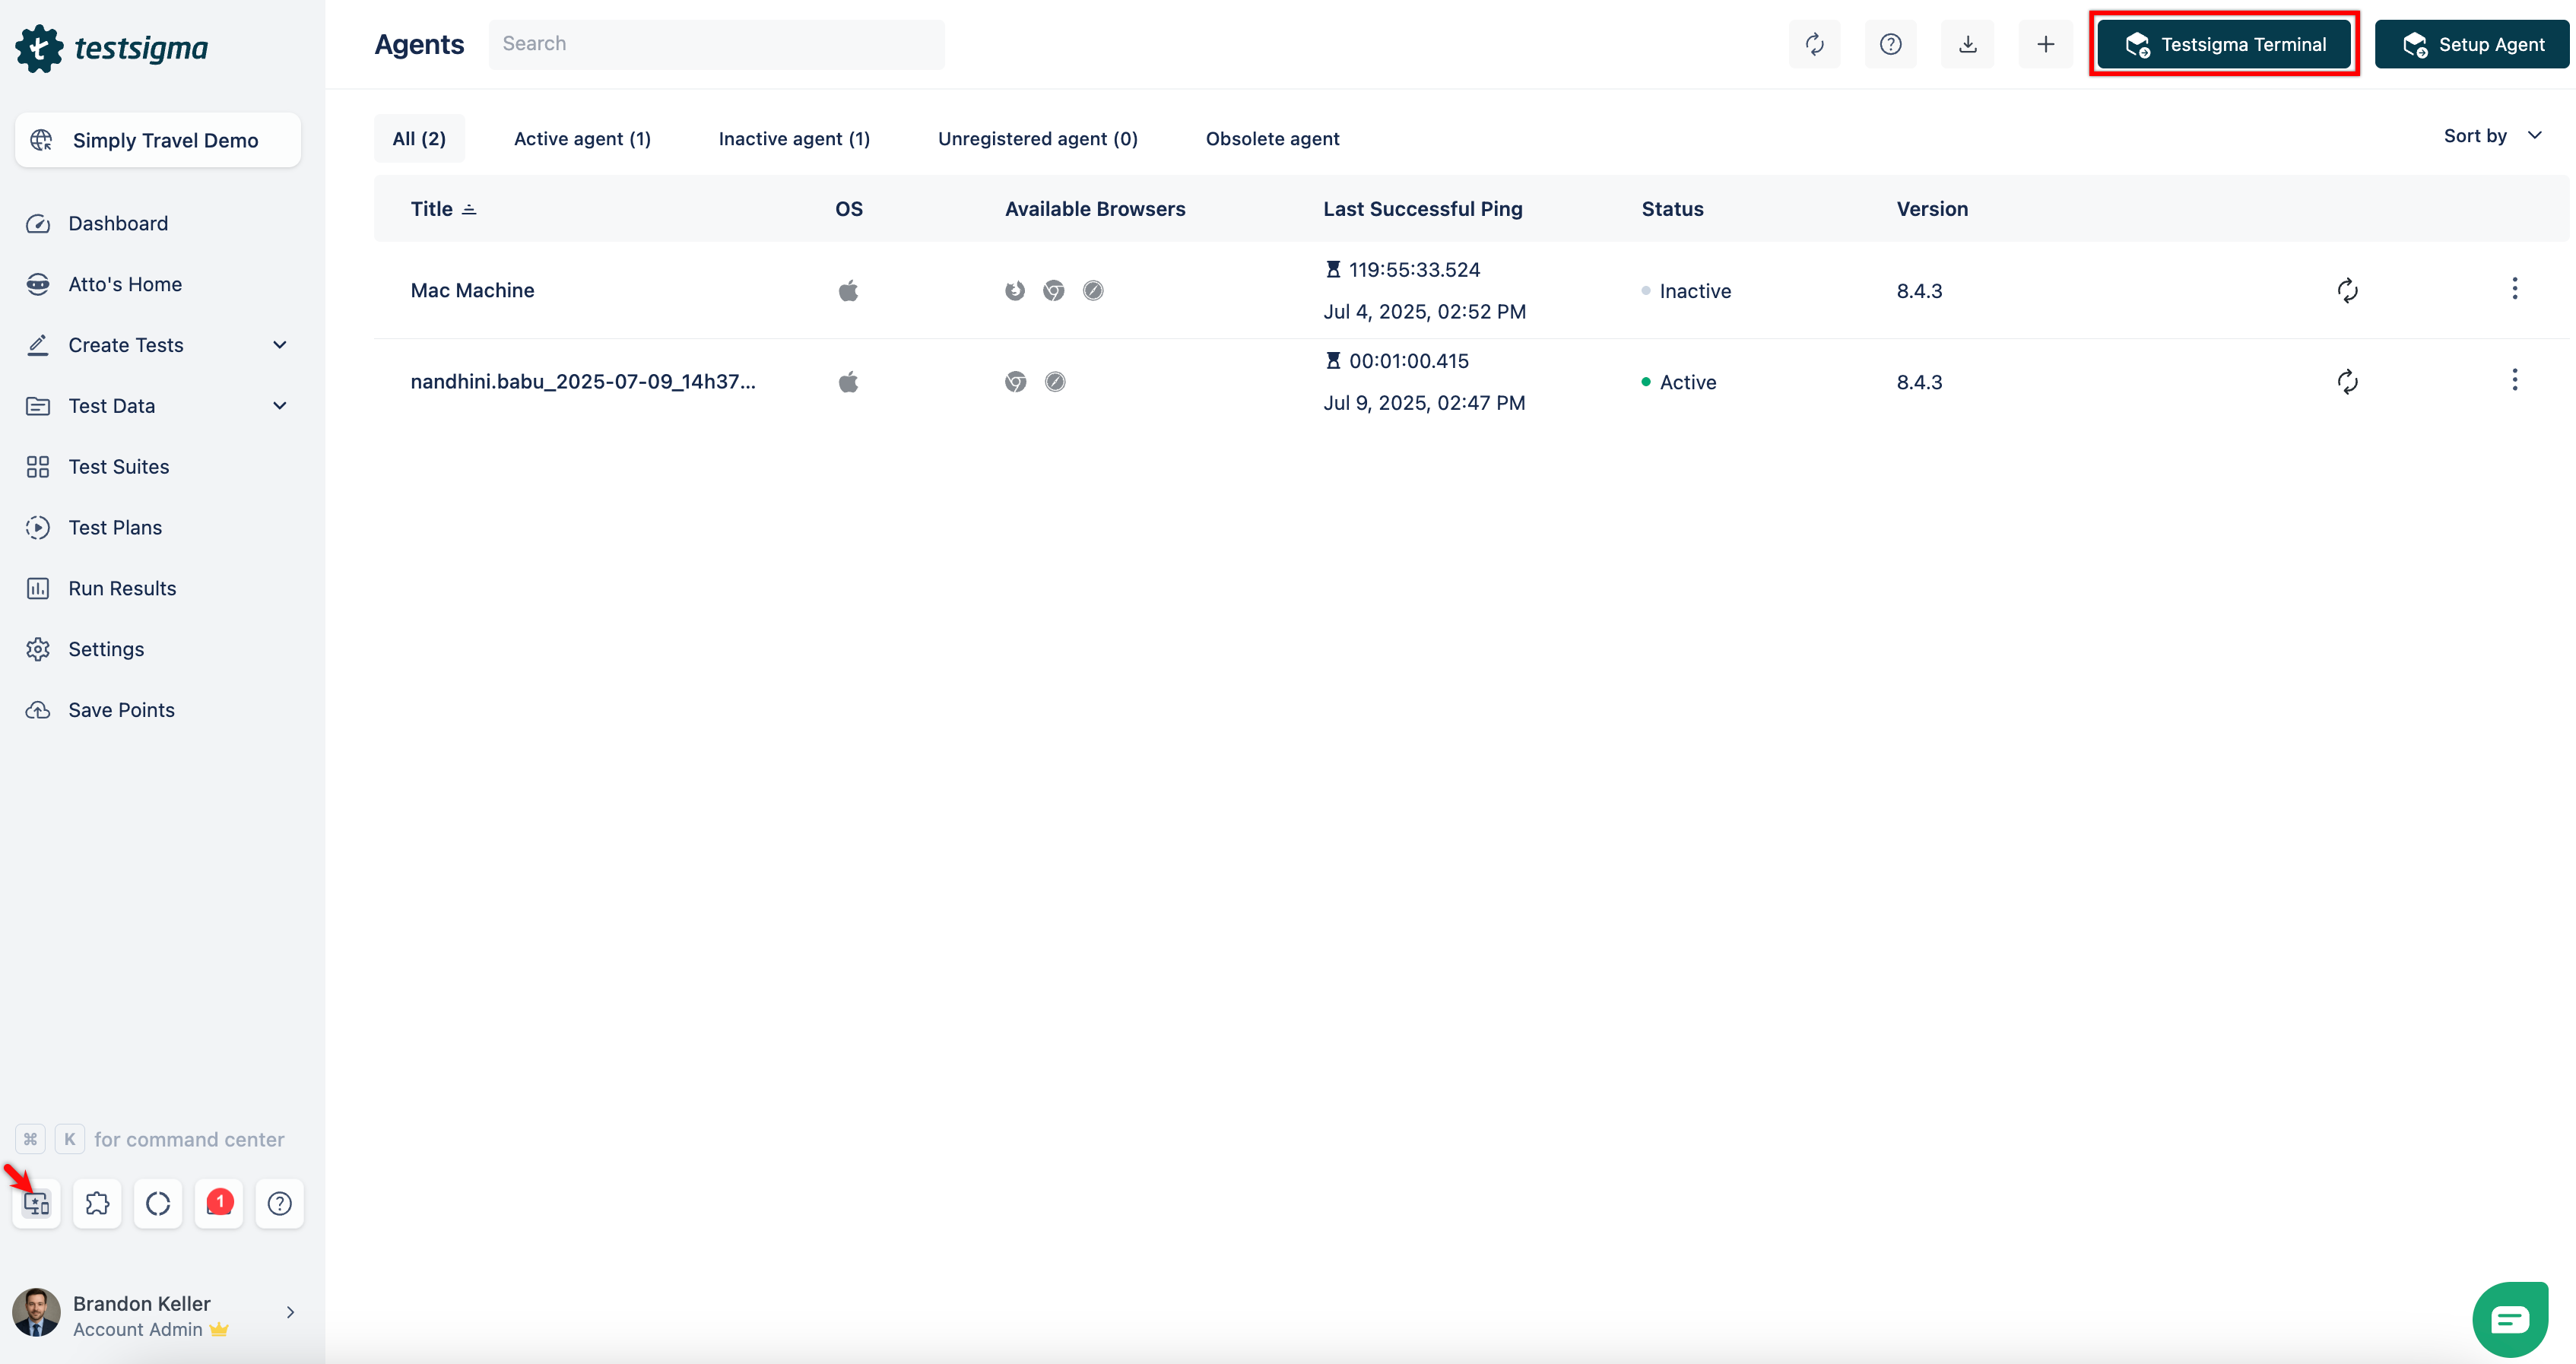
- From the left navigation bar, go to Agents, and click Testsigma Terminal in the top-right corner.
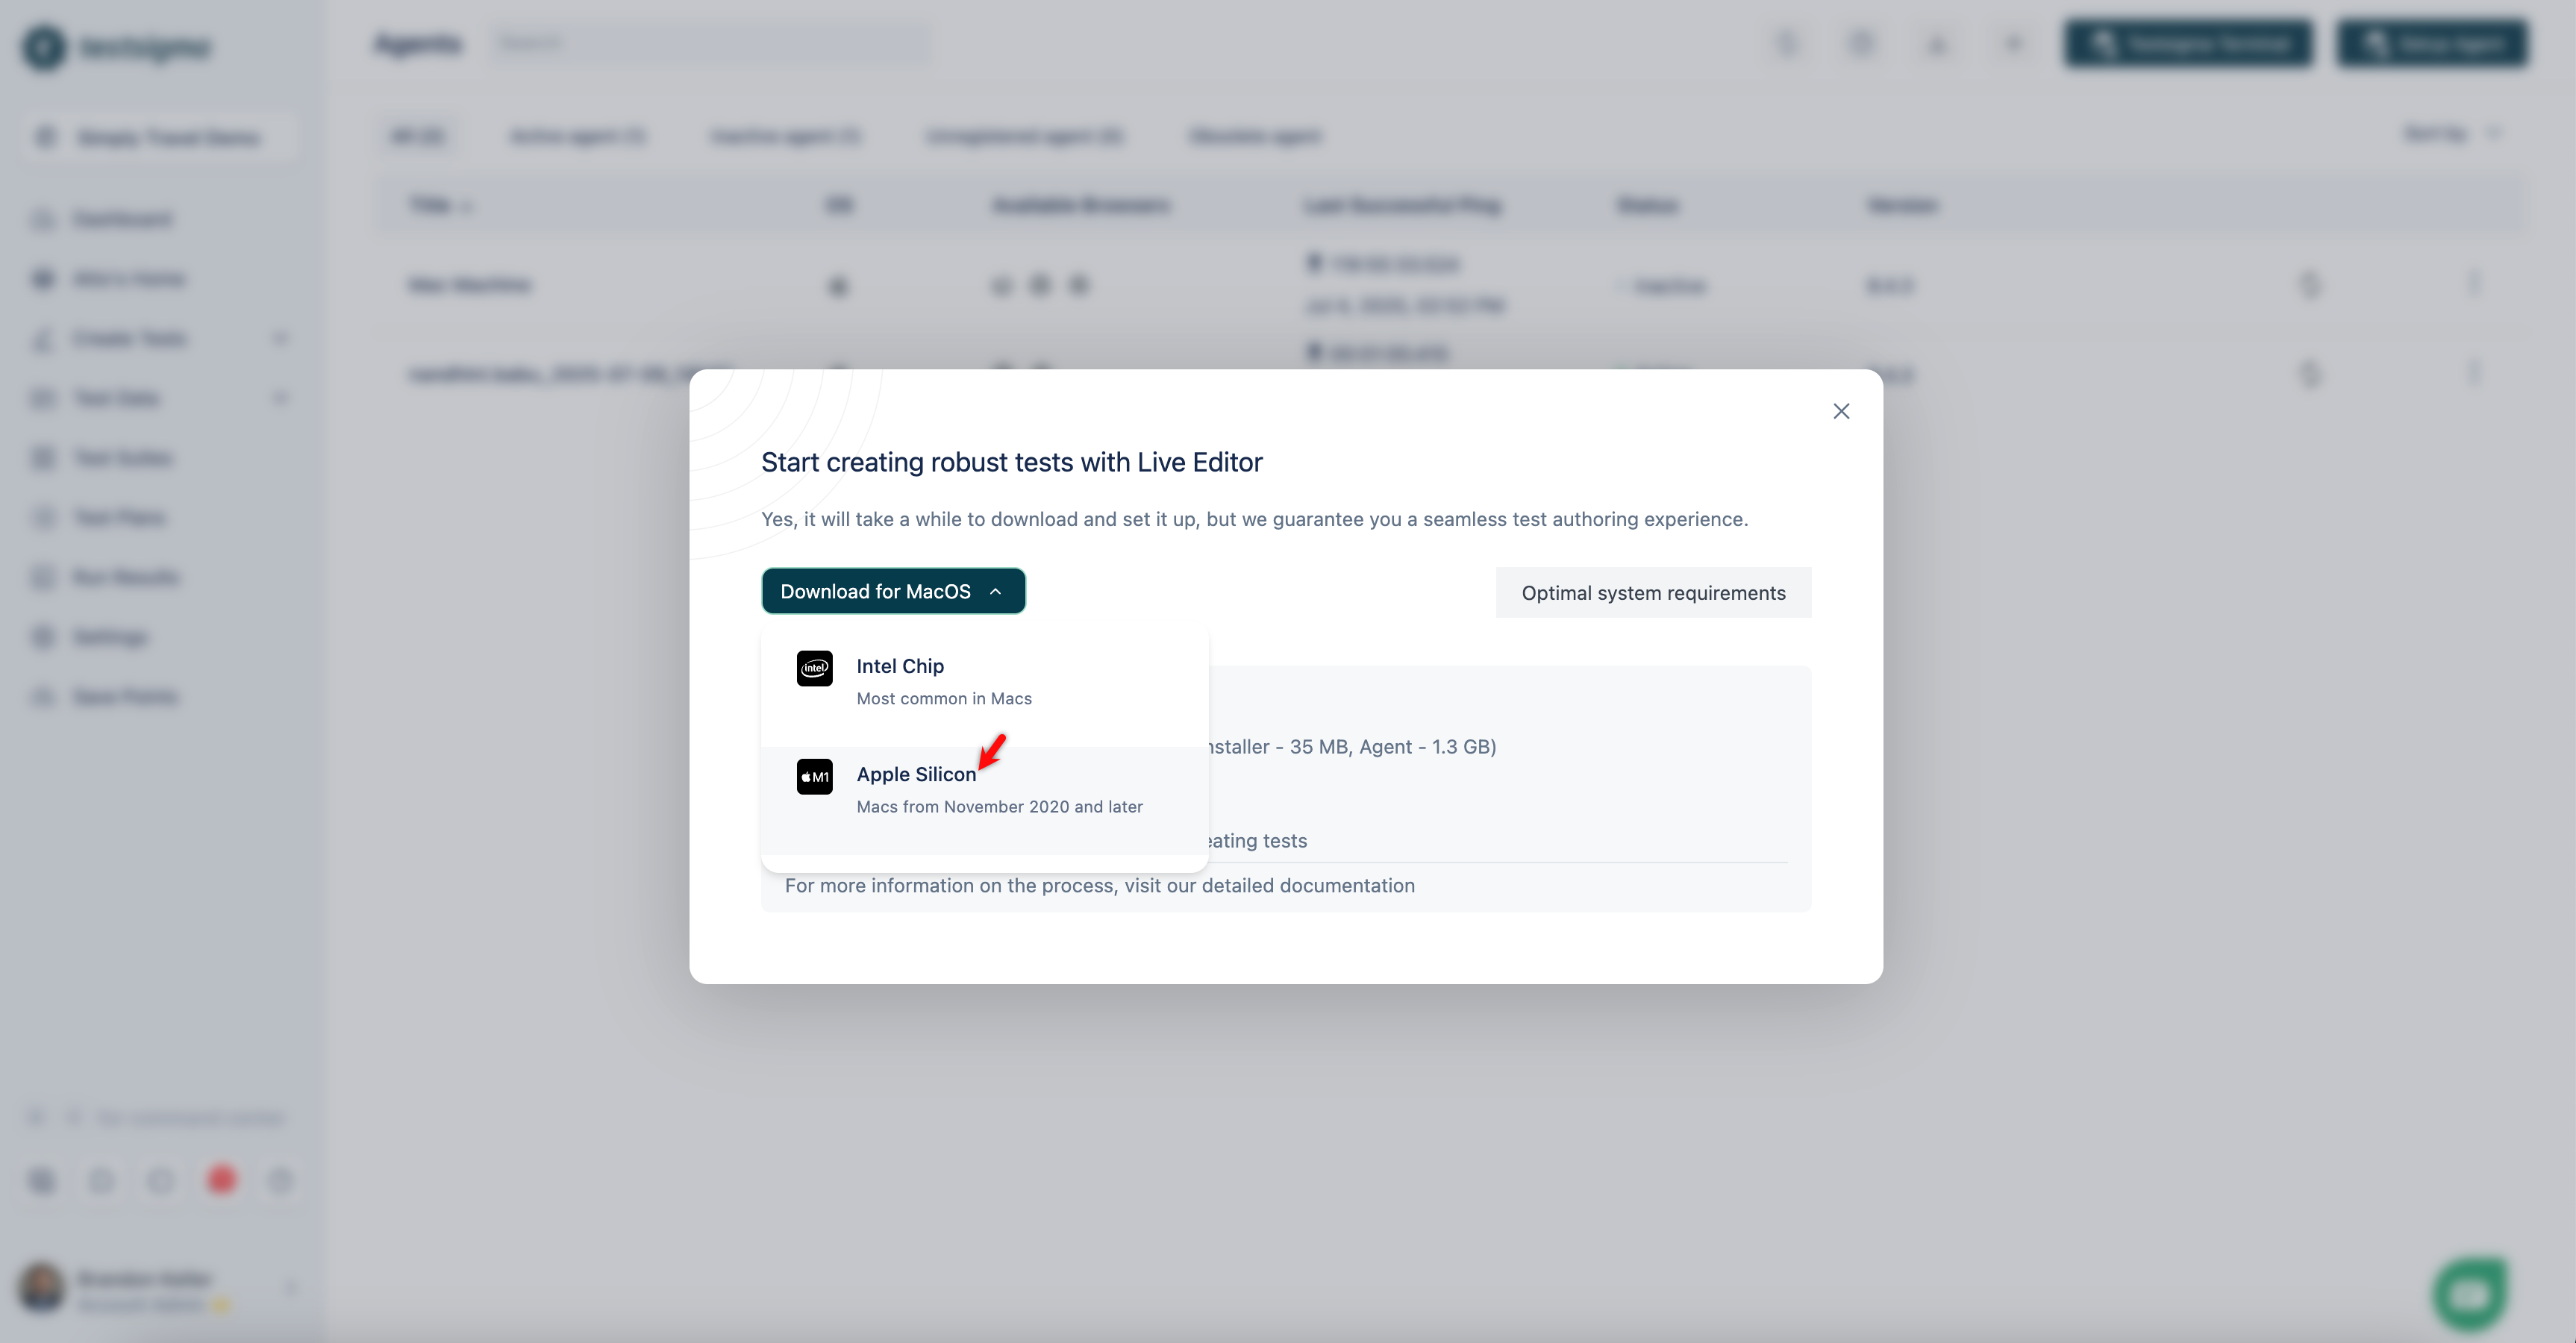
- In the dialog box that appears, select the machine configuration. Testsigma automatically downloads the Testsigma Terminal application.
- Install and open the Testsigma Terminal application.
-
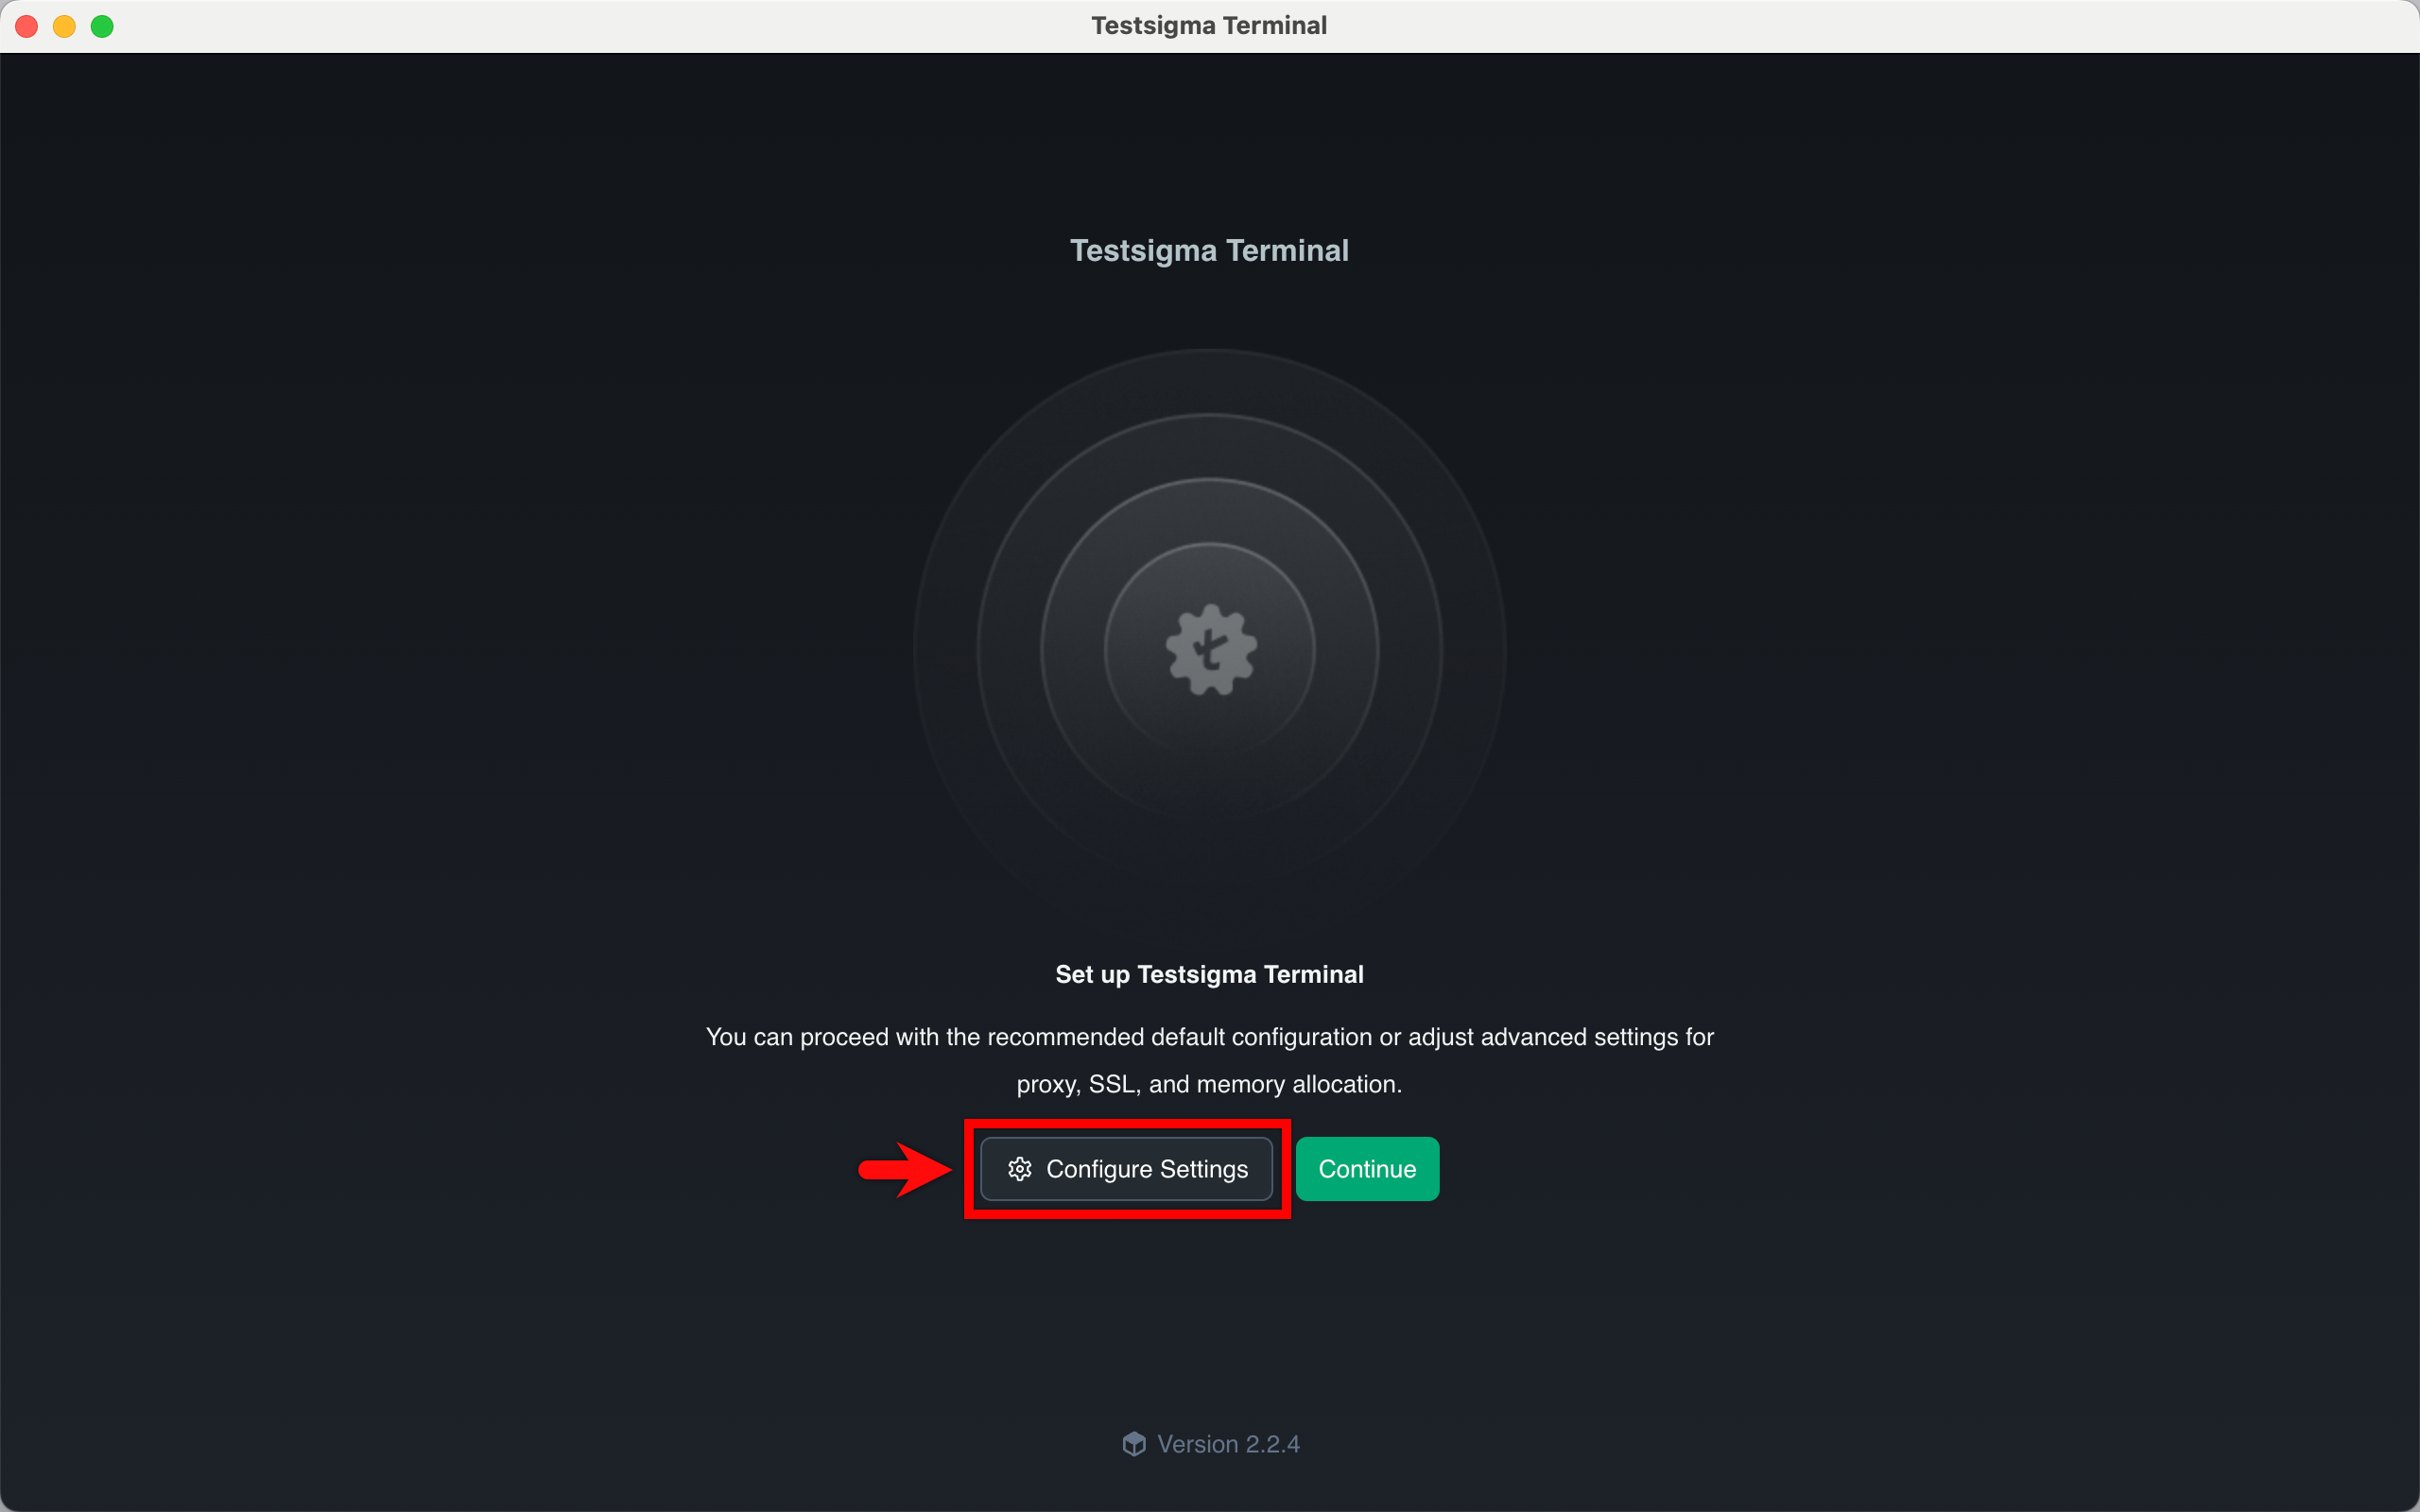
Upon launching the application, you can proceed in one of two ways:
- Click Configure Settings to manage security and certificates, network and proxy rules, or runtime/JVM preferences. Click Continue to save these changes and click Login to Testsigma. For more information, please refer to the documentation on the Components of Testsigma Terminal.
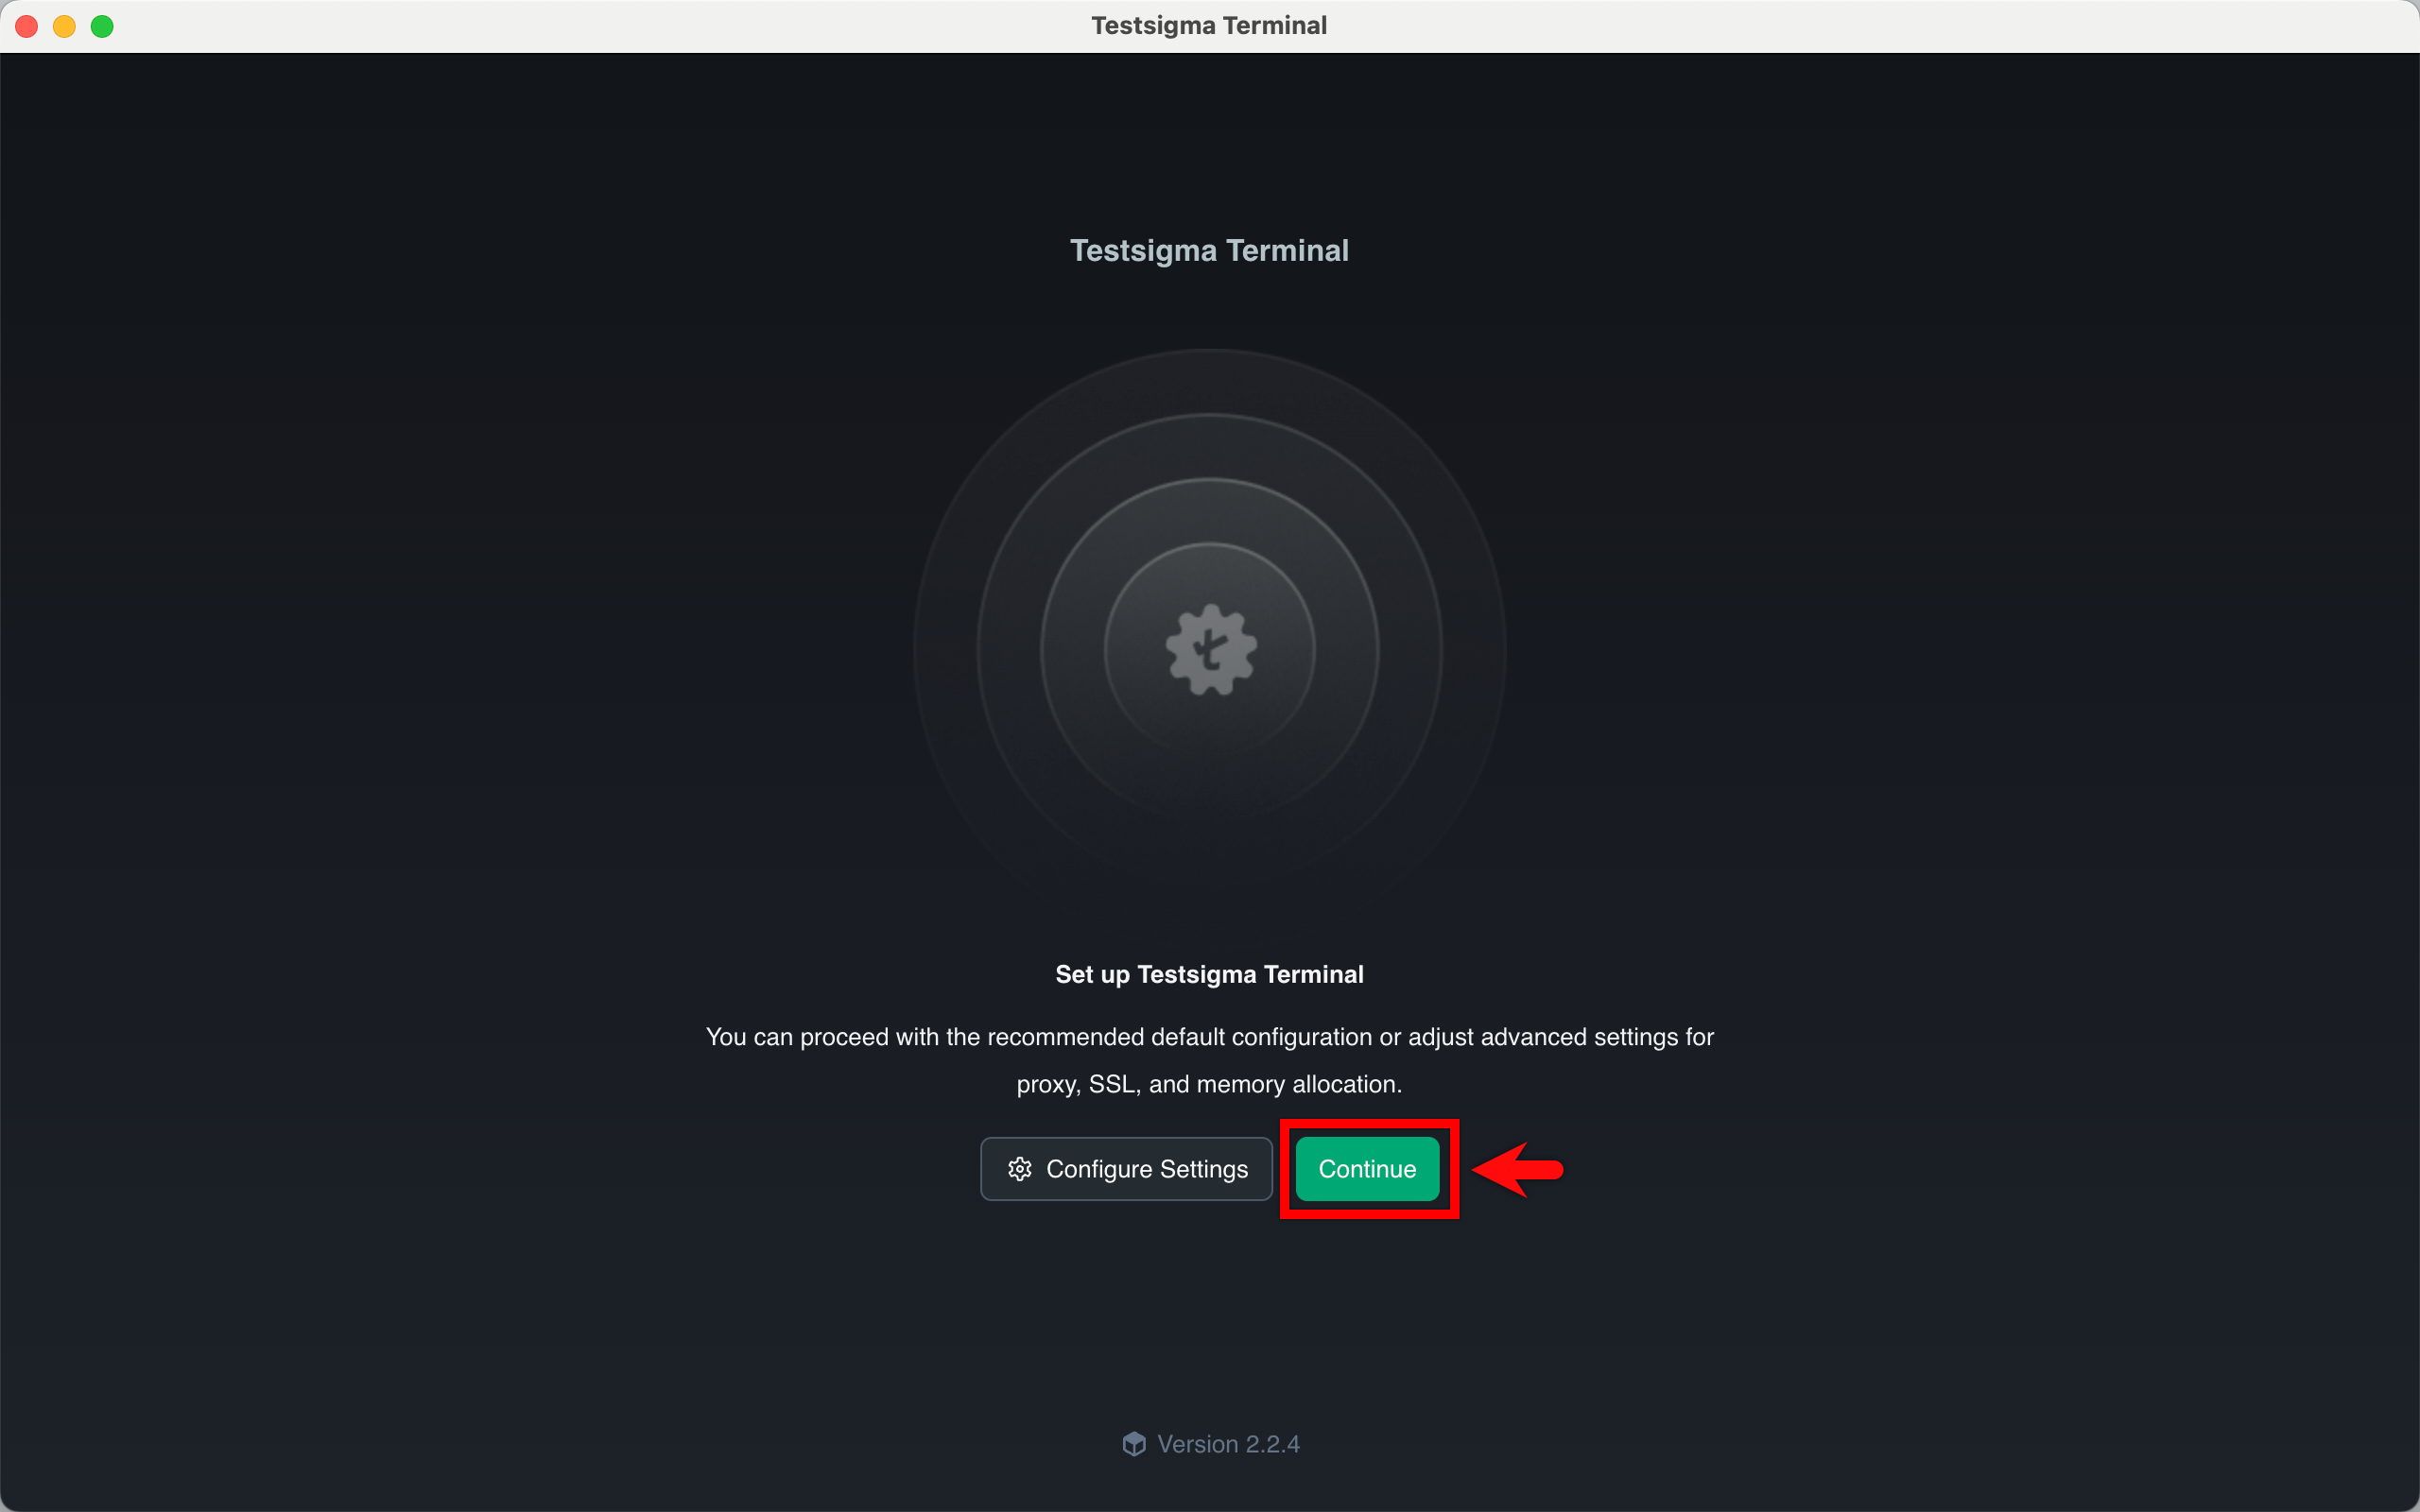
- Click Continue and then click Login to Testsigma directly to continue with the default settings. You will be redirected to Testsigma.
- Click Configure Settings to manage security and certificates, network and proxy rules, or runtime/JVM preferences. Click Continue to save these changes and click Login to Testsigma. For more information, please refer to the documentation on the Components of Testsigma Terminal.
Once you login, the session stays valid for 24 hours. After that, you'll need to login and authorize yourself again to continue using the Copilot.
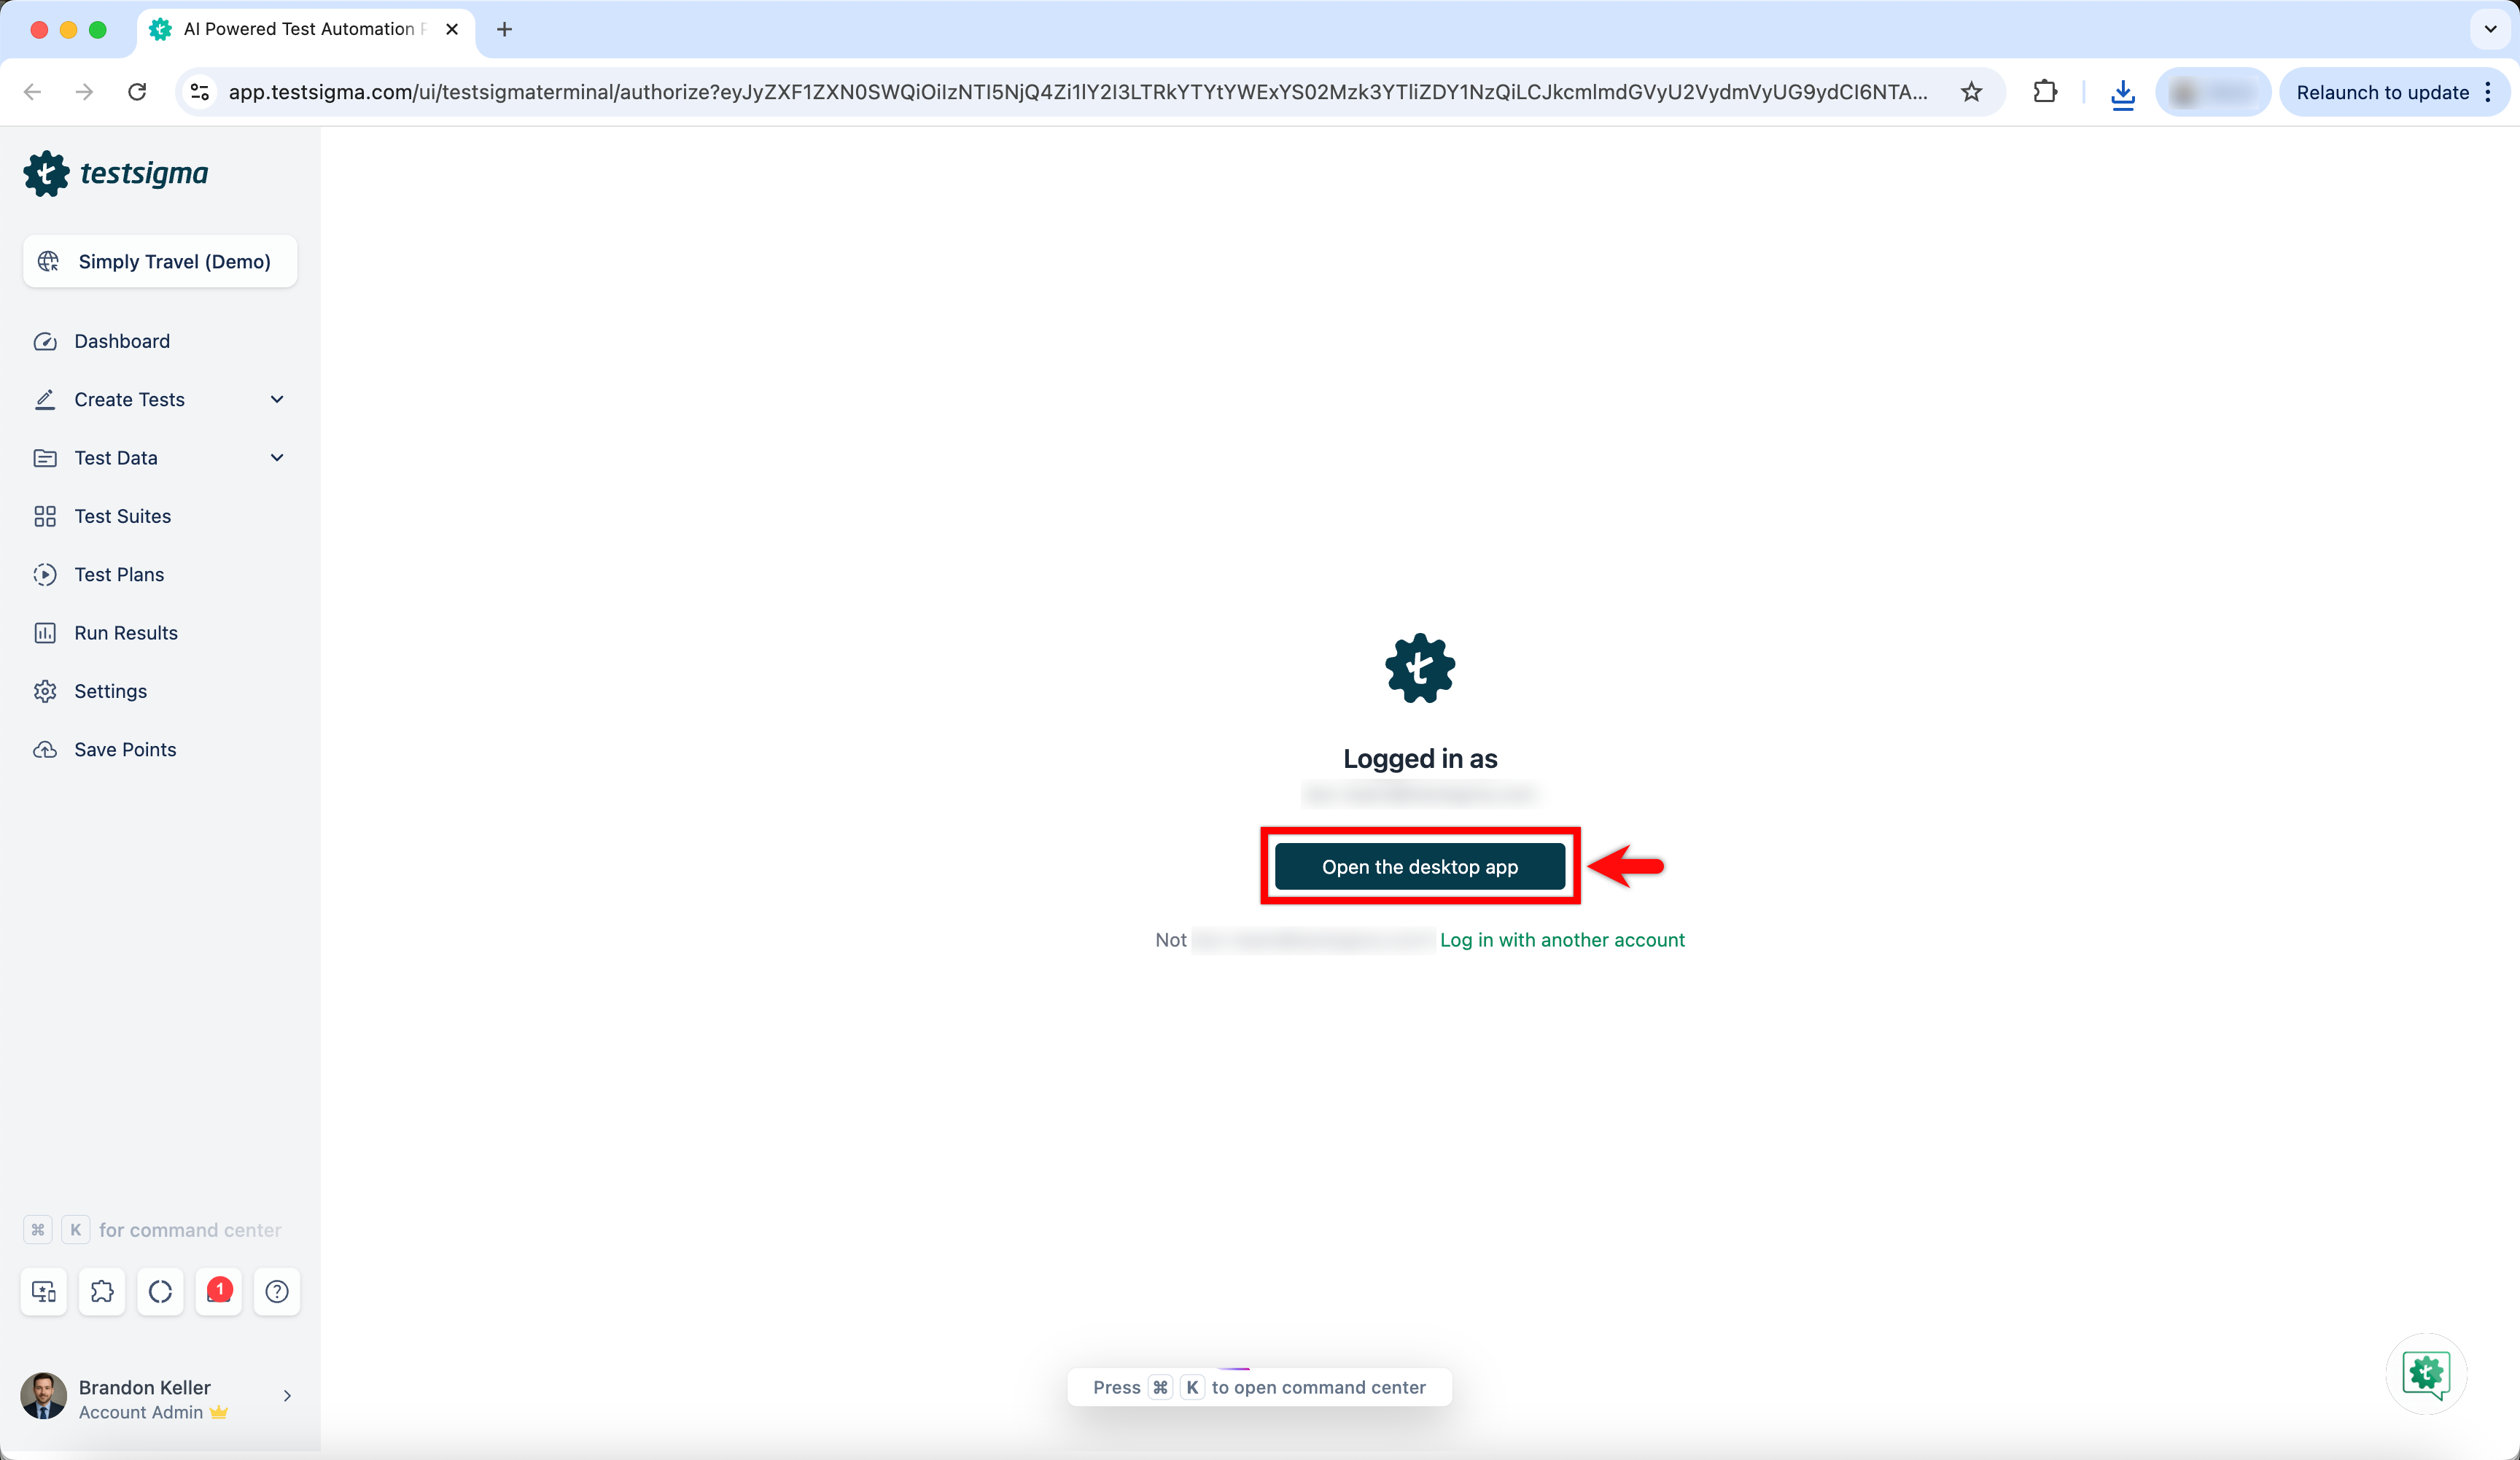
- Click Open the desktop app. The Testsigma Terminal opens.
- Wait until Testsigma Terminal downloads the necessary files and completes the installation.
If you encounter any issues with the Testsigma Terminal, click Report Issue from the left panel. Provide a description of the problem, upload the agent log, and make sure to include the App Session ID and Debugging ID. To obtain the Debugging ID, ensure the agent was started through Testsigma.
Steps to Uninstall Testsigma Terminal
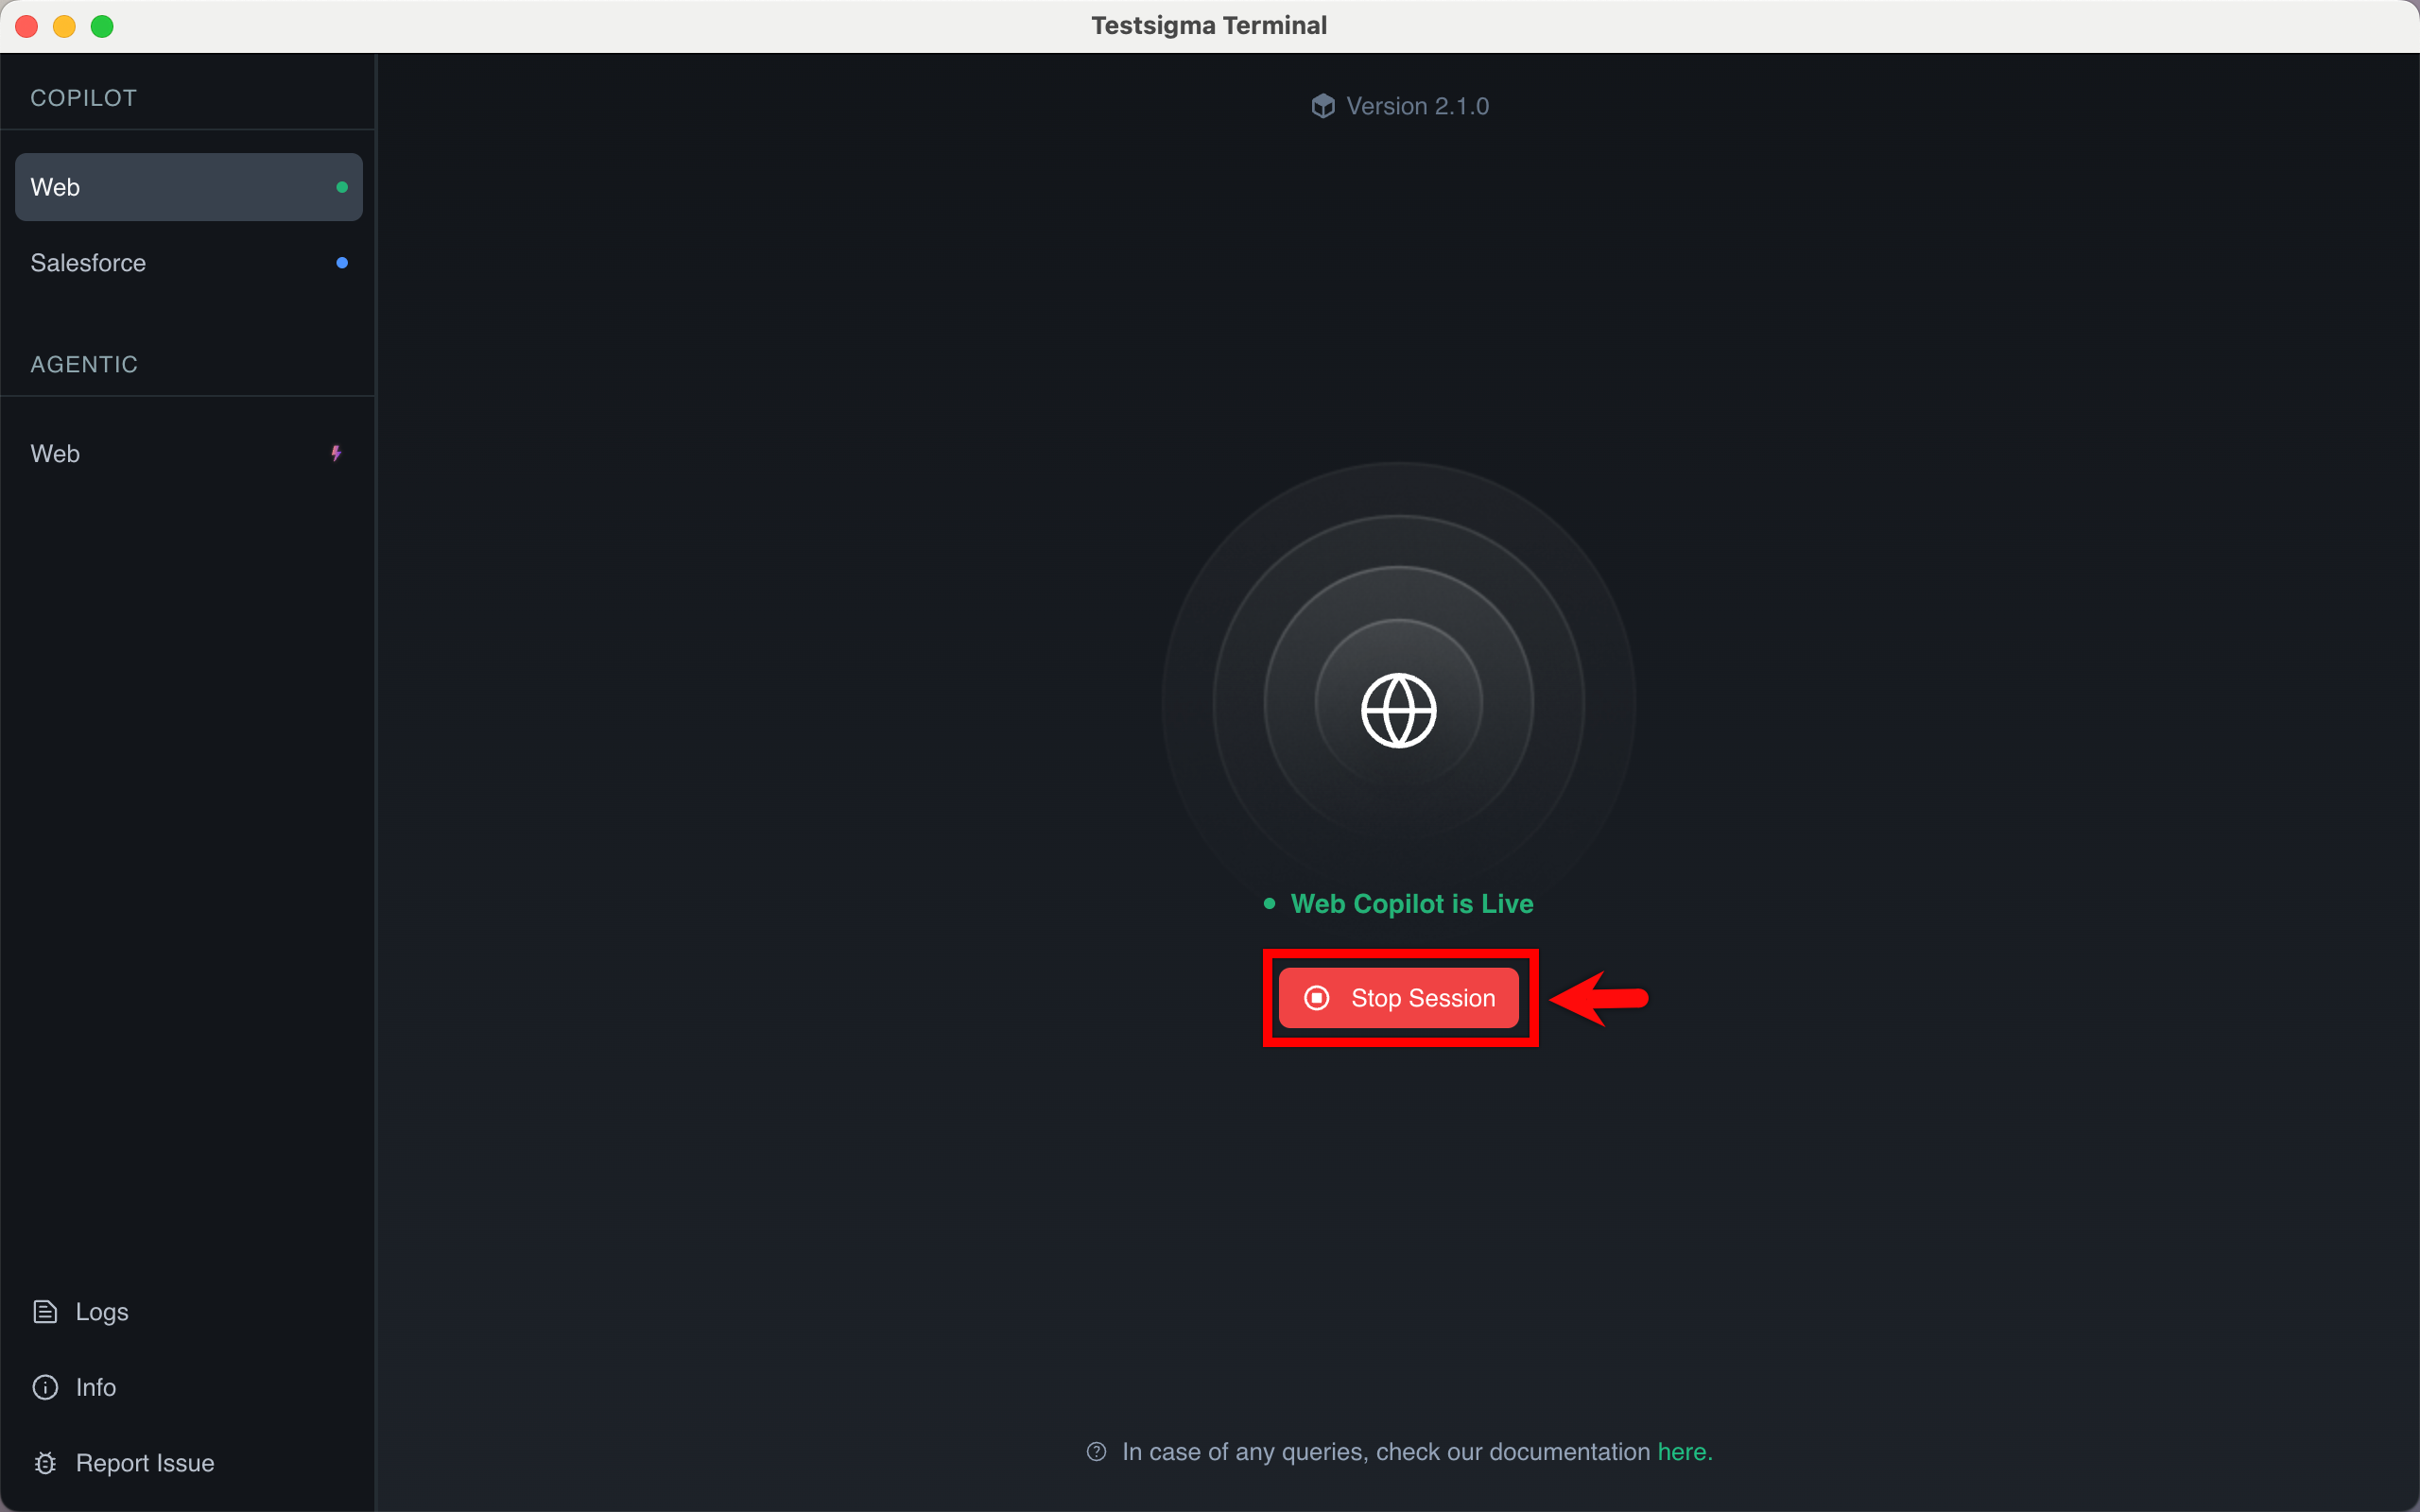
- Click Stop session to exit the Copilot.
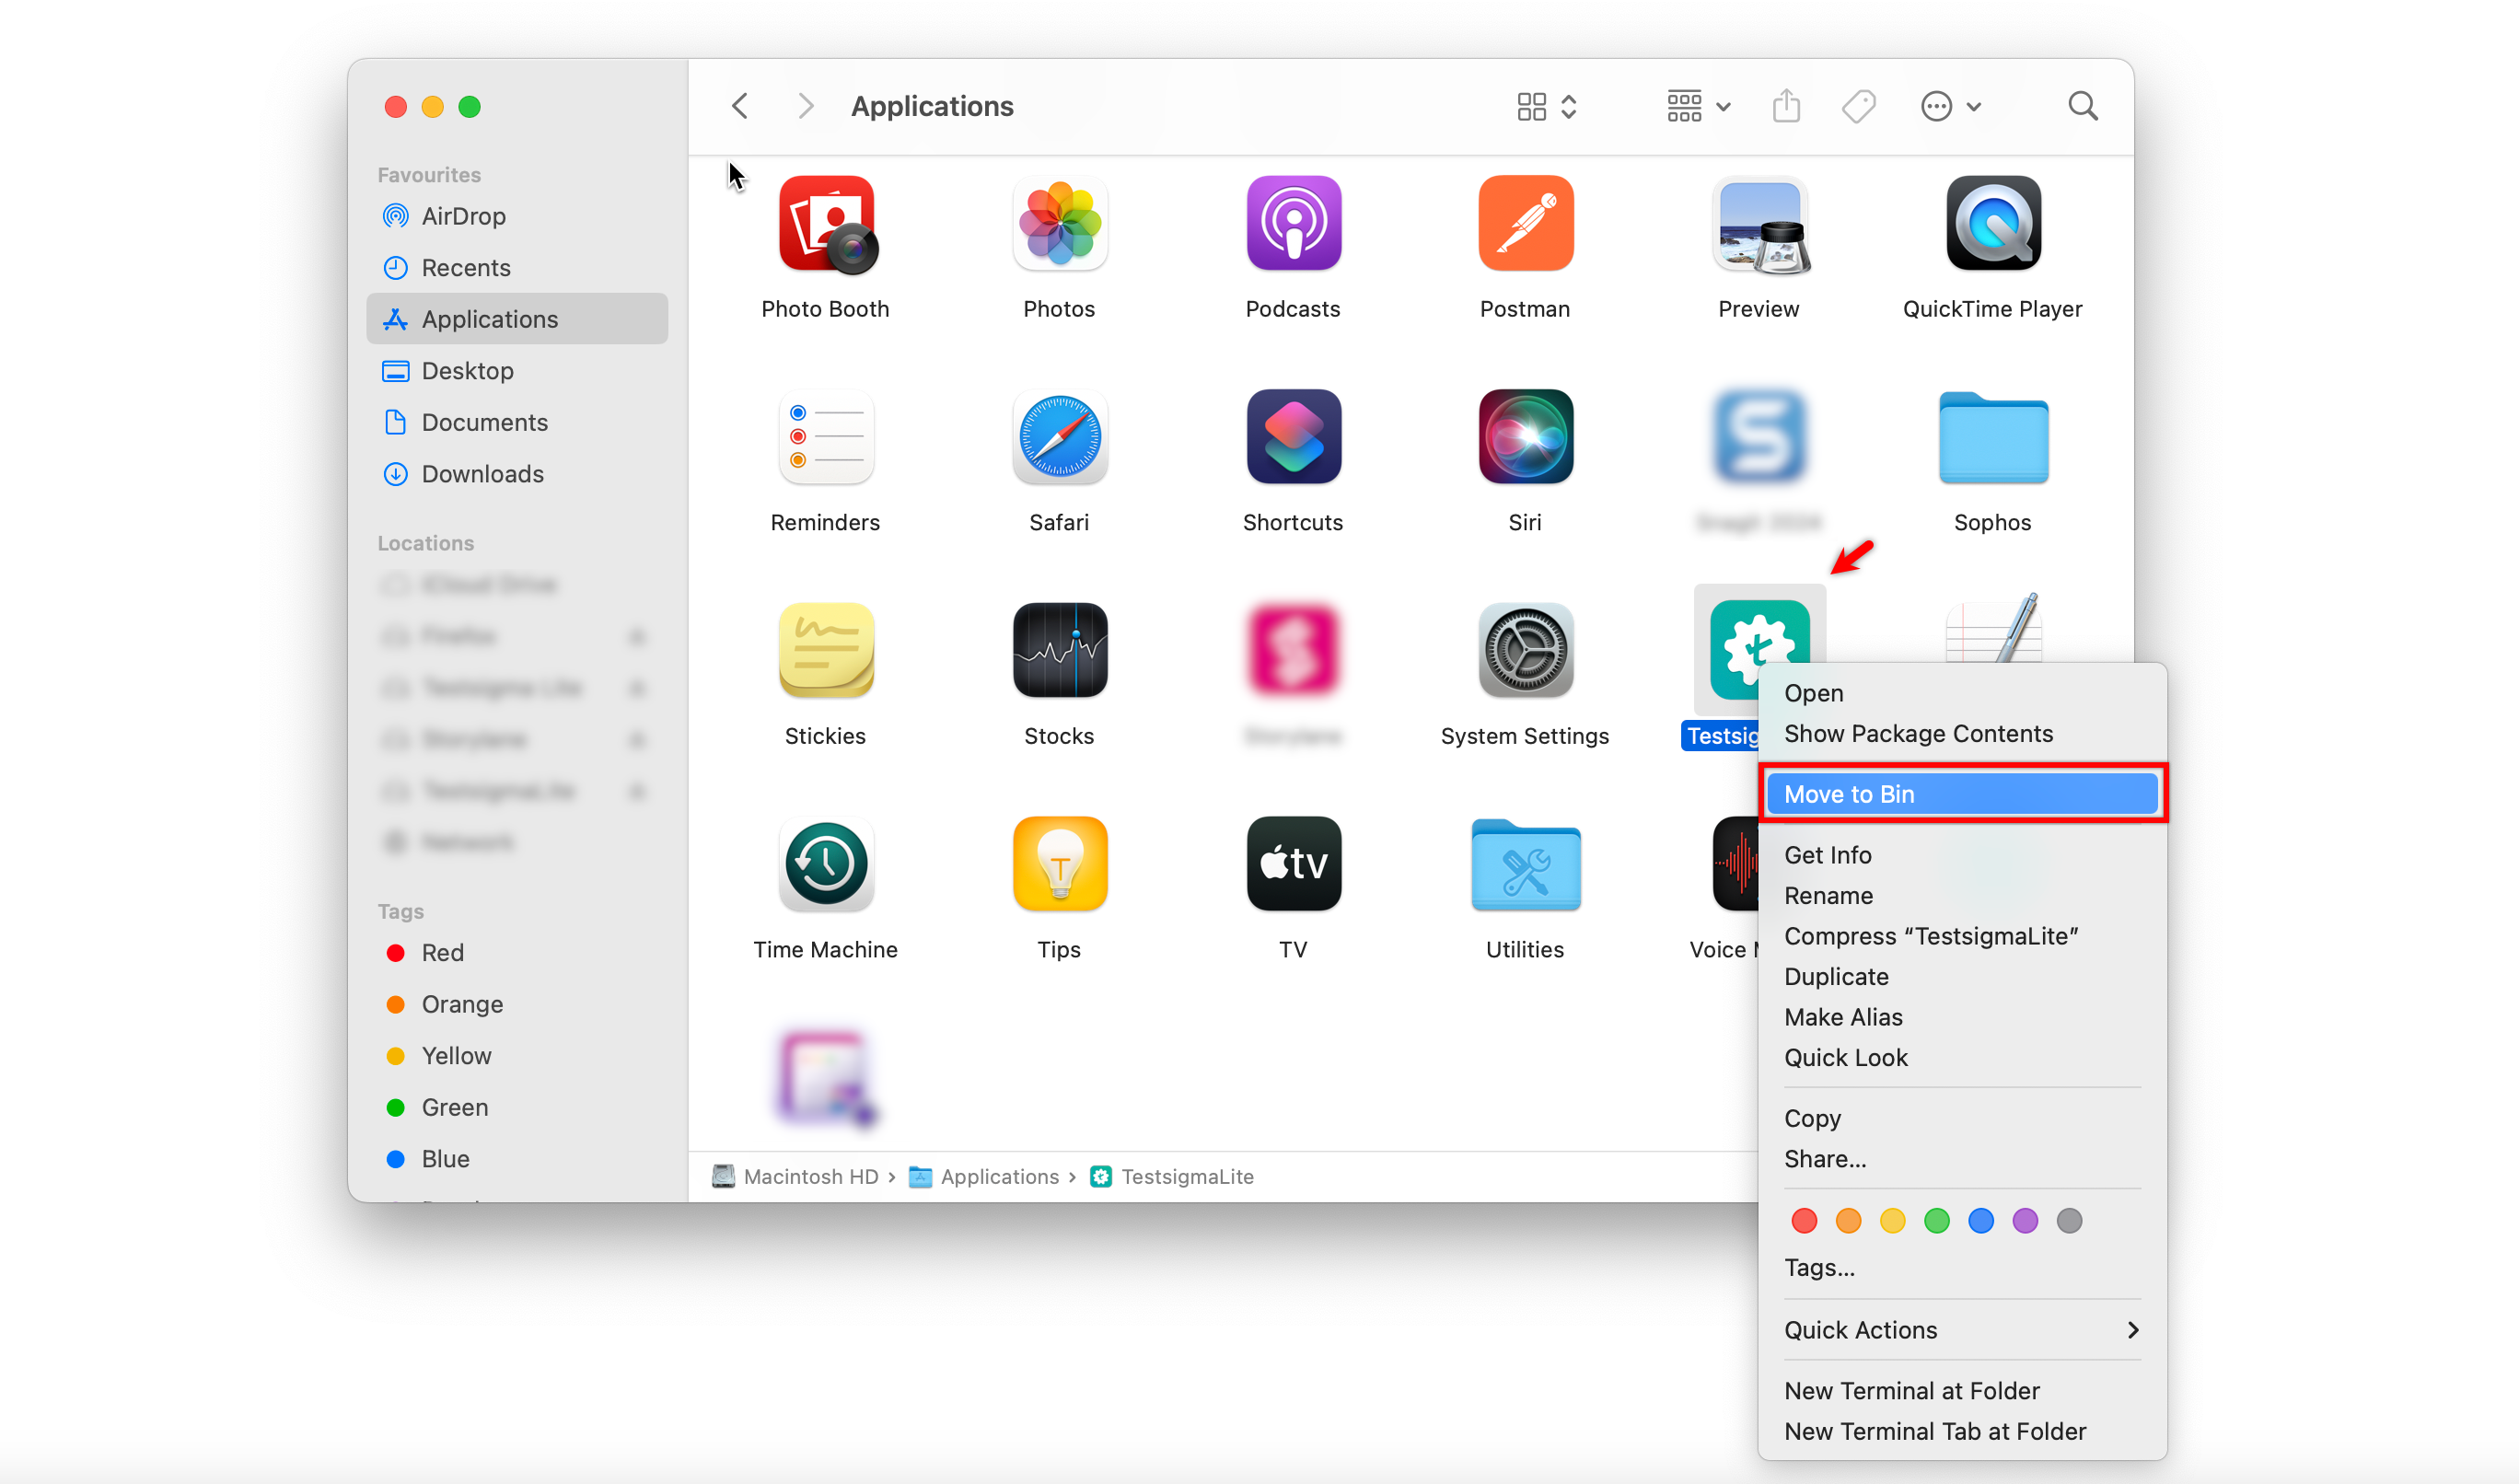
-
Uninstall/Remove Testsigma Terminal application.
-
Go to Disk > Users >
user_folder> Library > Application Support > Testsigma and remove Testsigma folder.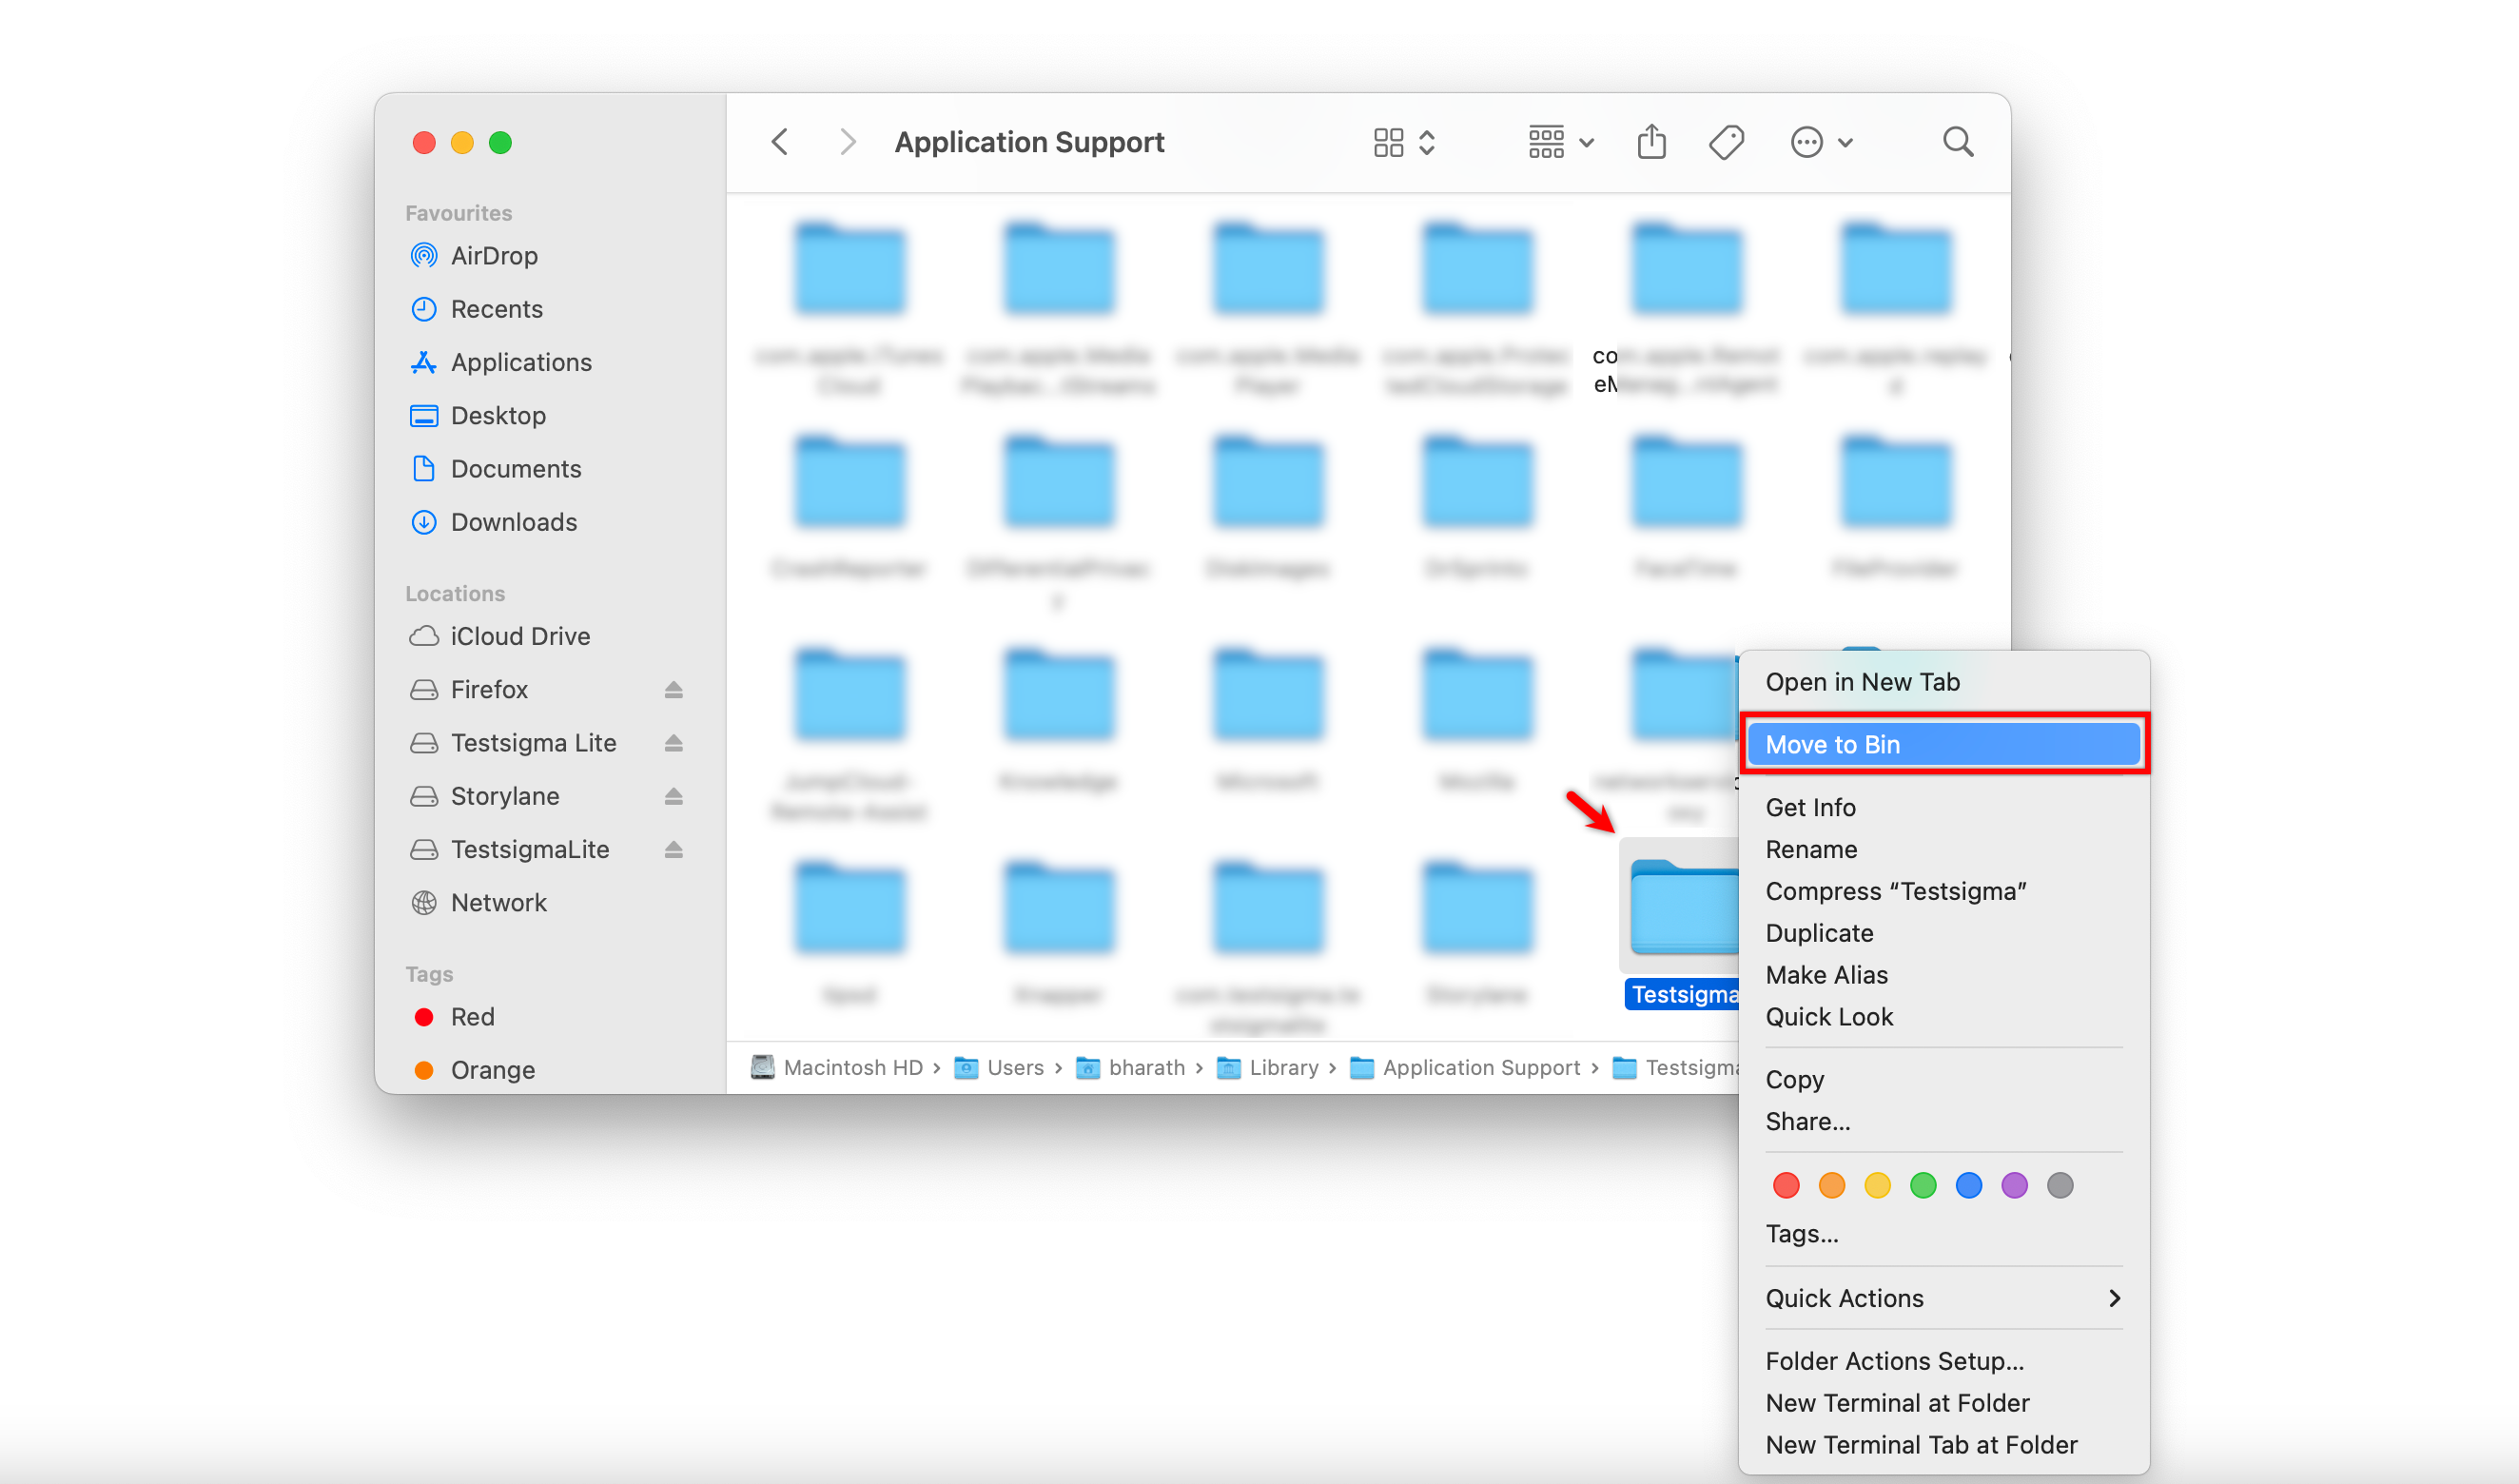
-
To stop the agent running in the background, follow these steps to find and terminate the process:
For macOS/Linux
- Open the Terminal.
- Run the following command to get the Process ID (PID):
lsof -i :8383 - Copy the PID and use the following command to terminate the process:
kill -SIGKILL <PID>
For Windows
- Open PowerShell.
- Run the following command to get the Process ID (PID):
Get-Process -Id (Get-NetTCPConnection -LocalPort 8383).OwningProcess - Copy the PID and use the following command to terminate the process:
Stop-Process -Id <PID> -Force
File/Folder Locations of Testsigma Terminal
Agent Properties
- Windows: %user_profile%\AppData\Roaming\Testsigma\Agent\config\agent.properties
- Linux: $HOME/.testsigma/agent/config/agent.properties
- Mac: /$HOME/Library/Application Support/Testsigma/Agent/config/agent.properties
Remove Testsigma Agent Traces
- Windows: %user_profile%\AppData\Roaming\Testsigma\Agent\
- Linux: $HOME/.testsigma/agent/
- Mac: /$HOME/Library/Application Support/Testsigma/Agent/
Remove Testsigma Terminal Traces
Testsigma Terminal state.
- Windows: %user_profile%\AppData\Roaming\com.testsigma.testsigmaterminal\
- Linux: $HOME/.testsigma/com.testsigma.testsigmaterminal/
- Mac: /$HOME/Library/Application Support/com.testsigma.testsigmaterminal/
To access .testsigma folder in the above path, you need to unhide hidden folders in your user_folder.
Shortcuts to View Hidden Files:
- Mac: Press Command (⌘) + Shift + . in Finder.
- Windows: Press Windows + R, type control folders, go to the View tab, and select Show hidden files, folders, and drives.
Want to contribute or report missing content?