- continuous integration
 Test Plan Details
 - REST API (Generic)
- Jenkins
- Azure DevOps
- AWS DevOps
- AWS Lambda
- Circle CI
- Bamboo CI
- Travis CI
- CodeShip CI
- Shell Script(Generic)
- Bitrise CI
- GitHub CI/CD
- Bitbucket CI/CD
- GitLab CI/CD
- Copado CI/CD
- Gearset CI/CD
- Codemagic CI/CD
- Google Cloud Build CI/CD
Integrate Testsigma with Bitrise CI
Bitrise is a CI tool specifically designed for mobile continuous integration and delivery system for iOS and Android native apps. Bitrise is an enterprise product and hence provides support for build executions on Linux and macOS as well.
Prerequisites
- User needs a repository where the steps mentioned in a shell script file can be uploaded and updated.
To run a Test Plan created in Testsigma, update the filename/filepath of your shell script (e.g., bitrise.sh). Make sure this file exists in the repository linked to your app. Copy the shell script from this page into your bitrise.sh file and set the following properties:
TESTSIGMA_API_KEYTESTSIGMA_TESTPLAN_IDMAX_WAIT_TIME_FOR_SCRIPT_TO_EXIT
Steps to Follow
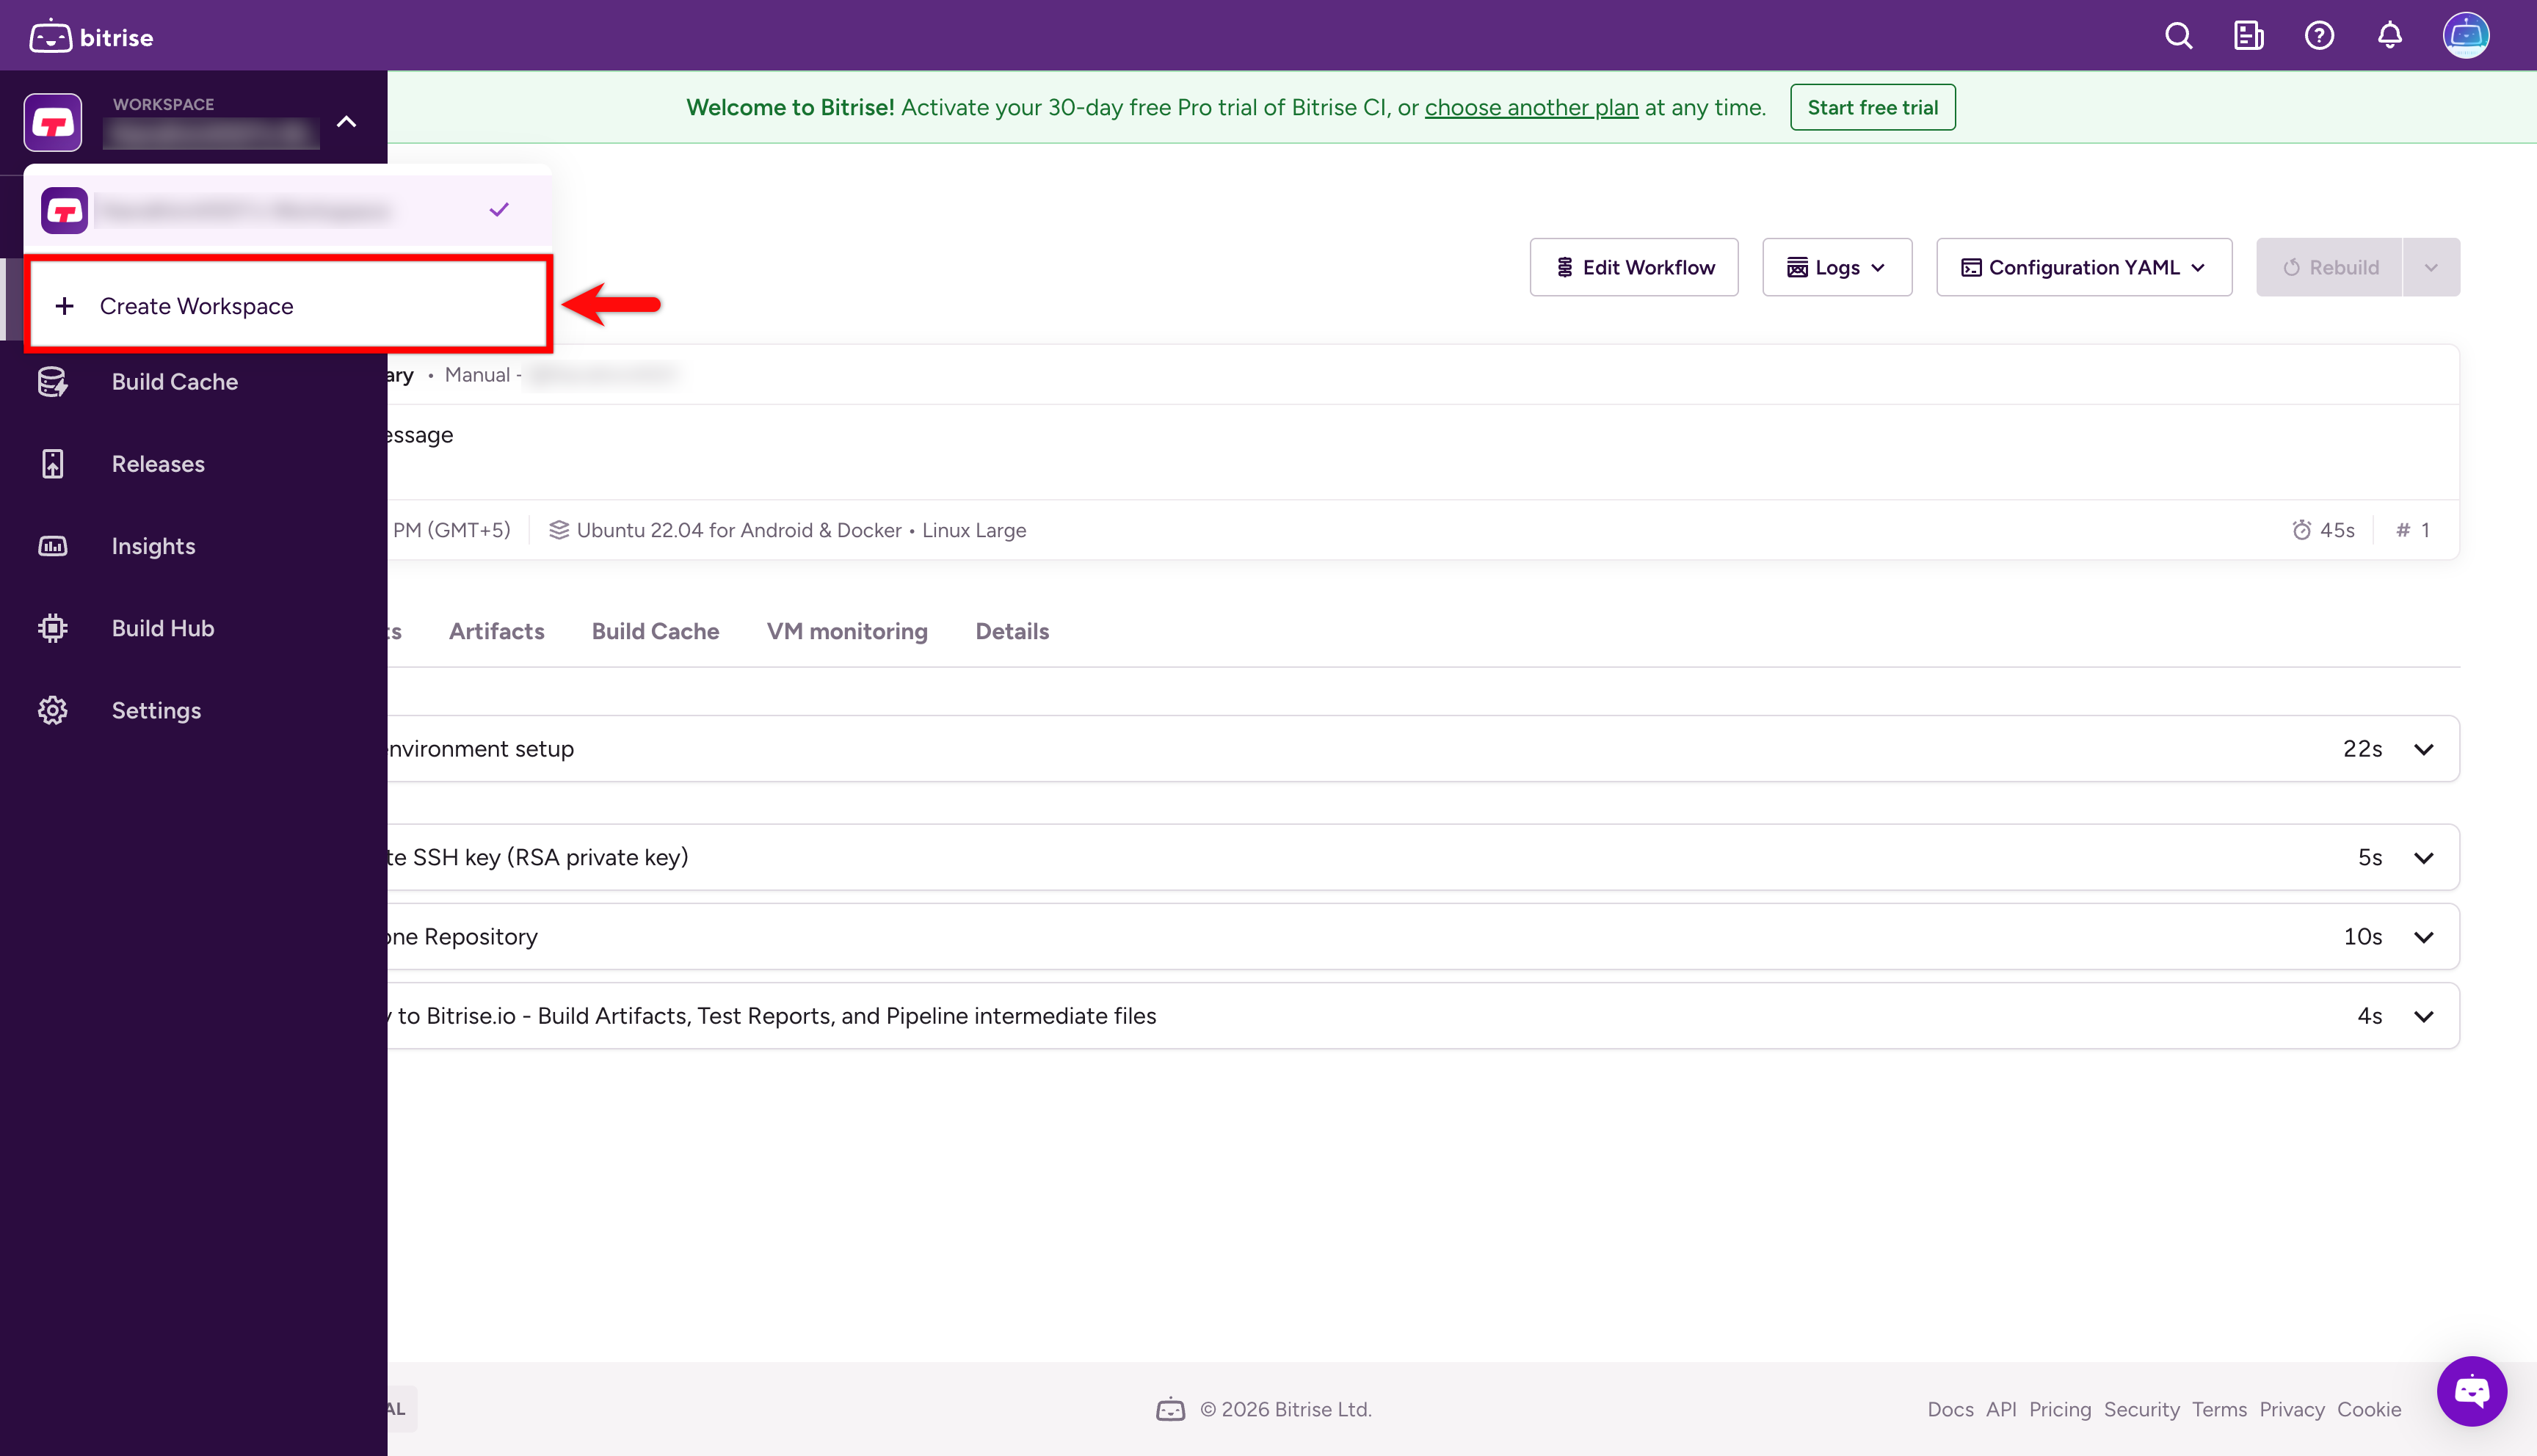
Step 1: Create Workspace
- After logging in, open the workspace dropdown in the top-left corner and click + Create Workspace.
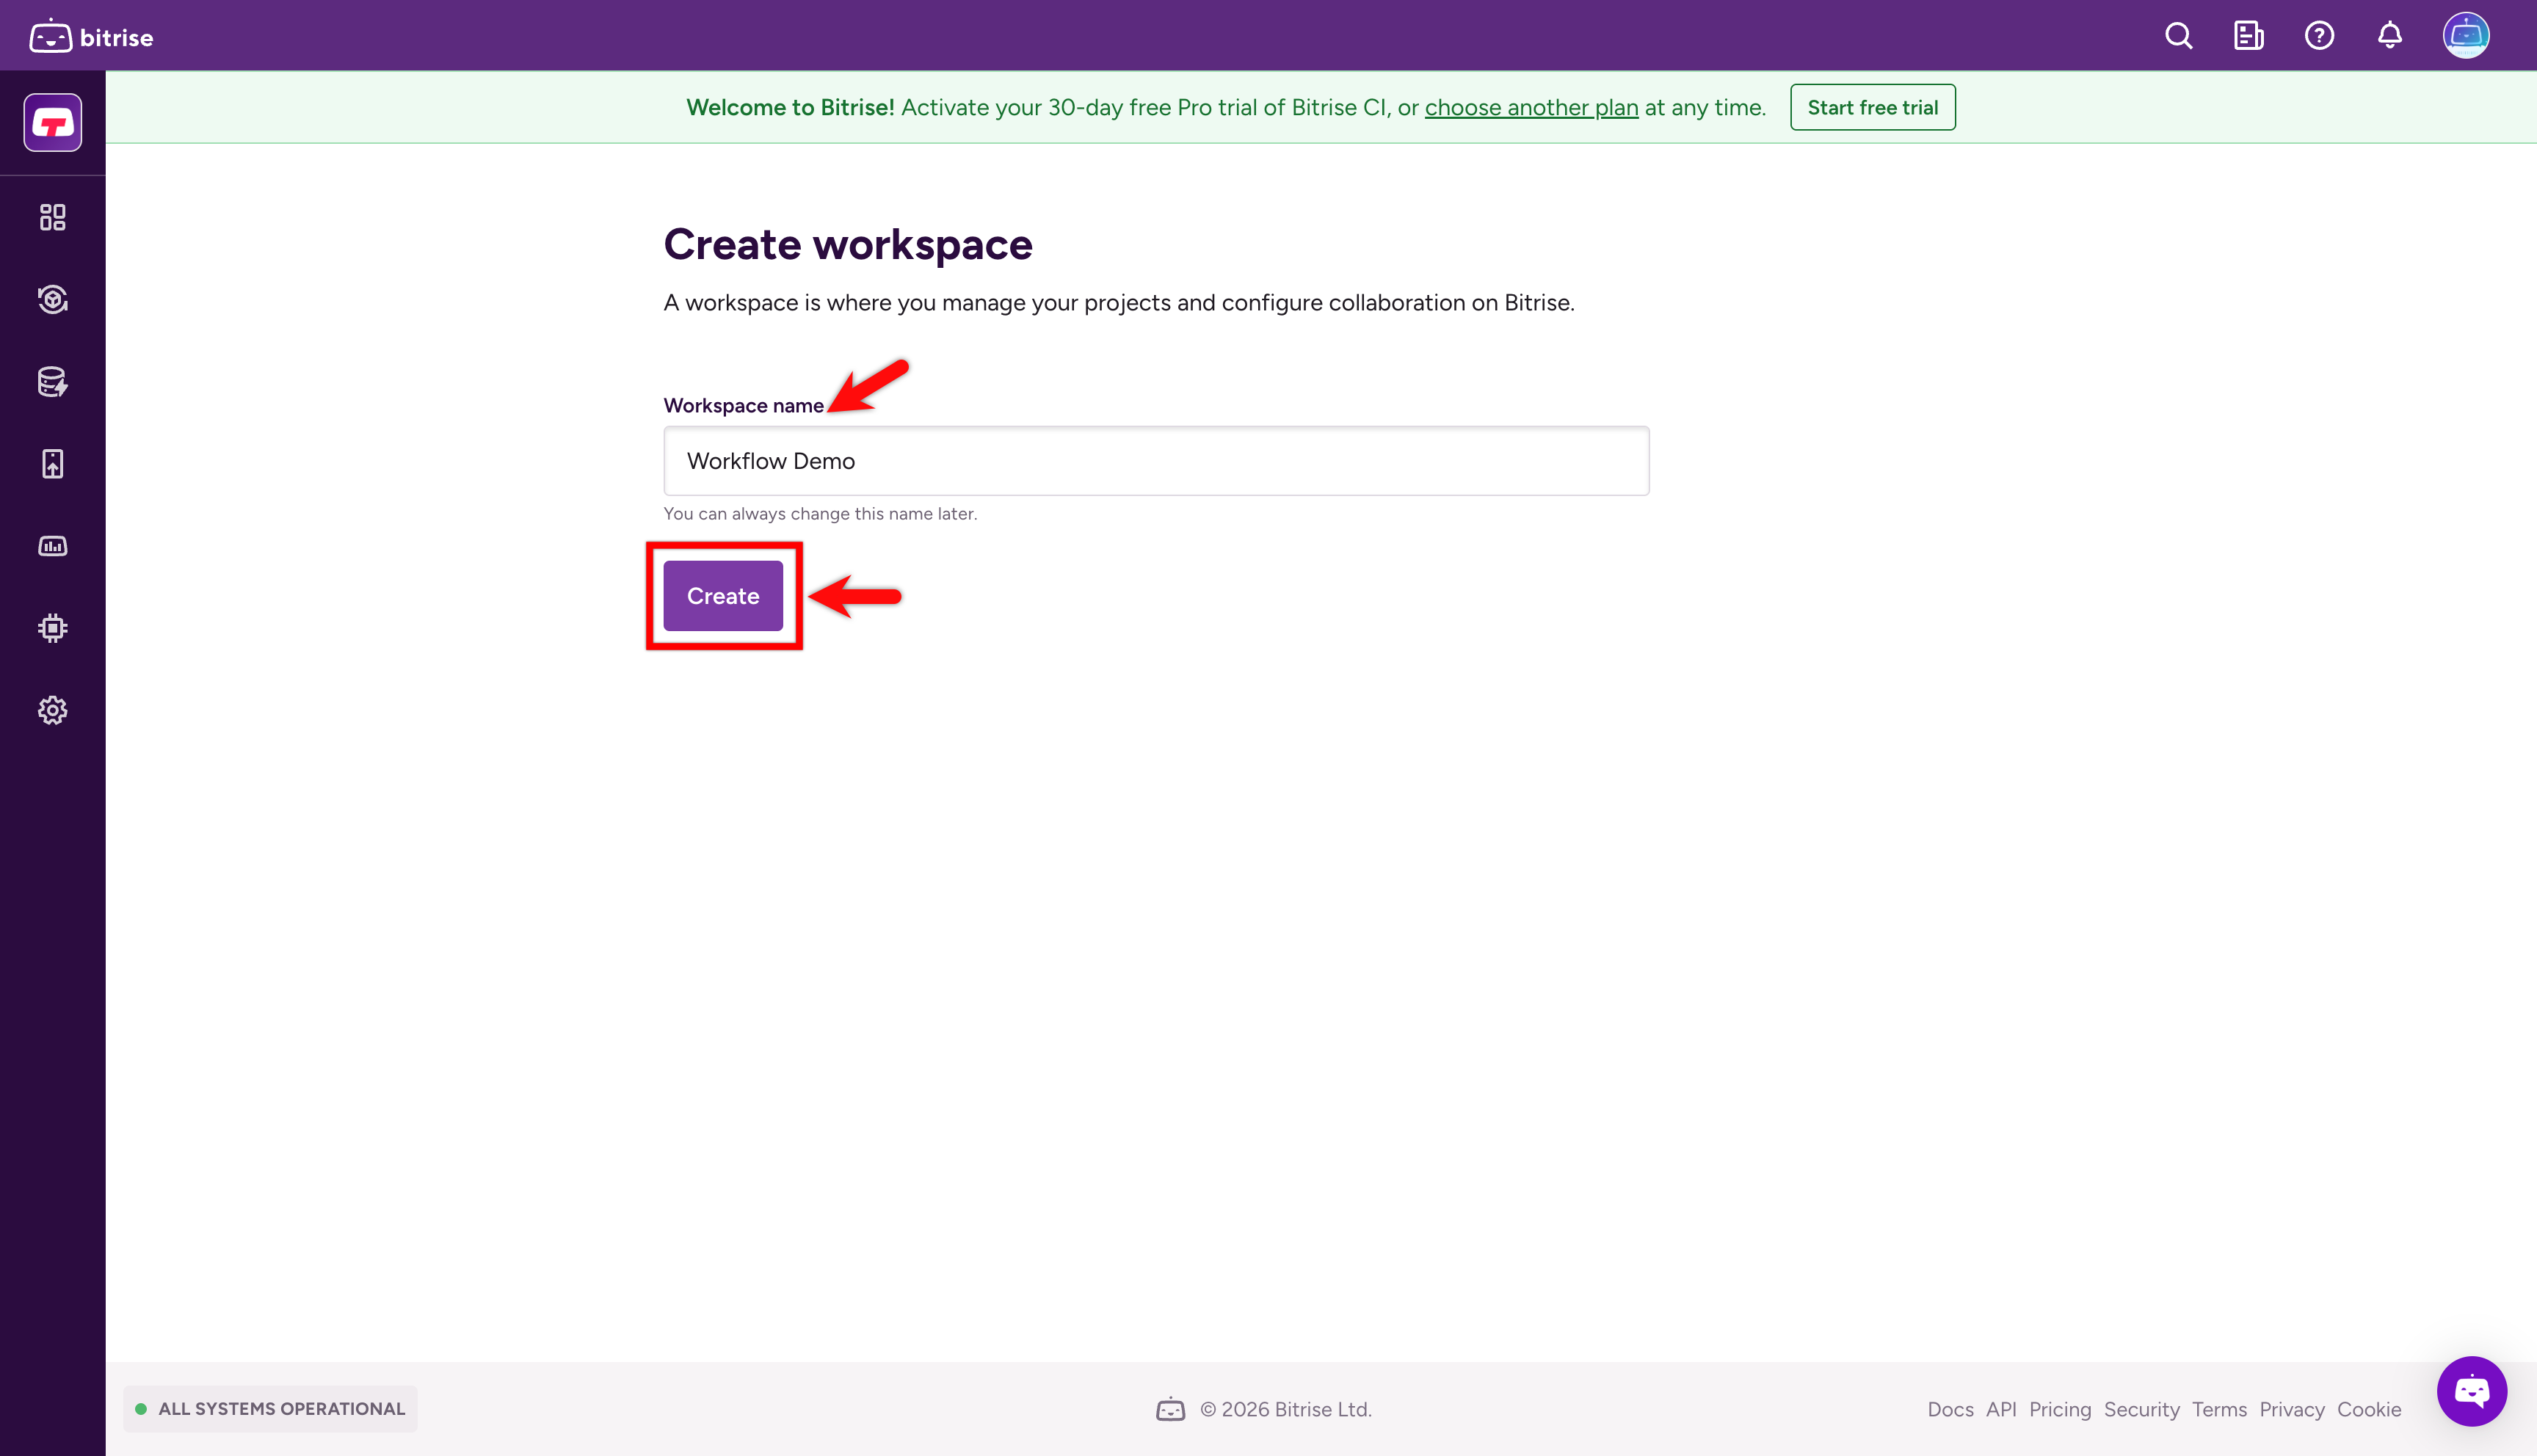
- Enter a name for your new workspace and click Create.
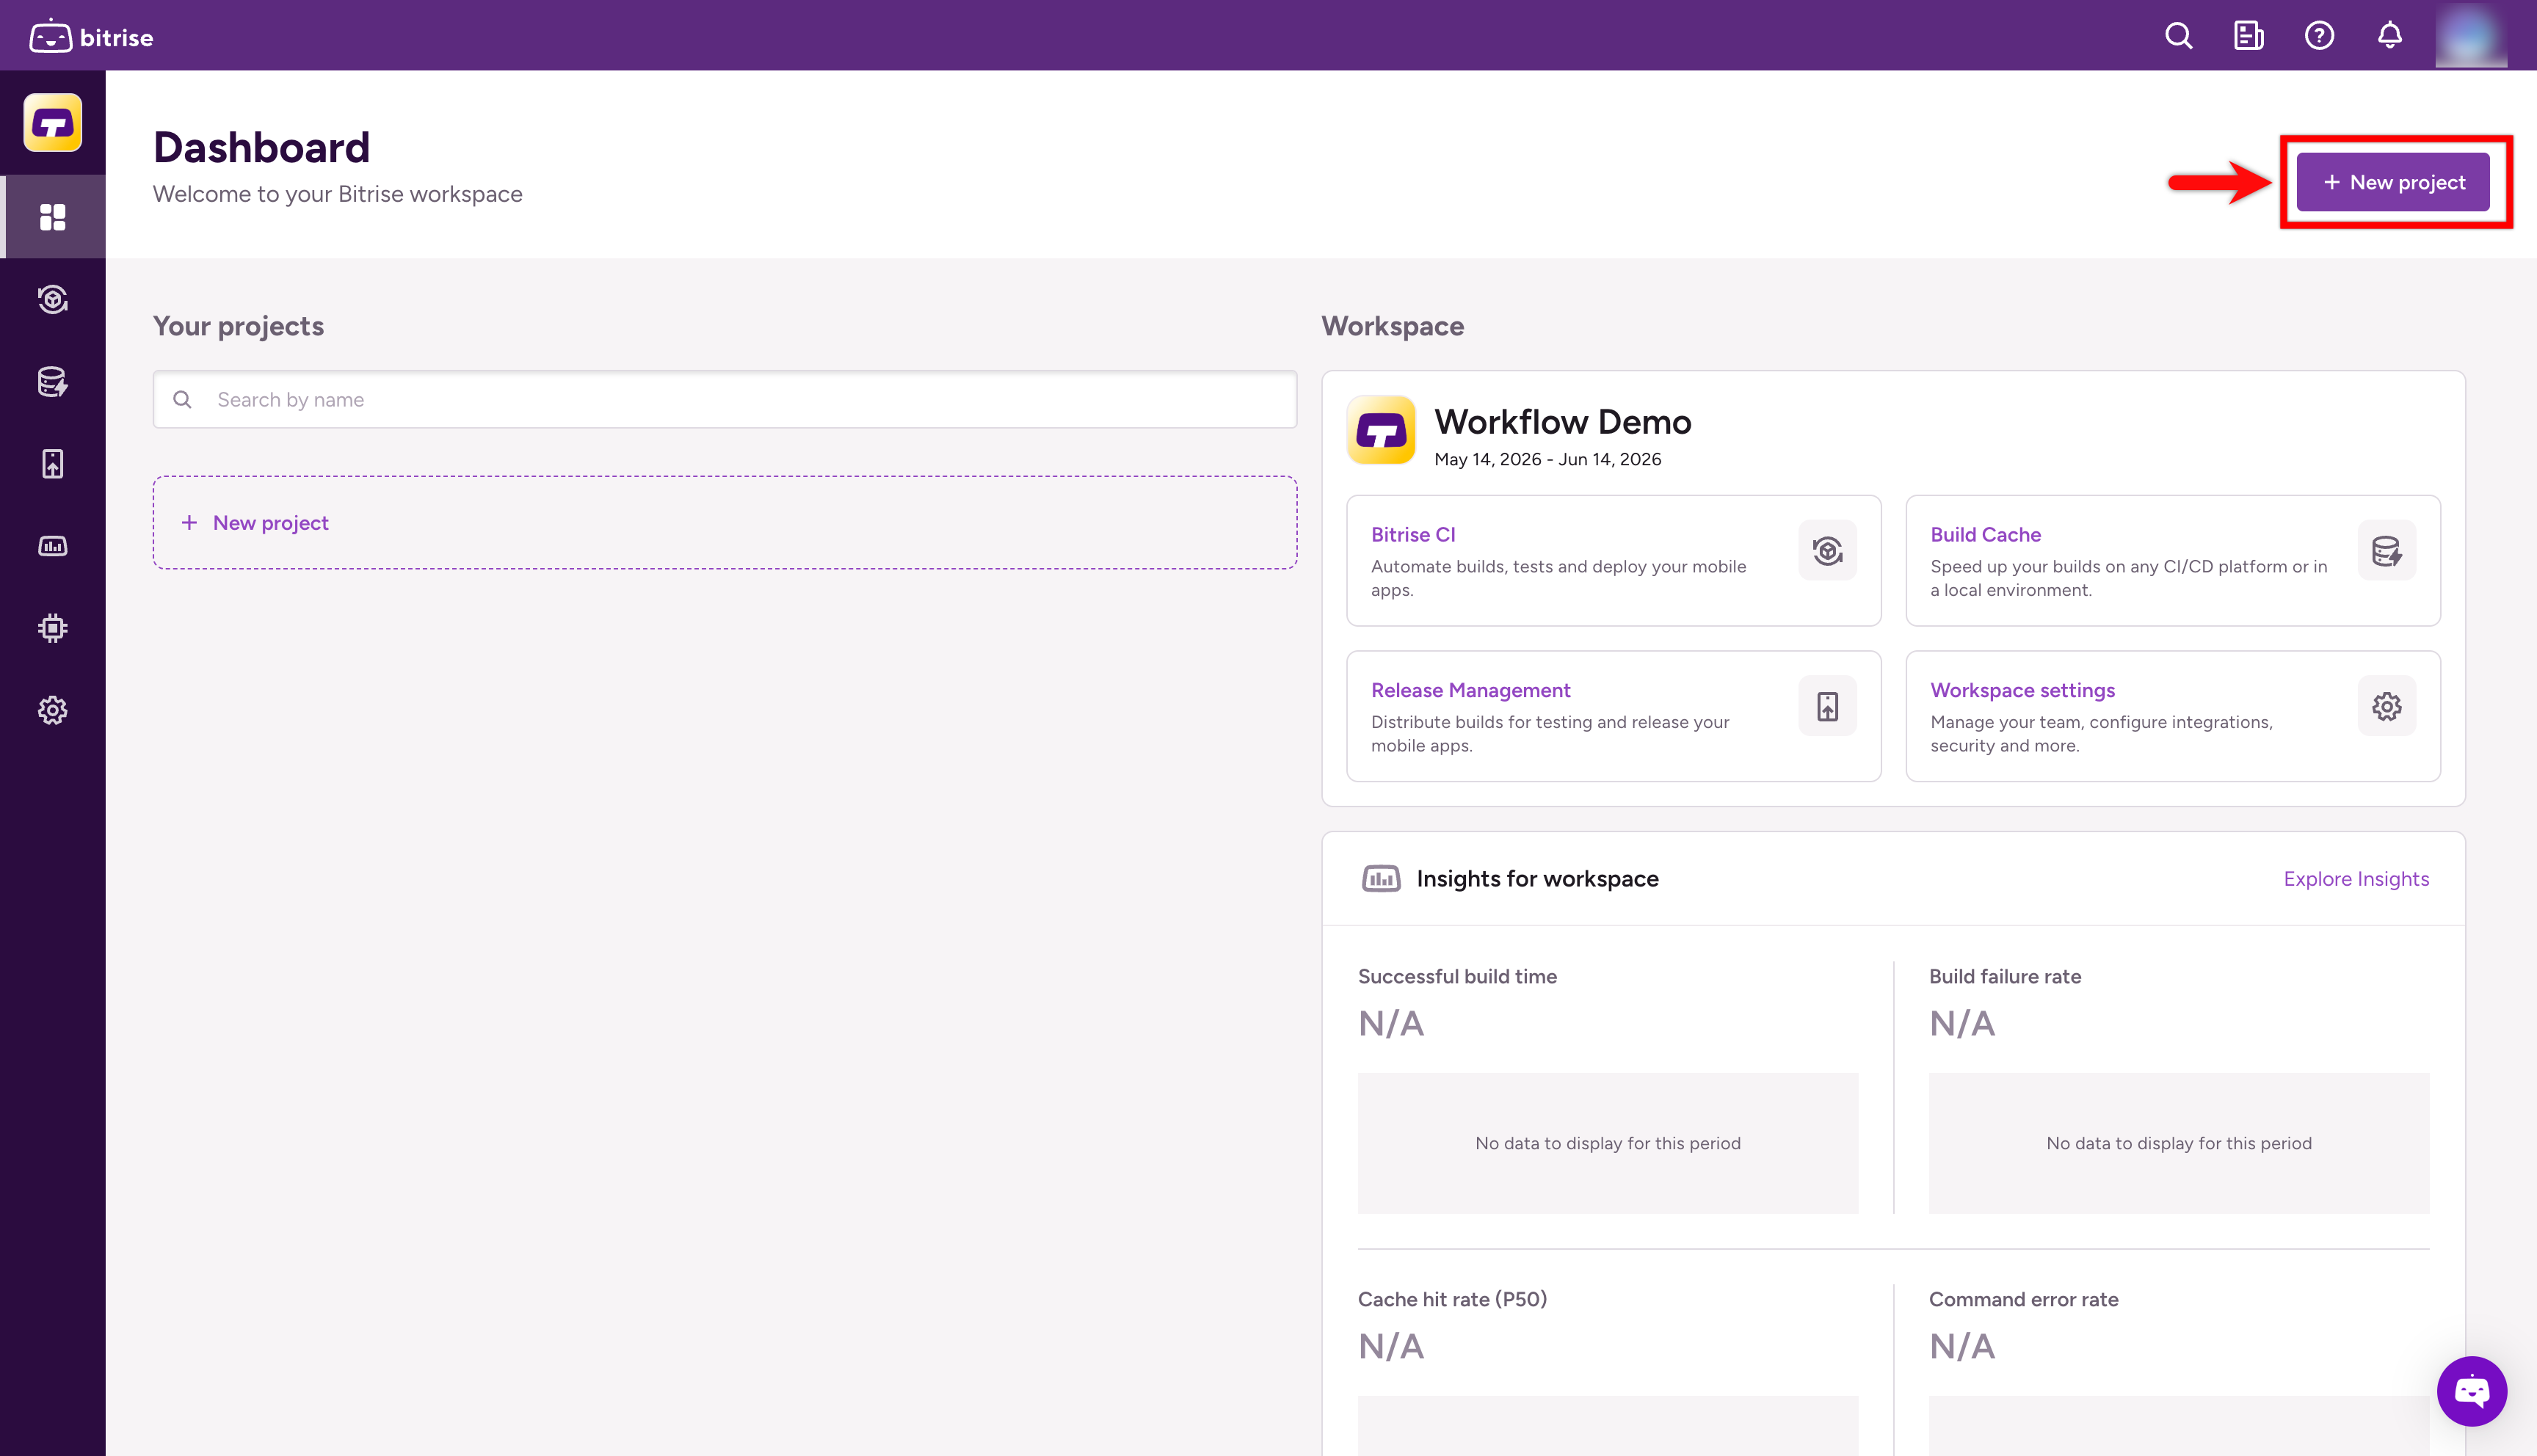
Step 2: Setting Up a New Project with Bitrise CI
- Navigate to Dashboard from the left navigation bar, then click + New Project.
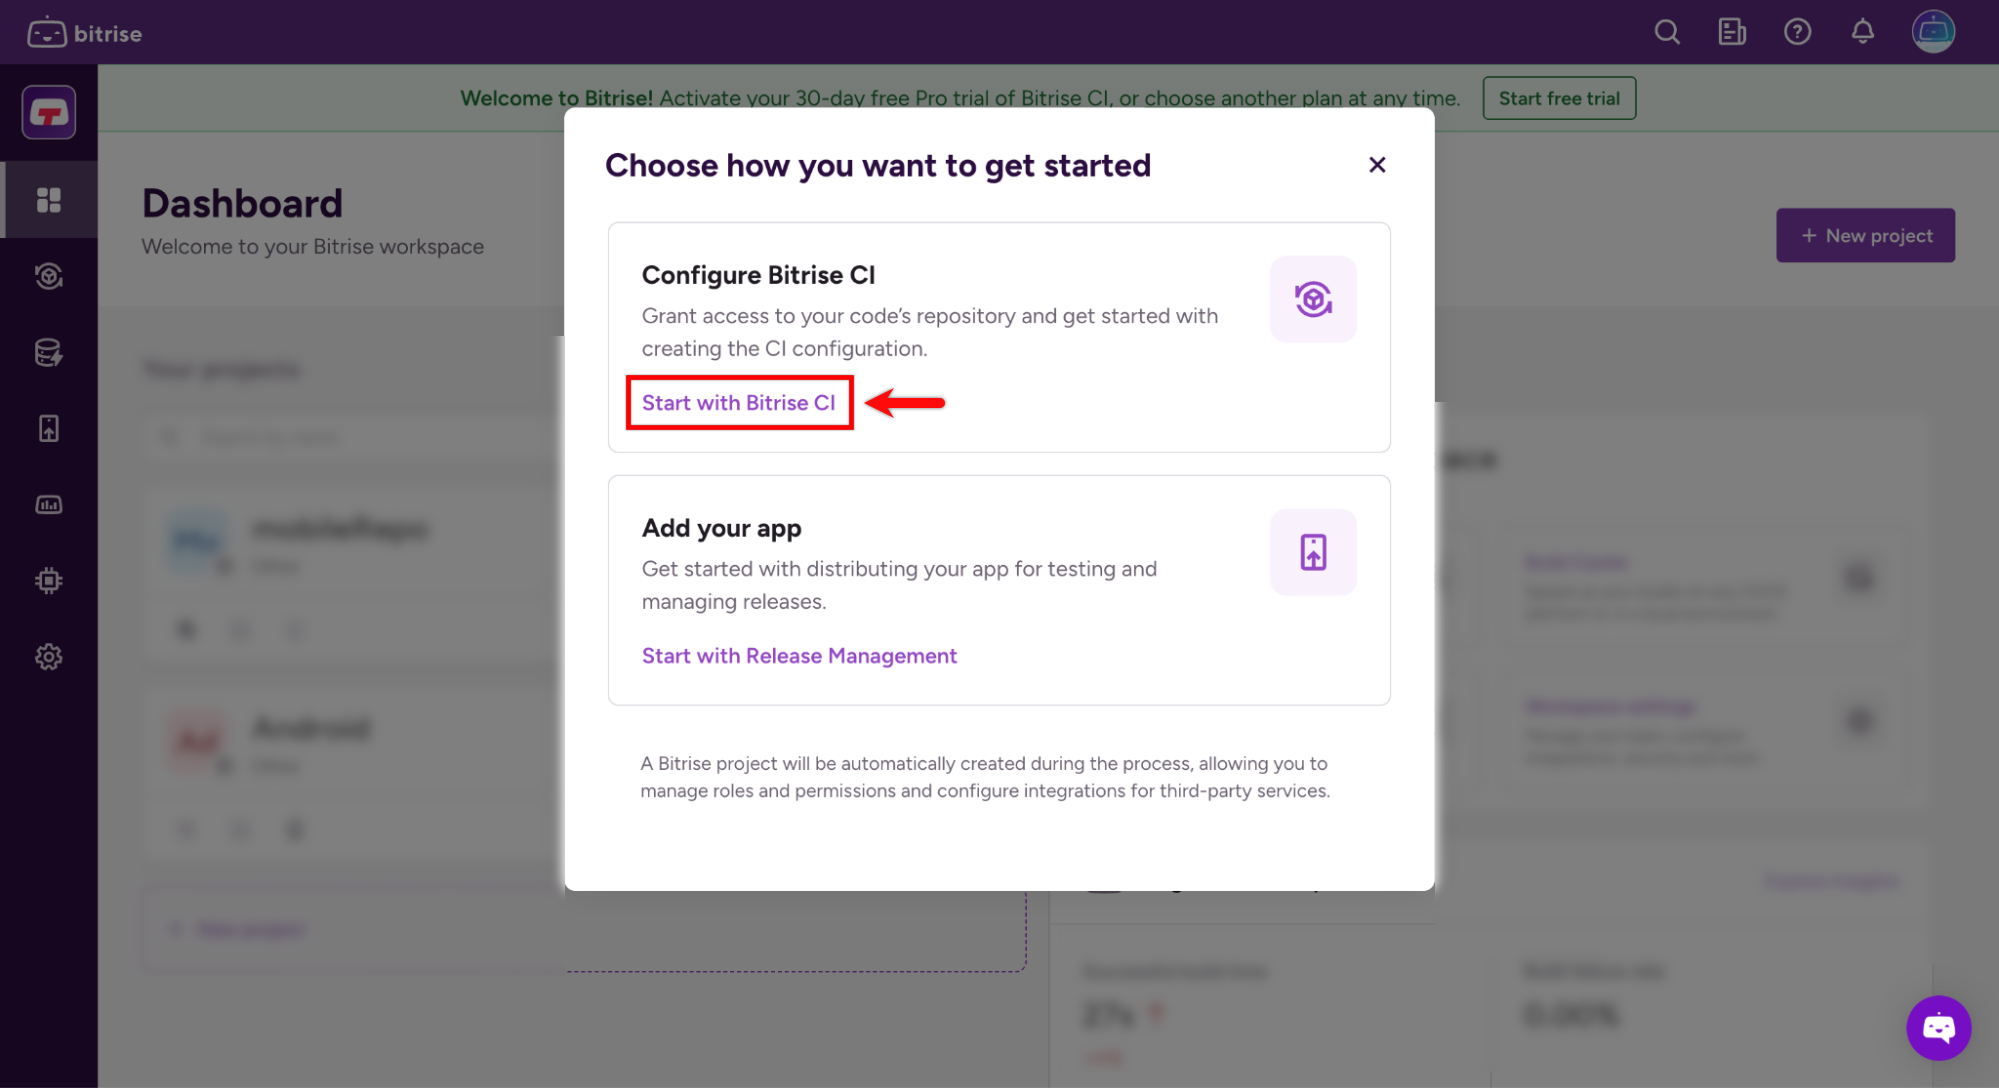
- In the Choose how you want to get started dialog, select Start with Bitrise CI.
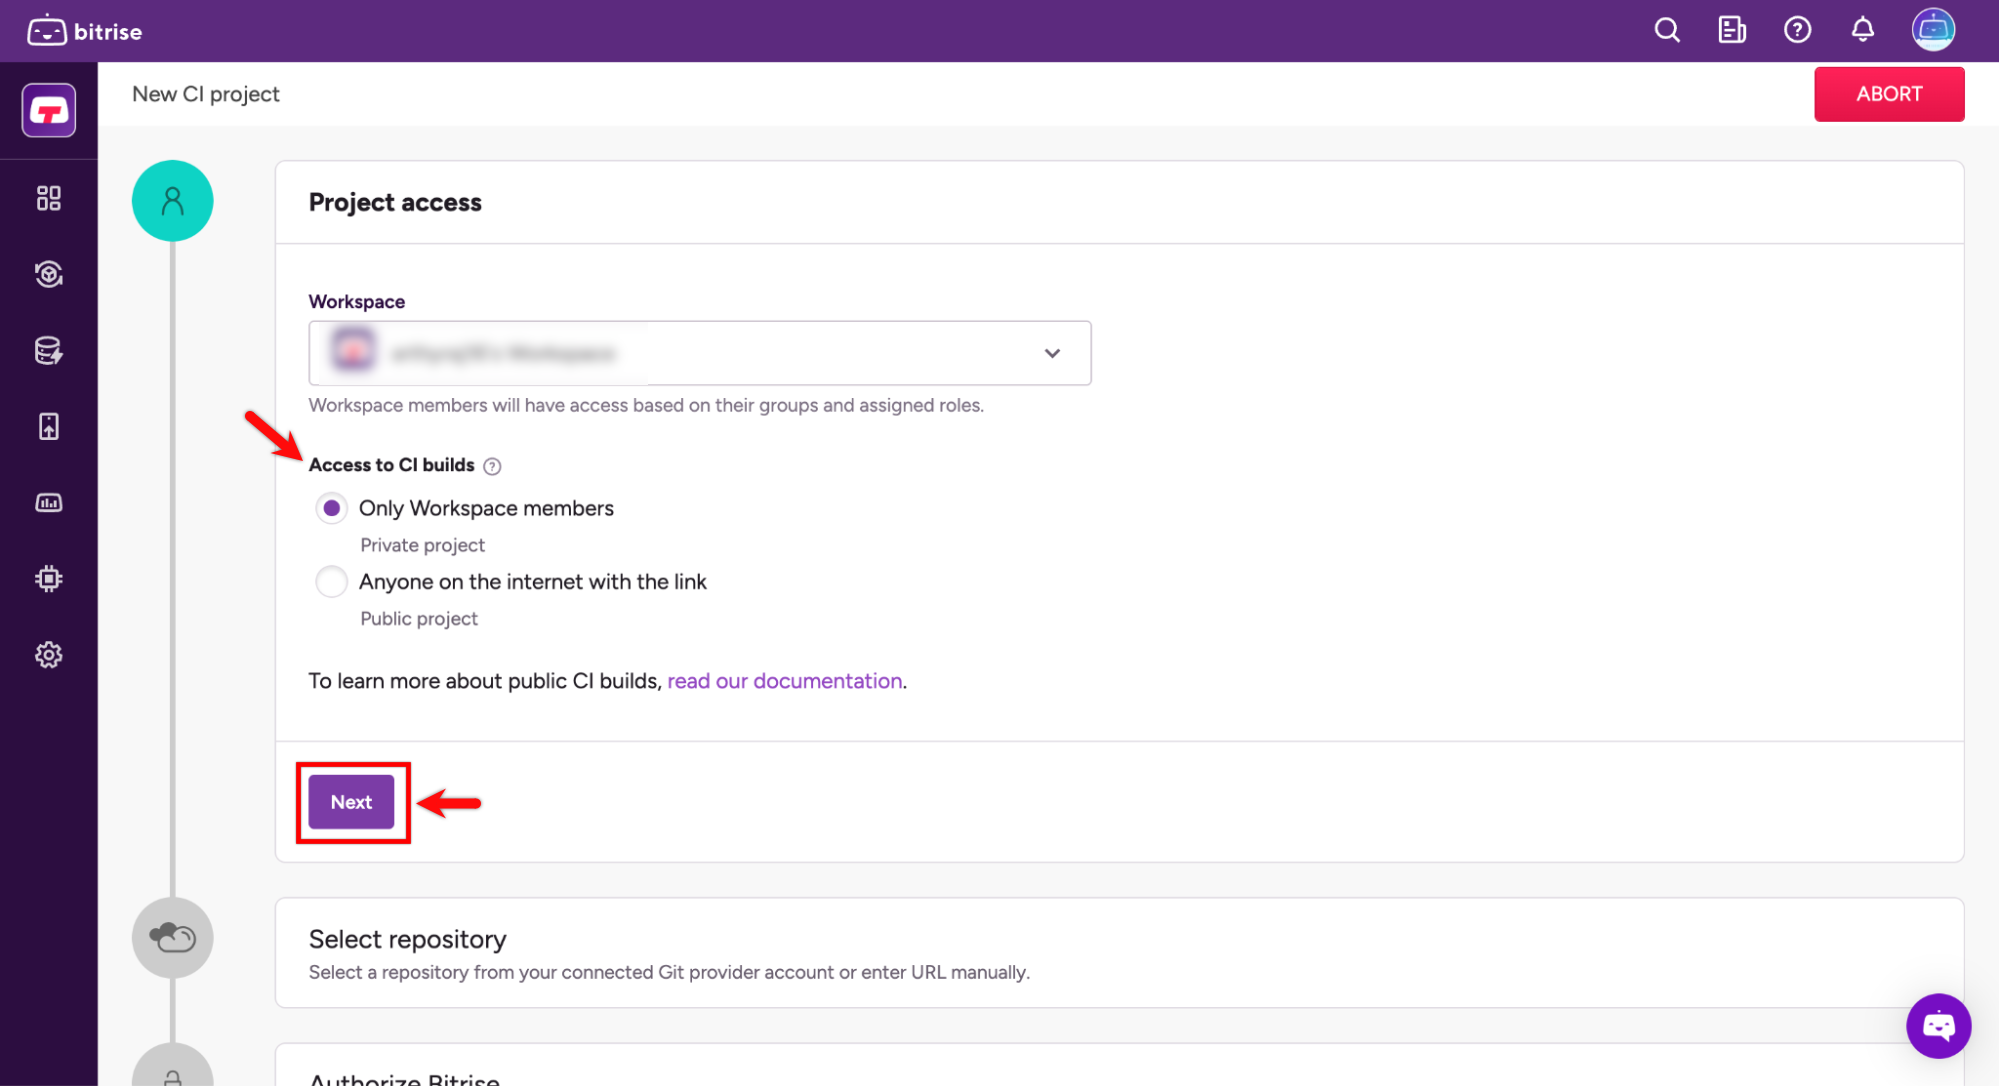
- Configure your app's privacy settings as needed, then click Next.
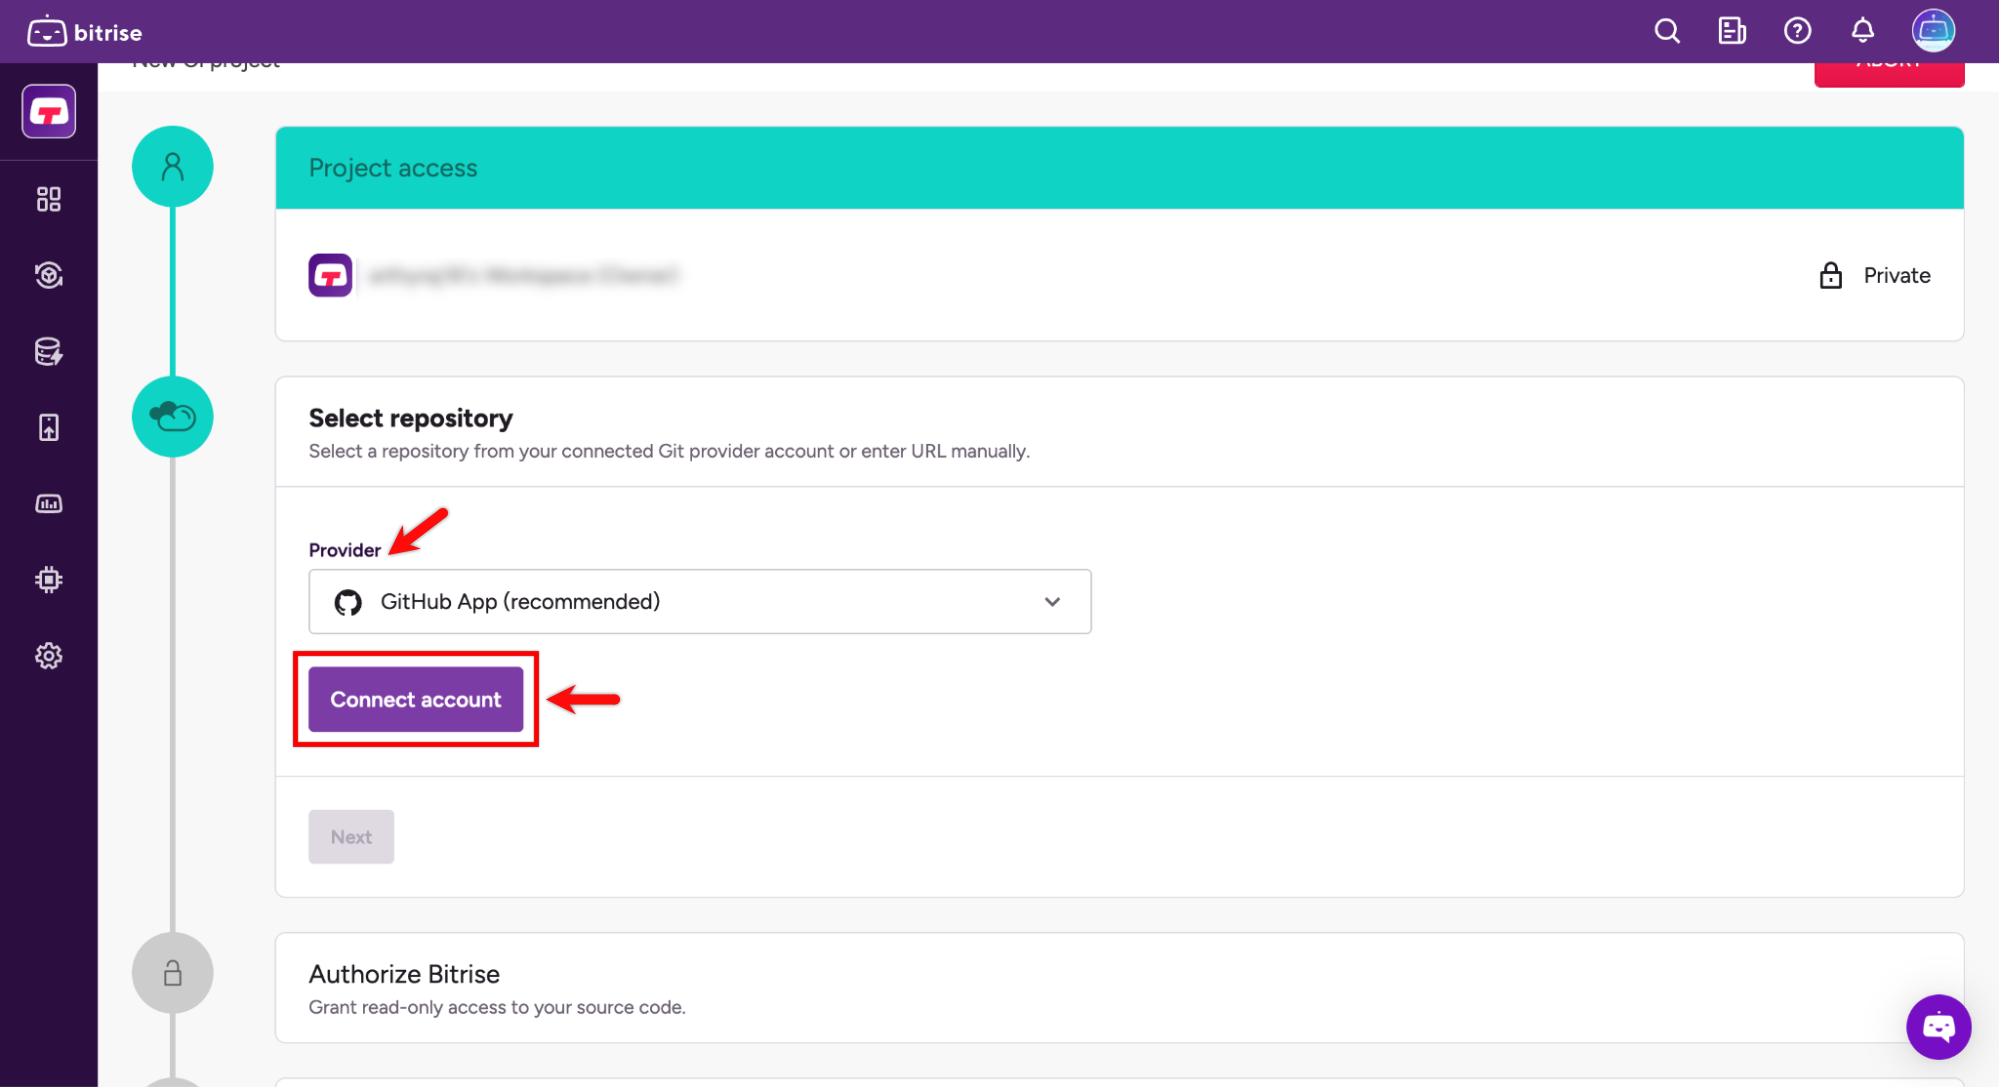
- Use the dropdown in the Provider field to select the required app, then click Connect account.
Note:
- Select your Git provider: GitHub, GitLab, or Bitbucket.
- Authorize Bitrise to access your repositories.
- Choose the repository that contains your bitrise.sh script.
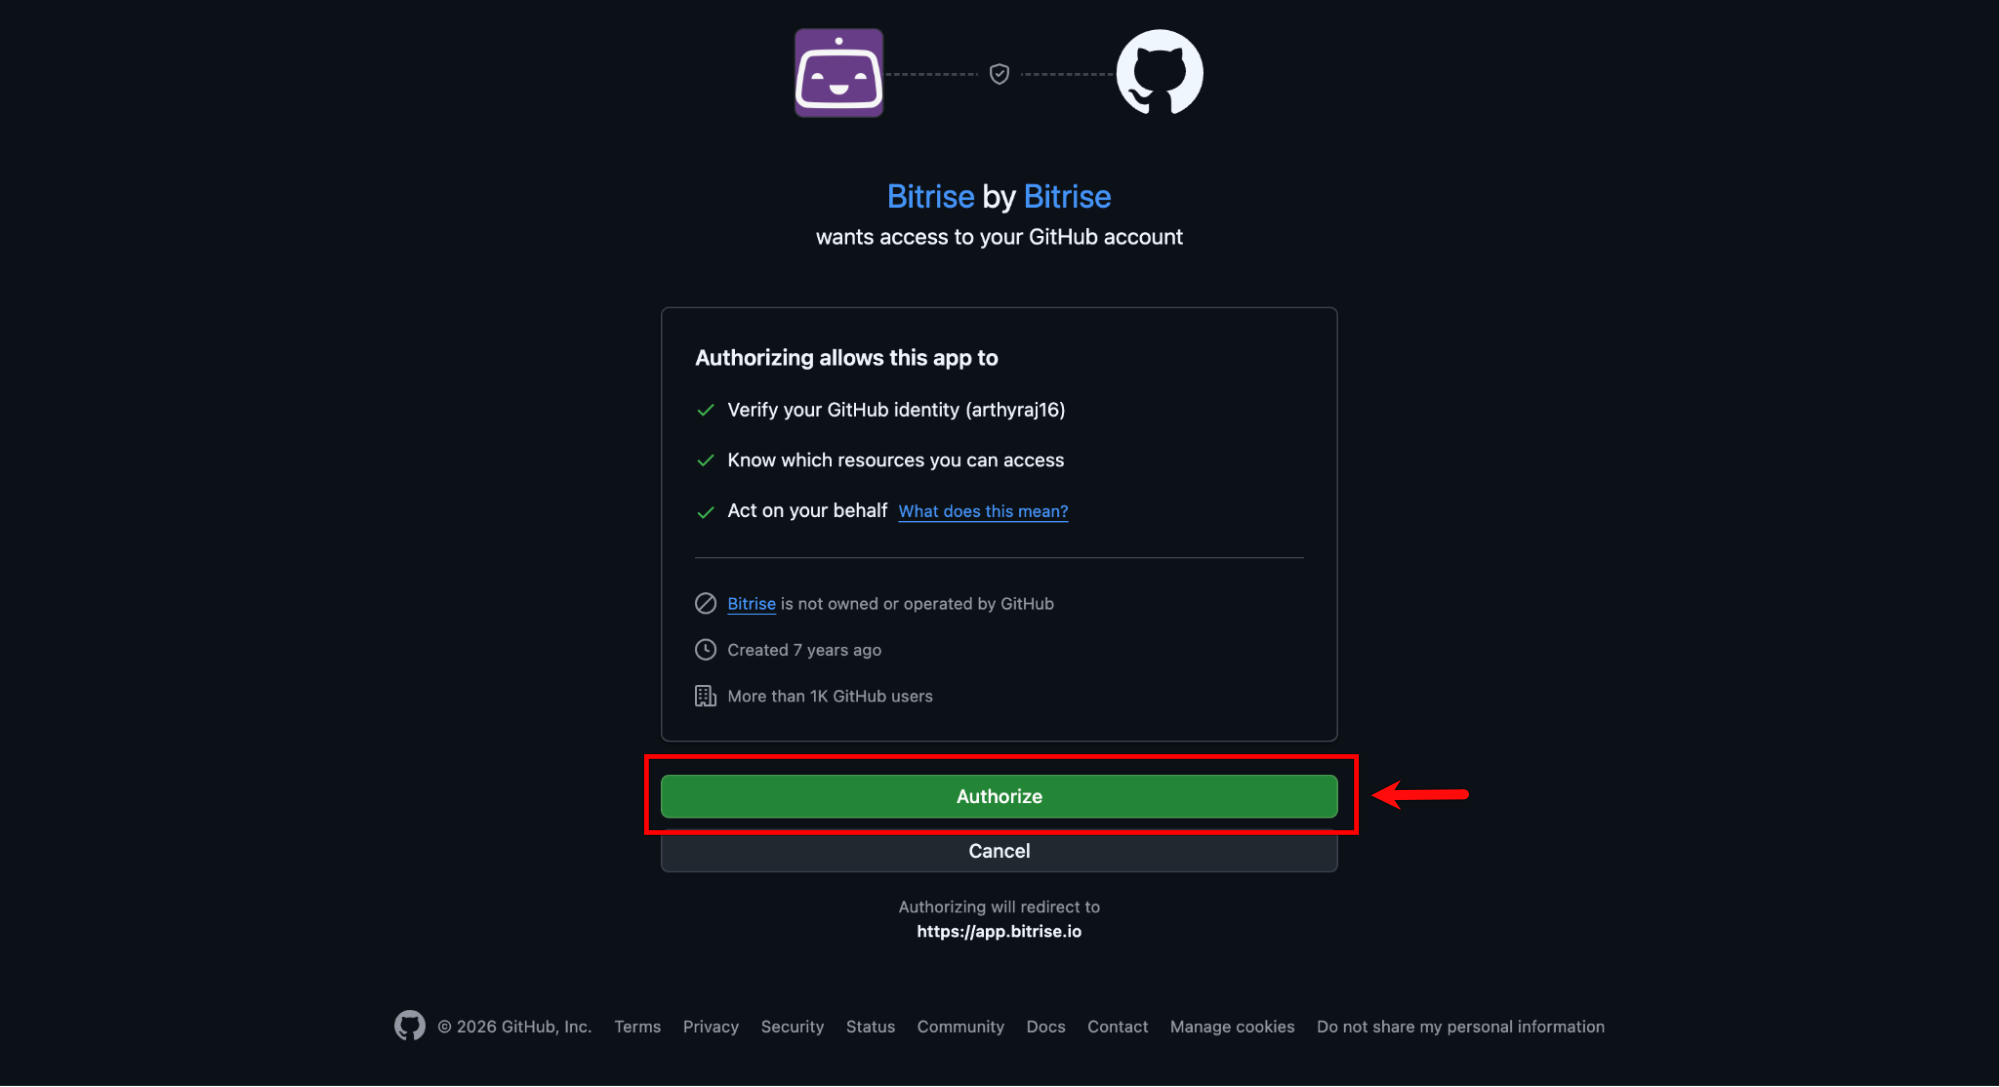
- A new tab will open to authorize access — click Authorize to grant Bitrise access to GitHub.
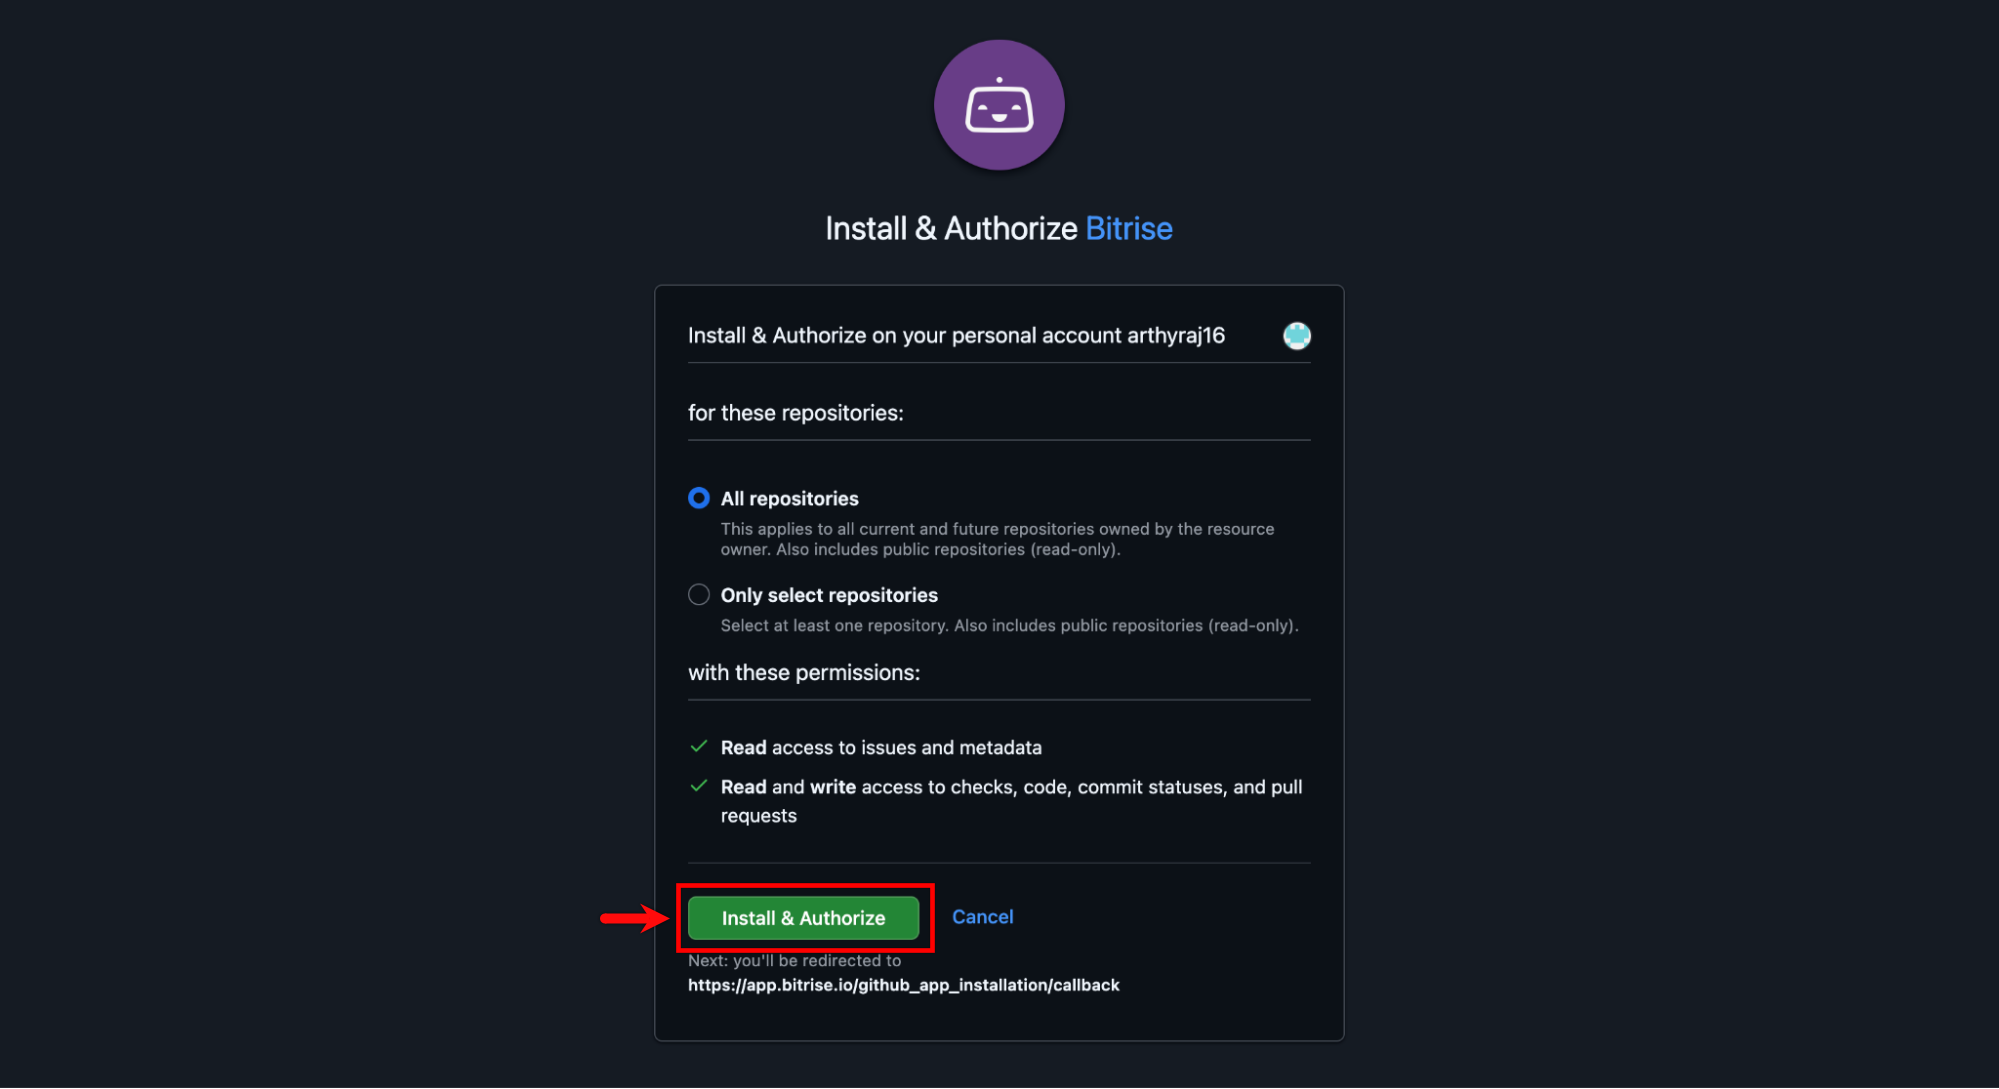
- On the Install & Authorize Bitrise screen, click Install & Authorize.
- Browse and select the desired repository from GitHub, then click Next.
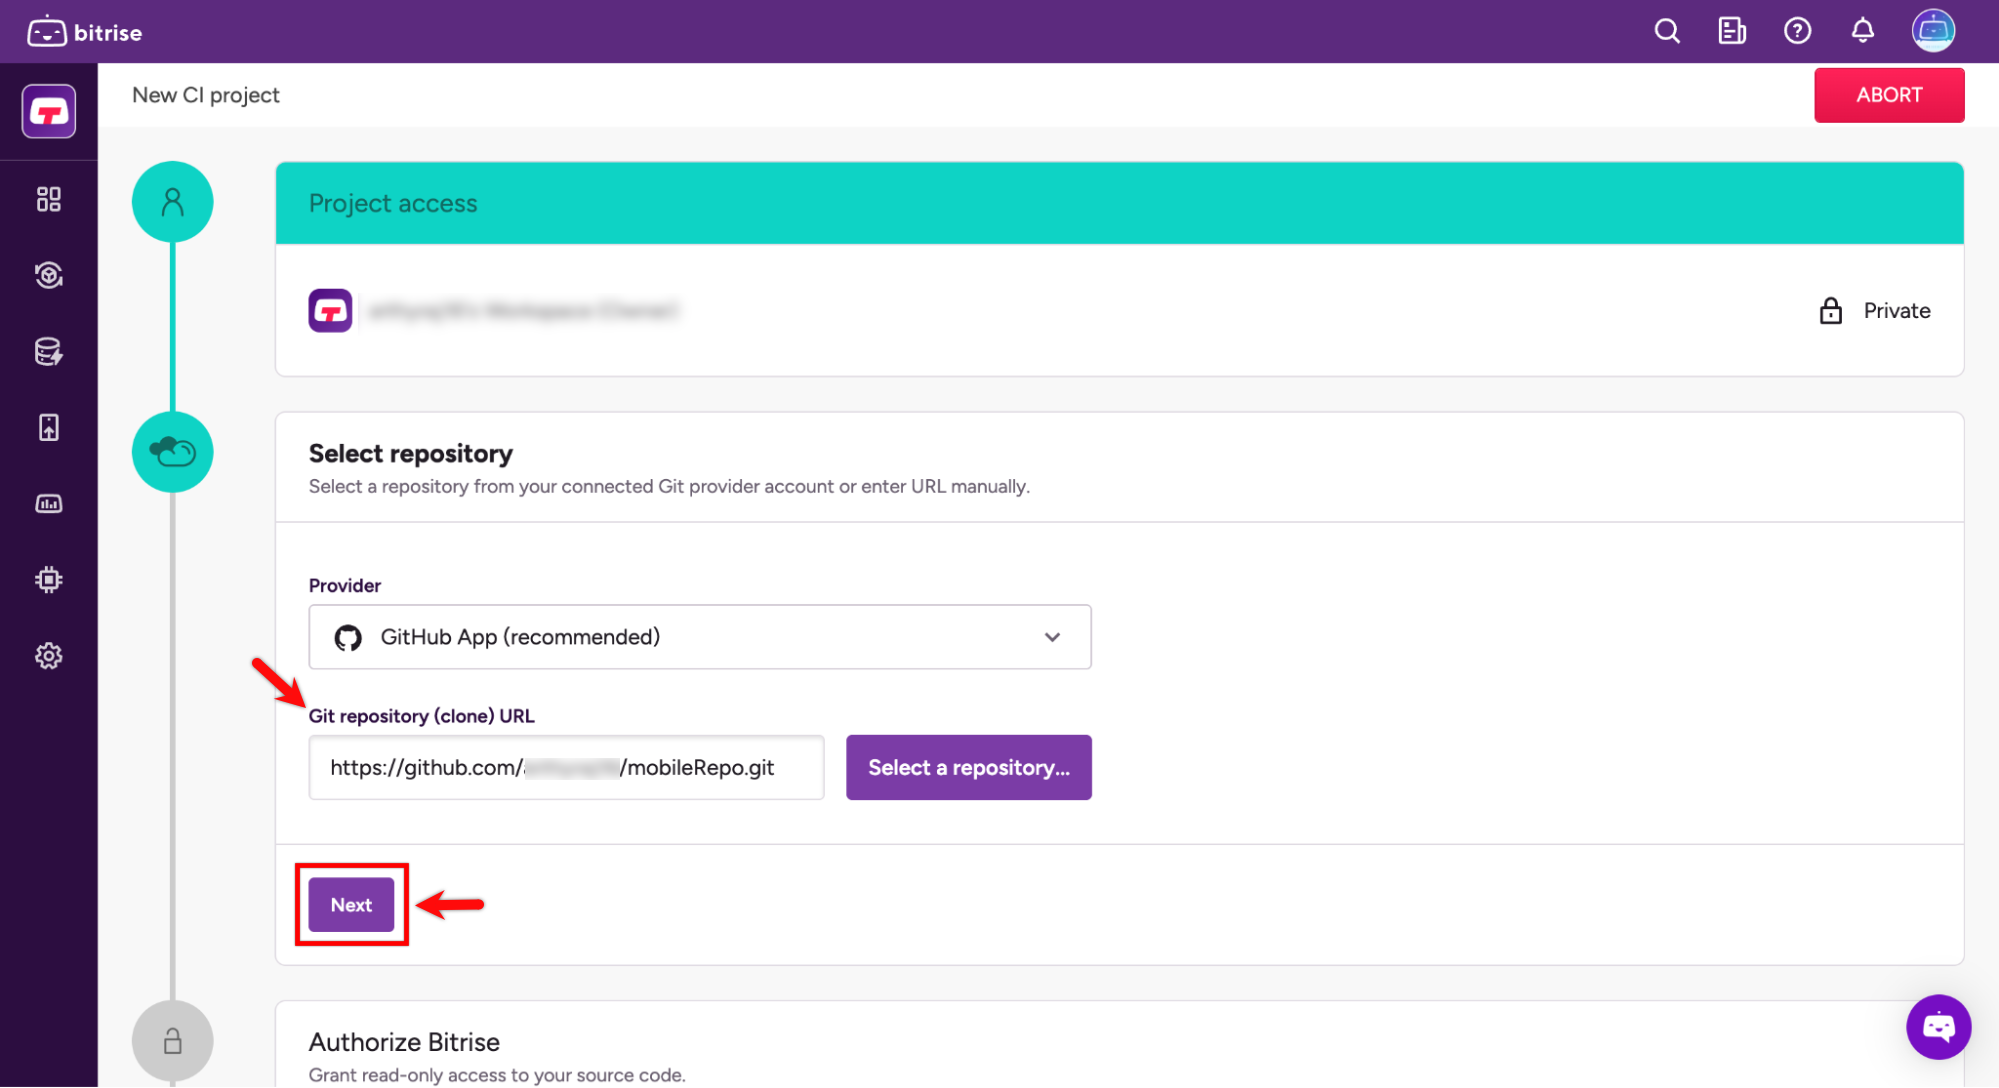
- From the Default Branch dropdown, choose the appropriate branch and click Next.
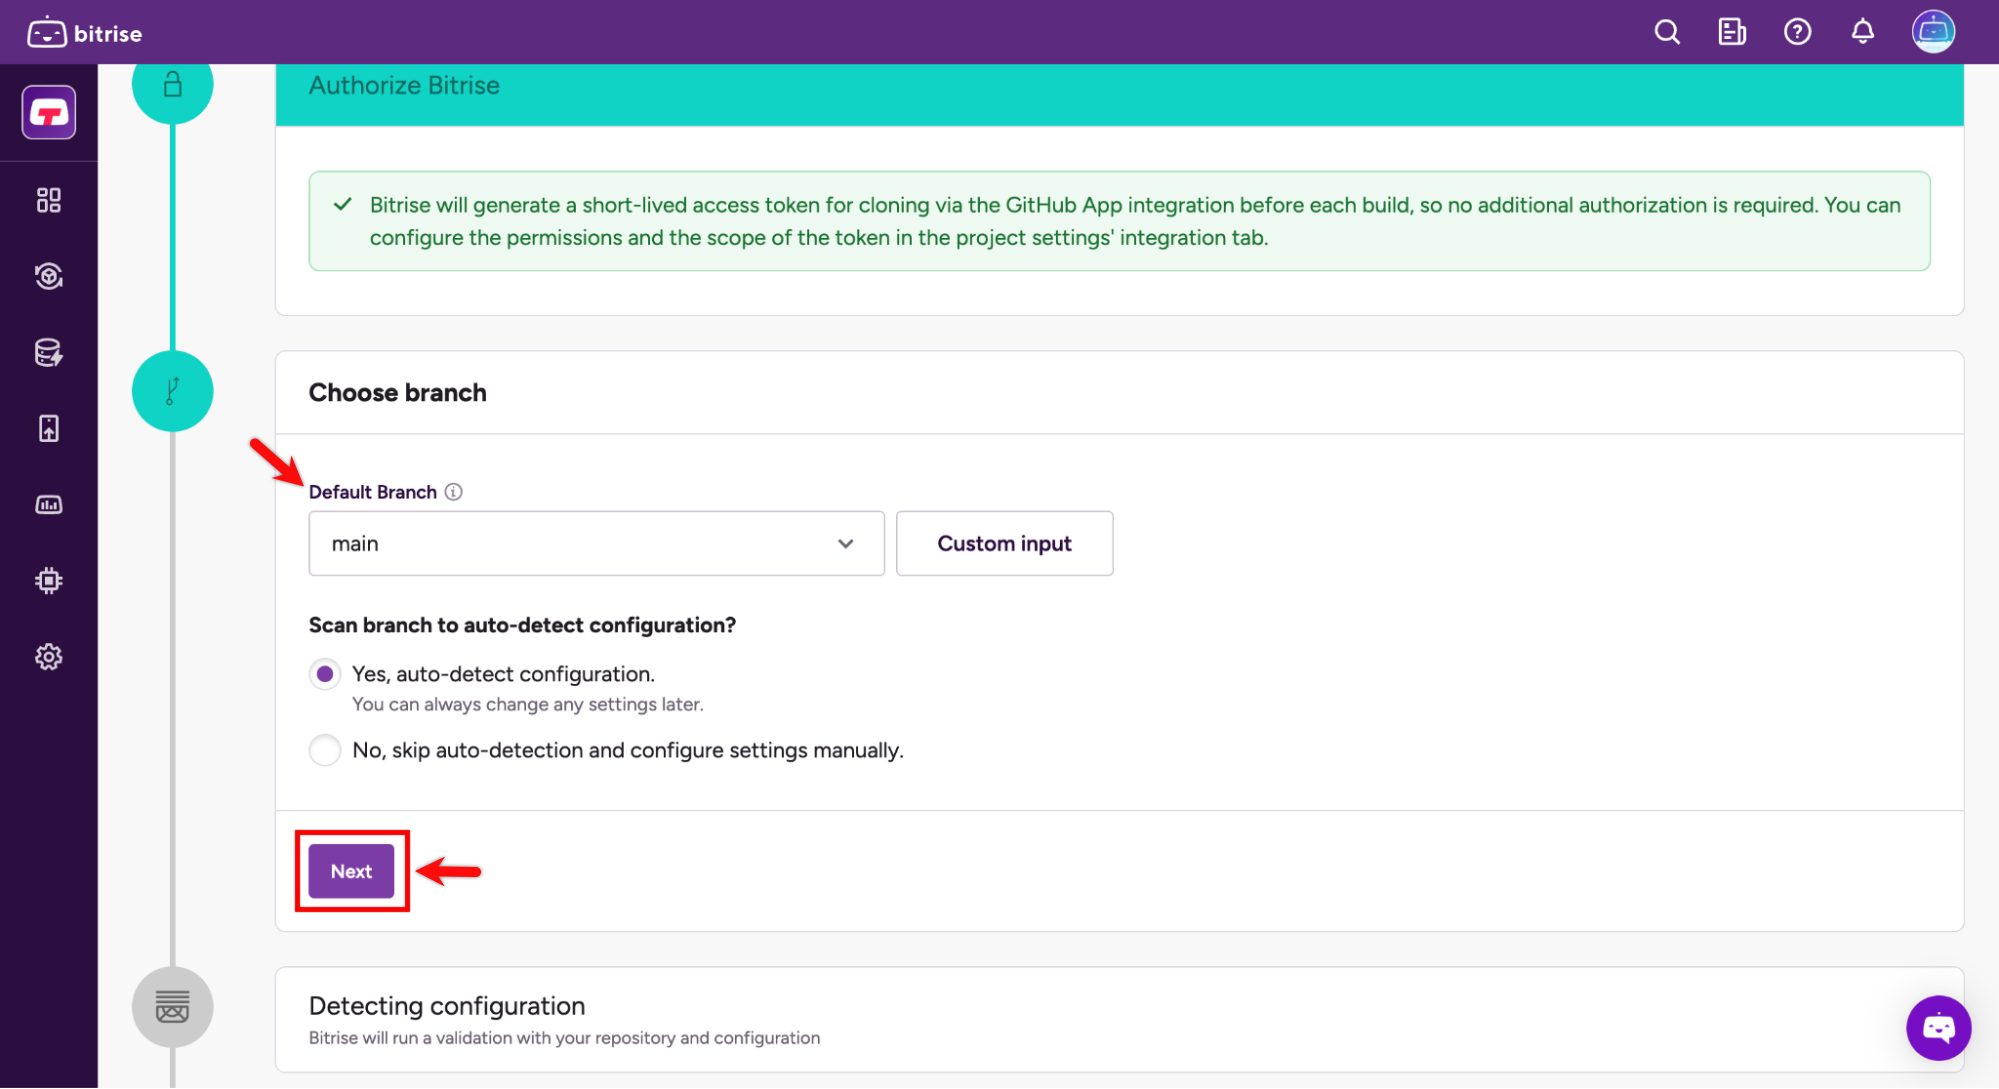
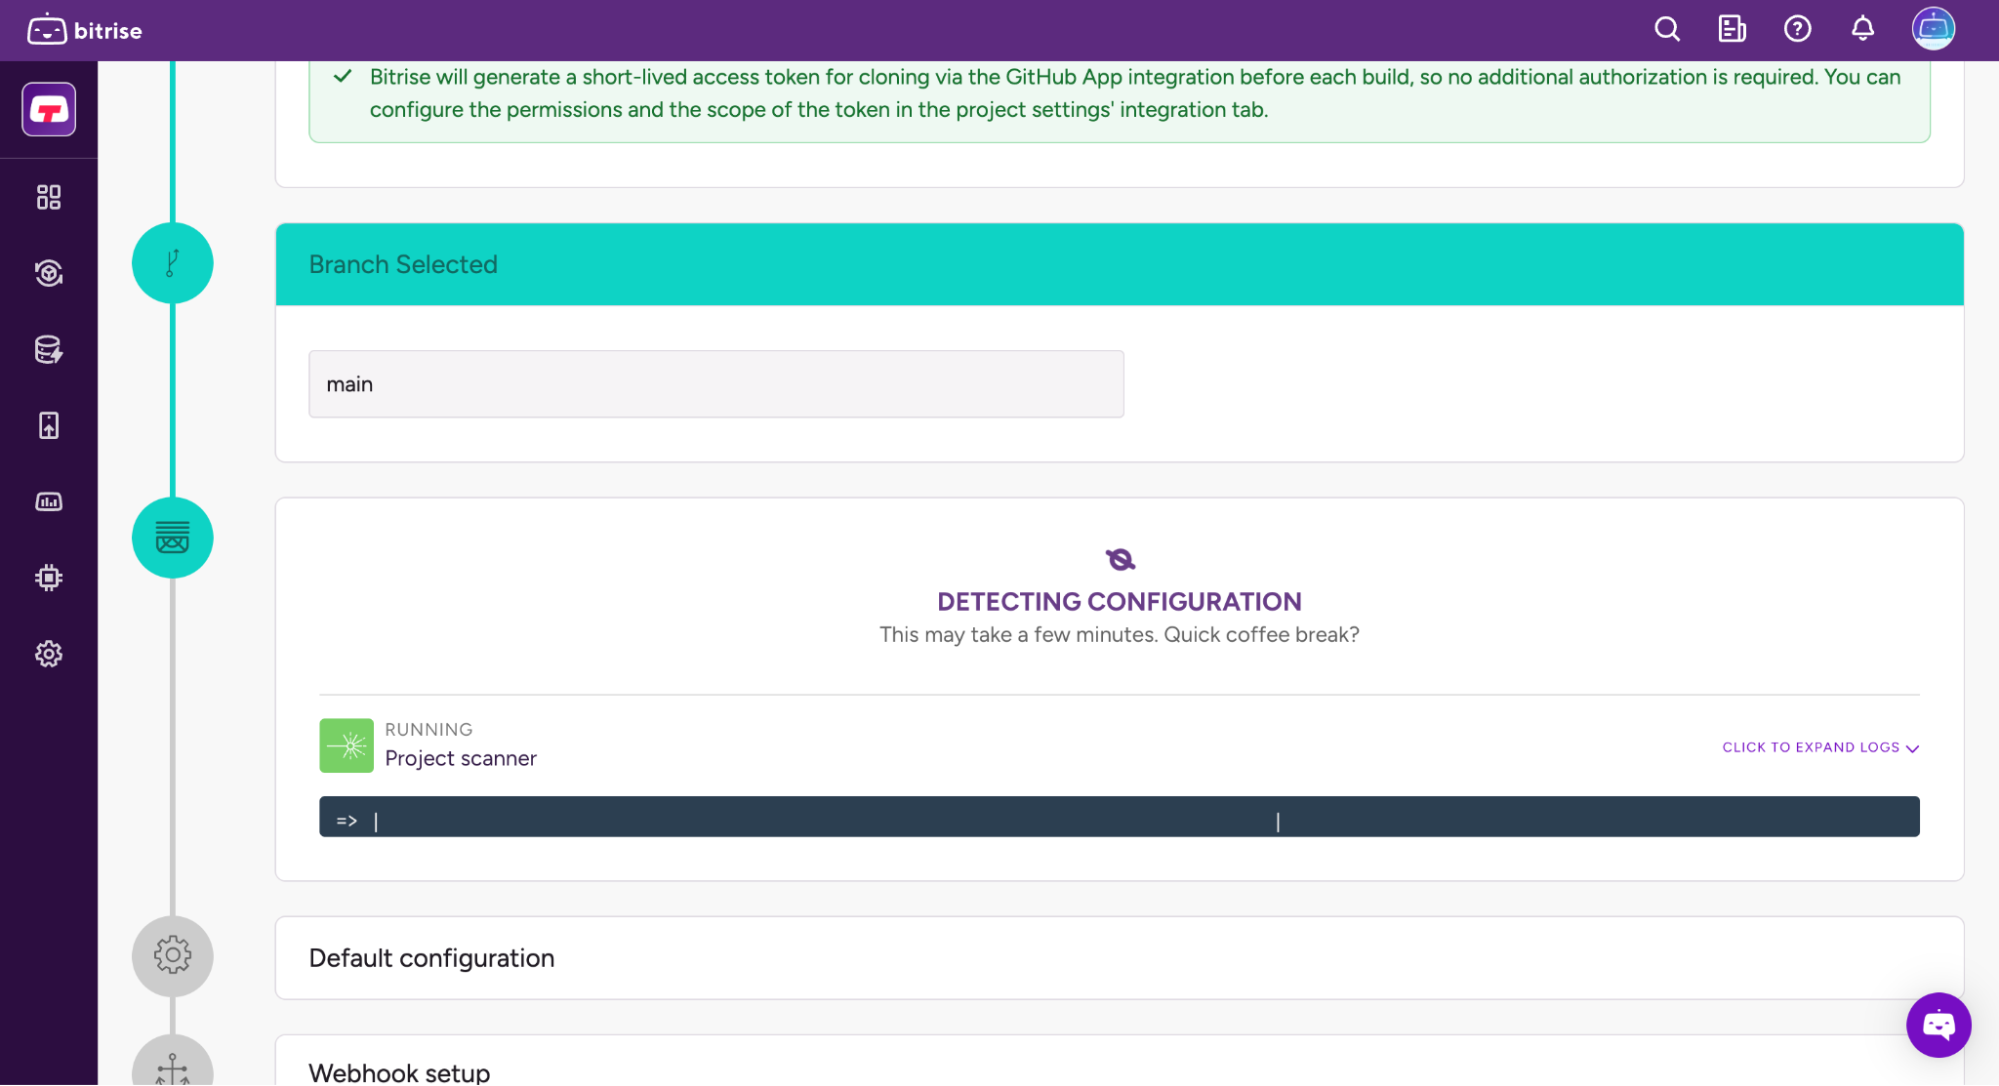
- Bitrise will now attempt to connect and verify the repository while configuring the app. This may take a few moments.
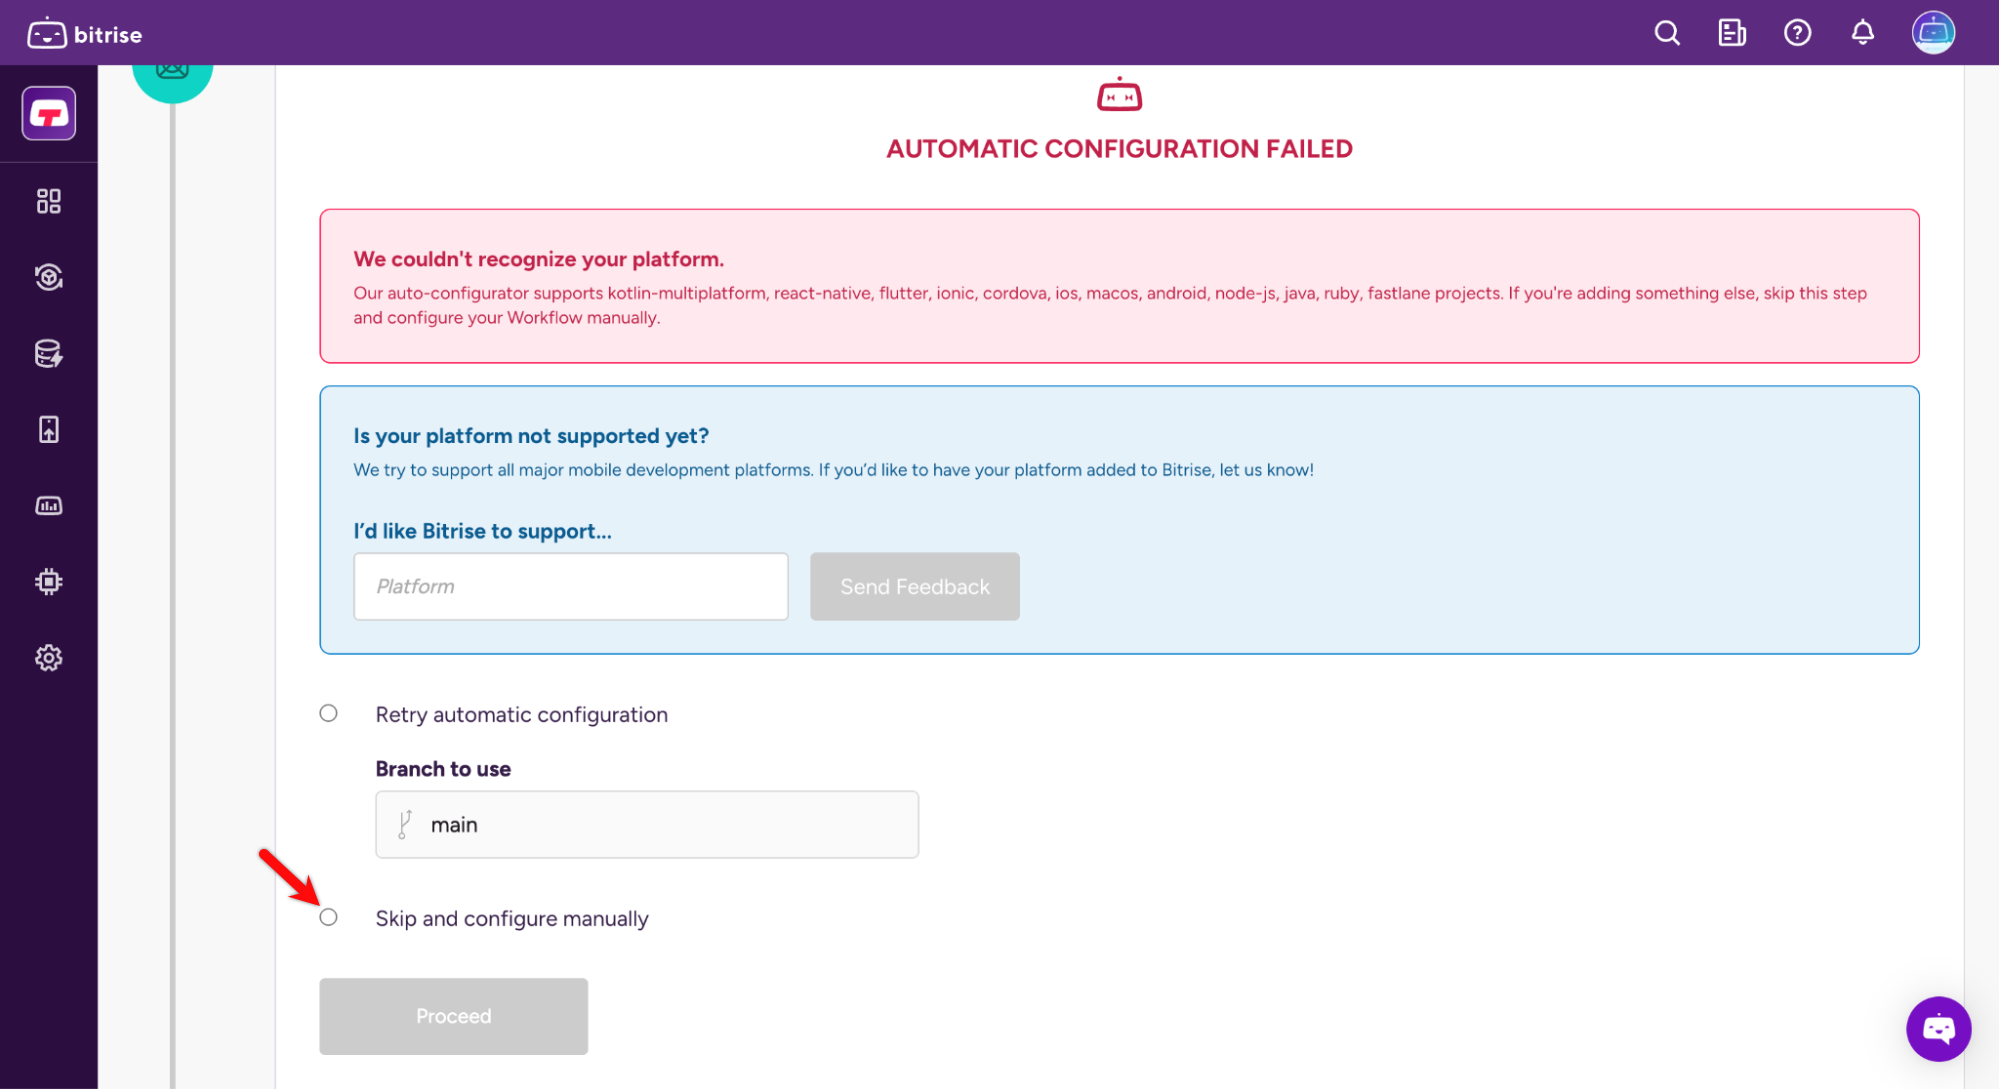
Note:
- If automatic configuration fails, select the Skip and configure manually radio button and click Proceed.
- Under the Configure your build section, open the Project Type dropdown and choose Other.
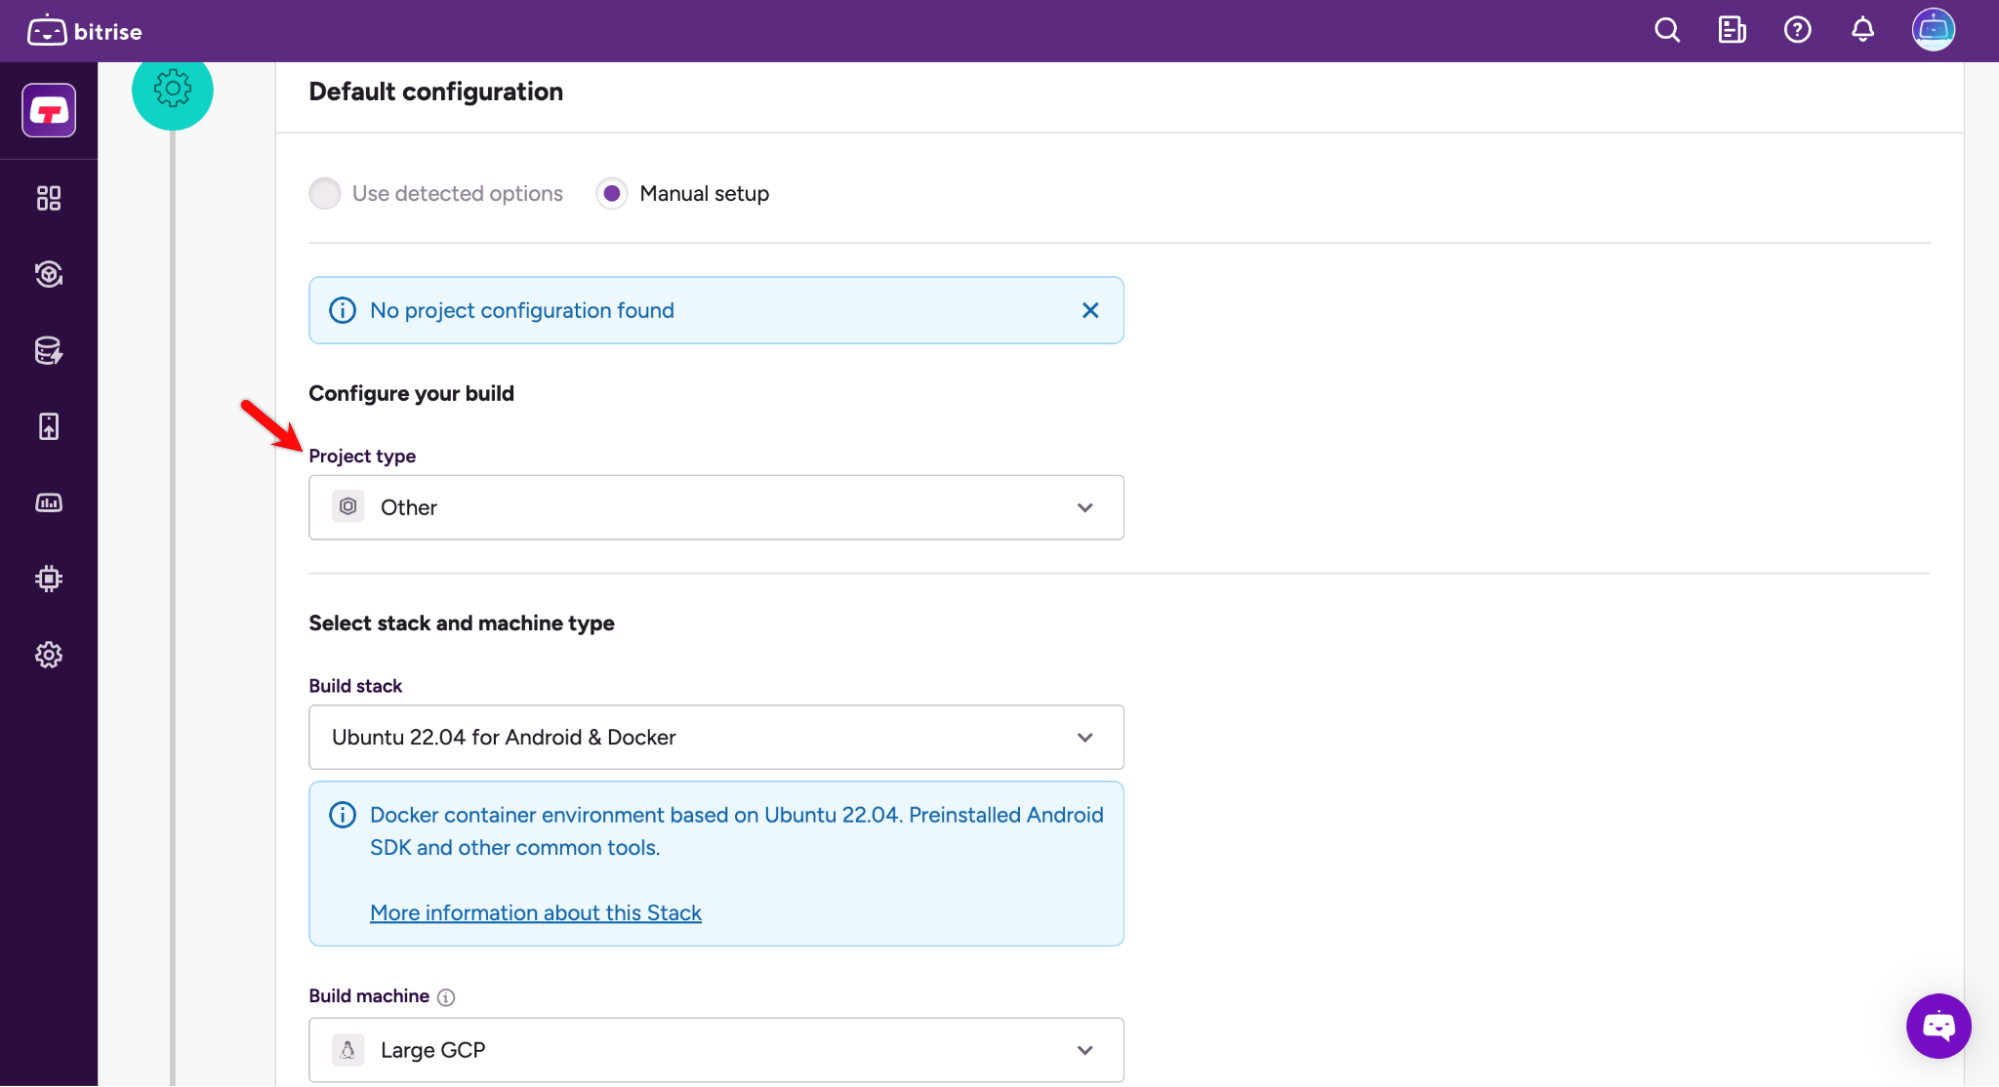
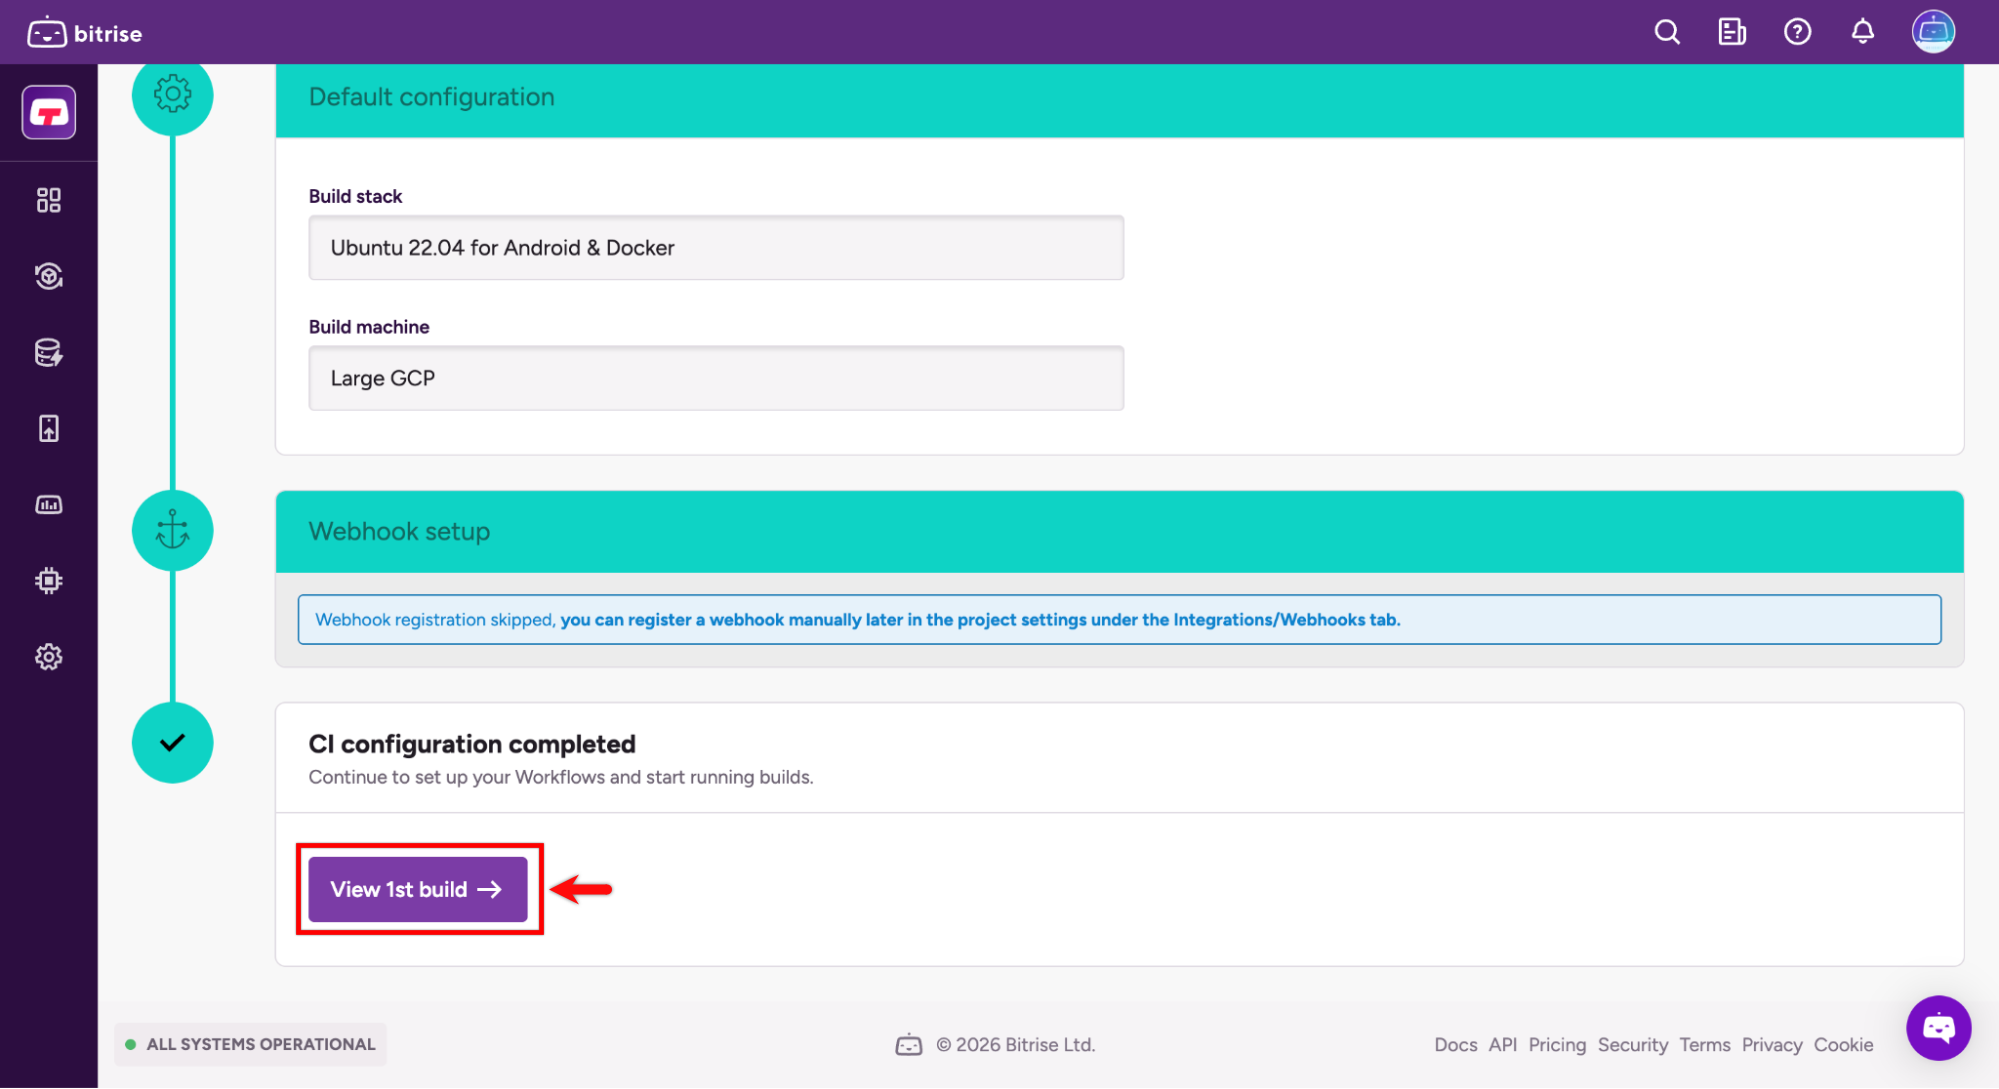
- Click View 1st Build.
Step 3: Configure the Shell Script as Step
- On the Build #1 screen, click Edit Workflow.
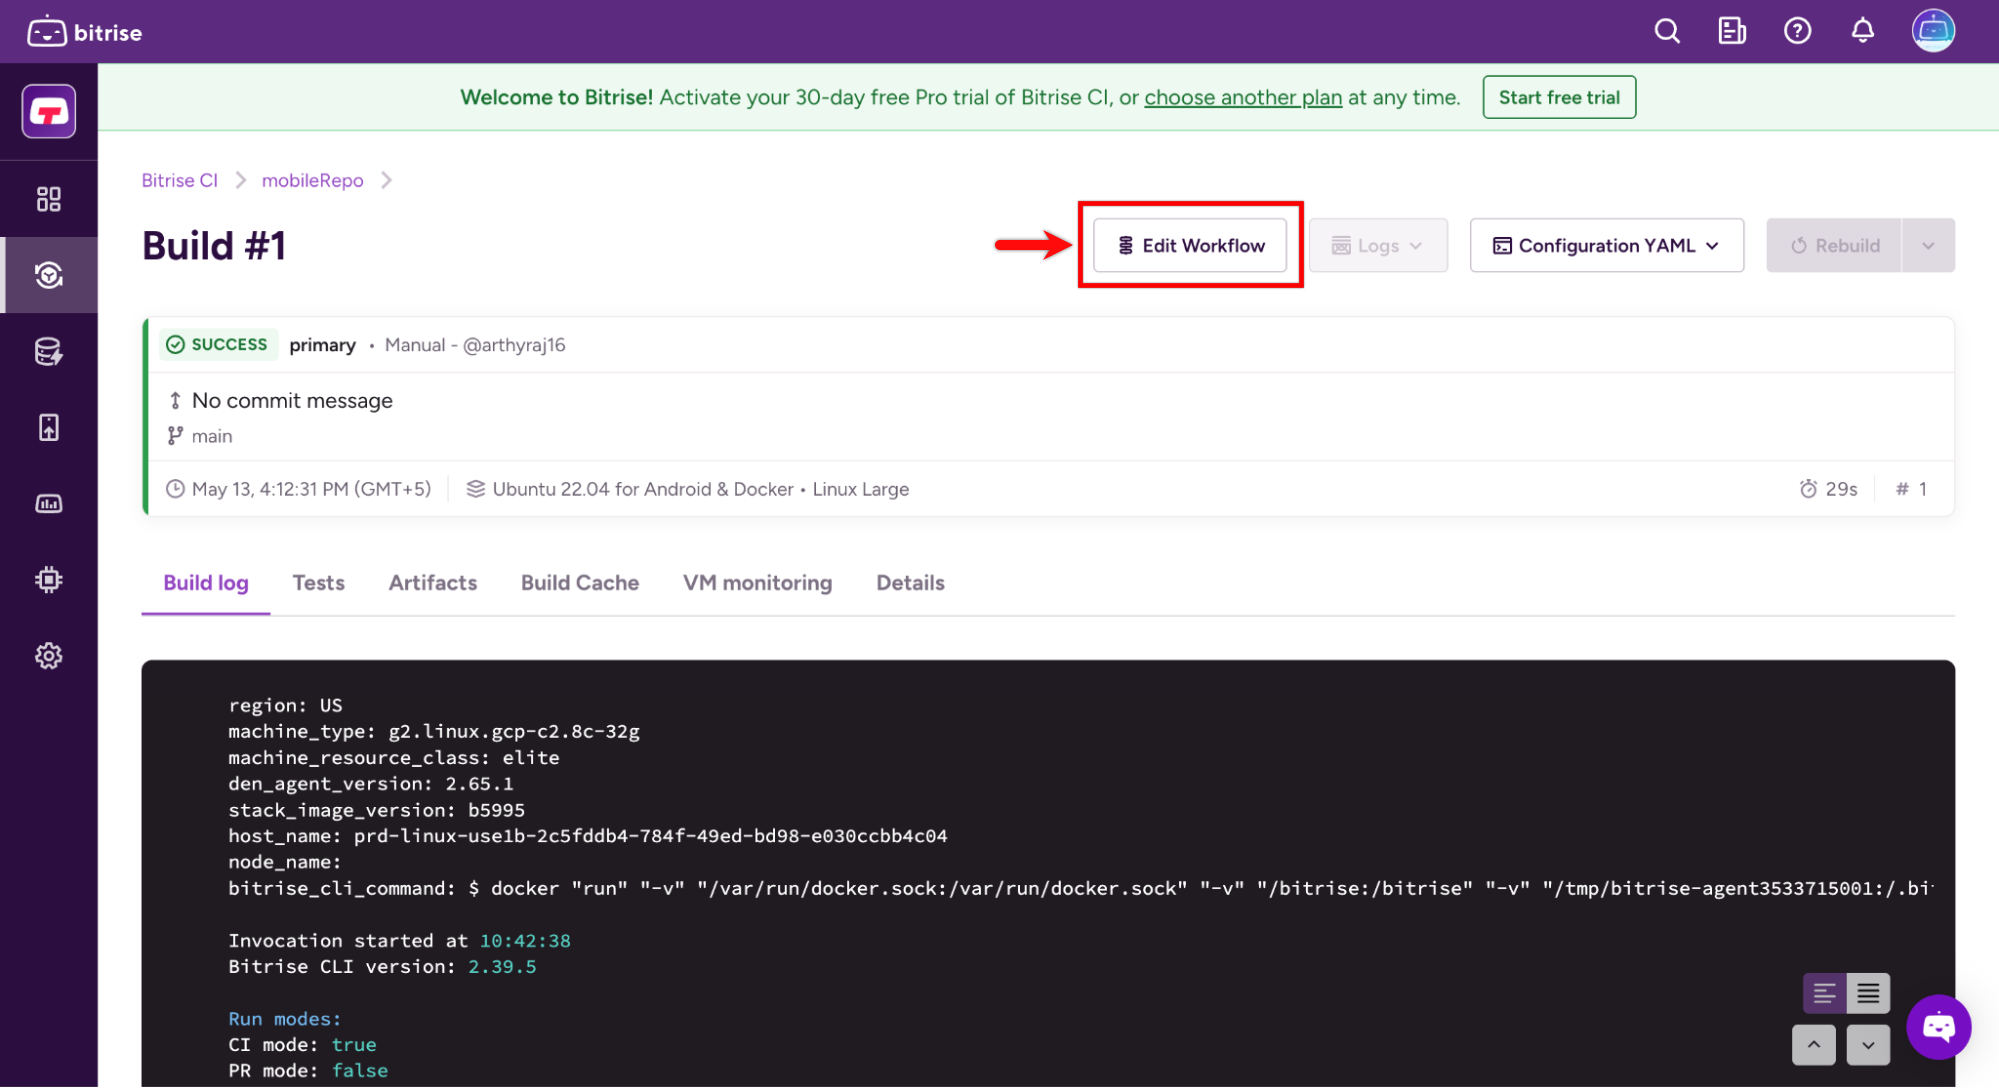
- In the workflow editor, you can define a custom workflow and add the steps you need. You can also remove any auto-generated steps that aren't required.
- Click the + icon to add a new step.
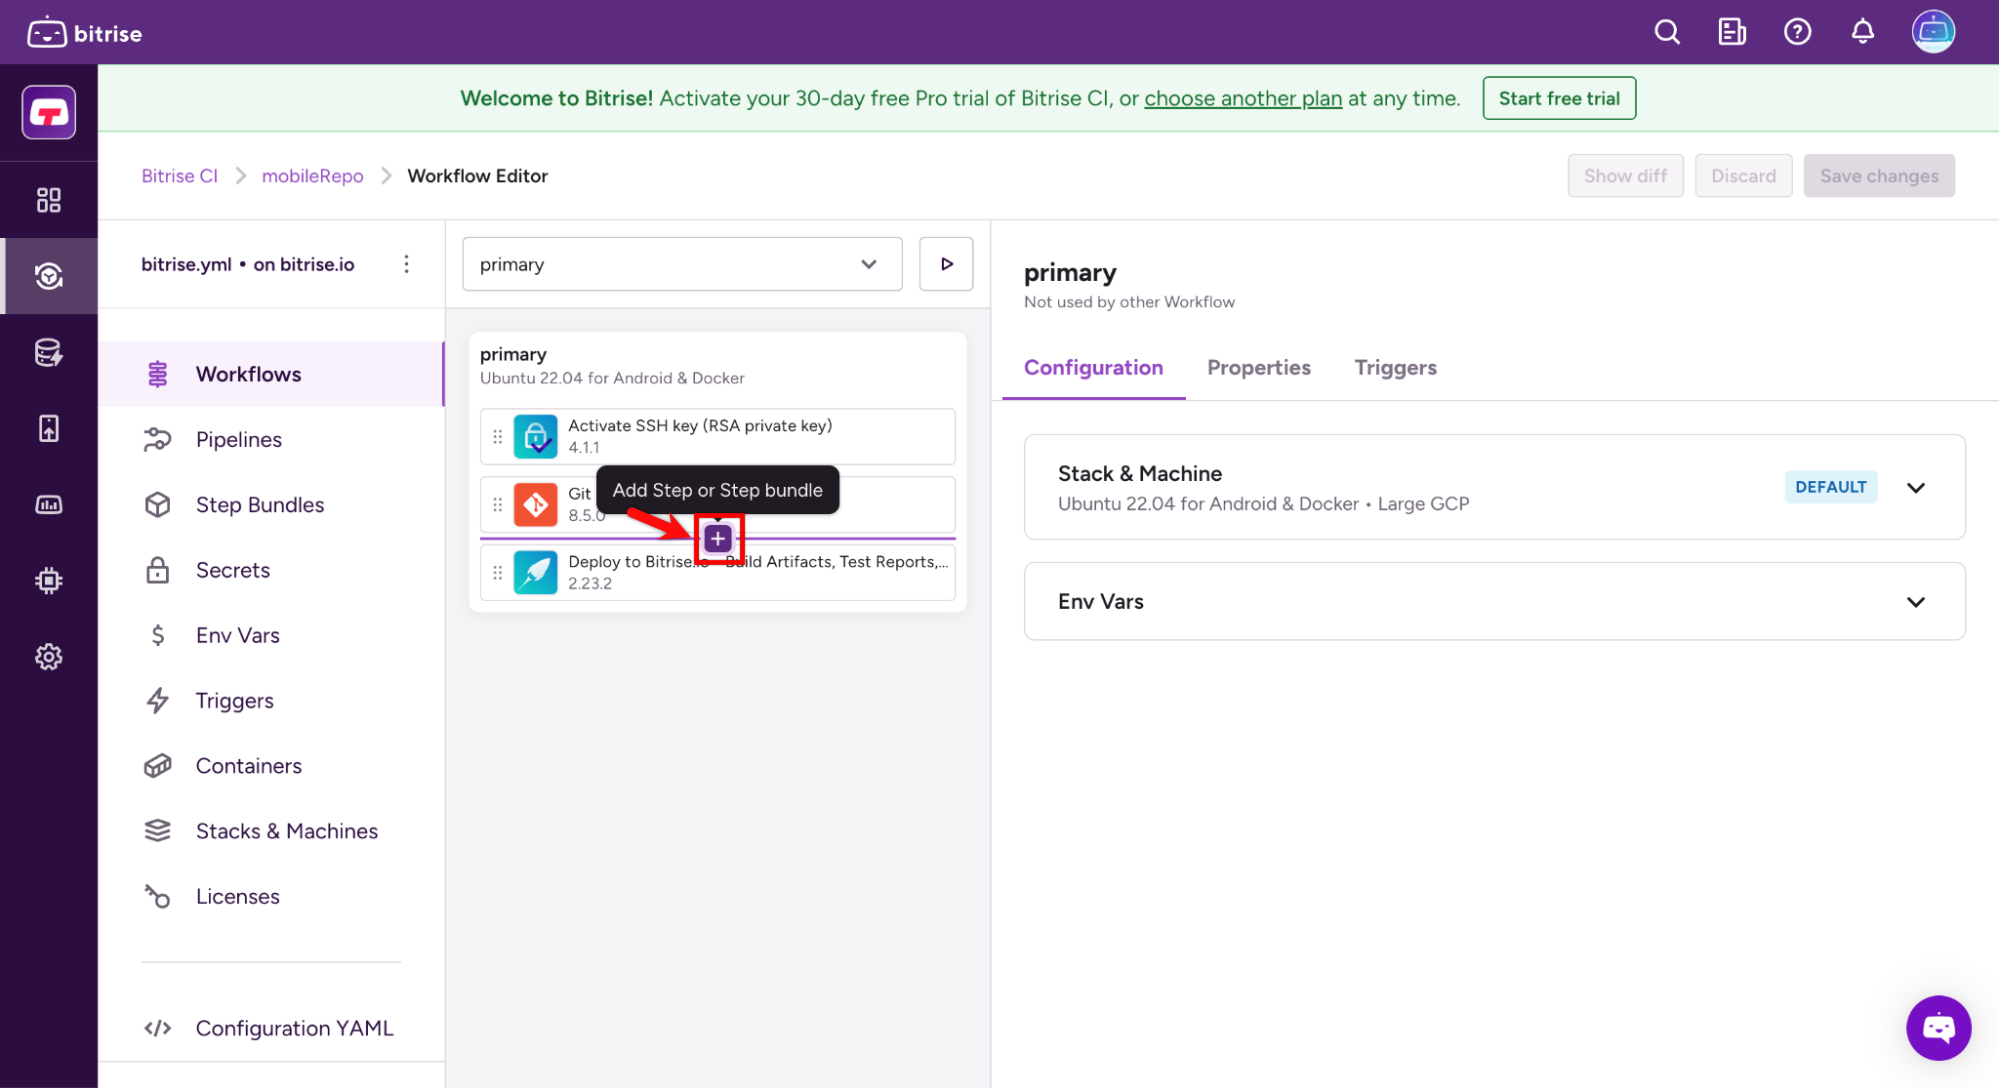
- Search for Script Runner.
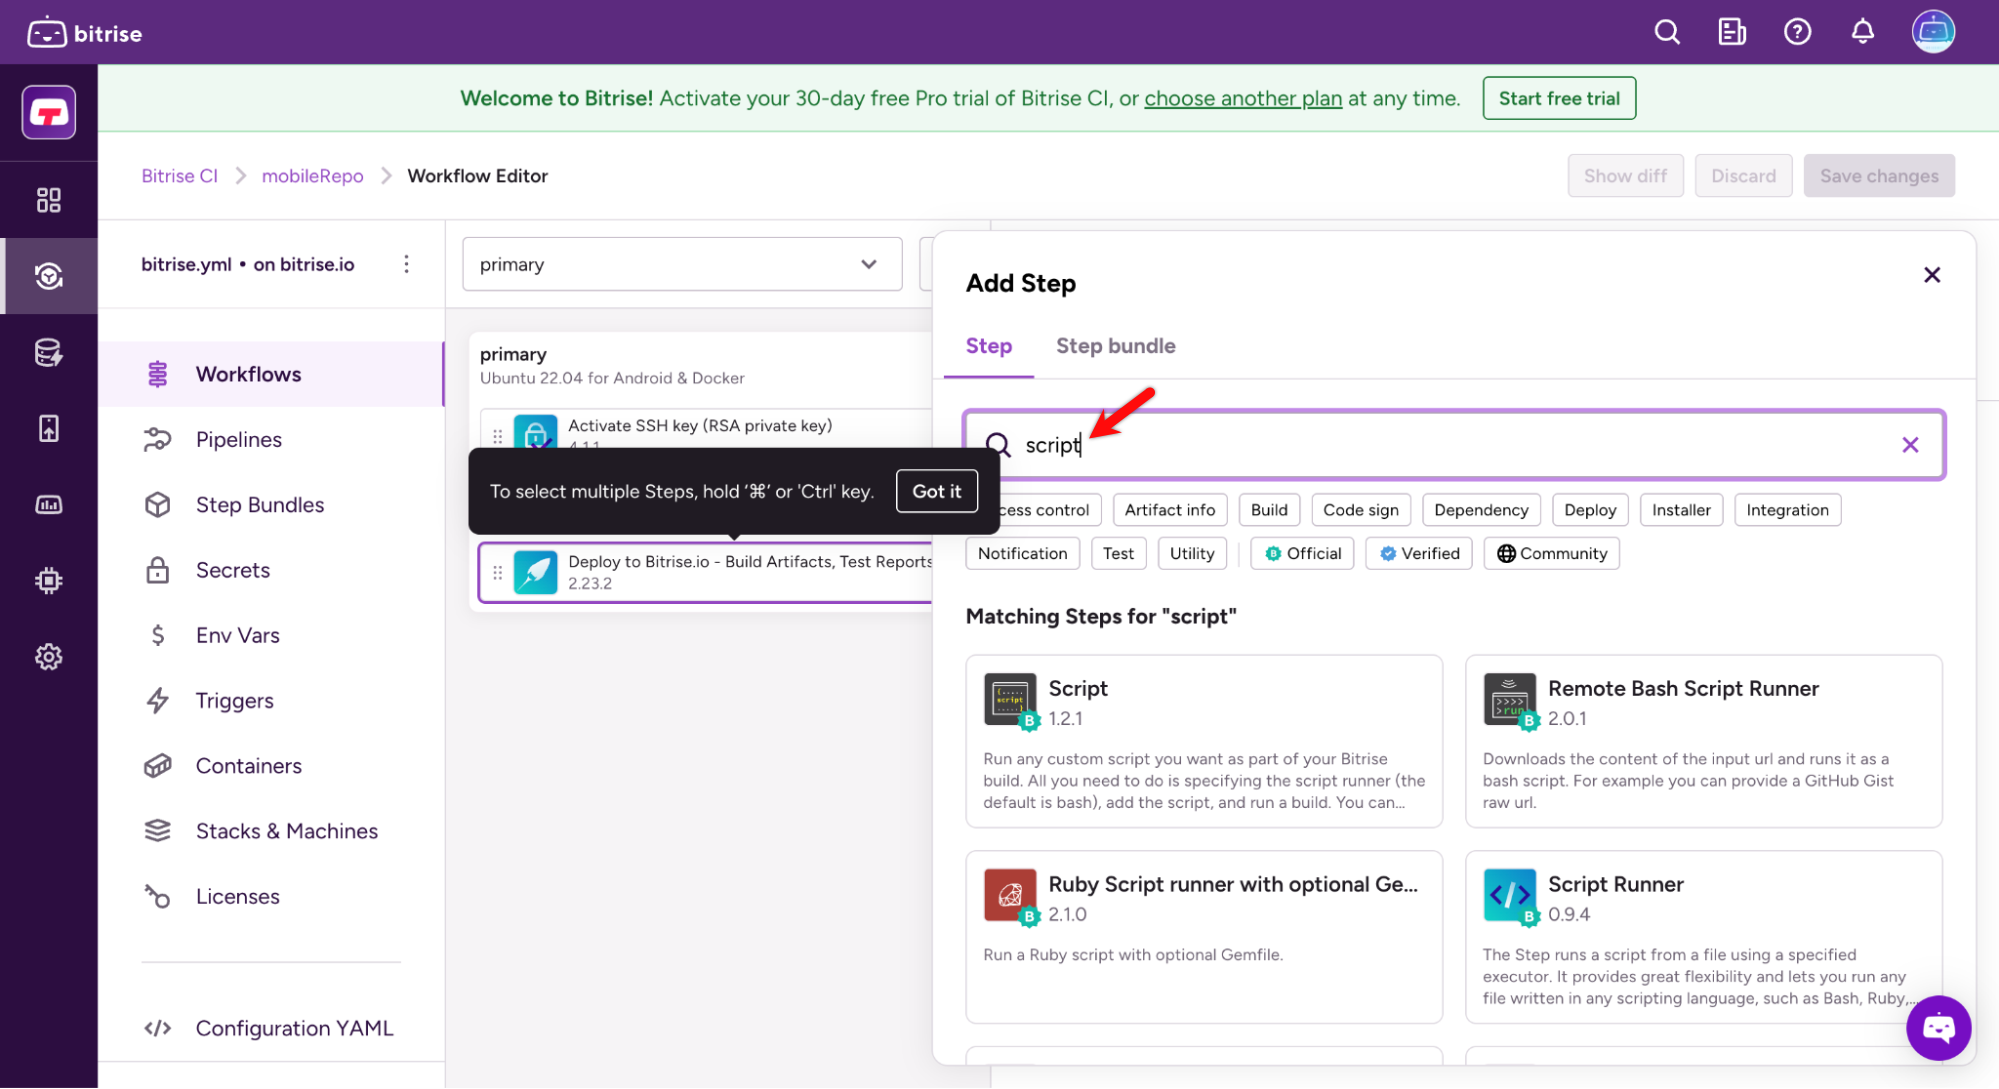
- Expand the When to run section, enter
./bitrise.shin the Script location field, set./in the Working directory (option) field, and leave all other fields at their default values, and click Save Changes.
- Return to your project and click Start Build.
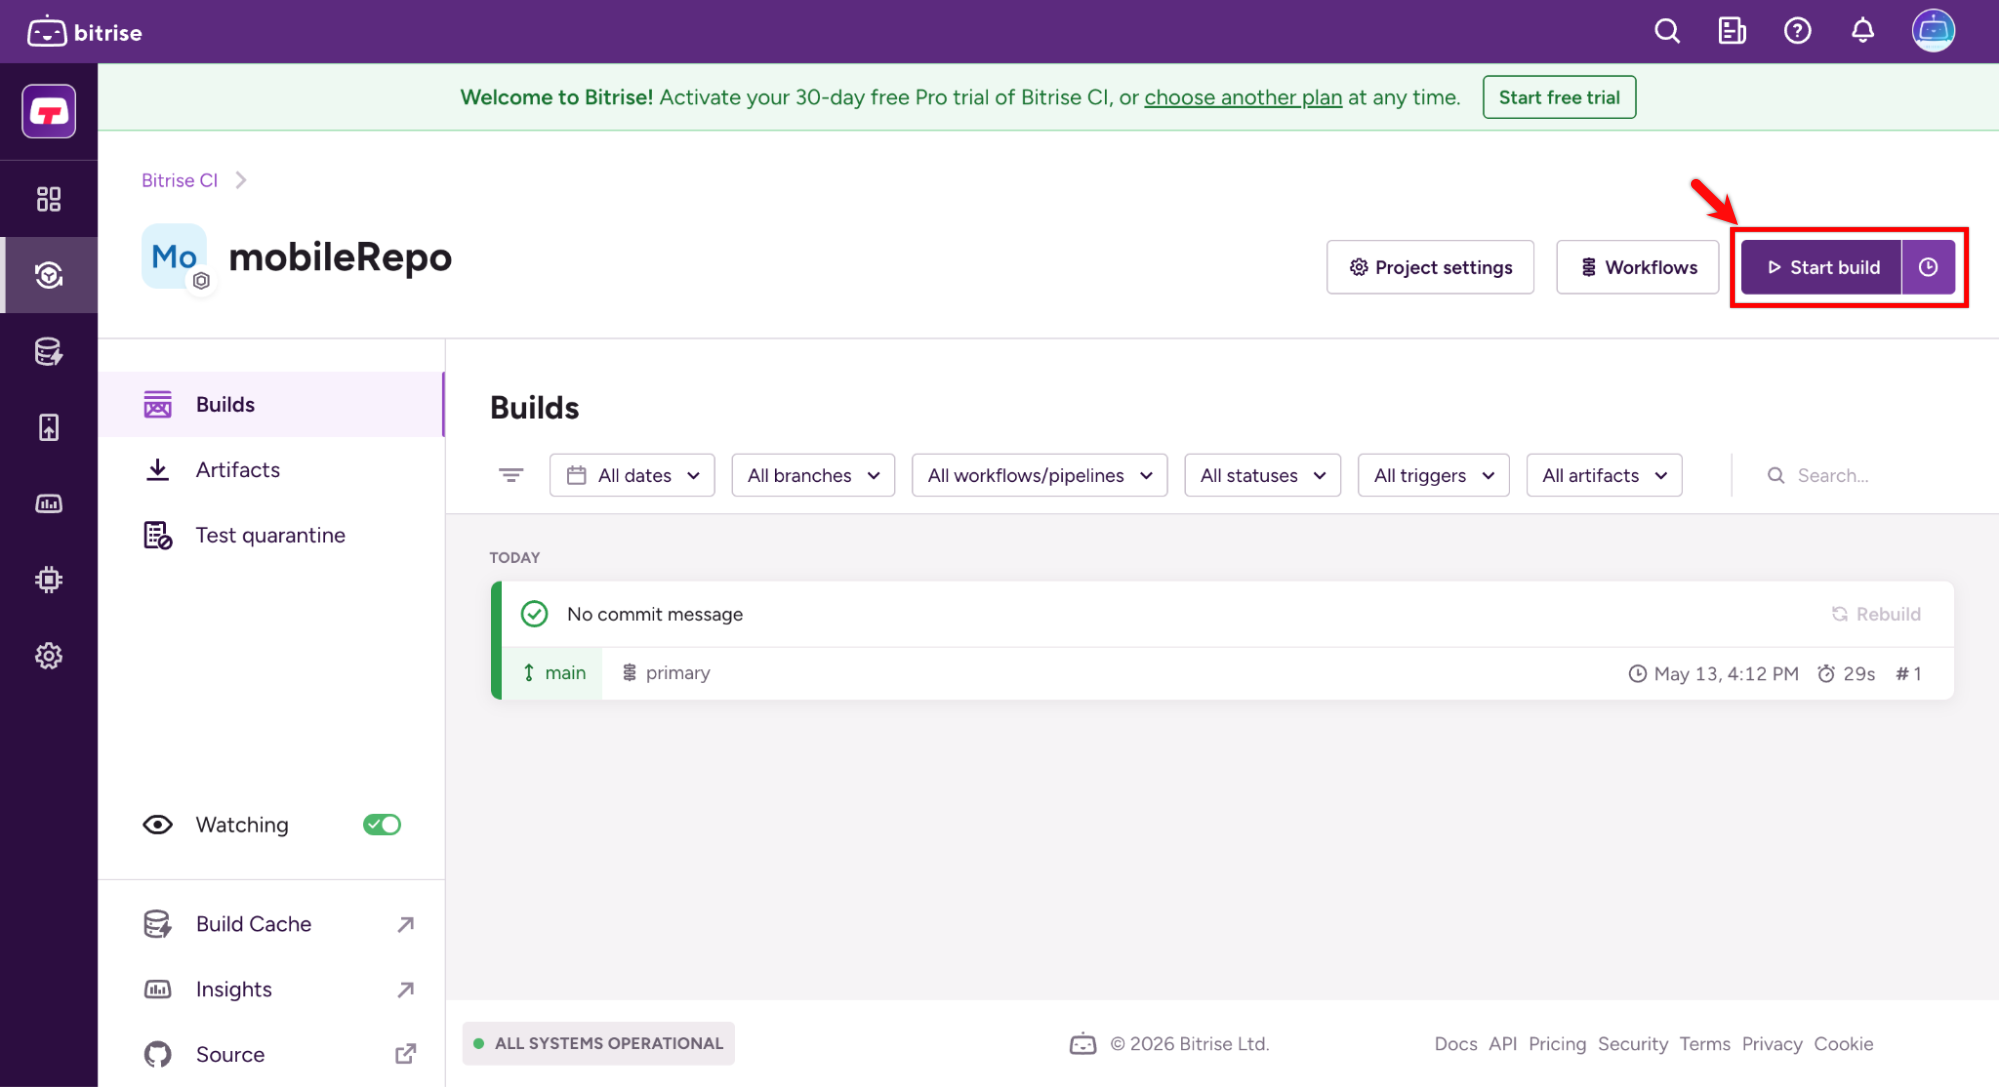
- You can monitor progress in the build run section to view logs. Once all steps are complete, the build will be marked as passed or failed based on the outcome.
Want to contribute or report missing content?