- salesforce testing
 Intro: Testsigma for Salesforce Testing
- Creating a Connected App
- Creating a Salesforce Project
- Test Salesforce Connection
- Creating Metadata Connections
- Adding User Connections
- Build Test Cases: Manual+Live
- Salesforce Element Repositories
- Intro: Testsigma Special NLPs
- SOQL as Test Step
- Query Builder for Salesforce Testing
- Automating Listview Table NLPs
- Error Handling On Metadata Refresh
Adding User Connections
Once you've set up the Salesforce Metadata connection, you can add user connections in Testsigma. These connections are associated with Salesforce user profiles, such as Salesforce admin or sales representative. You can also assign a single connection to multiple users. This article discusses adding User Connections for Salesforce projects in Testsigma.
Prerequisites
Before you begin, ensure that you have referred to:
- Documentation on Salesforce Connected App.
- Documentation on Salesforce Metadata connected to Testsigma.
Steps to Add User Connections
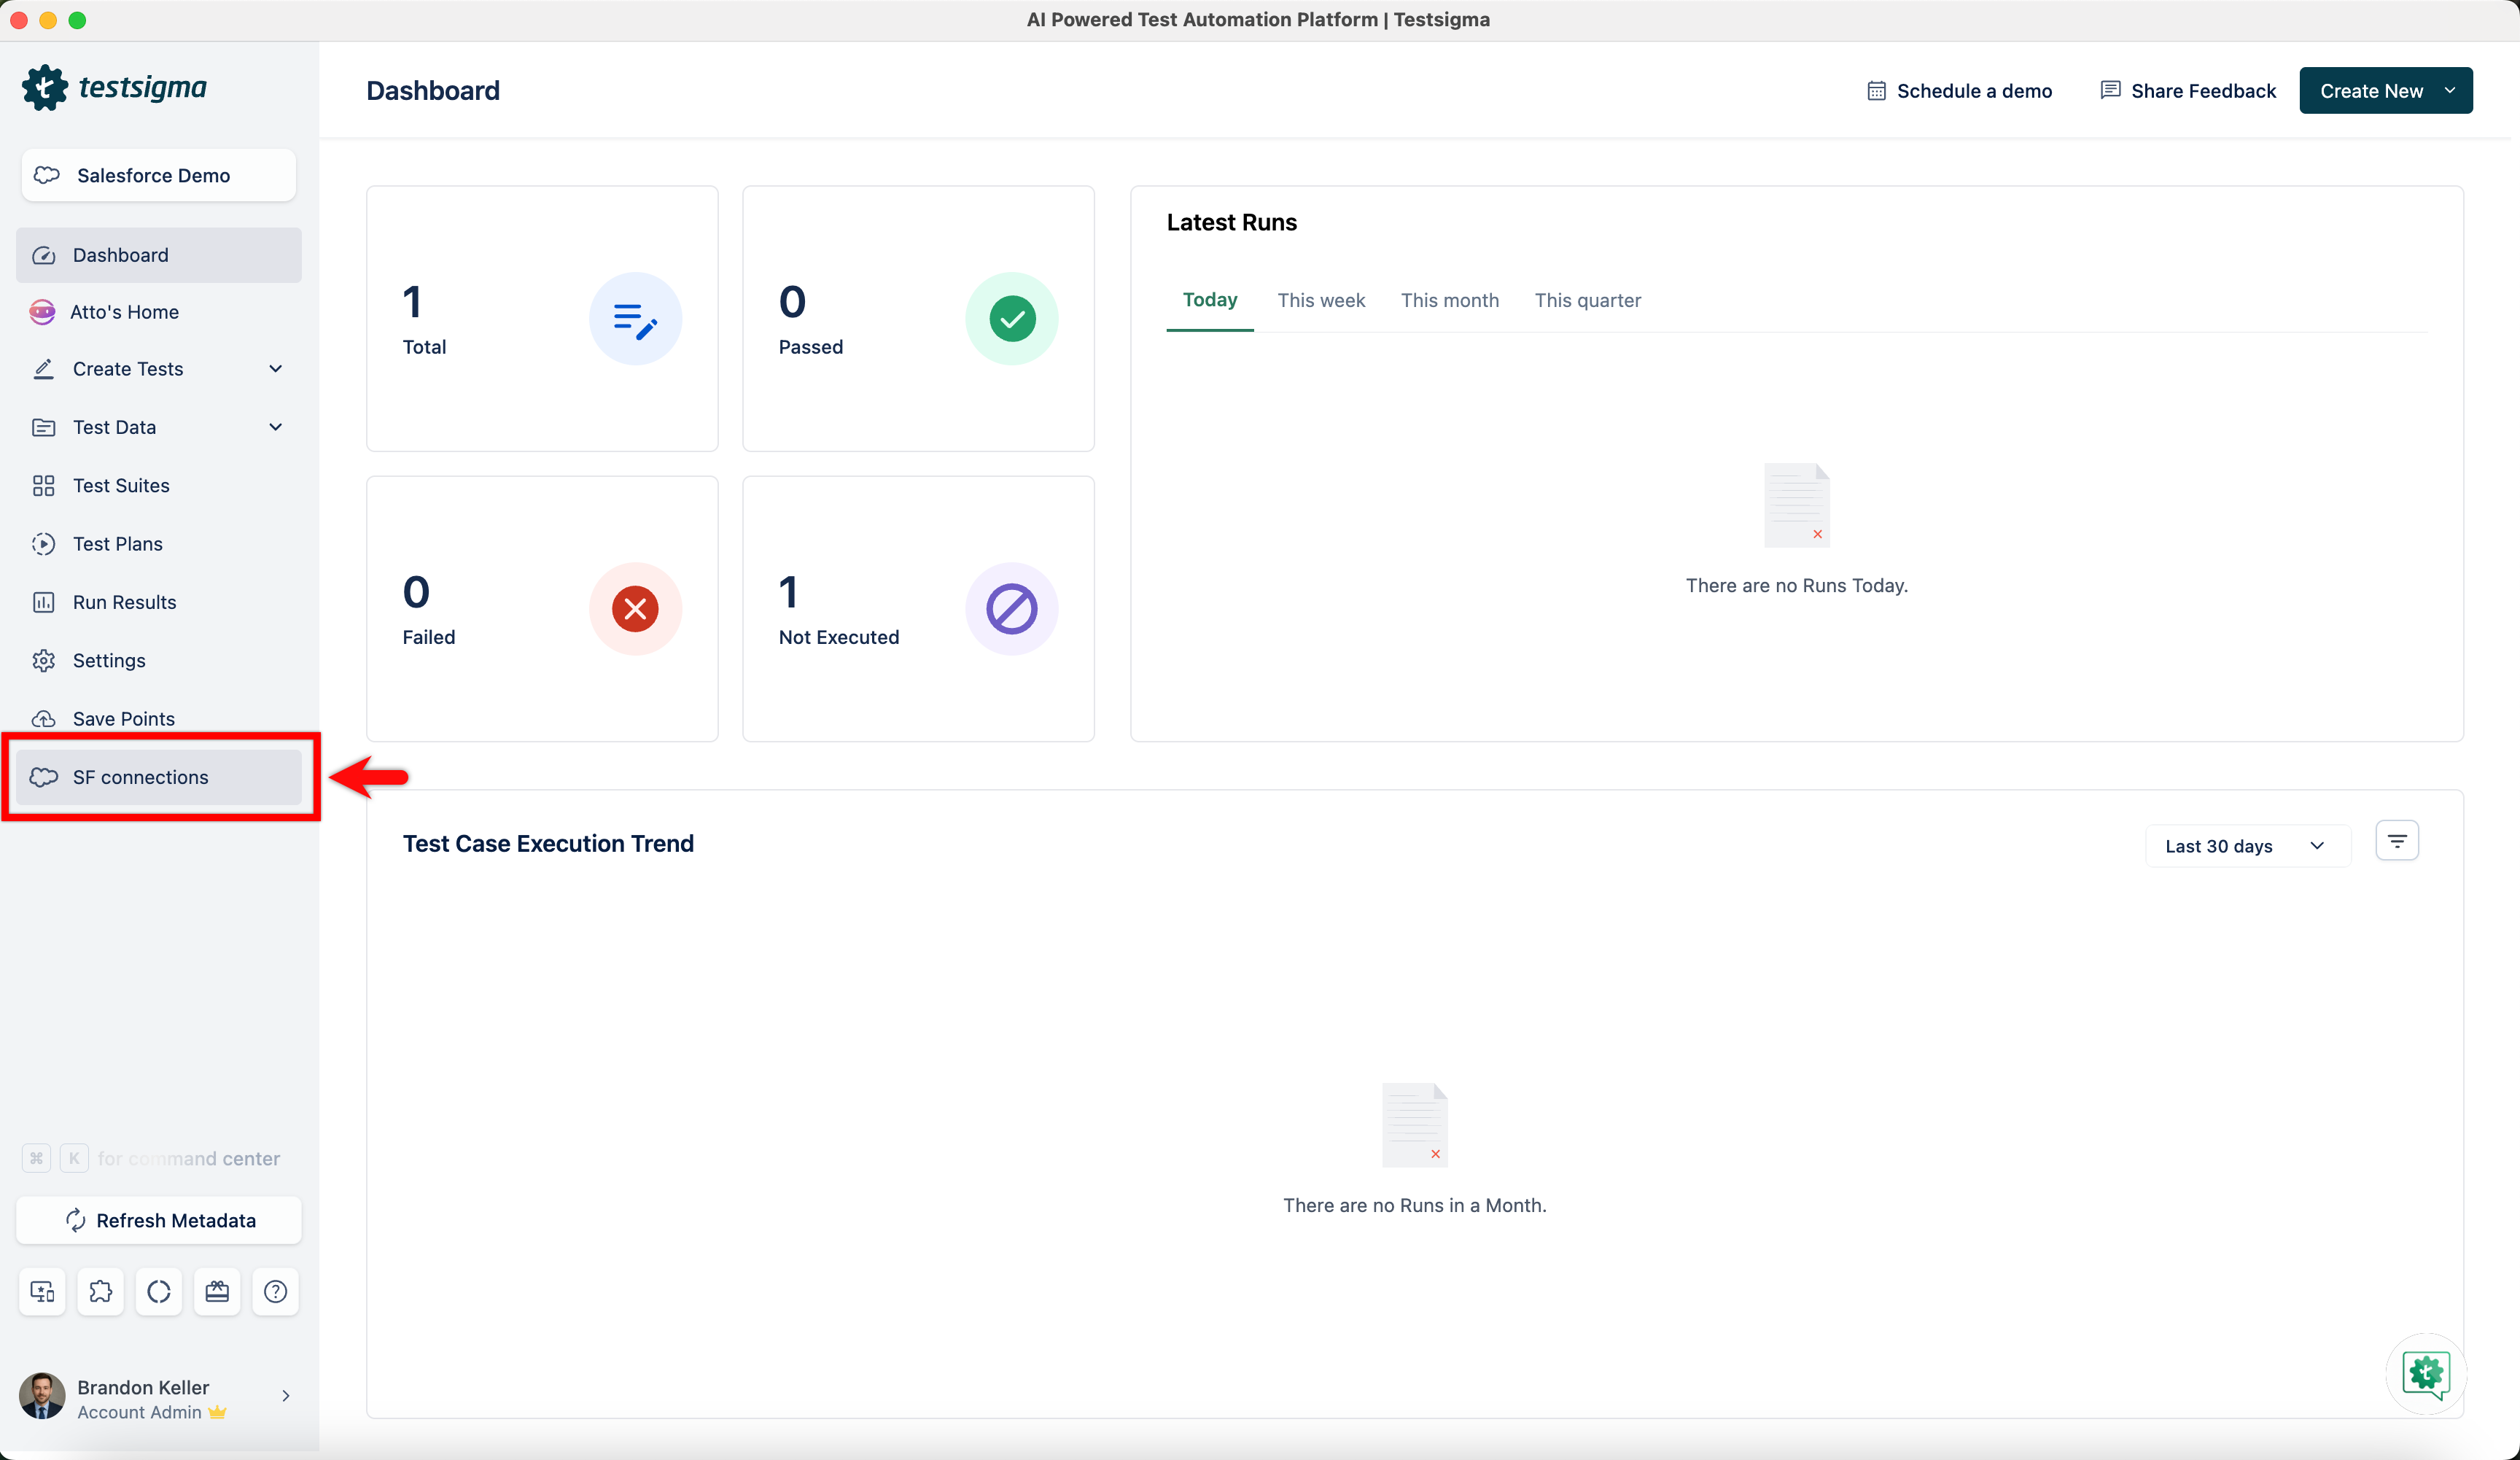
- From the left navigation bar, go to SF connections.
- In the Salesforce connections page, click Add Connection under User connection section.
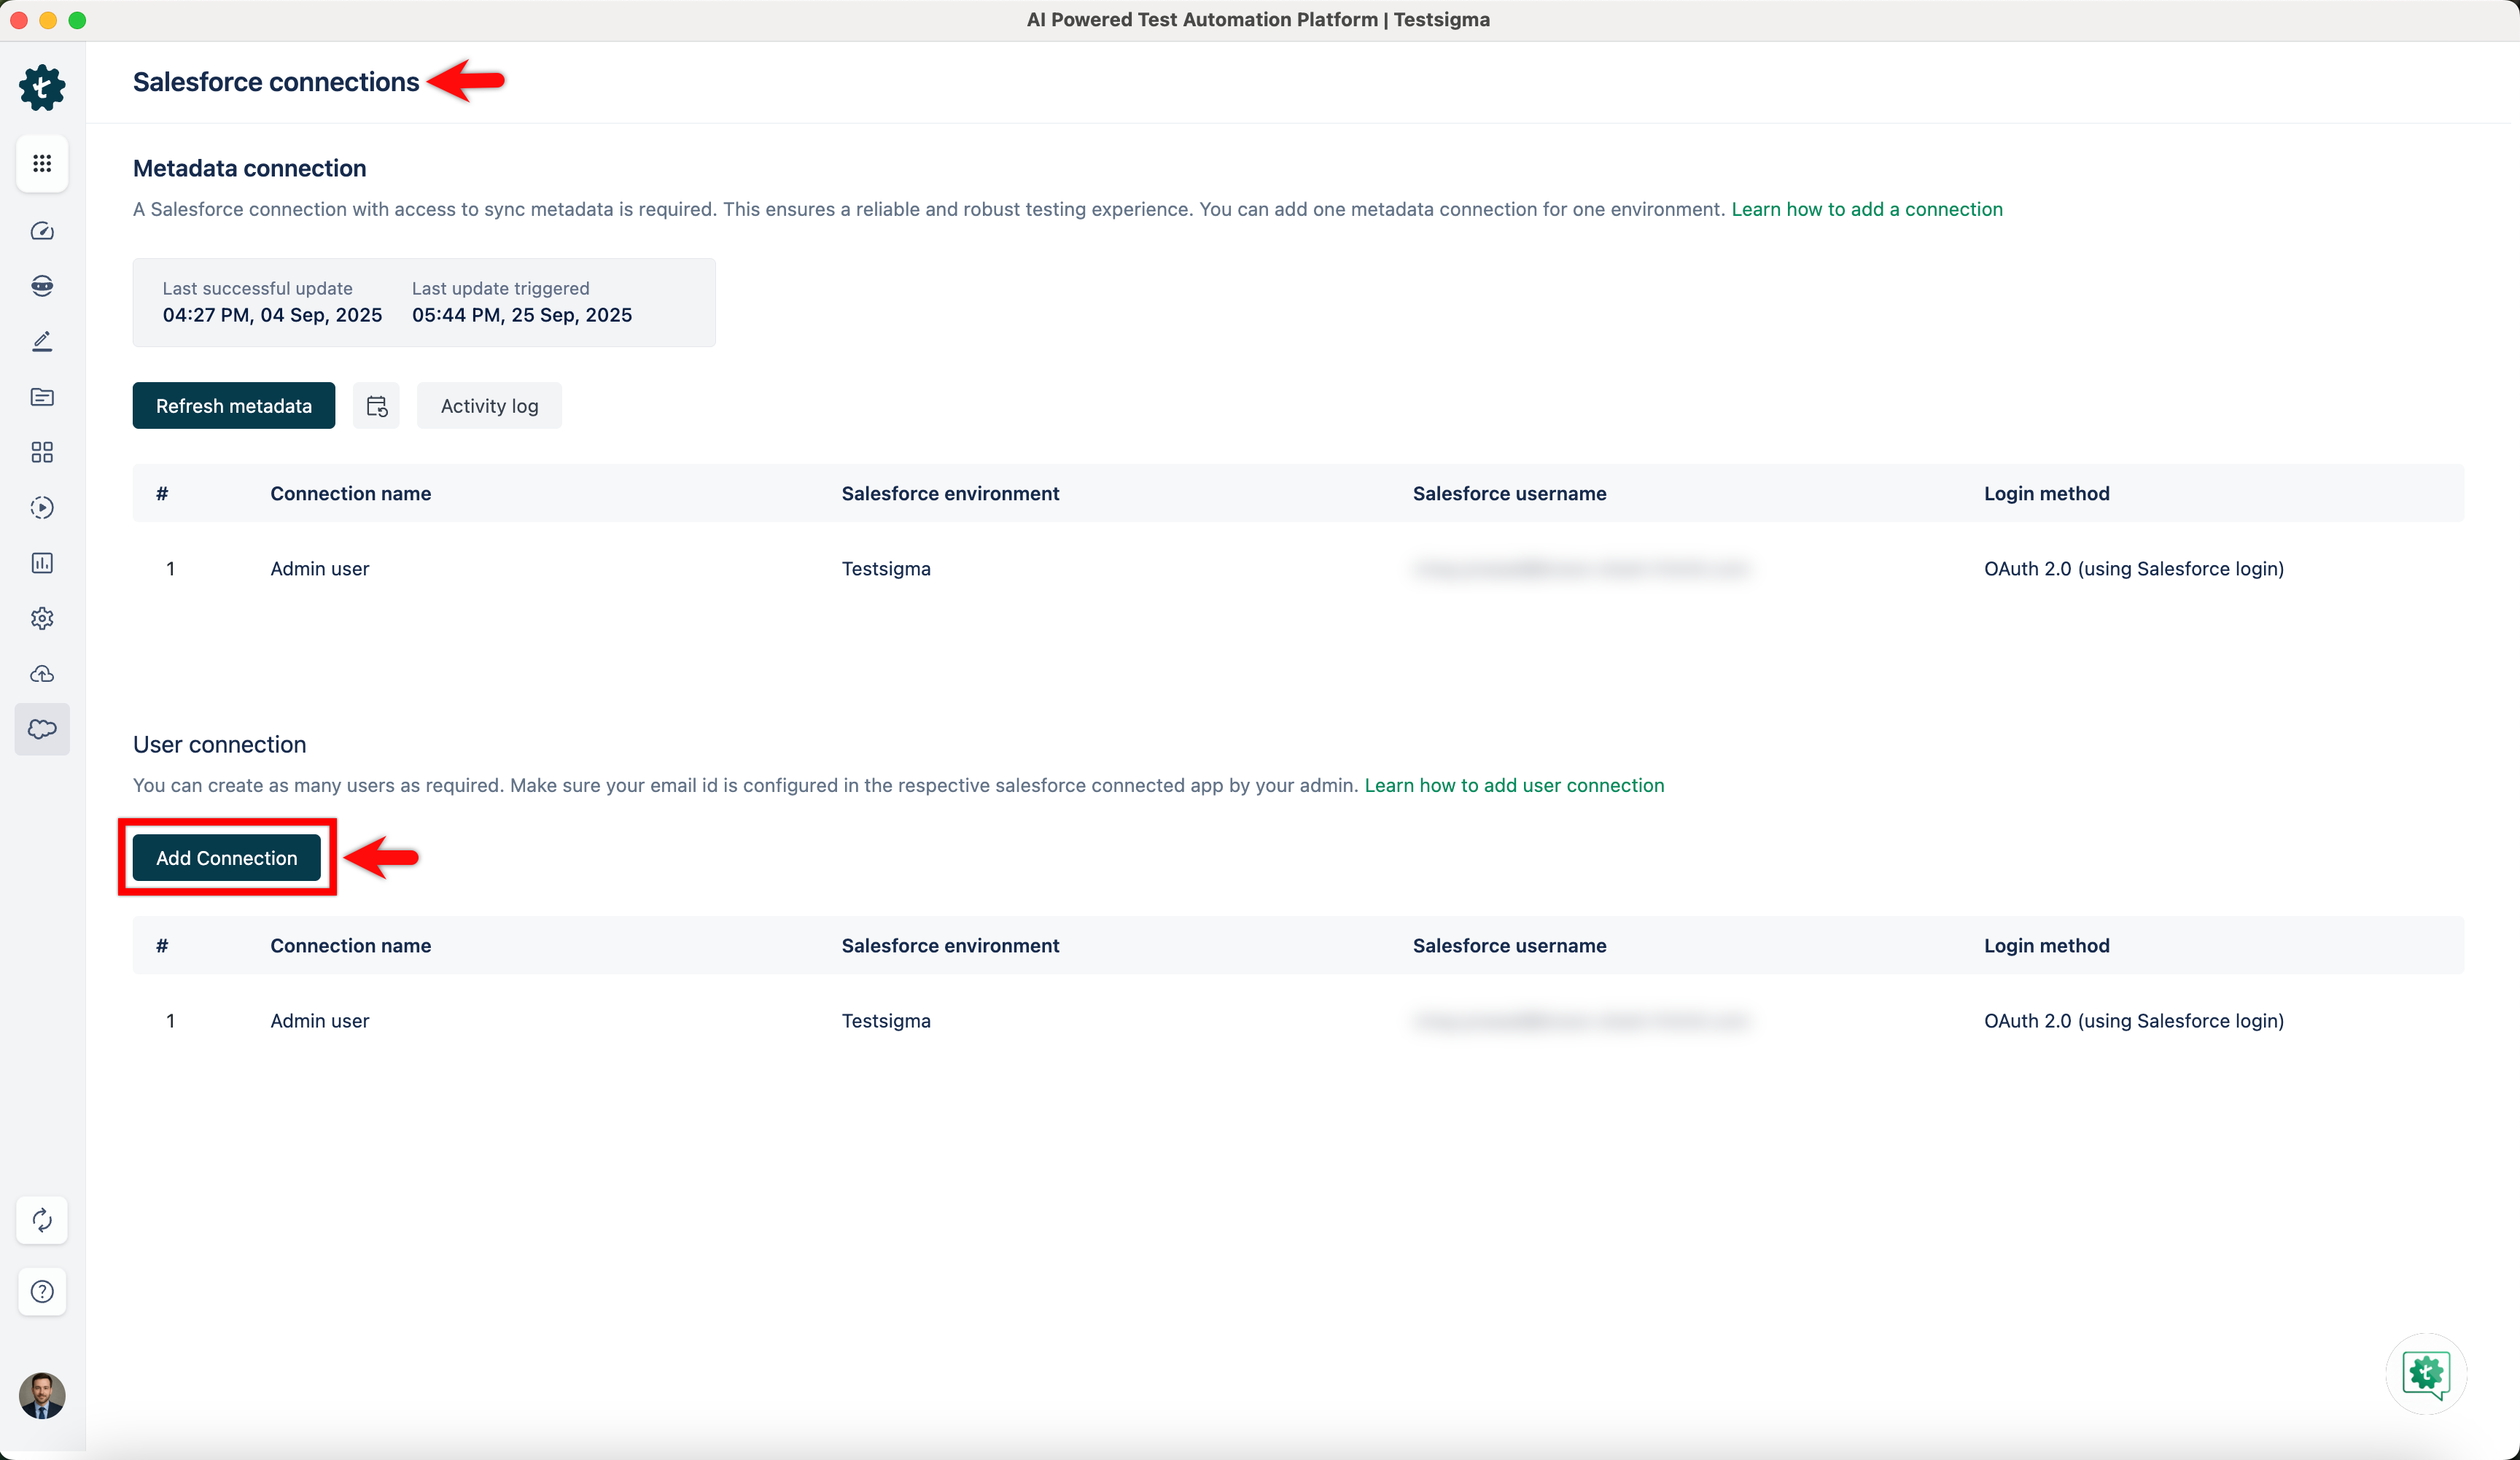
-
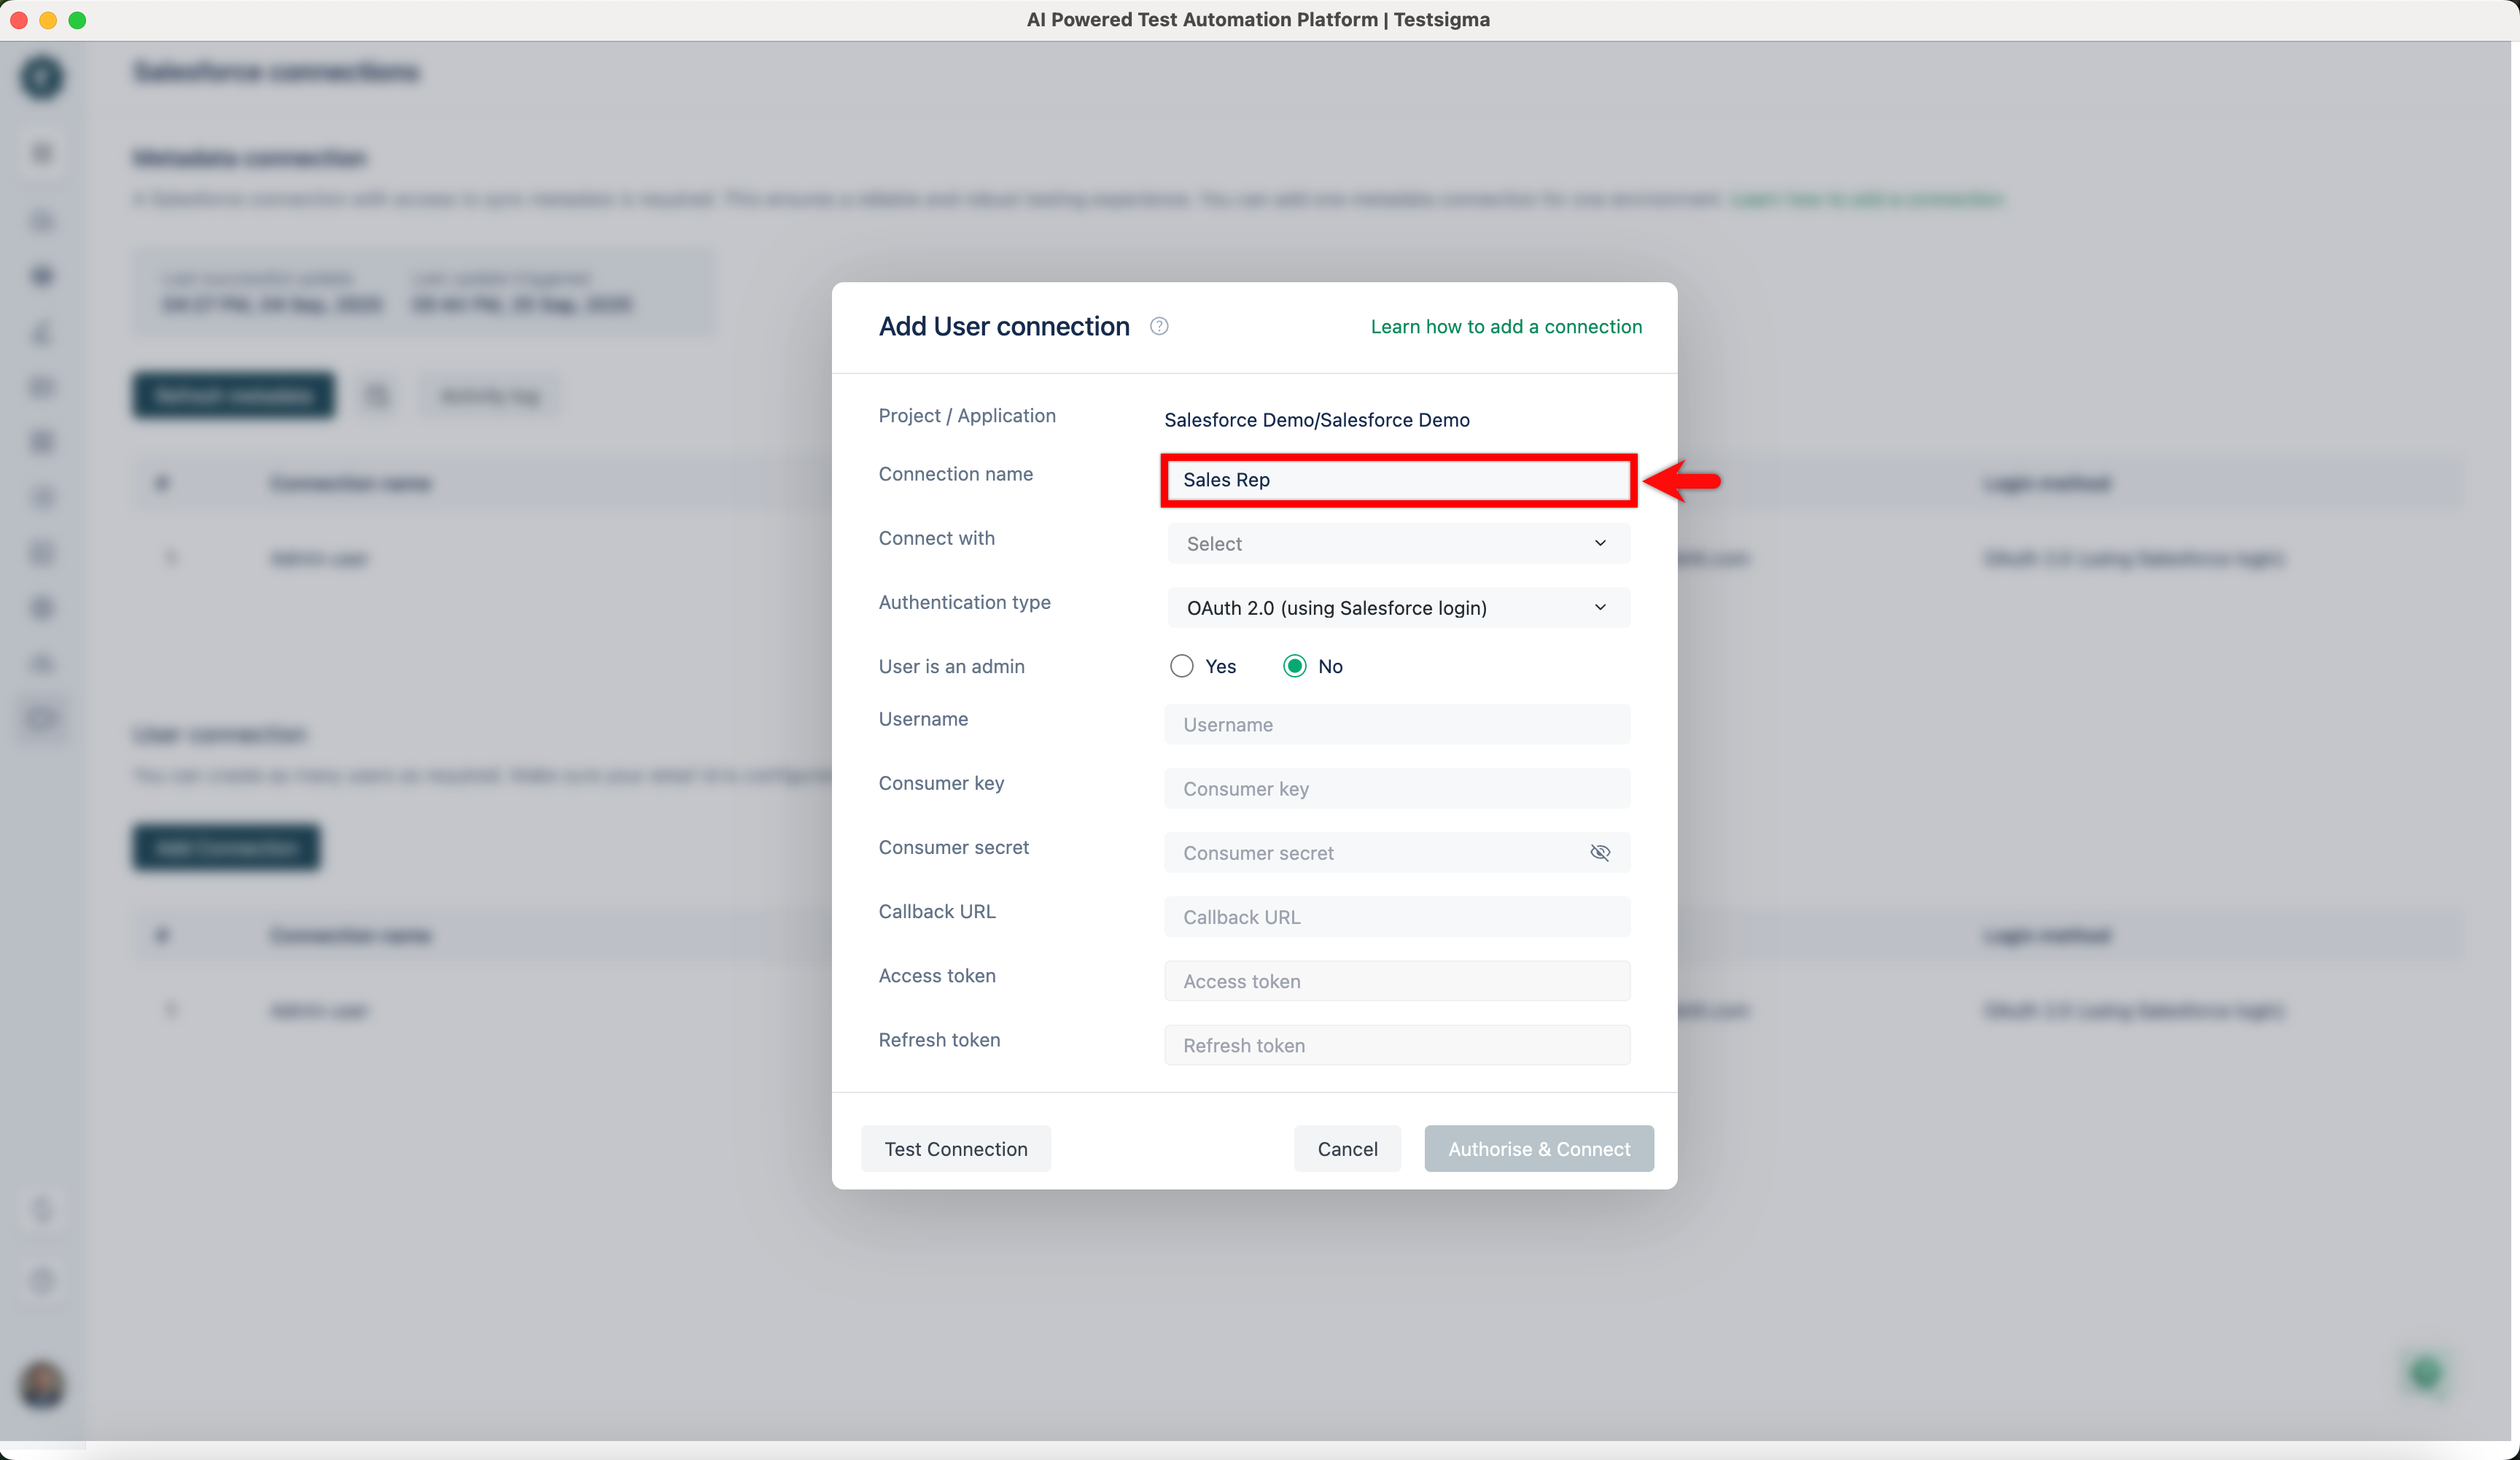
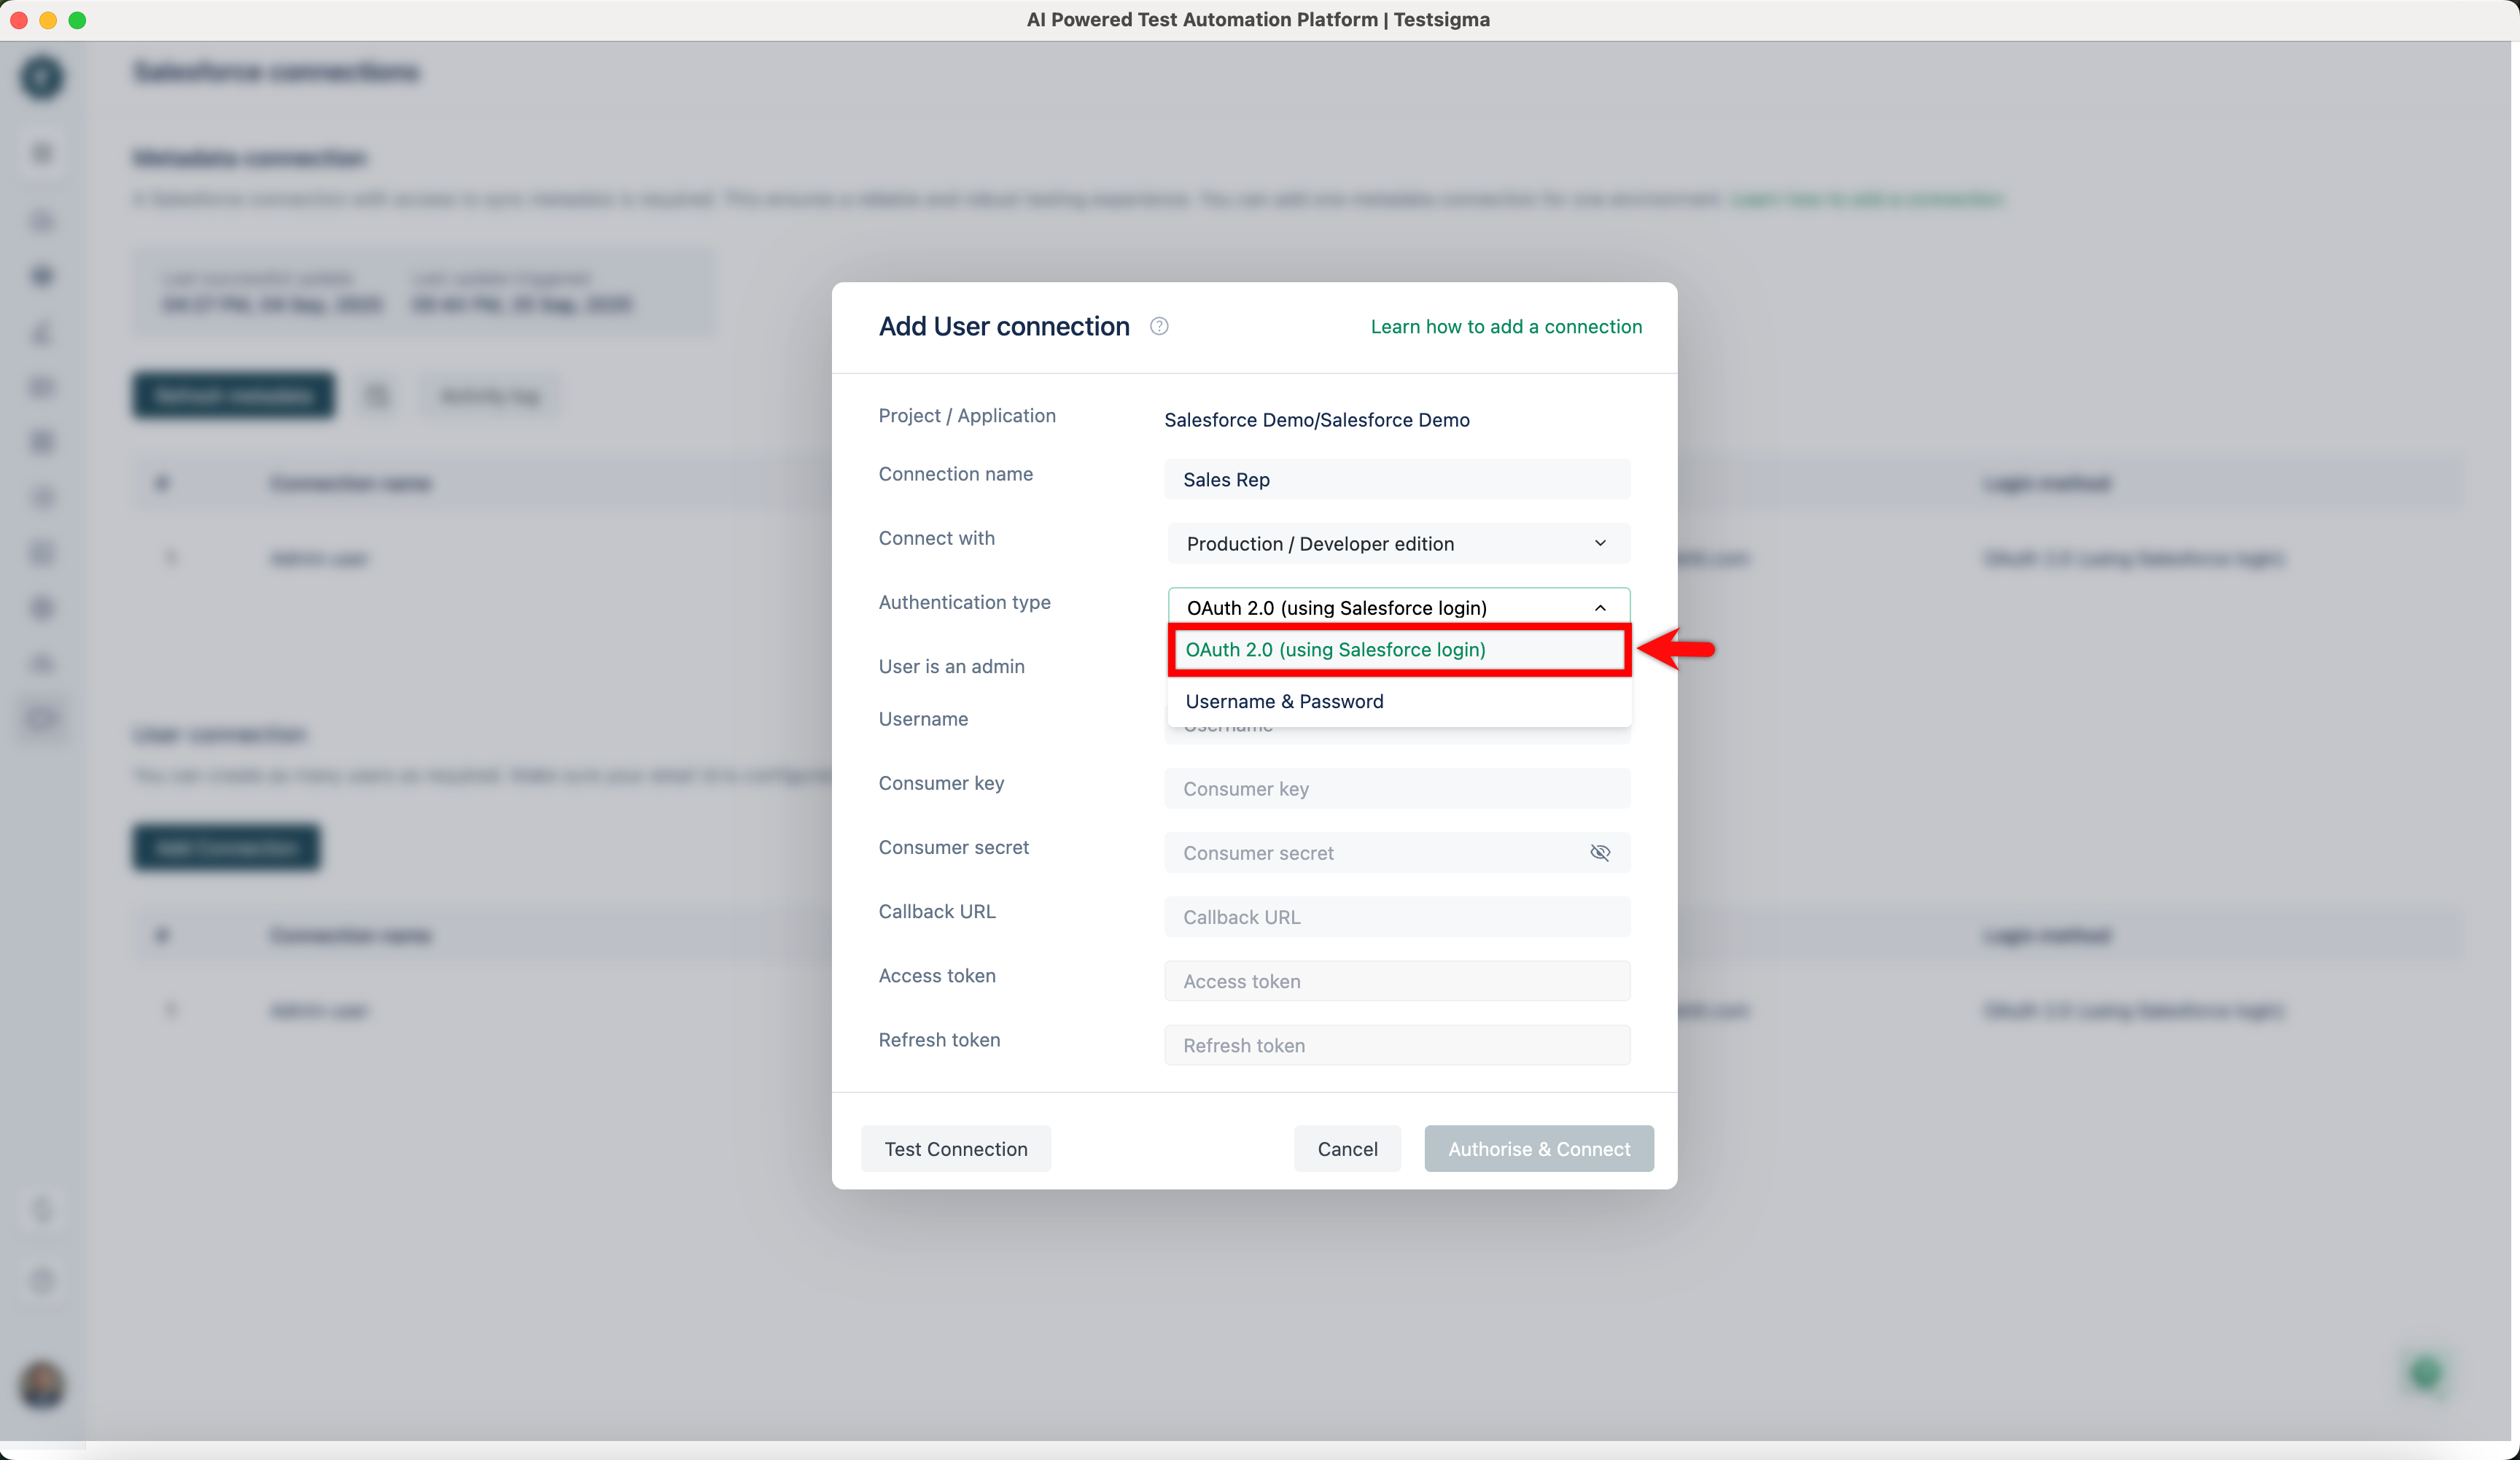
In the Add User connection dialog,
- Enter a Connection name
- Choose the environment of the user that you want to use.
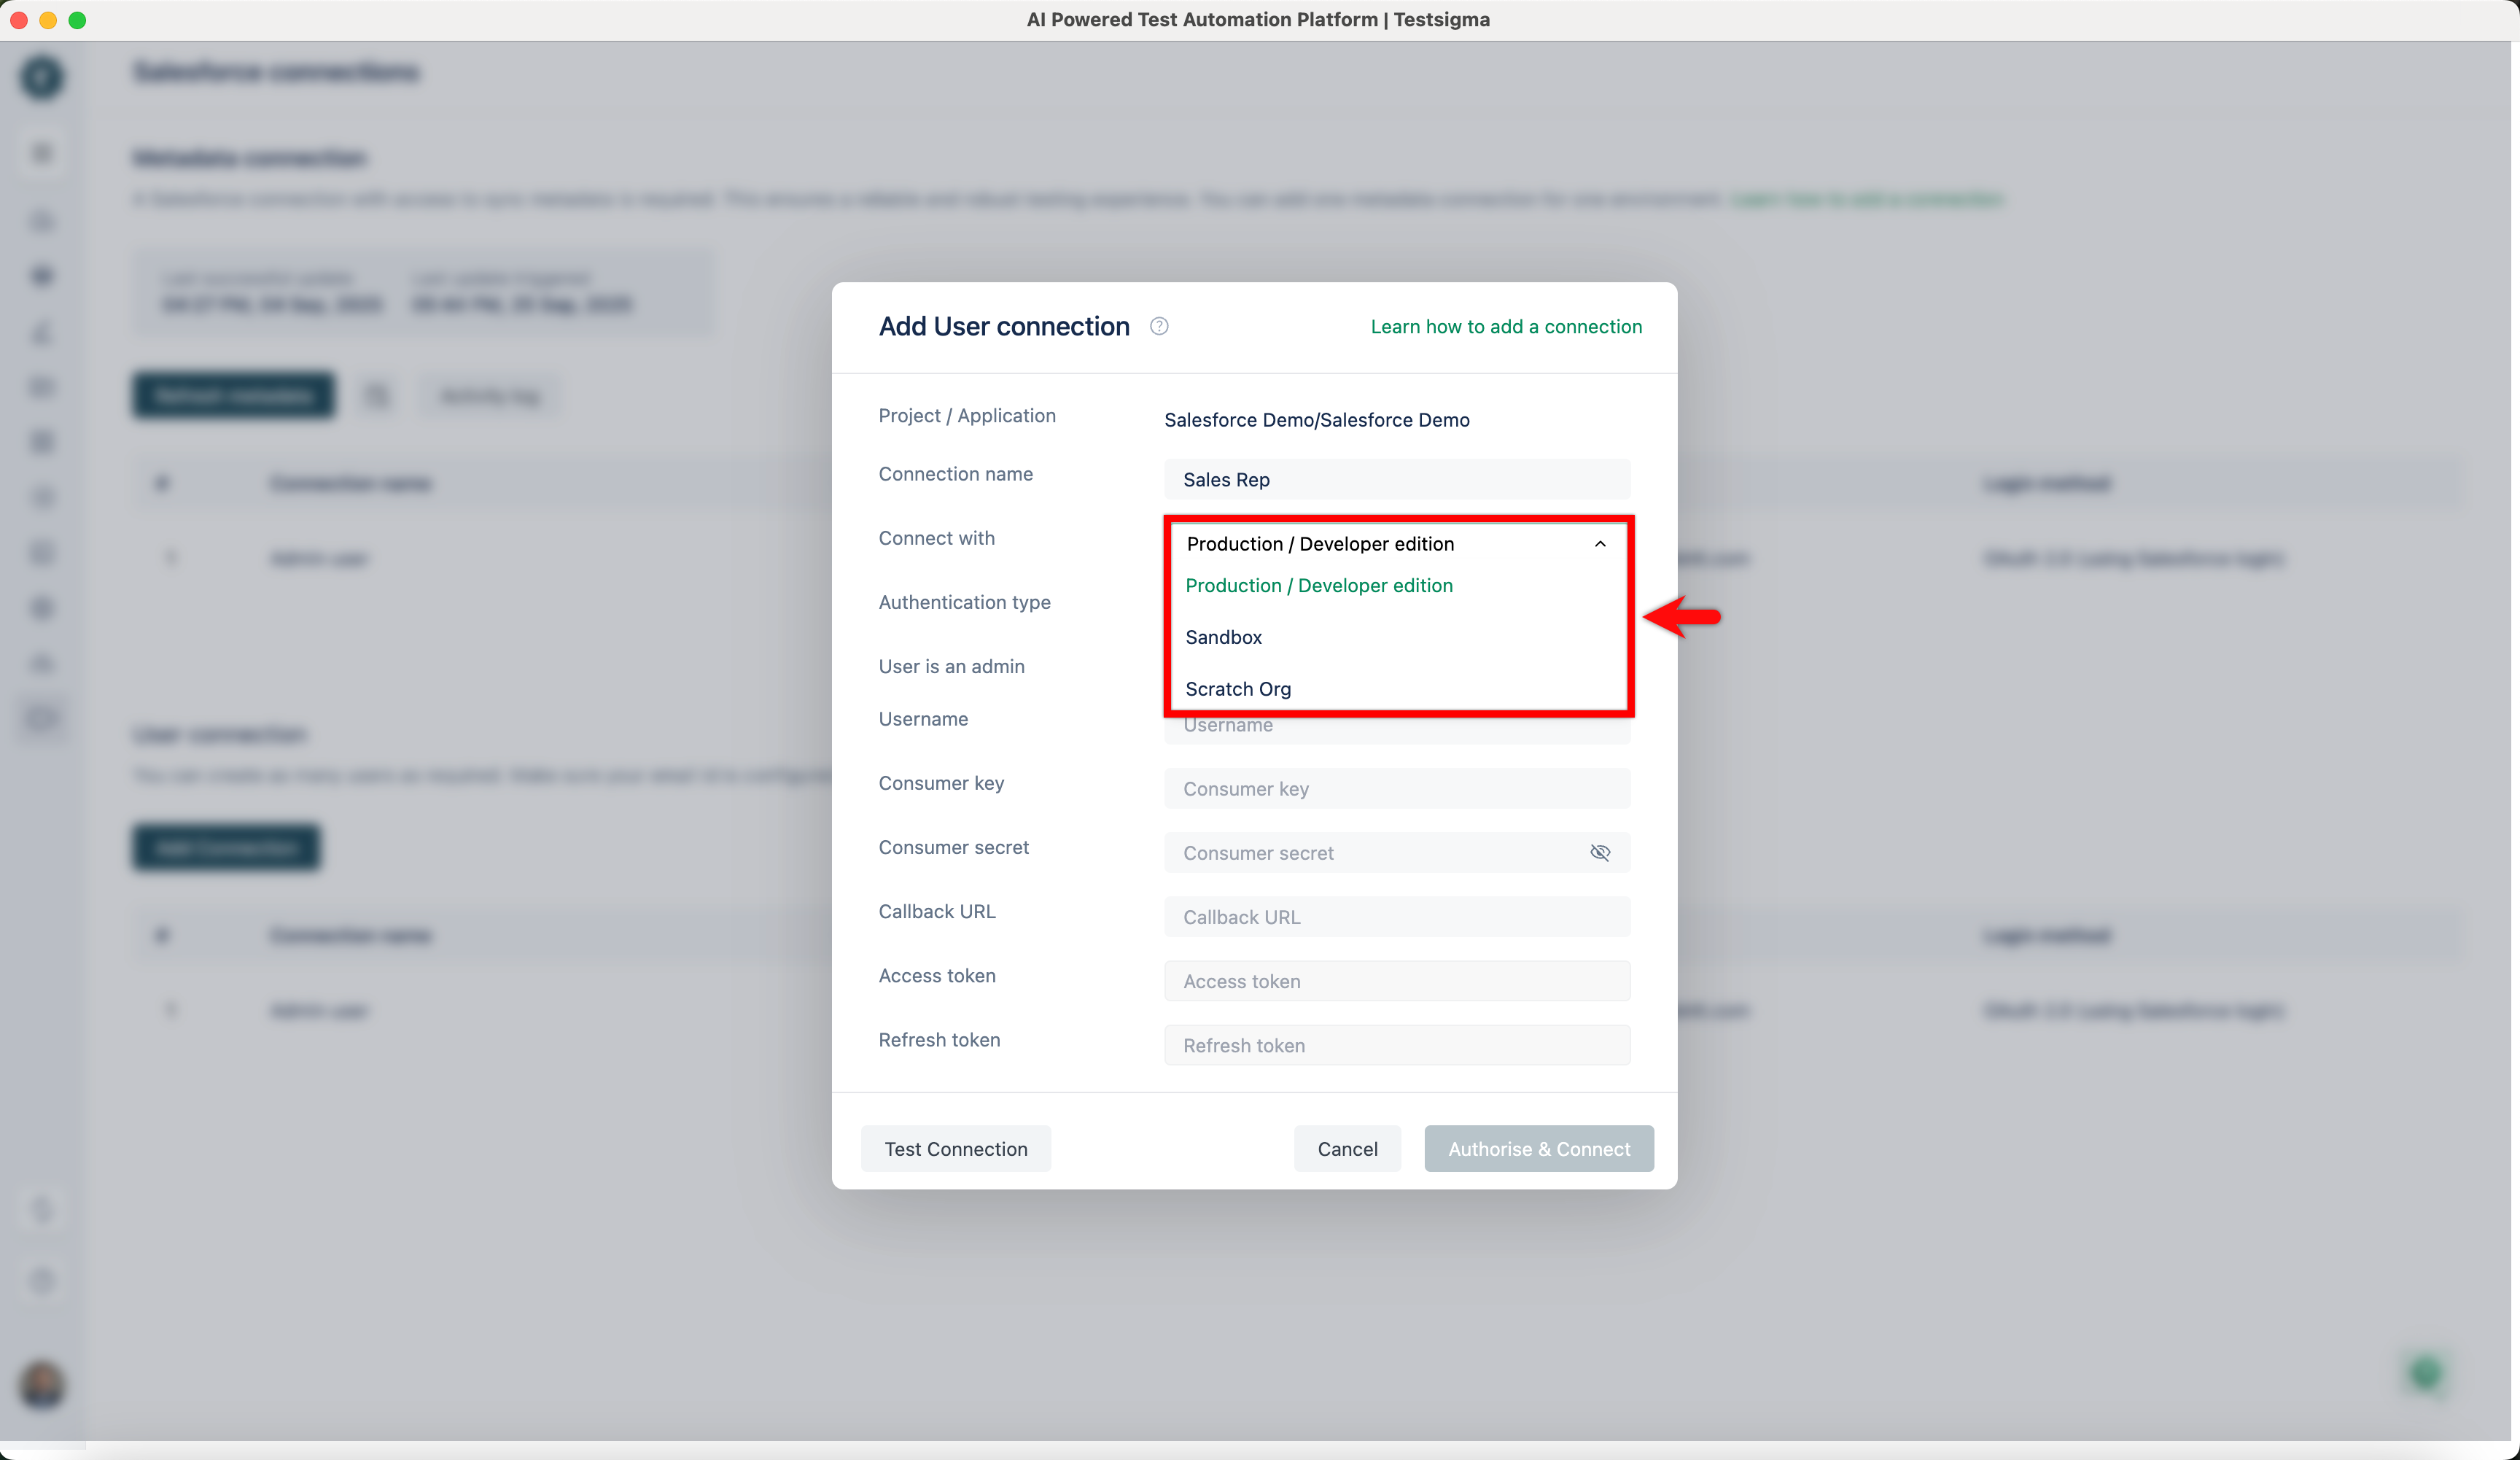
-
Choose the Authentication type from the dropdown.
- For OAuth, enter Username, Consumer key, Consumer secret, and Callback URL.
- For User name & Password, enter the Username, Password, Security token, Consumer key, and Consumer secret. In this example, we are choosing OAuth 2.0.
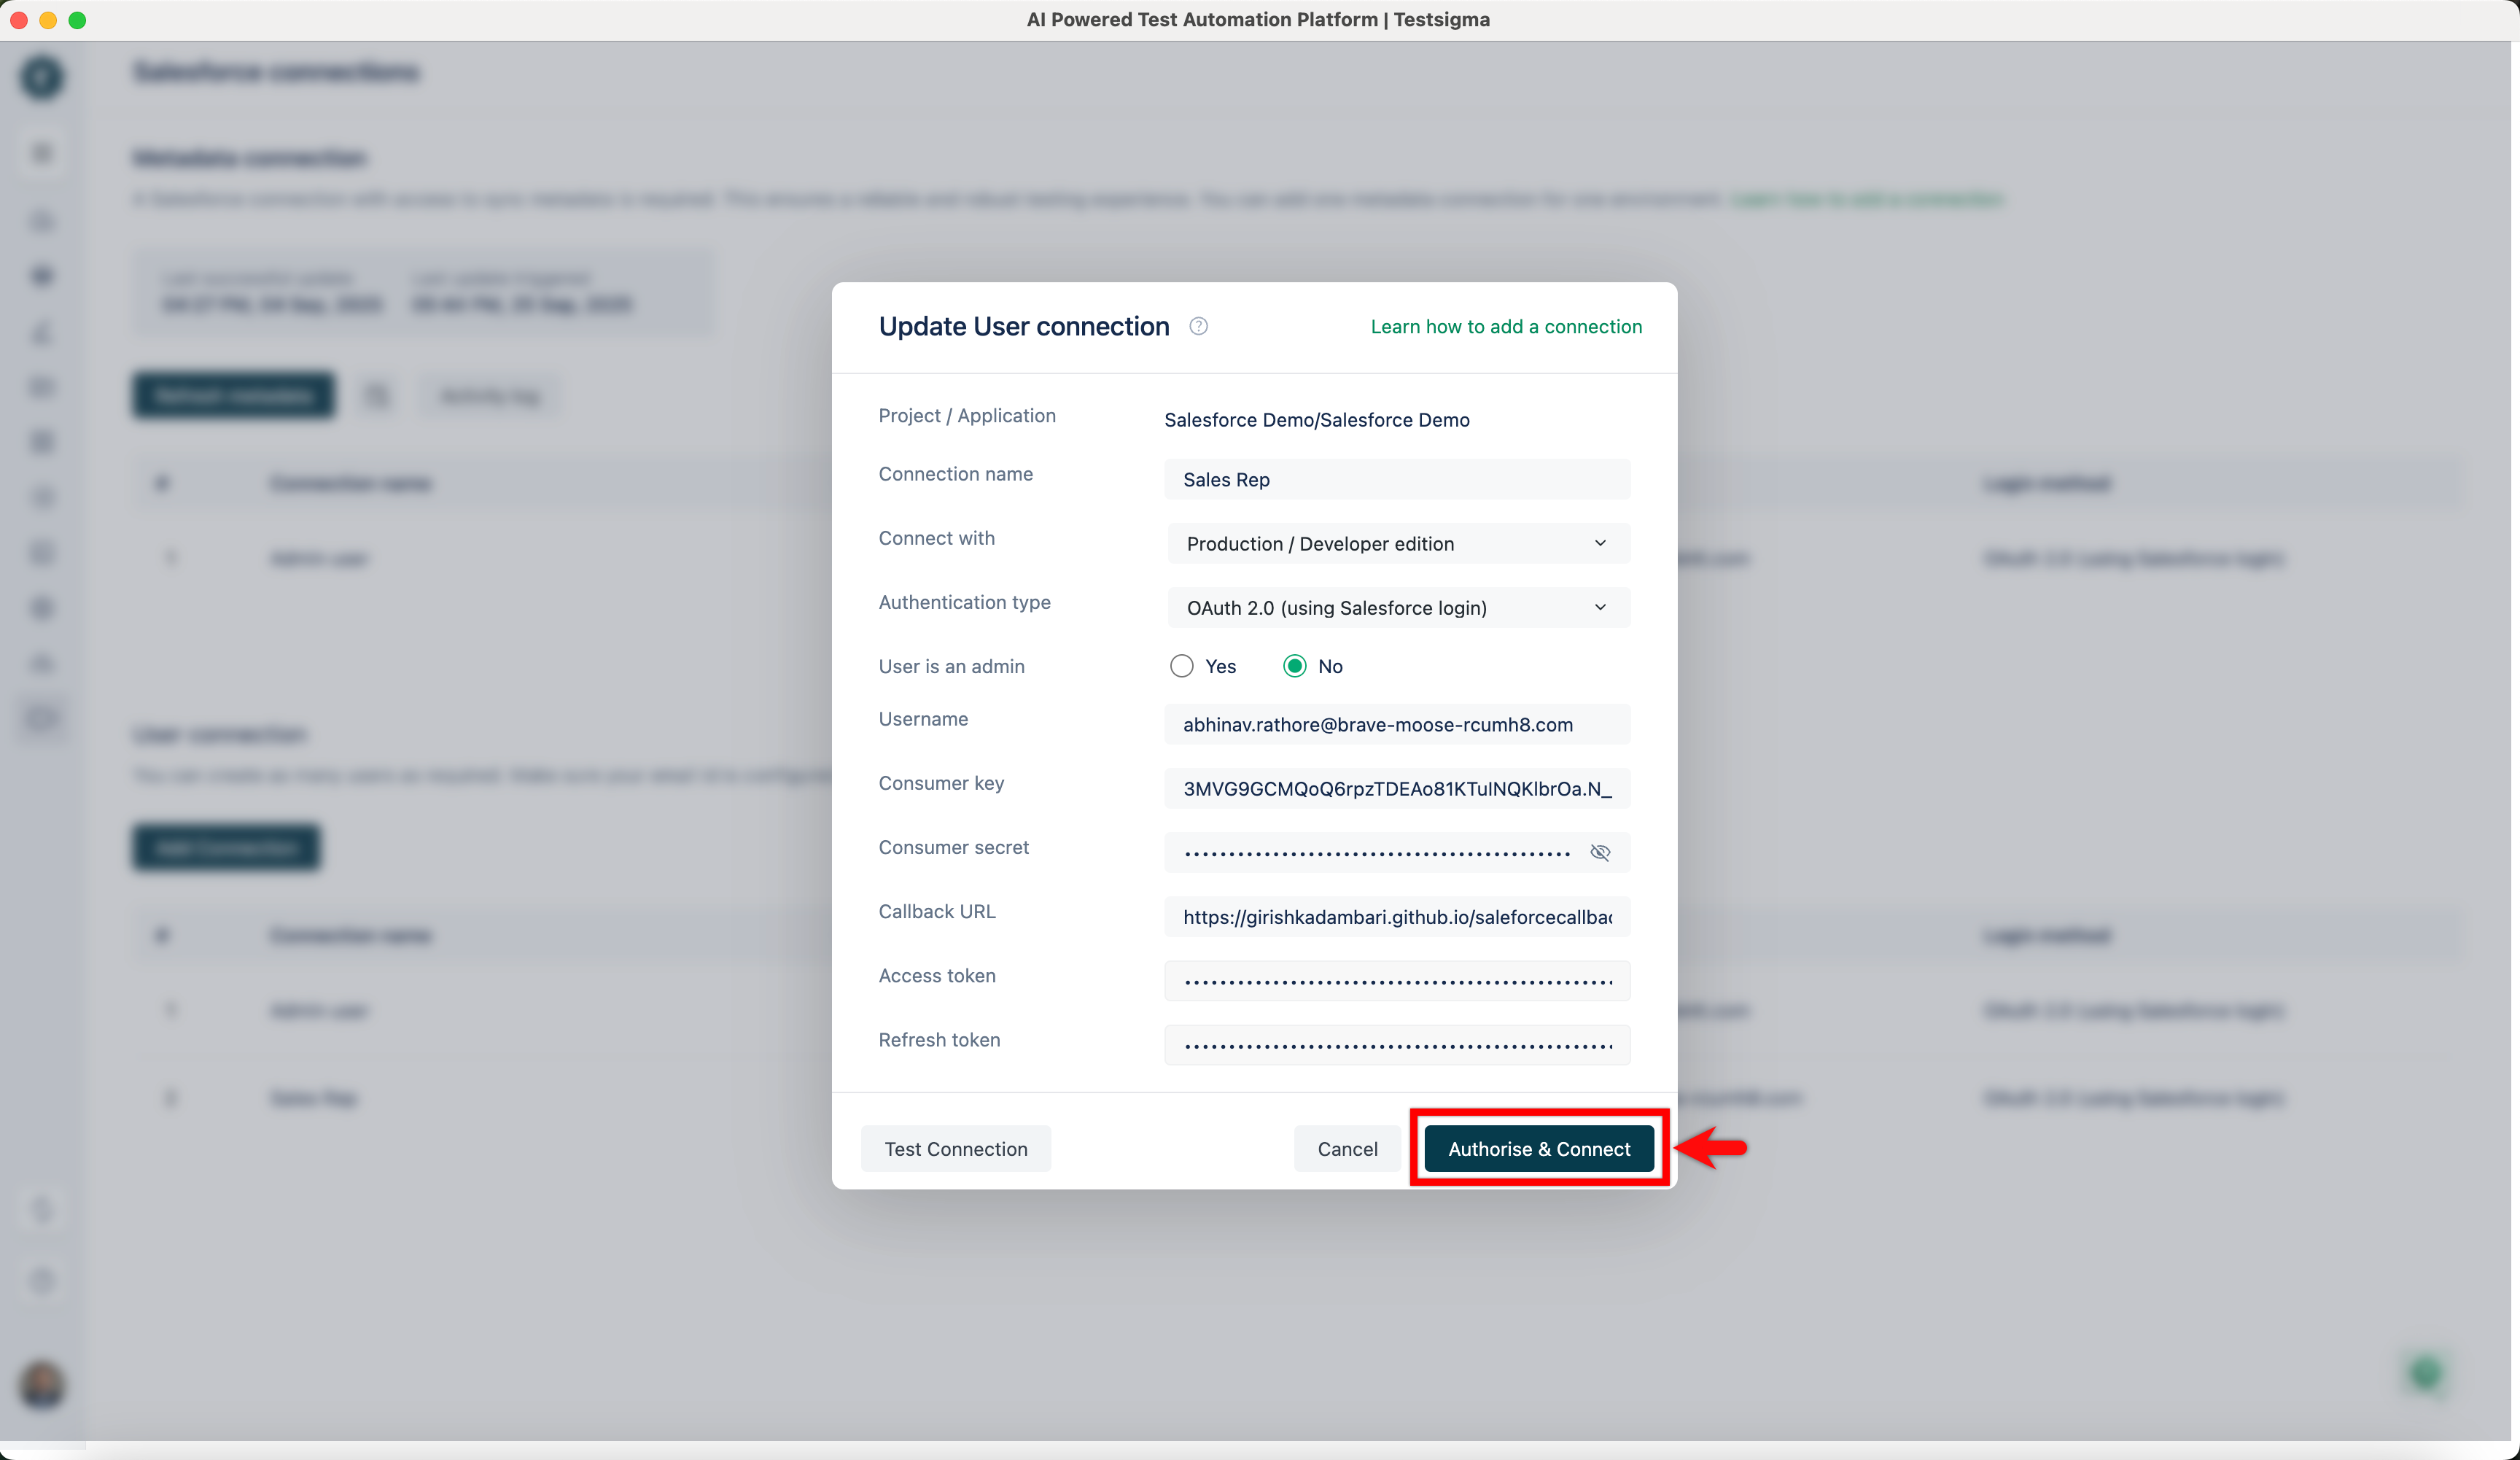
- Enter the Username, Consumer key, Consumer secret, and Callback URL, and click Authorise & Connect.

- A new window will open up requesting for Salesforce Login. Enter the credentials and click Log In.

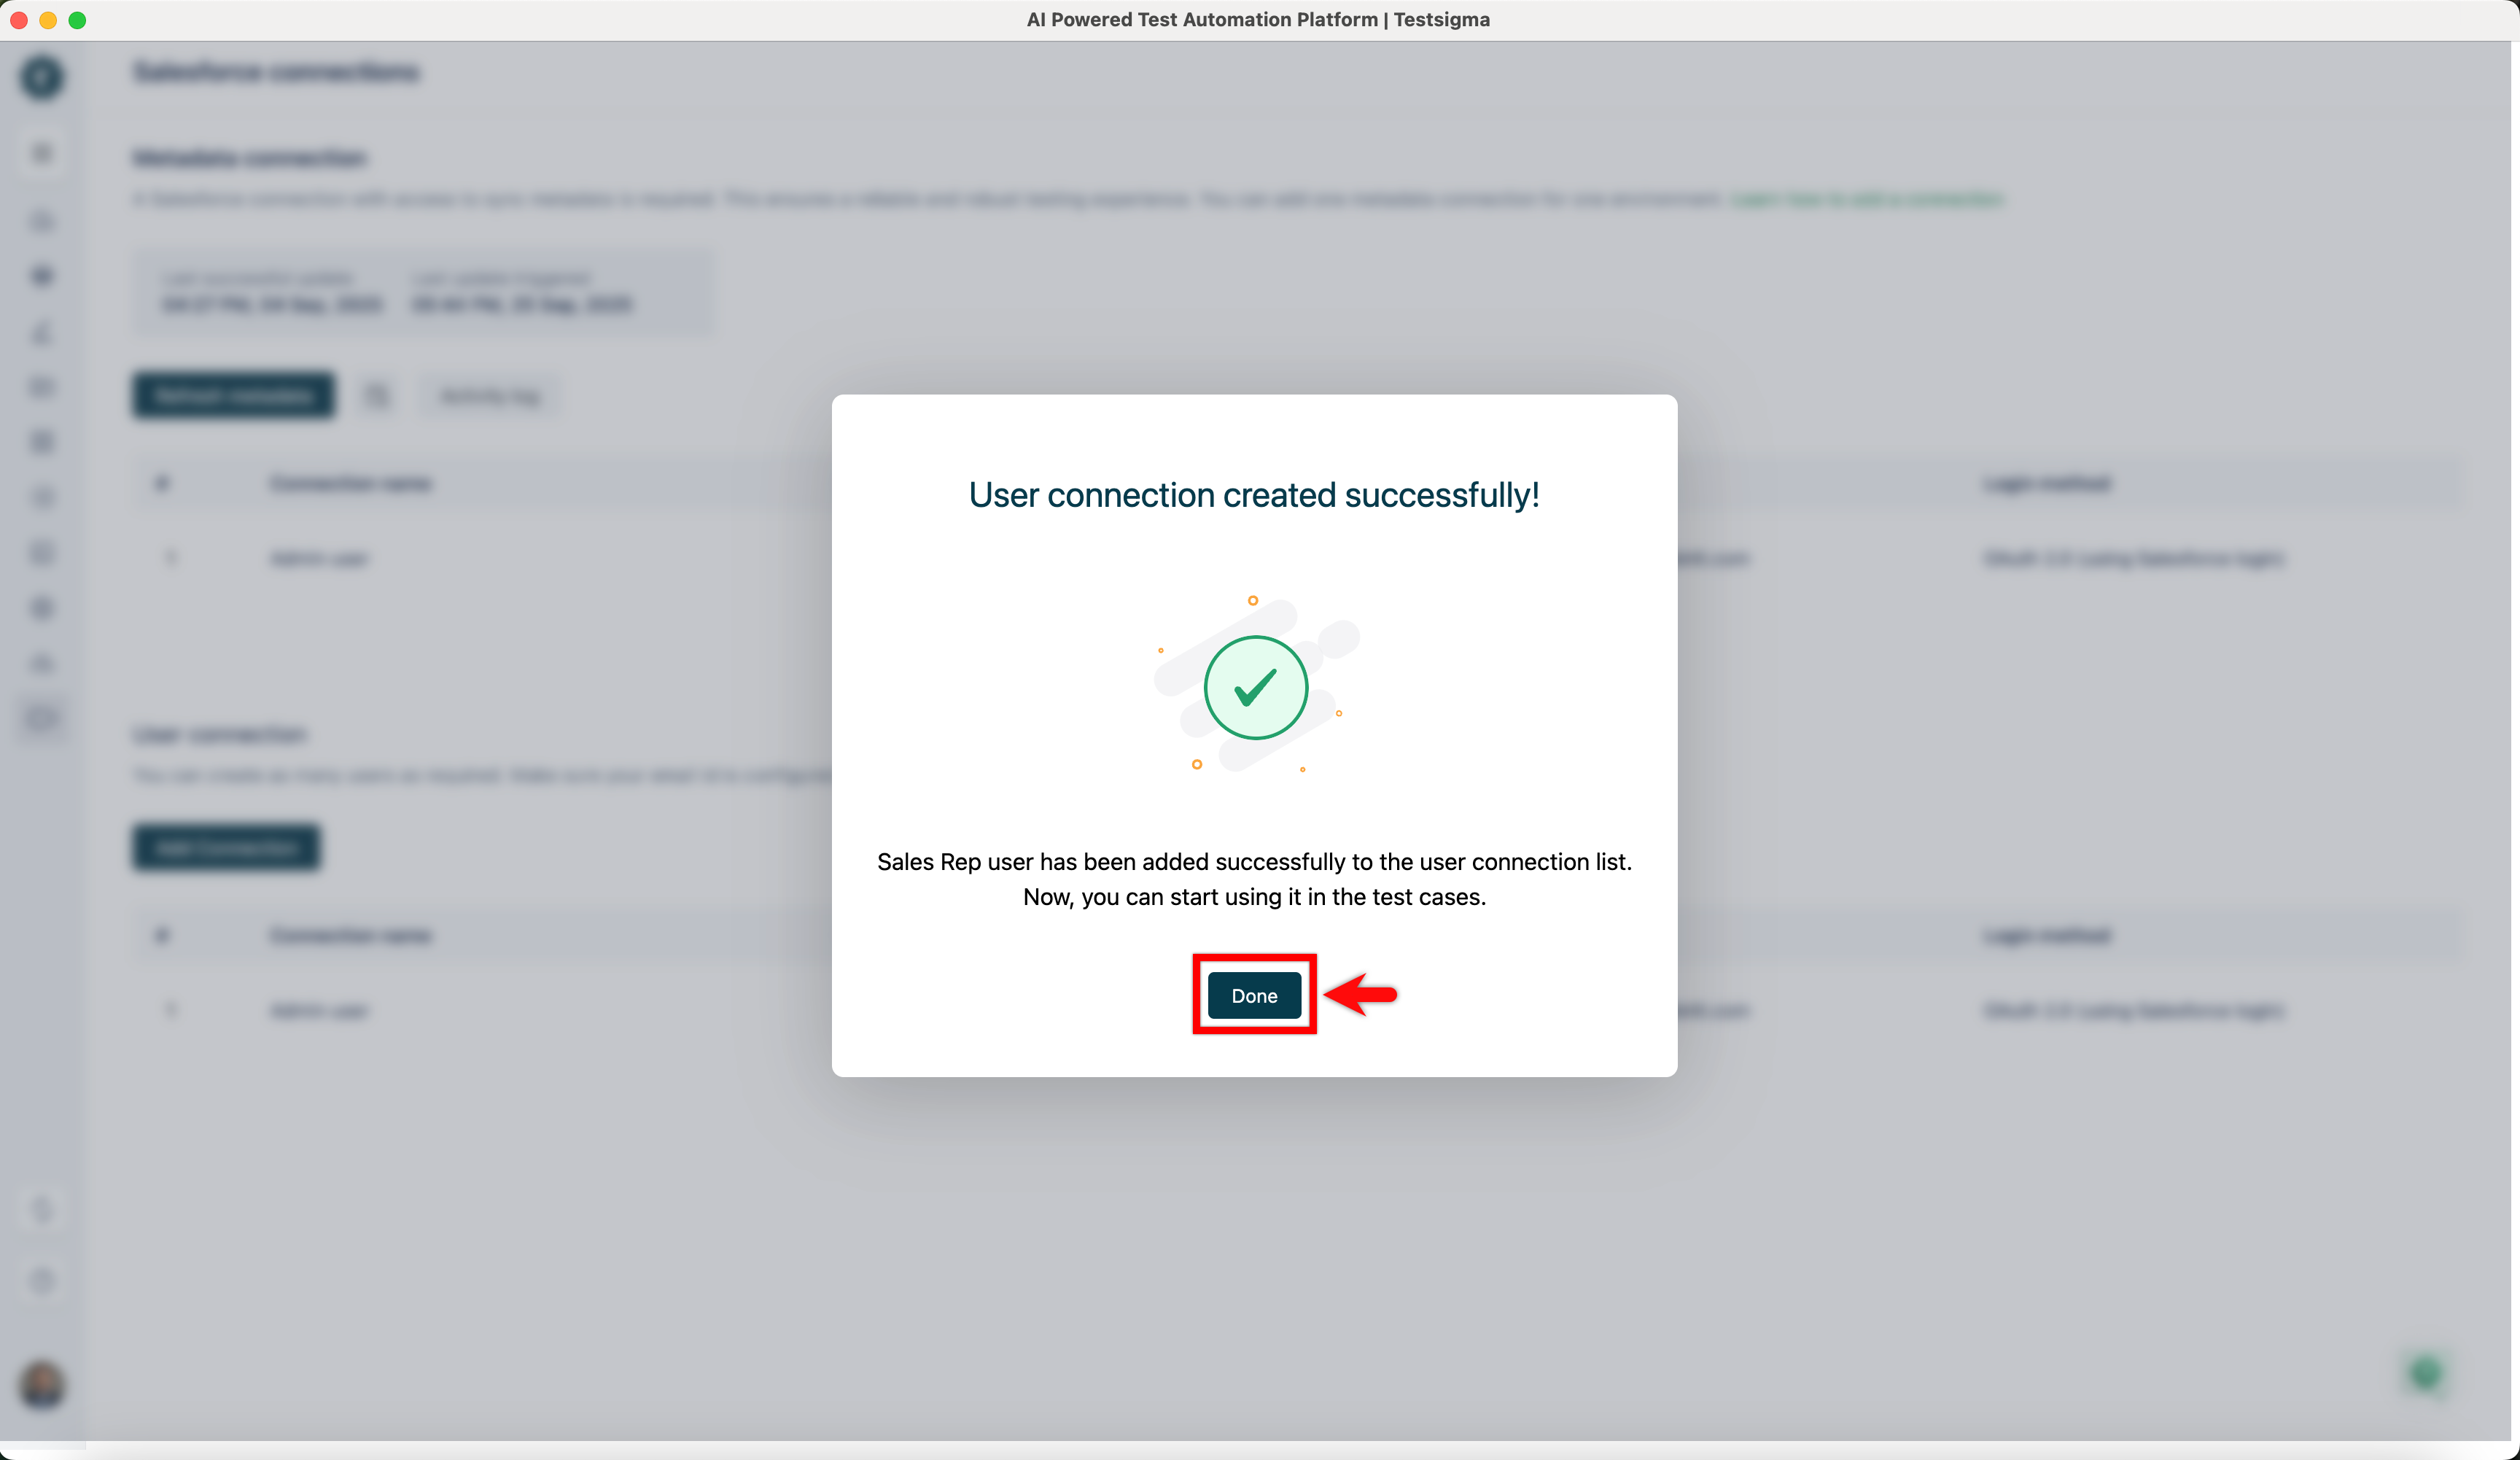
- Once the User connection is created successfully, click Done.
- Enter a Connection name
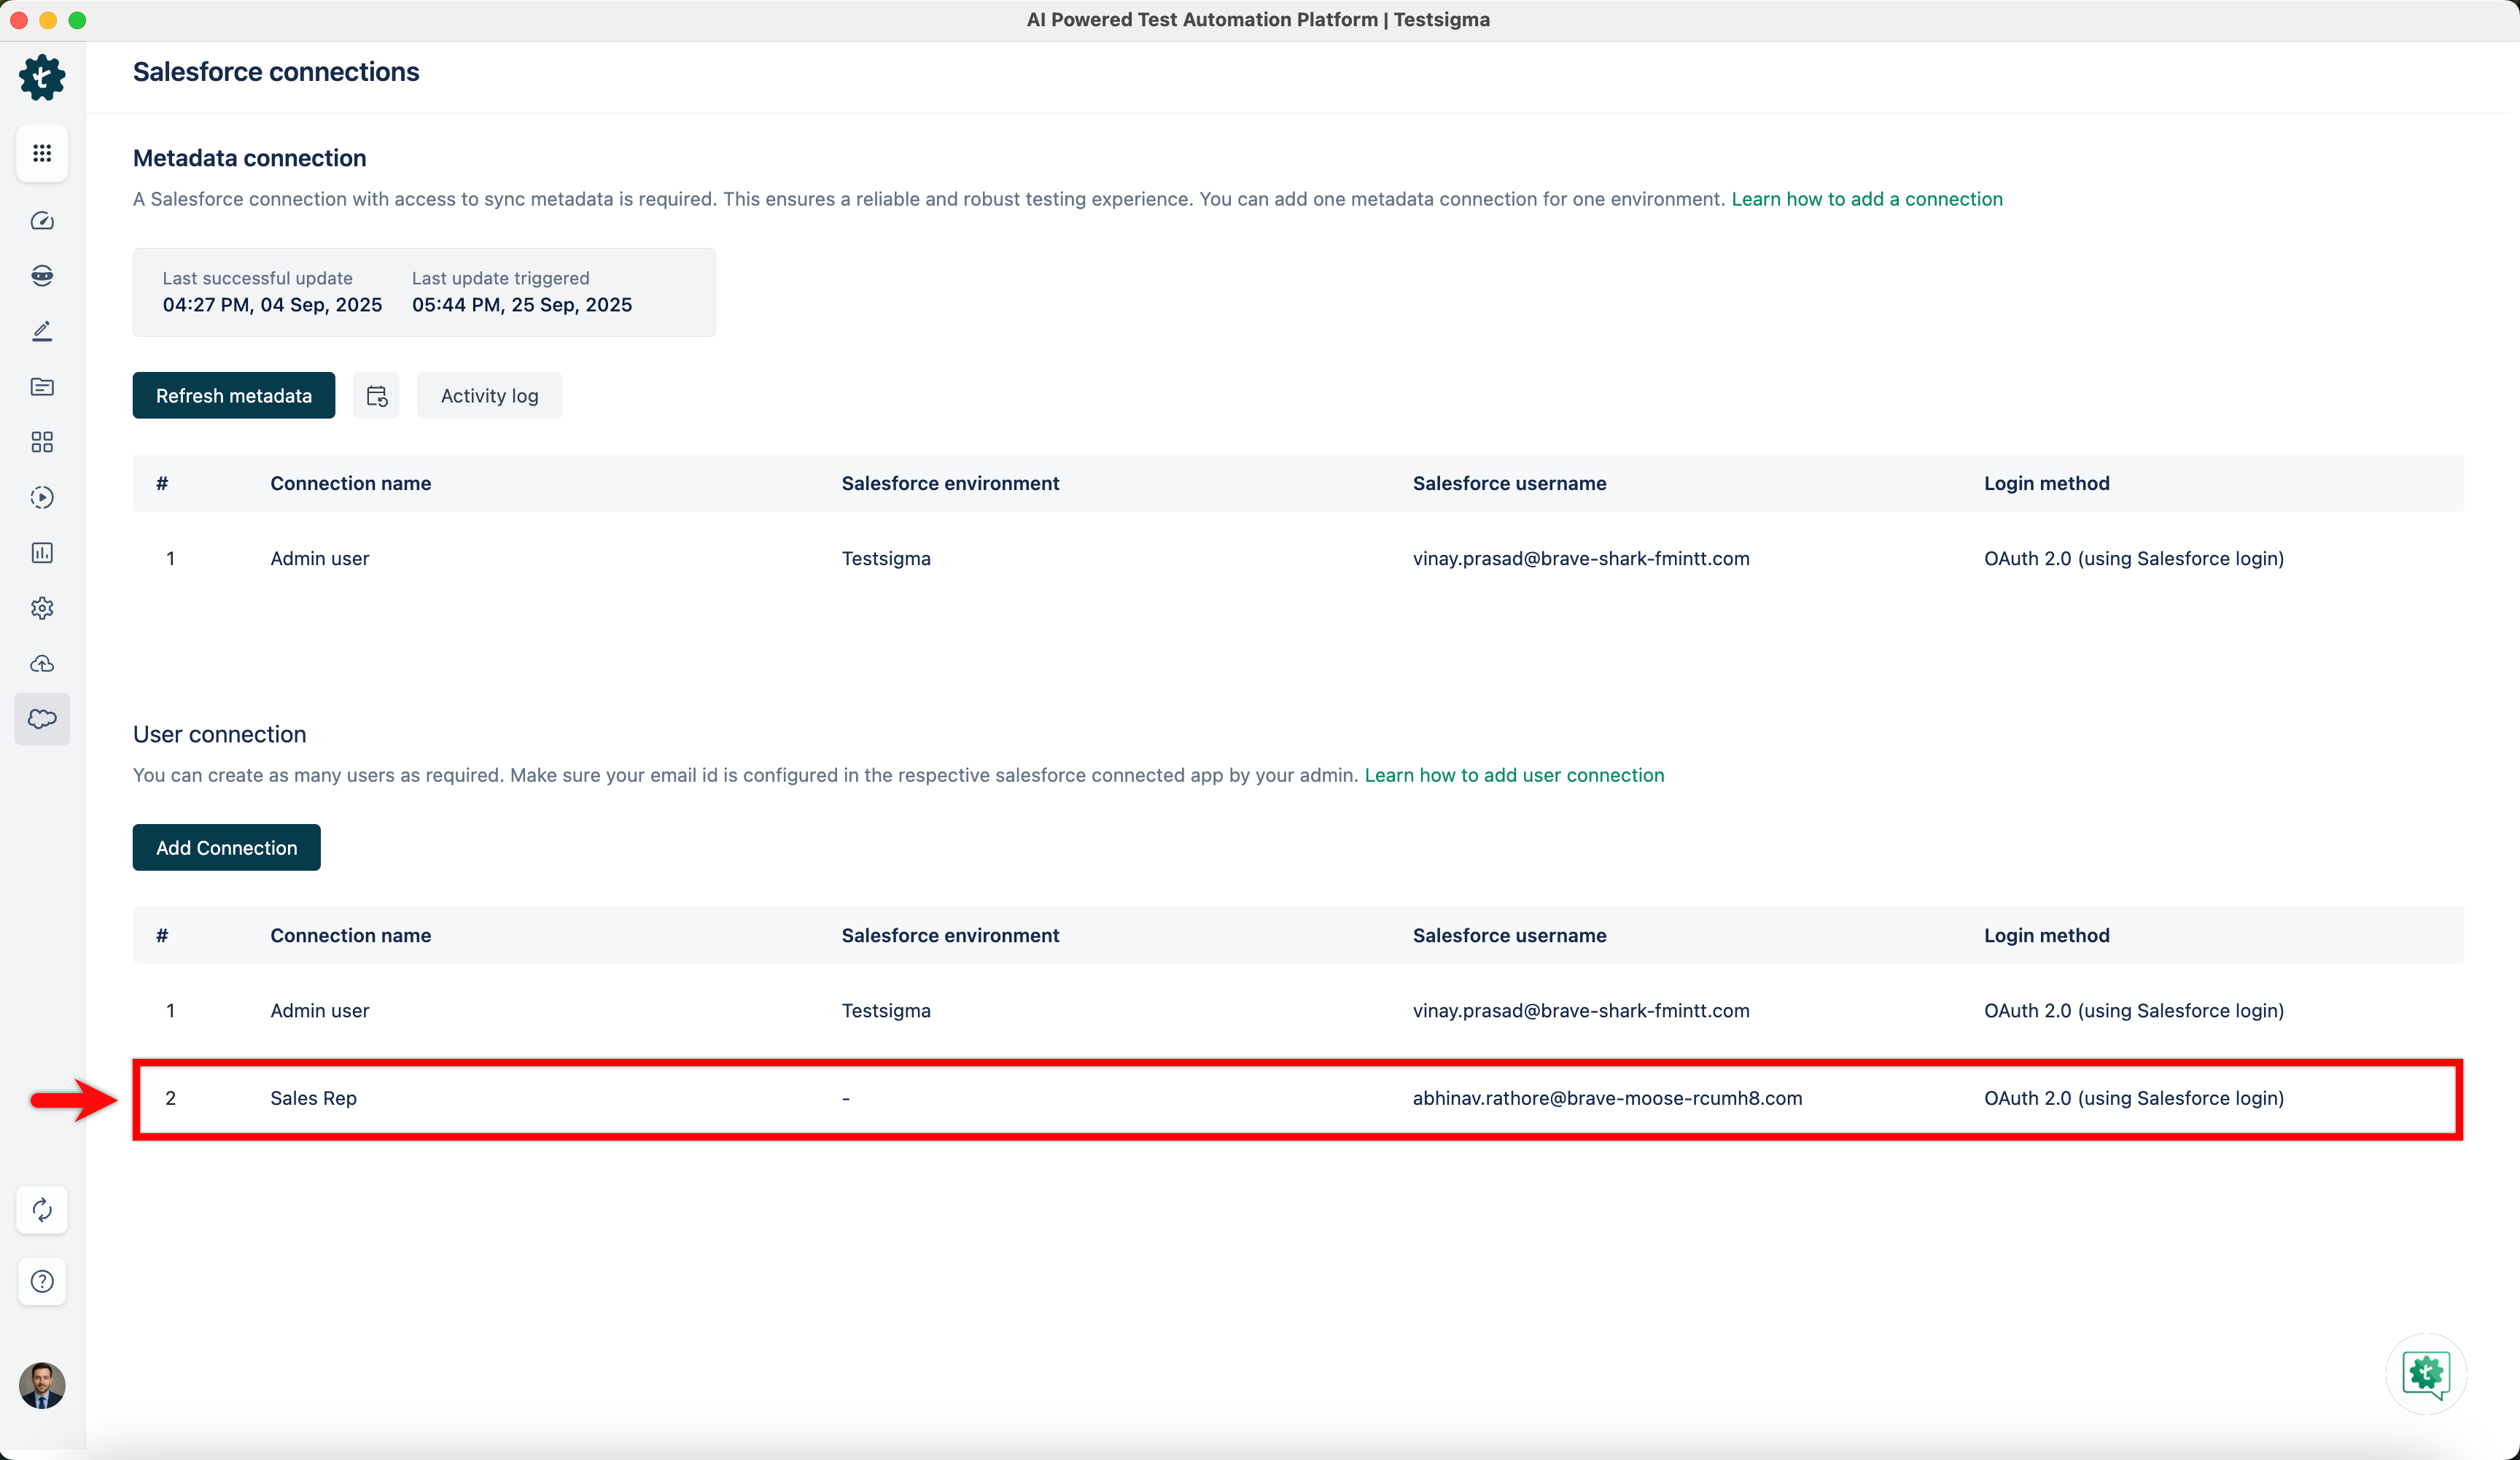
- You can see the newly added connection under SF connections > User connection.
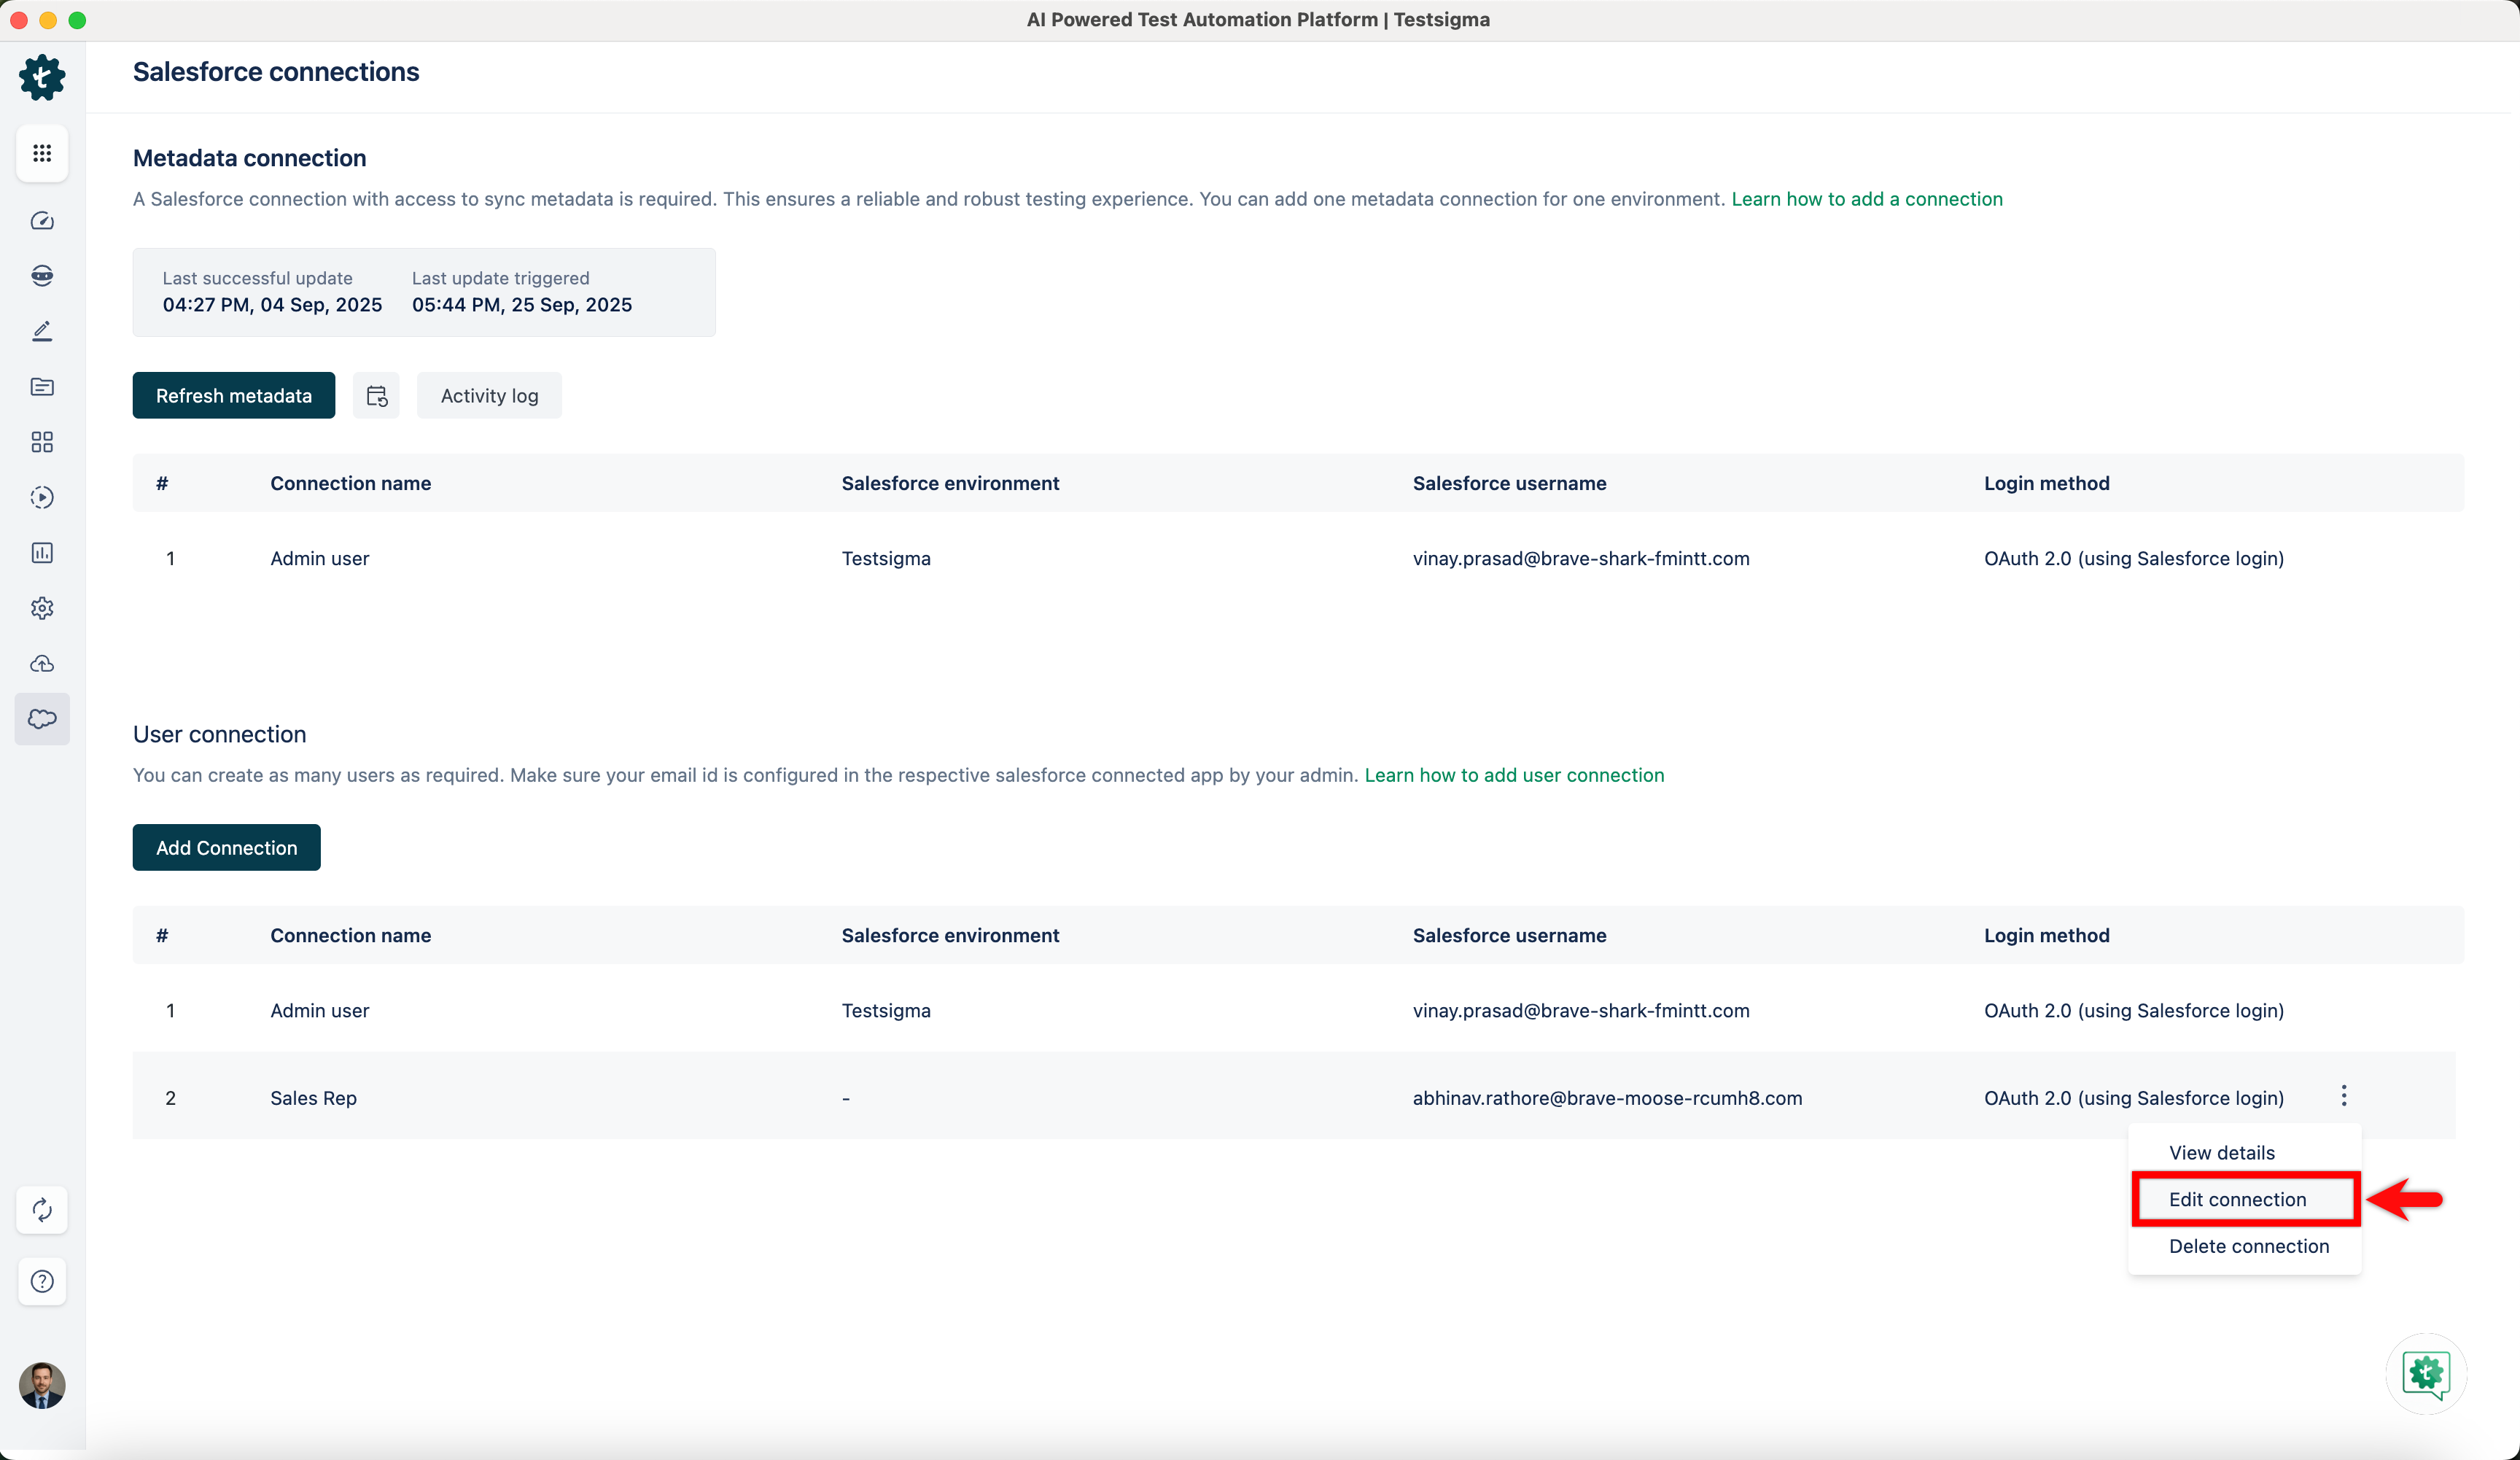
Steps to Edit User Connections
- From the left navigation bar, go to SF connections.
- Under the User connection section, click the ellipsis icon against a connection and click Edit connection.
- In the Update User connection dialog, update the required details and click Authorise & Connect.
Steps to Delete User Connections
- From the left navigation bar, go to SF connections.
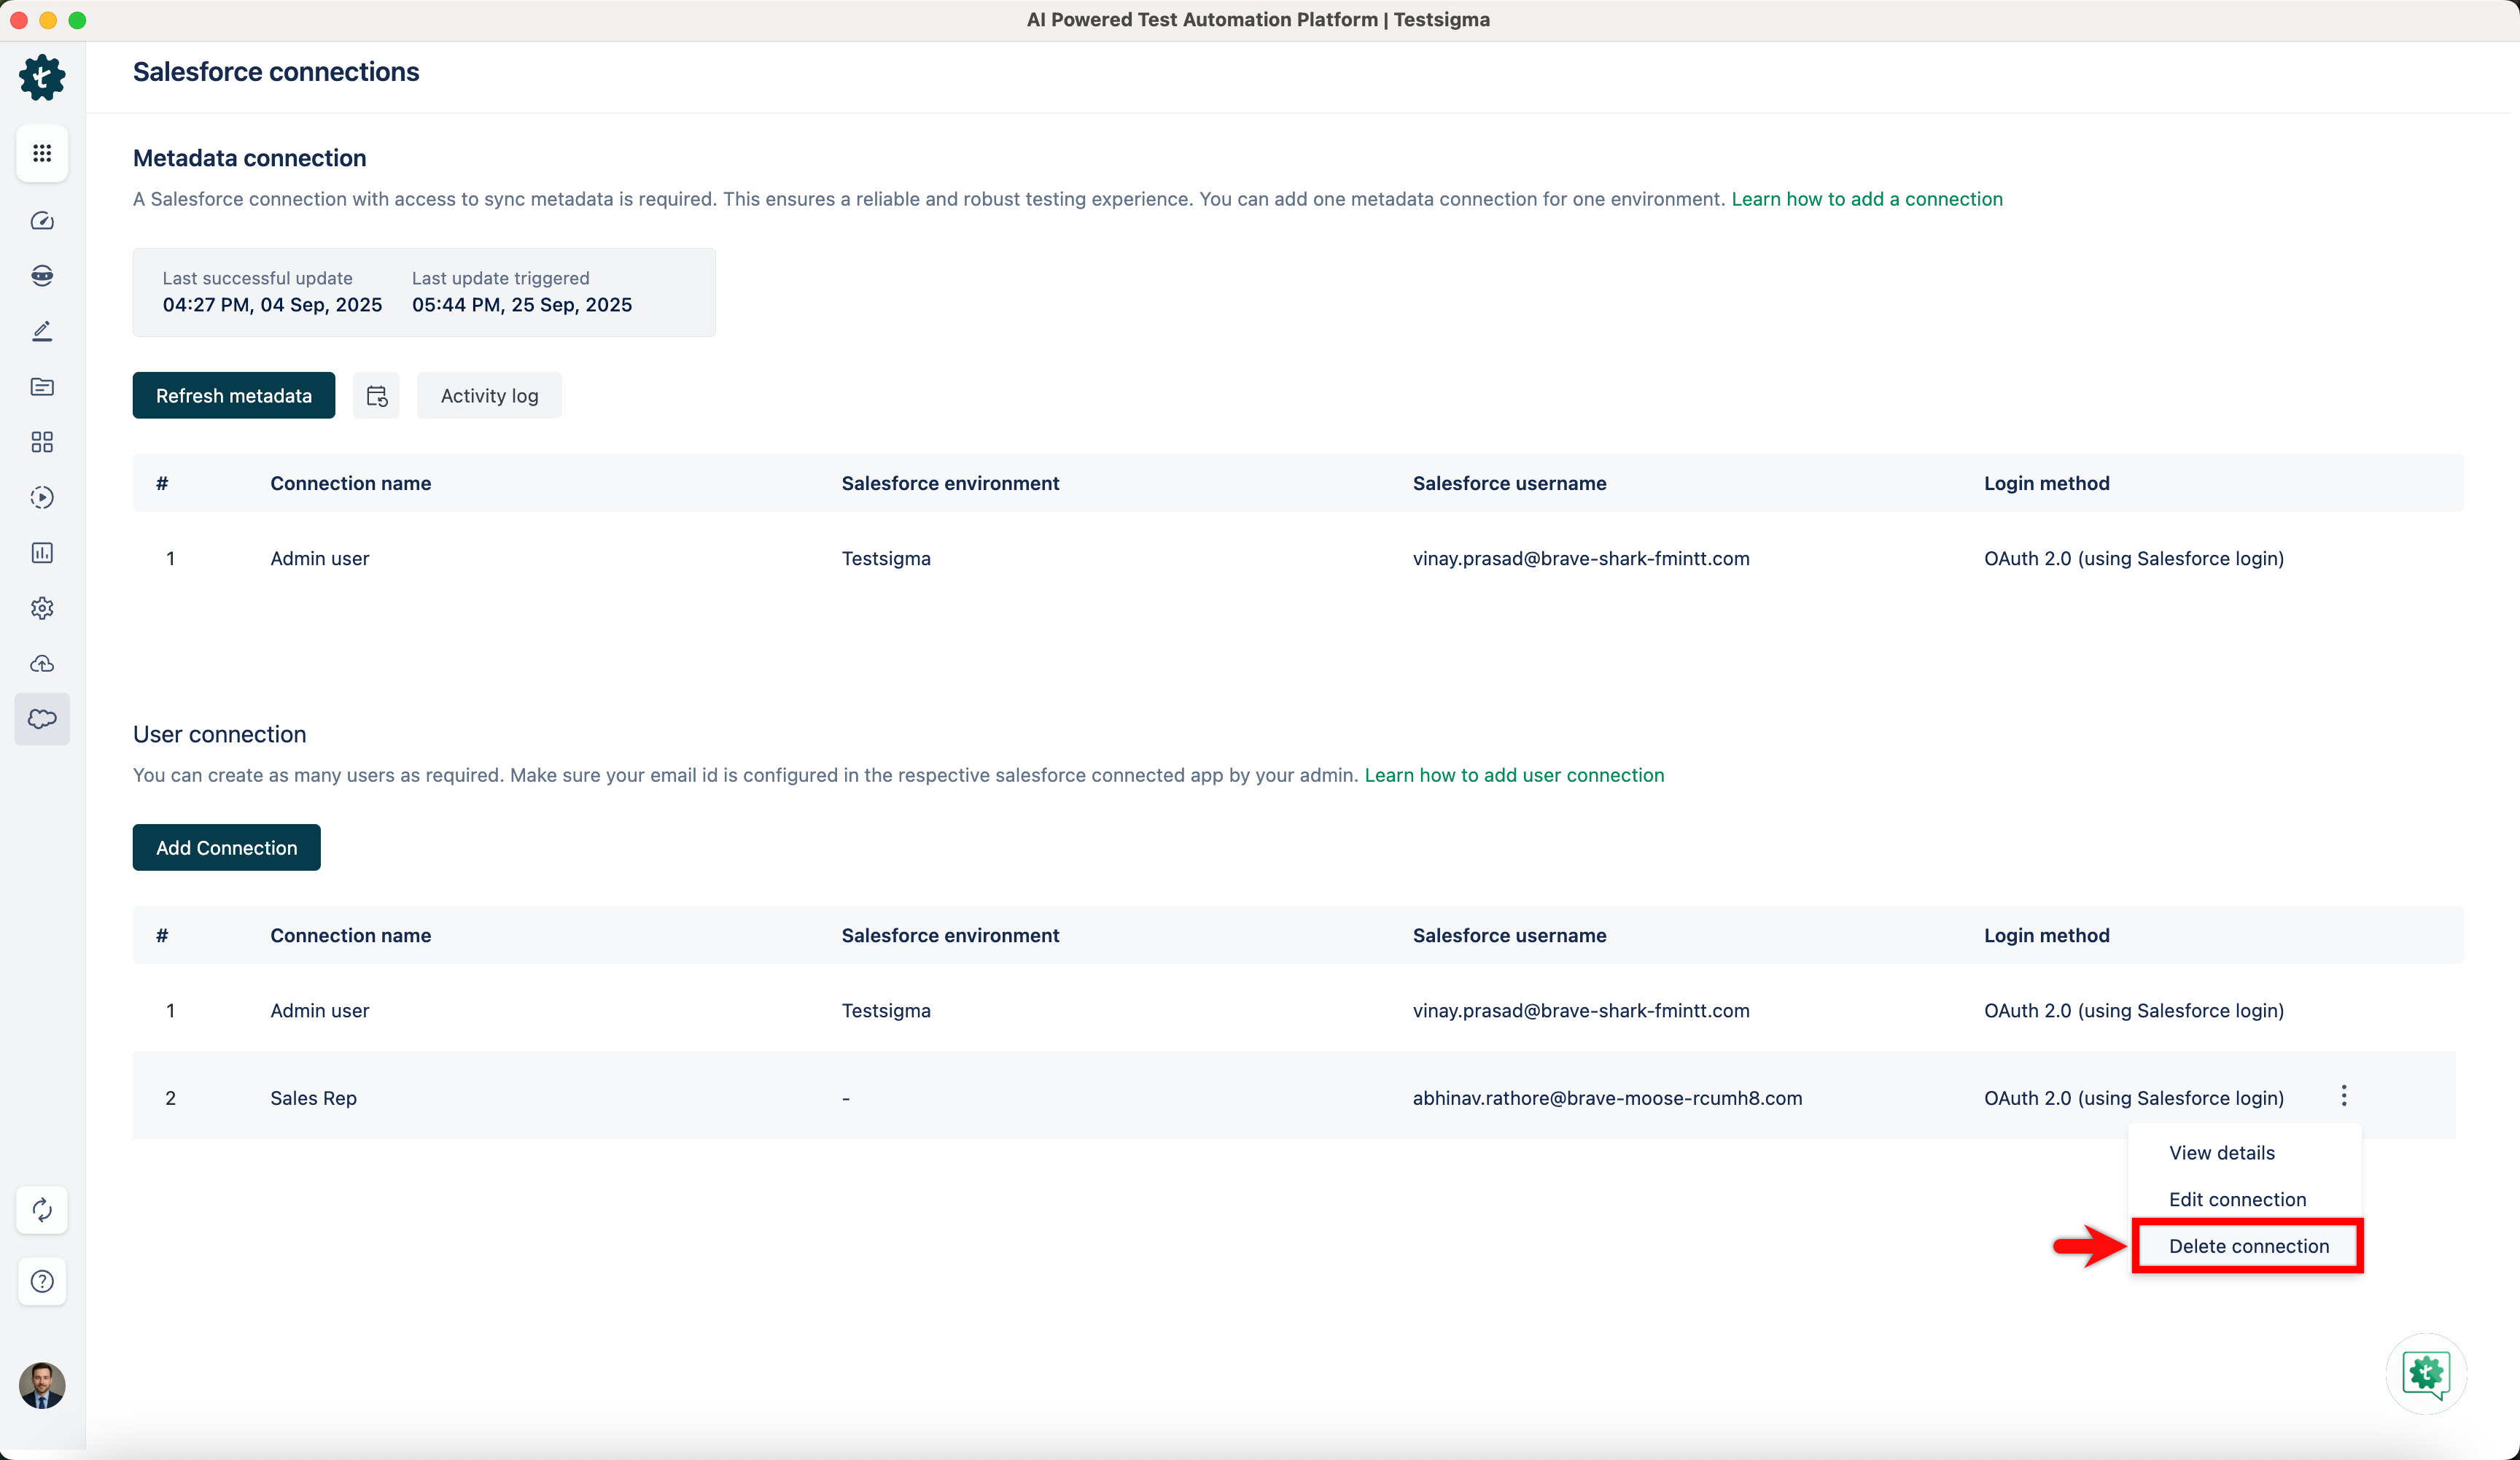
- Under the User connection section, click the ellipsis icon against a connection and click Delete connection.
- In the Delete connection dialog, click Delete.
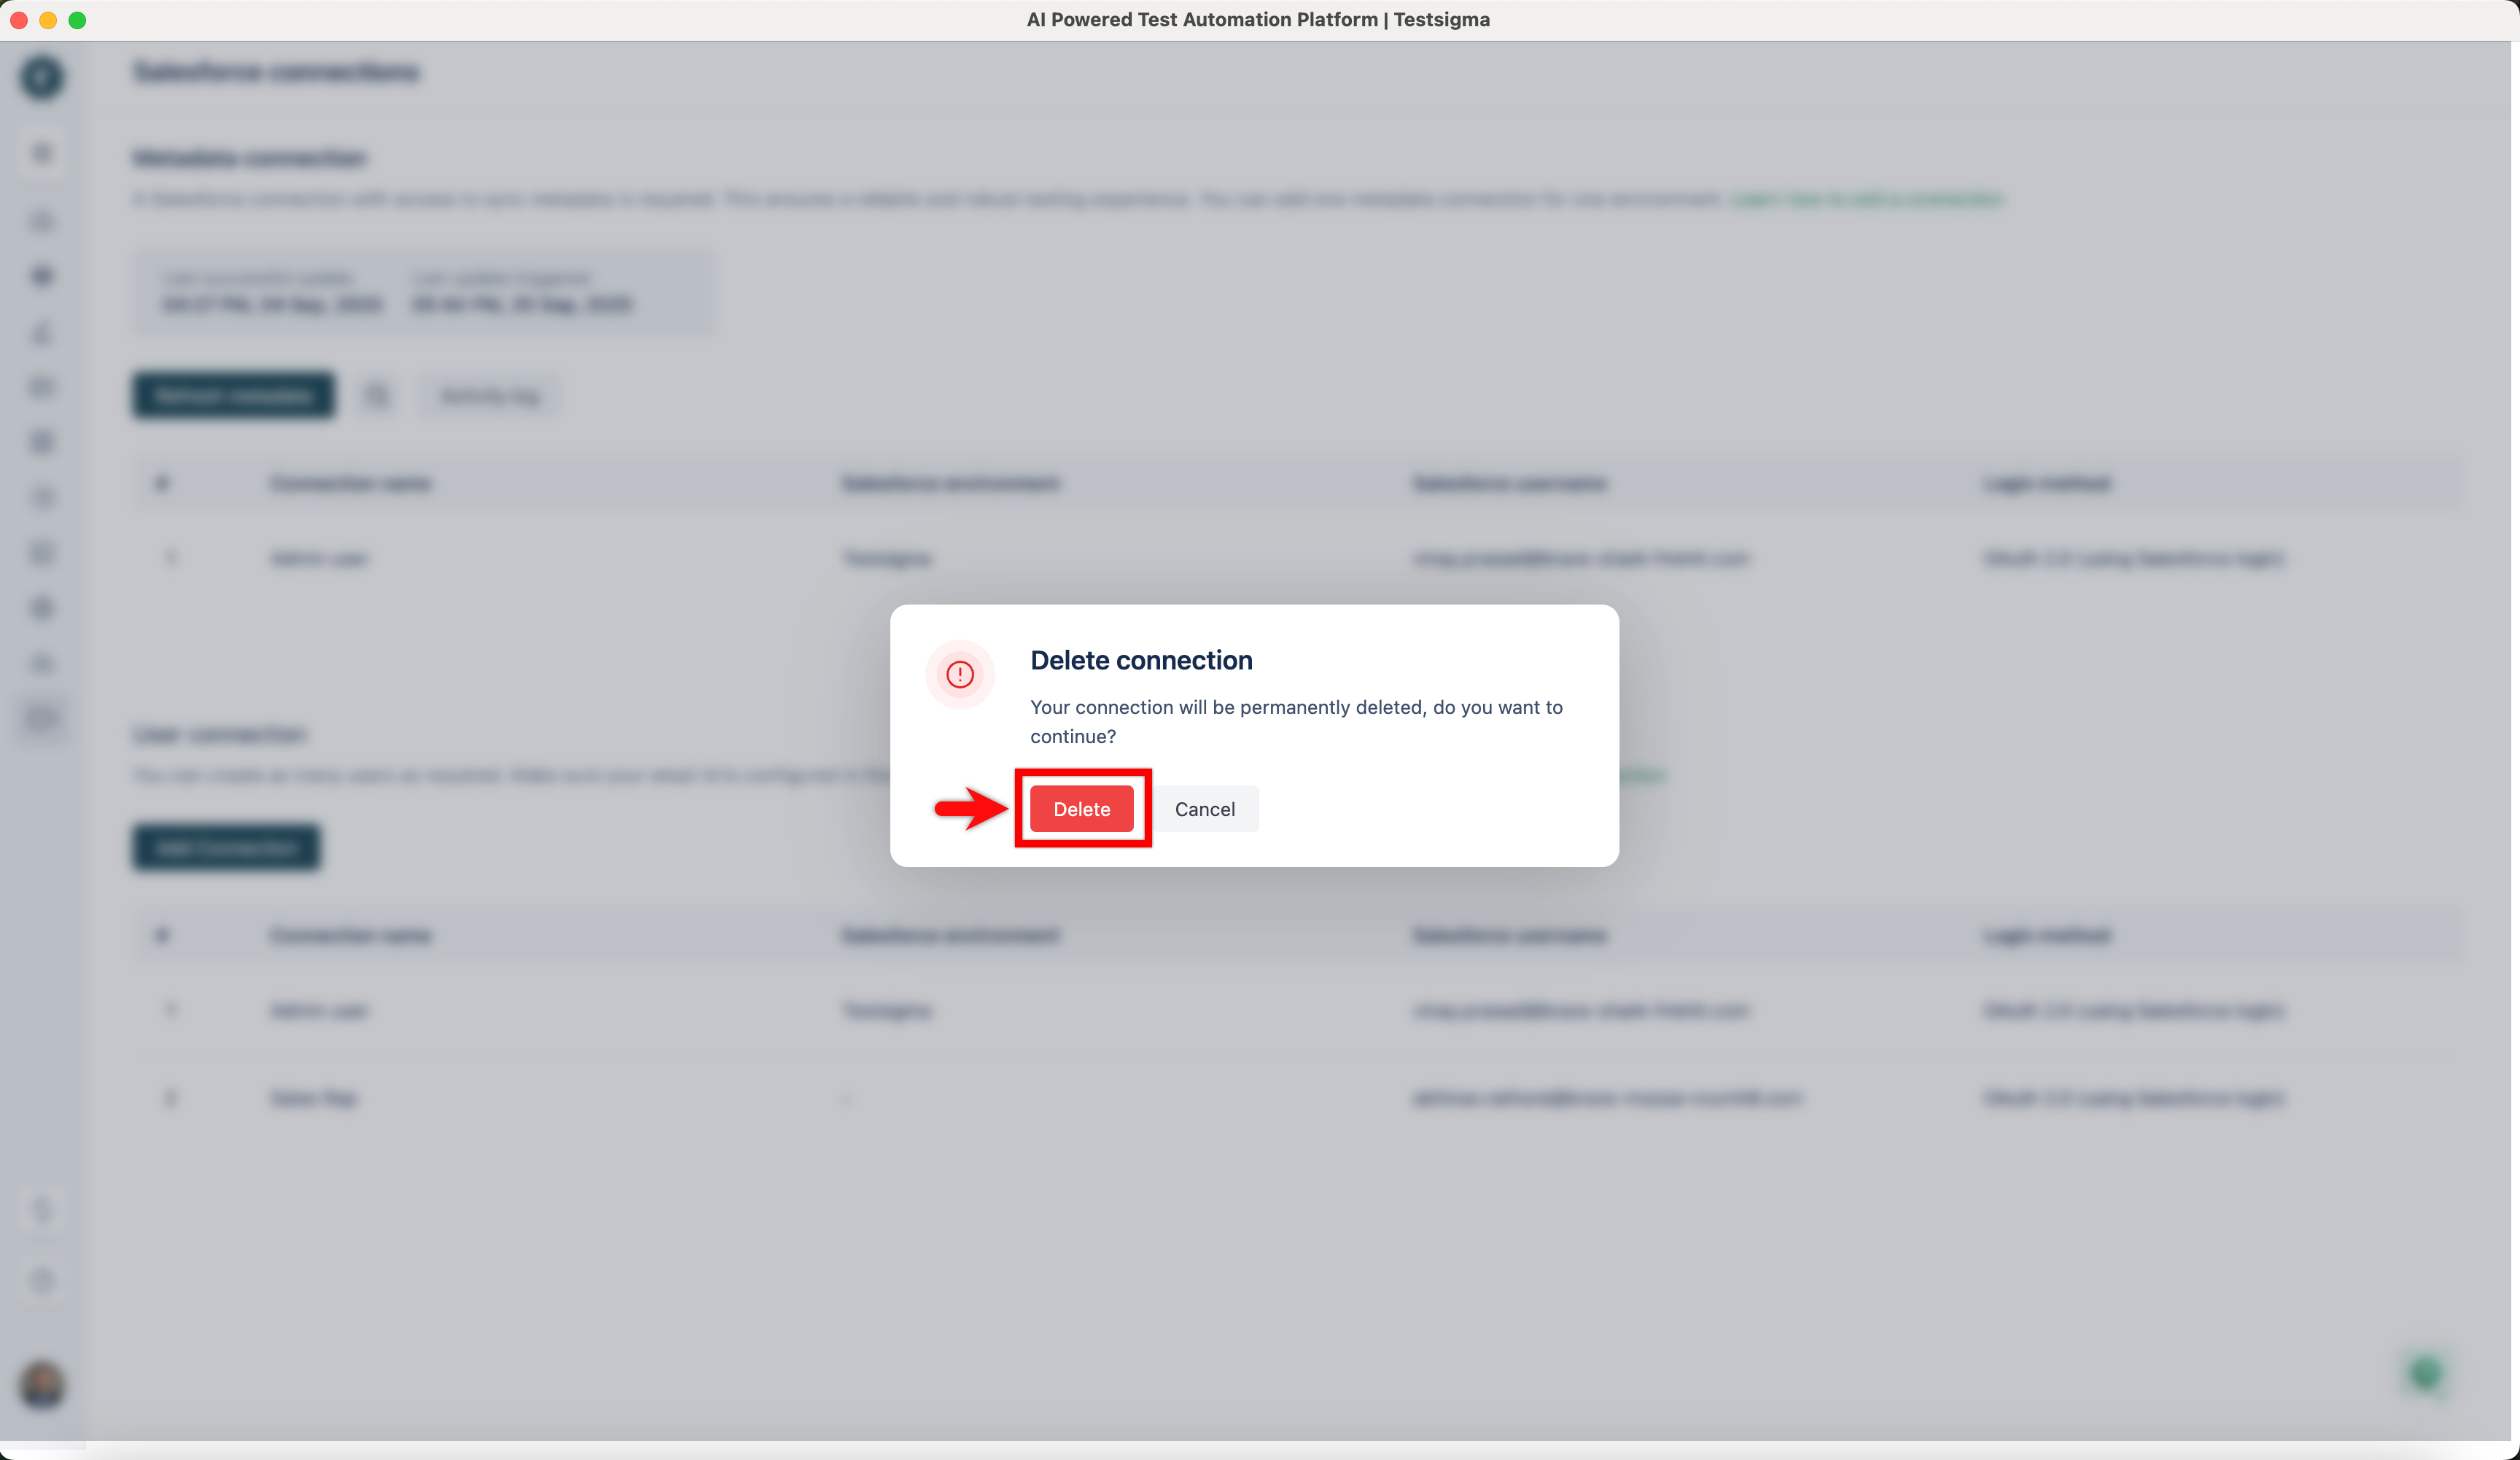
- The User connection will be deleted successfully.
NOTE:
A user connection linked to a test case can be deleted only after all related test cases and step groups have been removed.
Want to contribute or report missing content?