- Elements (Objects)
- Web Applications
 Record Single Element
- Record Multiple Elements
- Create Elements
- Supported Locator Types
- Formulating Elements
- Shadow DOM Elements
- Verifying elements in Chrome DevTools
- Handling iframe Elements?
- Create Image Based Elements
- Dynamic Locators using Parameter
- Dynamic Locators using Runtime
- Using Environment Test Data for Dynamic Locators
- Locating Dynamic Elements in Date Widget
- Freeze & Inspect Dynamic Elements (WebPage)
- Locating Dynamic Elements in Tables
- Import/Export Elements
- Locator Precedence (Web Apps)
- Verify Elements from Test Recorder
Create Image Based Elements
In Testsigma, you can create elements by capturing or uploading screenshots of them. This feature improves element identification in situations where DOM-based methods are less effective. Although Testsigma Test Recorder simplifies element creation, dynamic application behavior can sometimes affect the reliability of XPaths. Image based element creation overcomes these challenges by identifying and interacting with UI elements using pixel recognition. This article discusses creating elements using images.
Prerequisites
Before you begin, ensure that:
- You have installed the Testsigma Chrome Extension. For more information on installing Testsigma Chrome Extension, refer to the documentation on Testsigma Chrome Extension.
- You have a web application that is available for testing.
Steps to Learn Element Images
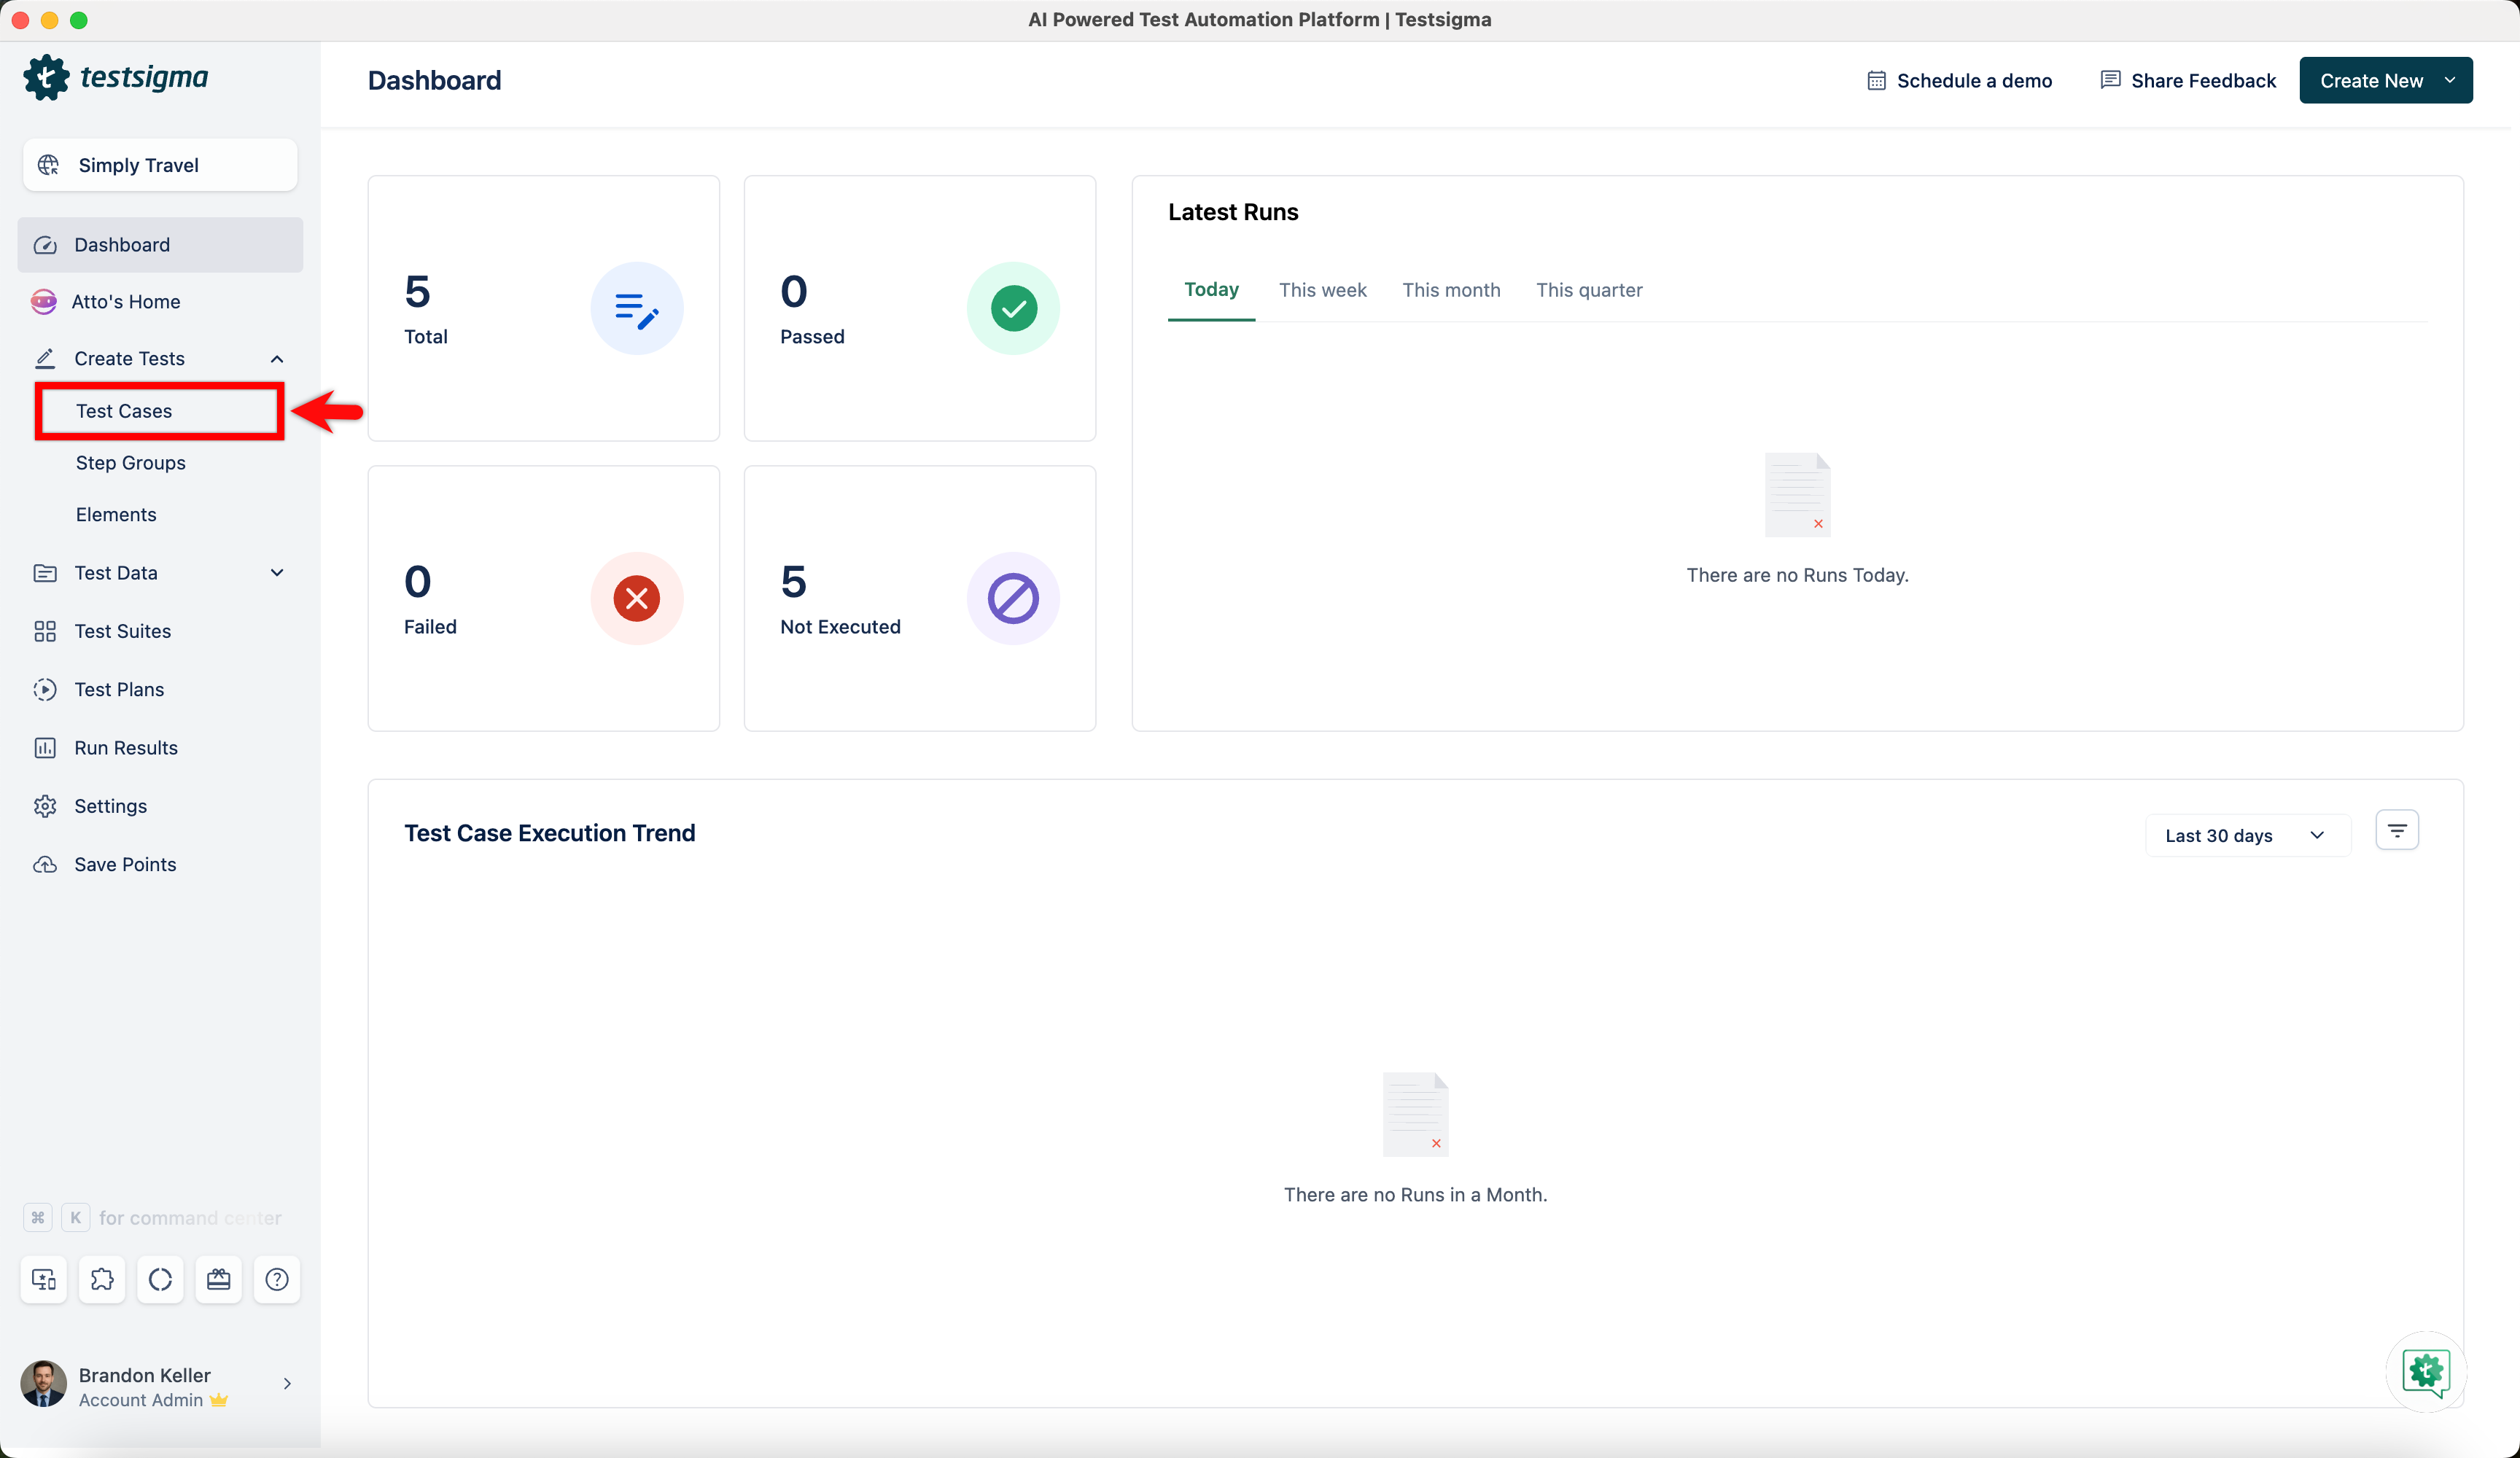
- From the left navigation bar, go to Create Tests > Elements.
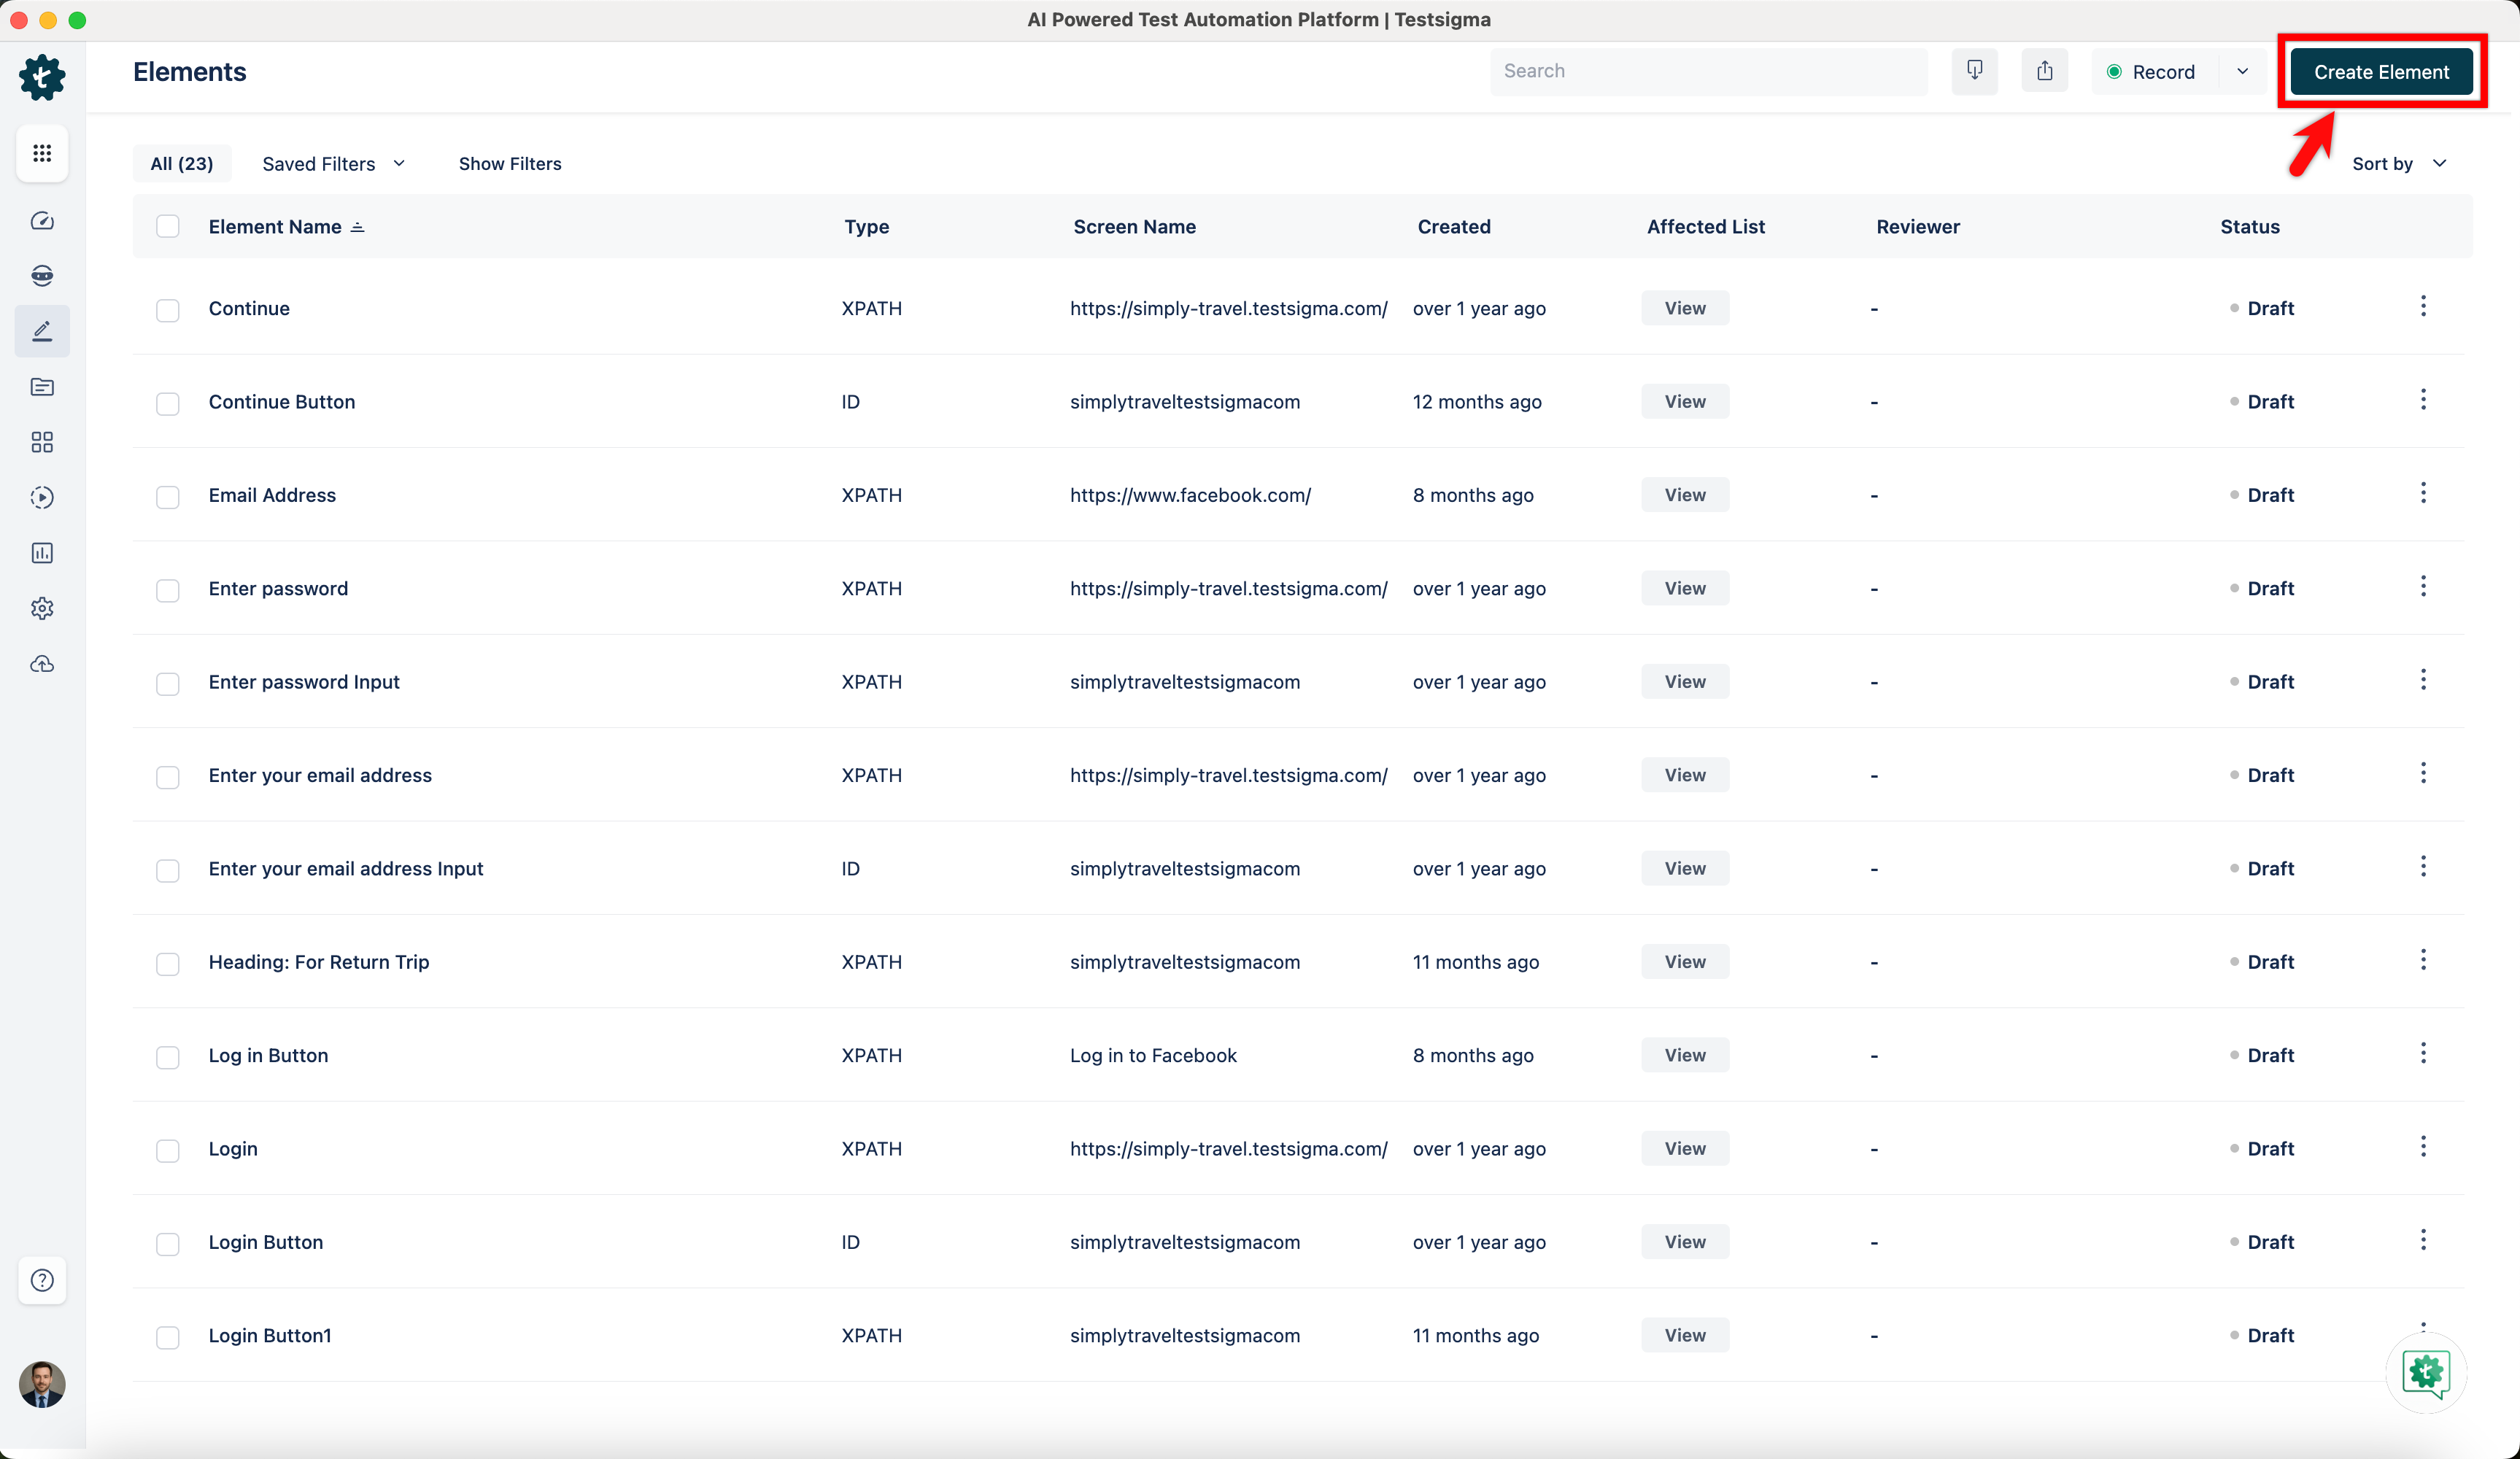
- Click Create Element on the top right corner of the Elements list page. This will open the Create Element overlay.
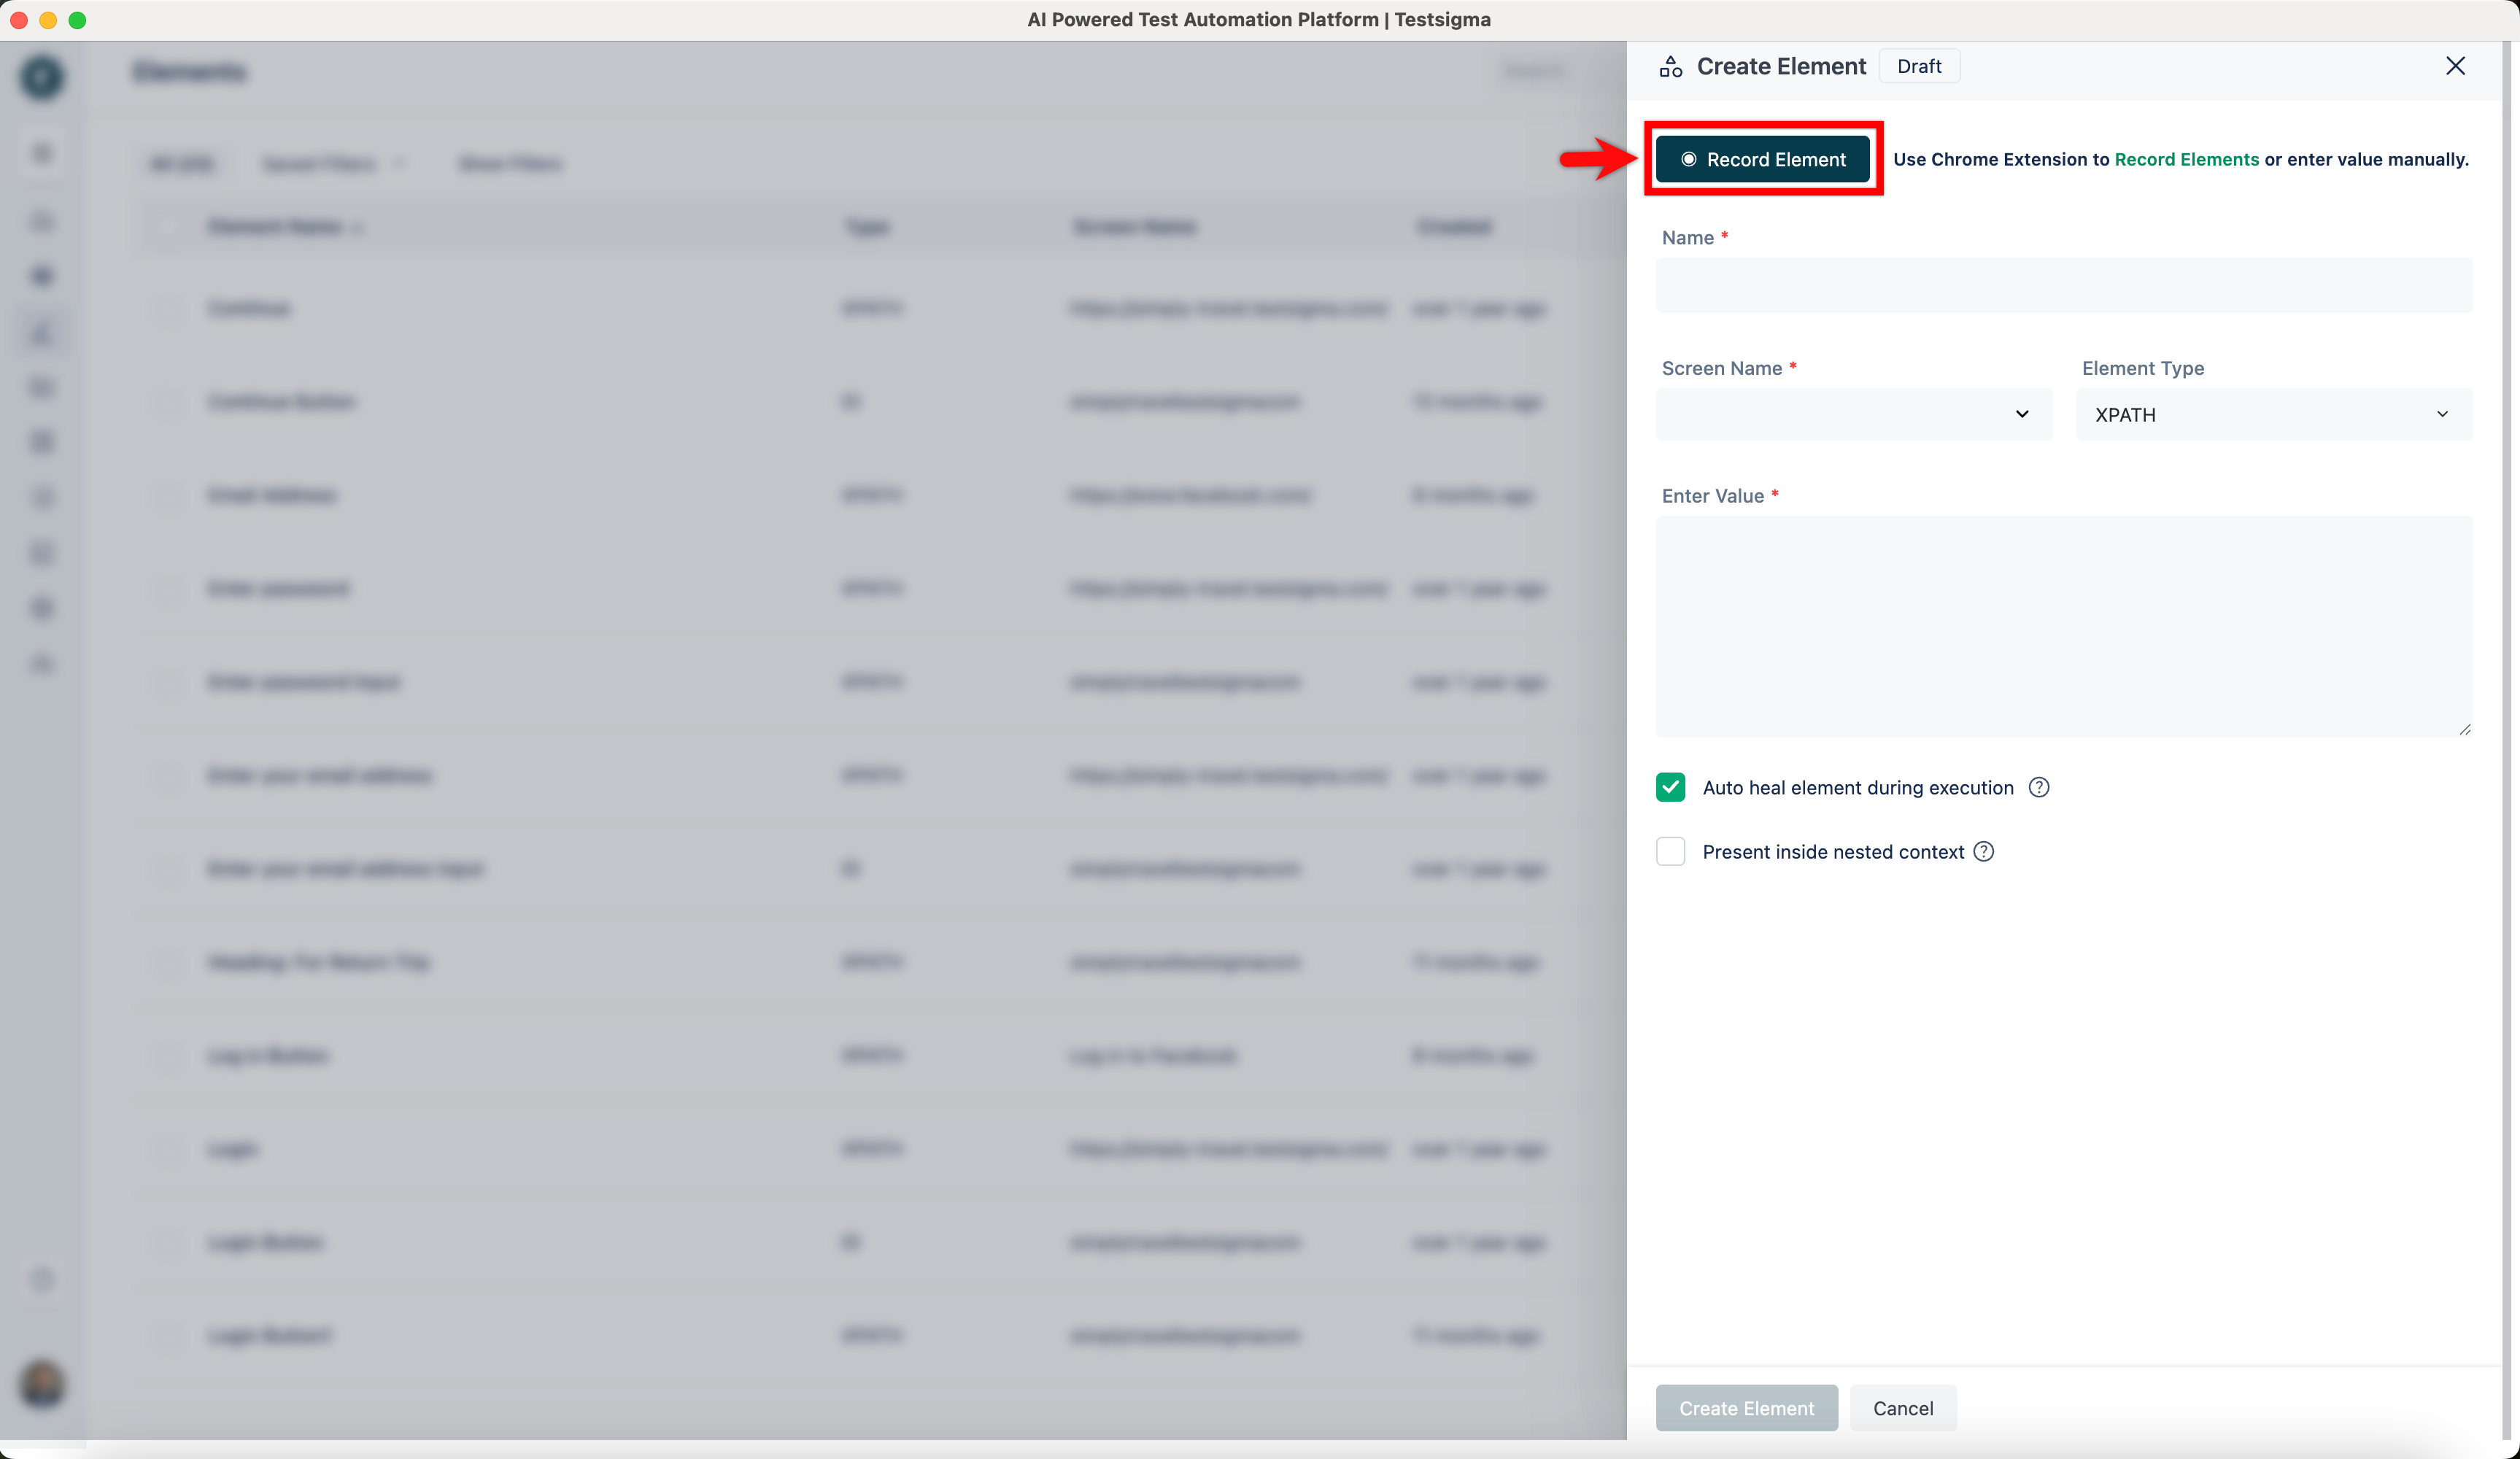
- In the Create Element overlay, click Record Element. This will open Testsigma Test Recorder.
-
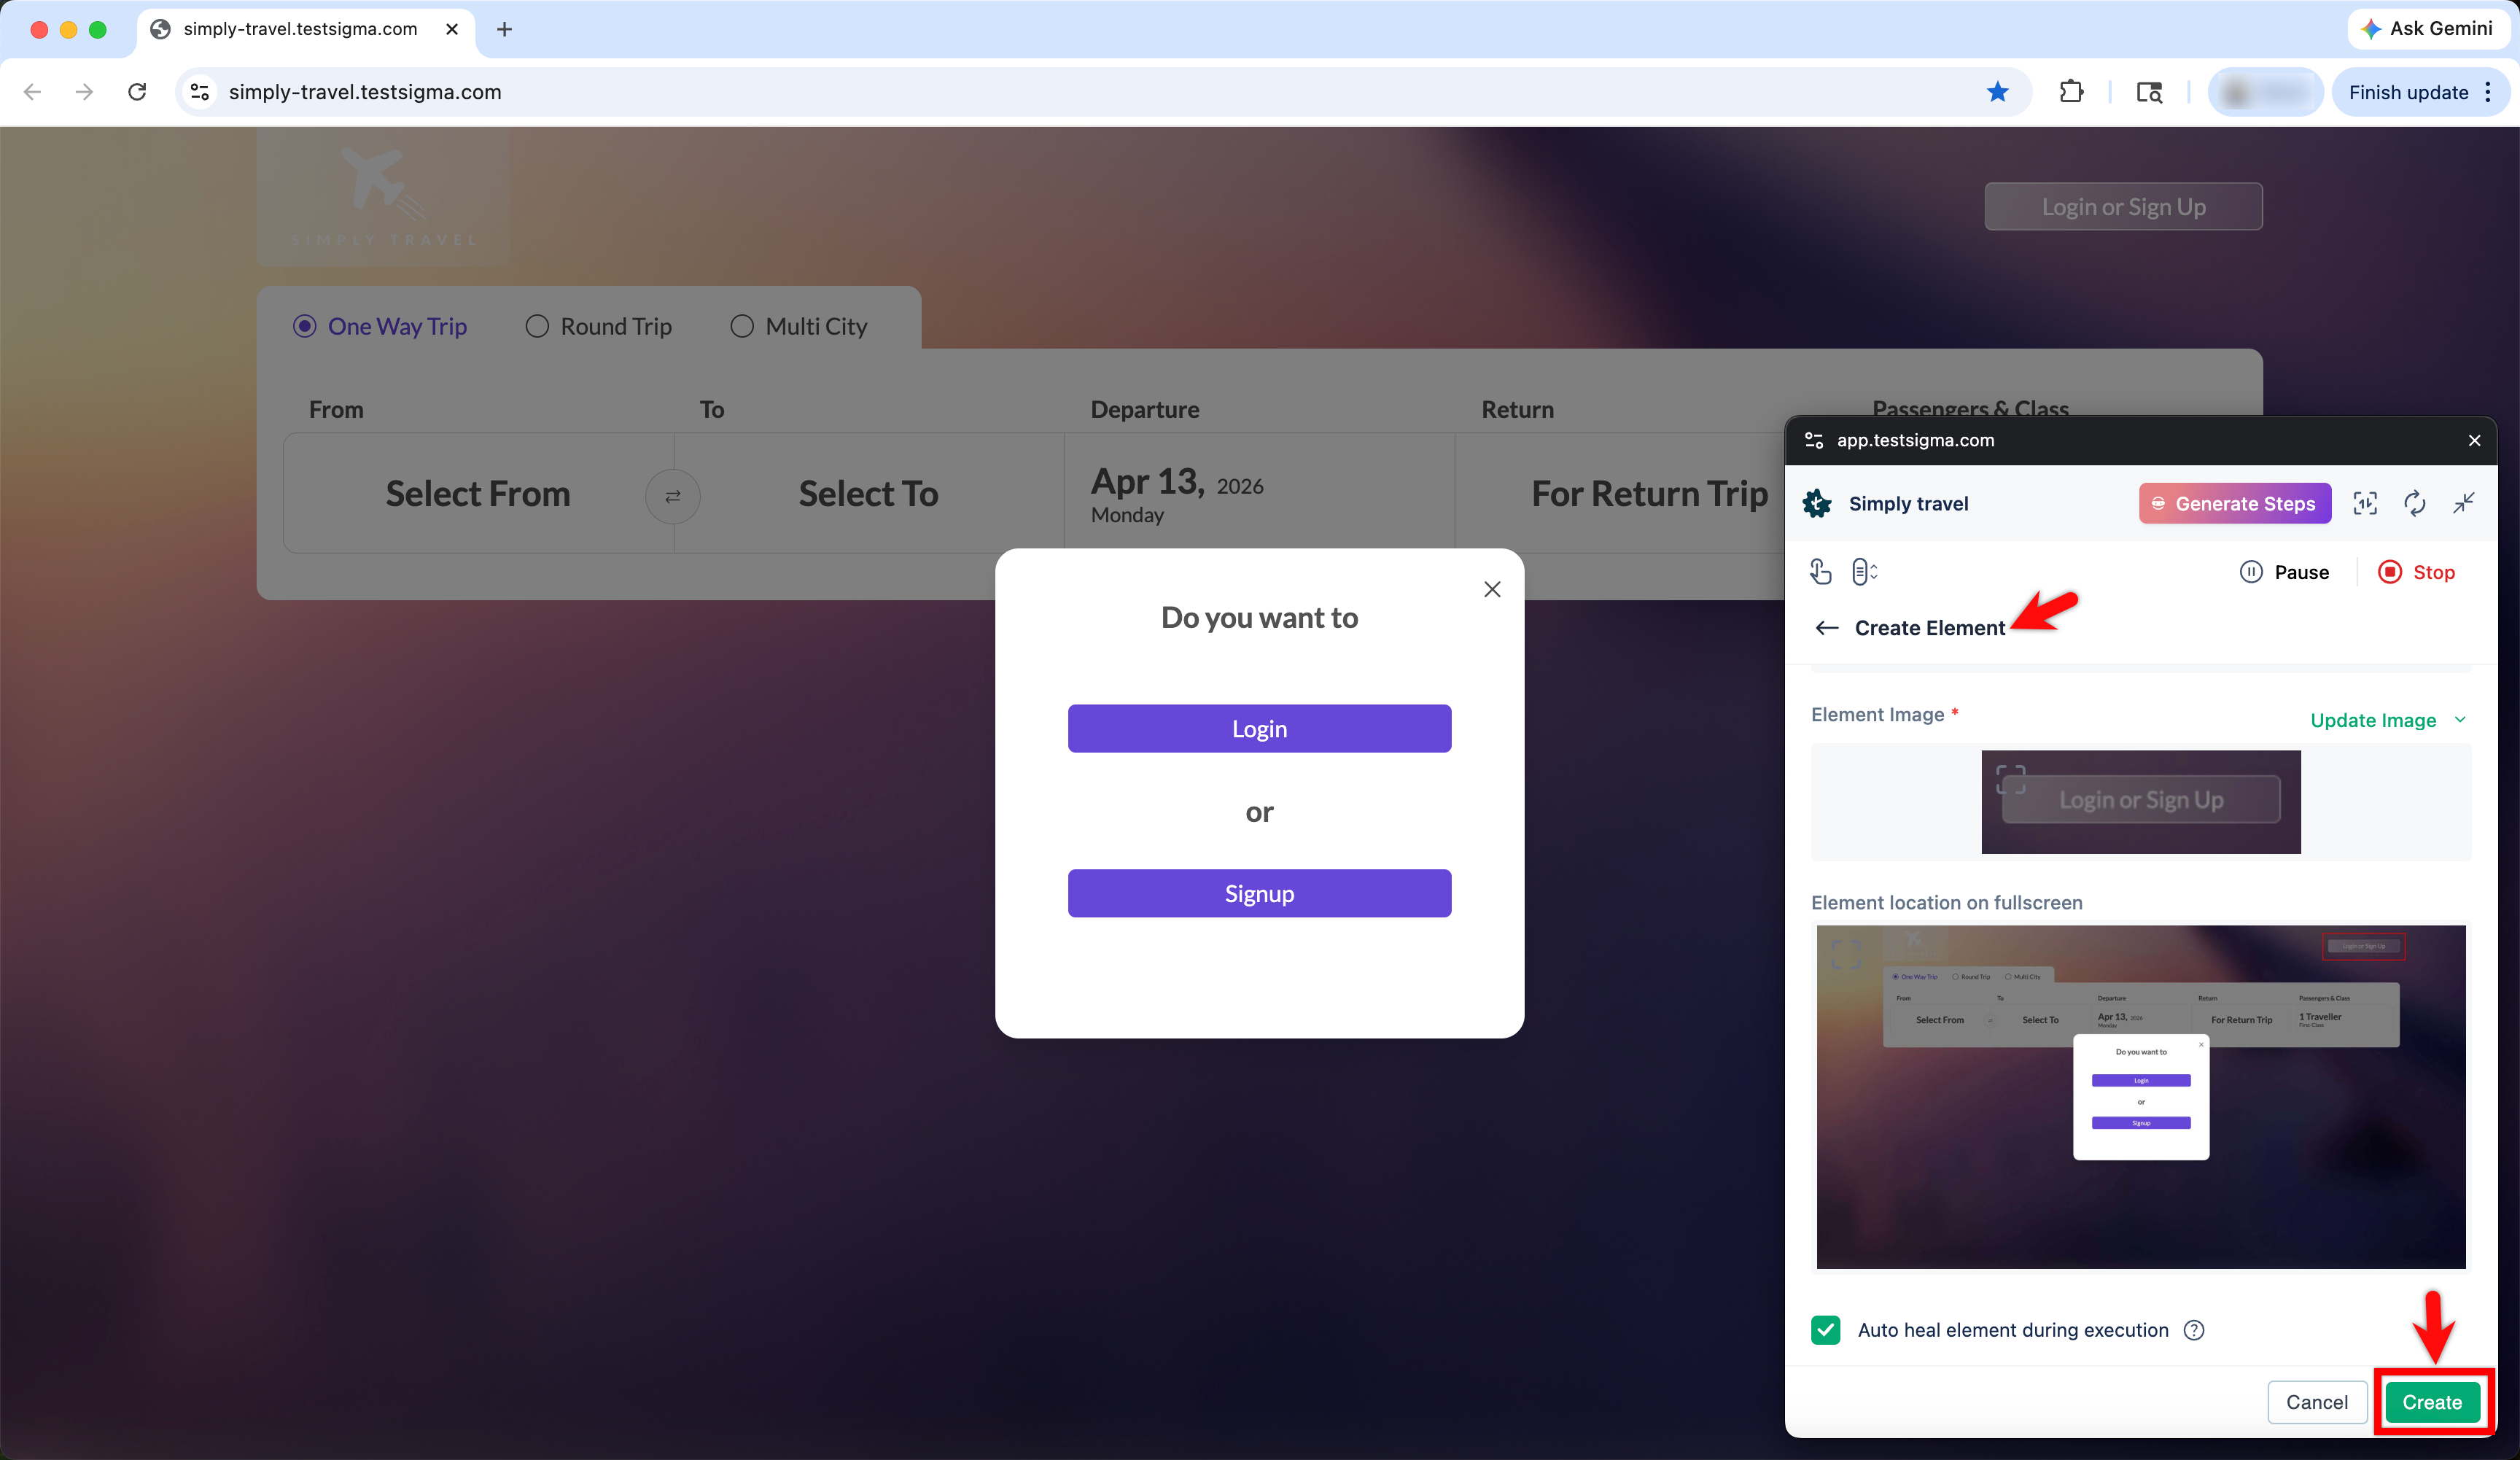
In Create Element overlay of the Test Recorder, enter the following details:
- Name: Enter the name you want to give your element.
- Screen Name: Mention the screen that your element resides on.
- Element Type: Select Image from the dropdown
- Element Image: Click Capture to capture the element from the screen or if you have a screenshot, then you can click Upload and upload the image.
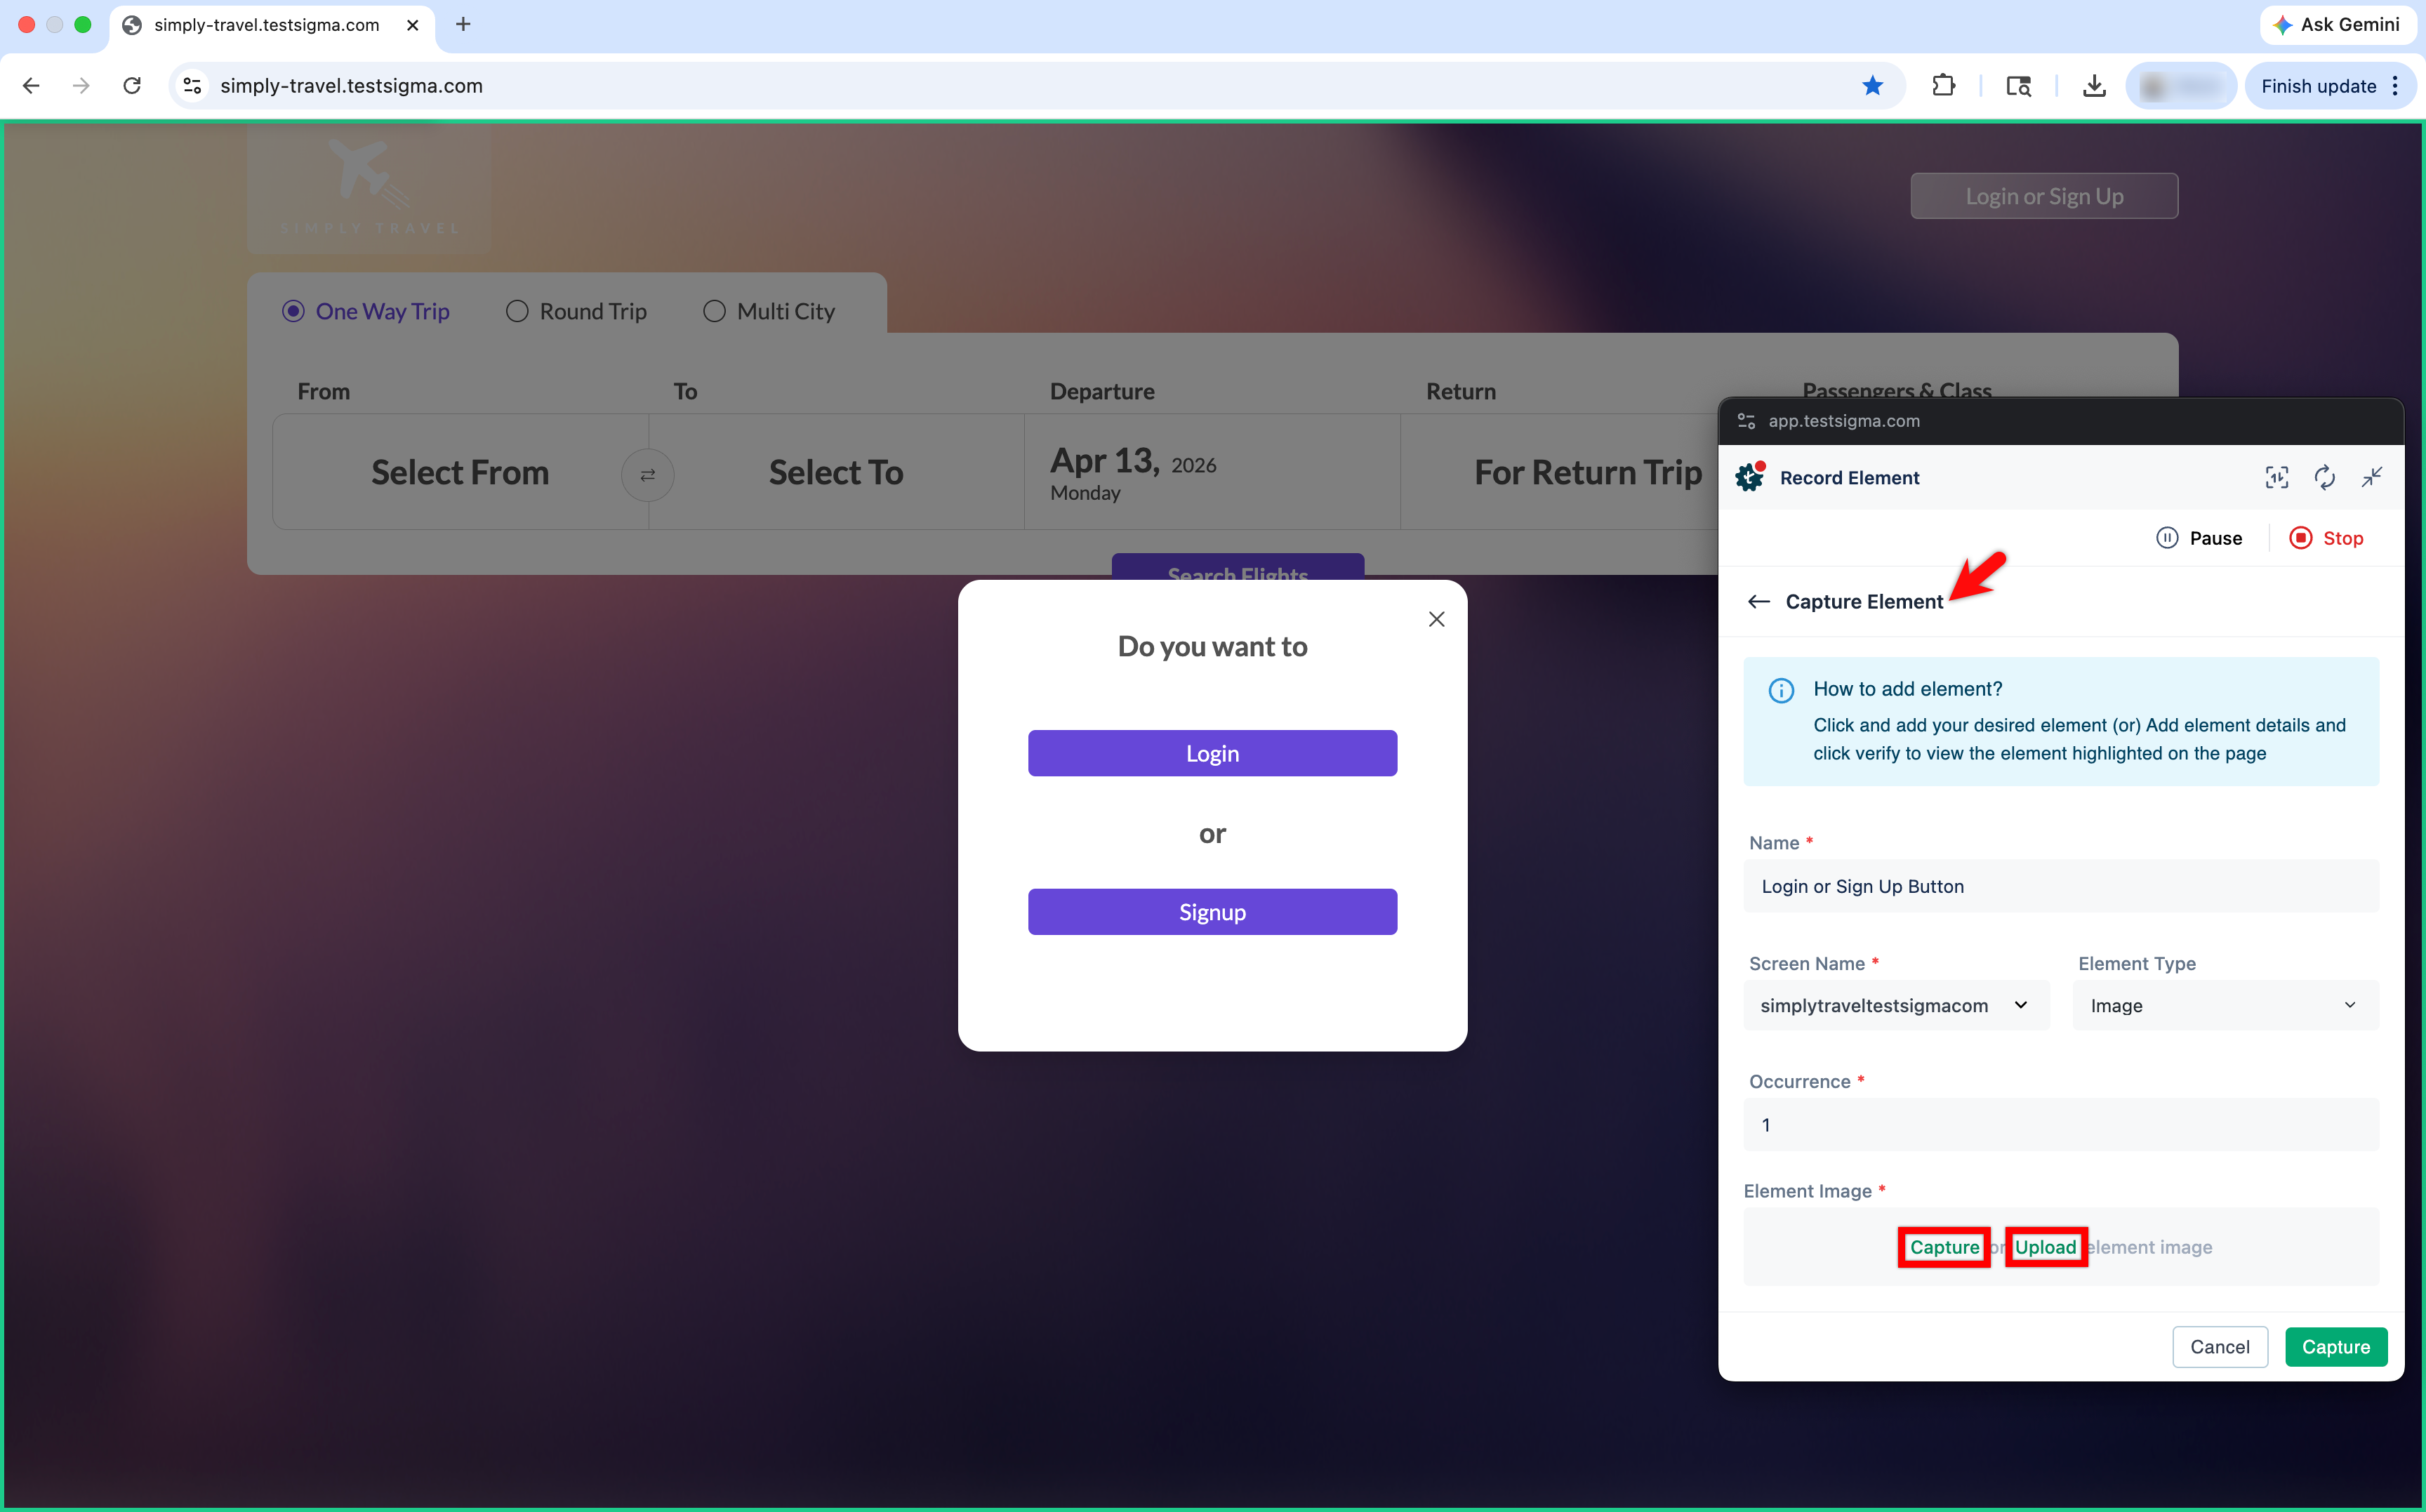
- Select the portion of the element that you want to create and click Capture.
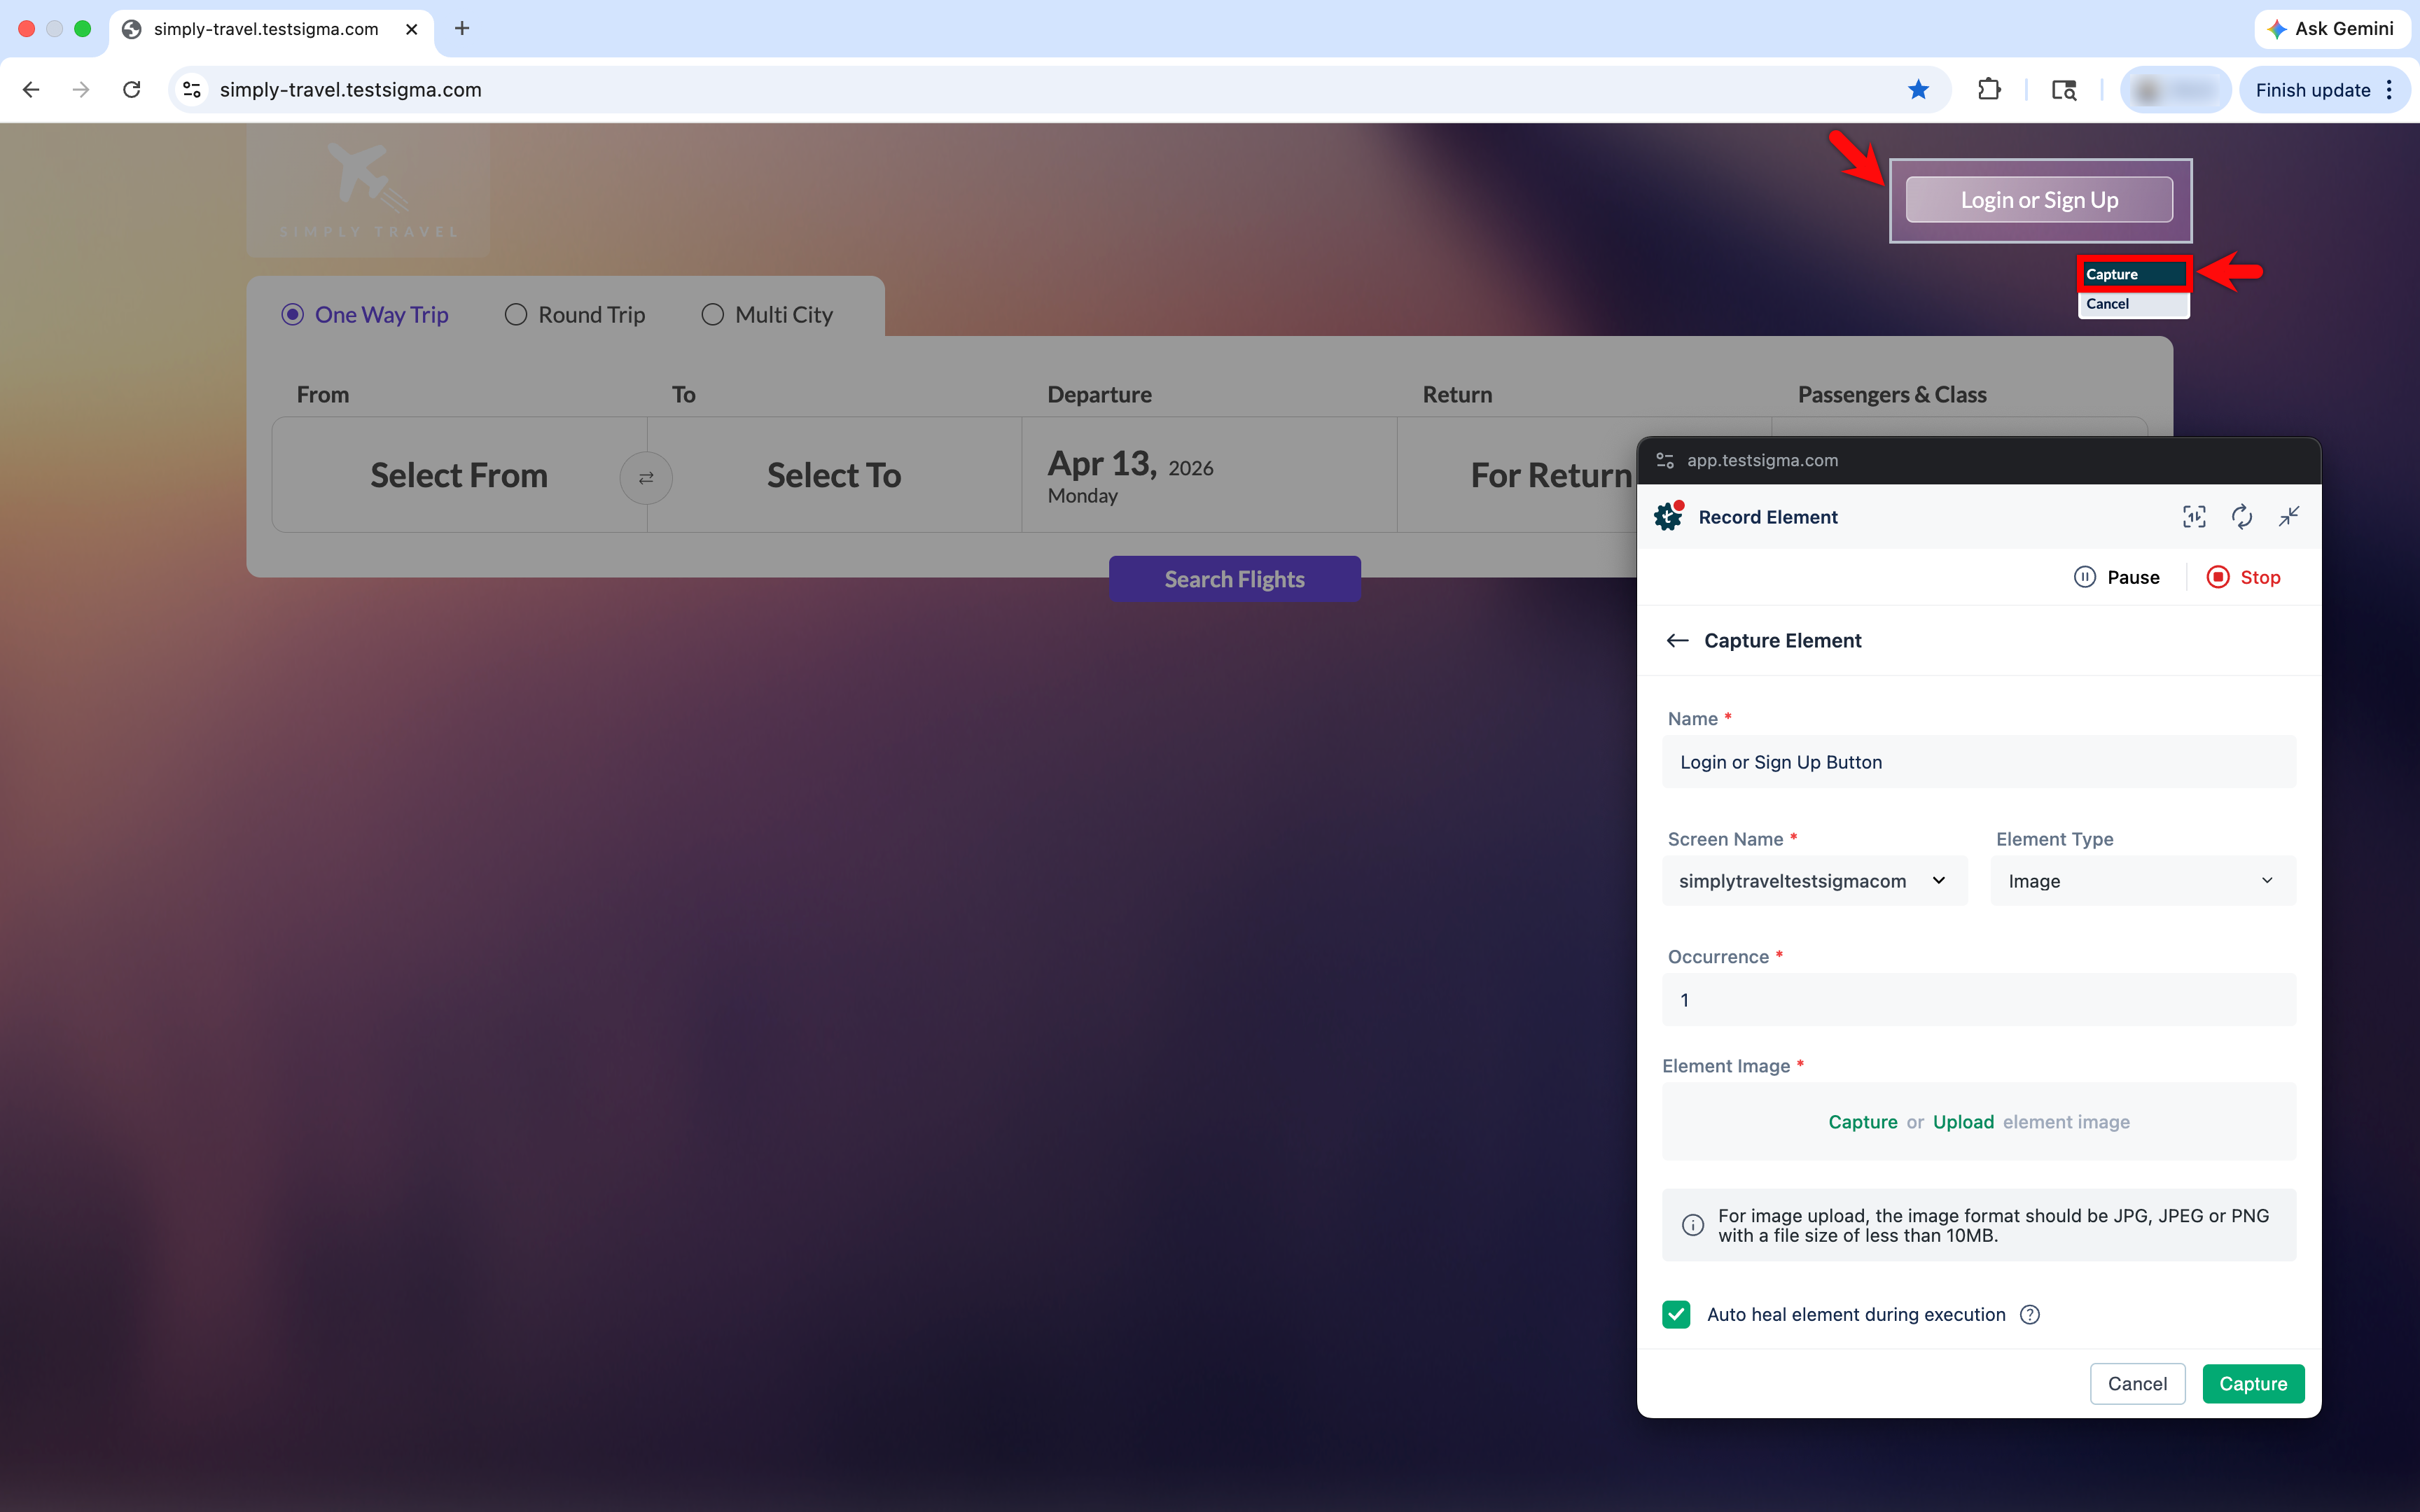
- Click Capture.
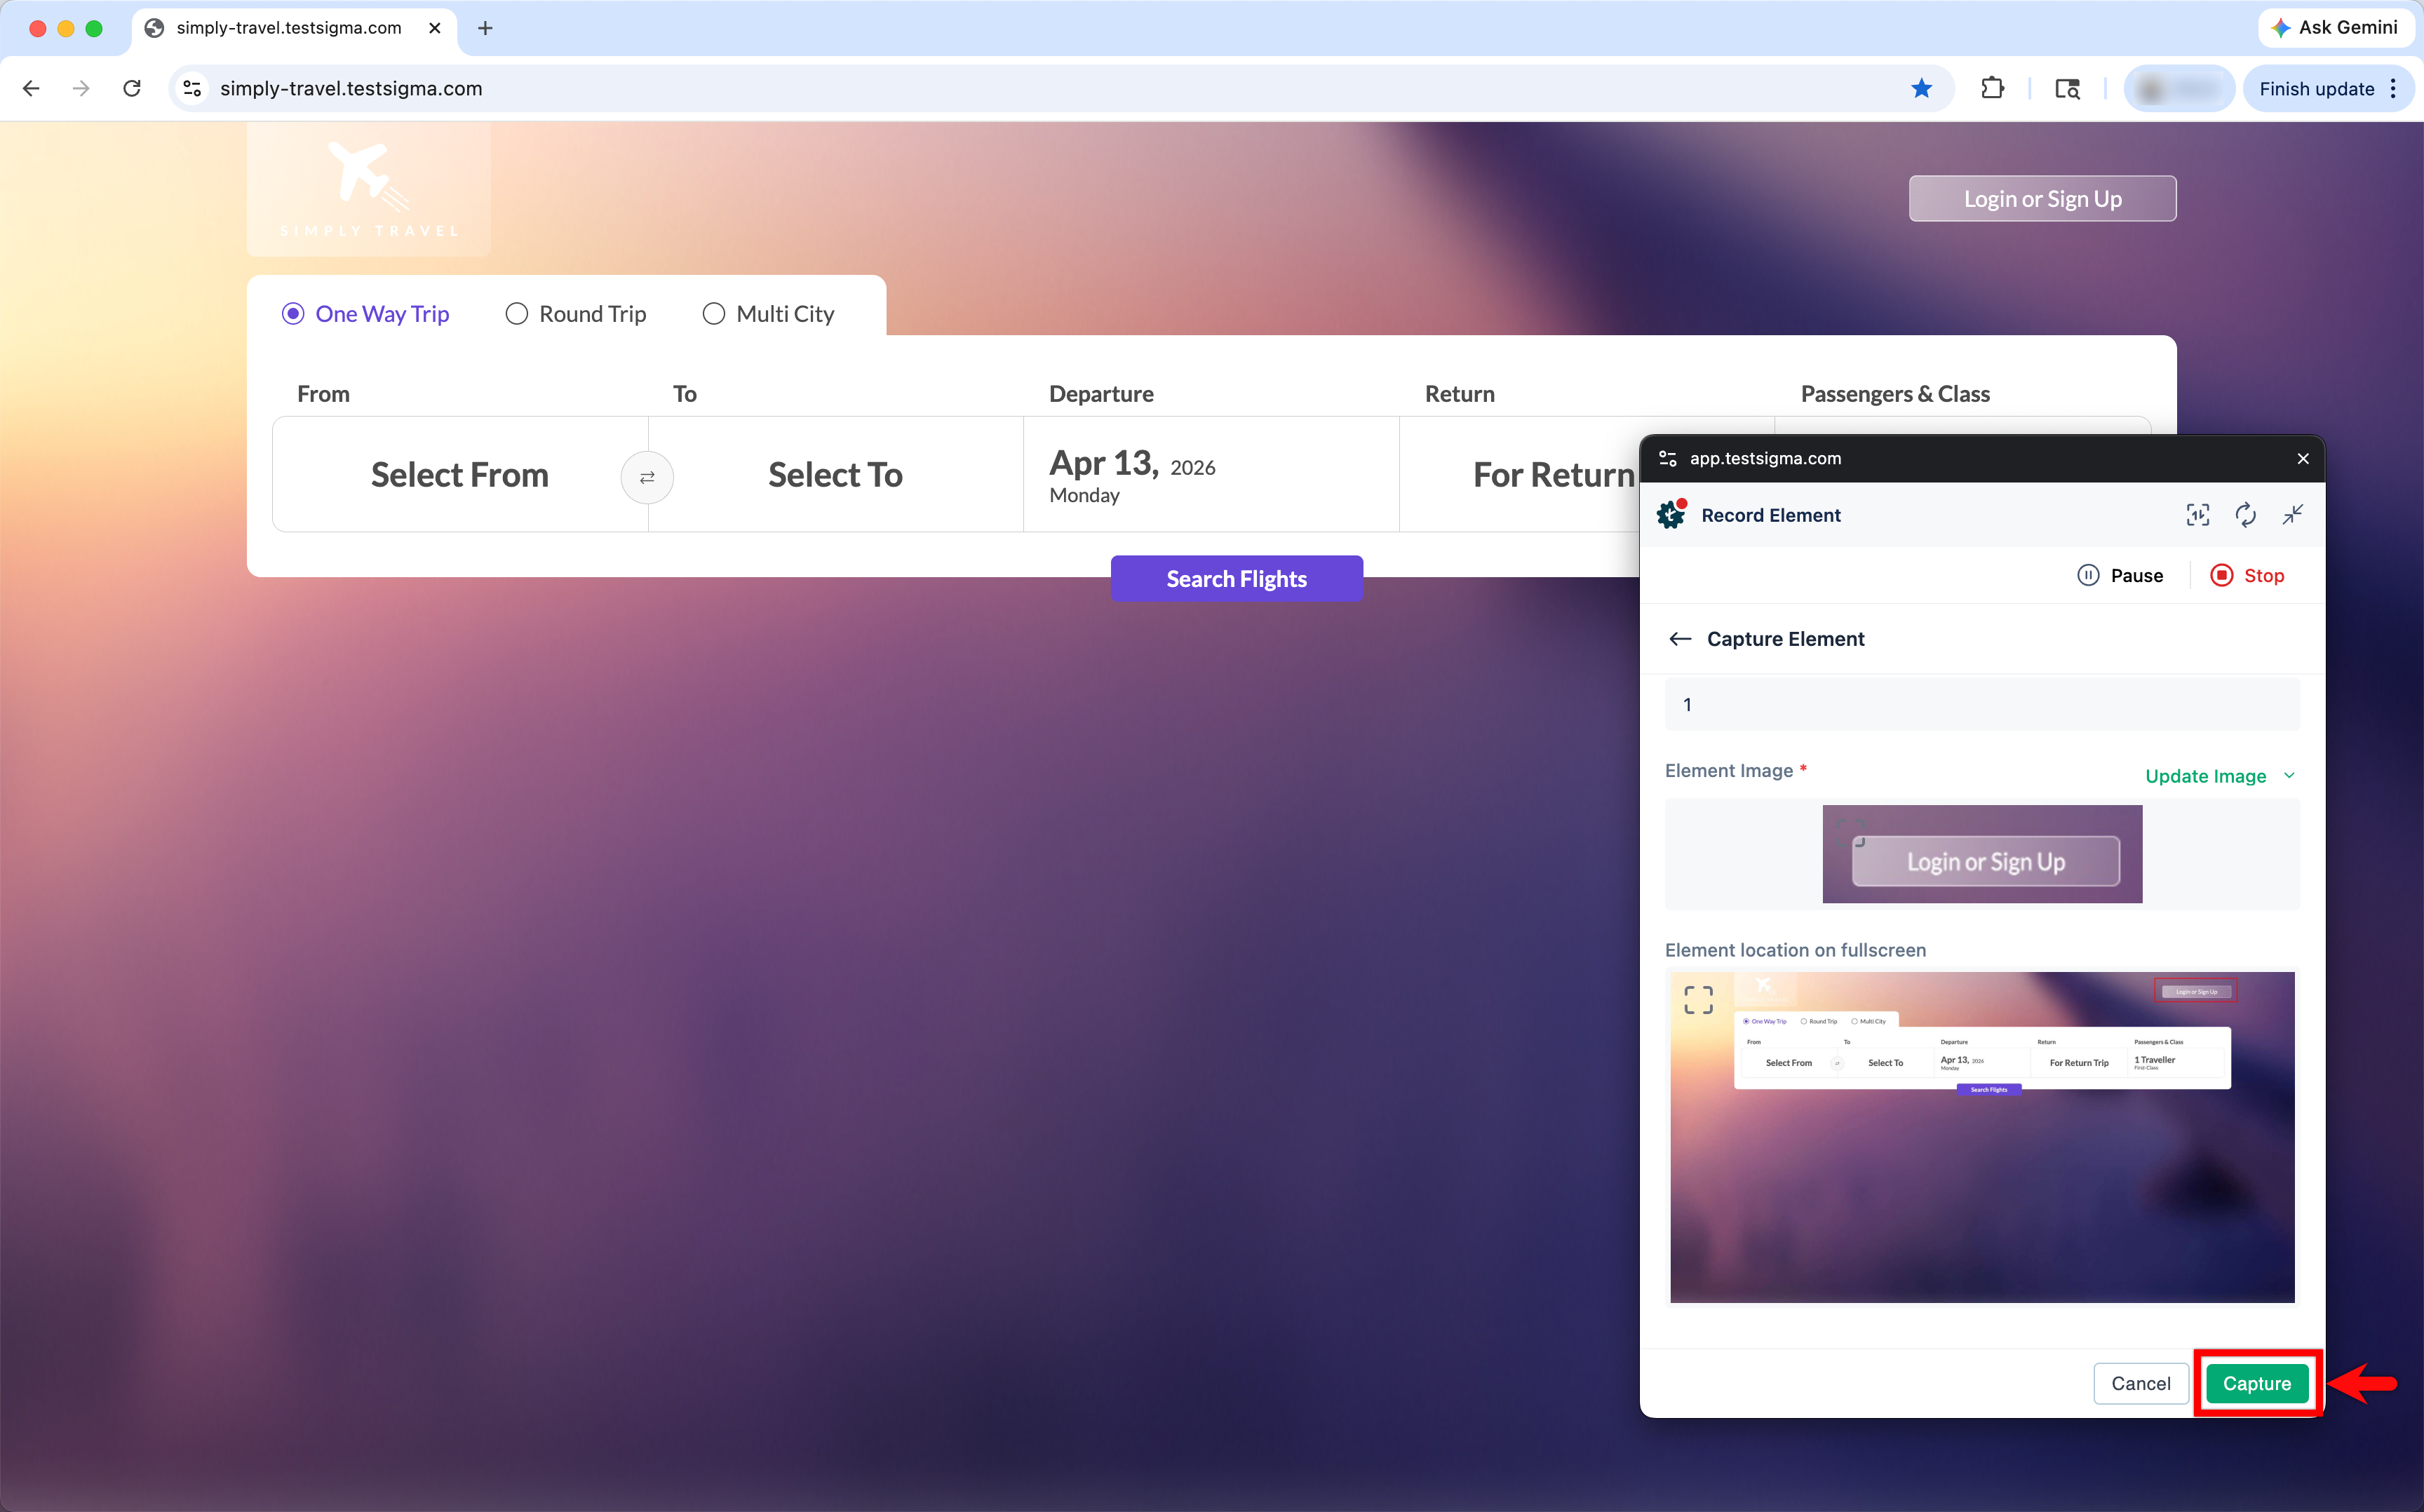
- The element will be saved in the elements list.
Steps to Learn Element Images from Test Cases
- From the left navigation bar, go to Create Tests > Test Cases.
- Click ‘+’ and add New Test Case or go to a pre-existing test case.
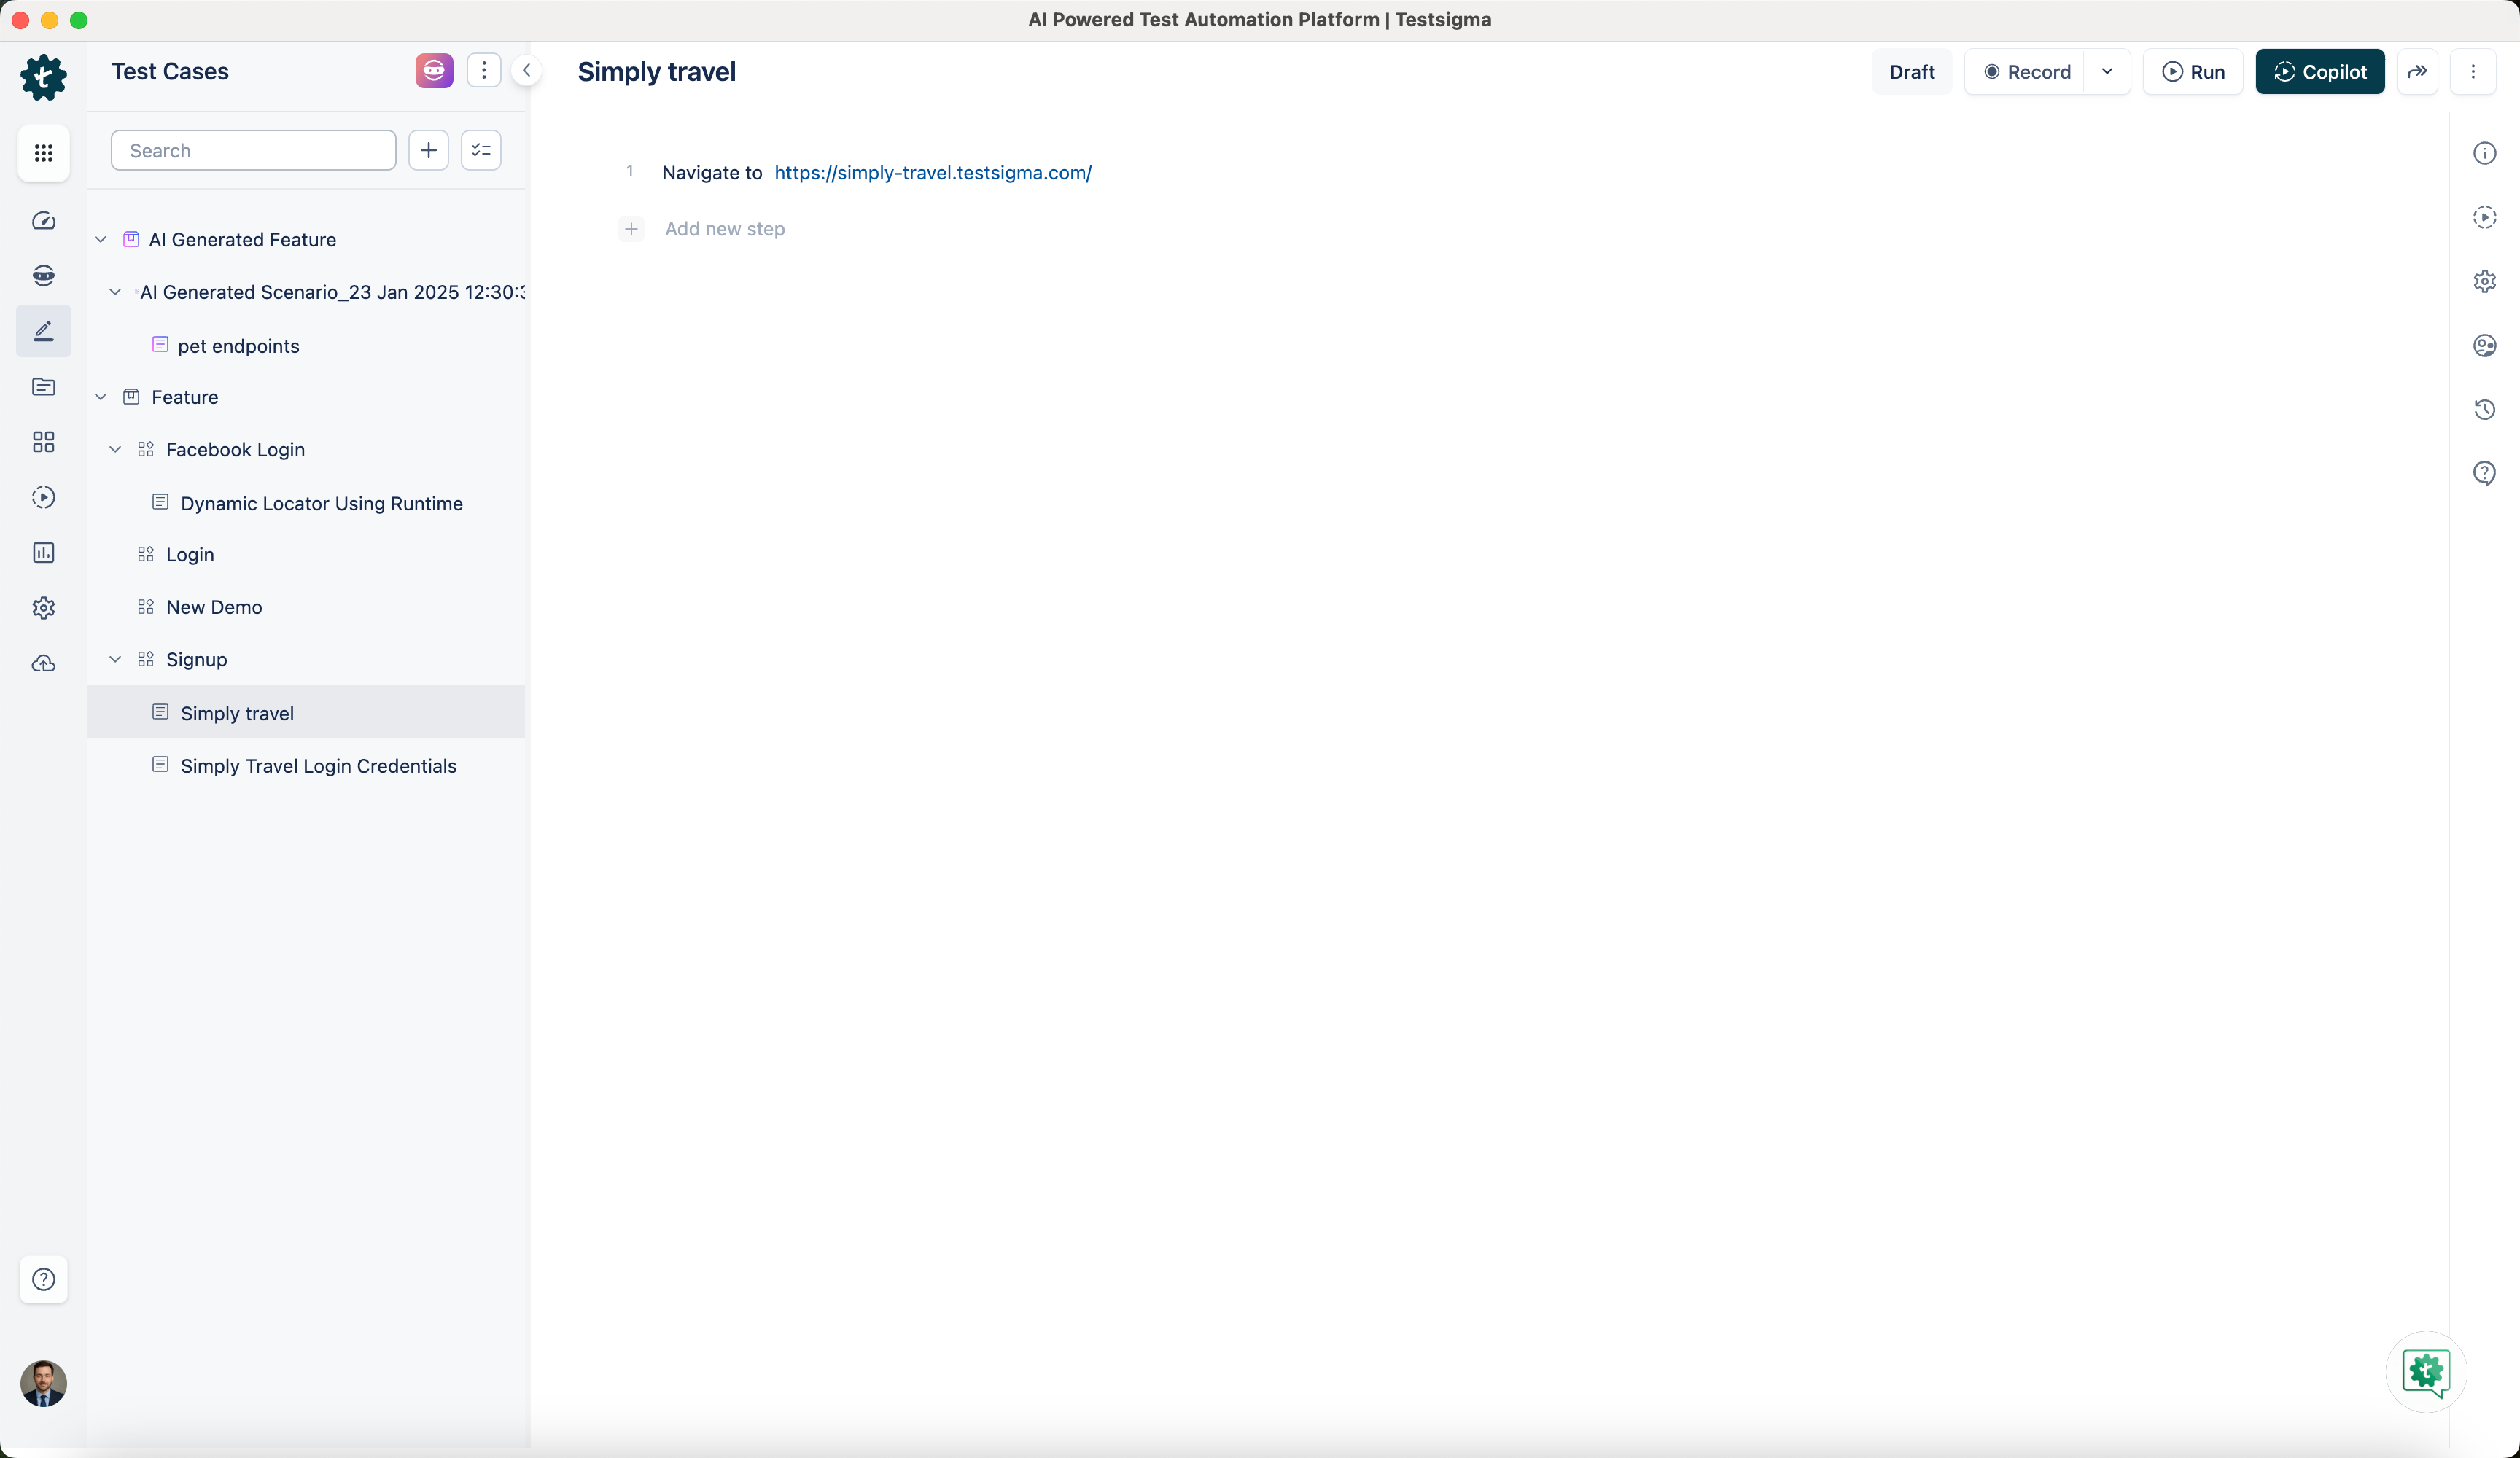
- Click Record on the top right corner of the Test Case details page. This will open a new window.
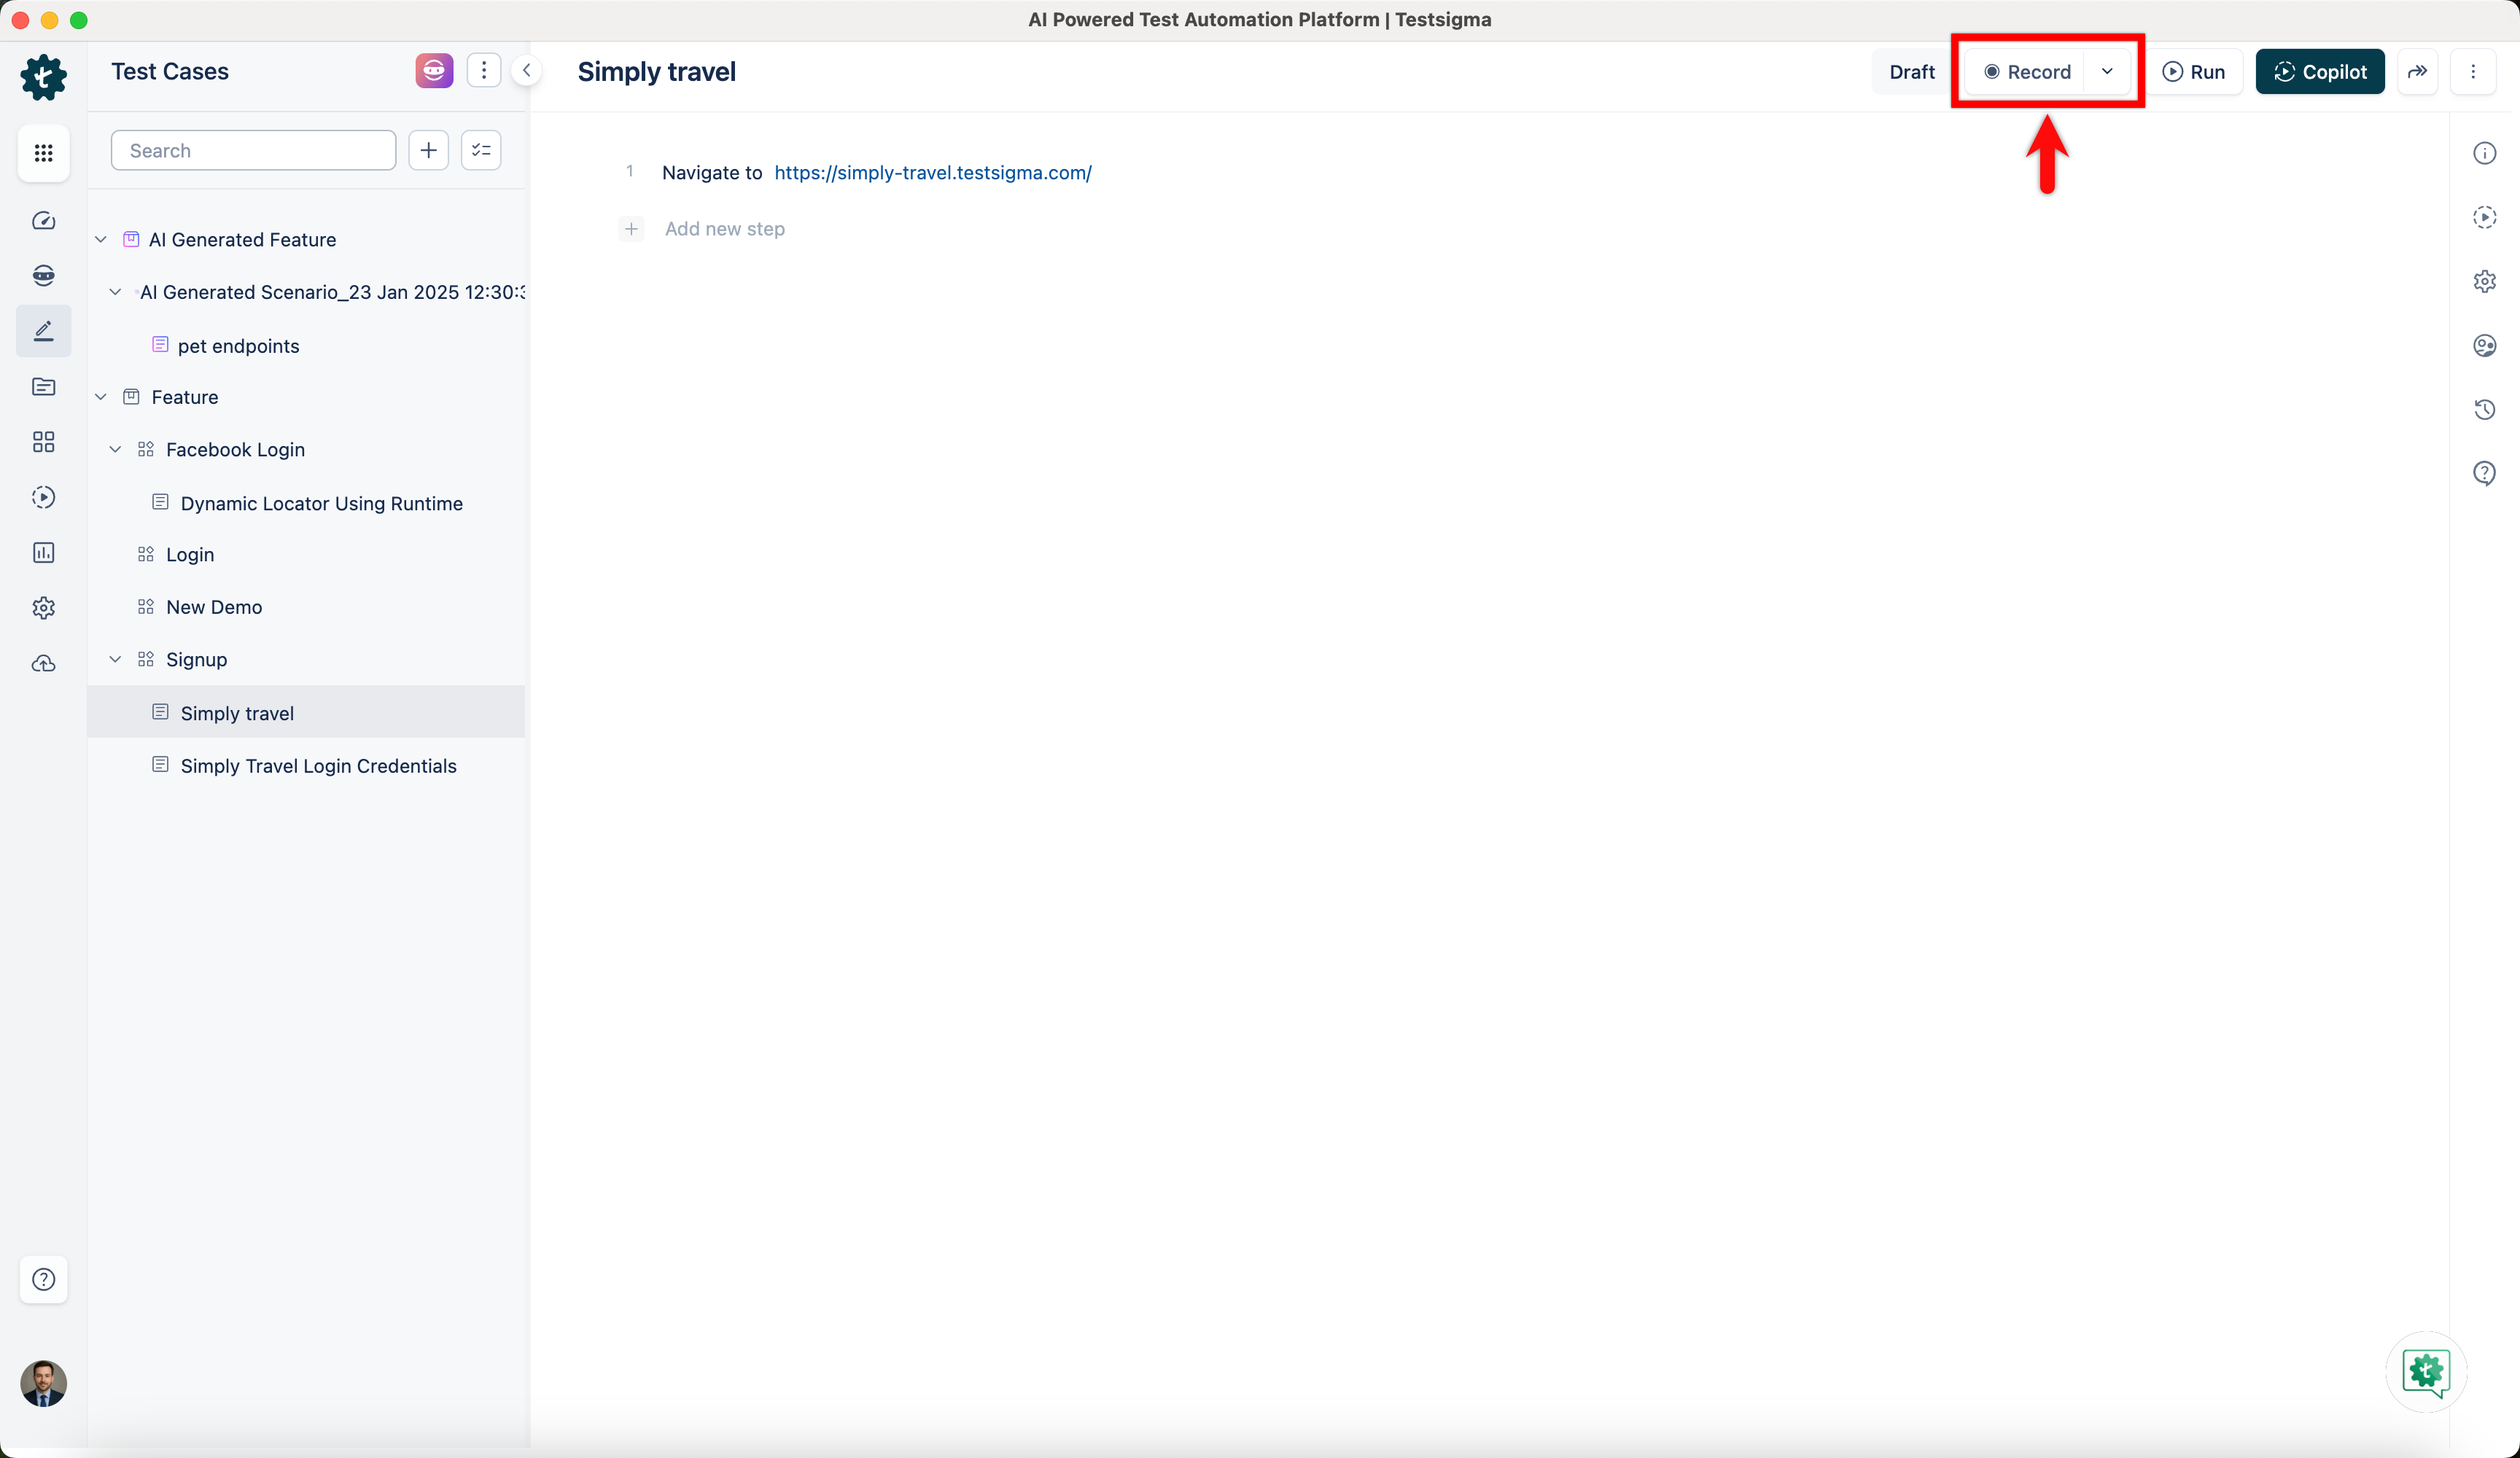
- Enter the URL from which you want to capture the elements. The Testsigma Test Recorder will appear and will be ready to start recording. Here, we entered the URL of Simply Travel Website.

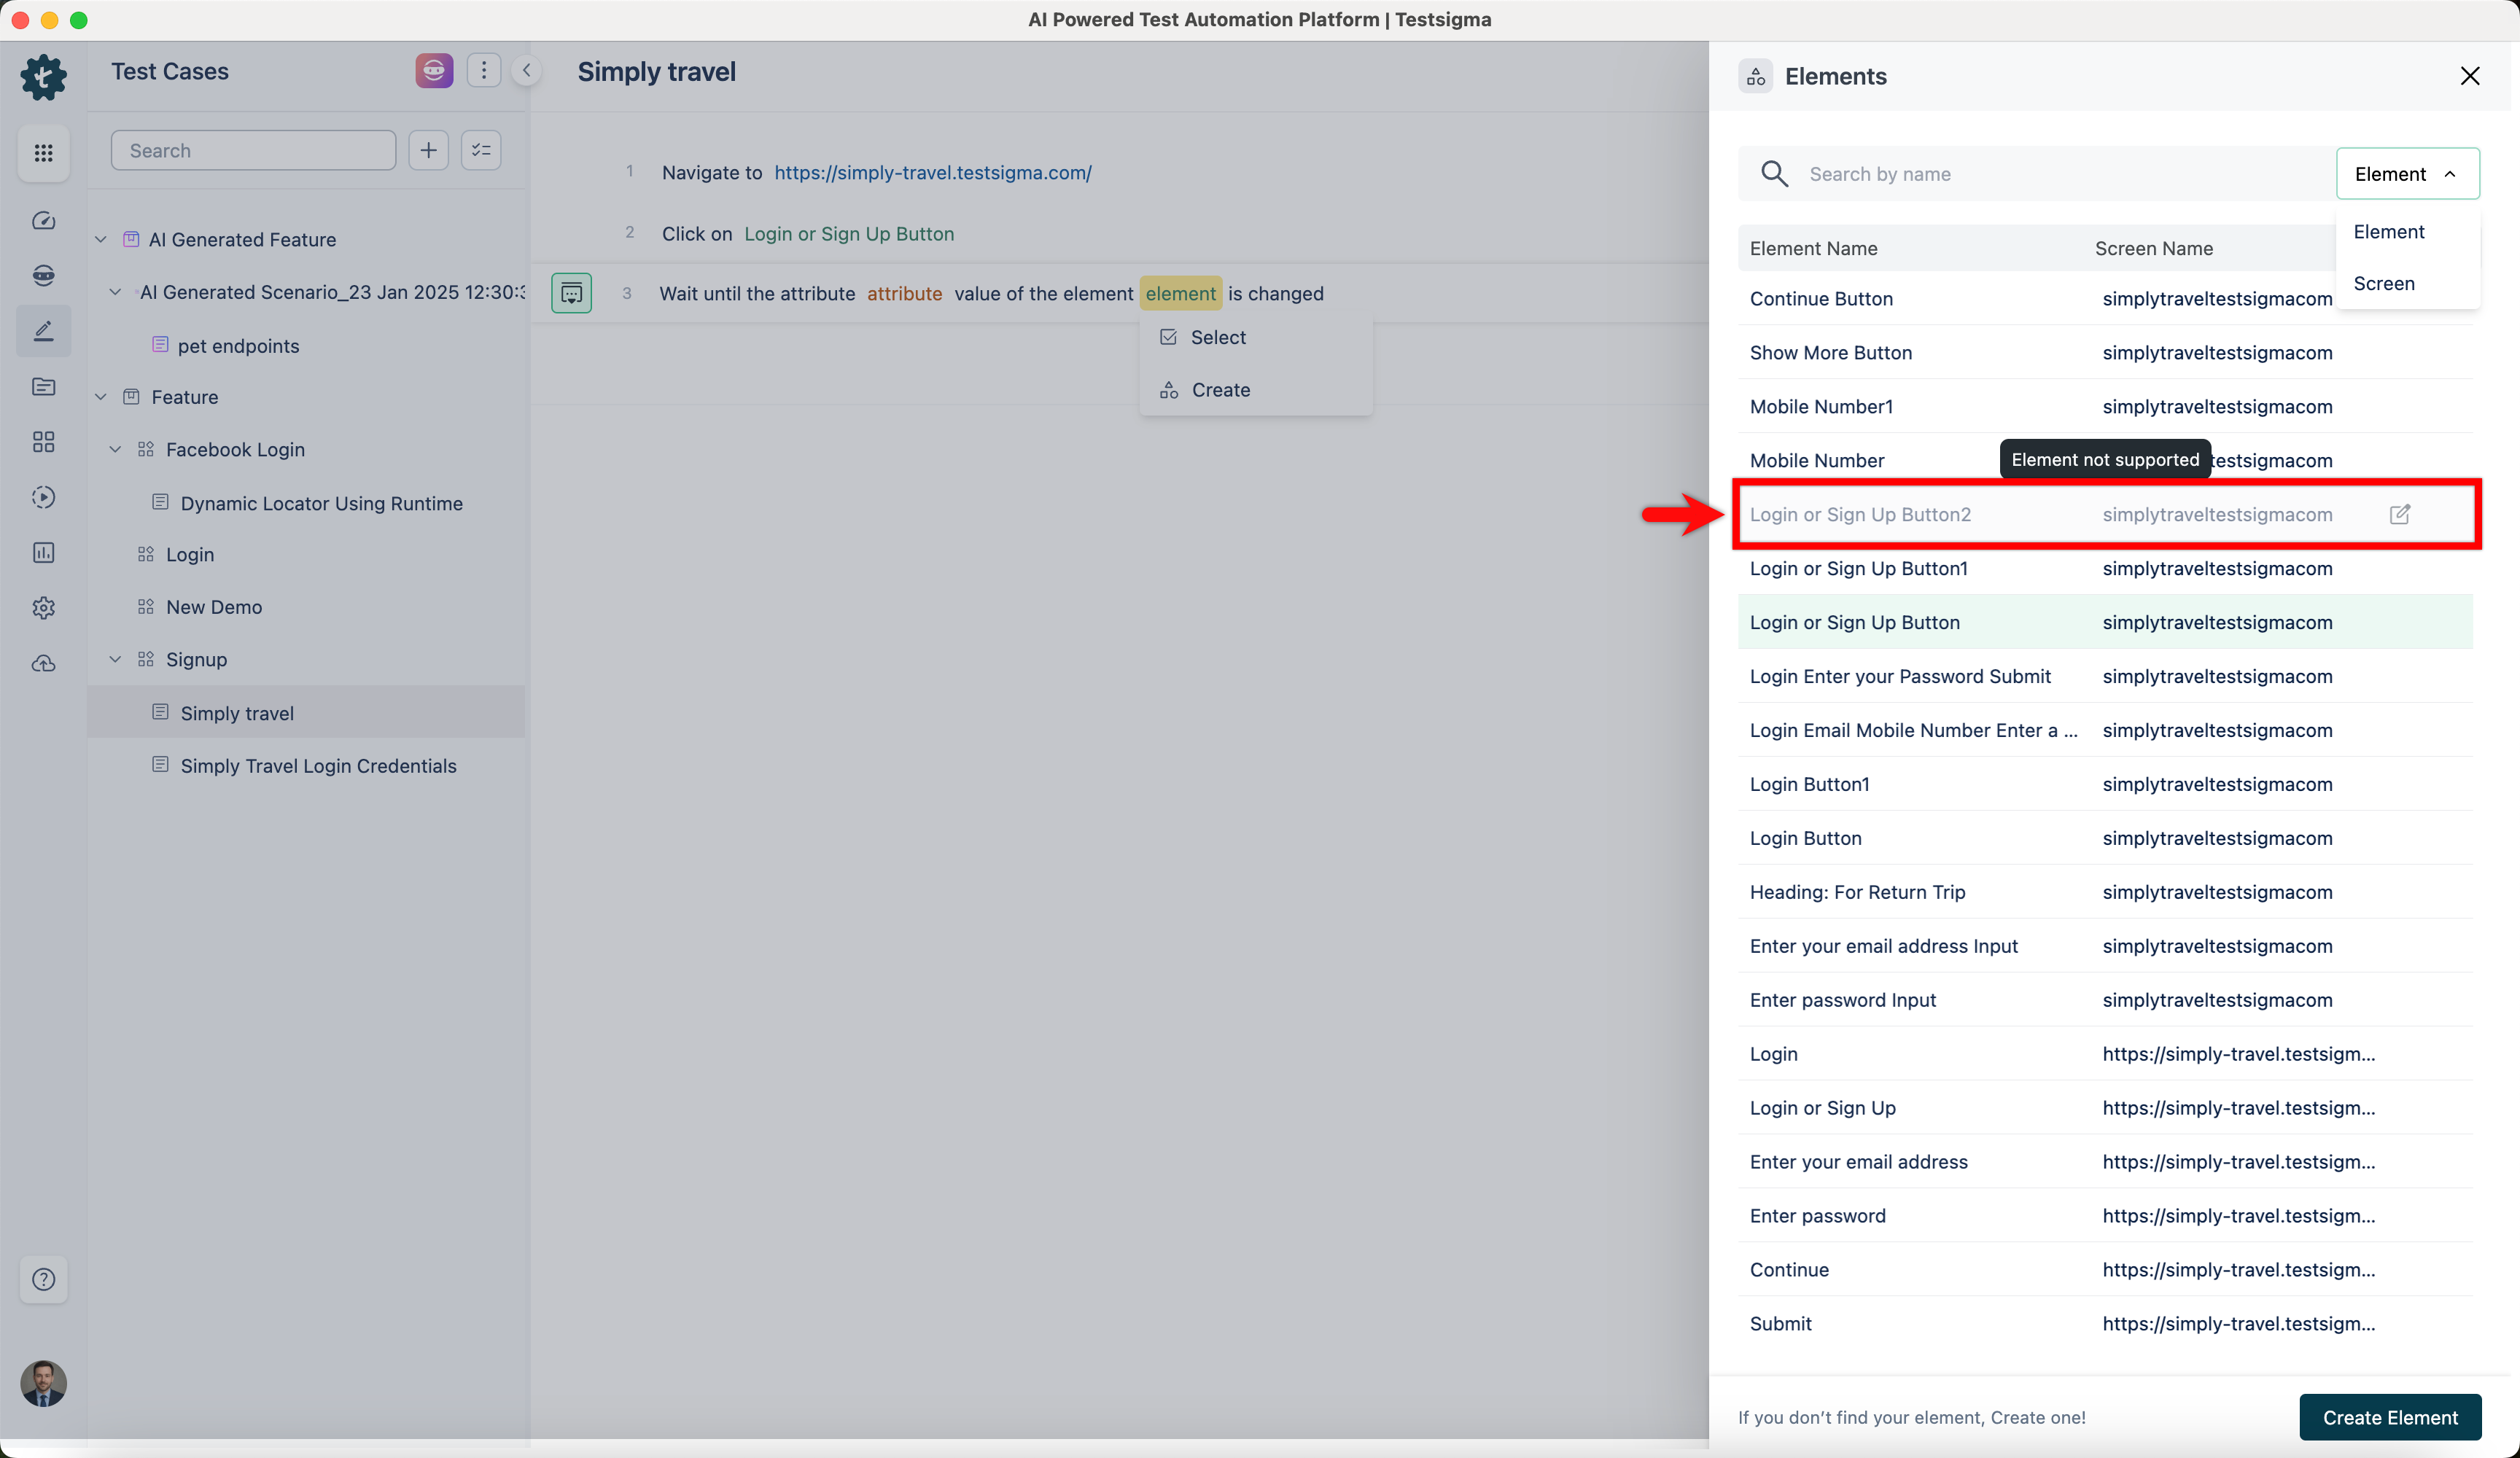
- Create a test step that includes the element. Click the element, and from the dropdown, select Create Element. This will open the Create Element overlay.
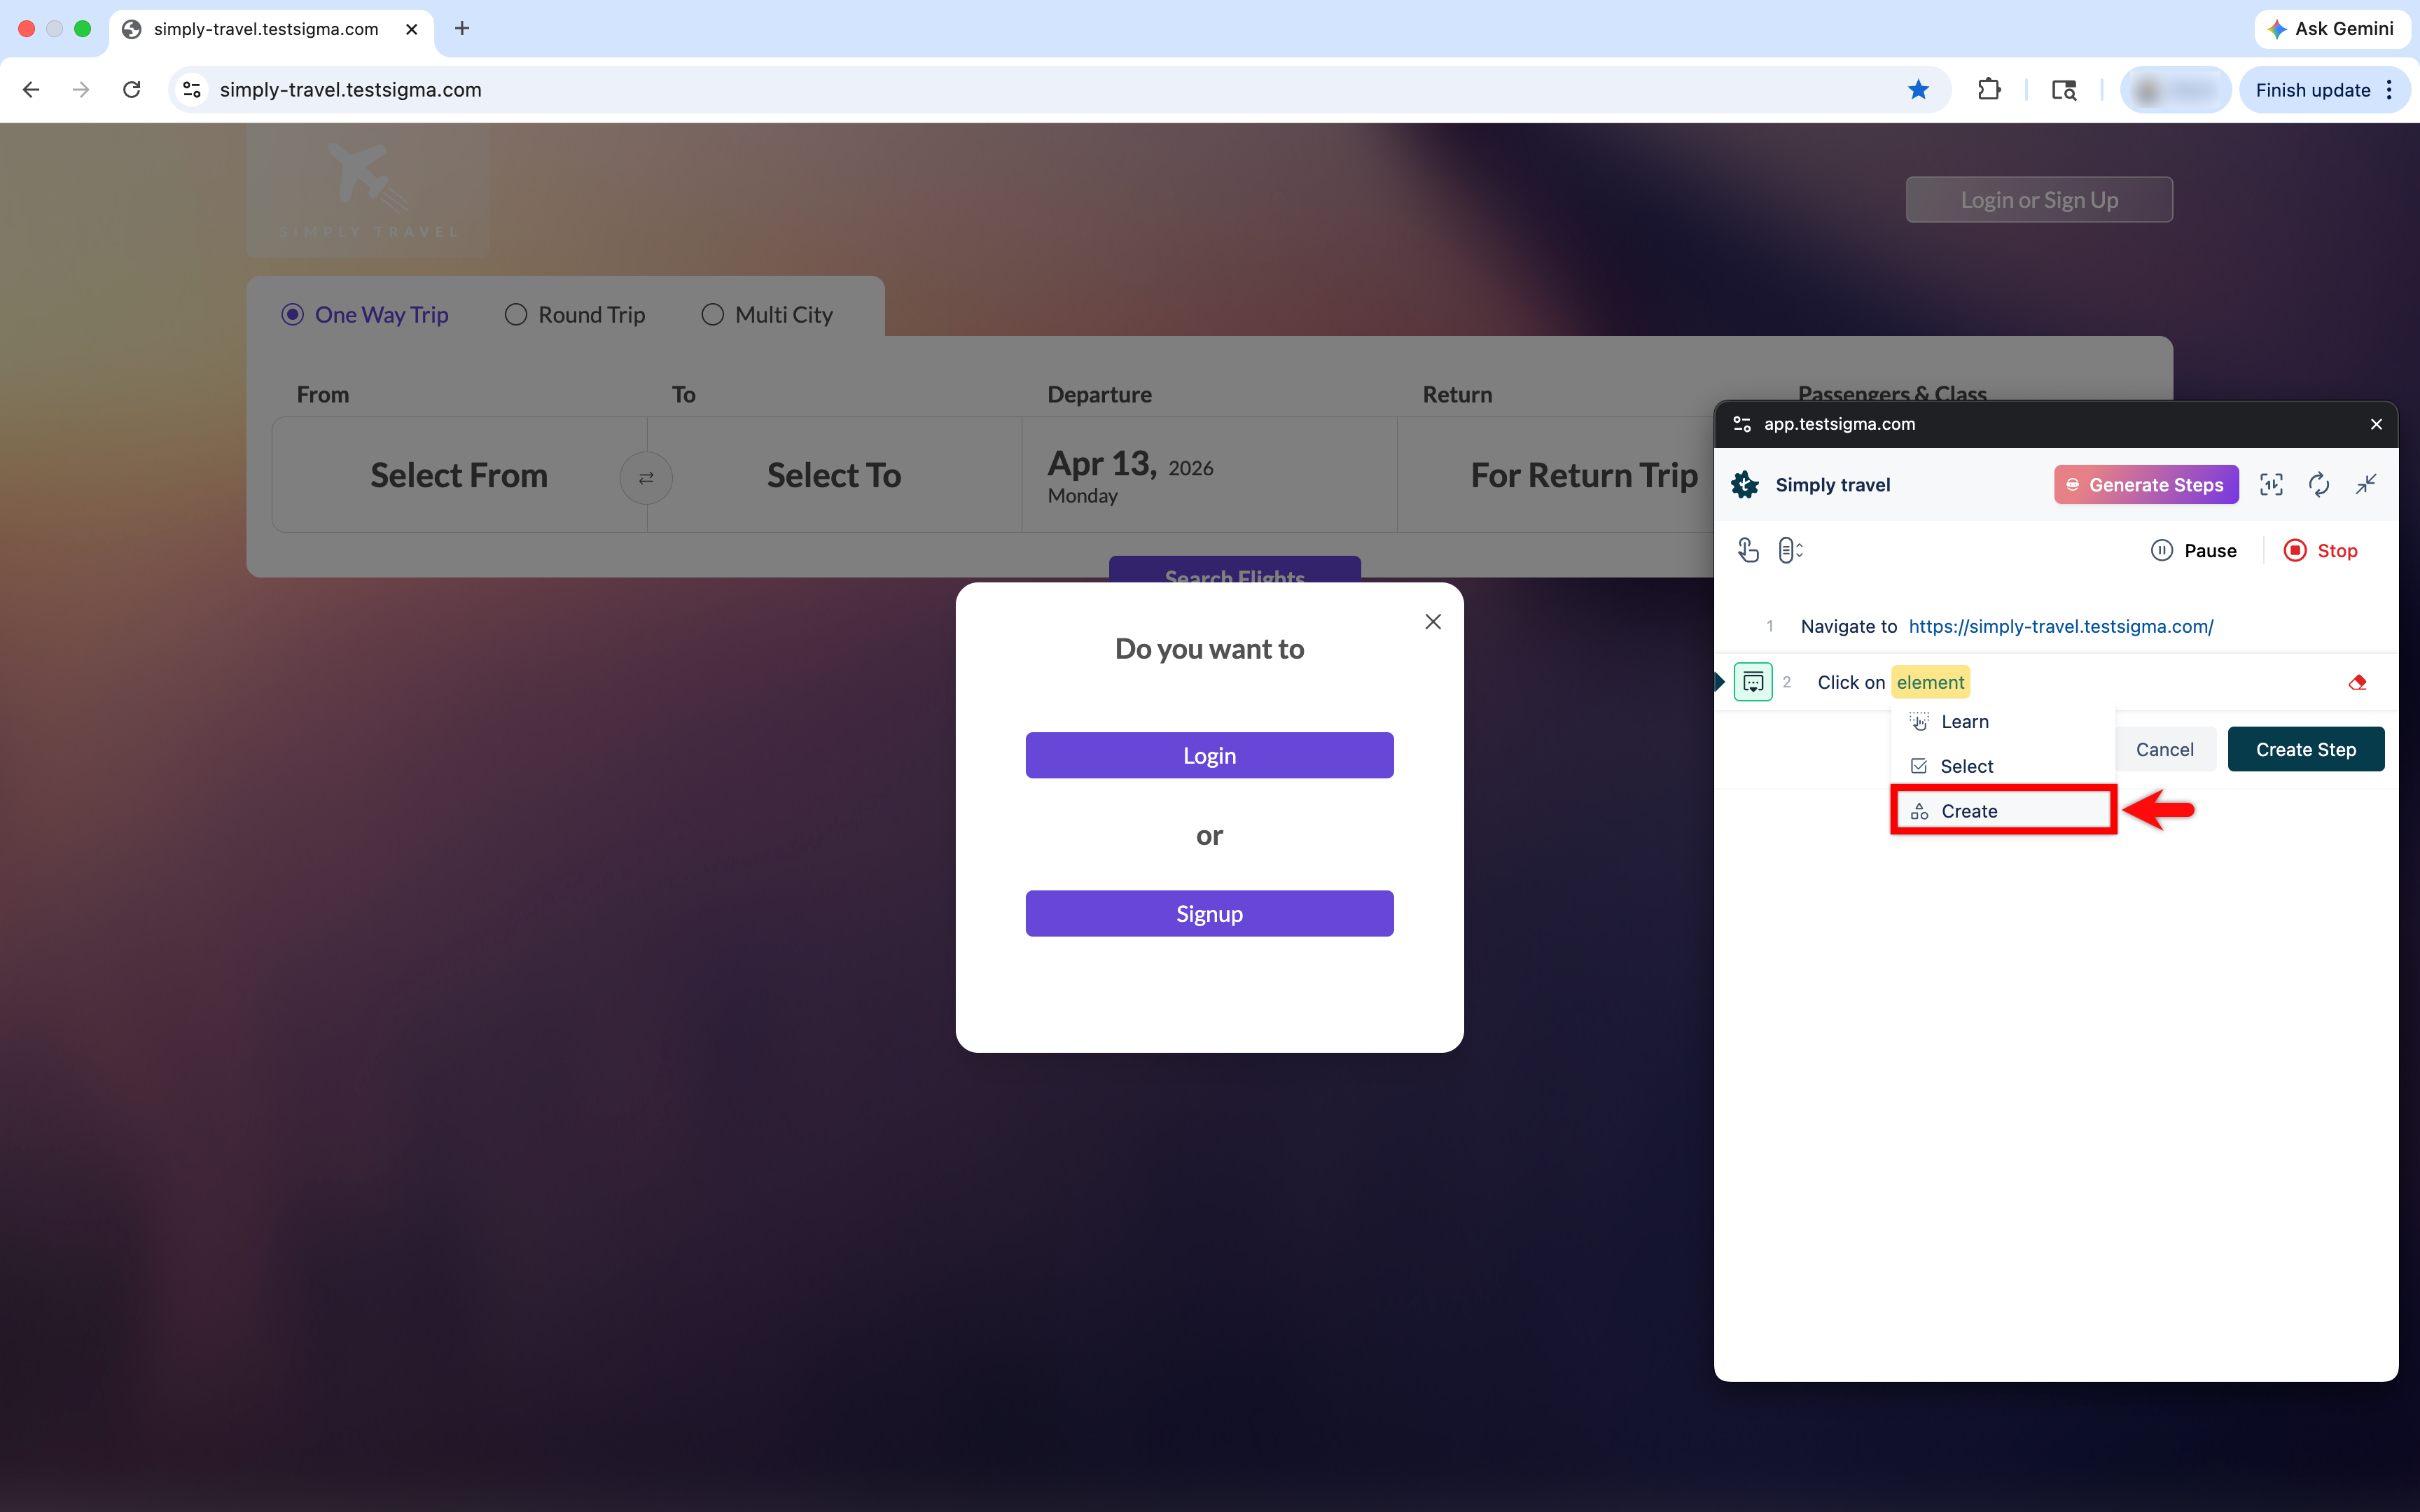
-
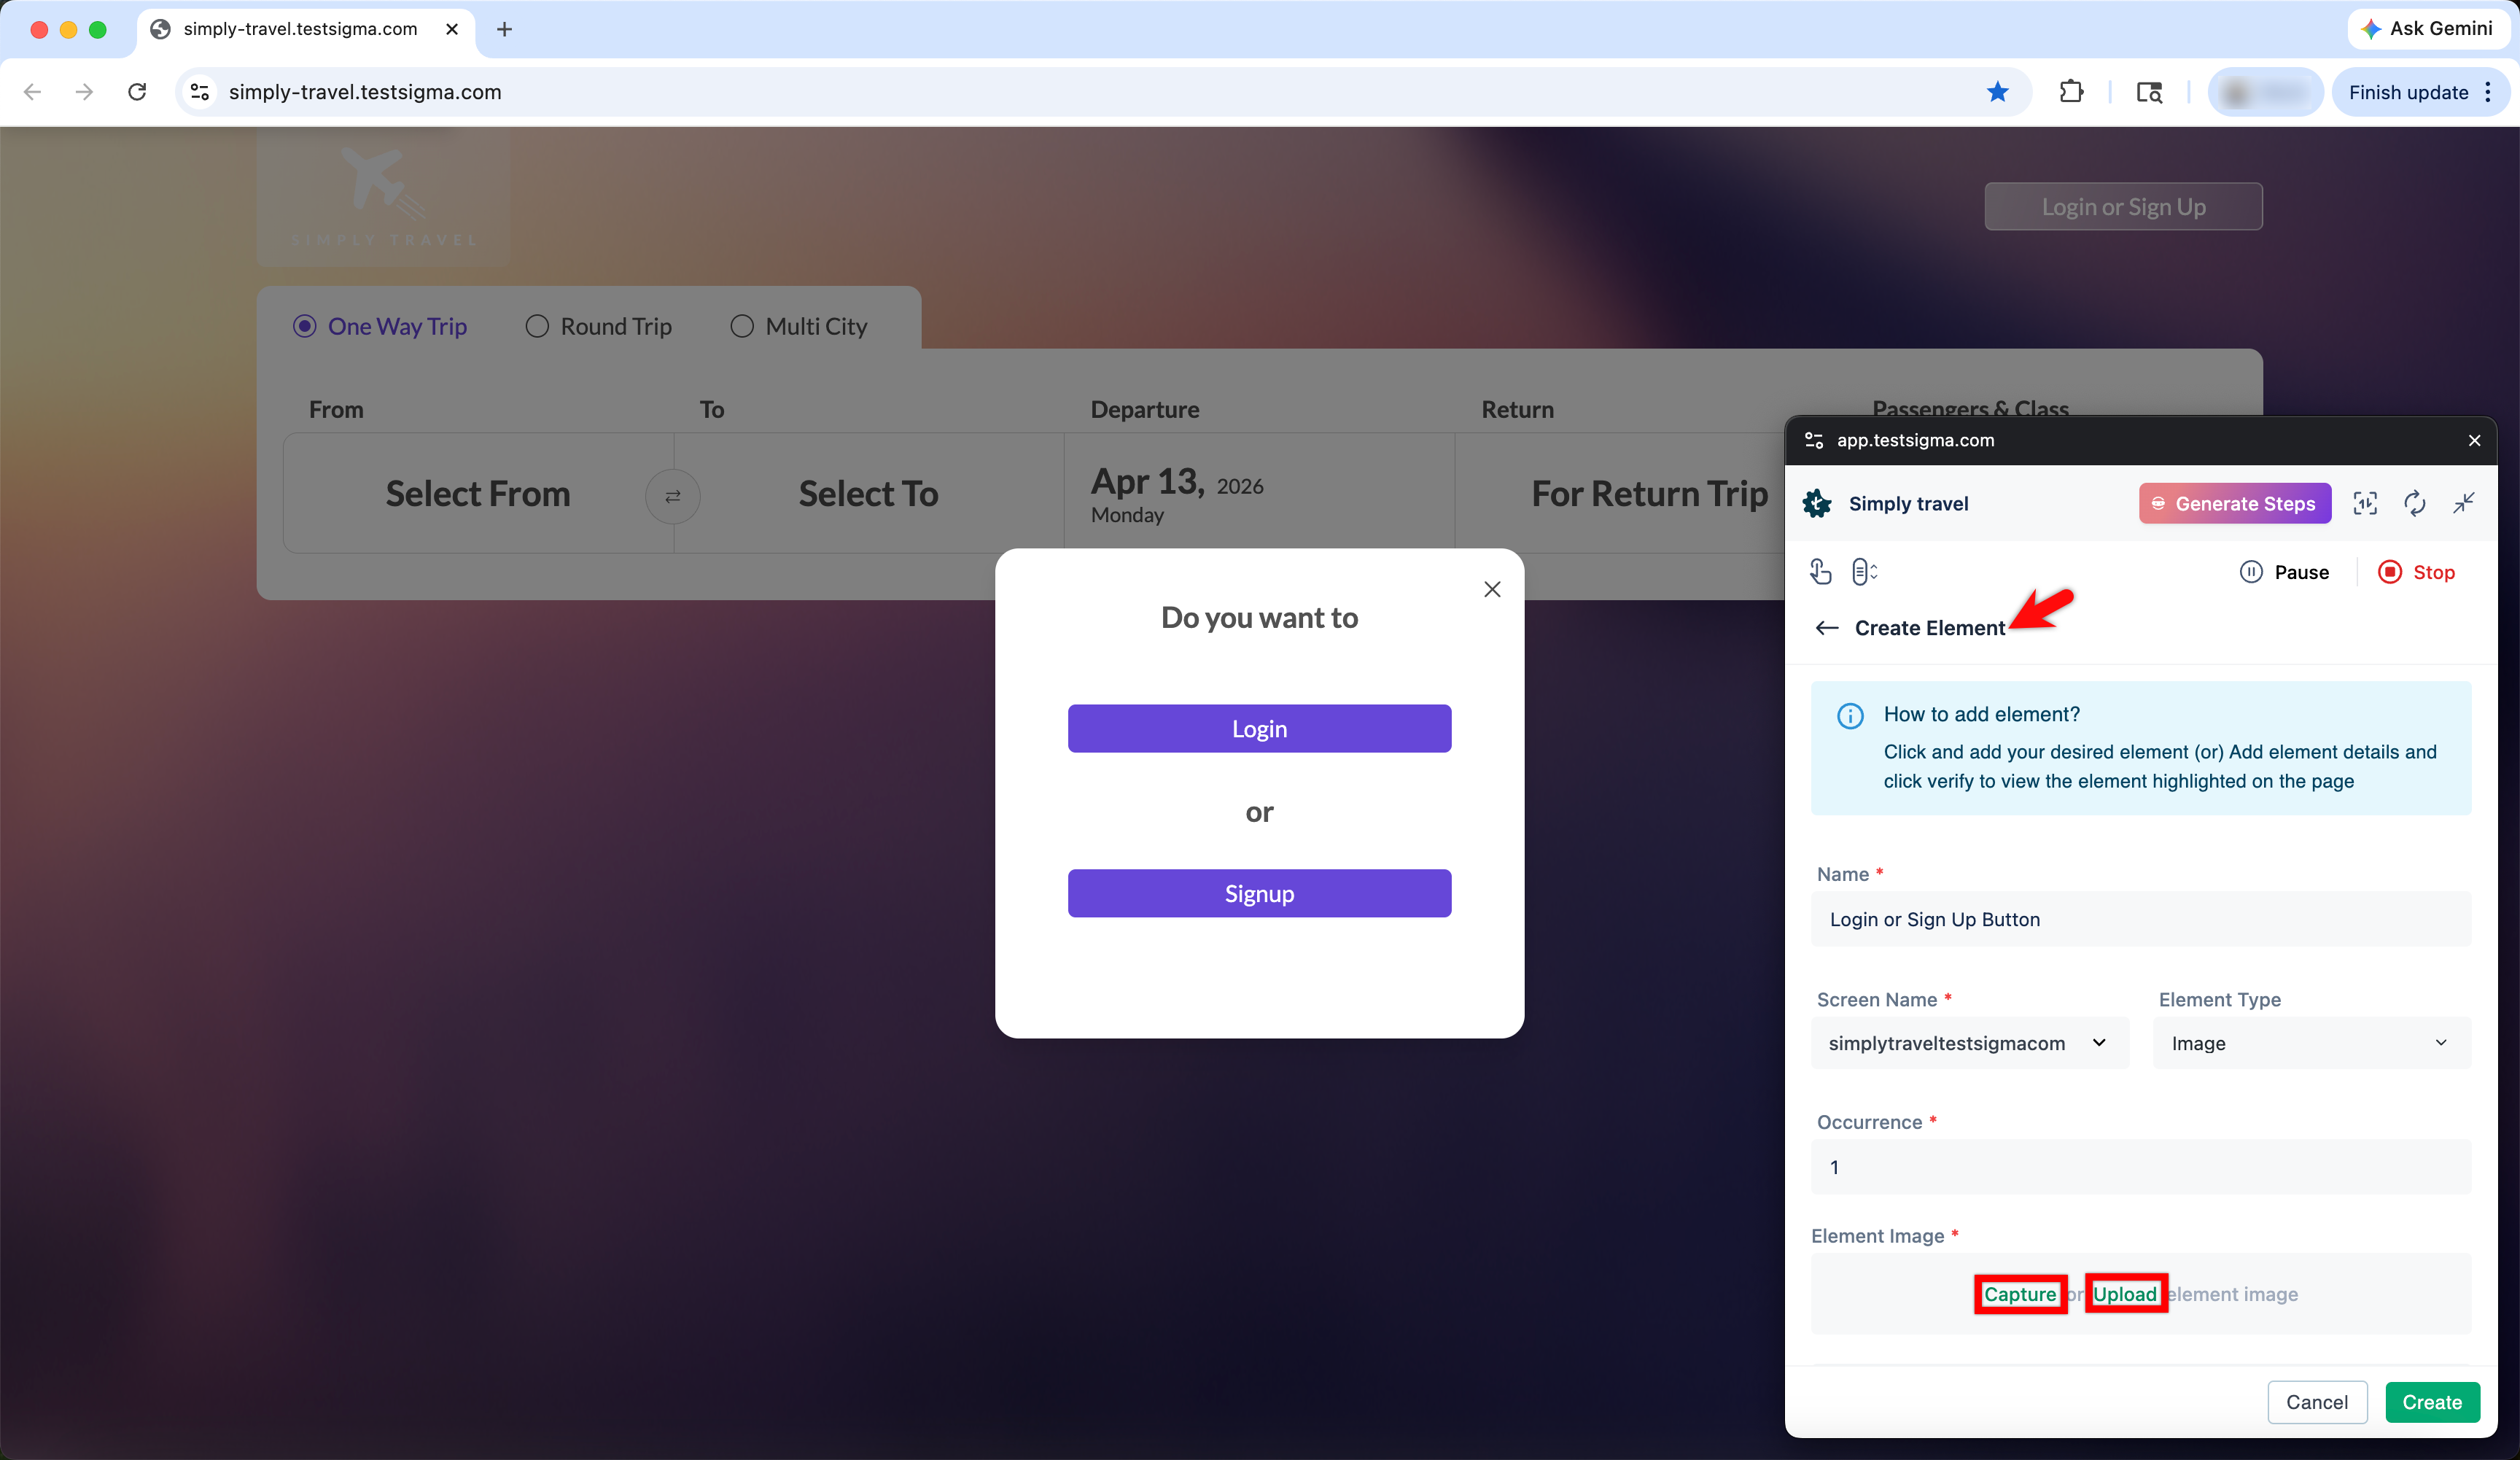
On Create Element overlay, enter the following details:
- Name: Enter the name you want to give your element.
- Screen Name: Mention the screen that your element resides on.
- Element Type: Select Image from the dropdown
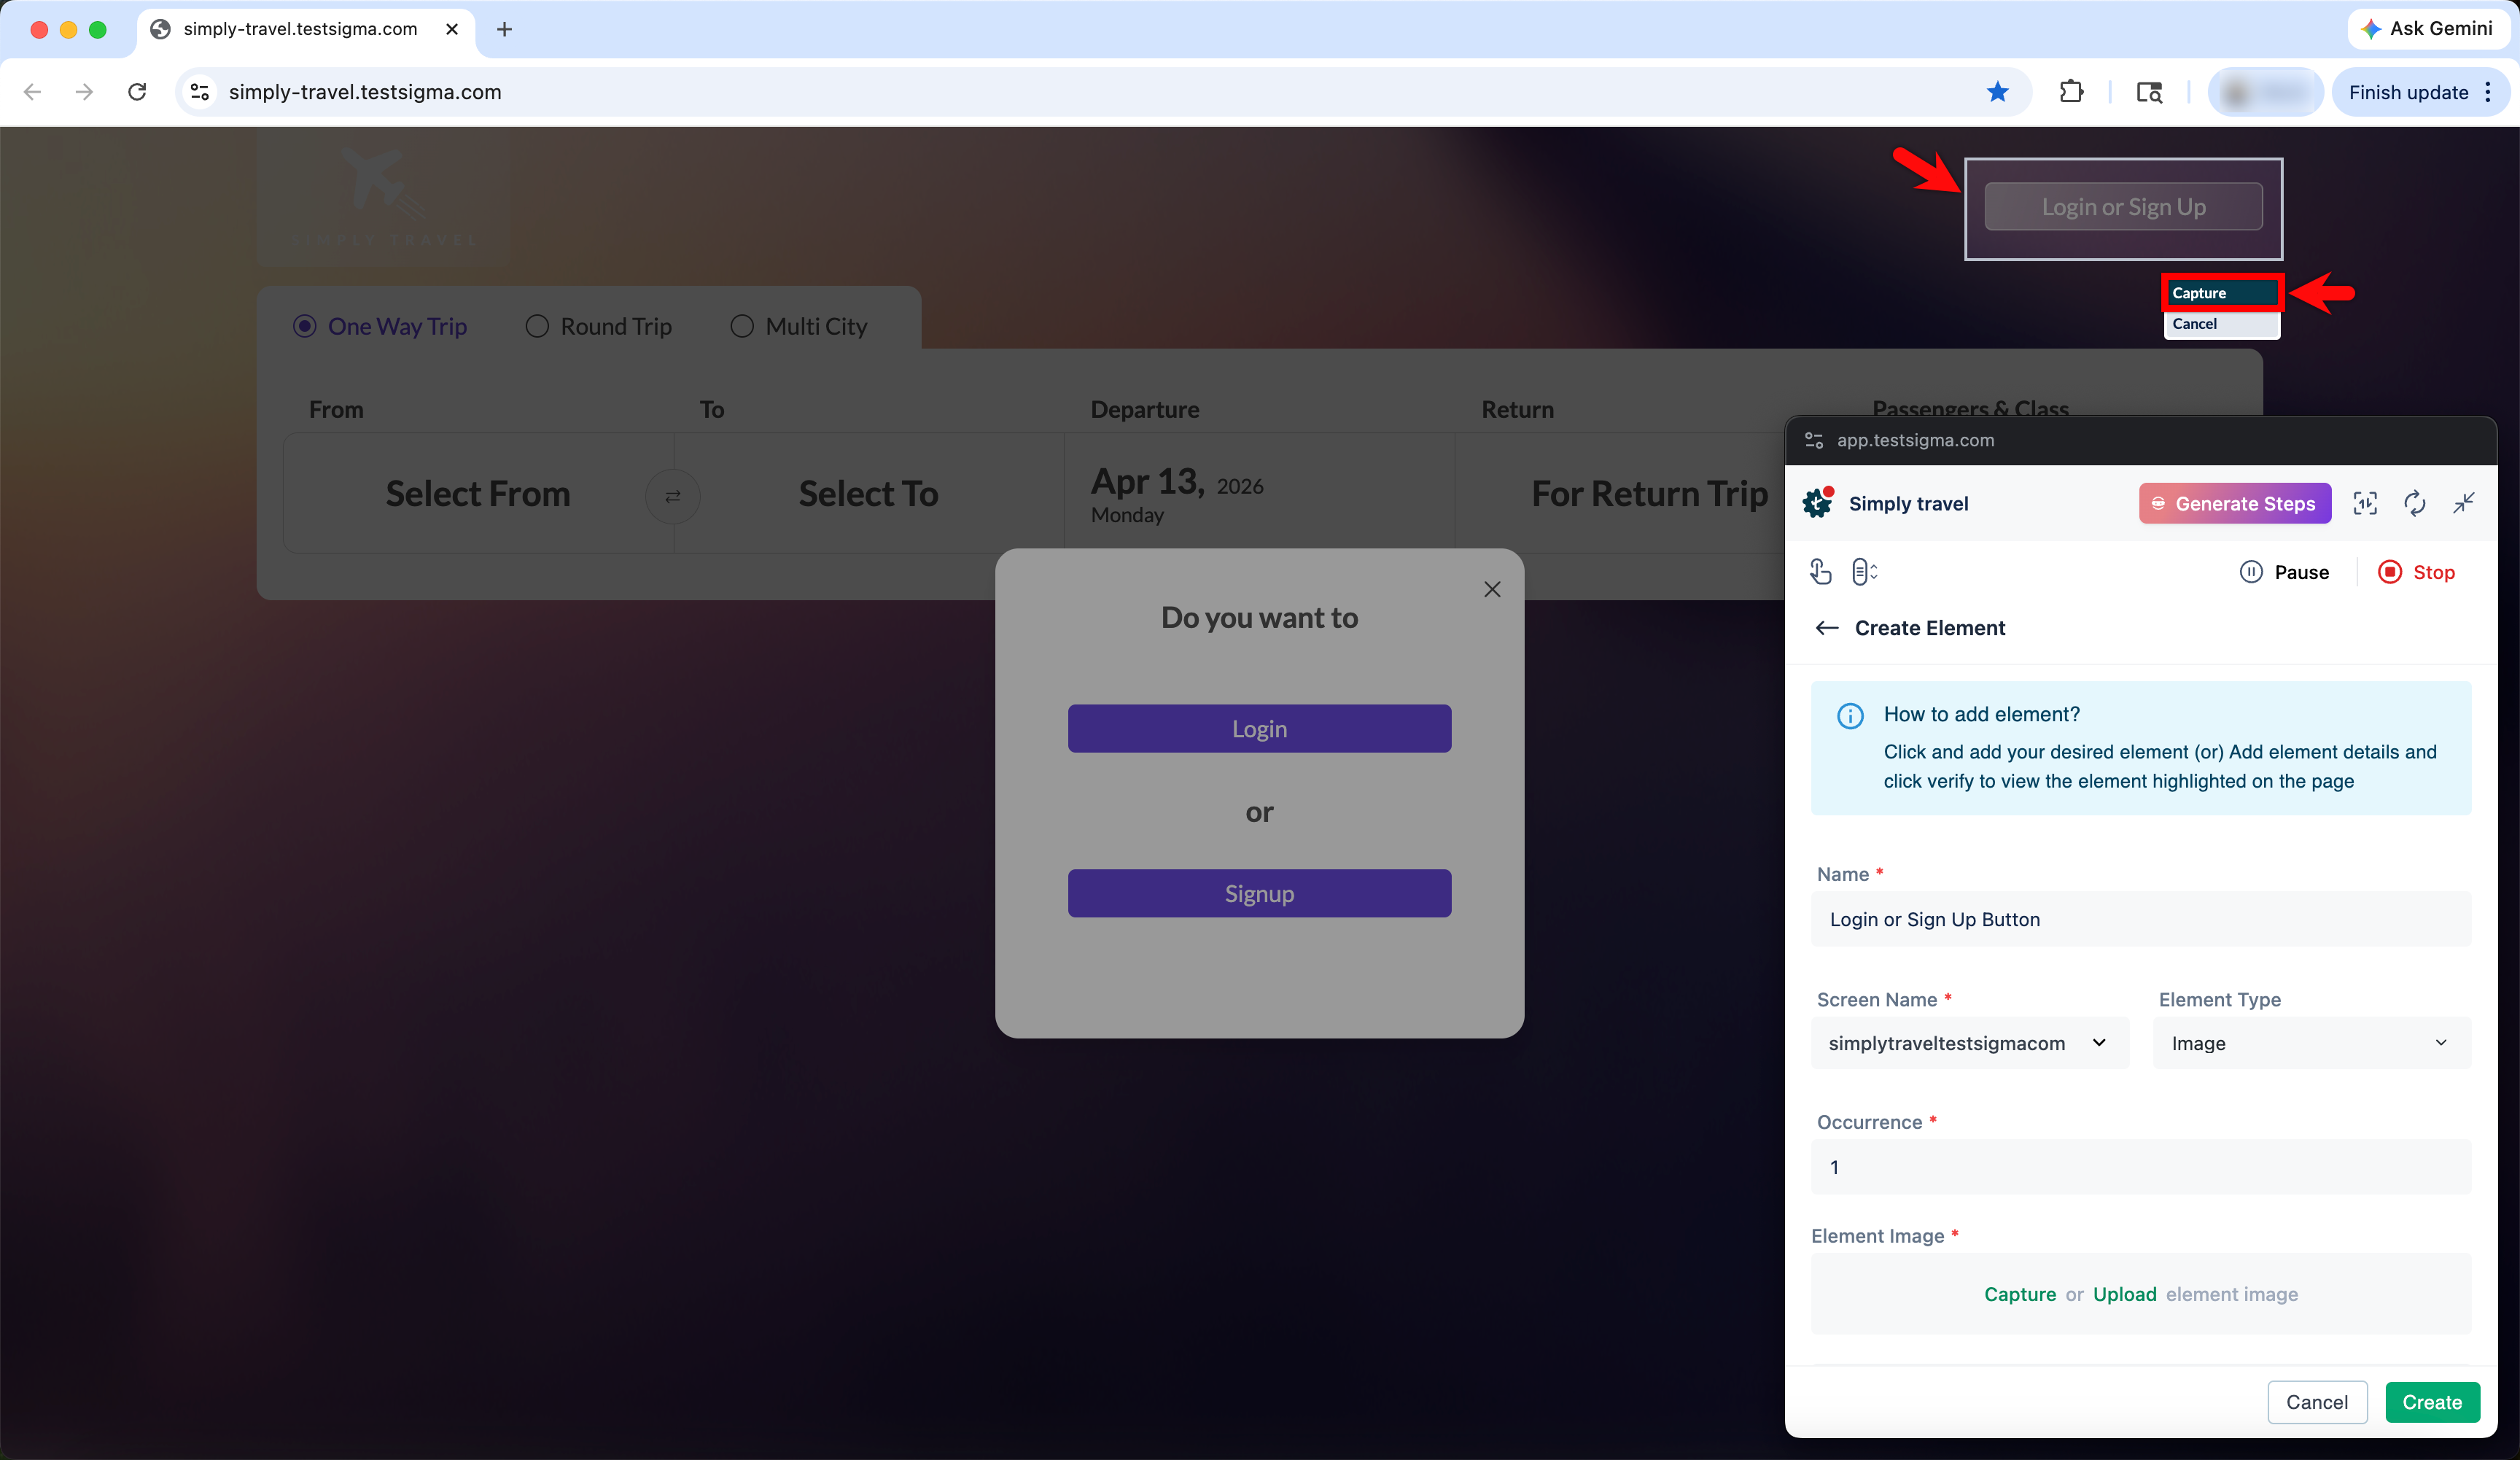
- Element Image: Click Capture to capture the element from the screen or if you have a screenshot, then you can click Upload and upload the image.
-
Select the portion of the element you want to capture, then click Capture.
 NOTE:
NOTE:To create an element by uploading the image, click Upload, select the image from your local storage, and click Save.
- Click Create to save the element and save the test step by manually clicking Create Step in the Test Recorder.
- The element will be added to the elements list.
Best Practices for Image Based Element Creation
- Image-based element creation is automatically disabled for NLPs that directly interact with HTML because they leverage HTML attributes for precise element identification.
-
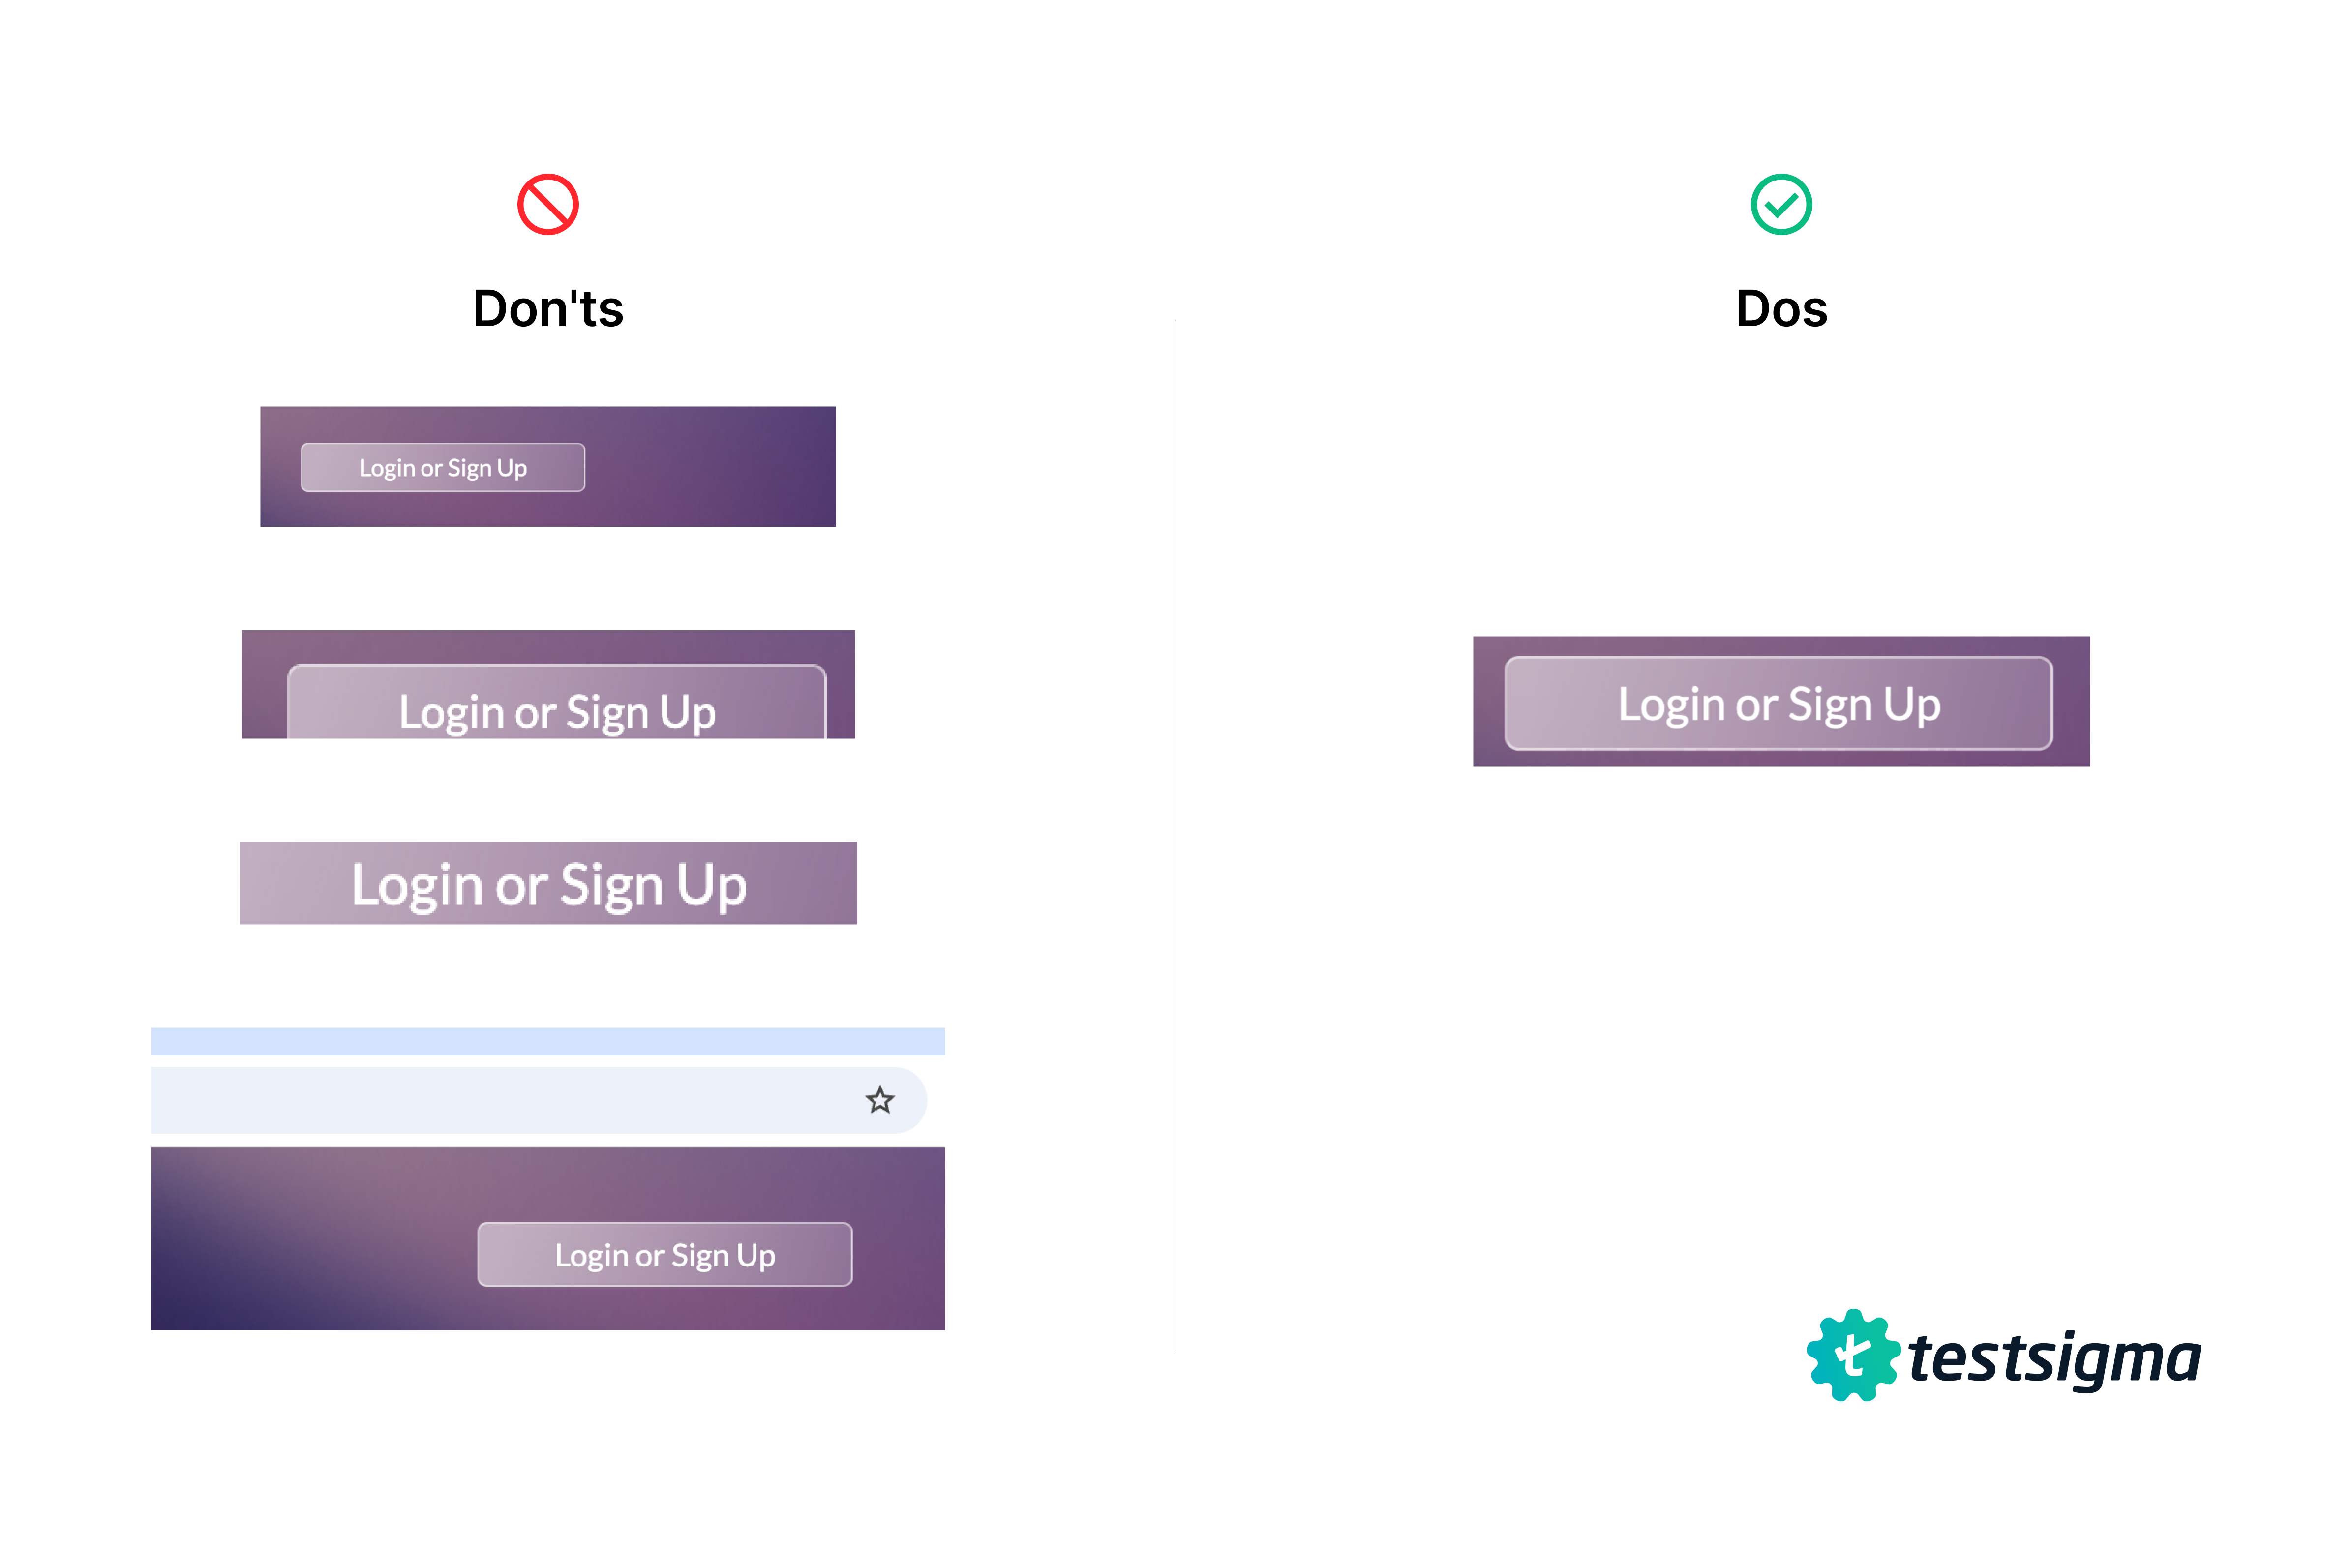
Since image based element creation depends on pixel accuracy, we recommend capturing screenshots using inbuilt snipping tools for more precision.
Shortcuts for Snipping Tools on Mac & Windows:
- Windows: Press Windows + Shift + S to open the Snipping Tool and capture a screenshot using Freeform Snip.
- Mac: Press Command + Shift + 4 to capture a specific area of the screen.
- Test Executions happen in a maximized browser state in the labs. To ensure pixel consistency, always capture screenshots with the browser window maximized.
- Add a minimum padding area to the element you want to create. Proper padding improves the accuracy of element detection.
Want to contribute or report missing content?