- addons
 What is an Addon?
- Addons Community Marketplace
- Install and Use Community Addons in Testsigma
- Prerequisites for creating add-ons
- Create an Addon
- Update Addon
- Addon Types
- Create a Post Plan Hook add-on in Testsigma
- Create OCR Text Extraction Addon
Update an Addon in Testsigma
Updating an addon in Testsigma keeps your tools up-to-date and functional. First, you need to have an existing addon. Once it's created, updating becomes simple. You can quickly refine features, fix bugs, and adjust to new requirements, ensuring your addons stay effective and meet your testing needs without starting from scratch.
Prerequisites
Before updating an addon, ensure that:
- You have referred to the documentation on creating add-ons.
- You have an Understanding of the programming language (usually Java) and frameworks.
- You have referred to the documentation on how addons work in Testsigma, including actions and configurations.
Steps to Update an Addon
- Modify the addon’s code to fix issues, add features, or adjust settings. Compress the file into Zipped Format.
- From the left navigation bar, go to Addons and click Add-ons from the dropdown.
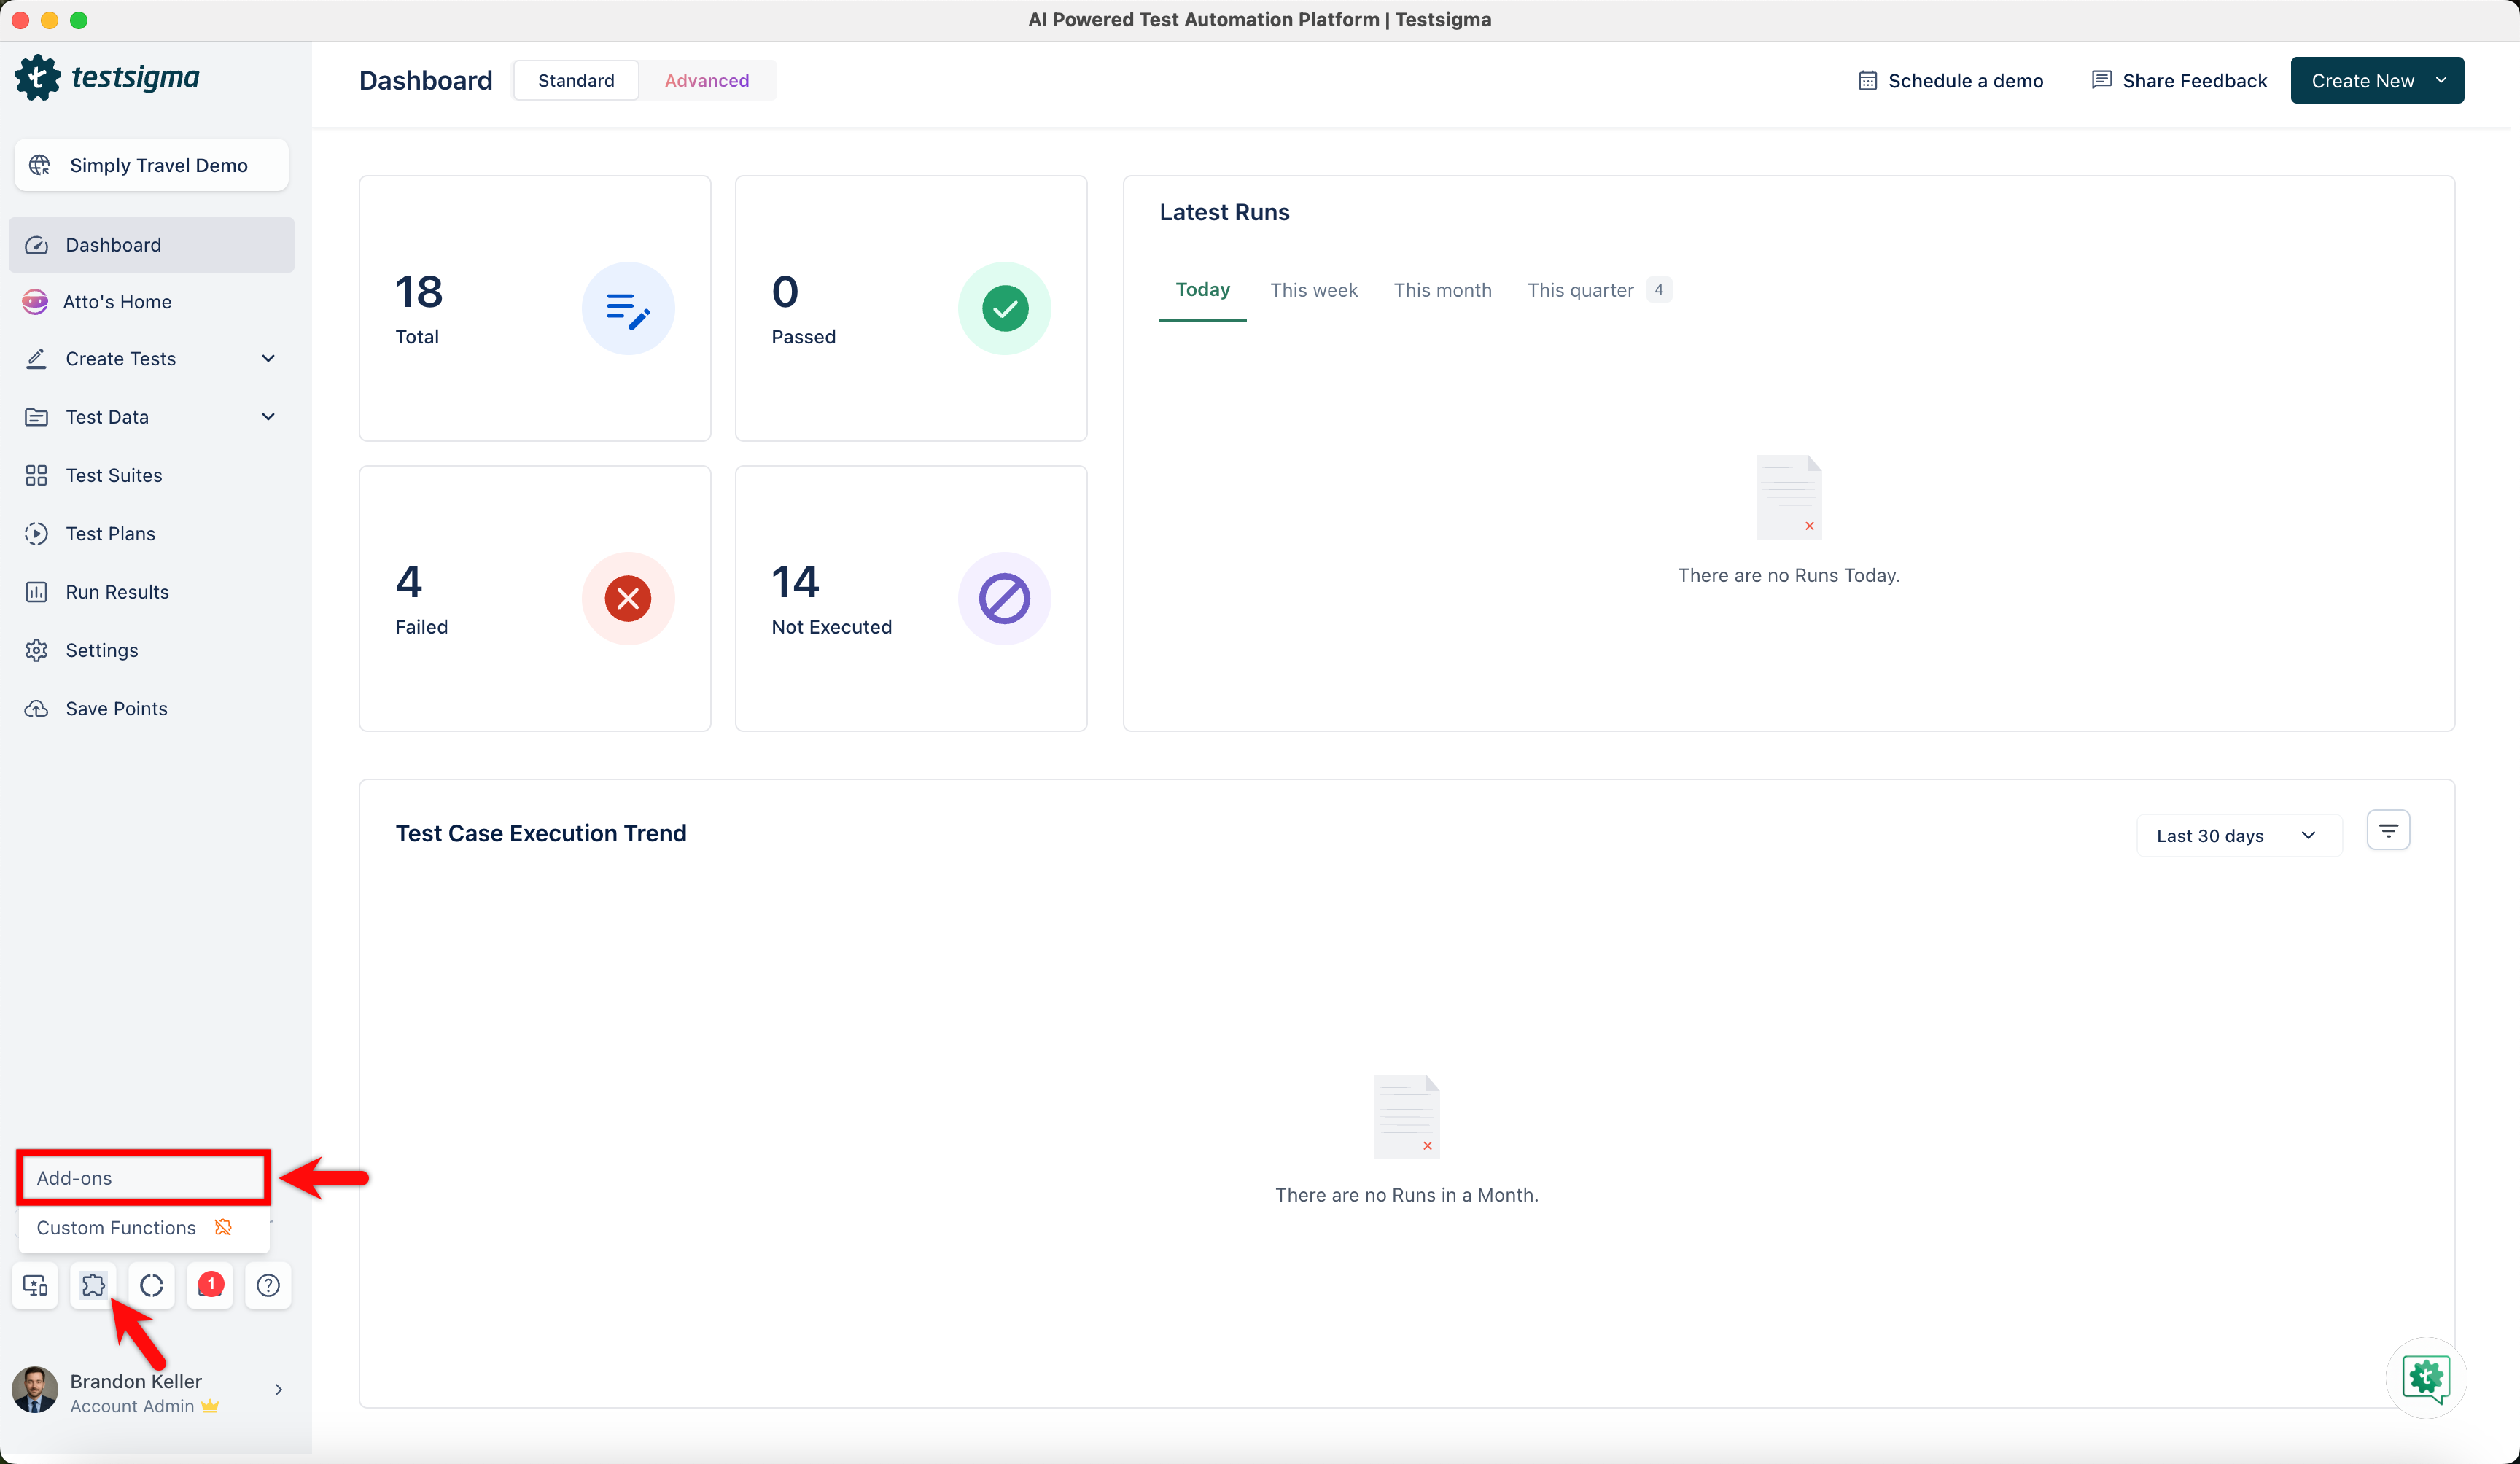
- In the Addons page, go to the My Addons tab.
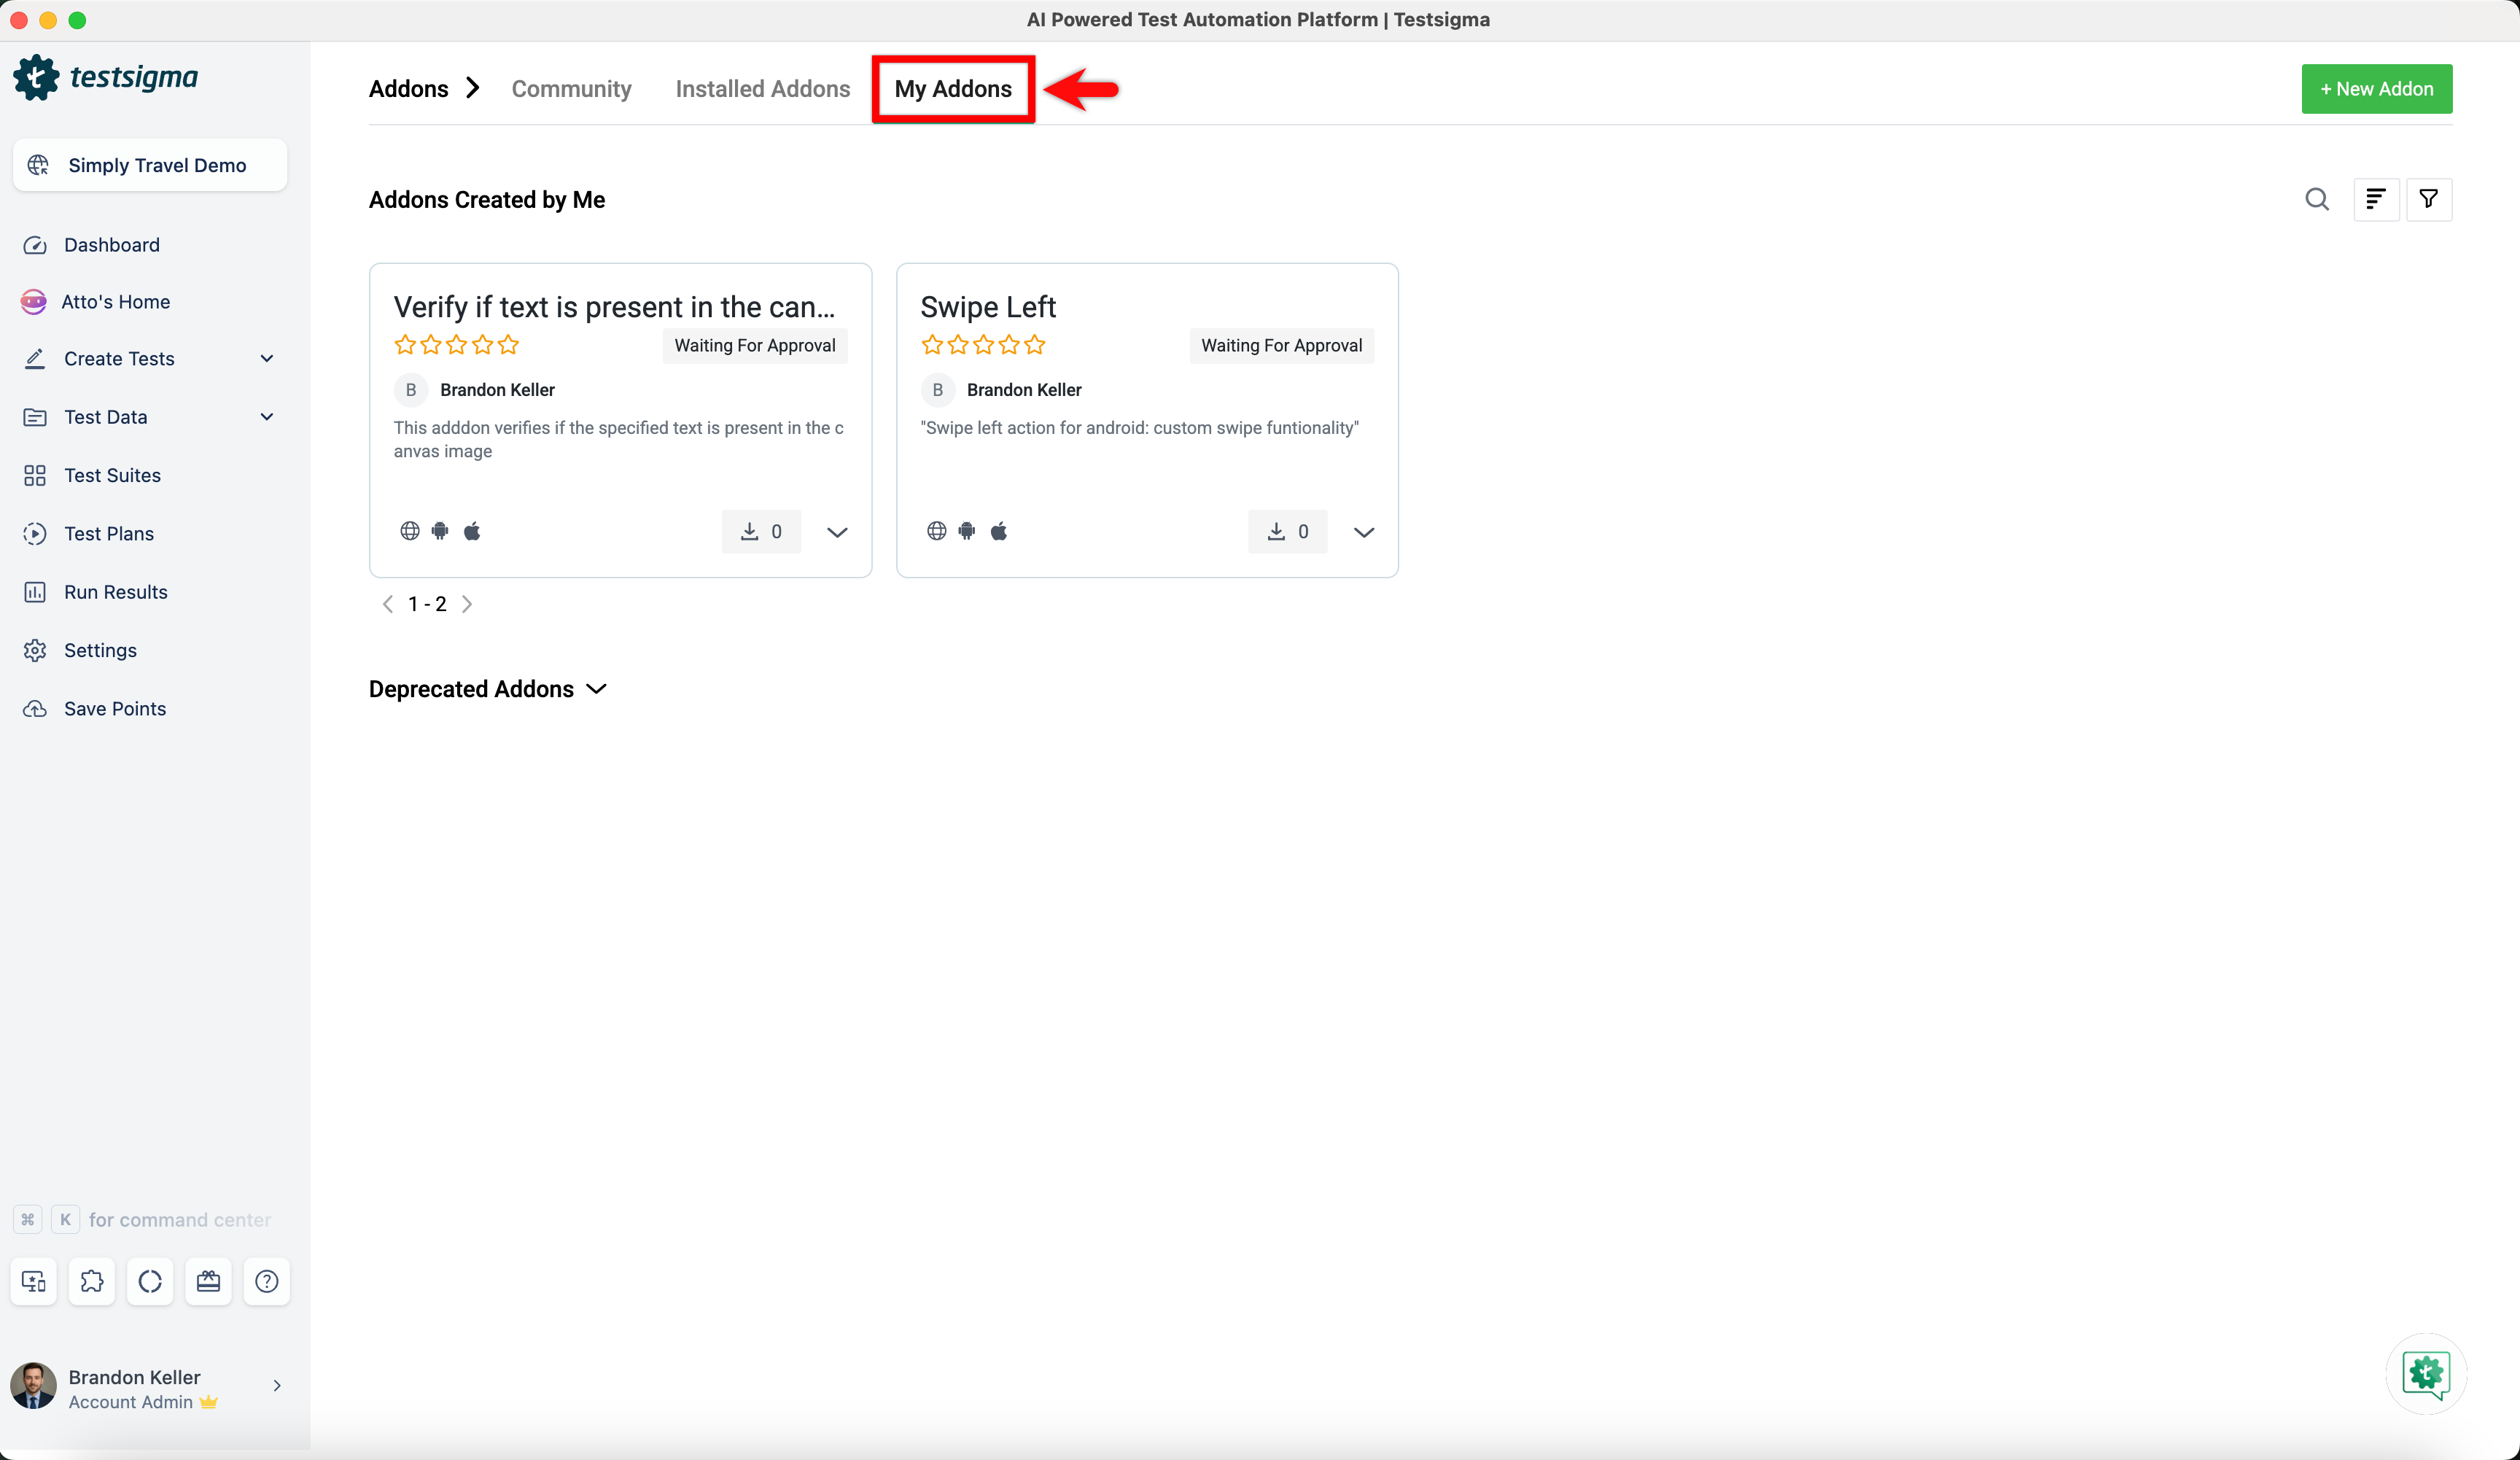
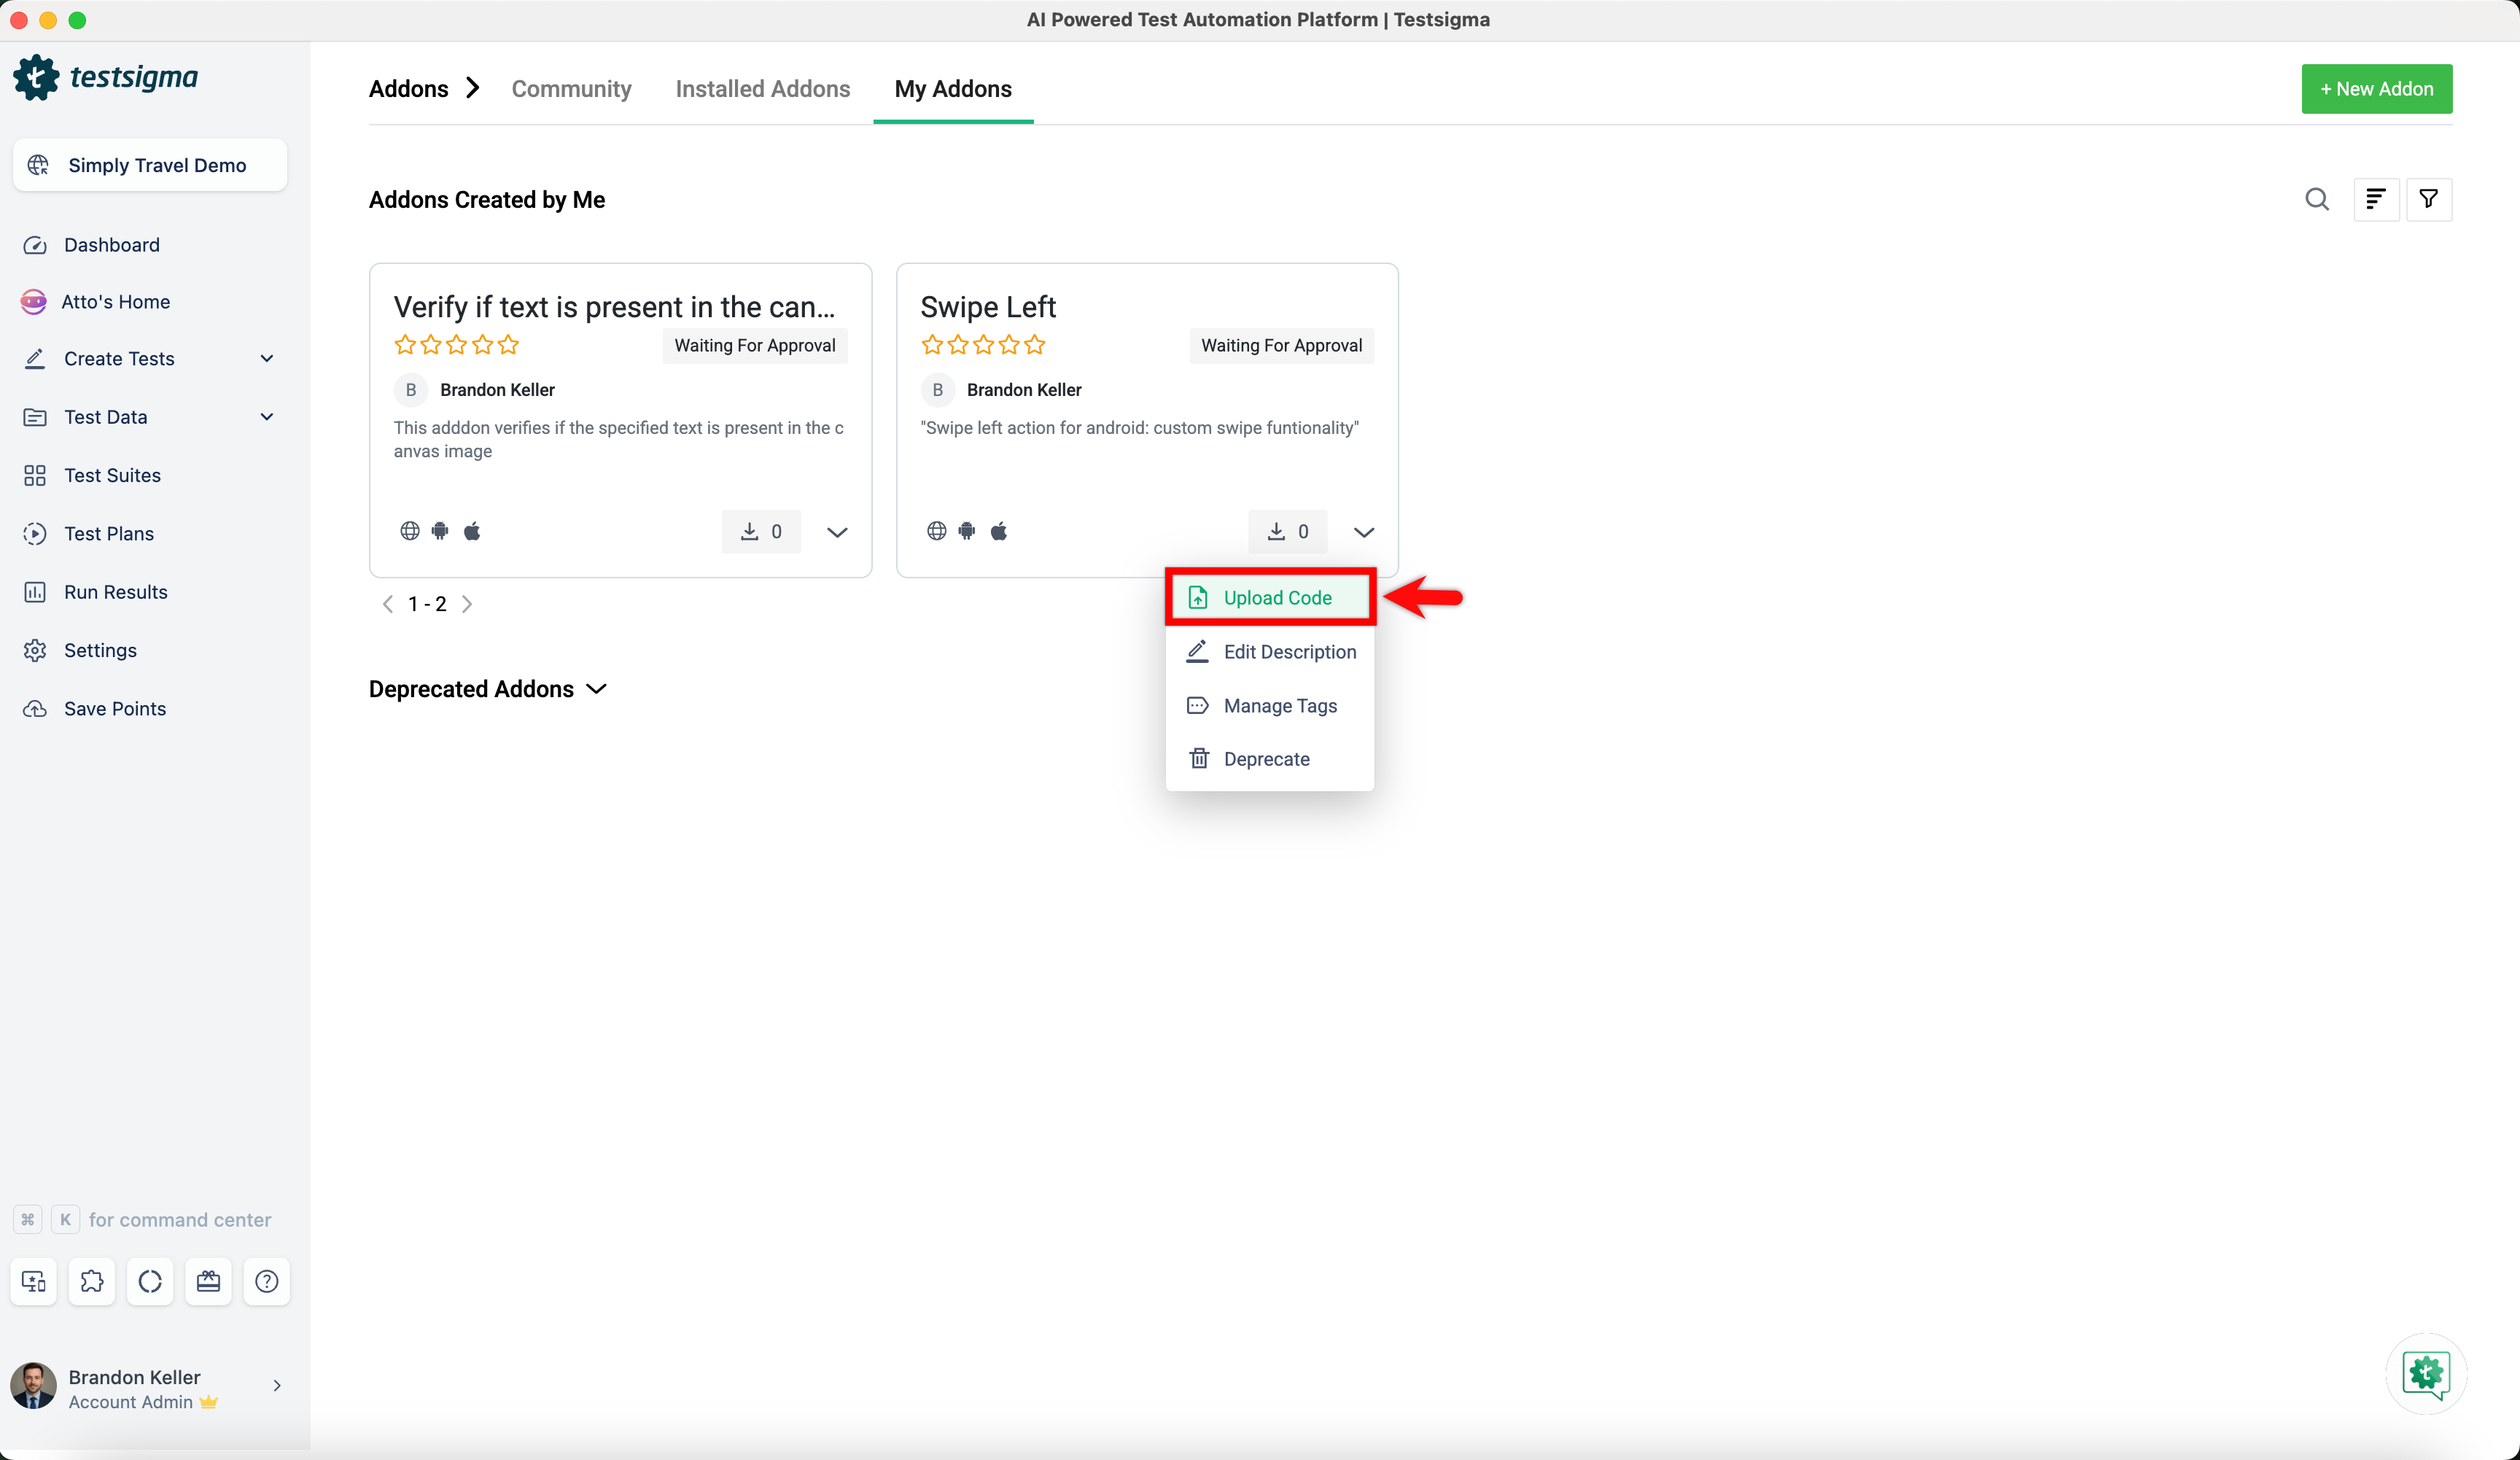
- Click the dropdown icon on the required addon and select Upload Code.
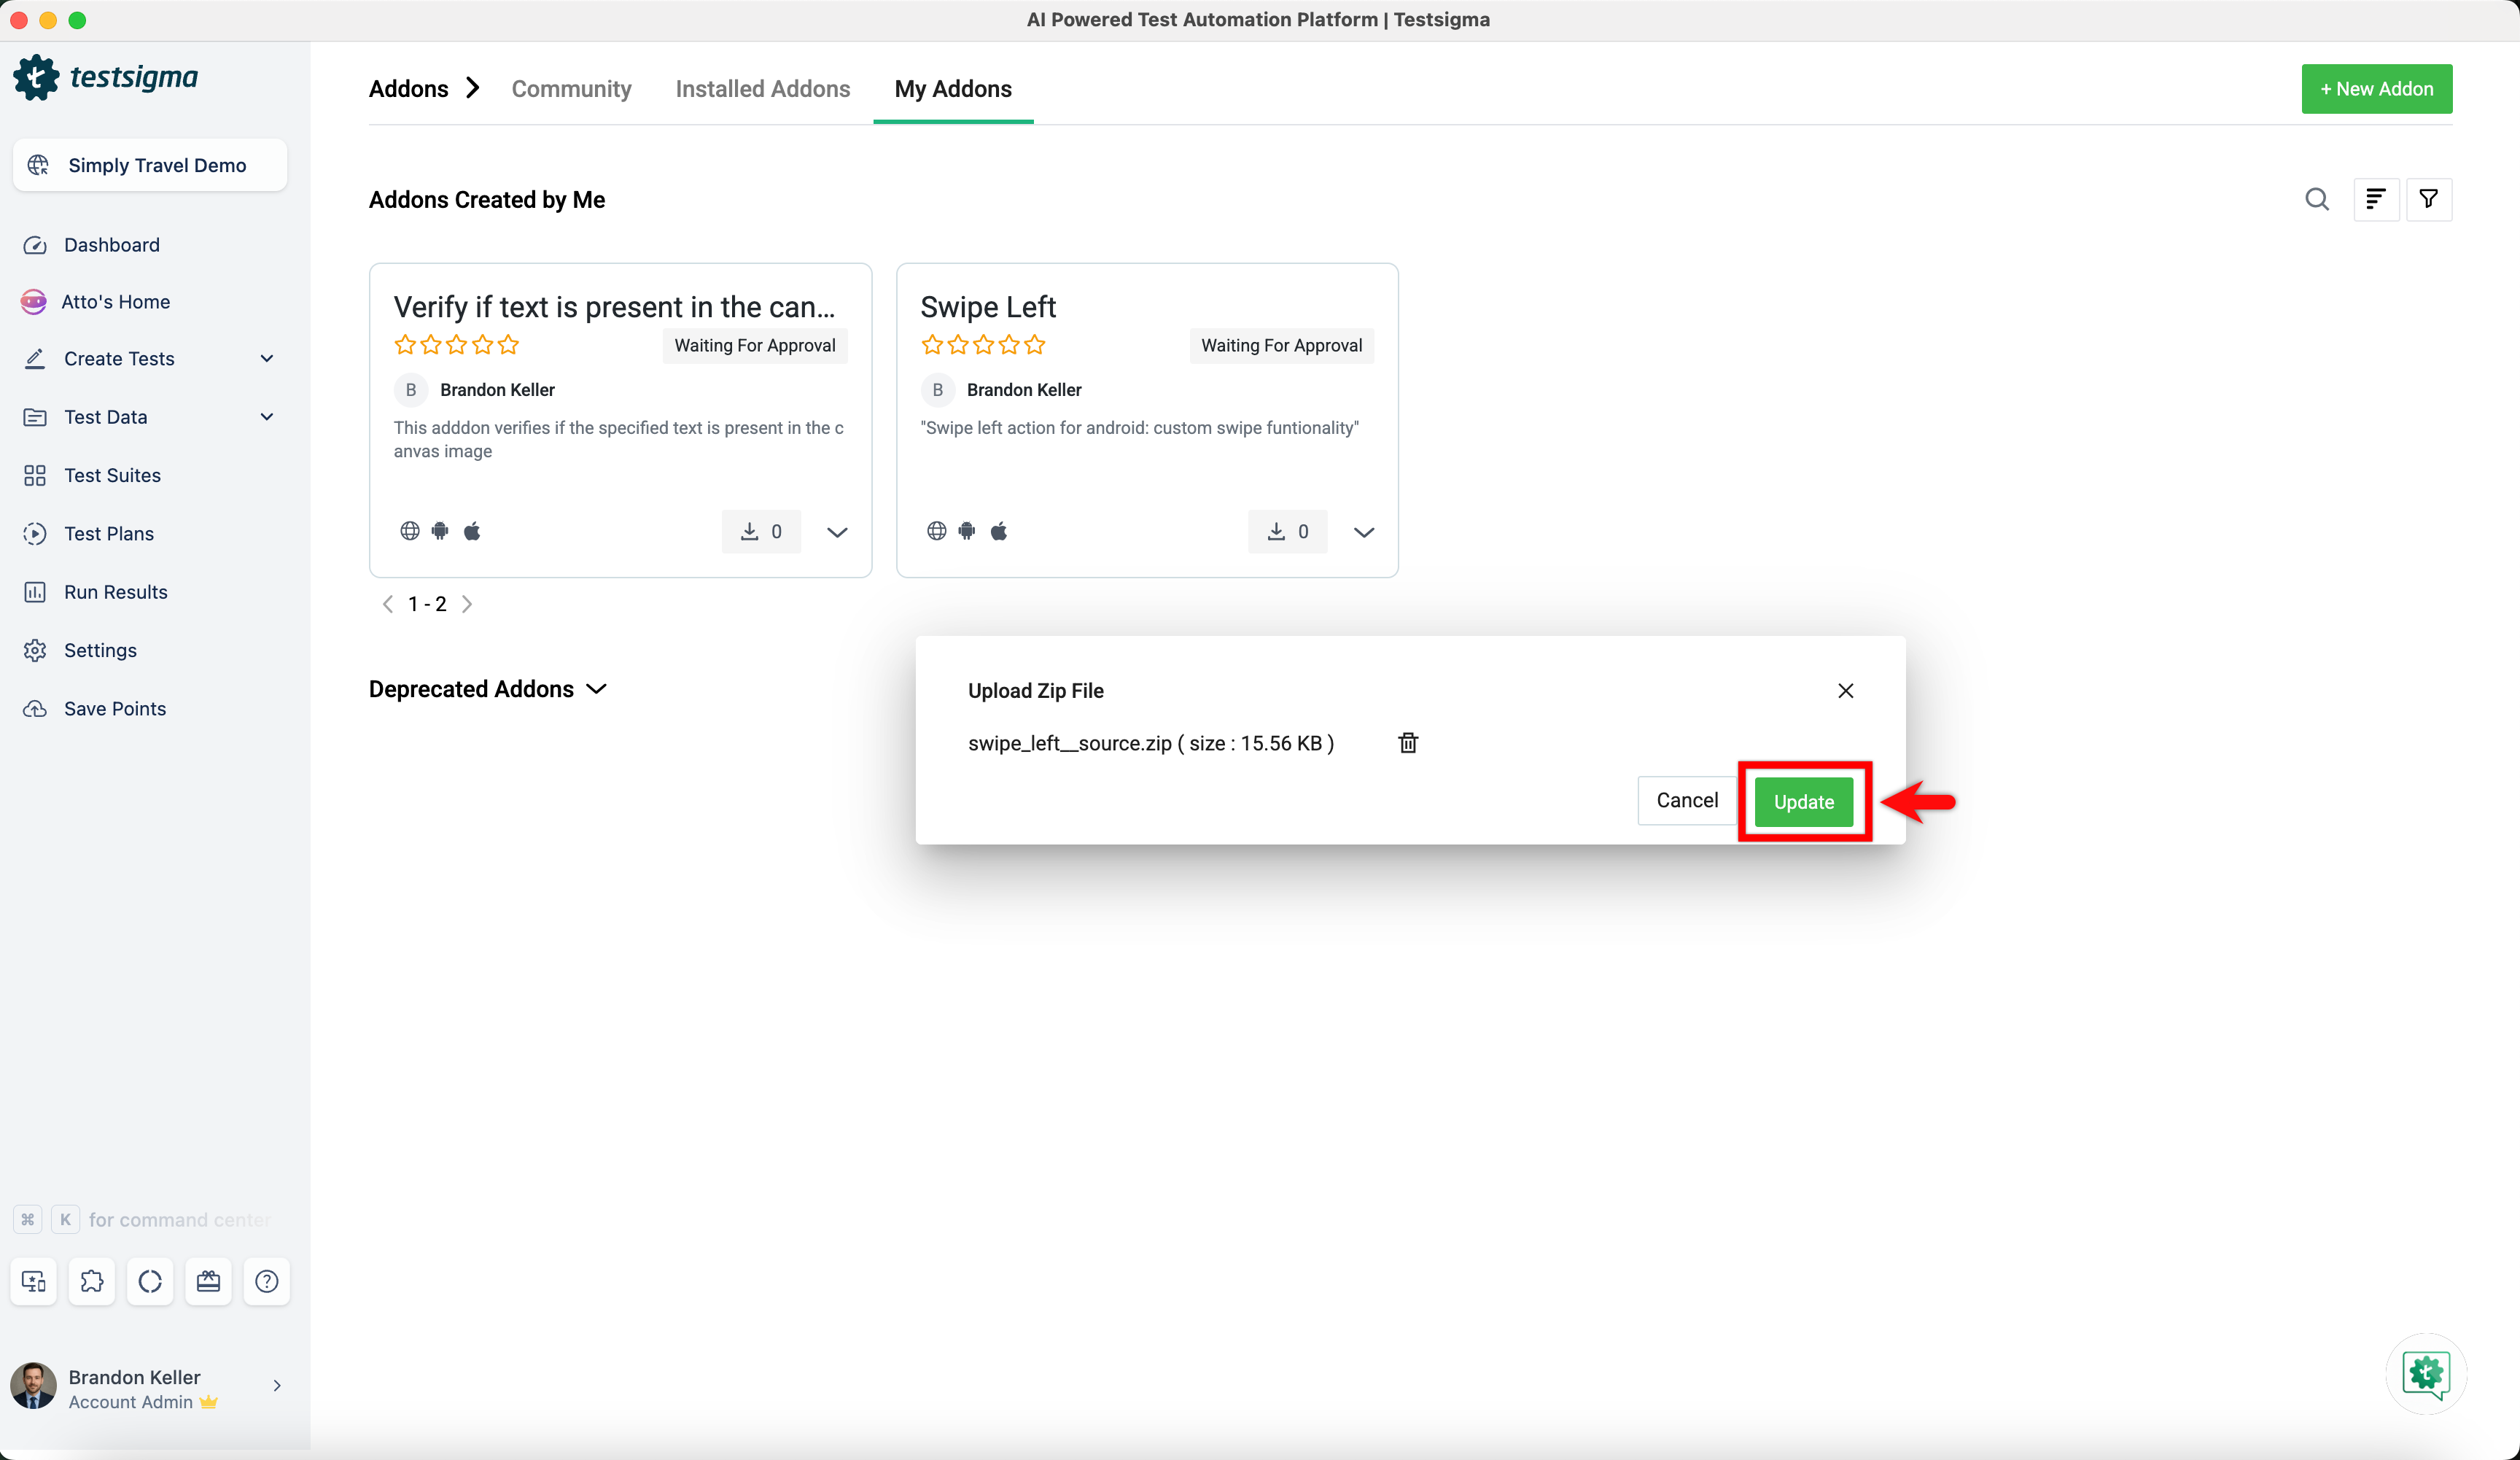
- In the Upload Zip File dialog, upload the requird zipped file and click Update.
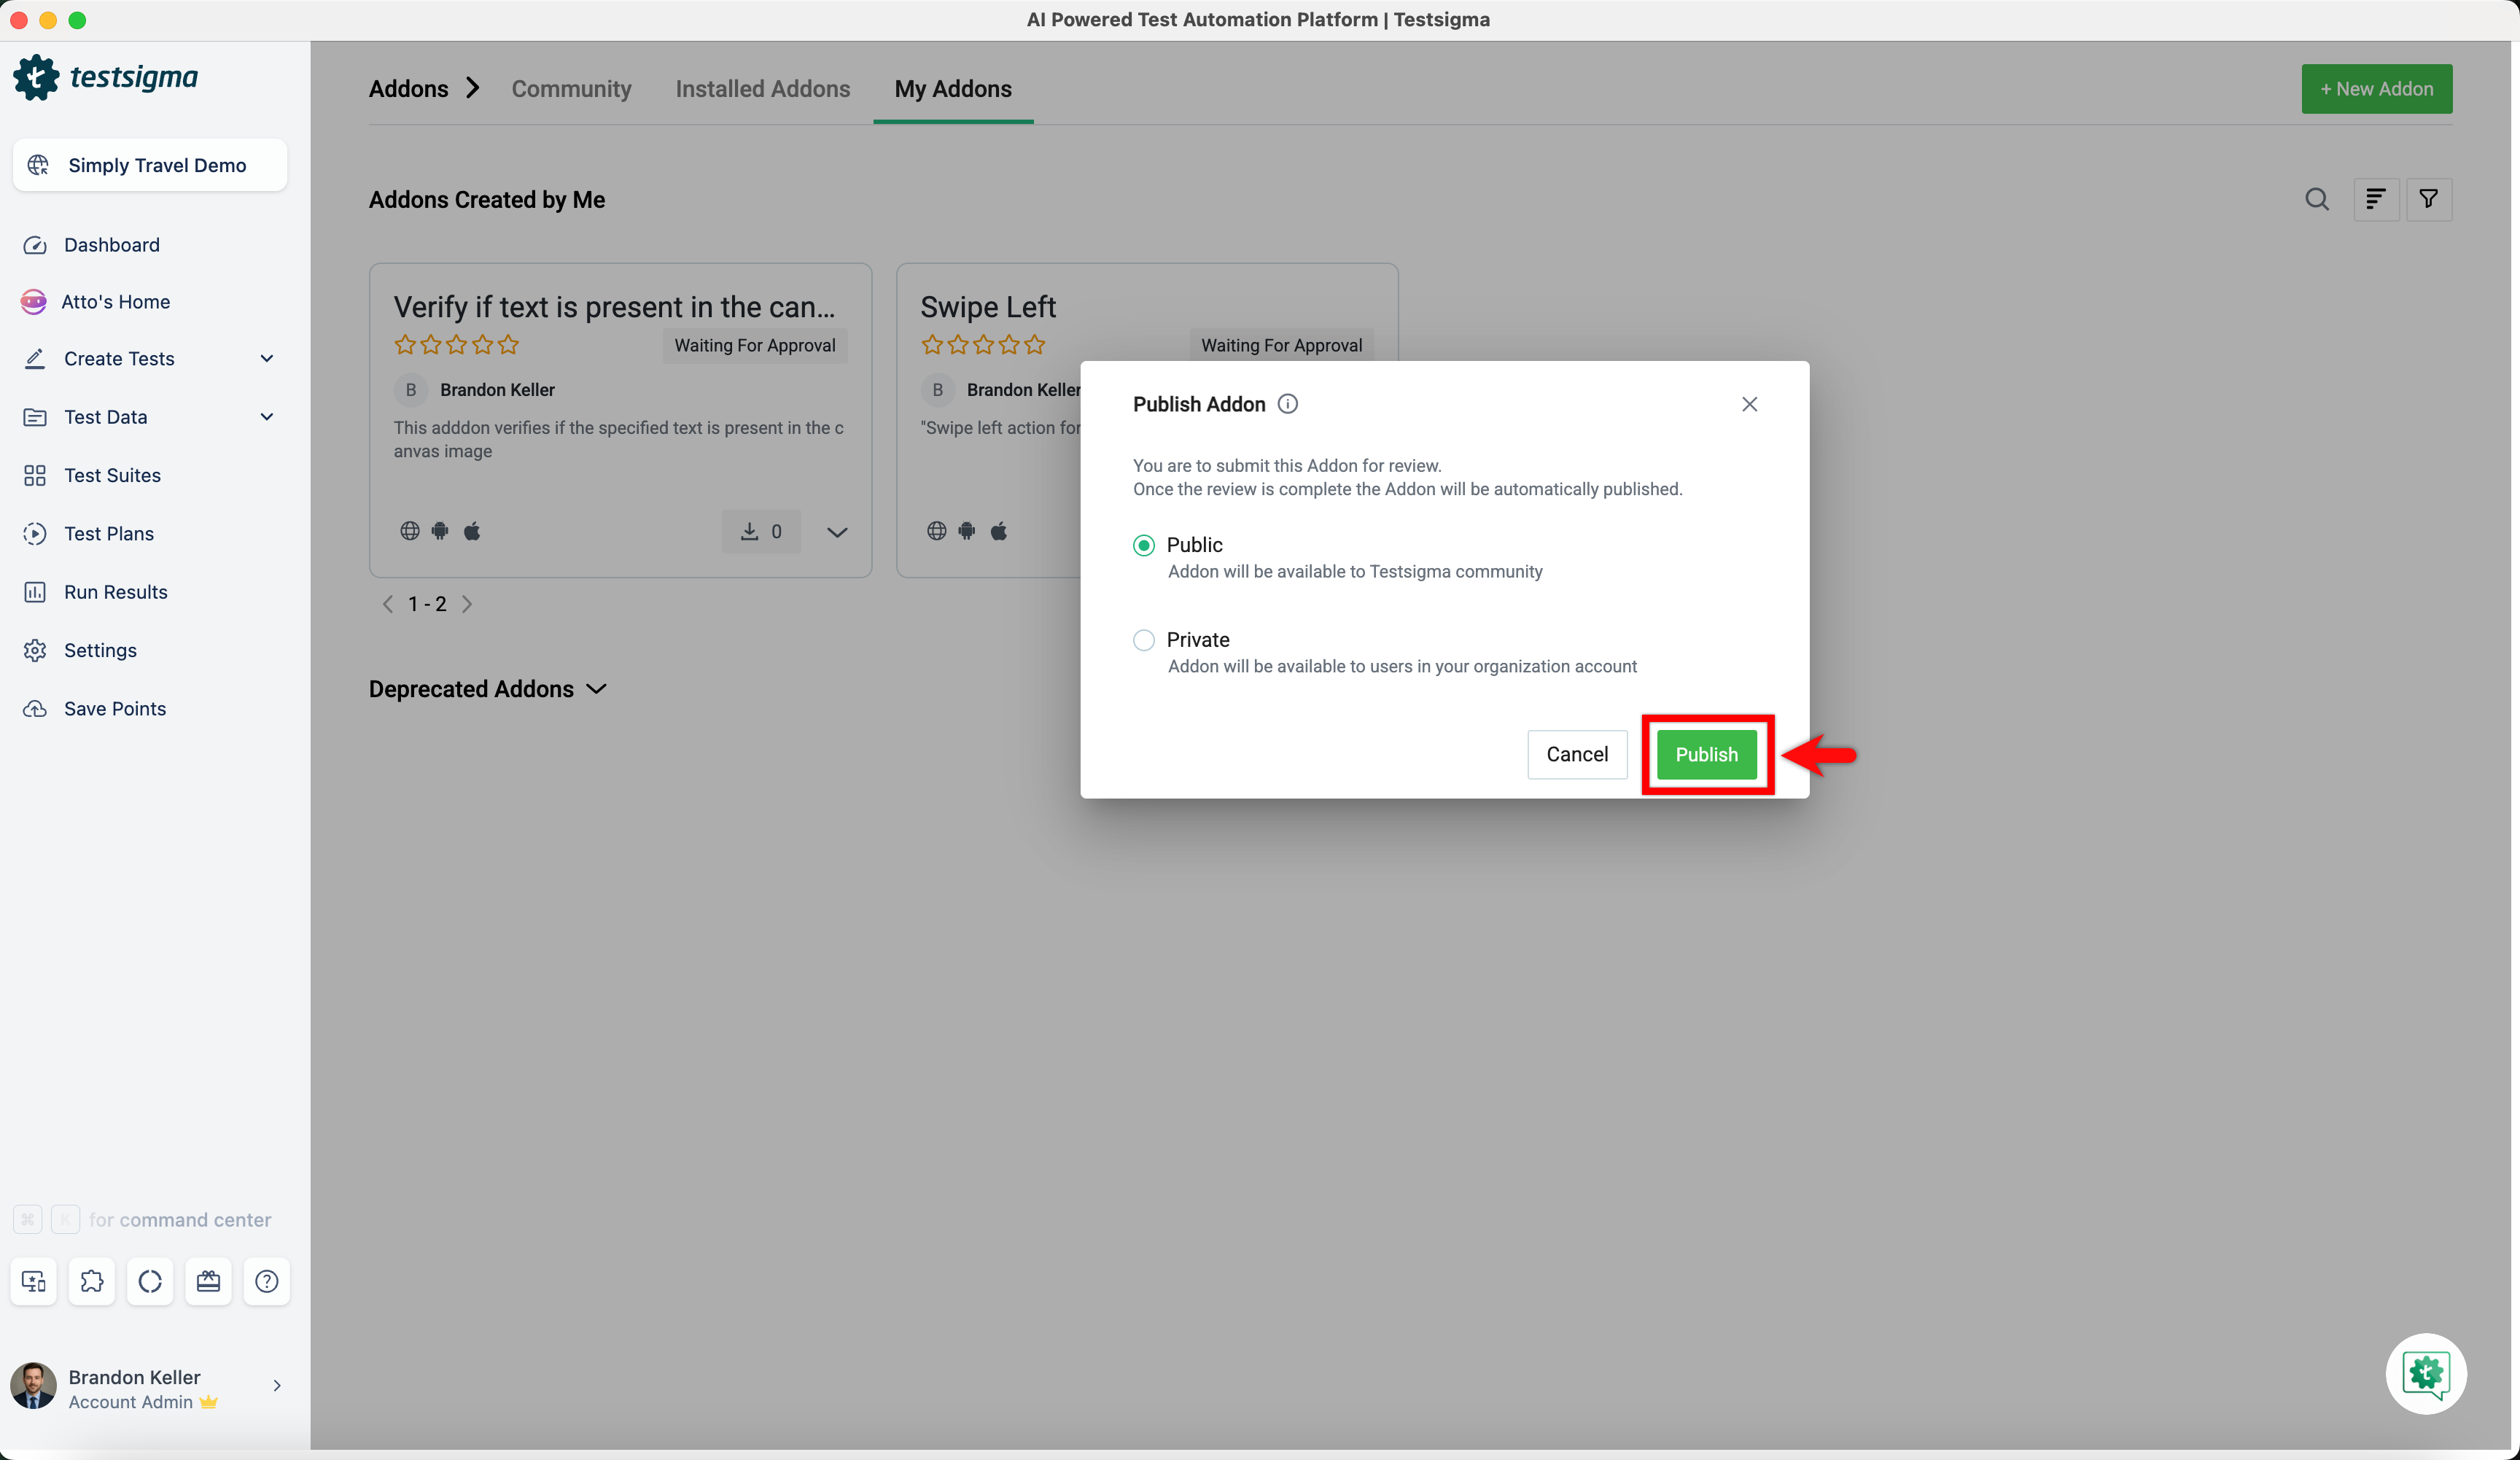
- After uploading the code, click on Publish from the dropdown menu.

-
Choose an option from below and click Publish:
- Public: Make the addon available to the entire Testsigma community.
- Private: Restrict availability to users within your organization.
- An automatic security check will be done. If it passes, the addon will be published. If it fails, you will get an email notification.
Want to contribute or report missing content?