- continuous integration
 Test Plan Details
 - REST API (Generic)
- Jenkins
- Azure DevOps
- AWS DevOps
- AWS Lambda
- Circle CI
- Bamboo CI
- Travis CI
- CodeShip CI
- Shell Script(Generic)
- Bitrise CI
- GitHub CI/CD
- Bitbucket CI/CD
- GitLab CI/CD
- Copado CI/CD
- Gearset CI/CD
- Codemagic CI/CD
- Google Cloud Build CI/CD
Integrate Testsigma with Bamboo CI
Bamboo is a continuous integration and delivery tool that ties automated builds, tests, and releases in a single workflow. It is a popular tool for CI/CD pipeline and build automation. Testsigma provides a Bamboo plugin to automate test execution in your Bamboo Pipeline.
Prerequisites
- You need Testsigma Test Plan Run - Bamboo Plugin.
- You can install the Testsigma Test Plan Run plugin from the Bamboo Plugins page in your Bamboo Installation. You need to go to Bamboo administration settings > Manage apps > Find new apps and search for Testsigma Test Plan Runner in the search box to install it.
You can also get it from Testsigma Bamboo Plugin direct link
Steps to follow:
- Create and configure a New Plan
- Create a Task to trigger Testsigma Test Plan
- Try a Sample Build
Create and Configure a New Plan
- Navigate to Bamboo Instance > Build Dashboard as shown below:
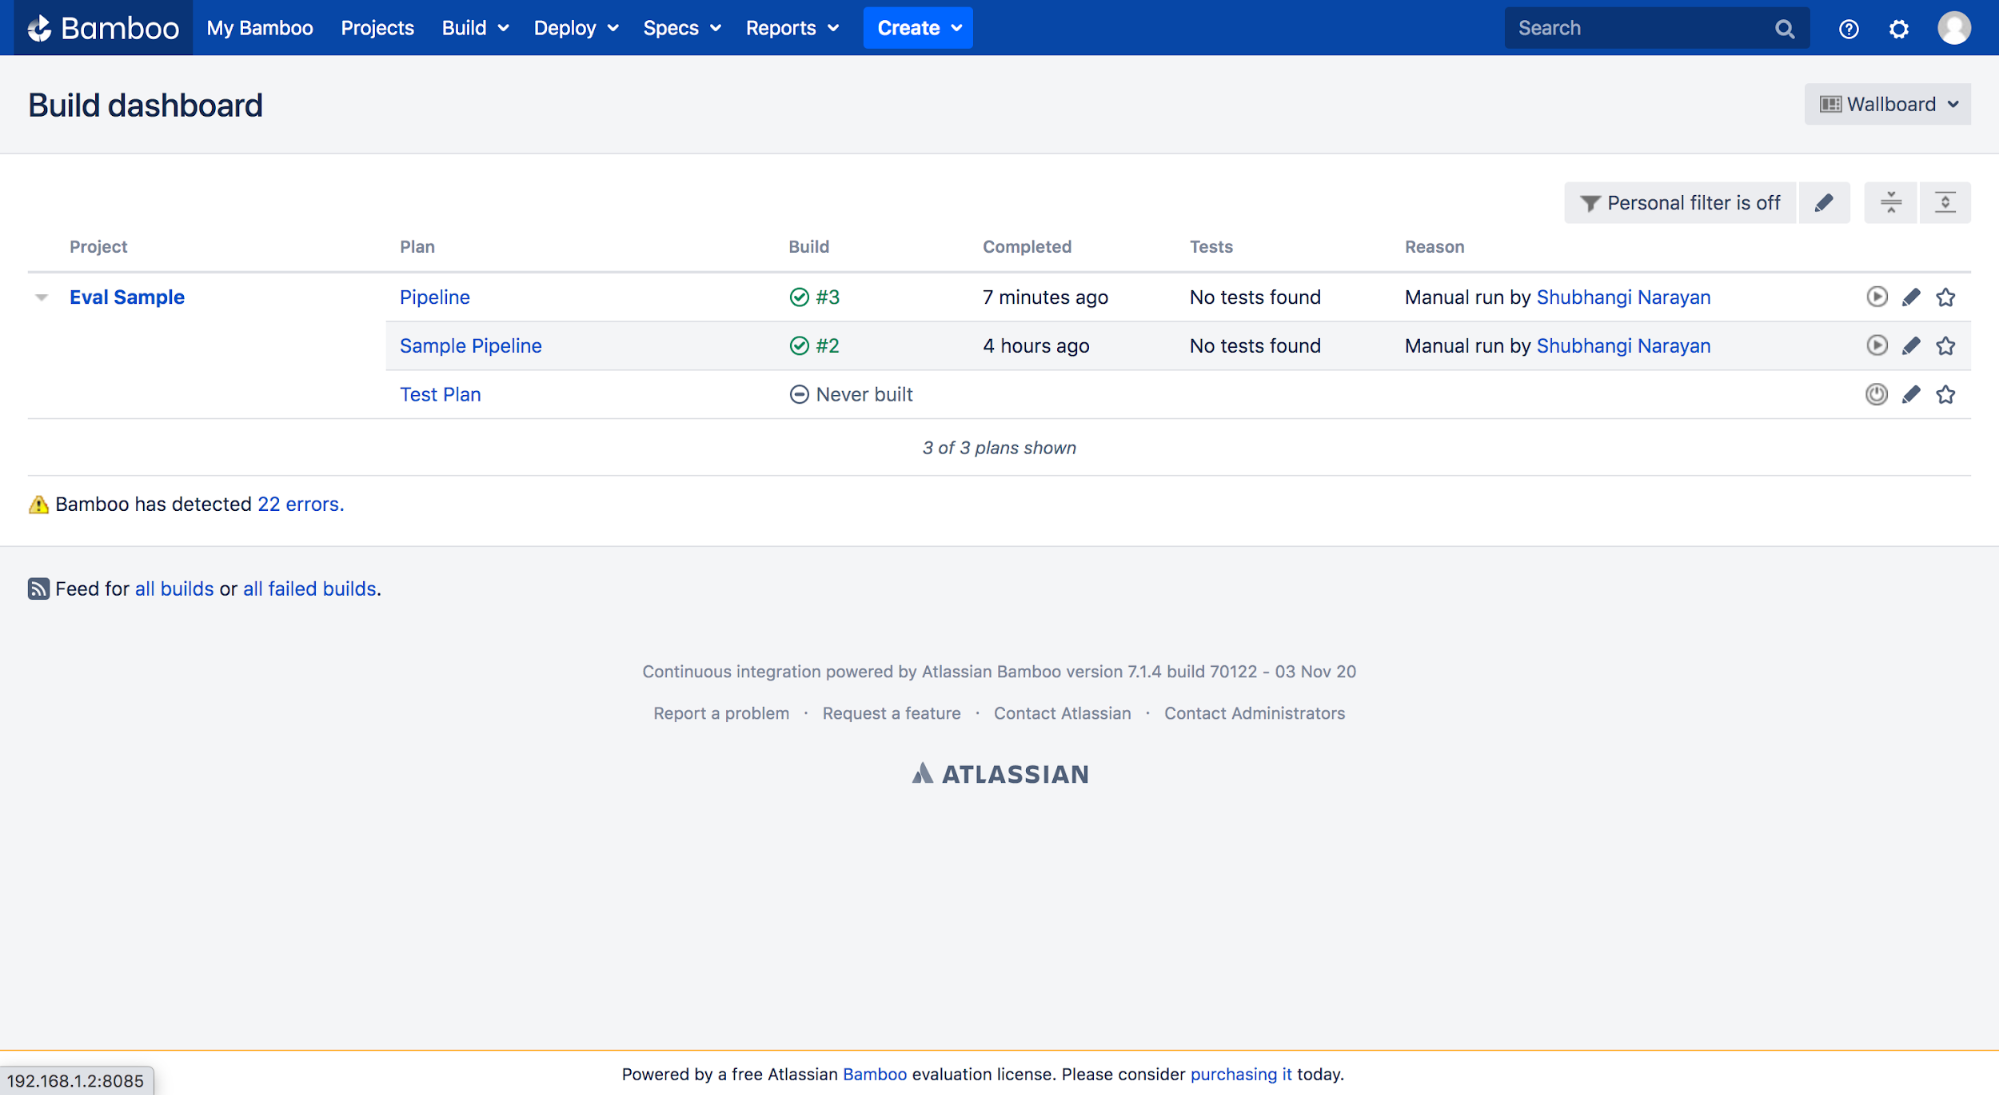
- Create a new pipeline by clicking on Create > Create Plan on the top menu in the Dashboard page above.
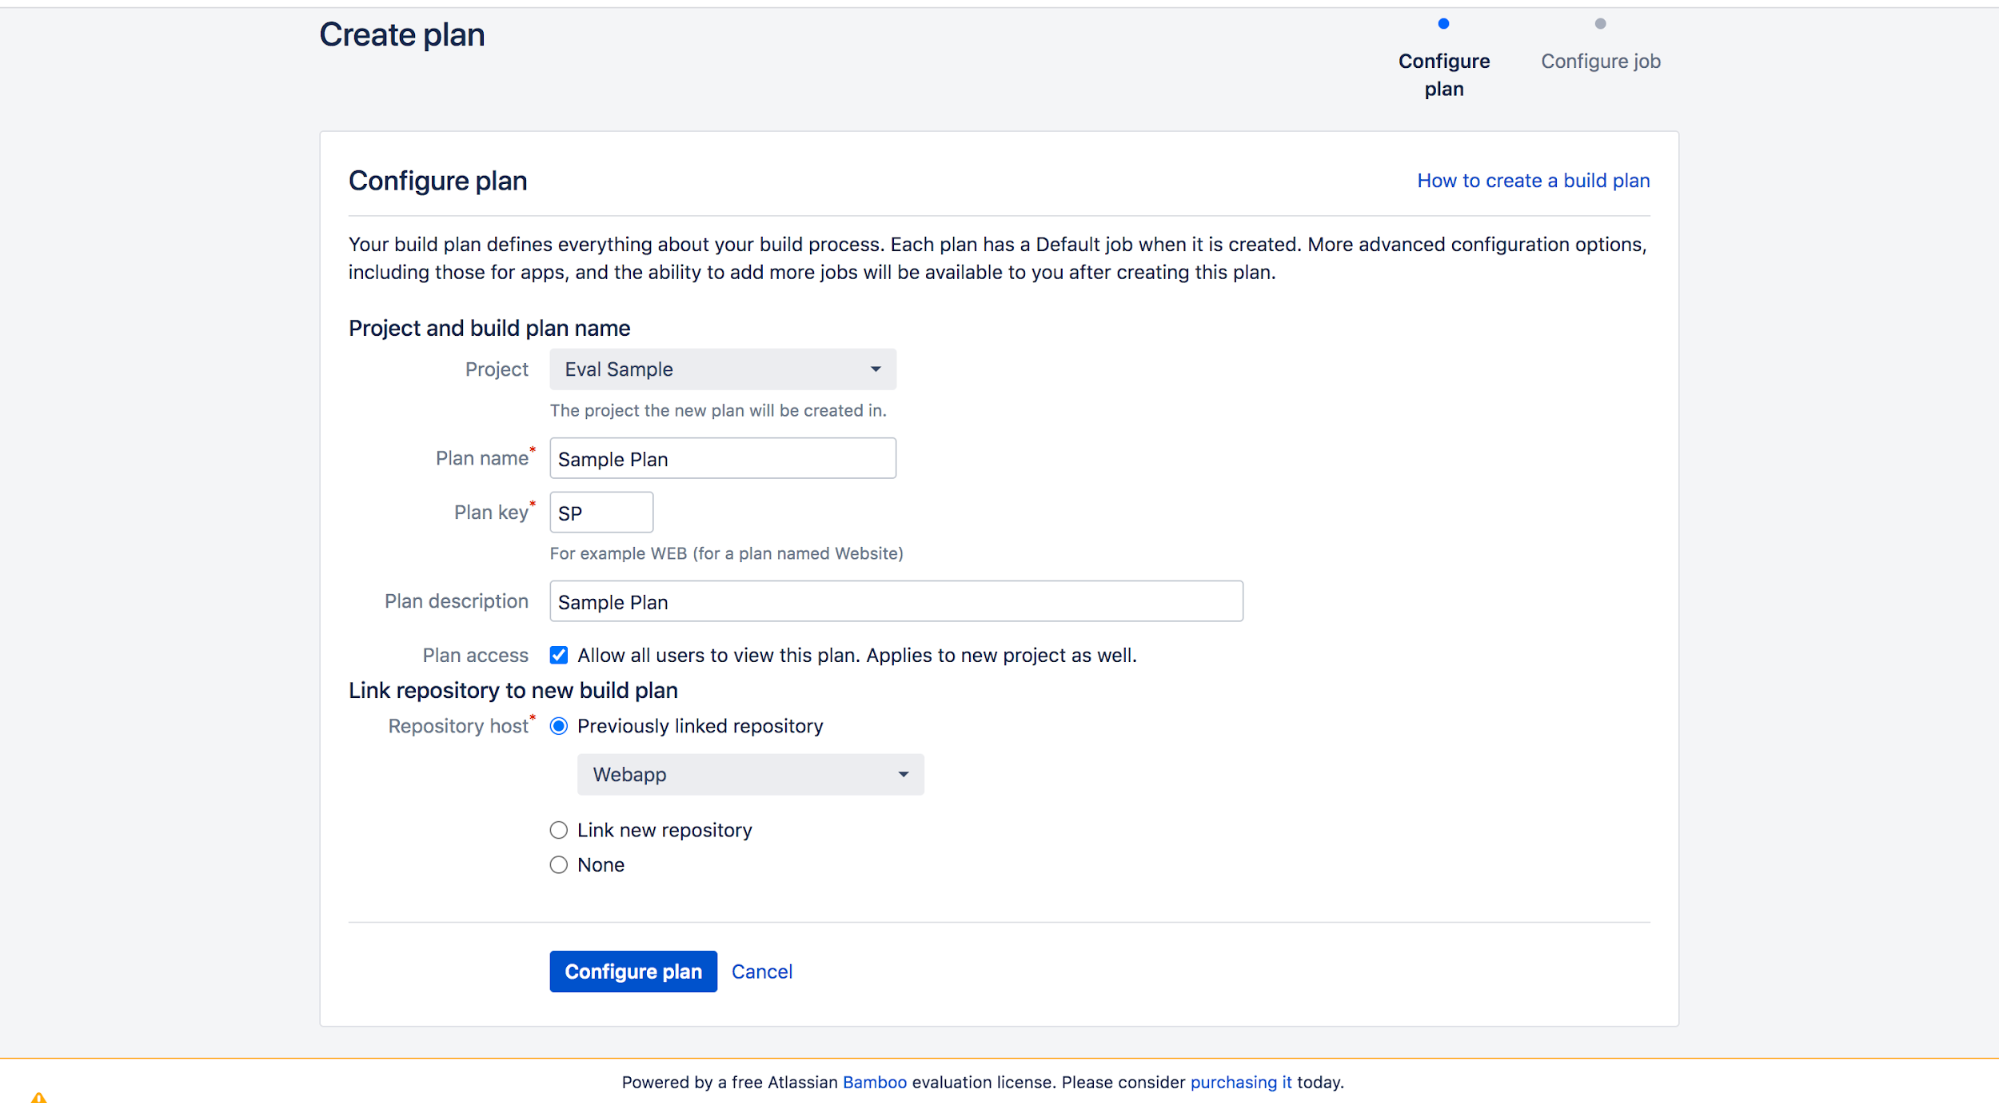
- Enter a Project name, Plan name, and configure your repository and click on Configure Plan as shown below:
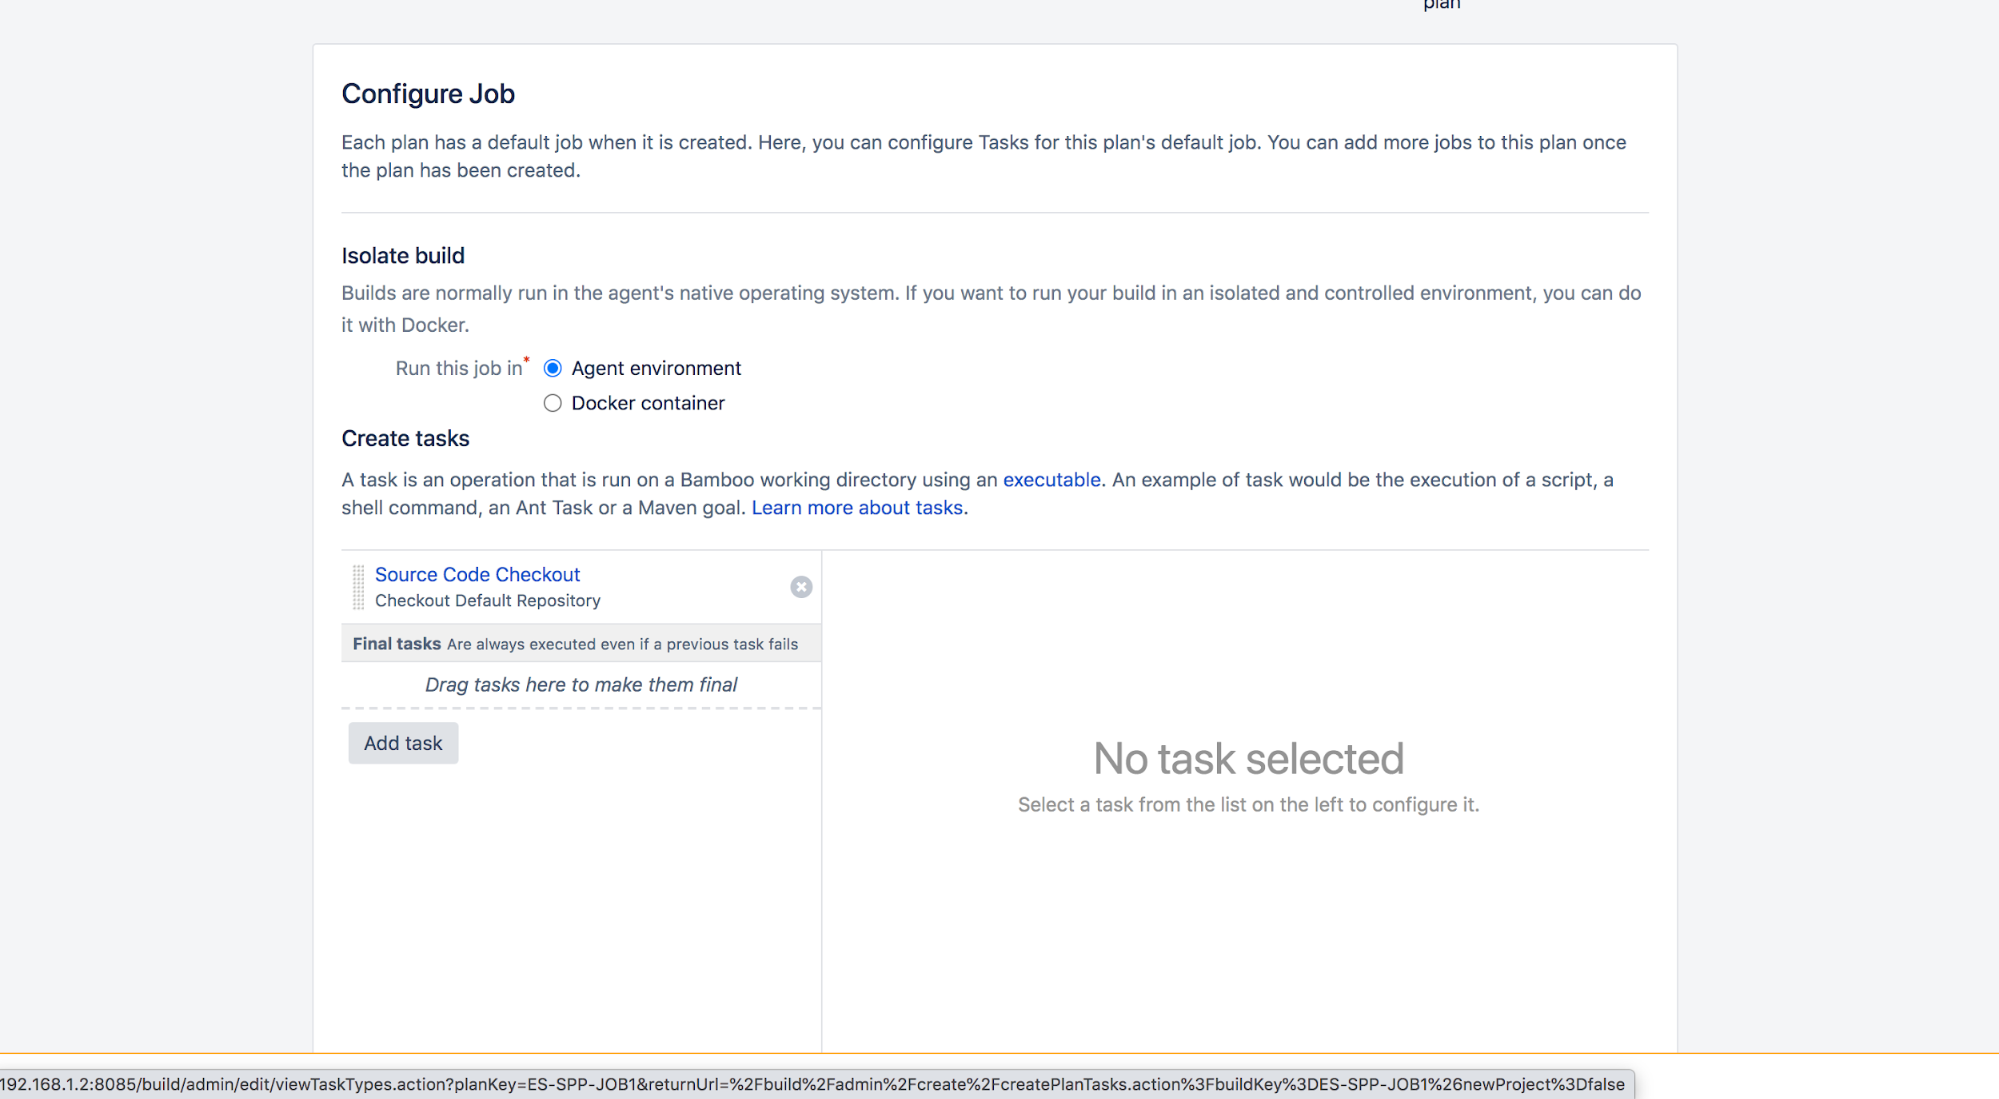
Create a Task to trigger Testsigma Test Plan
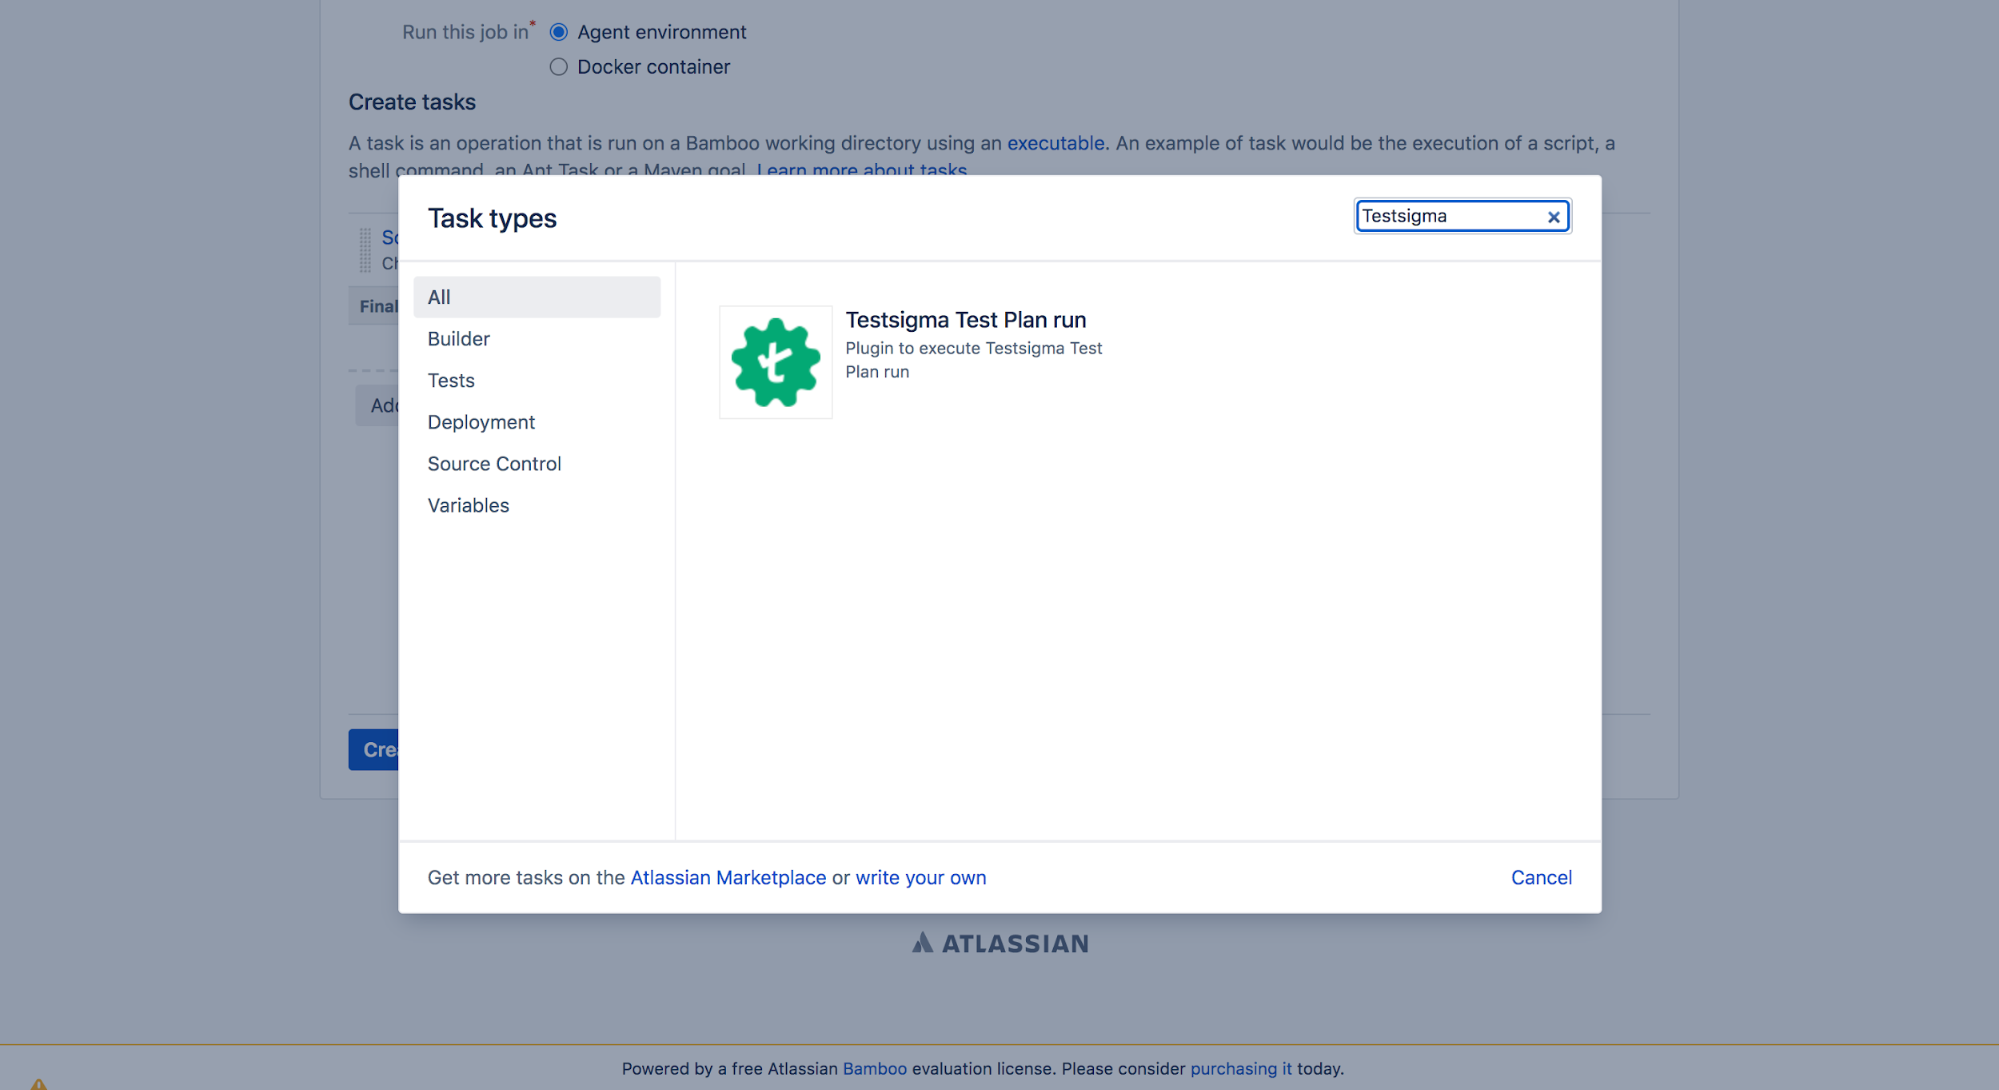
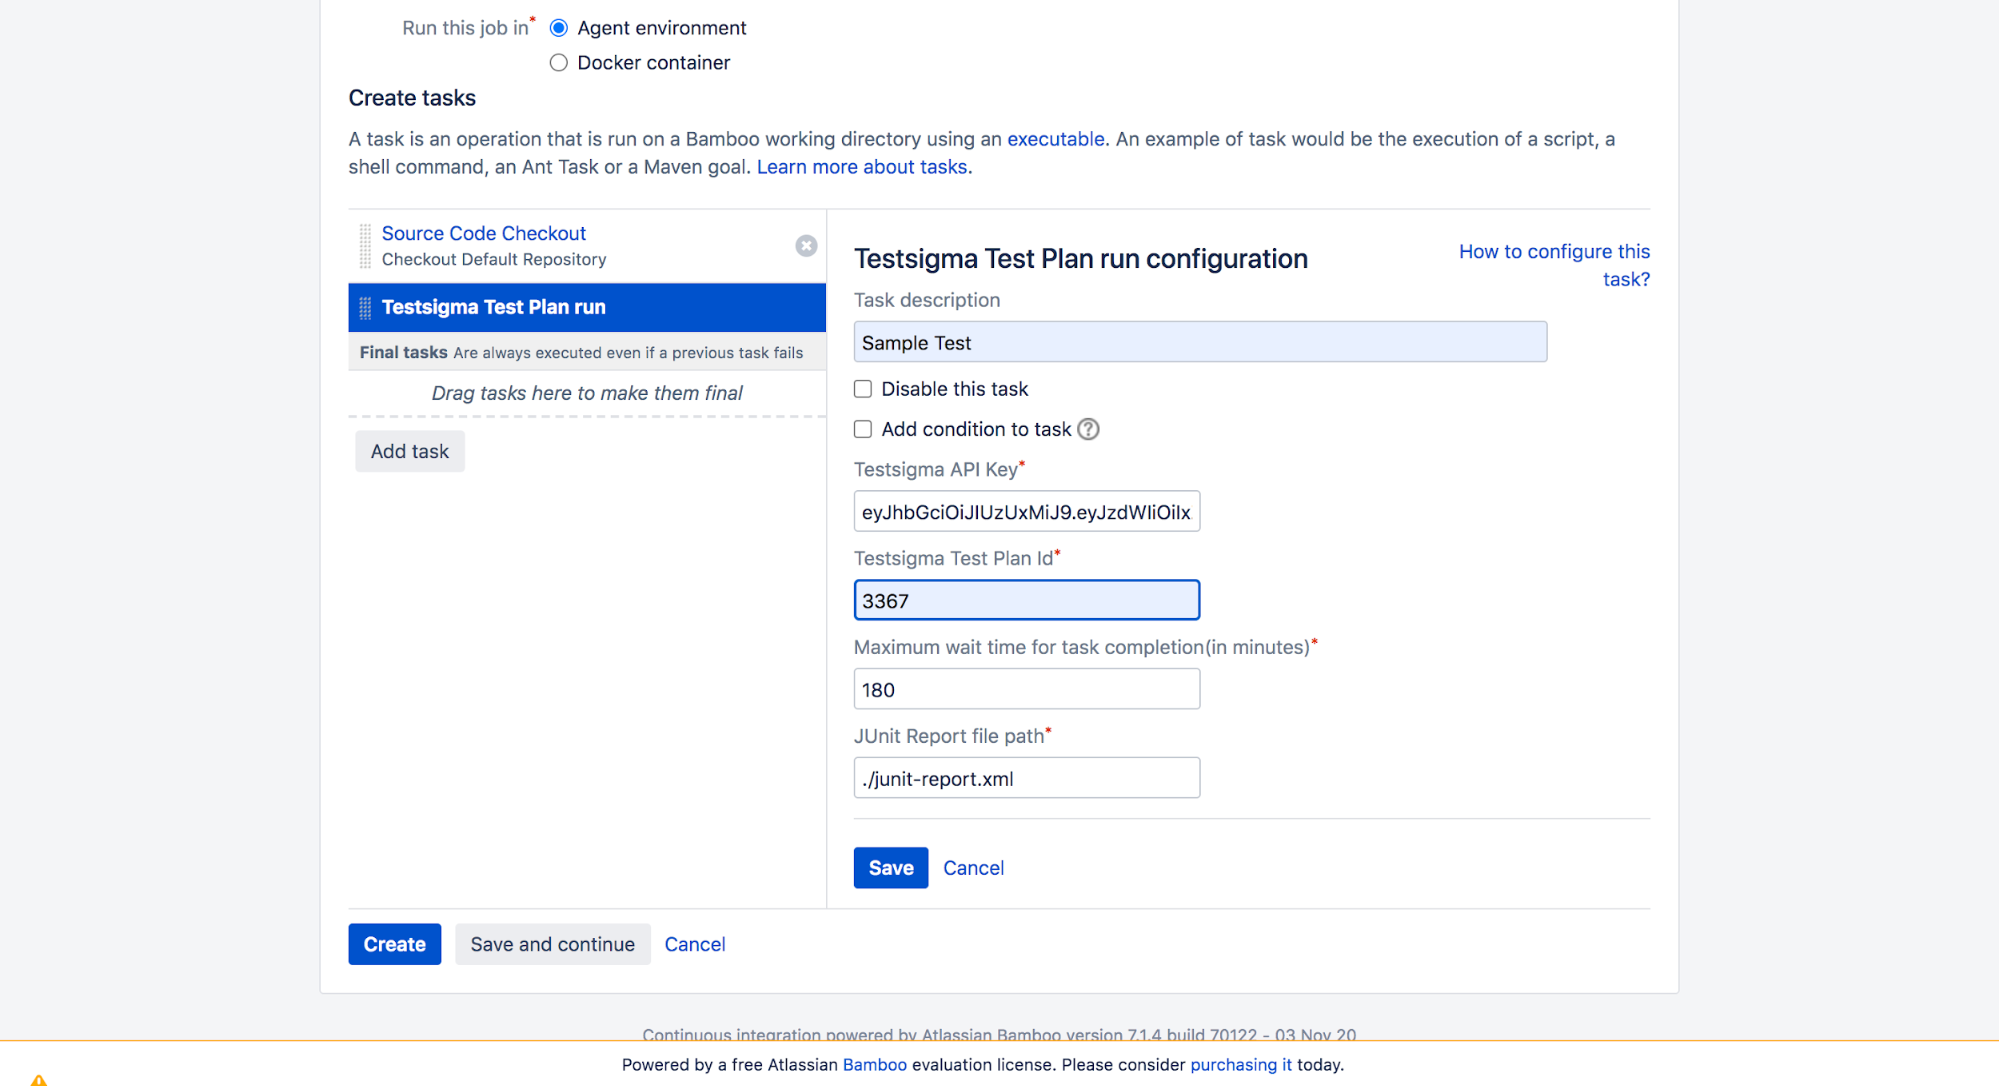
- Click on Add Task tab. Search for Testsigma Test Plan Run and select it. This is the plugin that was installed as part of the Pre-requisite.
- Enter the following details:
- Task description: A name for the Task.
- Testsigma API Key: Refer to the documentation on generating API keys in Testsigma App.
- Testsigma Test Plan ID: Refer to the documentation on getting the test plan ID from the Test Plan details page in Testsigma App.
- Maximum wait time for Task completion: Specify the maximum time in minutes you want the Testsigma Plugin to wait before timing out. After this timeout, the Task will time out in Bamboo but the Test Execution will still continue in Testsigma. You can log into Testsigma App later to check the Test Plan status.
- Report File Path: The File path where the JUnit report XML file is stored.
- Click on Save button to save the task details.
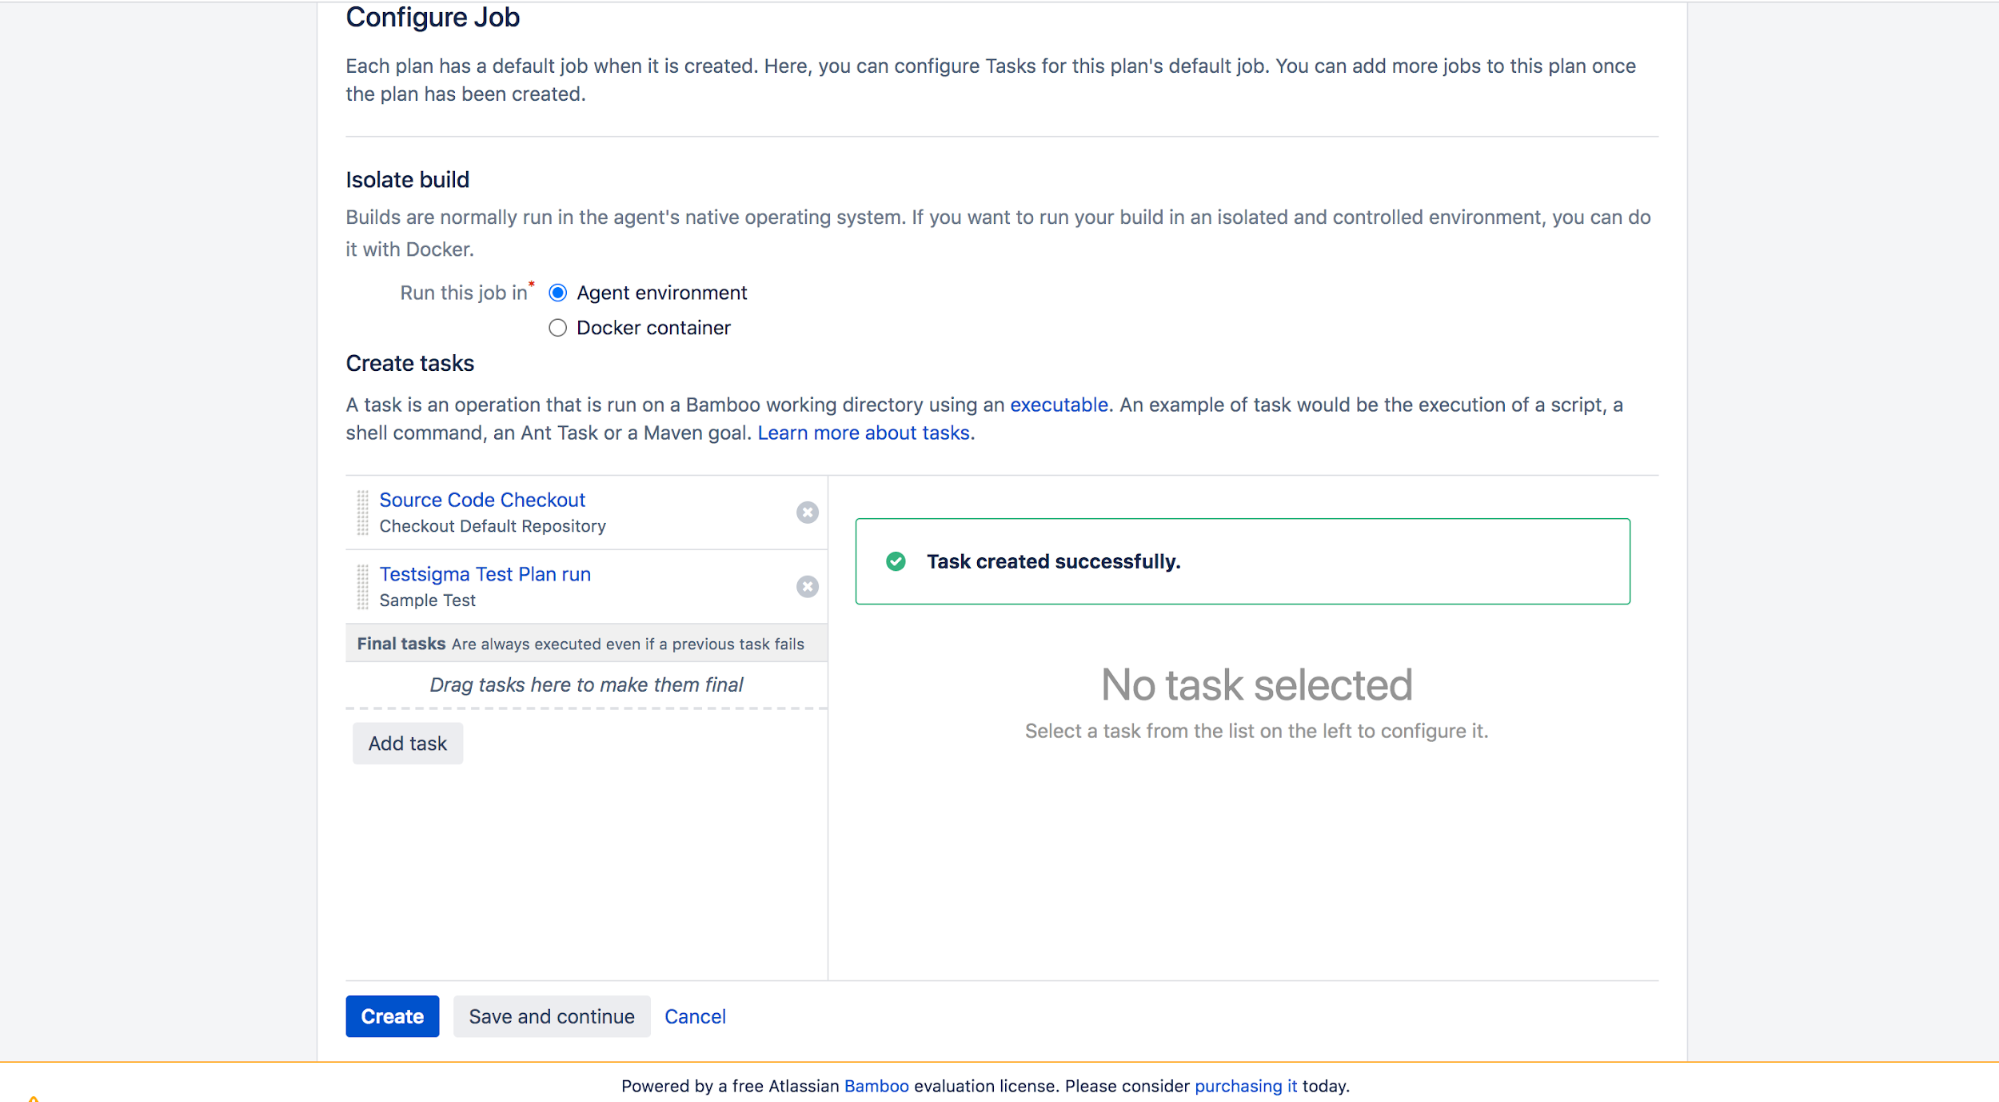
- Click on Save and Create to create the Plan.
Try a Sample Build
- Click on Run Now to trigger the pipeline manually to check.
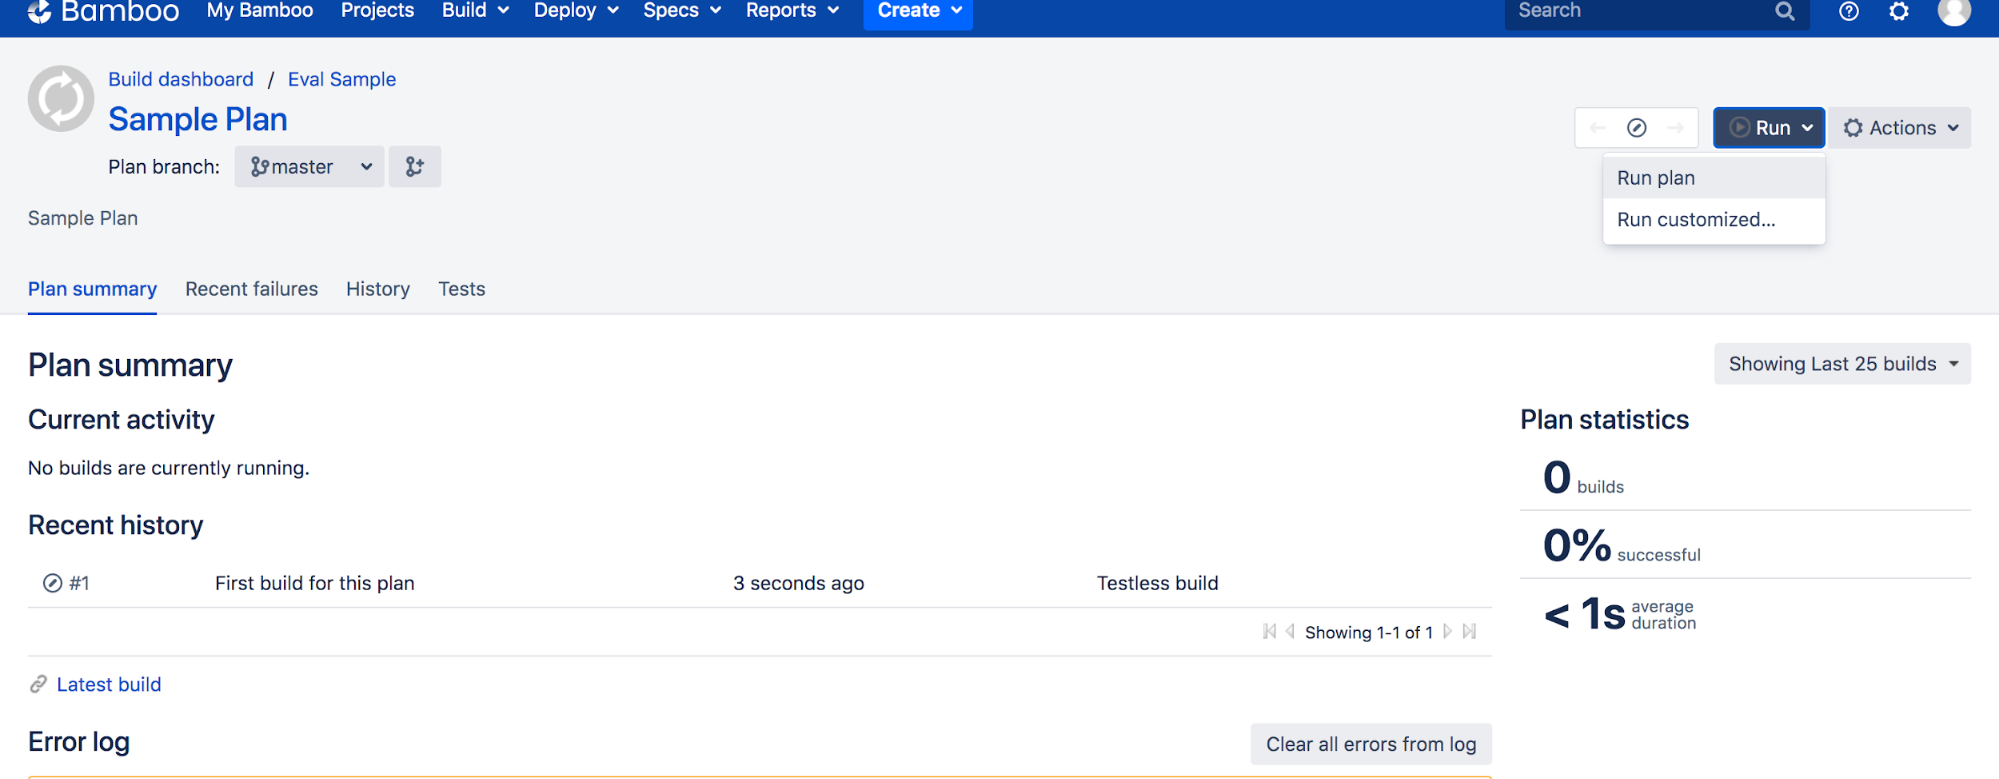 As soon as the plan runs and the pipeline reaches the Testsigma task, the Testsigma test plan will be triggered. You can confirm that by navigating to the Dashboard > Test Plans page in Testsigma App.
You can log into Testsigma to learn more about the results. That's all we need to automate Test Execution when a successful build is triggered using the Bamboo CI server.
Want to contribute or report missing content?