- test plans
 Add, Edit, Delete Test Machines
- Add, Edit, Delete Test Suites
- Schedule Test Plans
- Run Test Suites In Parallel
- Cross Browser Testing
- Distributed Testing
- End-to-End Testing
- Headless Testing
- Test Lab Types
- Disabling Test Cases in Test Plans
- AfterTest Case
- Post Plan Hook
- AfterTest Suite
- Email Configuration in Test Plan
- Execute Partial Test Plans via API
Test Plans
In Testsigma, the Test Plan helps plan and organise software testing. The Test Plan efficiently executes the tests, manages test data, and reports results. It includes details such as the scope of testing, objectives, features to be tested, testing resources, testing environment, test cases, schedules, and risk assessment. The Test Plan makes sure testing is organised and helps find problems early. It also helps the team work together.
Prerequisites
Before you begin, ensure that you have referred to:
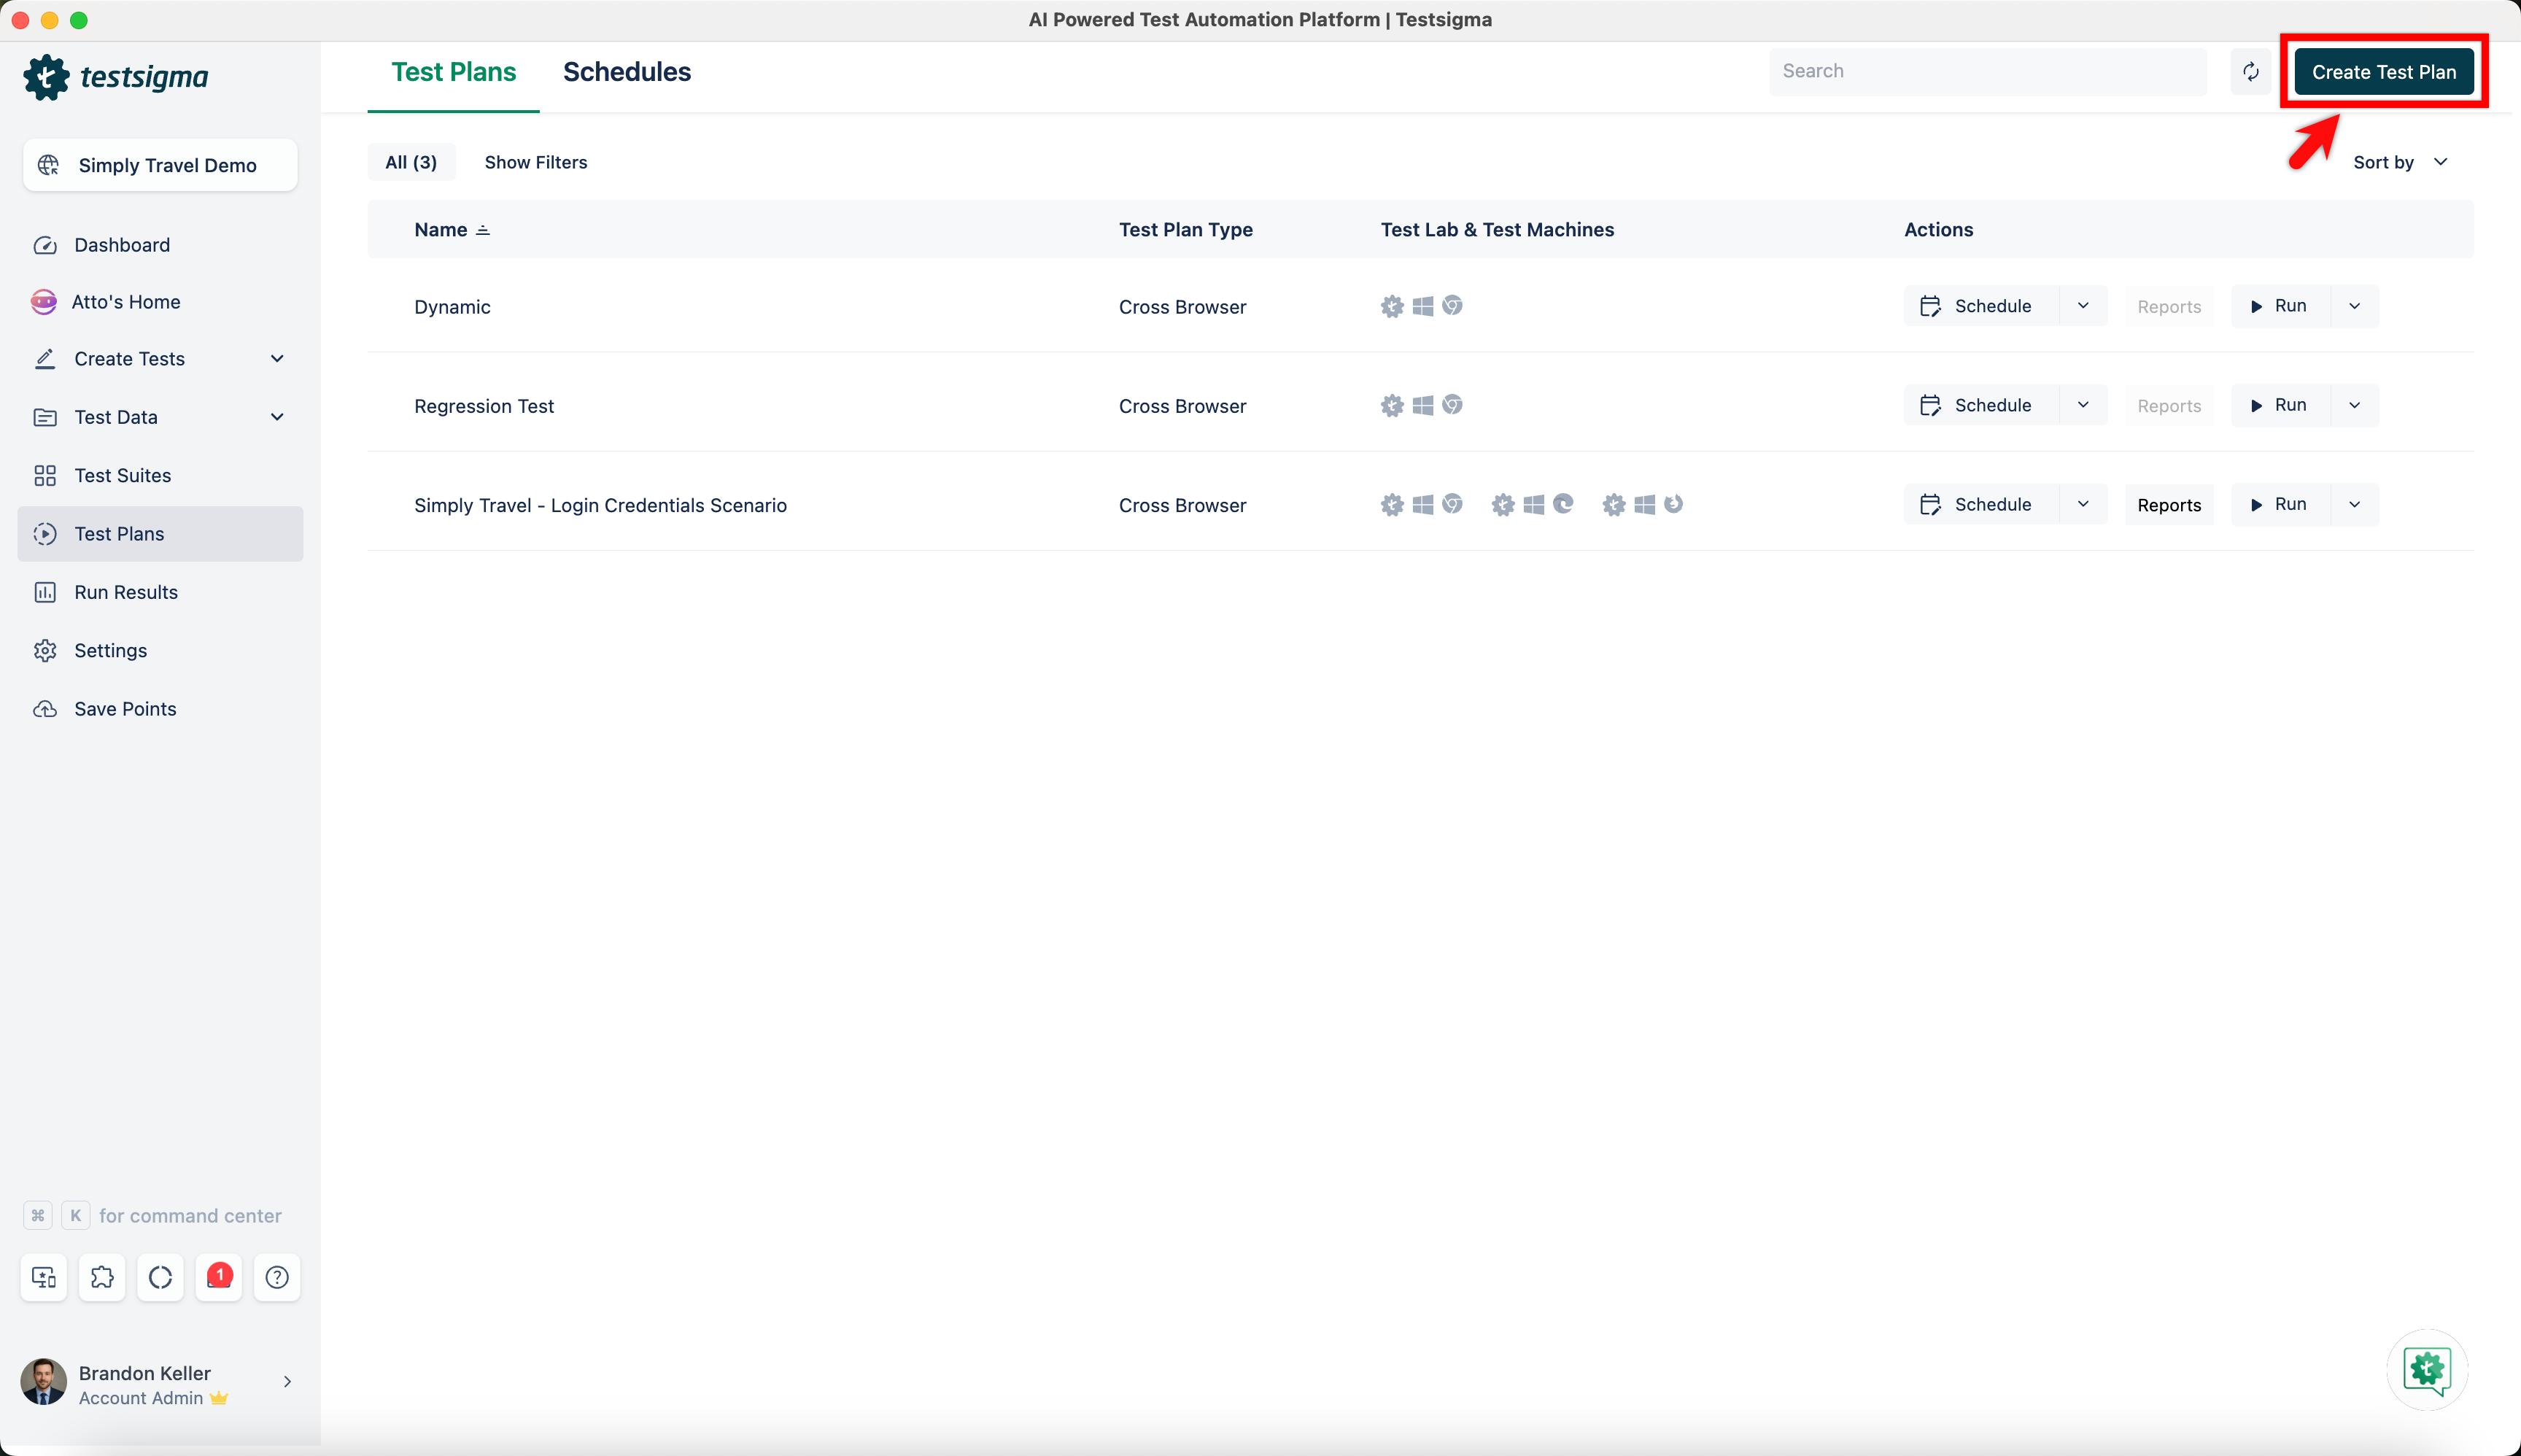
Listing Test Plans
- From the left navigation bar, navigate to Test Plans.
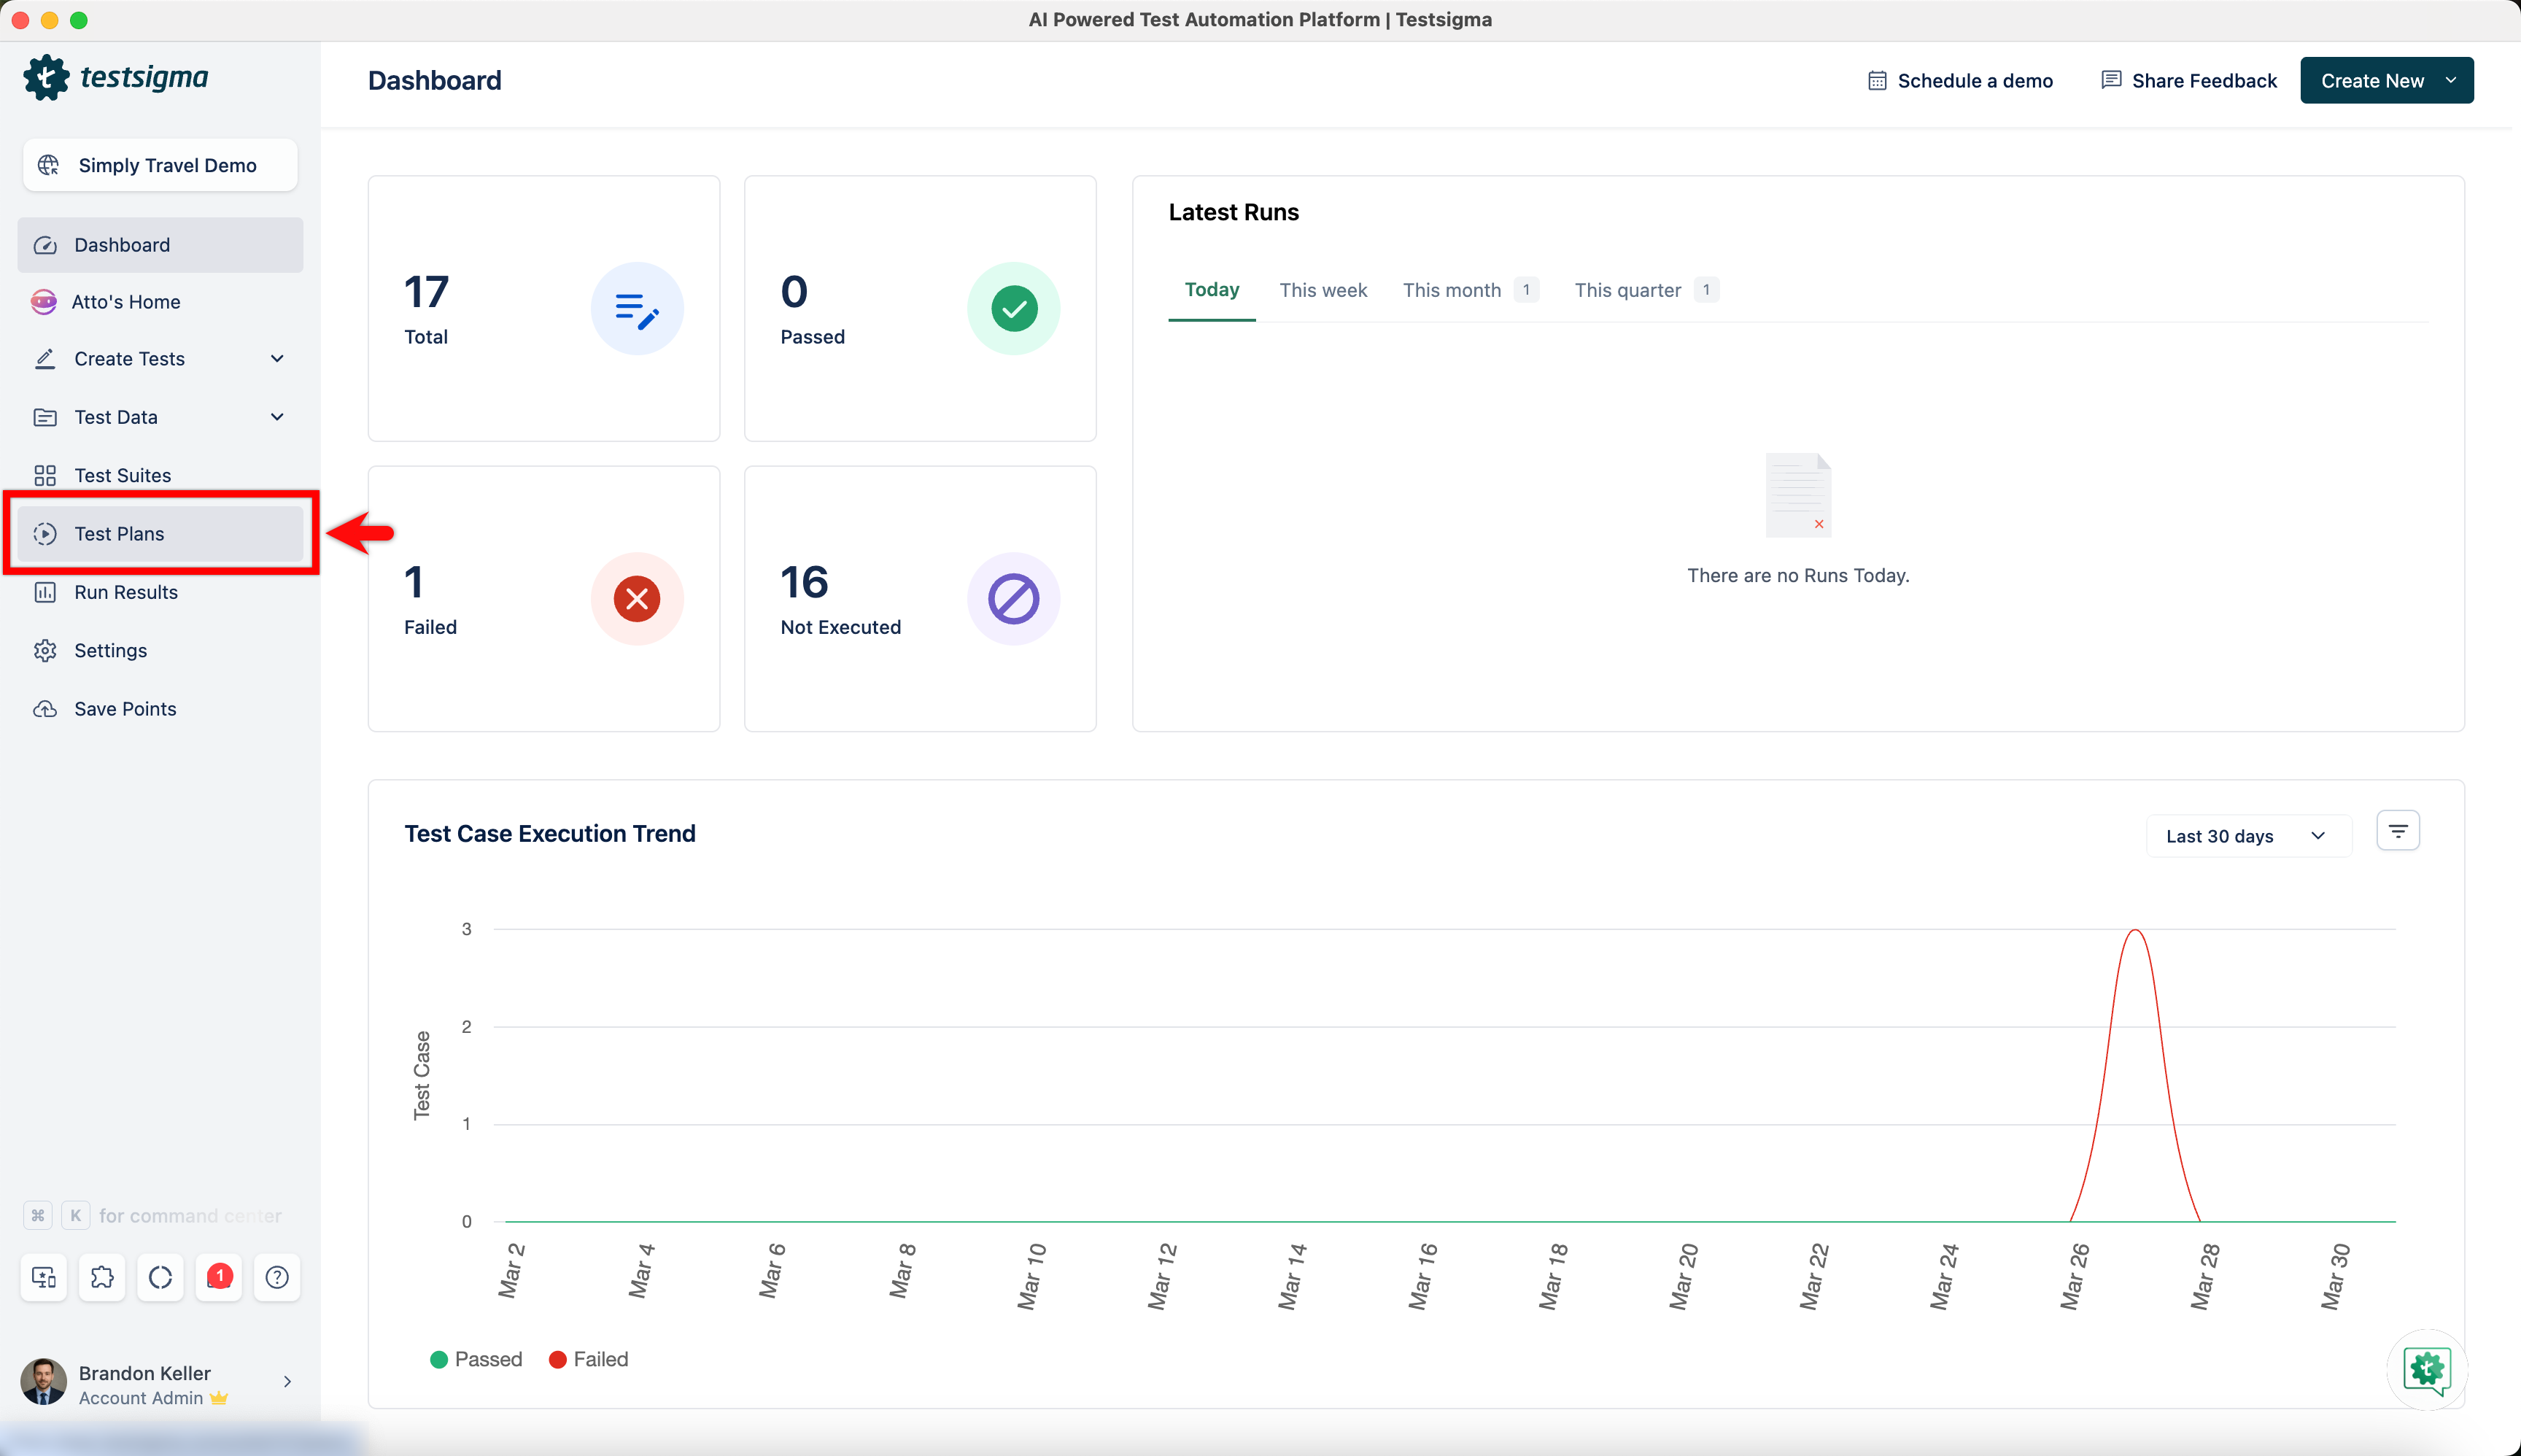
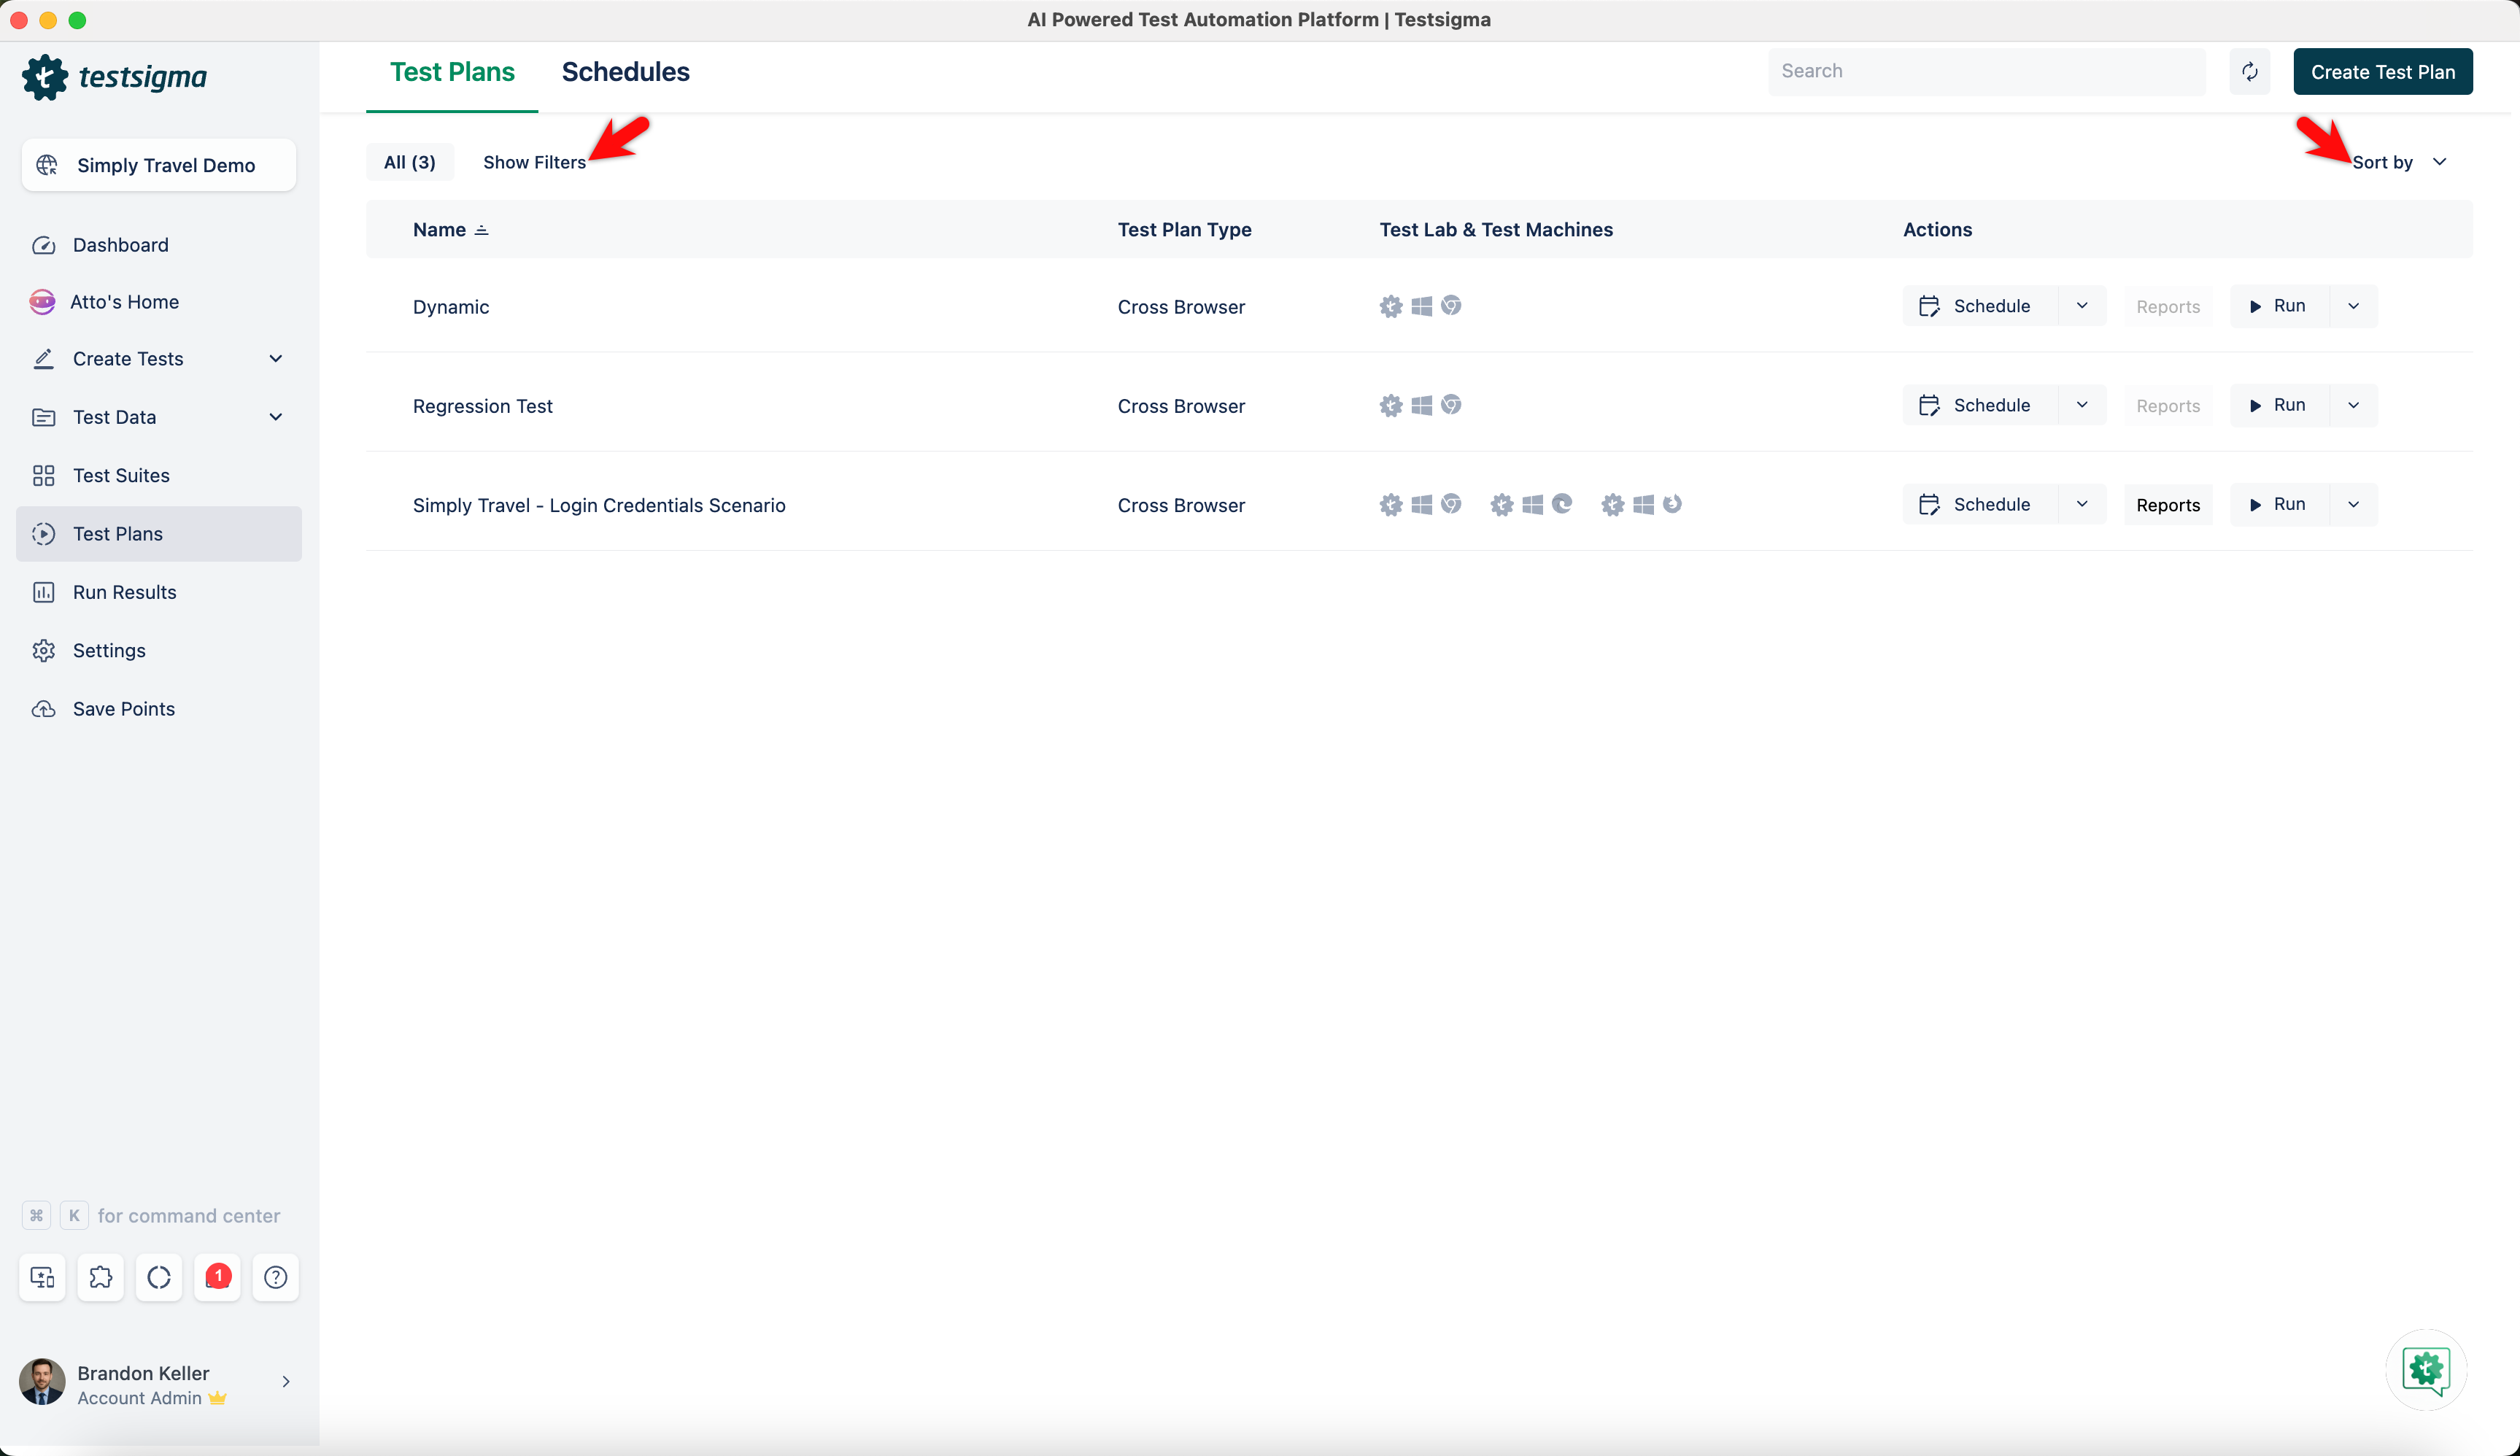
- You can easily manage test suites on the Test Plans List page by sorting, filtering, or searching. The page displays test plans with titles, types, actions, test labs and test machines.
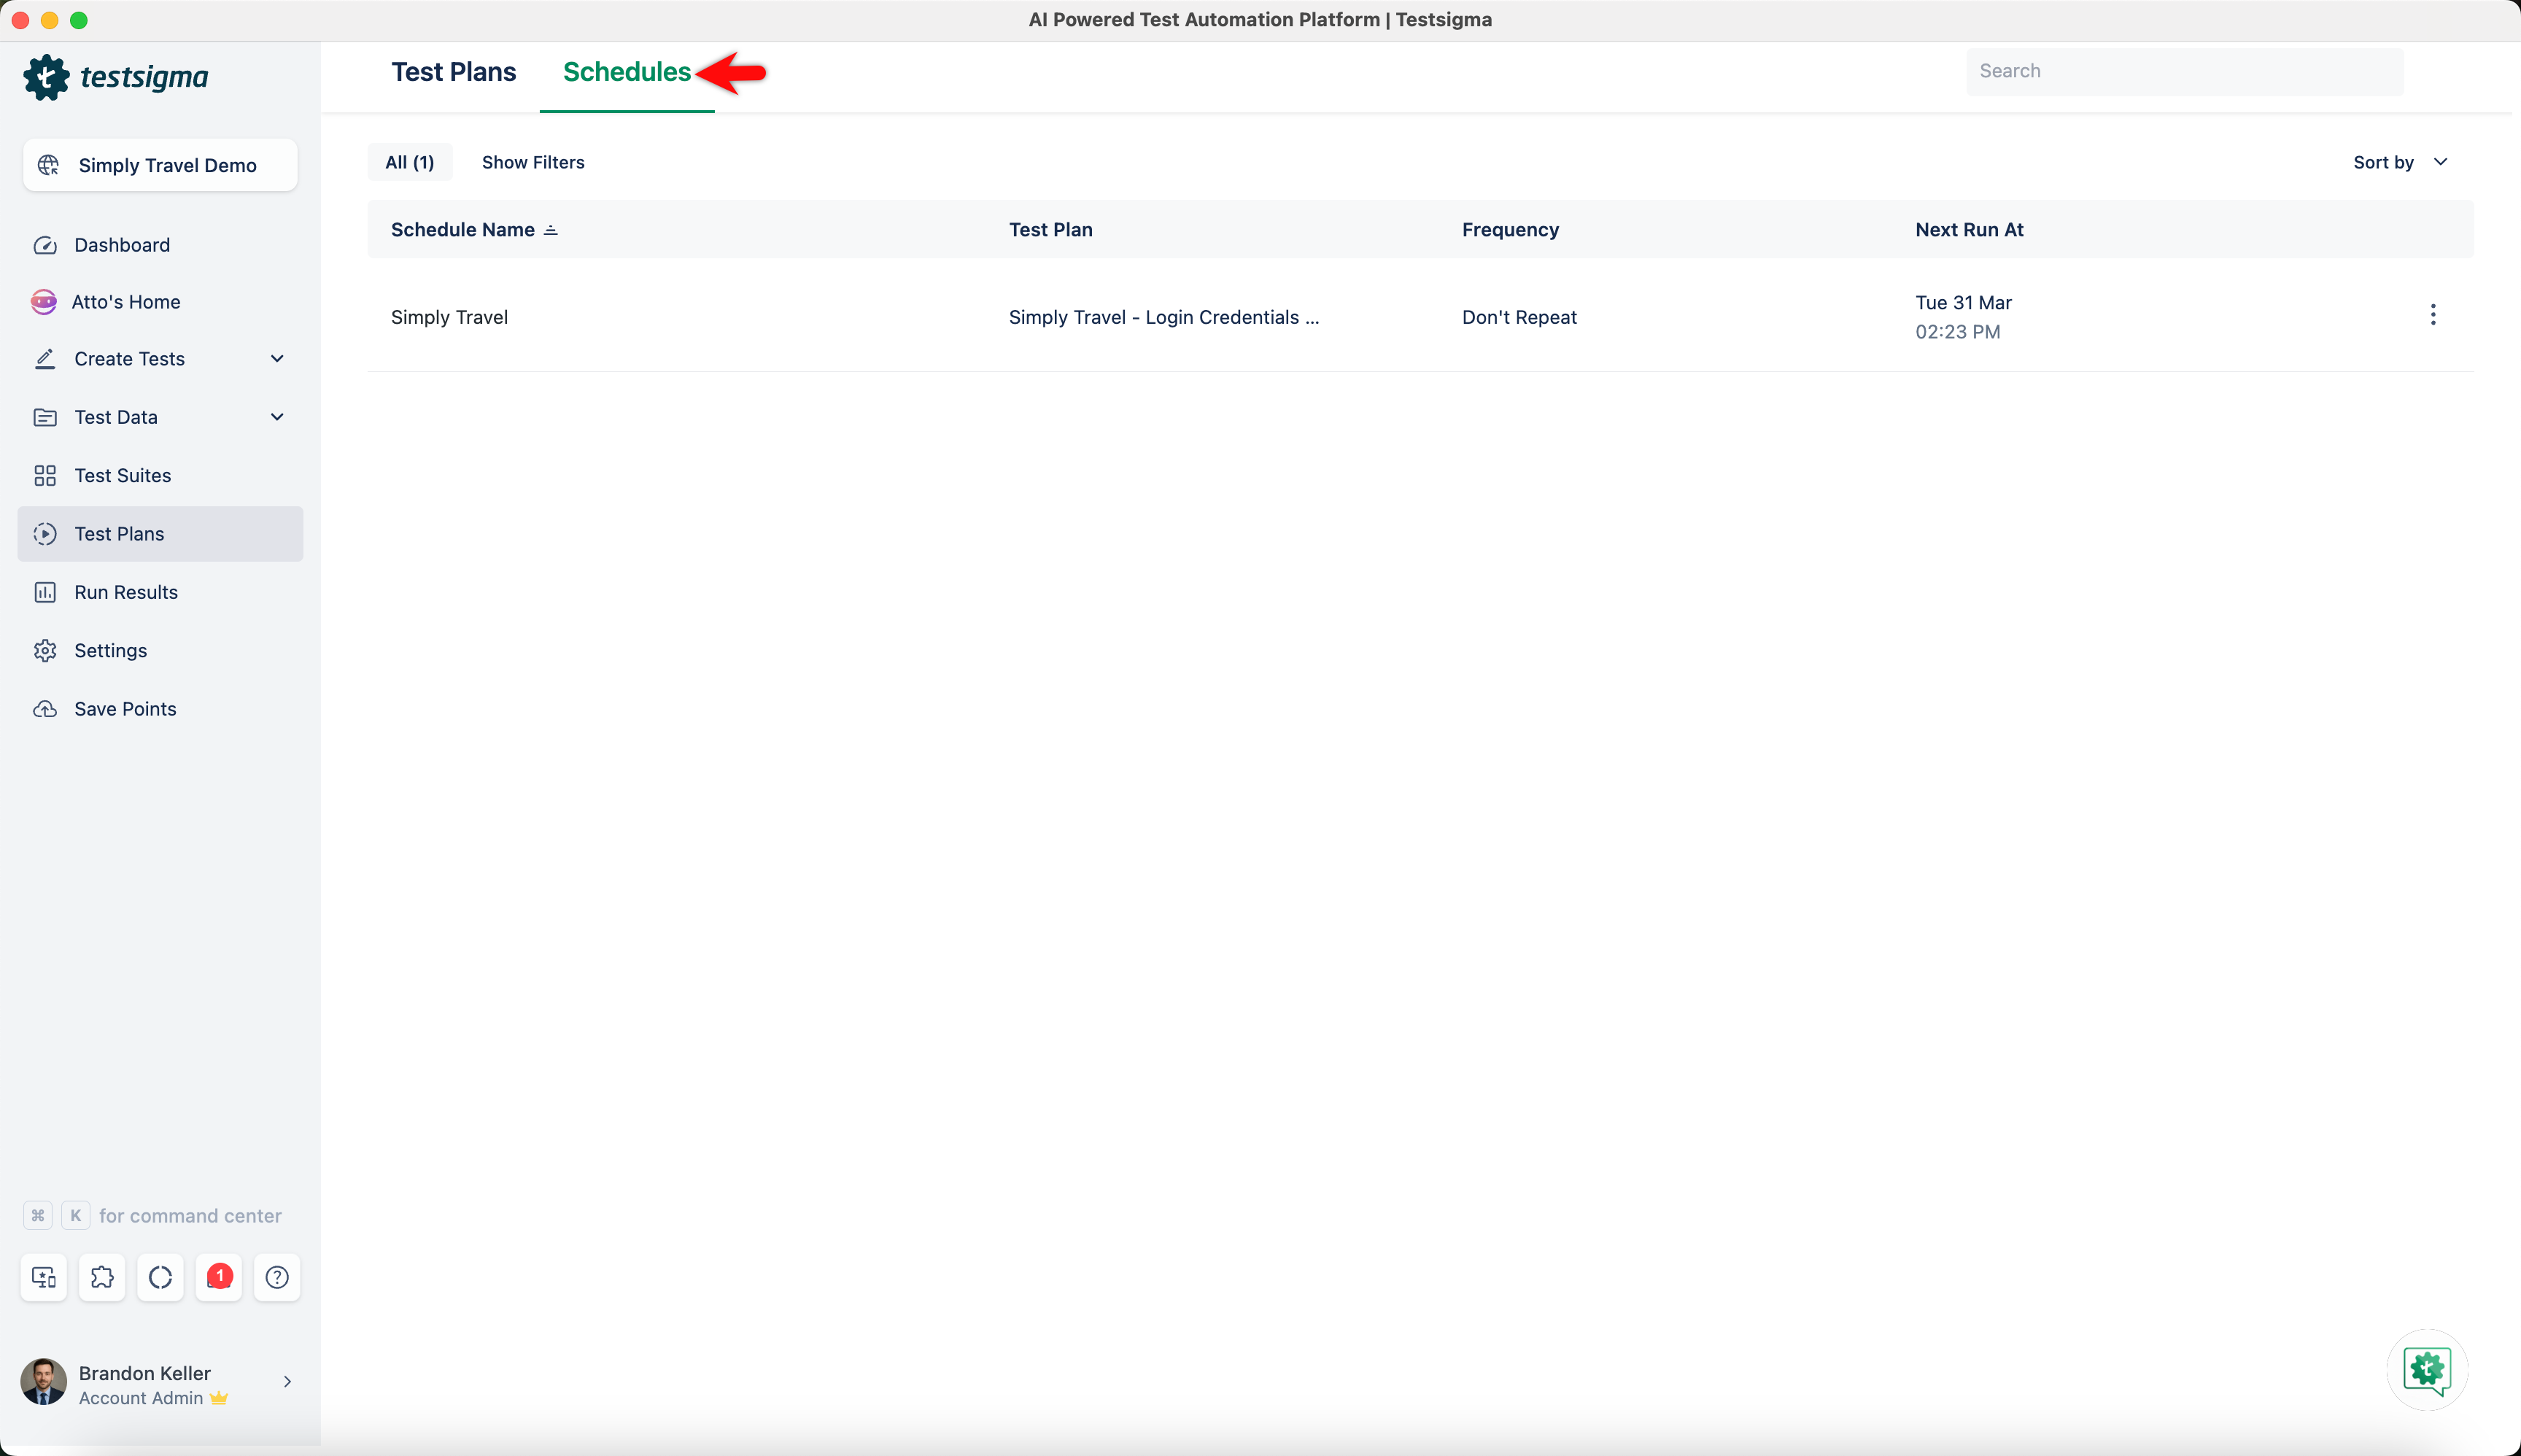
- Click the Schedules tab on the Test Plan List page to view test plan schedules.
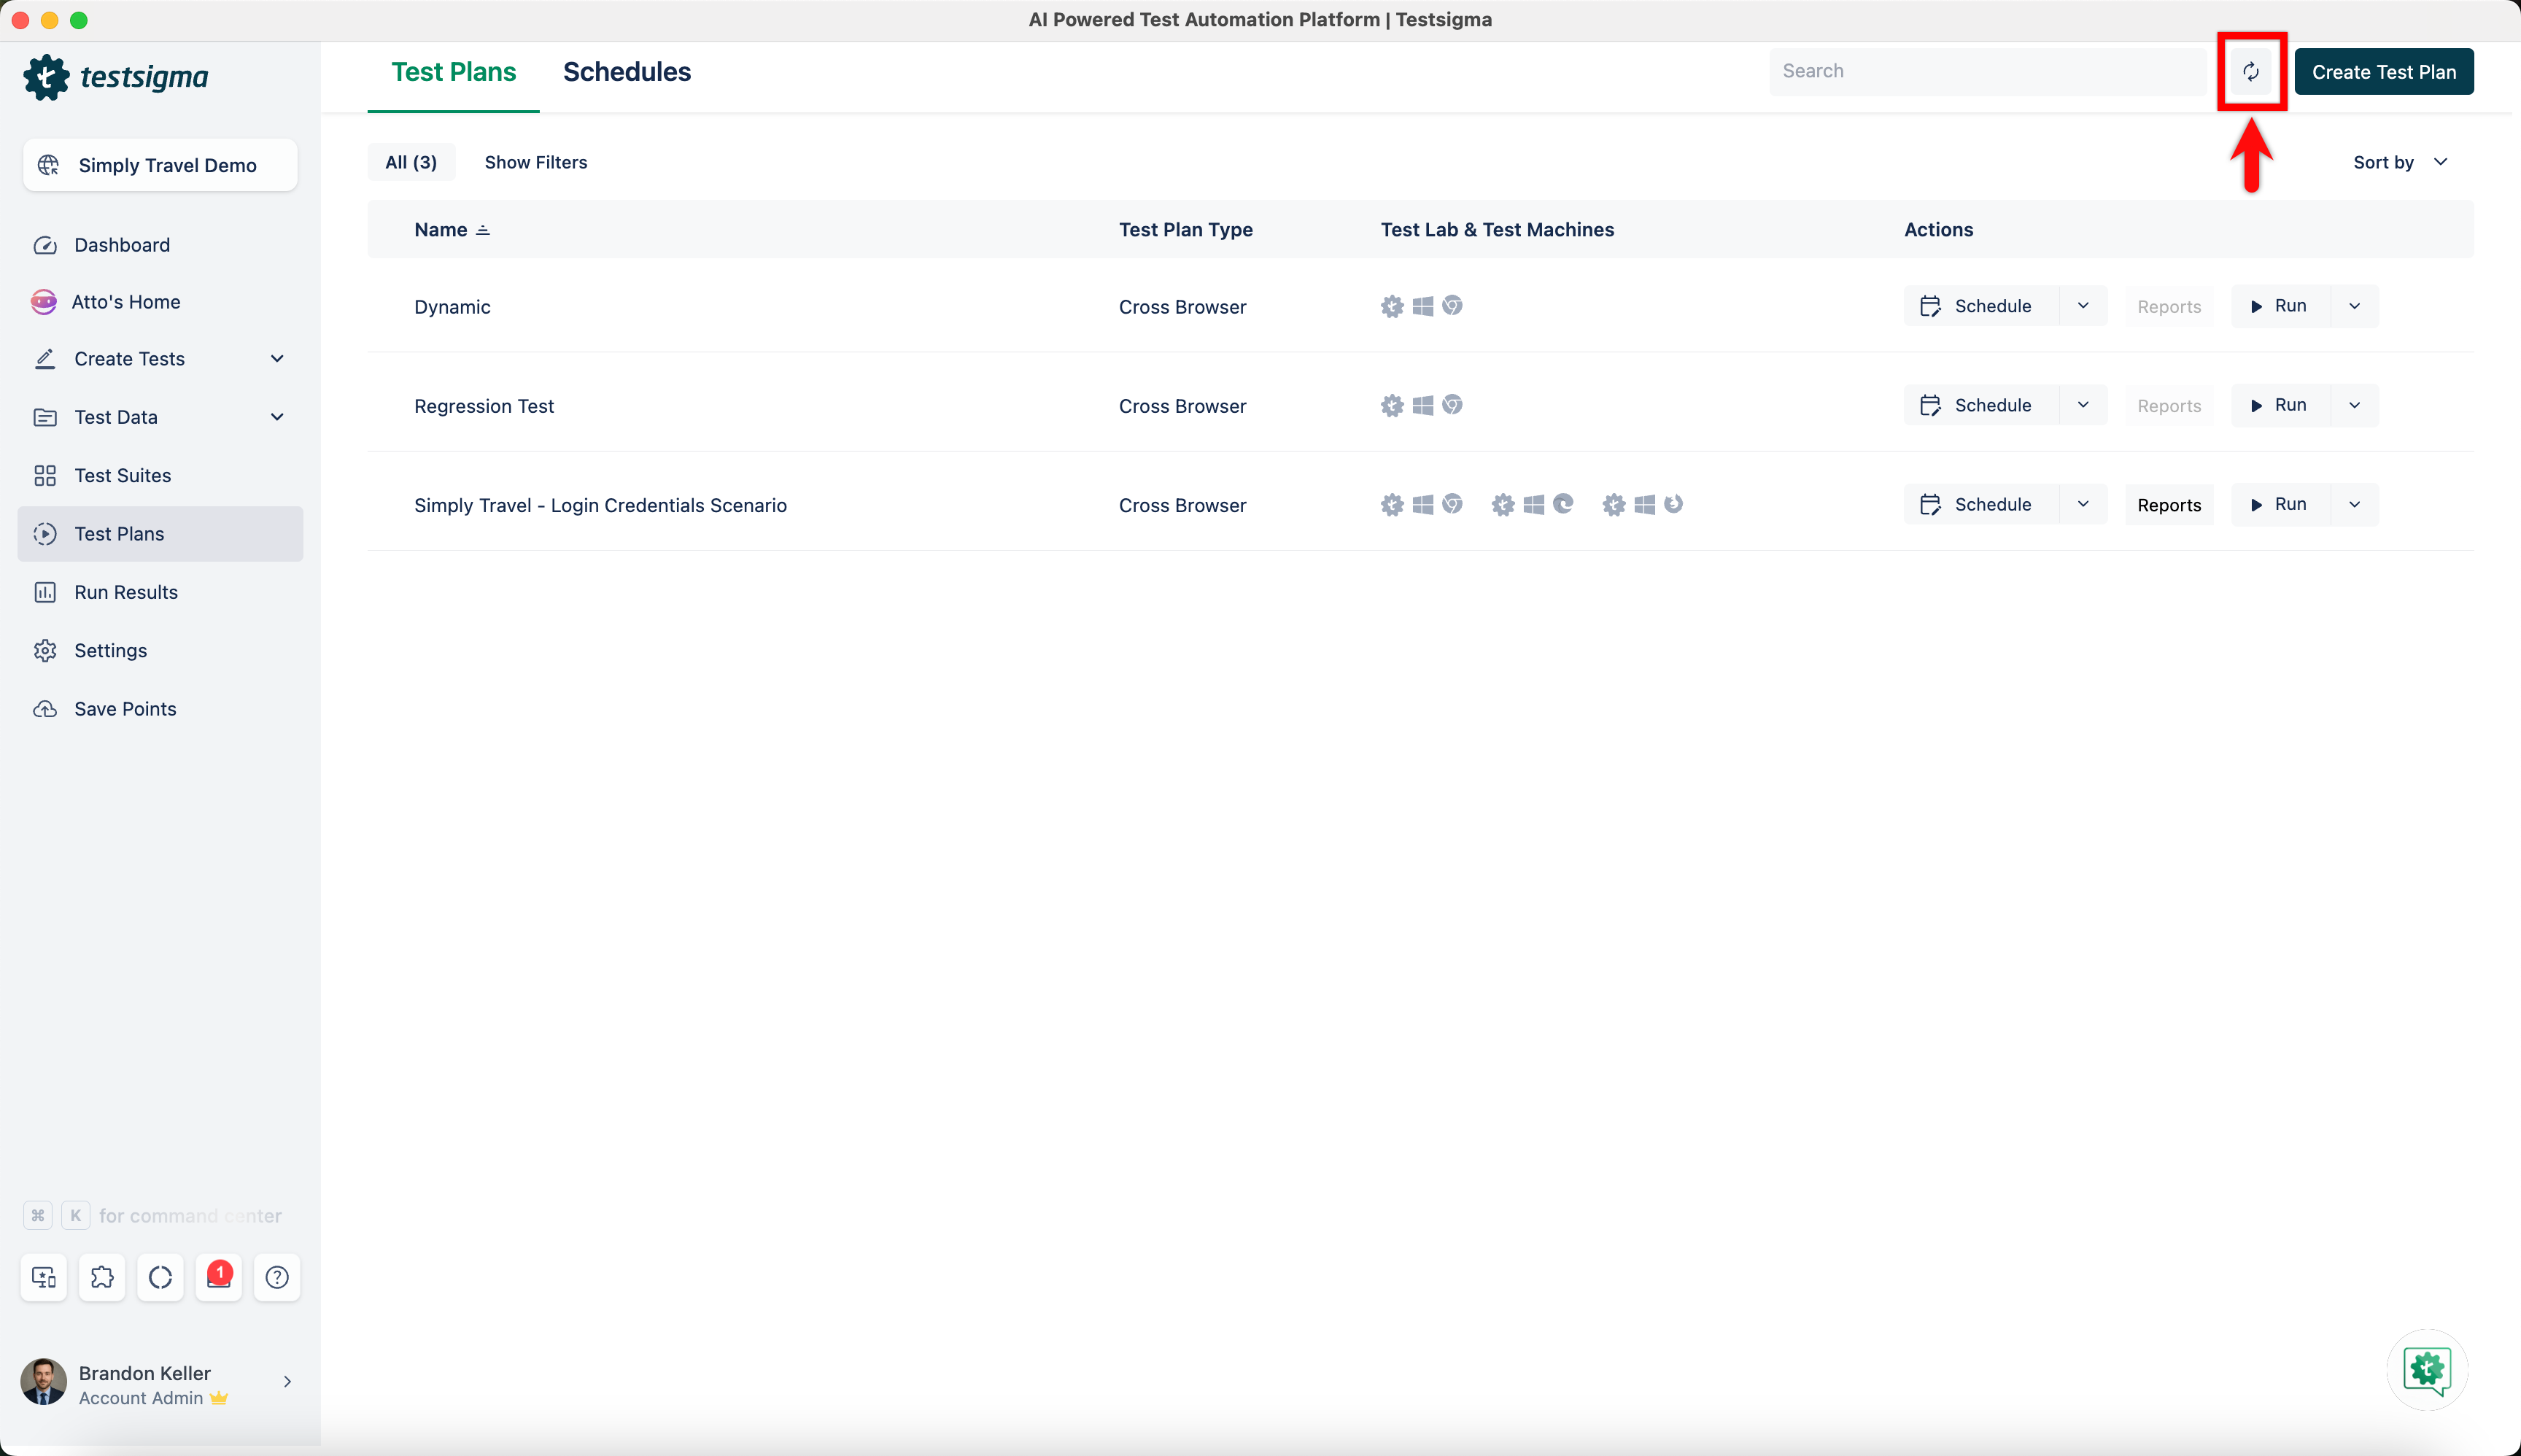
- Click on the Refresh button on the top right corner of the Test Plan list page to reload the list of test plans being displayed.
- Click Create Test Plan in the top right corner of the Test Plan list page.
Creating a Test Plan
- From the left navigation bar, navigate to Test Plans. Click the Create Test Plan button in the top right corner of the Test Plans List page.
-
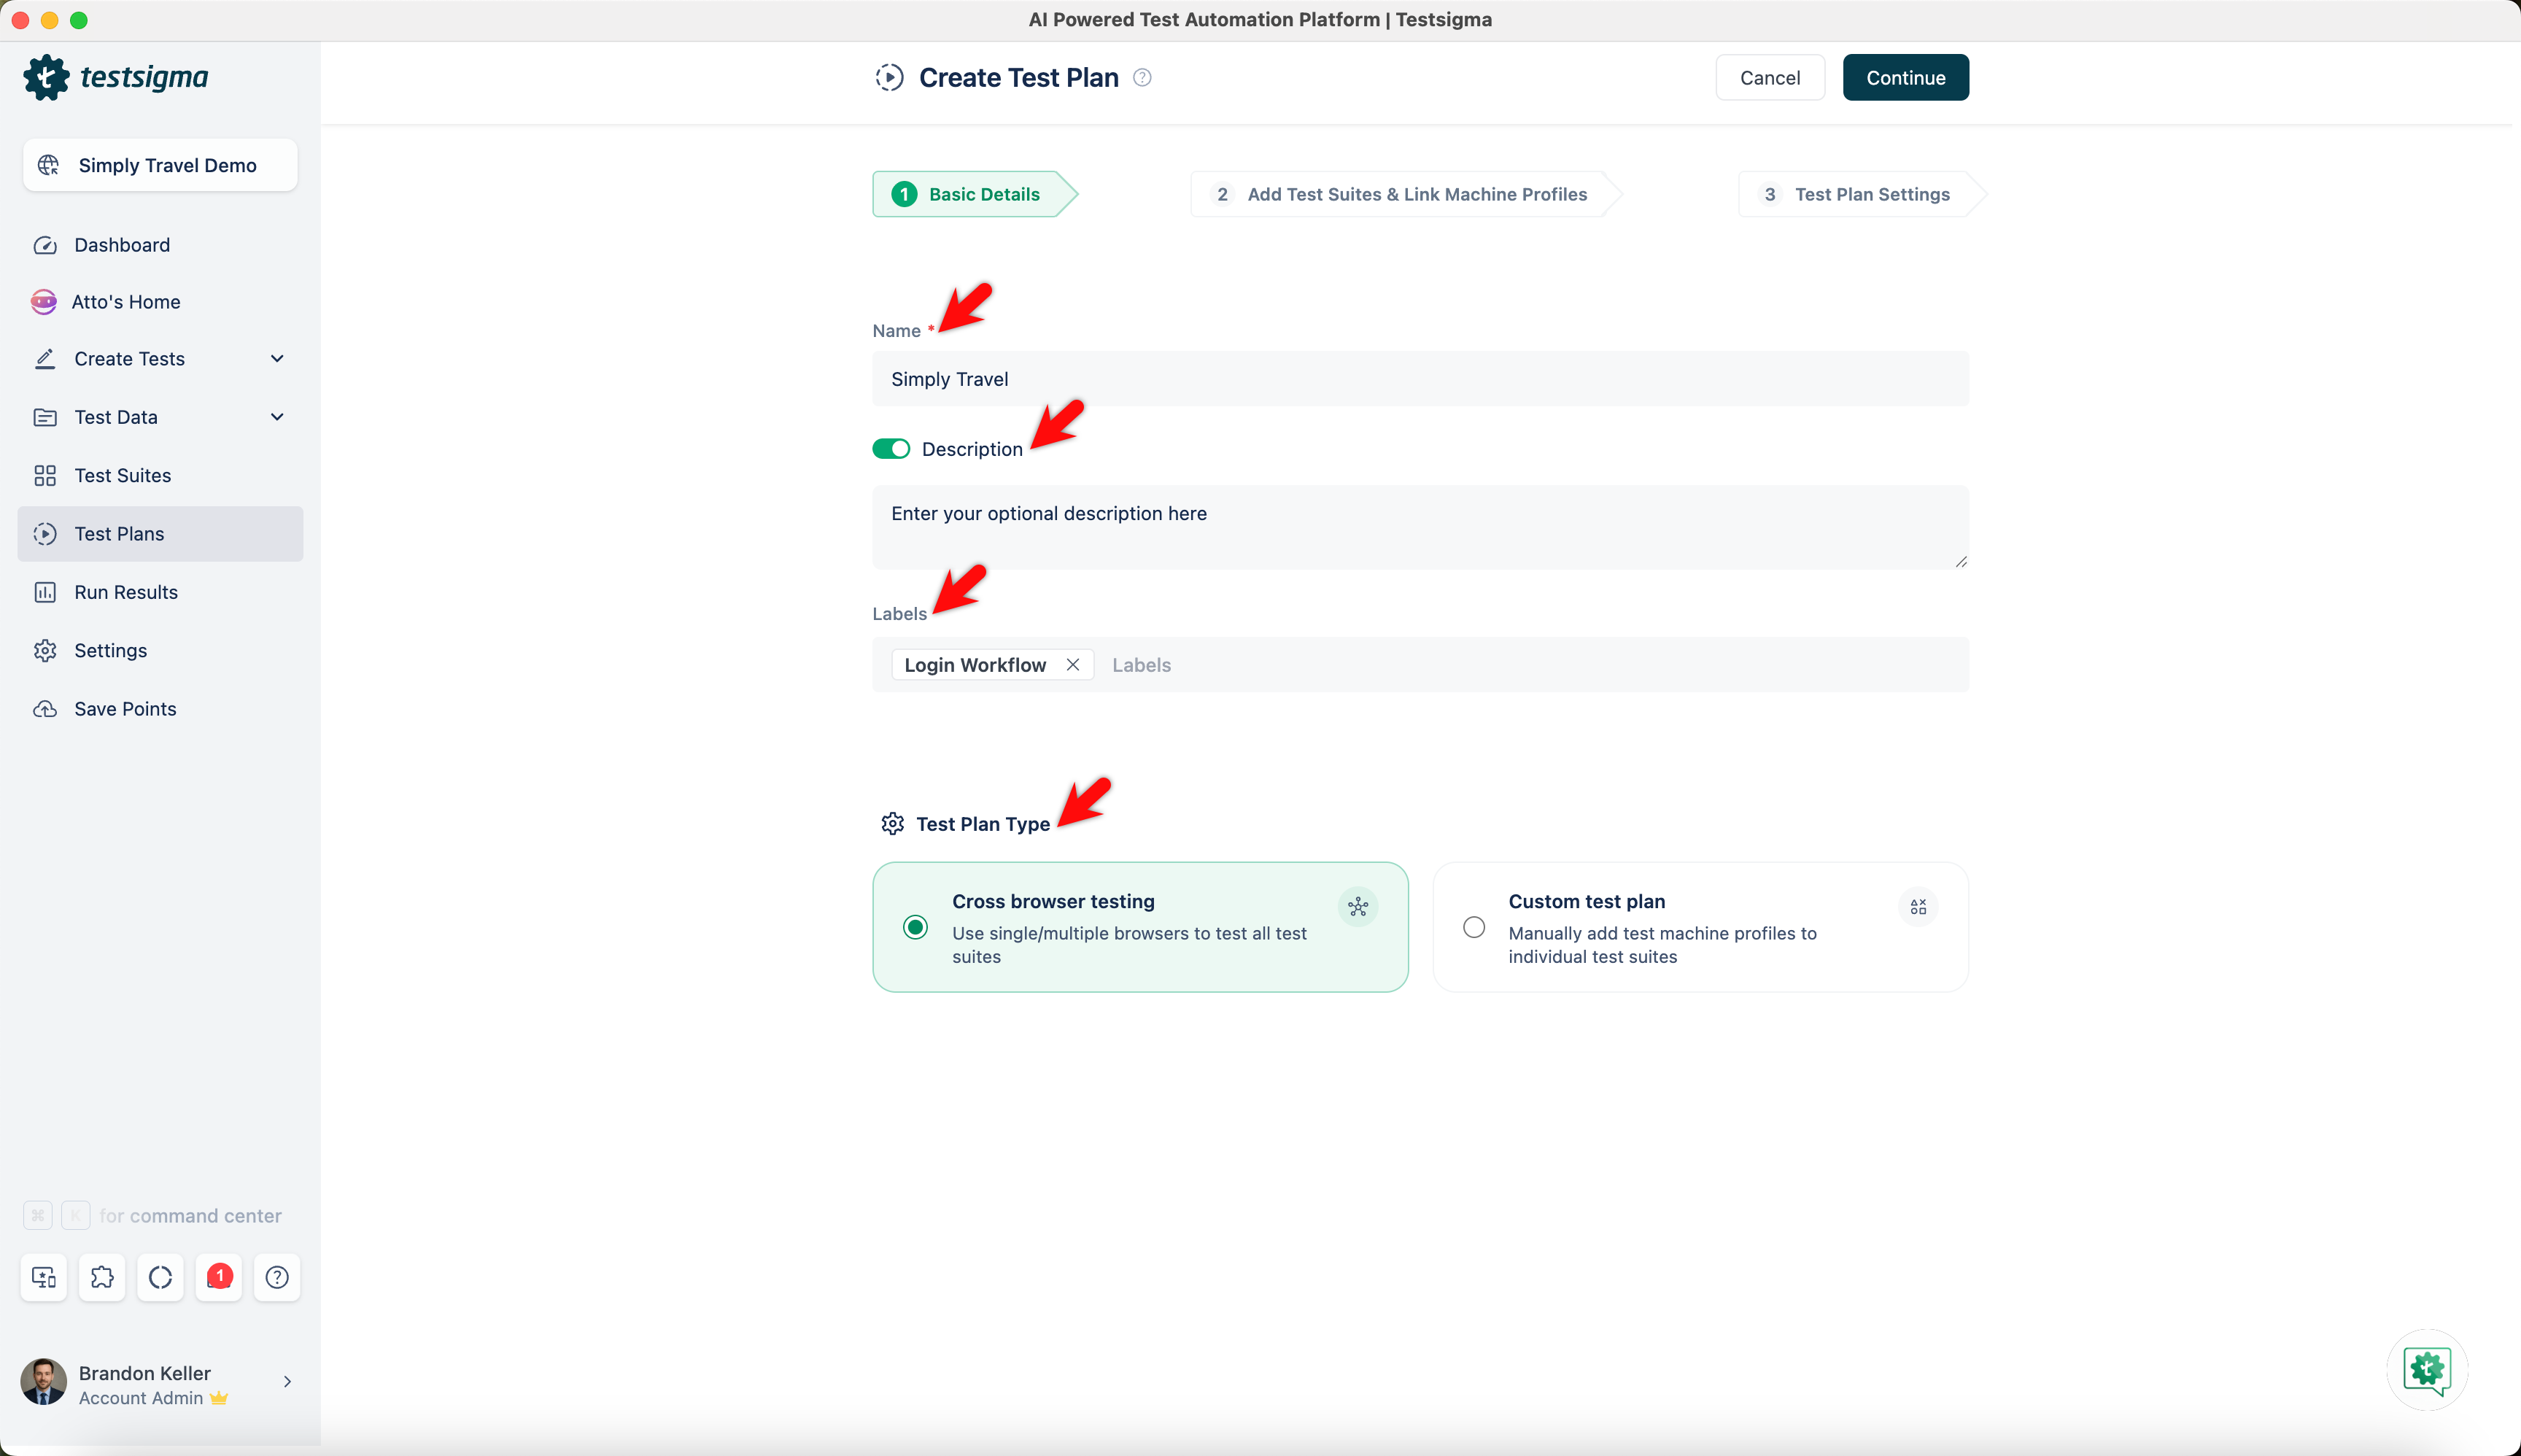
In the Basic Details tab, provide the following details and then click Continue:
- Name (Required): Enter the Test Plan's title in the Name field on the Basic Details page.
- Description: Enable the toggle for Description and briefly explain the Test Plan's purpose and scope. This helps your team understand what the Test Plan aims to do.
- Labels: You can label the Test Plan. Labels make it easier to manage multiple Test Plans, as they help with sorting and grouping.
- Test Plan Type: Select either the test plan type: Cross Browser Testing (Use single/ multiple browsers to test all the test suites; for more information, refer to Cross Browser Testing) or Custom Test Plan (Manually add test machine profiles to individual test suites).
-
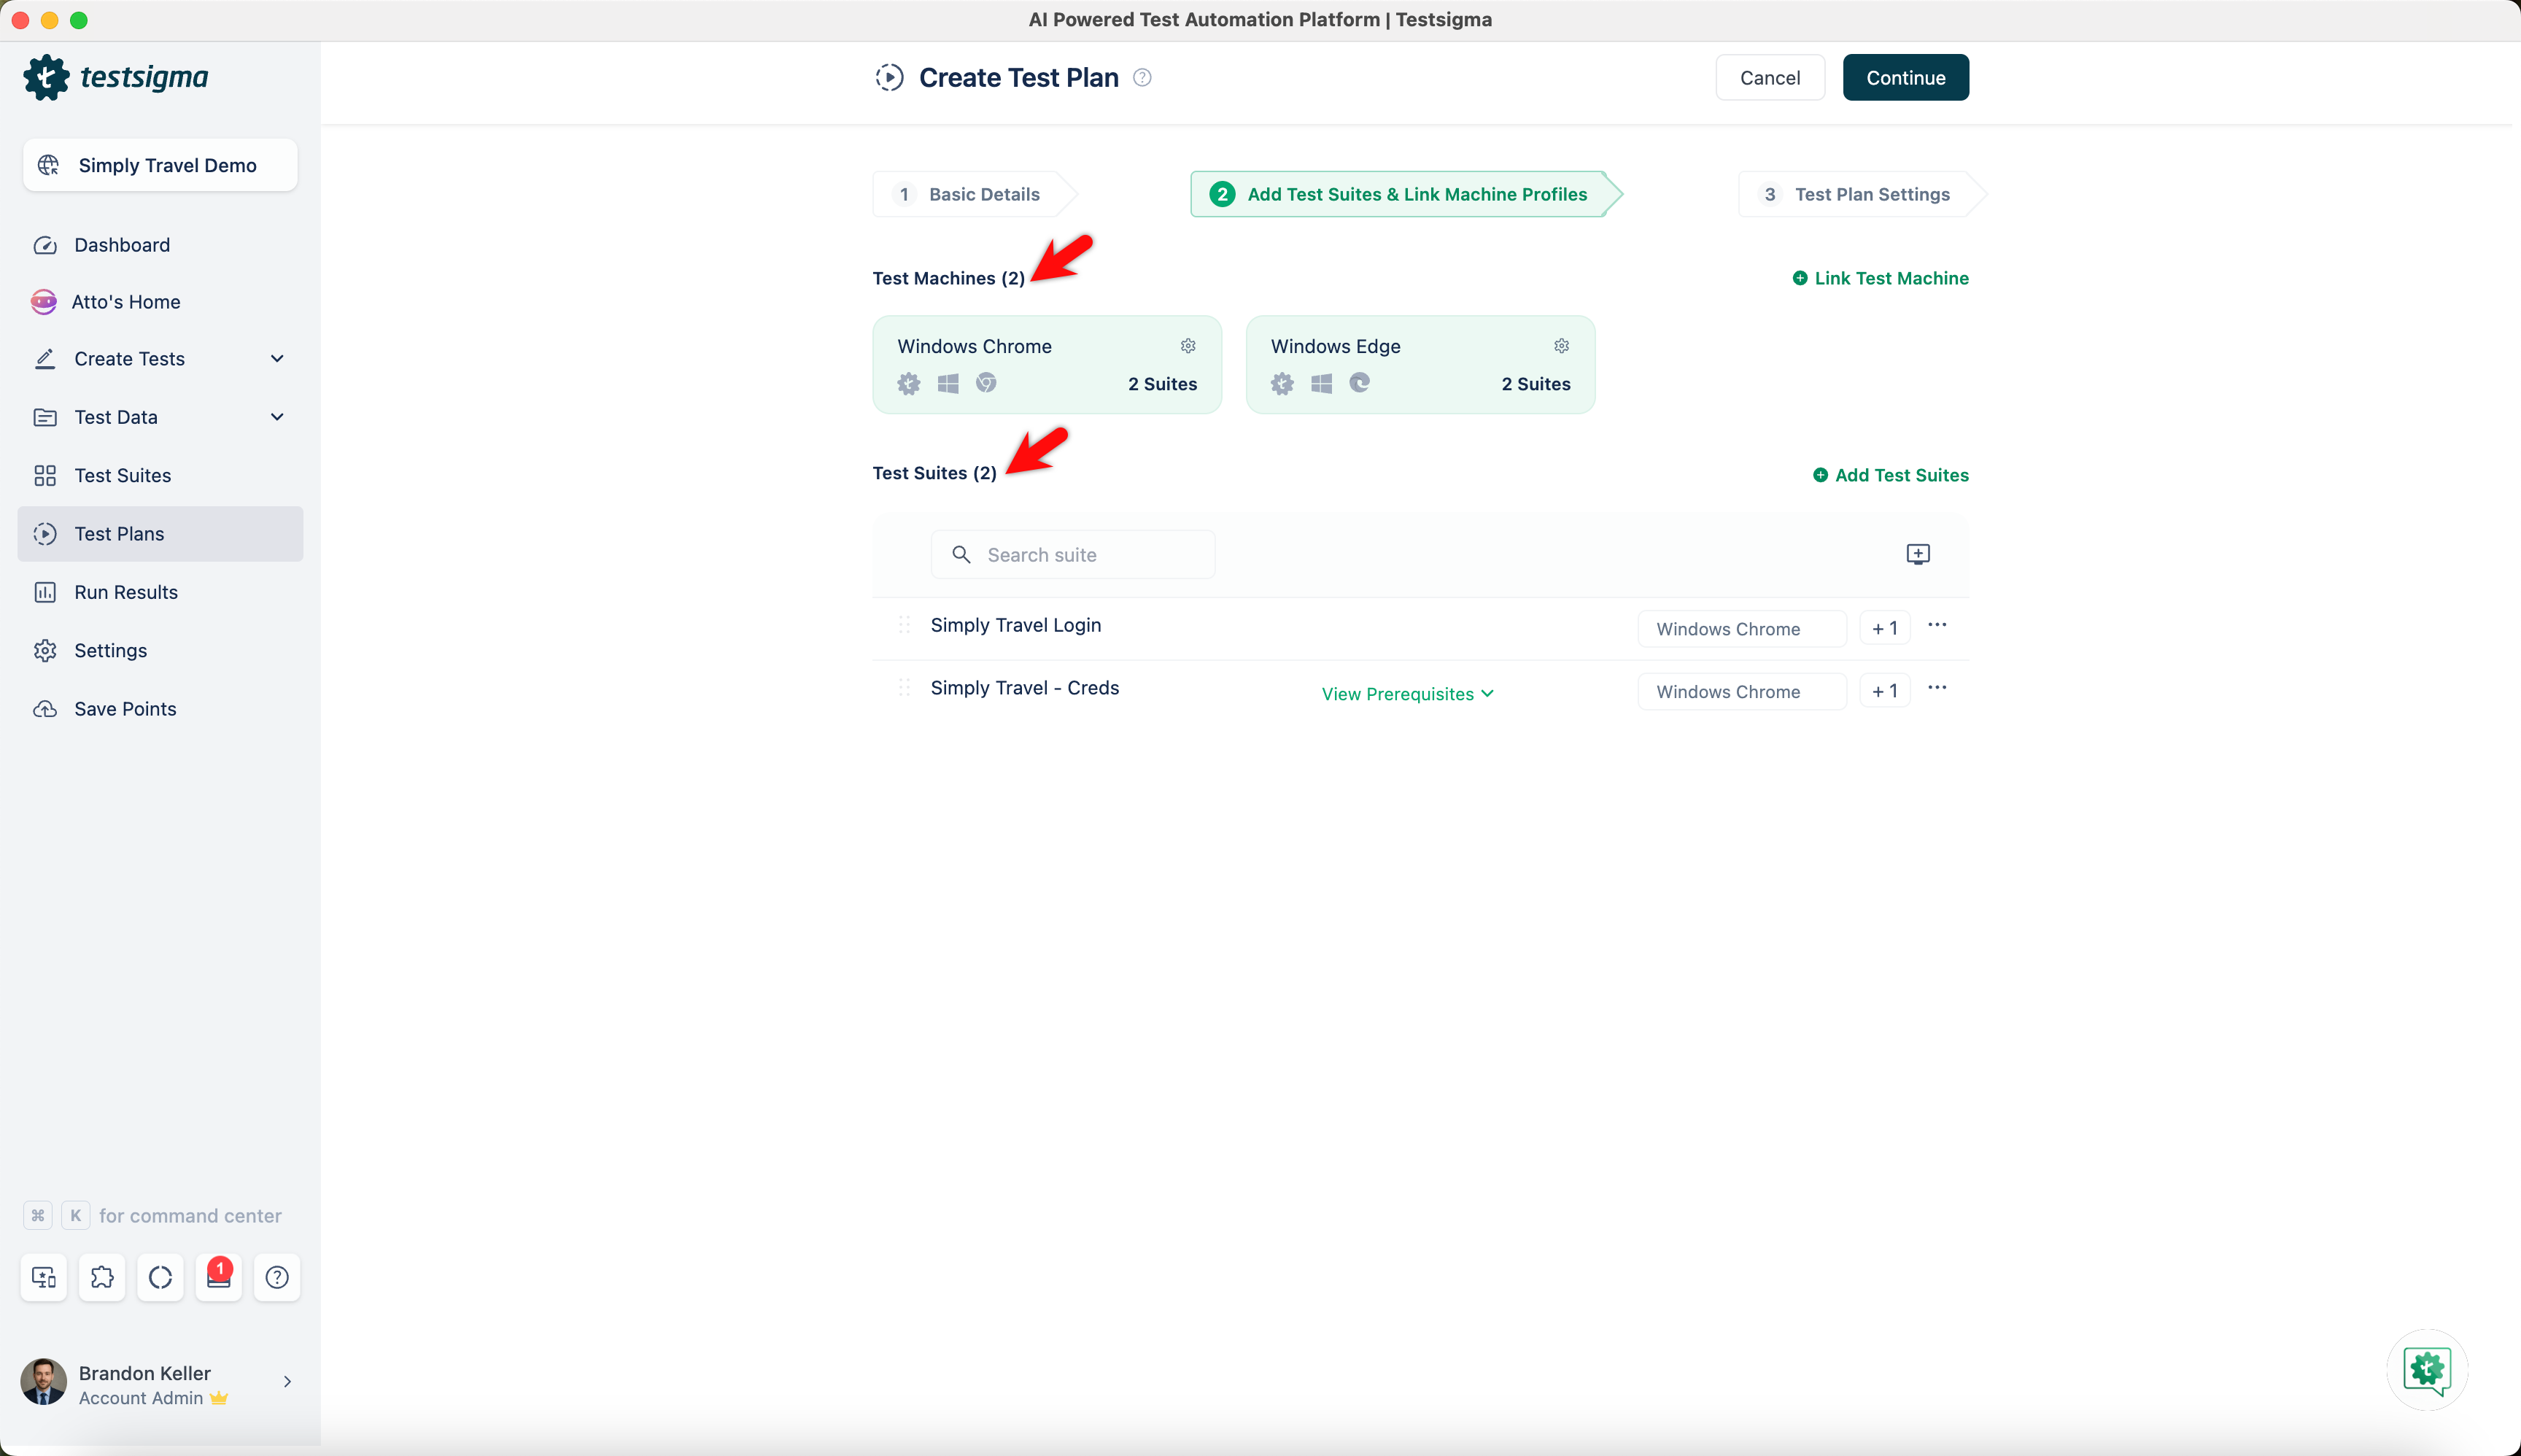
In the Add Test Suites & Link Machine Profiles tab, provide the following details and then click Continue:
- Click Add Test Suites to include test suites in the test plan (for more information on managing test suites in a test plan, refer to the documentation on Manage Test Suites in Test Plan).
- Next, click the Test Machine icon to add machine profiles to the test plan. An overlay will appear, and you can select a pre-defined machine or create a new test machine. Once you have selected, click Save Selection (for more information, refer to Manage Test Machines in Test Plan).
-
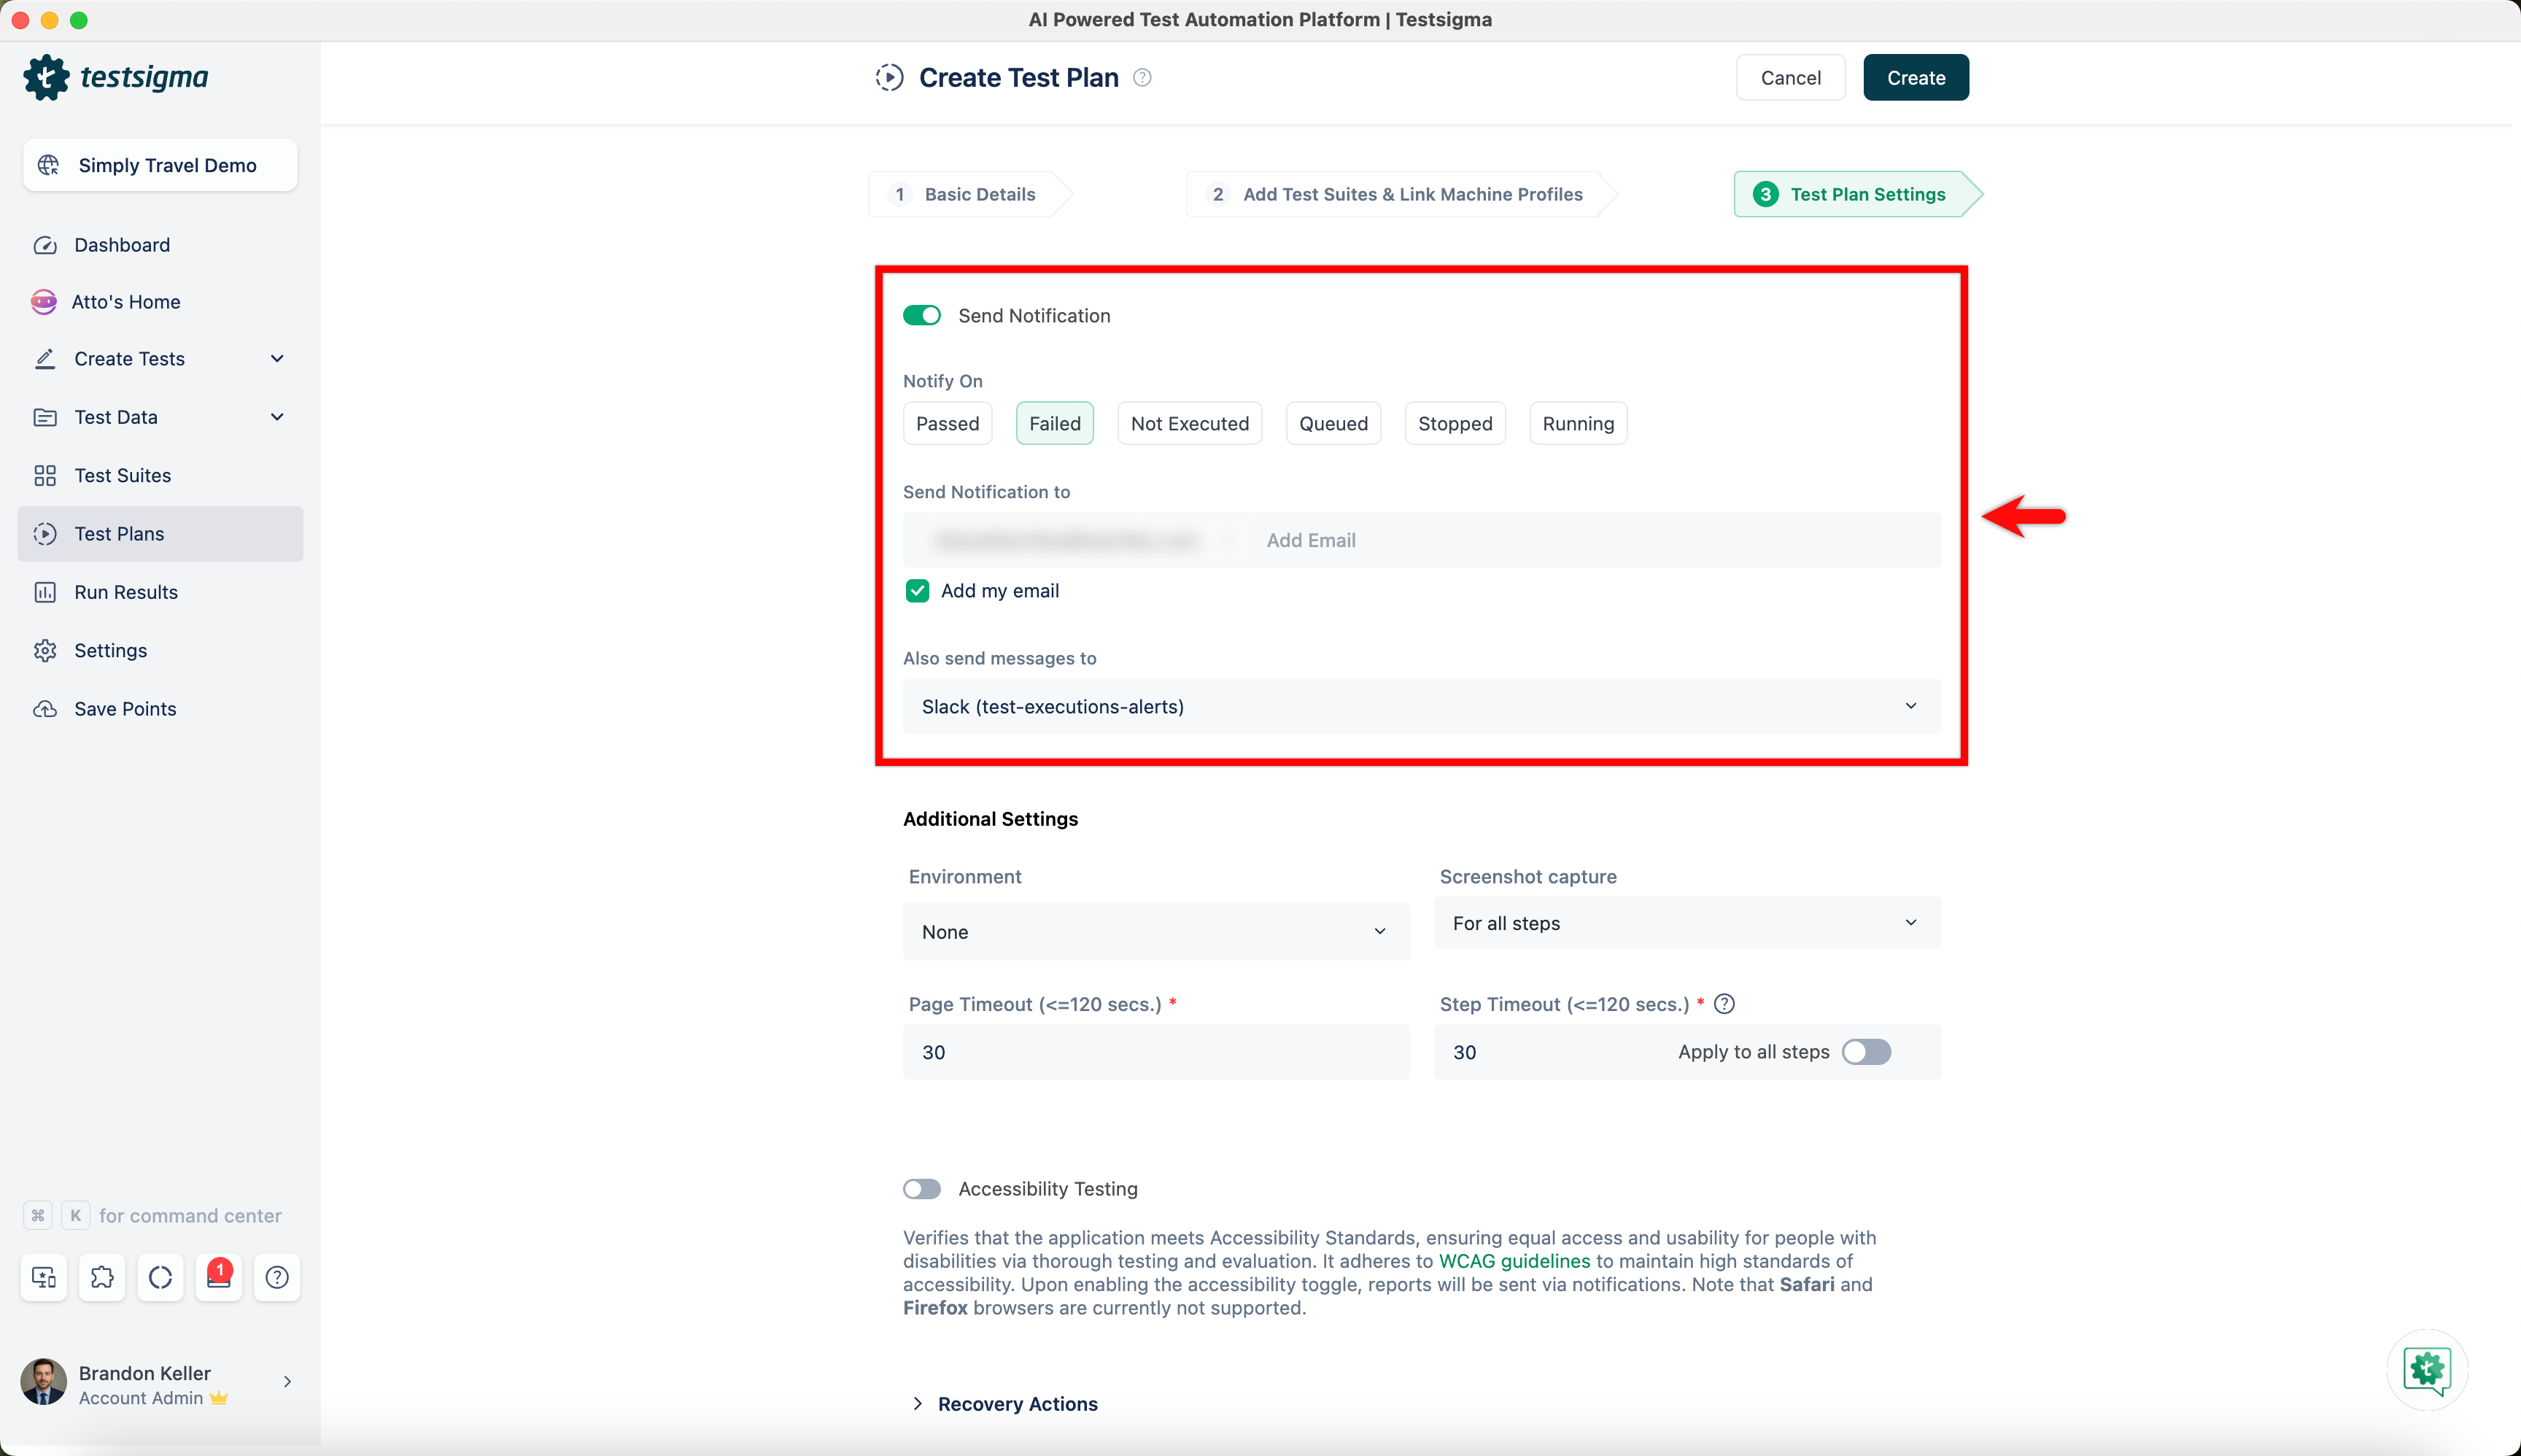
In the Test Plan Settings tab, provide the following details, and click Create:
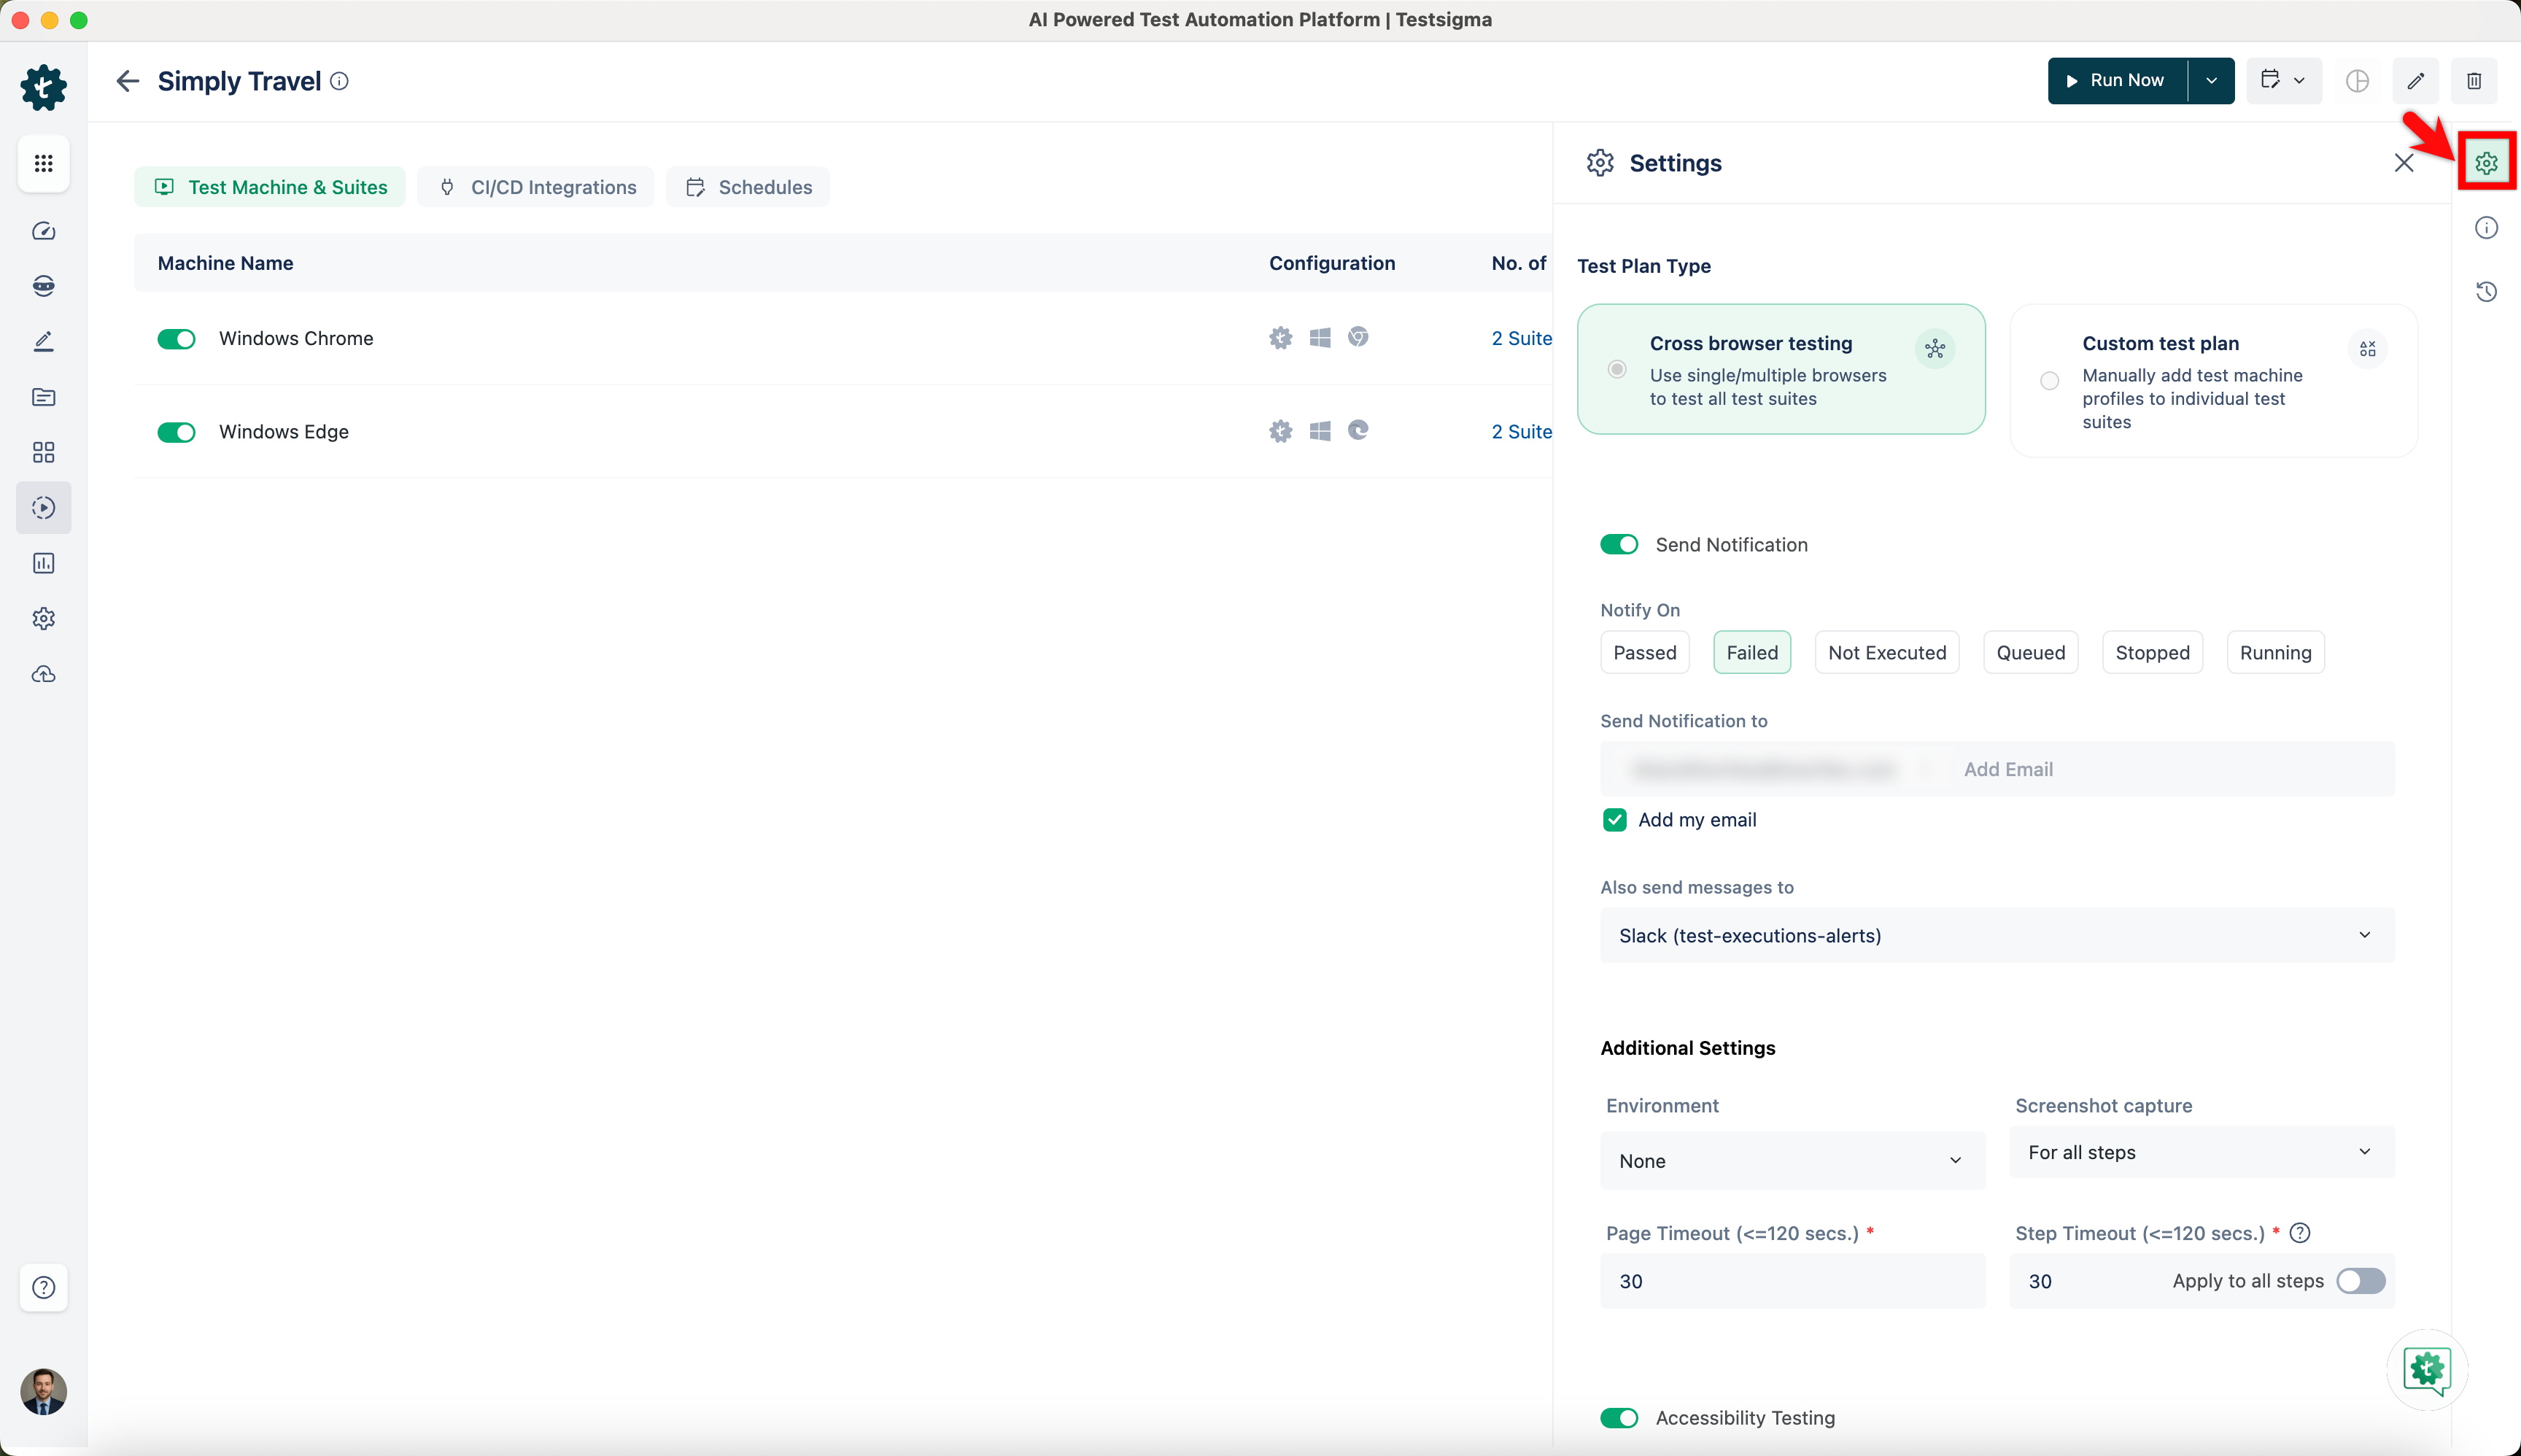
- Send Notification: Enable the toggle for Send Notification and specify when to receive the notifications (for example, select to receive notifications when your test plans are Passed, Failed, Not Executed, Queued, Stopped, or Running.) You can enter the emails or check the box to Add my email for receiving notifications through email. Messages can also be sent to collaboration tools like Google Chat, Slack, or MS Teams.
-
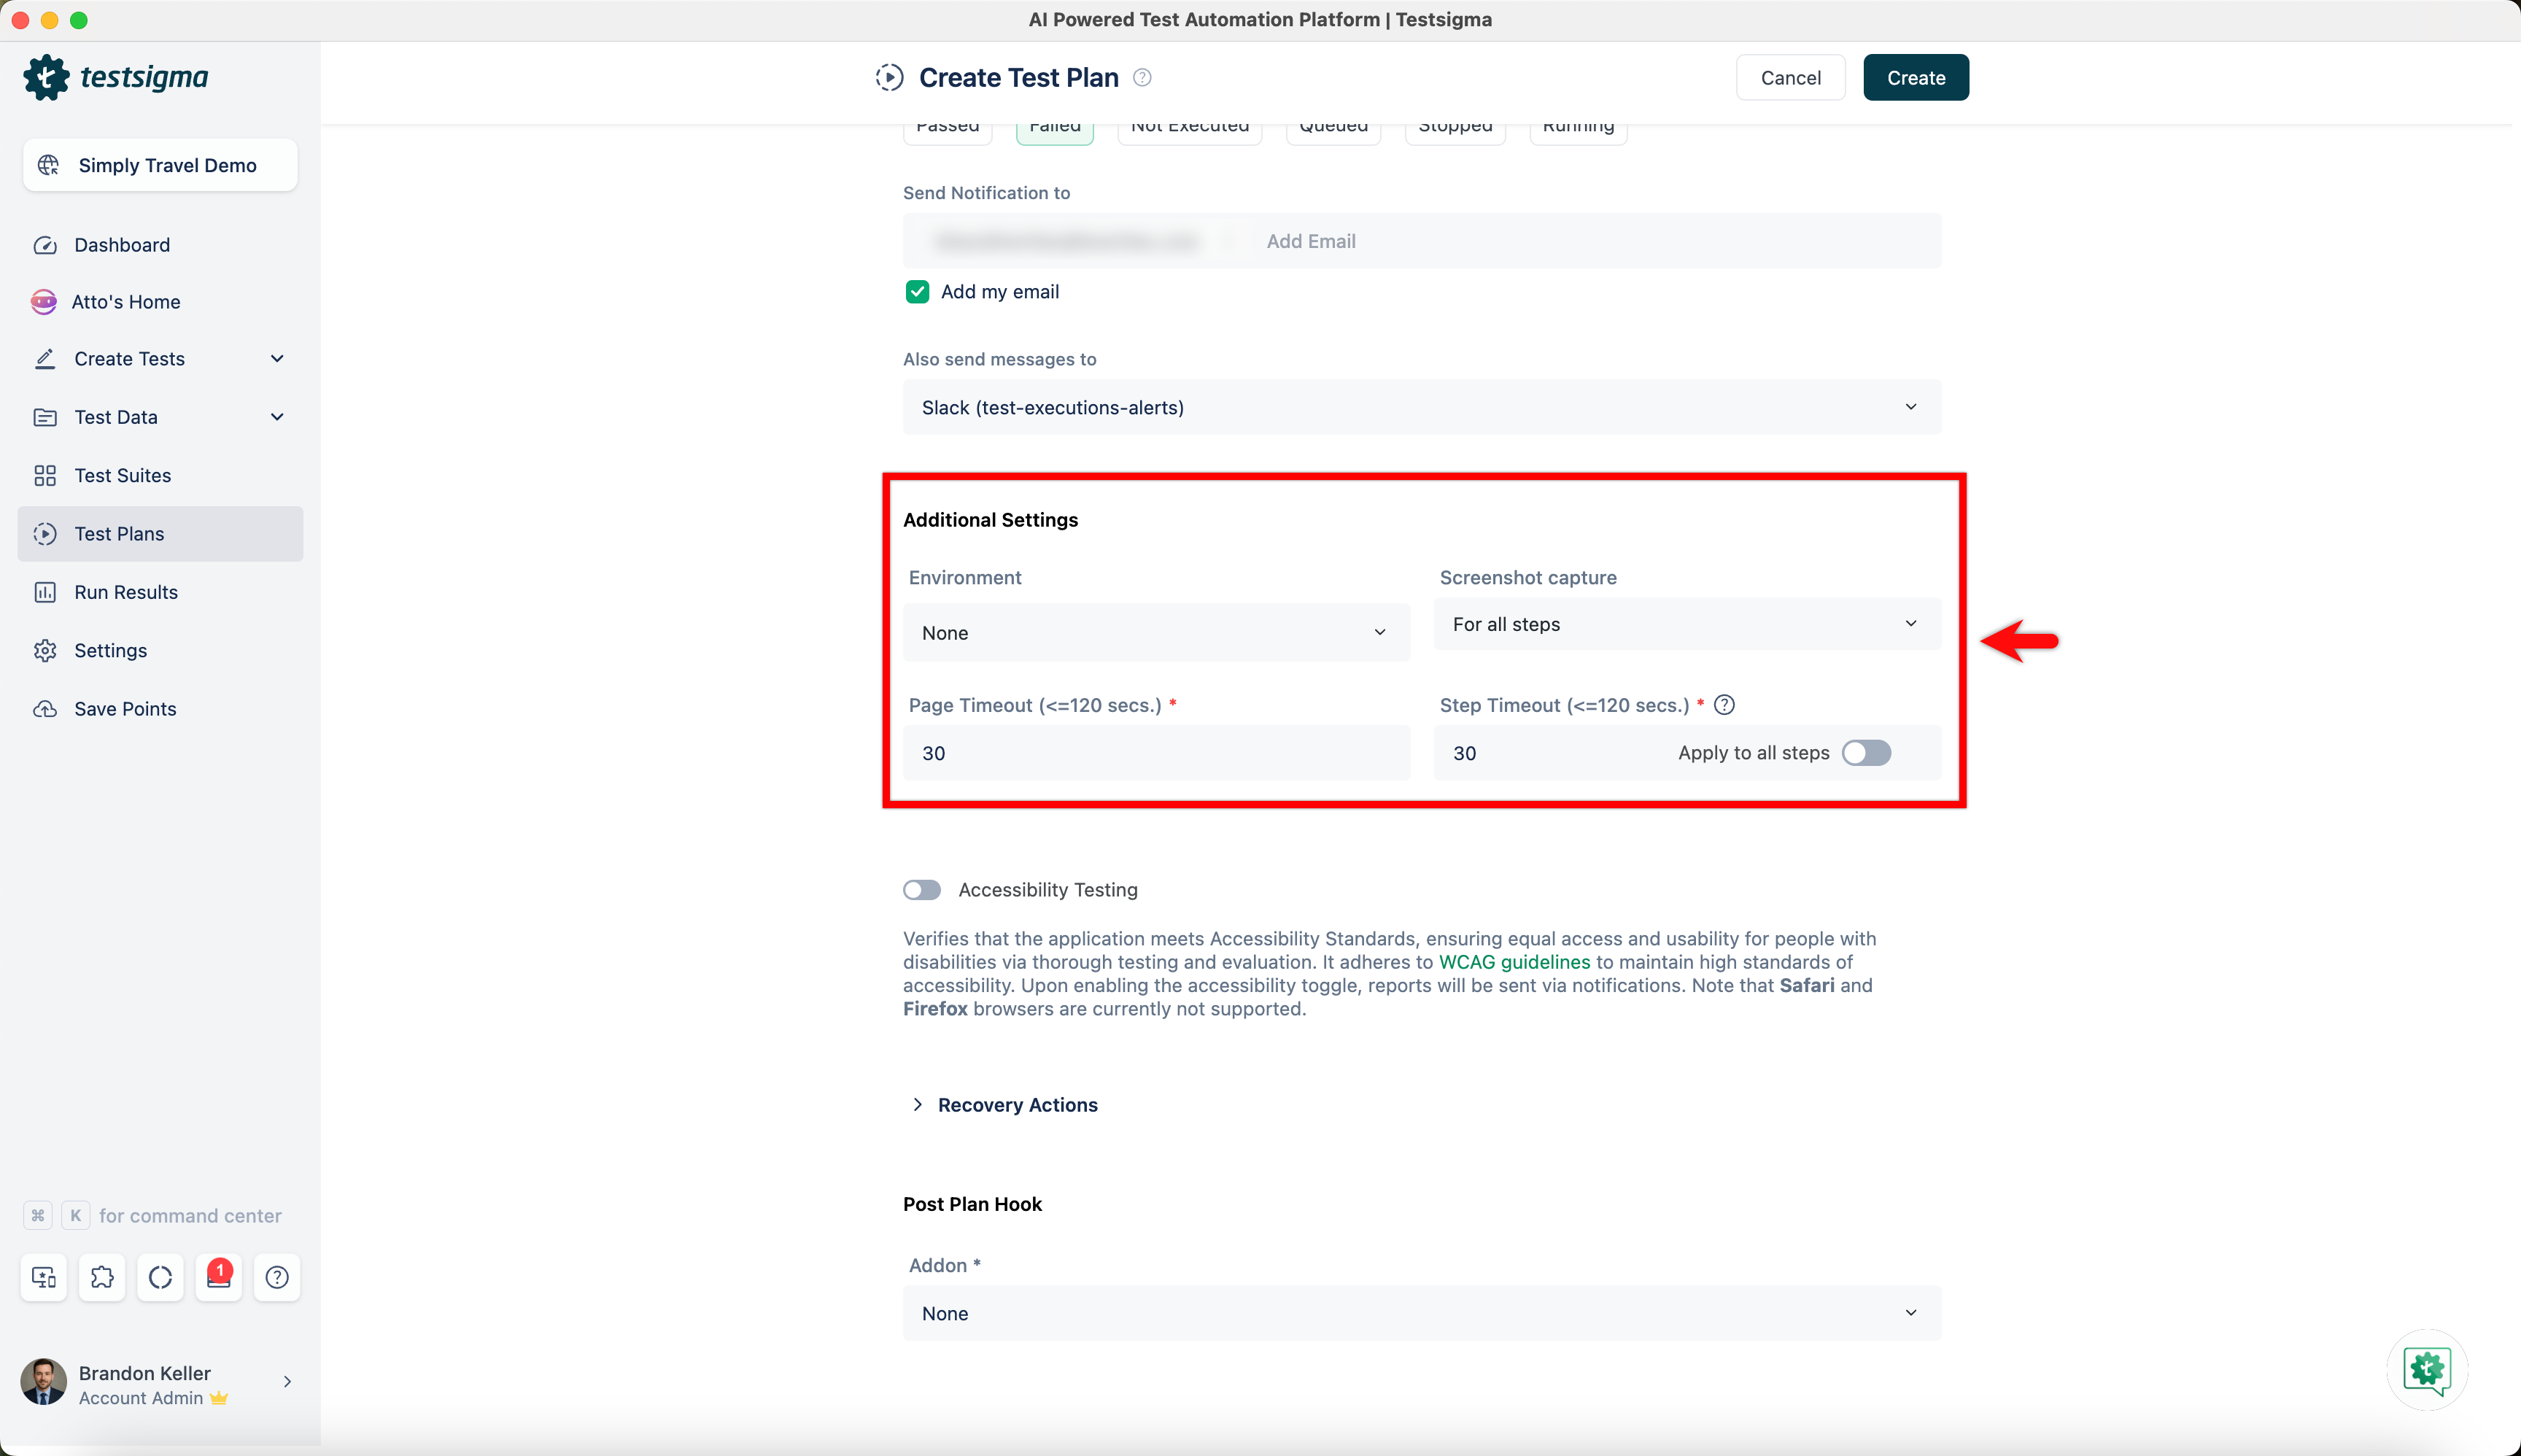
Additional Settings: Provide the following details under additional settings:
- Environment: Select the test environment.
- Screenshot Capture: Select when the screenshots need to be taken, for None, All Steps or Failed Steps alone.
- Page Timeout: Duration for which the test should wait for the page to load.
- Element Timeout: Duration for which the test should wait for the element to load.
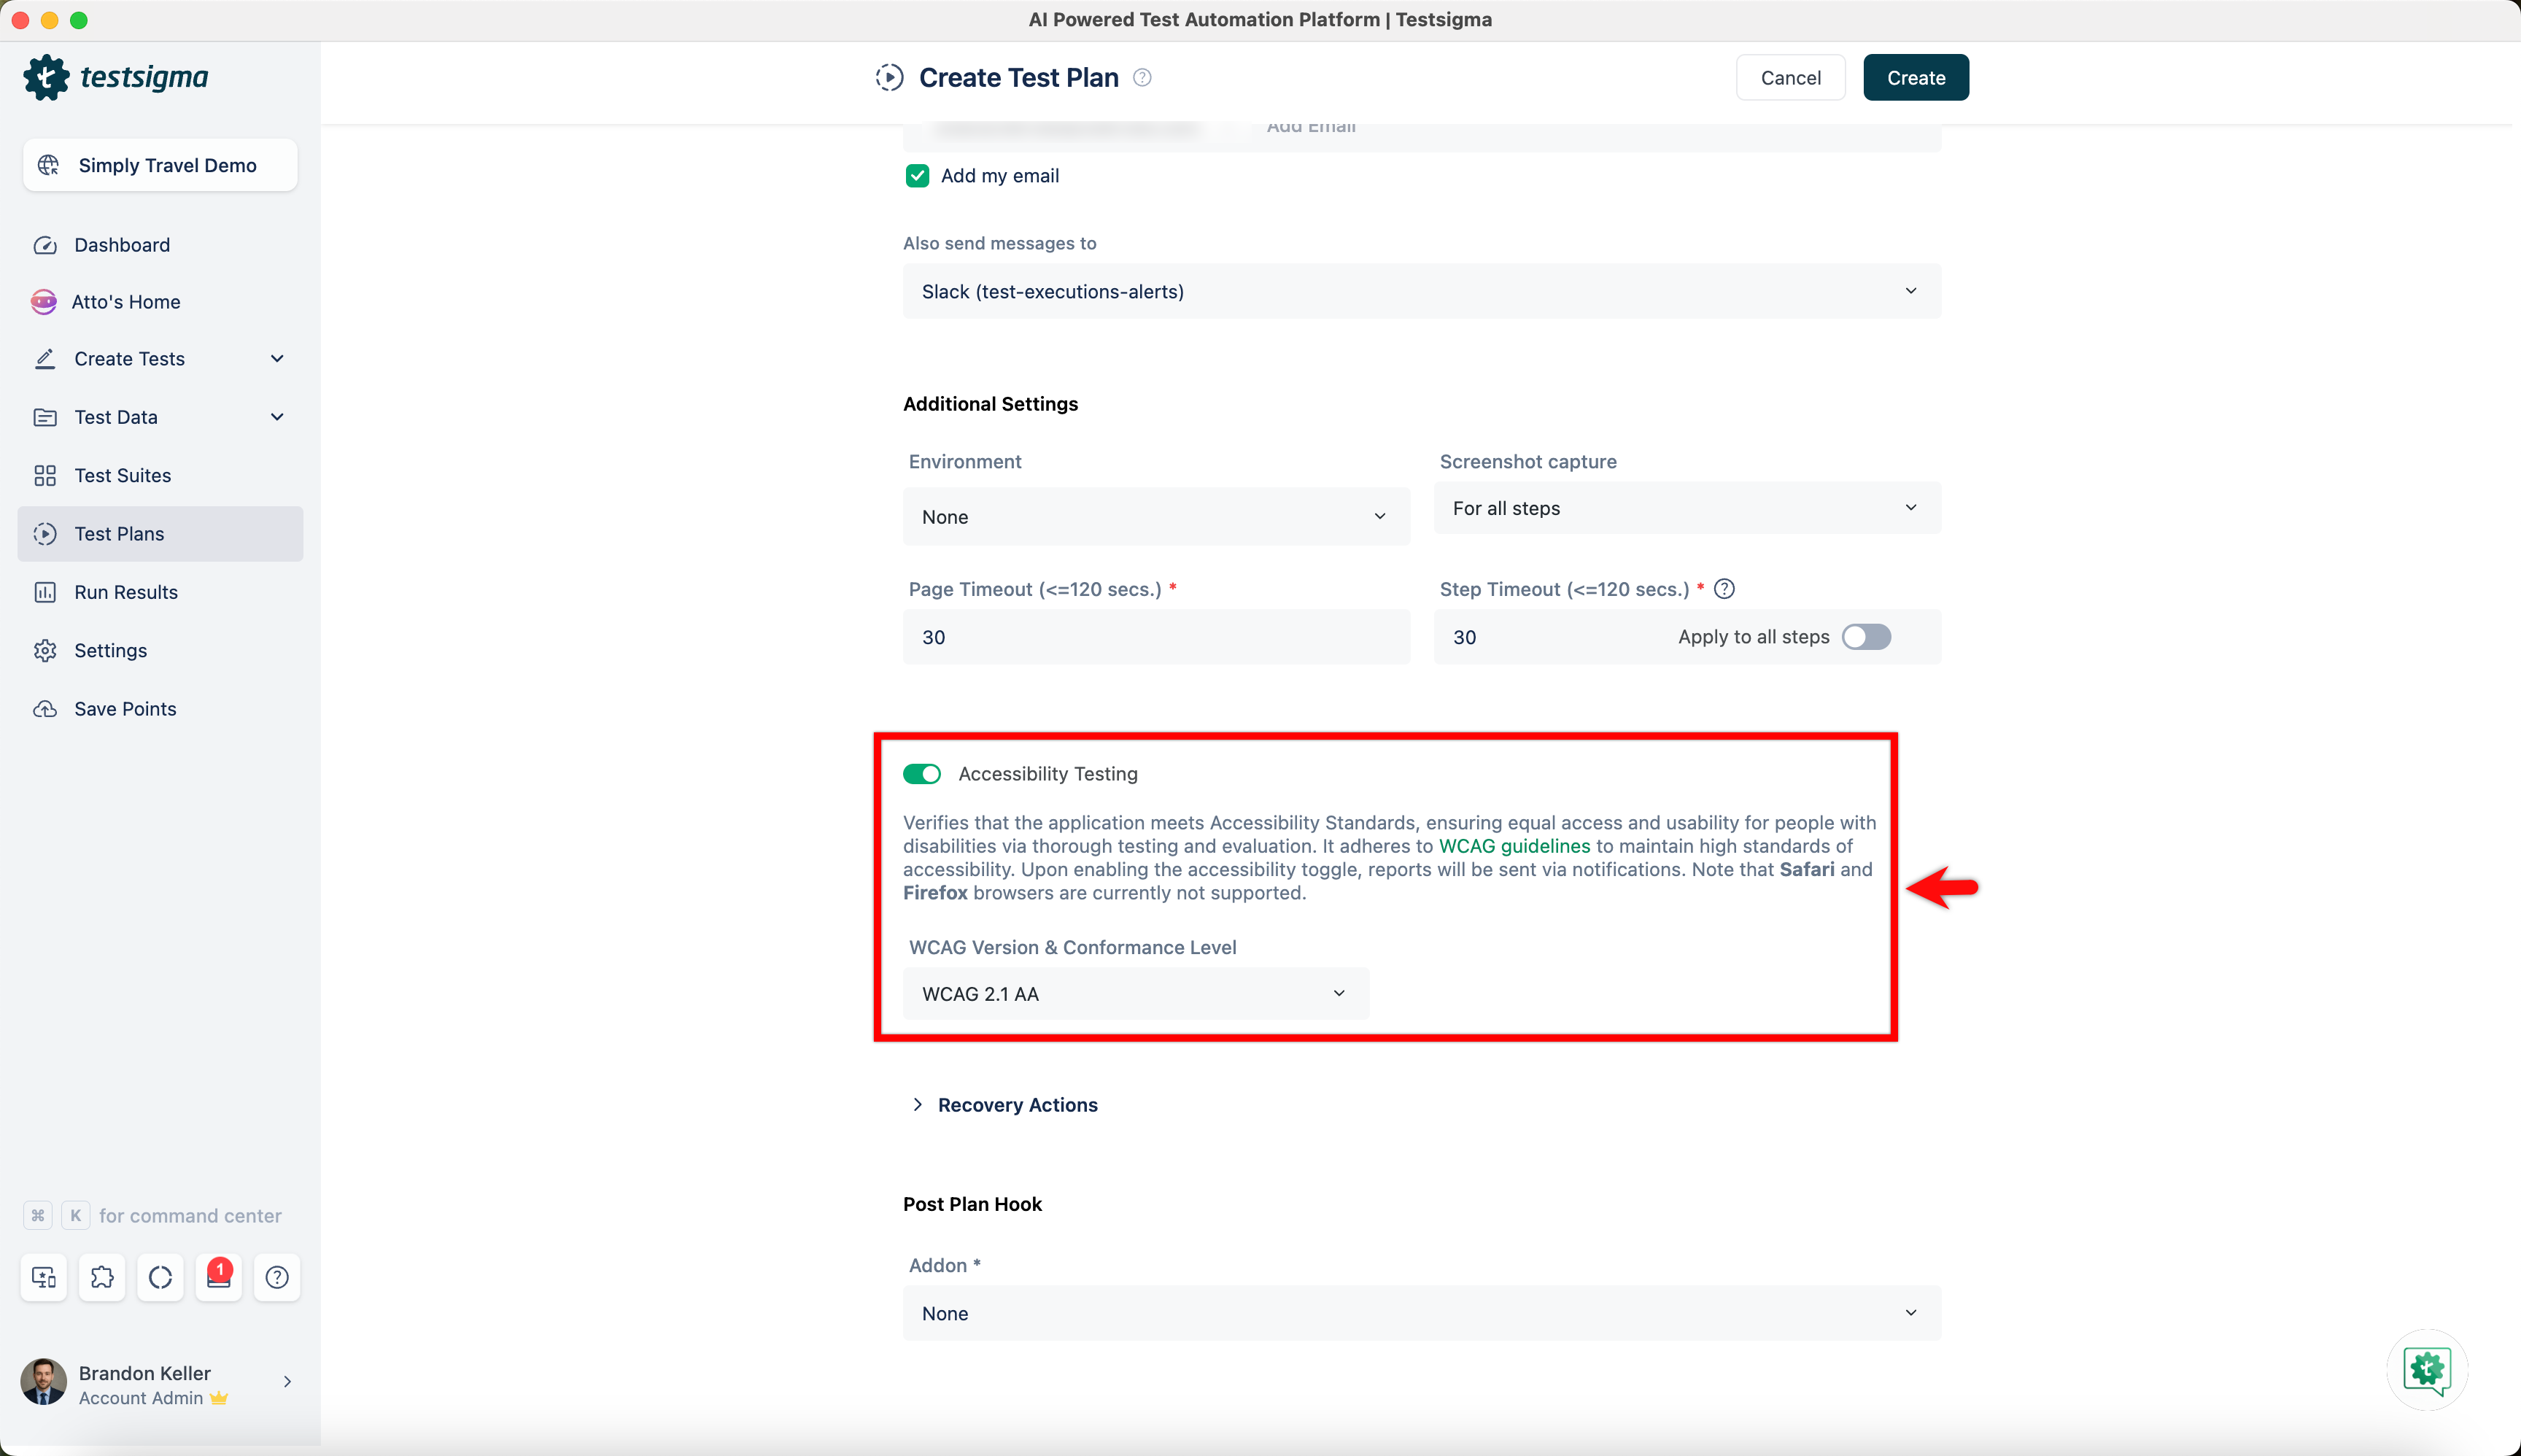
- Accessibility Testing: Enable this option to verify that the application meets accessibility standards, ensuring equal access and usability for users with disabilities. It follows WCAG guidelines to maintain compliance. Once enabled, accessibility reports are generated and shared via notifications. You can also select the appropriate WCAG Version & Conformance Level based on your requirements. Note that this feature is currently supported only on Safari and Firefox browsers.
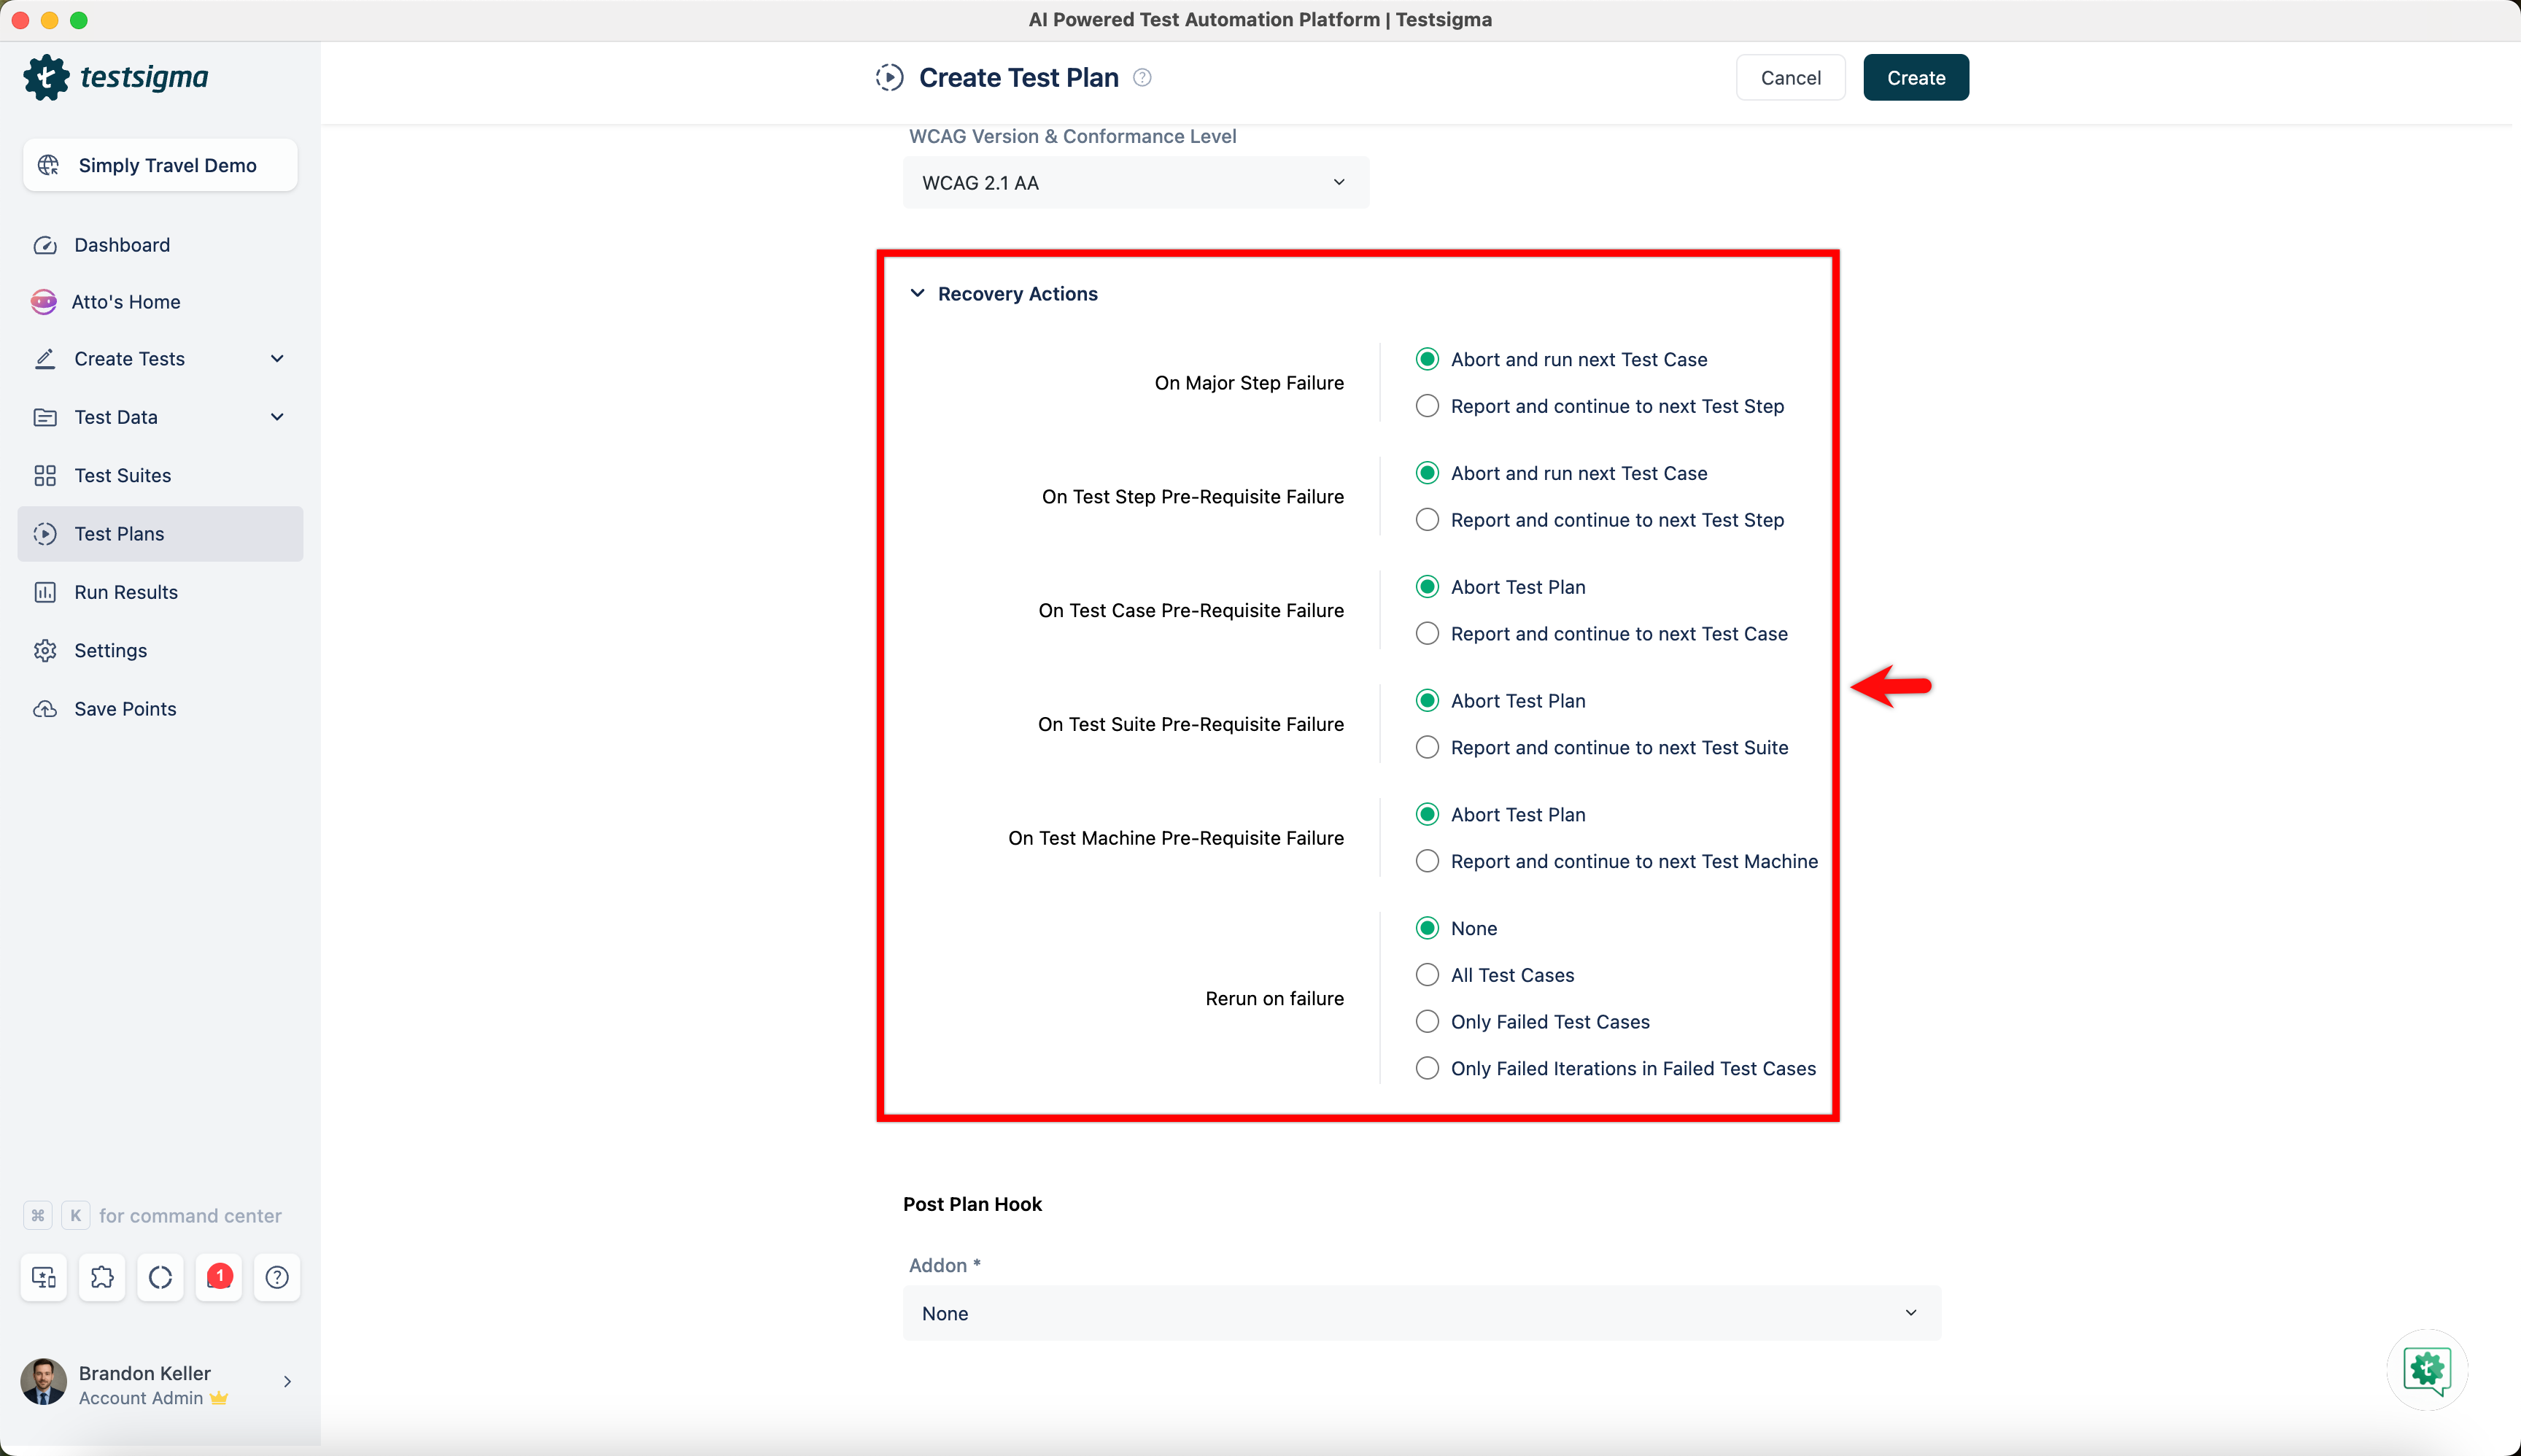
- Recovery Actions: Click Recovery Actions to open the recovery actions section and define what actions should happen.
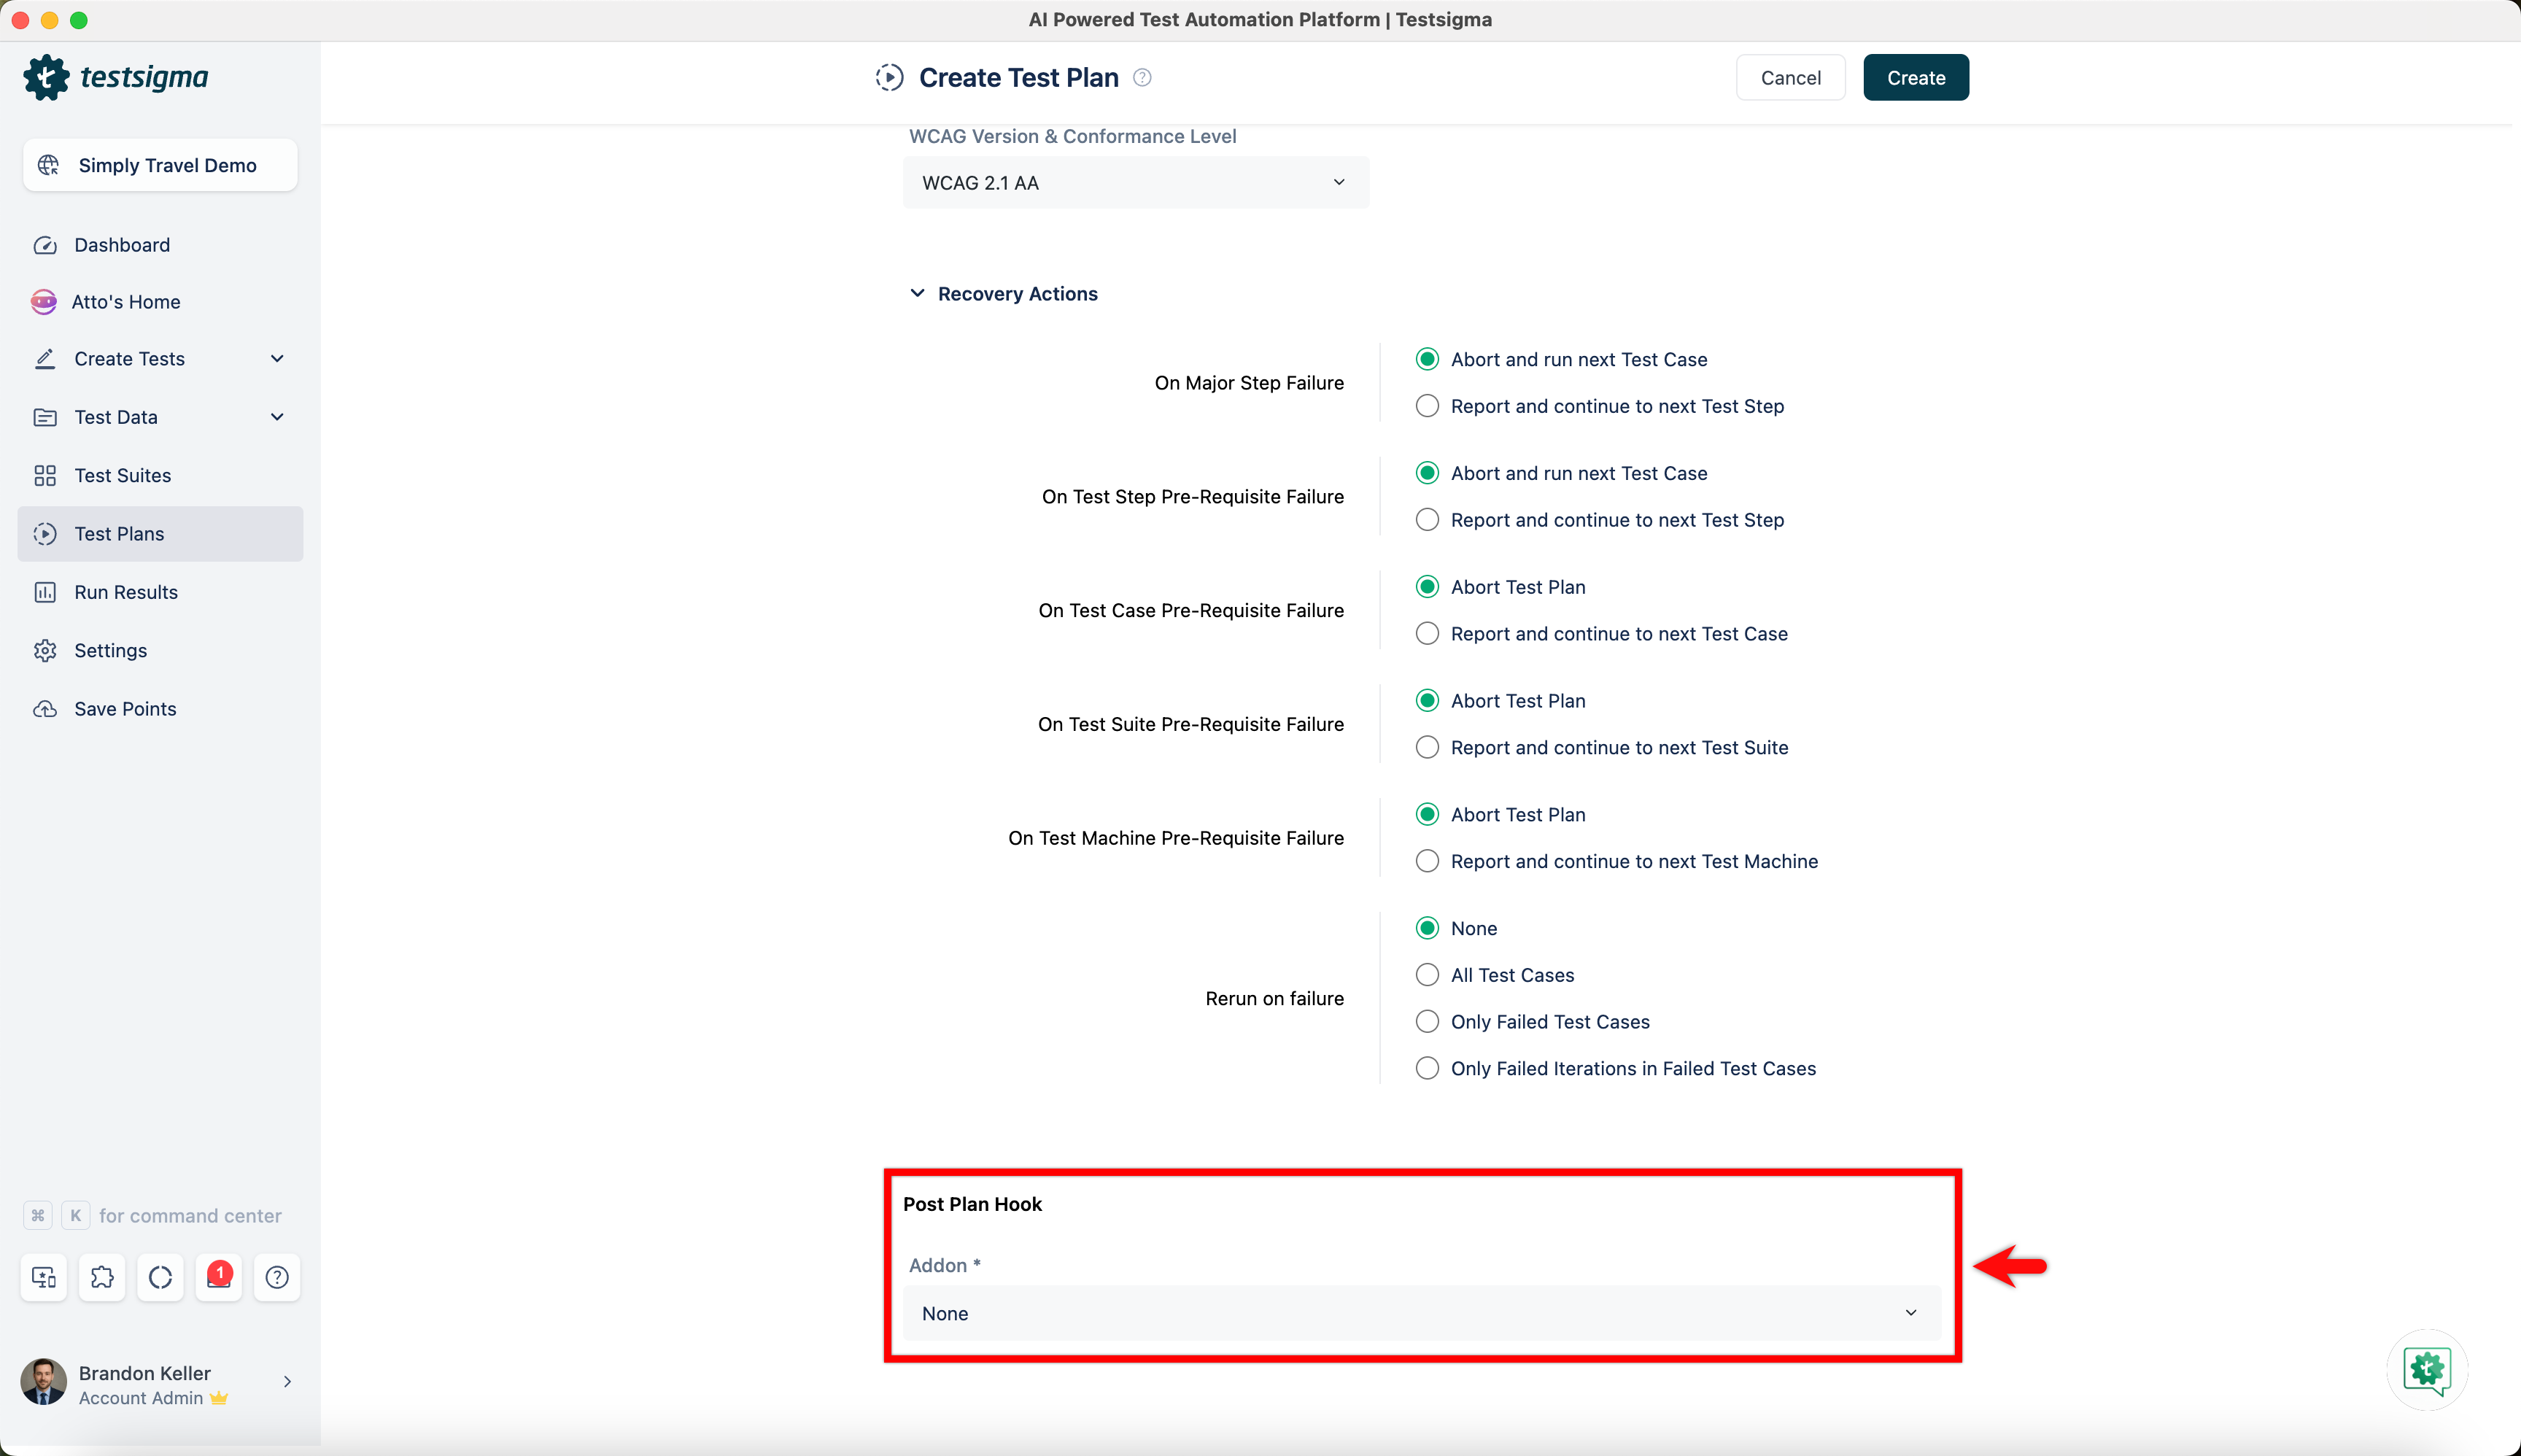
- Post Plan Hook: Select the Post Plan Hook and define actions or tasks to be performed once the test plan is executed and conditions are met (for more information, refer to Post Plan Hook).
- Send Notification: Enable the toggle for Send Notification and specify when to receive the notifications (for example, select to receive notifications when your test plans are Passed, Failed, Not Executed, Queued, Stopped, or Running.) You can enter the emails or check the box to Add my email for receiving notifications through email. Messages can also be sent to collaboration tools like Google Chat, Slack, or MS Teams.
Editing a Test Plan
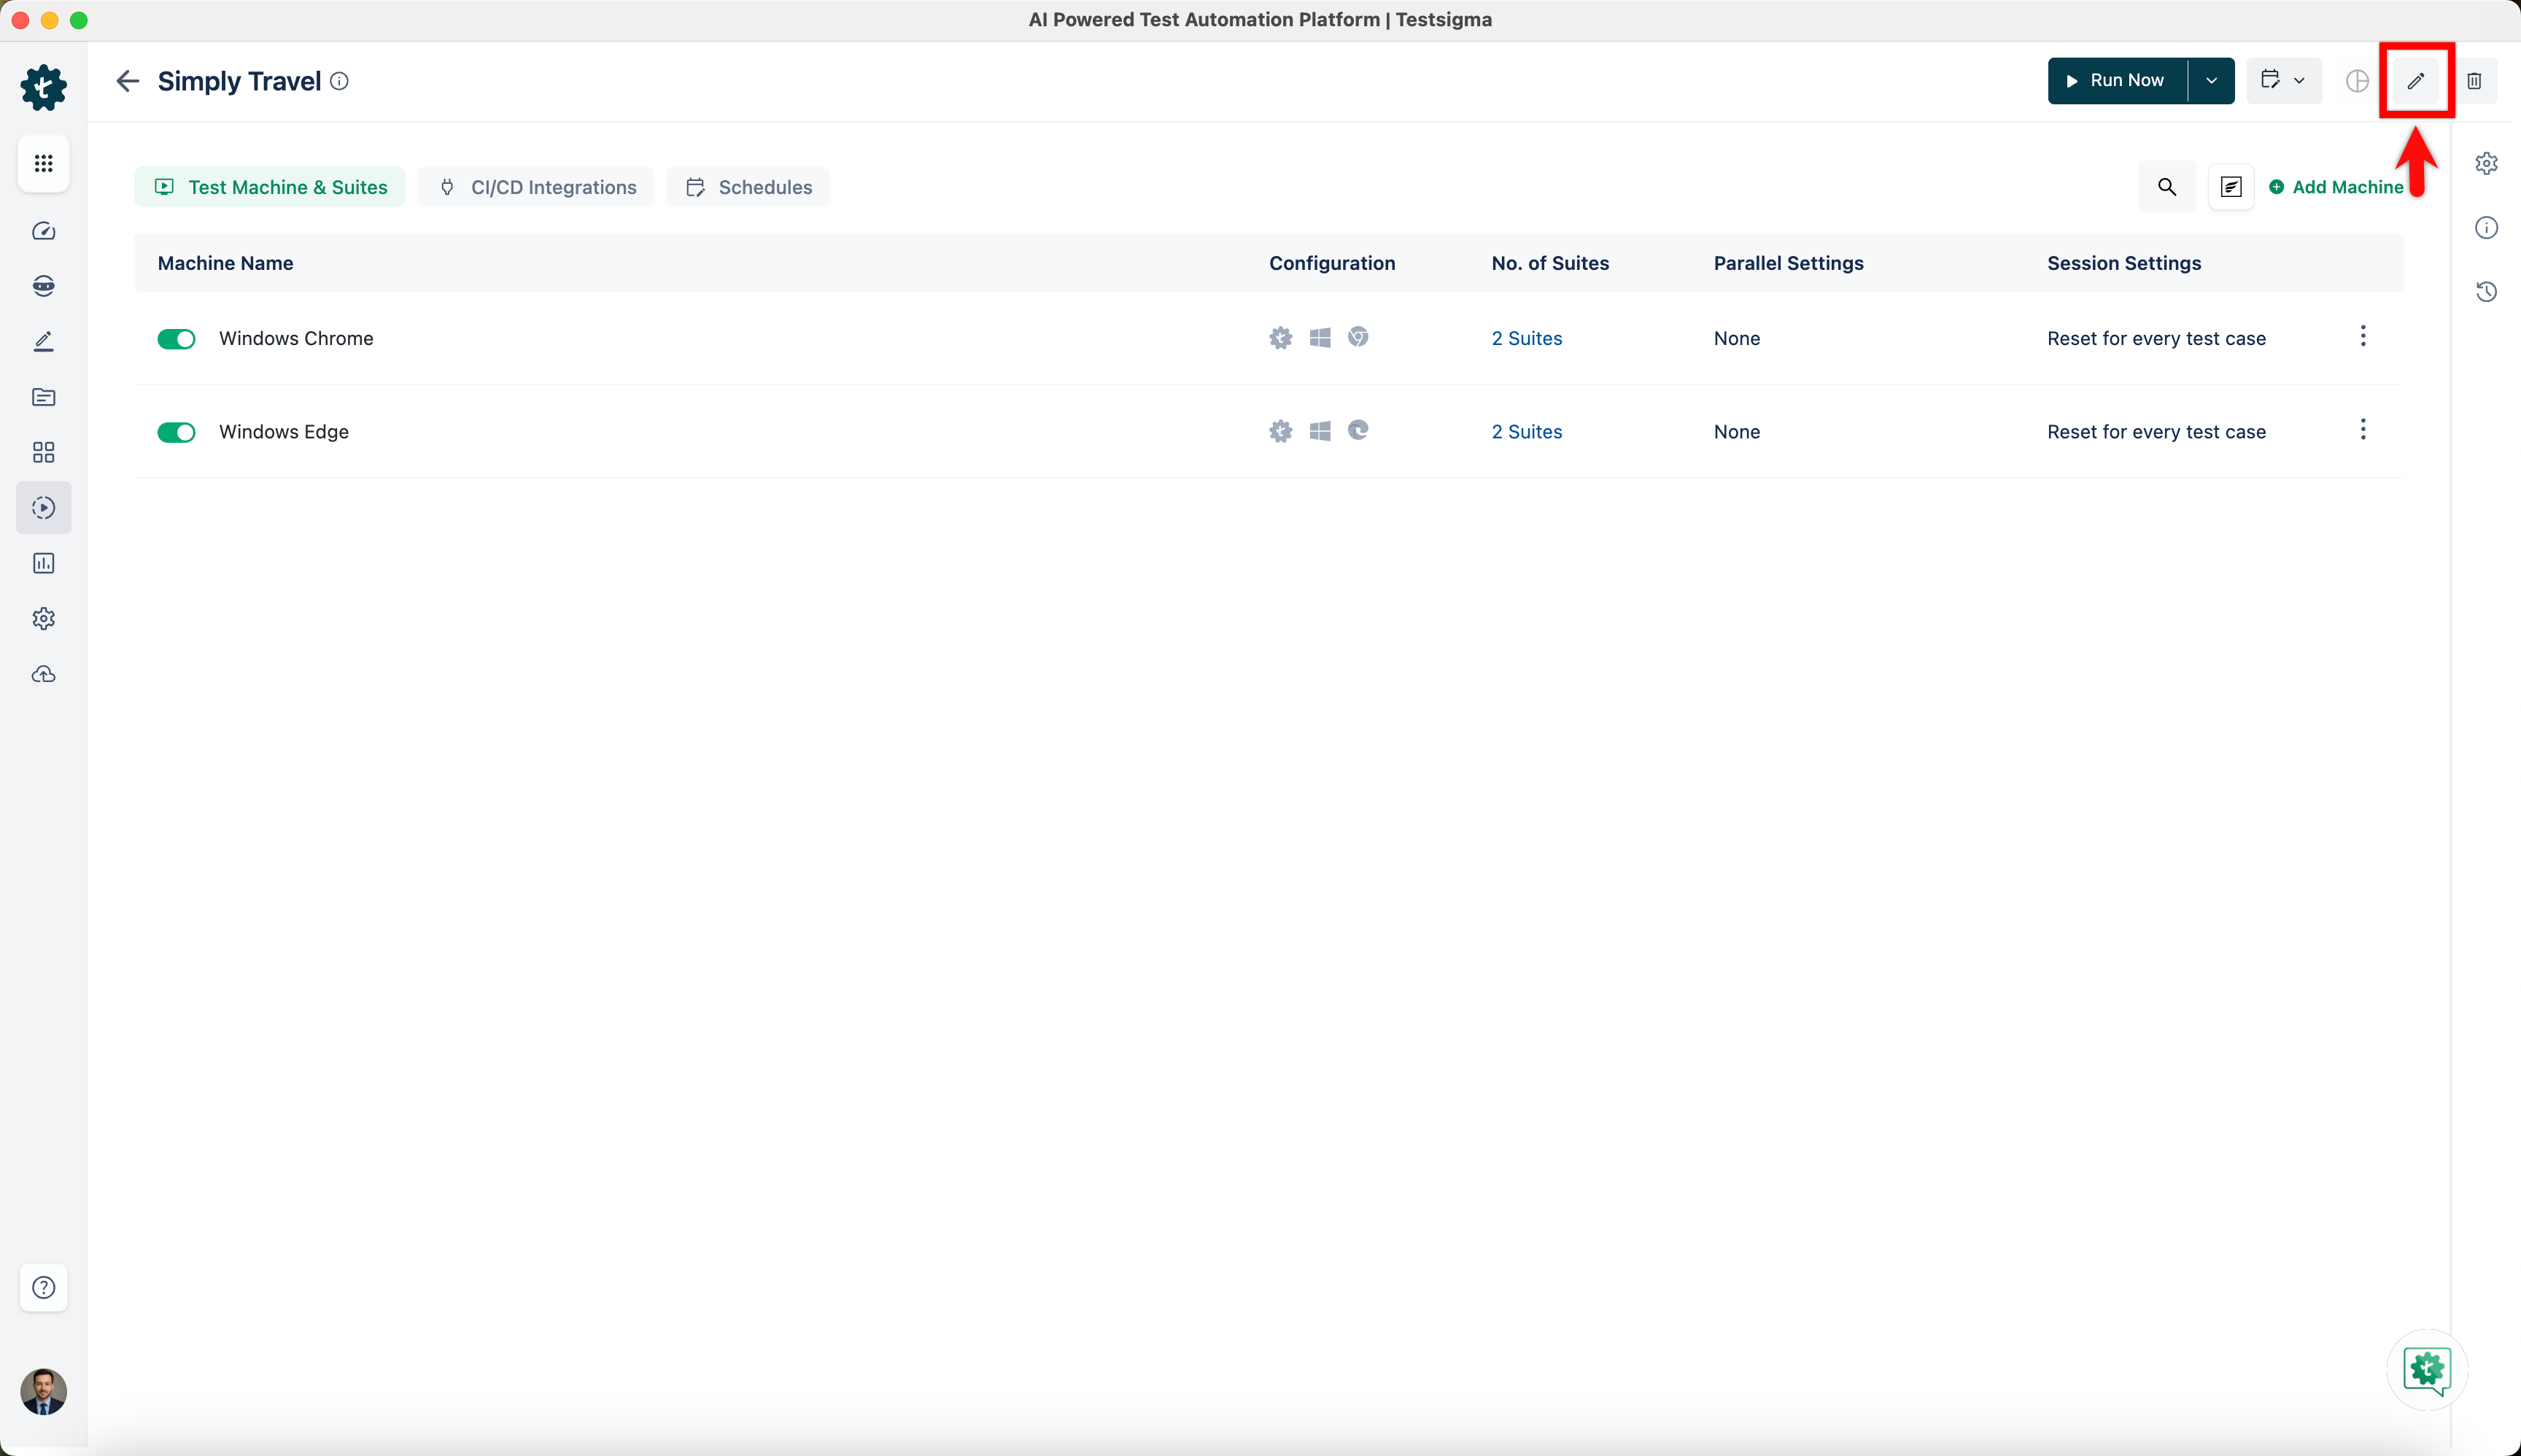
- From the left navigation bar, navigate to Test Plans. Locate the Test Plan you want to edit in the list.
- Click the Edit icon at the top right on the Test Plan details page, and the Edit Test Plan page will appear. You should follow the steps in the Creating a Test Plan section to update the test plan.
-
Alternatively, you can edit the test plan on the Test Plan details page:
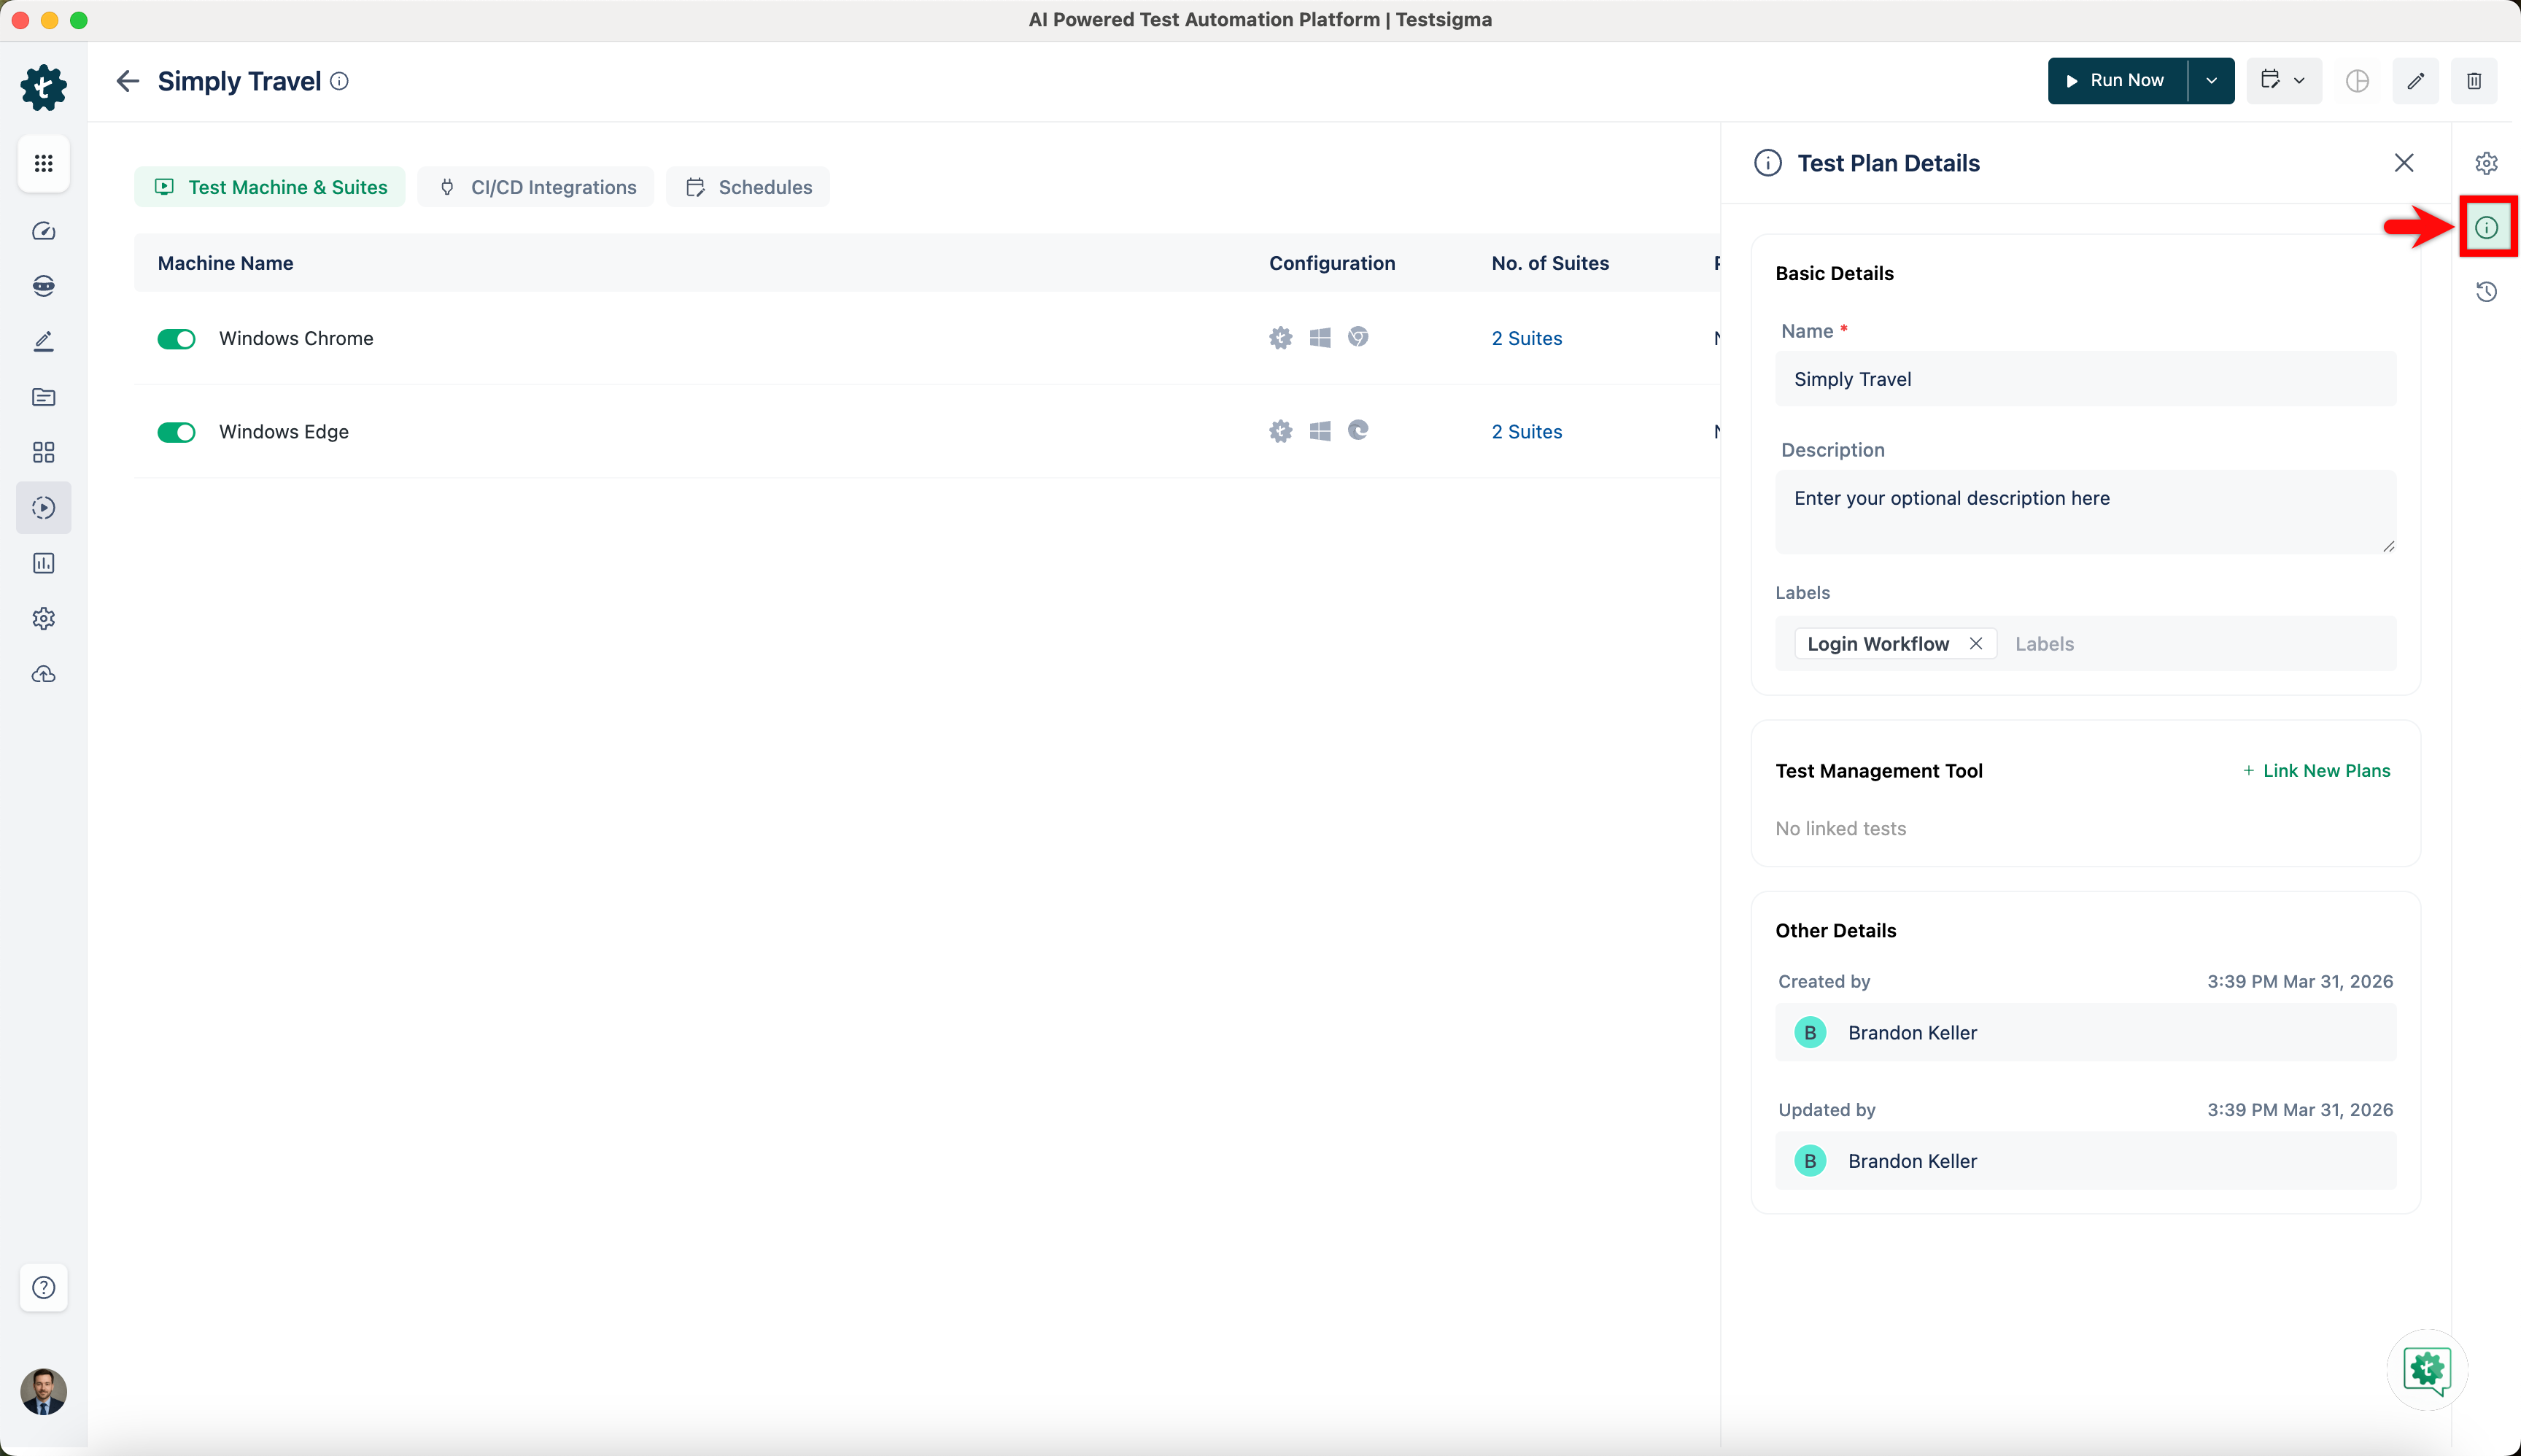
- Test Plan Info: Click Test Plan Info in the right-side navbar. You can change the Test Plan Name and Description here and view details about when it was created and last updated.
-
Test Plan Settings: Click Test Plan Settings in the right-side navbar to update the Test Plan Type, Send Notification, Additional Settings, Recovery Actions, and Post Plan Hook.
 NOTE:
NOTE:You cannot switch the test plan type once you have set up Test Machines.
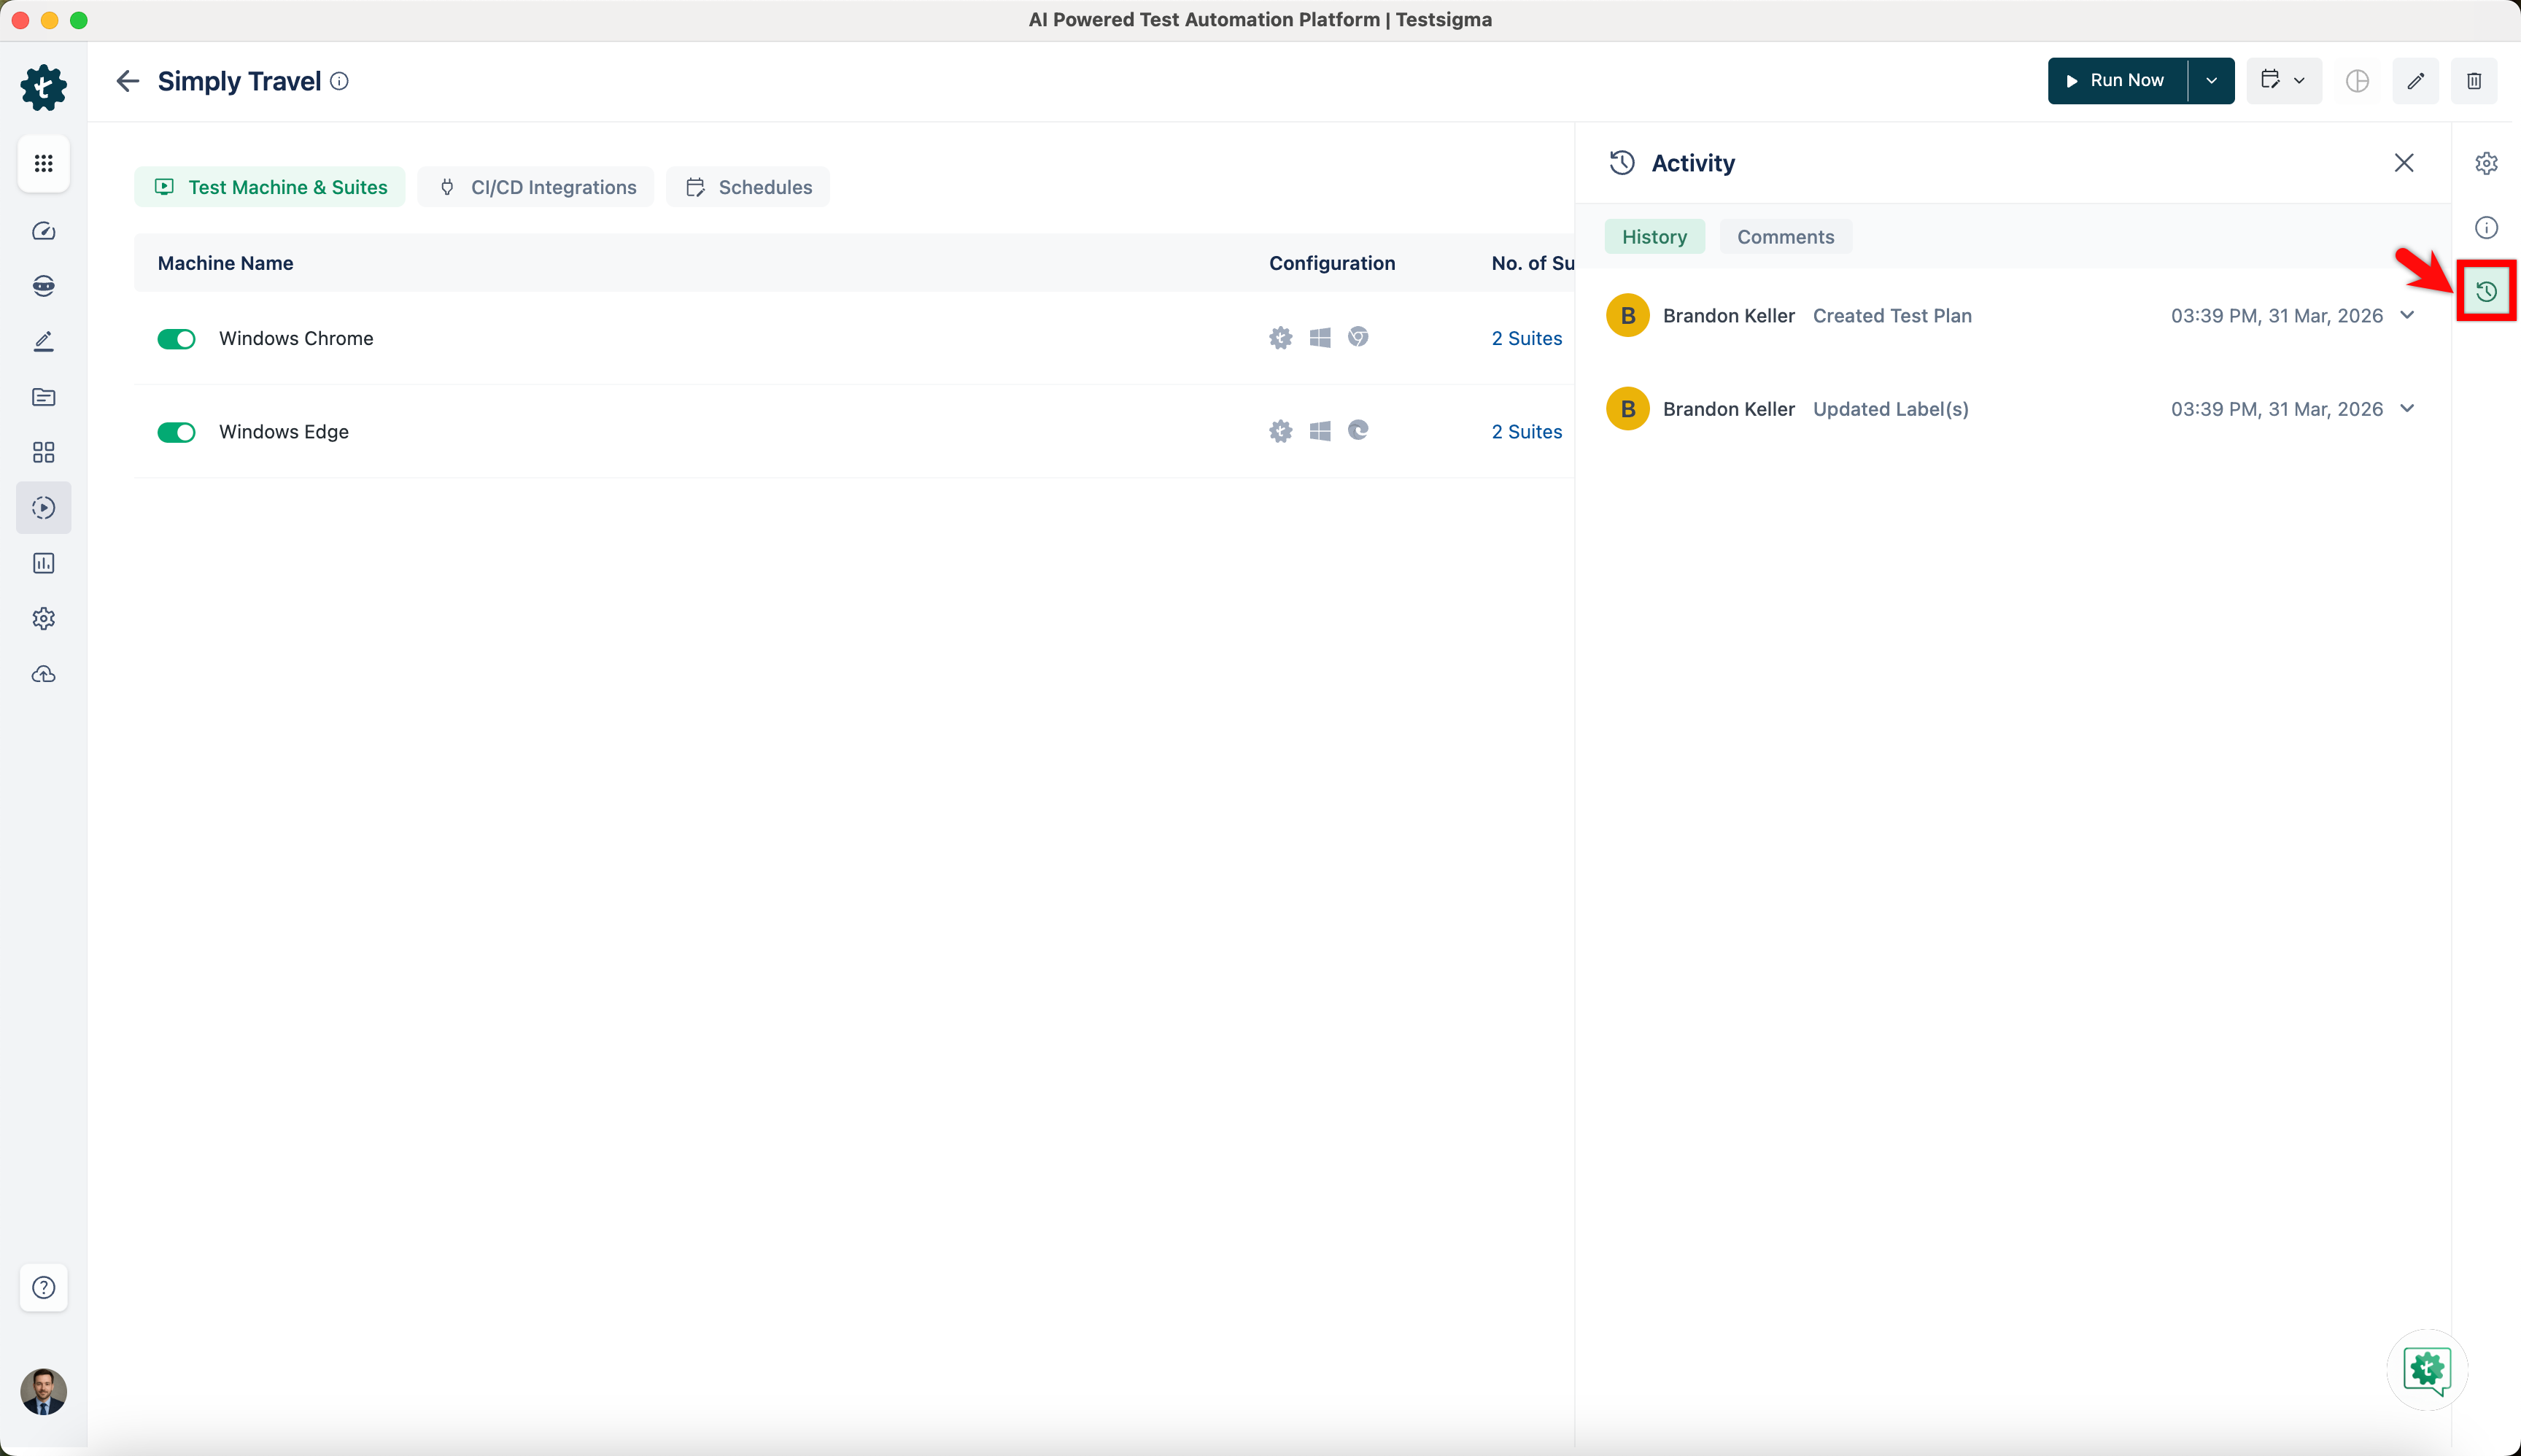
- Activity: Click Activity in the right-side navbar to view the History and Comments related to the test plan.
- Test Plan Info: Click Test Plan Info in the right-side navbar. You can change the Test Plan Name and Description here and view details about when it was created and last updated.
-
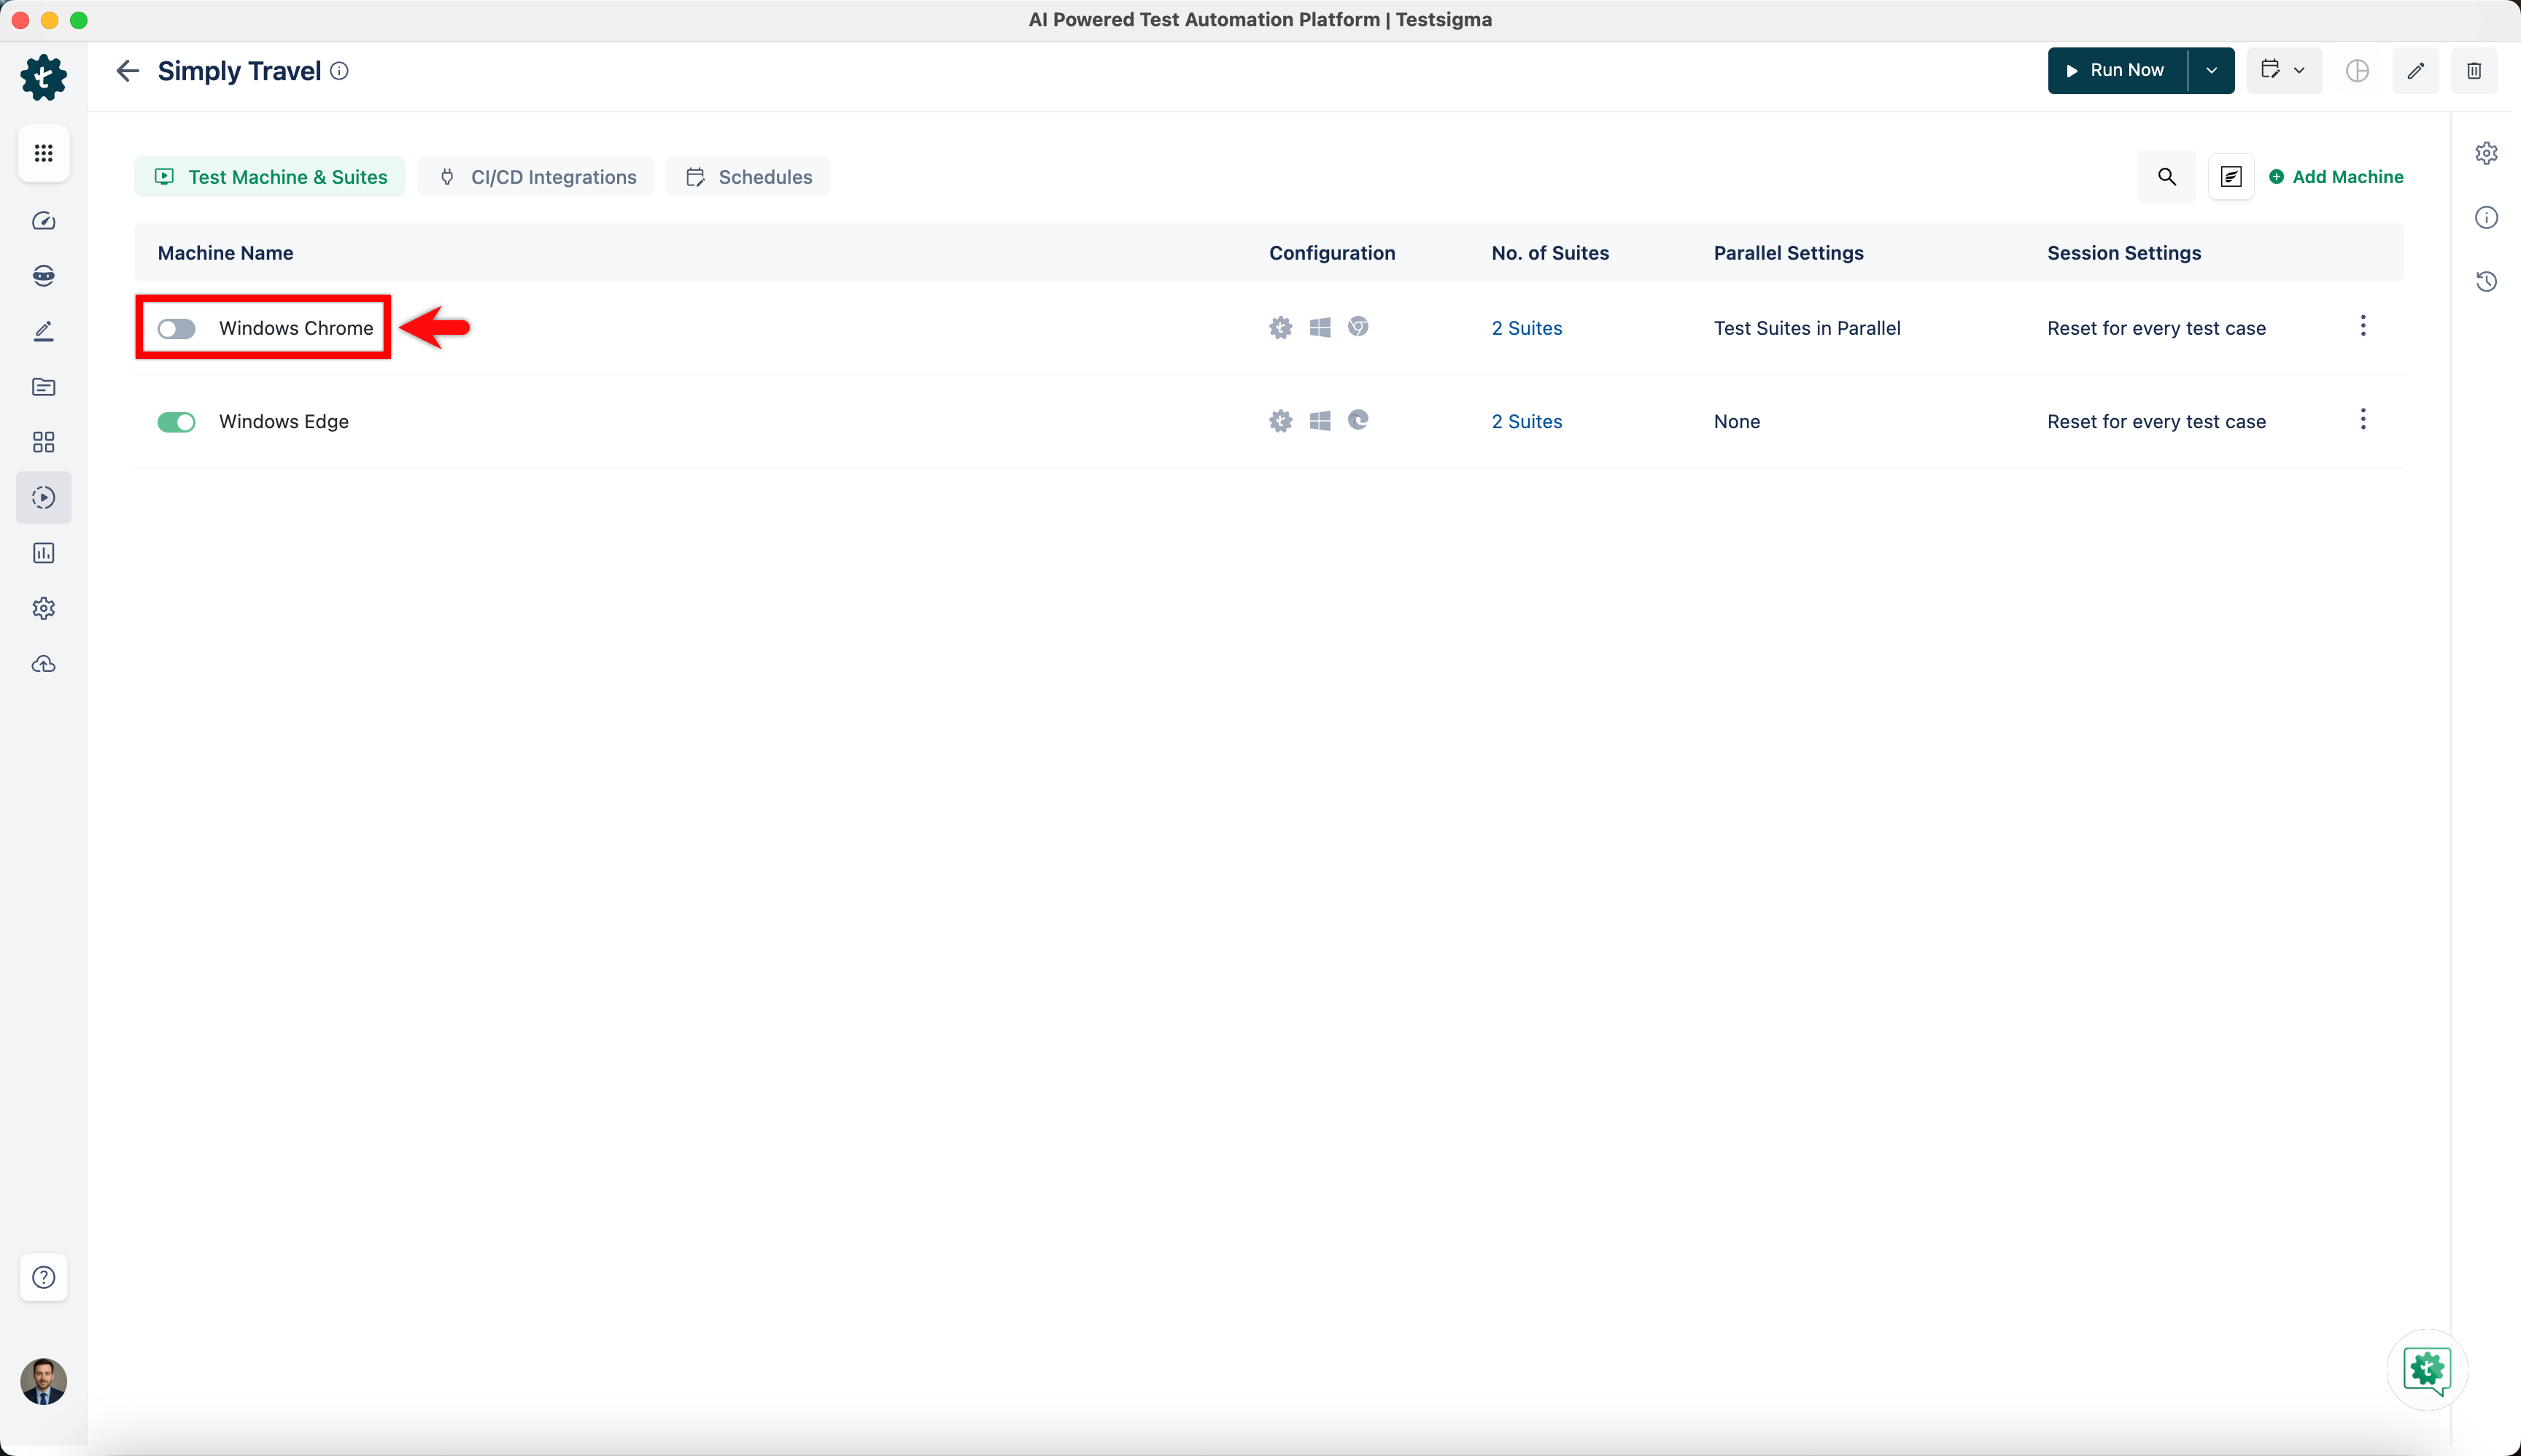
In the Test Machine & Suites tab, you can view Machine Name, Configuration, No of Suites, Parallel Settings and Session Settings on the Test Suites details page.
- Click the ellipsis icon and select Edit or Delete to manage the Test Machine.

- Toggle the Test Machine switch in the test plan to turn the test machine on or off.
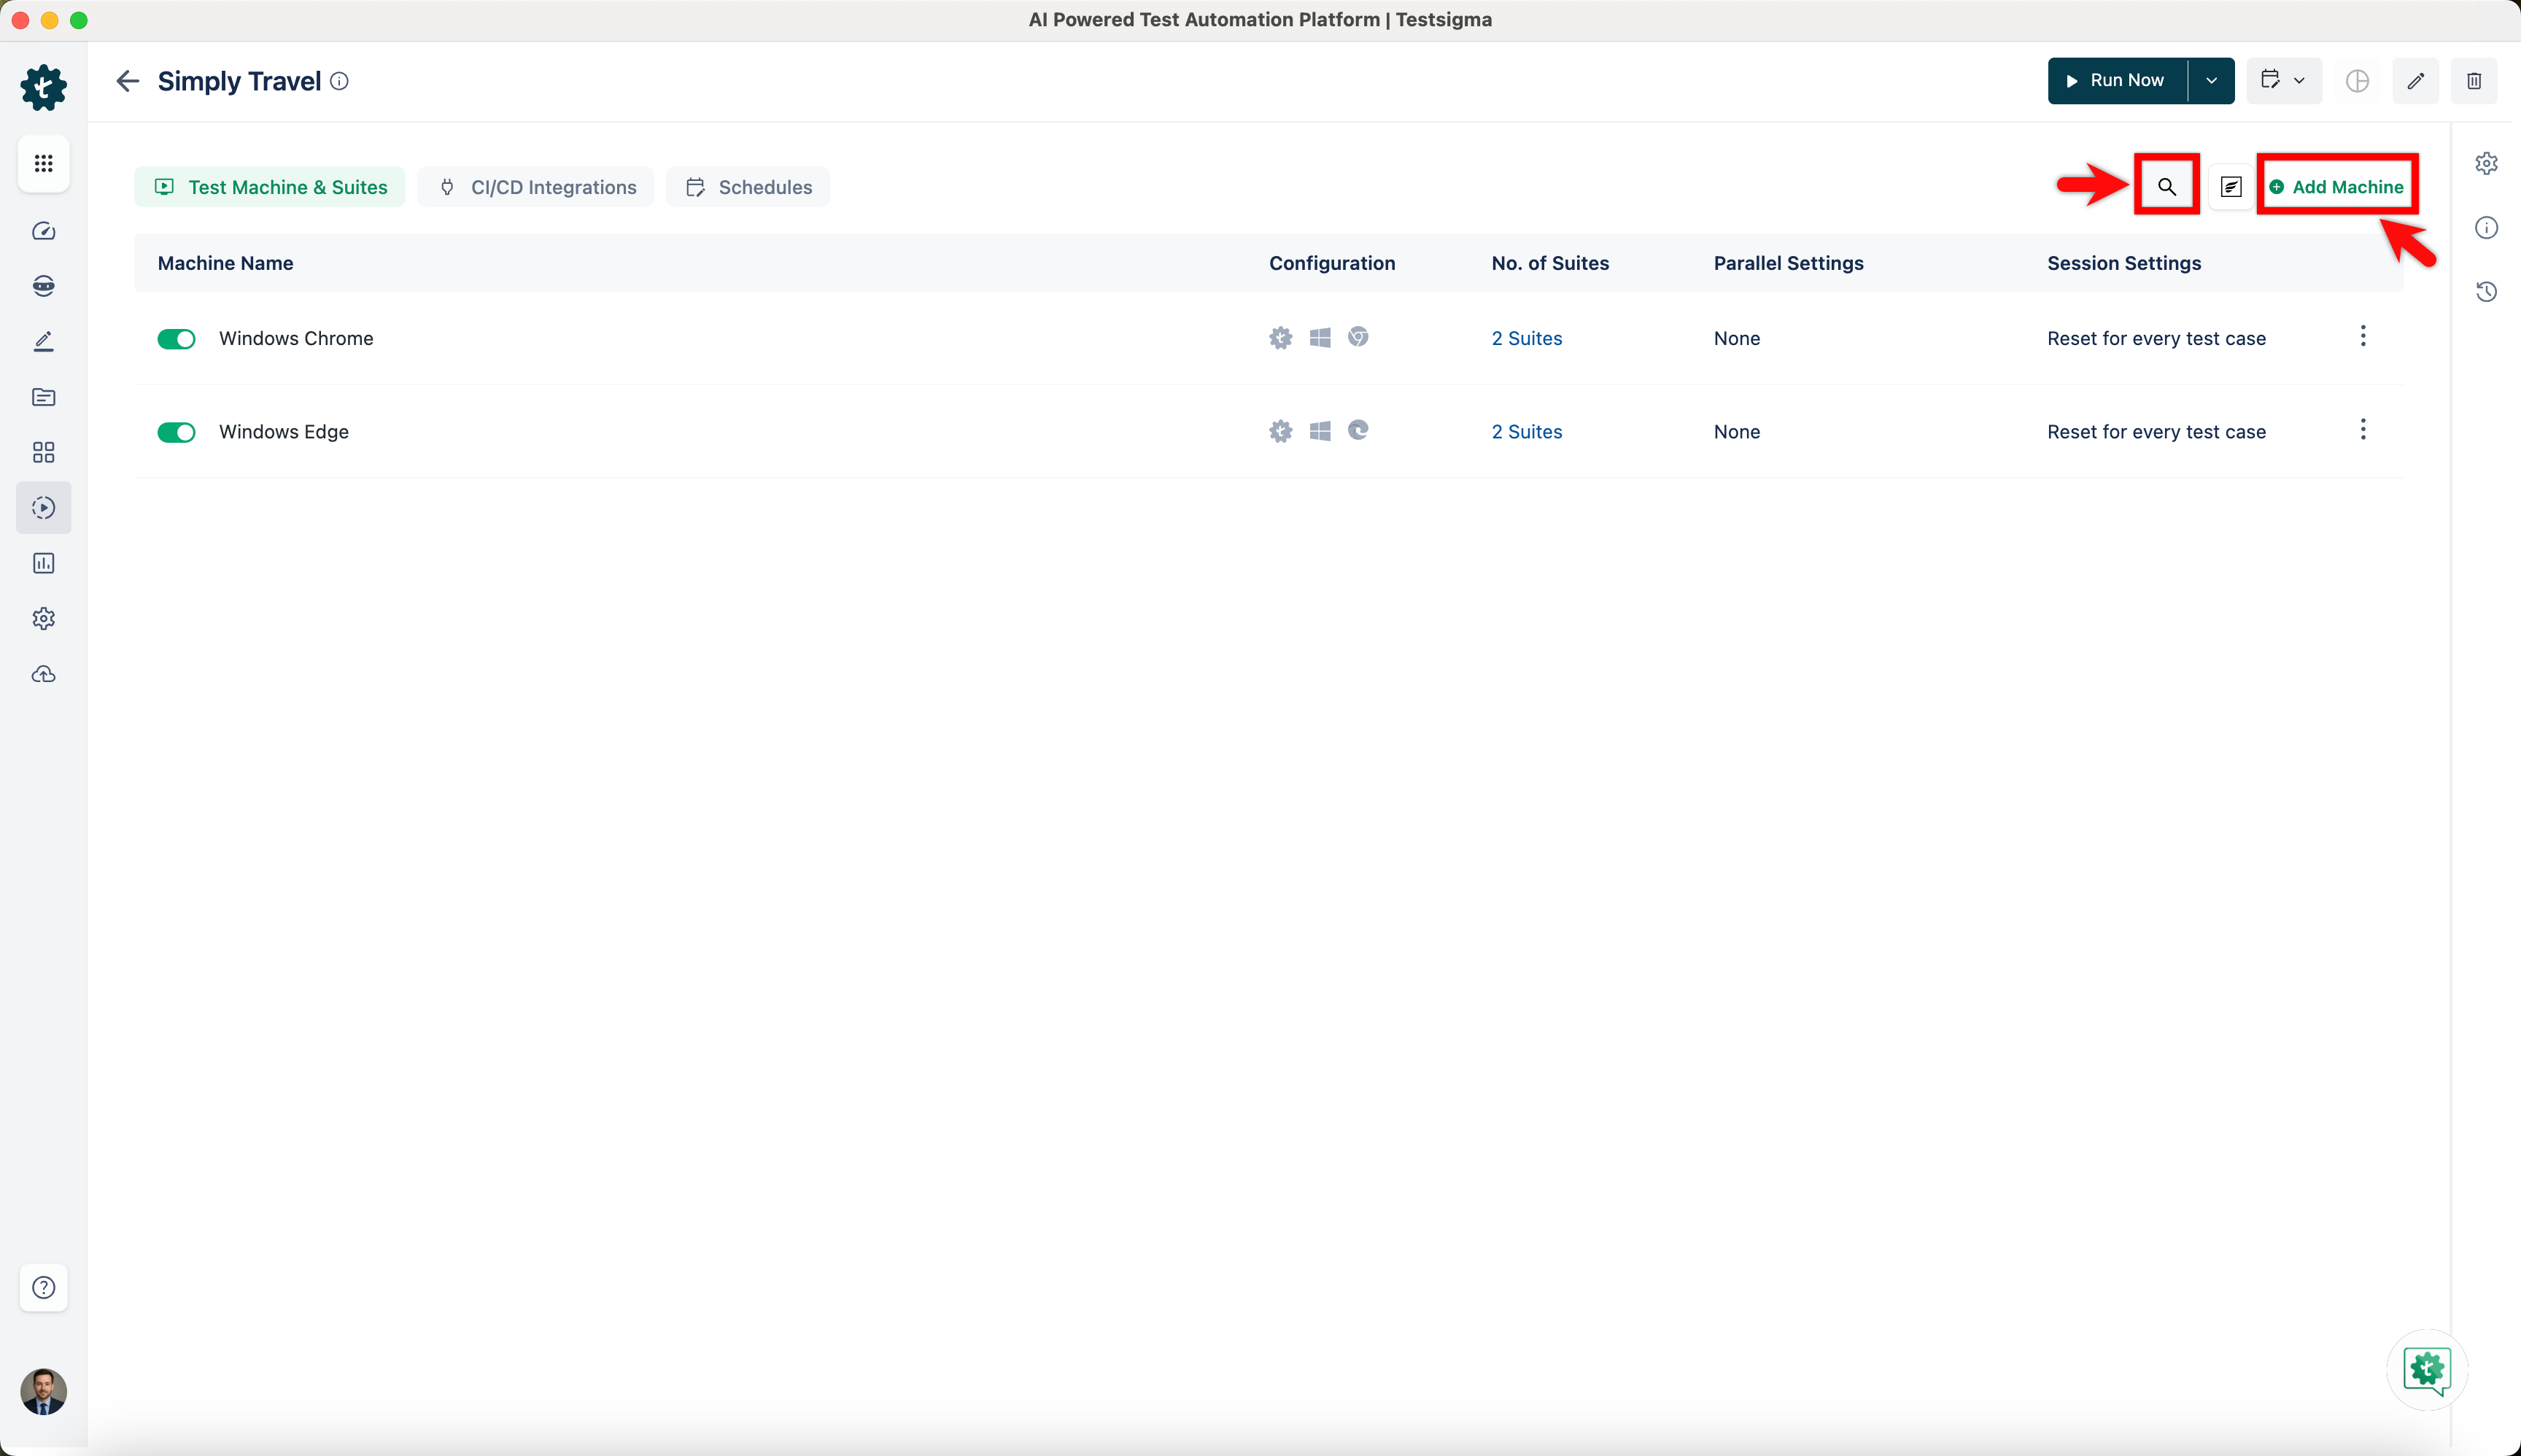
- Click the Search icon to search for a test machine in the test plan, and then click Add Machine to add a new Test Machine to the plan (for more information, refer to the Manage Test Machines).
- Click the ellipsis icon and select Edit or Delete to manage the Test Machine.
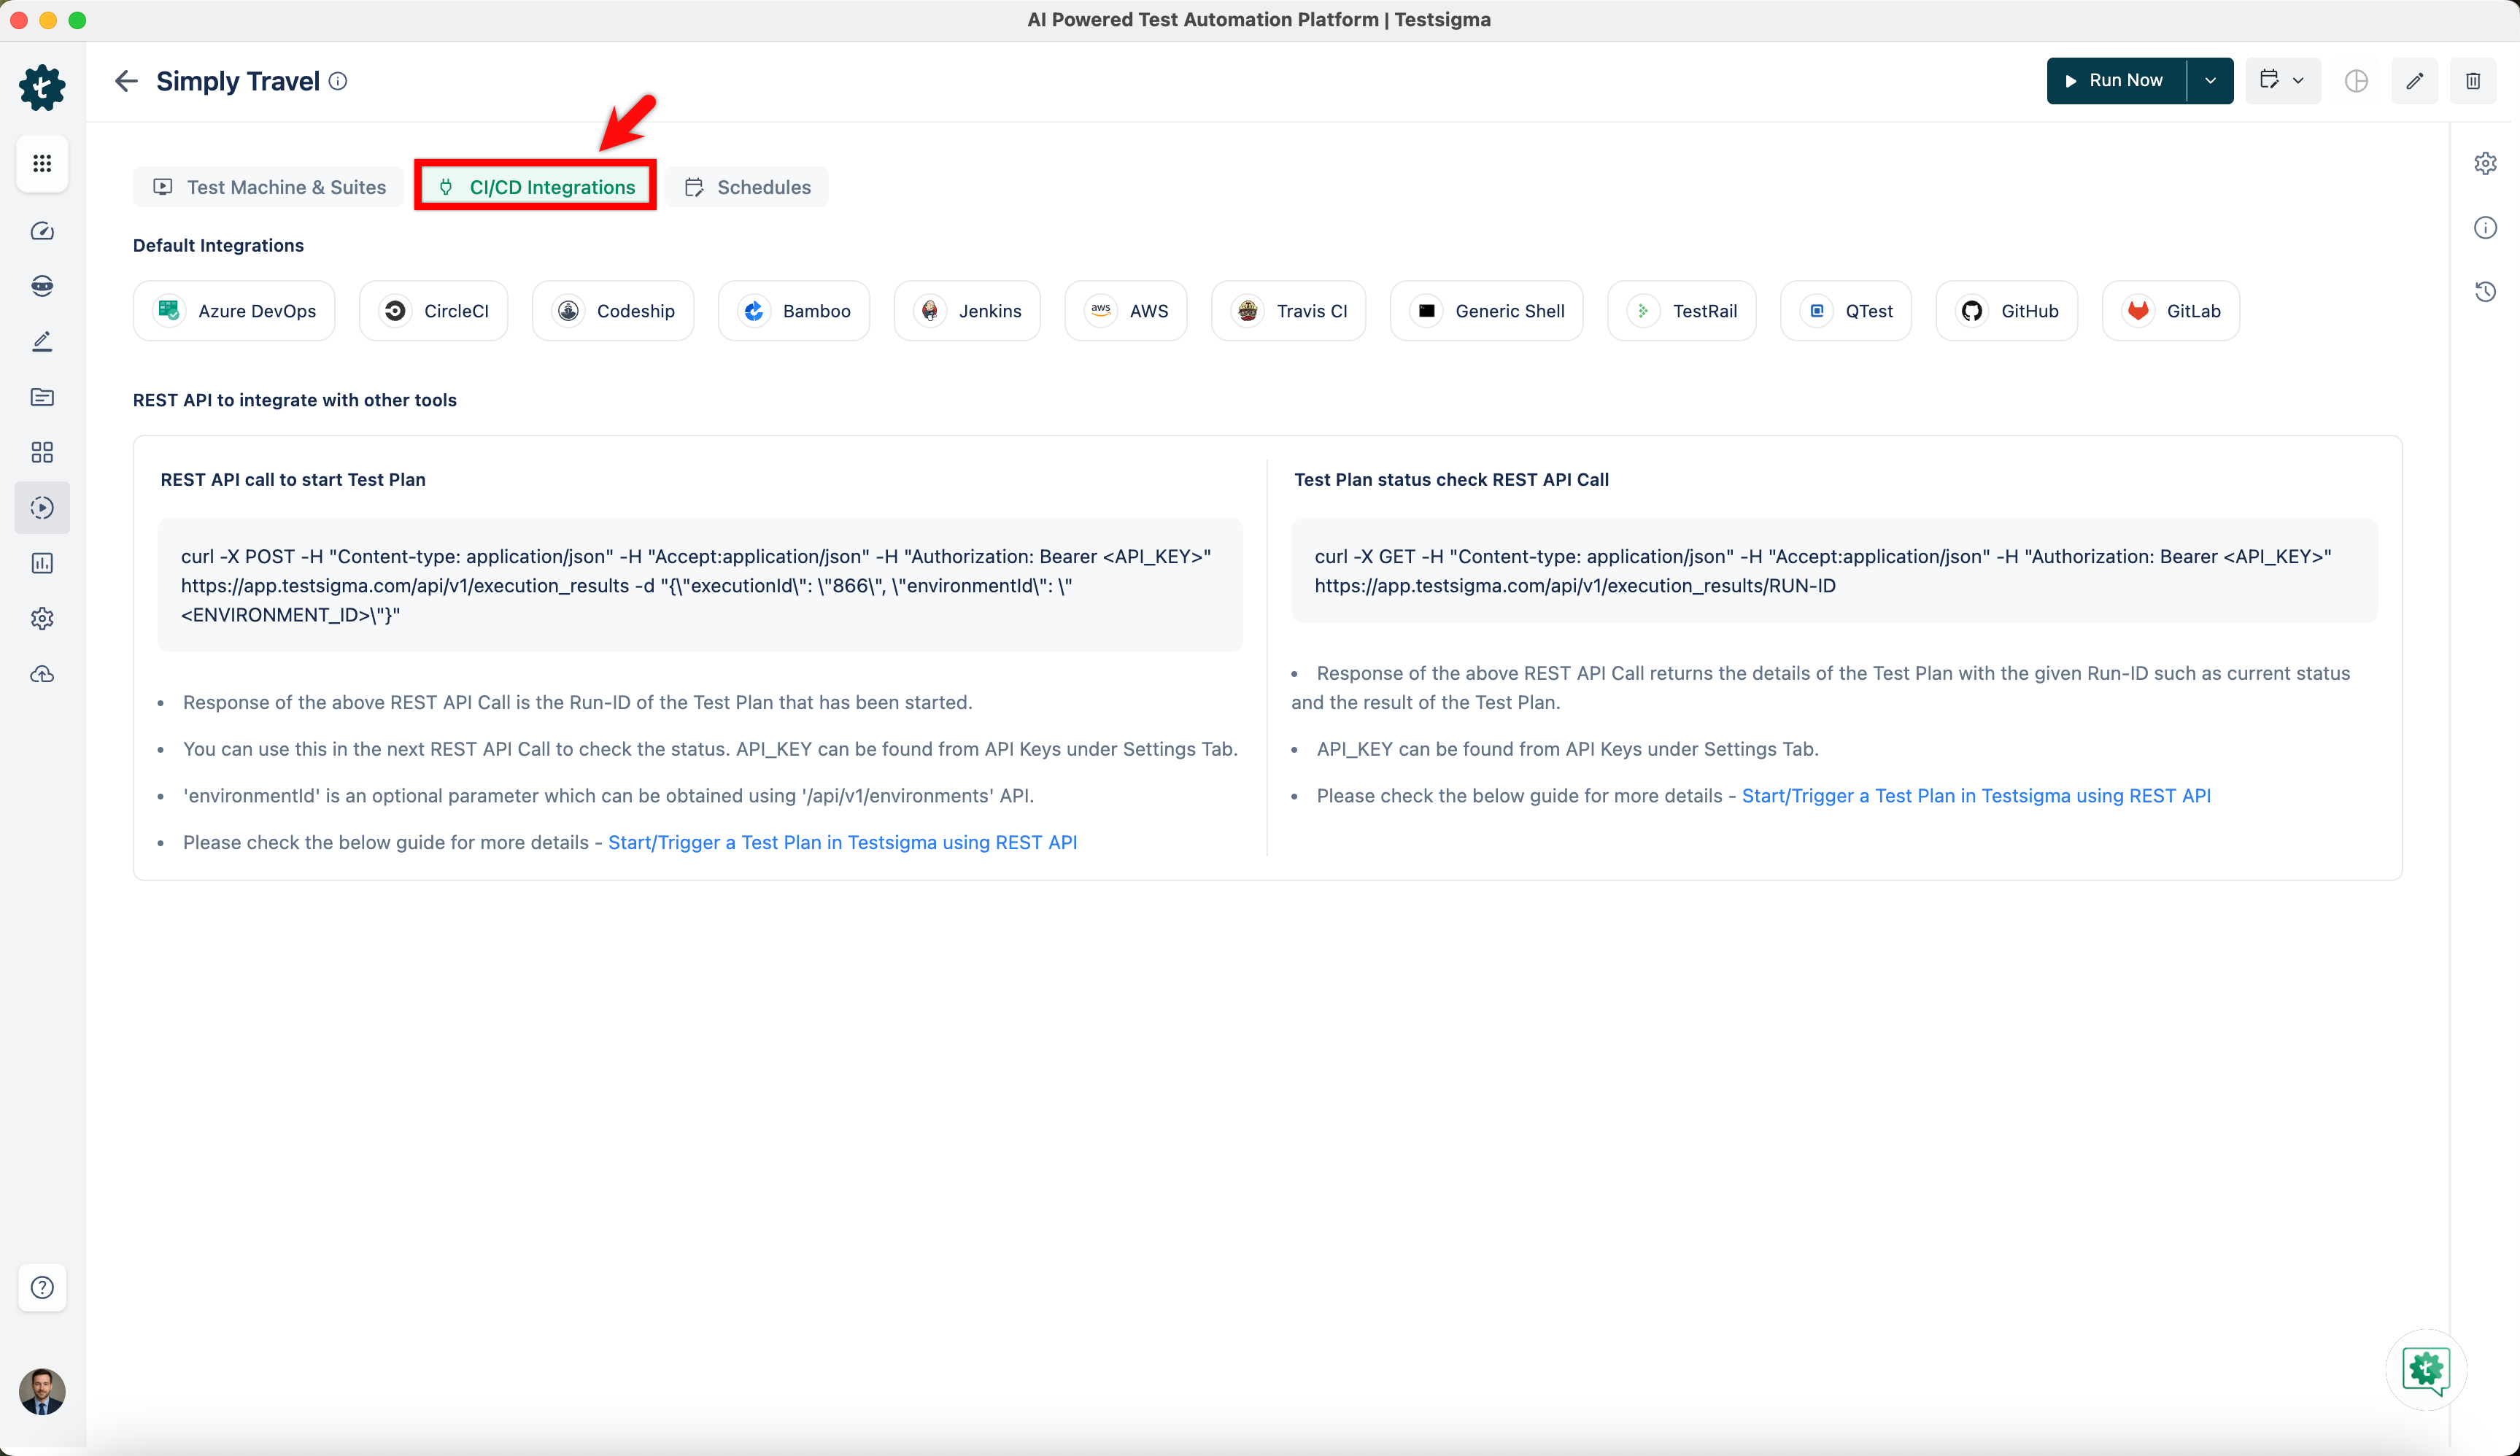
- In the CI/CD Integrations tab, view Default Integrations tools and Rest API to integrate with other tools (for more information, refer to the Integrations).
- In the Schedules tab, view Test Plan Schedules, and you can edit and delete the schedules (for more information, refer to the Schedule Test Plans).

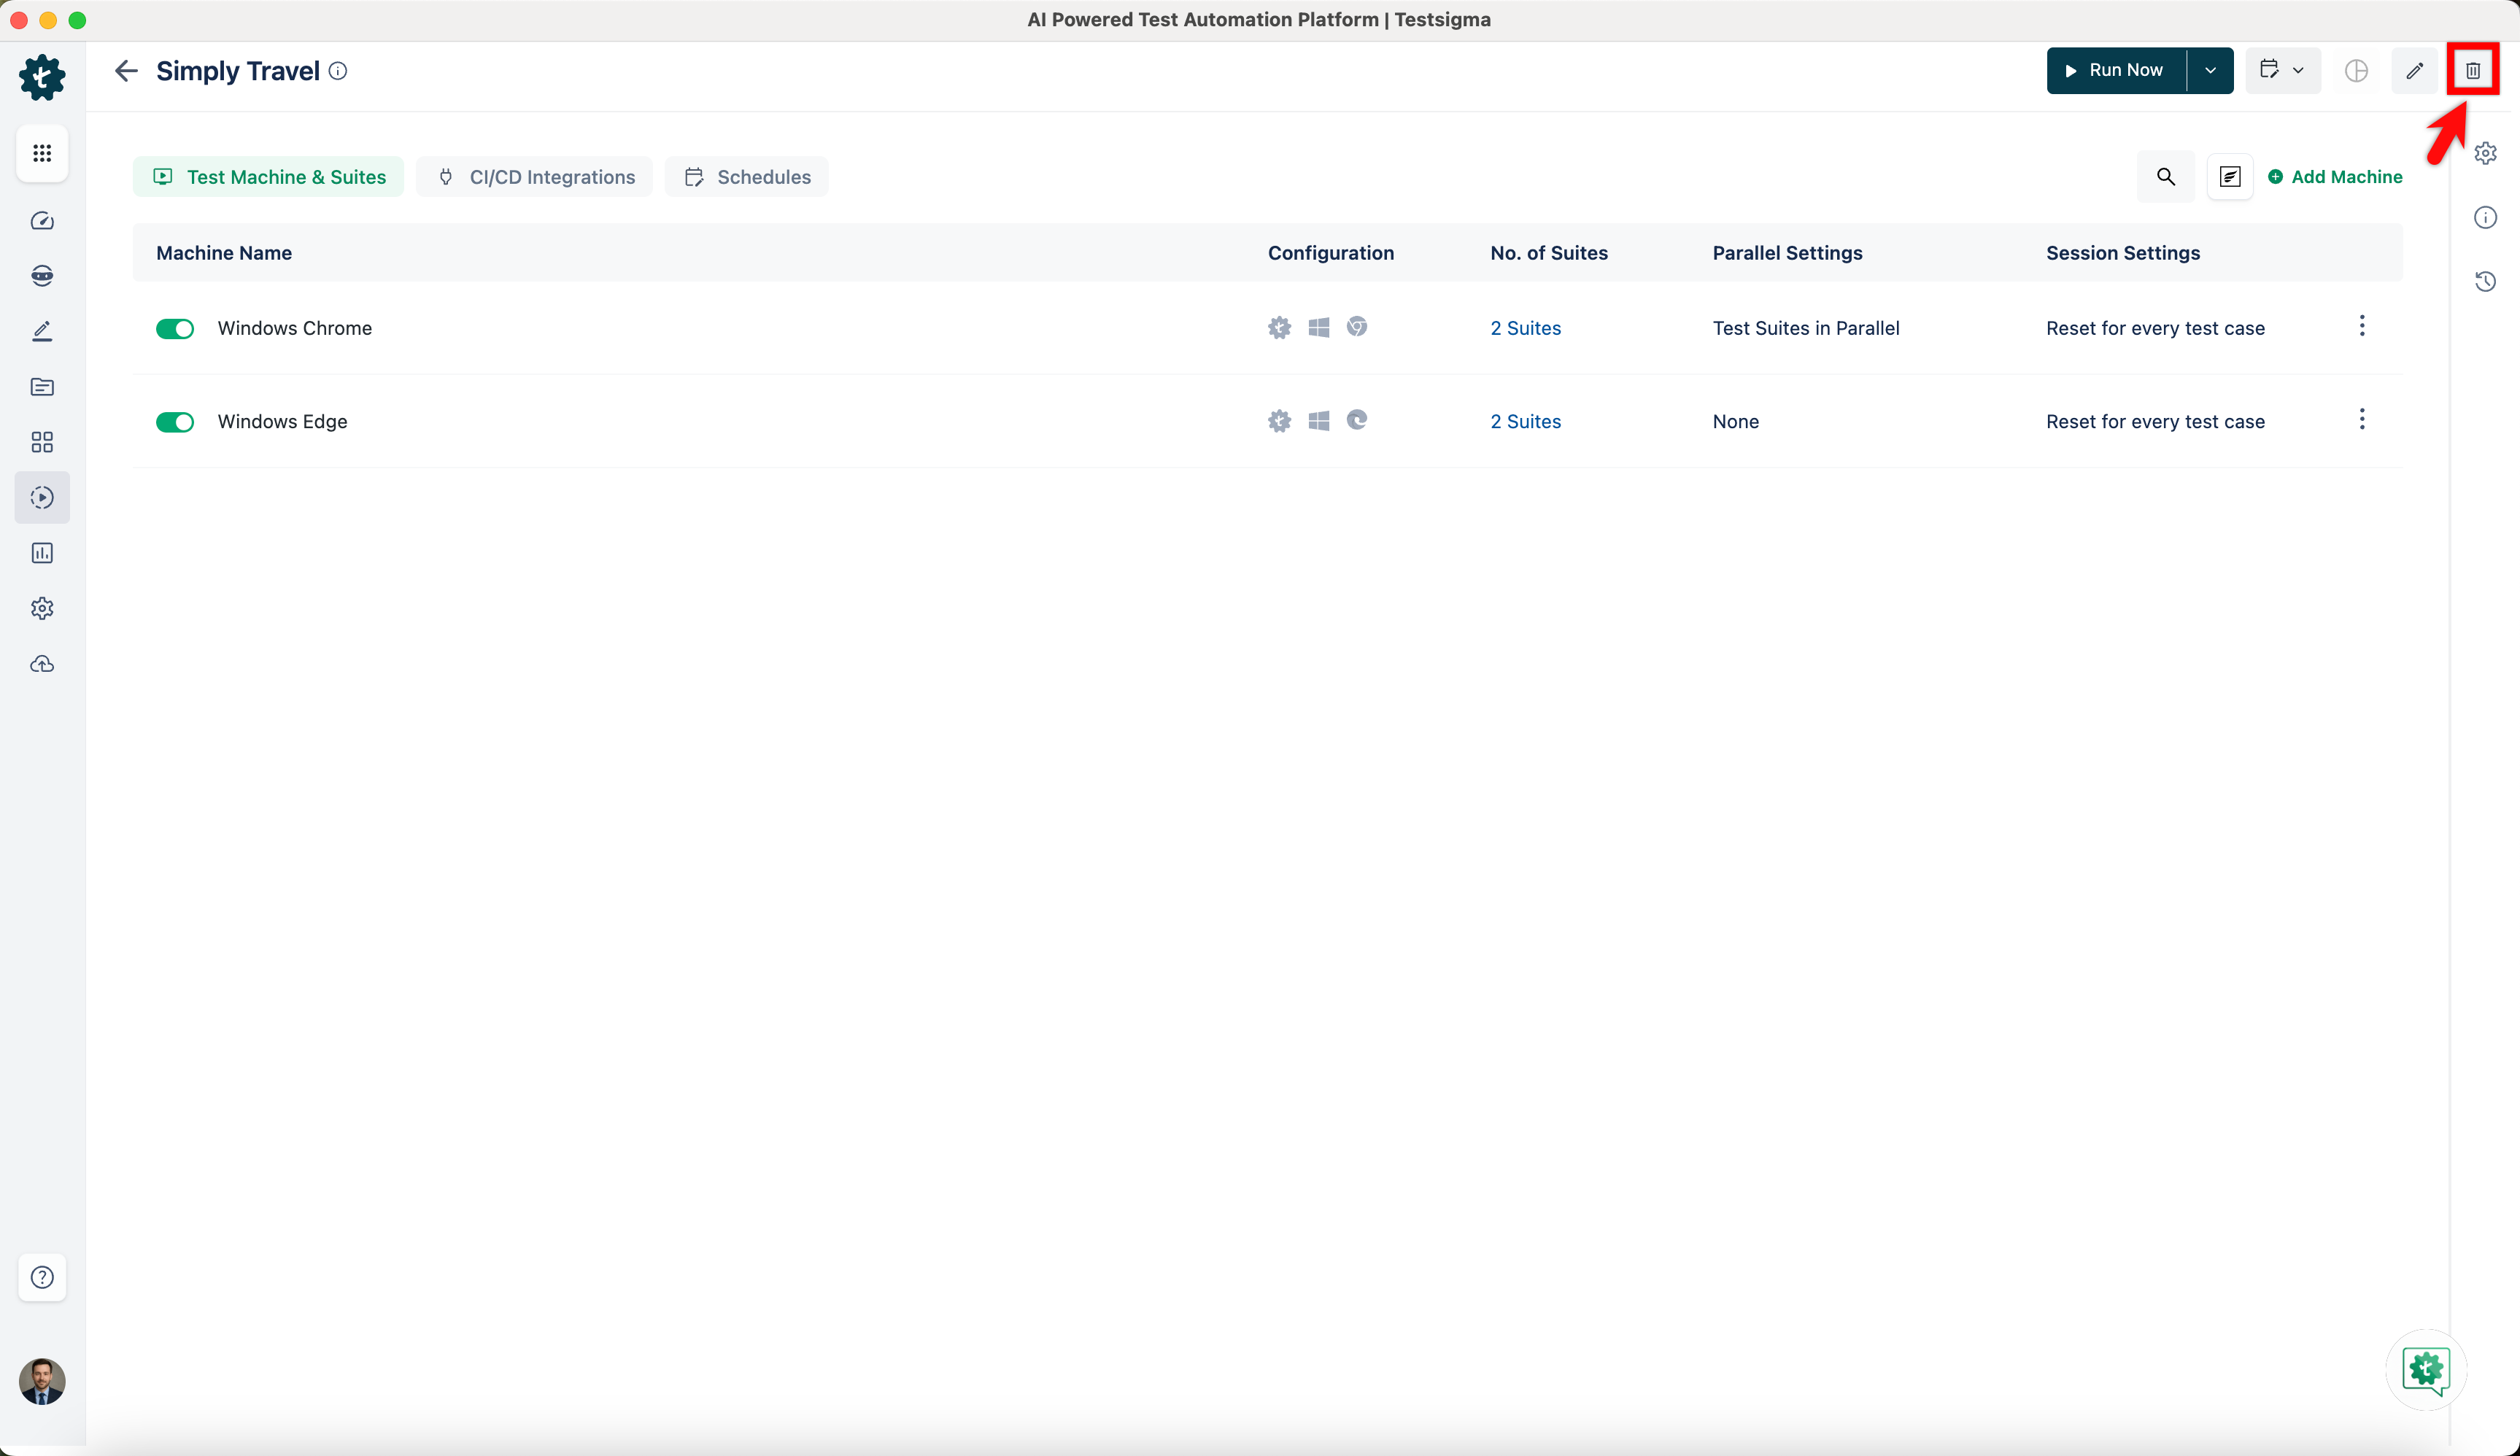
Deleting a Test Plan
- From the left navigation bar, navigate to Test Plans. Locate the Test Plan you want to delete from the list.
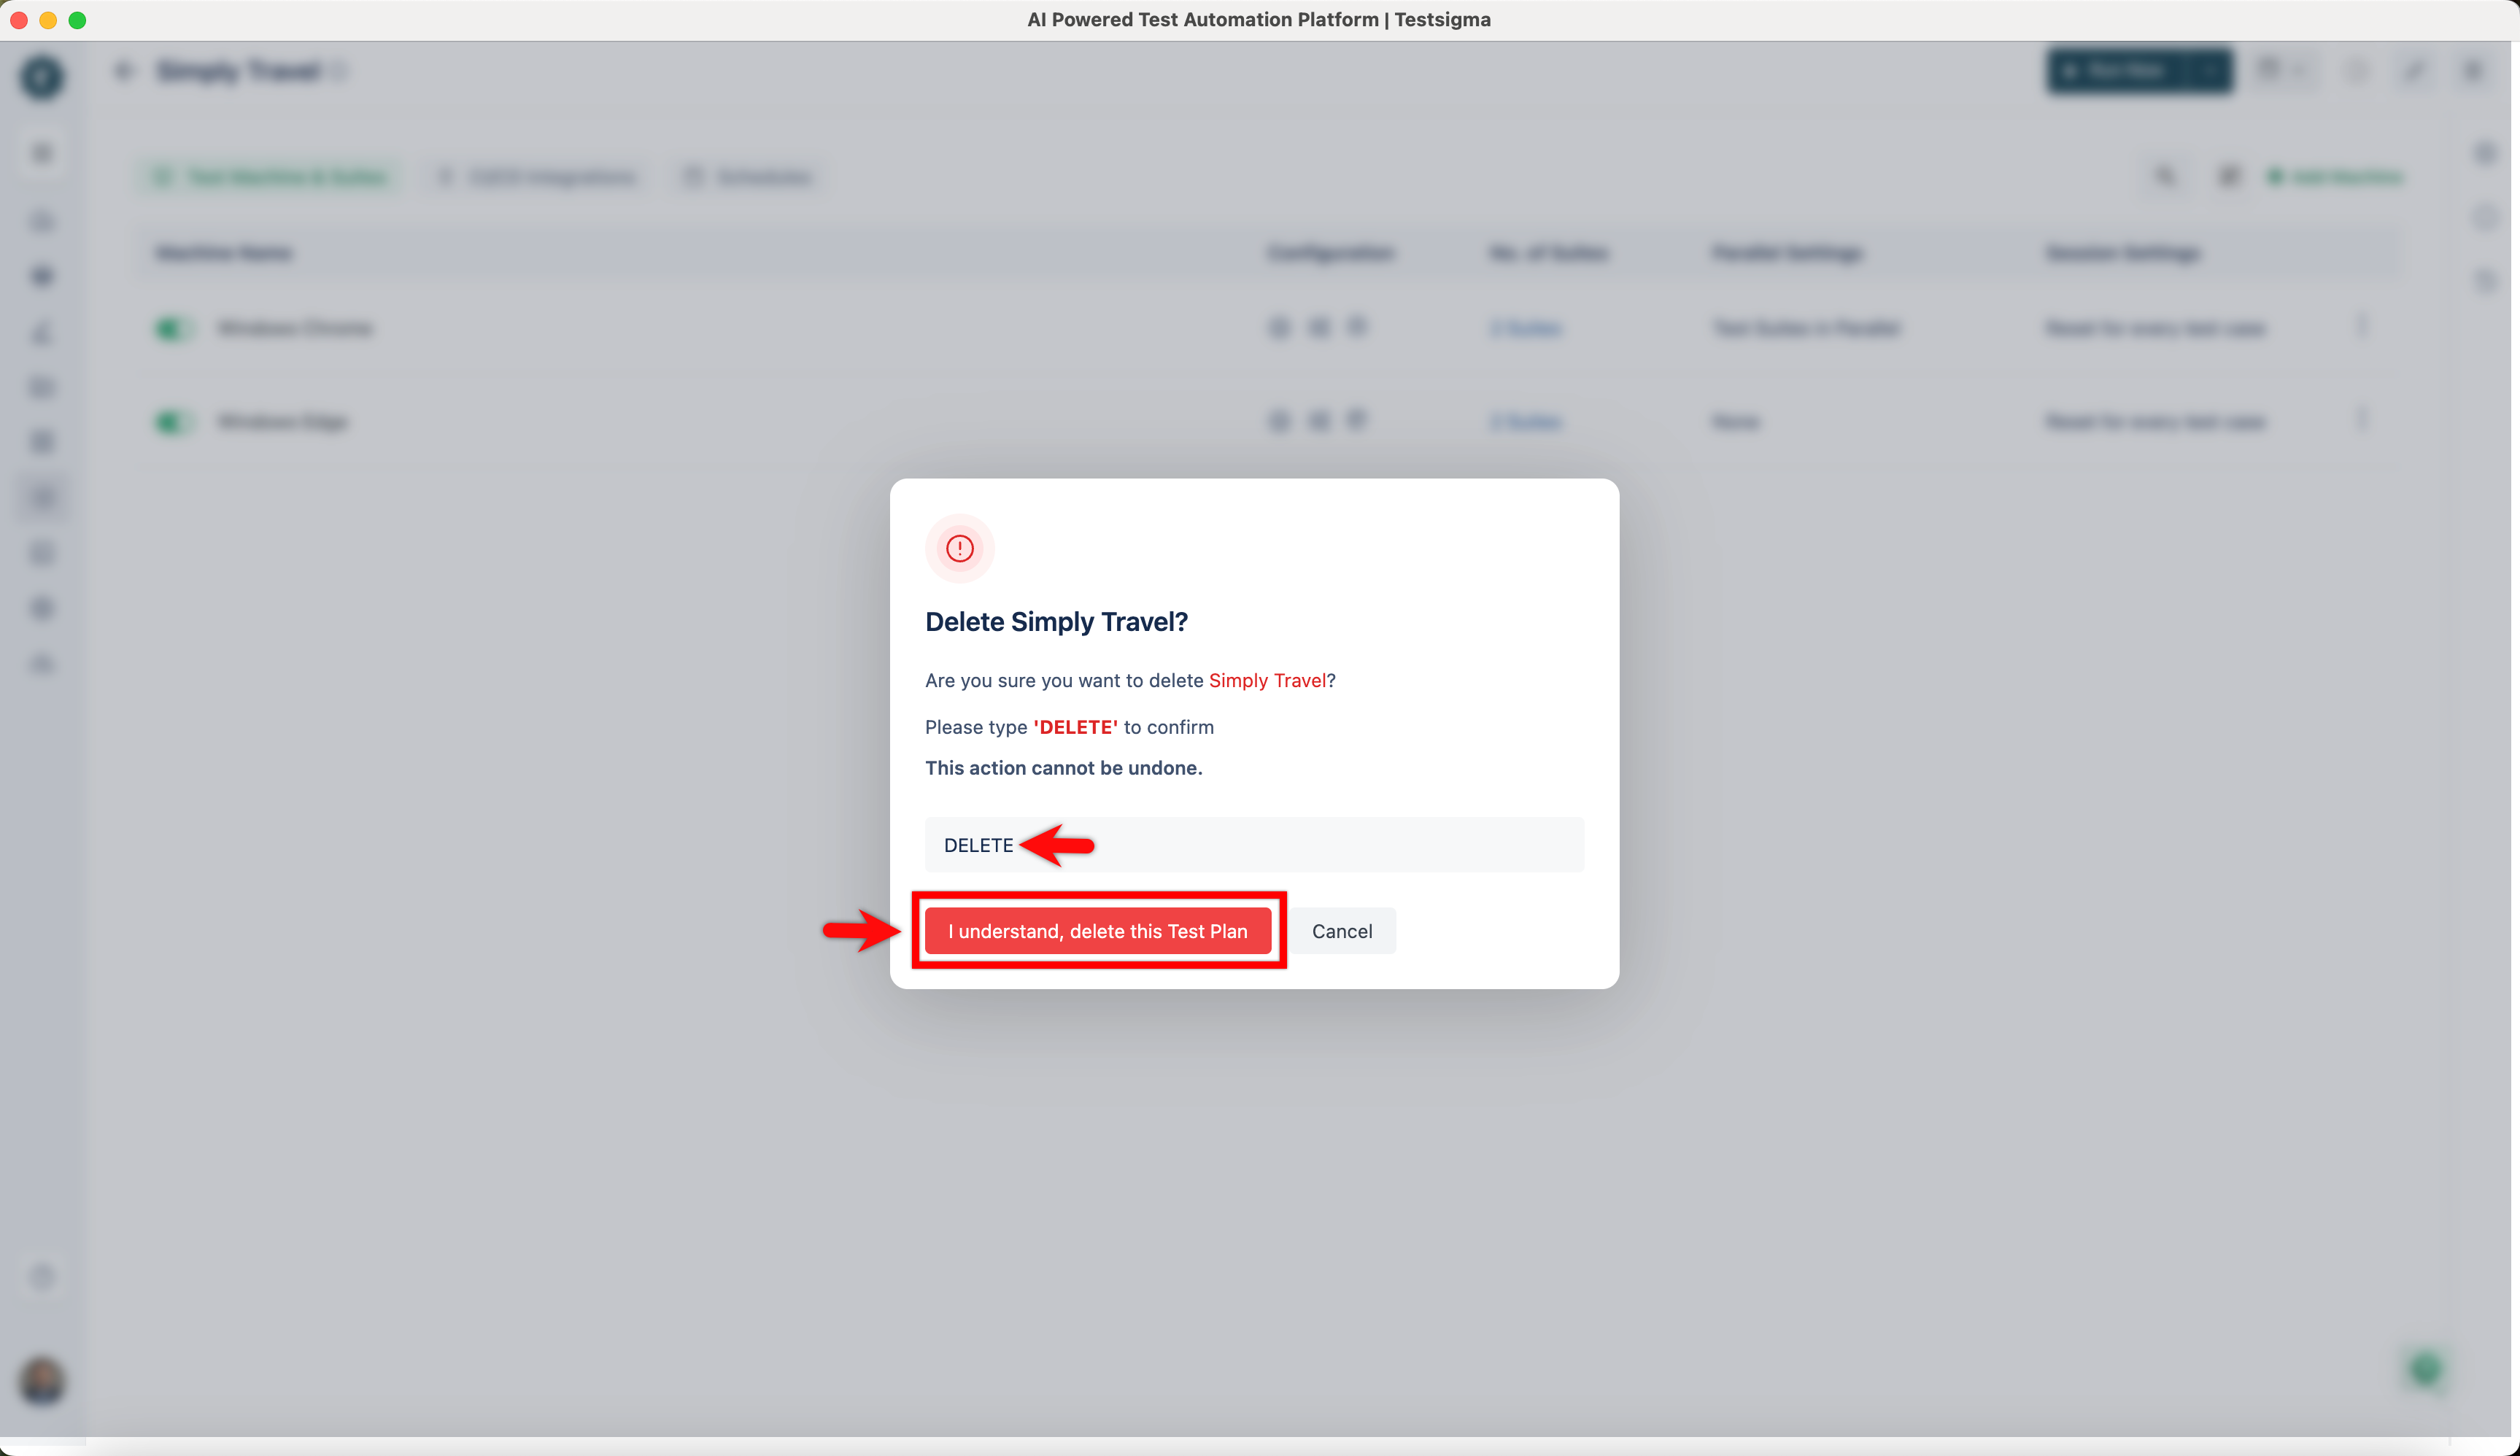
- Click the Delete button in the top right corner of the Test Plan details page.
- A Delete Confirmation pop-up will appear. To delete the Test Plan, you need to confirm the deletion by entering DELETE and then clicking on I understand, delete this Test Plan.
If you delete the Test Plan, you will lose all Schedules, Run reports and configurations associated with it.
Want to contribute or report missing content?