- continuous integration
 Test Plan Details
 - REST API (Generic)
- Jenkins
- Azure DevOps
- AWS DevOps
- AWS Lambda
- Circle CI
- Bamboo CI
- Travis CI
- CodeShip CI
- Shell Script(Generic)
- Bitrise CI
- GitHub CI/CD
- Bitbucket CI/CD
- GitLab CI/CD
- Copado CI/CD
- Gearset CI/CD
- Codemagic CI/CD
- Google Cloud Build CI/CD
Integrate Testsigma with Bitbucket CI
You can trigger tests automatically with Bitbucket integration with Testsigma. This article explains how to integrate Bitbucket with Testsigma for CI/CD purposes.
Prerequisites
Before you begin, ensure that you have referred to:
Steps to Integrate Bitbucket with Testsigma
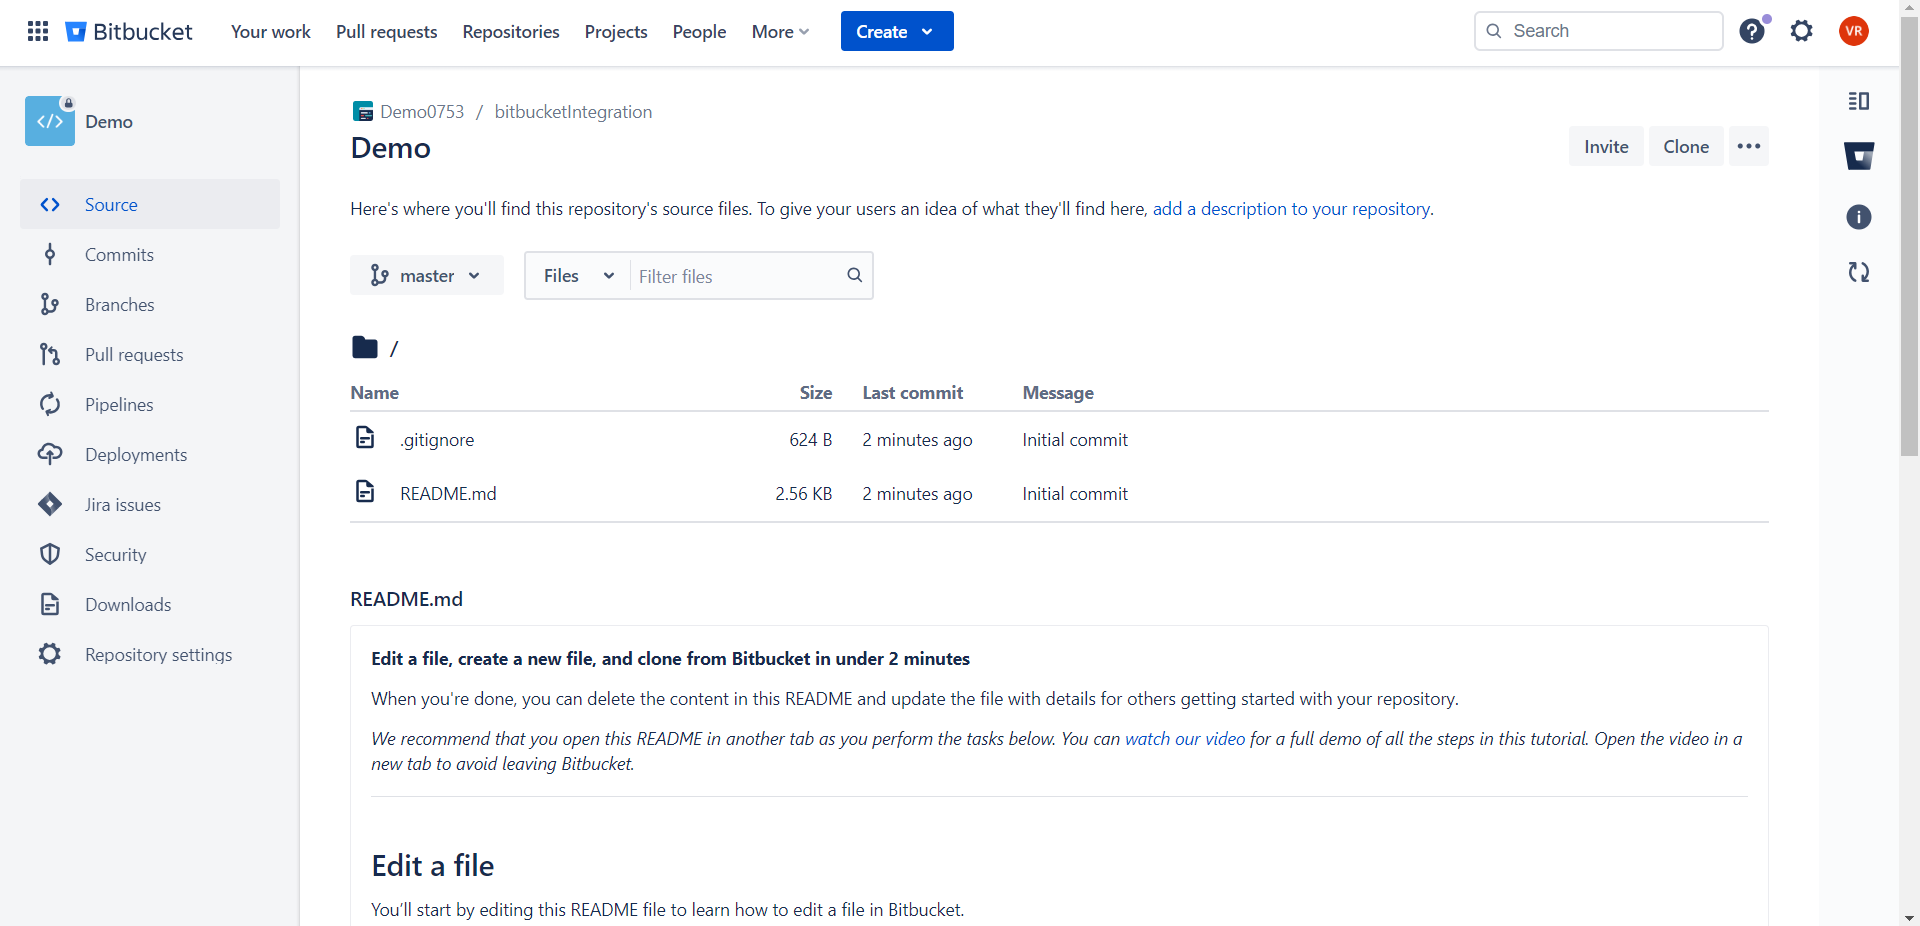
- On your project, navigate to Repository > Pipelines.
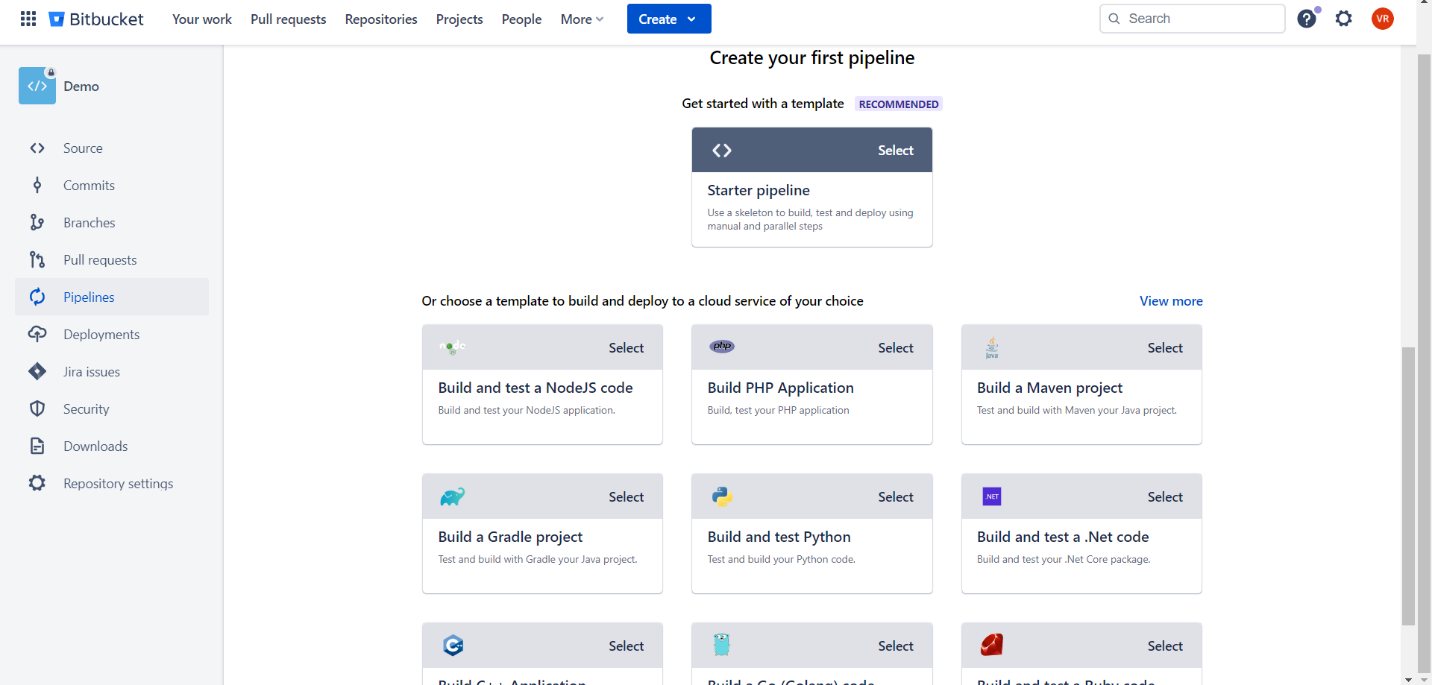
- Click on Create your first pipeline and select Starter pipeline.
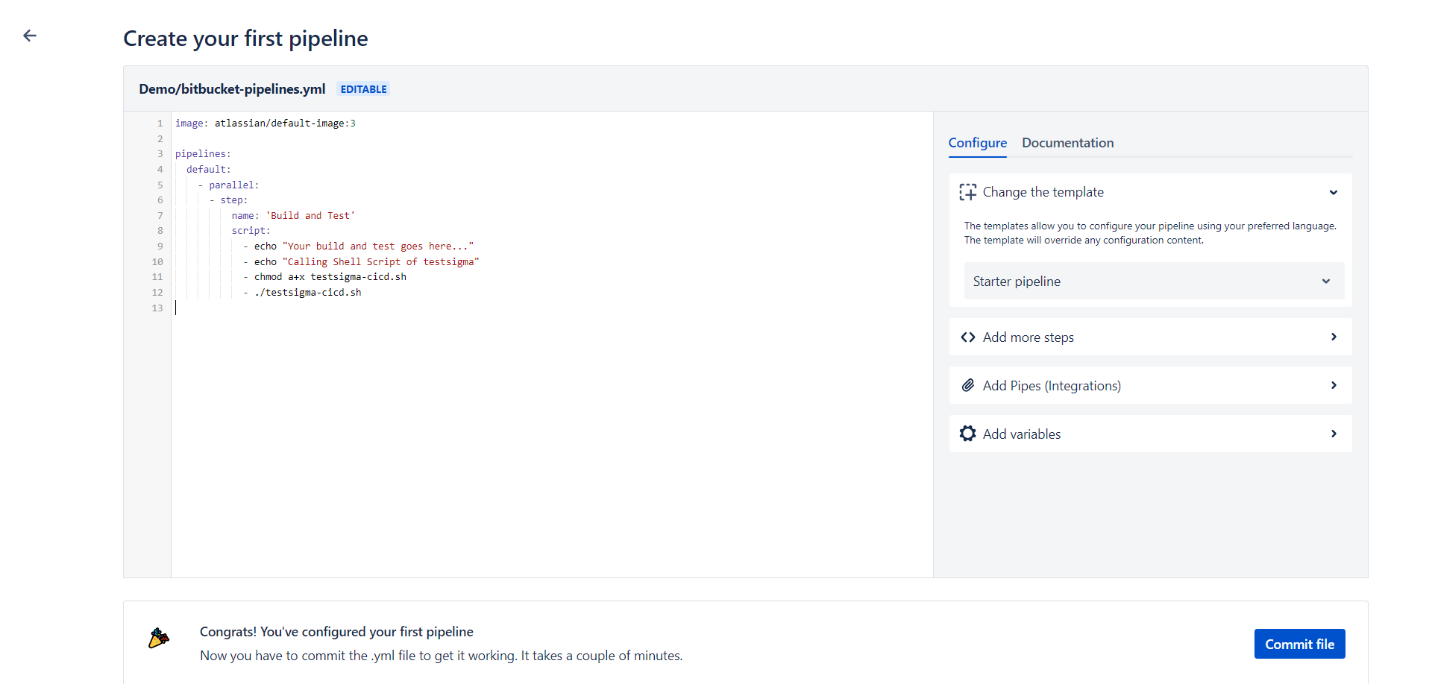
- Create a job using the below YML sample.
pipelines:
  default:
    - parallel:
      - step:
          name: 'Build and Test'
          script:
            - echo "Your build and test goes here..."
            - echo "Calling Shell Script of testsigma"
            - chmod a+x testsigma-cicd.sh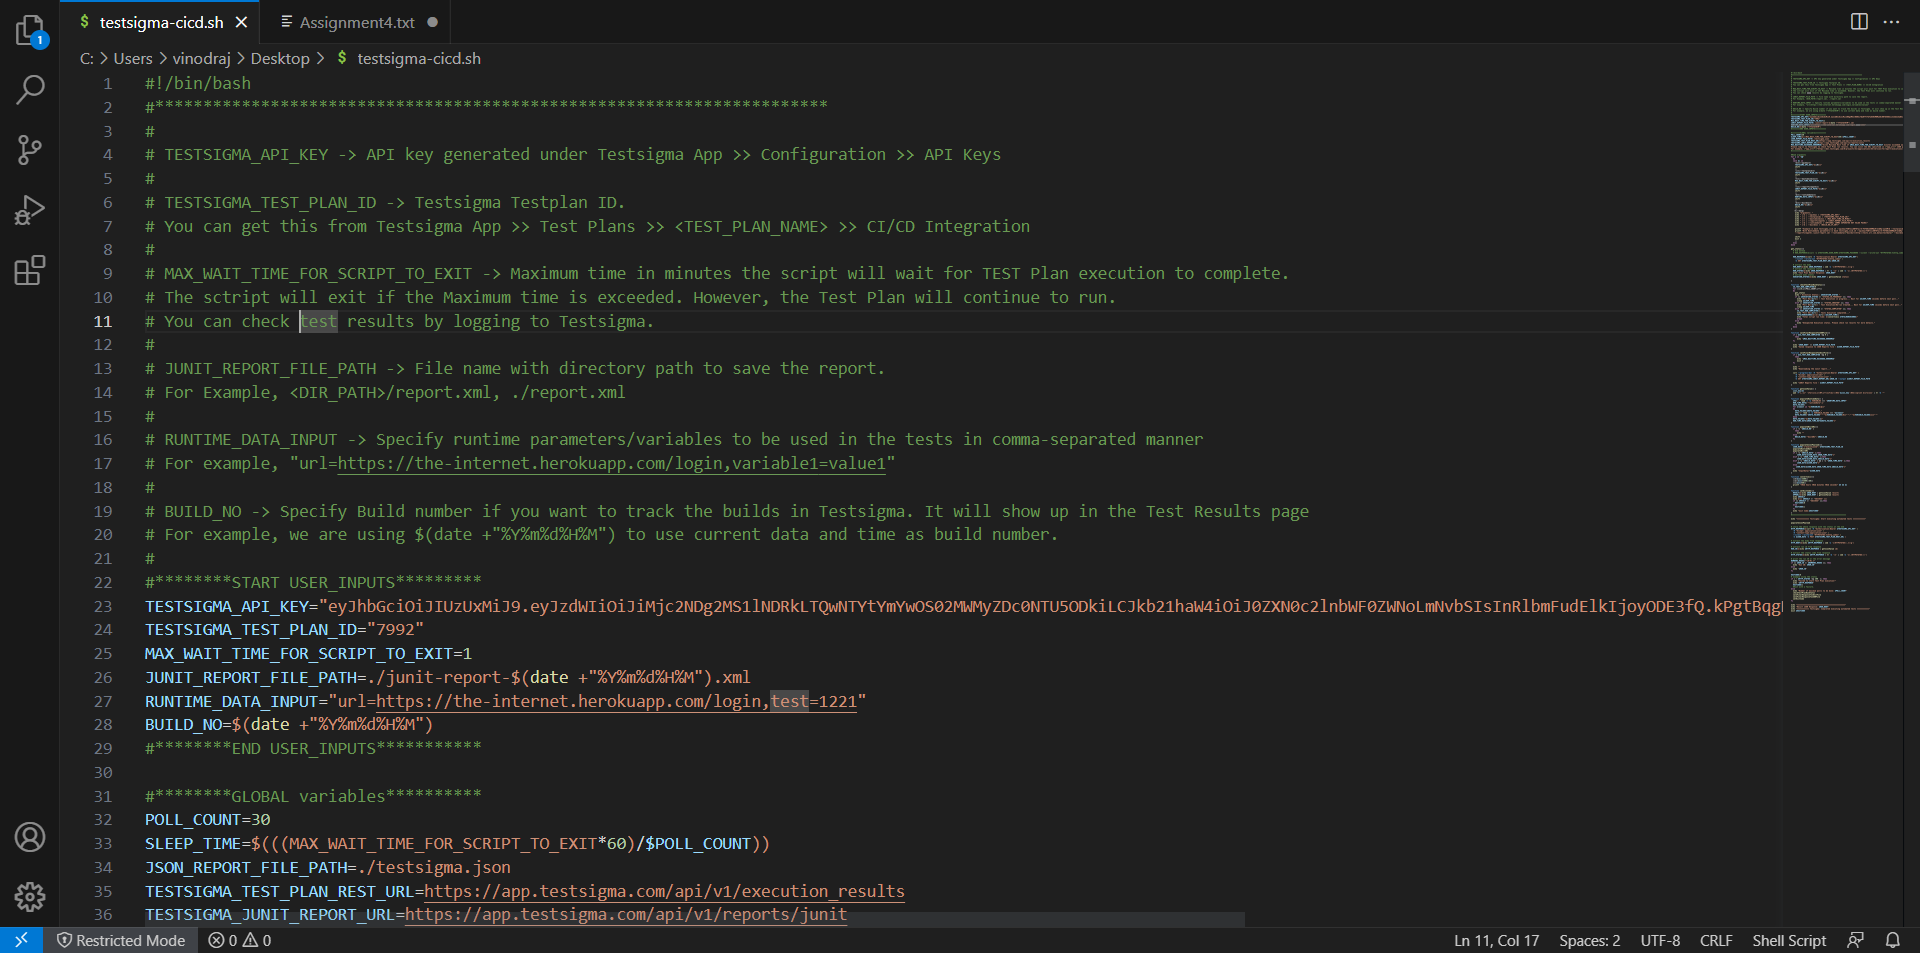
- ./testsigma-cicd.shRefer to the Shell Script to get the sh script, which contains the command that triggers the test plan and fetches the run result. You can place the sh script in the same project, call the file inside the YML file, or obtain it from any external sources by providing the appropriate path.
Any bash runner can work with the provided YML file. For instance, if you are using the docker runner, you can use the YML file as it is. However, if you have a different runner like powershell, you must modify the YML file to make it executable in the powershell runner. Additionally, ensure that powershell is version seven or above.
- In the shell script, provide the Test Plan ID and API Key.
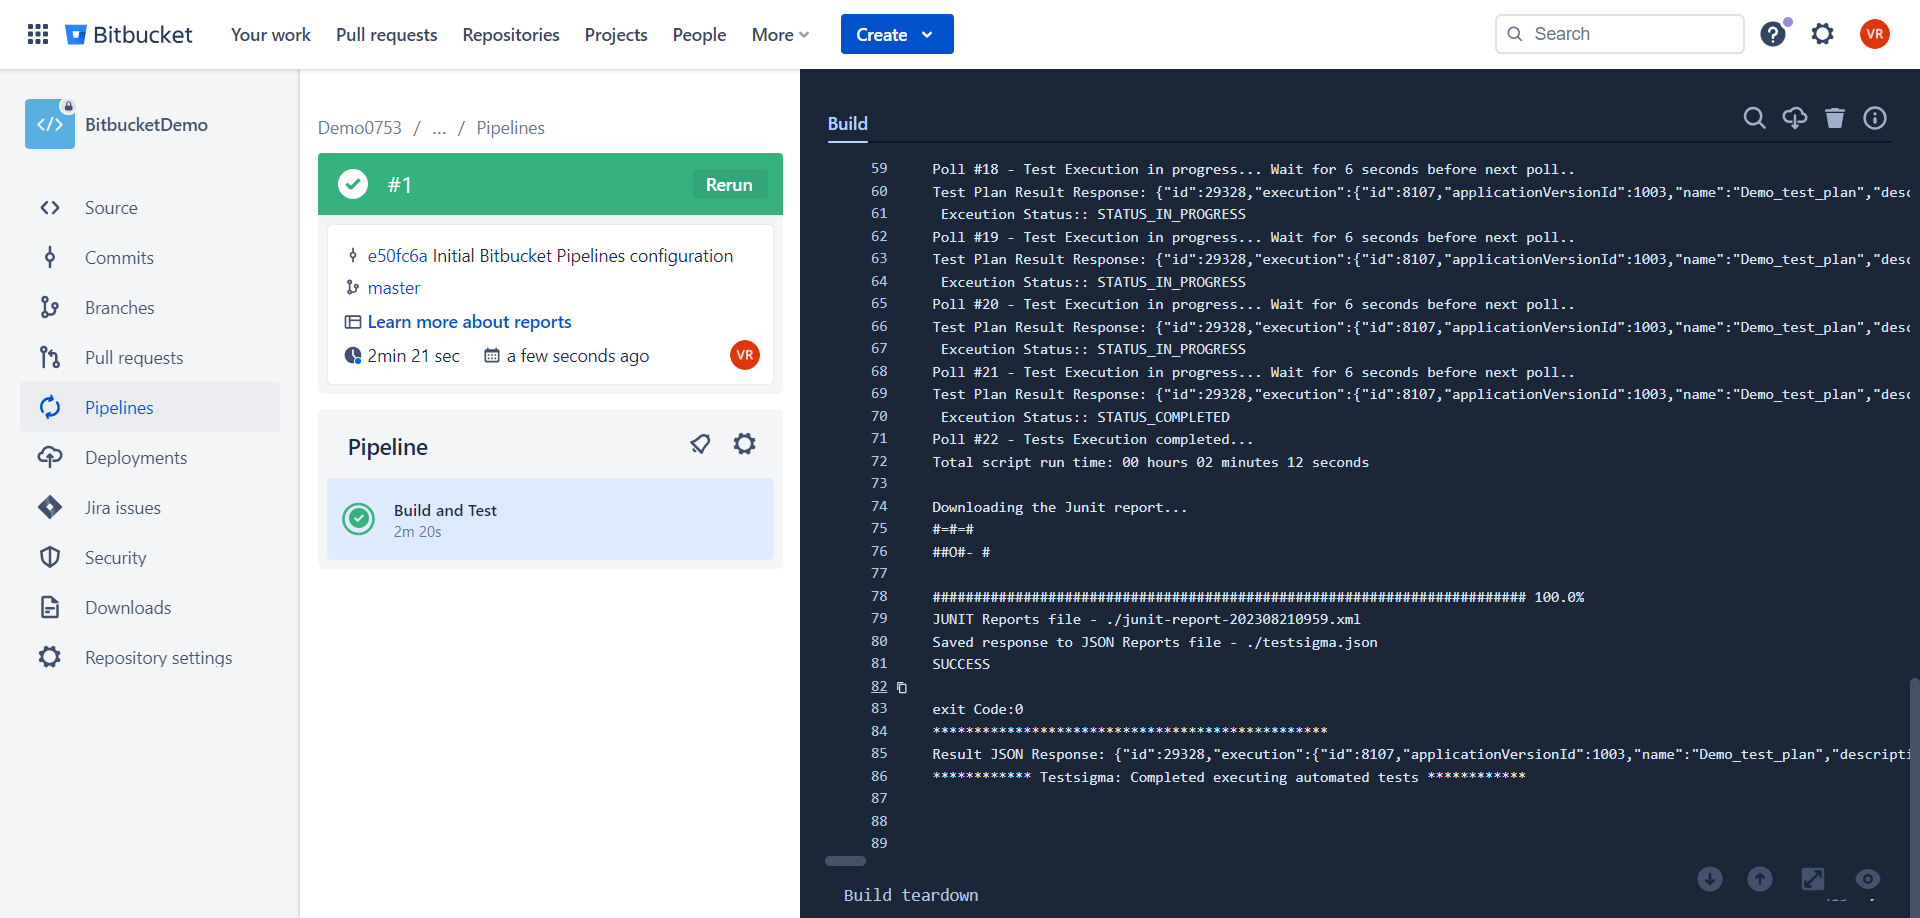
- Once you have created the YML script, click on Commit to run the job.
- Once the job is completed you can see the execution report as an XML report based on the path you have shared on the shell script.
Want to contribute or report missing content?