- create test cases
 Organizing Test Cases in Folders
- Test Cases for Web Applications
- Test Cases for Mobile Applications
- Test Cases for Mobile Web Applications
- Manage Test Cases for Web Applications
- Manage Test Cases for Android & iOS Apps
- Manage Test Cases for Mobile Web Applications
- Test Case List Actions
- Importing Postman Collections and Environments
- Custom Fields for Test Cases
- Label Management
- Update Test Case Result in a Test Plan
- Test Case: Advanced Options Guide
- Test Step Types
- Type: Natural Language
- Type: REST API
- Type: Step Group
- Type: For Loop
- Type: While Loop
- Type: Block
- Type: If Condition
- Nested Step Groups
- Image Injection
- Cross-application testing
Manage Test Cases for Web Applications
Testsigma provides a comprehensive and user-friendly solution for efficiently organising and executing test cases. It enables teams to collaborate effectively, ensures maximum test coverage, and provides valuable insights into the testing workflow. This documentation guides you through editing and deleting test cases in Testsigma.
Prerequisites
Before you begin, ensure you have referred to the documentation on Creating Test Cases for Web Applications.
Edit a Test Case
Note that the most effective way to edit your test case is by using Copilot. Please refer to the documentation on Editing a Test Case Using Copilot.
- From the left navigation bar, go to Create Tests > Test Cases.
- Expand a Feature, then expand a Scenario, and select the test case you want to edit.
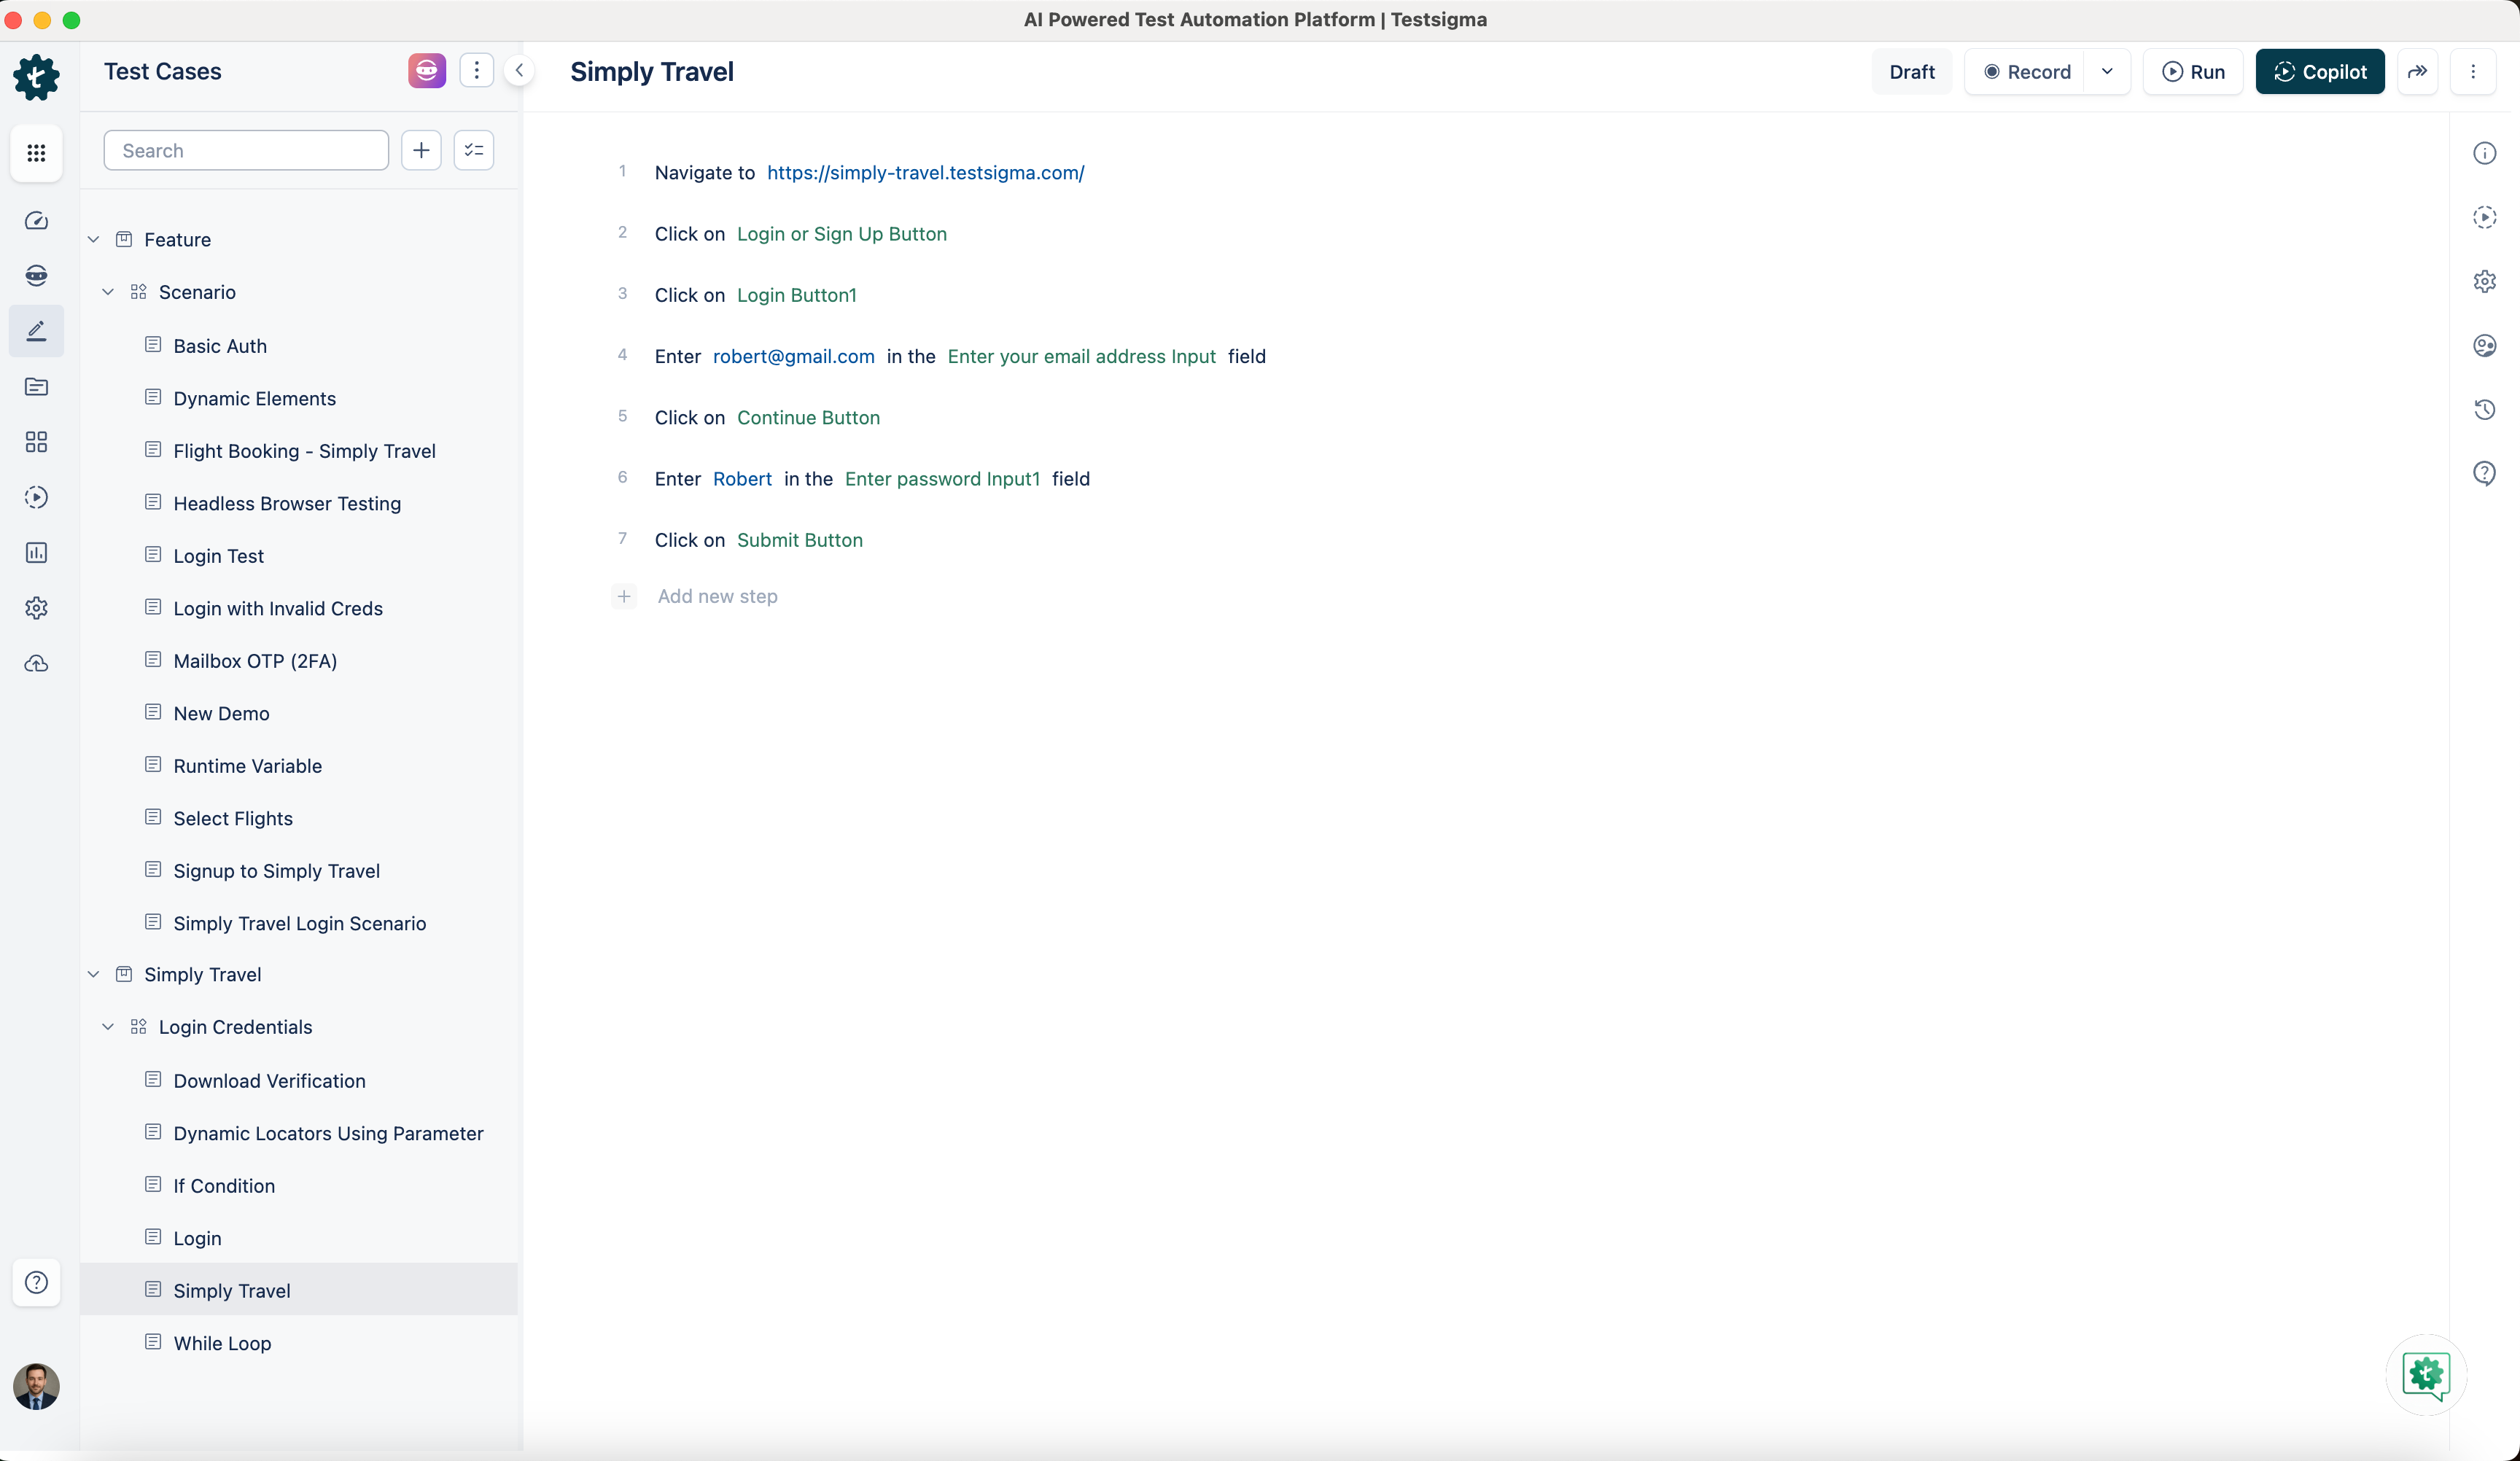
- On the Test Case Details page, you can edit the test case using the following options:
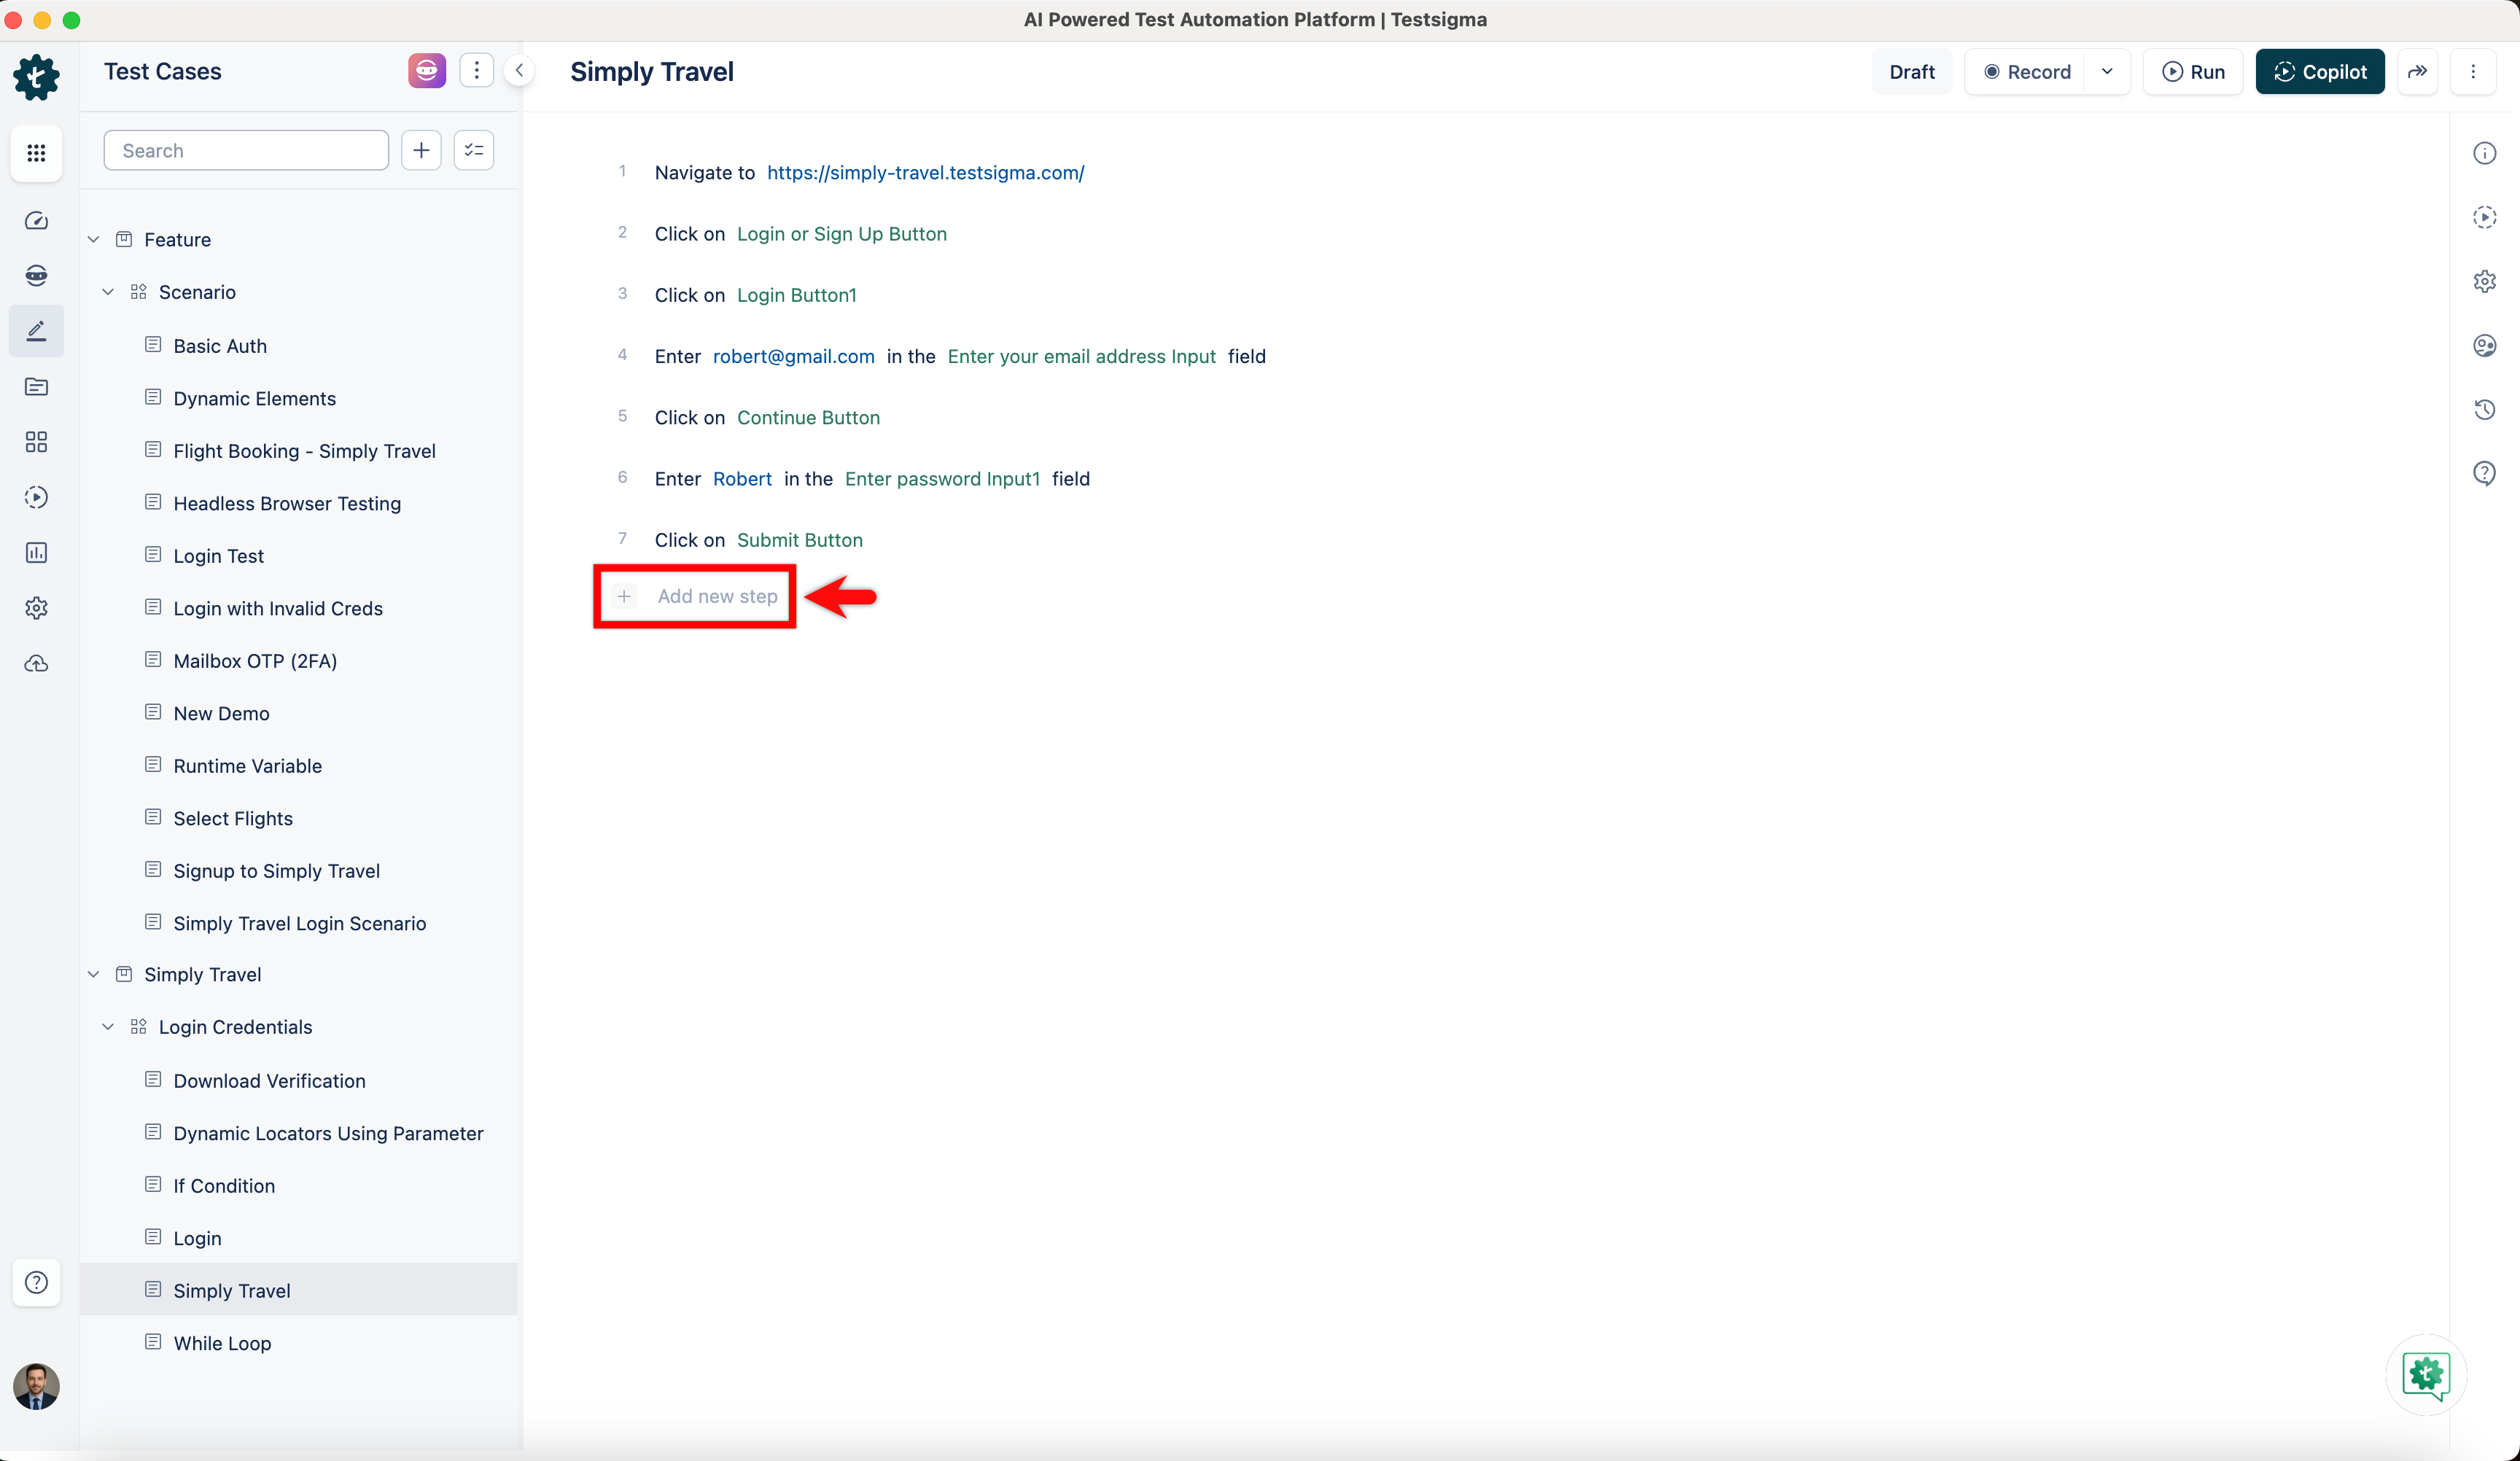
Add a New Step
- Click + Add new step at the bottom of the step list to append a new step at the end.
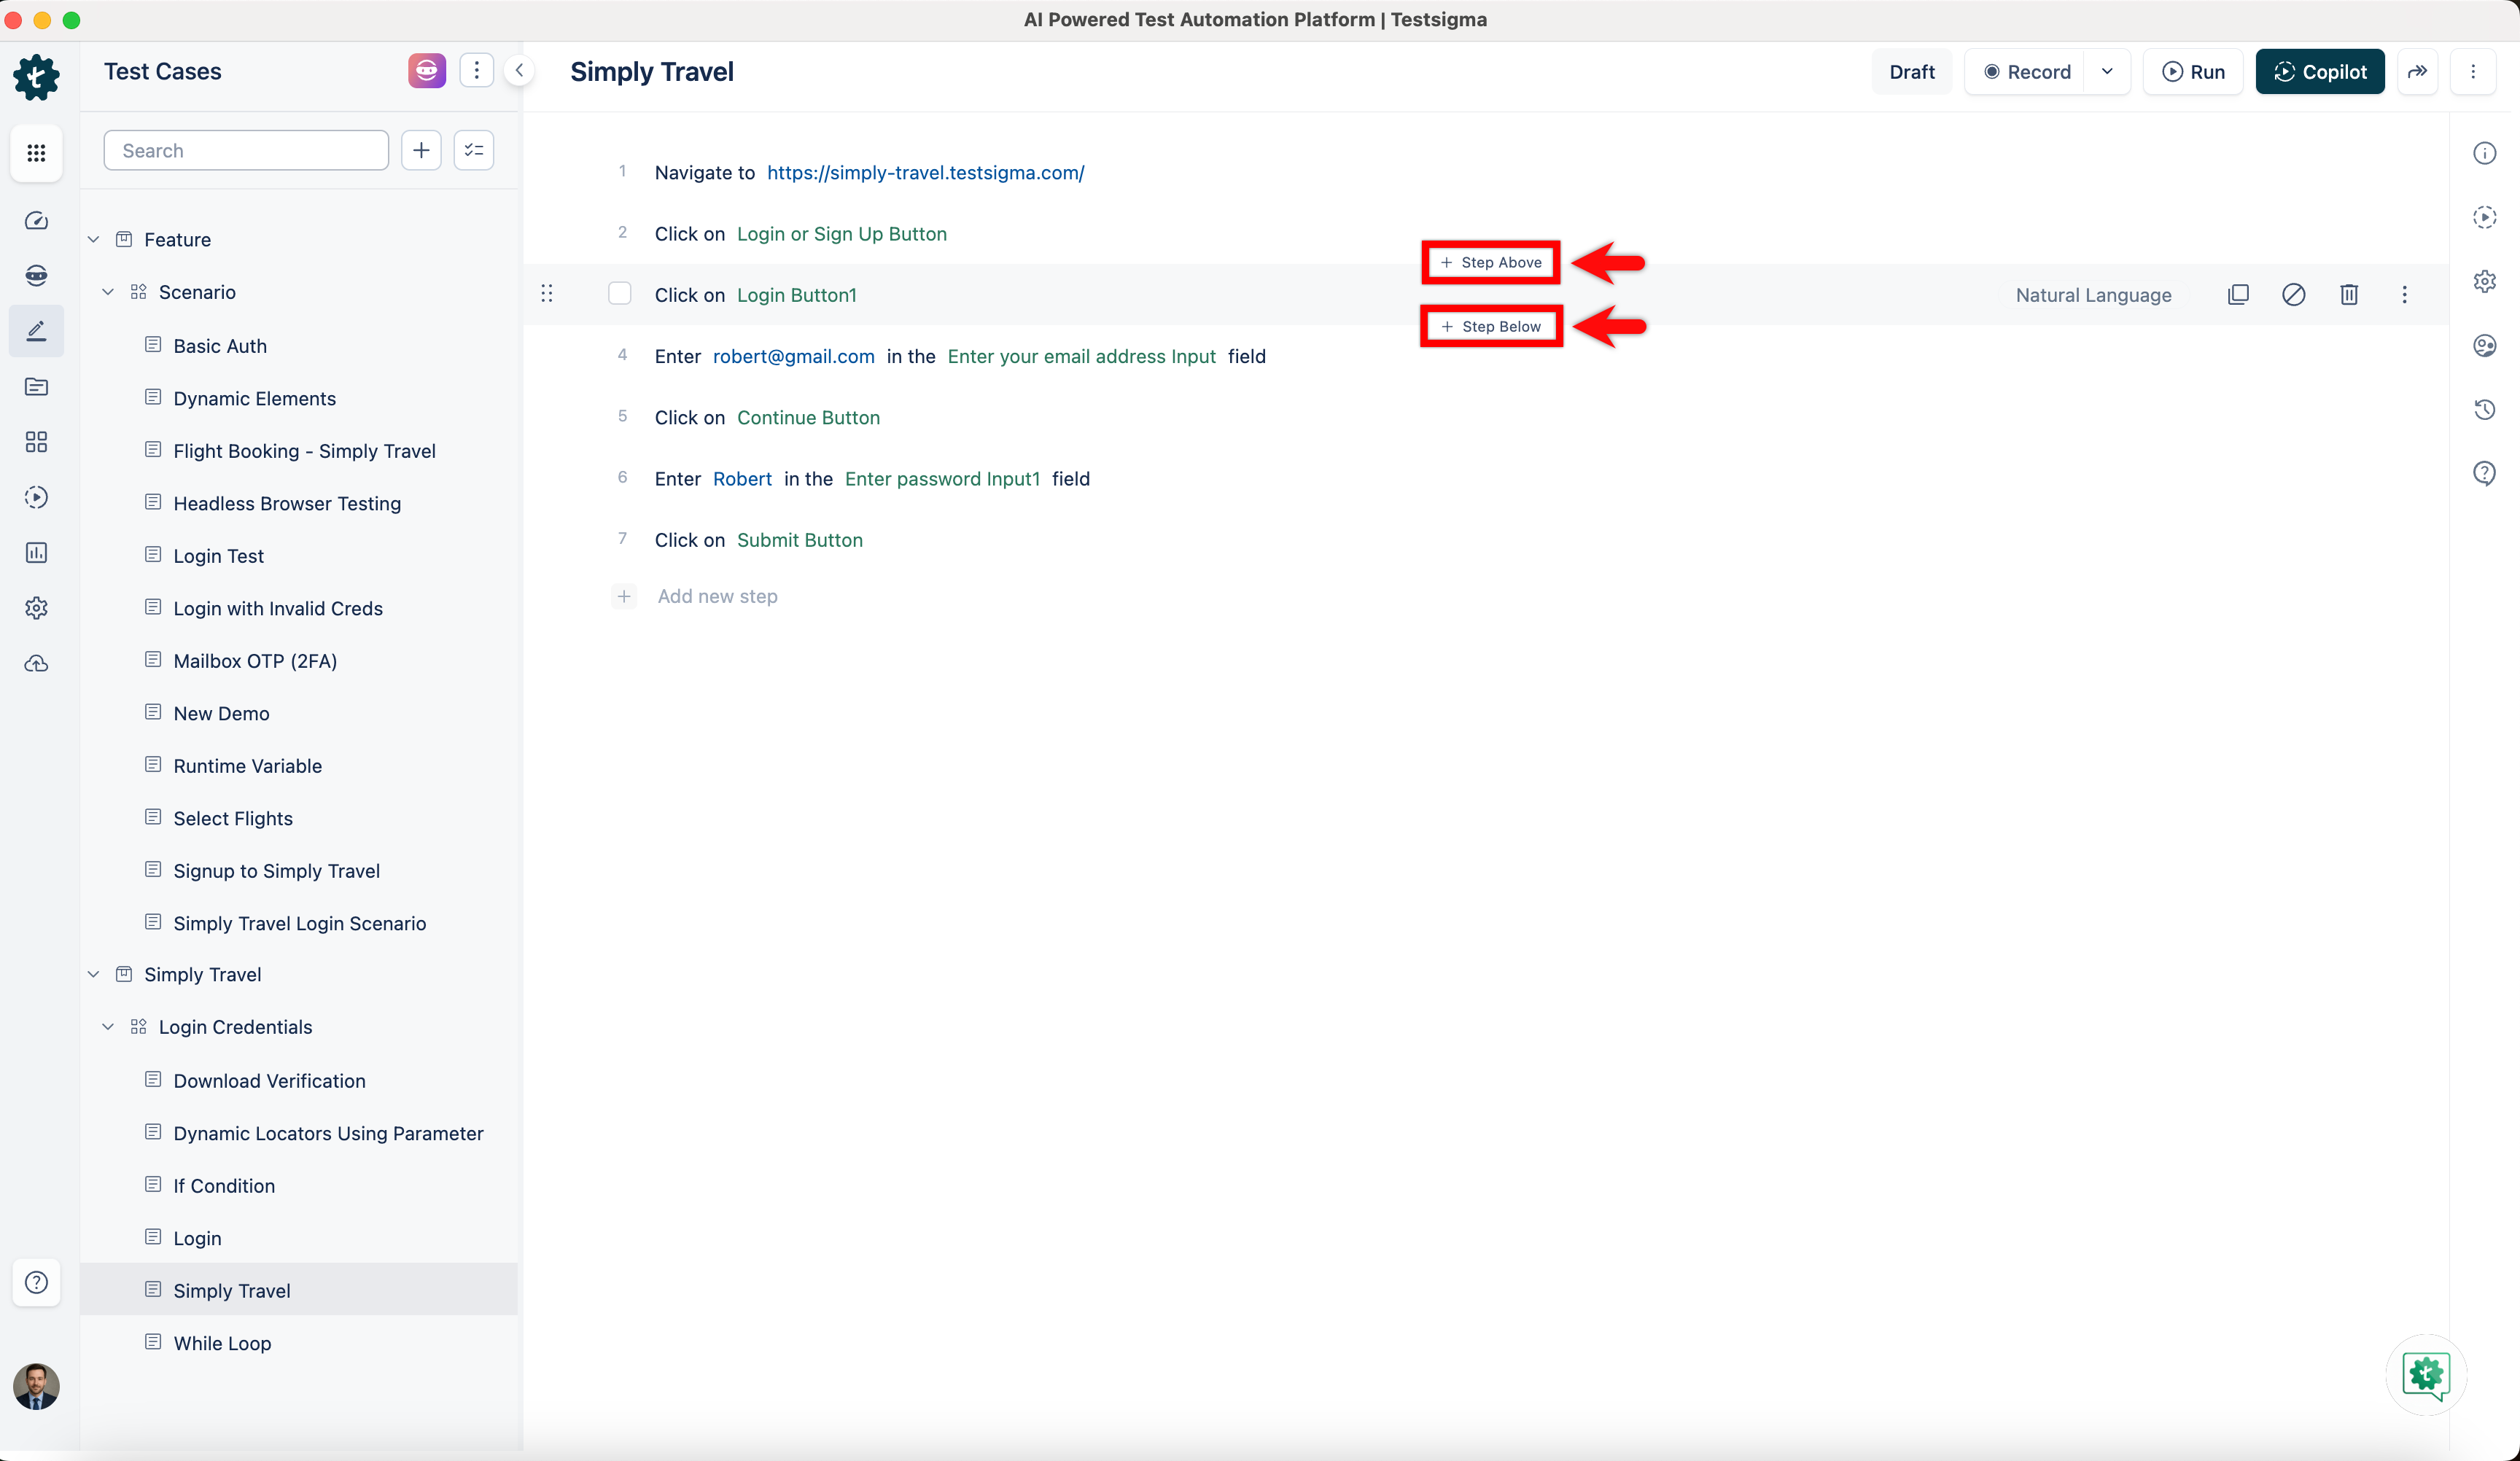
- To insert a step at a specific position, hover over any existing step. Click + Step Above to insert a step before it, or + Step Below to insert a step after it.
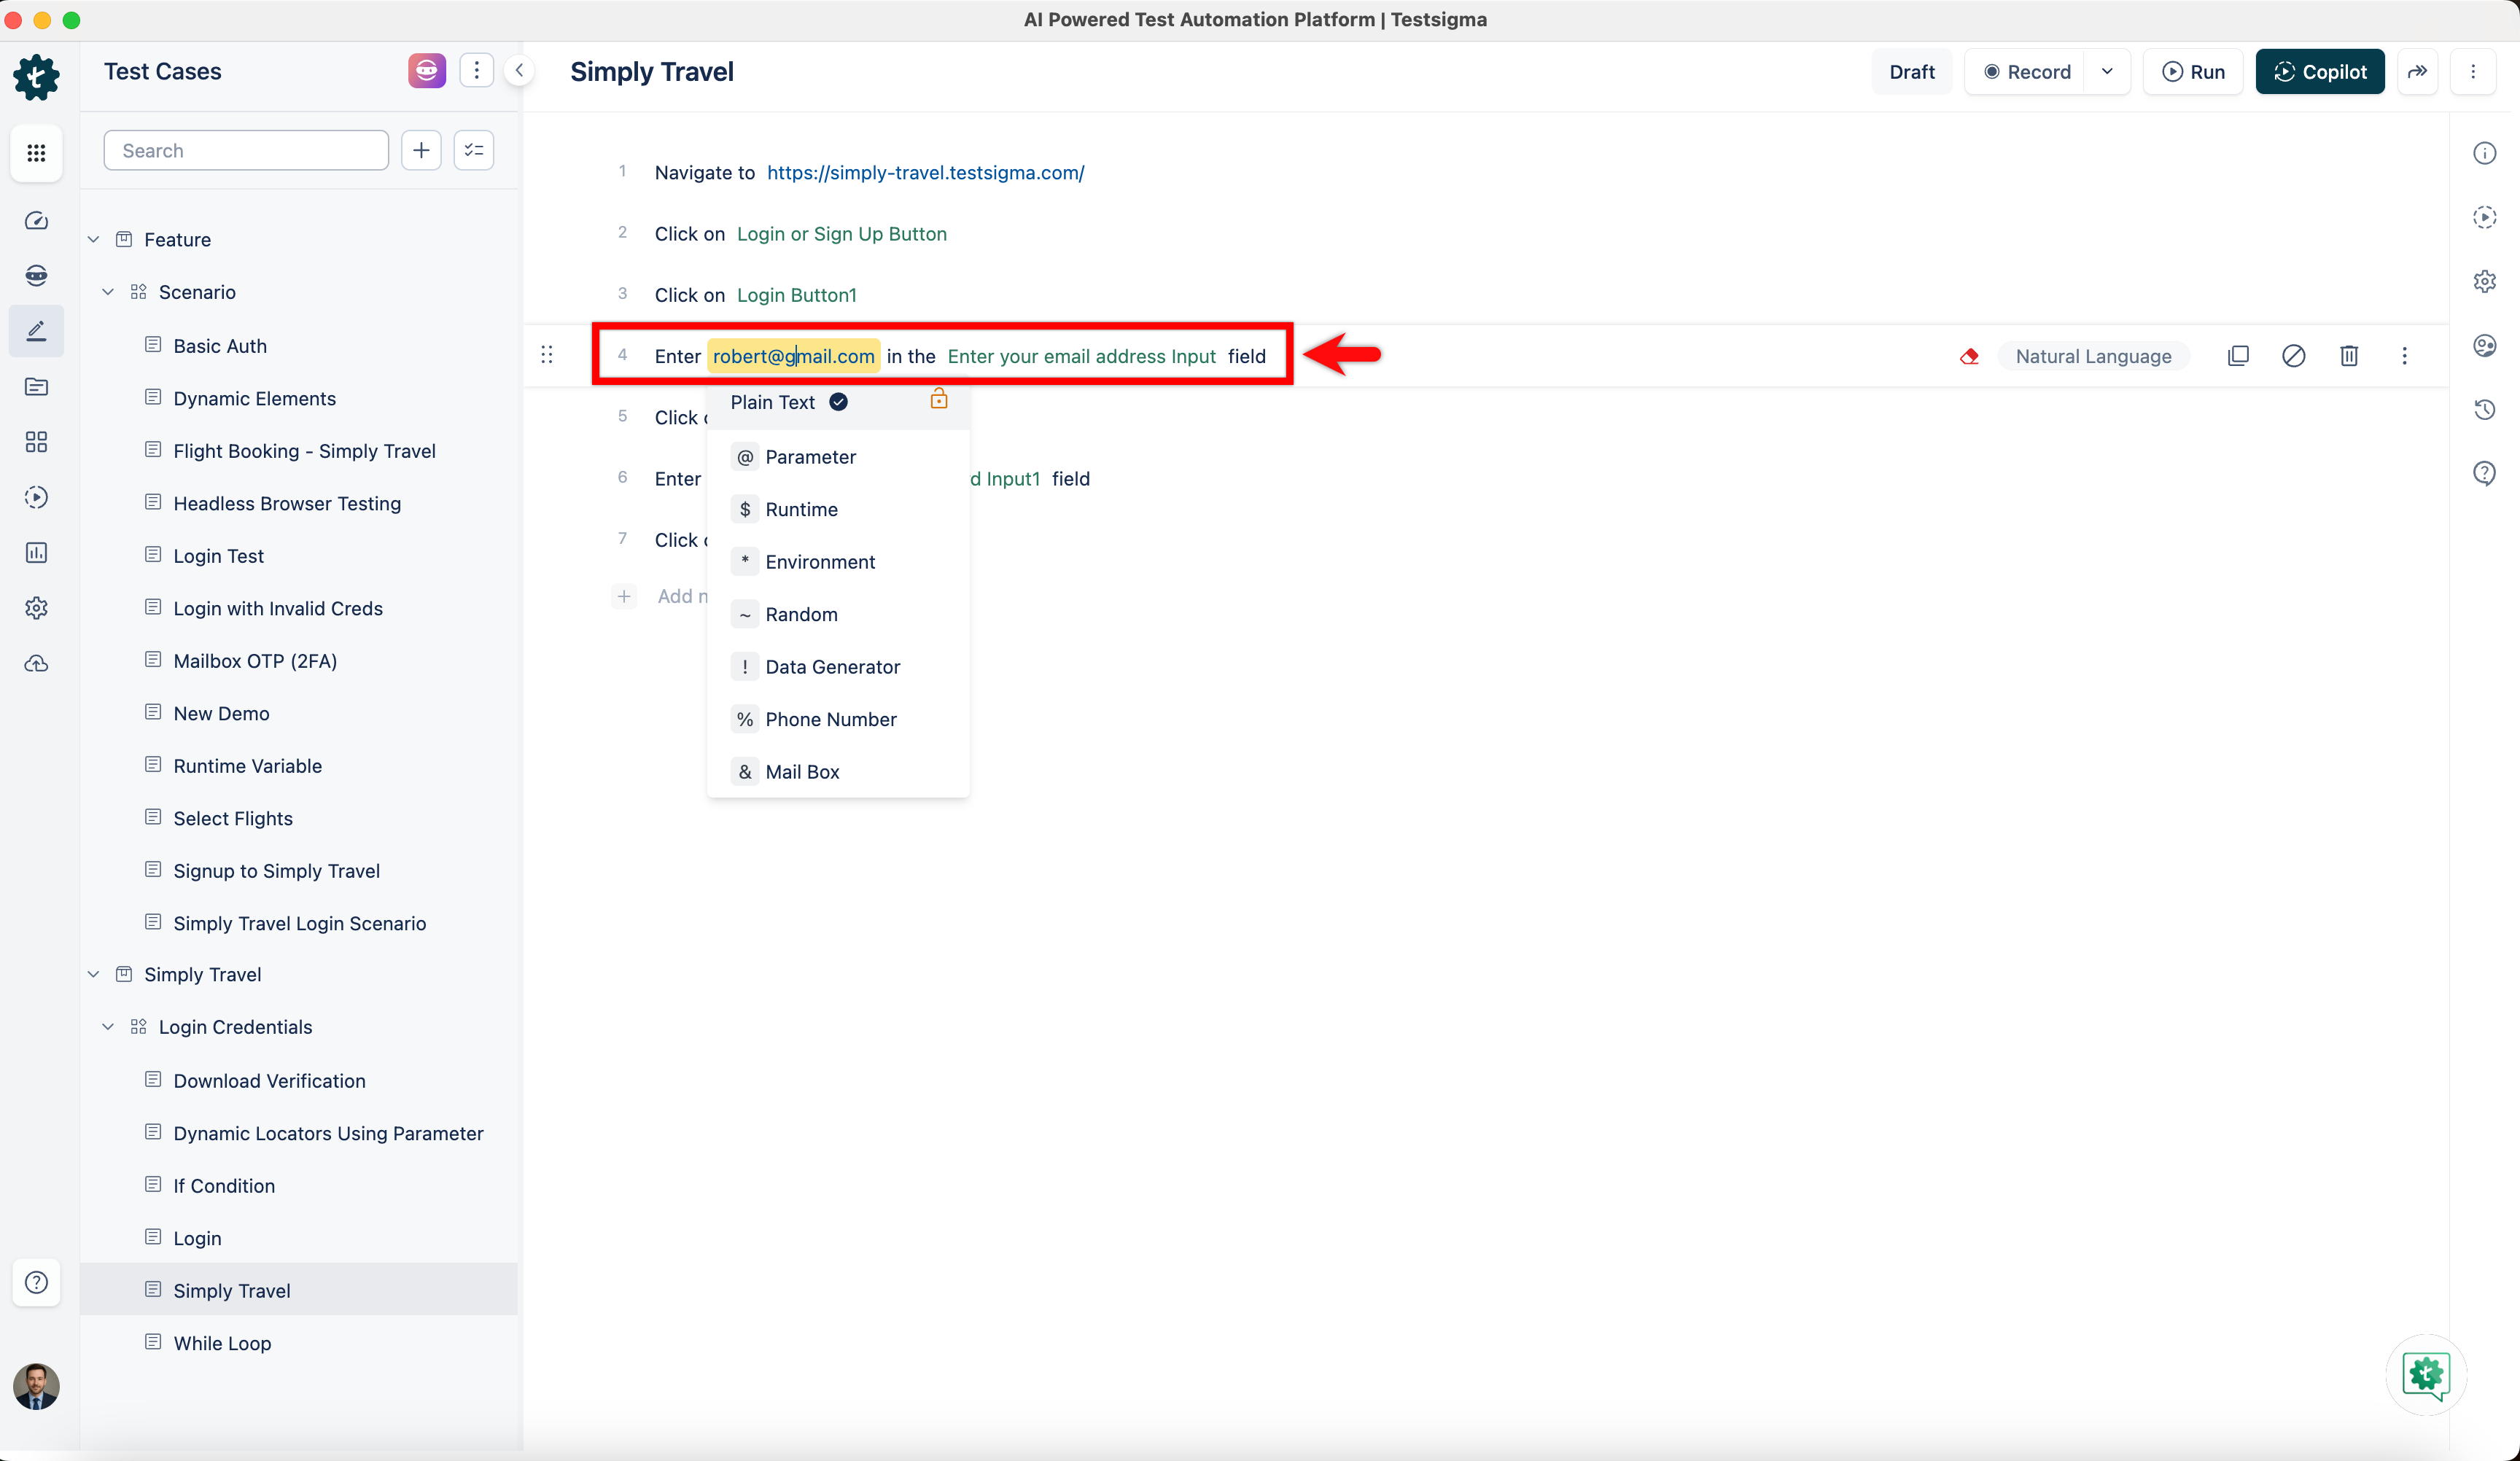
Update an Existing Step
- Click on any existing step to make it editable. Modify the NLP action, test data, or element as needed.
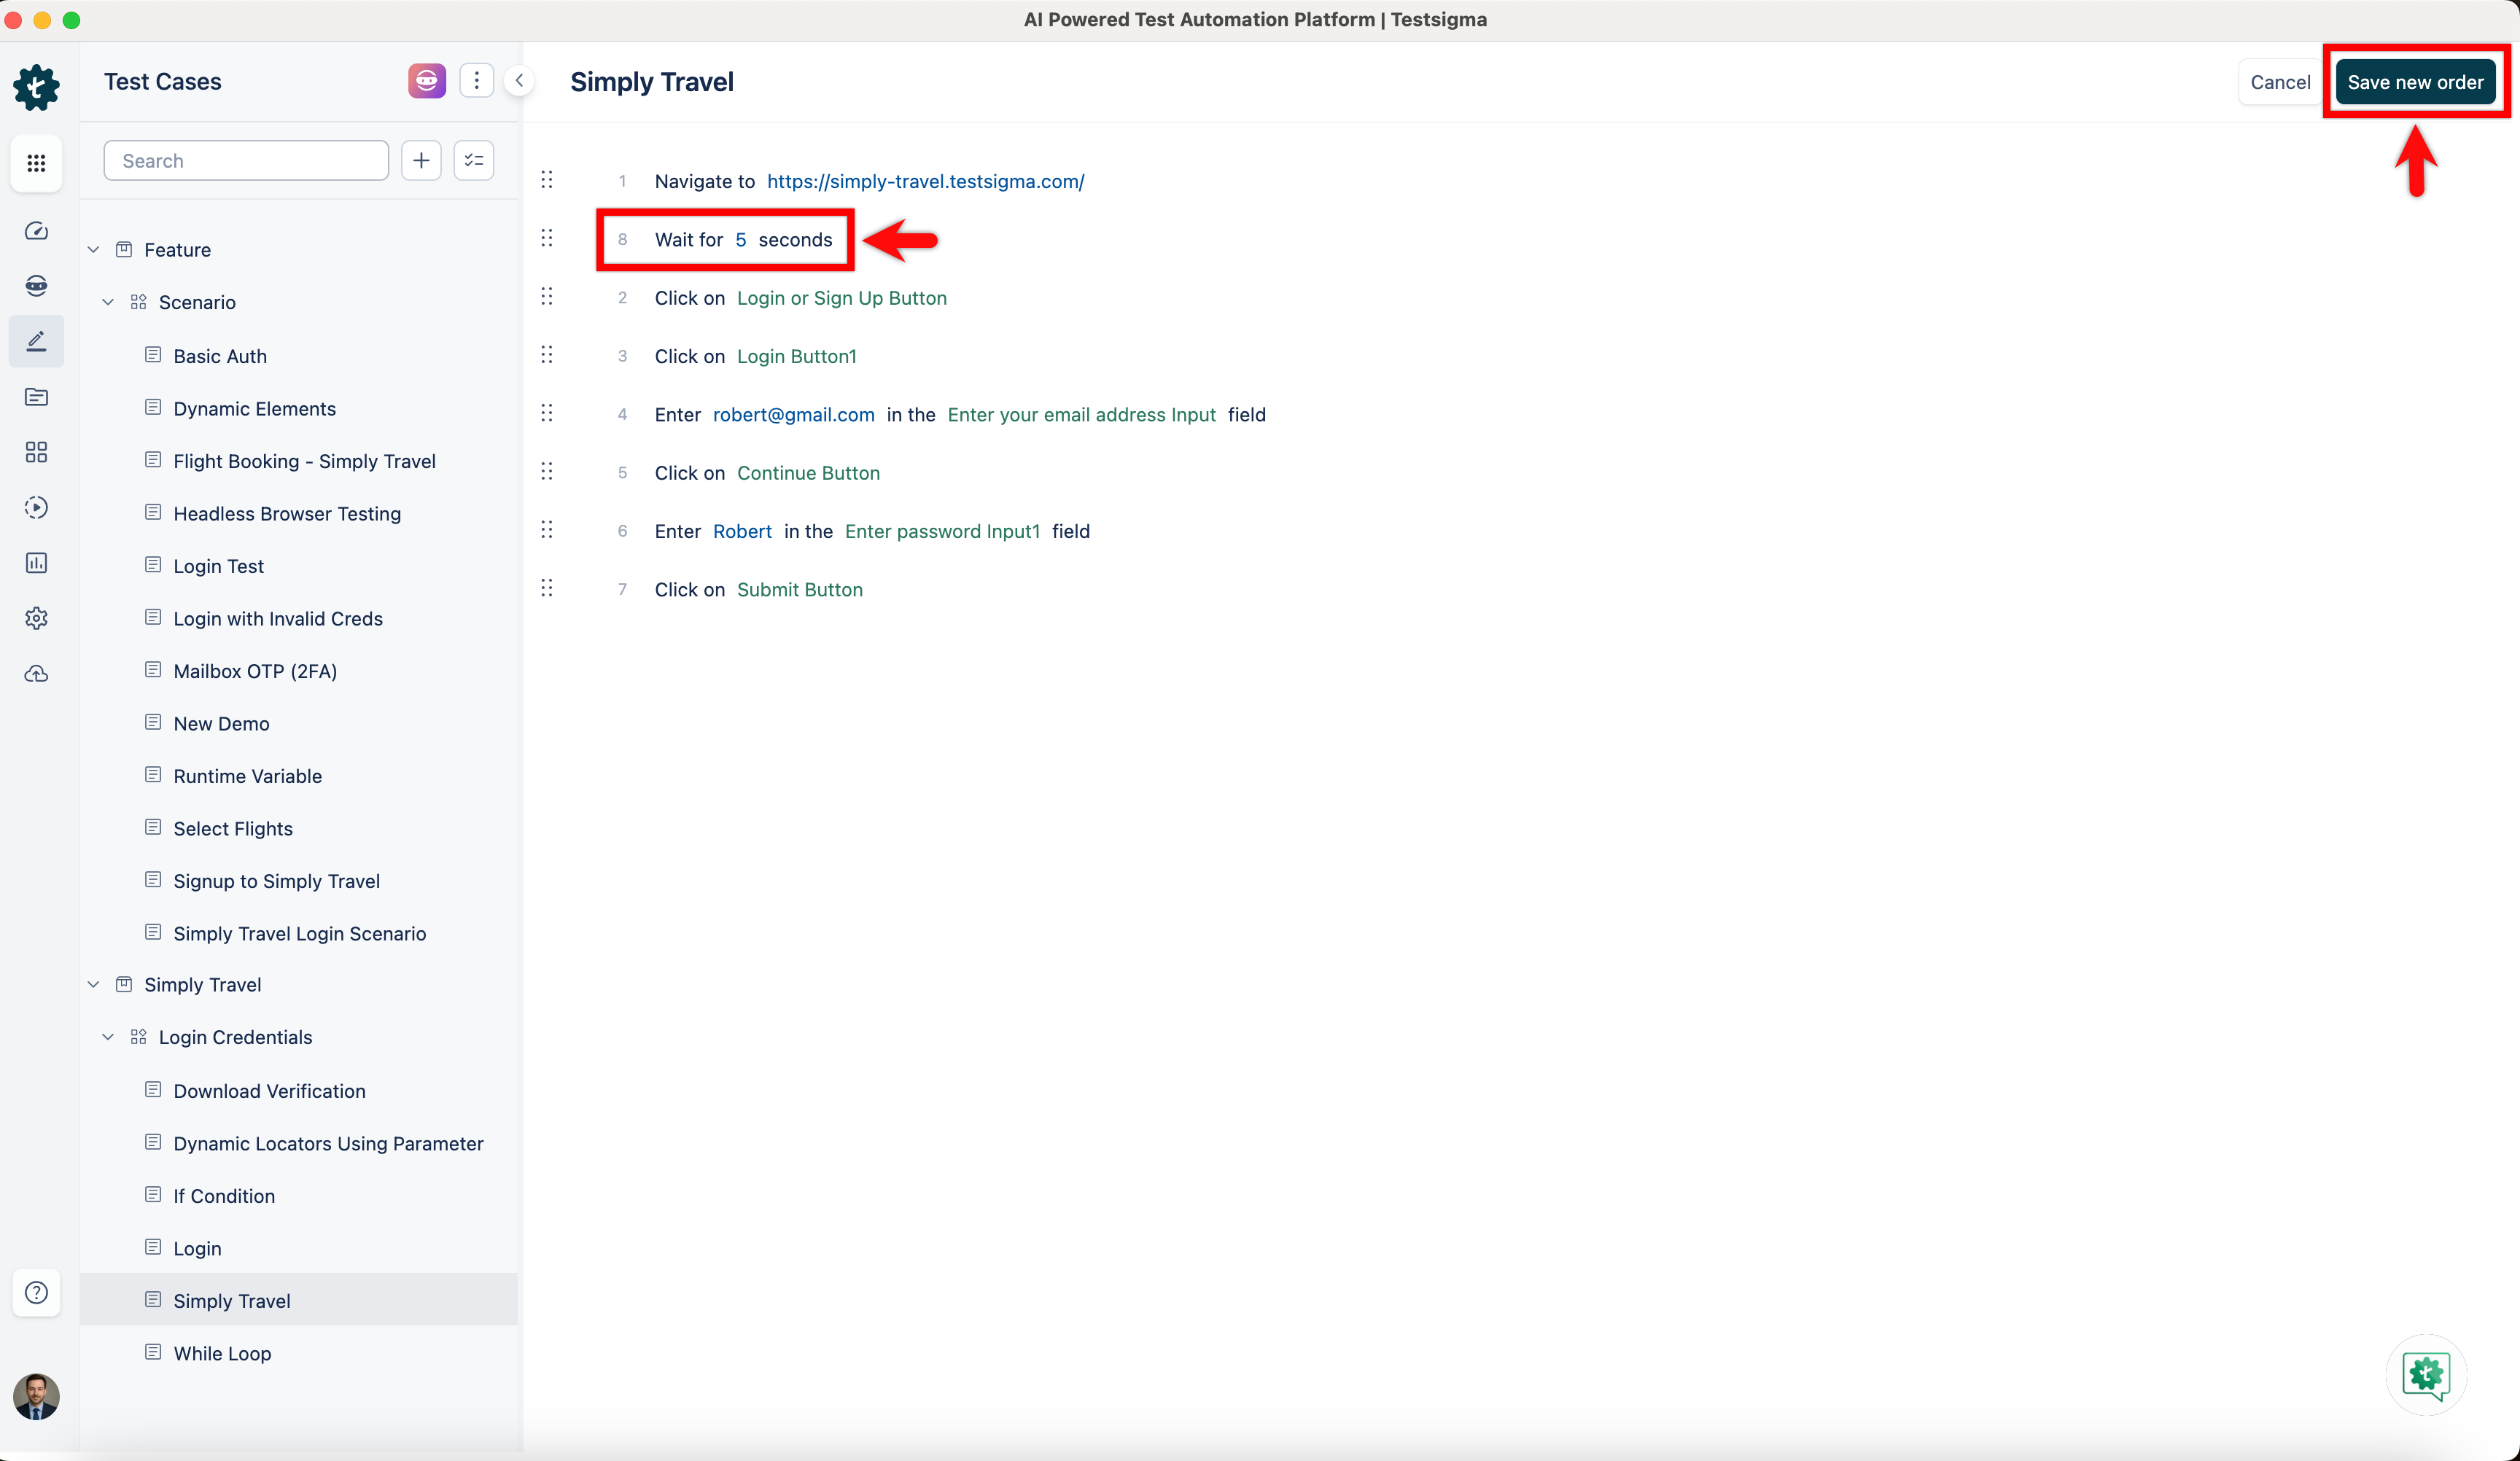
Reorder Steps
- Hover over a step to reveal the drag handle (⠿) on the left side of the step.
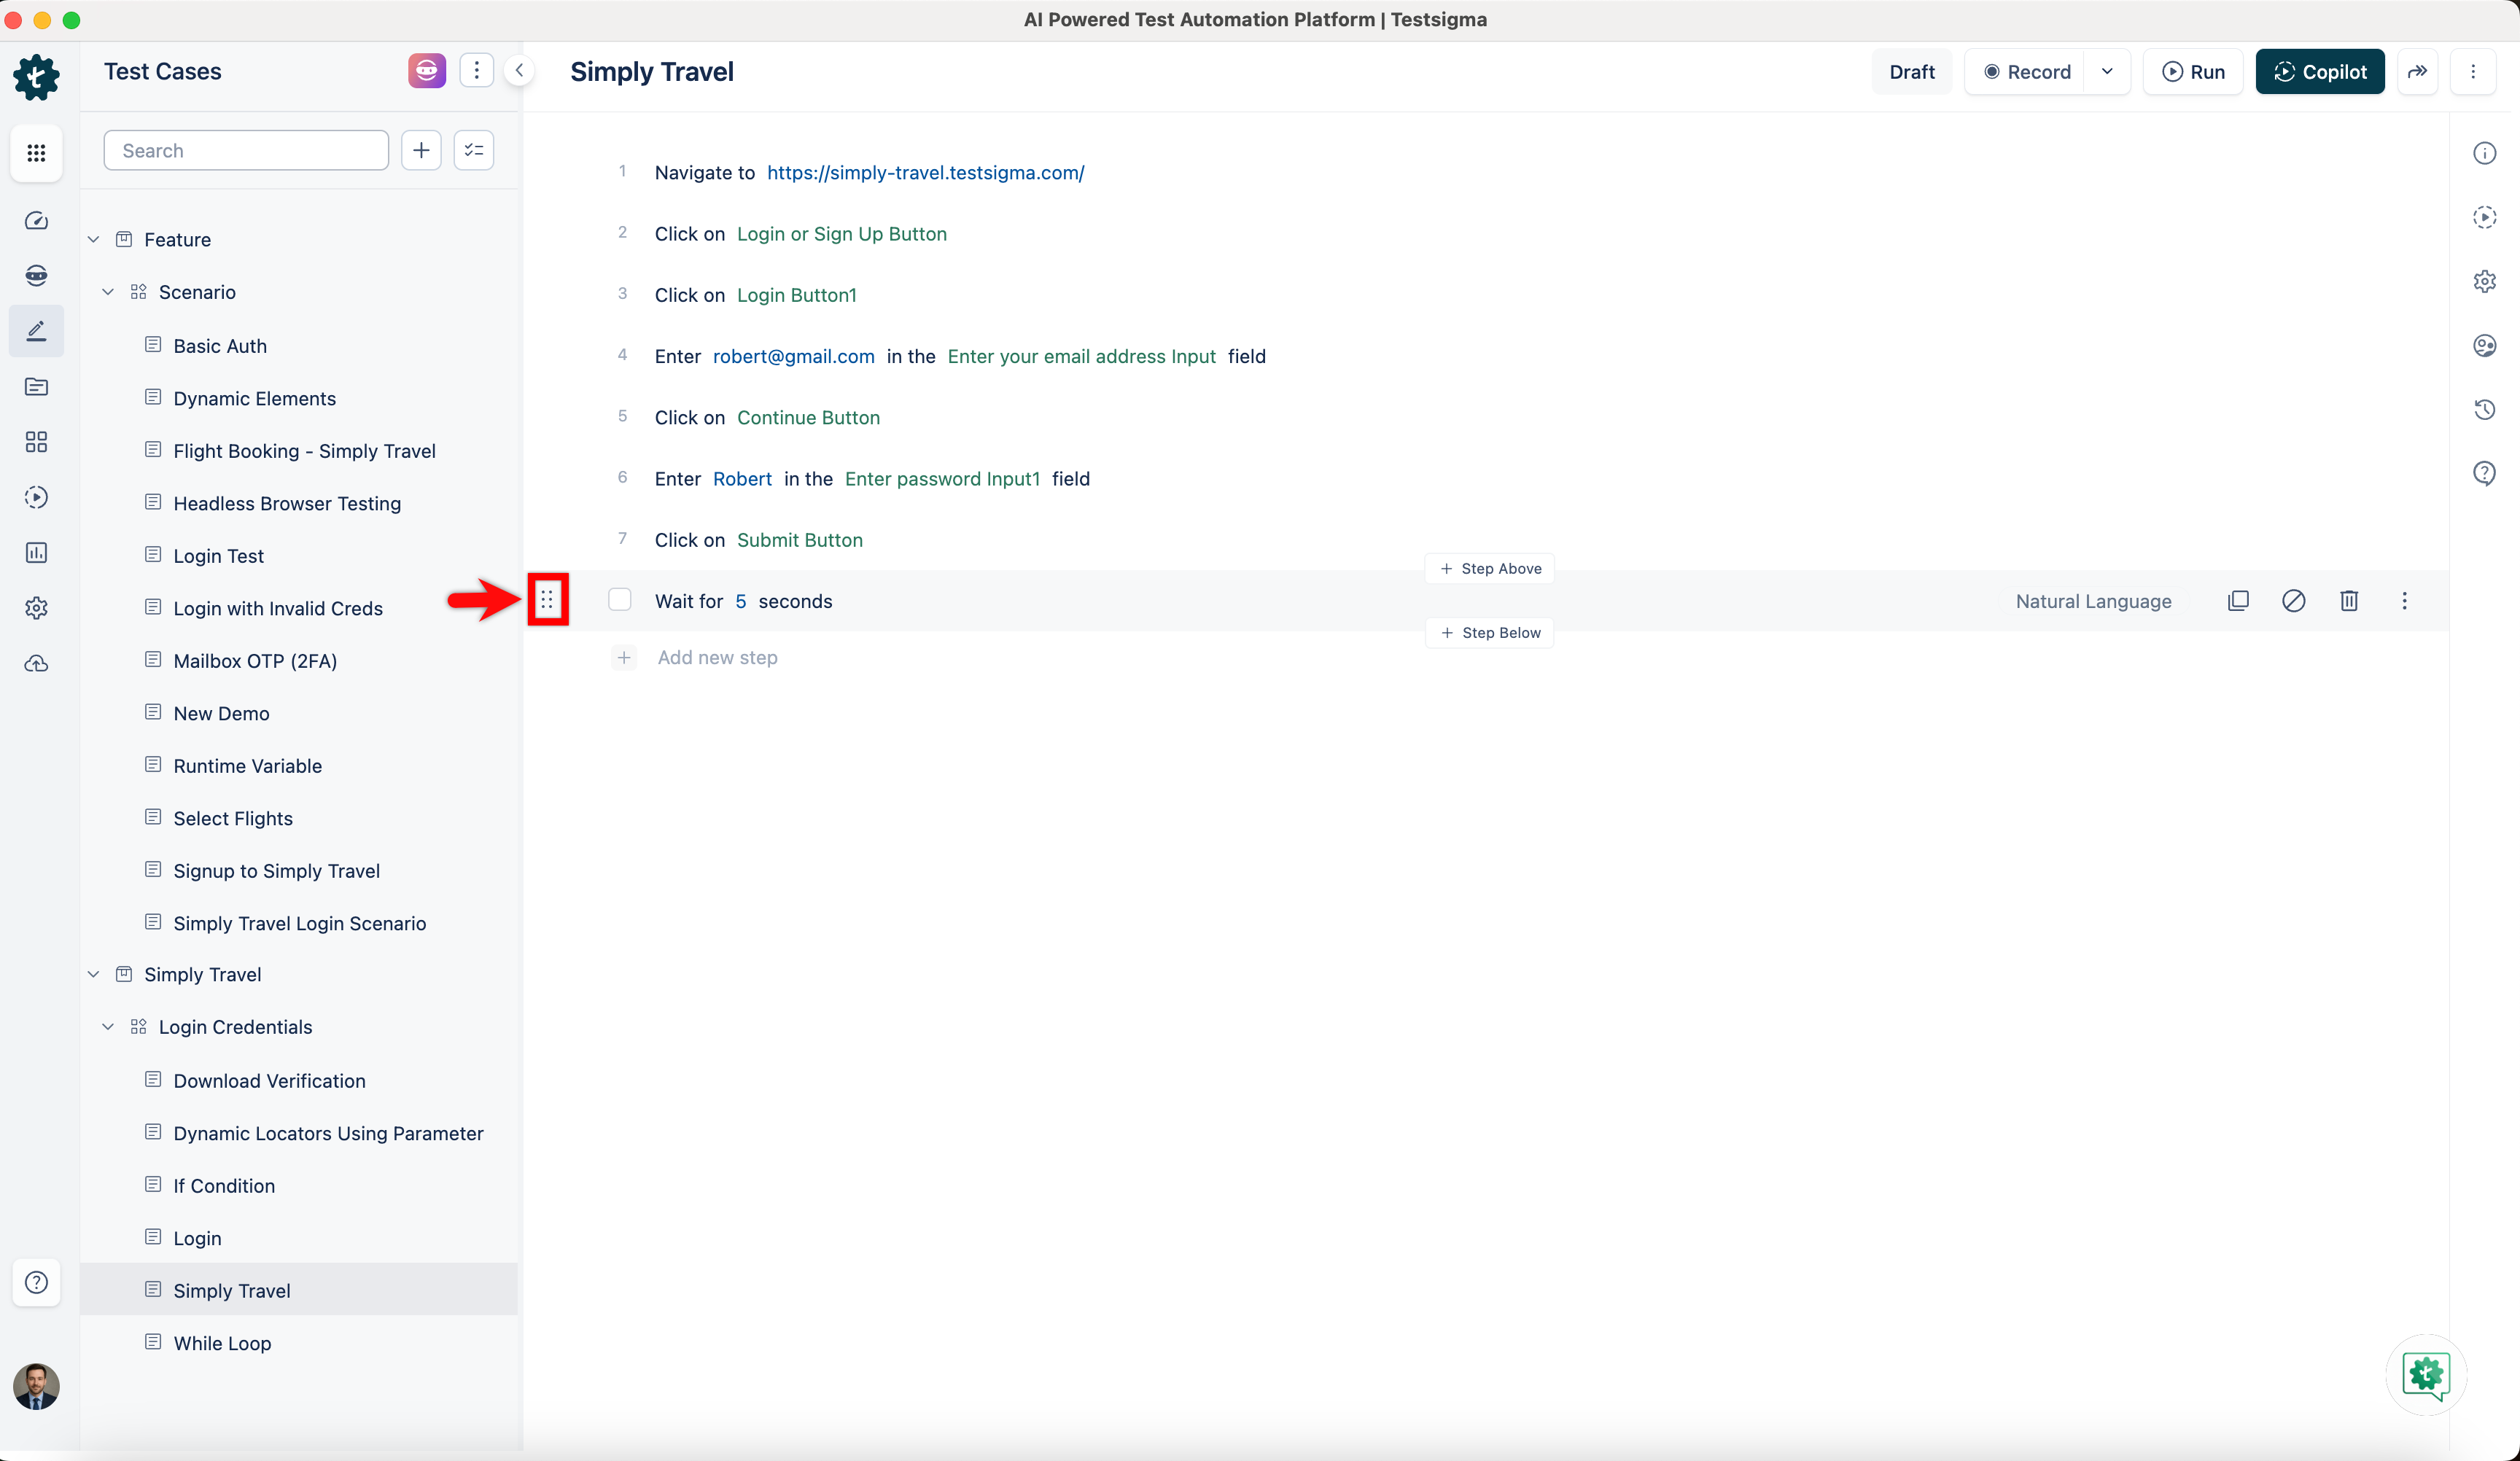
- Click and drag the step to the desired position in the list and click Save new order.
Step Options (Ellipsis Menu)
-
Hover over a step and click the ellipsis (⋮) icon on the right side to access additional options:
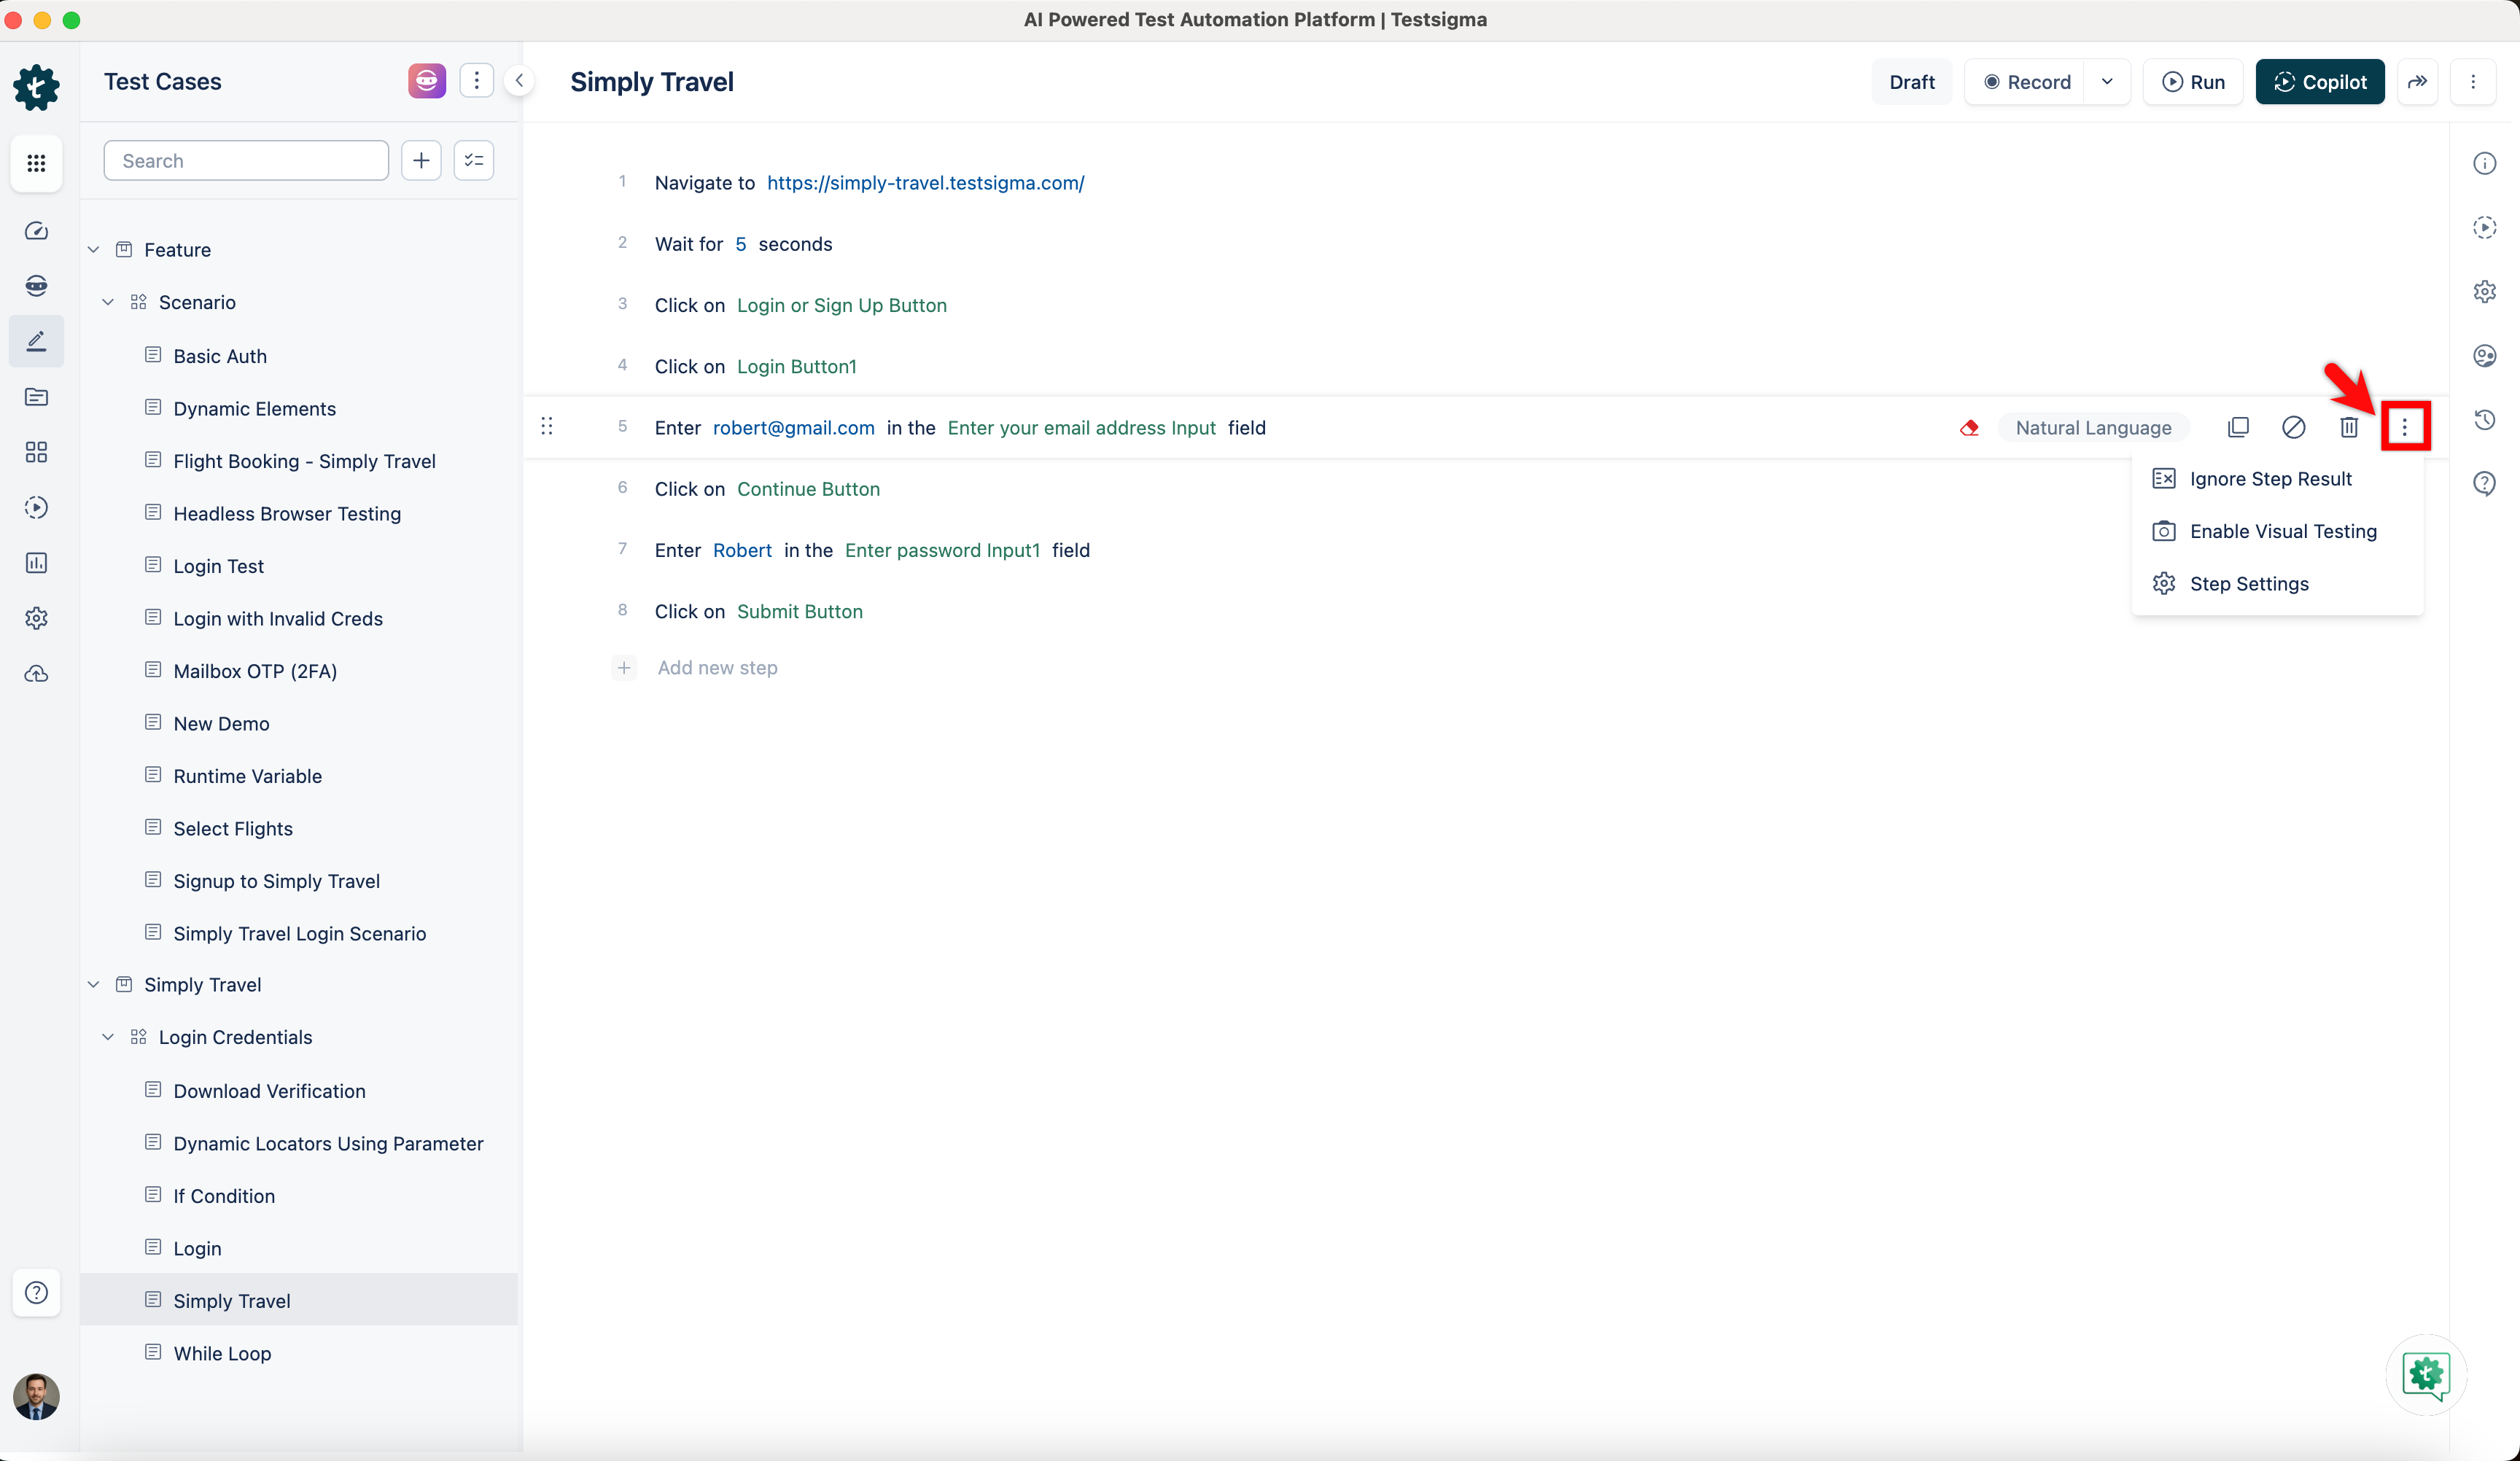
- Ignore Step Result: Marks the step so that its pass or fail result does not affect the overall test case result.
- Enable Visual Testing: Enables visual comparison for that specific step during execution.
-
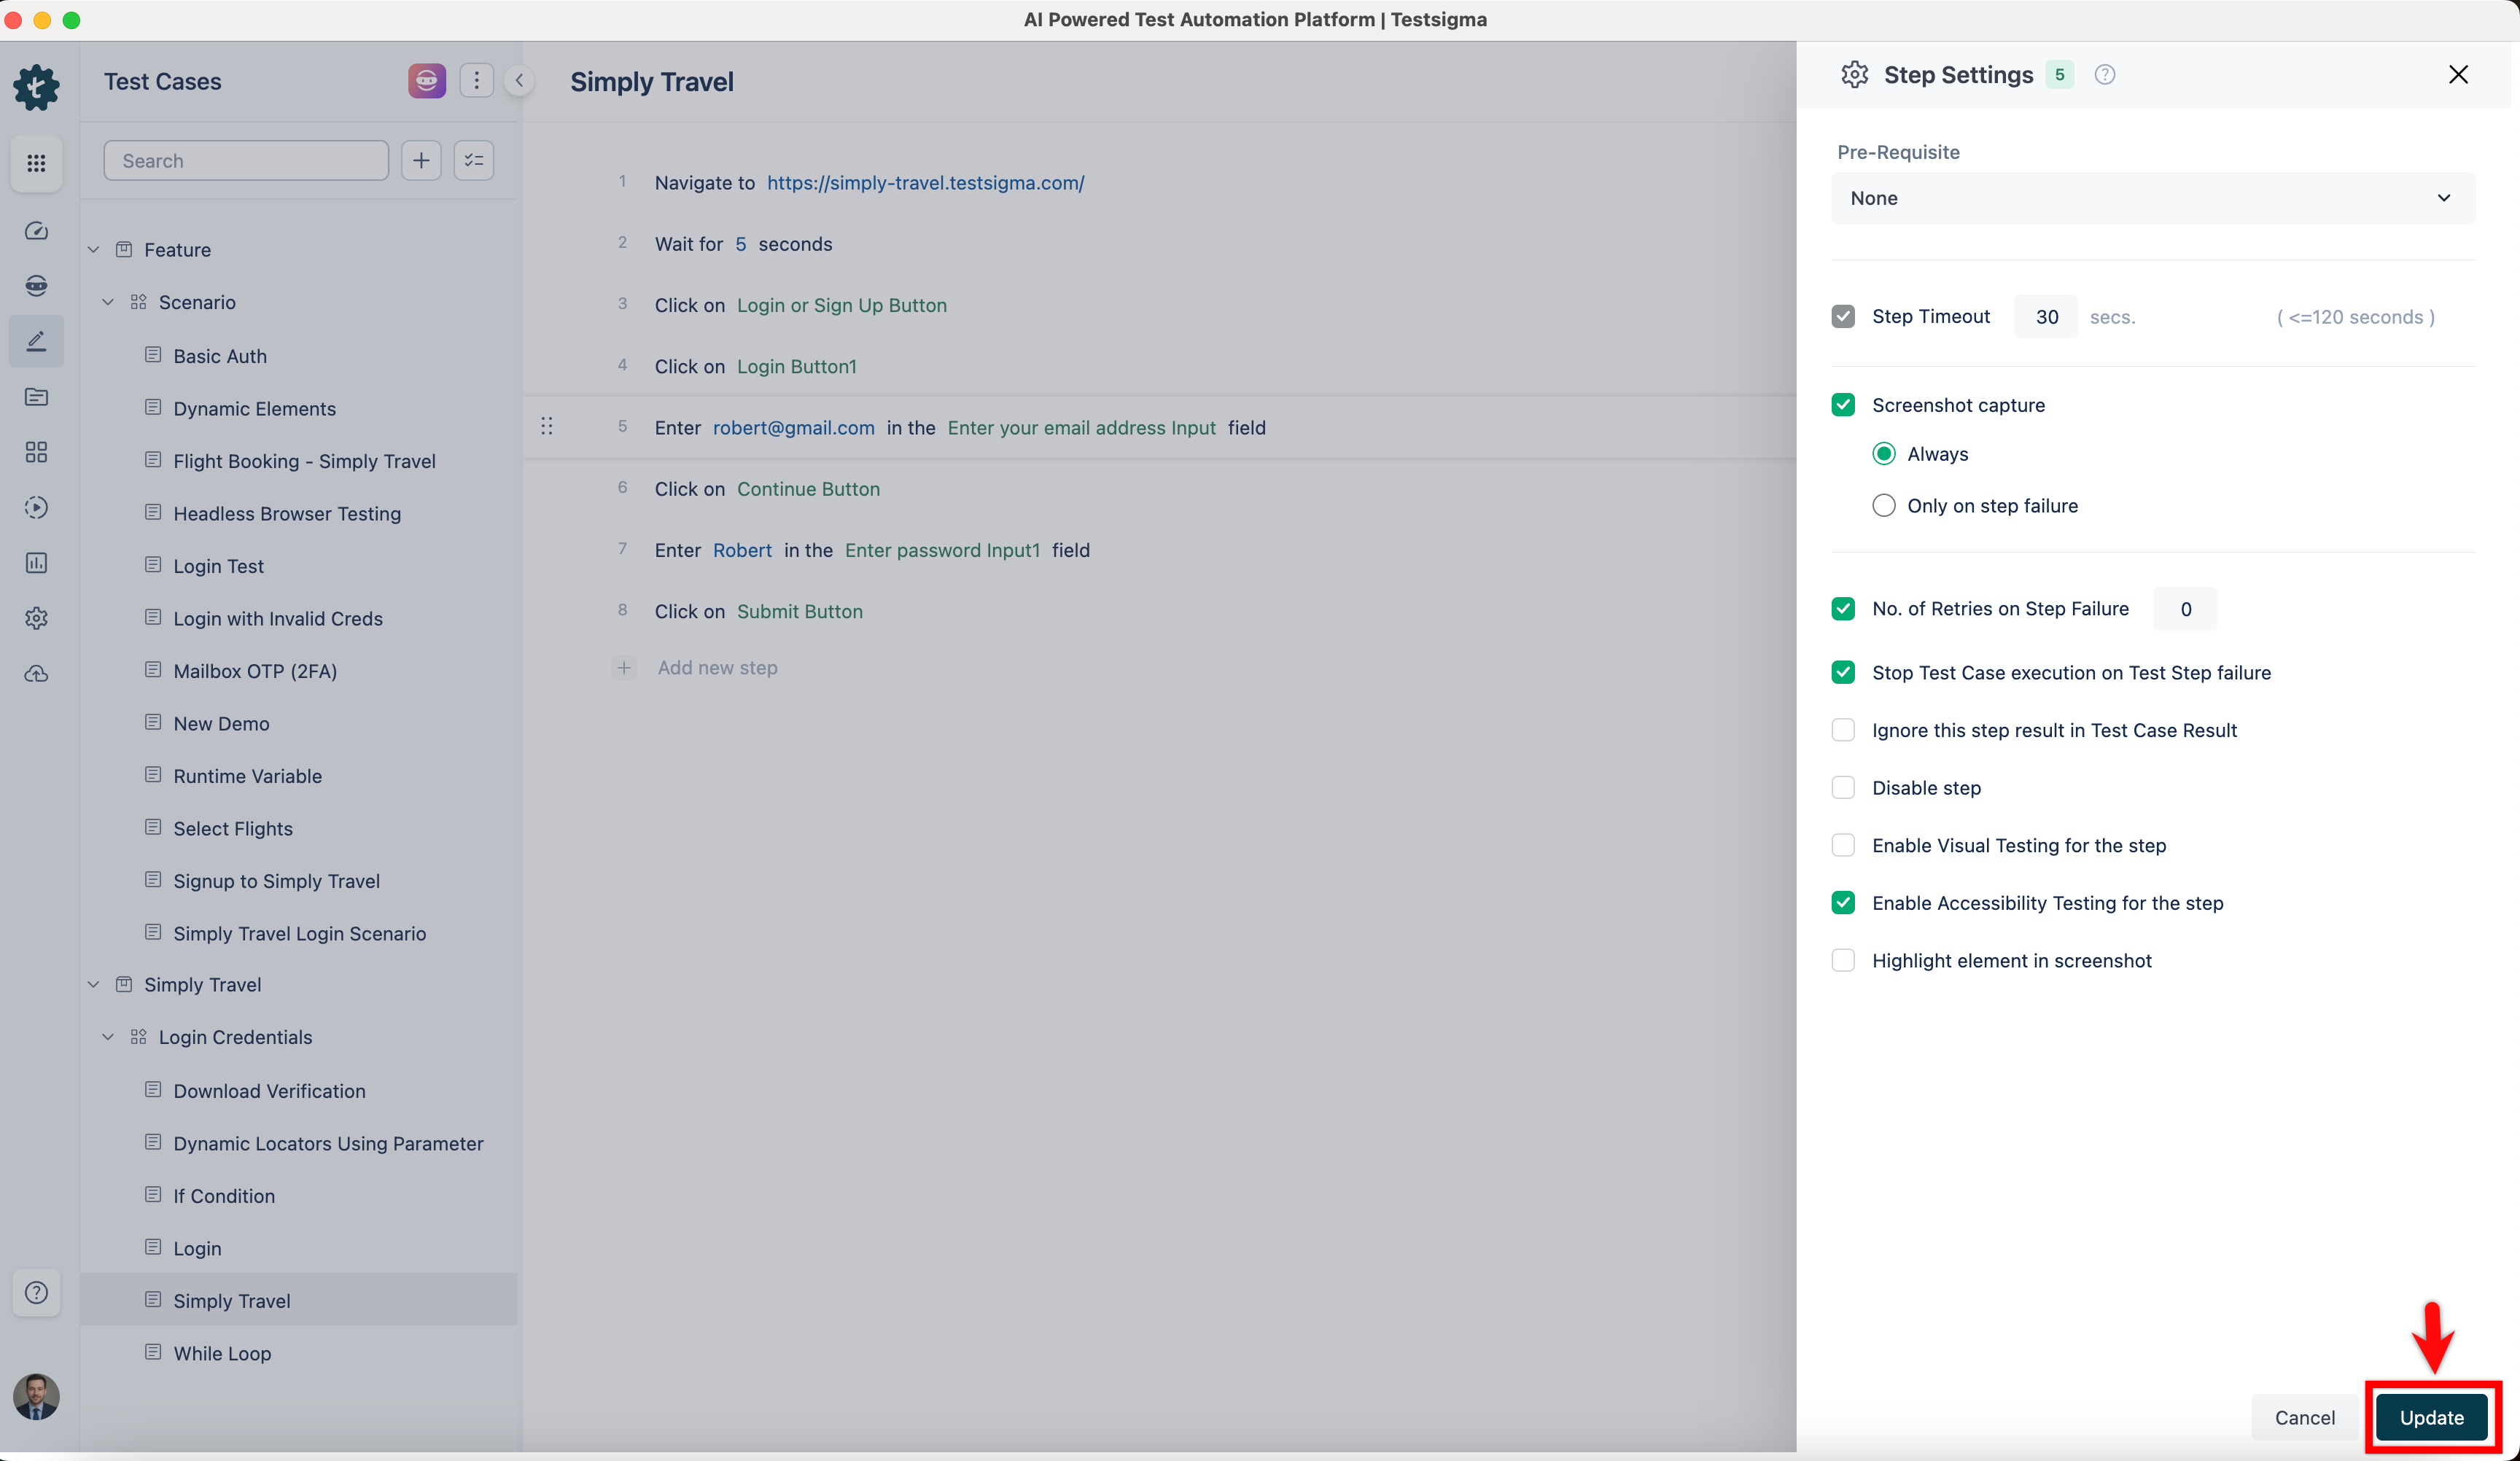
Step Settings: Opens the Step Settings overlay on the right, where you can configure the following:
- Pre-Requisite: Set another step as a prerequisite for this step.
- Step Timeout: Define the maximum time (in seconds, up to 120) allowed for the step to execute.
- Screenshot Capture: Choose when screenshots are captured: Always or Only on step failure.
- No. of Retries on Step Failure: Set how many times the step should be retried if it fails.
- Stop Test Case execution on Test Step failure: When enabled, the test case stops executing if this step fails.
- Ignore this step result in Test Case Result: When enabled, this step's result is excluded from the overall test case result.
- Disable step: Disables the step so it is skipped during execution without being deleted.
- Enable Visual Testing for the step: Enables visual testing specifically for this step.
- Enable Accessibility Testing for the step: Enables accessibility testing for this step.
- Highlight element in screenshot: Highlights the element interacted with in the captured screenshot.
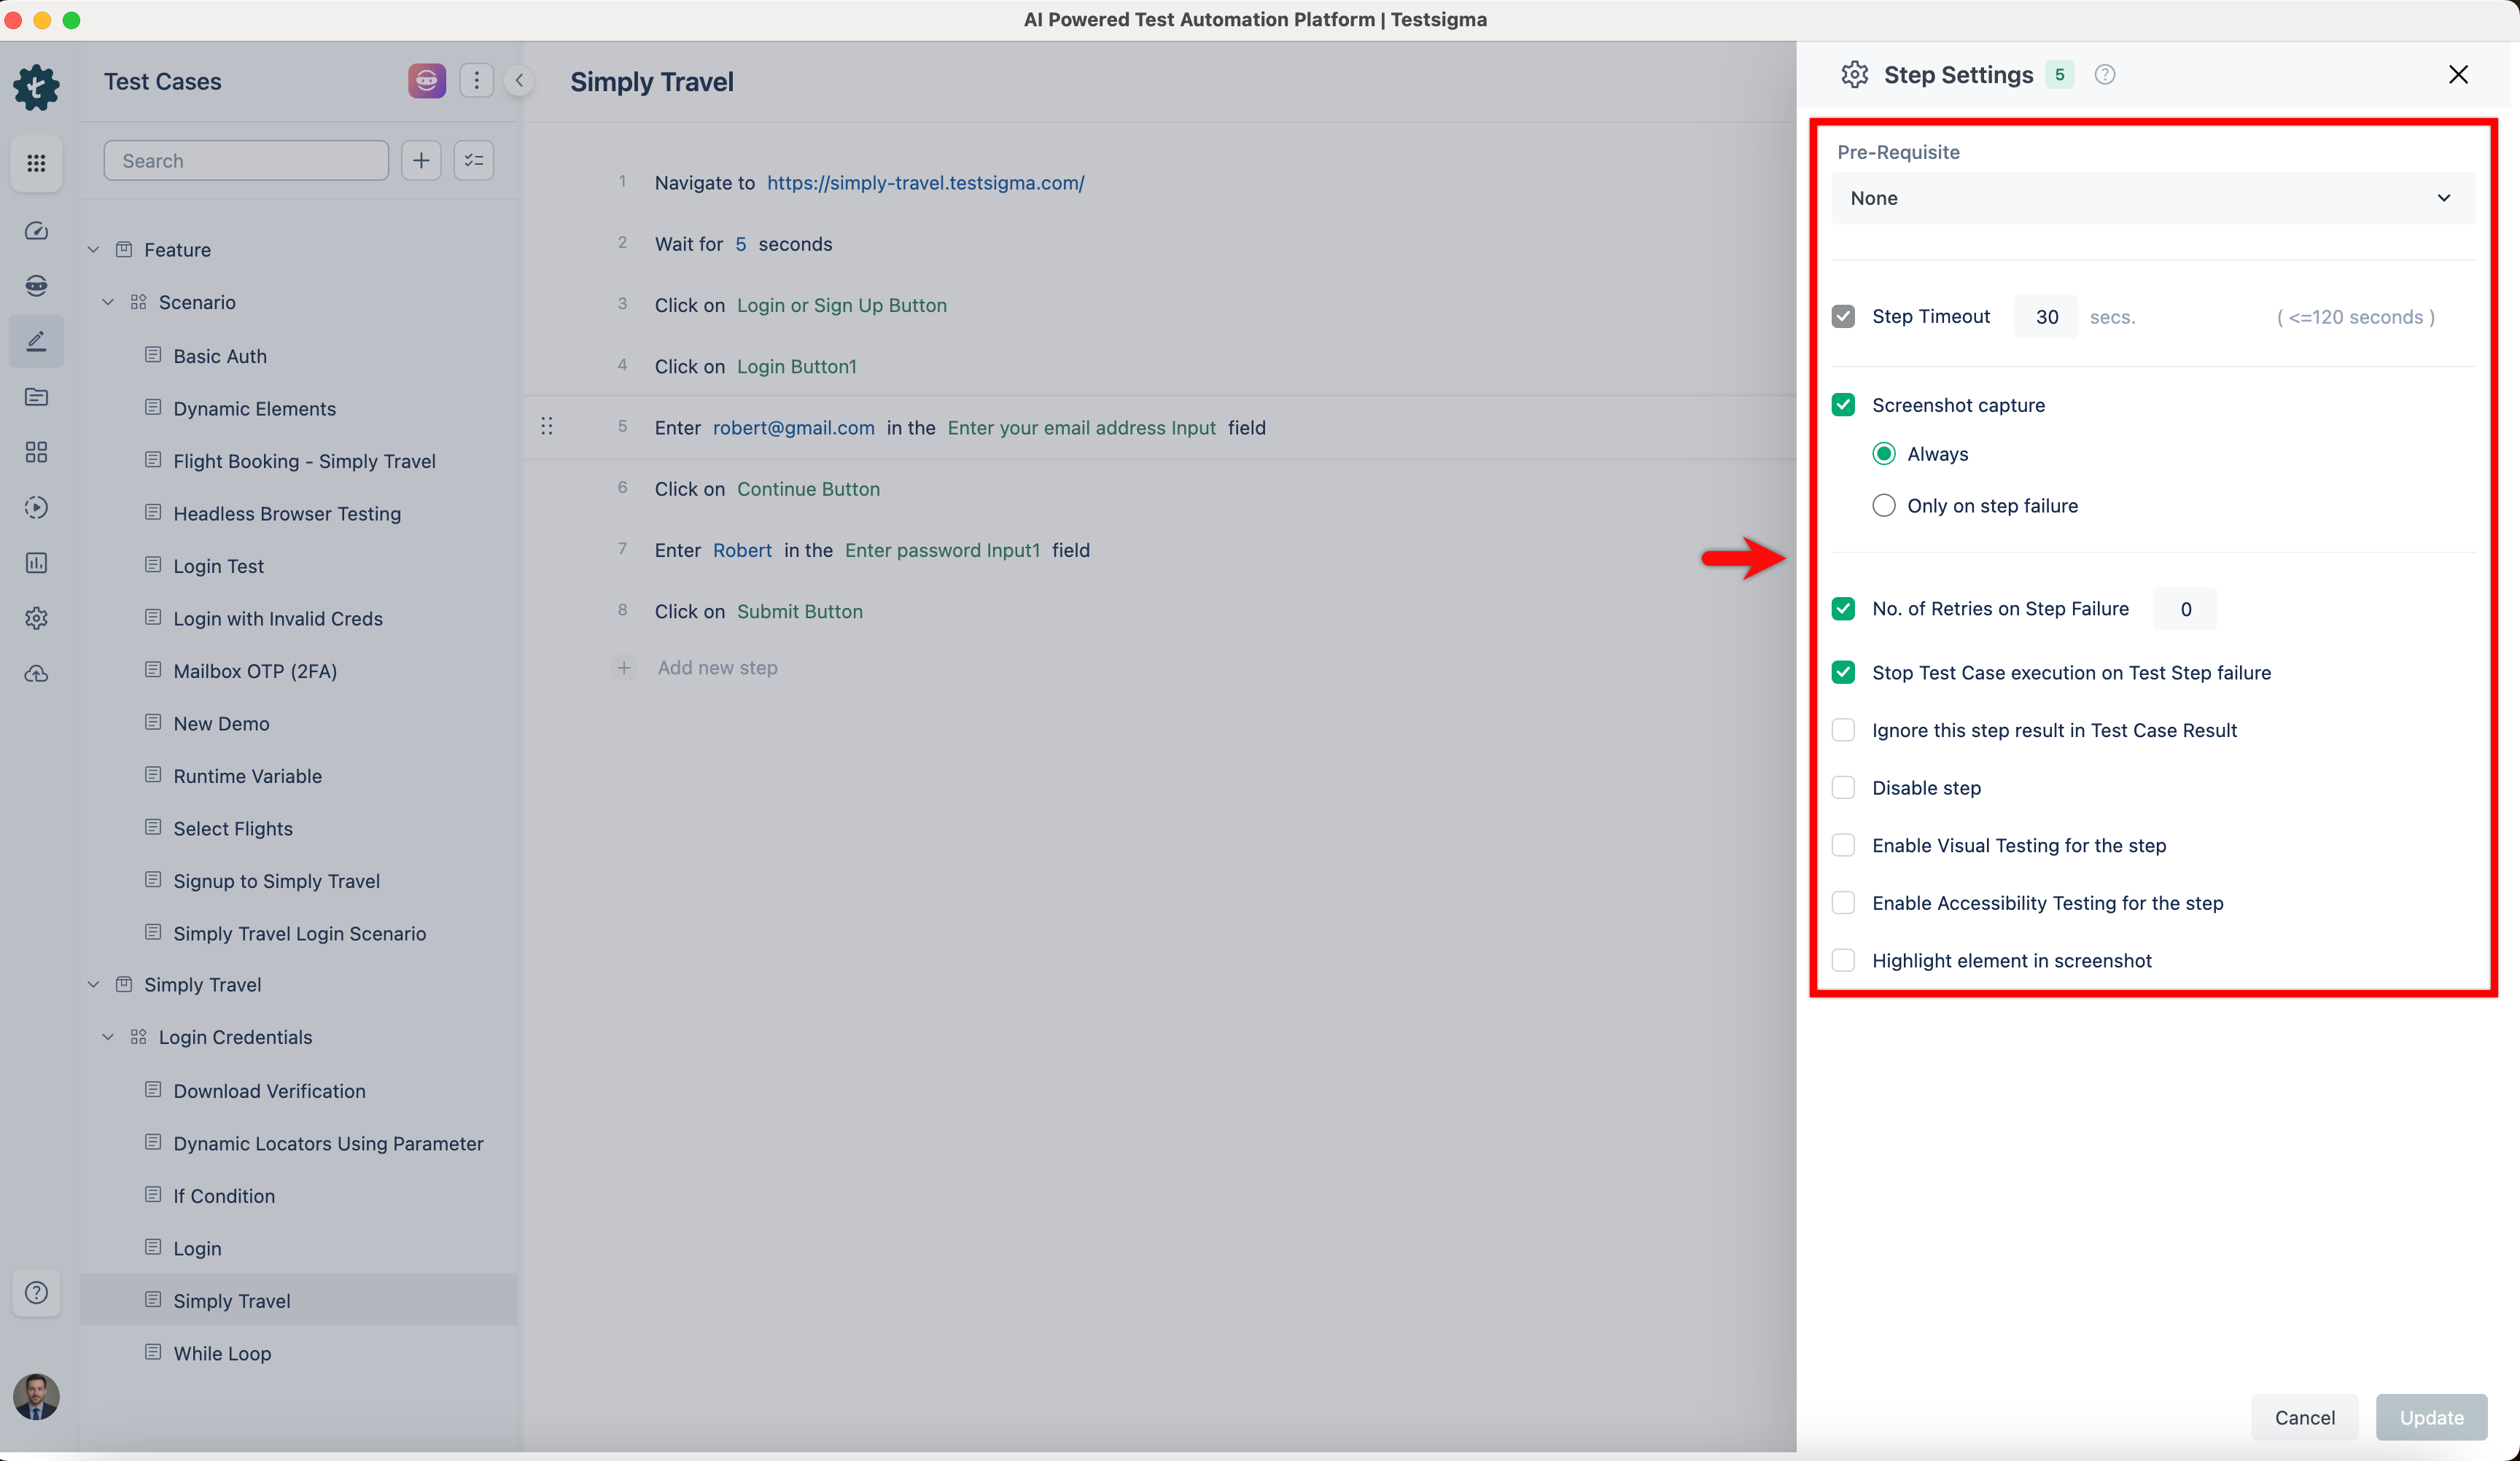
- Click Update to save the Step Settings changes.
- Use the right-side navbar to update advanced settings such as Test Case Info, Test Case Settings, and Manage Test Case options. Please refer to the documentation on Test Case: Advanced Optioned Guide for more information.
Delete a Test Case
- From the left navigation bar, go to Create Tests > Test Cases.
- Expand a Feature, and then expand a Scenario.
-
Delete the test case using one of the following methods:
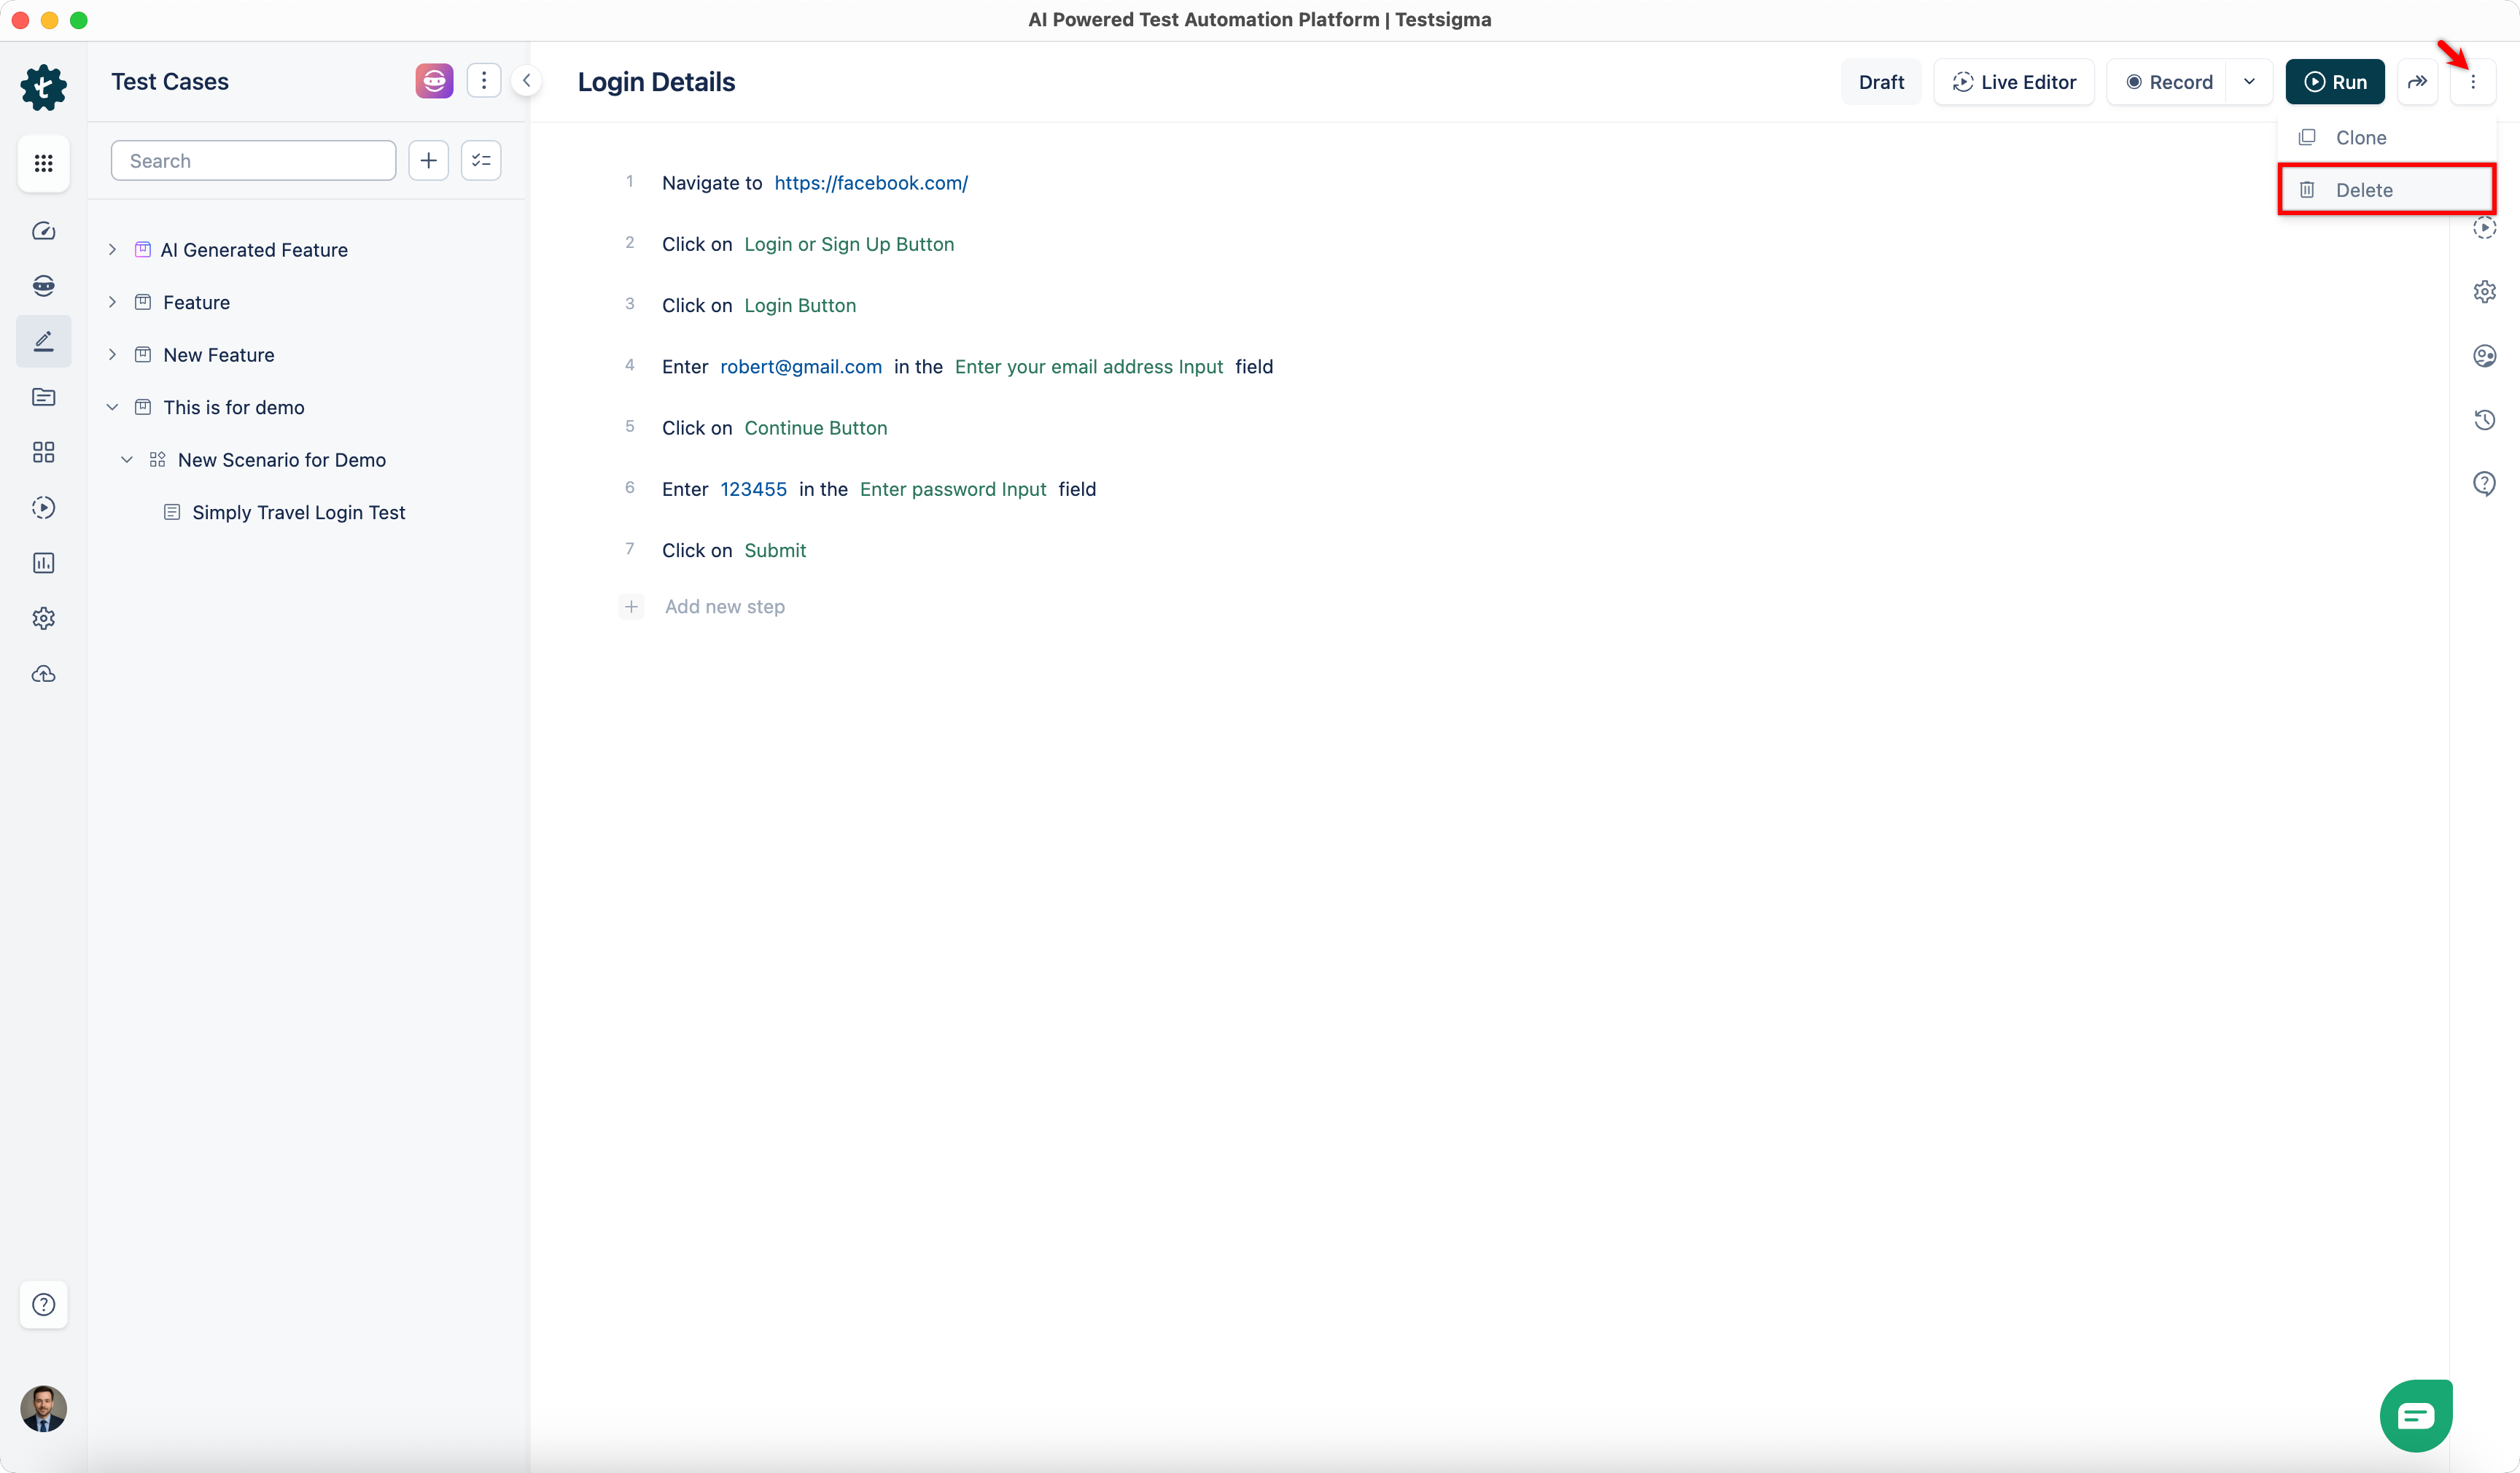
- Open the test case. In the top-right corner, click the More options (⋮) menu, and then click Delete.
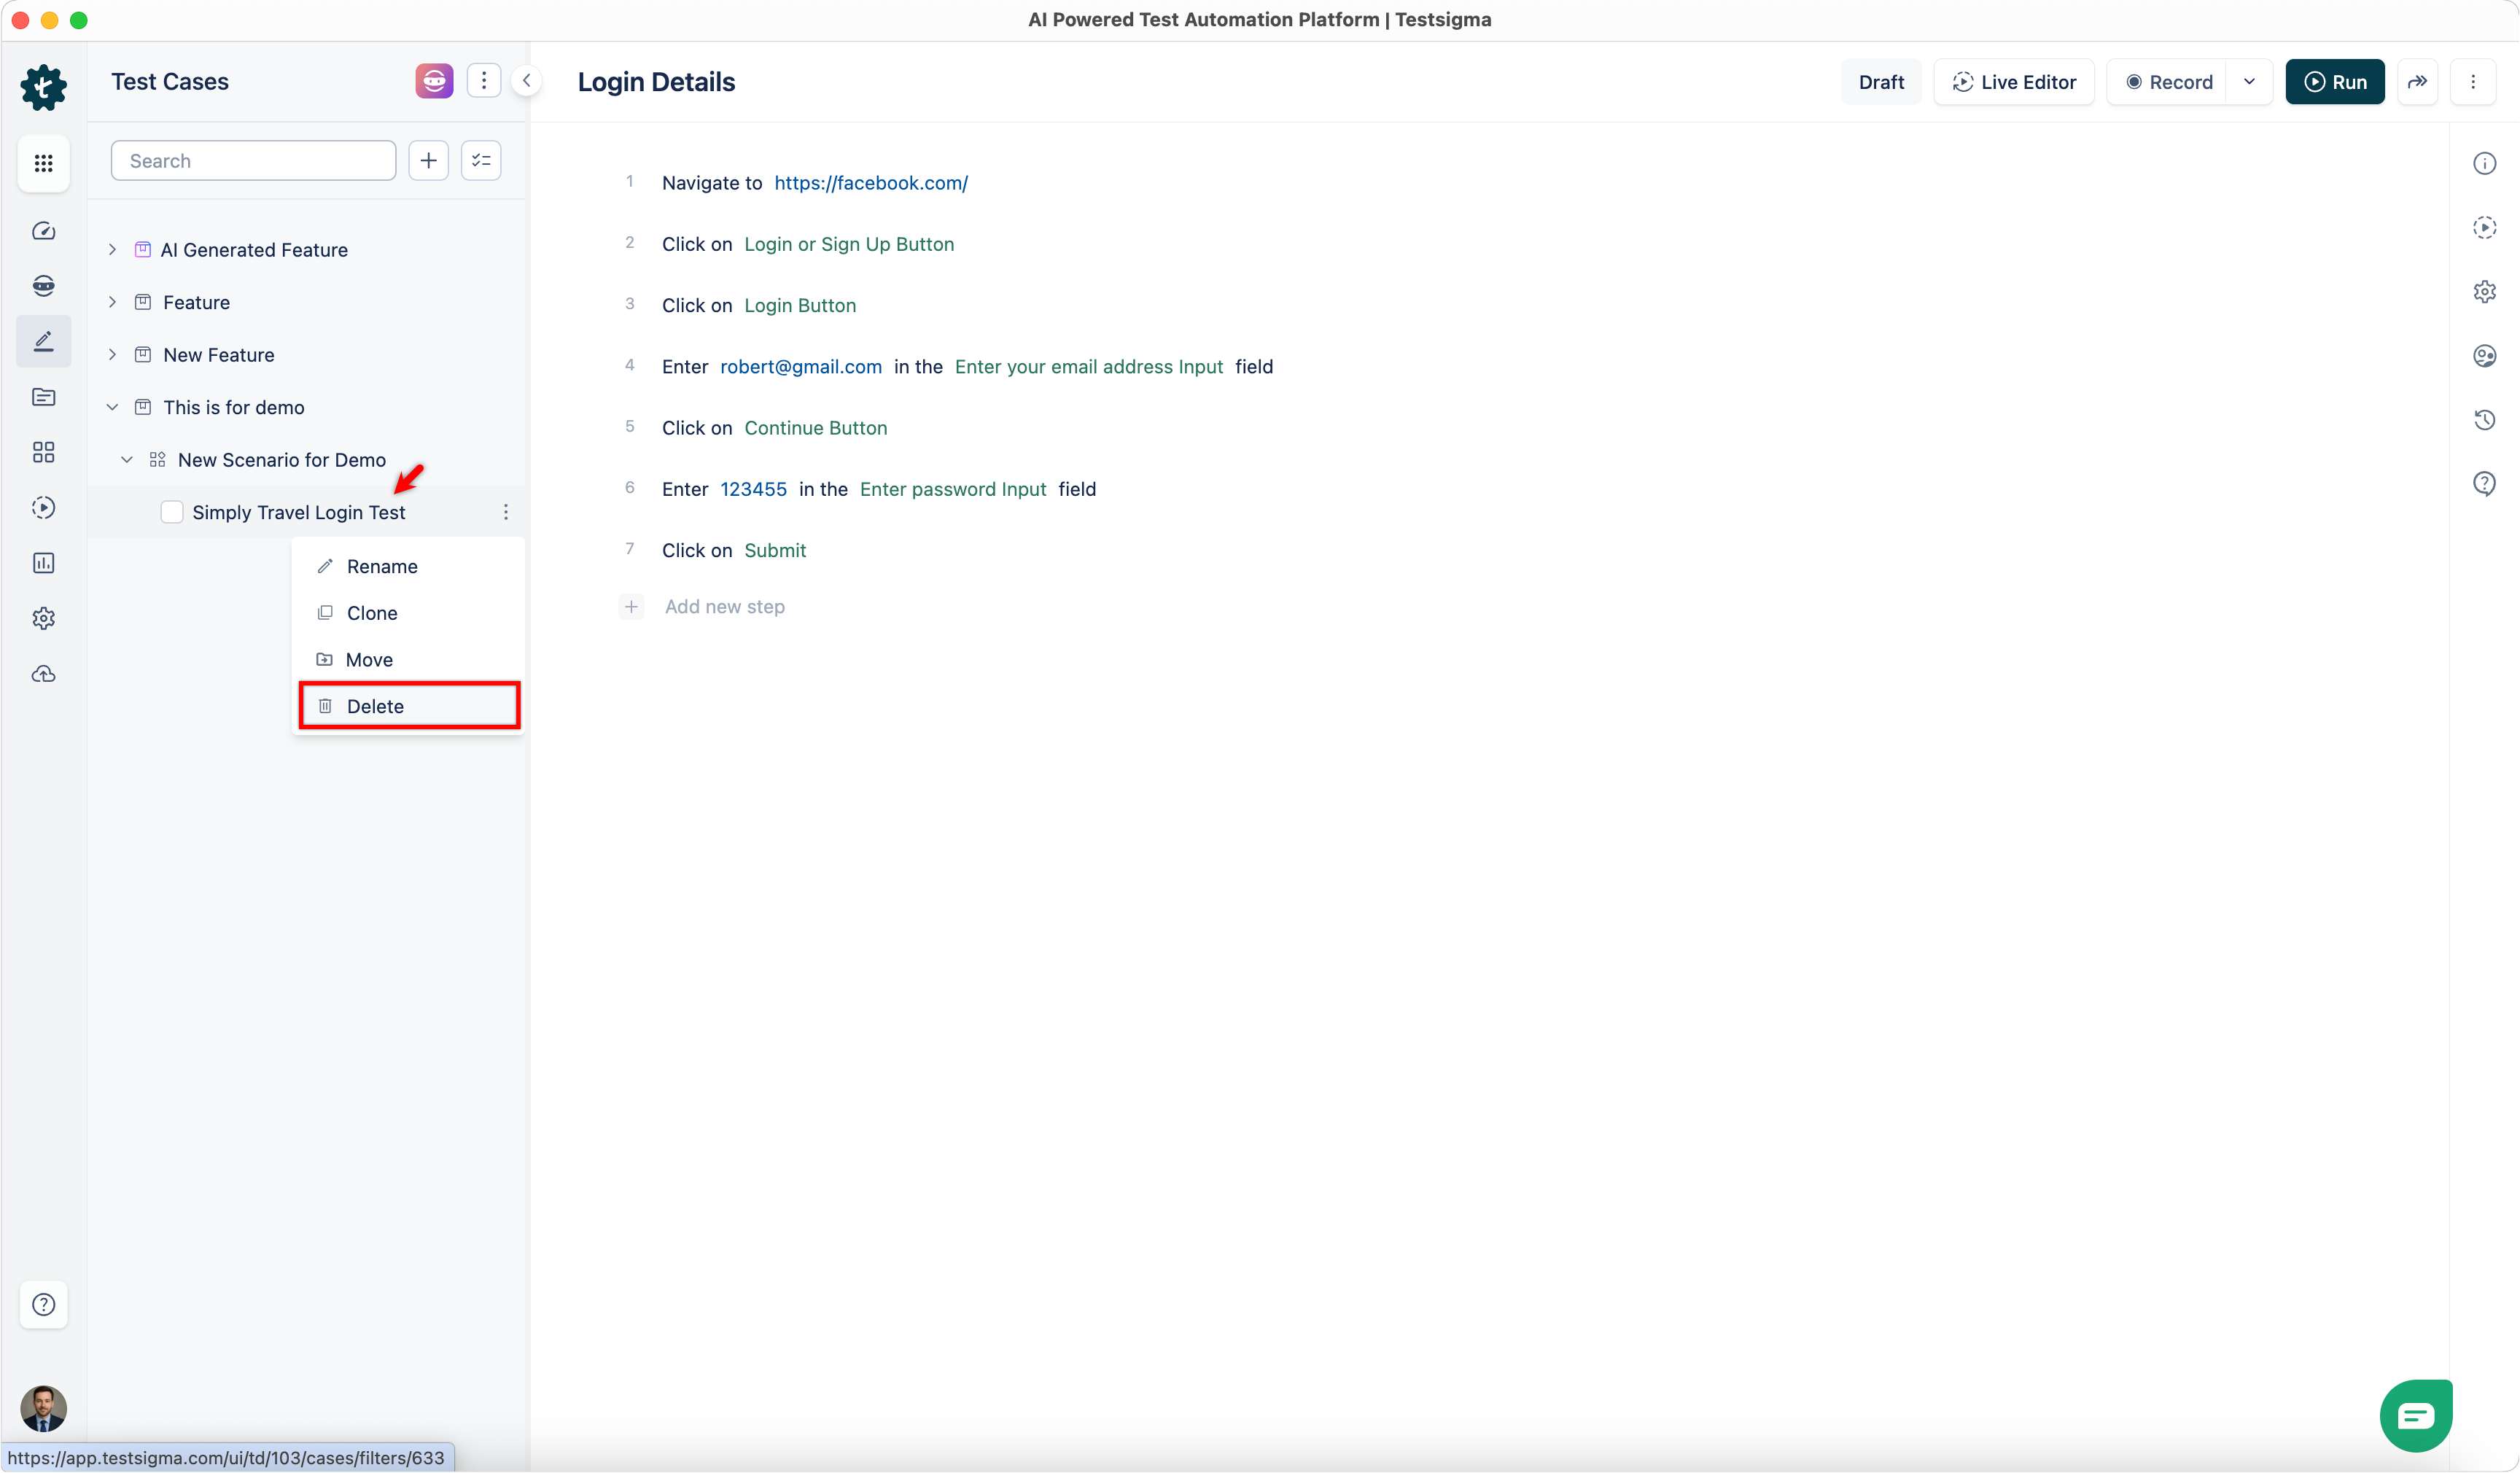
- In the expanded scenario section, select the ellipsis (⋮) icon next to the test case, and click Delete.
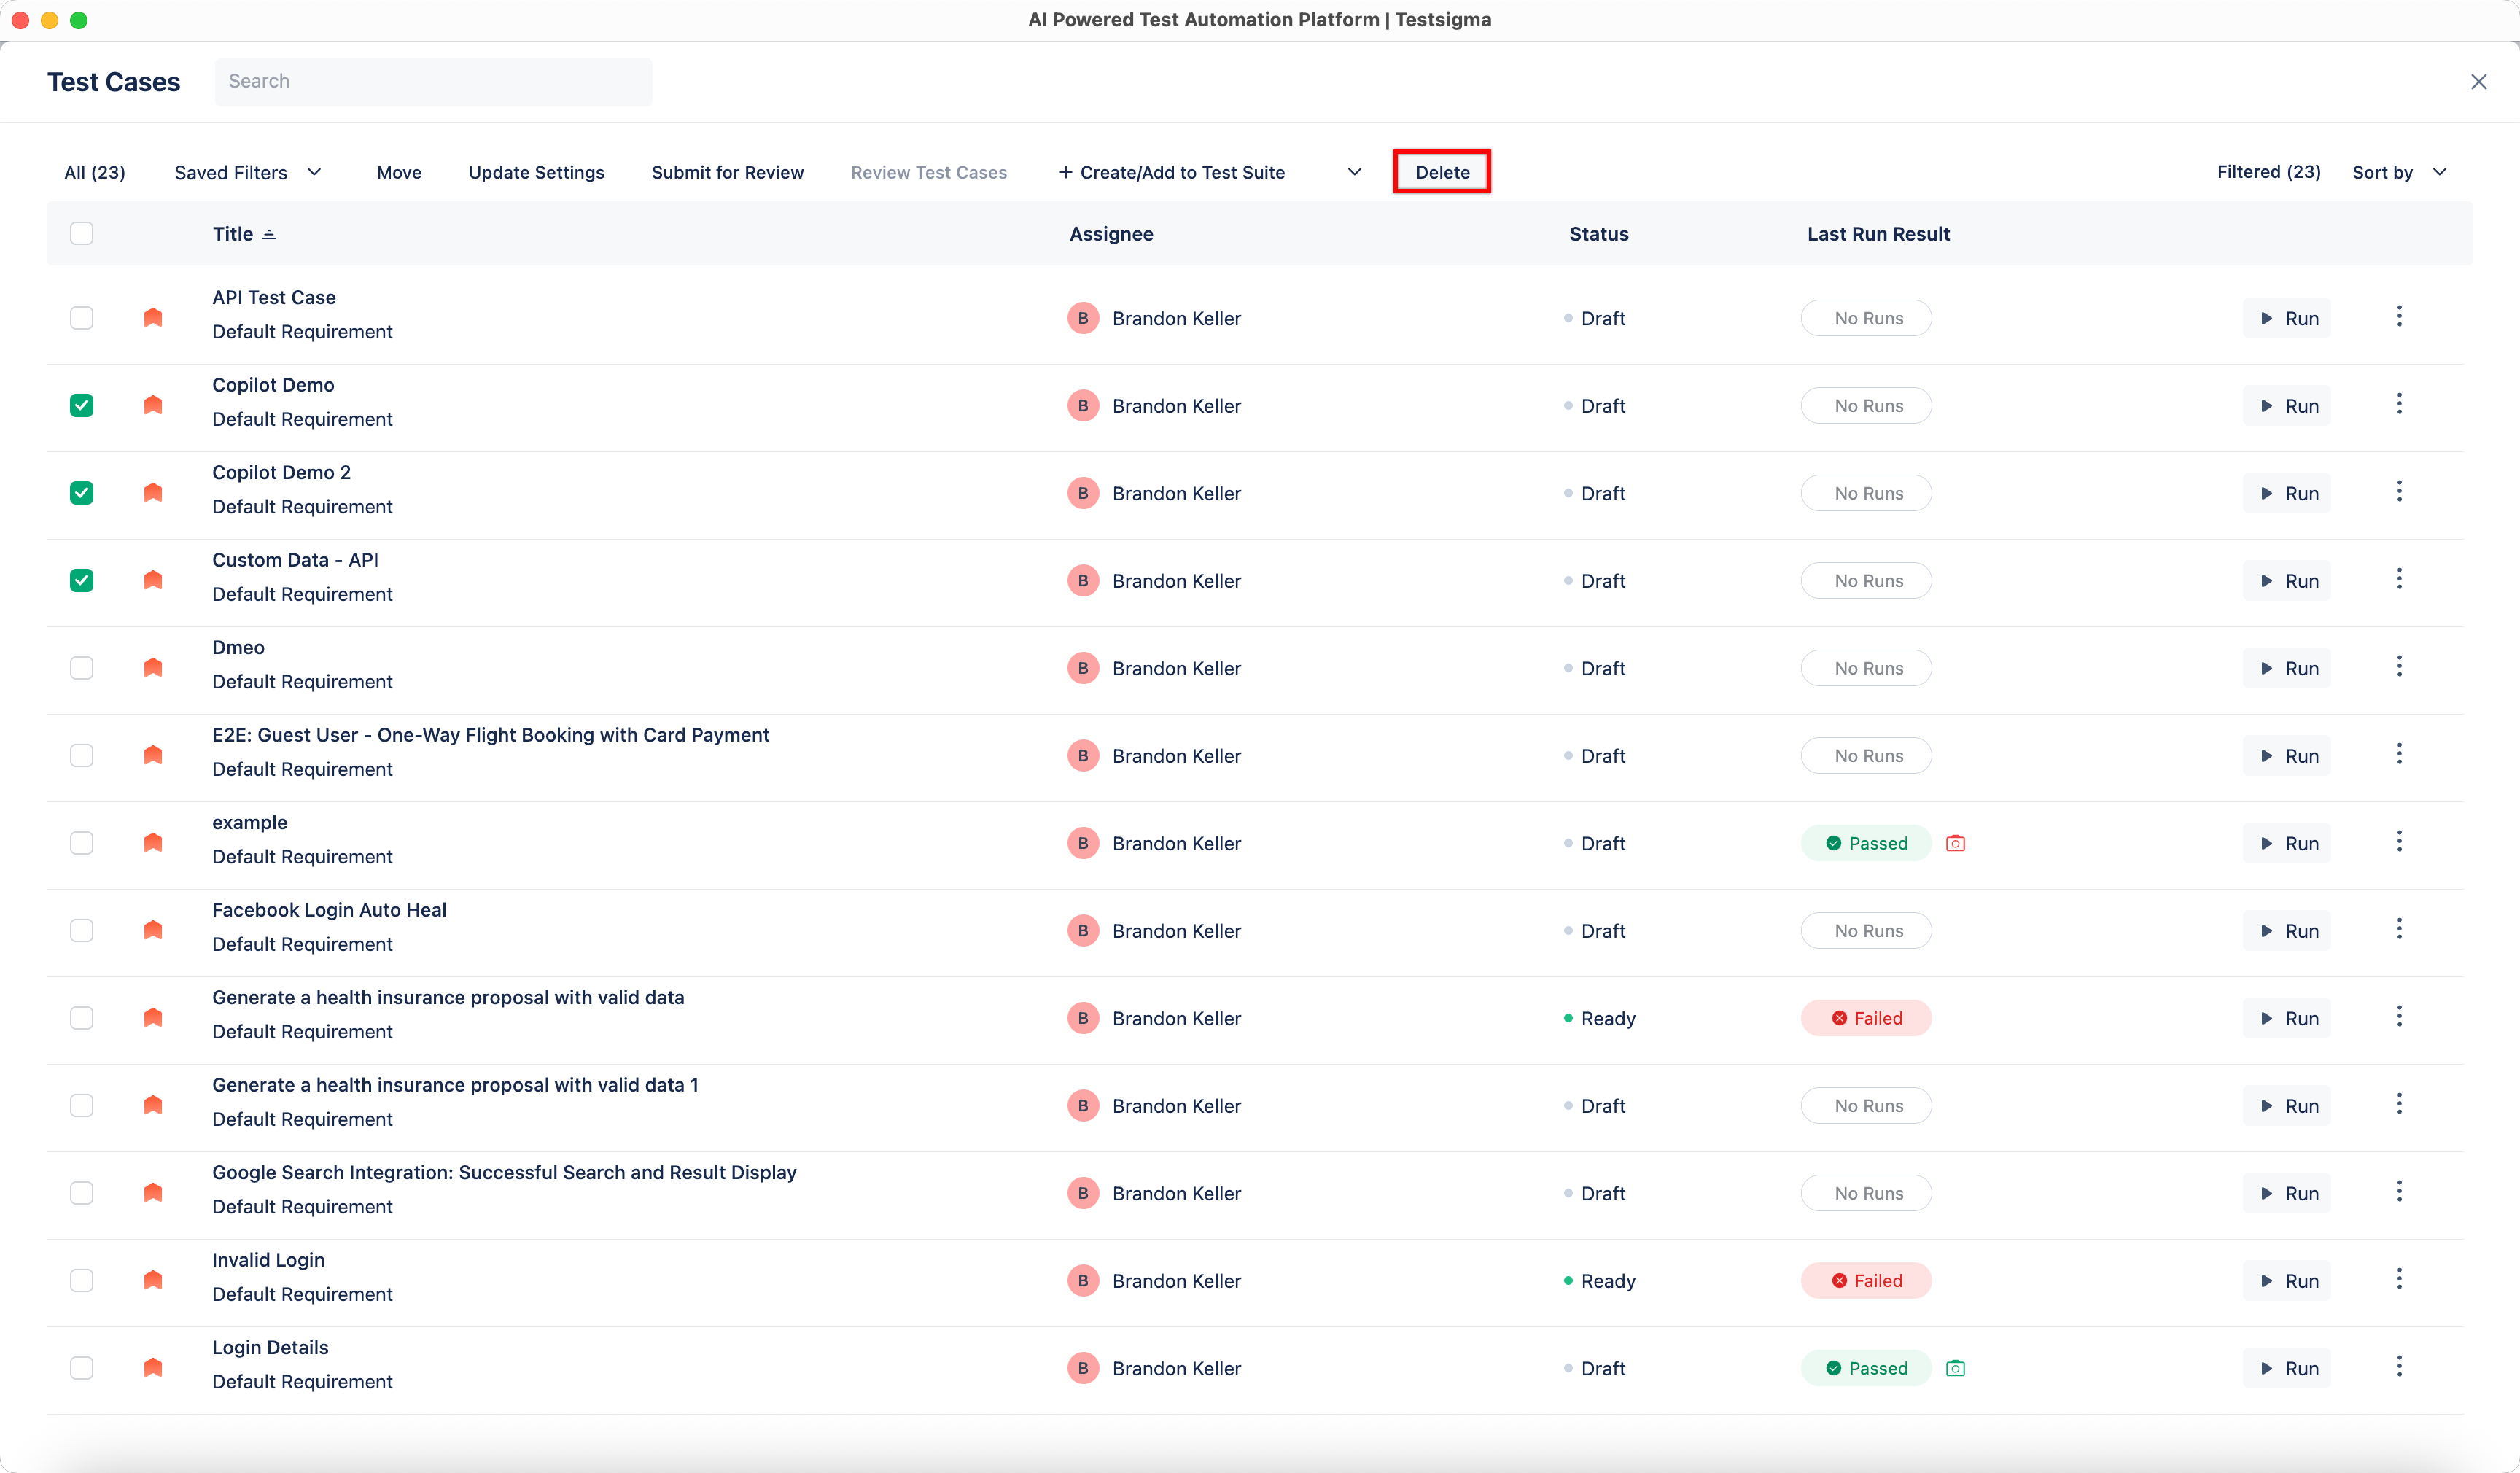
- On the Test Case List page, select one or more test cases, and then click the Delete icon in the menu bar.
- Open the test case. In the top-right corner, click the More options (⋮) menu, and then click Delete.
- A Delete Confirmation pop-up will appear. Click Delete to remove the test case from the project.
- When you delete test cases from the list, you send them to the trash folder. You can restore or permanently delete the test case from the trash folder.
- Deleting the test case will remove all the associated test suites, test plans, and any prerequisites.
Recover a Deleted Test Case
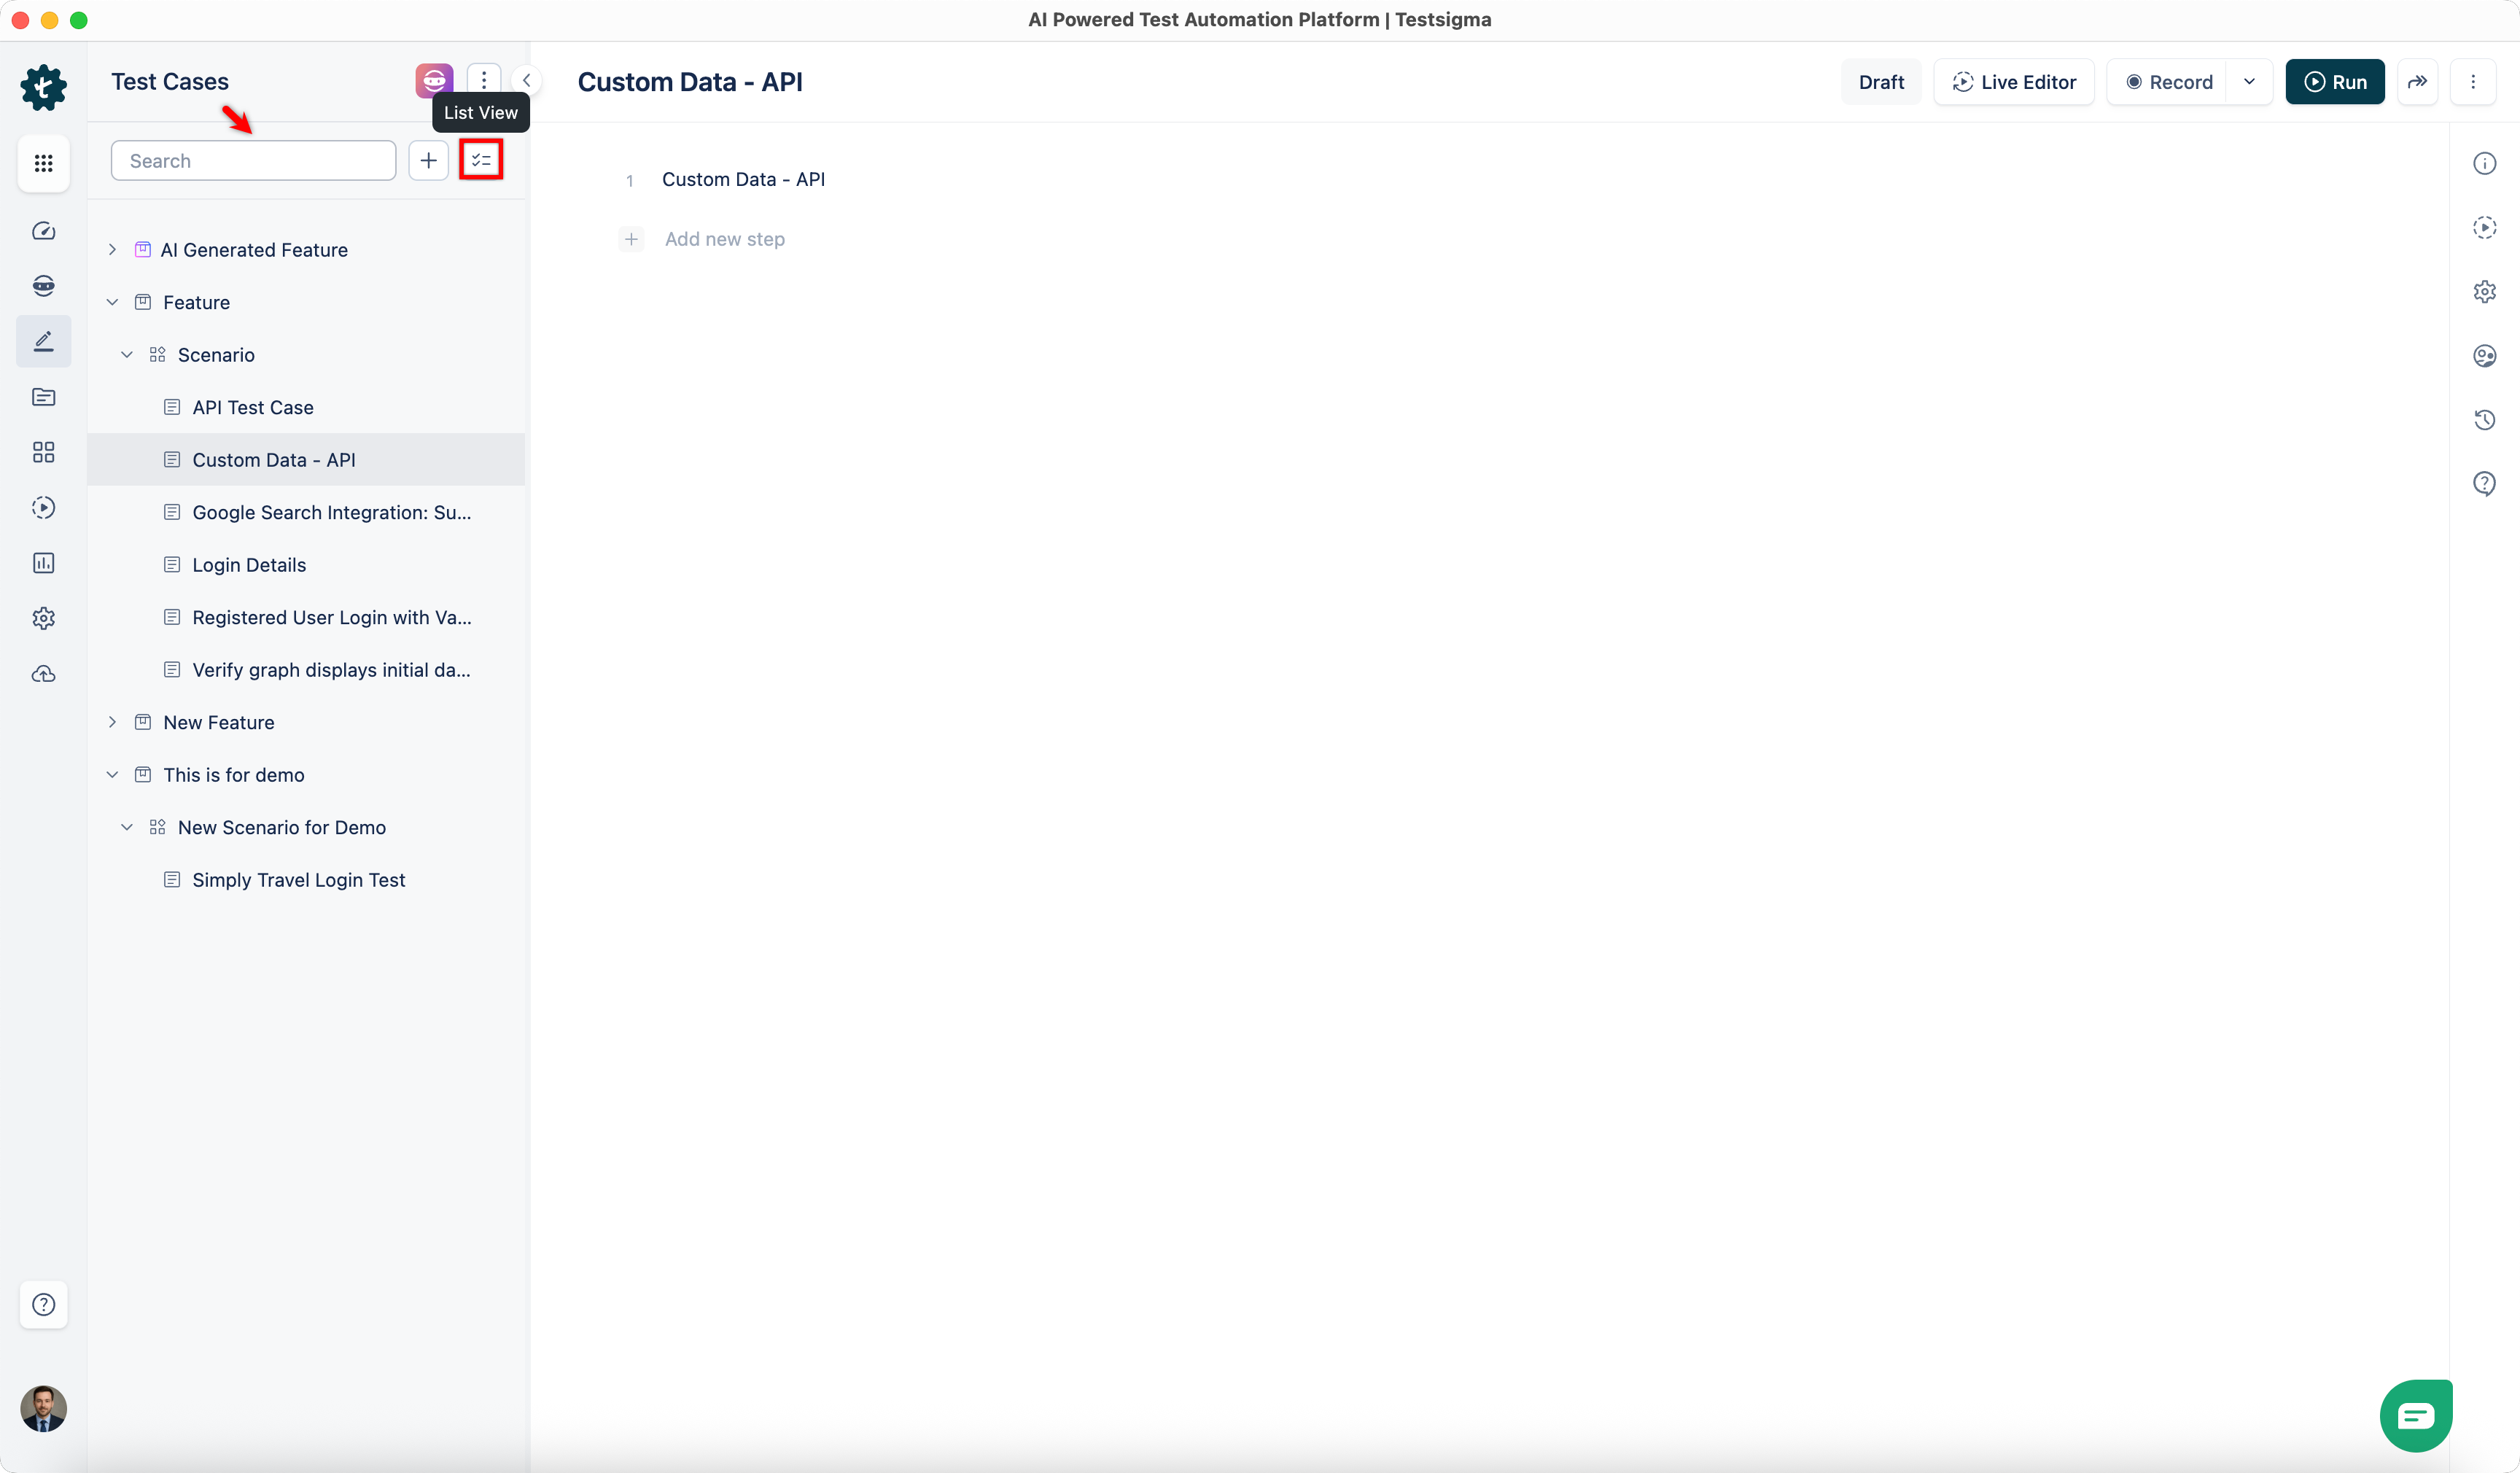
- From the left navigation bar, go to Create Tests > Test Cases, and click the List View icon next to the search bar.
- On the Test Case List page, click Saved Filters, and then select Trash (Deleted Test Cases). The list of deleted test cases appears.
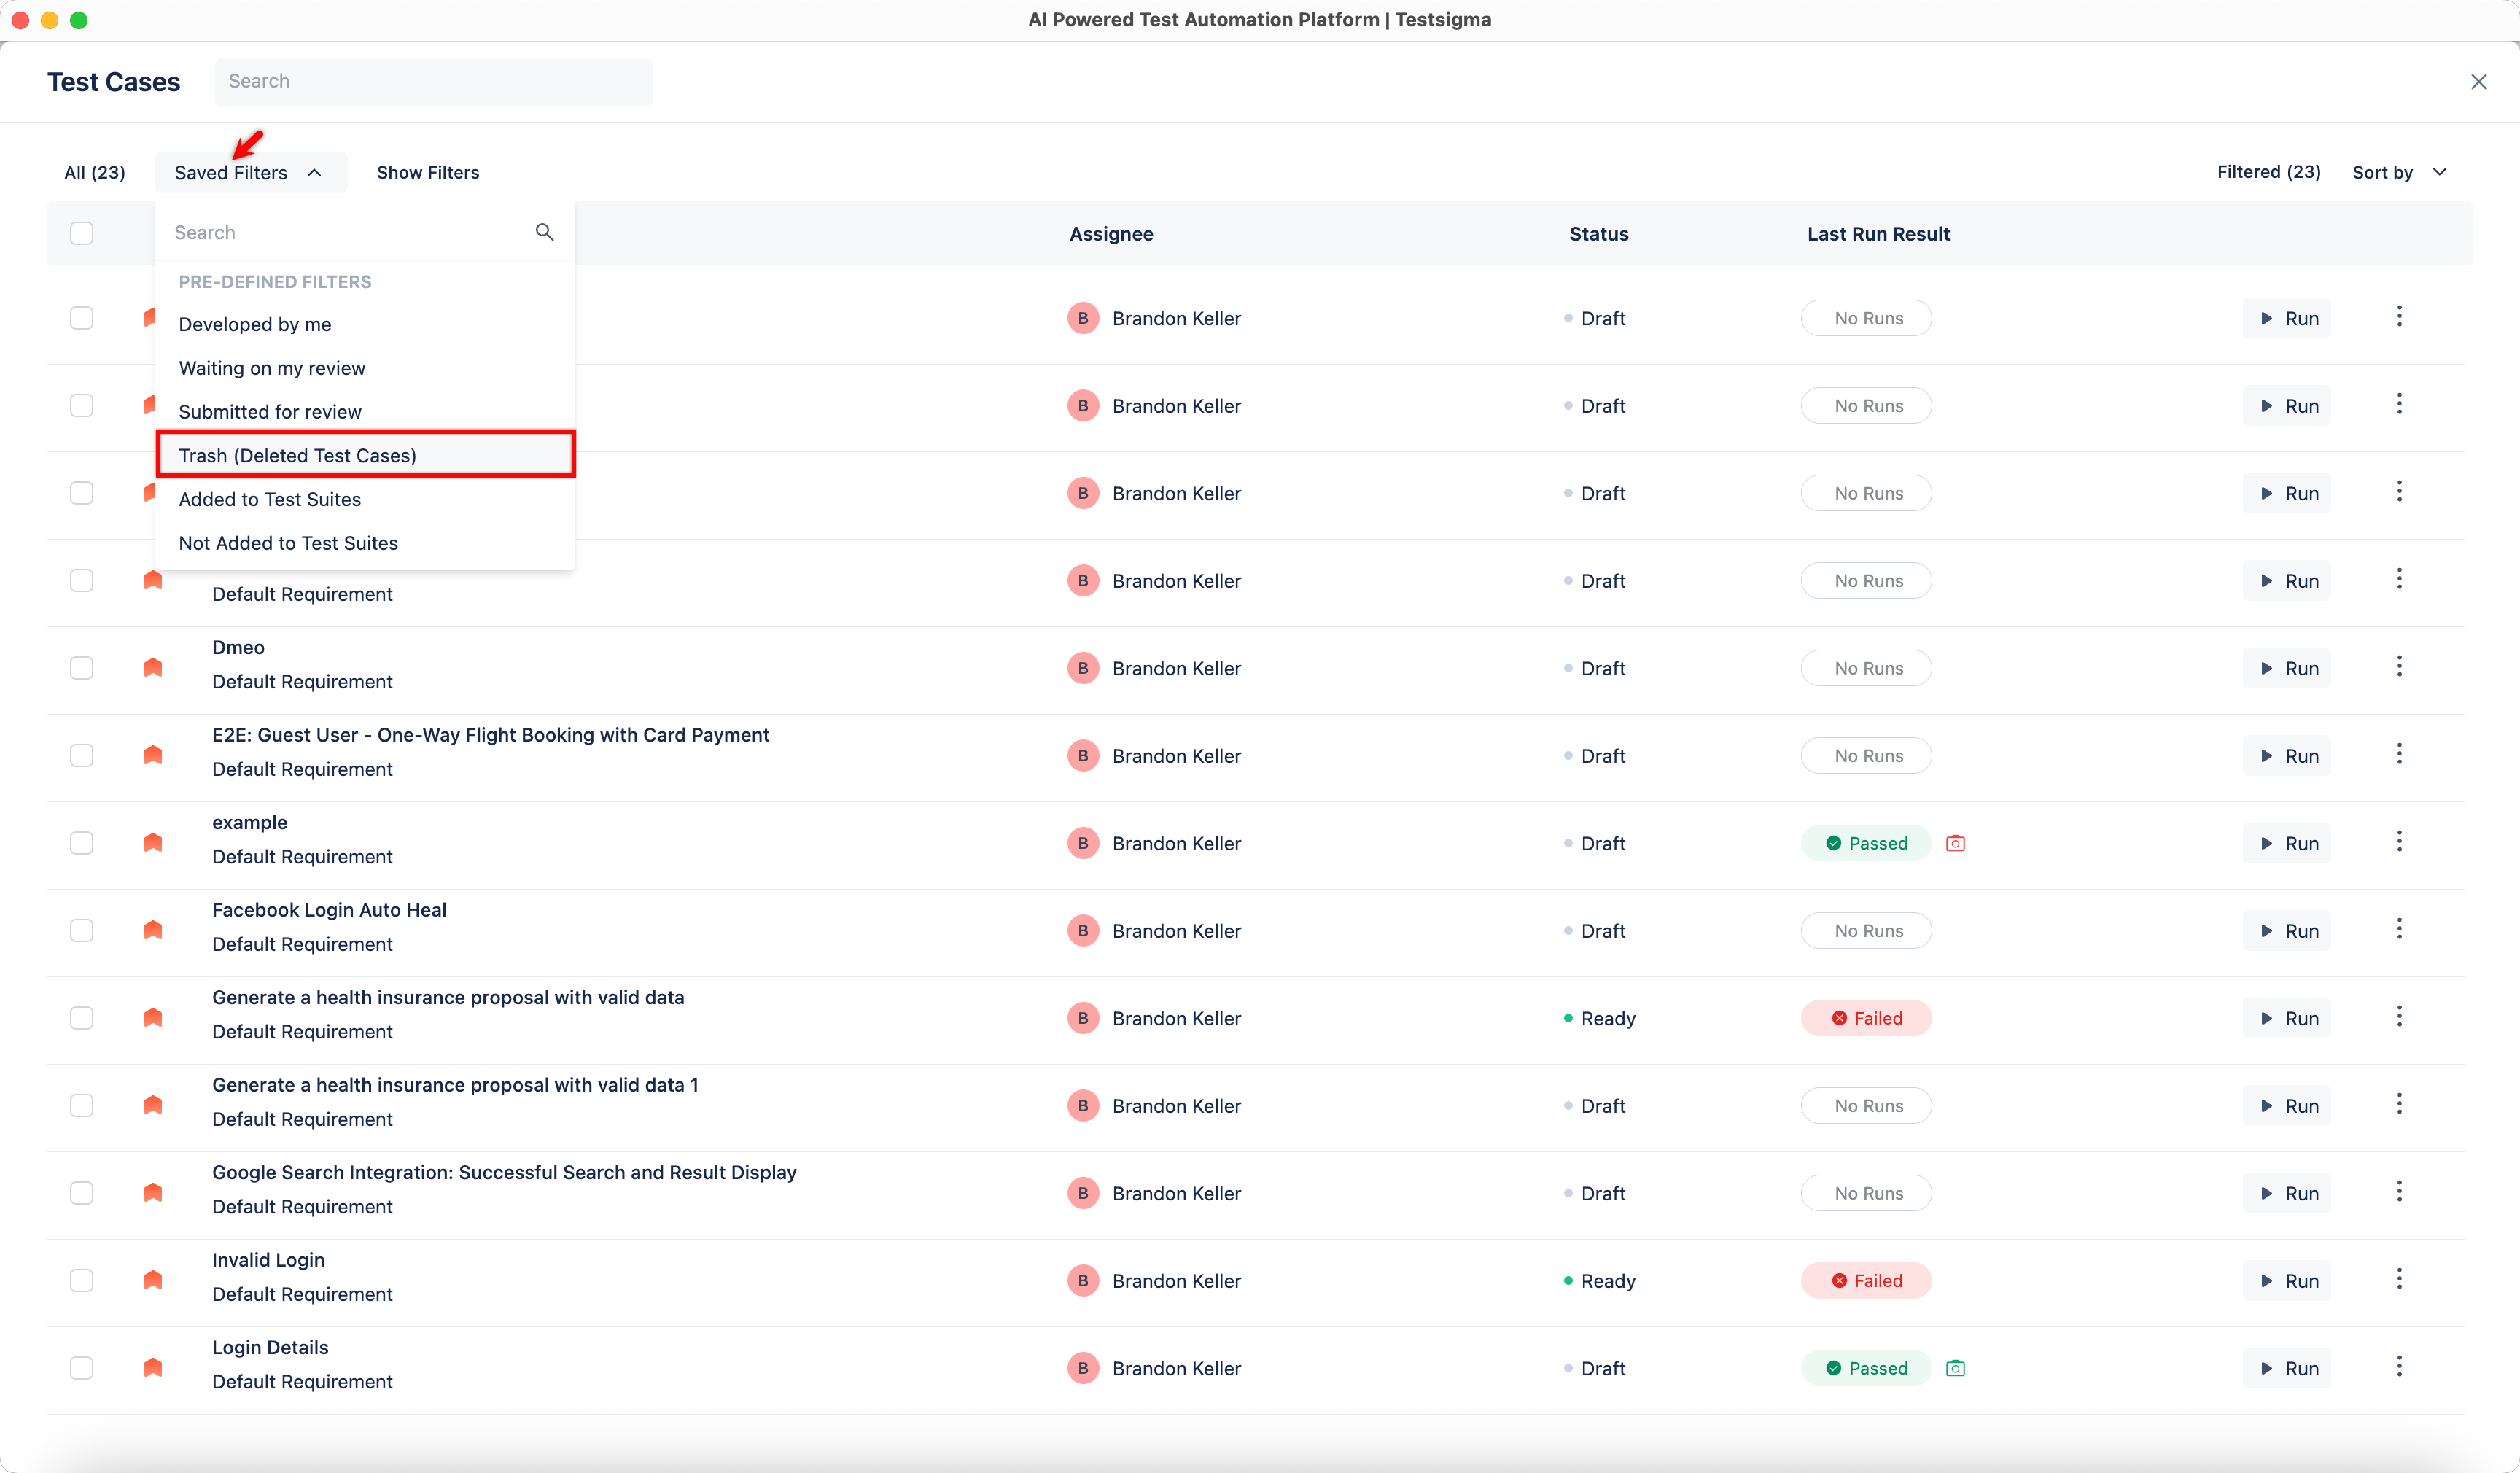
- Locate the test case you want to recover or permanently delete by scrolling or by using the search bar.
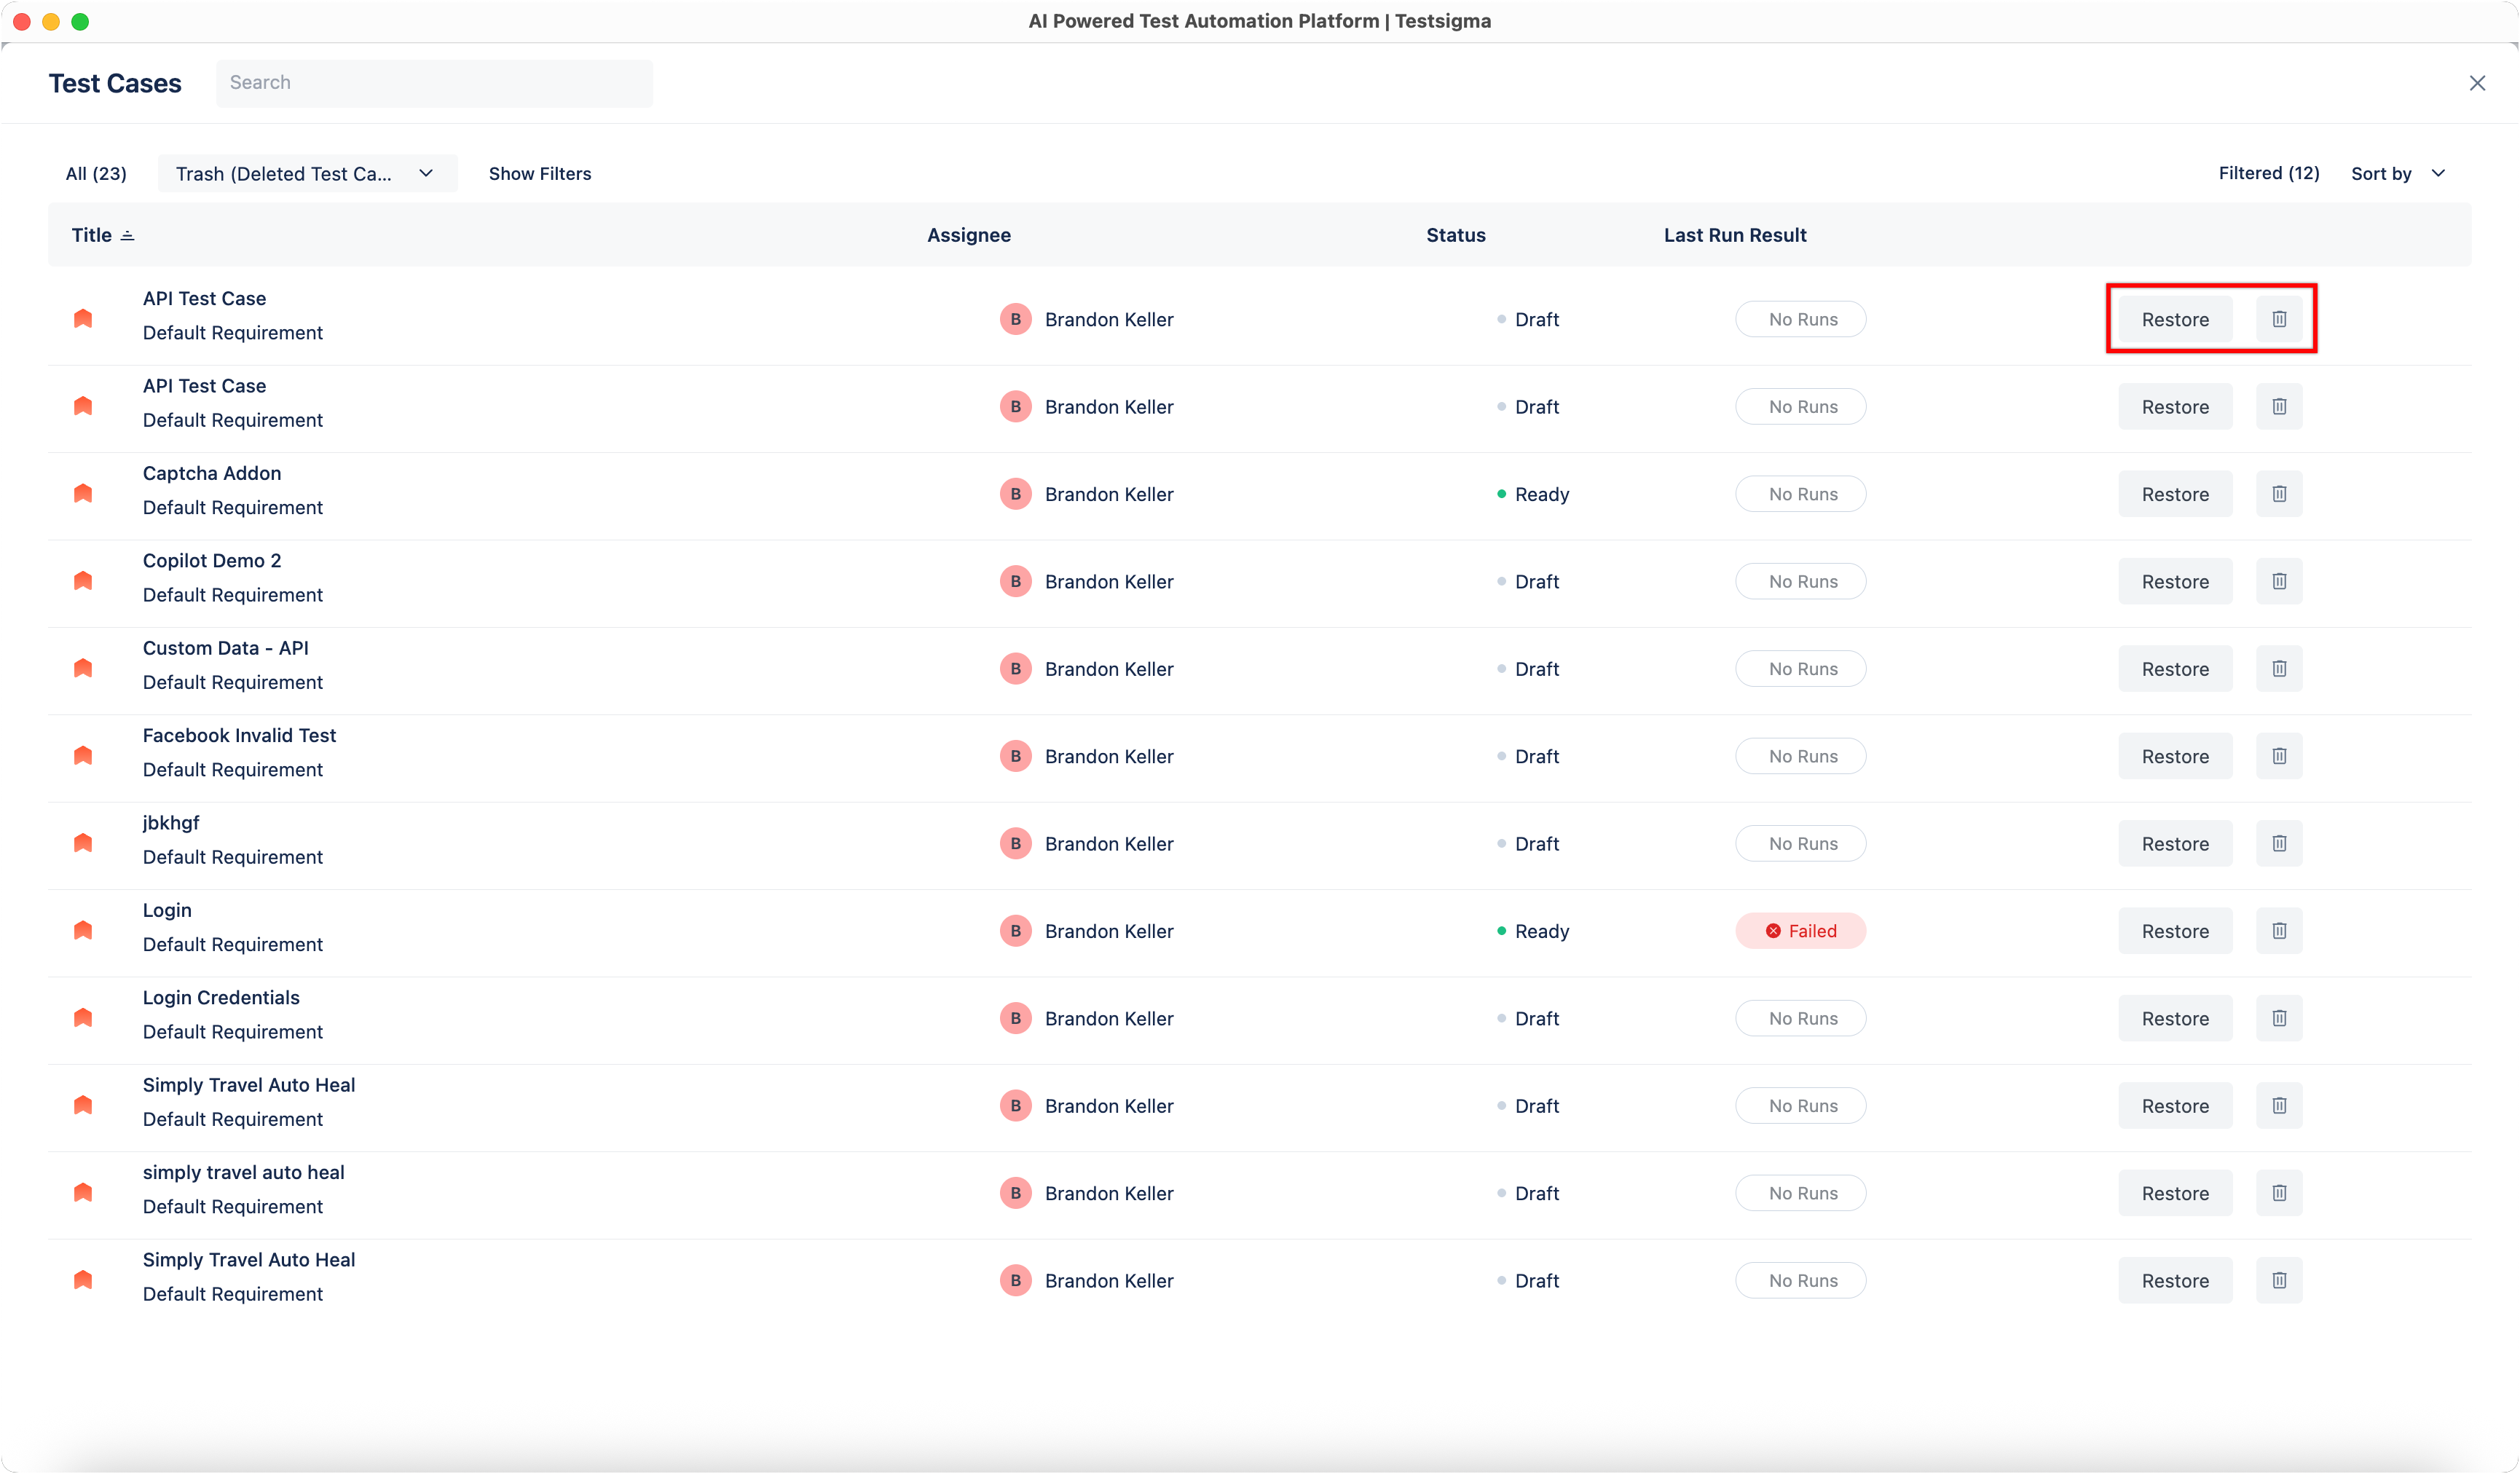
- To recover a test case, click Restore next to the test case, and then click Restore in the dialog box. The test case reappears on the Test Case List page.
-
To permanently delete a test case, click Delete next to the test case. In the confirmation dialog box, enter DELETE in the text box, and then click I Understand, delete this (test-case-name).
Deleting the test case permanently will result in losing all Run reports and associated configurations.
Want to contribute or report missing content?