
Importing/Updating TSRx Files into Testsigma
TSRx/Developer Application Model files can be easily managed 🔧 in Testsigma!
Once the TSRx file is ready, you can import it with just a few clicks and start building tests for Windows applications. These files are easy to manage and can be reused. This article discusses how to import TSRx files into the Testsigma application.
Prerequisites
Before you begin, ensure you have a Windows Project and a TSRx File to Import.
Steps to Import TSRx File
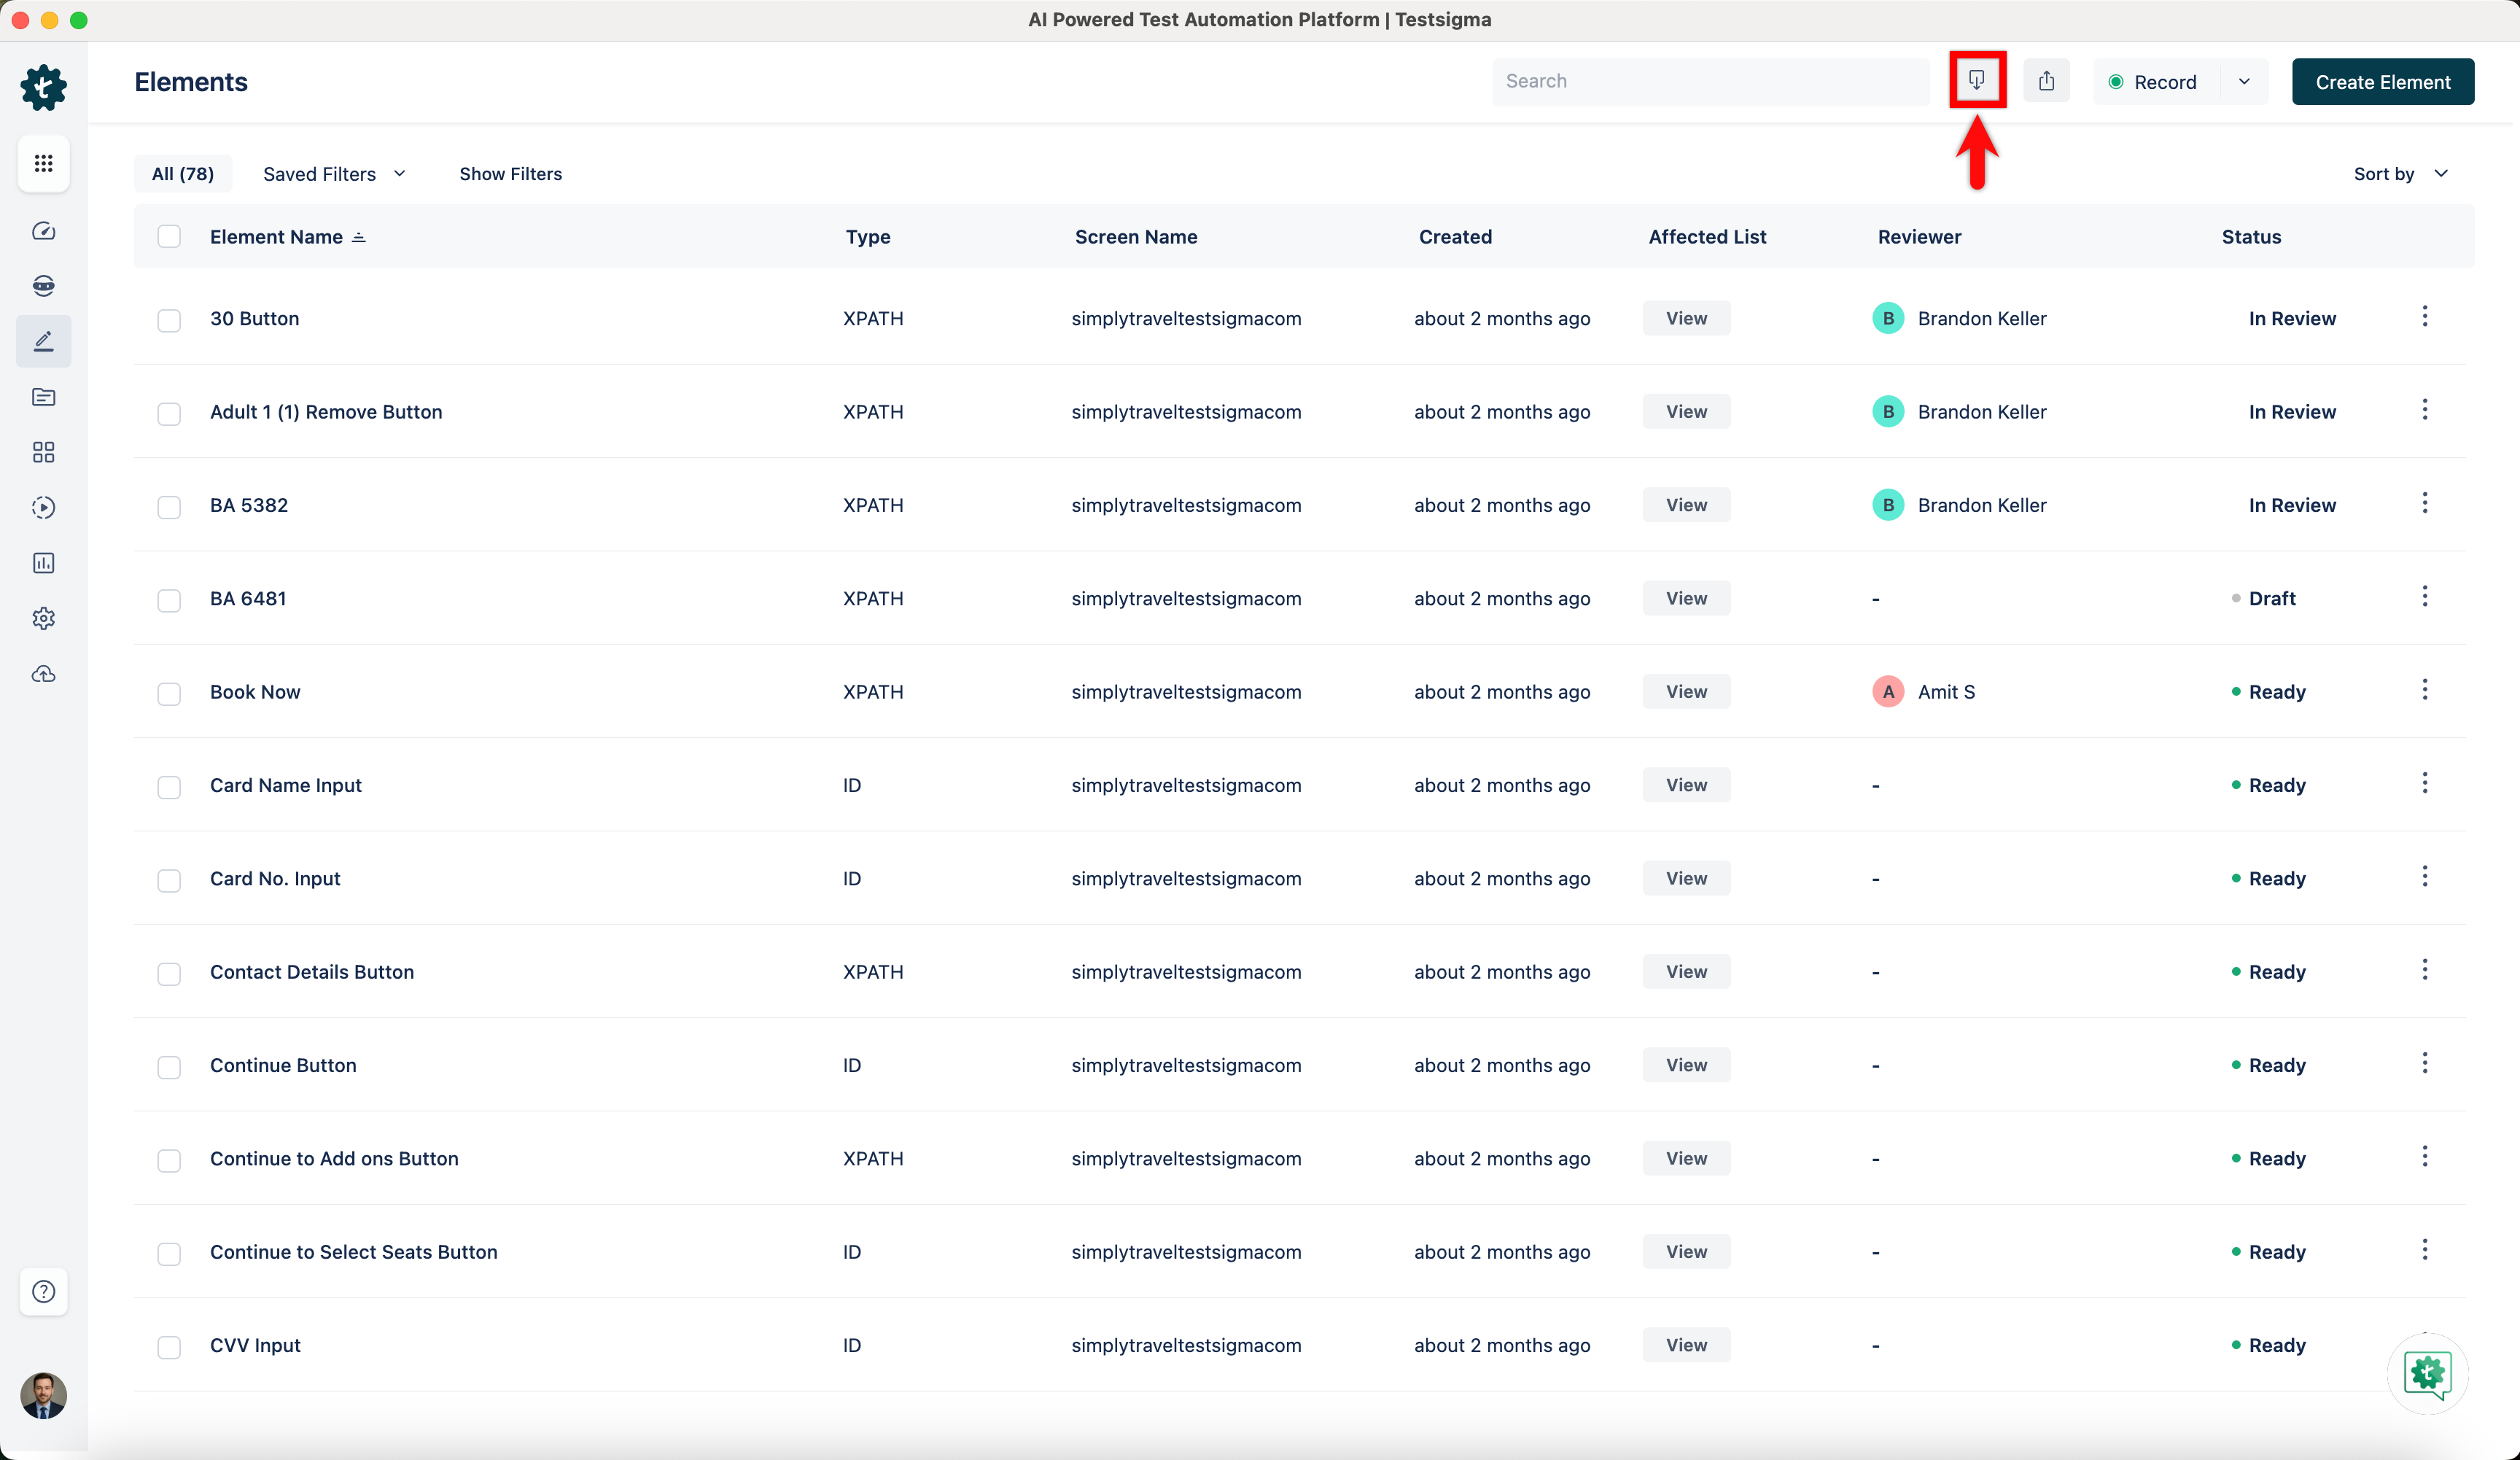
- From the left navigation bar, go to Create Tests > Elements.

- Click Import at the top right corner of the Elements list page.
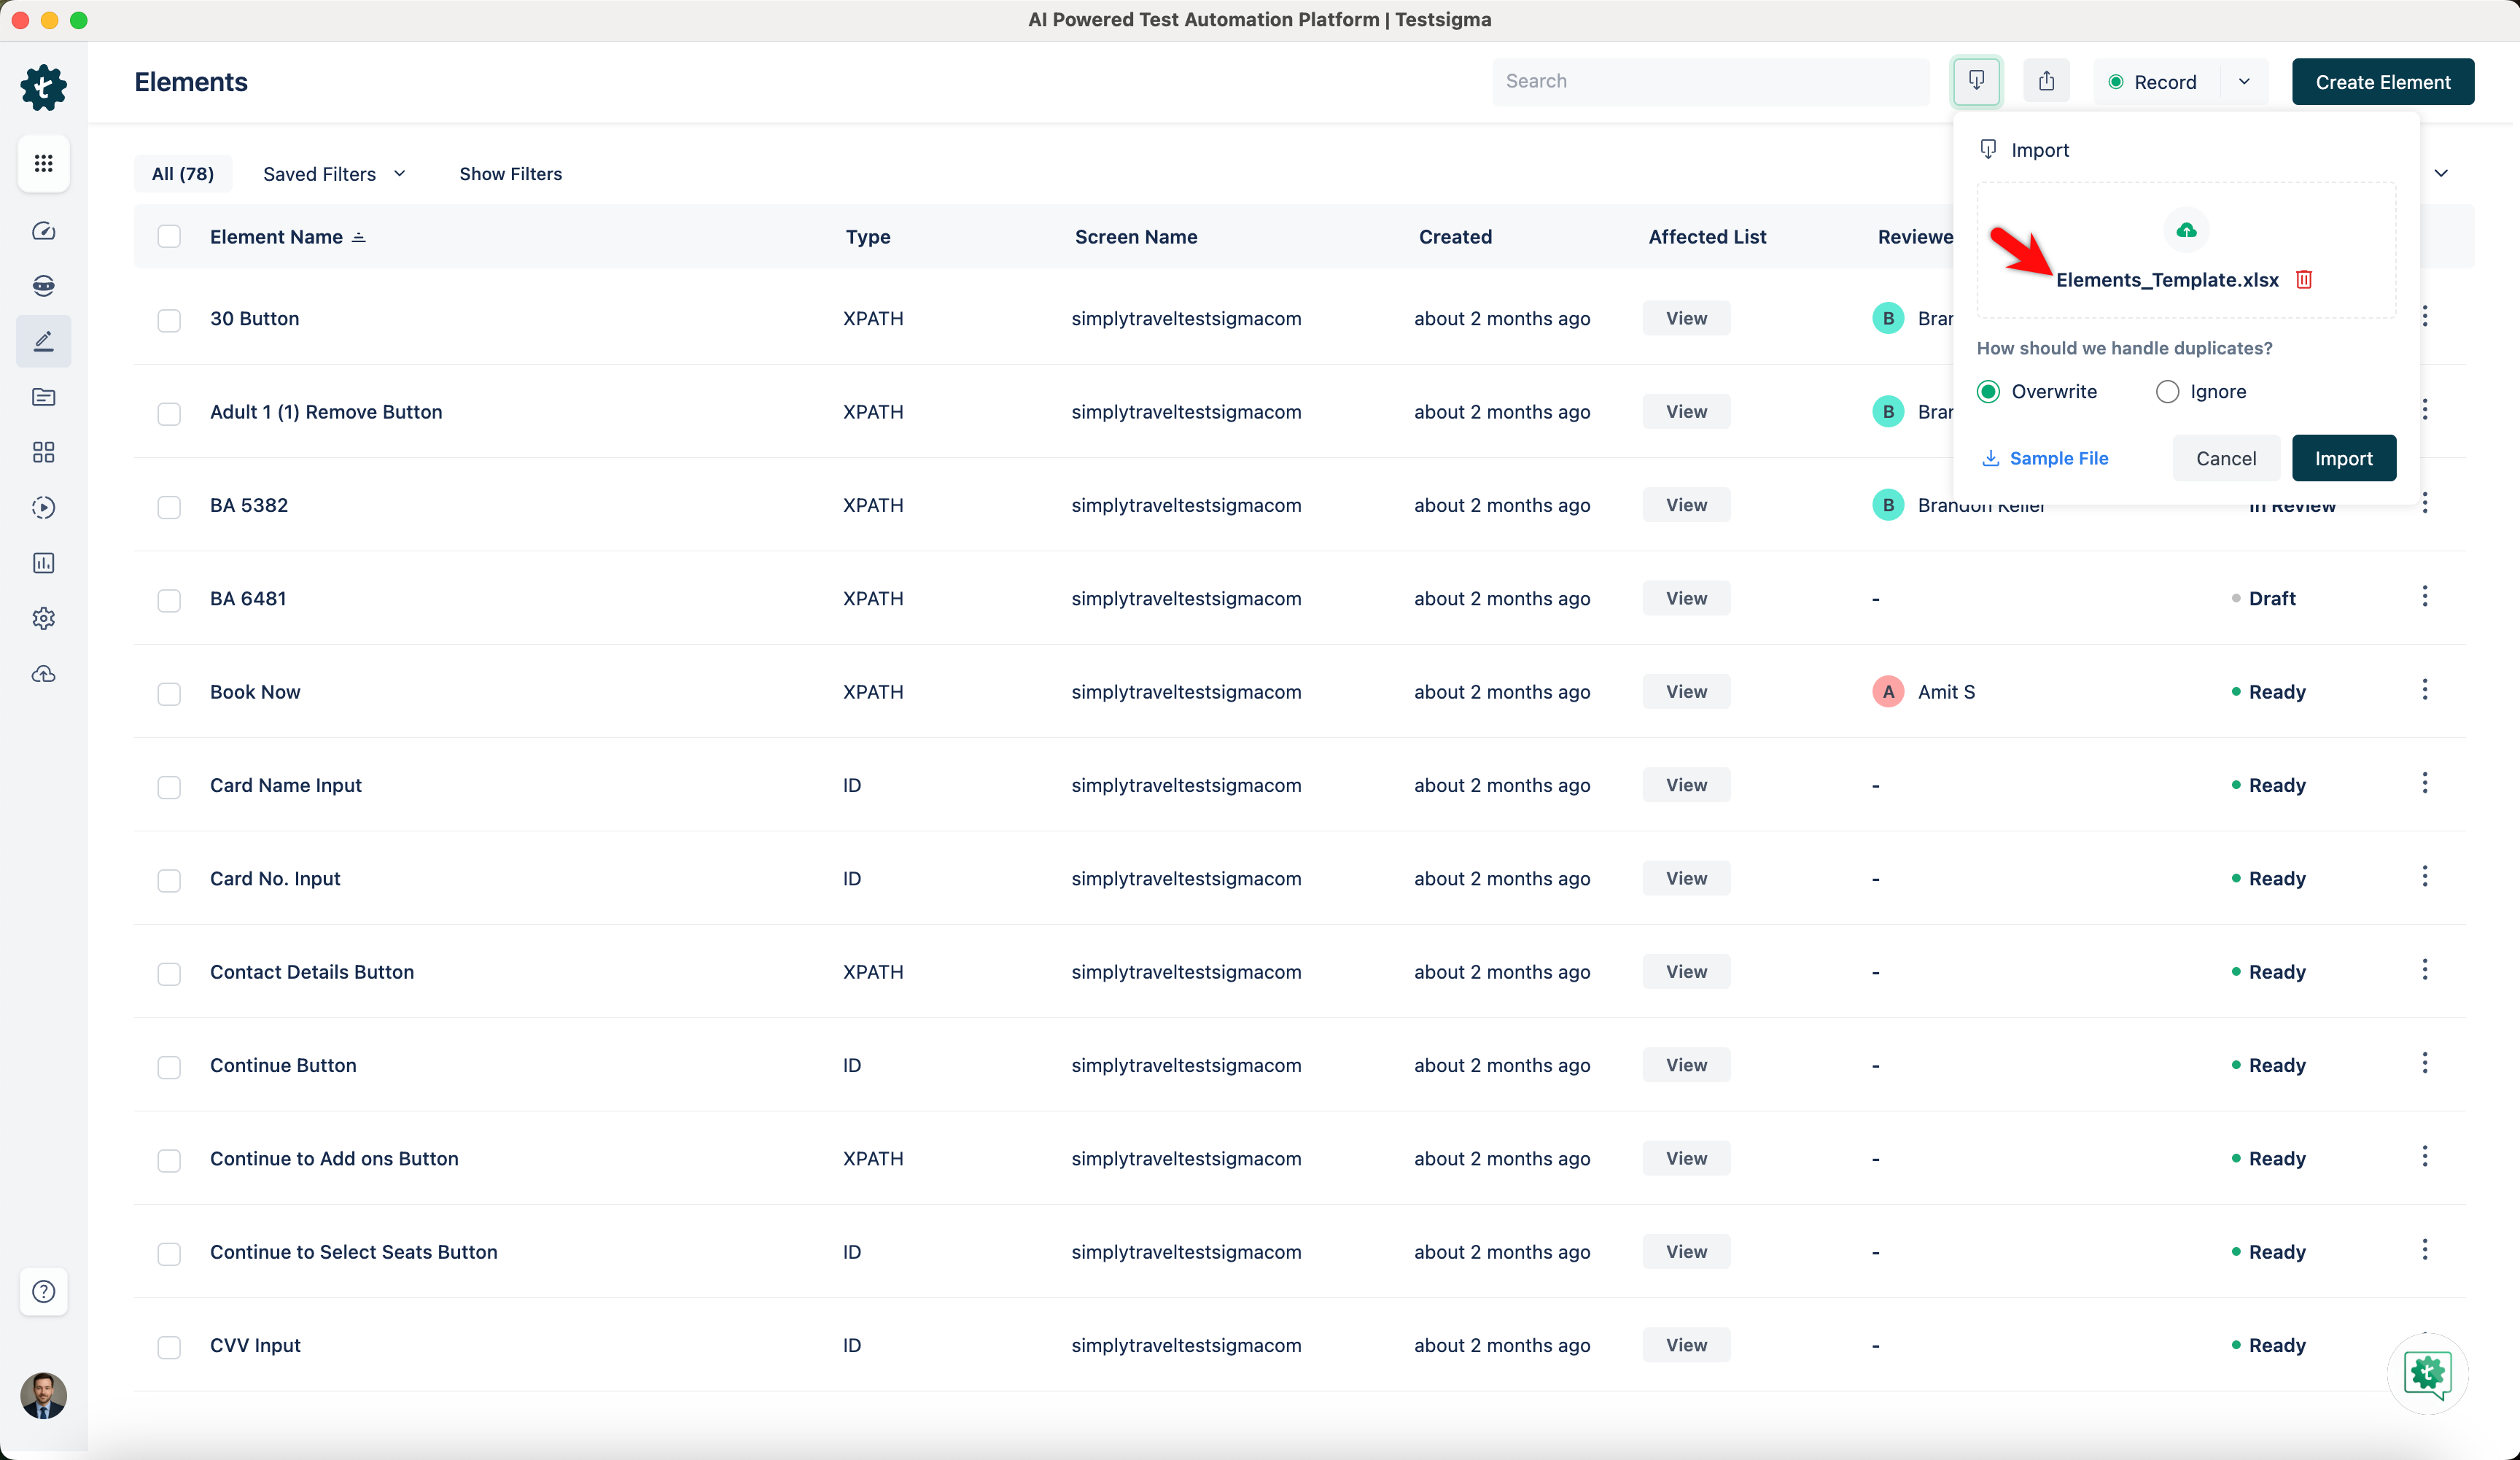
- In the Import dialog, click Browse file and select a TSRx file from your local system.
-
In the Import dialog, under How should we handle duplicates?, select one of the following:
- Overwrite to replace existing elements with the imported ones.
- Ignore to skip importing duplicate elements.

- Click Import.

- You can see the imported elements under Create Tests > Elements.
NOTE:
- You can replace the updated elements by clicking on Update Elements and following the same steps as above.
- After updating the elements, changes in the app structure might affect some of them, which will be highlighted with a red underline. For information on handling these errors, refer to the documentation on error handling post TSRx update.
Want to contribute or report missing content?