- create test cases
 Organizing Test Cases in Folders
- Test Cases for Web Applications
- Test Cases for Mobile Applications
- Test Cases for Mobile Web Applications
- Manage Test Cases for Web Applications
- Manage Test Cases for Android & iOS Apps
- Manage Test Cases for Mobile Web Applications
- Test Case List Actions
- Importing Postman Collections and Environments
- Custom Fields for Test Cases
- Label Management
- Update Test Case Result in a Test Plan
- Test Case: Advanced Options Guide
- Test Step Types
- Type: Natural Language
- Type: REST API
- Type: Step Group
- Type: For Loop
- Type: While Loop
- Type: Block
- Type: If Condition
- Nested Step Groups
- Image Injection
- Cross-application testing
Import Test Cases
You can use test case import to move test cases from one project to another within Testsigma. Test cases can only be imported from one application type to the same application type in the target project. This article explains how to import test cases between projects in Testsigma.
Prerequisites
Before you begin, ensure that you have referred to:
Steps to Import Test Cases
- From the left navigation bar, navigate to Create Tests > Test Cases.
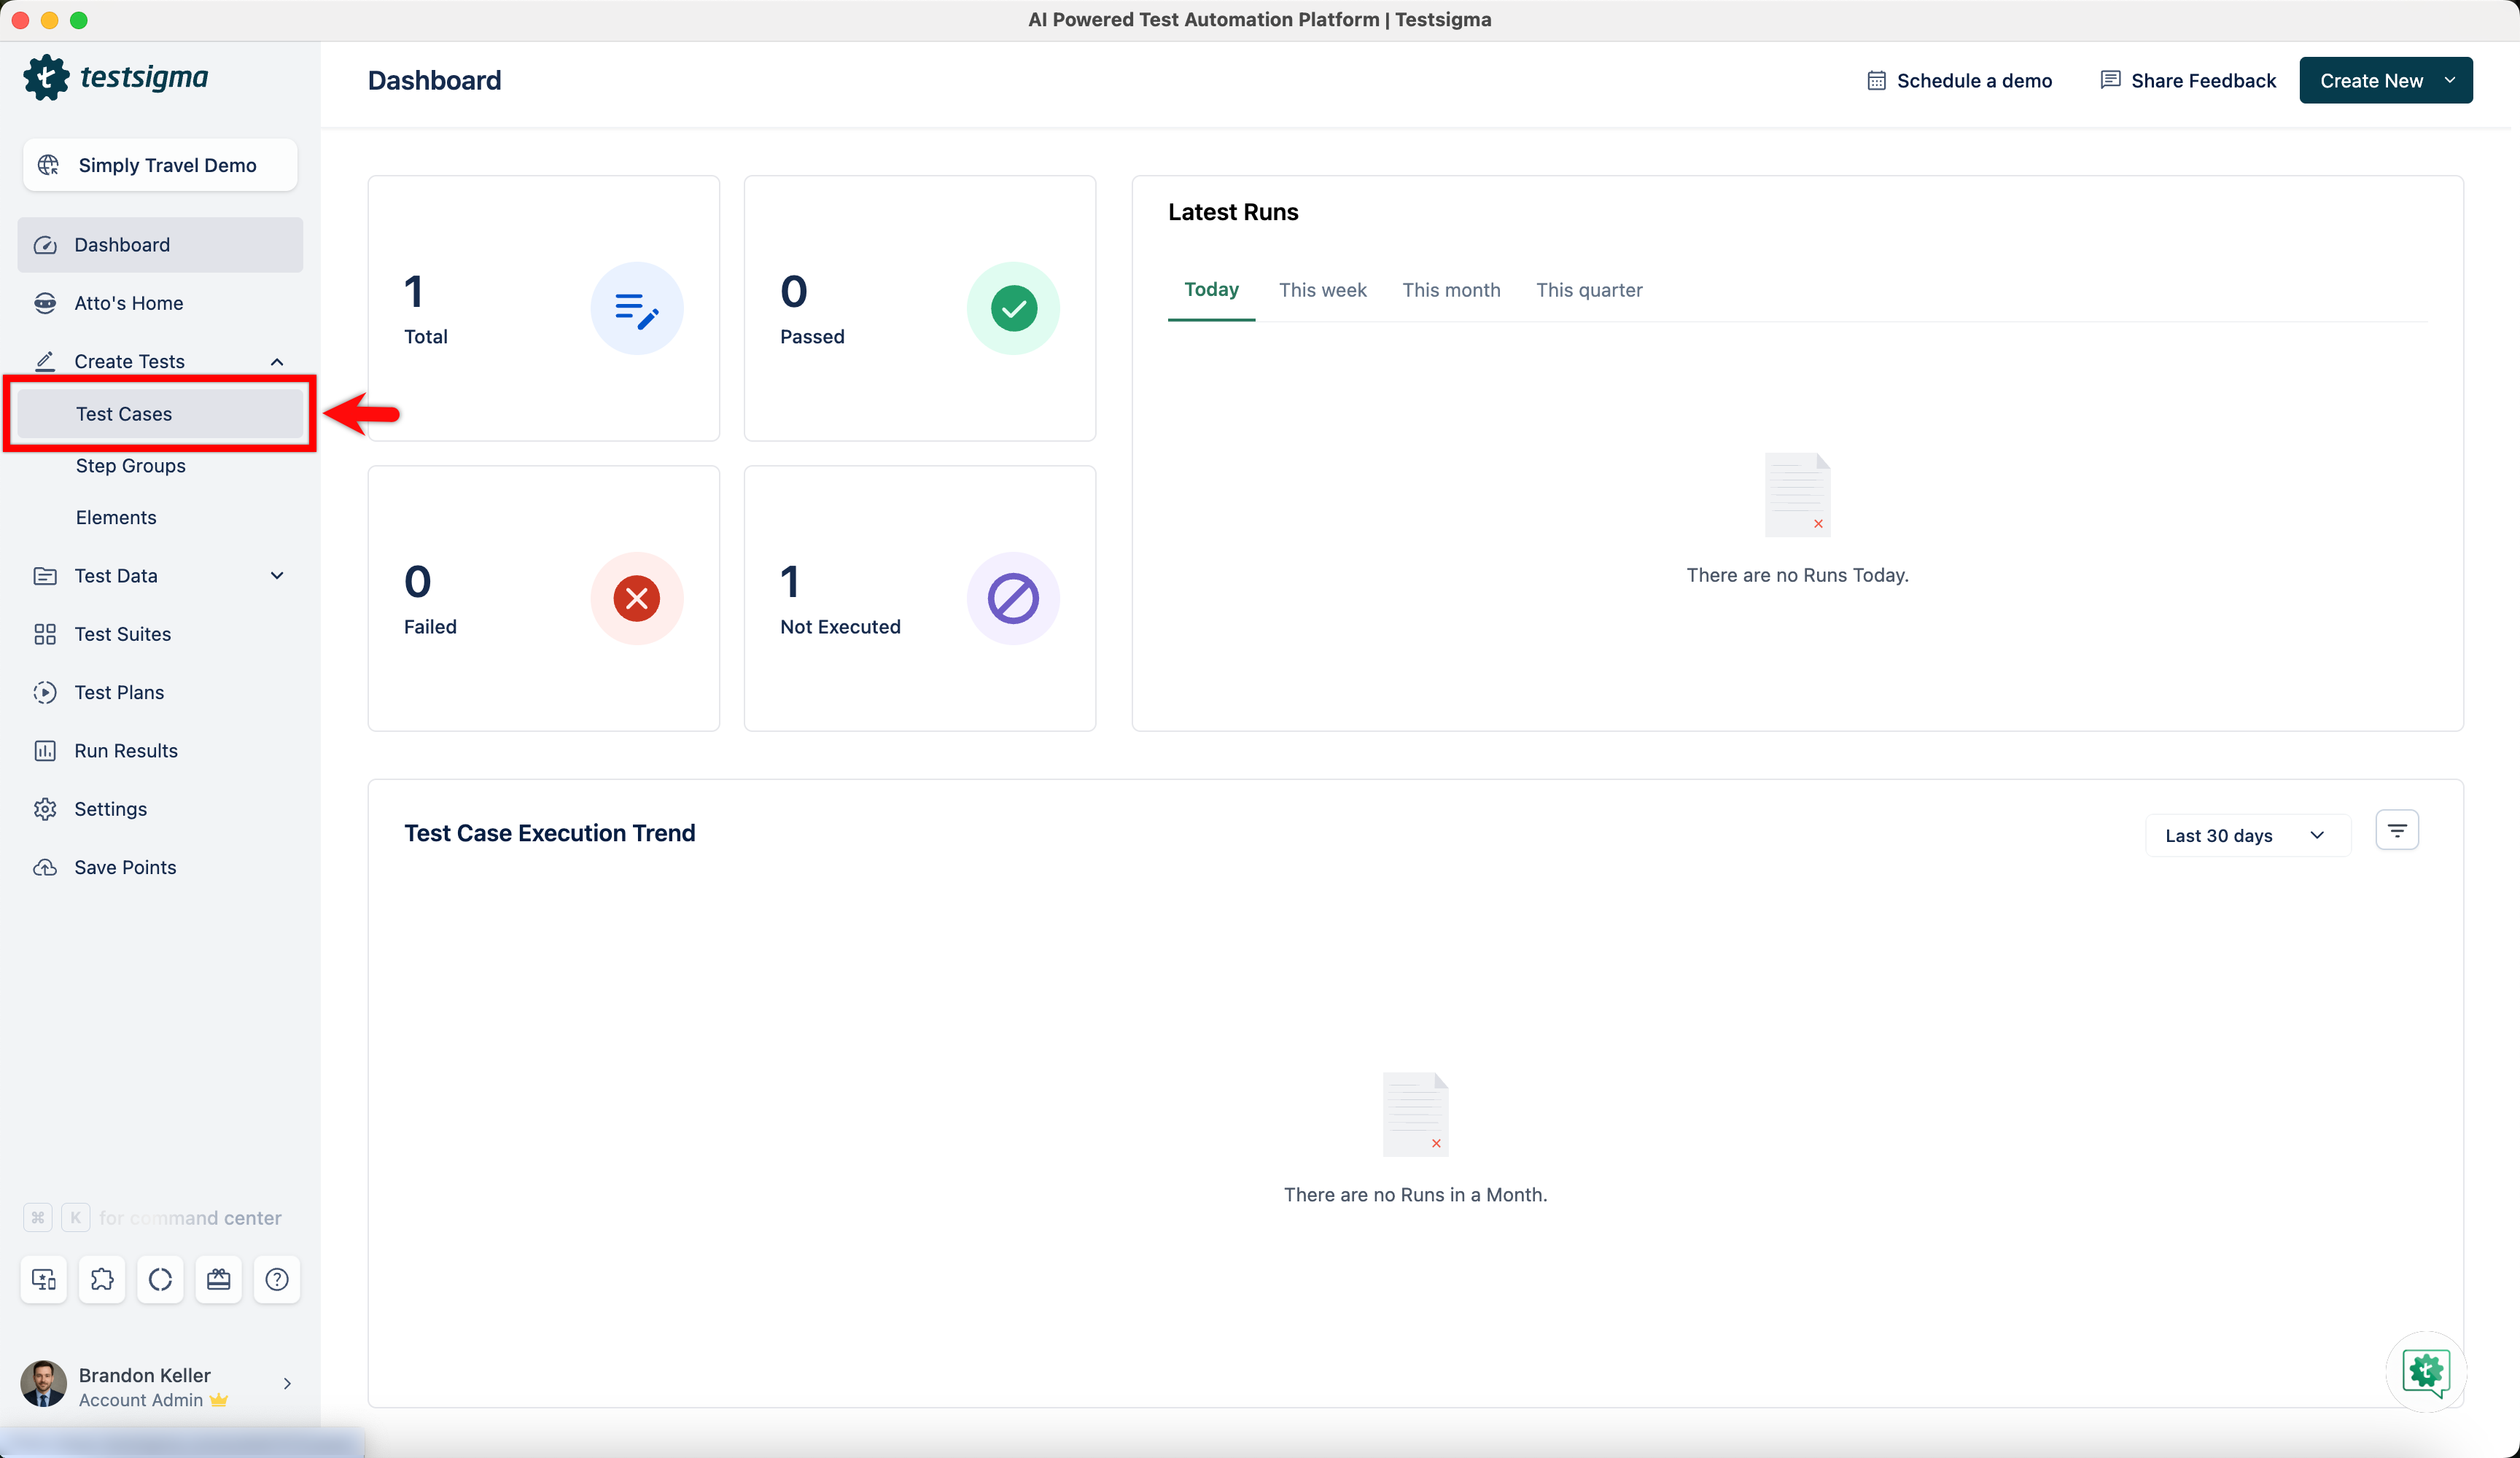
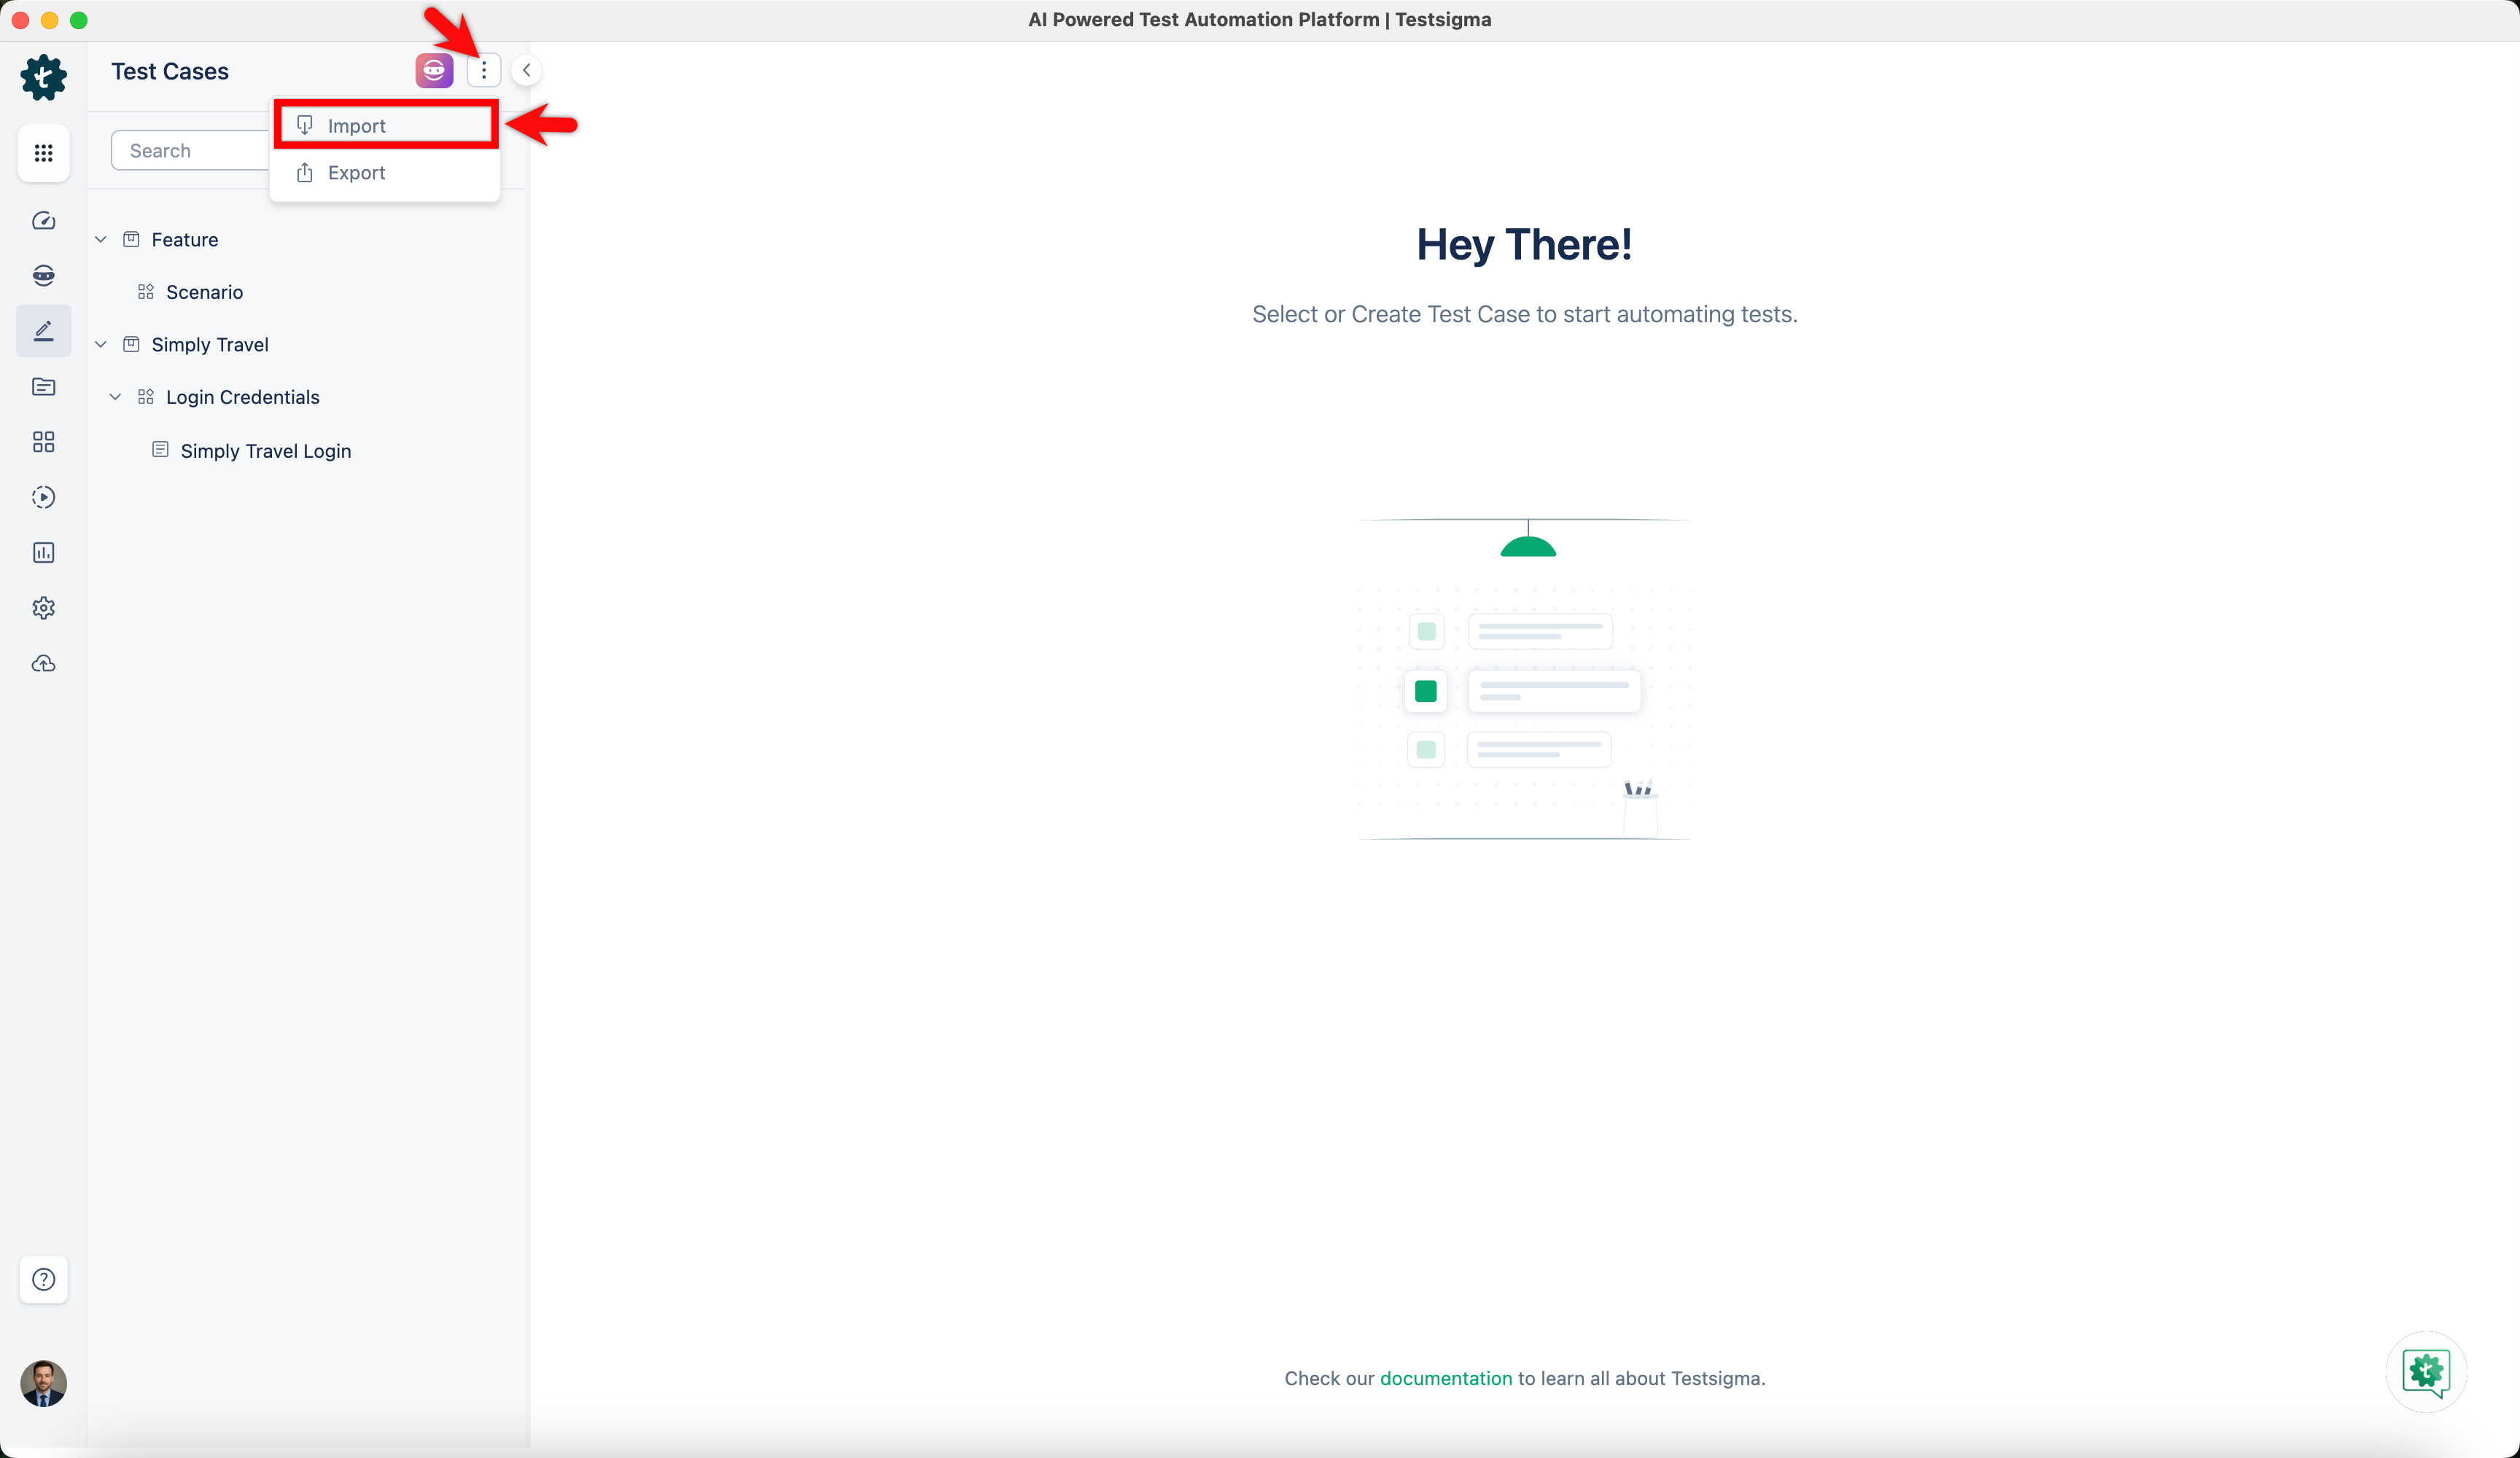
- In the Test Cases Explorer section, click the ellipse icon and click Import.
-
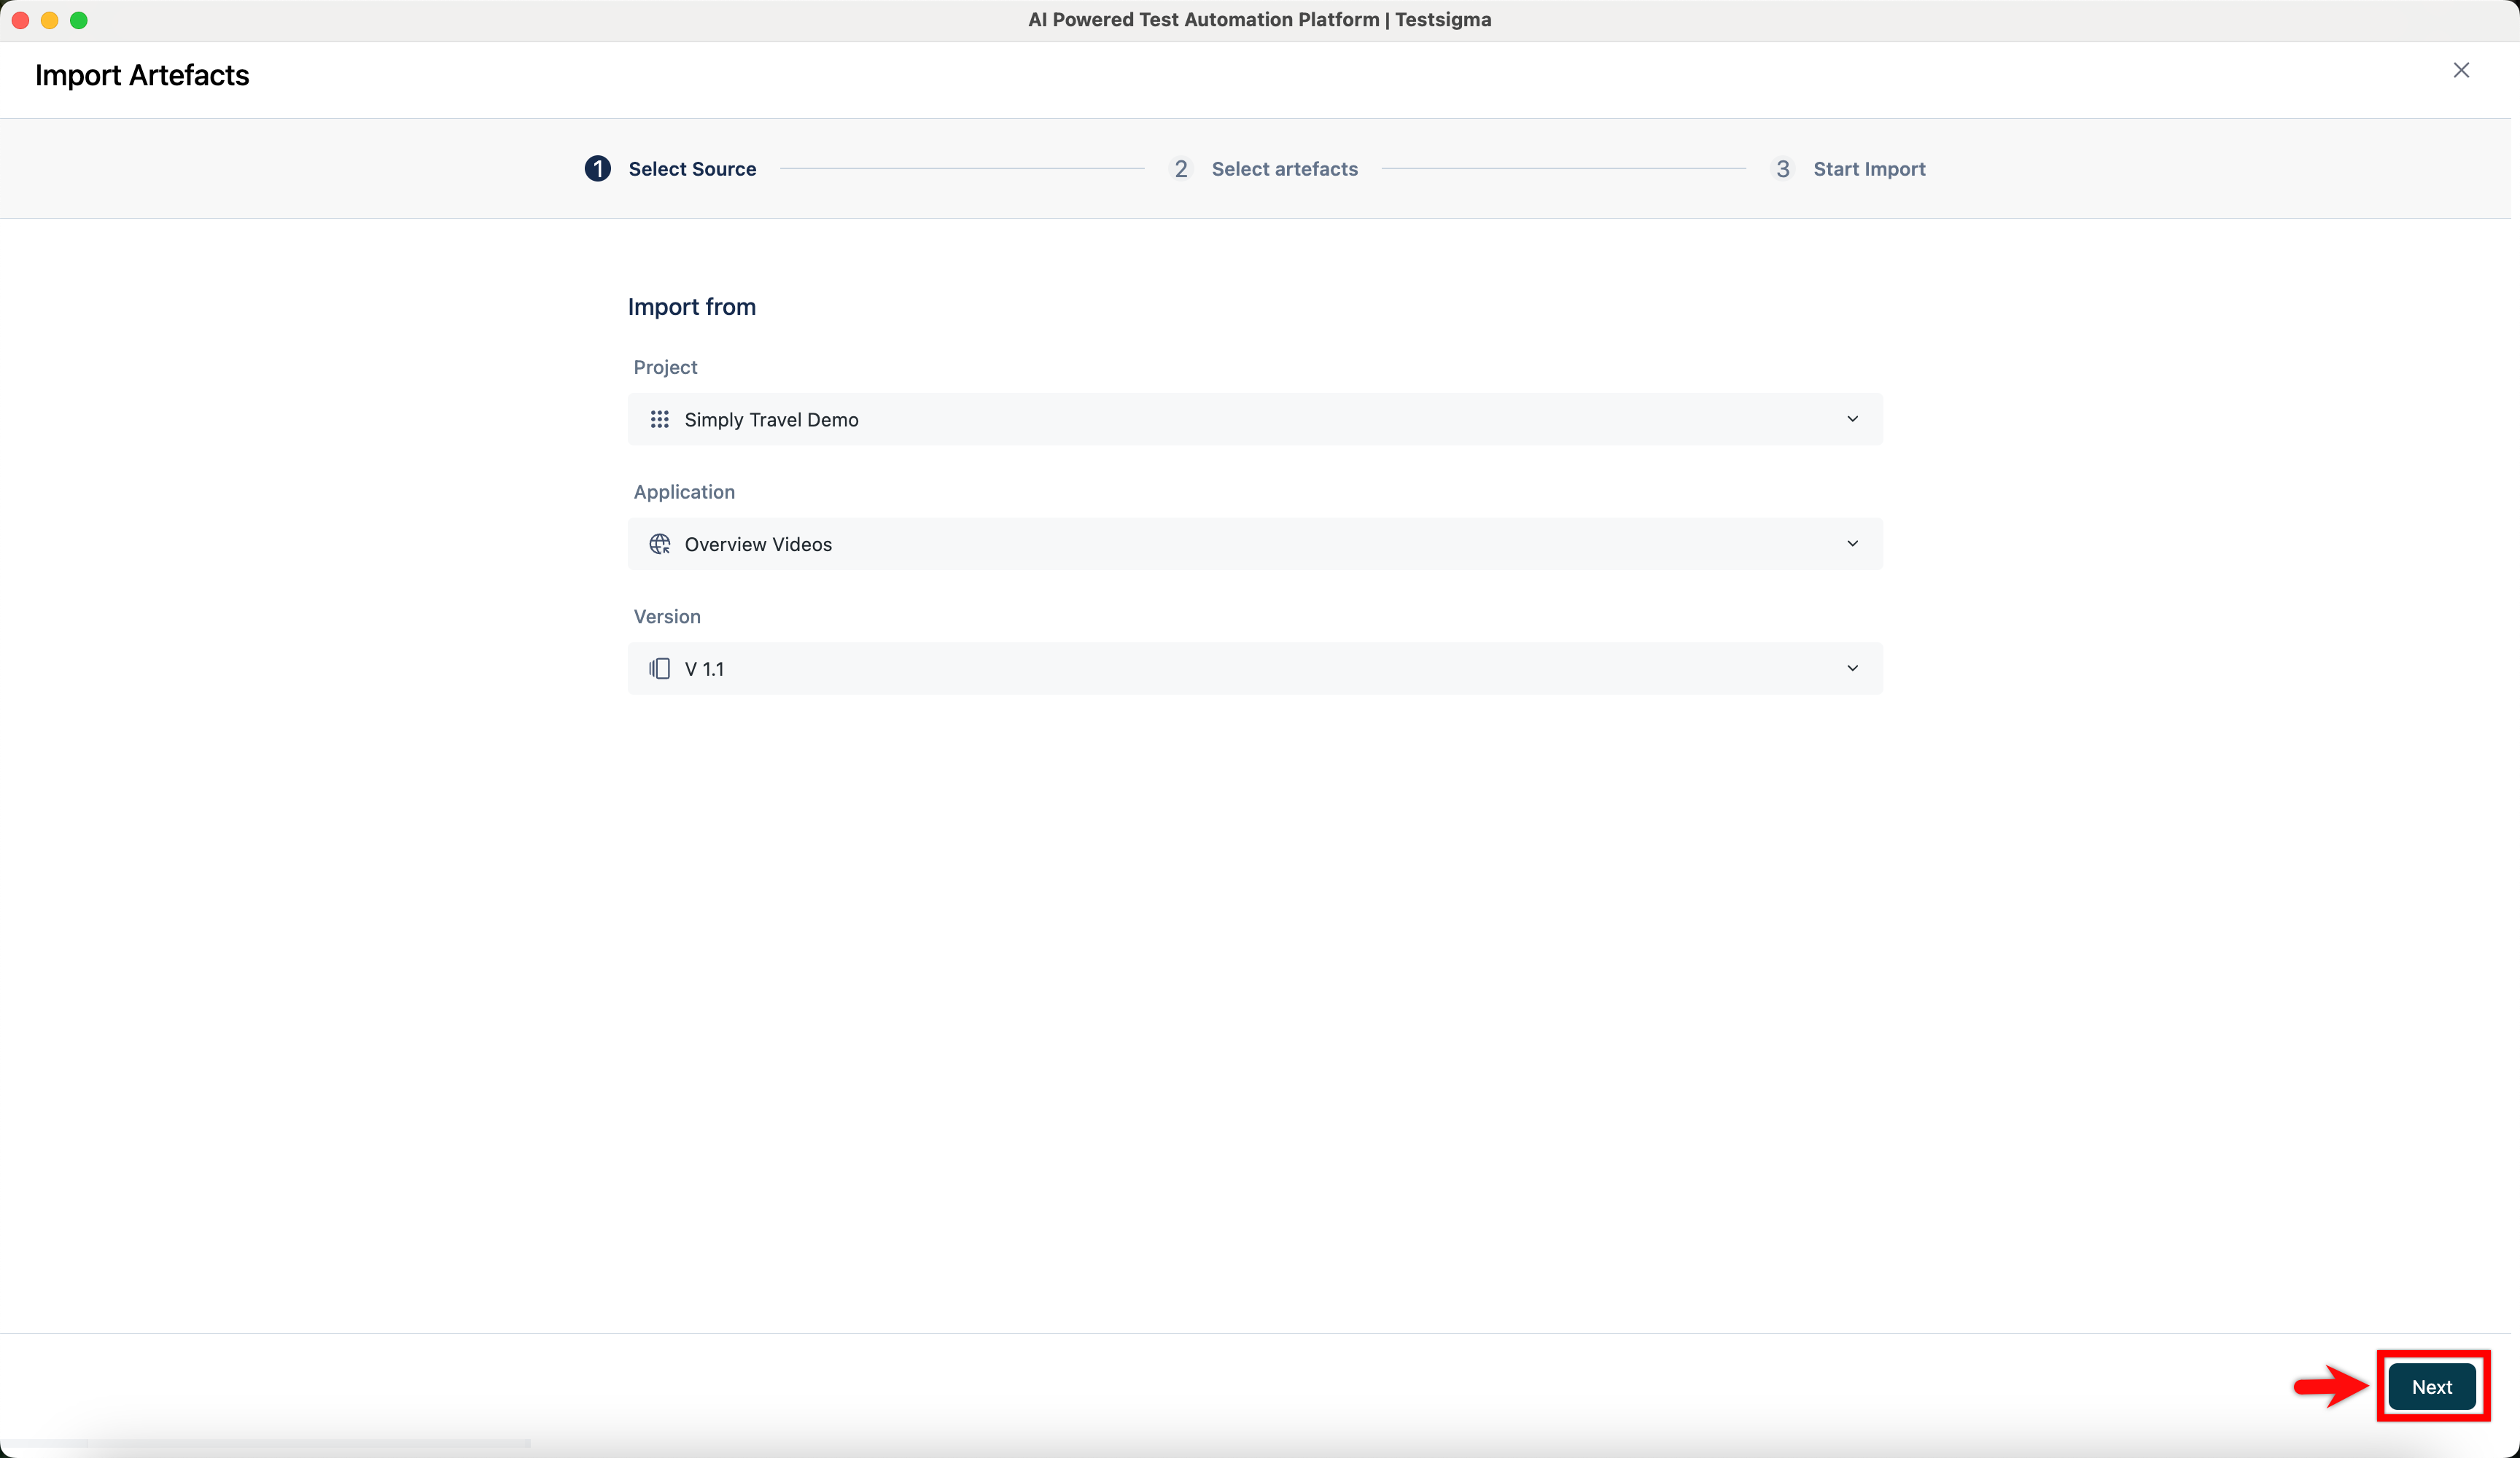
In the Import Artefacts screen, under the Select Source tab:
- Choose the source Project.
- Choose the Application Name.
- Choose the Version.
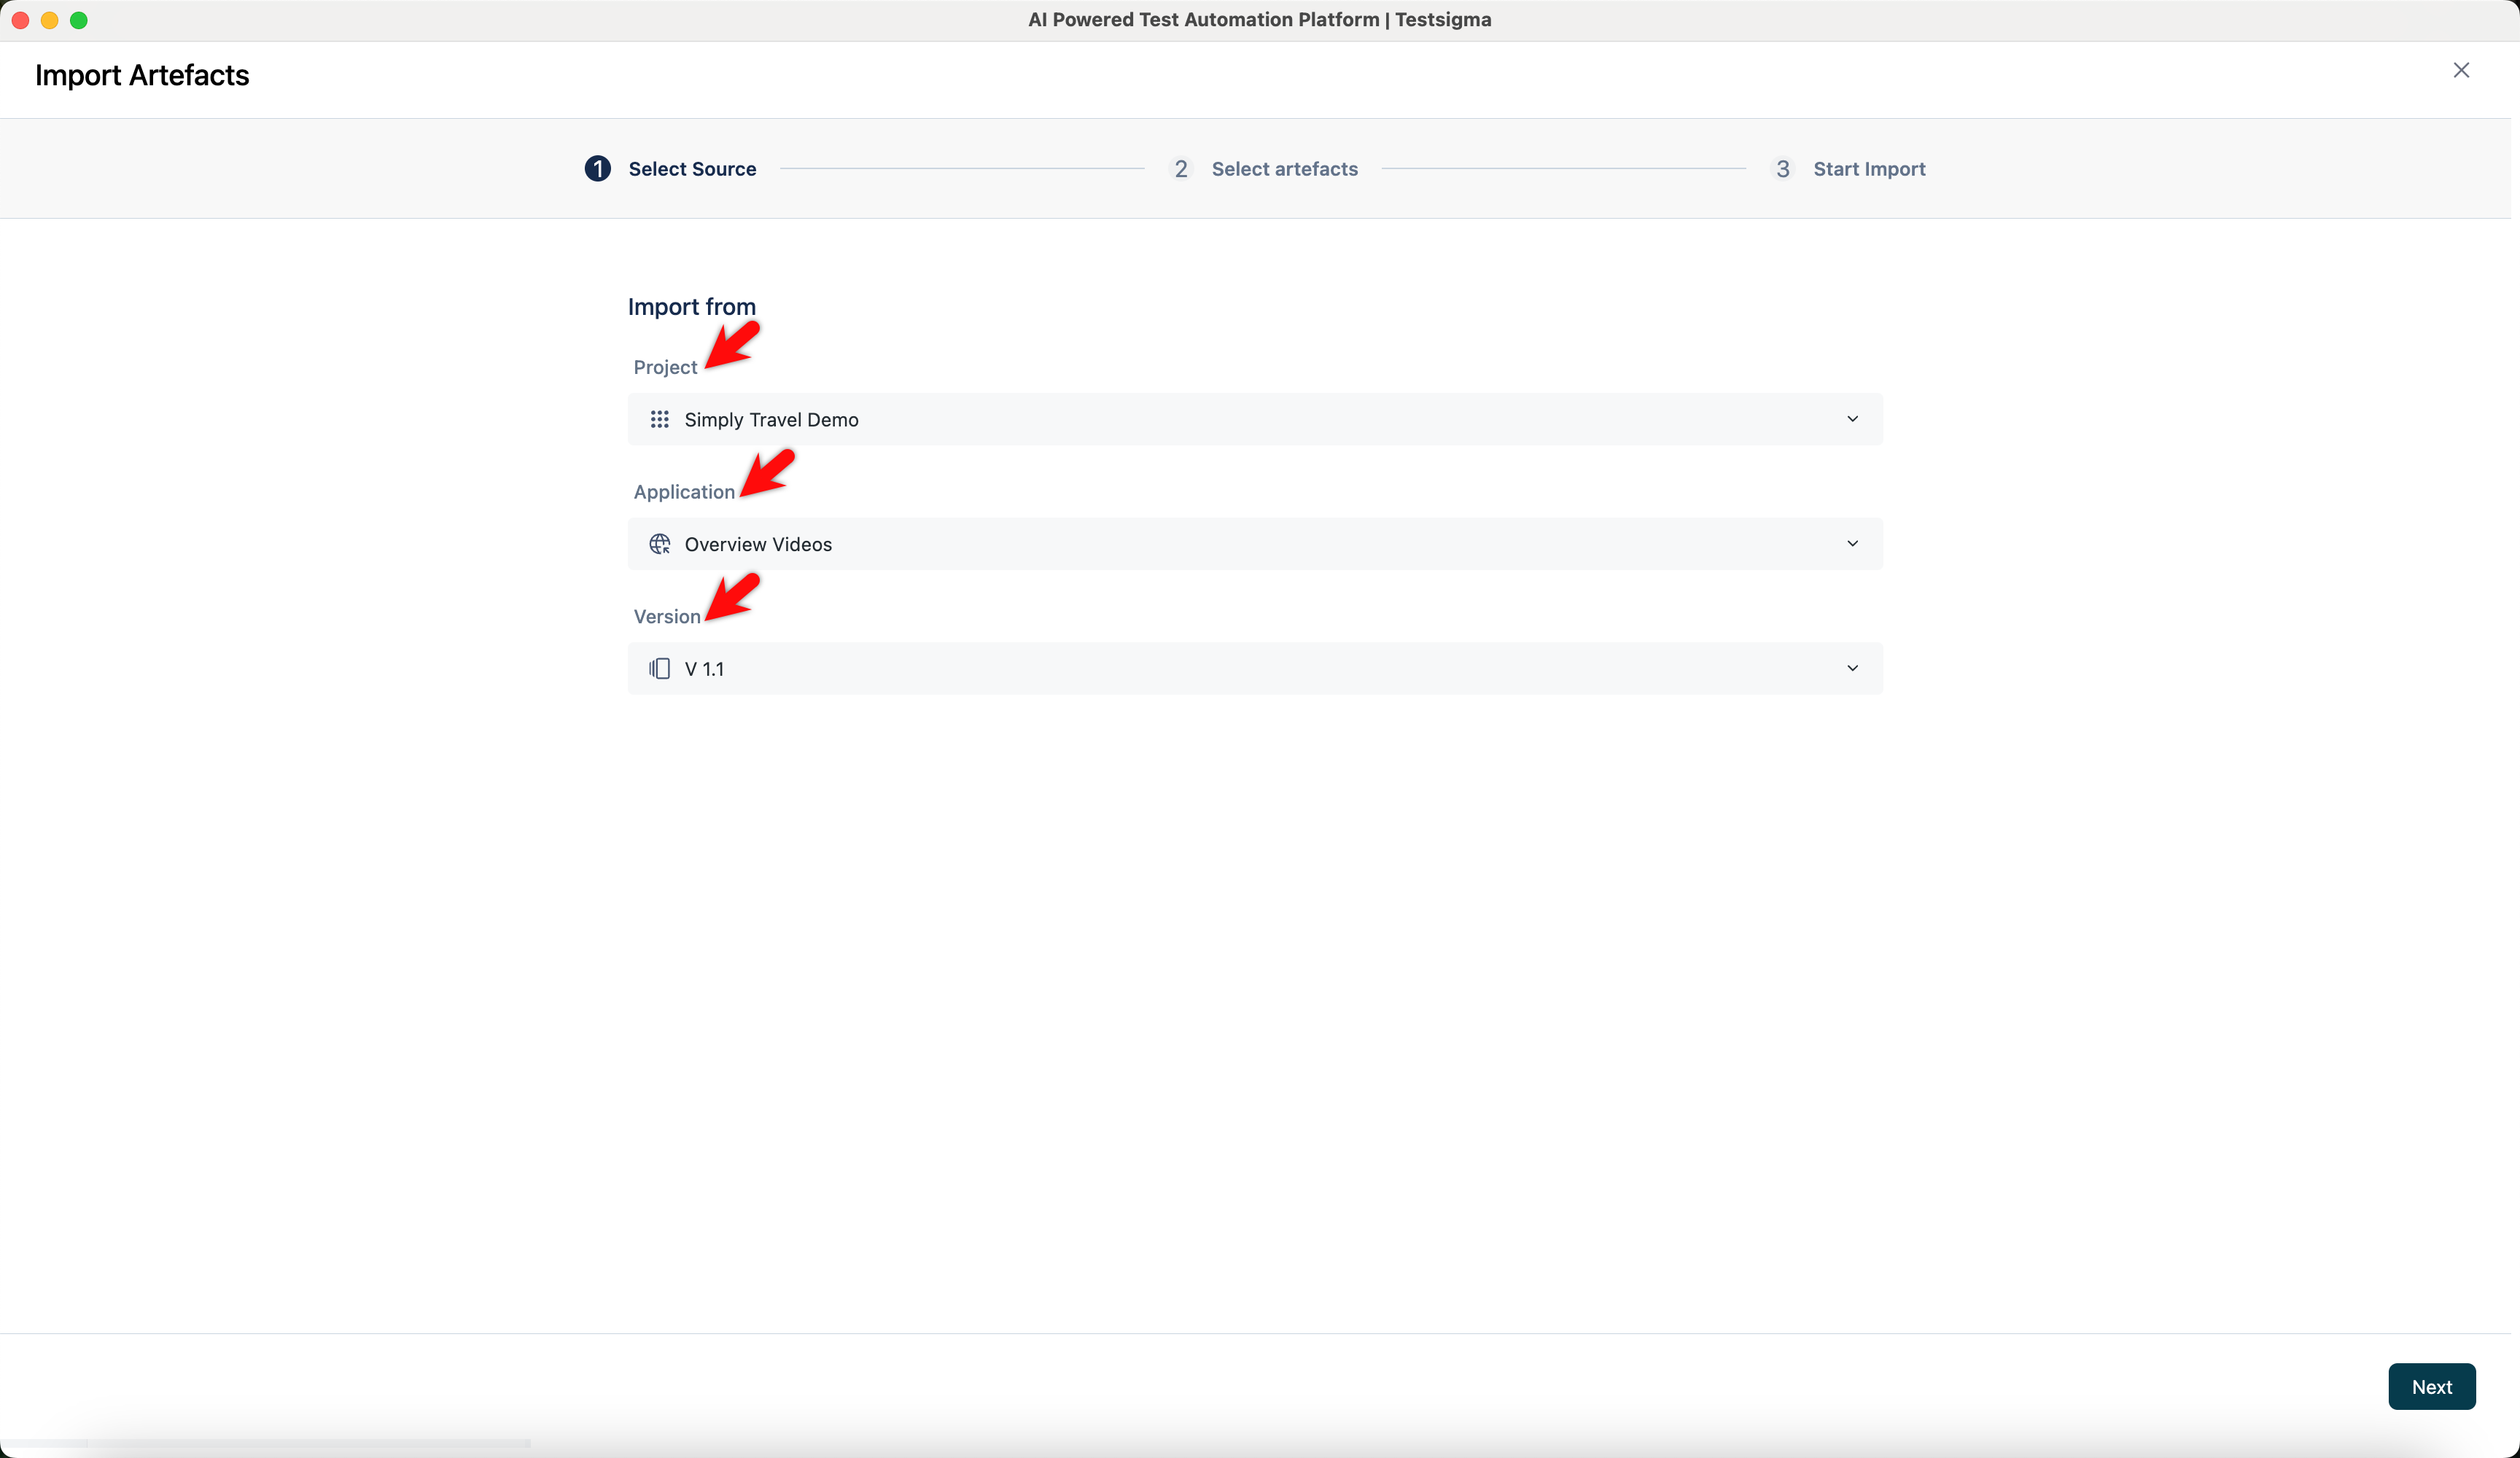
- Click Next.
NOTE:
- When importing test cases from a web application in the current project, they can only be moved to a web application in the destination project. Moving them to a different application type is not supported.
- In the Select Artefacts tab, choose the test cases, step groups, elements, test data profiles, environment variables, and uploads you want to import.
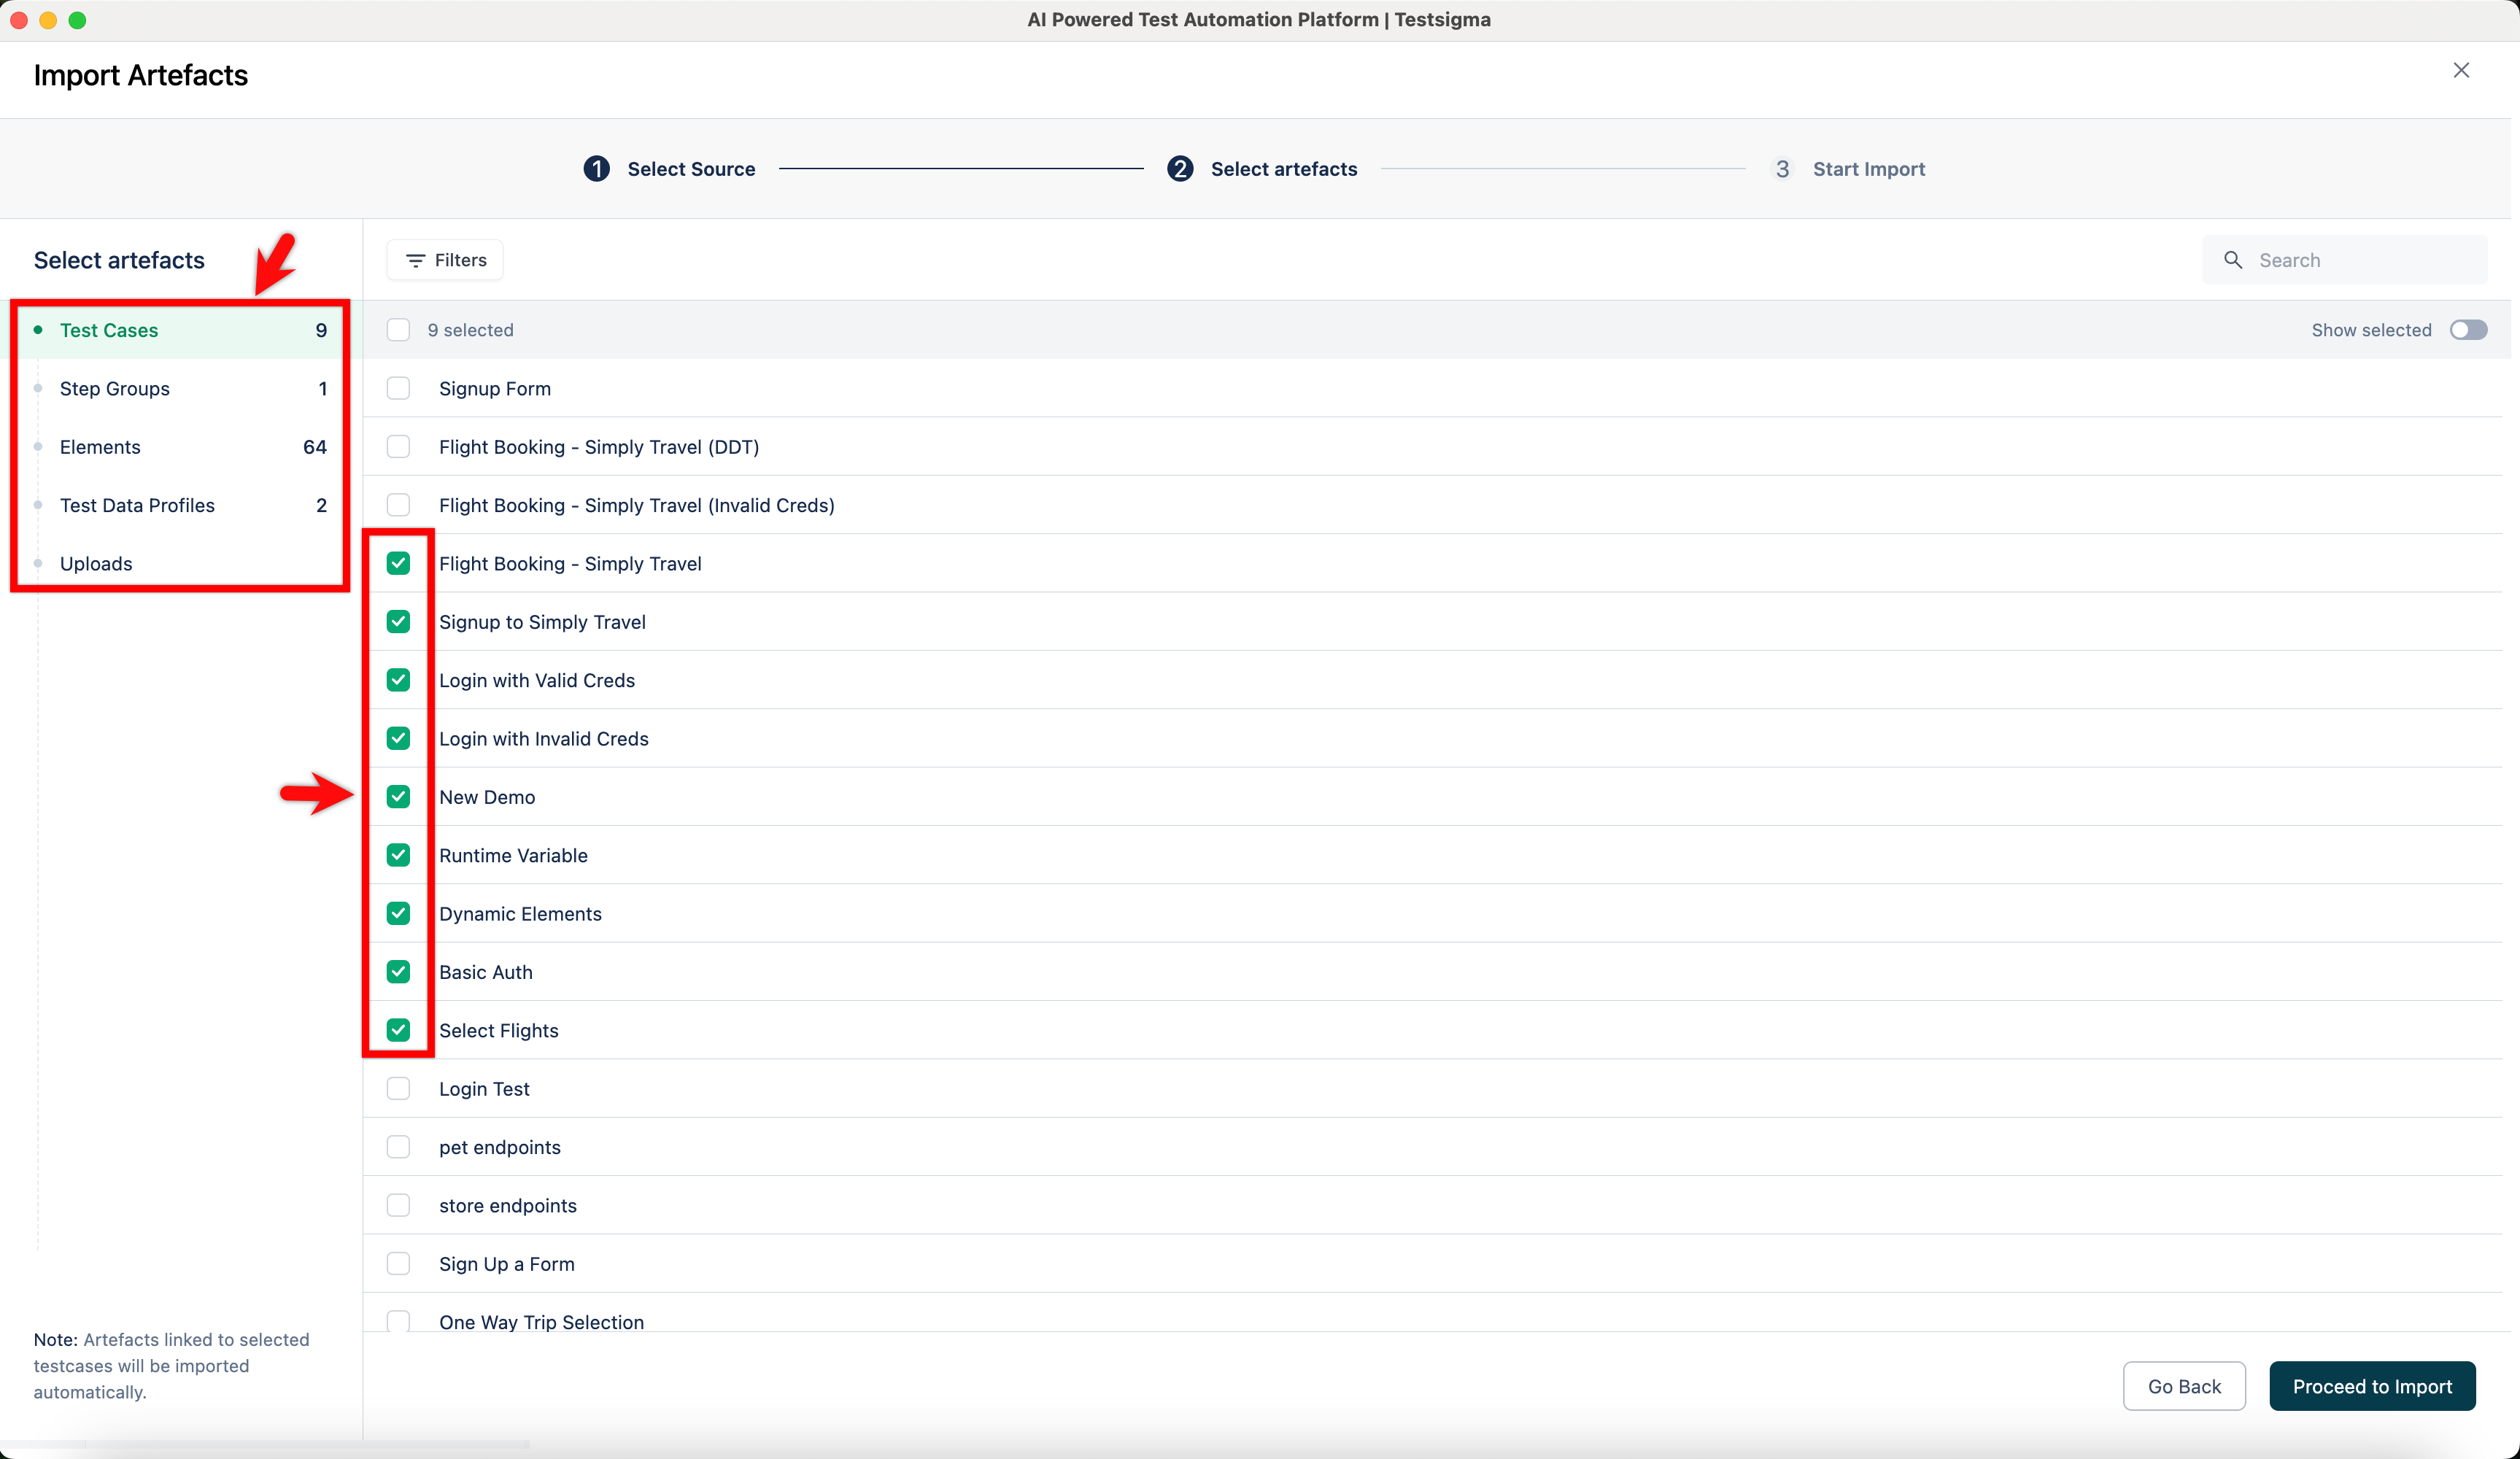
NOTE:
- When you select a test case, all associated step groups, elements, test data profiles, environment variables, and uploads are automatically selected.
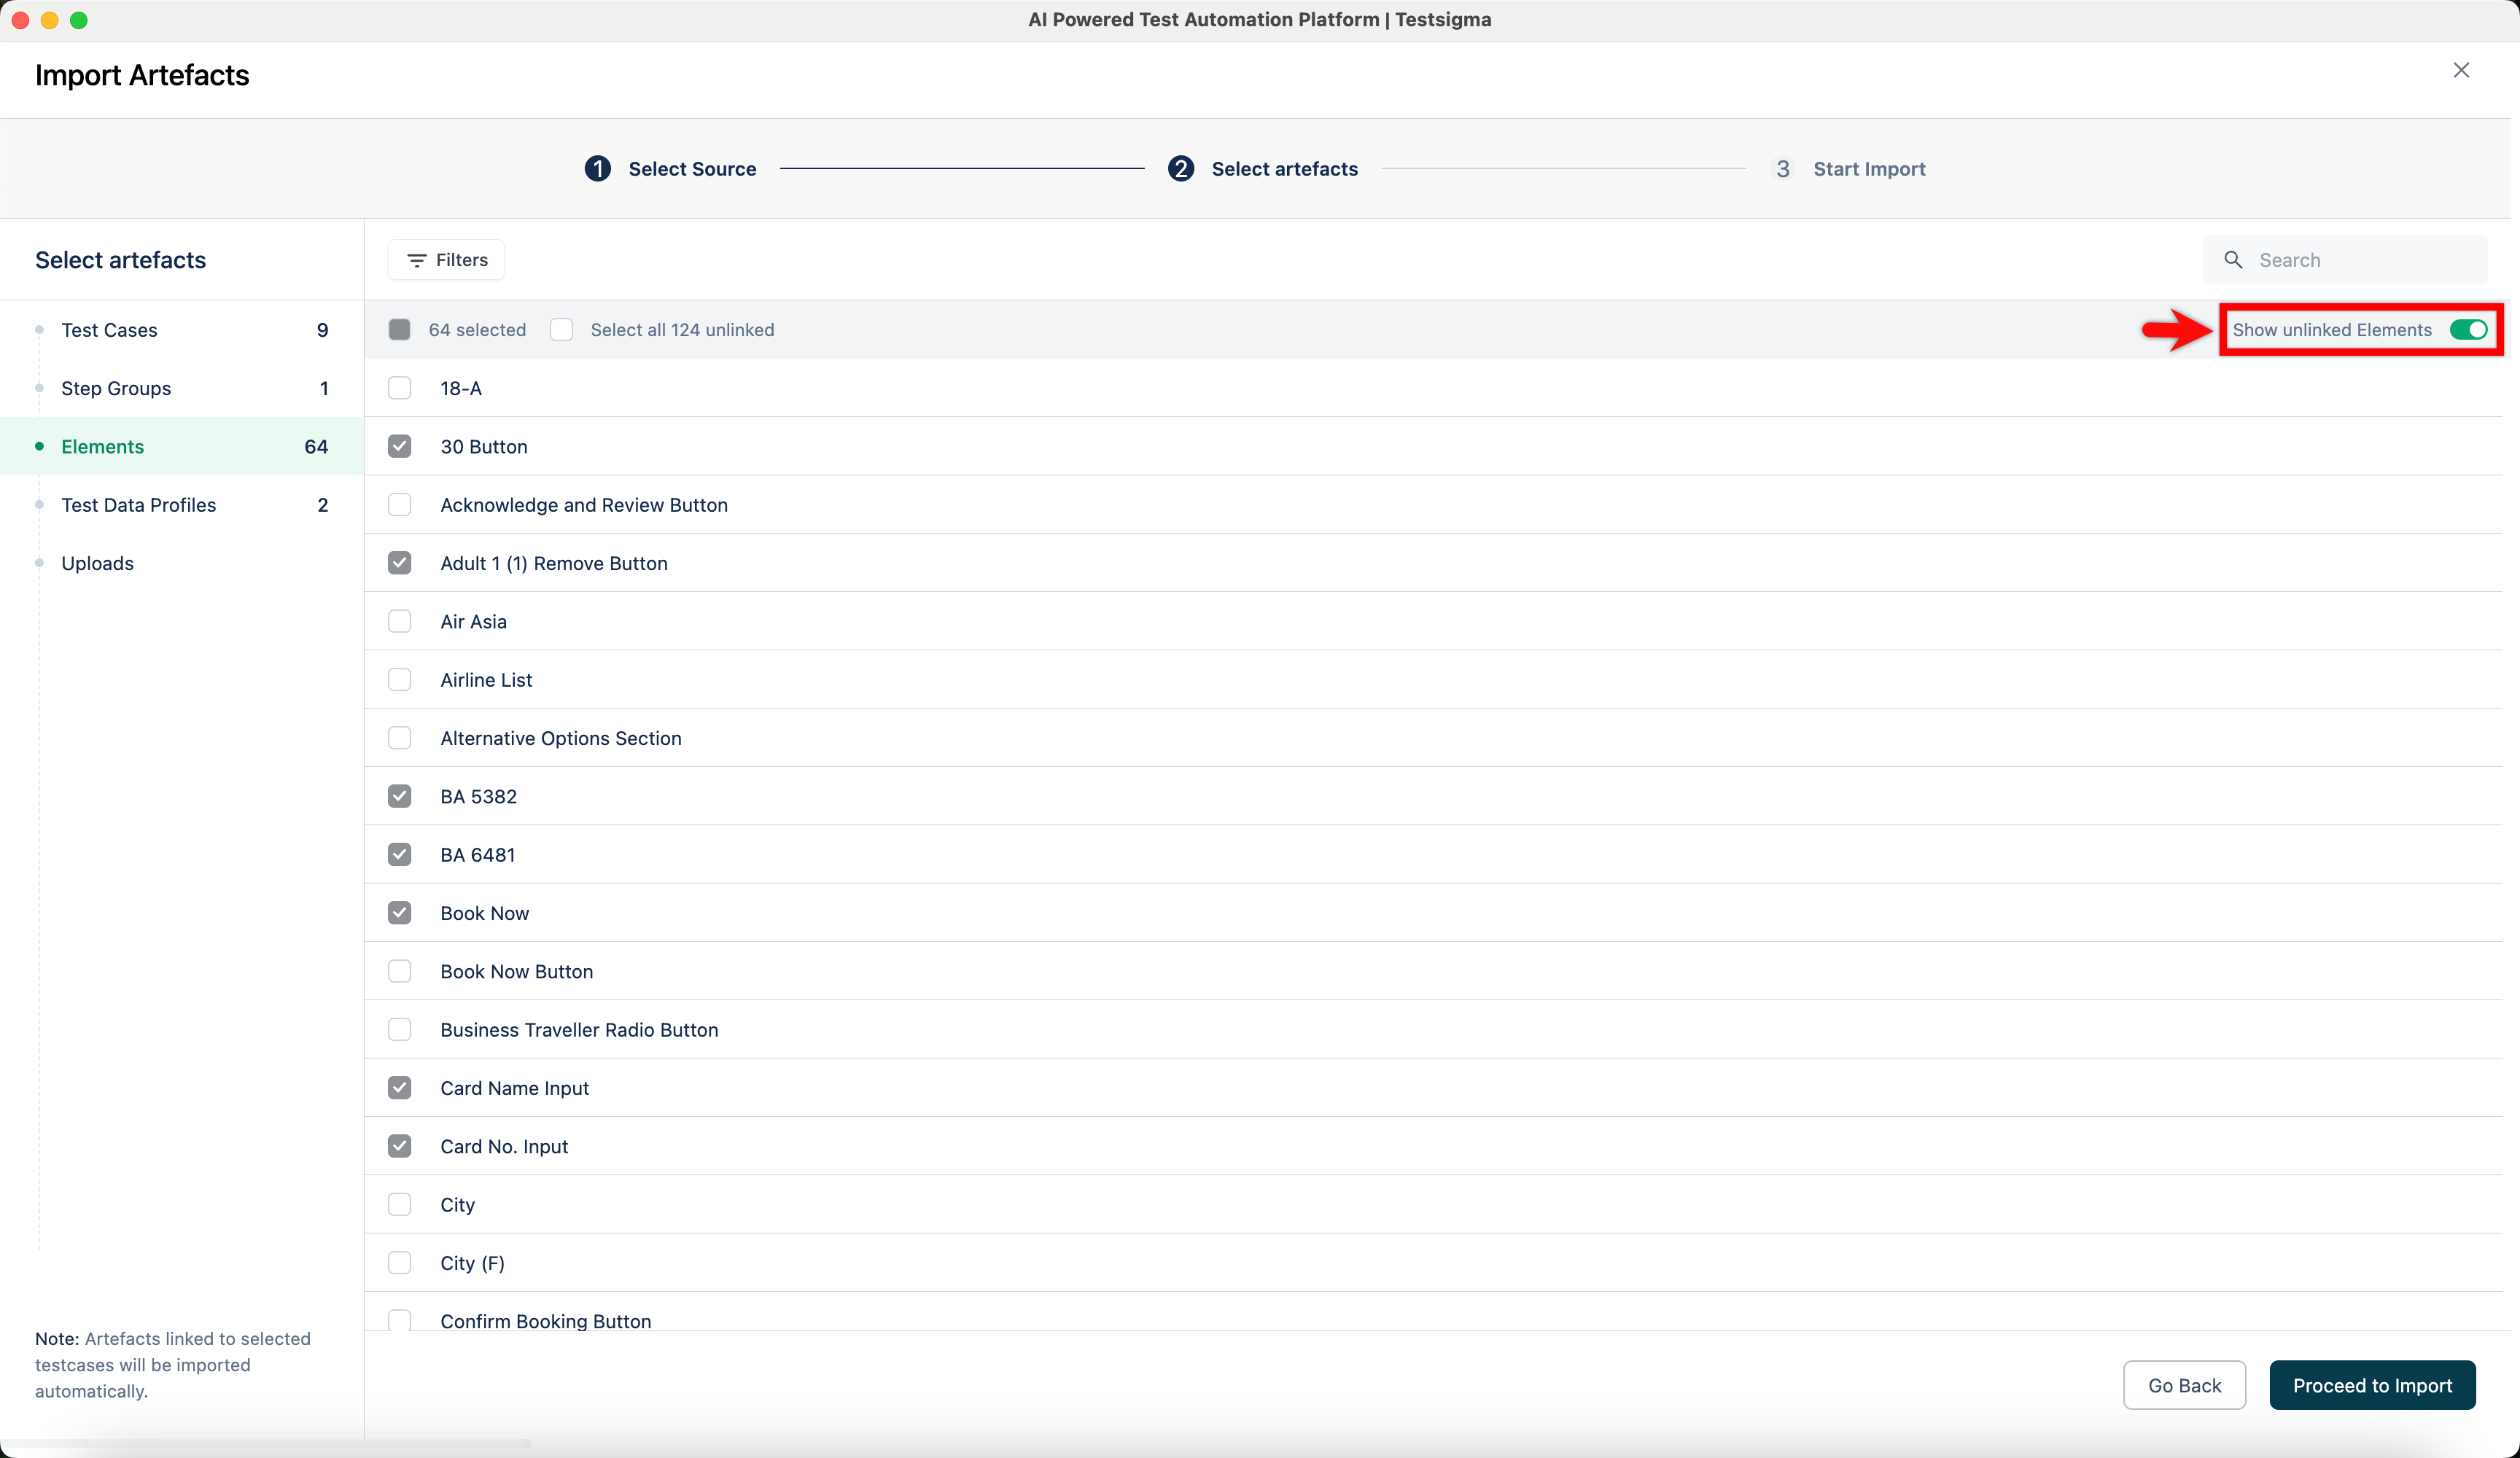
- To include artefacts not linked to the selected test cases, go to the relevant tab (e.g., Elements, Step Groups), enable the Show unlinked (artefact) toggle, and select the required ones.
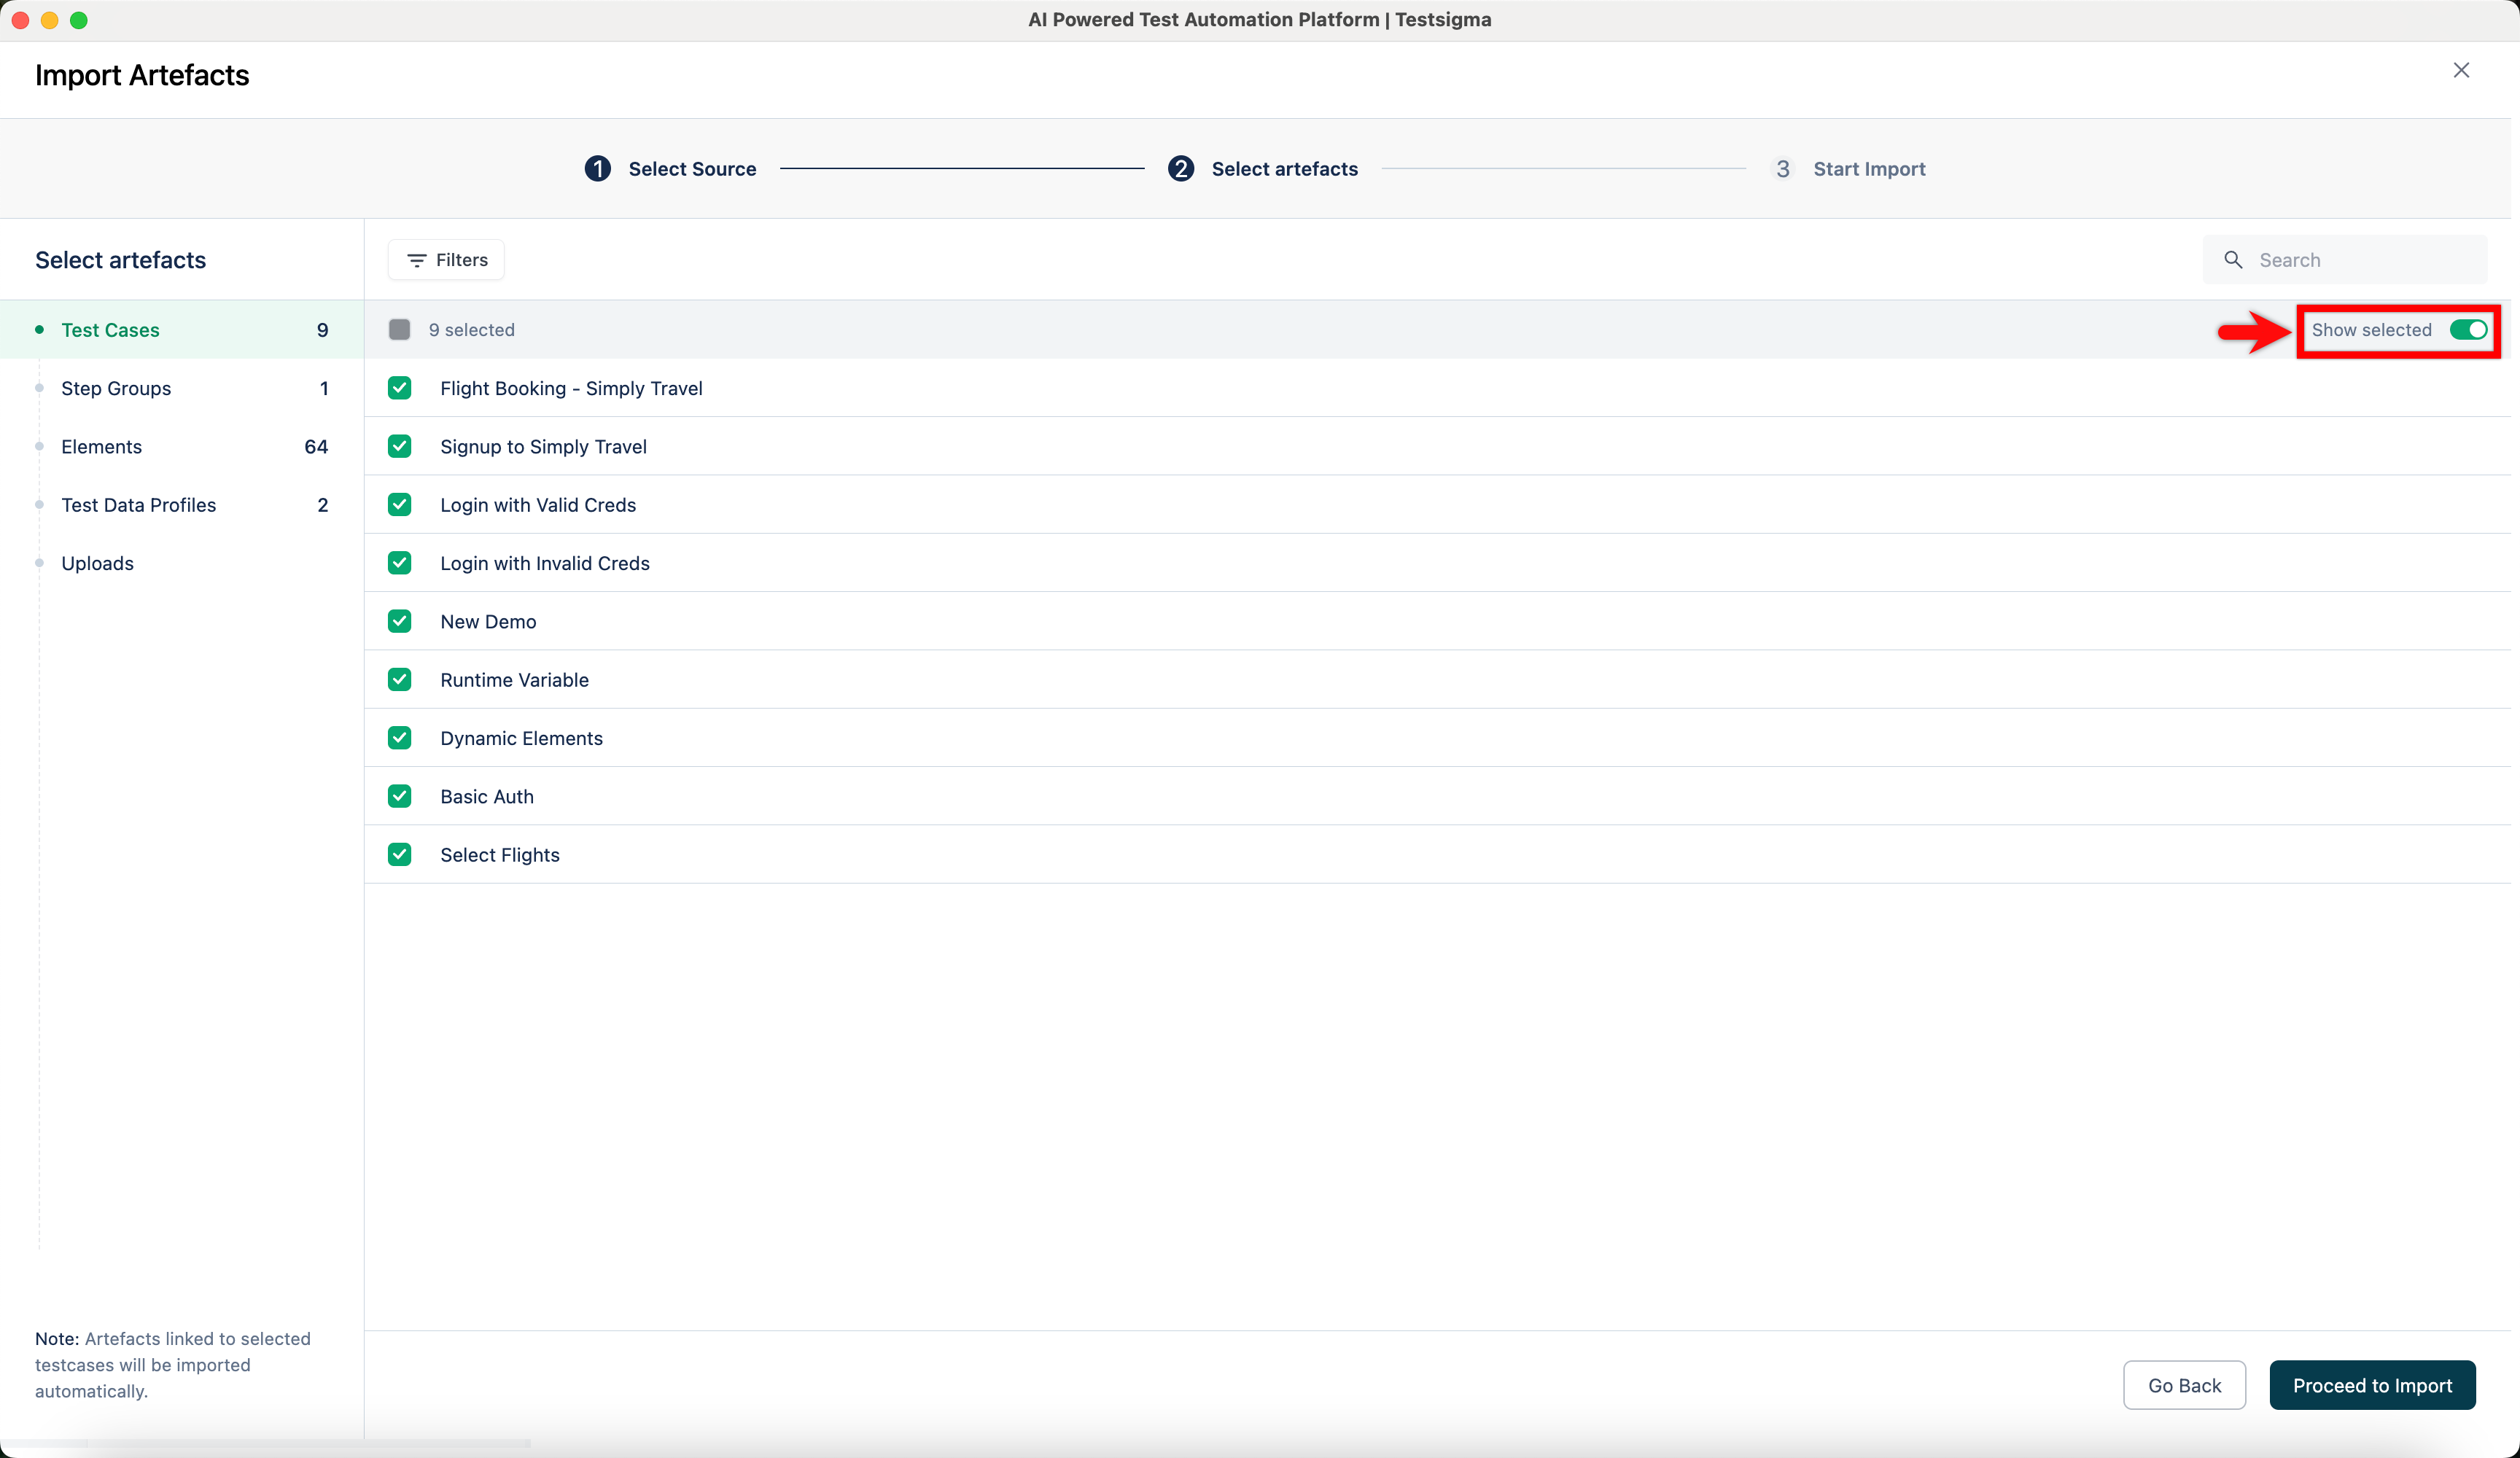
- You can enable the Show selected toggle to review your selections in each artefact tab.
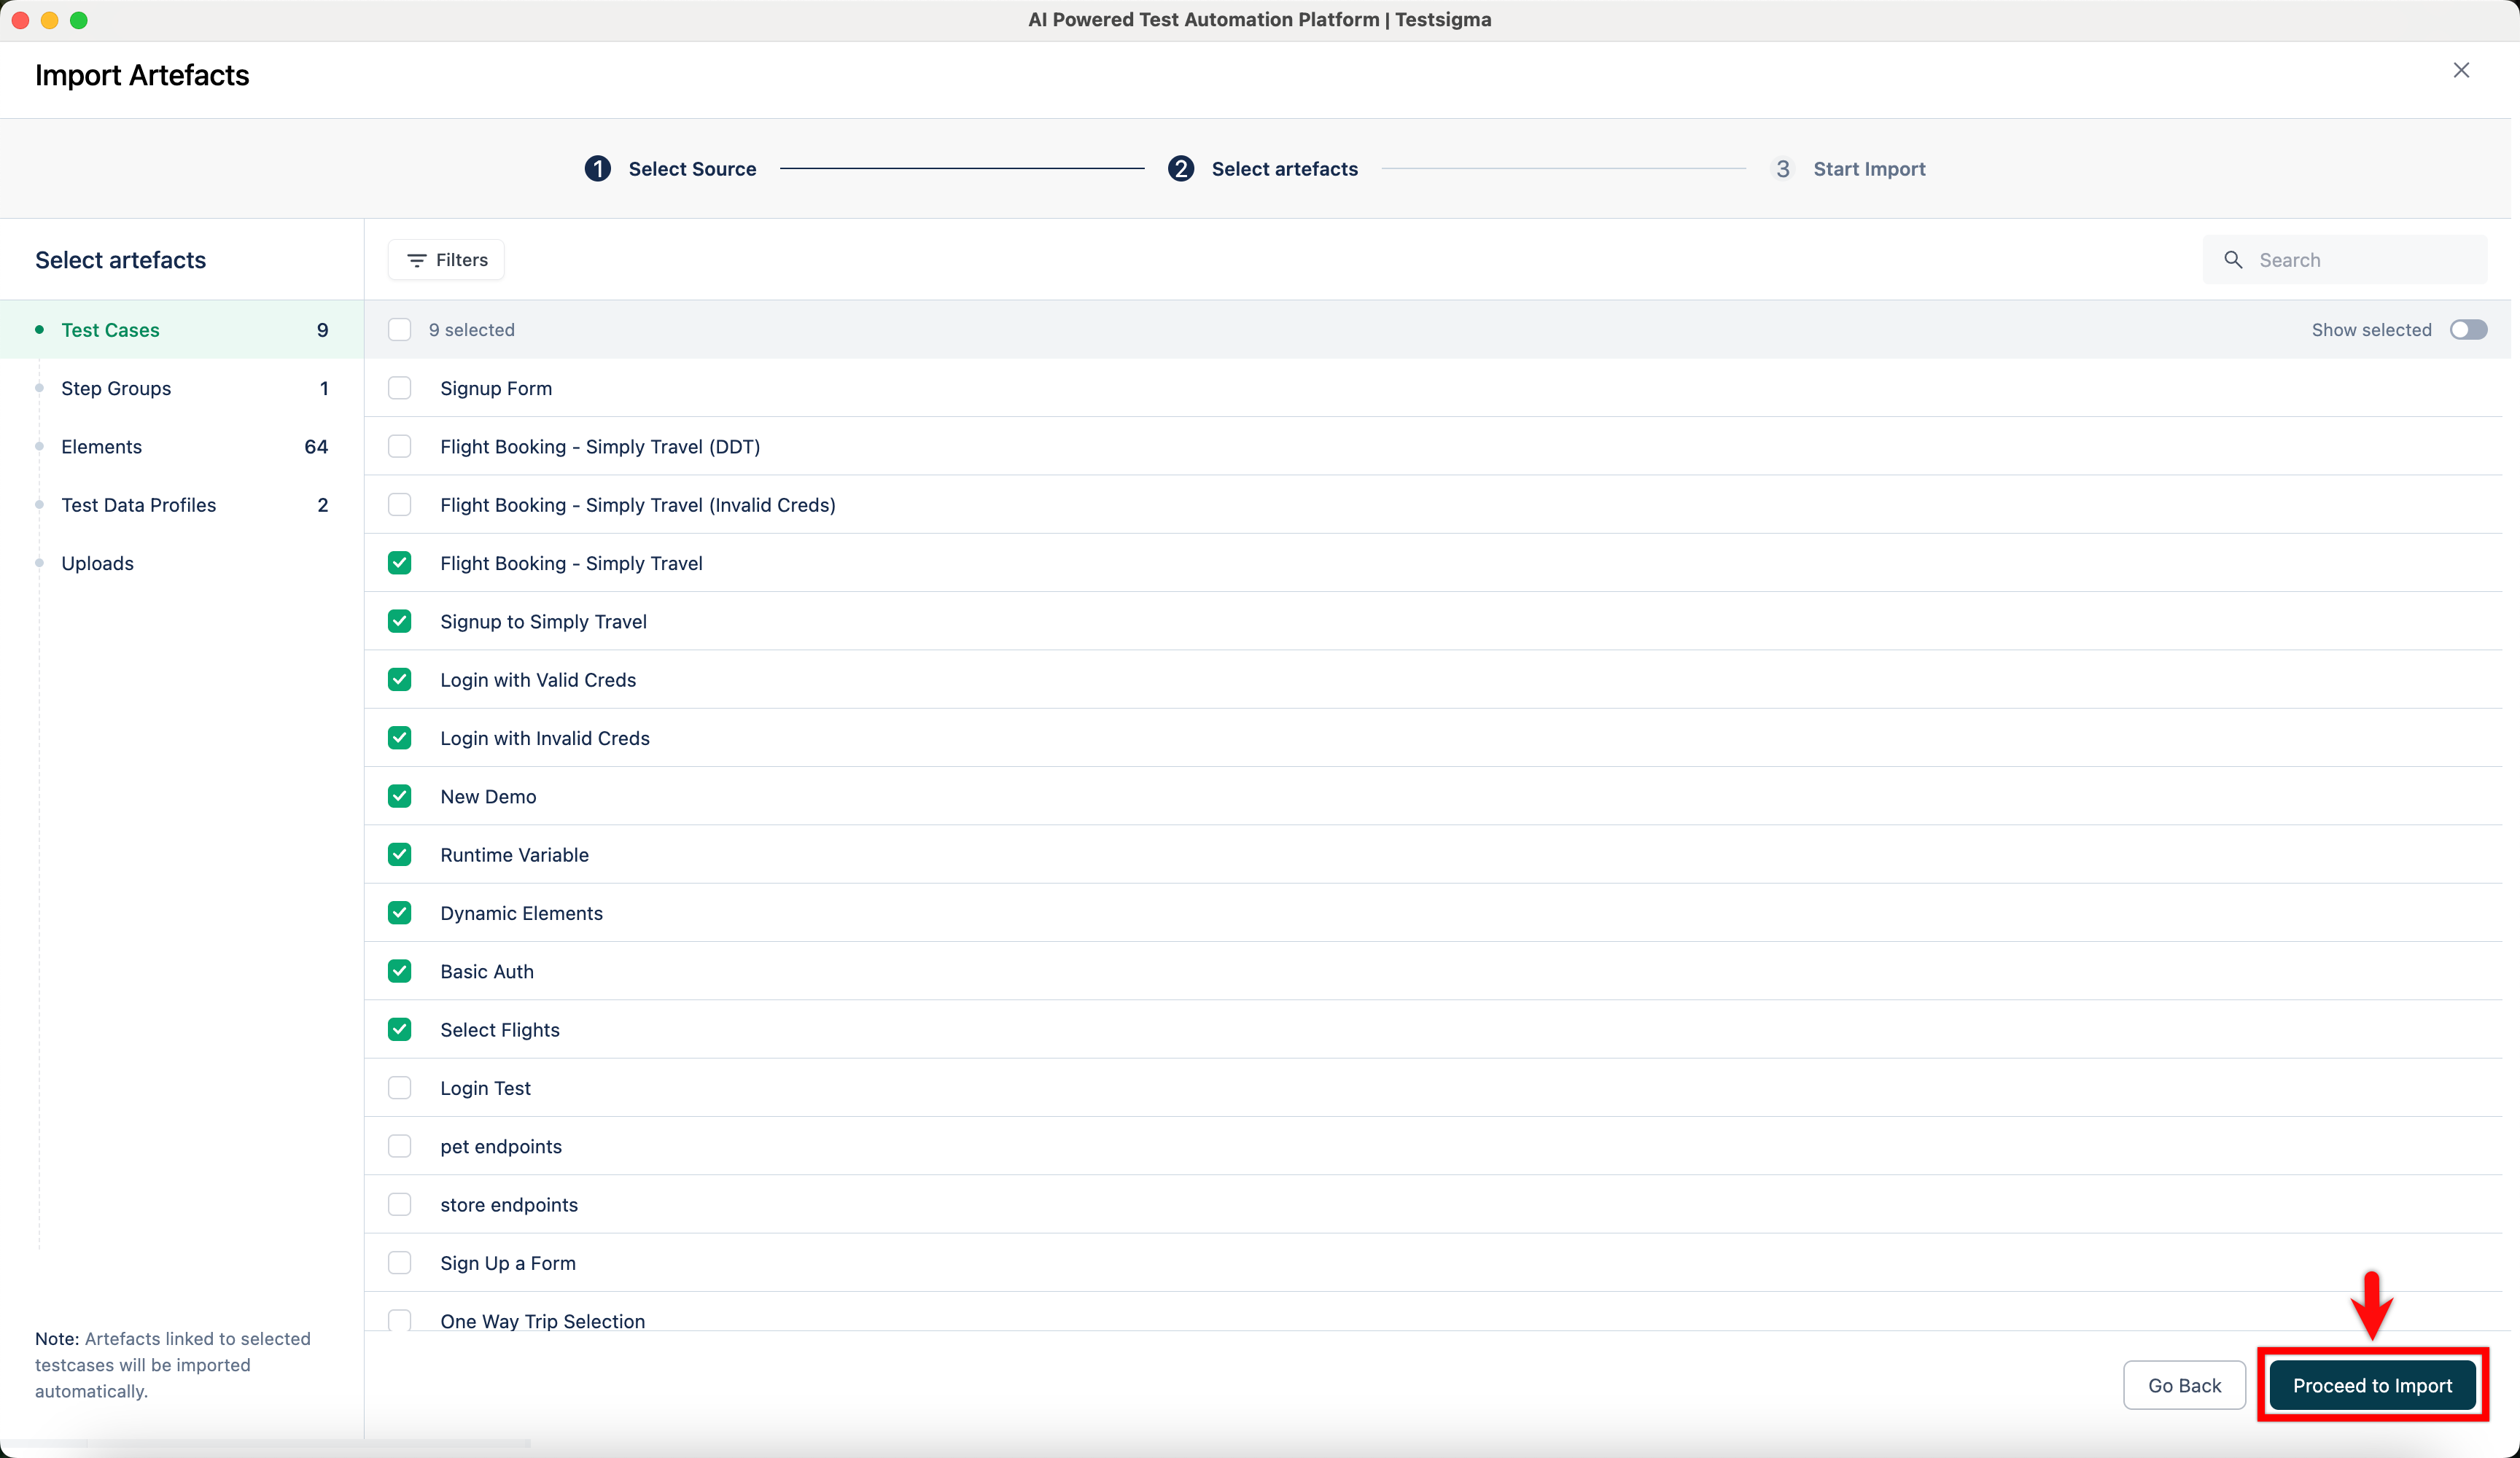
- Click Proceed to Import.
- In the Start Import tab, review the selected artefacts and click Confirm.
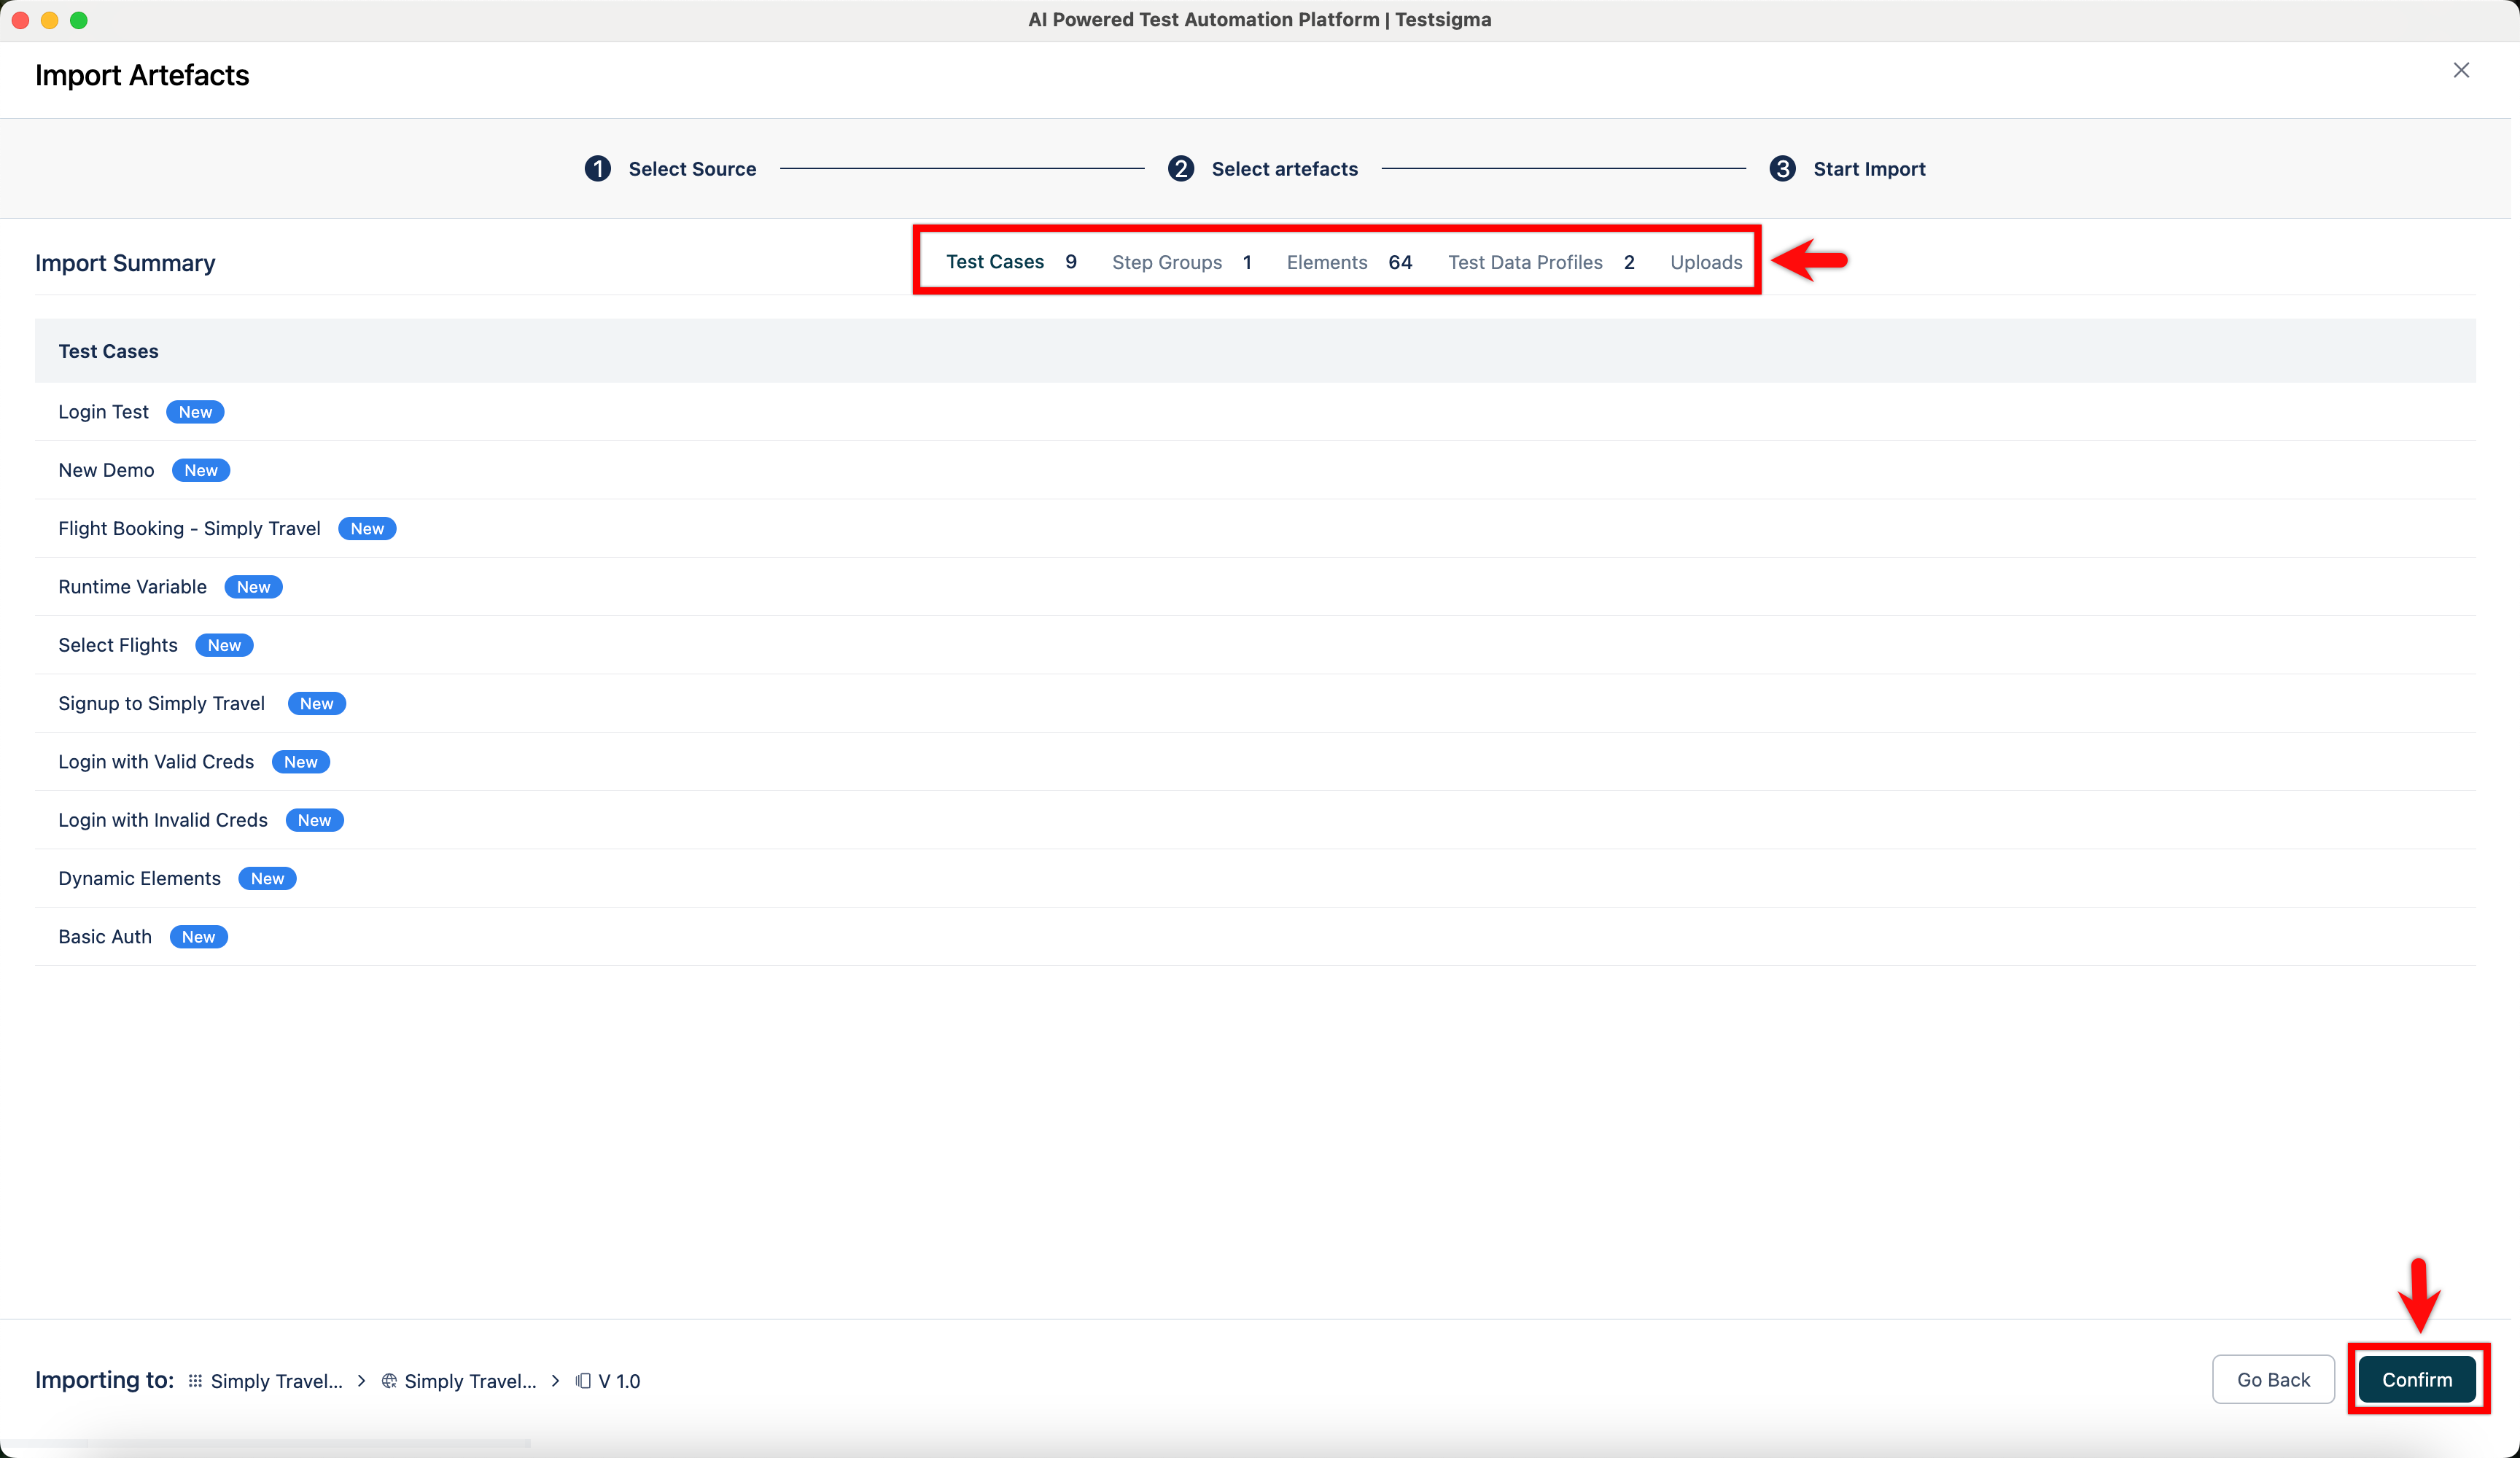
NOTE:
- If the test case doesn’t exist in the destination project, it will be marked with a New status.
- If the test case already exists with no changes, it will show as No Change.
- If the test case exists but has been modified, it will show as an Override.
- In the Create a Save Point? dialog, enter a name, and click Start Importing.
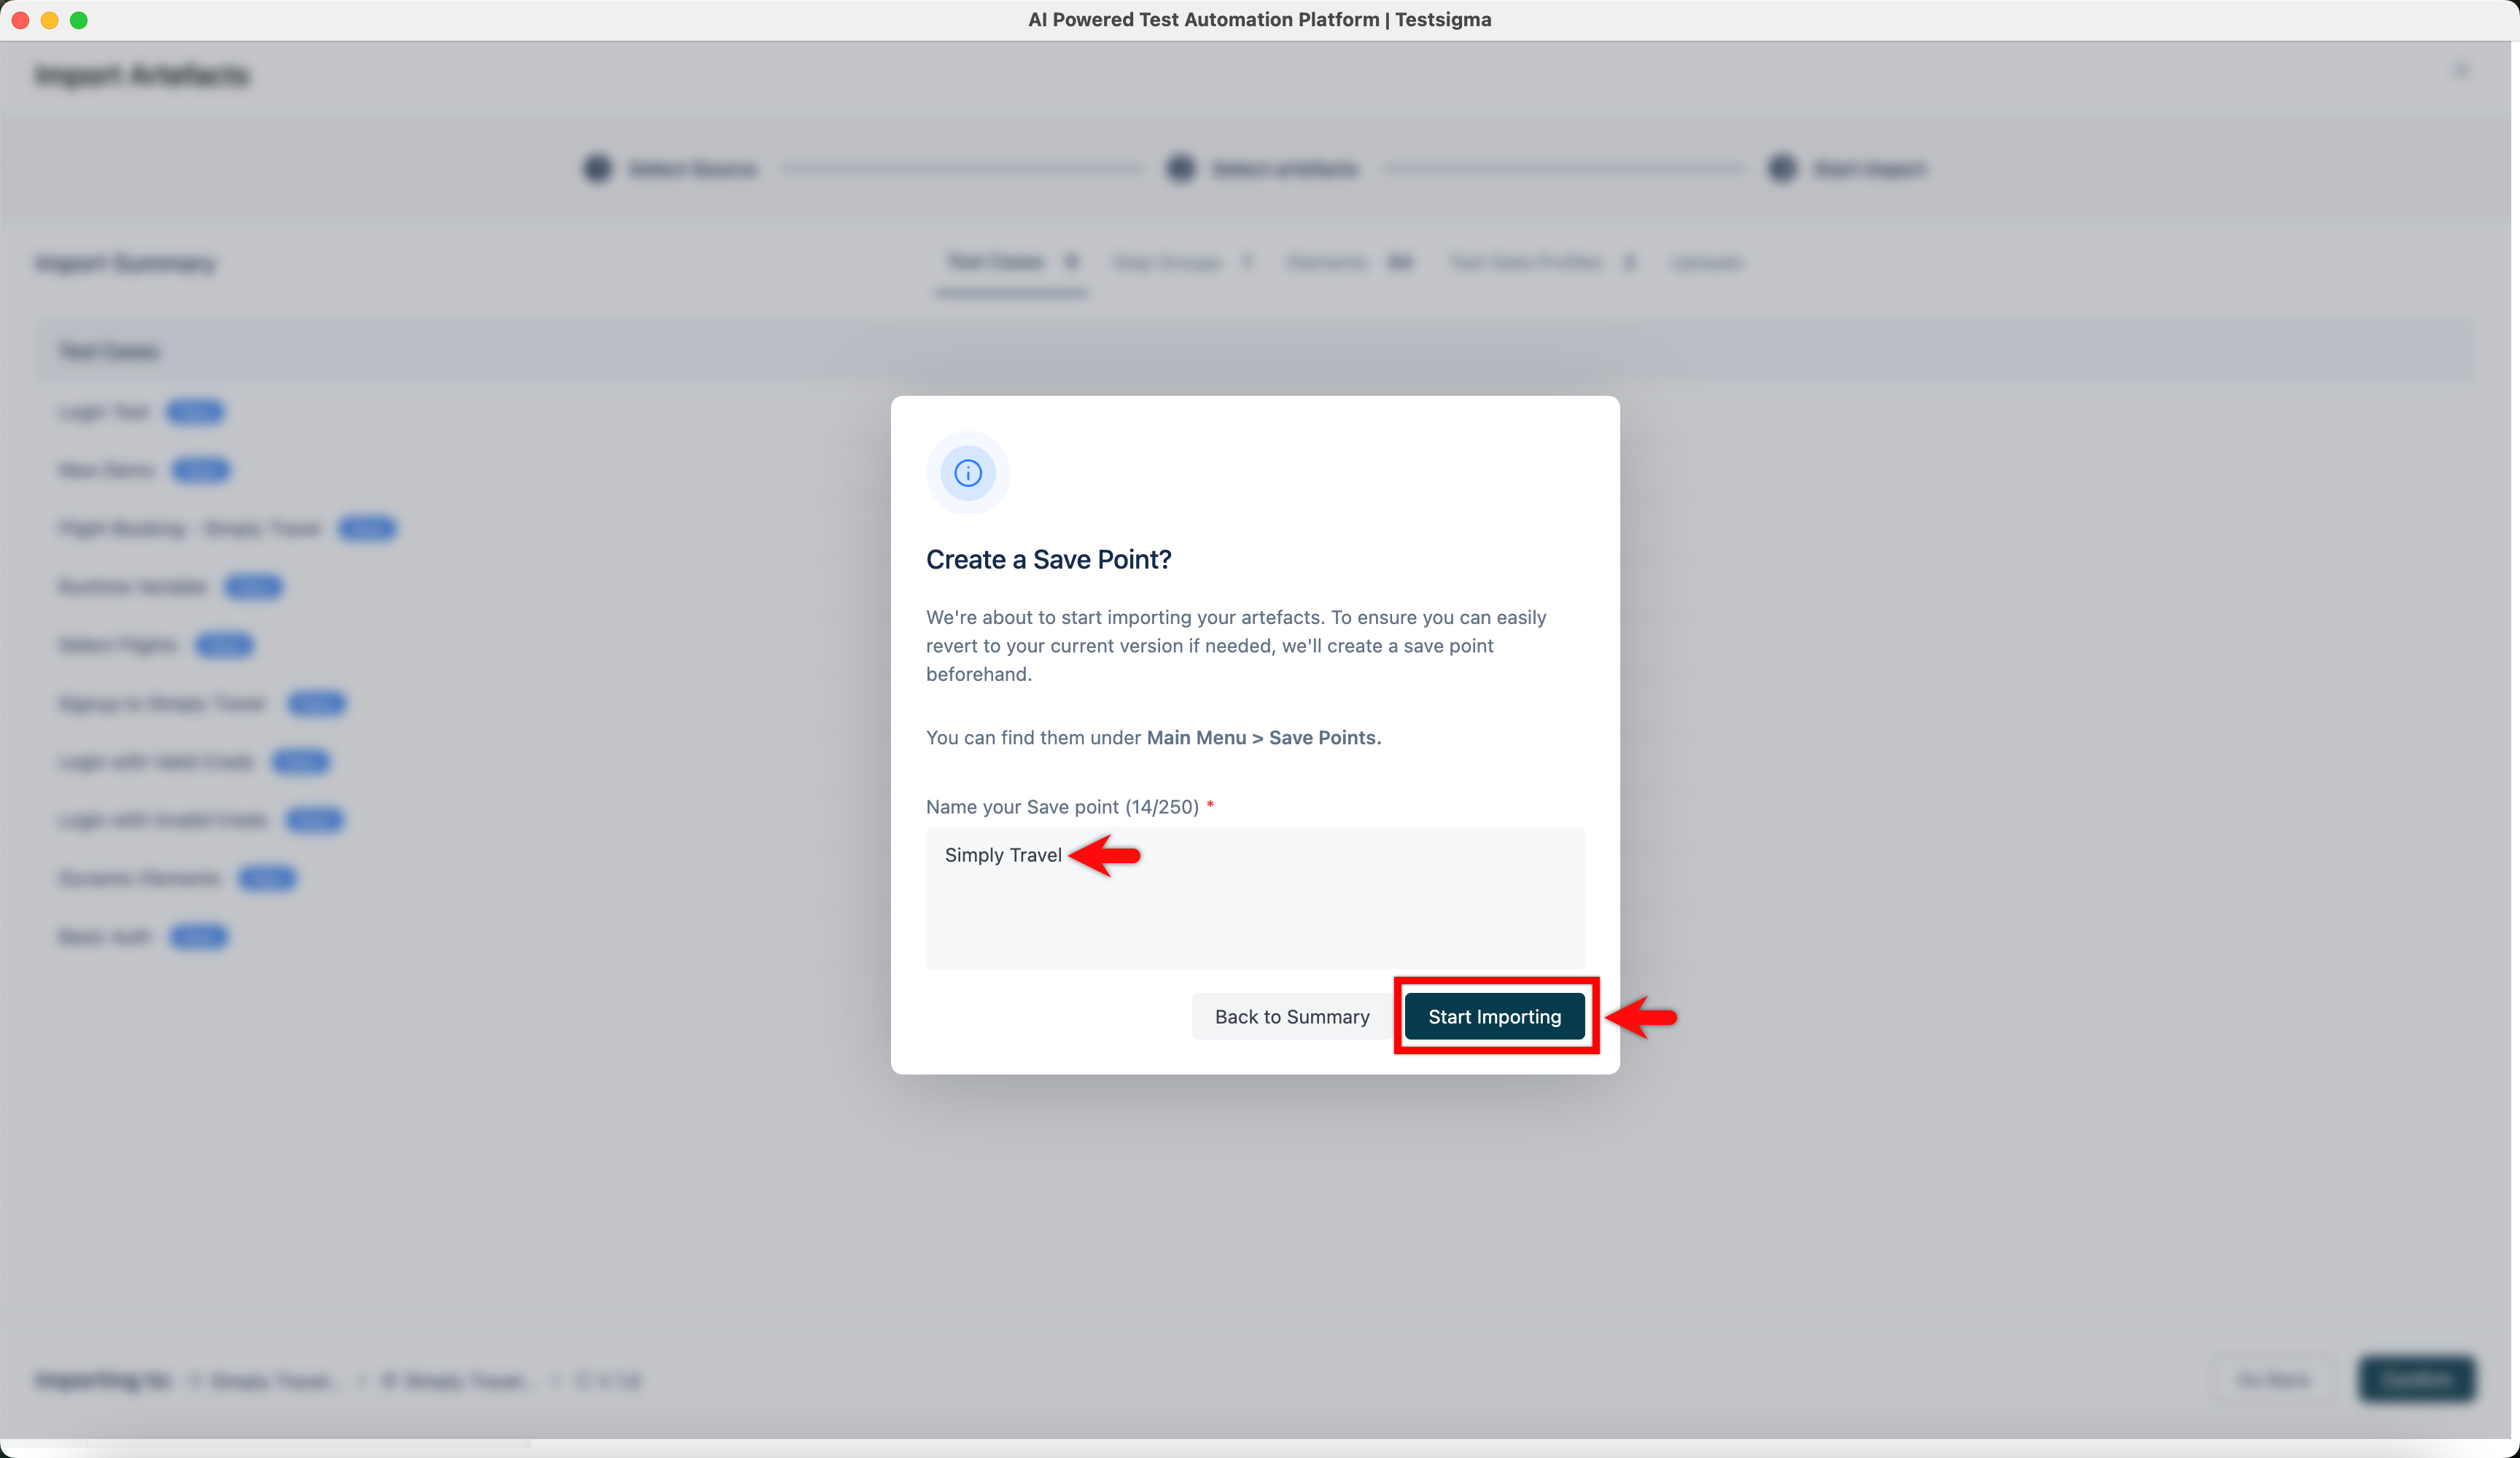
NOTE:
- Before starting the import, a save point will be created to help you easily revert to the current version if needed.
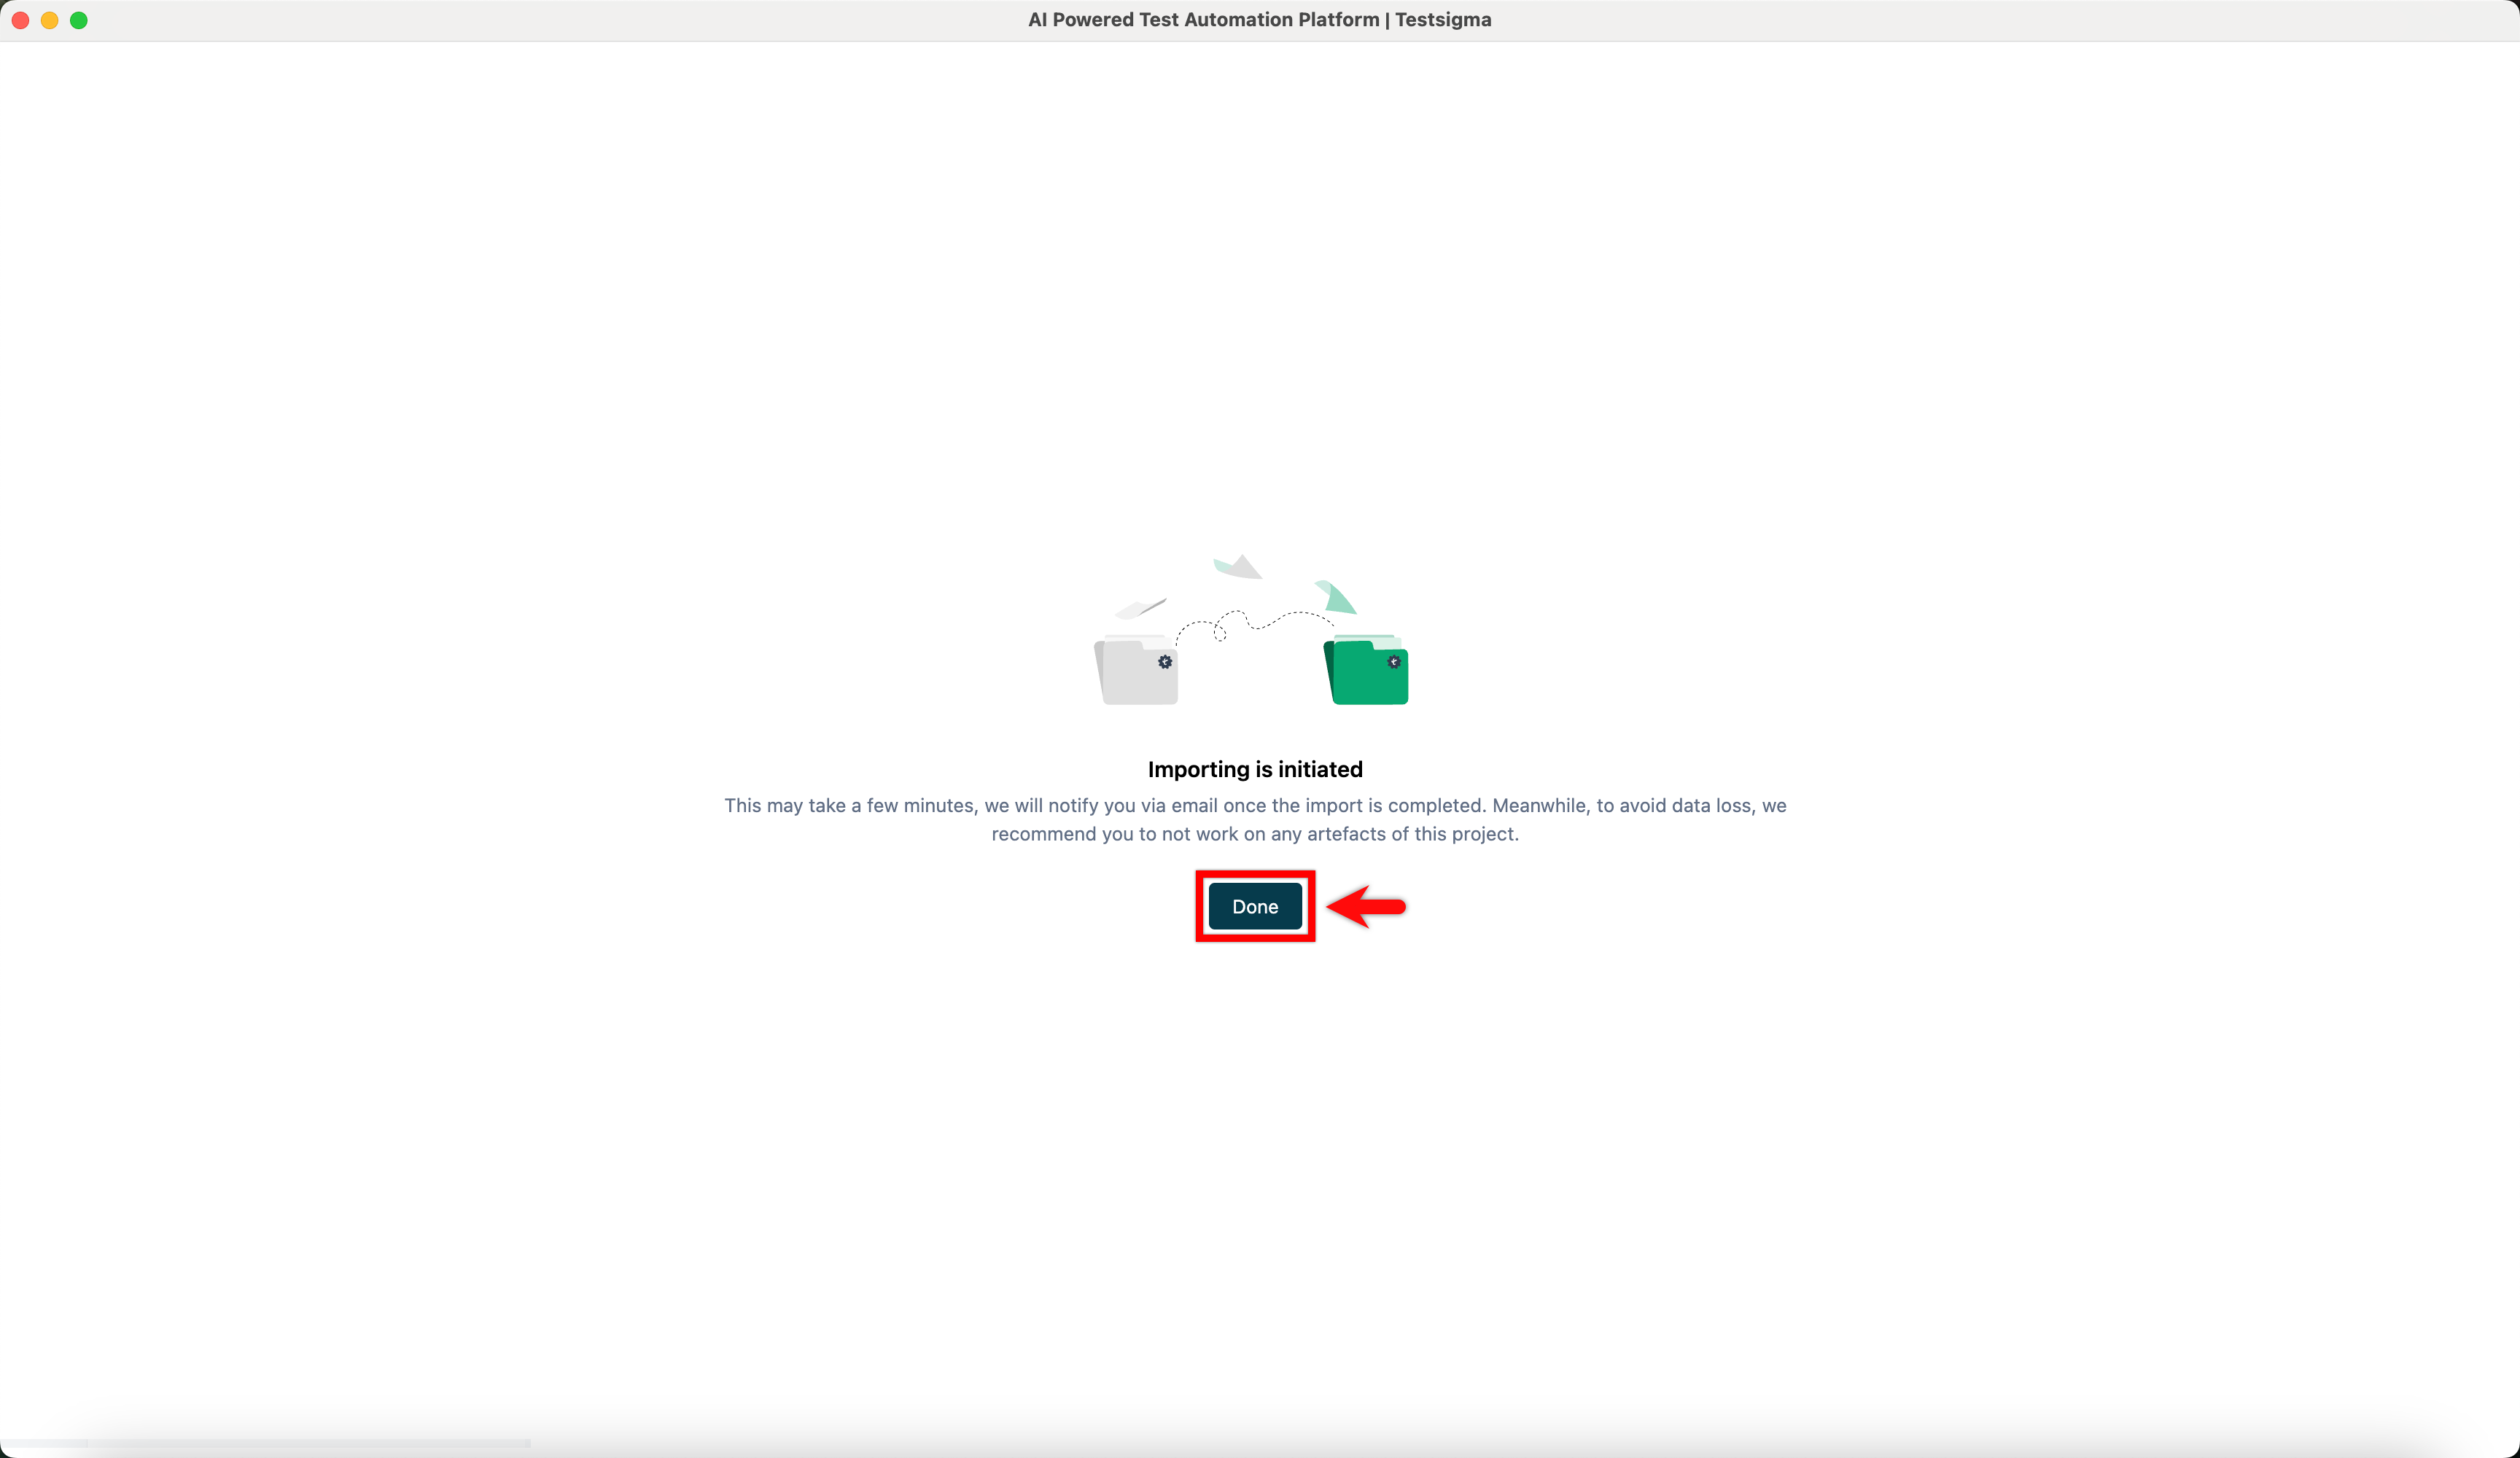
- Please wait until the import process is complete. Interrupting it may lead to data loss.
- It’s recommended to import a smaller amount of data at a time, as larger imports may take longer to complete.
- A maximum of 10 save points can be stored at any given time.
- Click Done.
Want to contribute or report missing content?