- Results & Reports
 Test Plan Run Results
- Filters on Run Results
- Custom PDF Report Generation
- Custom Allure Reports Generation
- Custom JUnit Report Generation
- Dashboard
Exporting PDF Reports
In Testsigma, you can effortlessly export PDF reports with screenshots for your test runs. This documentation will guide you through exporting your test plan reports in the widely-used PDF format.
Prerequisites
Before you begin, ensure that you have referred to:
- Documentation on creaing test plans.
- Documentation on creaing test runs and having access to export test reports.
Please contact us at support@testsigma.com or use the Instant Chat option to enable this exclusive feature provided by Testsigma Enterprise.
Exporting Test Reports in PDF Format
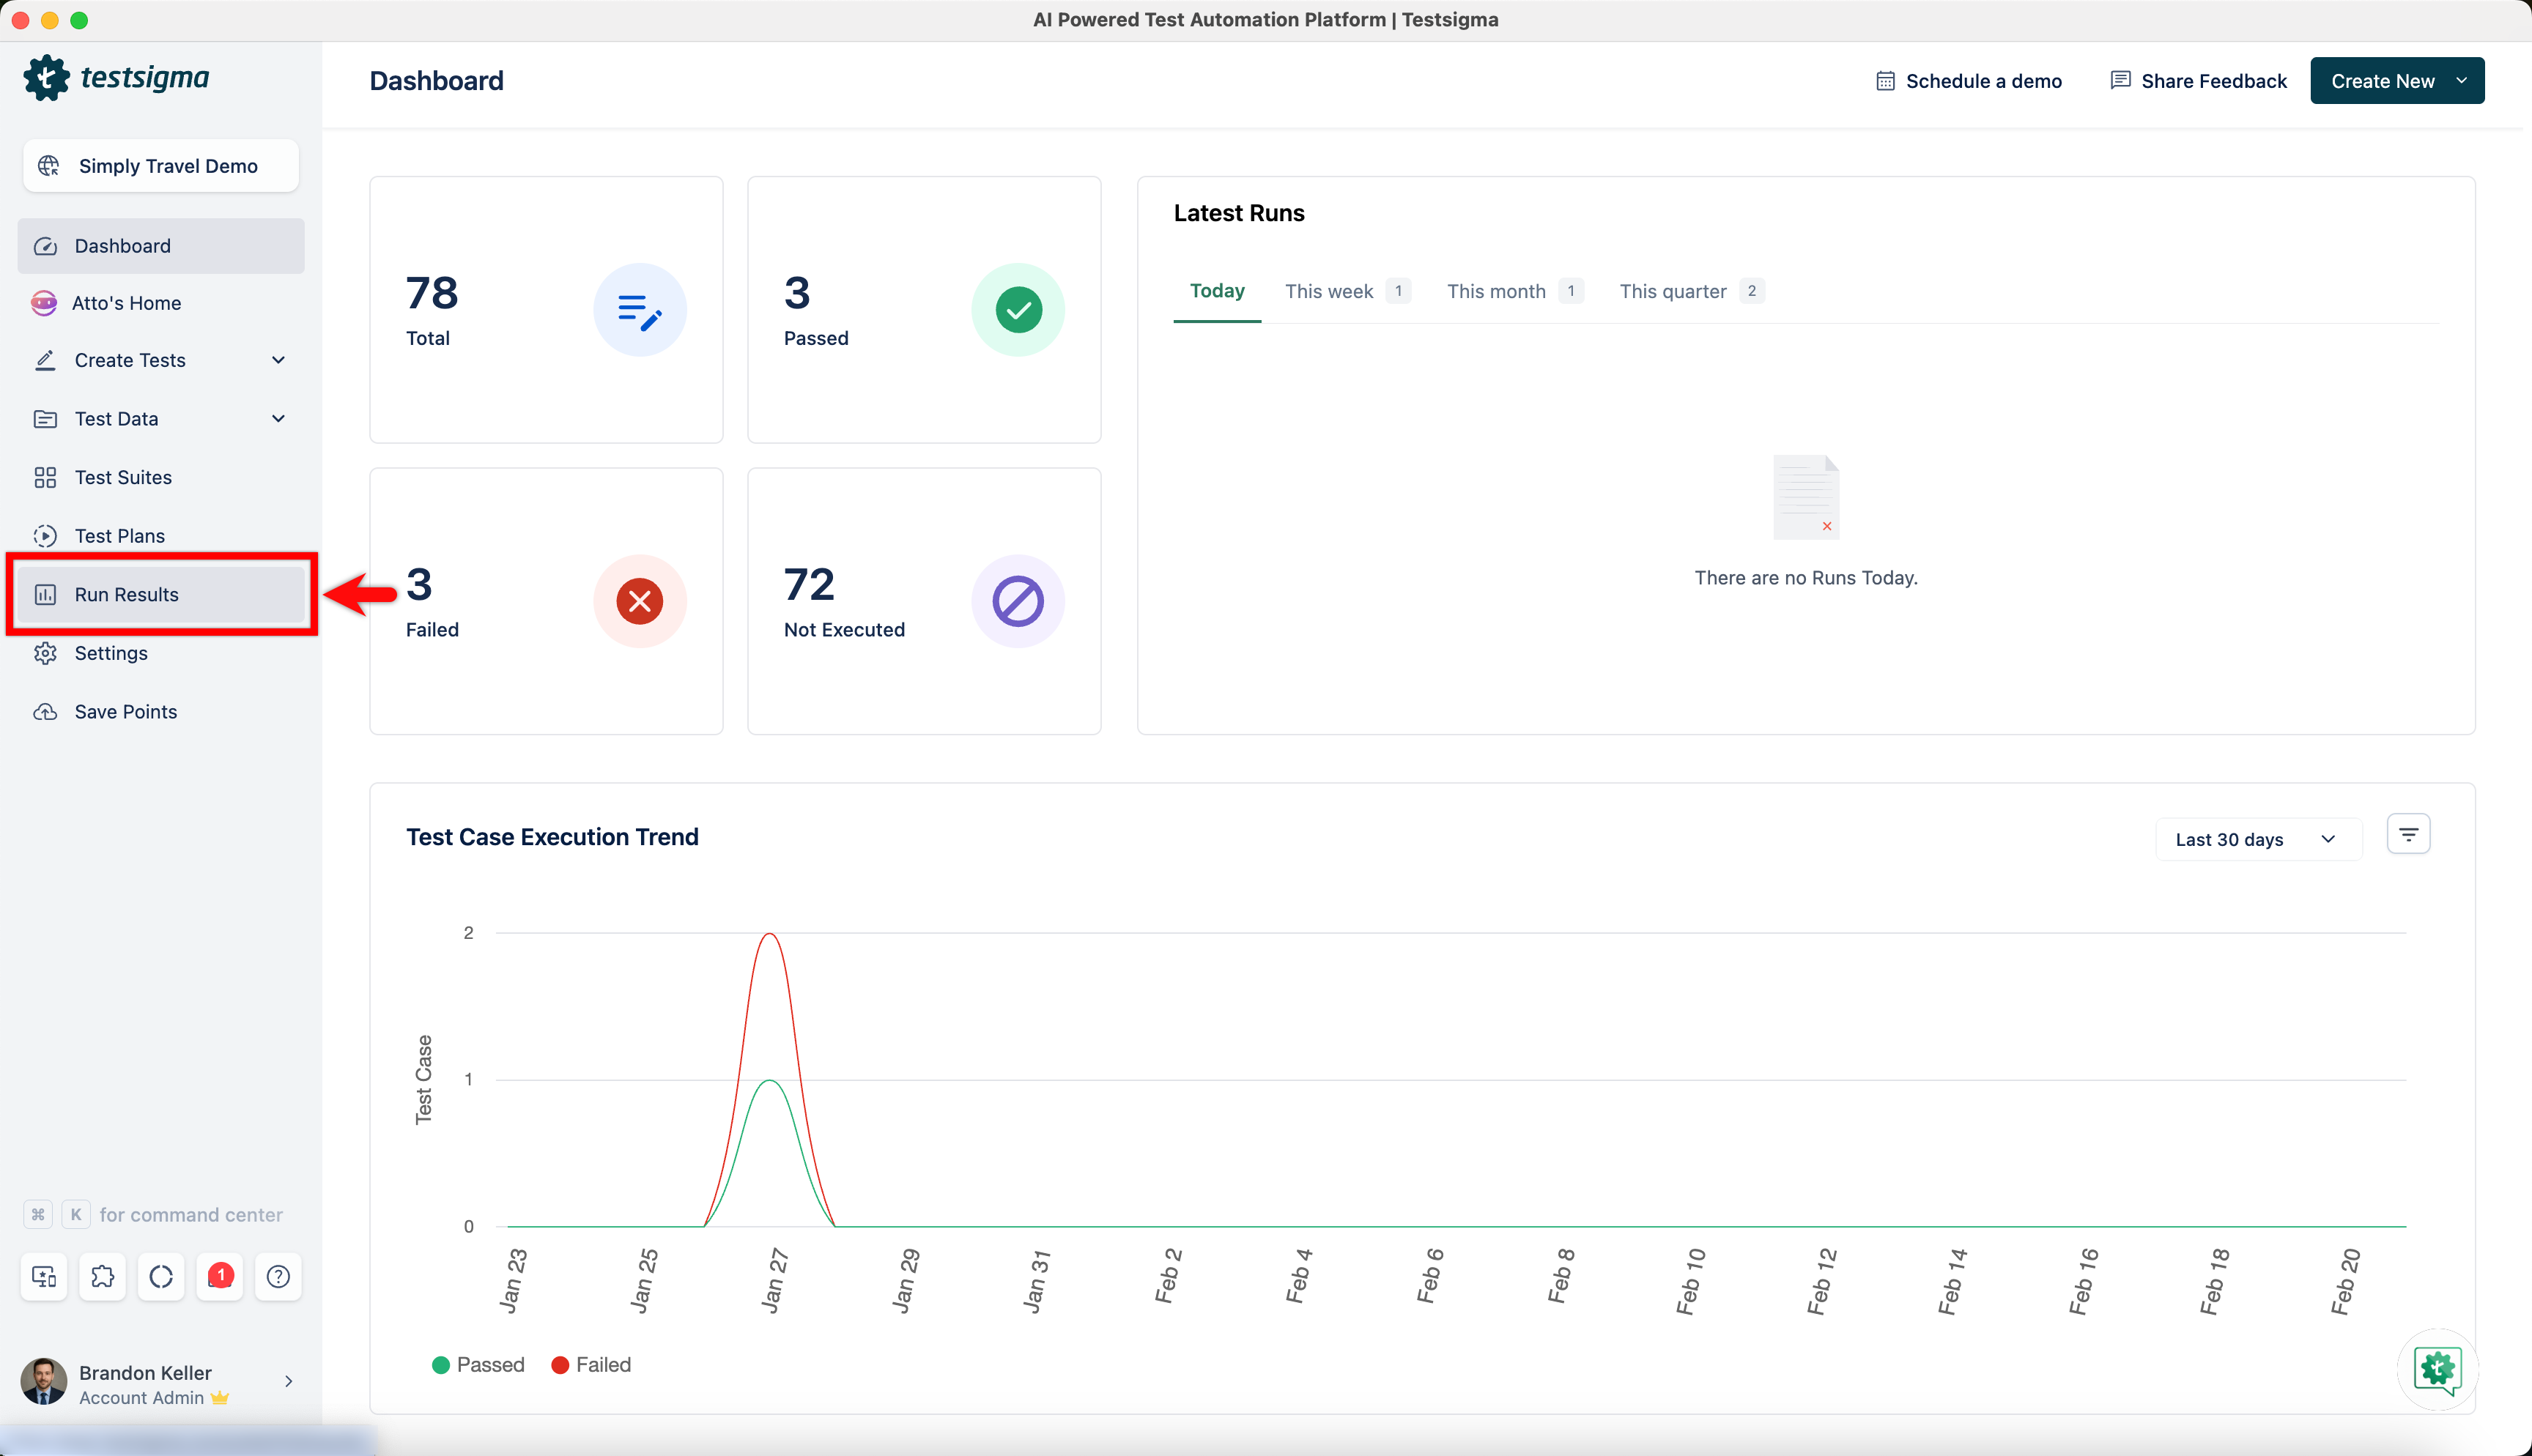
- From the left navigation bar, navigate to Run Results.
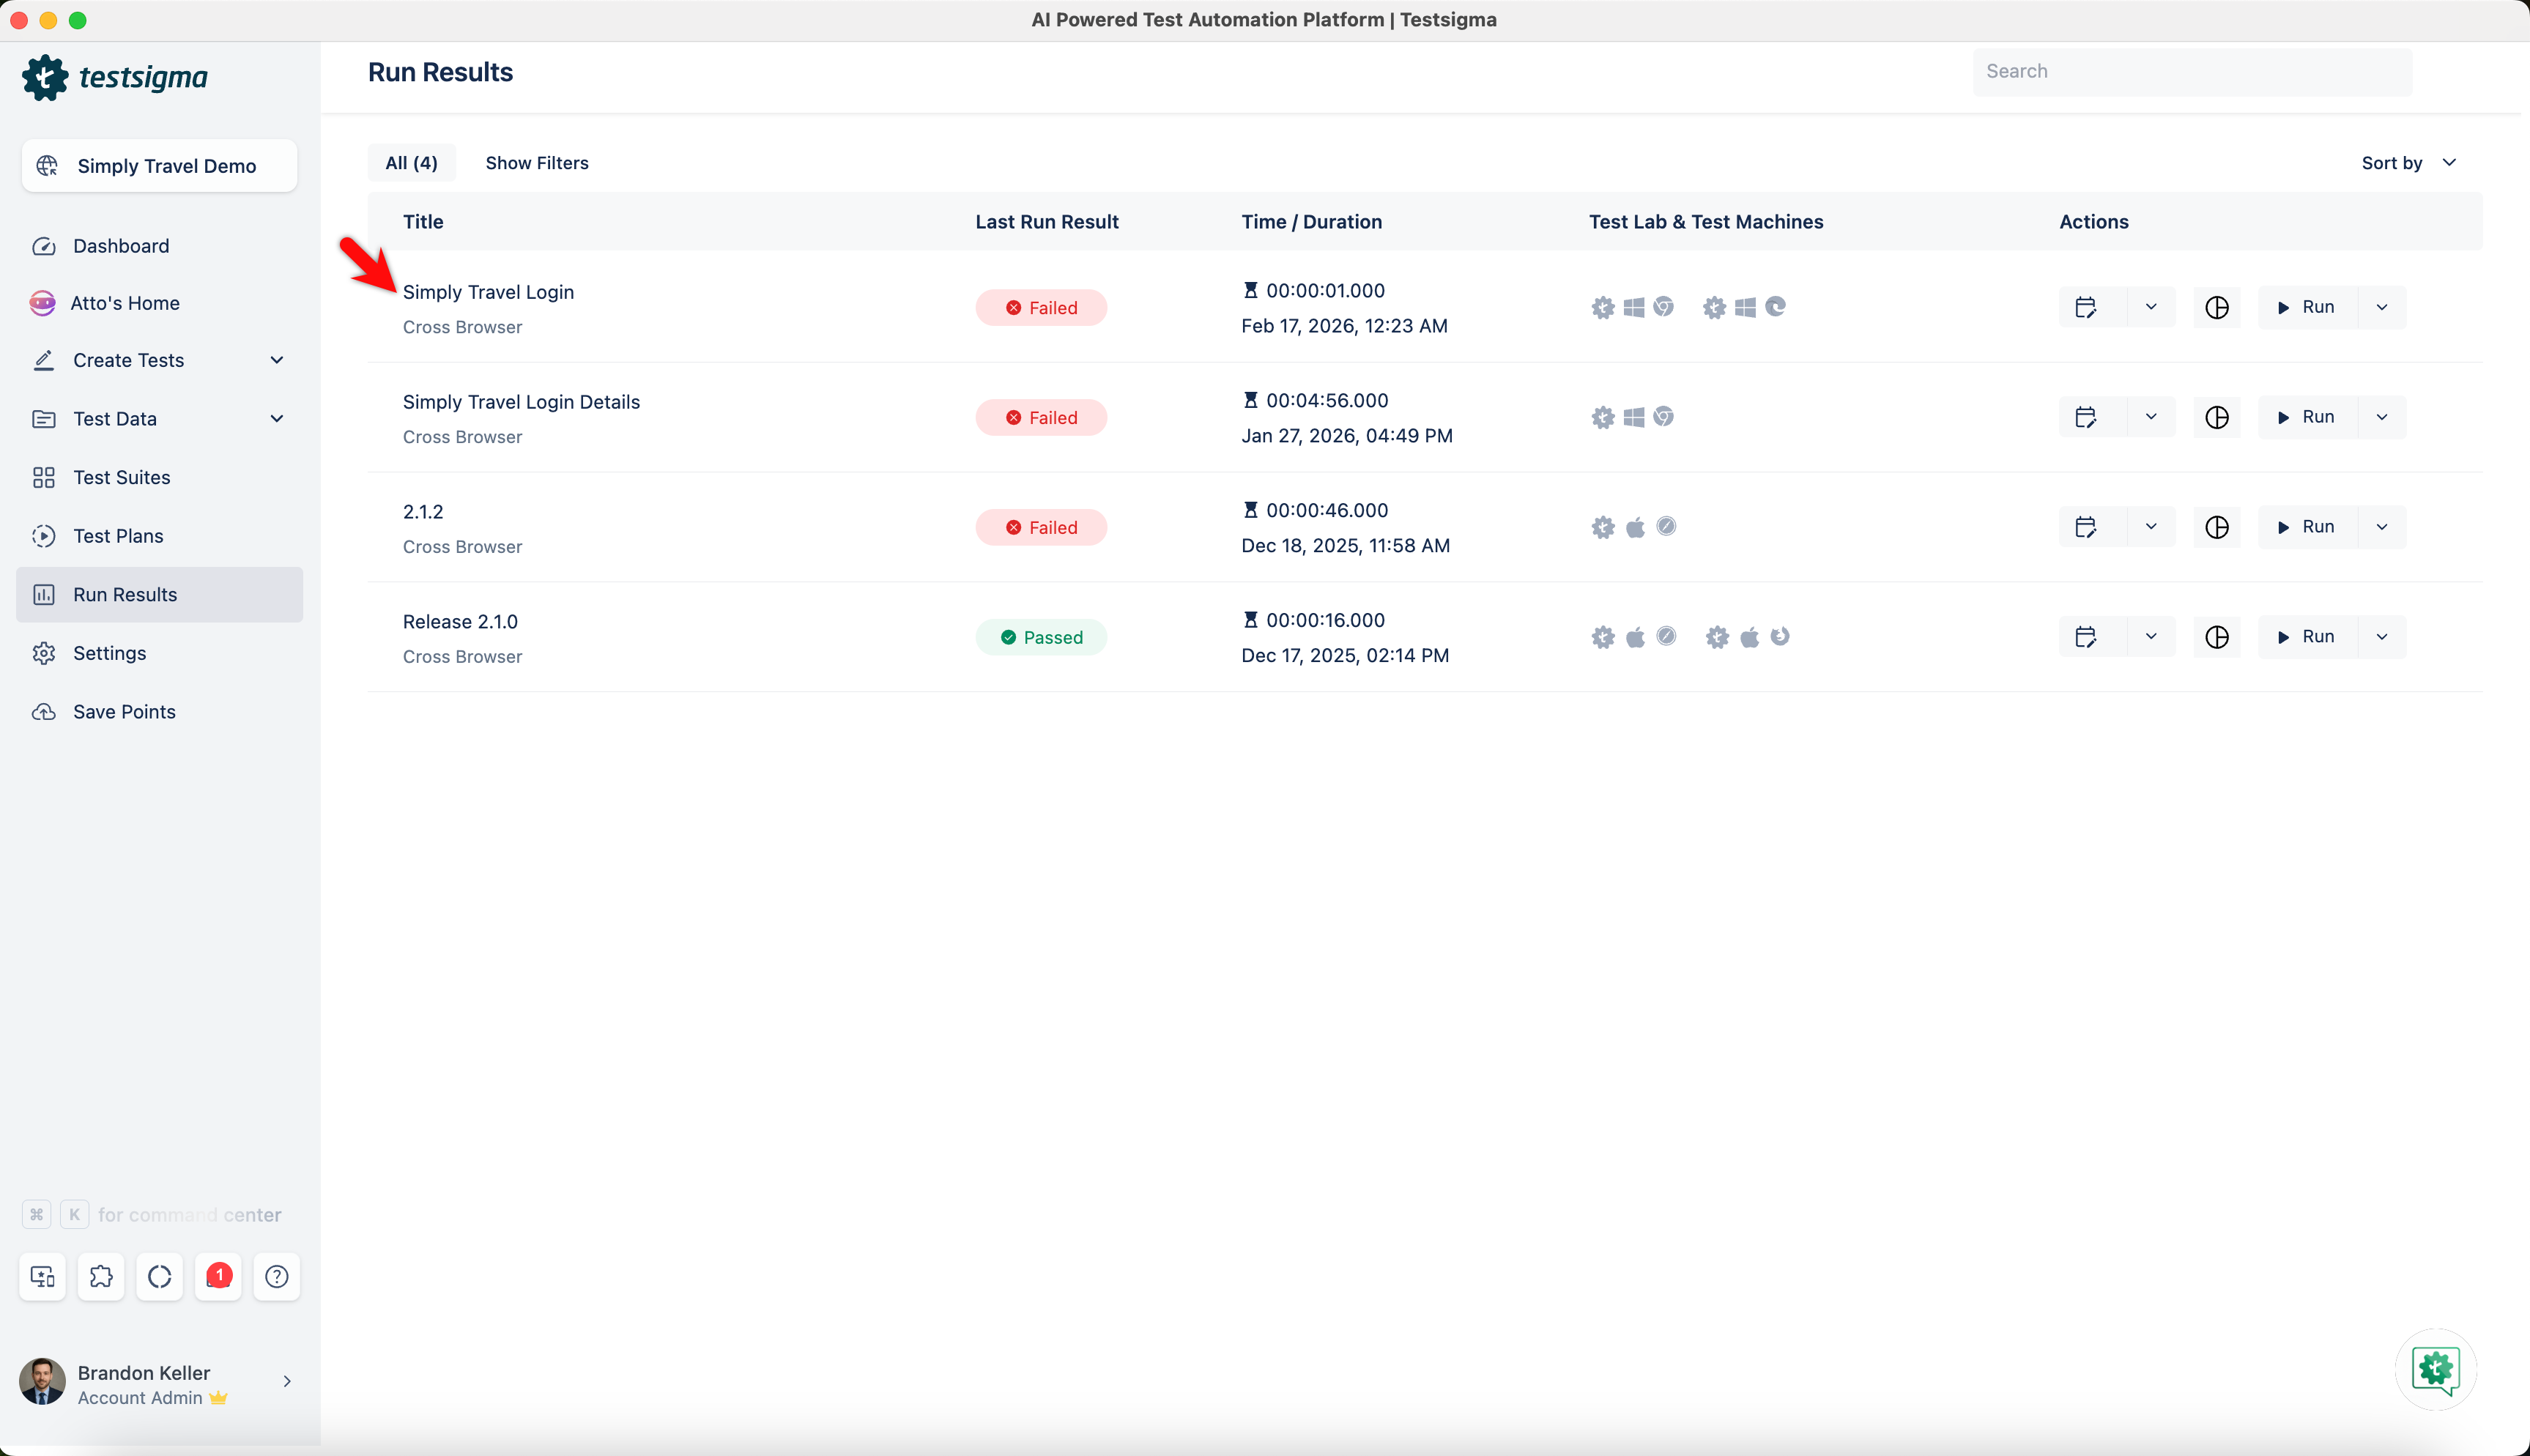
- Open the specific Test Run from the Run Result list page to export the test report file.
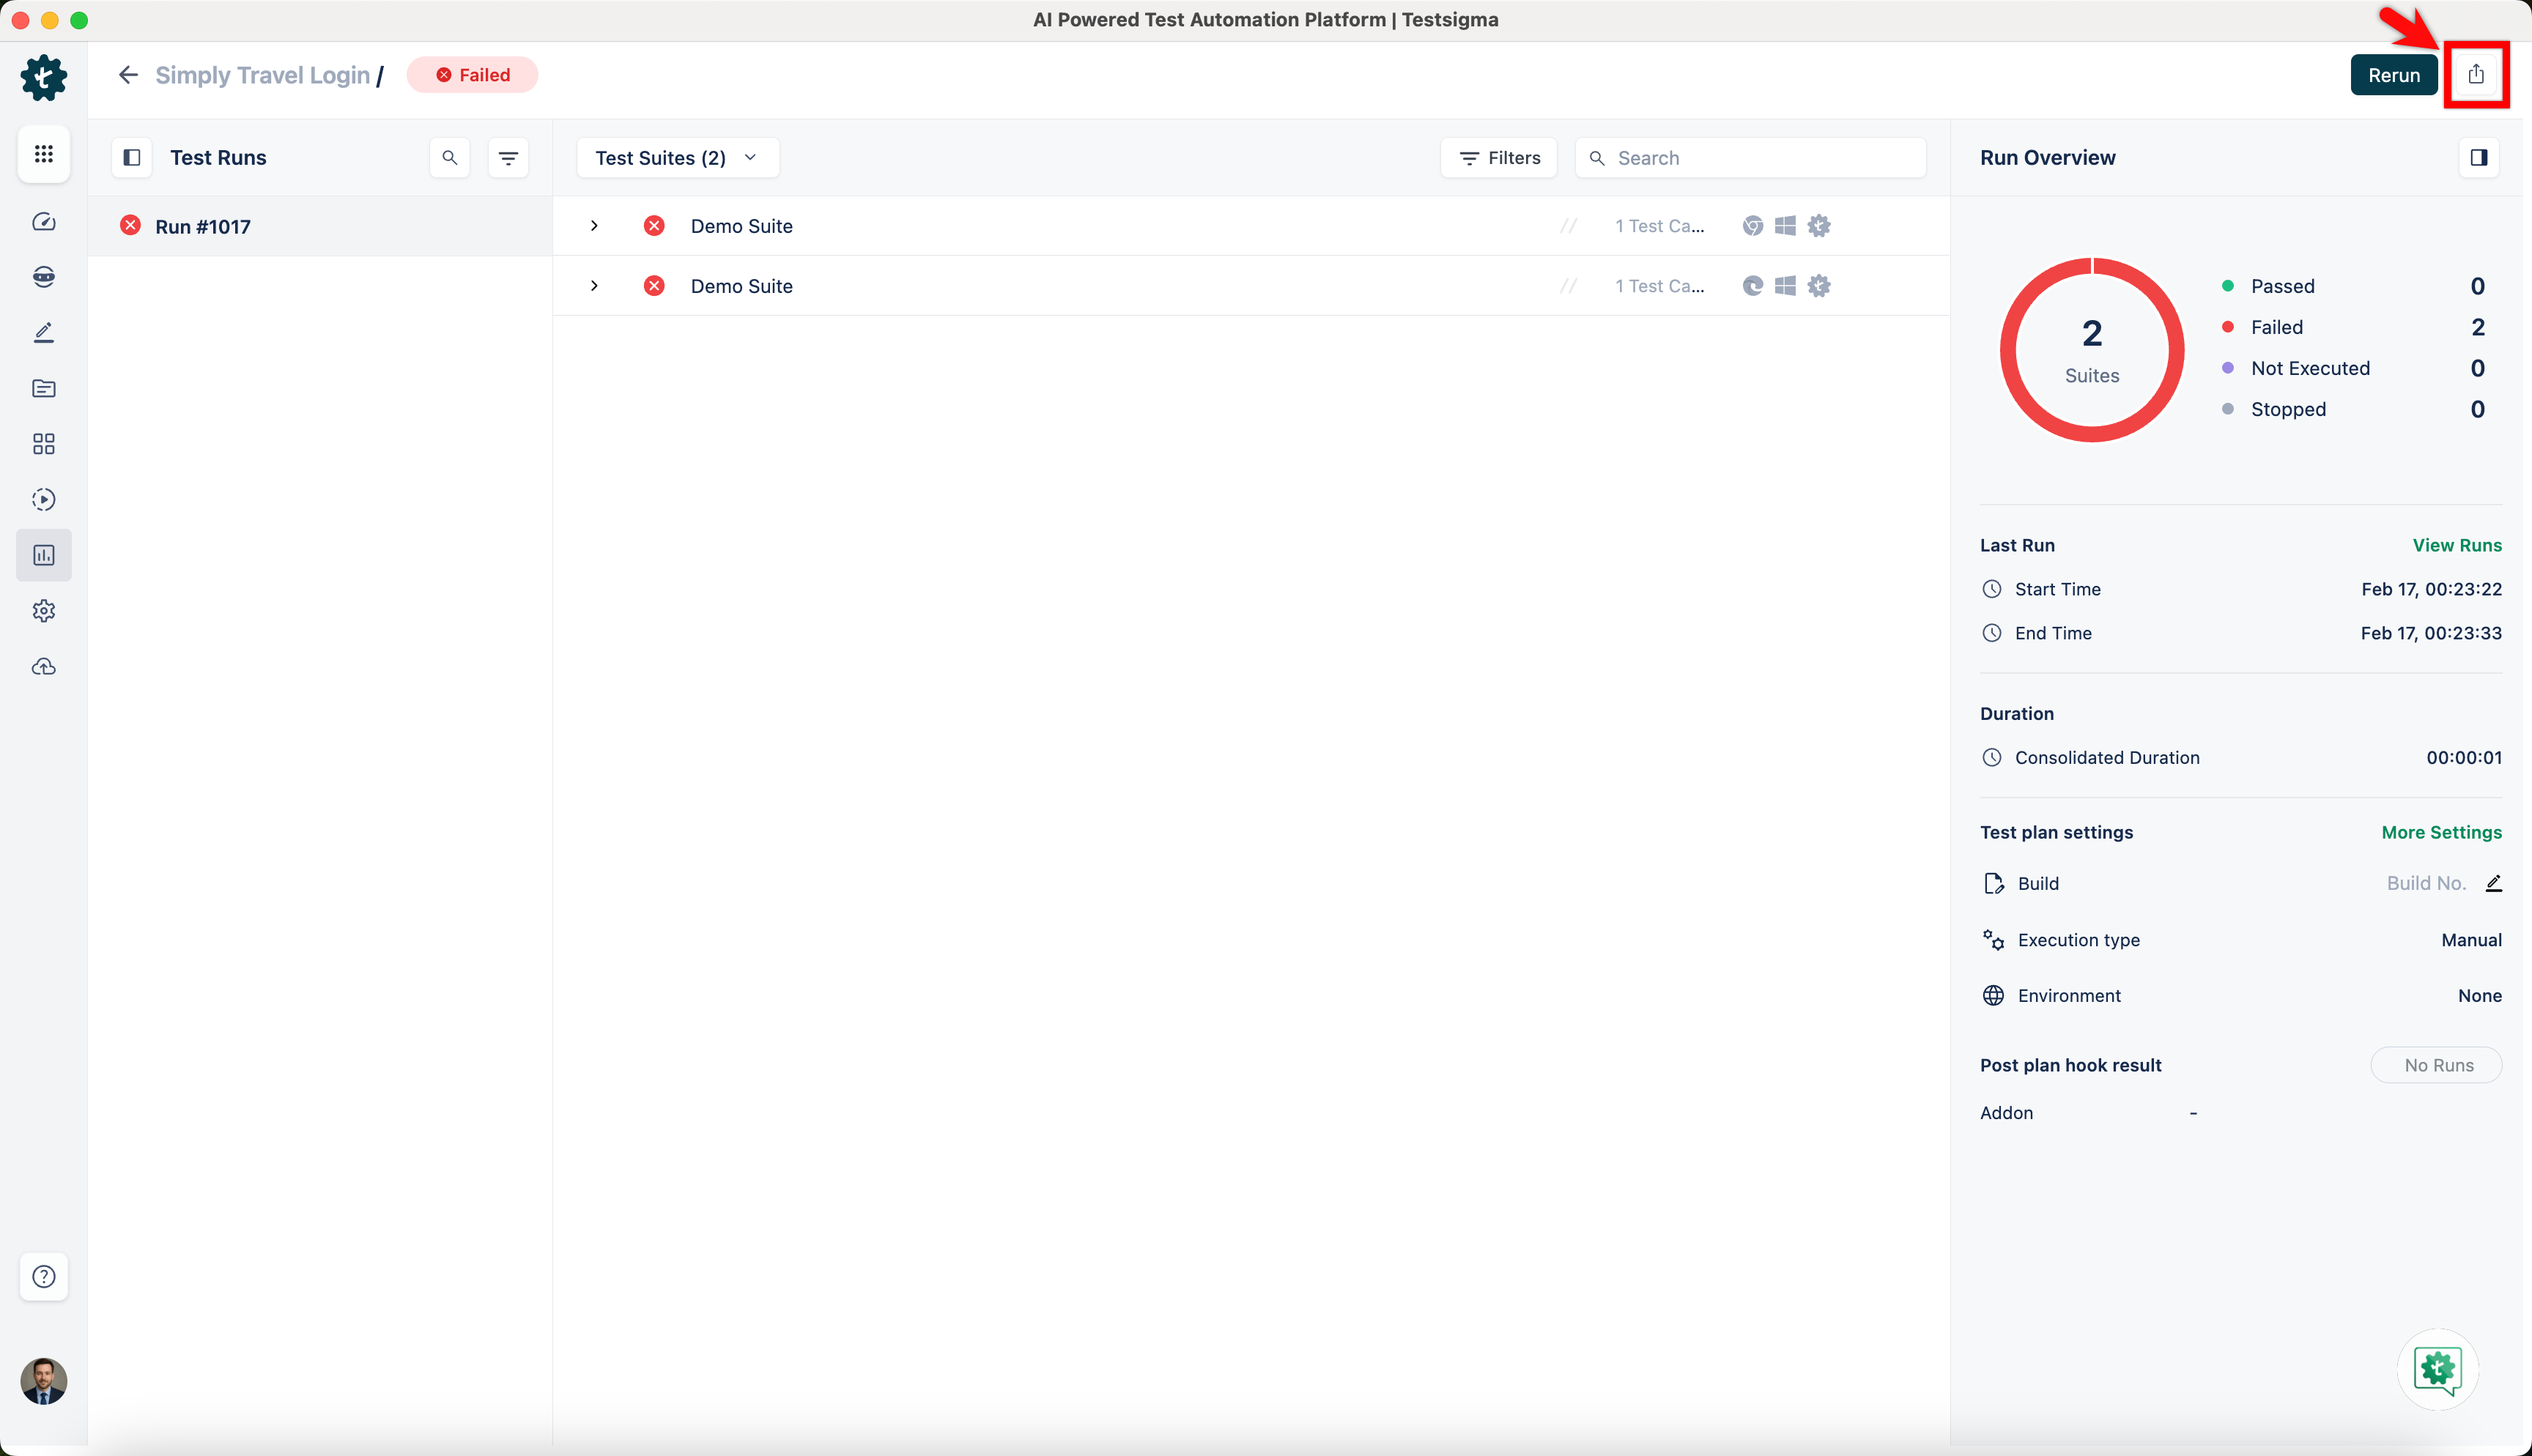
- Click the Export icon, and a dropdown list will appear.
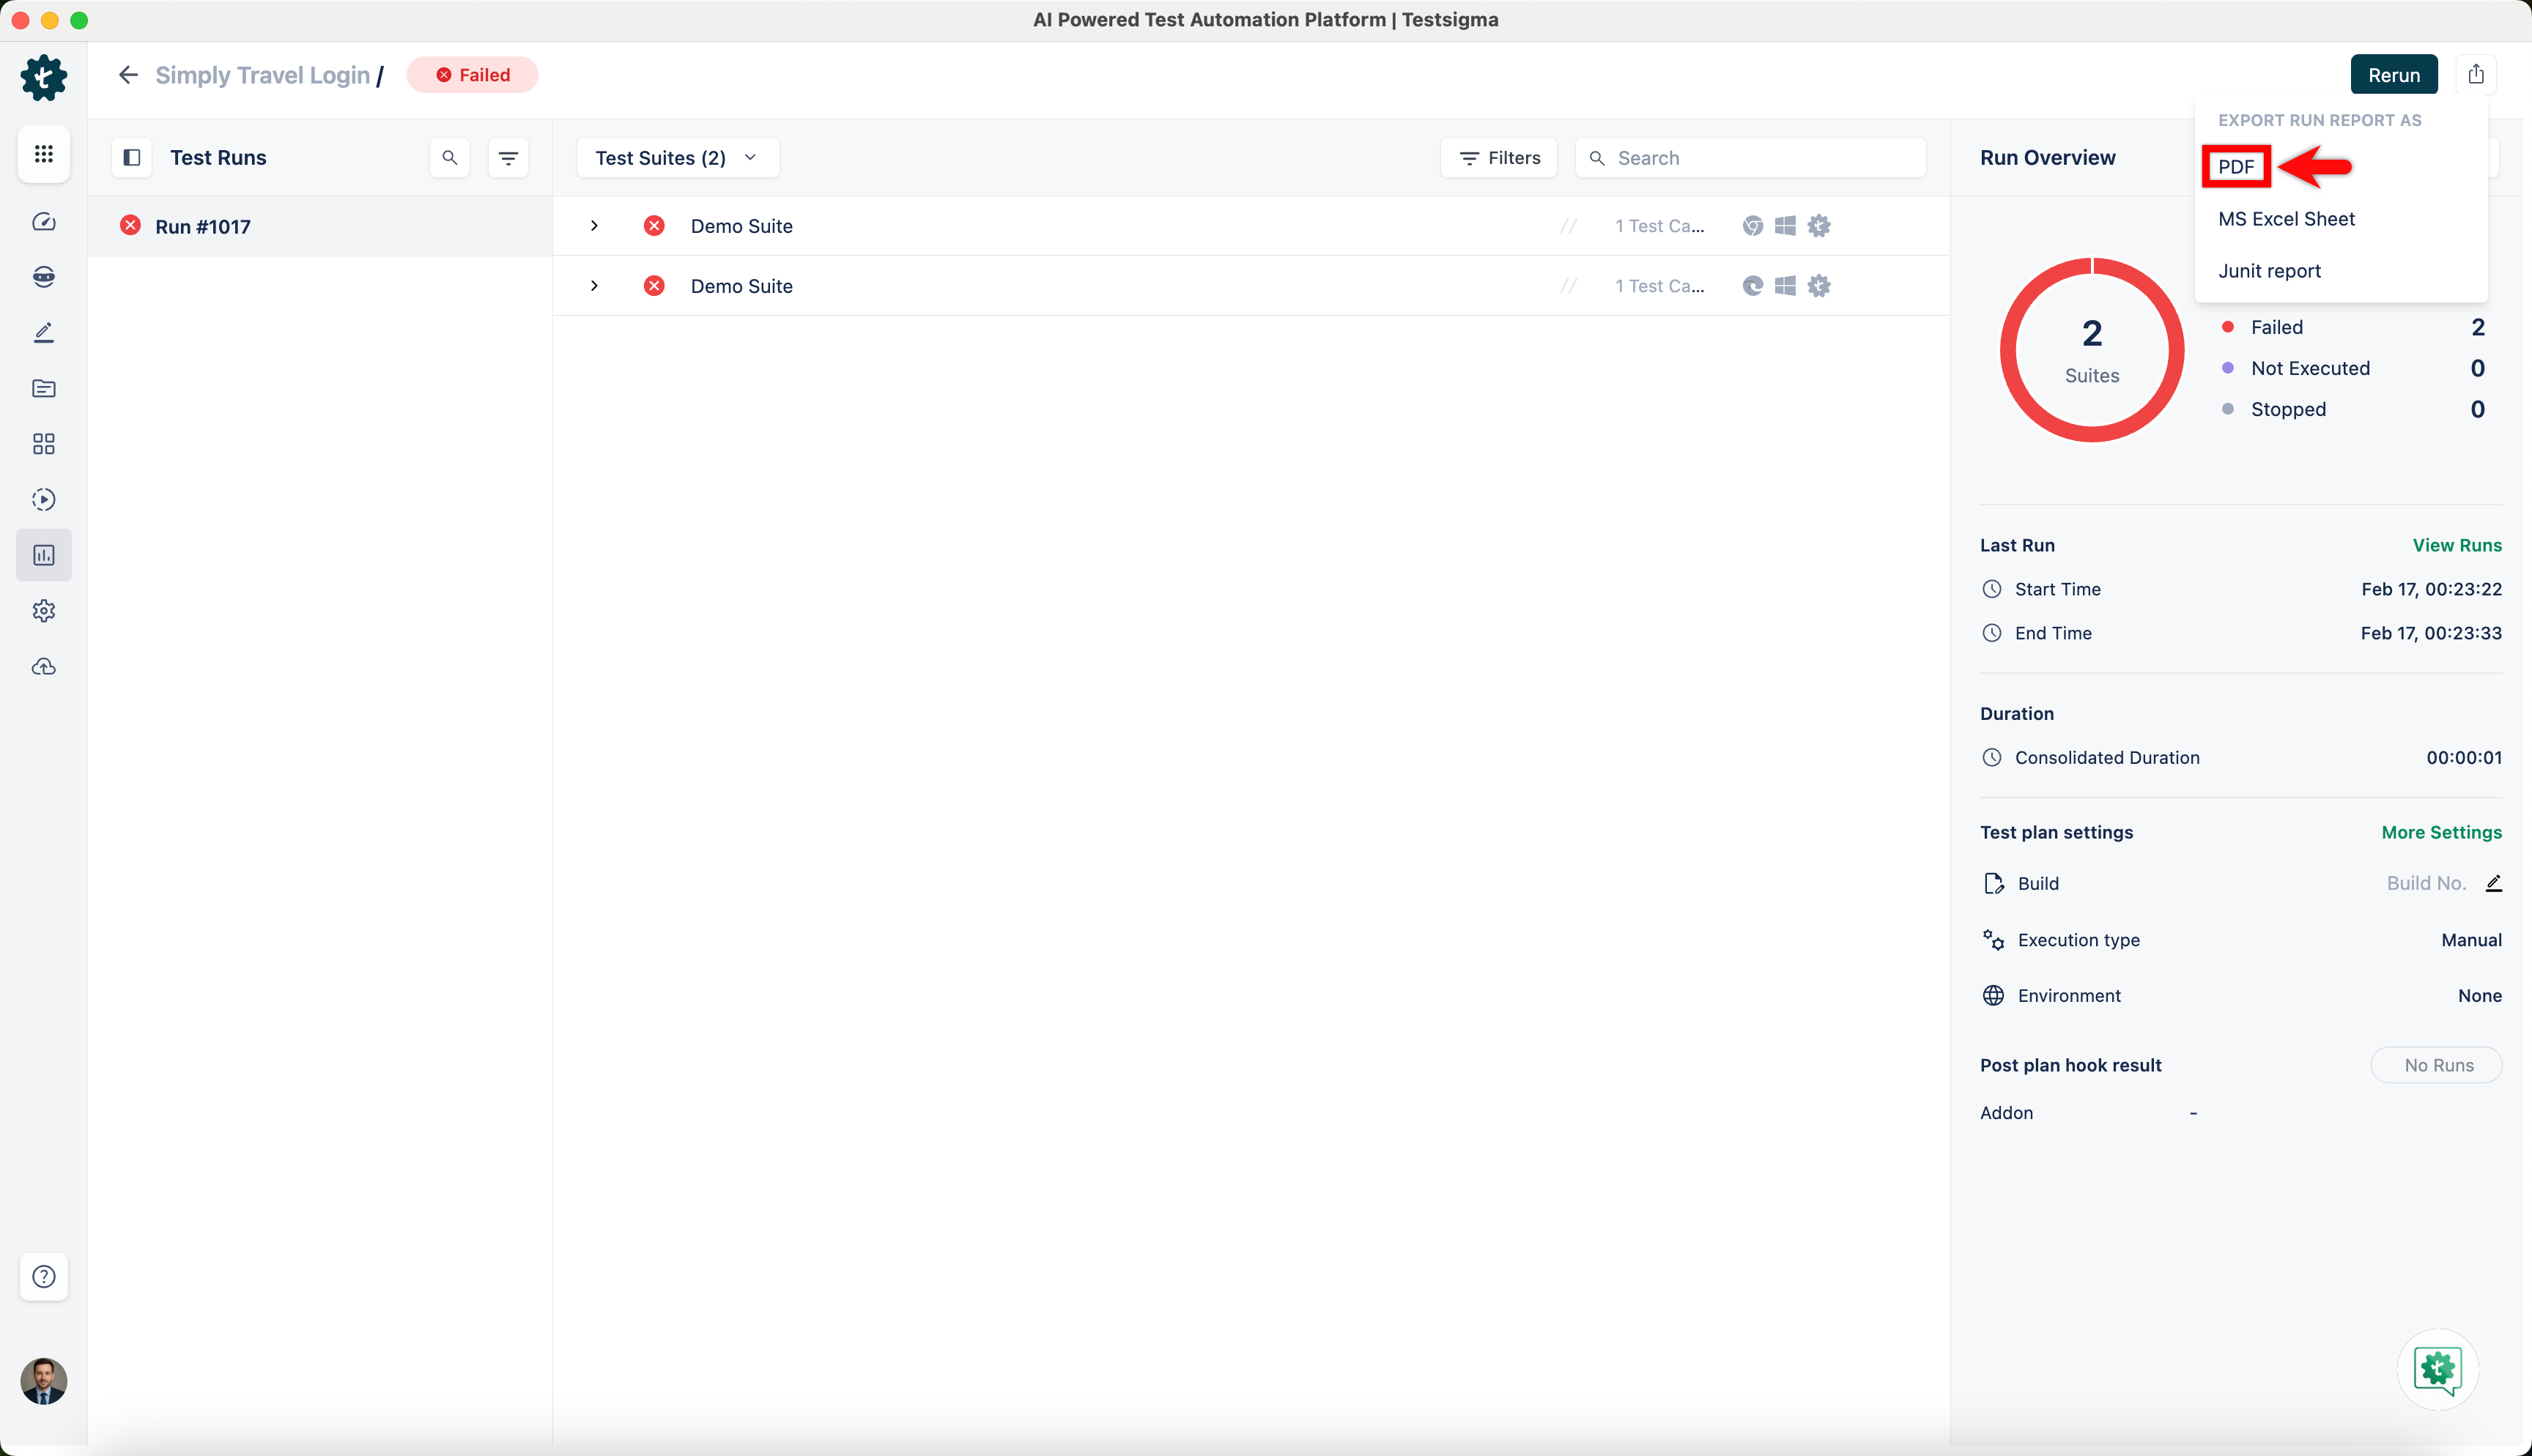
- Select PDF from the dropdown list to initiate the export of the Test Plan results.
-
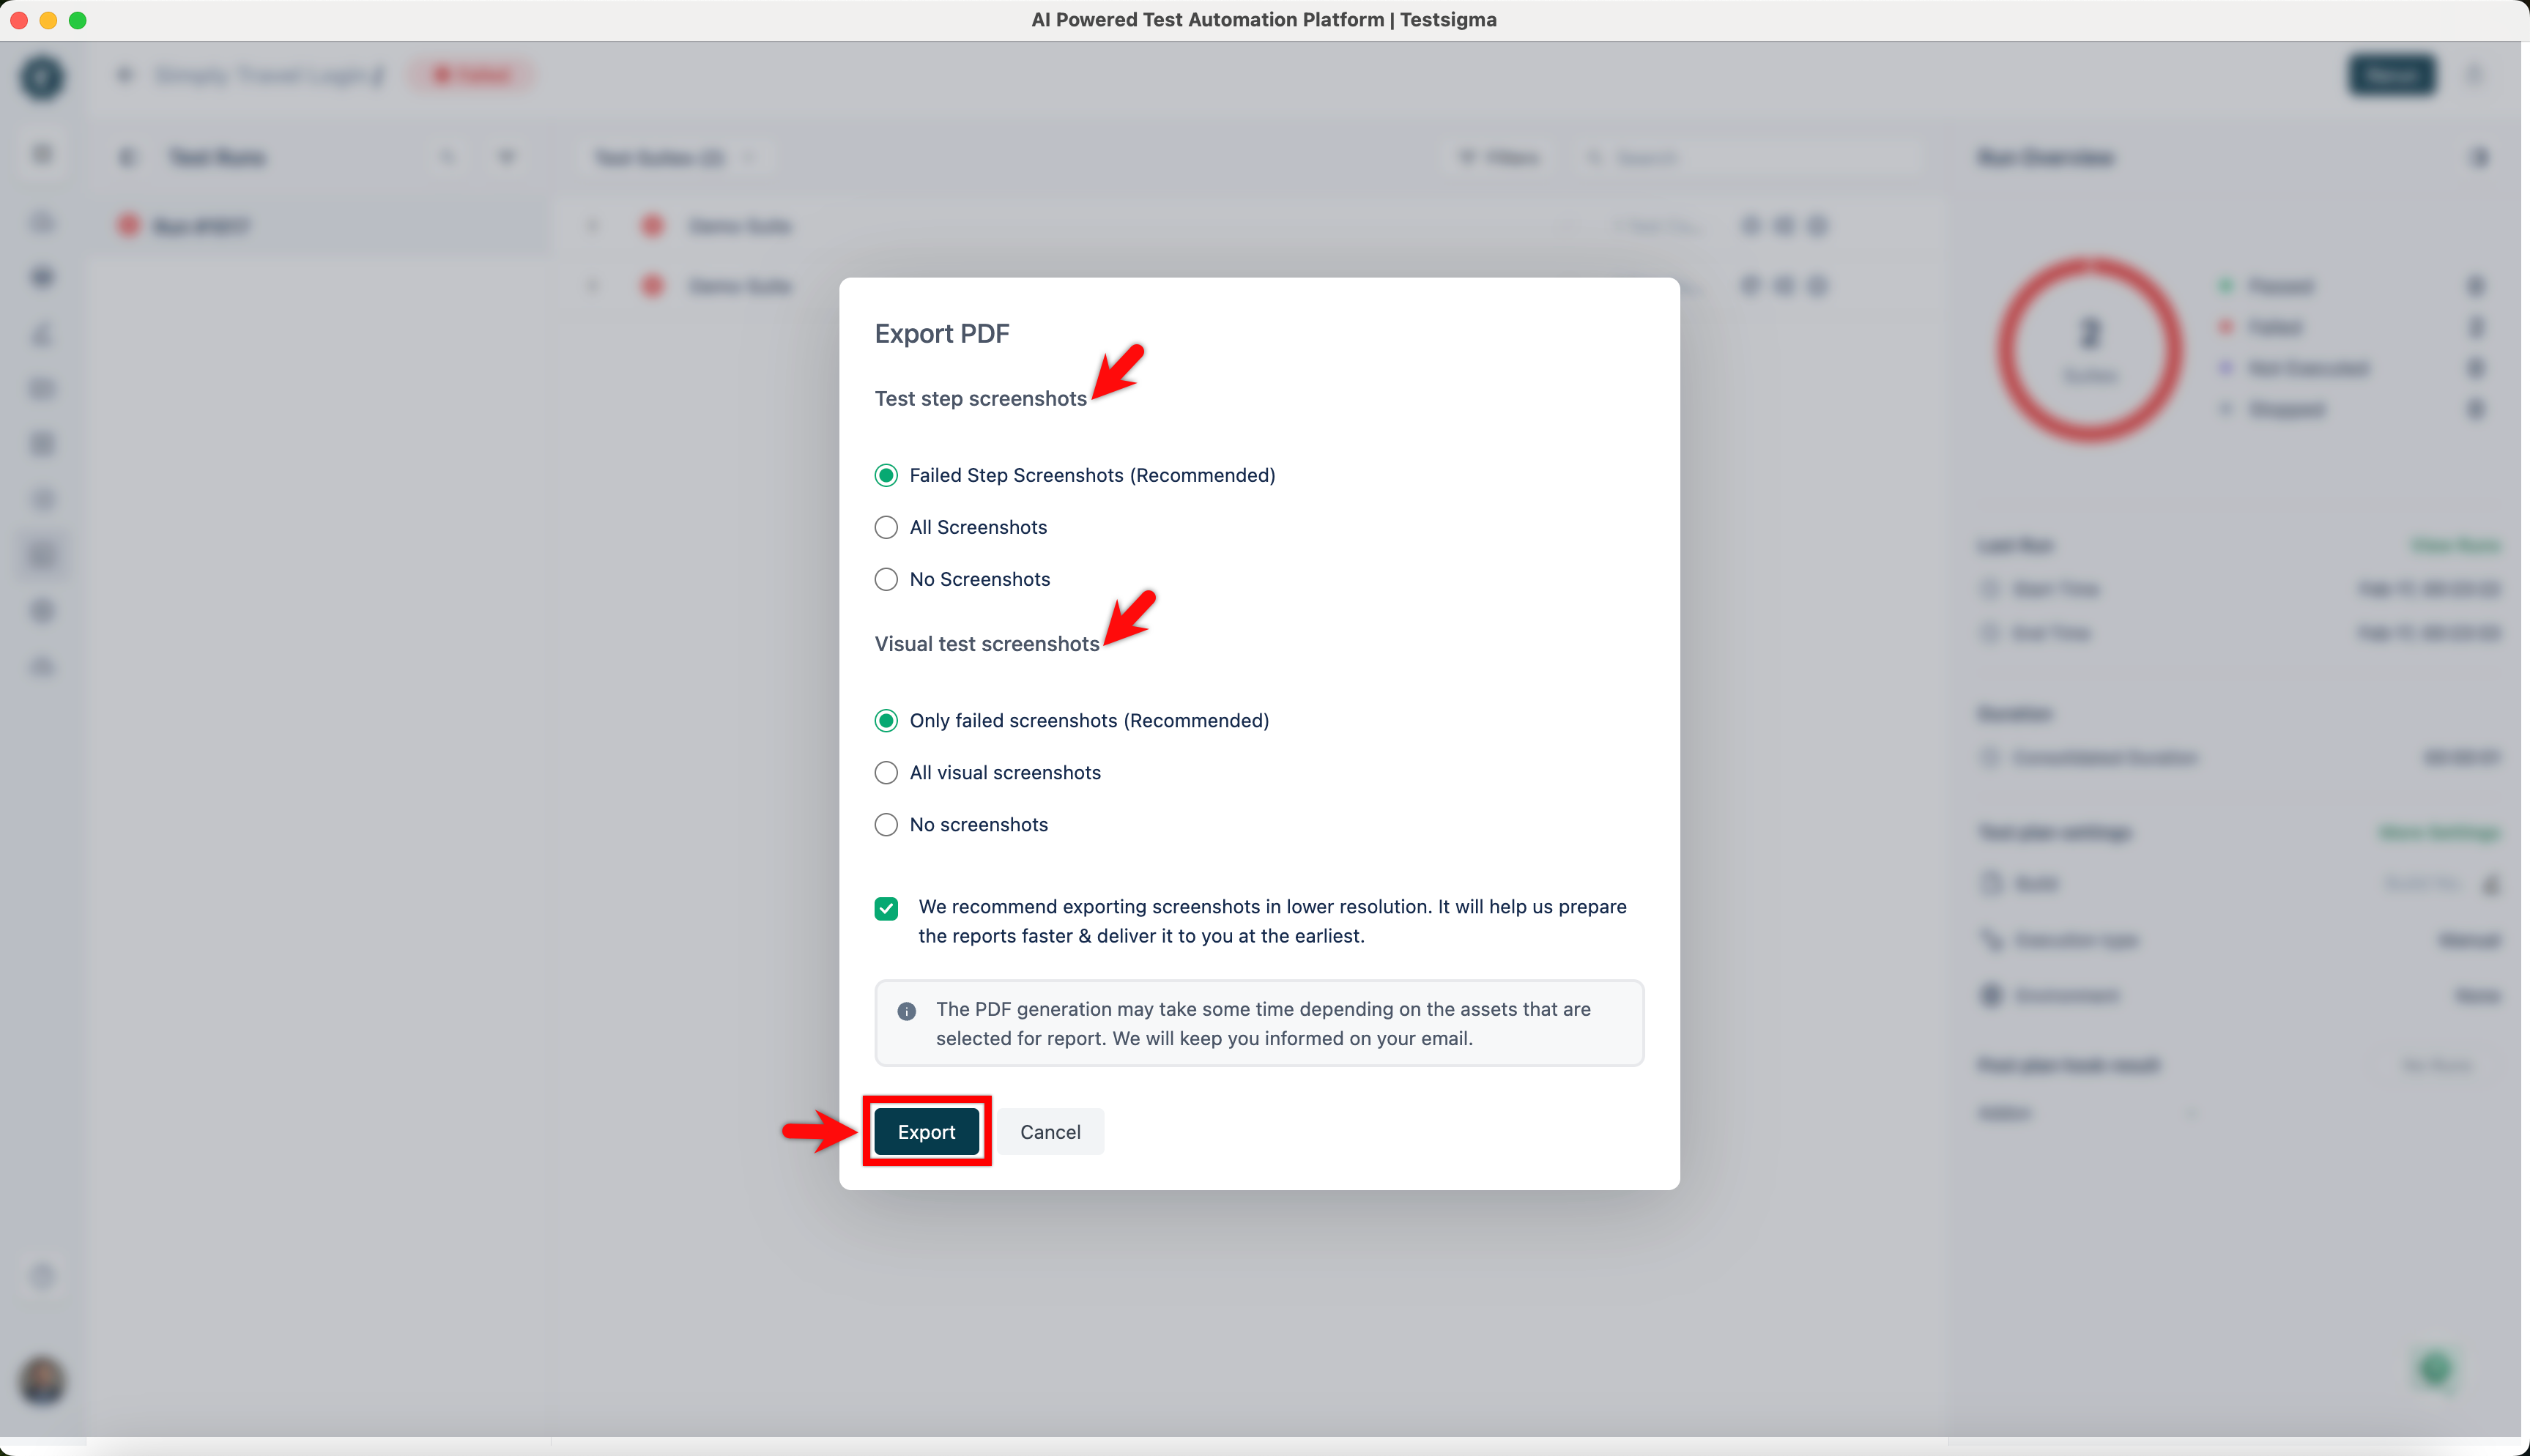
In the Export PDF dialog box, select one of the following options under Test step screenshots and Test step screenshots, and click Export:
- Failed Step Screenshots [Recommended]
- All Screenshots
-
No Screenshots
 NOTE:
NOTE:We recommend exporting screenshots in lower resolution to expedite report preparation and delivery.
- Once you select, Testsigma will generate and automatically download a report in Excel format. Testsigma will notify you via email (using the email address associated with your Testsigma account) upon completion.
- Click on the file named (Test Plan Name with build run YYYYMMDD).pdf to access the exported results.
To add a logo to the PDF report, navigate to Settings > Customize Reports and enable the Customer Report toggle.
Want to contribute or report missing content?