- Elements (Objects)
- Web Applications
 Record Single Element
- Record Multiple Elements
- Create Elements
- Supported Locator Types
- Formulating Elements
- Shadow DOM Elements
- Verifying elements in Chrome DevTools
- Handling iframe Elements?
- Create Image Based Elements
- Dynamic Locators using Parameter
- Dynamic Locators using Runtime
- Using Environment Test Data for Dynamic Locators
- Locating Dynamic Elements in Date Widget
- Freeze & Inspect Dynamic Elements (WebPage)
- Locating Dynamic Elements in Tables
- Import/Export Elements
- Locator Precedence (Web Apps)
- Verify Elements from Test Recorder
Import and Export Elements
One of the most common use cases for the Import functionality is to copy elements between application versions within Testsigma. You can export the elements from the source version and import them into the target version across the same or different projects.
Another common use case is to perform bulk-update on the elements easily. You can export the elements, modify each element in the exported file as required, and import it back to make changes for a set of elements easily.
If you are trying to update the elements using Import/Export, keep the UUID column intact so that the correct element gets updated while importing back. You may change the other fields as required.
Another less common application is when we want to load the Test locators for the UAT provided by the development team. The development team can add custom attributes to the elements to increase the application's testability and provide that to the testing team. This can be easily loaded using the Element Import functionality. They can create many Elements together by adding the Element details to a Spreadsheet file of suitable format and importing it, which creates all elements with the required details within the project.
If you are trying to create new Elements in bulk, make sure to clear both the UUID columns.
Prerequisites
Before you begin, ensure that you have a file to import.
Import File Format
The Import file has the following Columns:
| Column Name | Description |
|---|---|
| UUID | The unique identifier of the Element when it is exported (Only applicable in case of exported Elements) |
| Name / fieldName | Name of the Element |
| Screen Name / screenName | Name of the Screen/Page where the Element is present. It can be any value and is used for organizing/grouping the Elements |
| Locator Type / locatorType | Type of the locator |
| Value / fieldDefintion | The value of the locator with the selected Locator Type |
| Created Using / createType | Mentions how the Element was created |
A Sample Element Import Template file has been provided in the Element Import dialog.
Steps to Import Elements
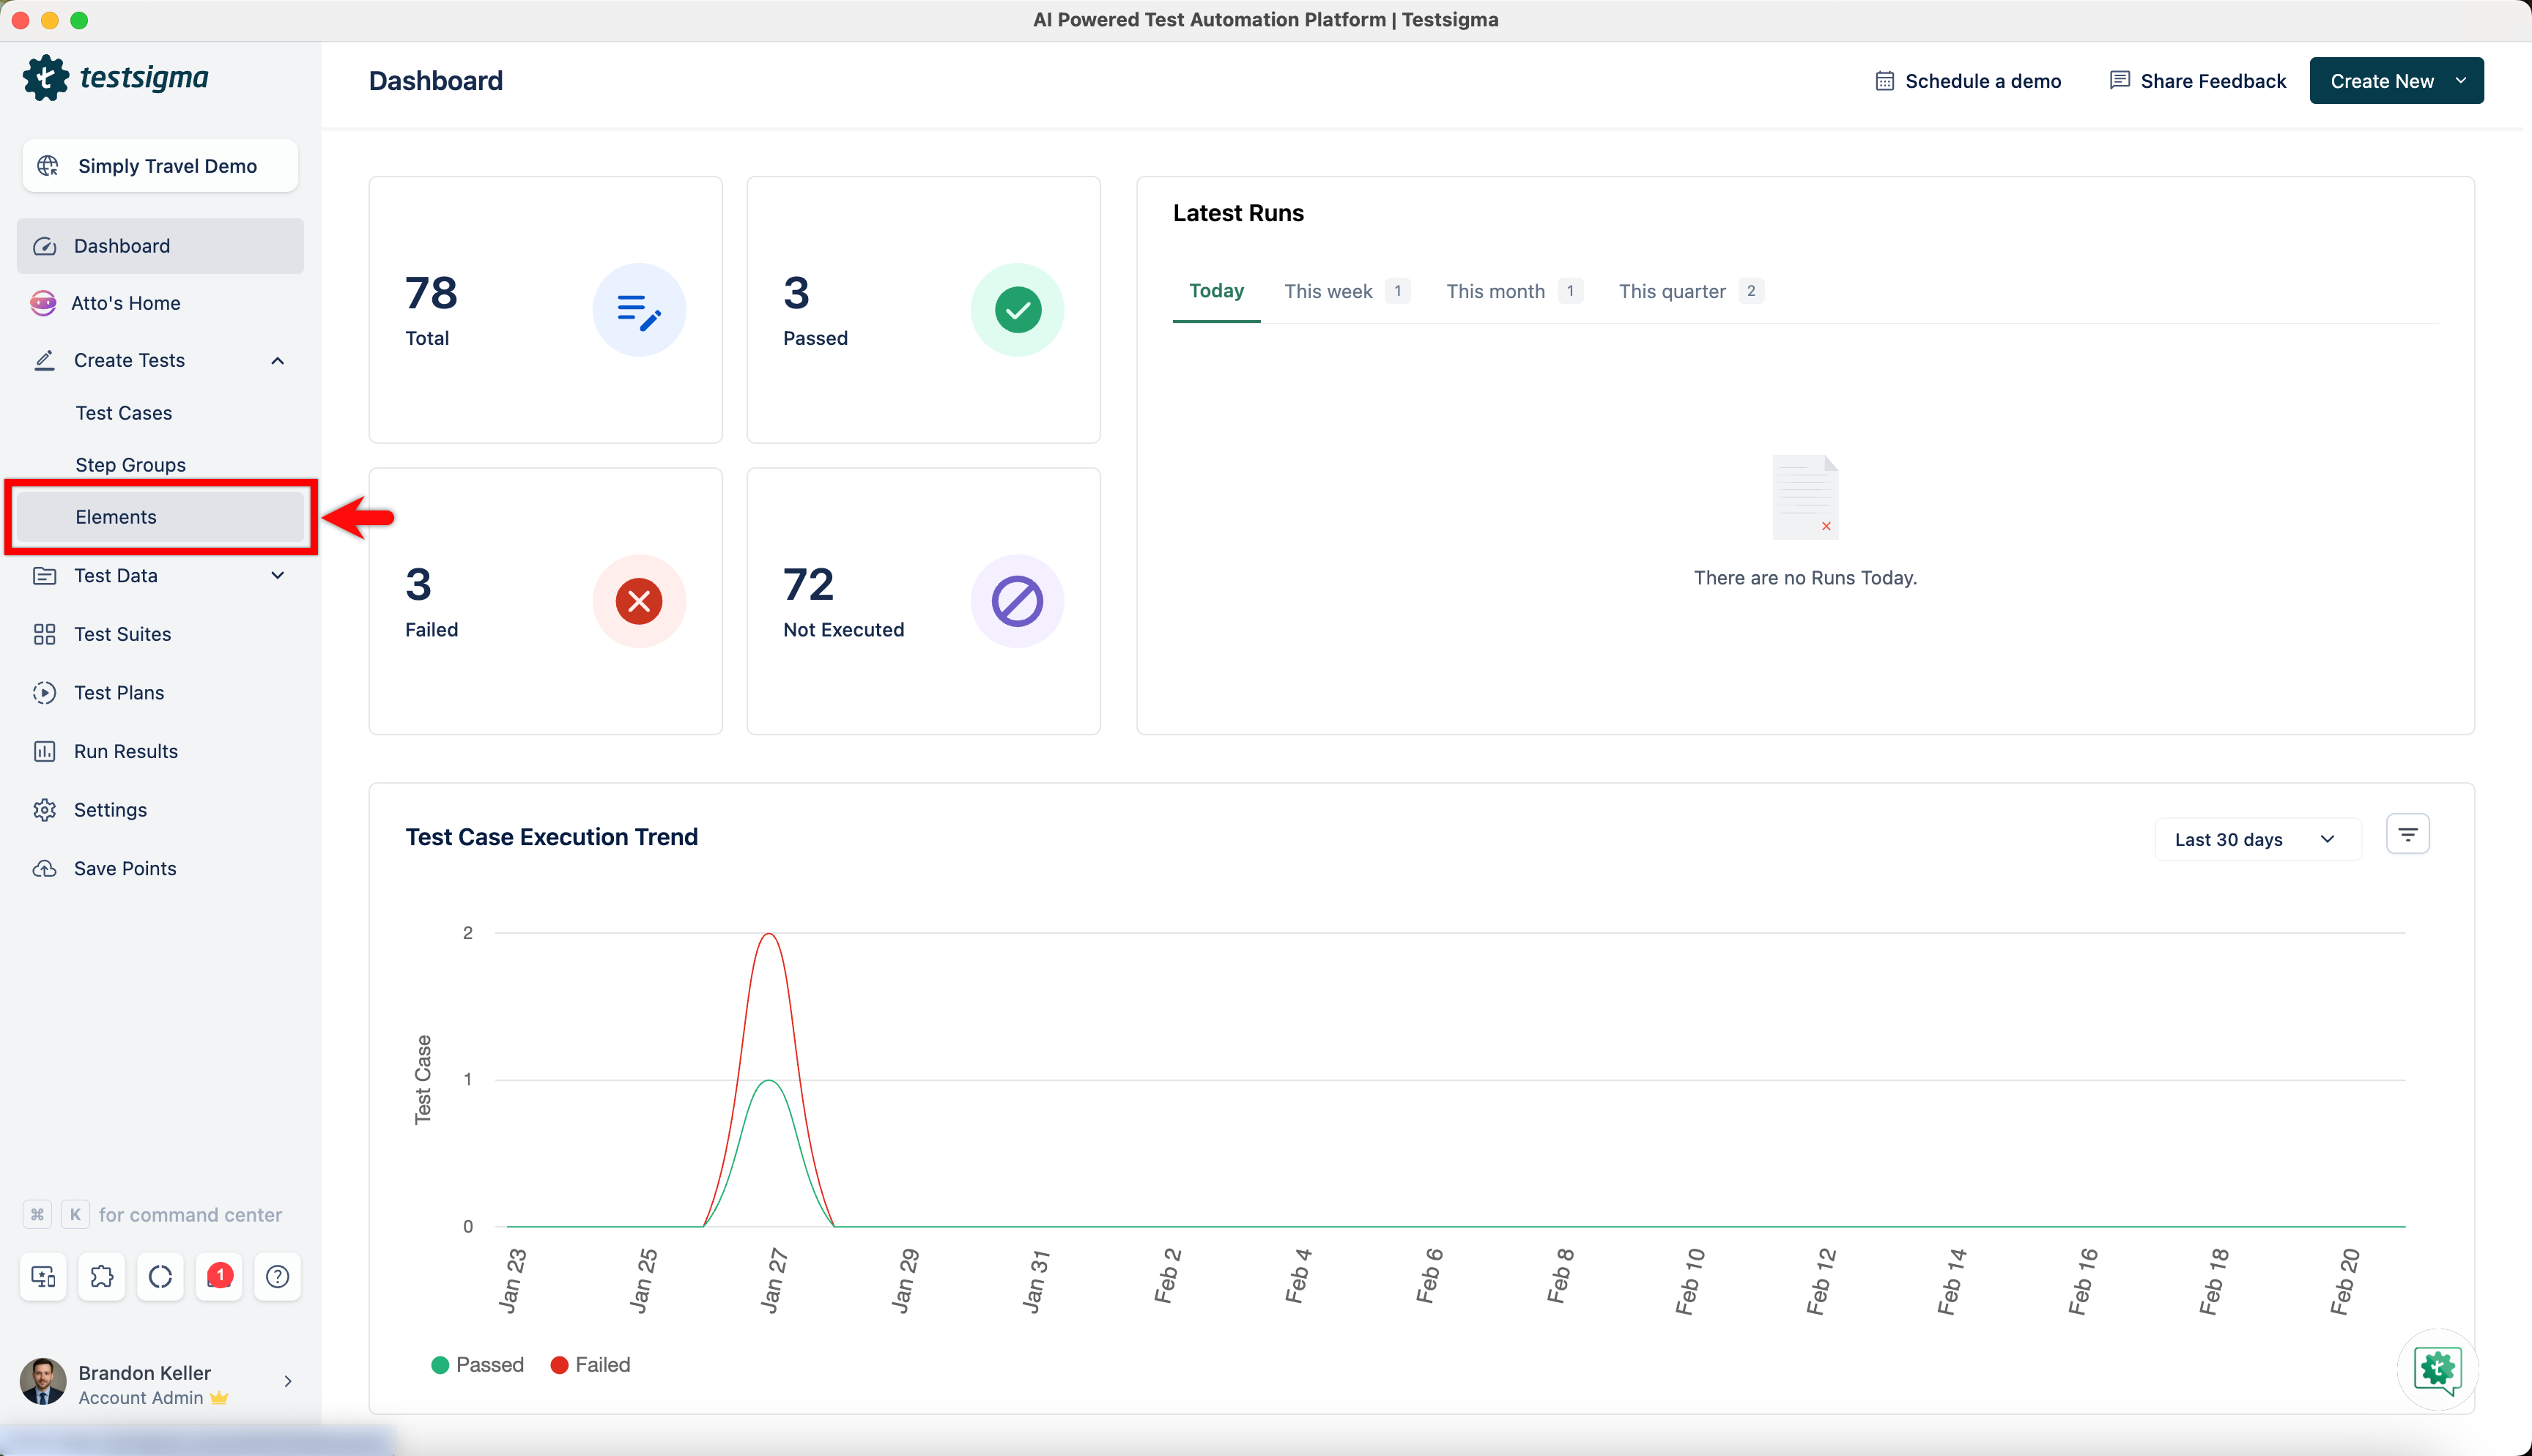
- Navigate to Create Tests > Elements.
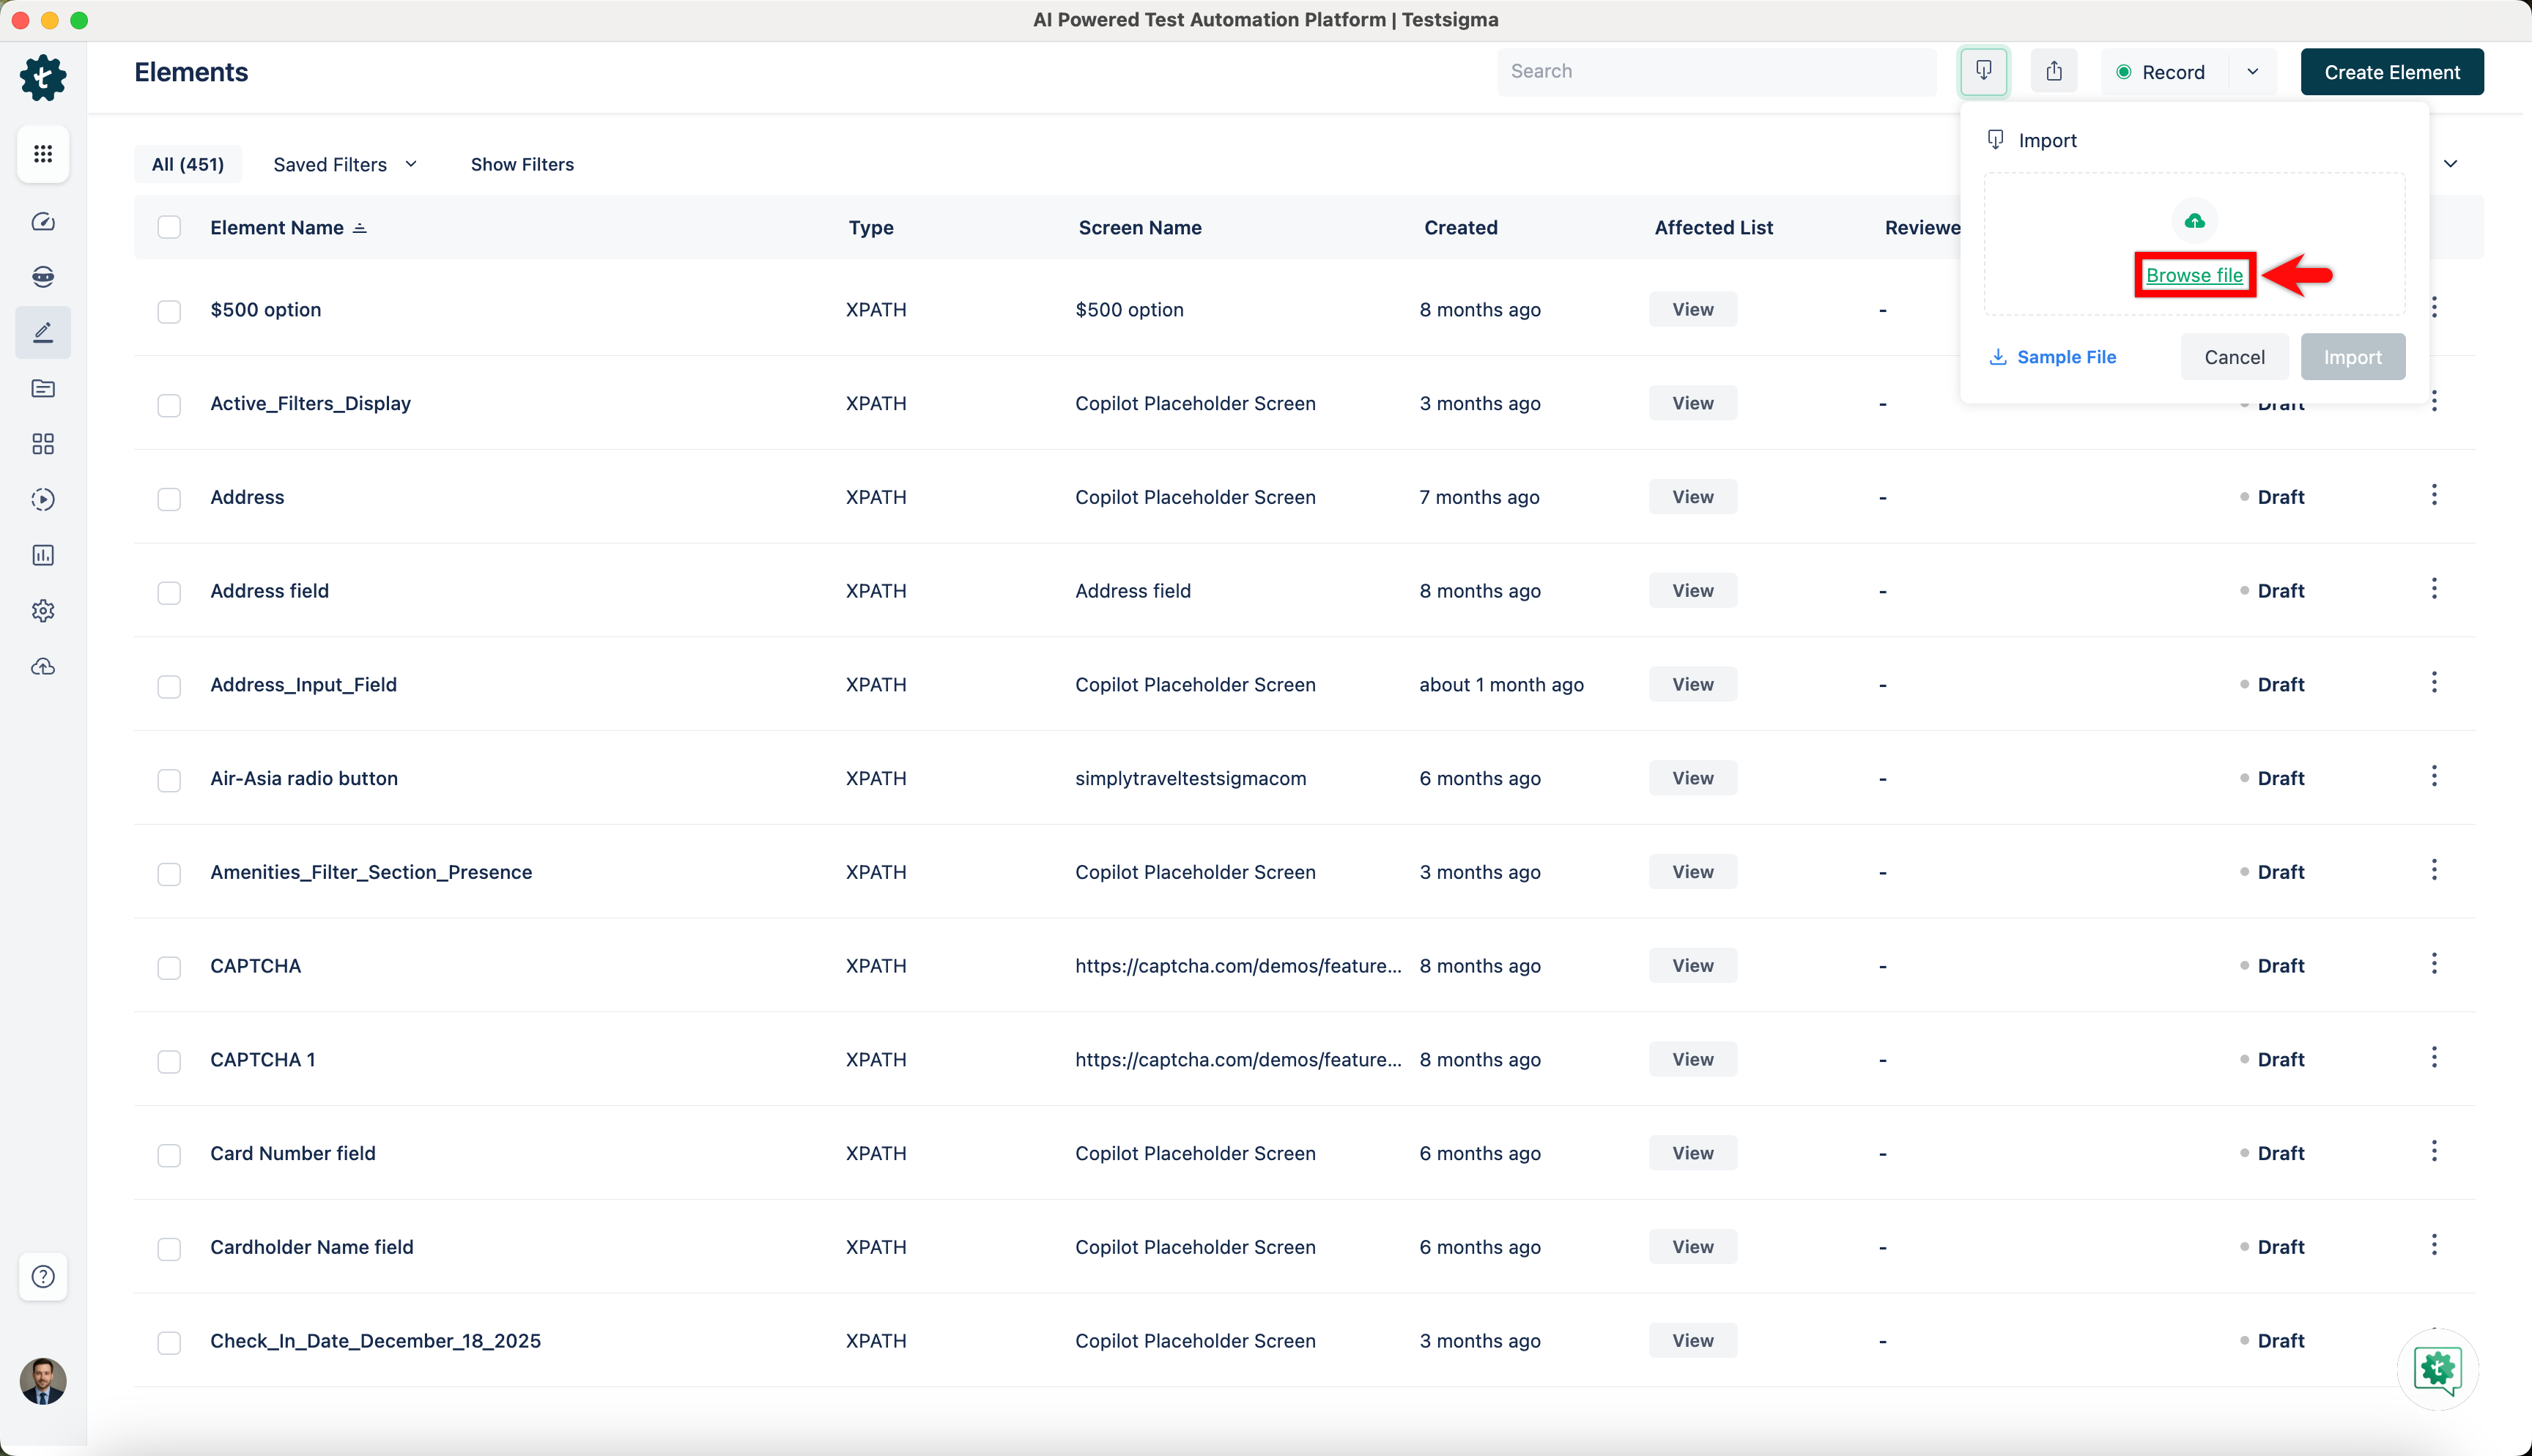
- From the Elements page, click on the Import button to open the Import dialog.

- Click on Browse File to upload the file containing the Elements.
-
Once the file is uploaded, you will get two options to handle the duplicate elements.
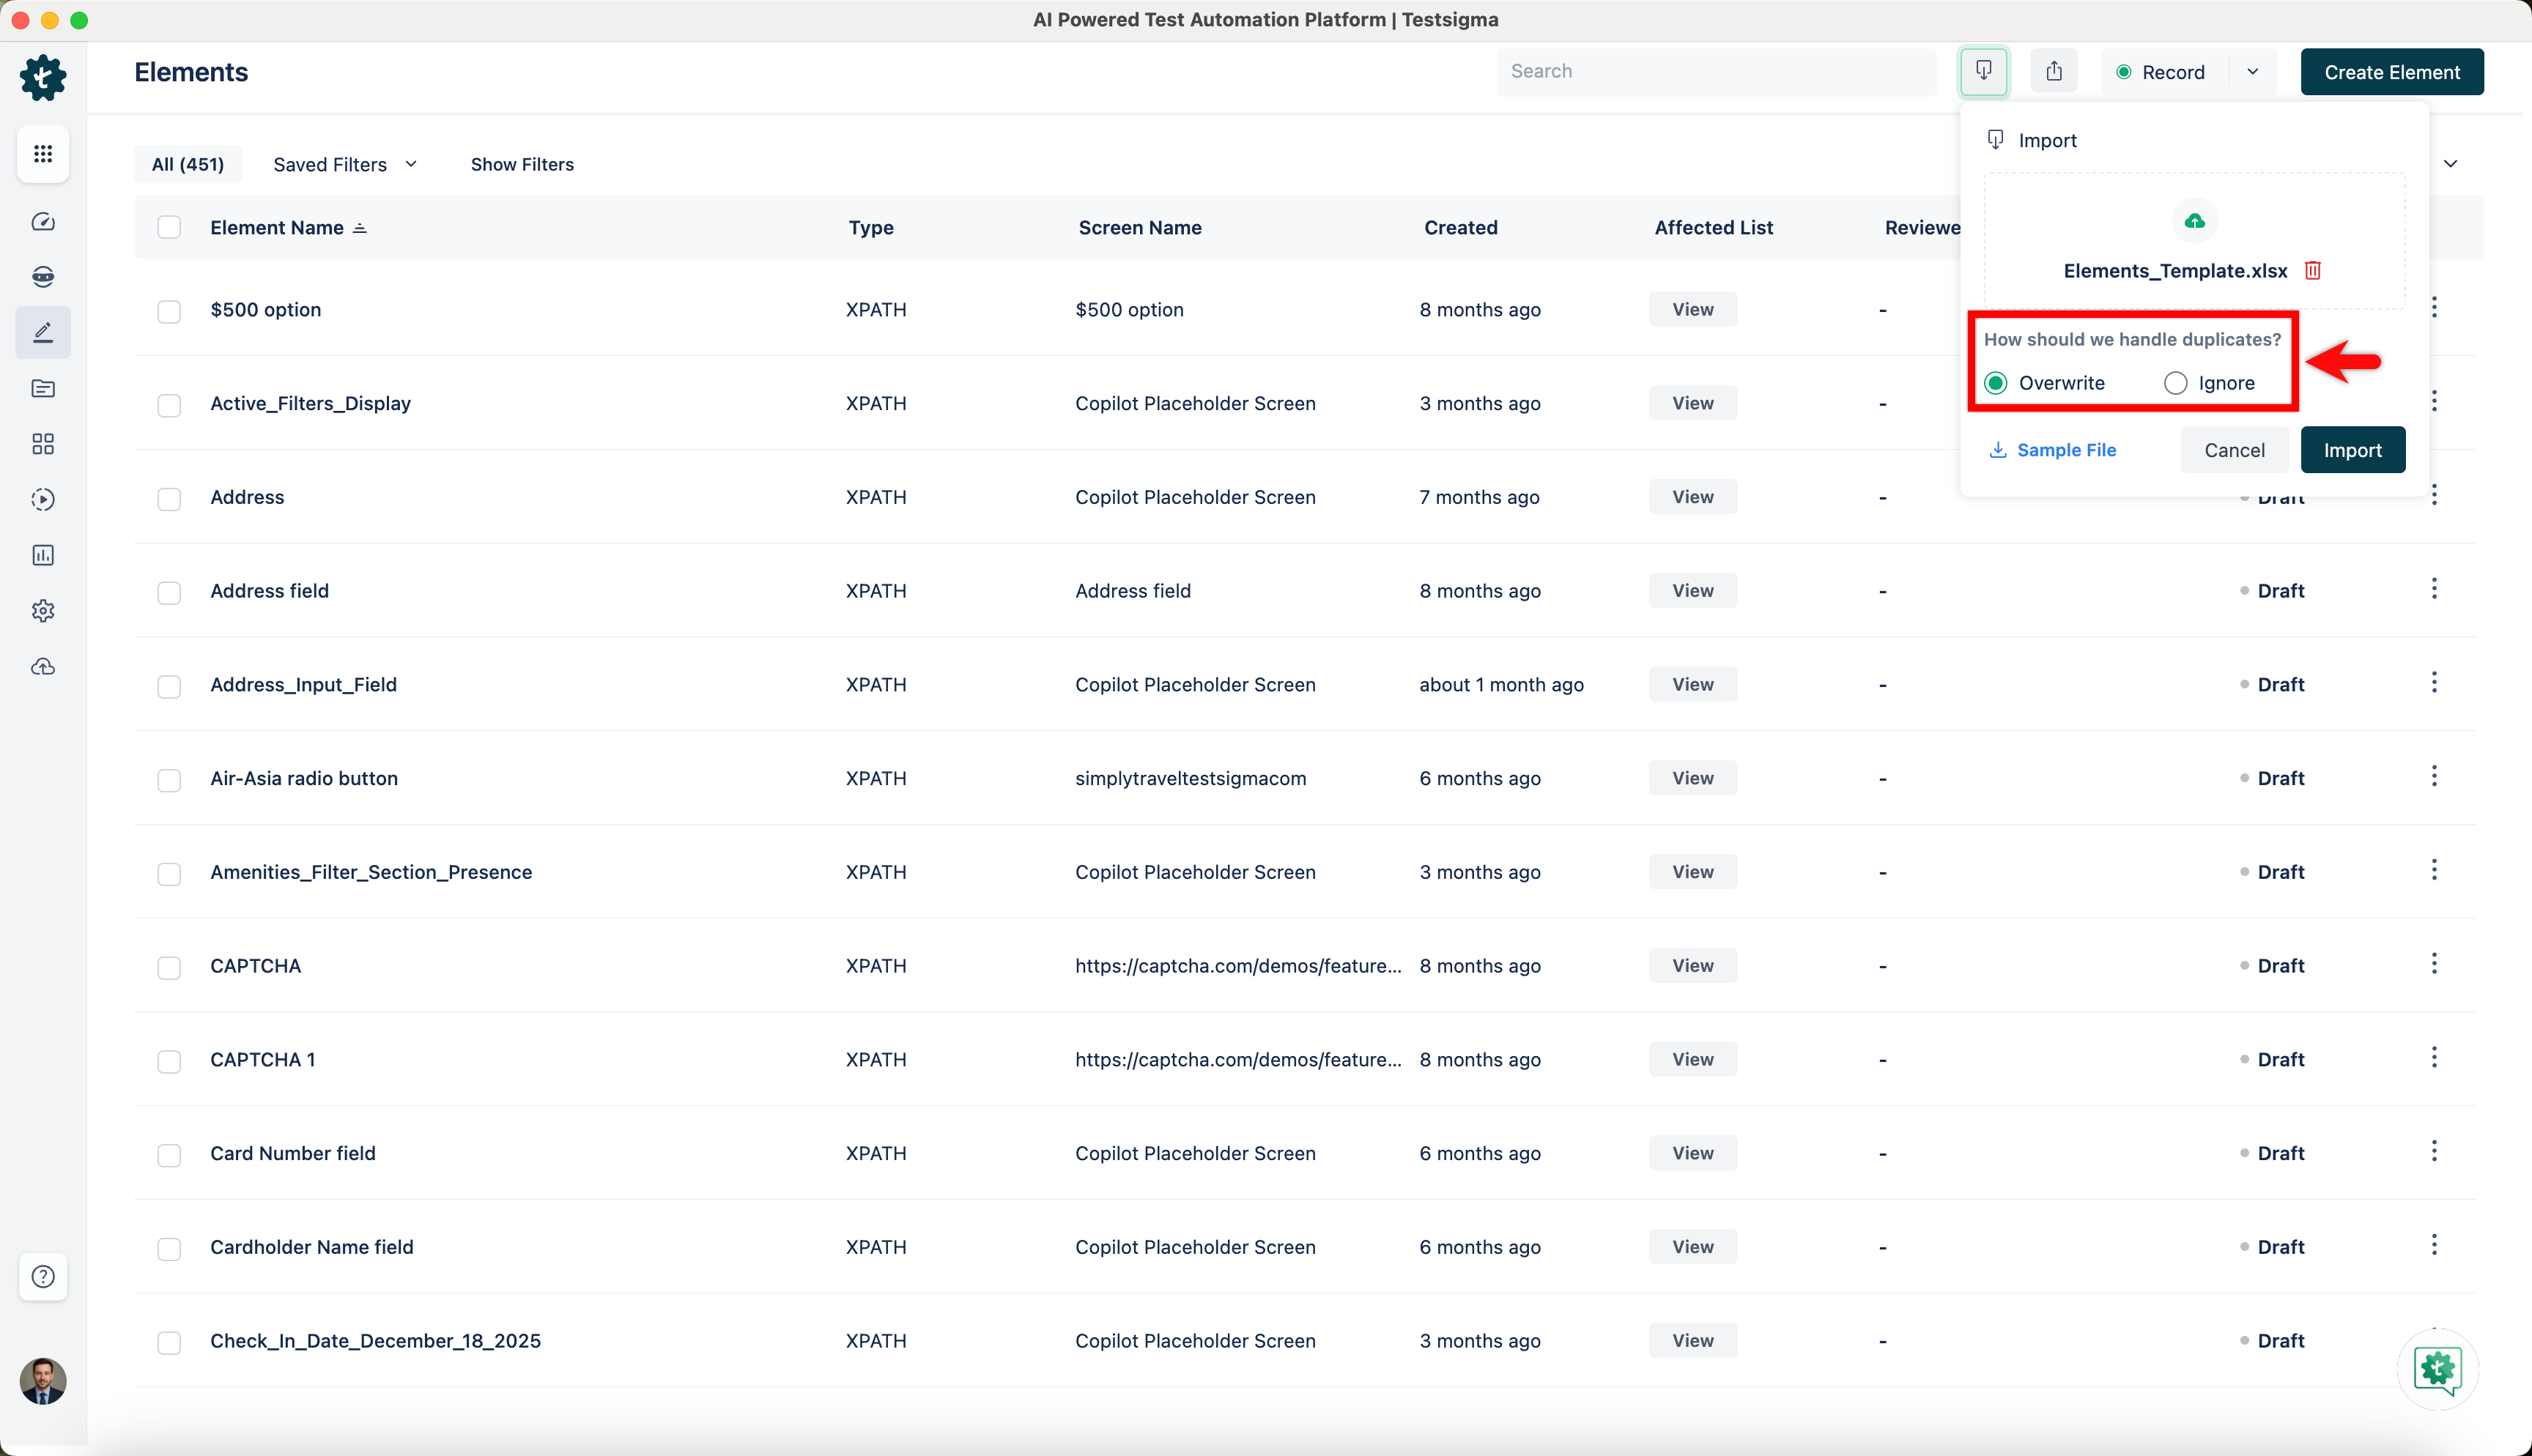
- Select the Overwrite option if you want to overwrite the data in the elements list.
- Select the Ignore option if you want to ignore the data from the elements file.
- Click on Import.
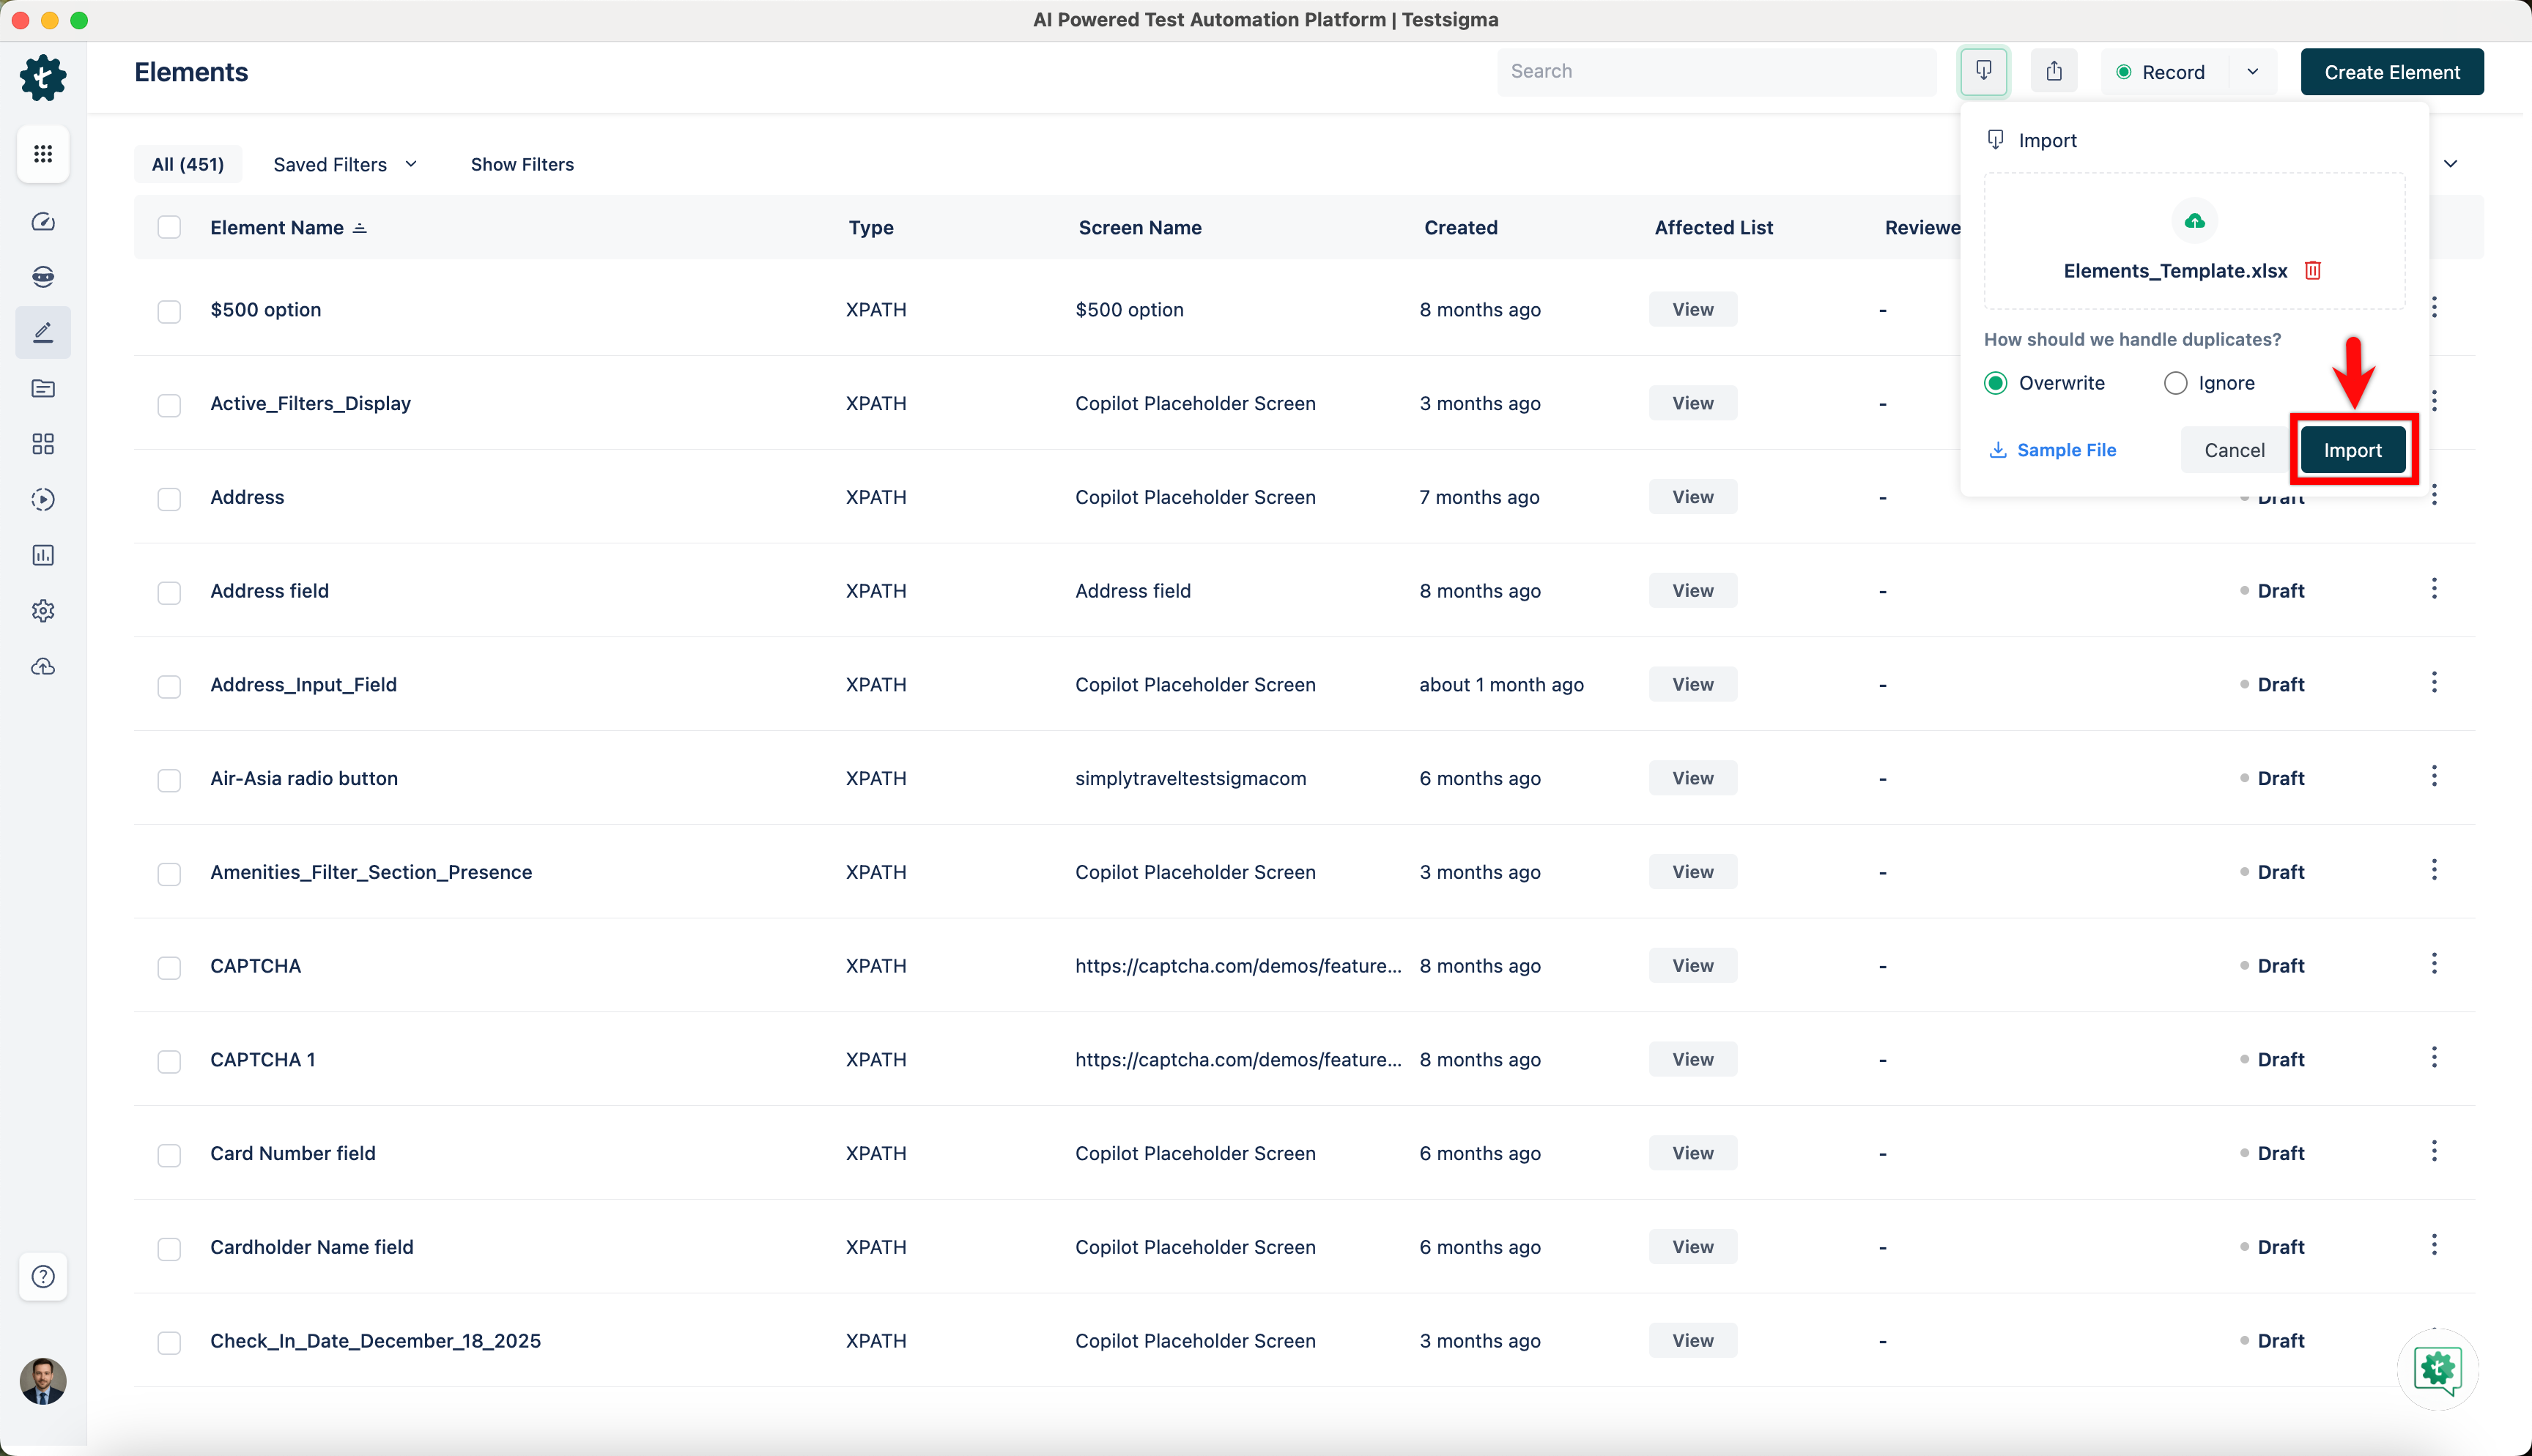
The elements will be imported in the background and you will receive an email once the import is complete.
Steps to Export Elements
- Navigate to Create Tests > Elements.
- From the Elements page, click on the Export.
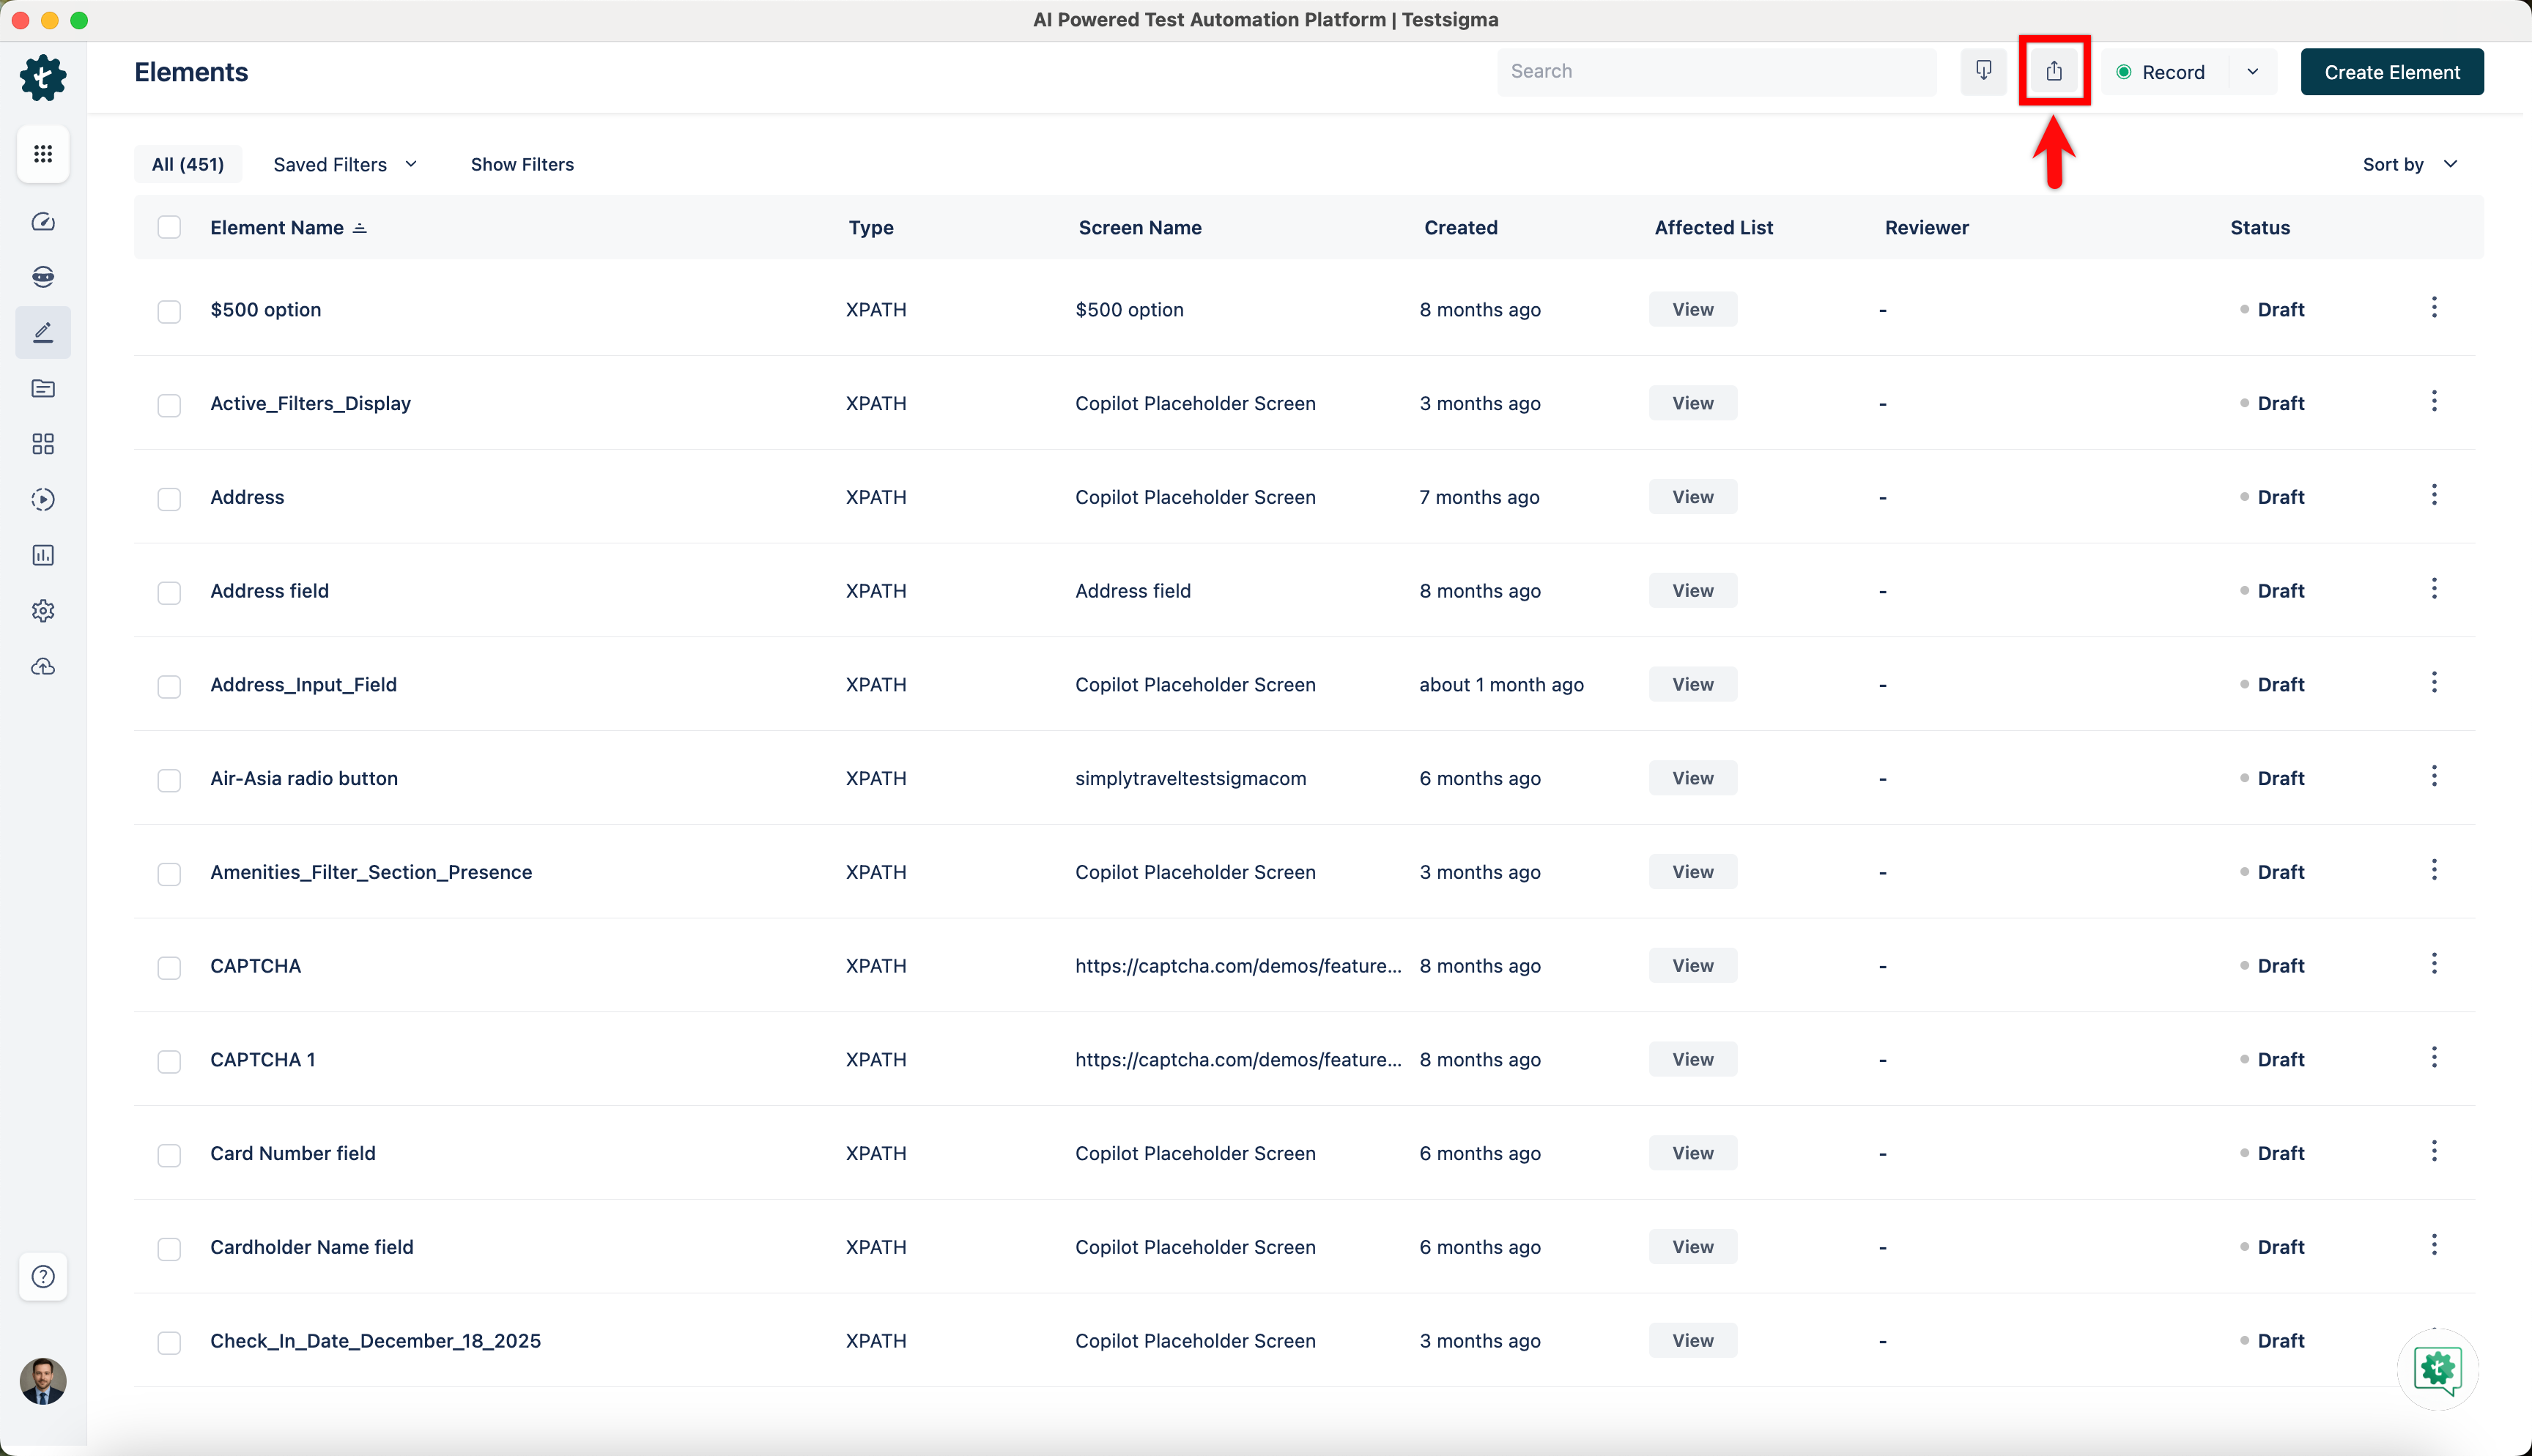
It will show a success message saying that the export has started. The Elements will be exported in the background, and you will receive an email once the export process is complete.
Here's a quick GIF demonstrating how to import & export elements.
Want to contribute or report missing content?