- GenAI Capabilities
 Testsigma Copilot
- Generate TDP Using Copilot
- Generate Tests from User Actions
- Generate Tests from Requirements (Jira)
- Generate API Test Cases (Swagger)
- Generate Tests from Figma Designs
- Testsigma Copilot for Mobile Apps
- Agentic Test Generation with GitHub
Generate Tests from Requirements (Jira)
With Testsigma, you can create test cases directly from Jira stories and epics by integrating your Jira account. You just need to tag the relevant epics and stories, write a prompt, and click only once to generate multiple test cases. This article discusses generating test cases from requirements using Testsigma's GenAI capabilities.
Prerequisites
Before you begin, ensure that:
- You have enabled AI features from Settings > Preferences > Generative AI features.
- You have referred to the documentation on integrating Jira with Testsigma.
- You have referred to the documentation on creating test cases.
Generate Test Cases for Web Apps
- From the left navigation bar, go to Create Tests > Test Cases.
- Click Copilot, and then select Generate from Requirements from the dropdown menu.
-
In Generate Test Cases from Requirements overlay,
- Select a Jira Project from the dropdown menu.
-
Under Issue Type, select either Epic or Story:
- If you select Epic, choose the stories for which you want to generate test cases.
- If you select Story, choose all the stories for which you want to generate test cases.
- In the prompt field, enter the required details, and click the Play button.
- Wait for Testsigma to generate the test cases with the test steps.
- Select the test cases you want to save, and click Save Test Cases.
- You’ll be redirected to the Test Cases page, where the generated test cases appear under the AI Generated Feature Scenario.
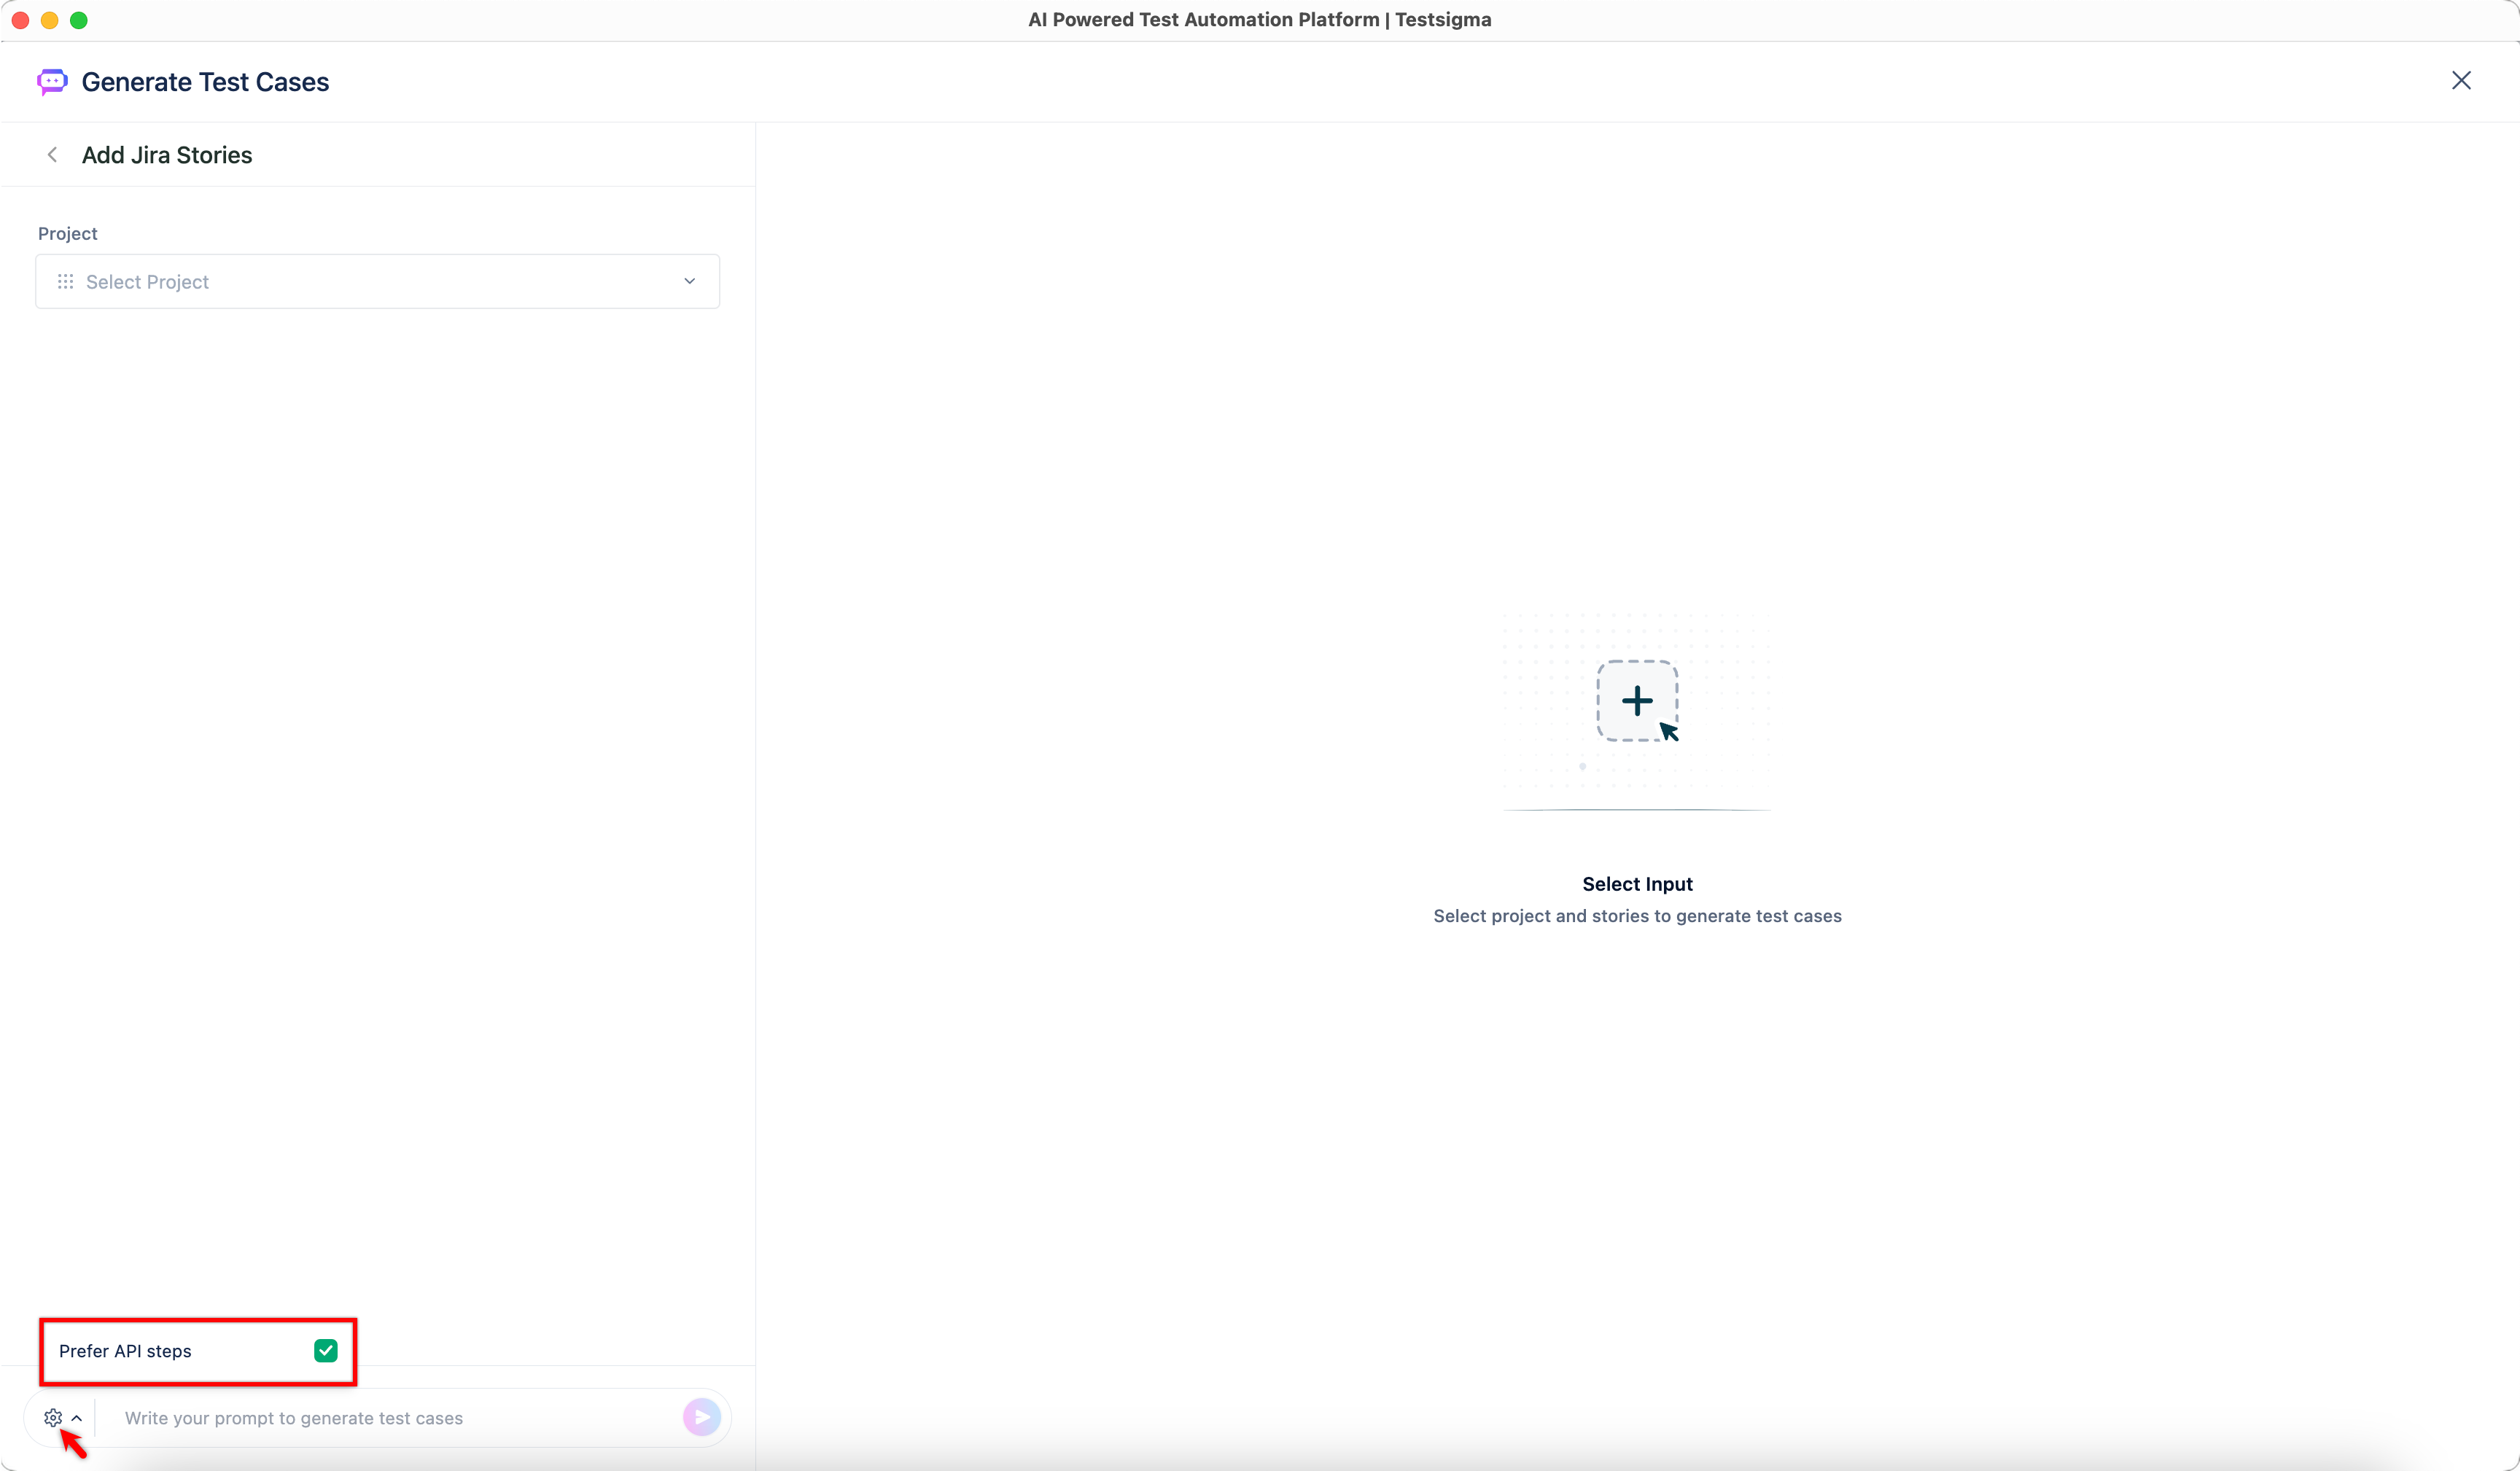
To generate Salesforce test cases from requirements, click Settings in the prompt text box. By default, the Prefer API steps is selected. To generate UI-based test steps, clear the Prefer API steps option.
Generate Test Cases for Android & iOS Apps
- From the left navigation bar, go to Create Tests > Test Cases.
- Click Copilot, and then select Generate Test Cases from the dropdown menu.
- In the Generate Test Cases page, select Jira Requirements as input source.
-
In the Add Jira Stories section,
- Select a Jira Project from the dropdown menu.
-
Under Issue Type, select either Epic or Story:
- If you select Epic, choose the stories for which you want to generate test cases.
- If you select Story, choose all the stories for which you want to generate test cases.
- In the prompt field, enter the required details, and click the Play button.
- Wait for Testsigma to generate the test cases with the test steps.
- Select the test cases you want to save, and click Save Test Cases.
- You’ll be redirected to the Test Cases page, where the generated test cases appear under the AI Generated Feature / Scenario.
Interactive Demo for Android & iOS Apps
Want to contribute or report missing content?