- Elements (Objects)
- Web Applications
 Record Single Element
- Record Multiple Elements
- Create Elements
- Supported Locator Types
- Formulating Elements
- Shadow DOM Elements
- Verifying elements in Chrome DevTools
- Handling iframe Elements?
- Create Image Based Elements
- Dynamic Locators using Parameter
- Dynamic Locators using Runtime
- Using Environment Test Data for Dynamic Locators
- Locating Dynamic Elements in Date Widget
- Freeze & Inspect Dynamic Elements (WebPage)
- Locating Dynamic Elements in Tables
- Import/Export Elements
- Locator Precedence (Web Apps)
- Verify Elements from Test Recorder
Create Element Manually
For dynamic websites such as E-commerce websites, the elements might be dynamic in nature i.e none of their attributes/properties remain constant across sessions. In such cases, there are chances for the elements created using Testsigma test Recorder to fail. In those specific cases, we might need to create some of the elements manually.
This guide is intended for Advanced Users. Familiarity with Elements, XPath and CSS Selectors is recommended for this guide.
Prerequisites
Before you begin, ensure that you have referred to:
Steps to Create an Element
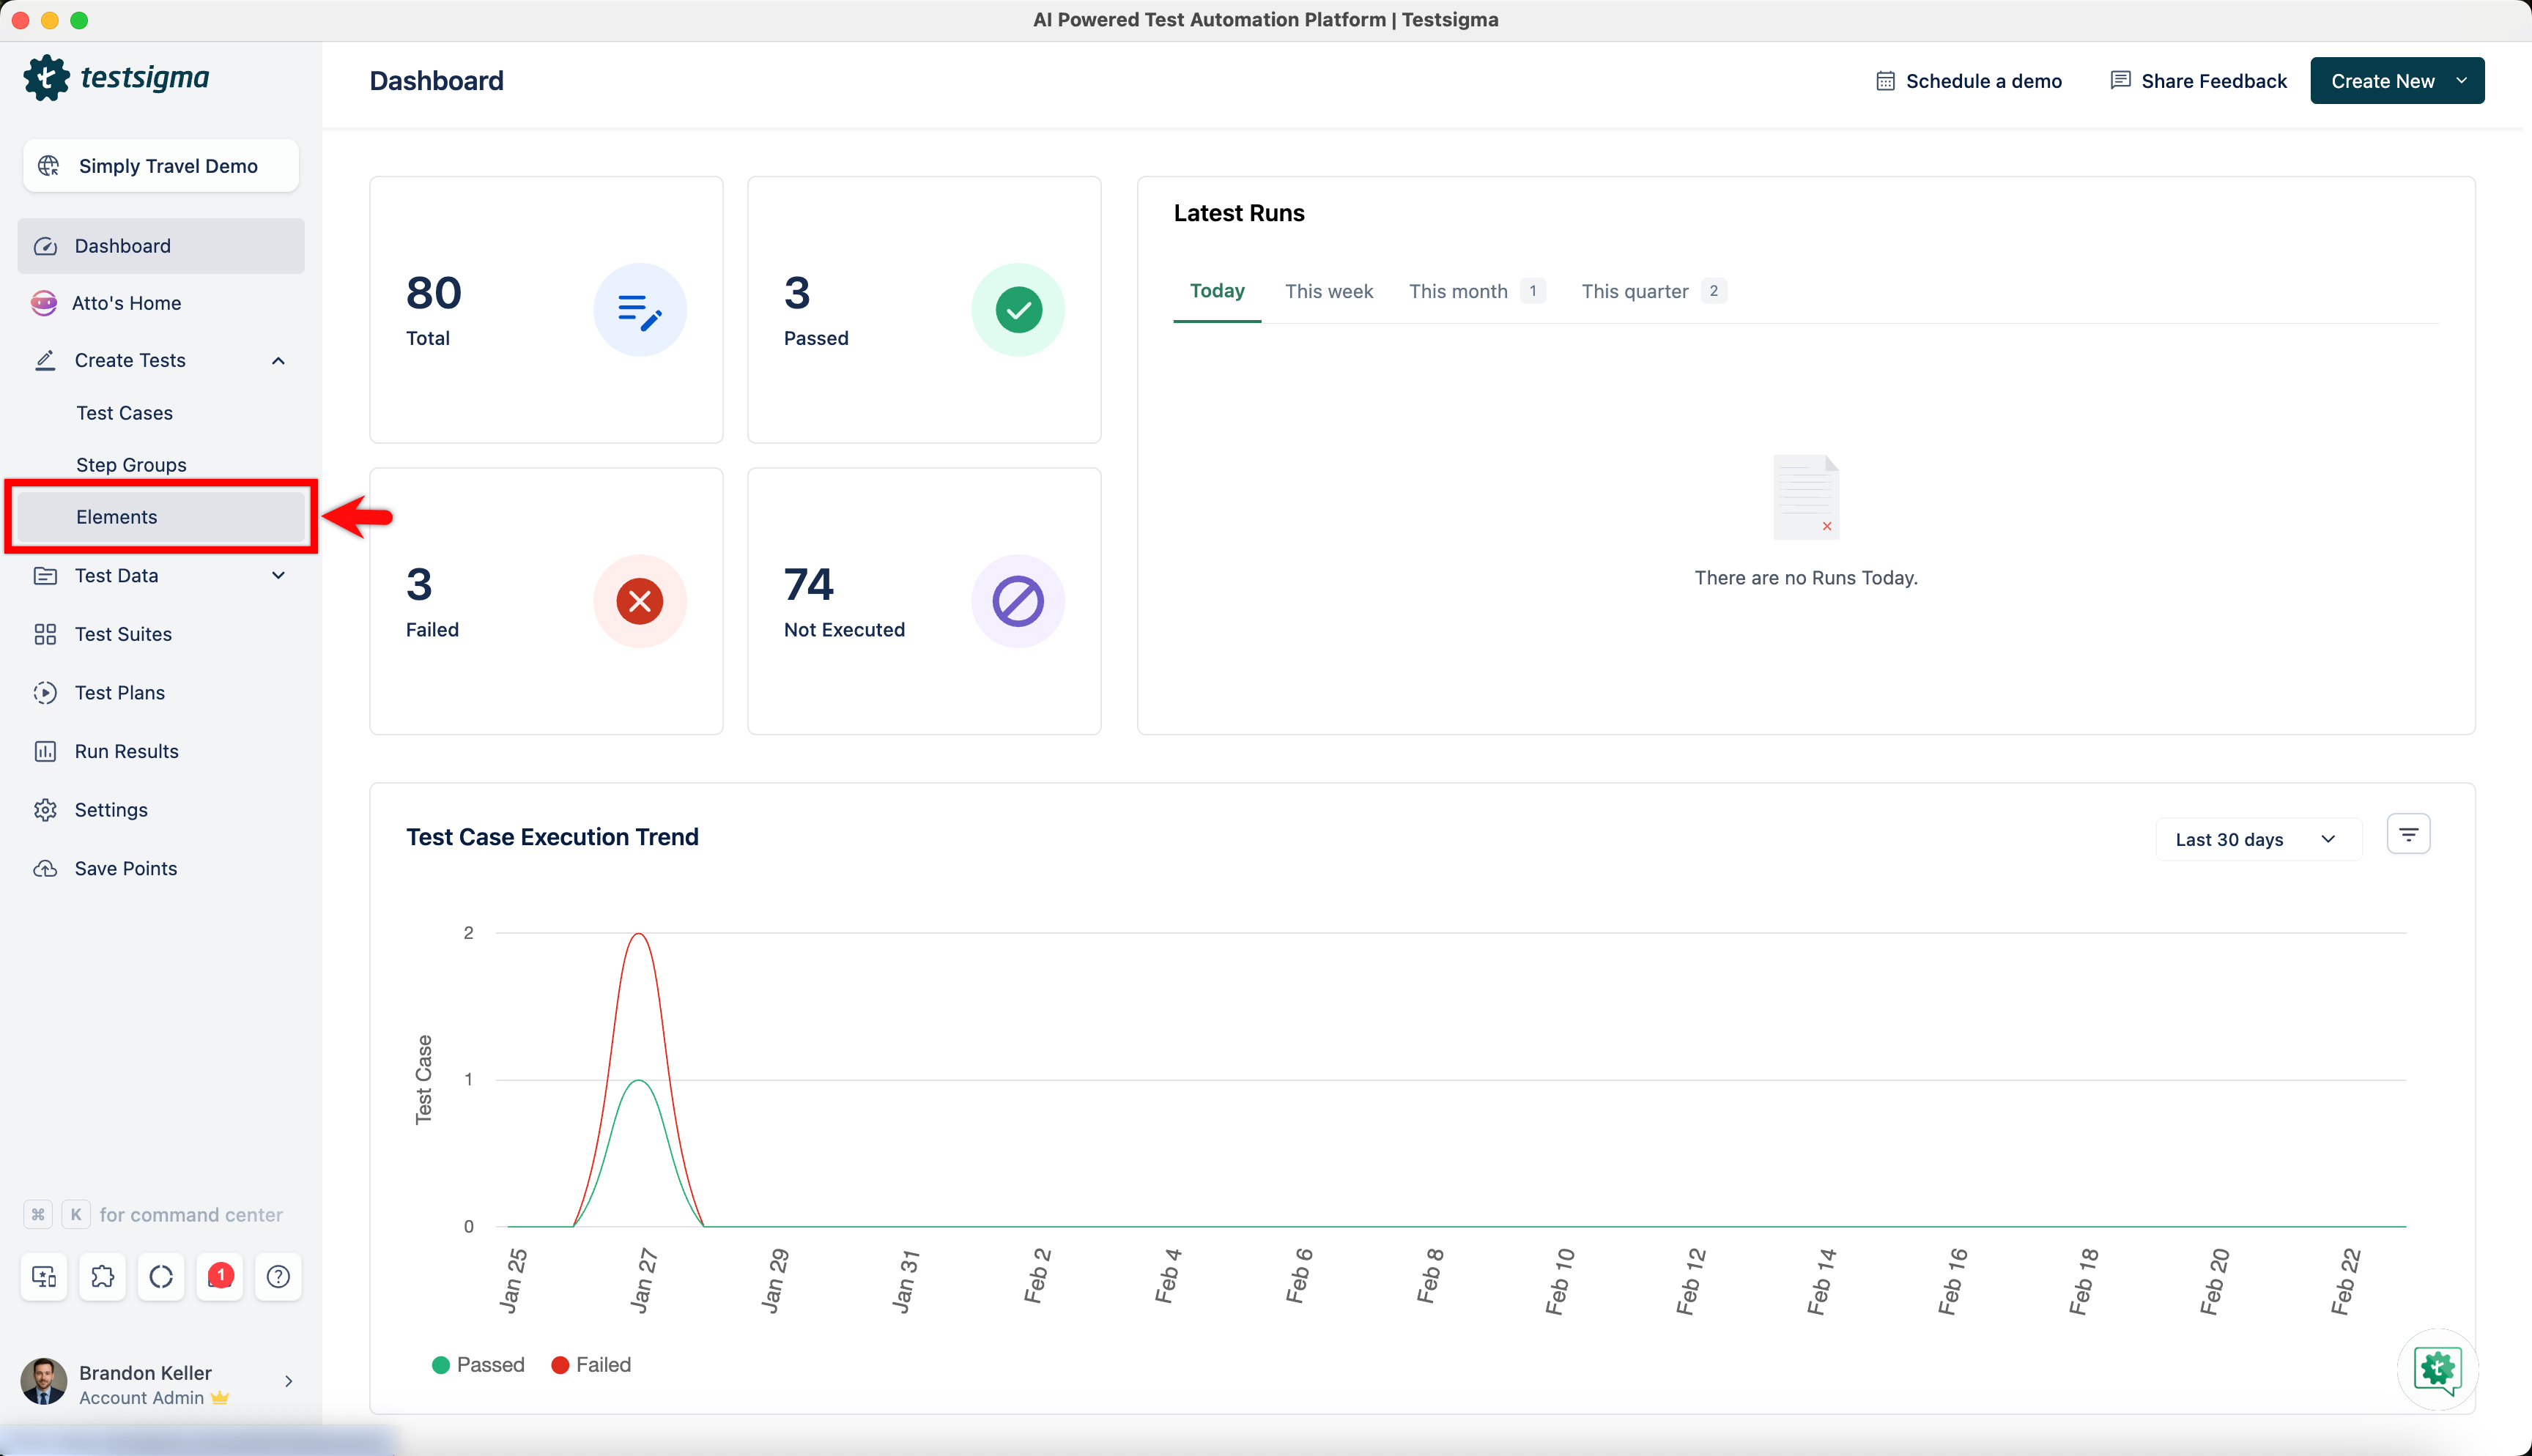
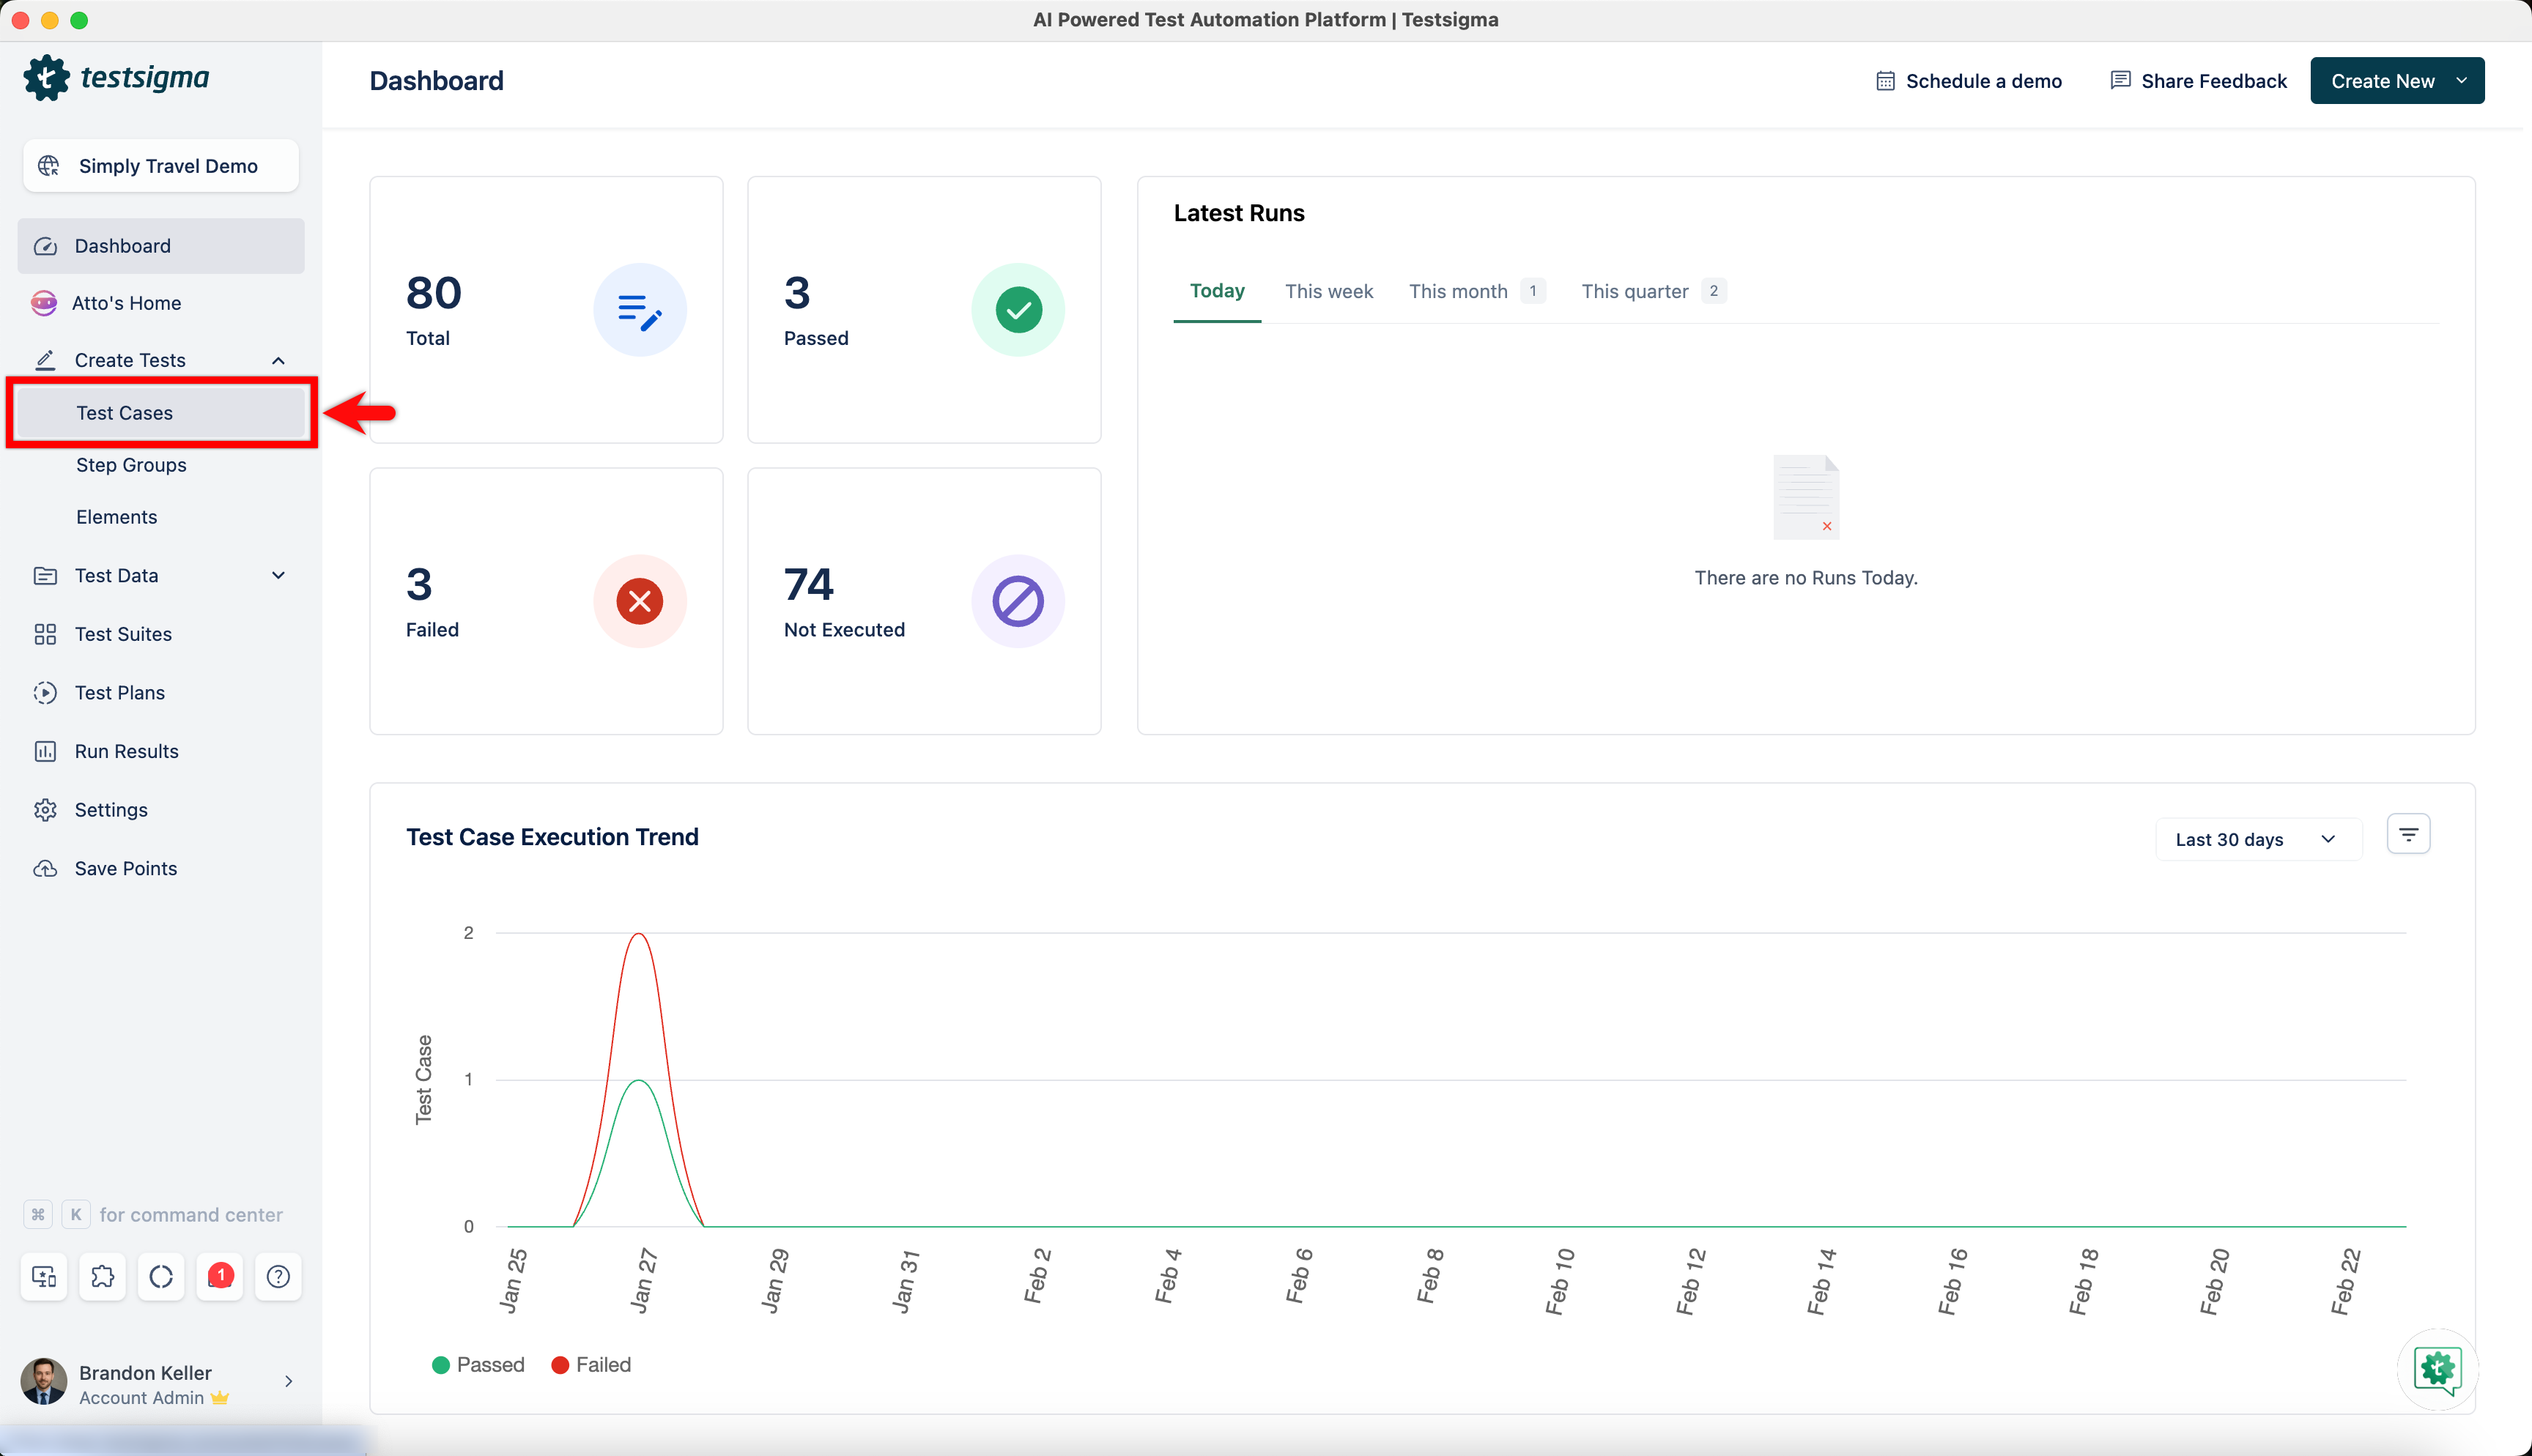
- From the left navigation bar, navigate to Create Tests > Elements.
- Click on Create Element.
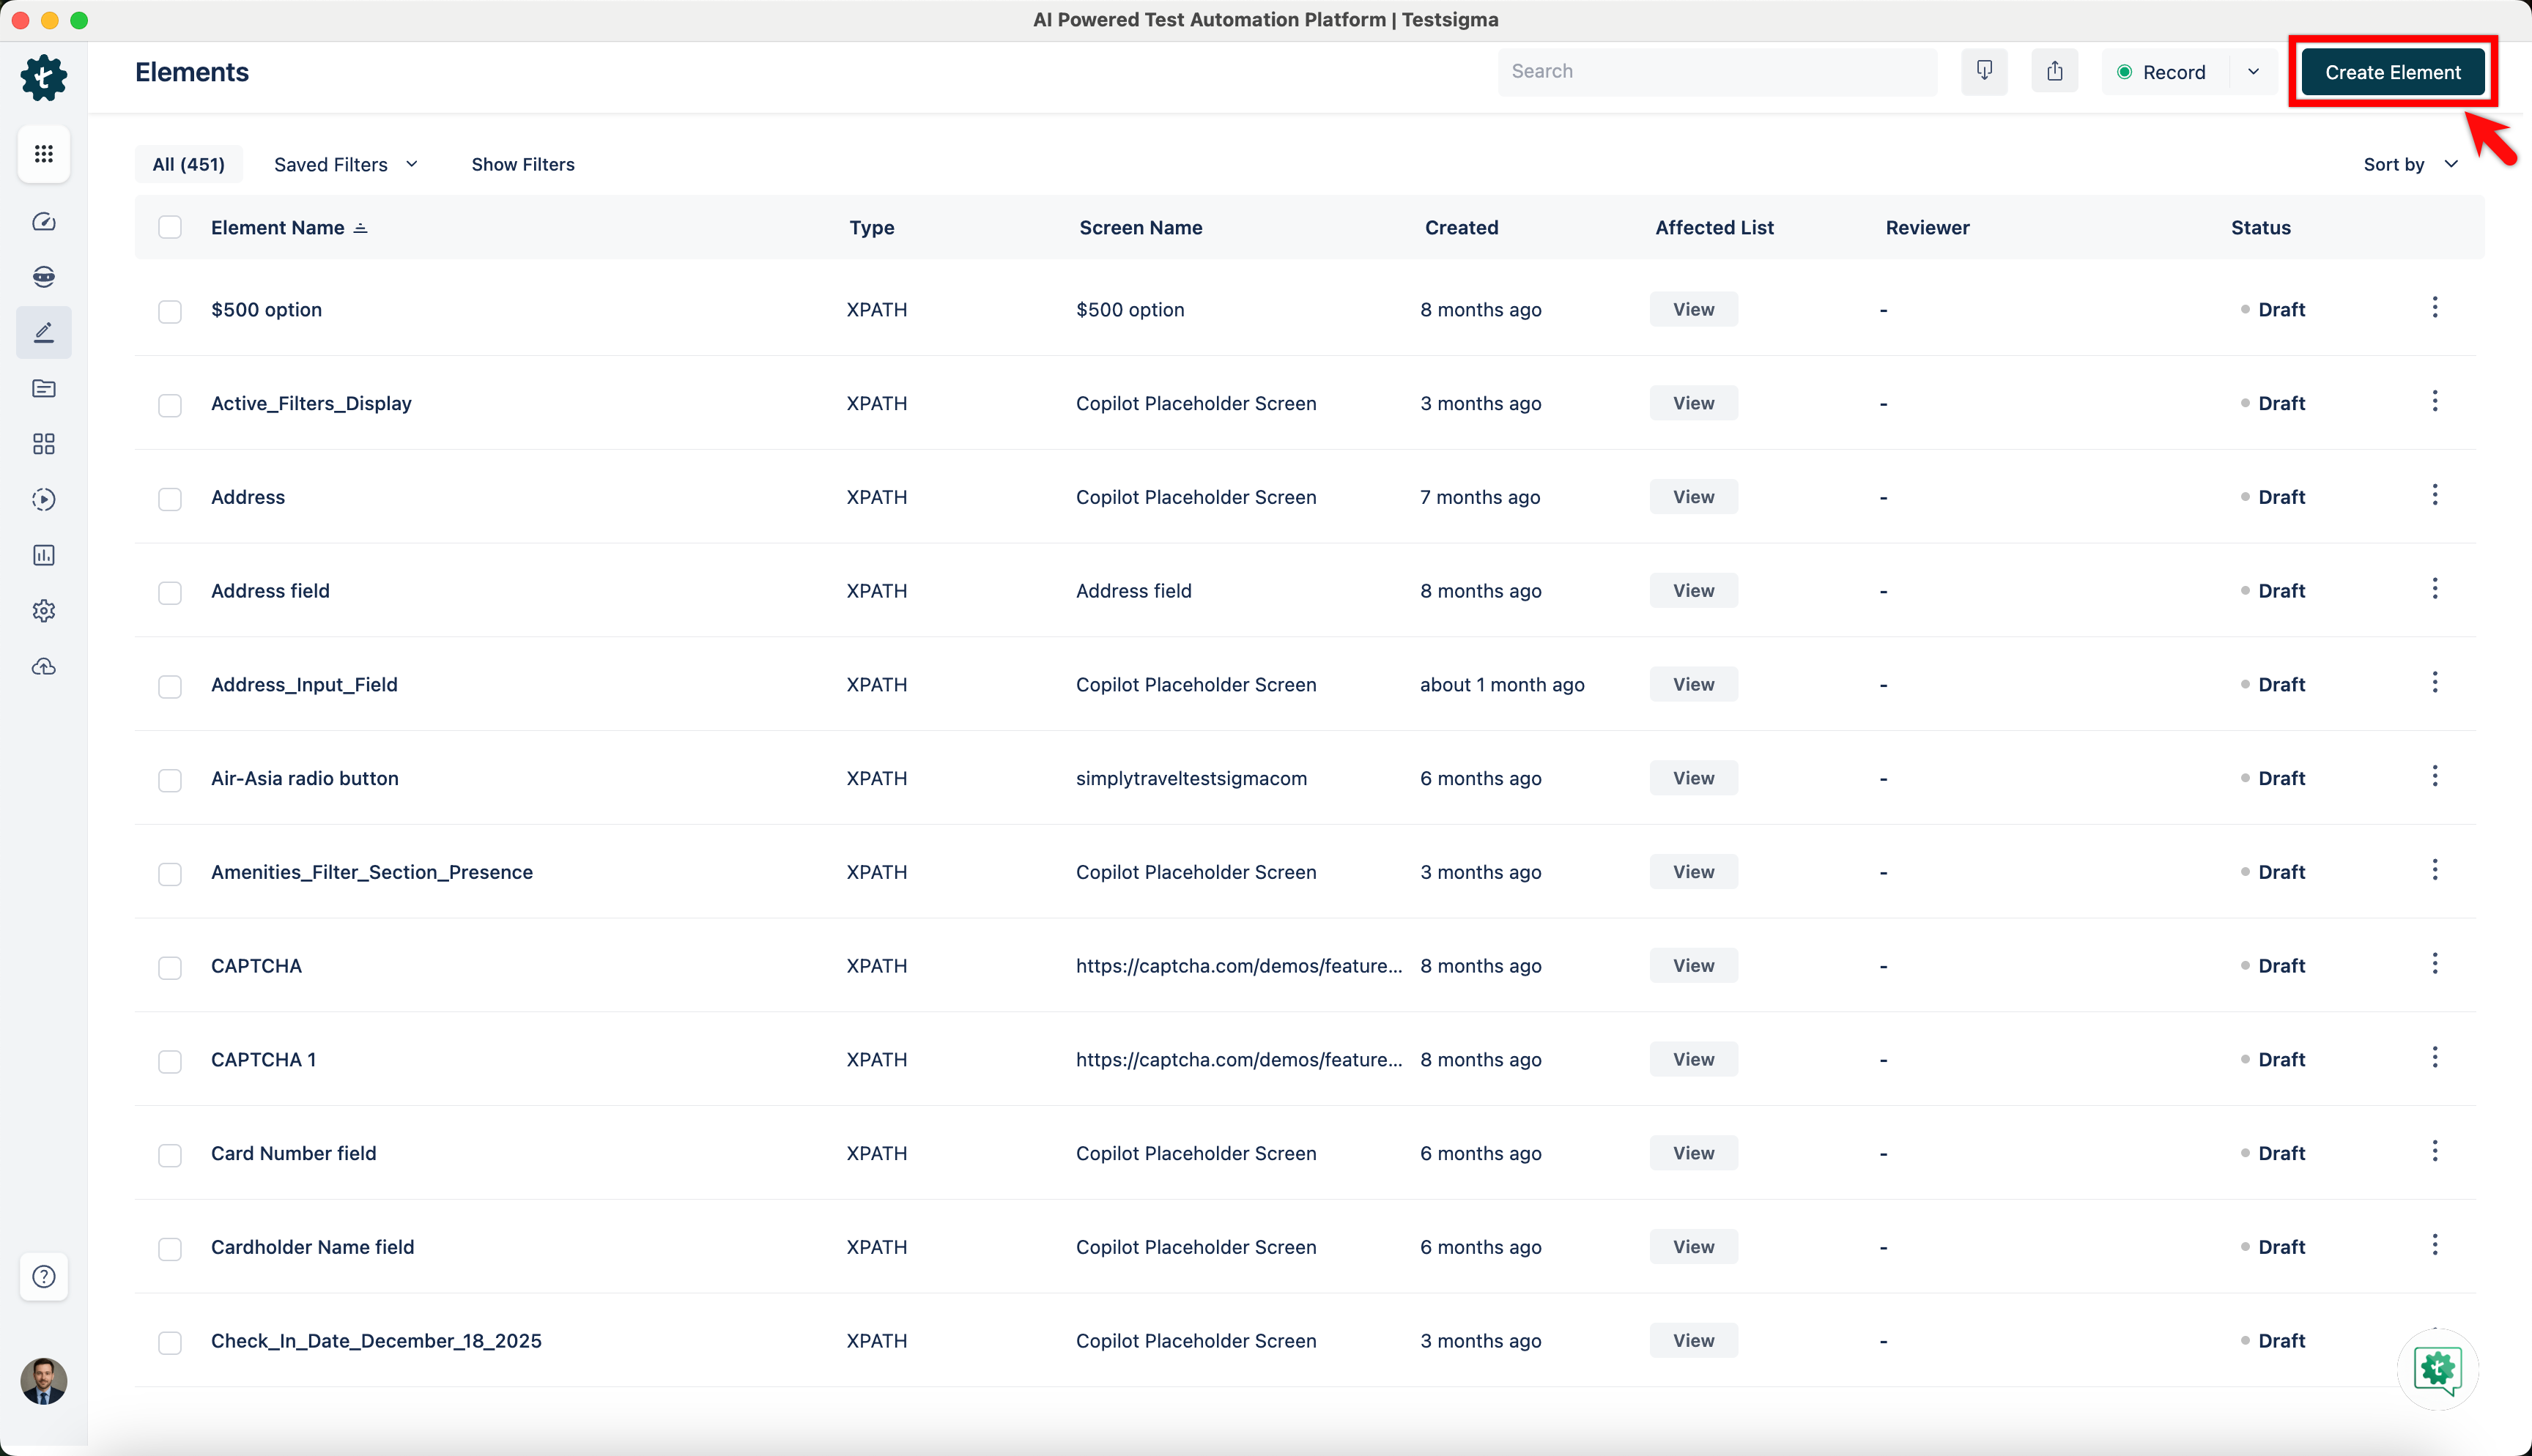
-
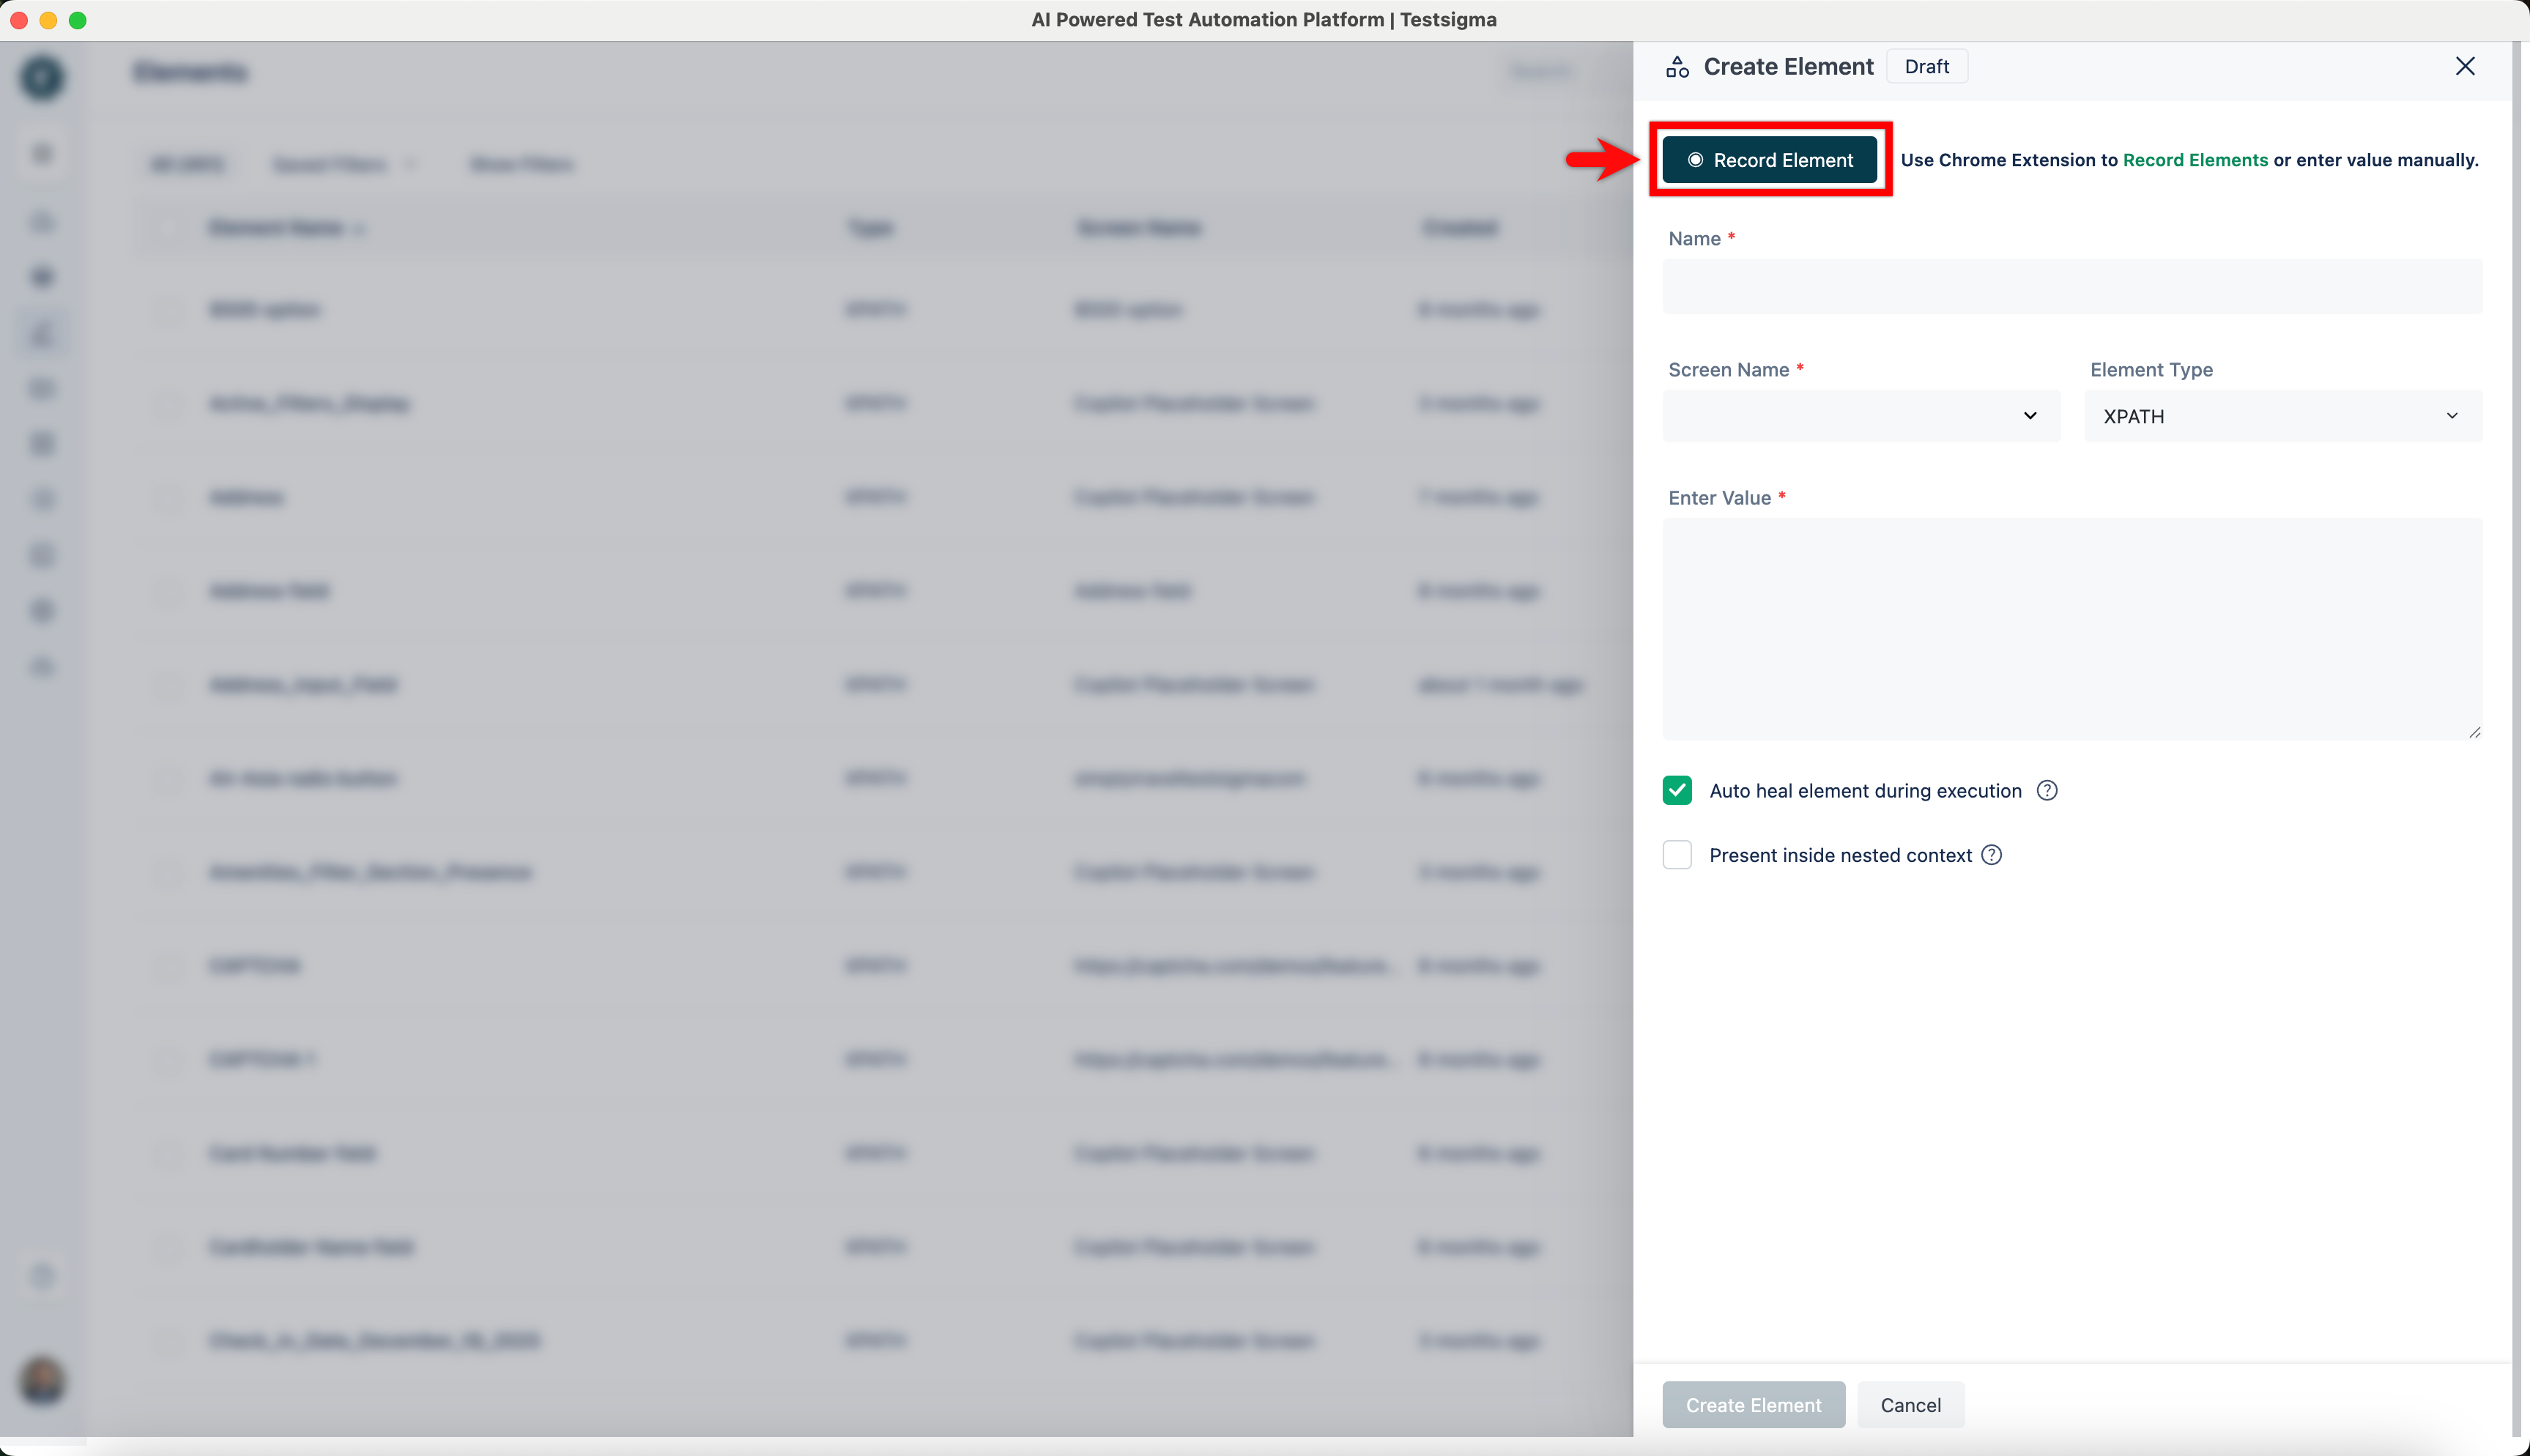
On Create Element overlay, you'll see the following fields:
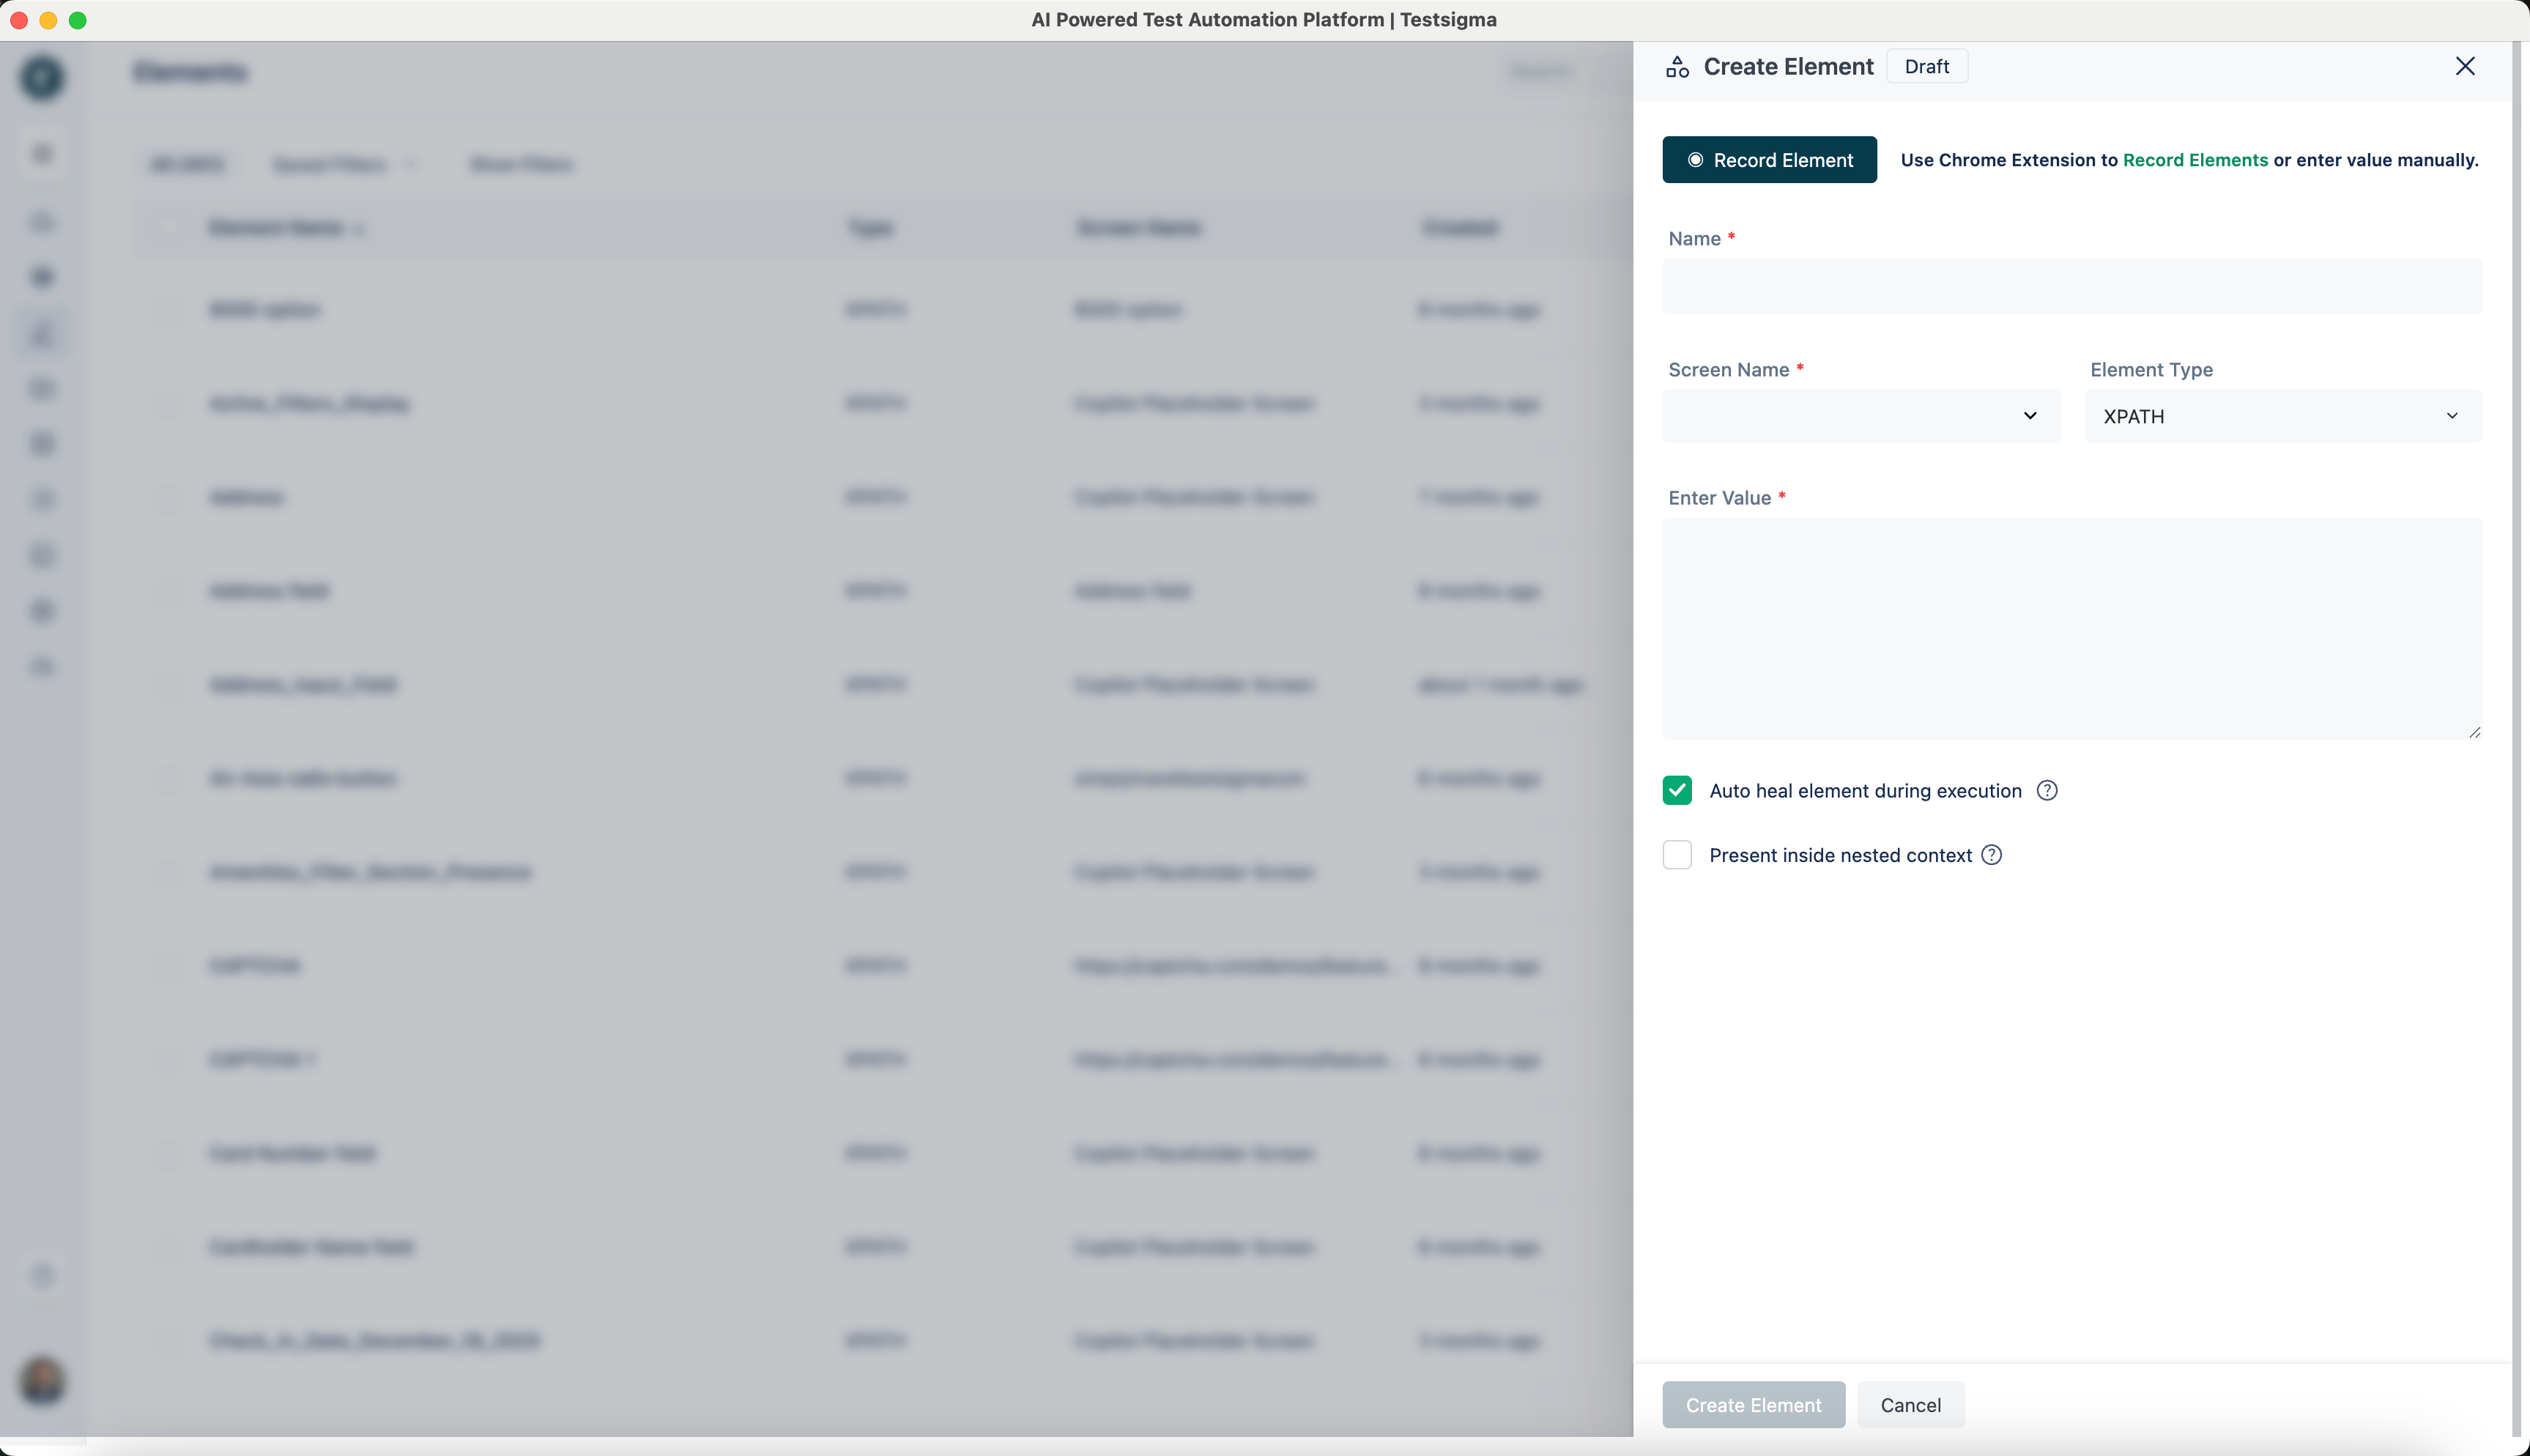
- Name: Enter the name you want to give your element.
- Screen Name: Mention the screen that your element resides on.
- Element Type: There are 5 types of element types supported in Testsigma. This field is a drop-down list; you can select any of them: XPATH, ID, Name, Class Name, or Accessibility ID.
- Enter Value: Enter the value corresponding to the Element Type you selected.
- Once you have added all the details, click on Create element.
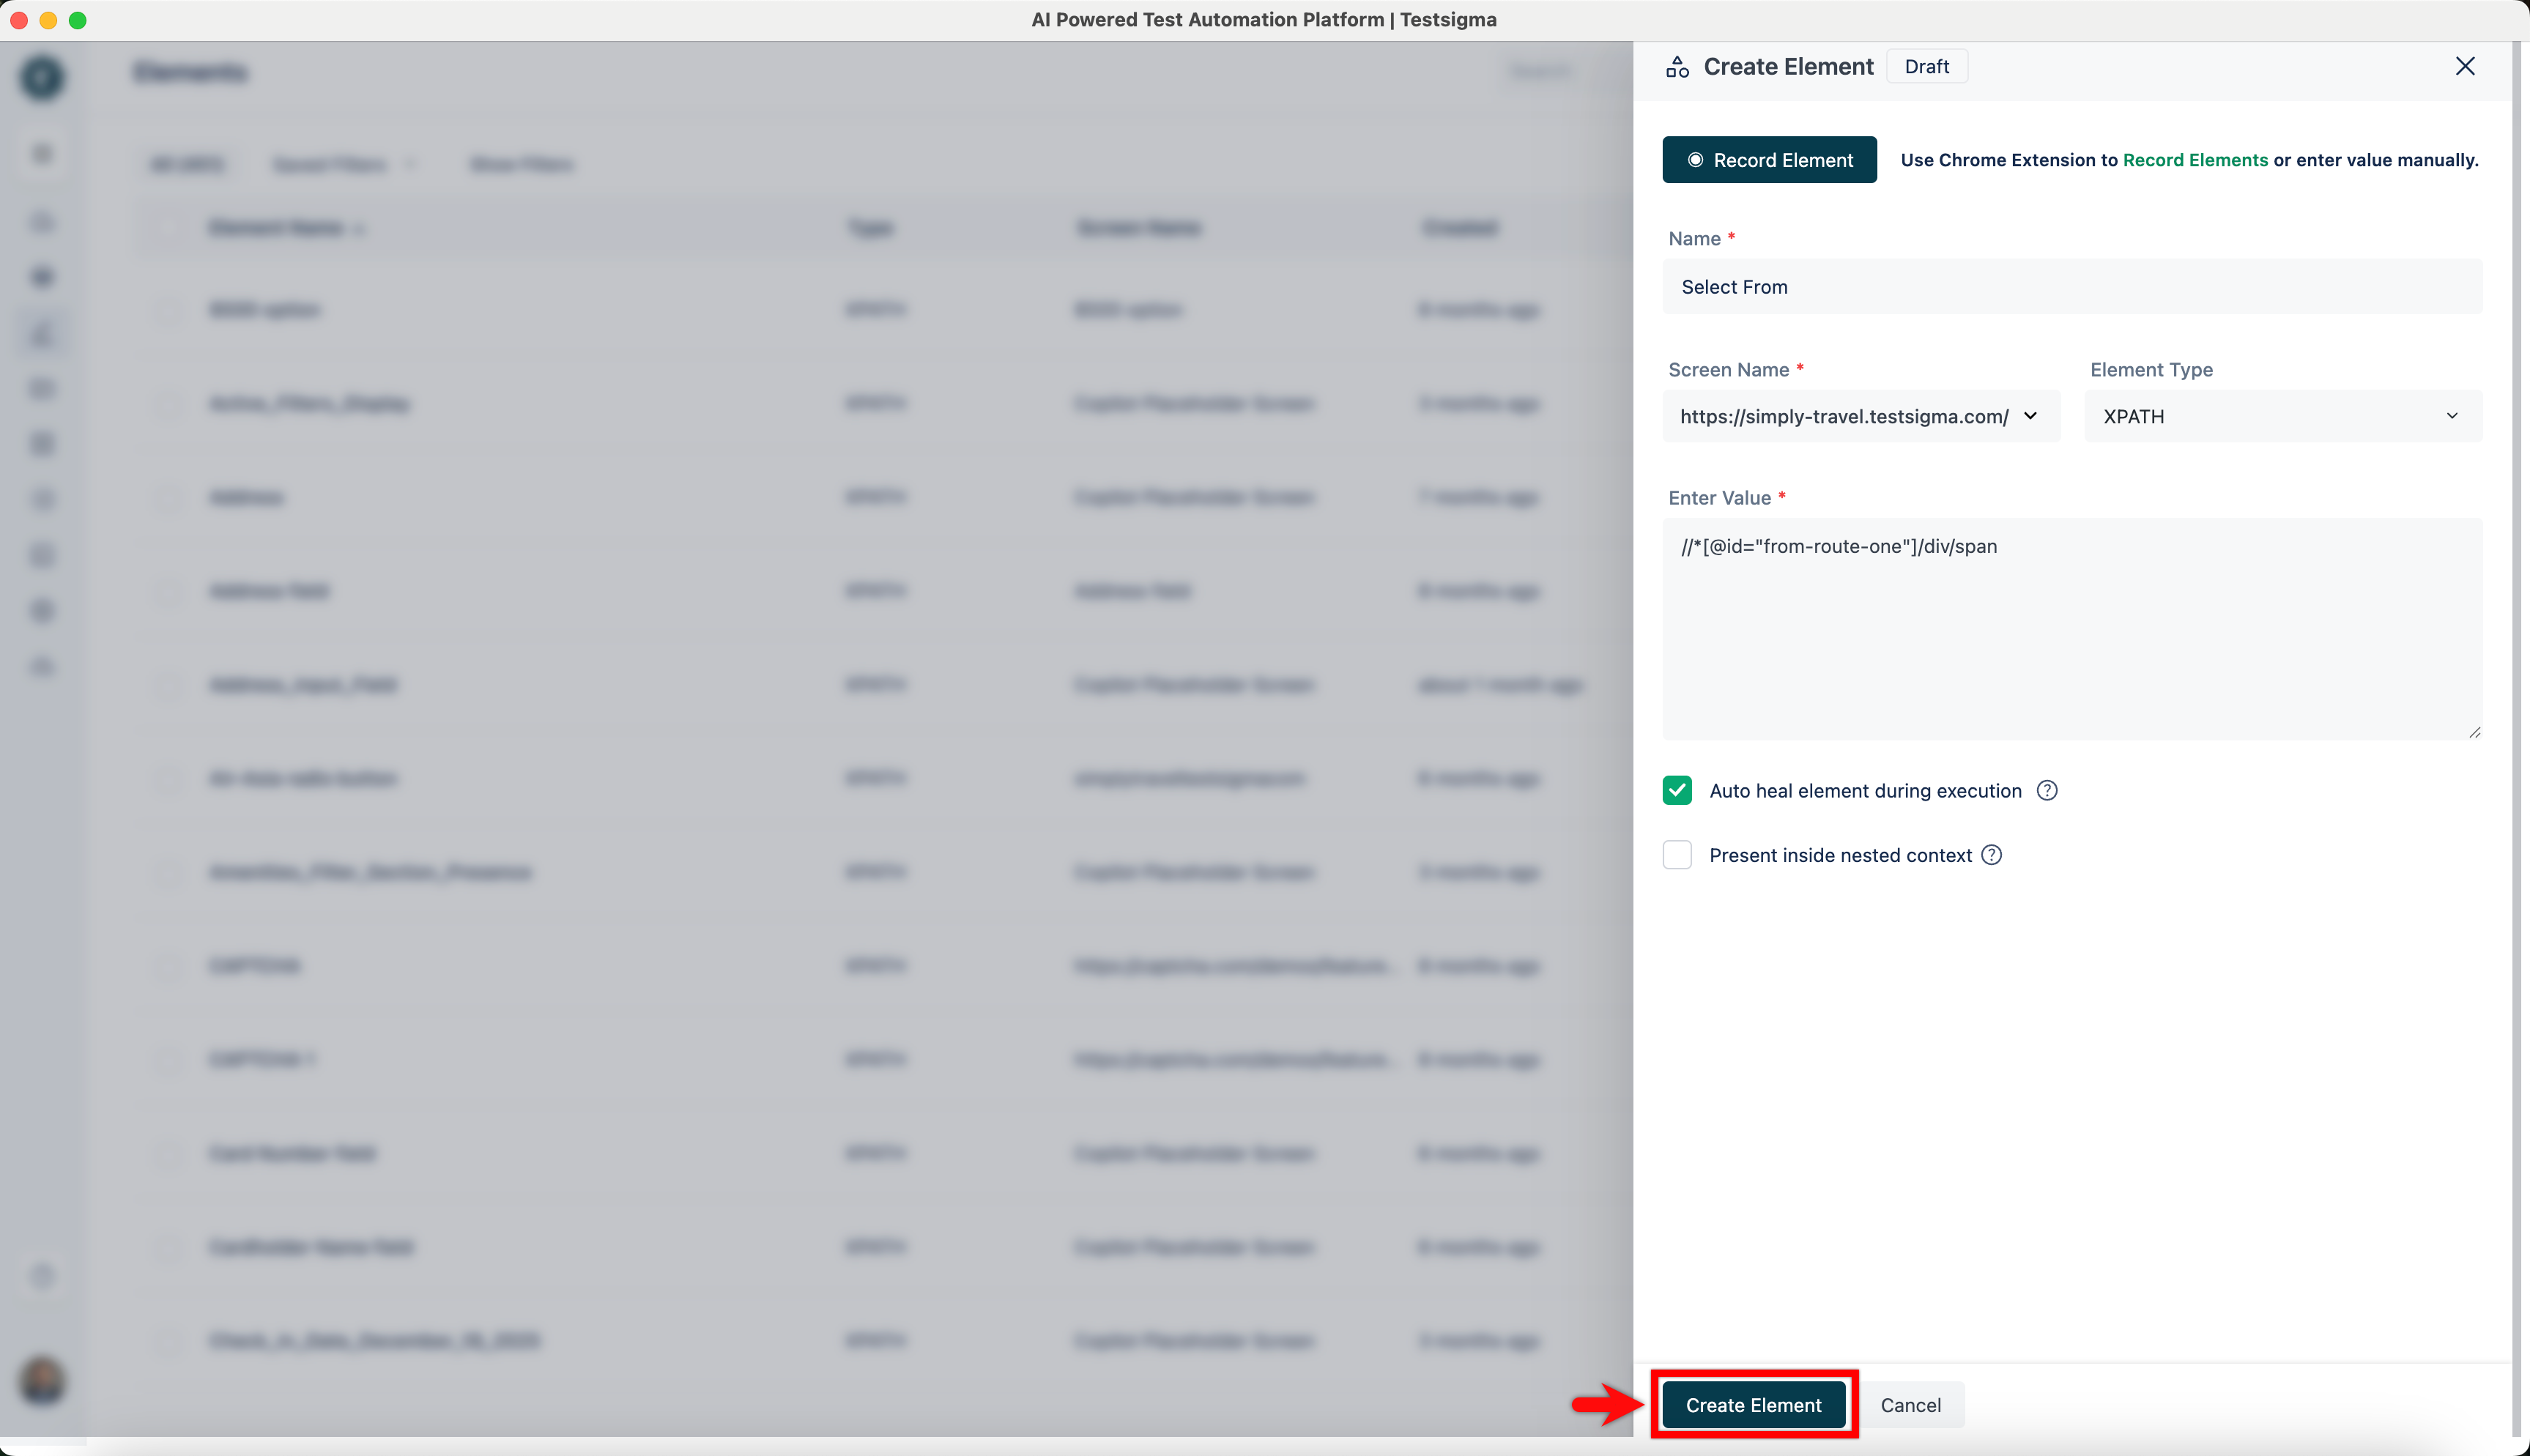
- The element will be saved in the elements list.
You can also create elements using the recorder by clicking on Record Element from the Create Element page.
Creating Element While Adding Test Steps
- Navigate to Create Tests > Test Cases, create a new test case or go to a pre-existing test case.
- Add a test step to the test case that contains an element.
- Hover over the element and select Create Element from the dropdown.
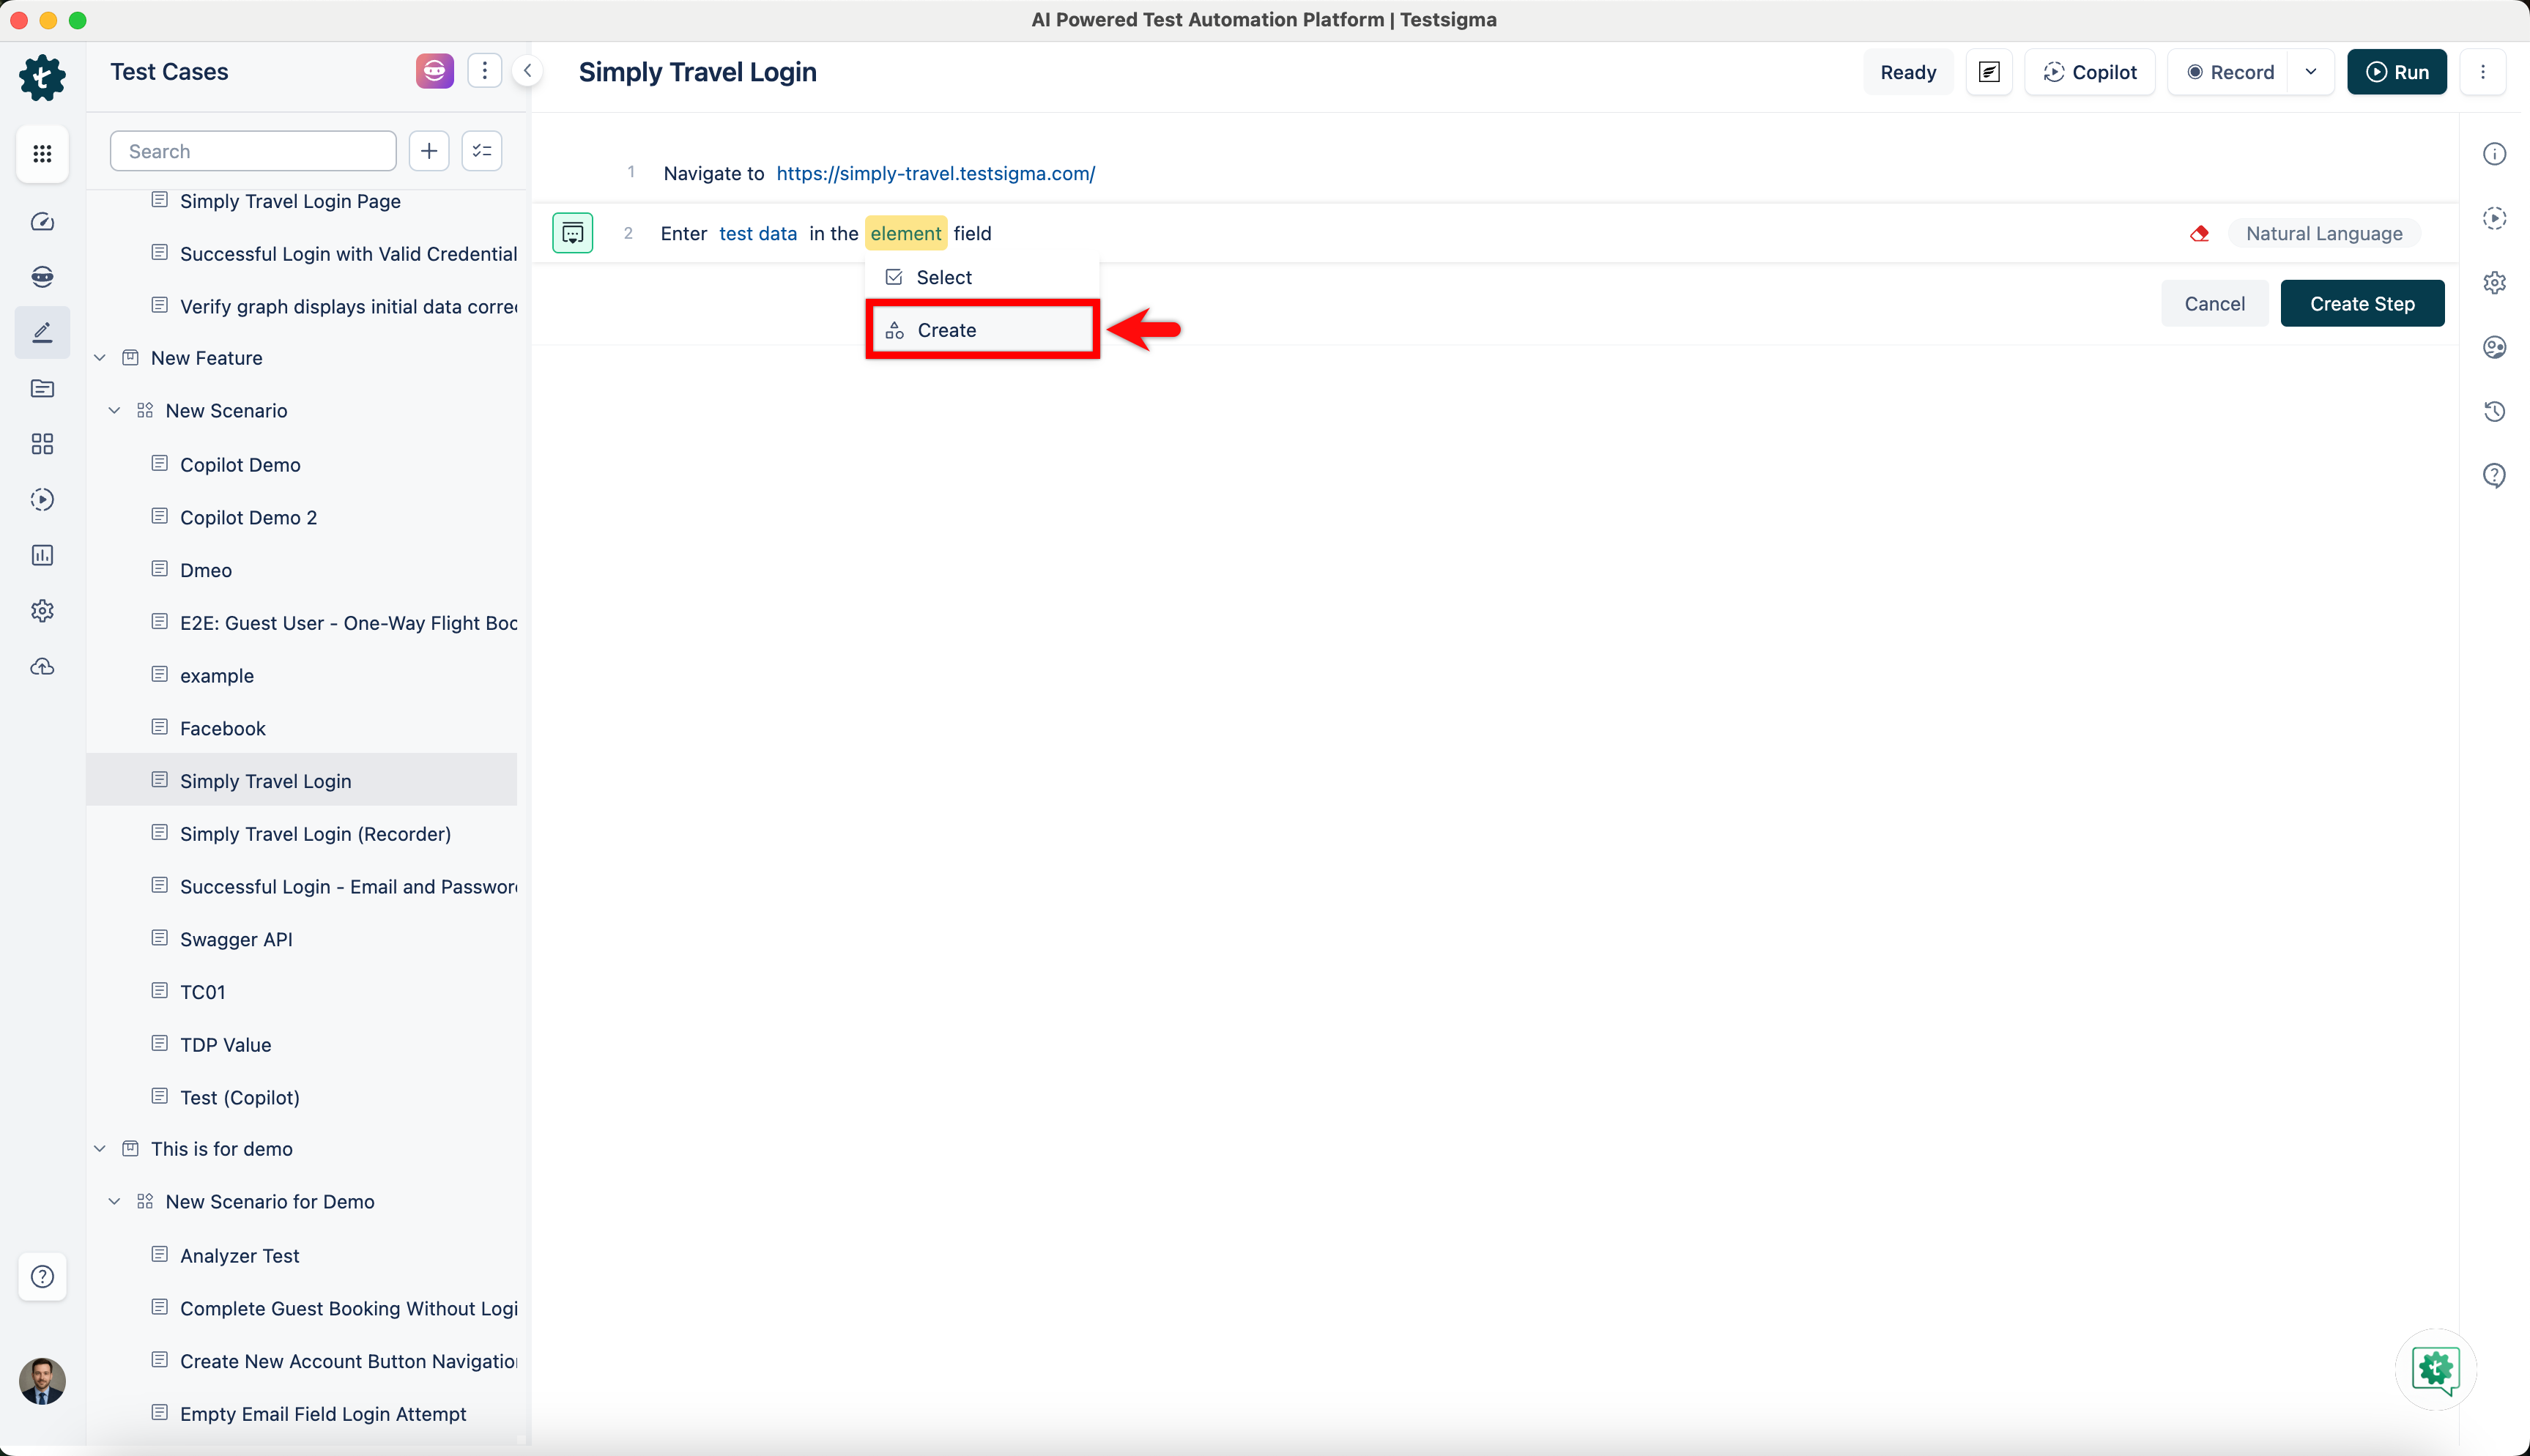
Follow the steps 3-5 from above section to create an element manually.
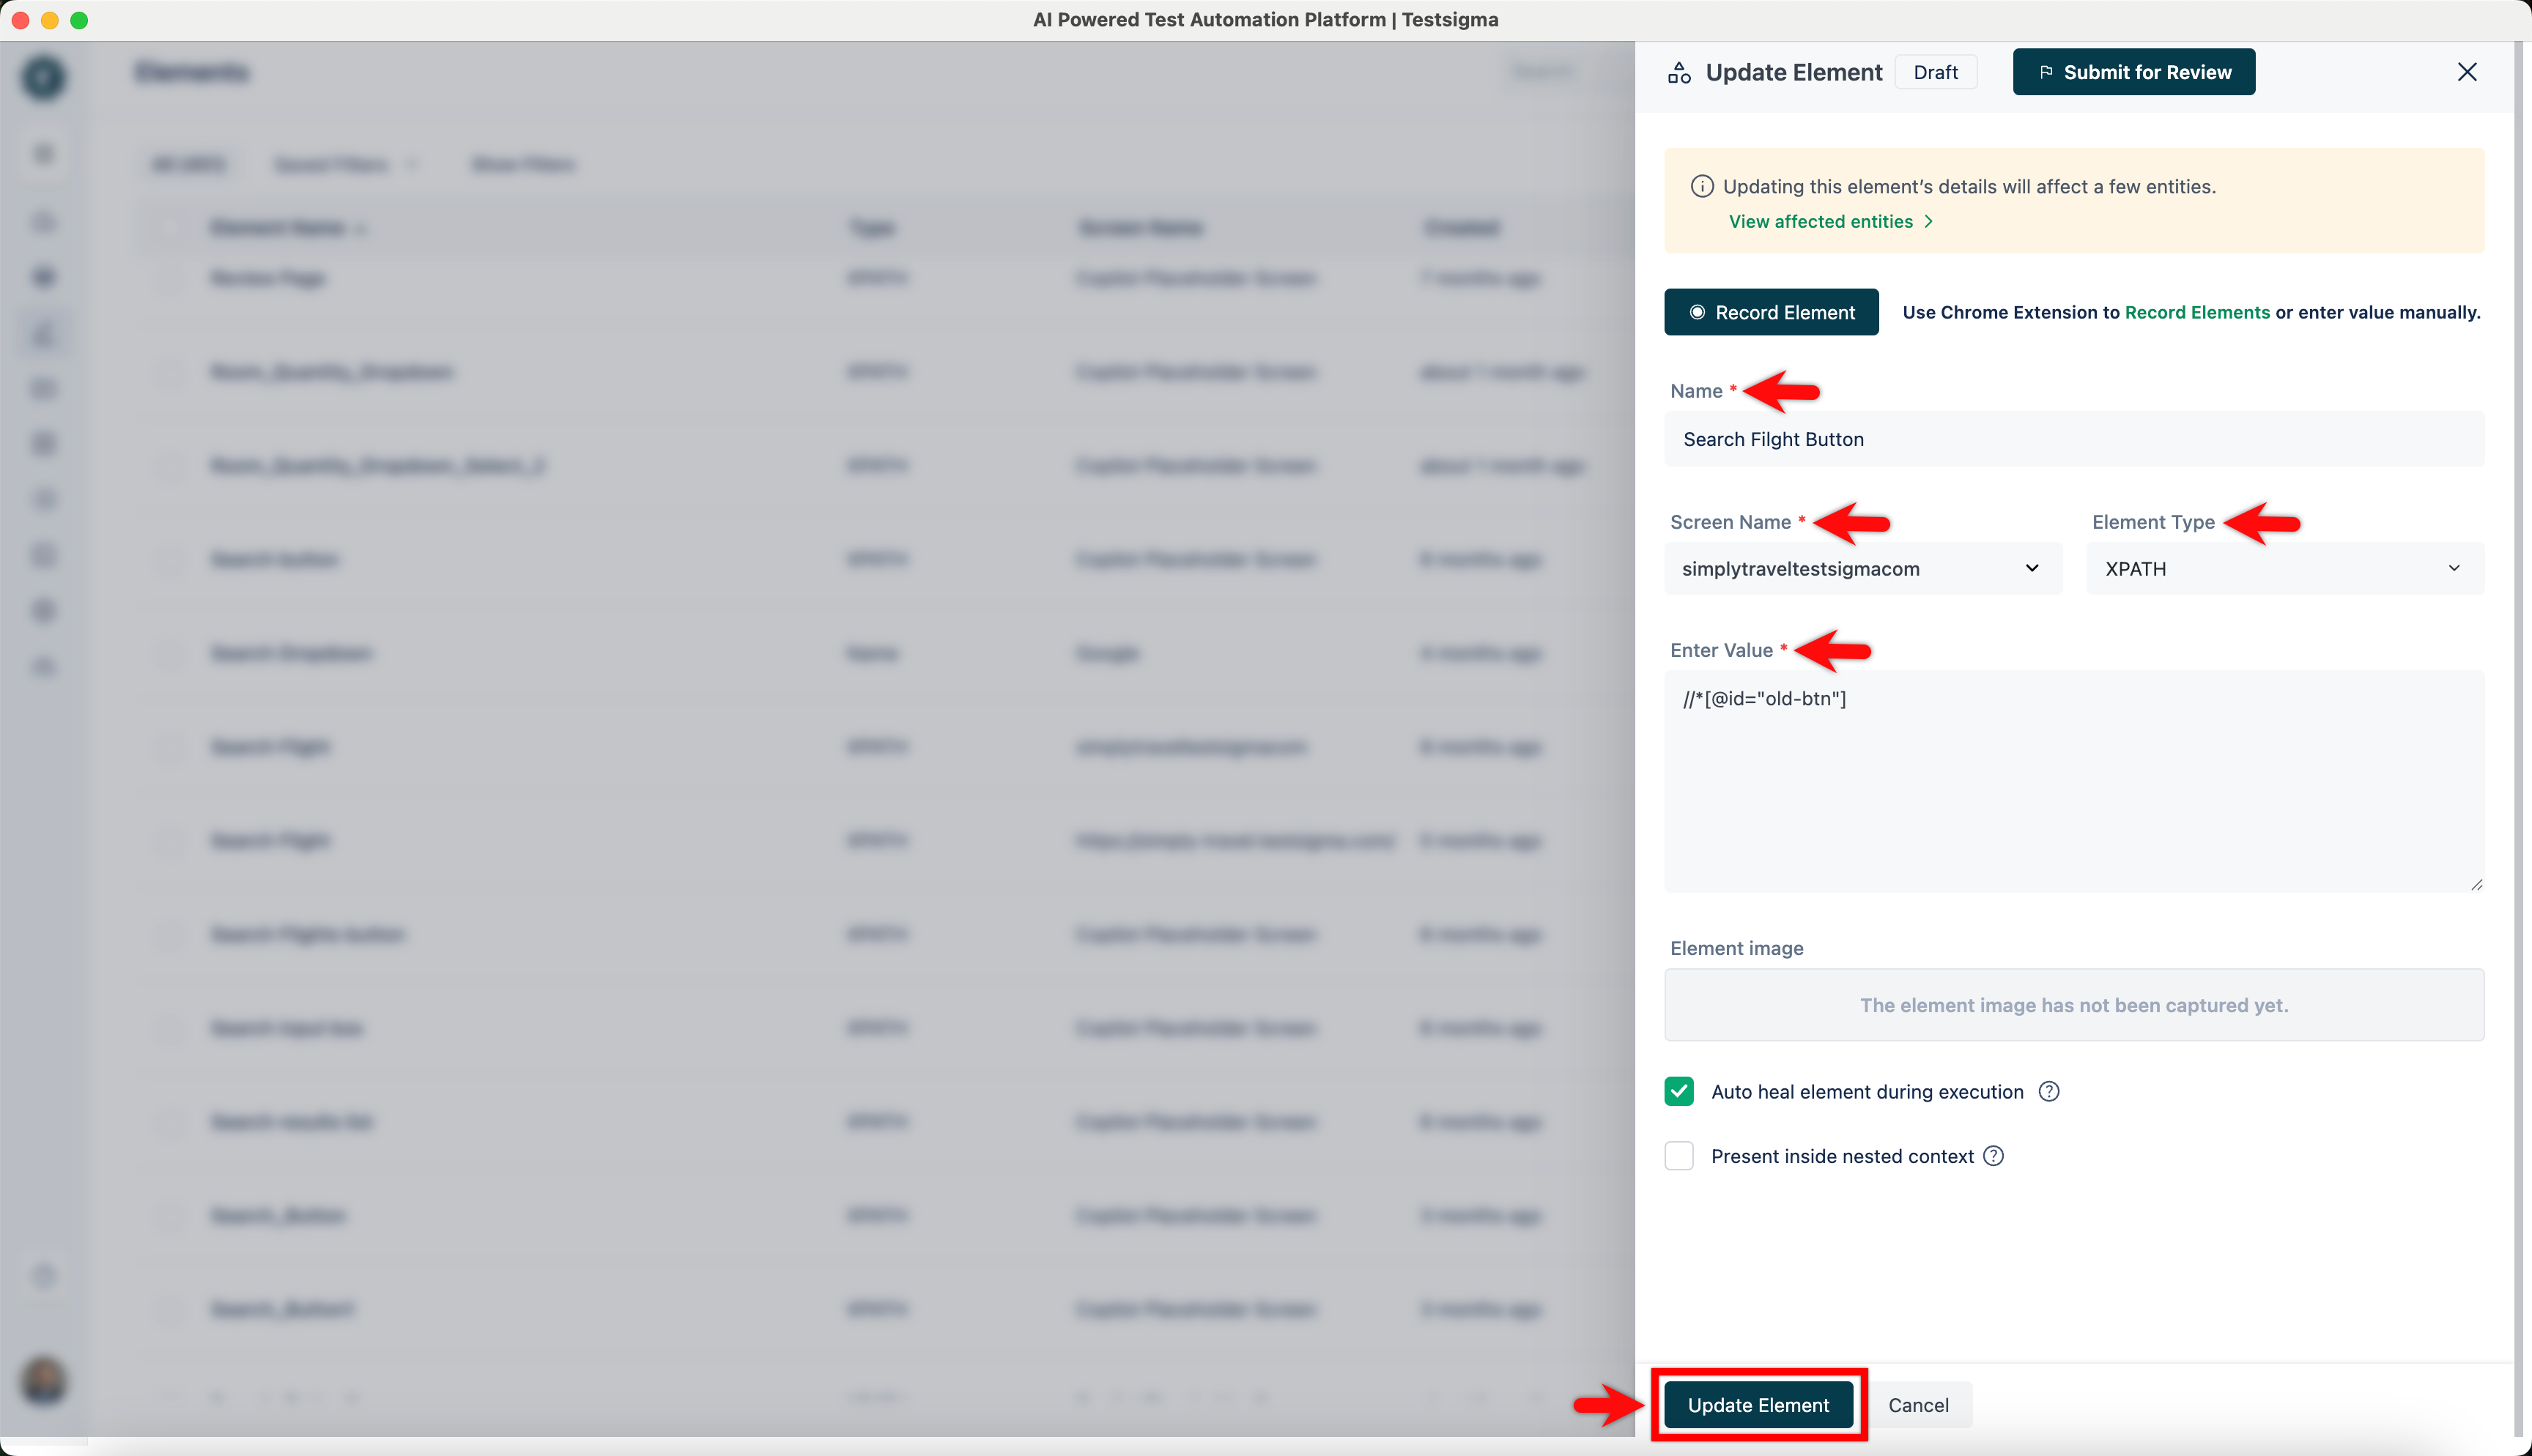
Updating an Element
- Navigate to Create Tests > Elements.
- Click the kebab menu next to an element to open a dropdown menu. Click on Edit from the dropdown.
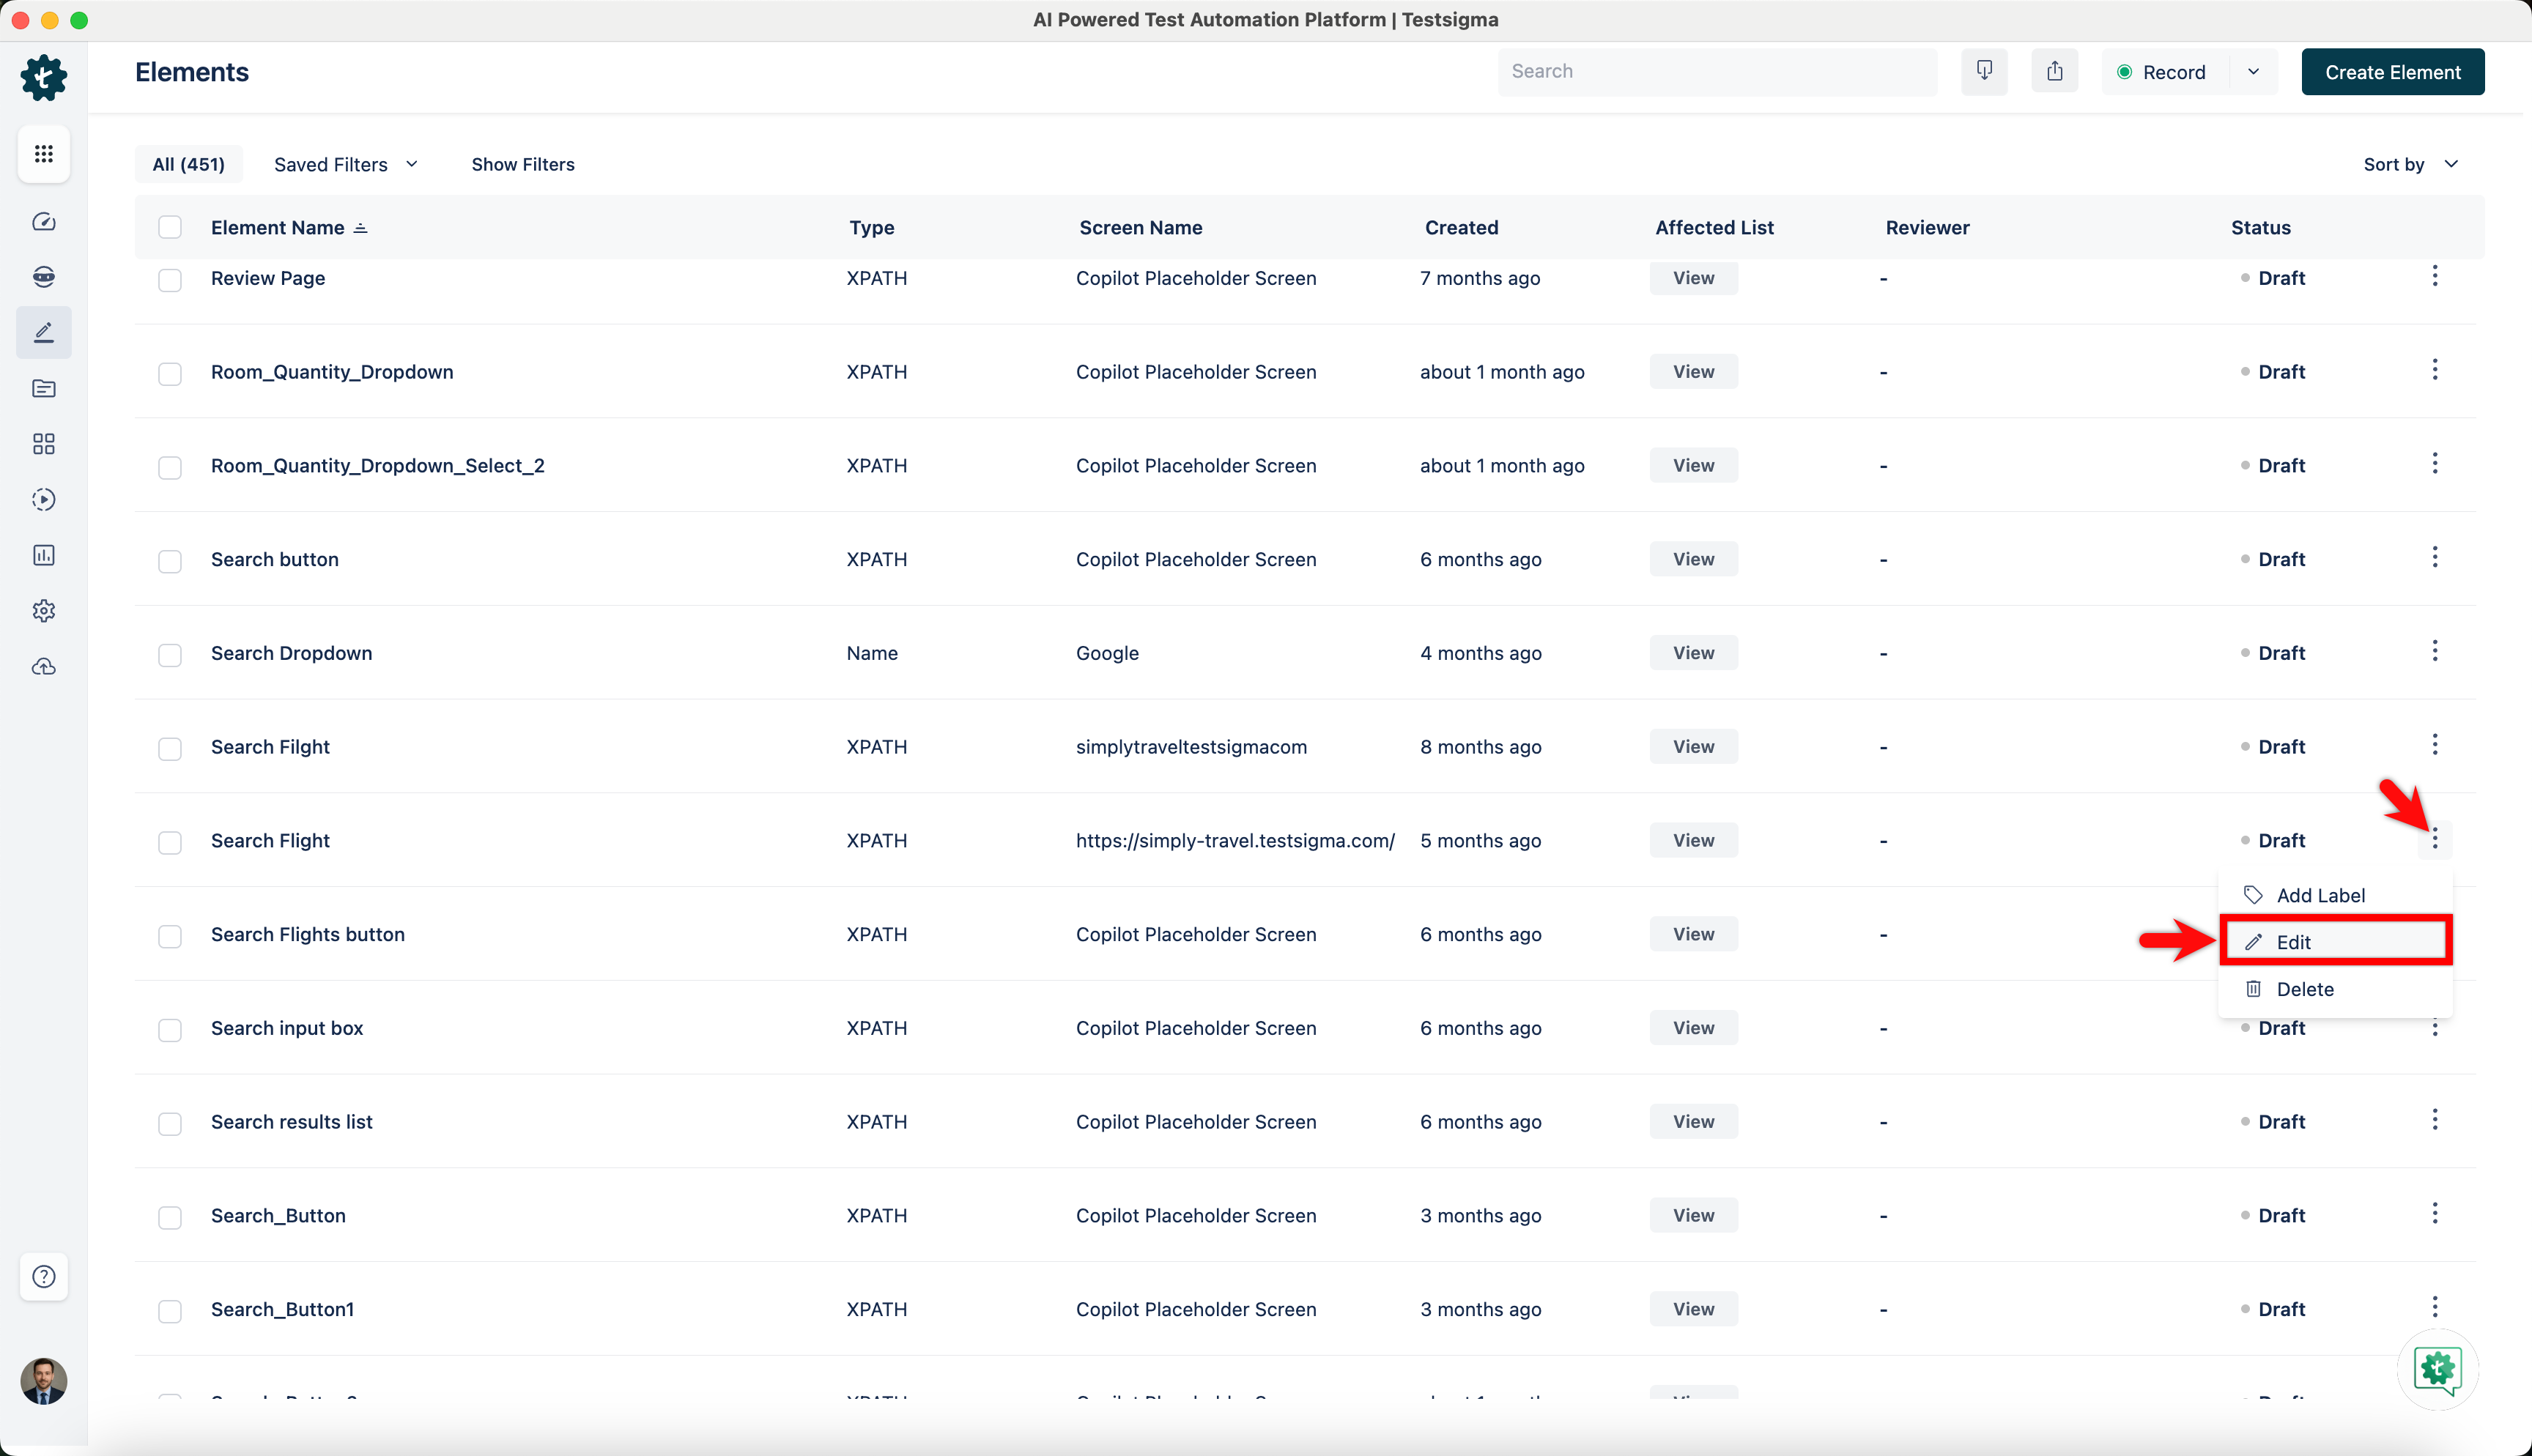
- On the Update Element overlay, you can update the Name, Screen Name, Element Type, and Element Value, and click Update.
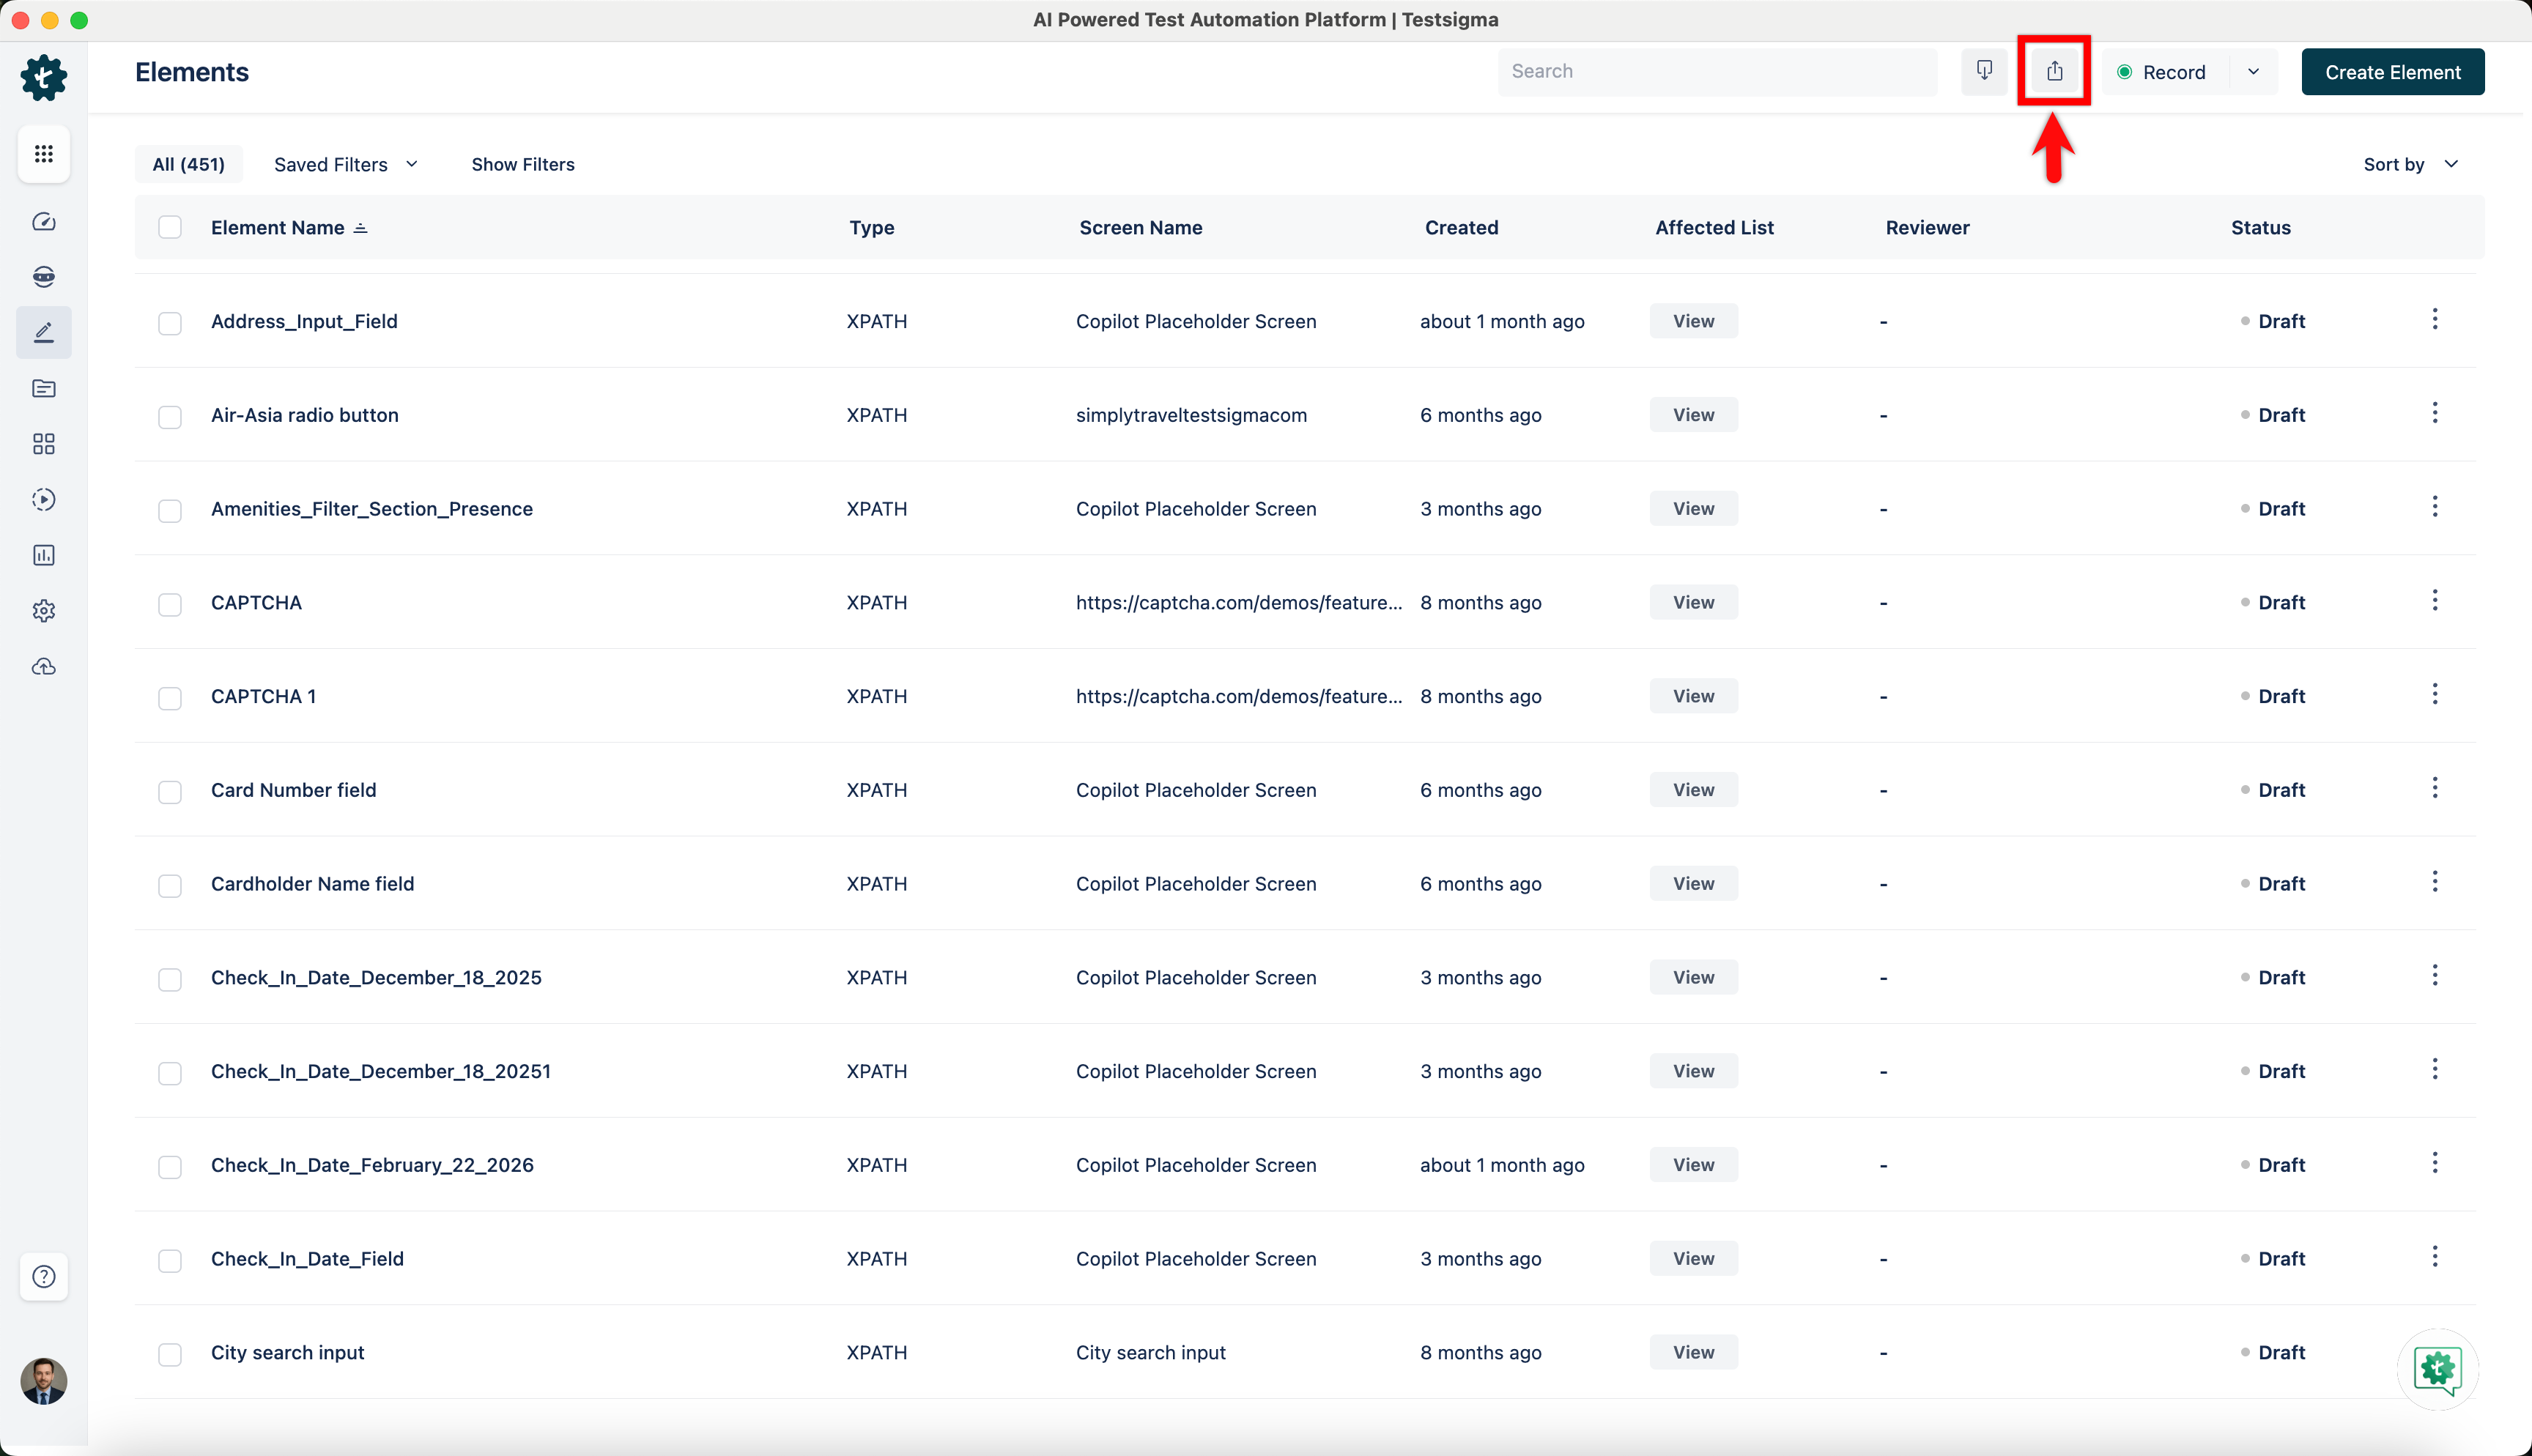
Updating Multiple Elements
- Navigate to Create Tests > Elements.
- Click on Export to download an XLSX file containing all elements from the project.
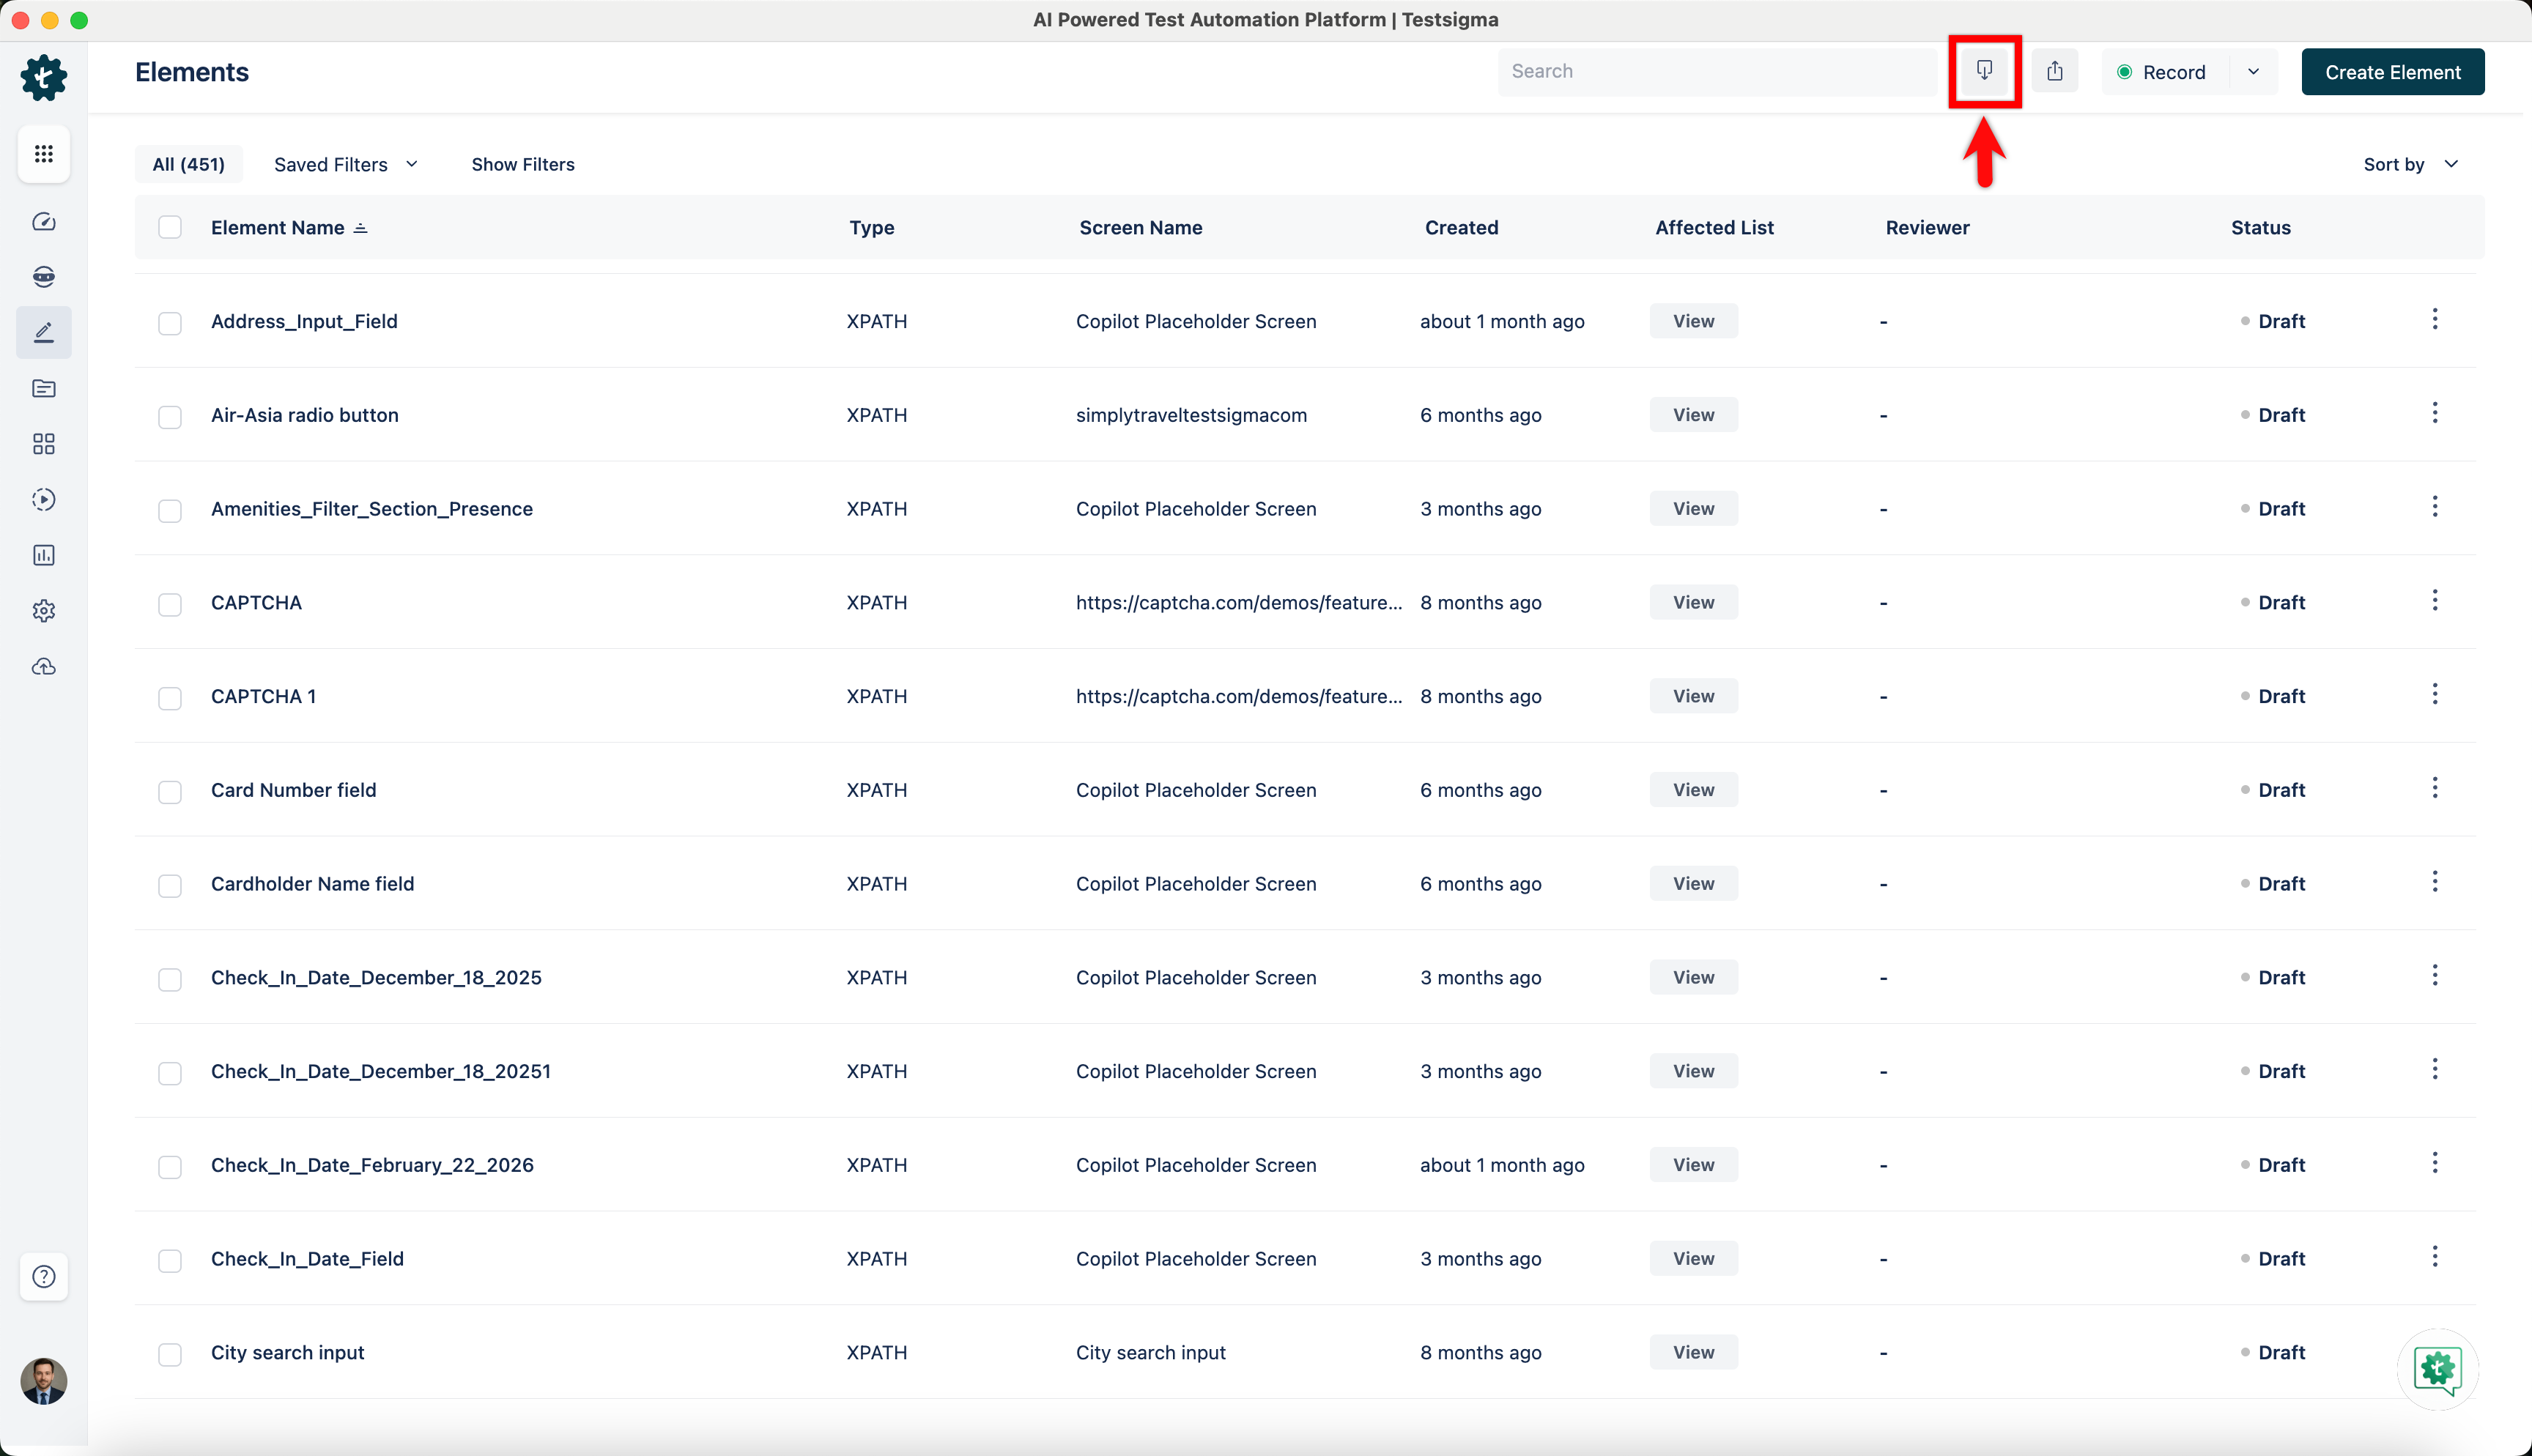
- In the downloaded XLSX file, update the required fields for the required elements.
- Click on Import and choose the updated XLSX file for import.
Want to contribute or report missing content?