- Elements (Objects)
- Web Applications
 Record Single Element
- Record Multiple Elements
- Create Elements
- Supported Locator Types
- Formulating Elements
- Shadow DOM Elements
- Verifying elements in Chrome DevTools
- Handling iframe Elements?
- Create Image Based Elements
- Dynamic Locators using Parameter
- Dynamic Locators using Runtime
- Using Environment Test Data for Dynamic Locators
- Locating Dynamic Elements in Date Widget
- Freeze & Inspect Dynamic Elements (WebPage)
- Locating Dynamic Elements in Tables
- Import/Export Elements
- Locator Precedence (Web Apps)
- Verify Elements from Test Recorder
Create Elements Manually
In dynamic websites, elements can have varying attributes/properties across sessions. In such cases, we need to create elements manually. This article discusses how to create elements manually with simple steps for a mobile web application.
Prerequisites
Before you begin, ensure that:
- You have referred to the documentation on creating projects.
- You have a mobile web application that is available for testing.
Steps to Create an Element
- From the left navigation bar, navigate to Create Tests > Elements.
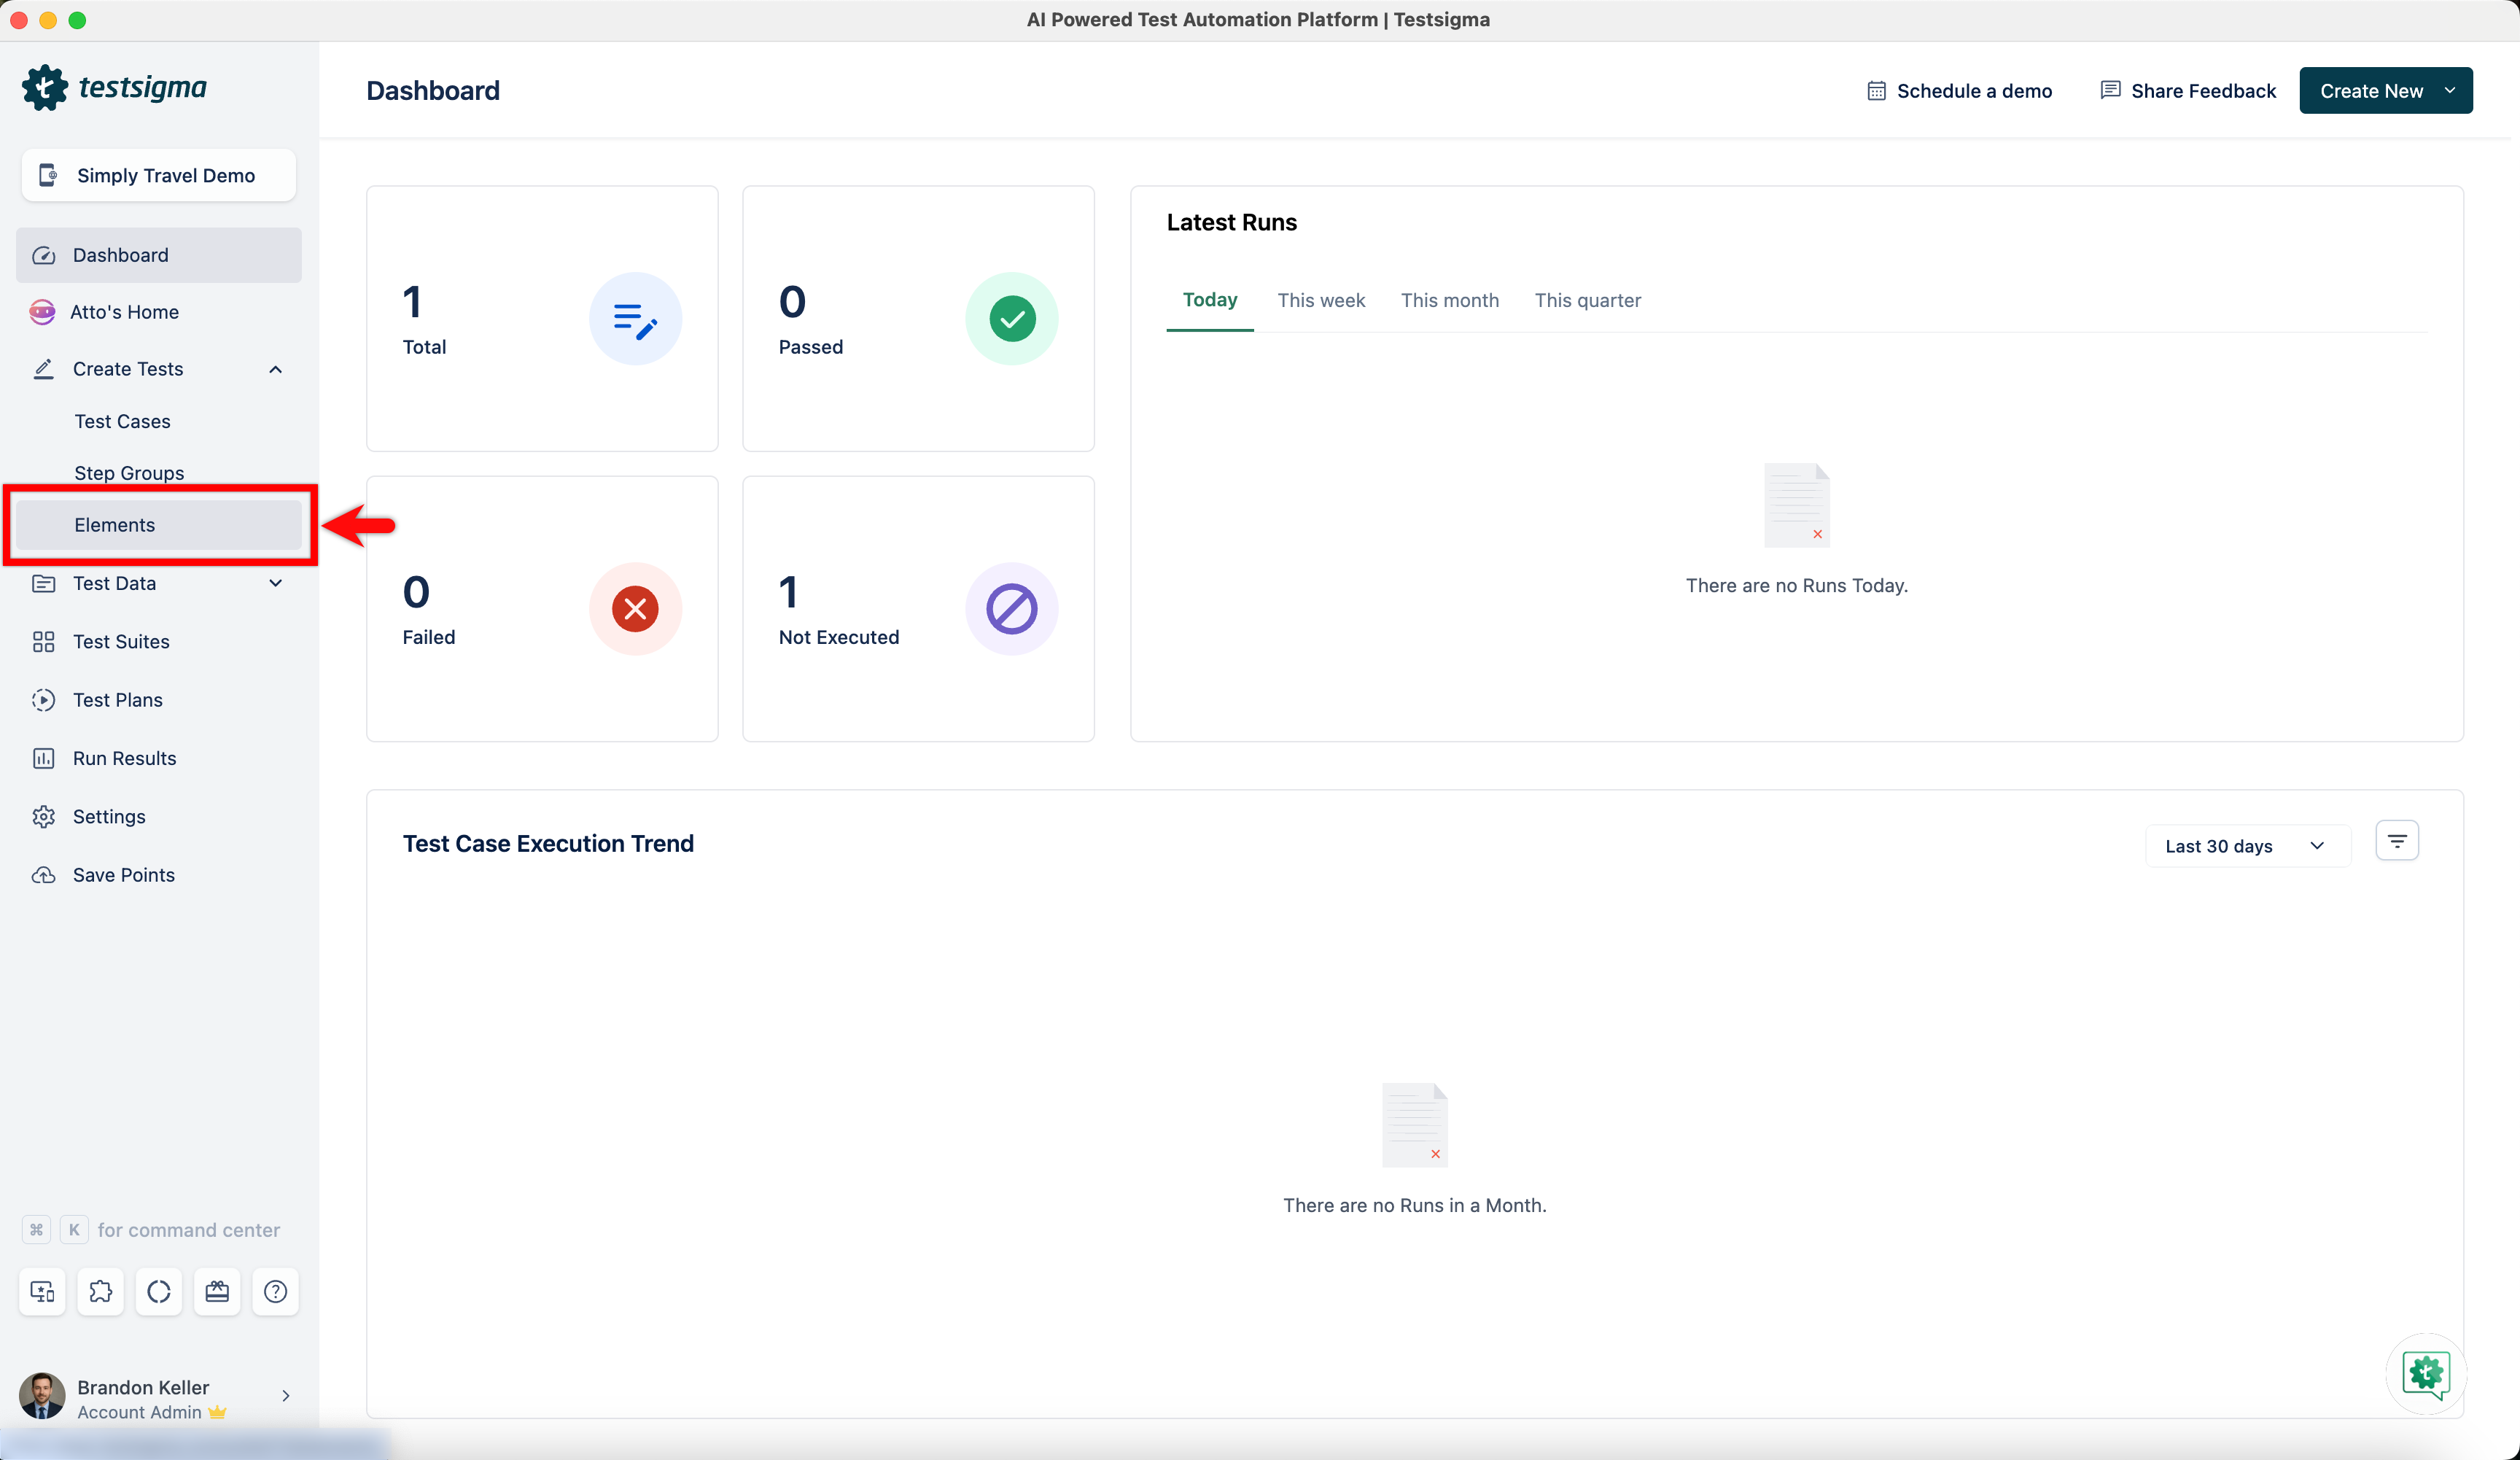
- Click Create Element.

-
In the Create Element Overlay, enter all the details:
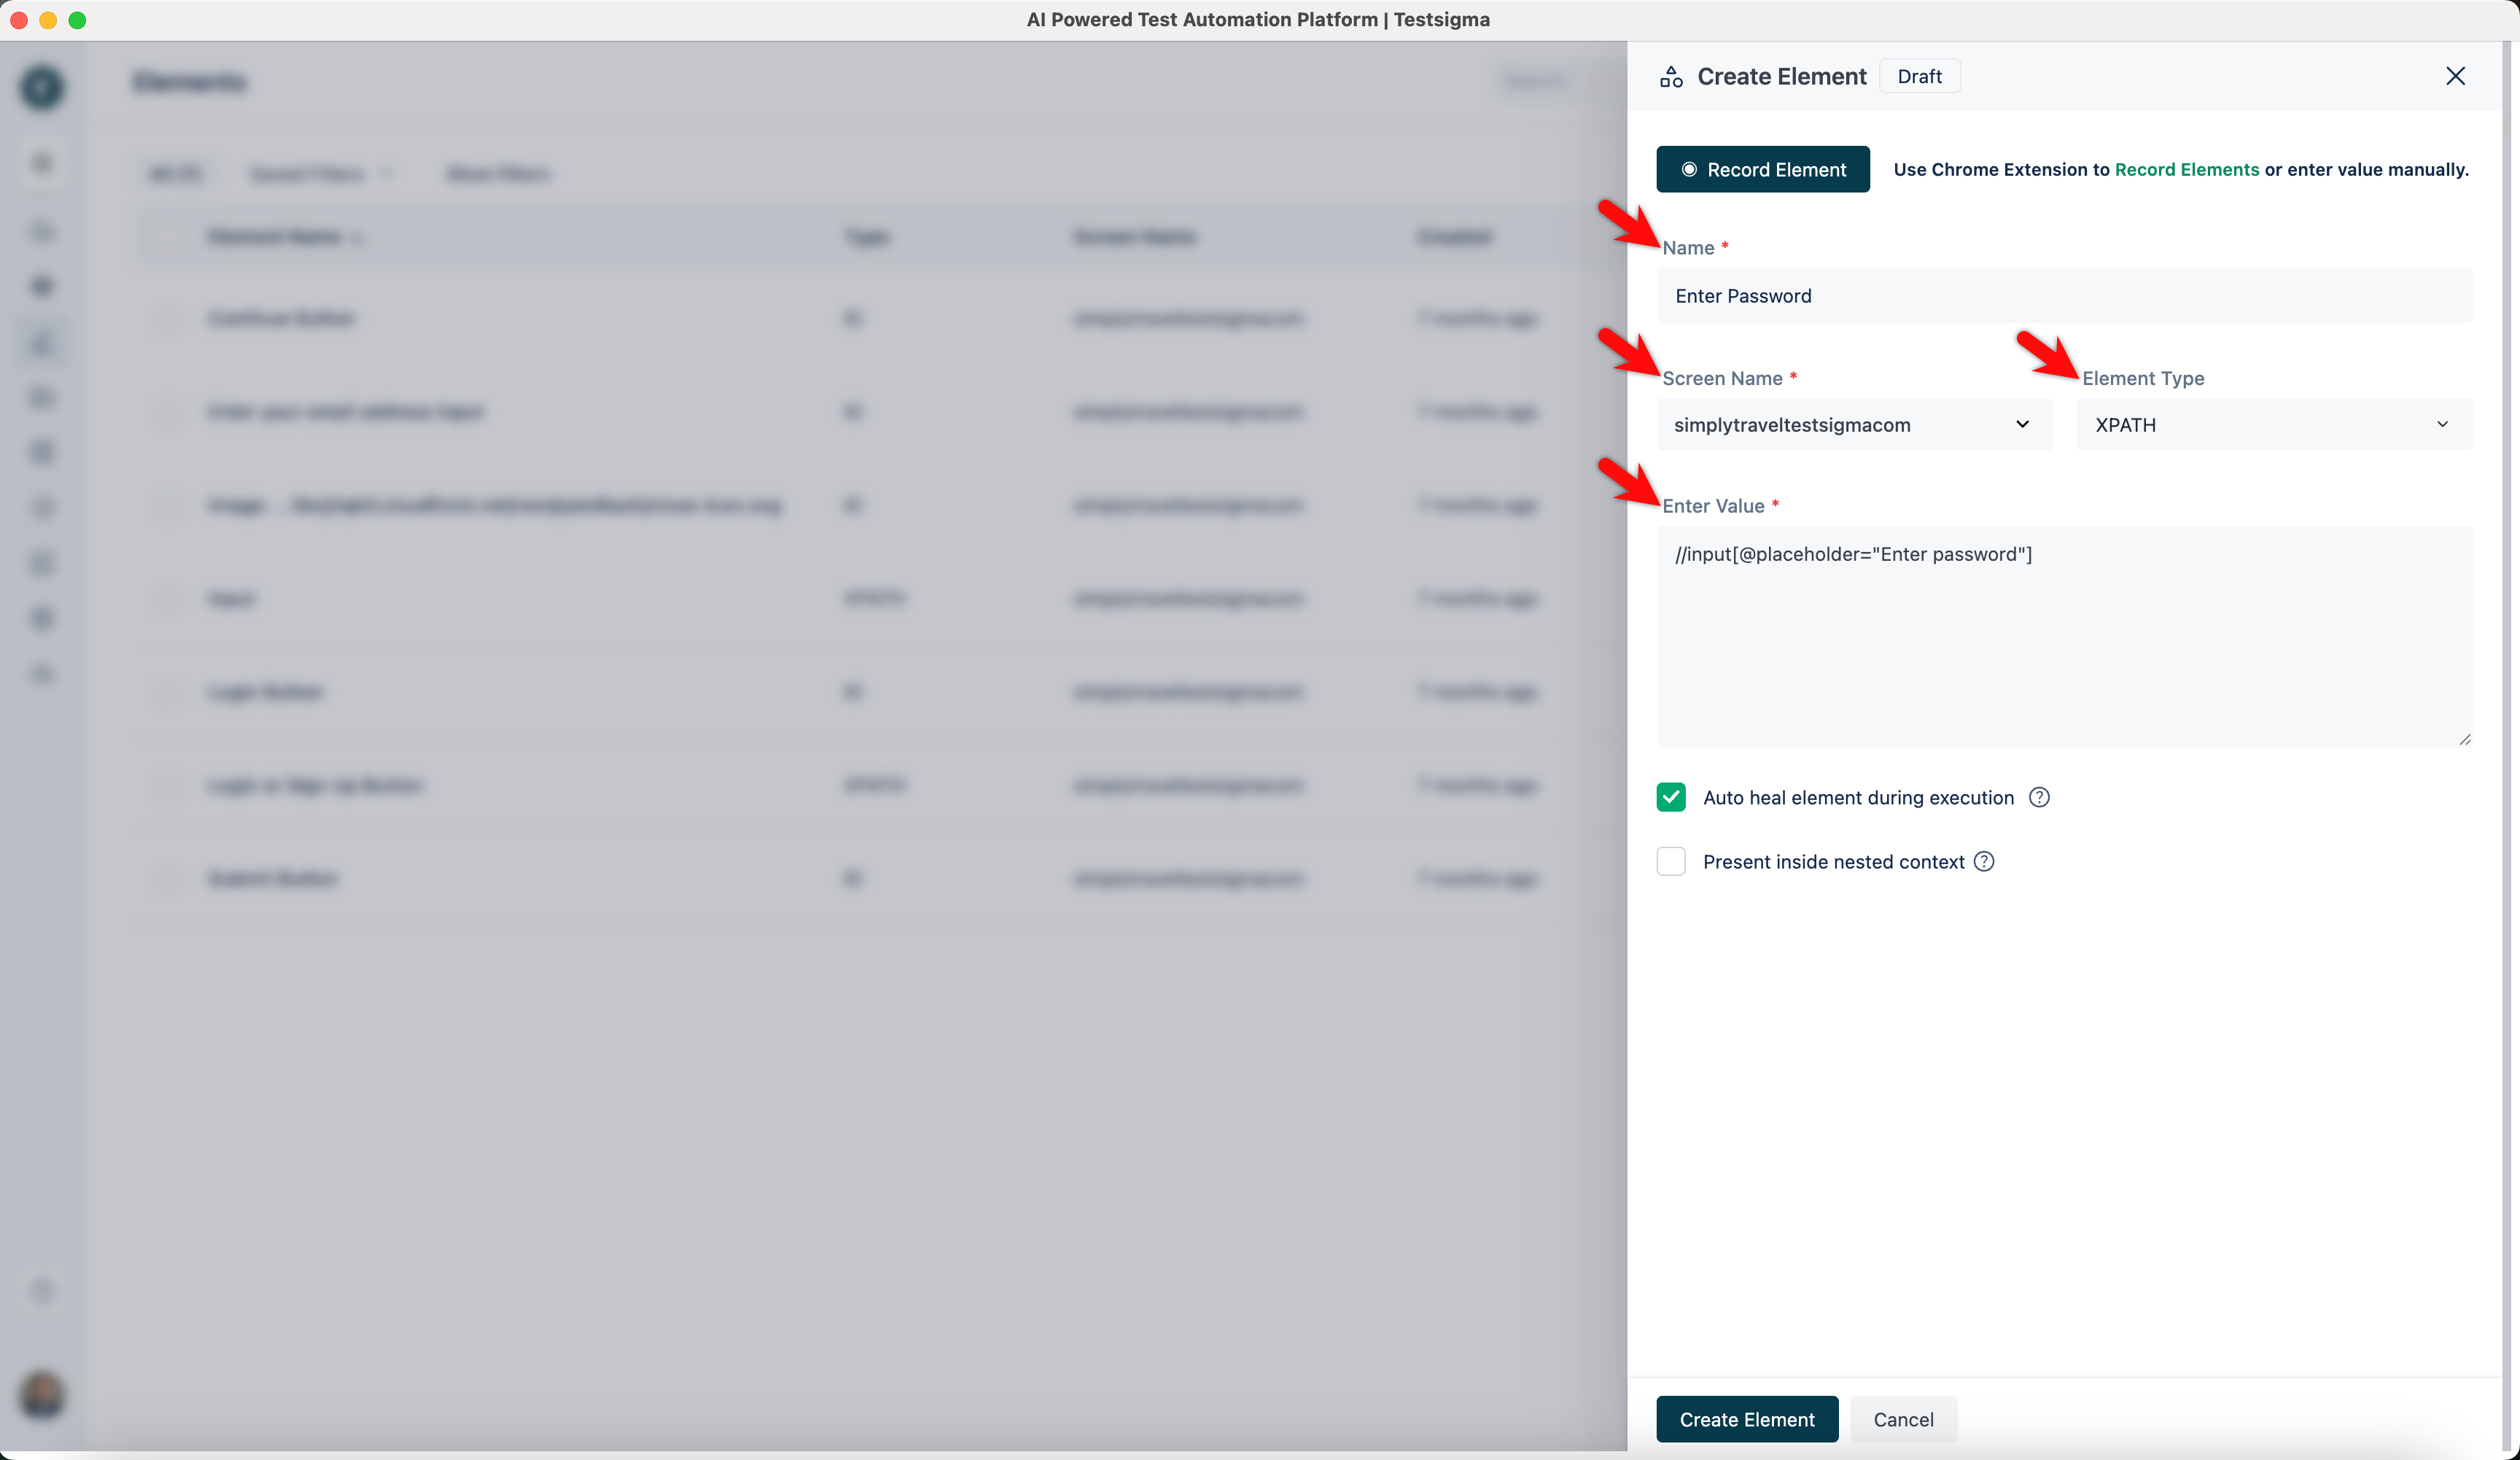
- Name: Enter the name you want to give your element.
- Screen Name: Mention the screen that your element resides on.
- Element Type: There are 5 types of element types supported in Testsigma. This field is a drop-down list; you can select any of them: XPATH, ID, Name, Class Name, or Accessibility ID.
- Enter Value: Enter the value corresponding to the Element Type you selected.
- Click Create Element.
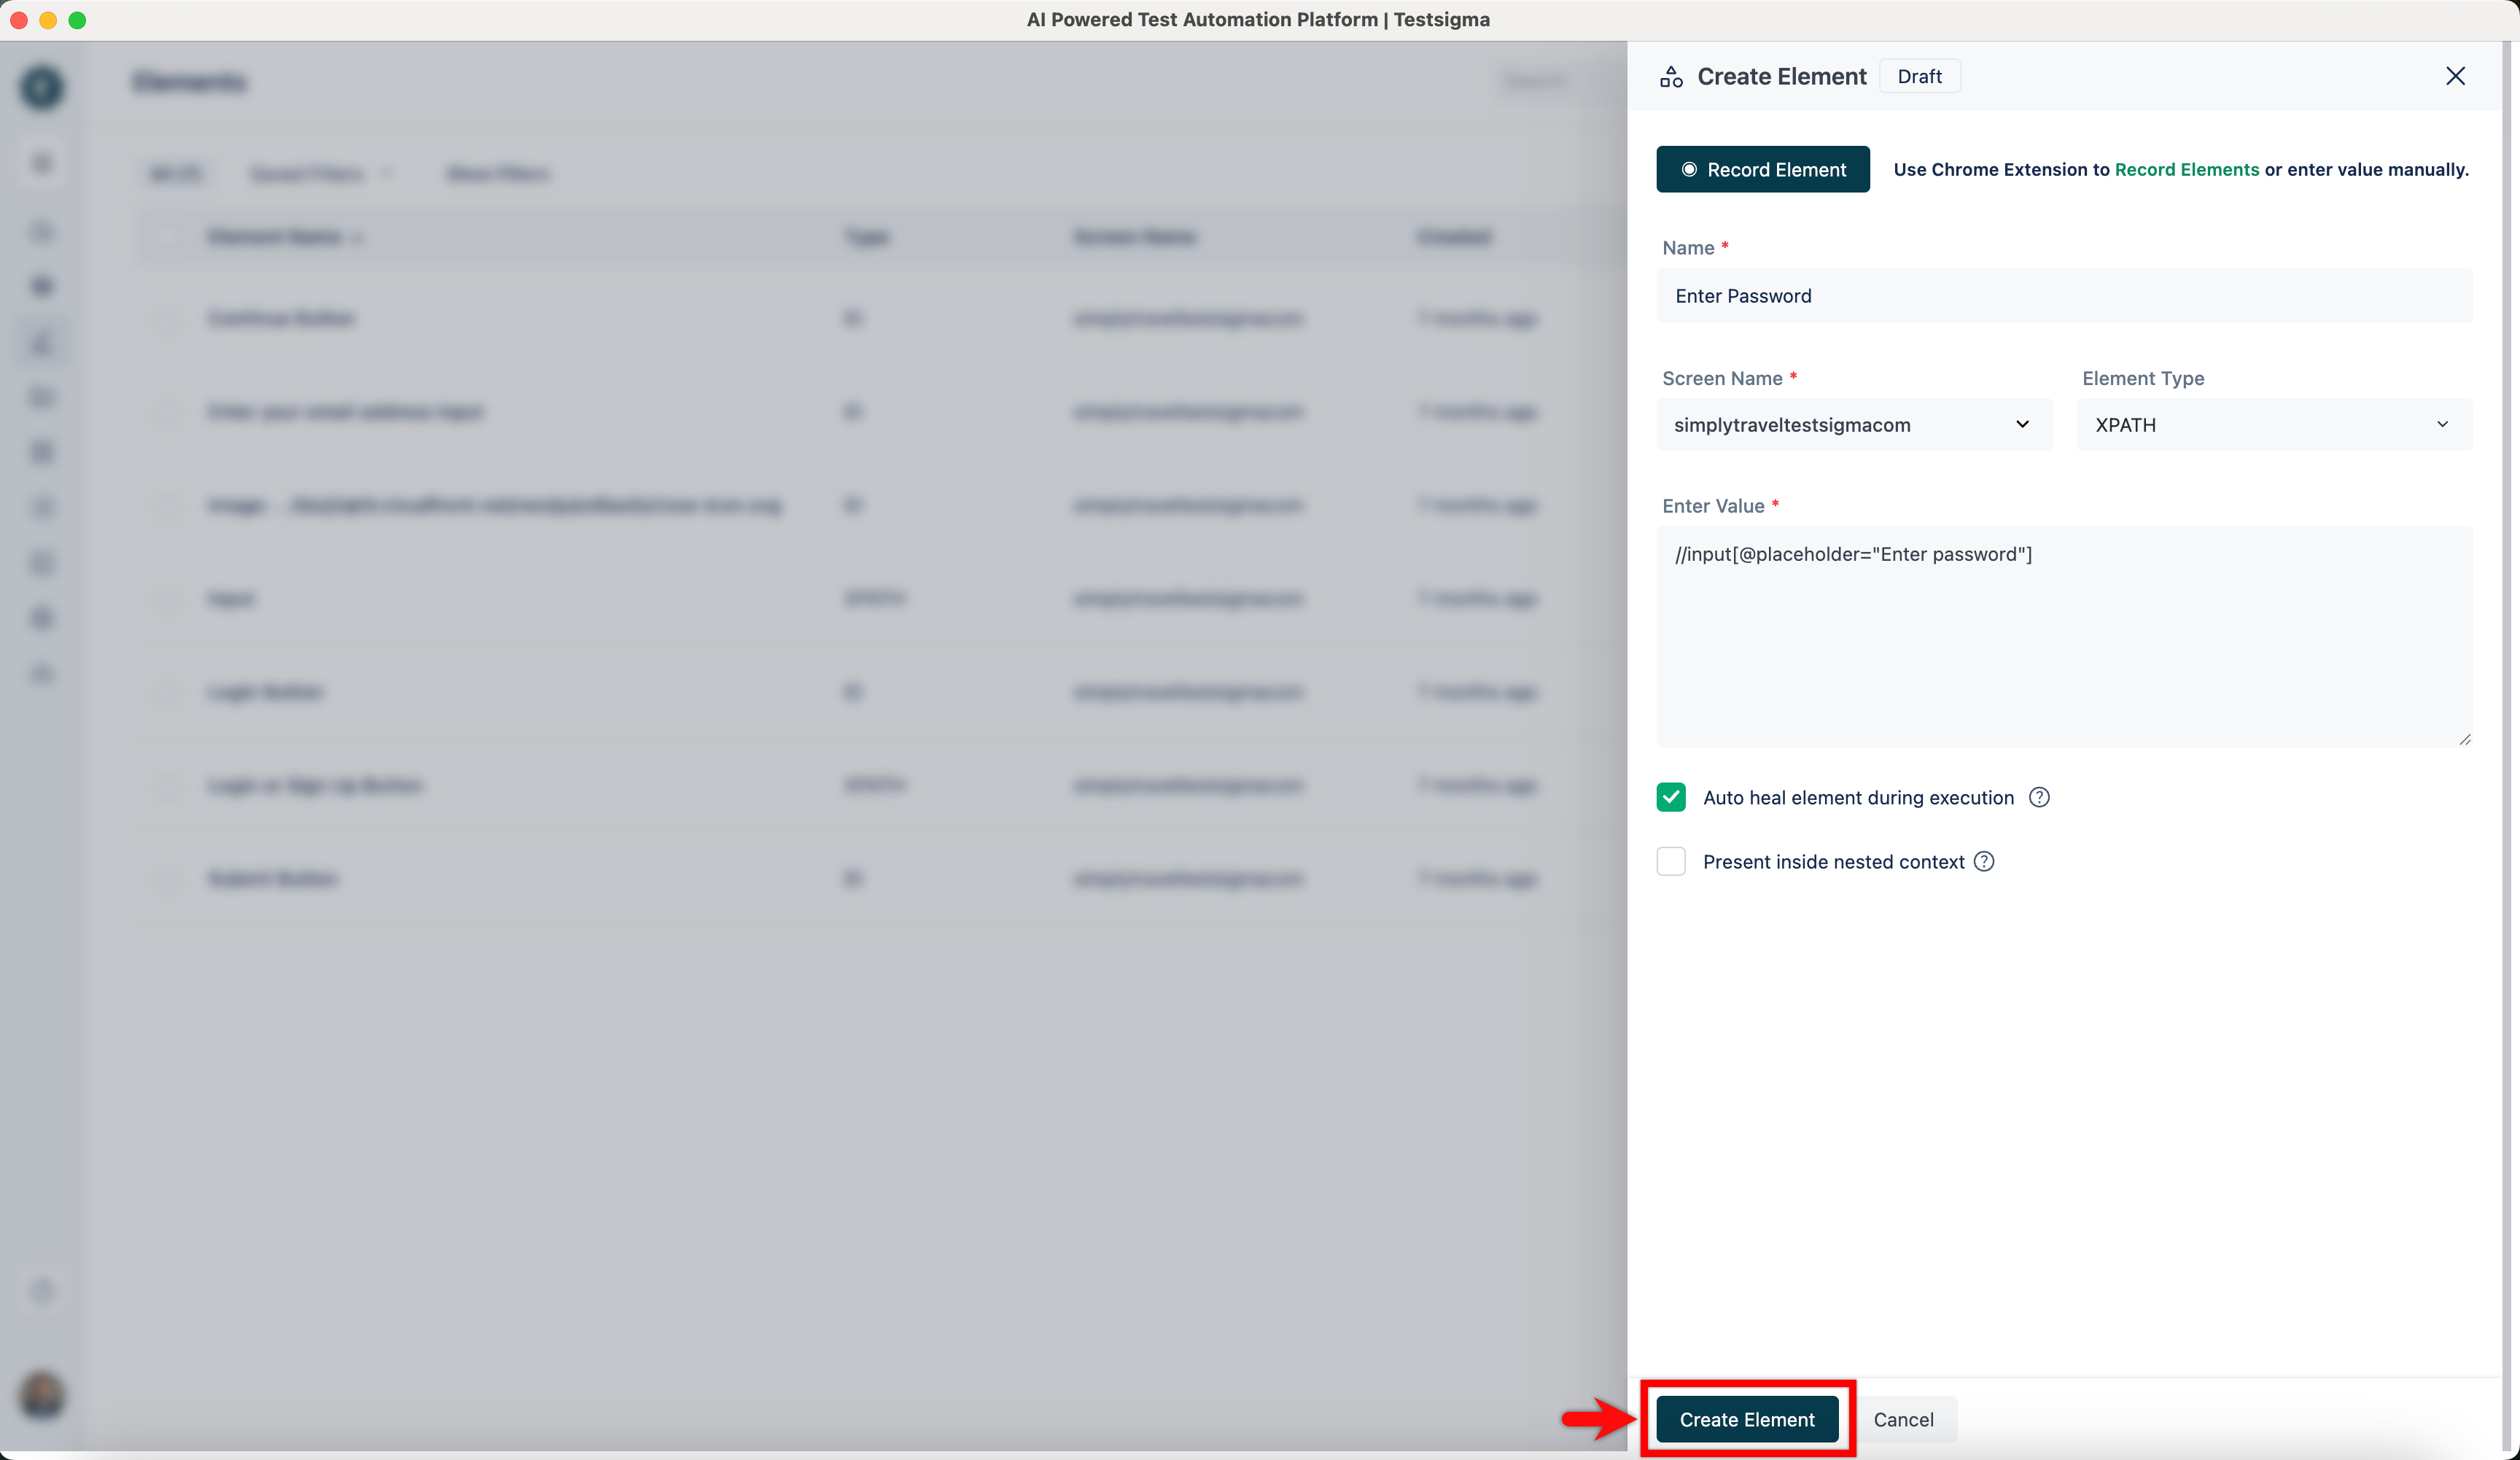
- The element will be saved in the elements list.
Want to contribute or report missing content?