- collaboration
 Invite Team Members
- Assign Projects
- Users & Role Management
- Review Management [Test Cases]
- Review Management [Elements]
- Execution Controls
Users & Role Management
When a user is added in Testsigma, they can be assigned various roles. This document covers how to add users and assign them different roles and accesses within Testsigma.
Roles in Testsigma
Below are the roles that can be assigned in Testsigma:
- Super Administrator: A user in a ‘Super Administrator’ role will have complete control over the Testsigma project but will be restricted from viewing Account or Billing-related information.
- Test Manager: A user in the role of ‘Test Manager’ will be able to manage multiple projects - including assigning users to the projects, adding applications, versions in each project.
- Test Lead: A user in the role of ‘Test Lead’ will be able to manage everything in the assigned project - including adding applications, versions in that project.
- Automation Engineer/Developer: A user in the role of ‘Automation Engineer/Developer’ can write, view, update test cases, and everything required to write test cases like test data profiles, Elements, custom functions, etc.
- Account Administrator: A user in the role of ‘Account Administrator’ has all the rights as a Super Administrator. In addition, they will also have access to billing-related information for that particular account.
- Read Only: A user in the role of 'Read Only' will be able to view the contents of your project without making any modifications.
- Org Owner: An organization-wide role, separate from the product-specific roles above. It marks a user as owner across all of their product accounts rather than a single account.
- The Org Owner role can only be granted or revoked by a Super Administrator, and every organization must always retain at least one owner.
- Alongside Super Administrators, Org Owners can access the Organization Settings area, which includes password policy and SSO configuration.
Edit Users to Assign New Roles
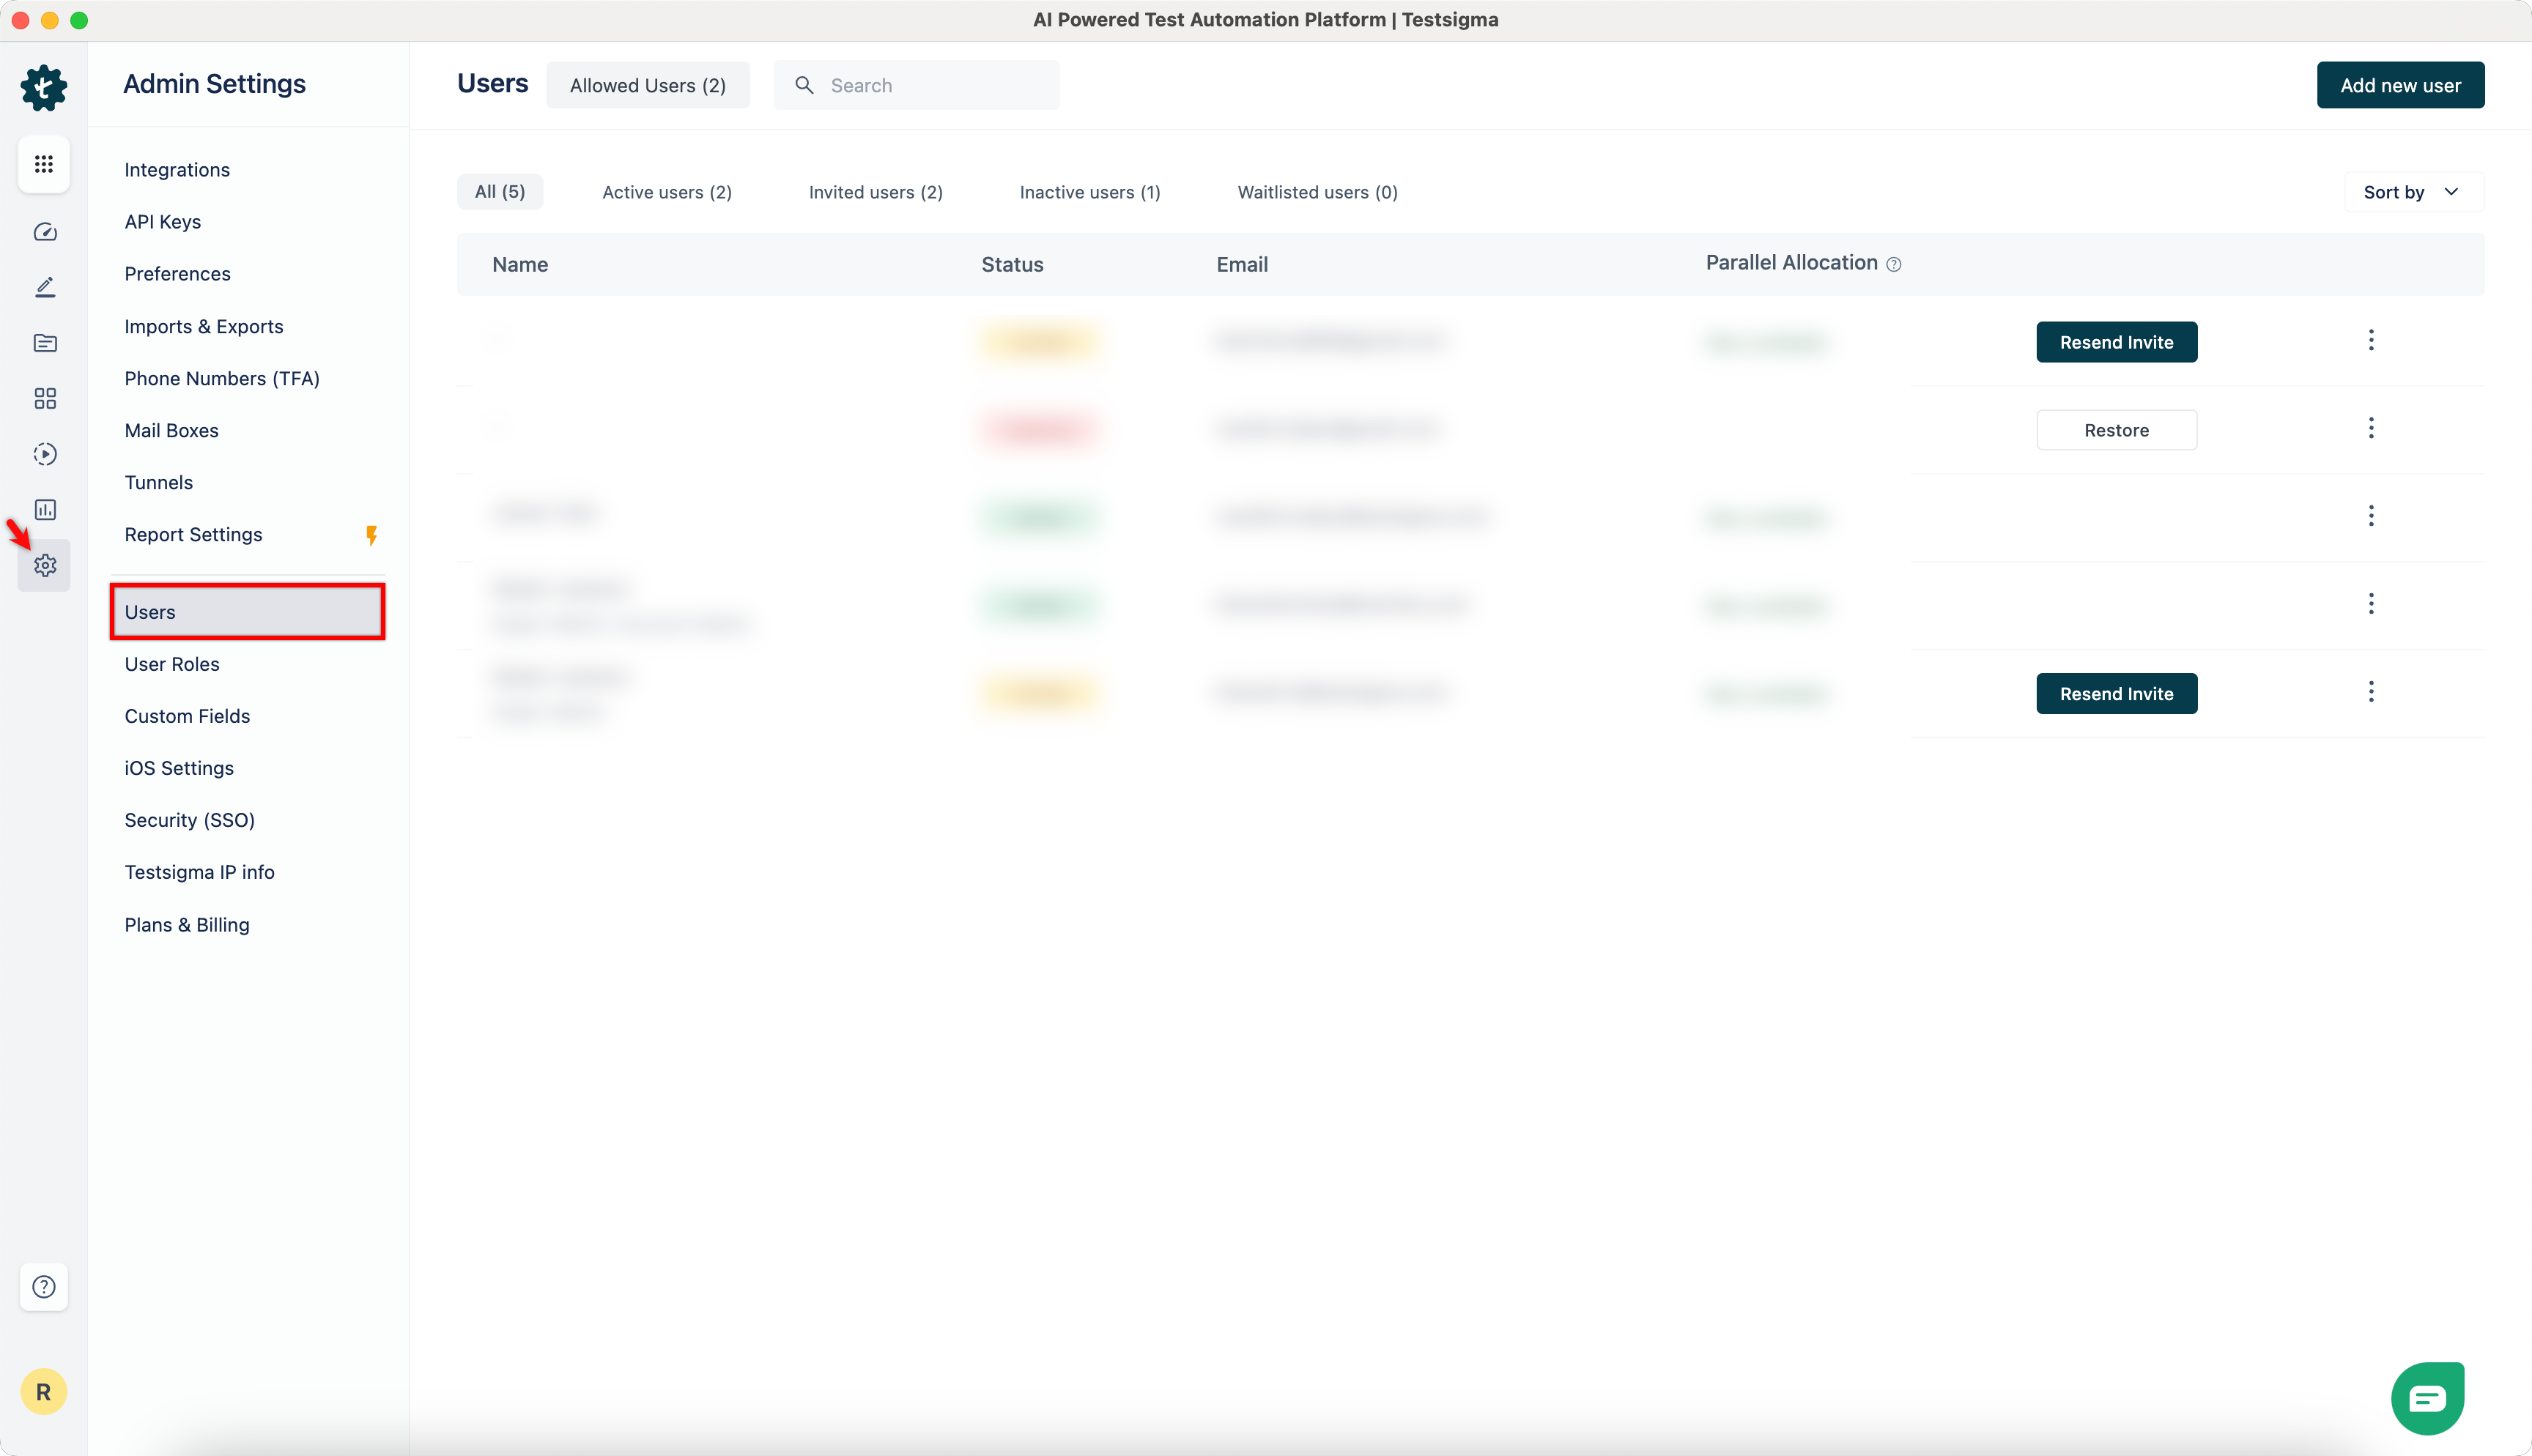
- Navigate to Settings > Users.
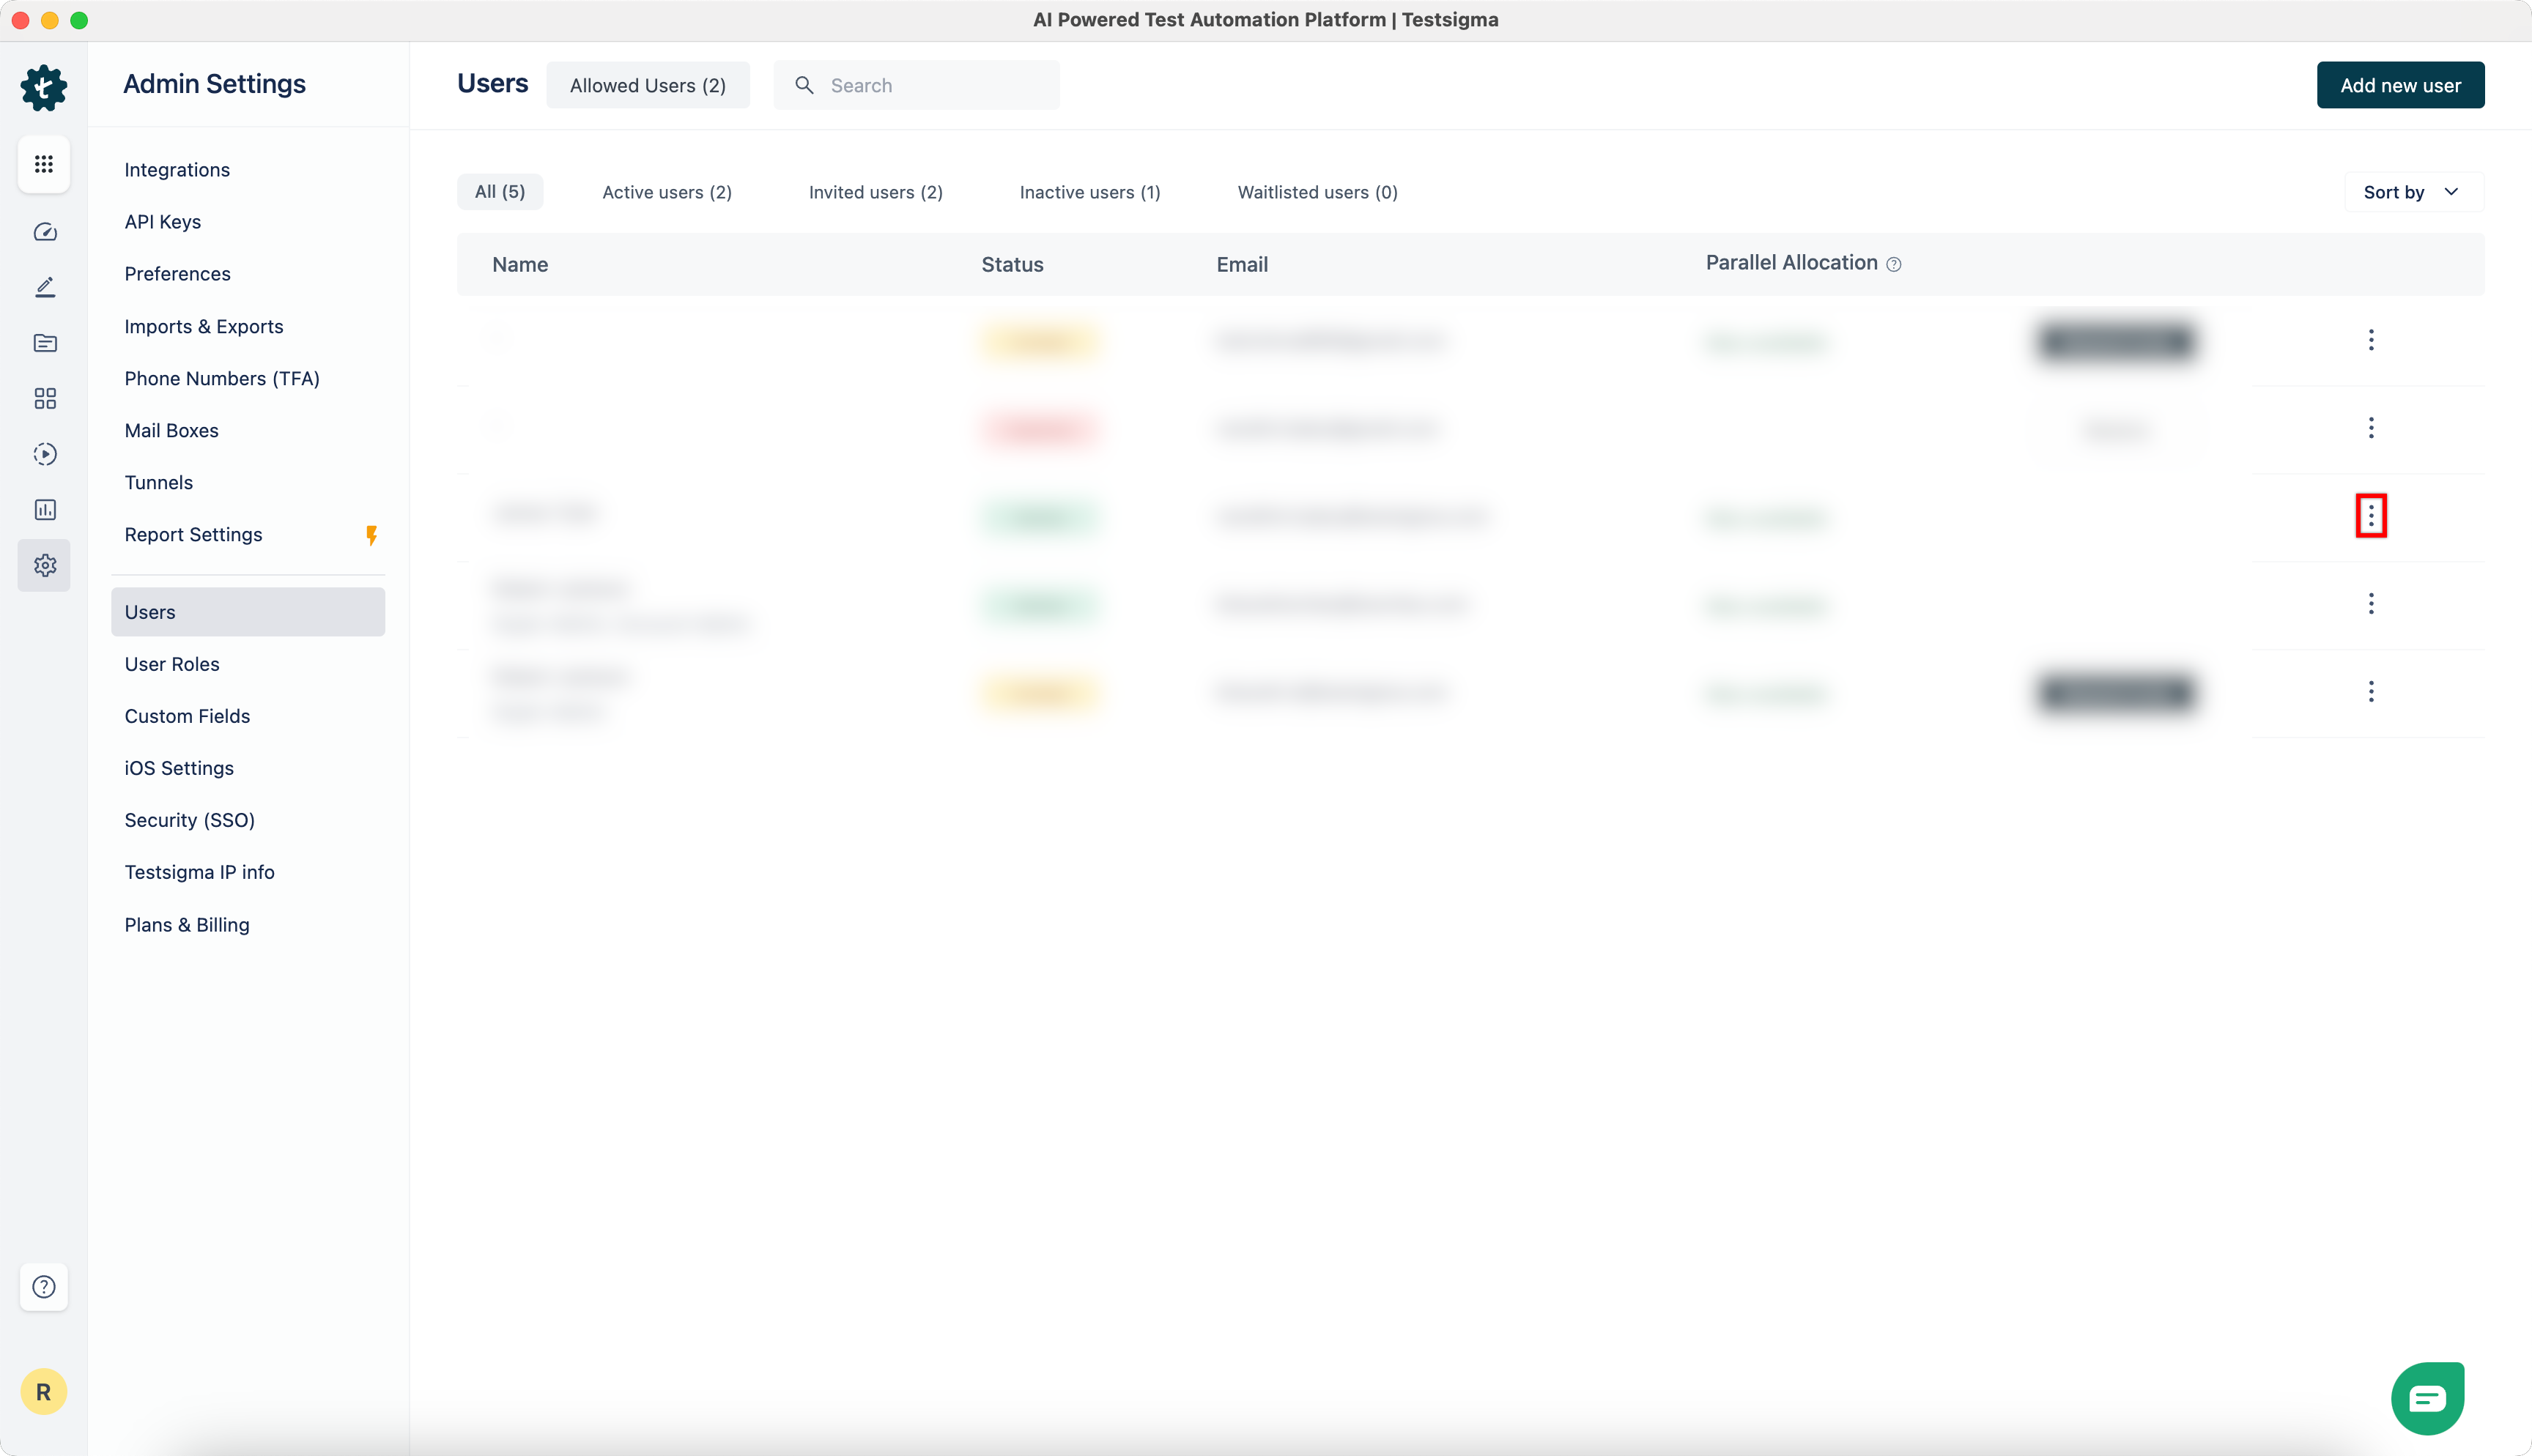
- Hover over the user and click the kebab menu.
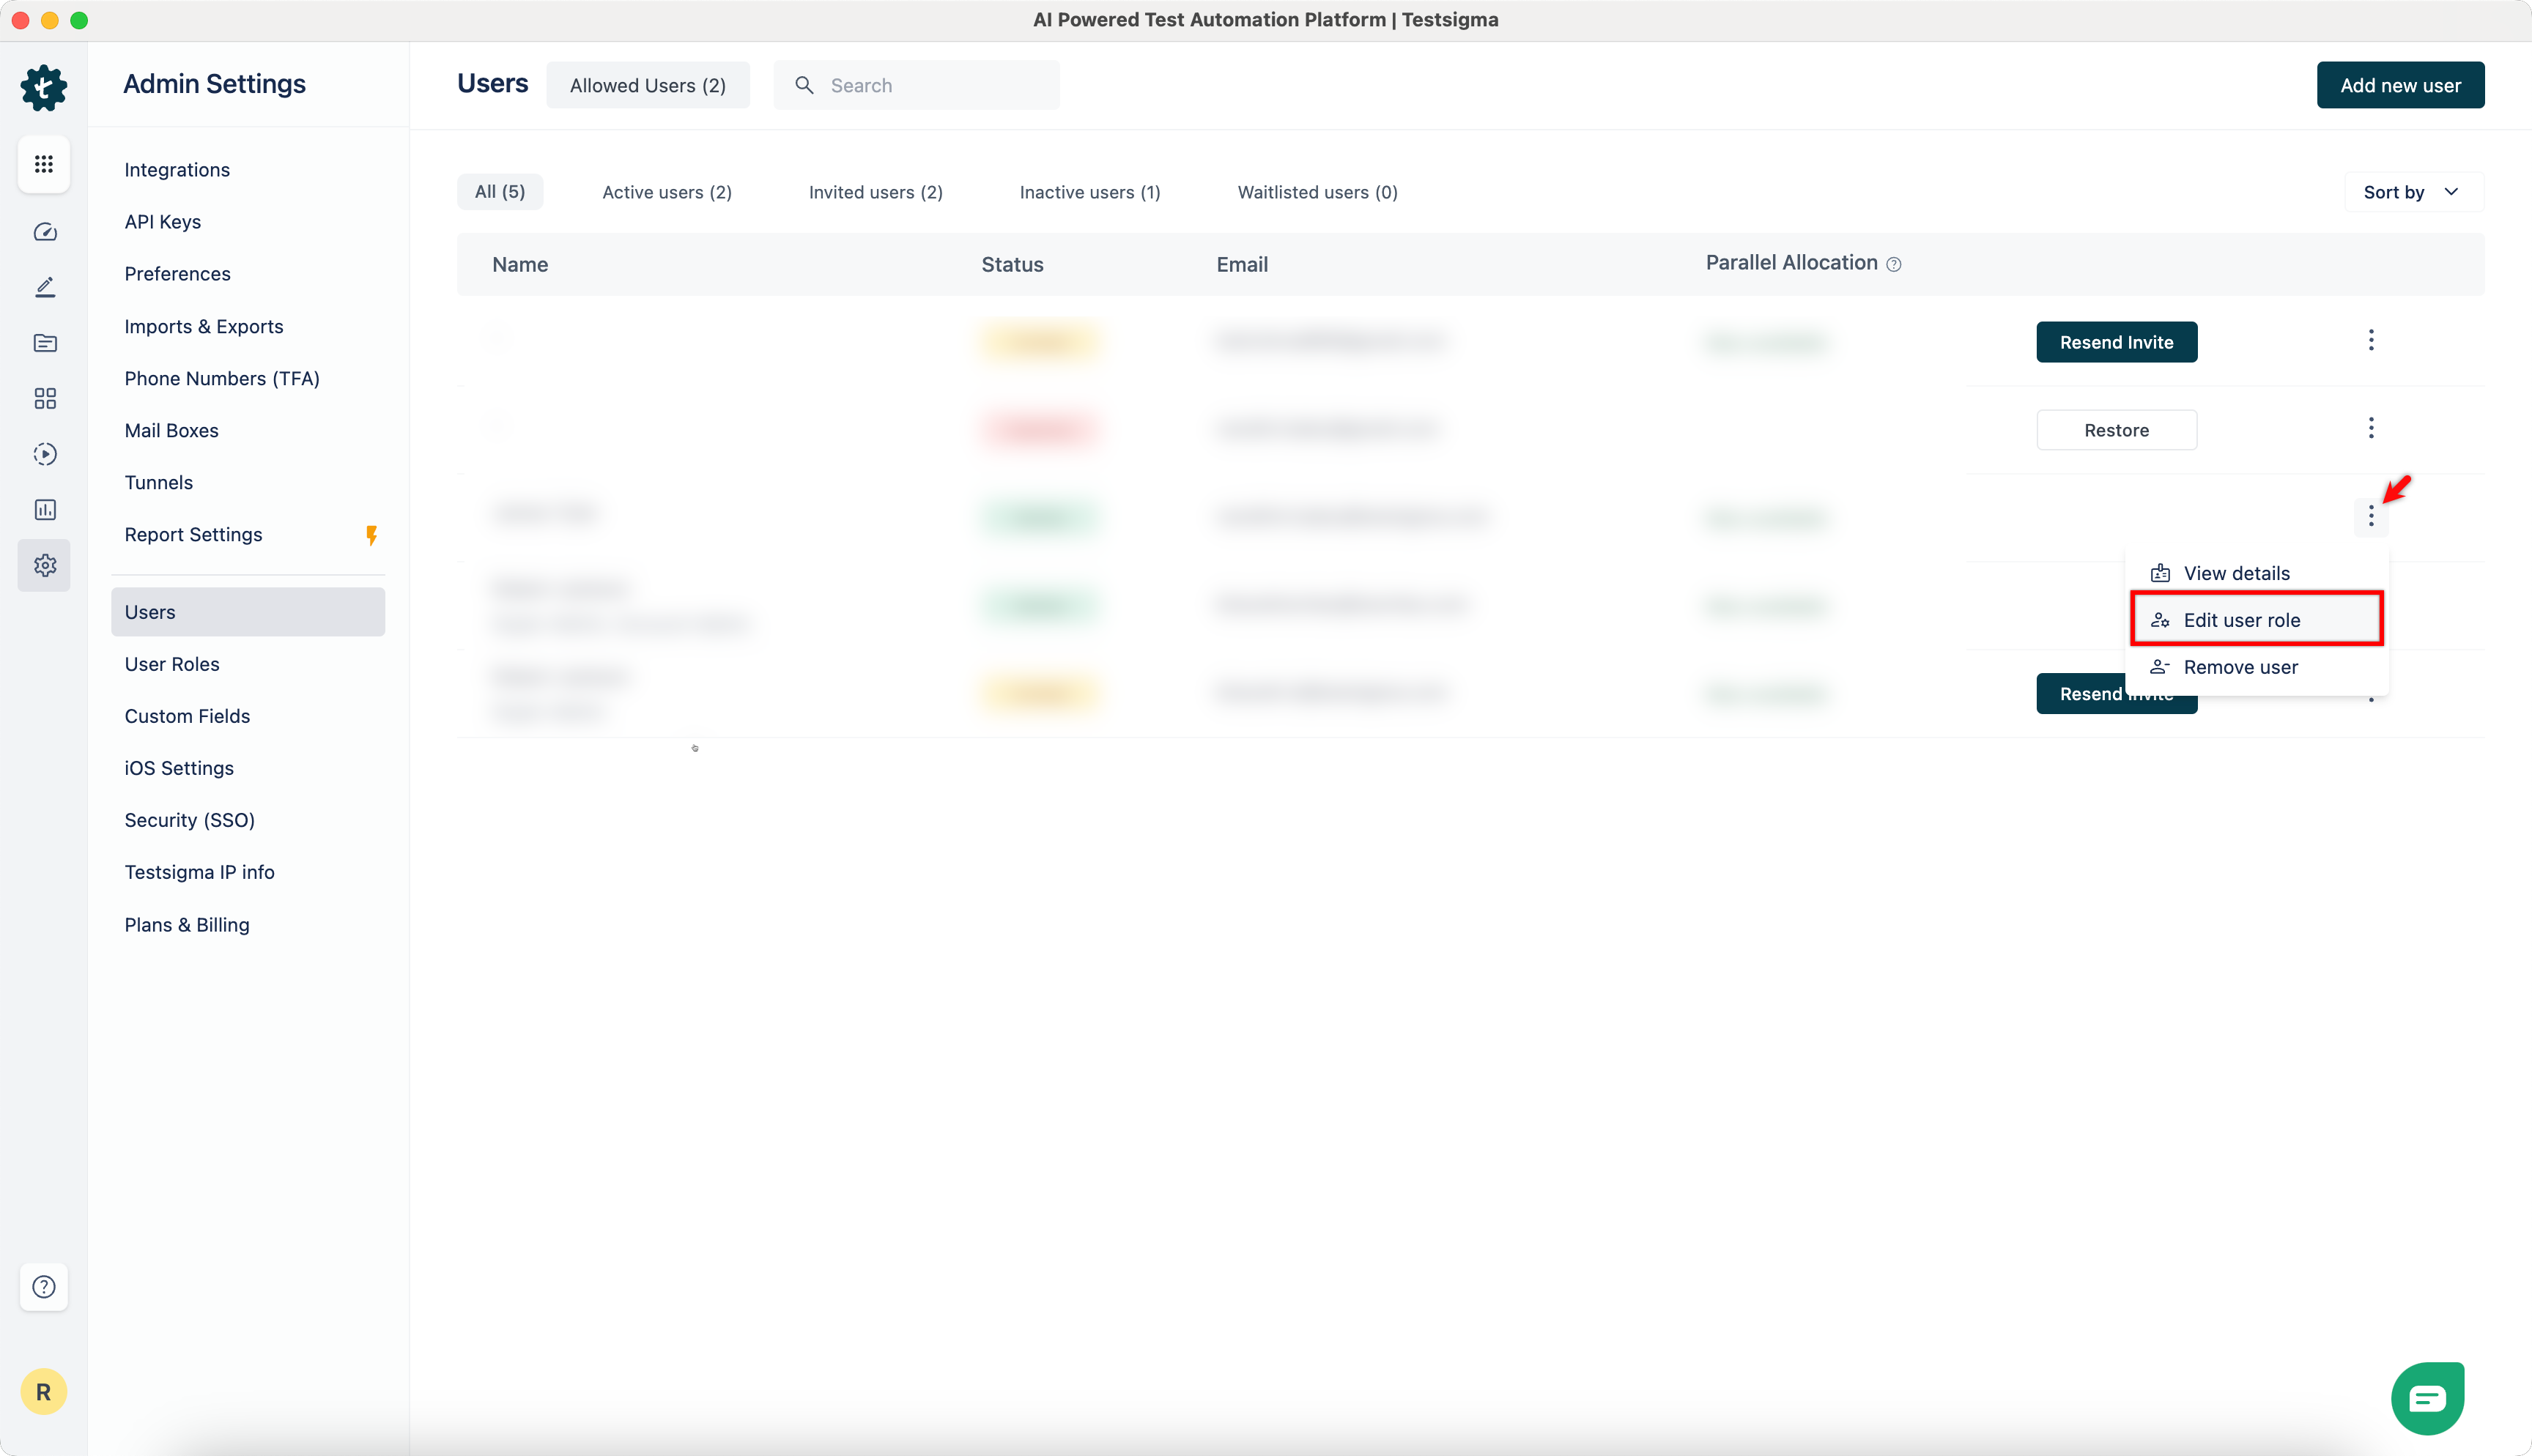
- Click Edit User Role.
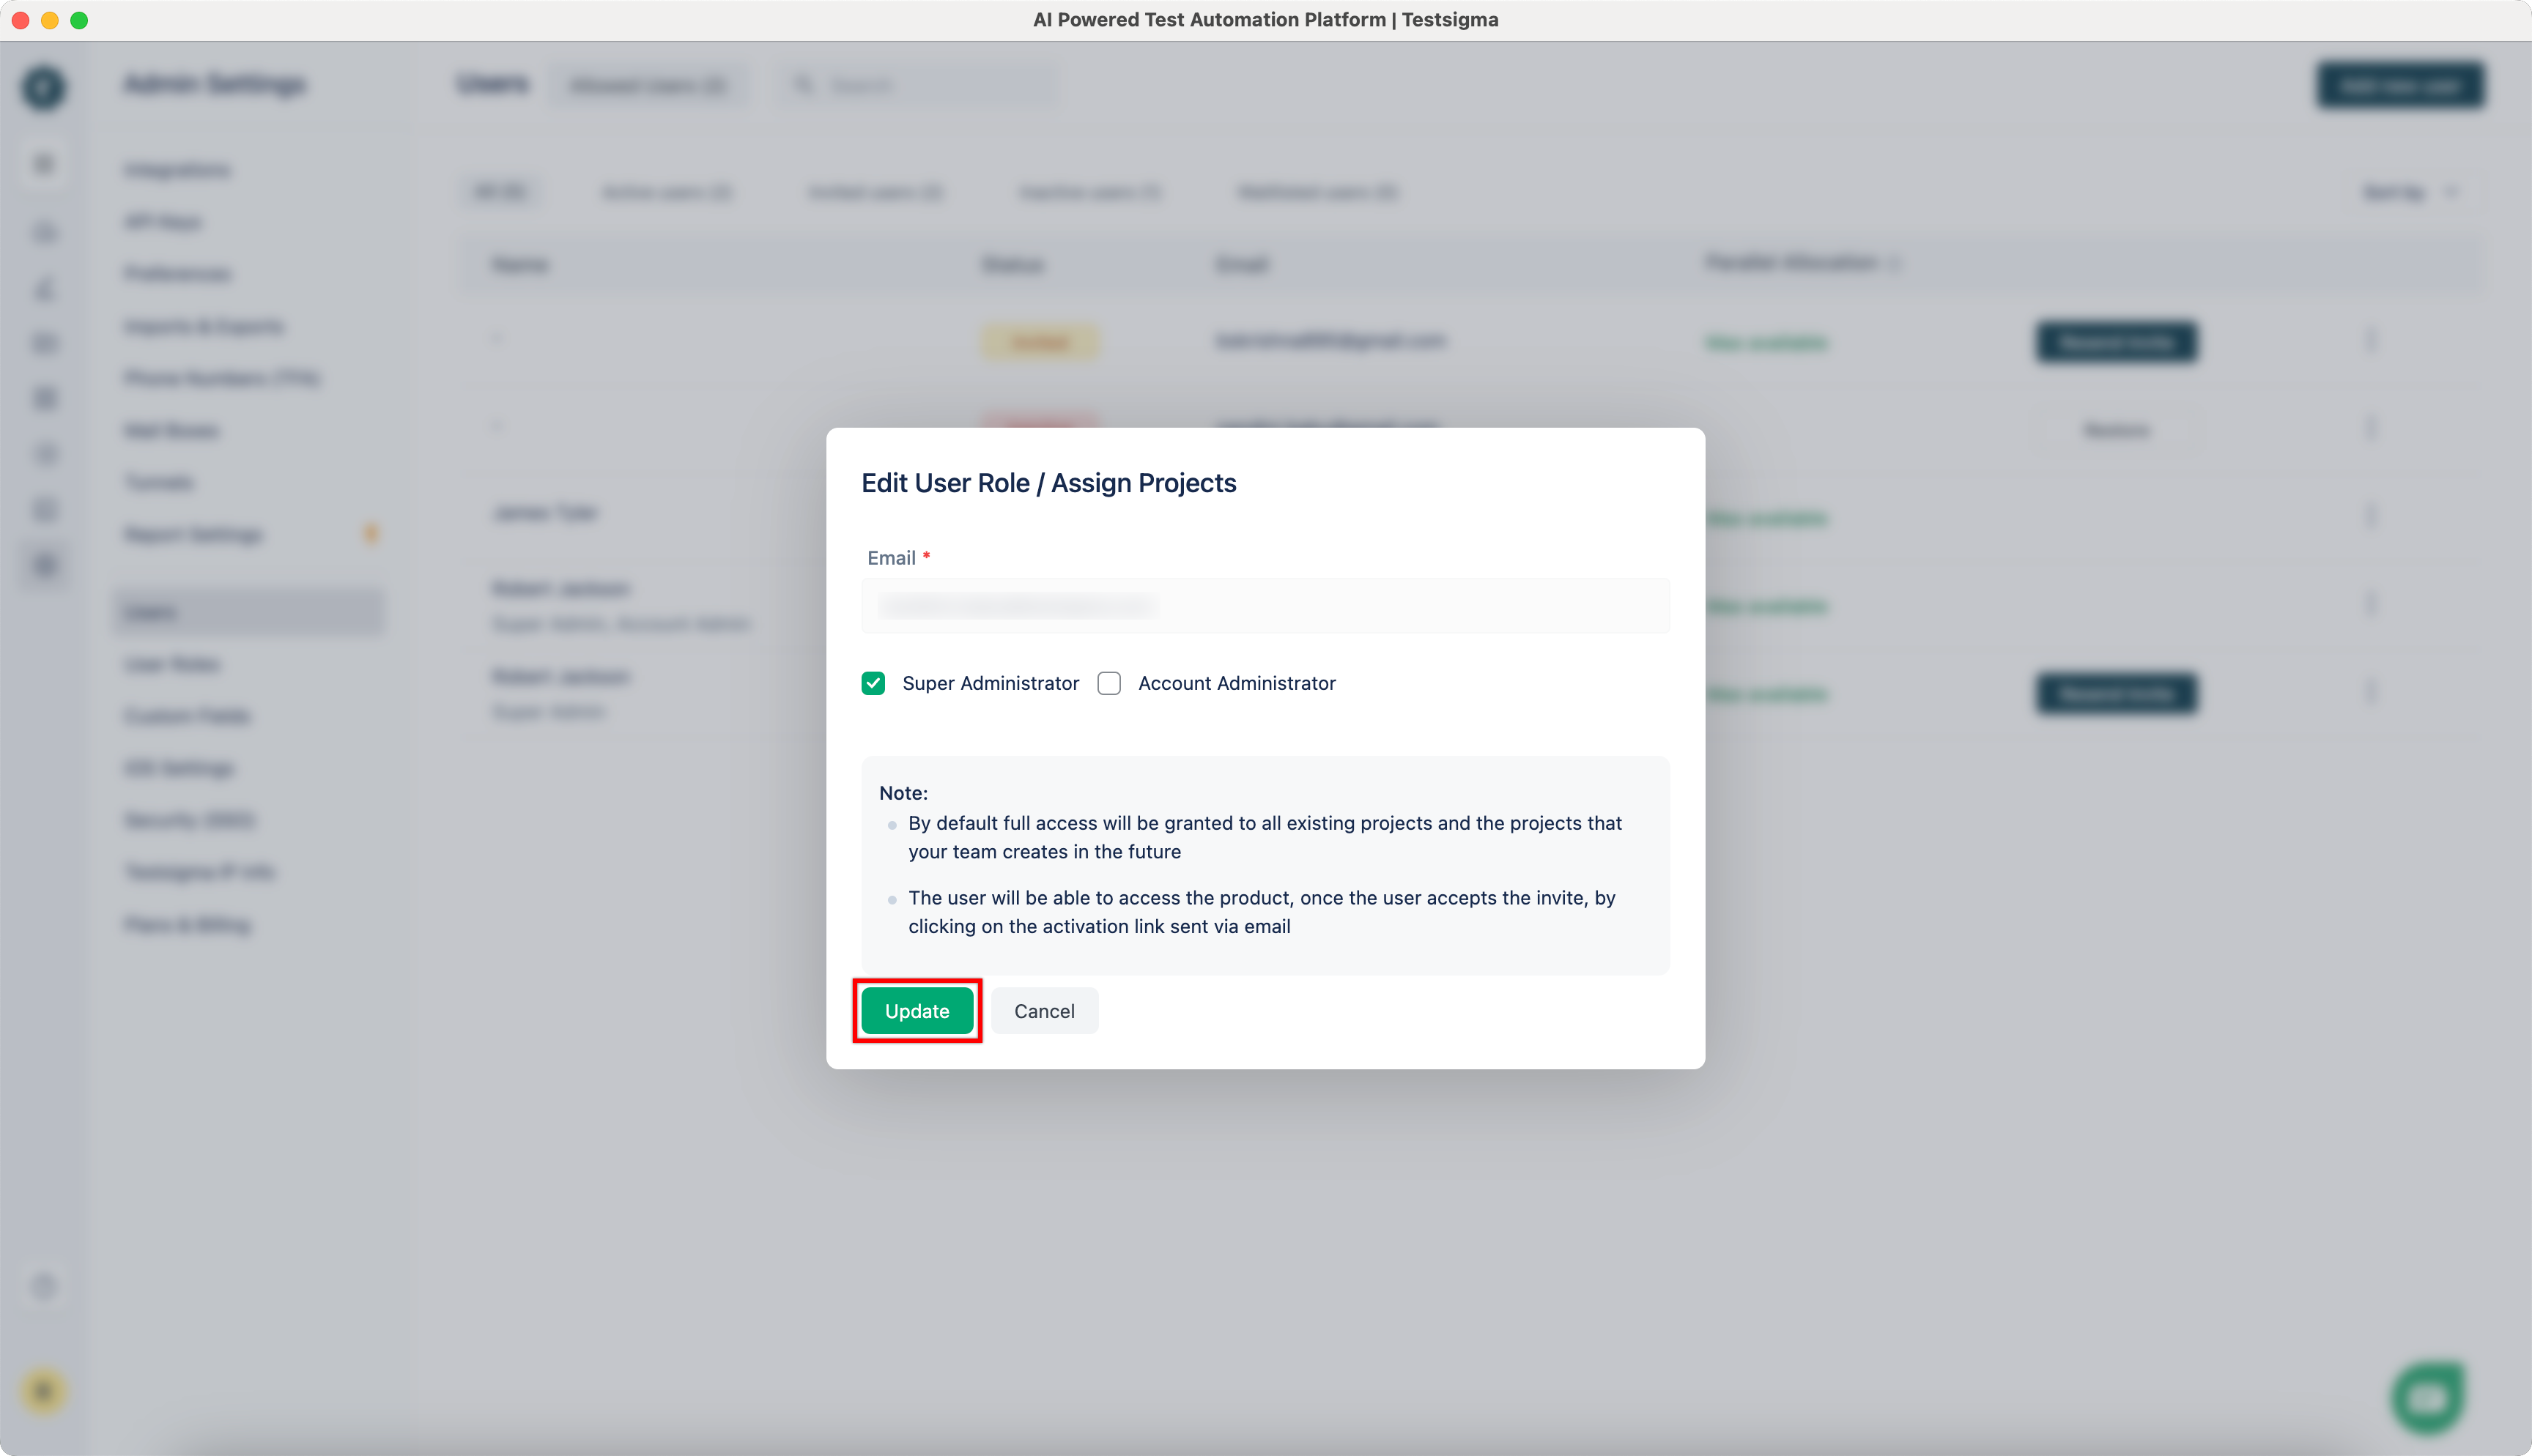
- On Edit User Role / Assign Projects prompt, select roles and click Update.
Assign Roles to Users from Project Settings
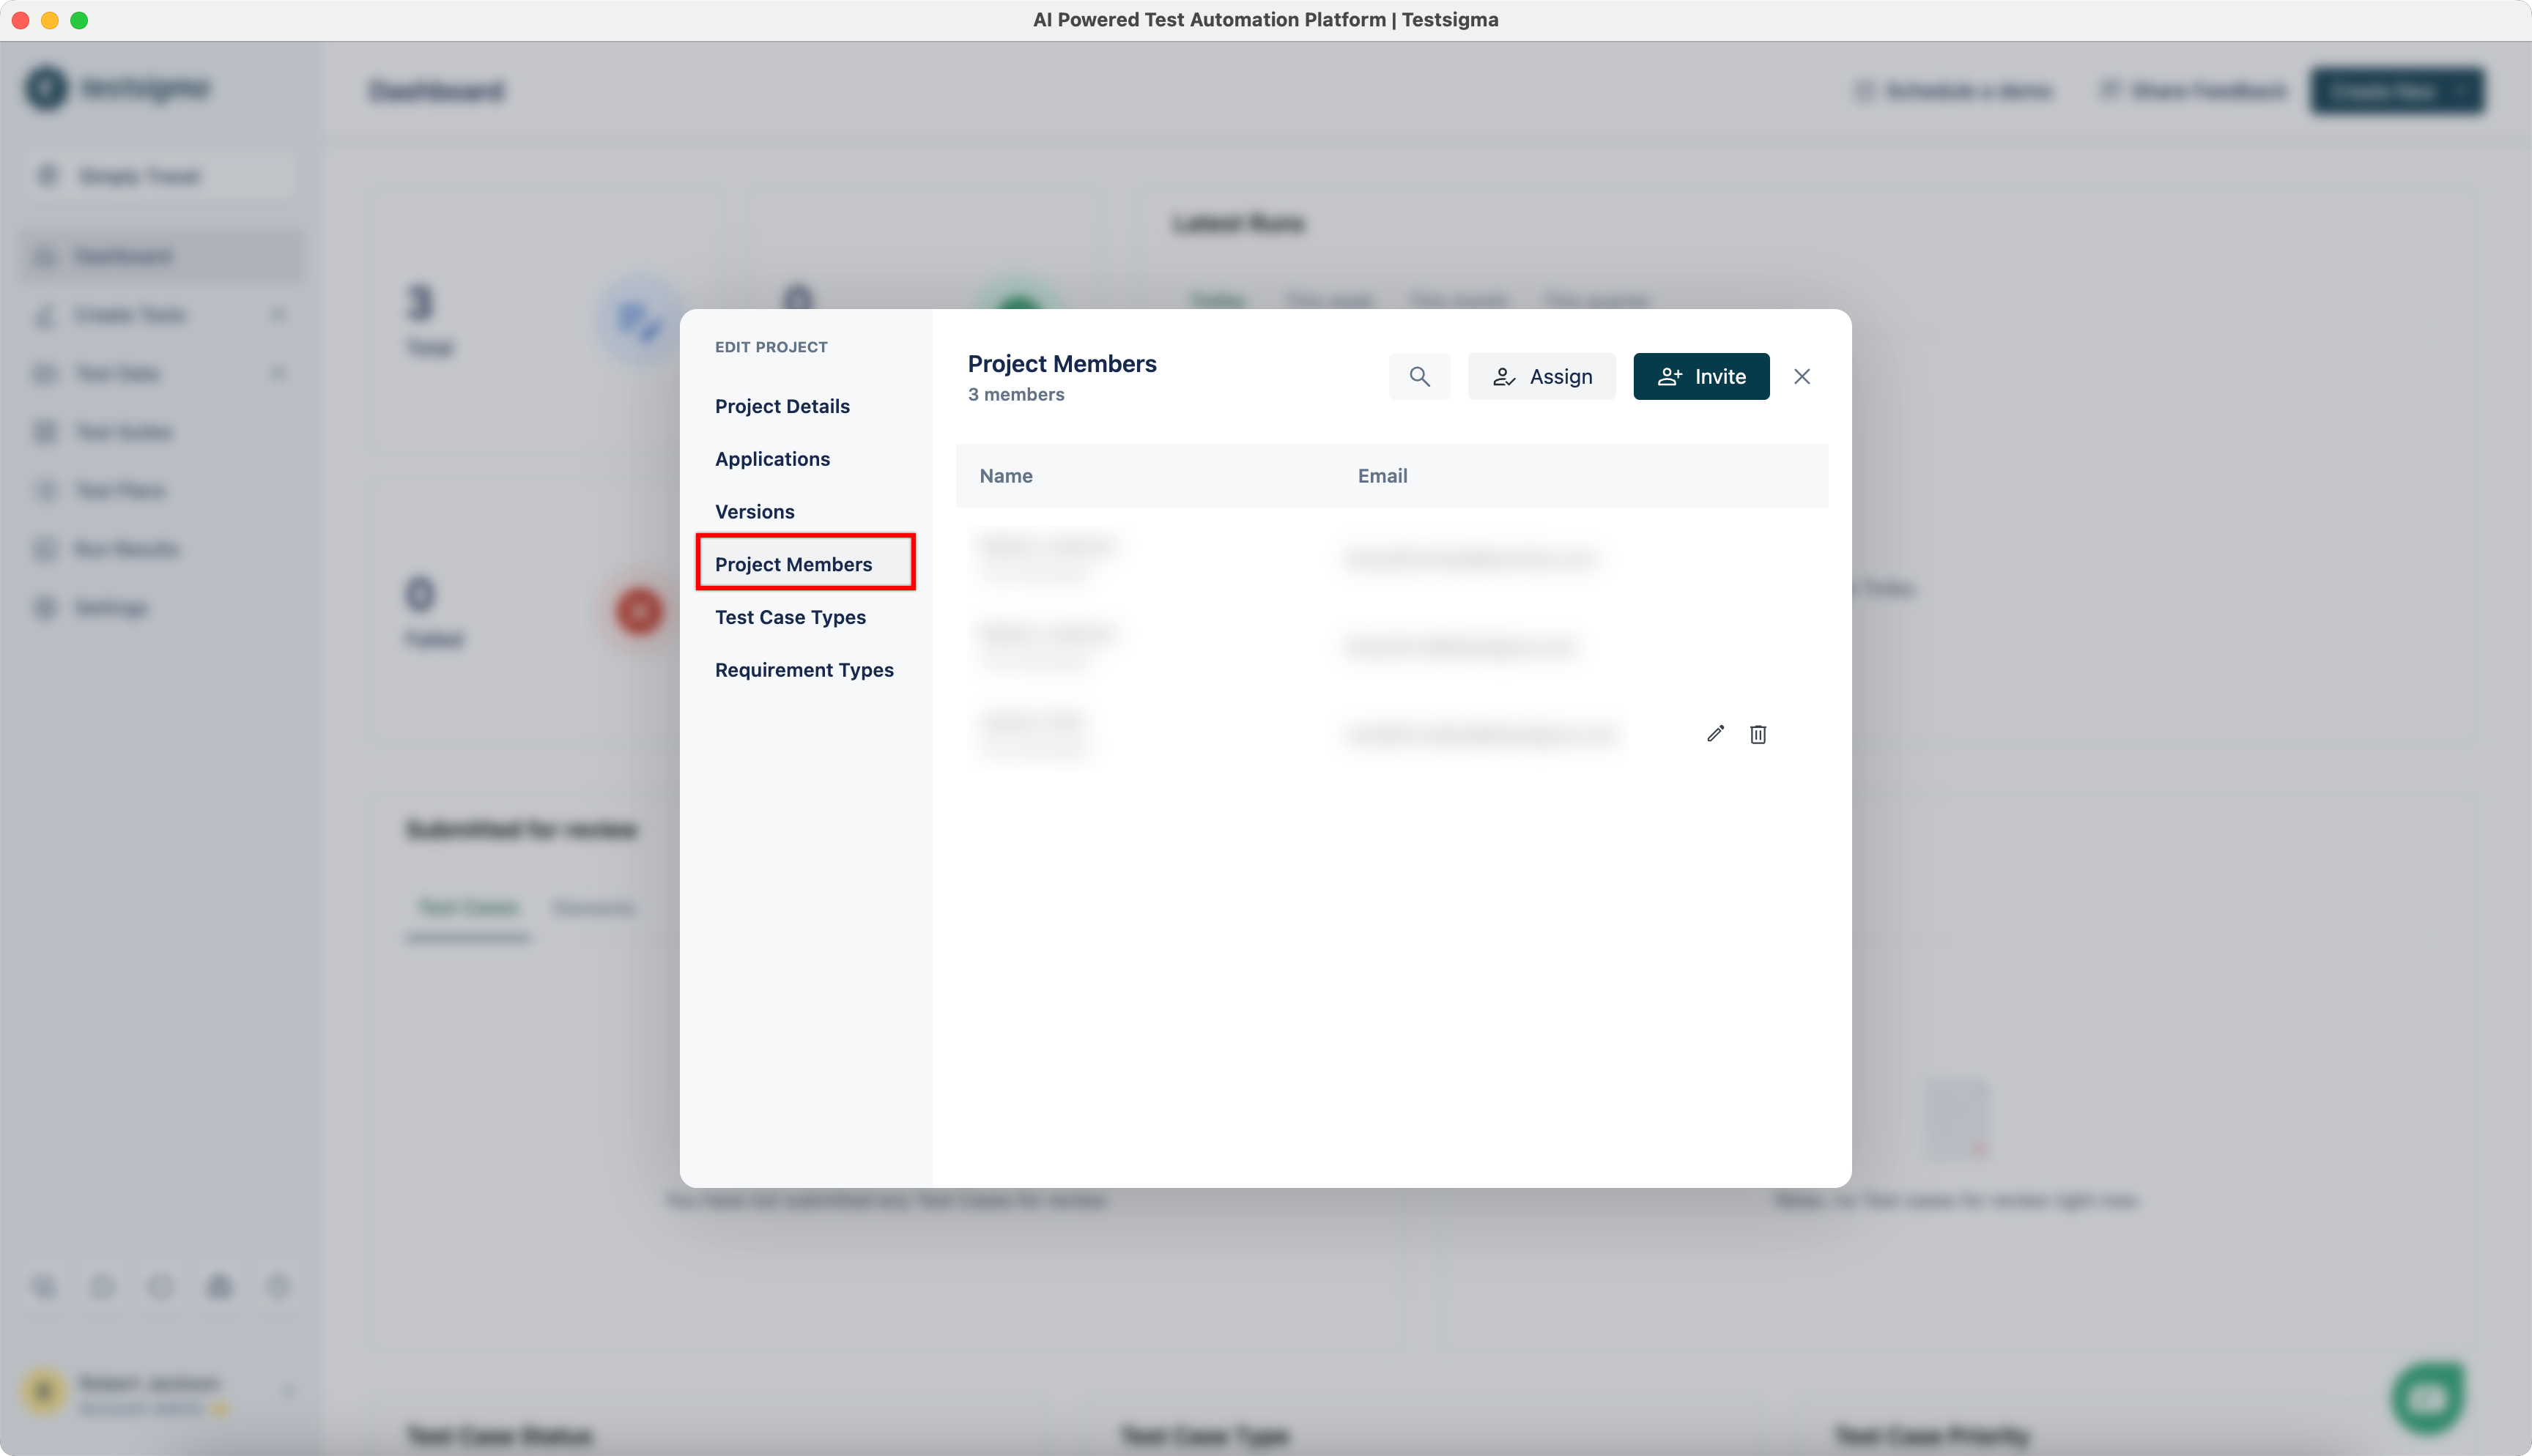
- Navigate to Project > Project Settings, click on Project Members.
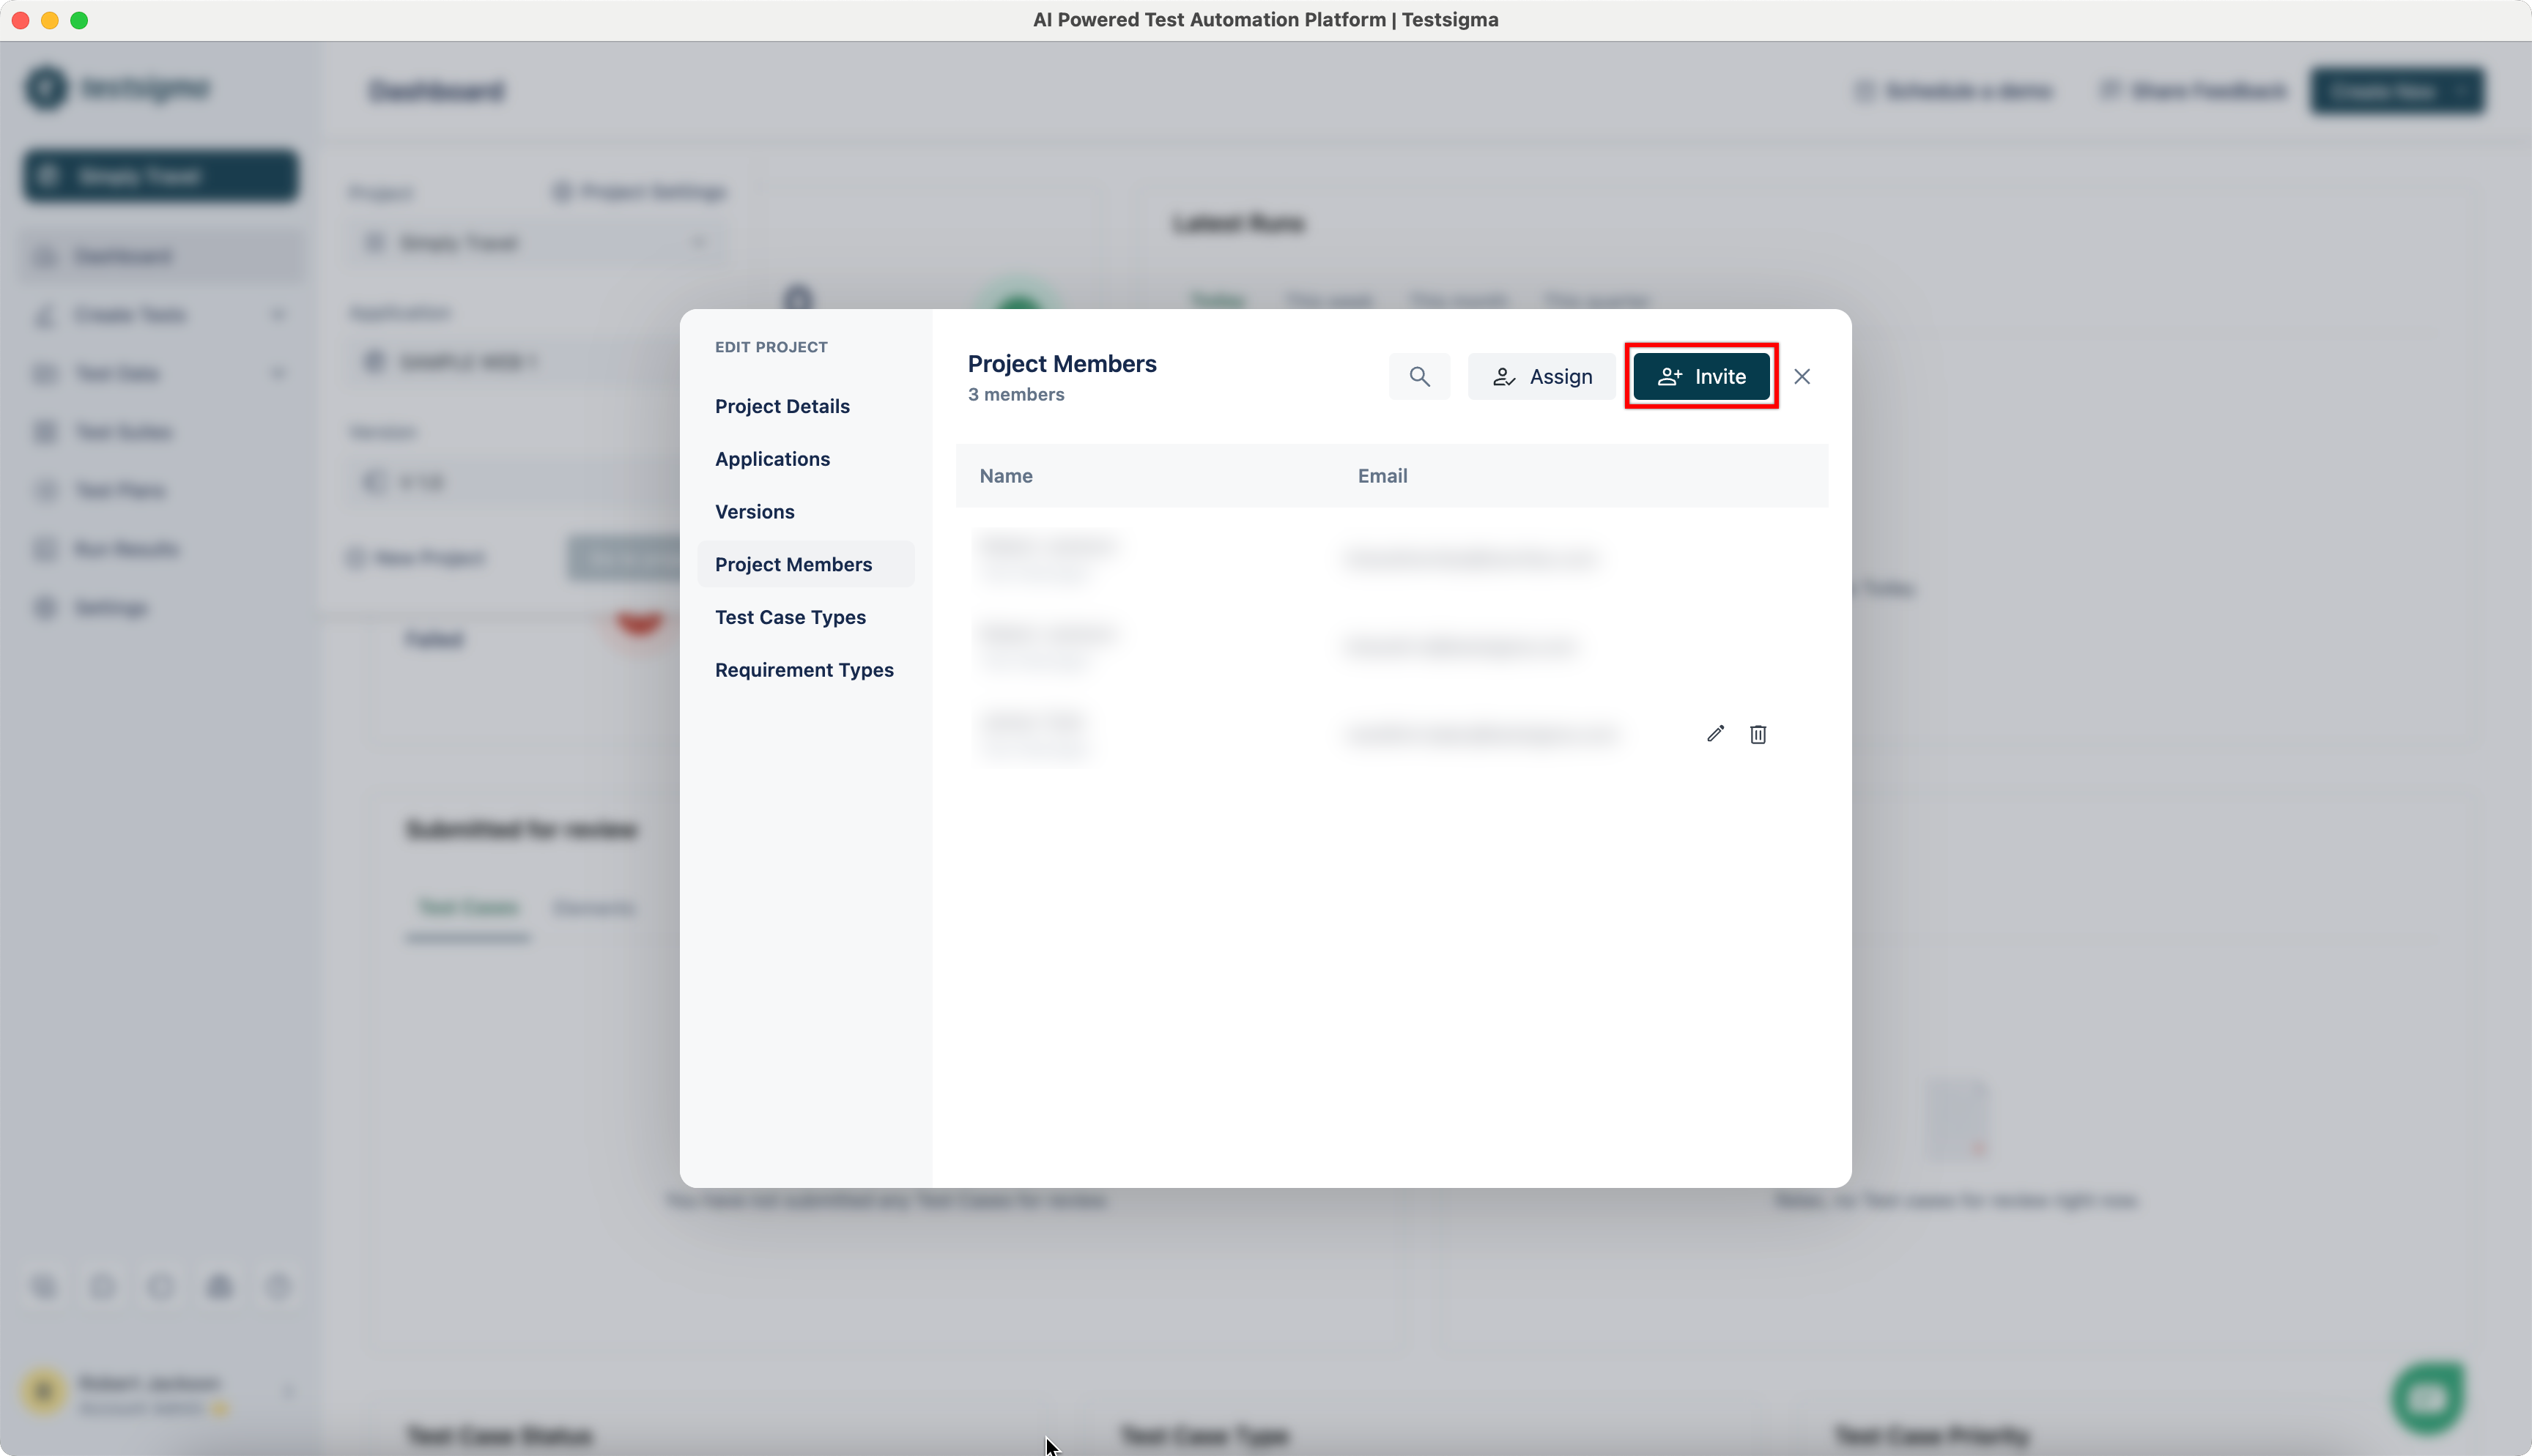
- Click Invite.
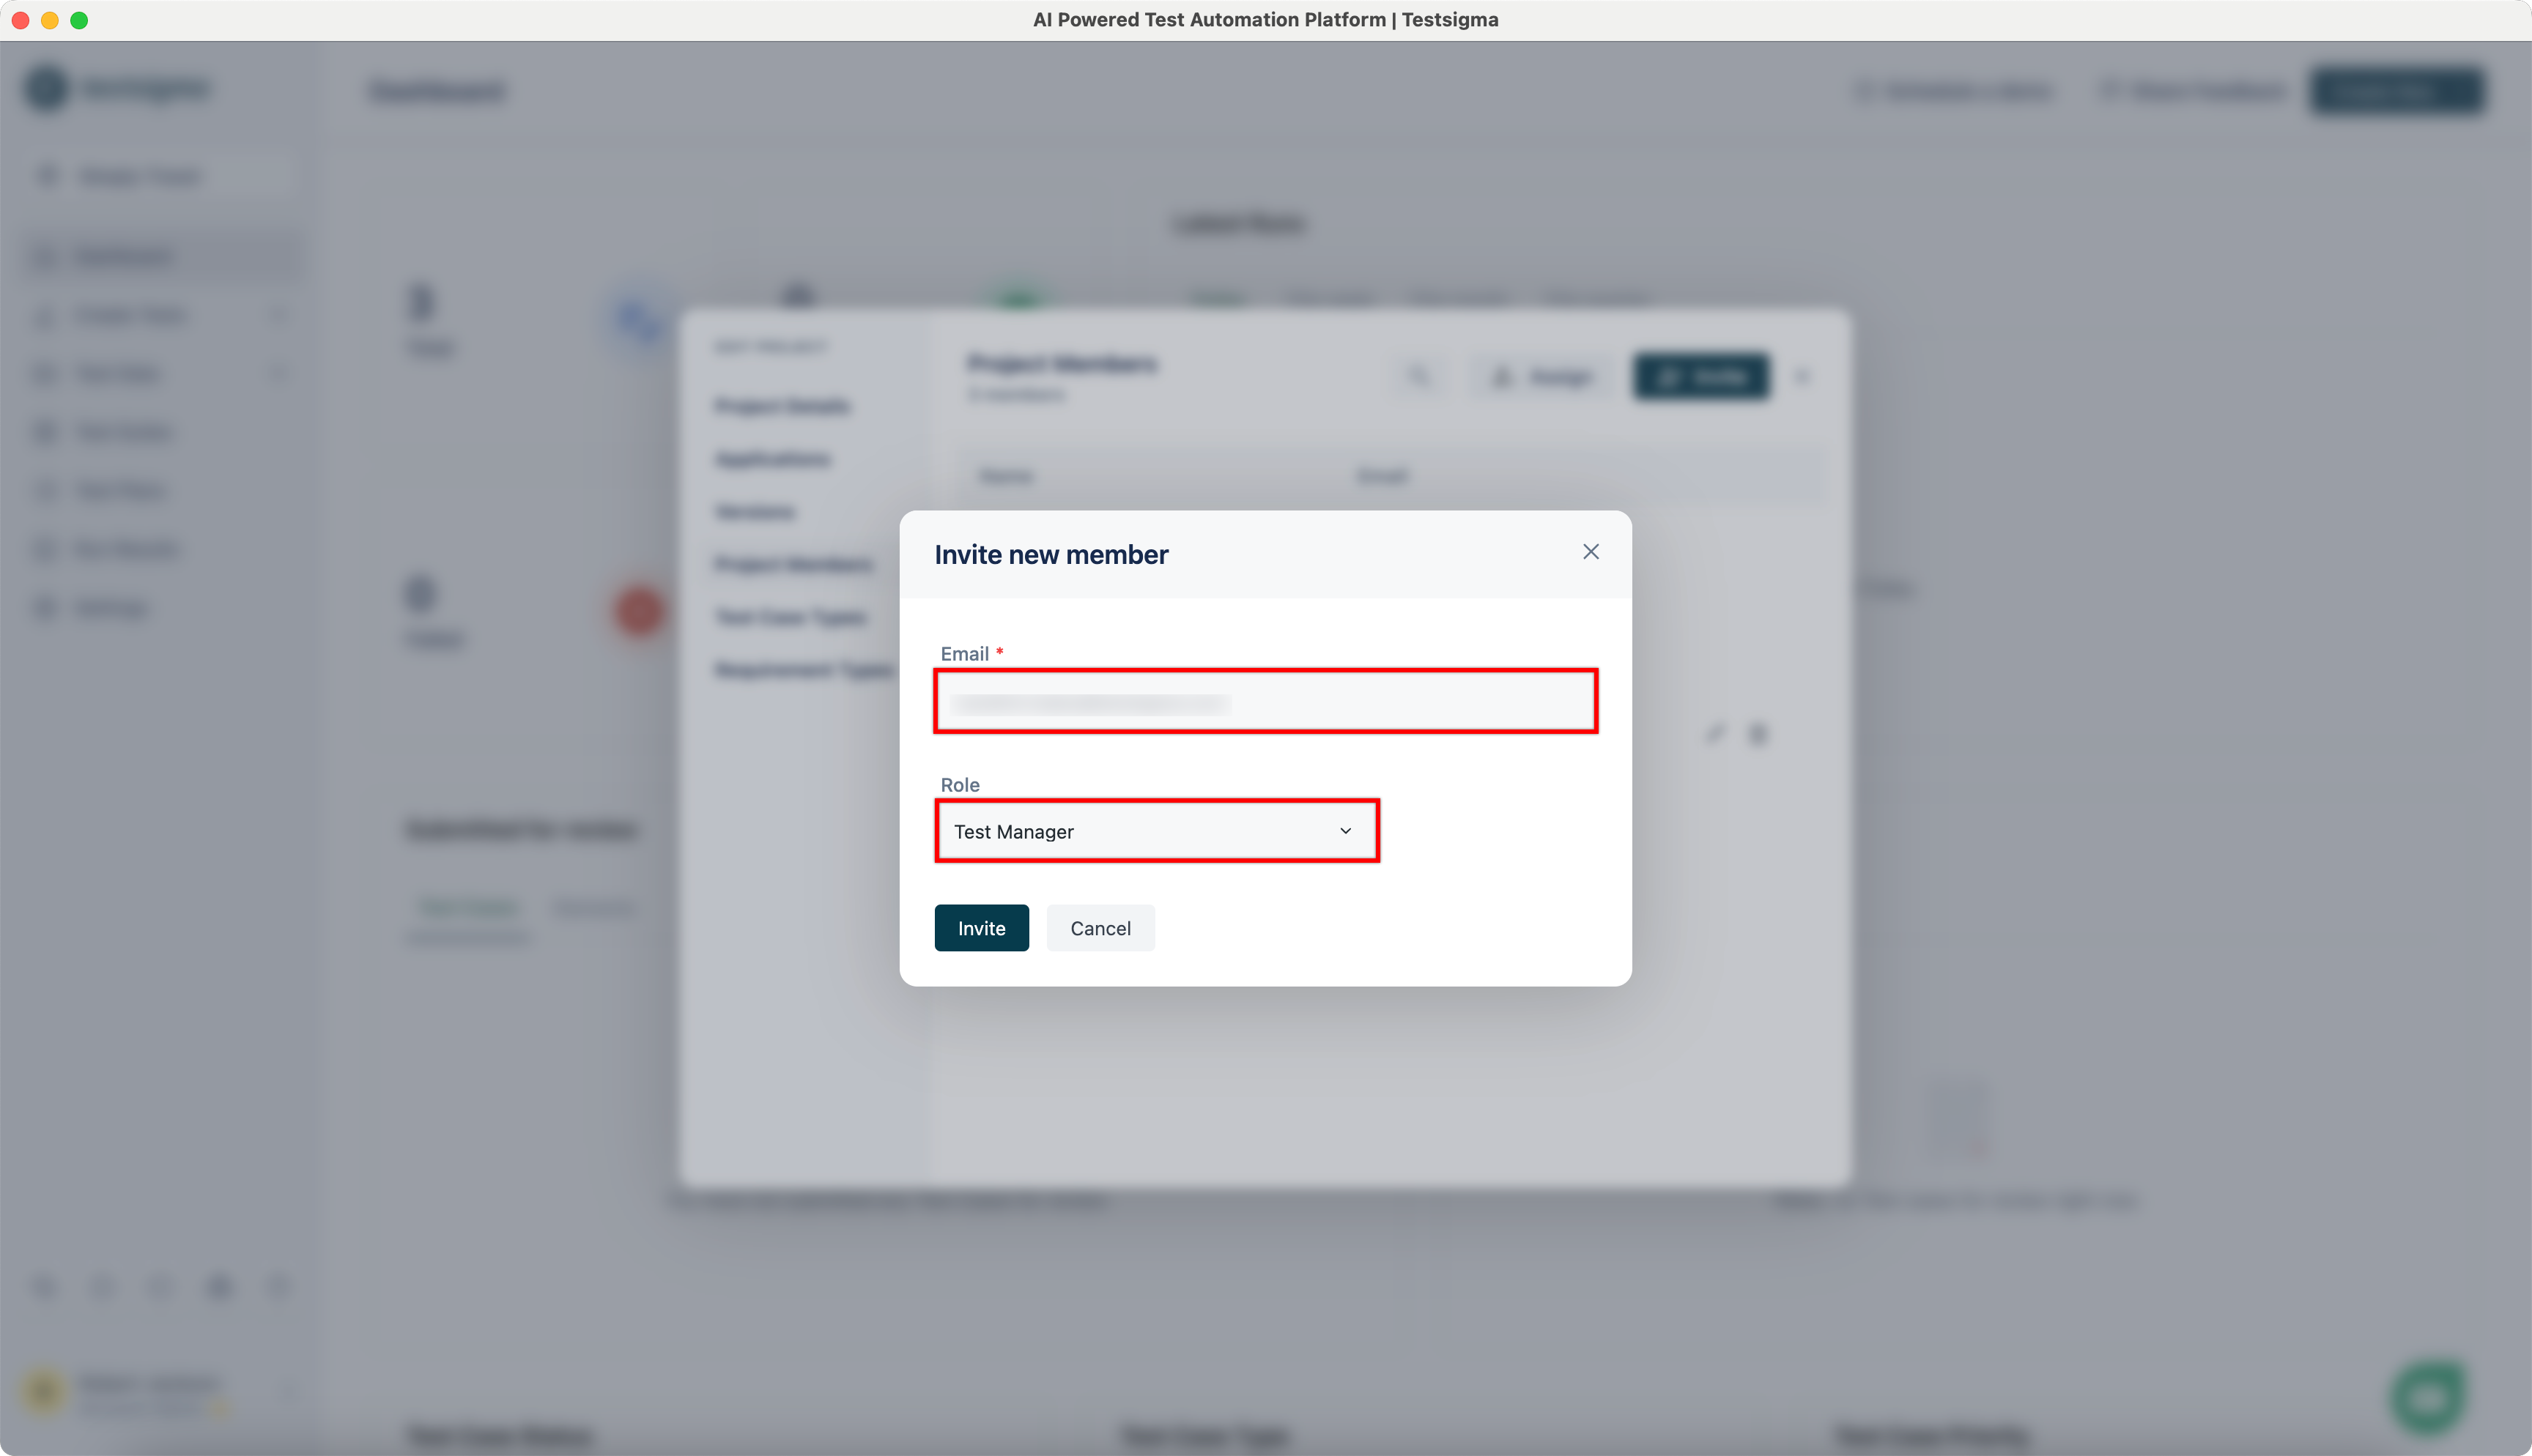
- On Invite New Member dialog, enter Email and select the Role you want to assign.
- Click Invite.
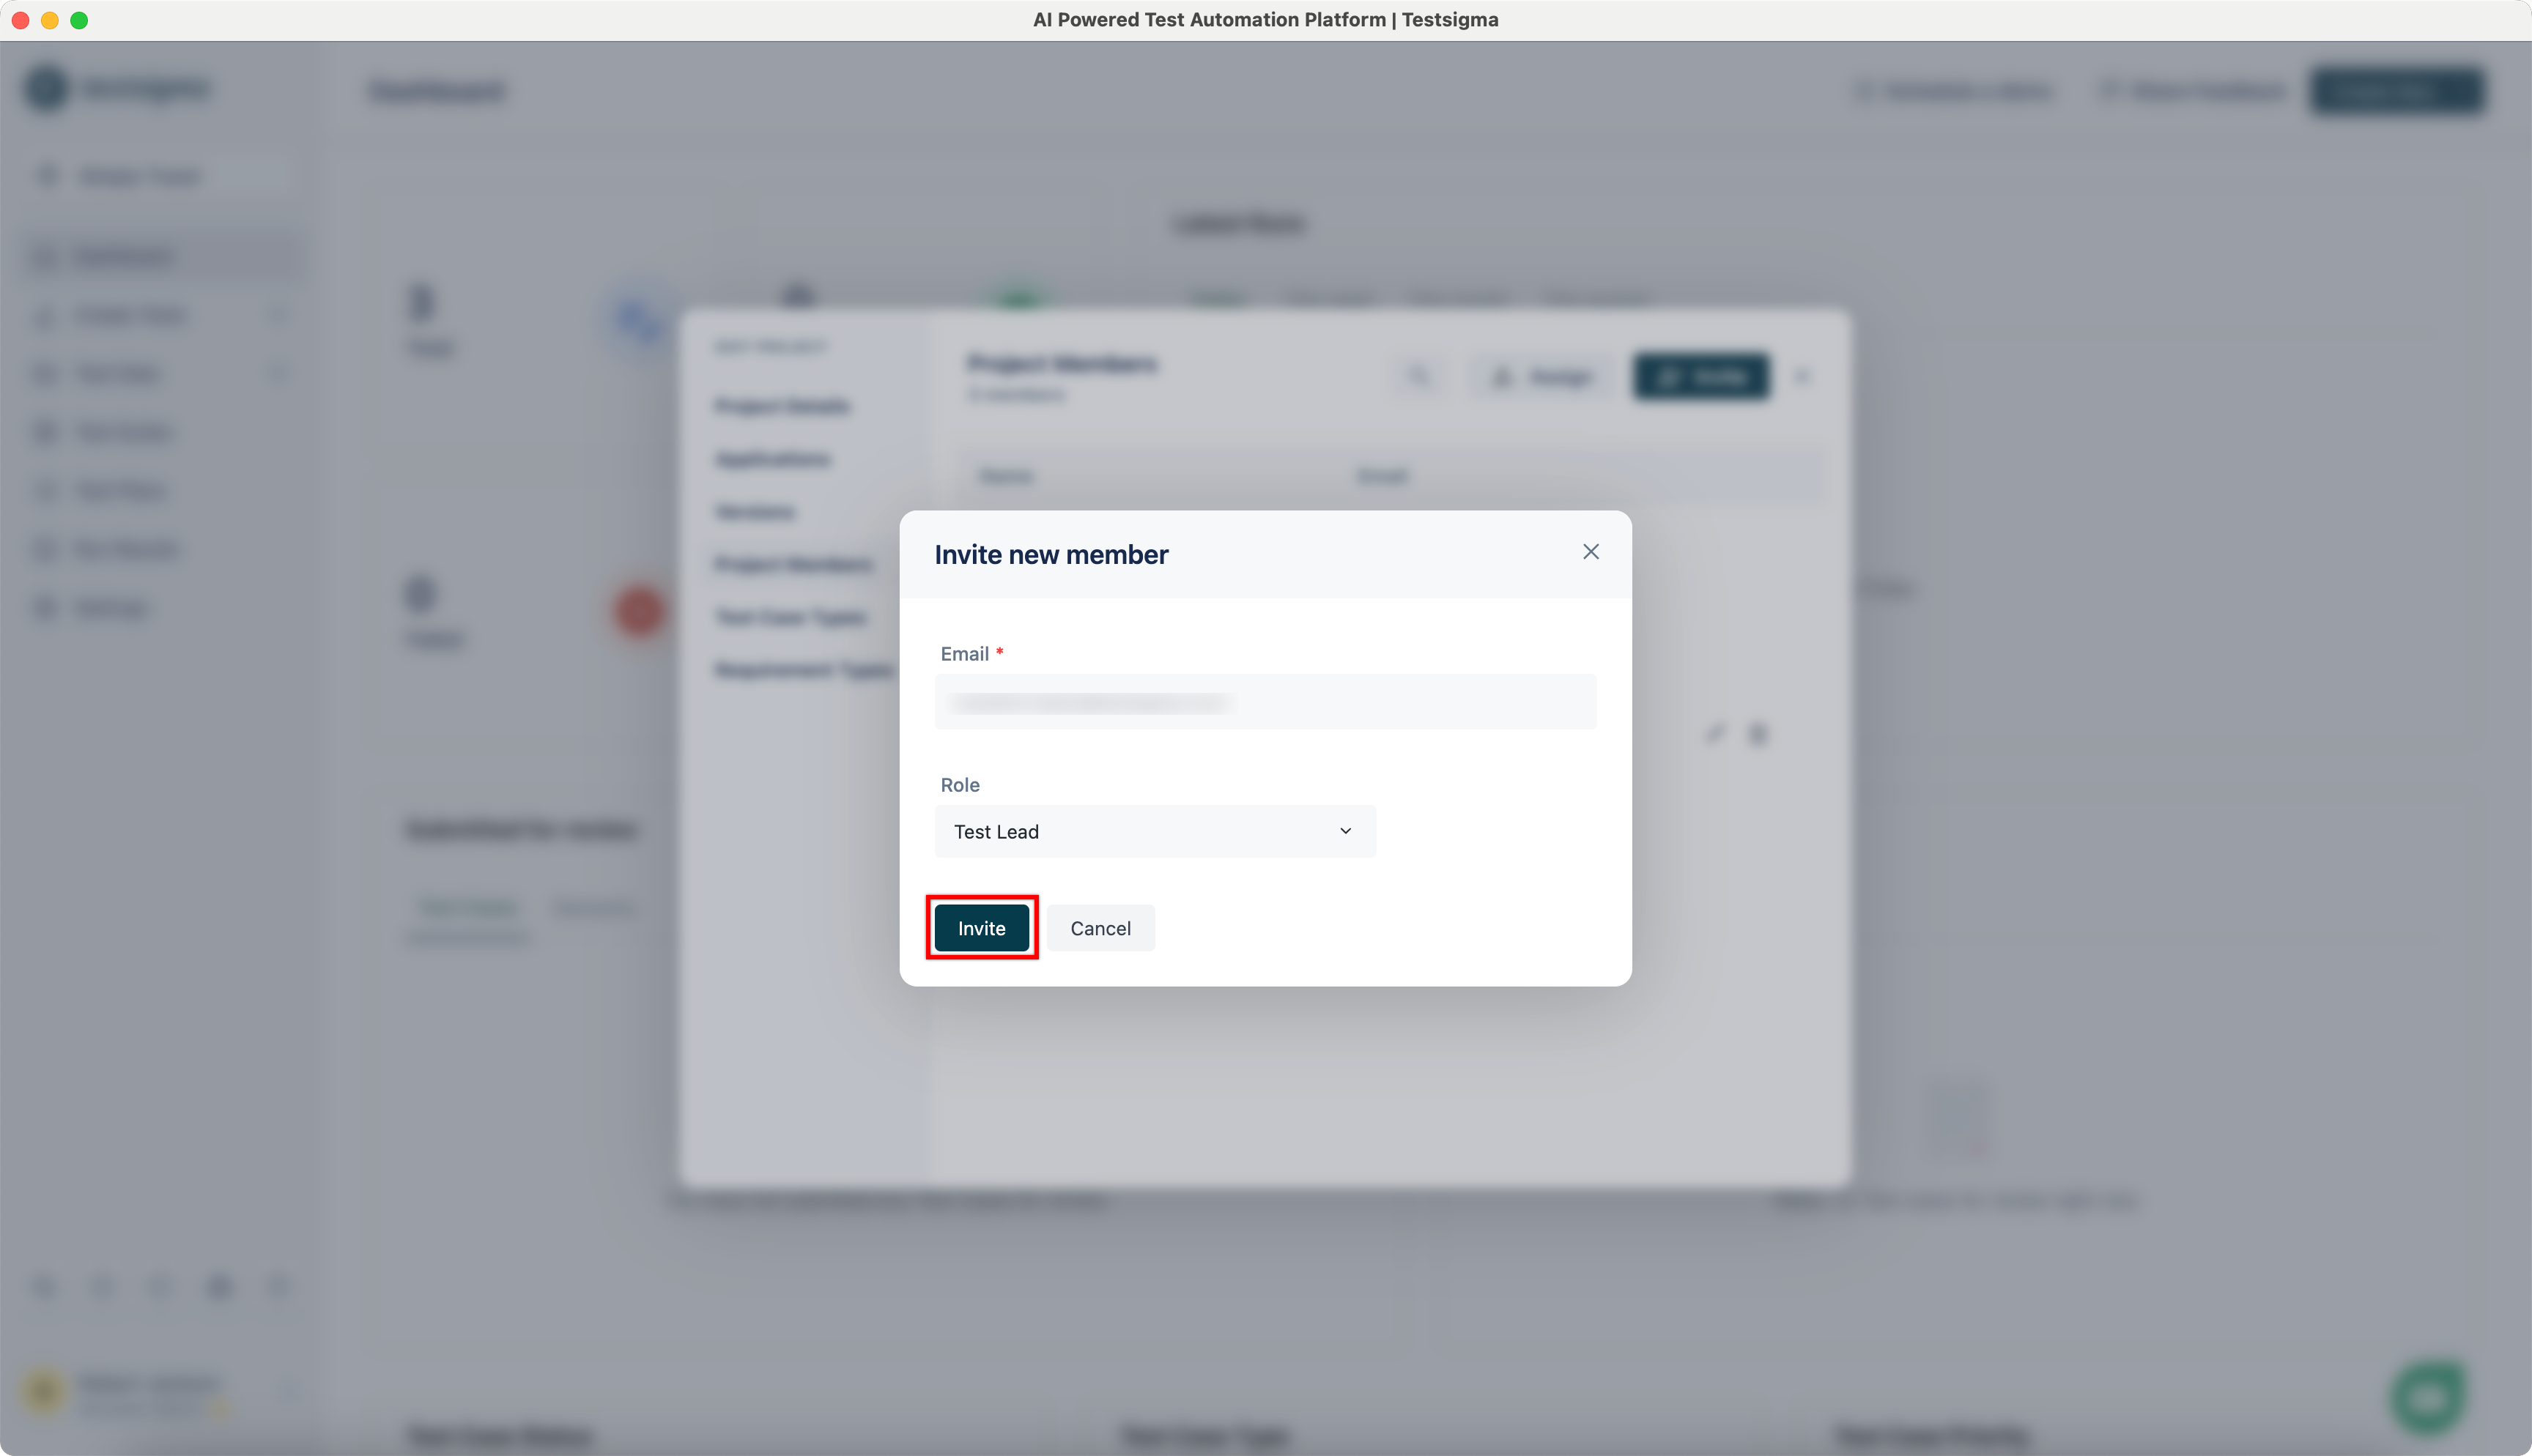
You can only add users as Test Manager, Test Lead, and Automation Engineer/Developer. To assign Super Admin roles, refer to the documentation on assigning projects.
The invited user should receive an invitation email. They will need to join via the link sent in the email. Once they have joined they should be able to work on the project according to the role assigned to them.
Delete Users From a Project
If you're the super administrator of the project, you can delete users.
- Navigate to Project > Project Settings, click Project Members.
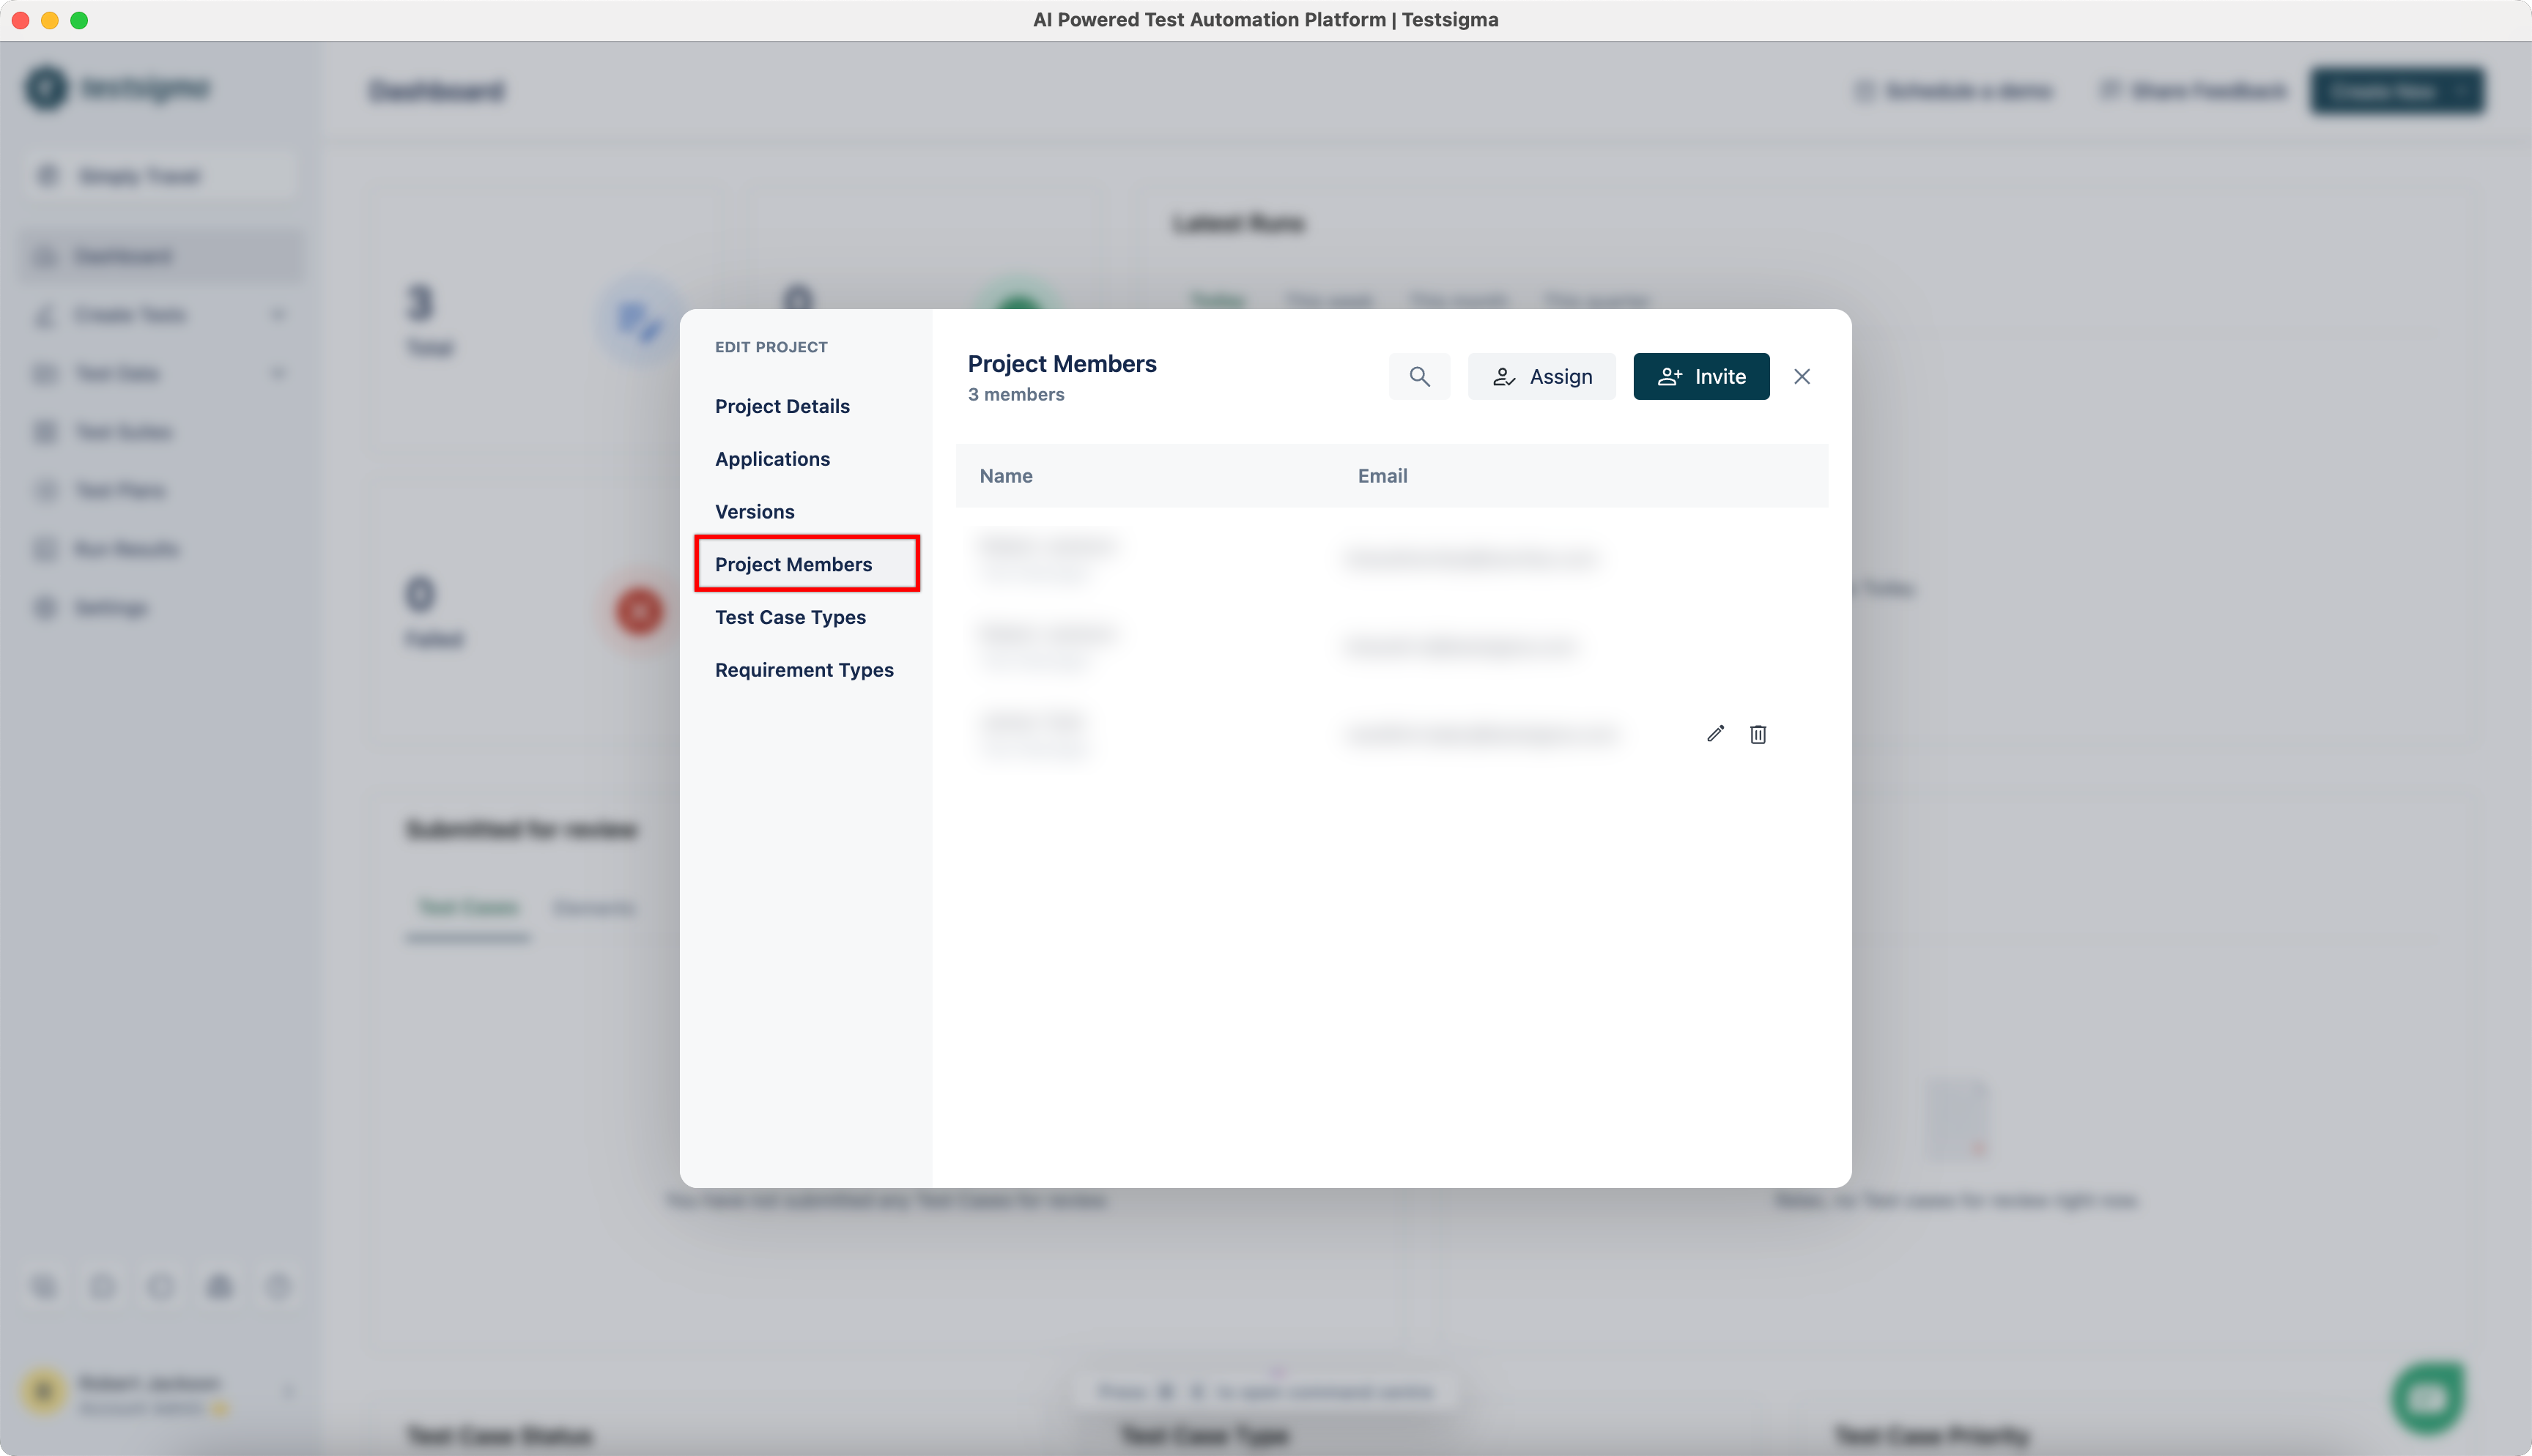
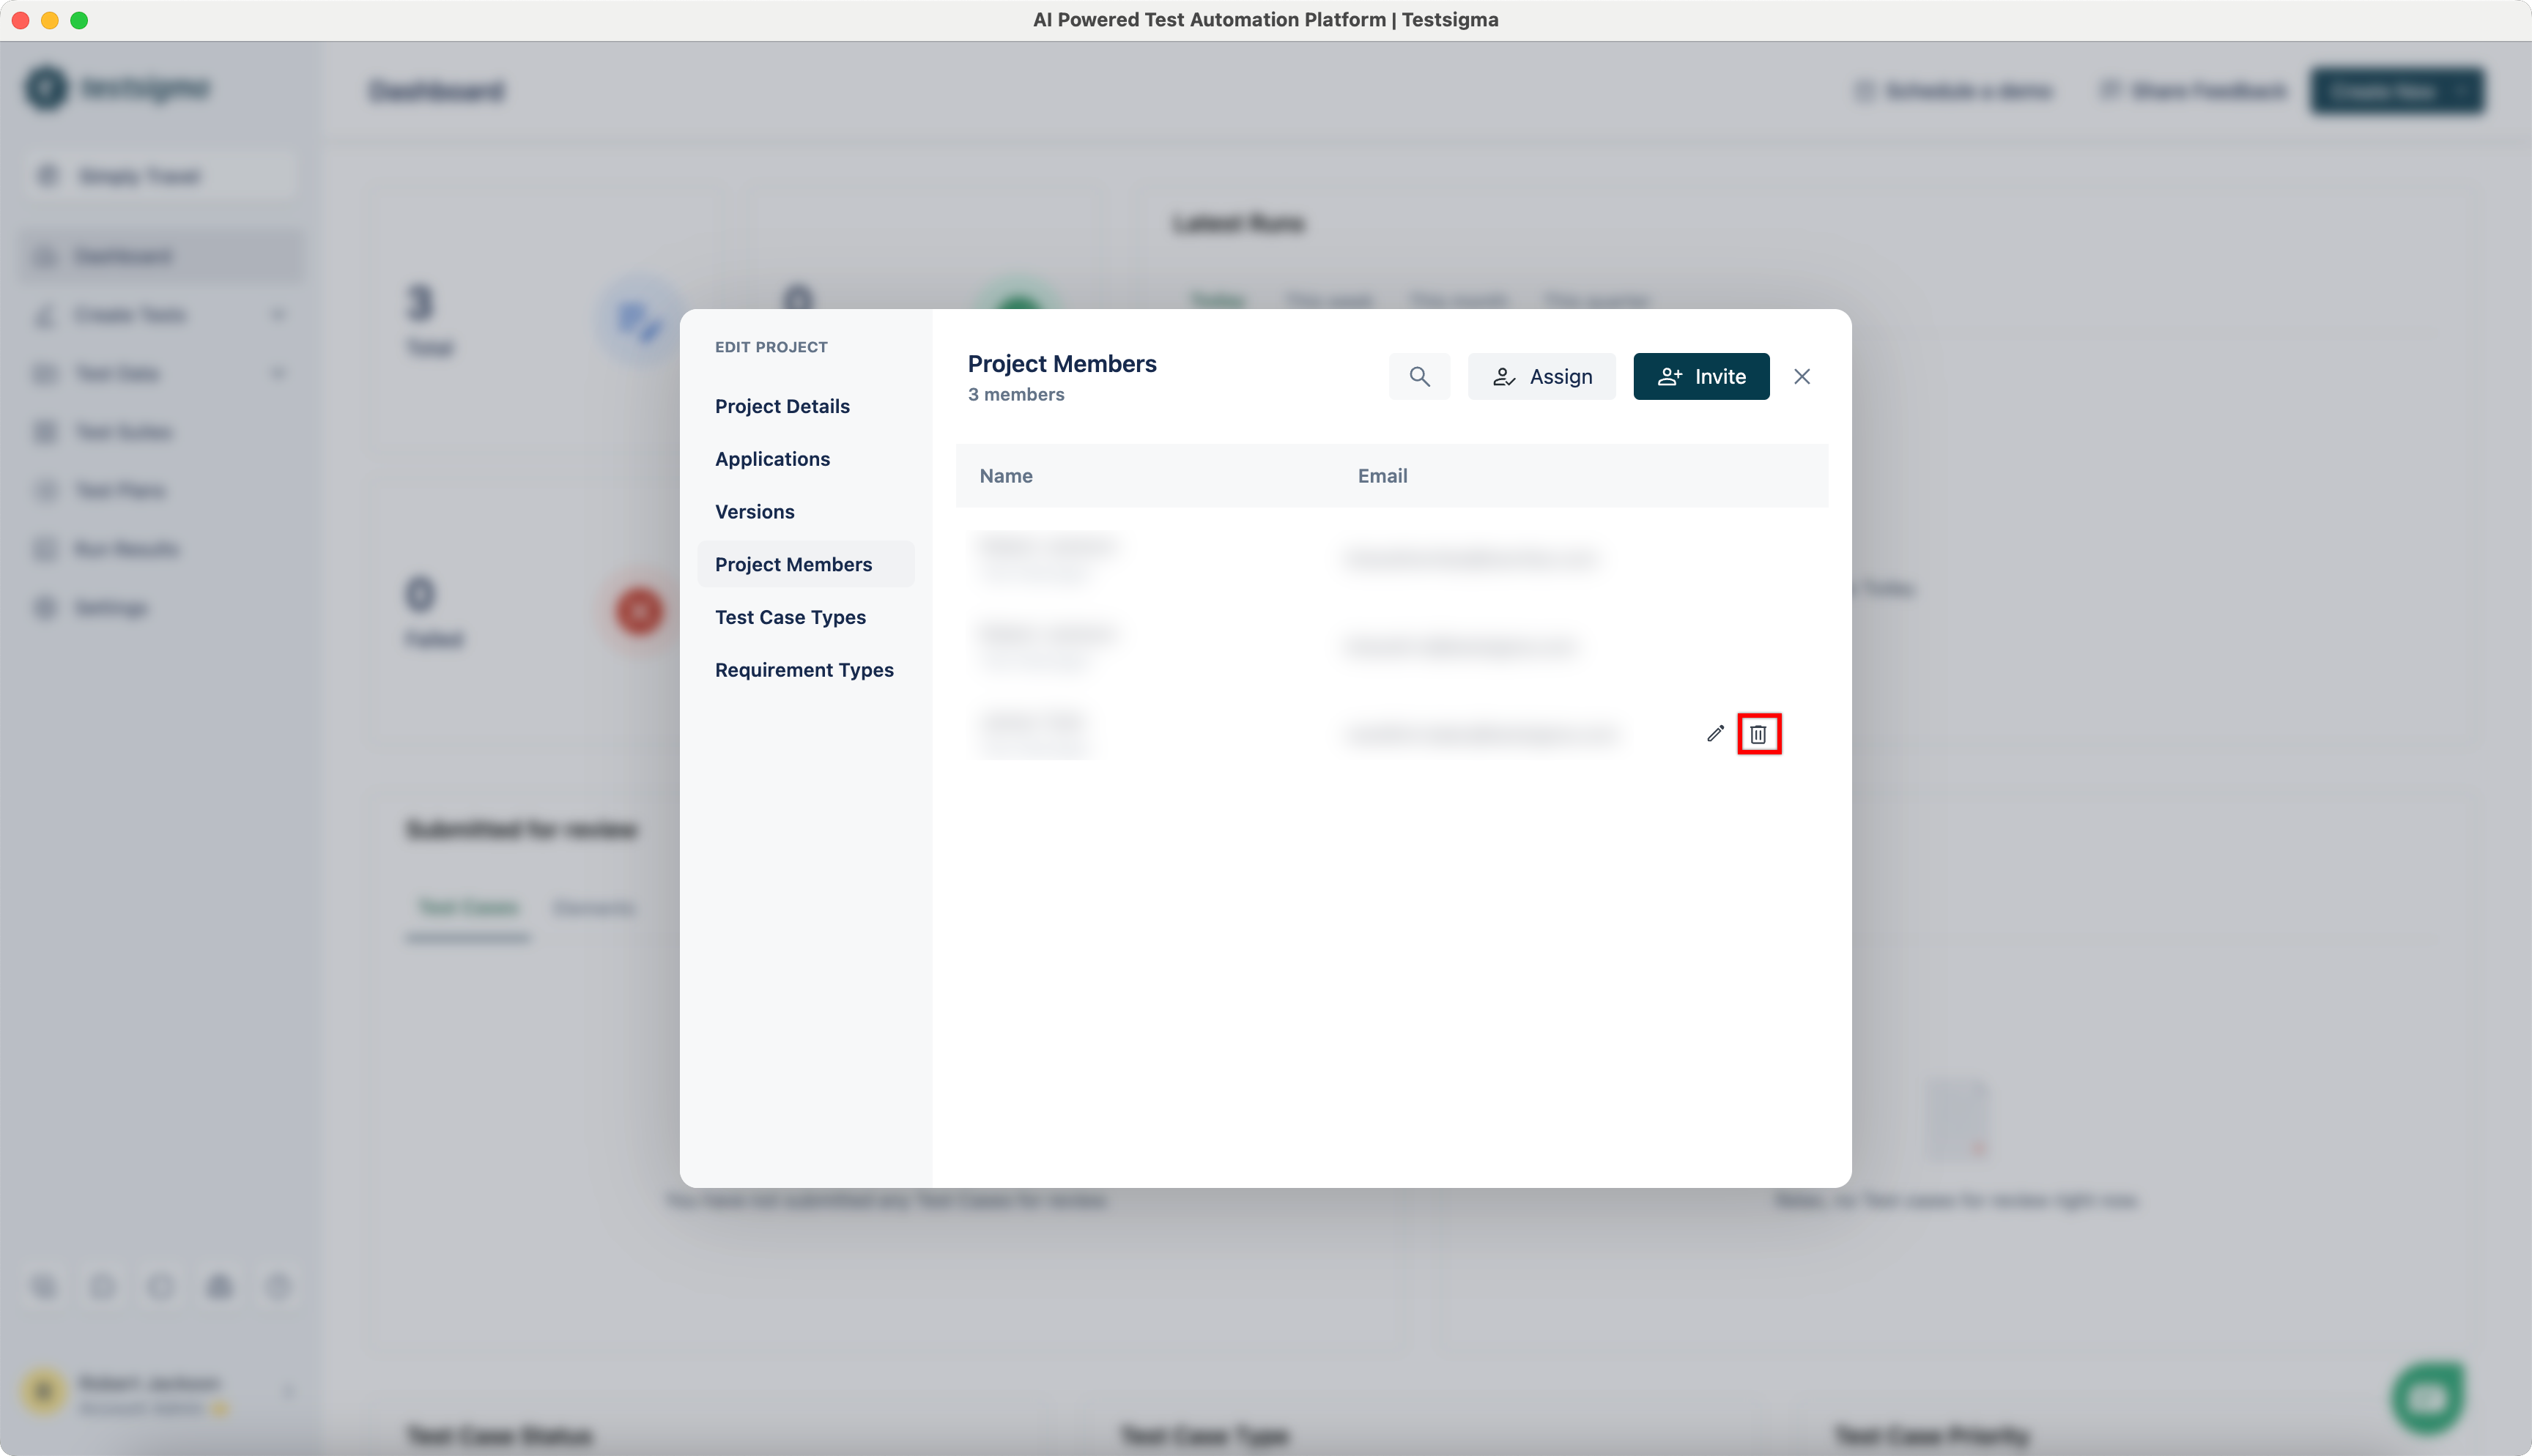
- Hover over the user you want to delete and click Delete.
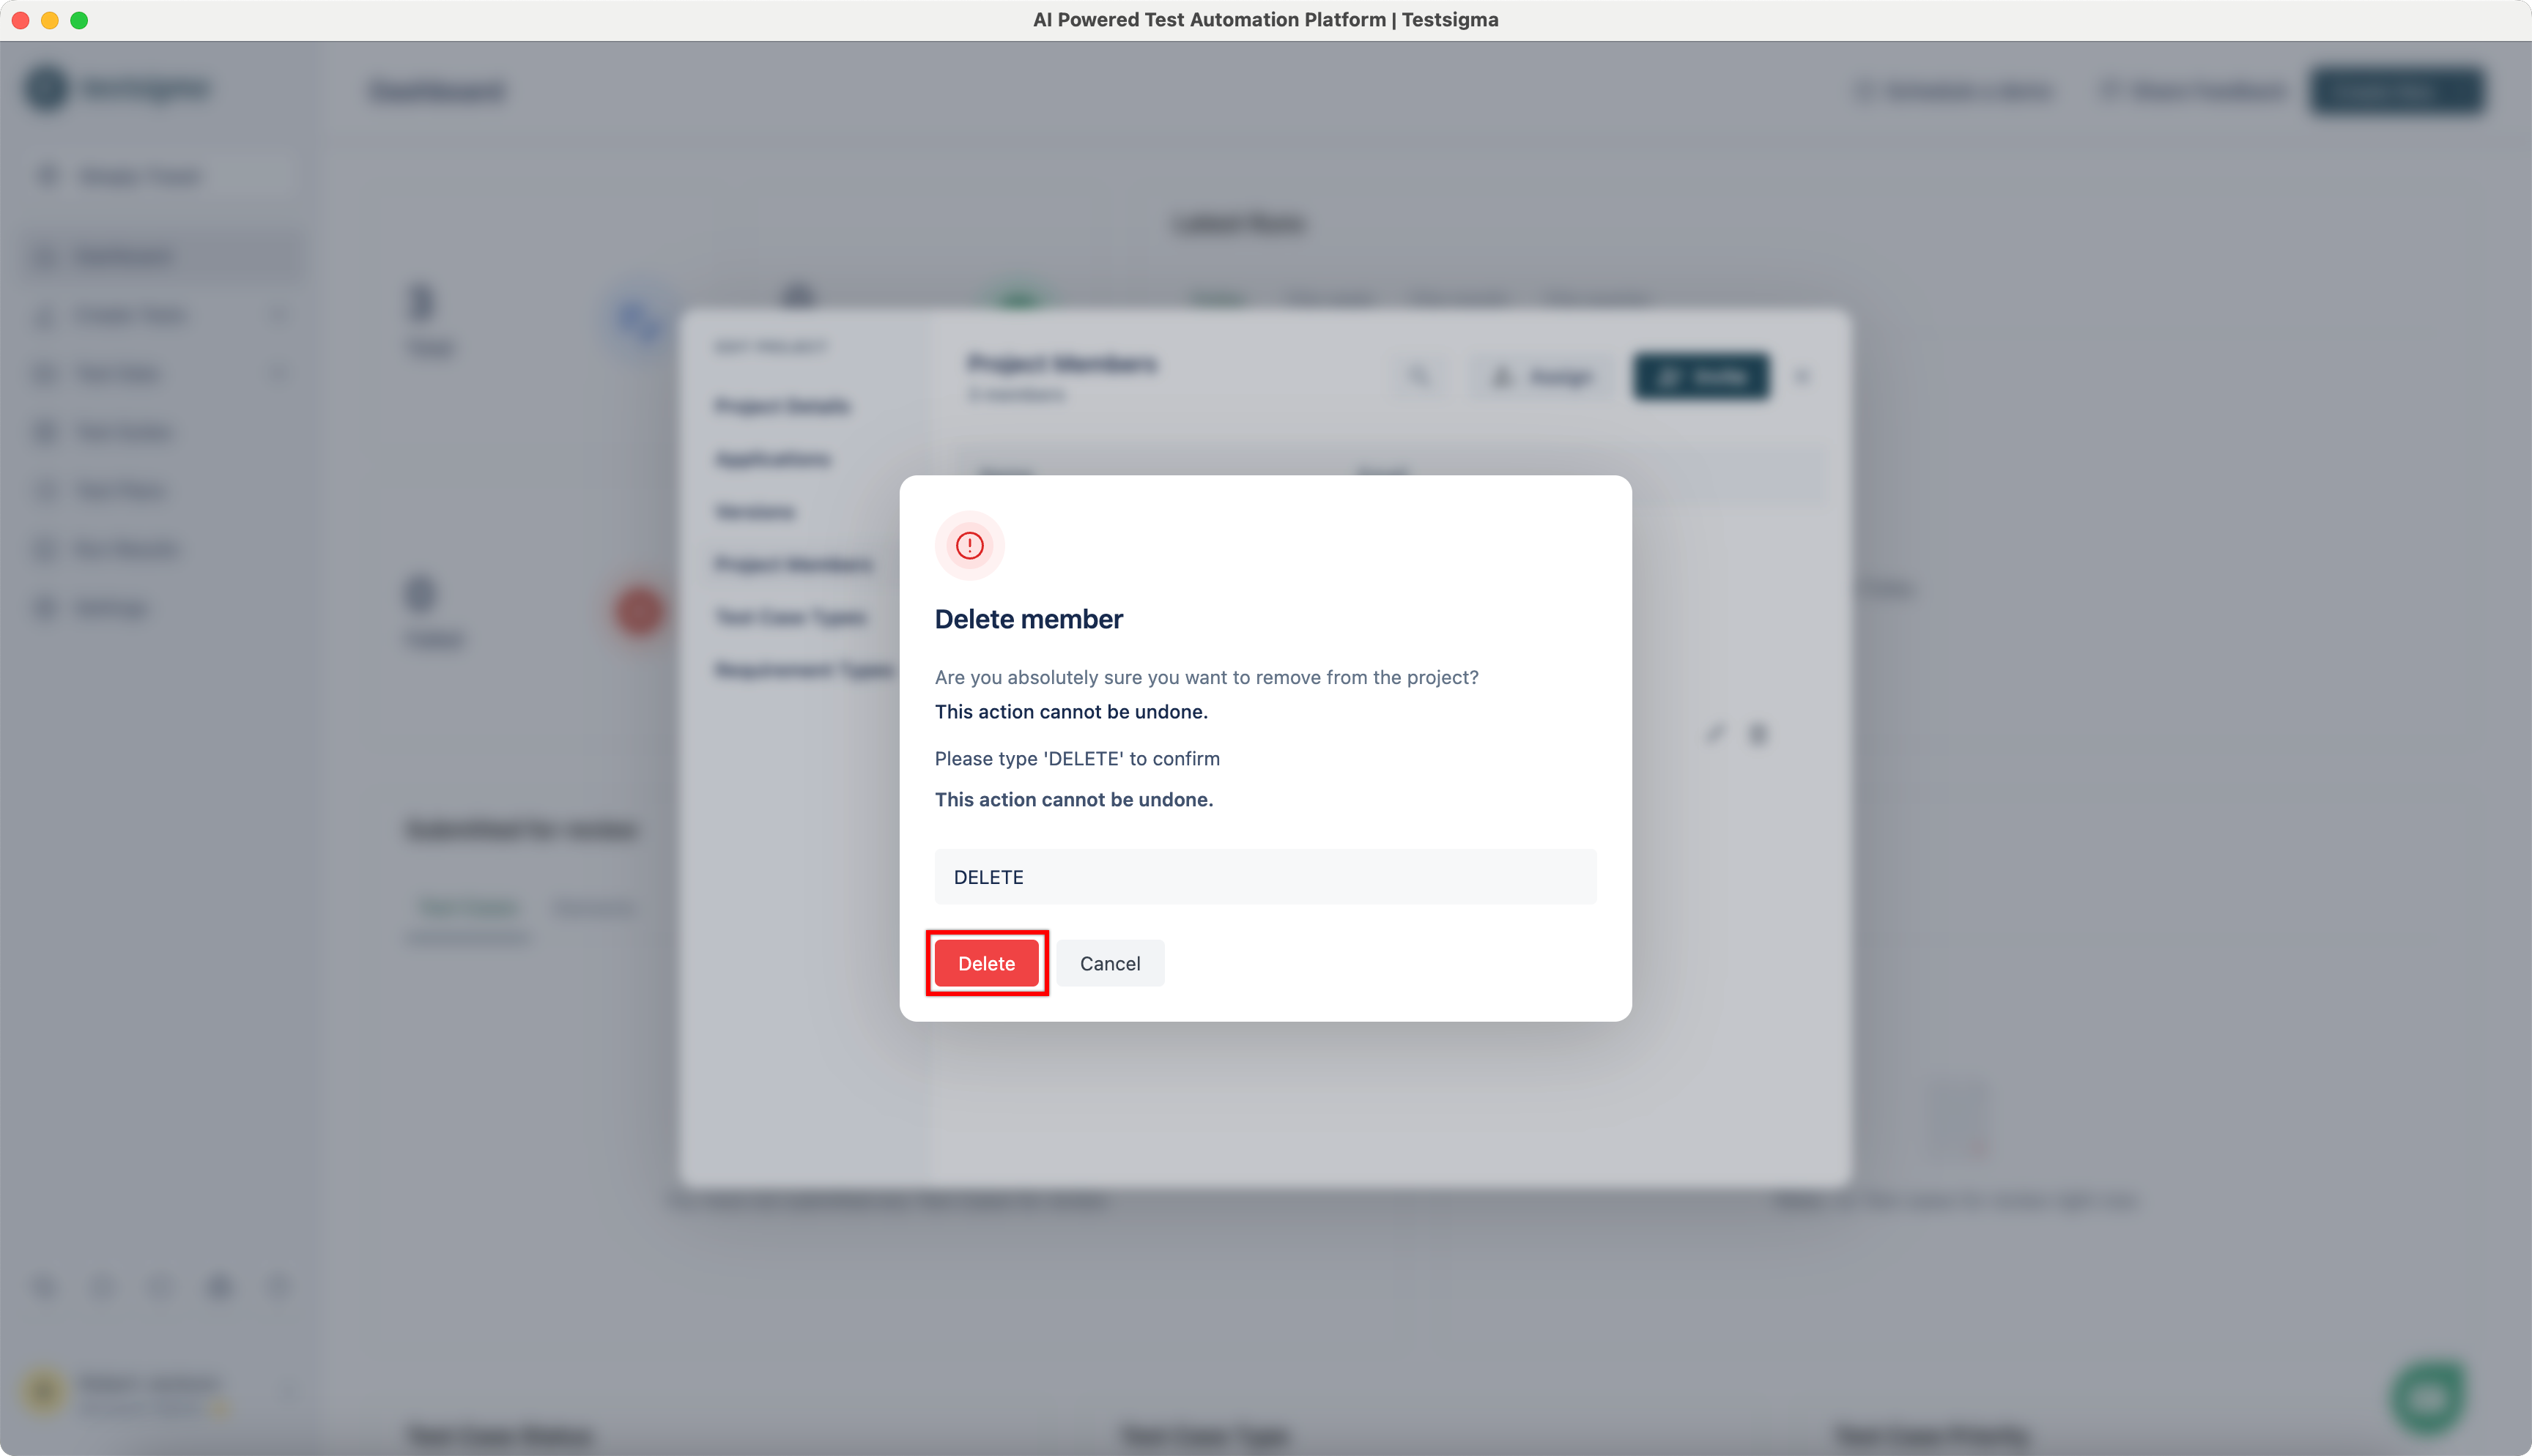
- On Delete Member dialog, enter DELETE and click Delete.
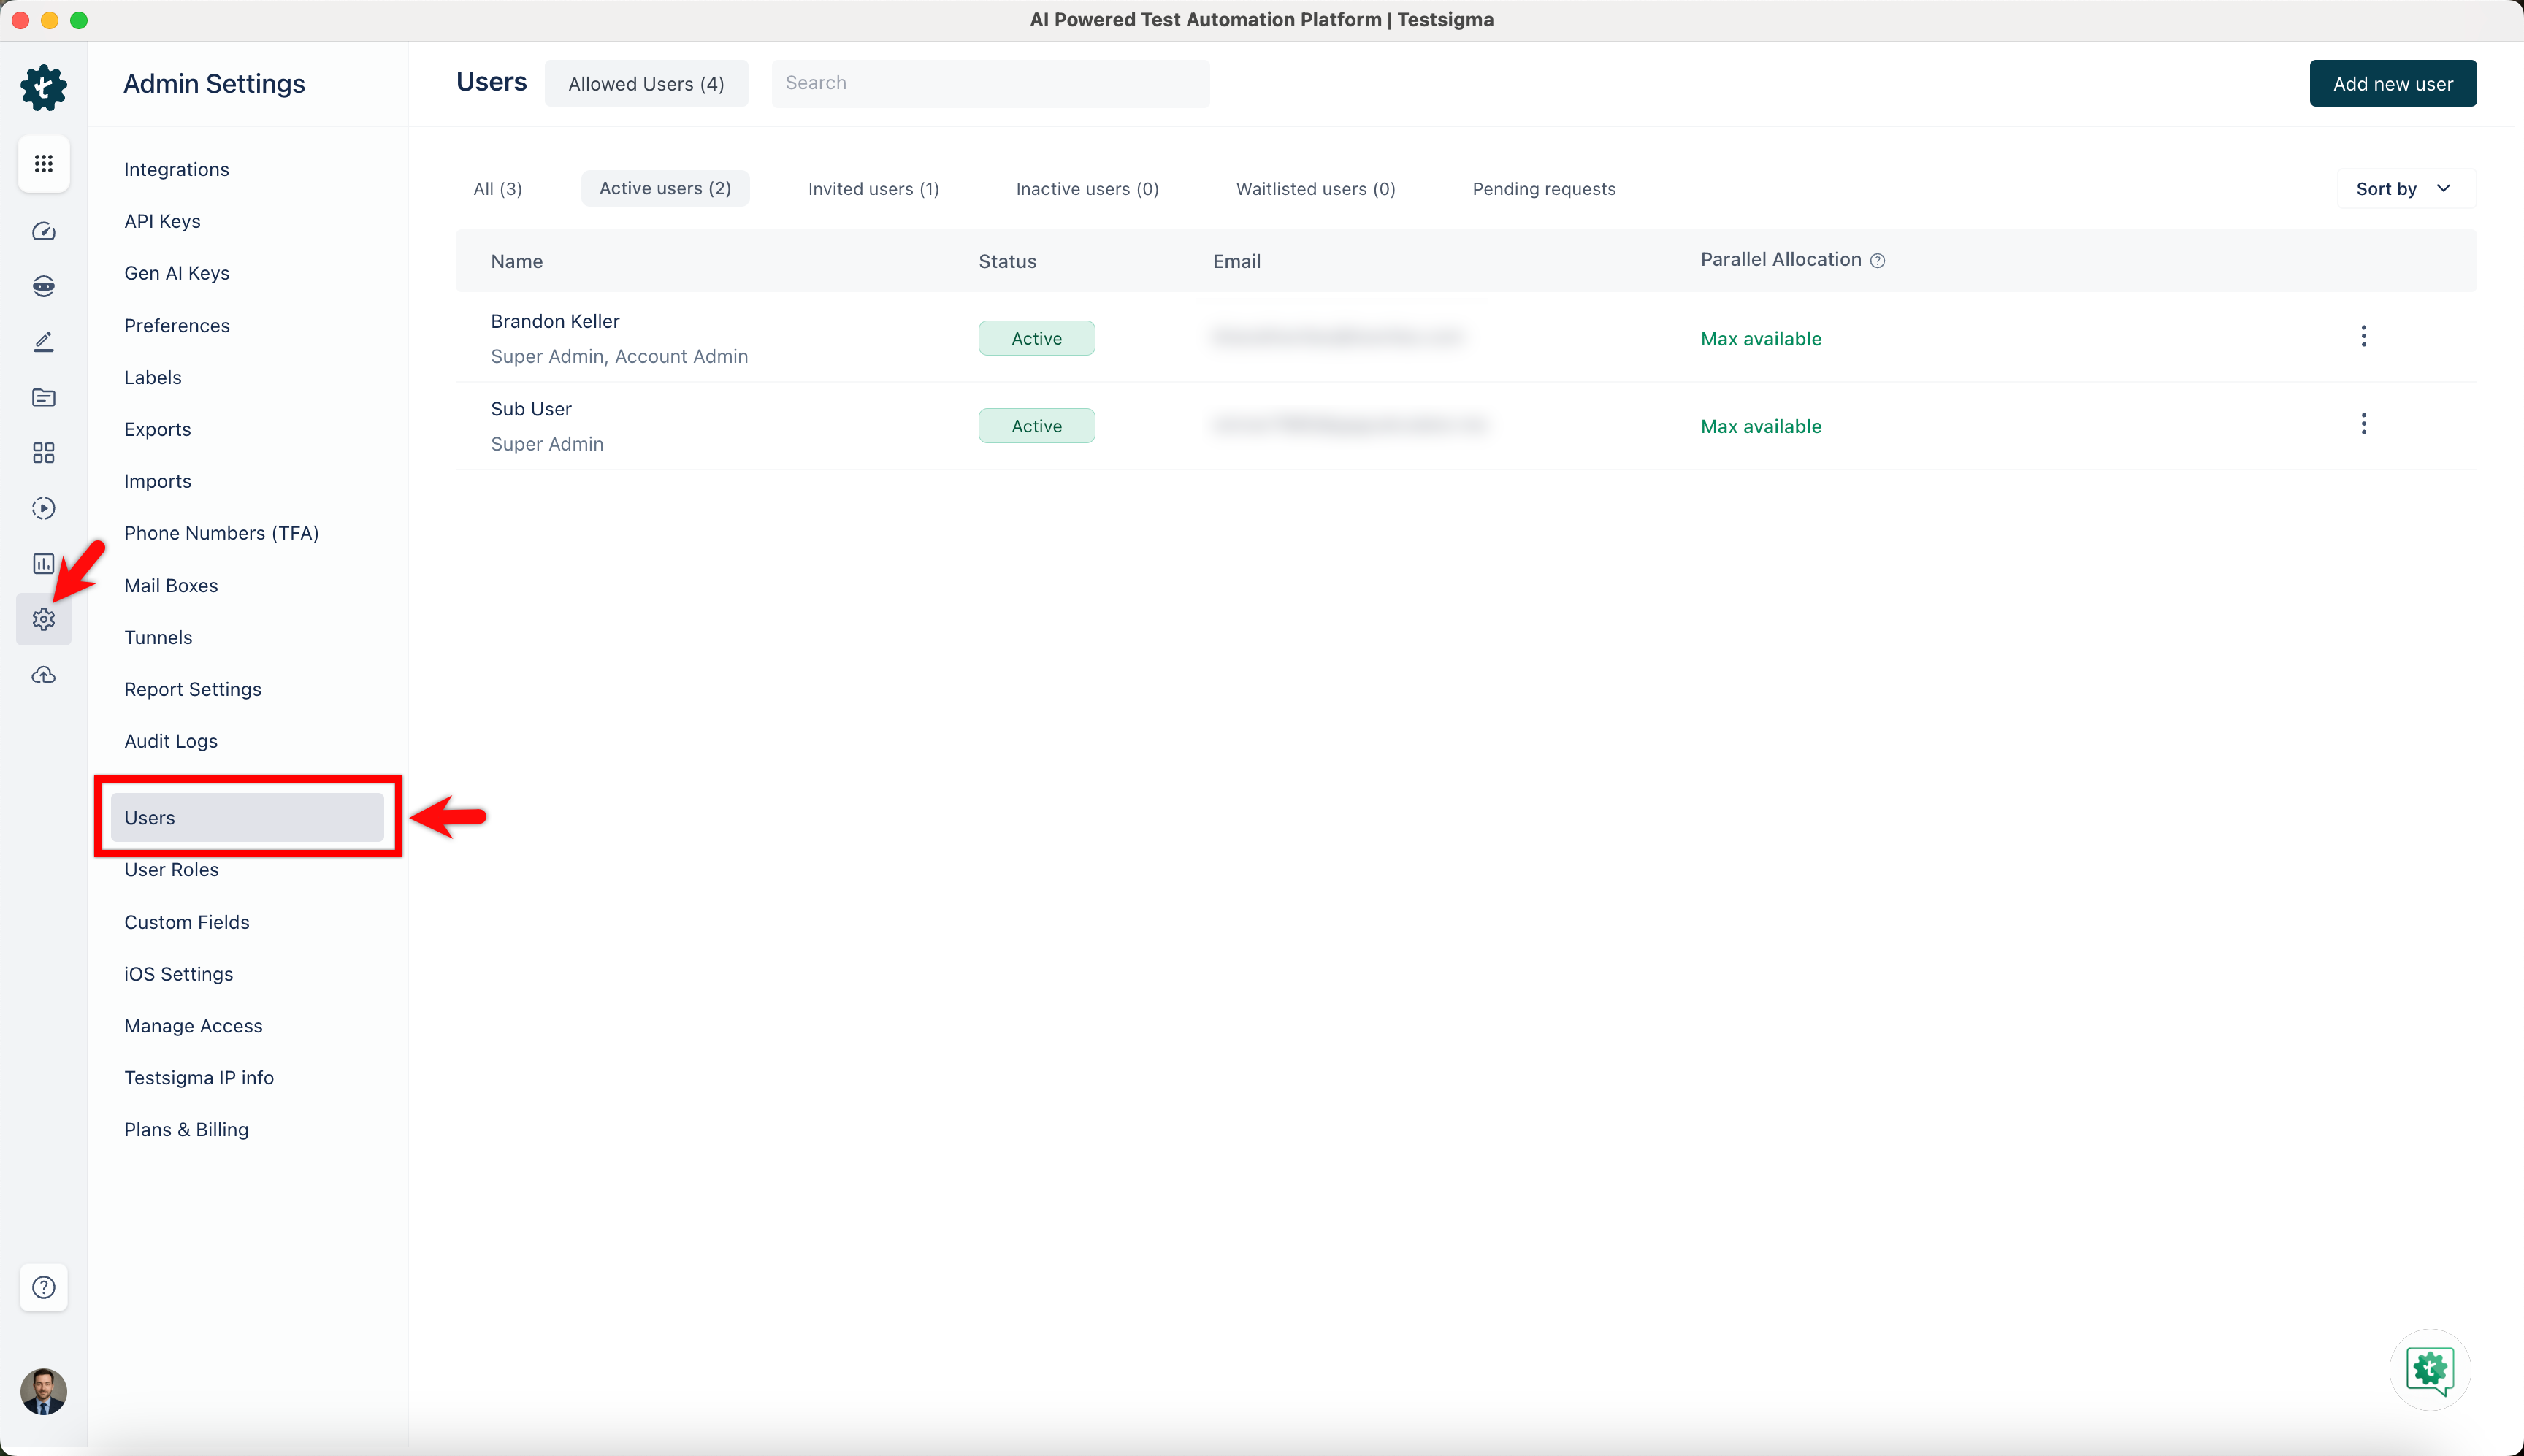
Alternatively, you can also delete user from global settings by navigating to Settings > Users.
Invite a Read Only User
- From the left navigation bar, go to Settings > Users.
- On the Users details page, click Add new user in the top-right corner of the screen.
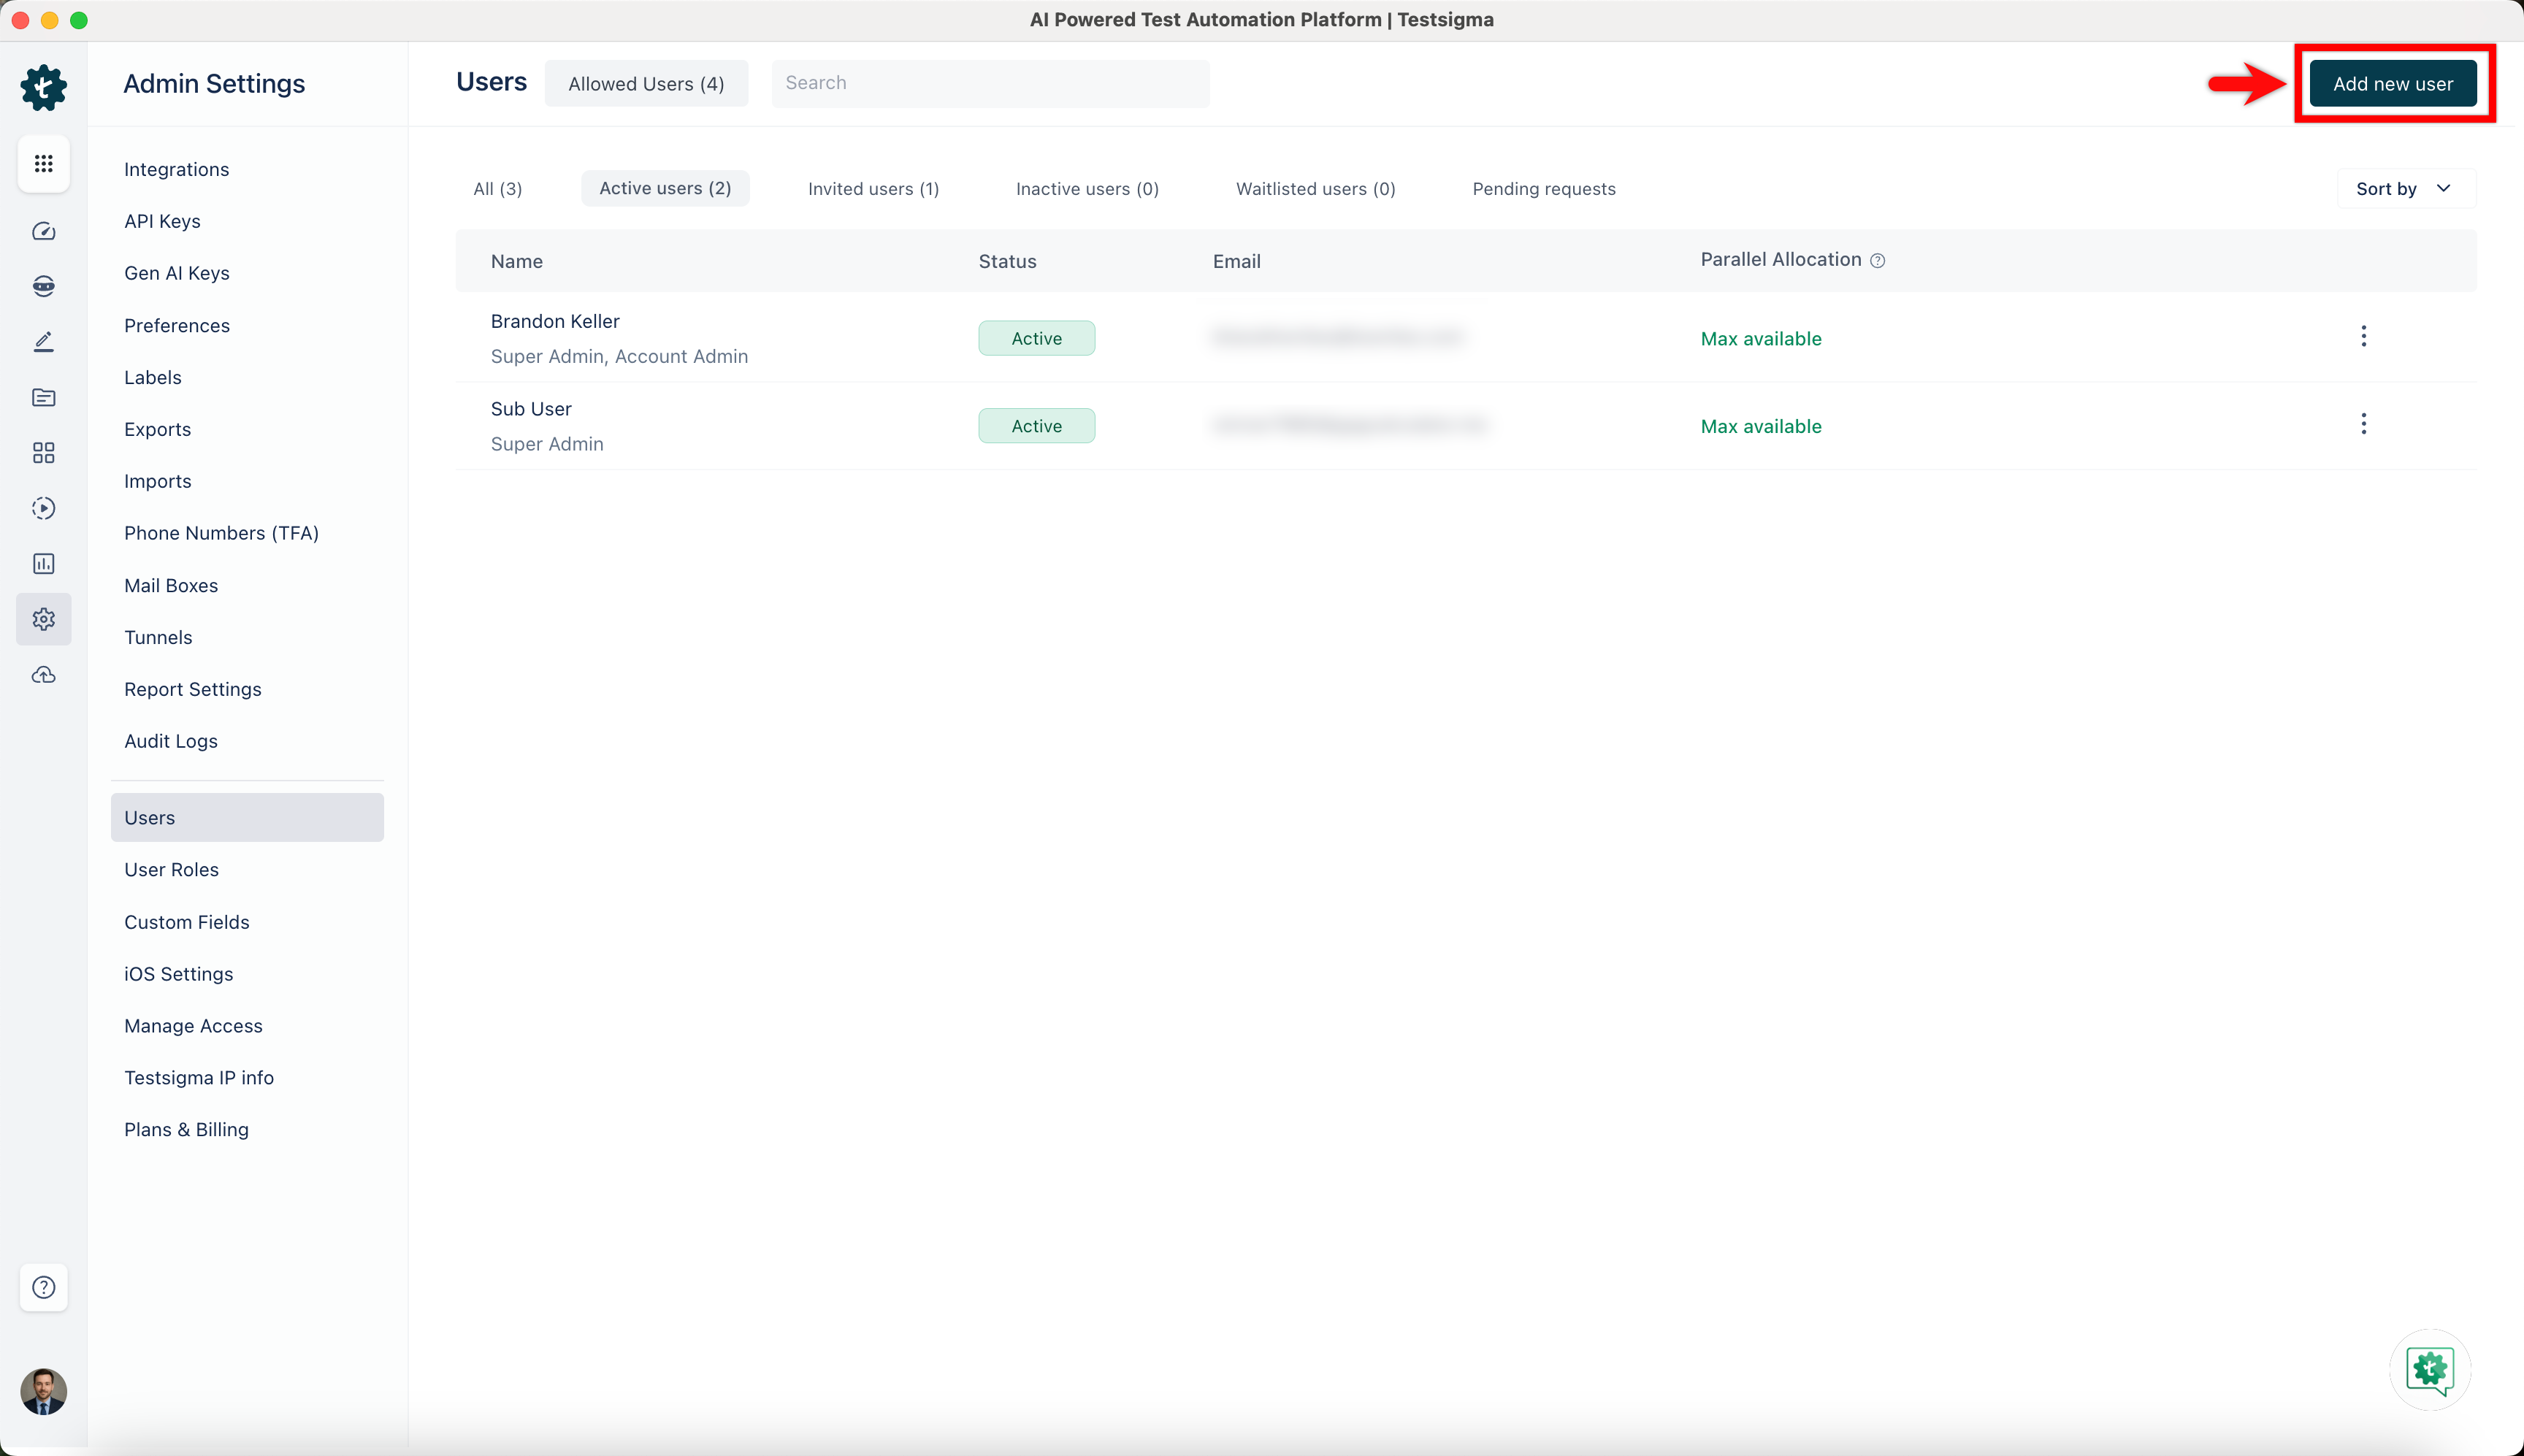
- In the Add New User dialog, enter the email address of the user in the Email field.
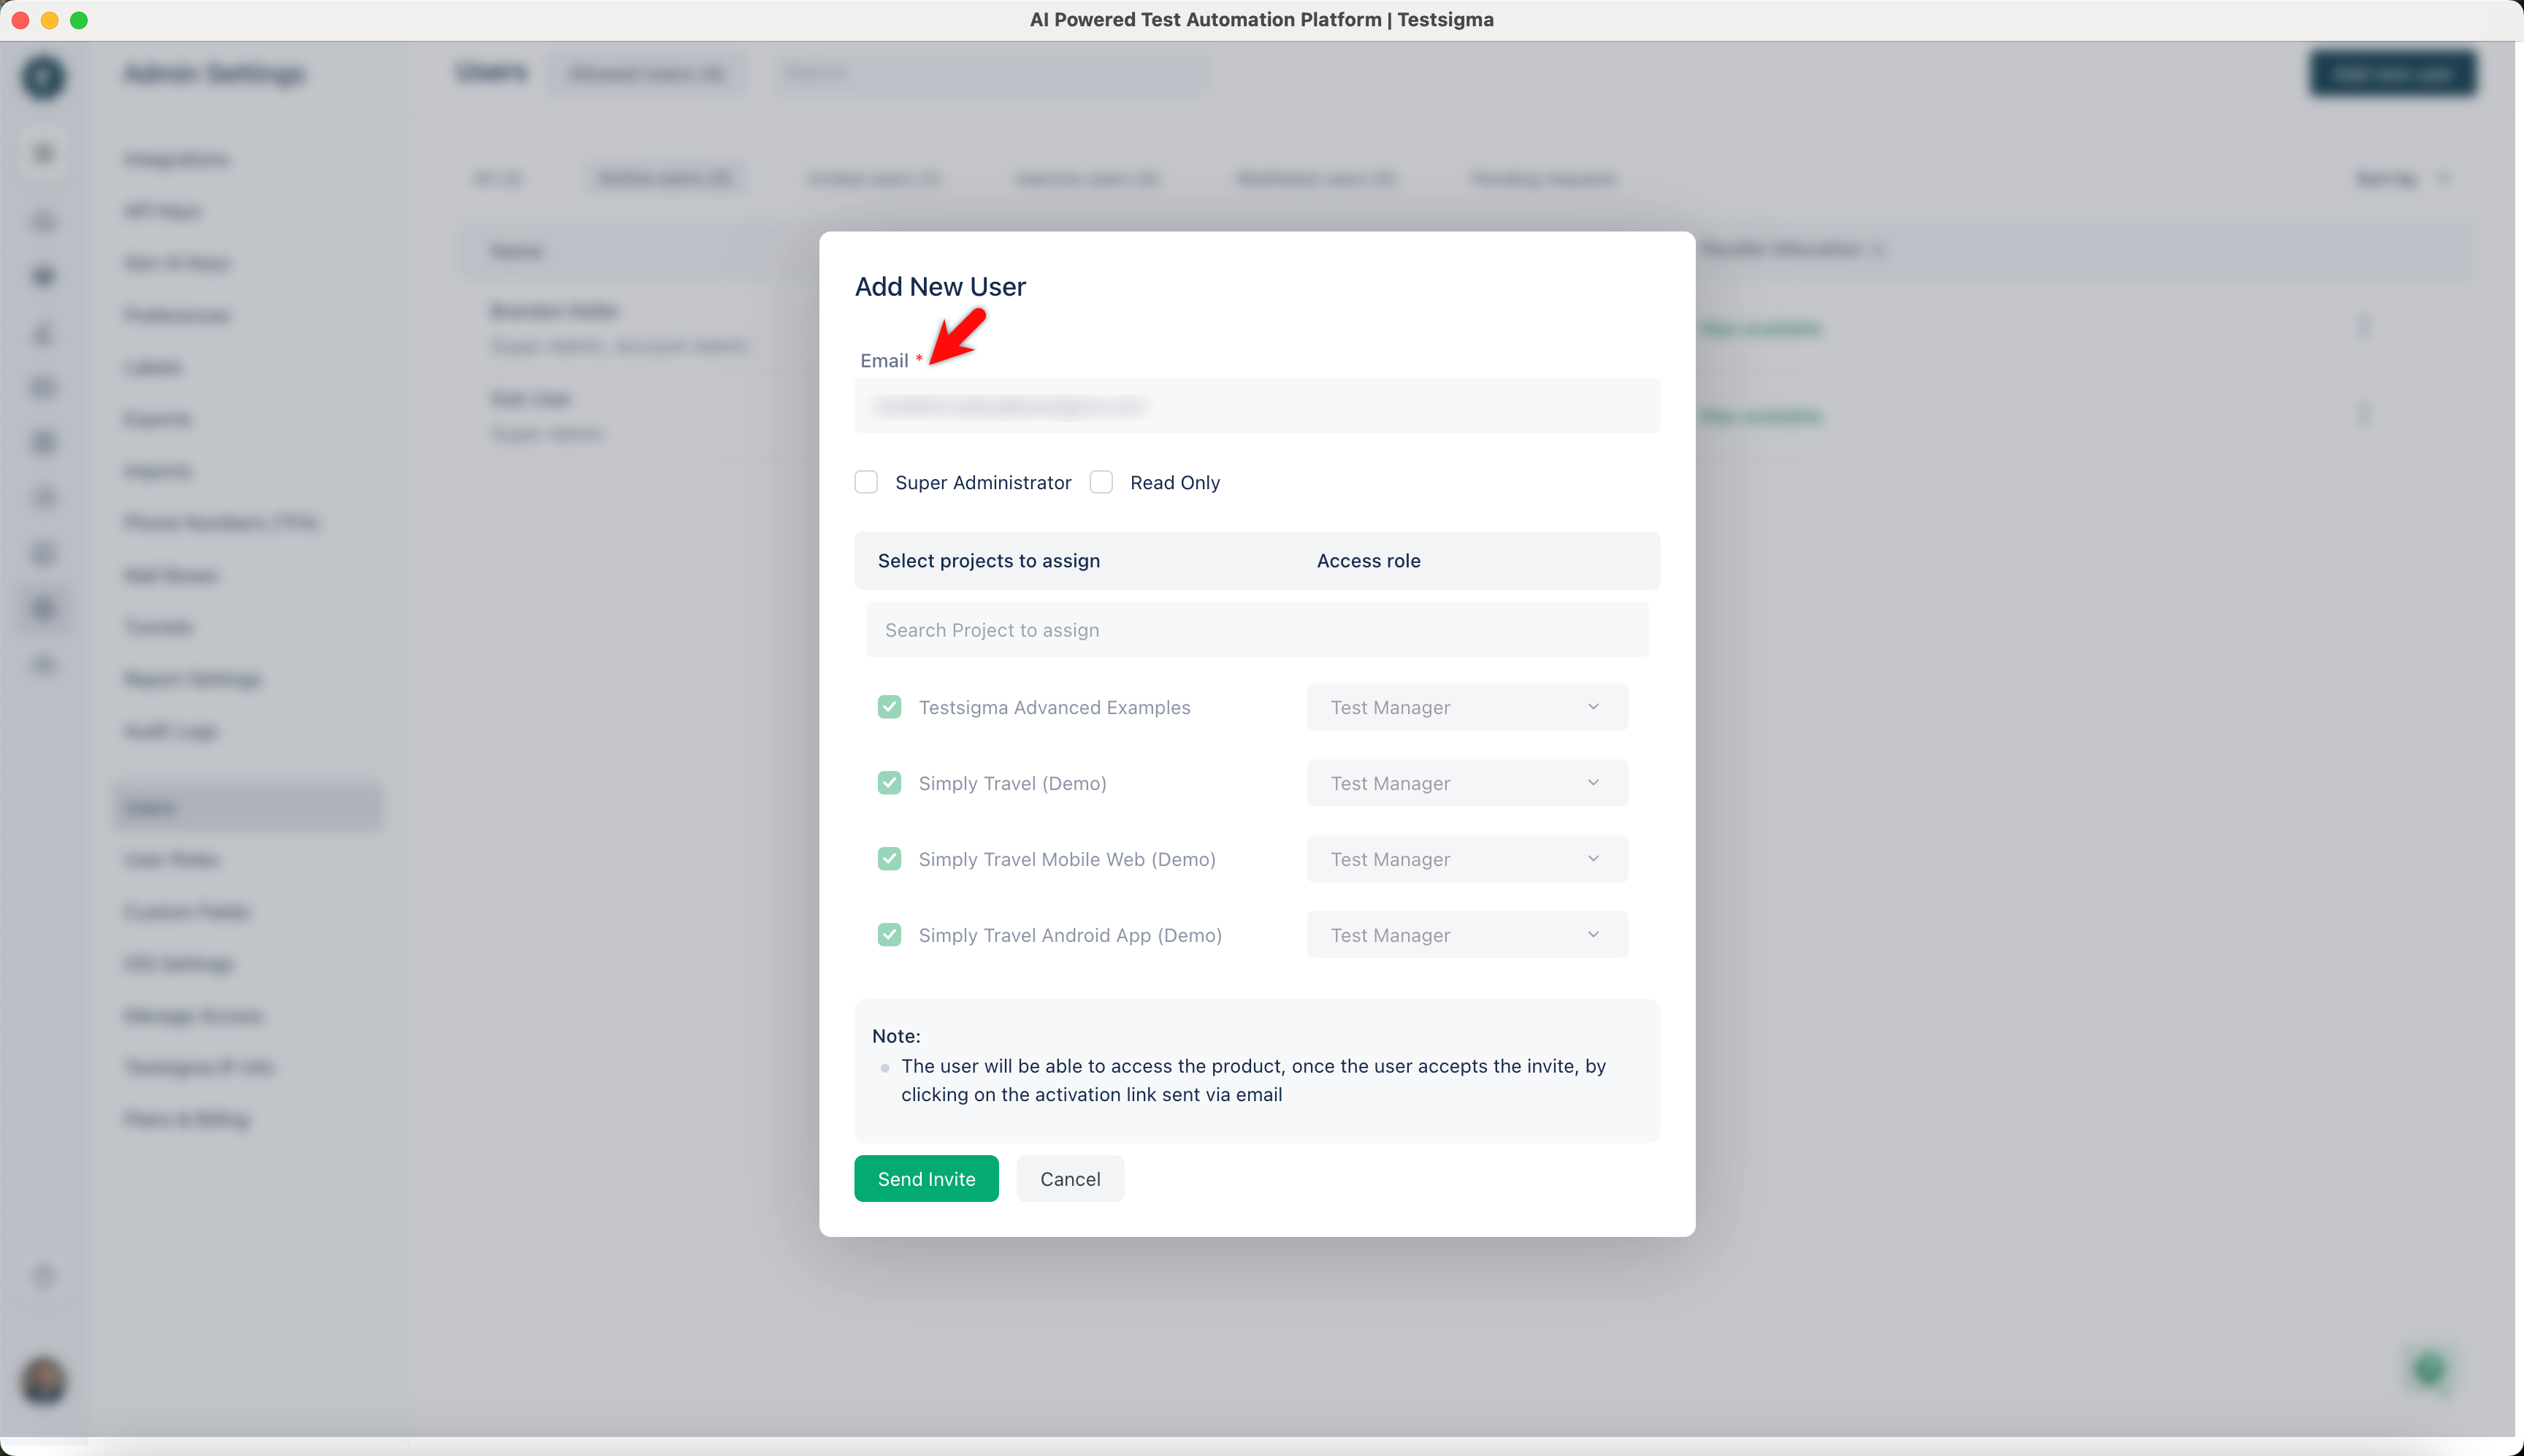
- Select the Read Only checkbox to assign Read Only access to the user.
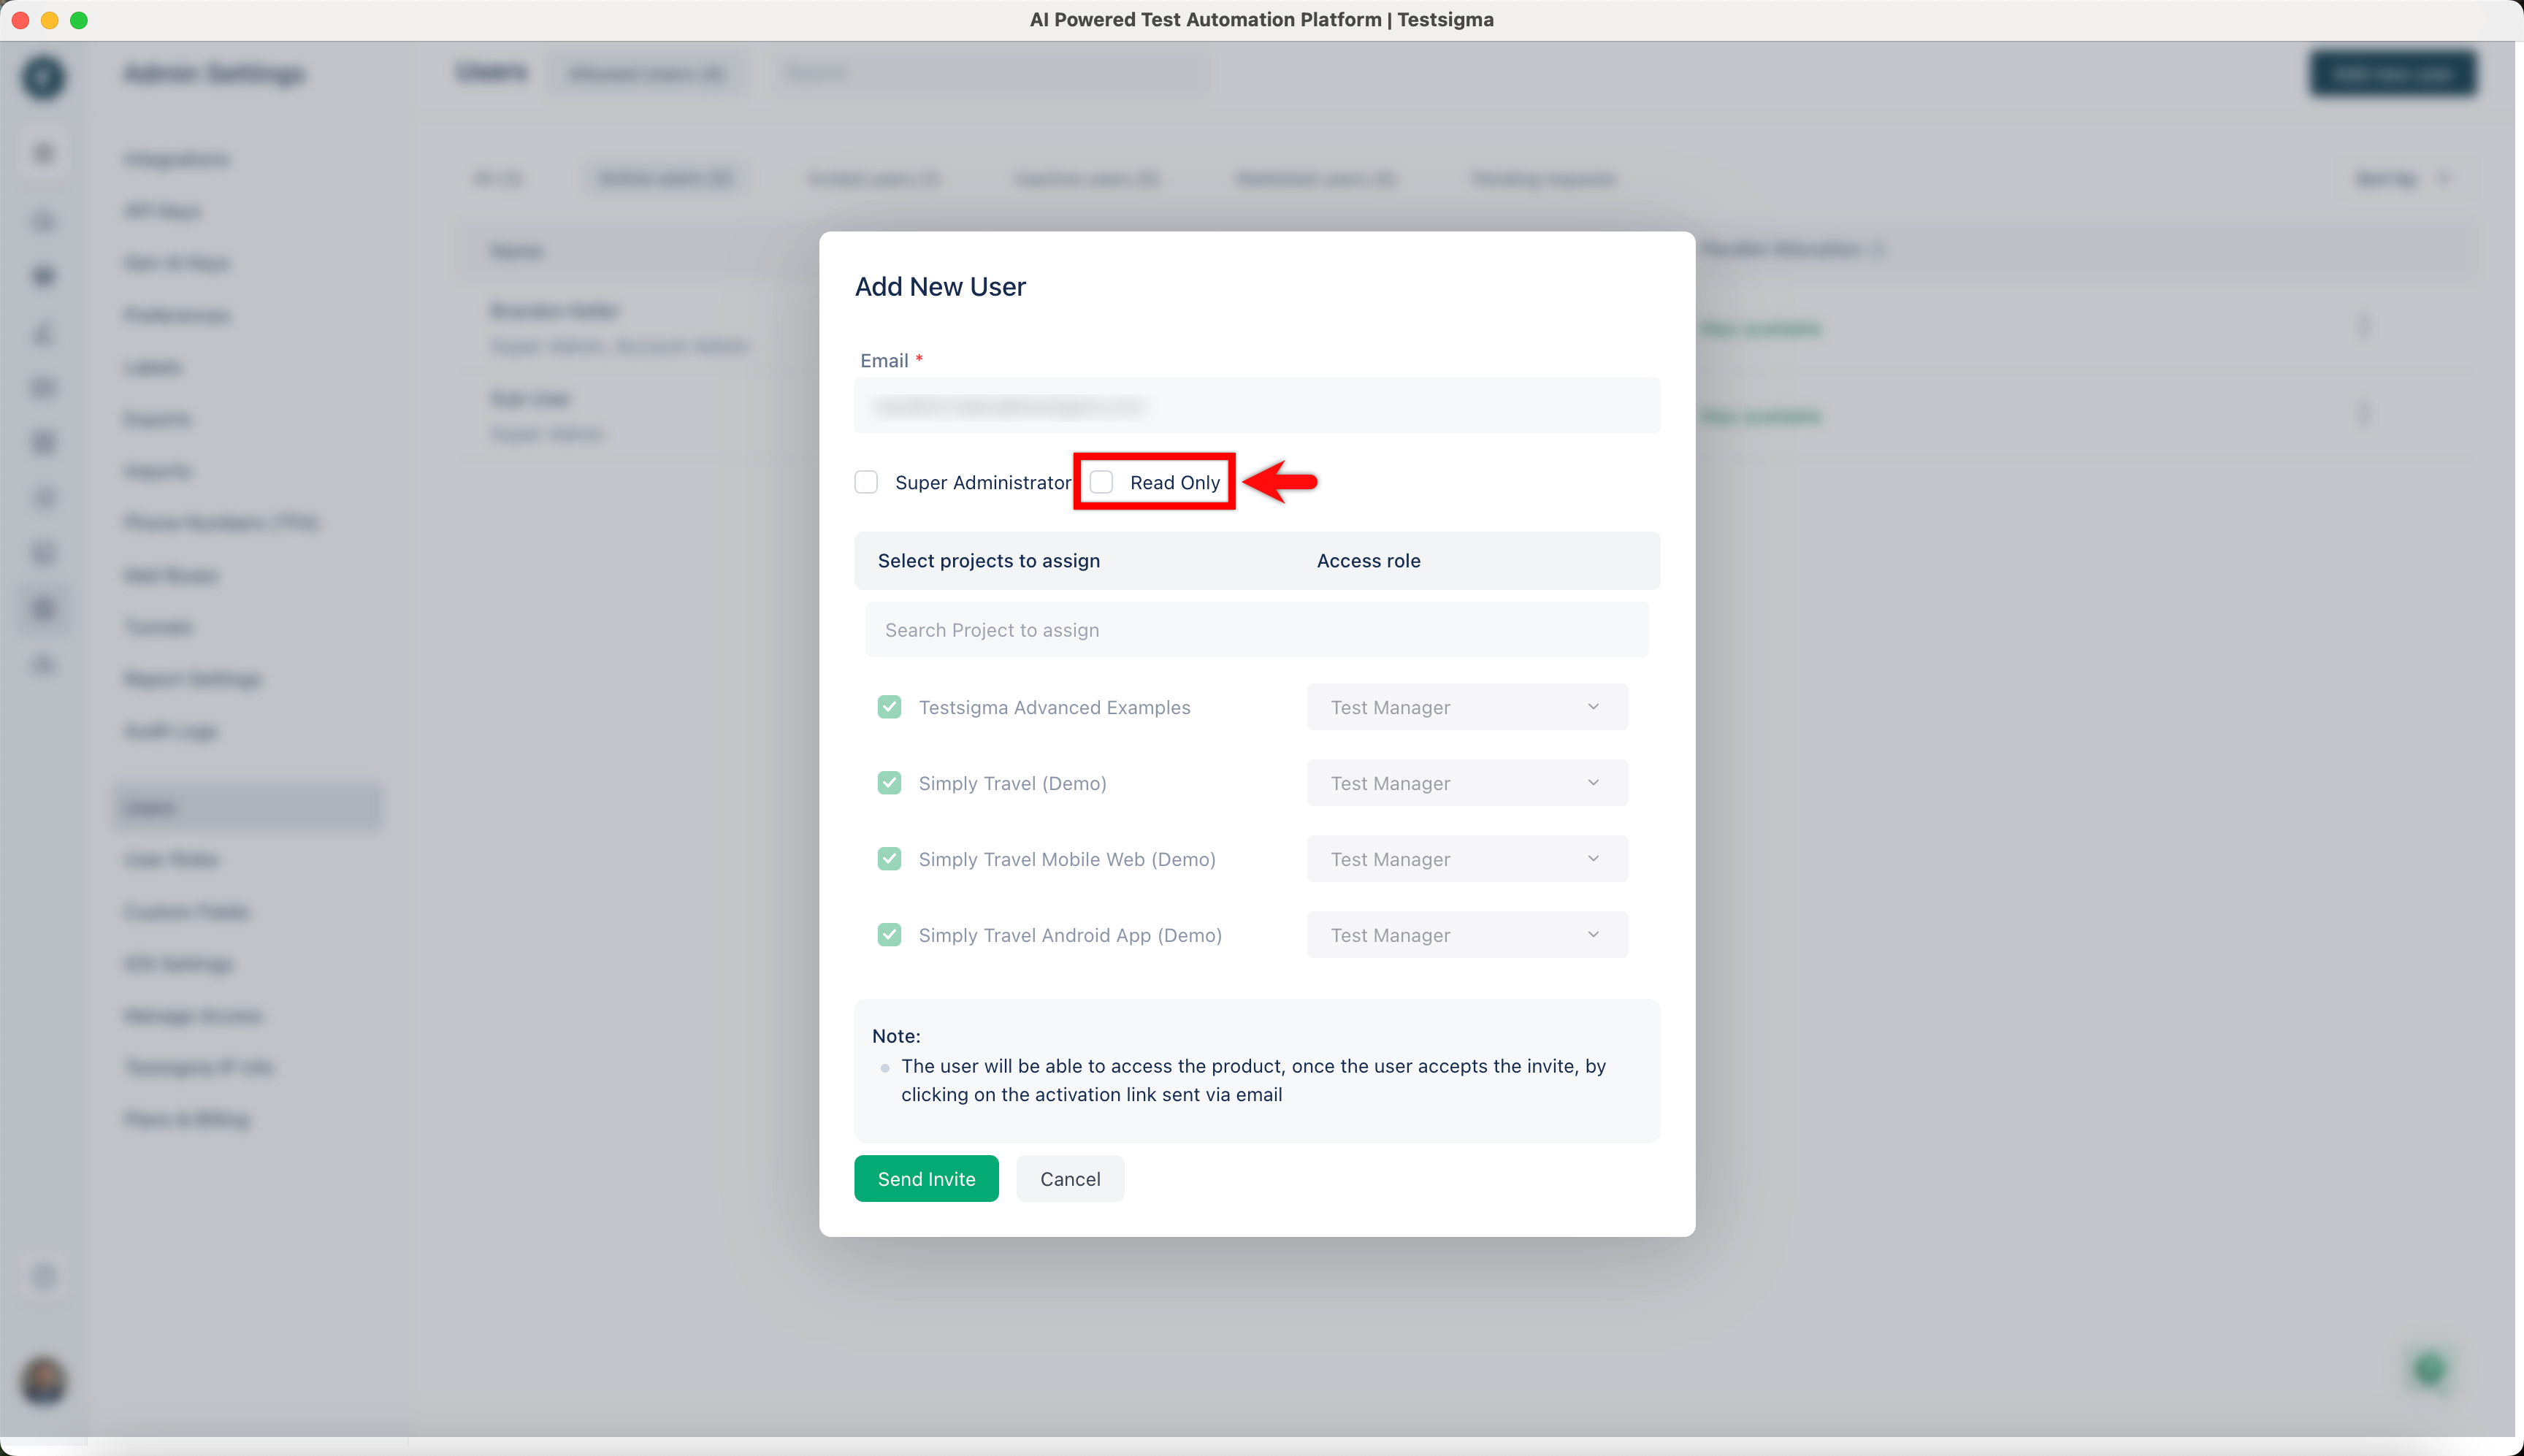
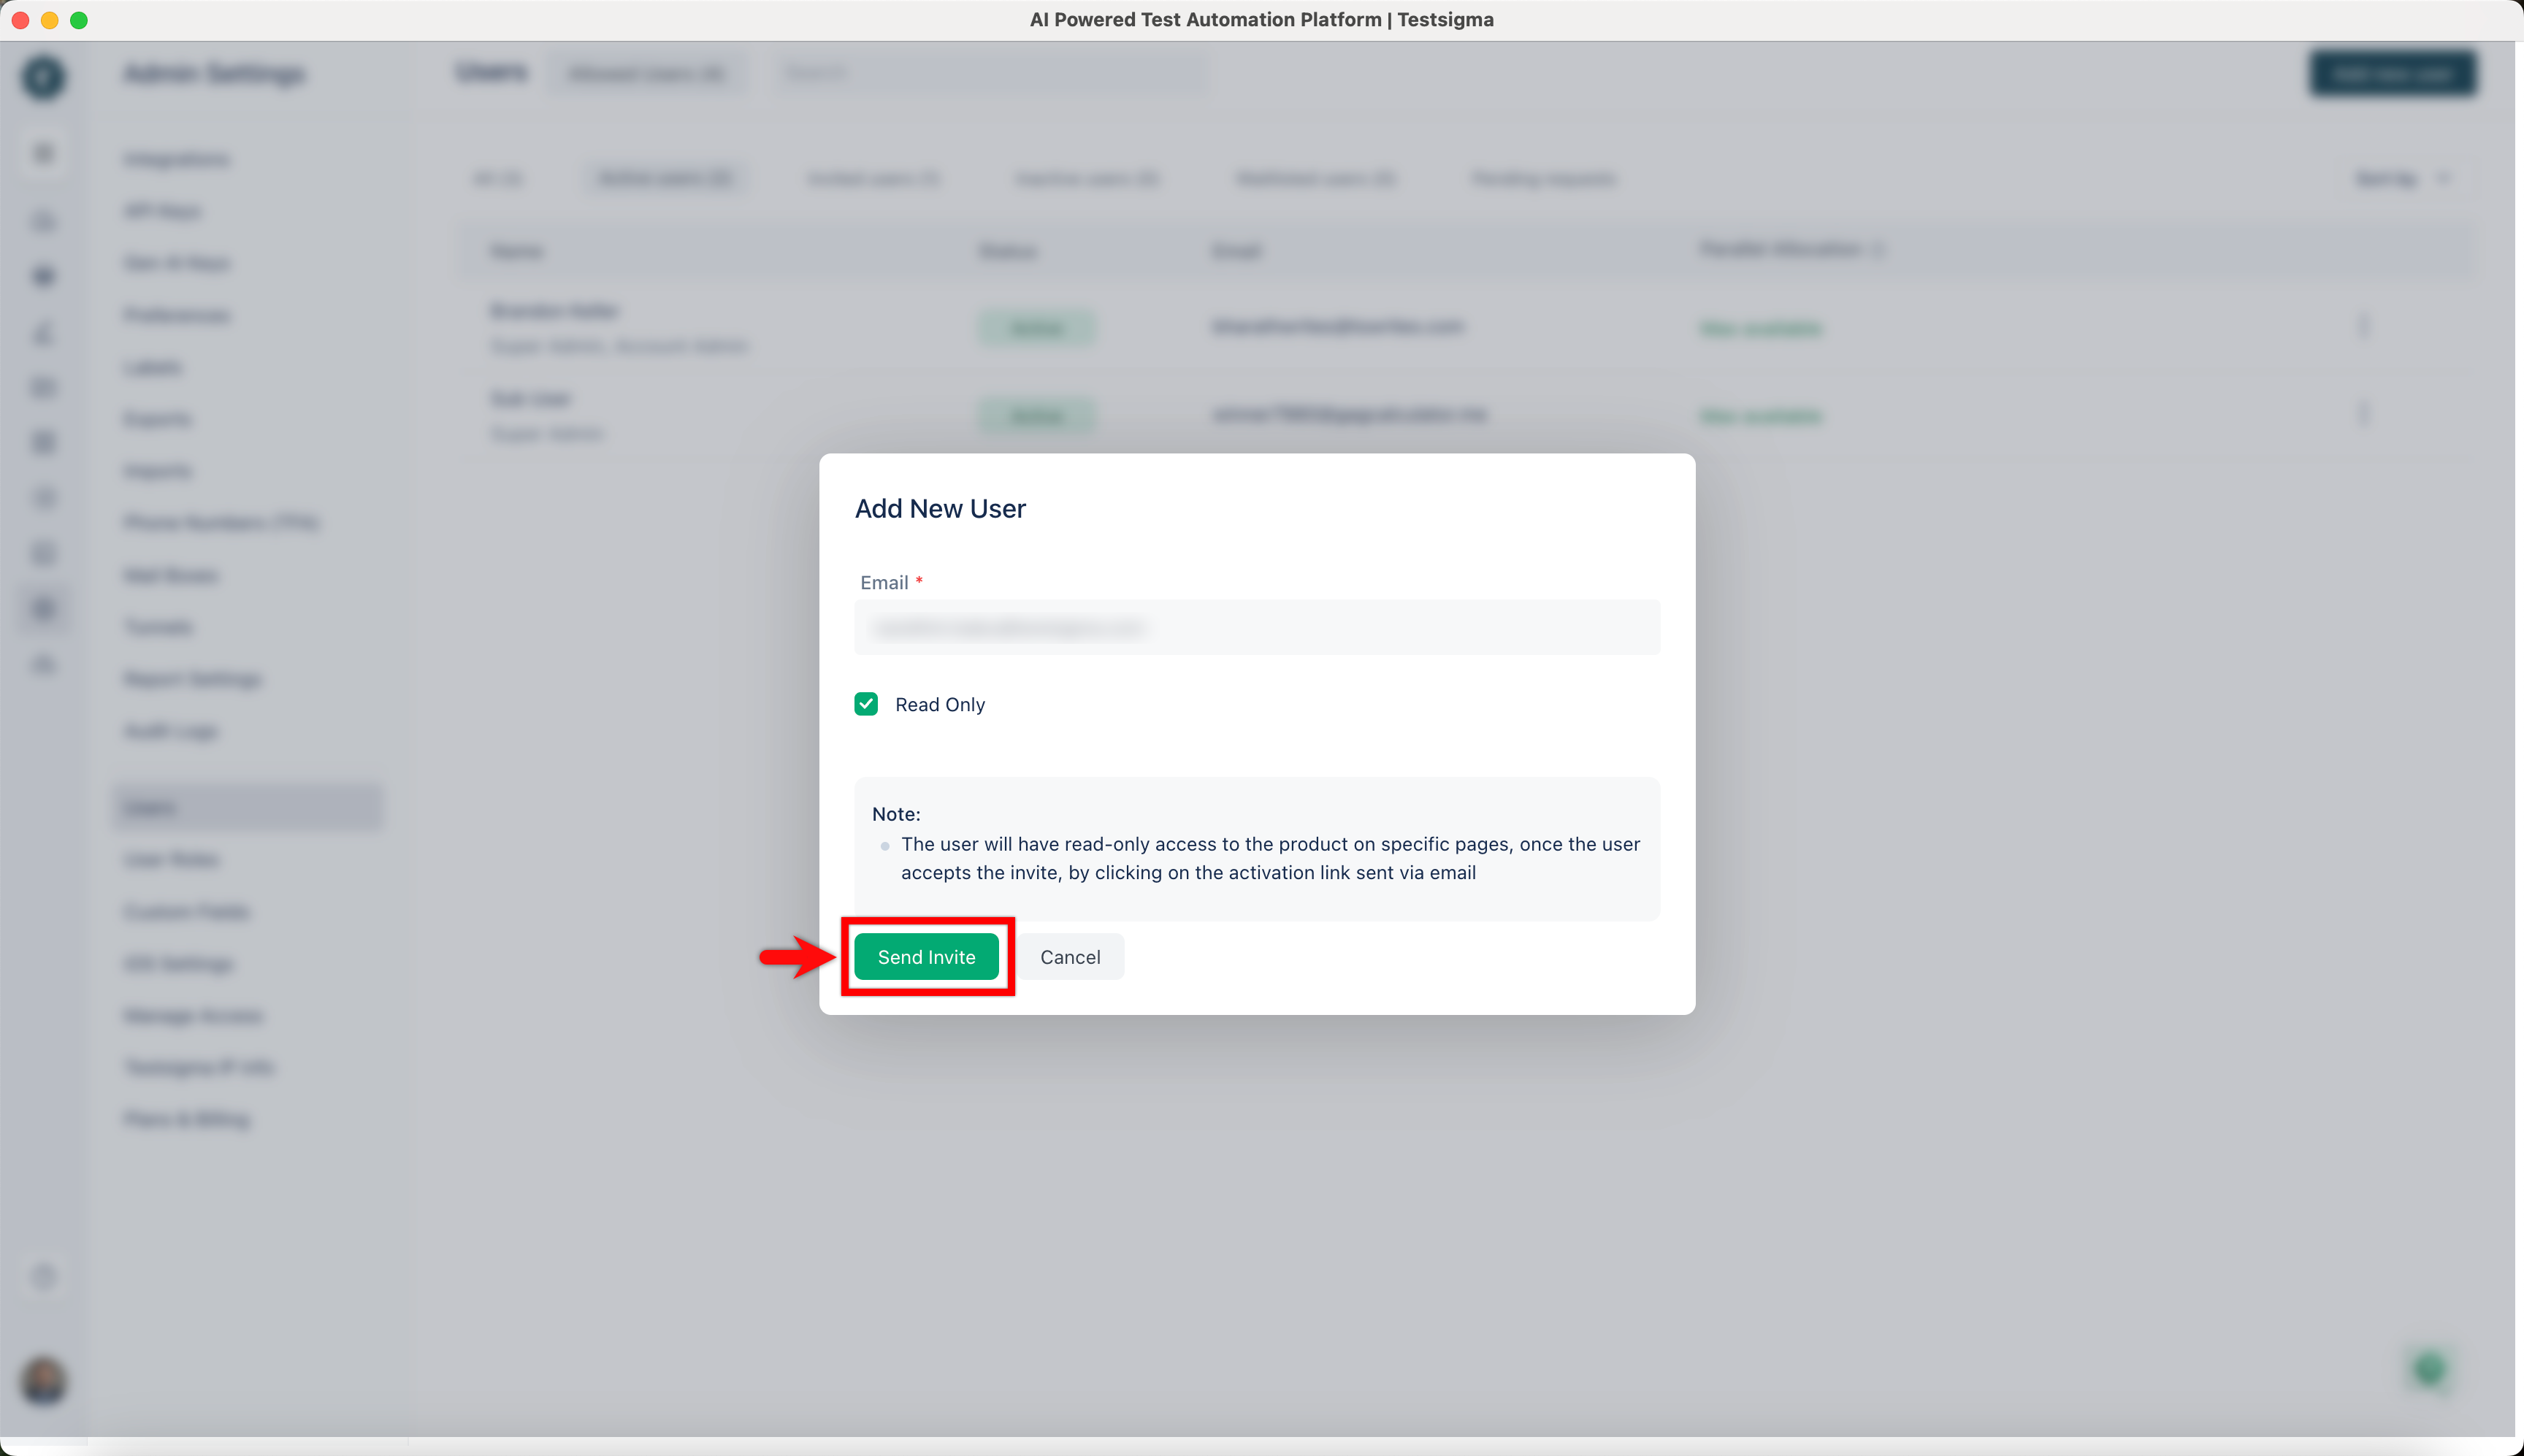
- Click Send Invite.
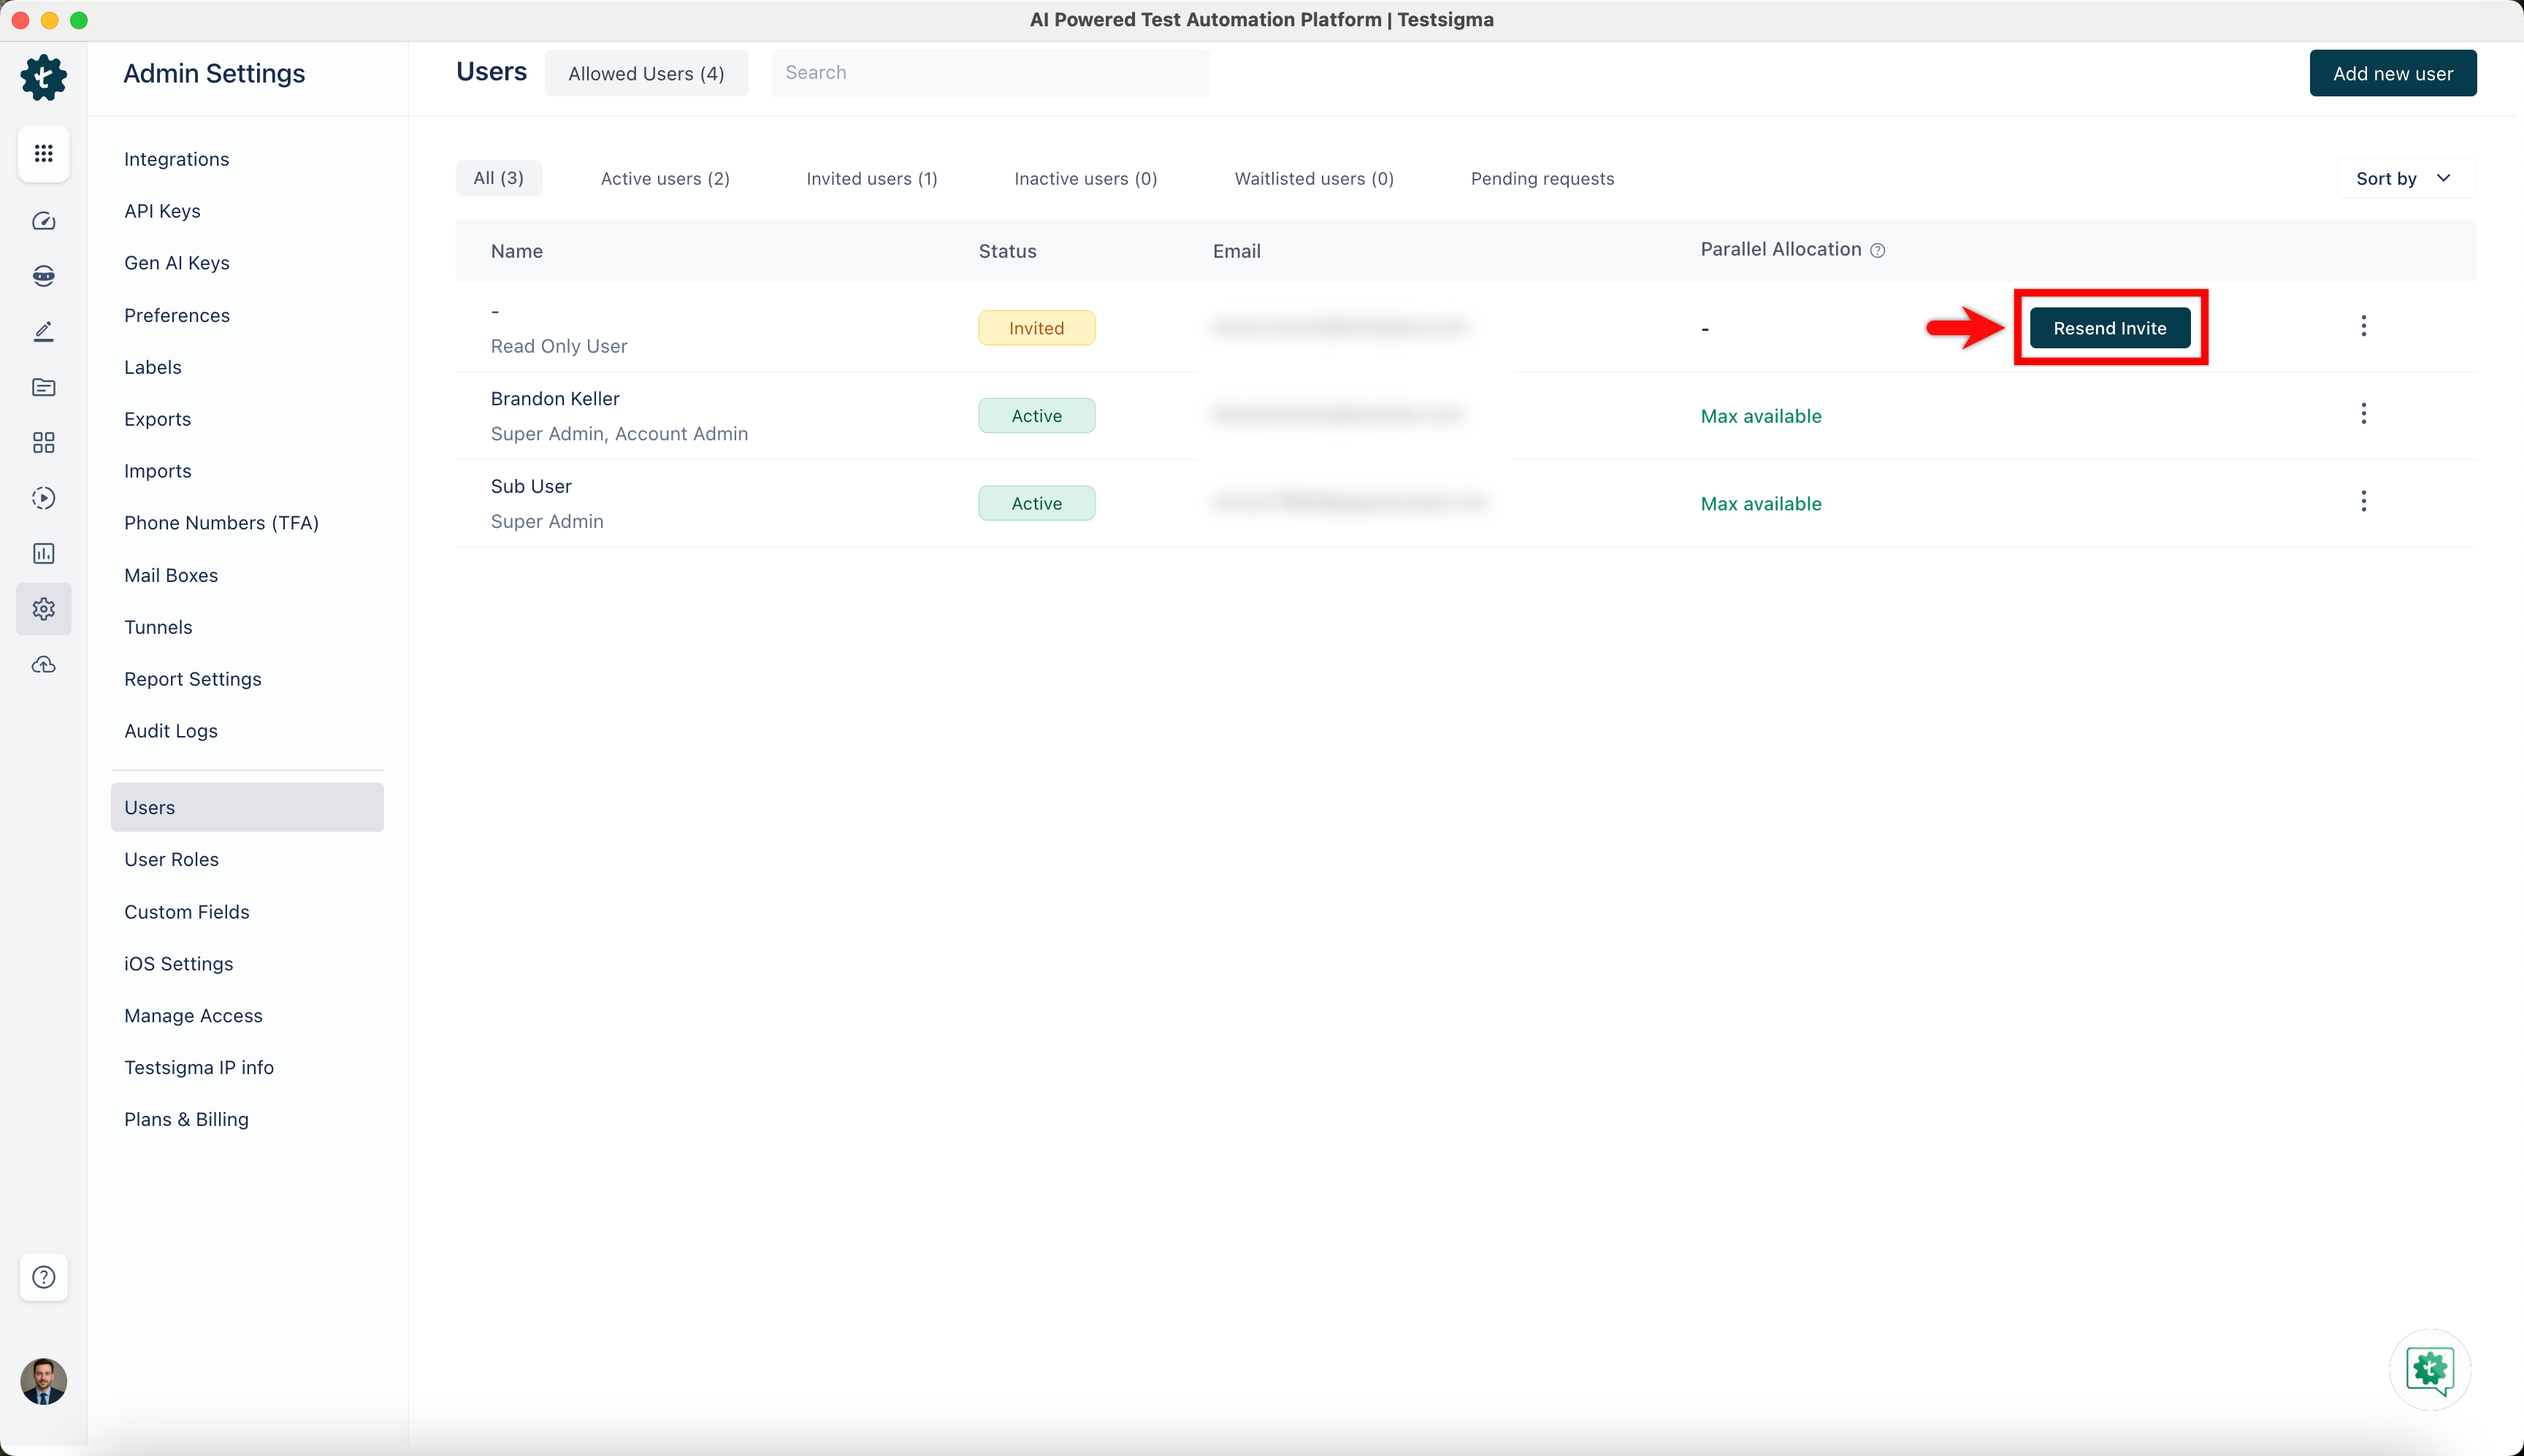
A confirmation message Invite sent successfully appears, and the invited user is listed under the Users page with the status Invited. The user will receive an email invitation to join the workspace with Read Only access.
Until the invited user accepts the invitation, their status remains Invited. You can click Resend Invite next to the user's name if needed.

Want to contribute or report missing content?