- accessibility testing
 Accessibility Testing for Web Applications
- Accessibility Testing for Android & iOS
Accessibility Testing for Web Applications
With Testsigma, you can perform accessibility testing to ensure your web applications meet accessibility standards. You can enable accessibility checks at specific test steps to scan the application’s state at the exact point you want to validate. This article discusses how to perform Accessibility Testing for web applications in Testsigma.
The entire workflow for enabling accessibility testing, running test plans, and reviewing the detailed report is the same for the Salesforce application.
Prerequisites
Before you begin, ensure that you have referred to:
- You have enabled Web Accessibility Testing - Step Level from Settings > Preferences > Web Accessibility Testing.
- Documentation on creating test plans.
- Documentation on creating test suites.
- Documentation on creating test machine.
Steps to Enable Accessibility Testing in Test Steps
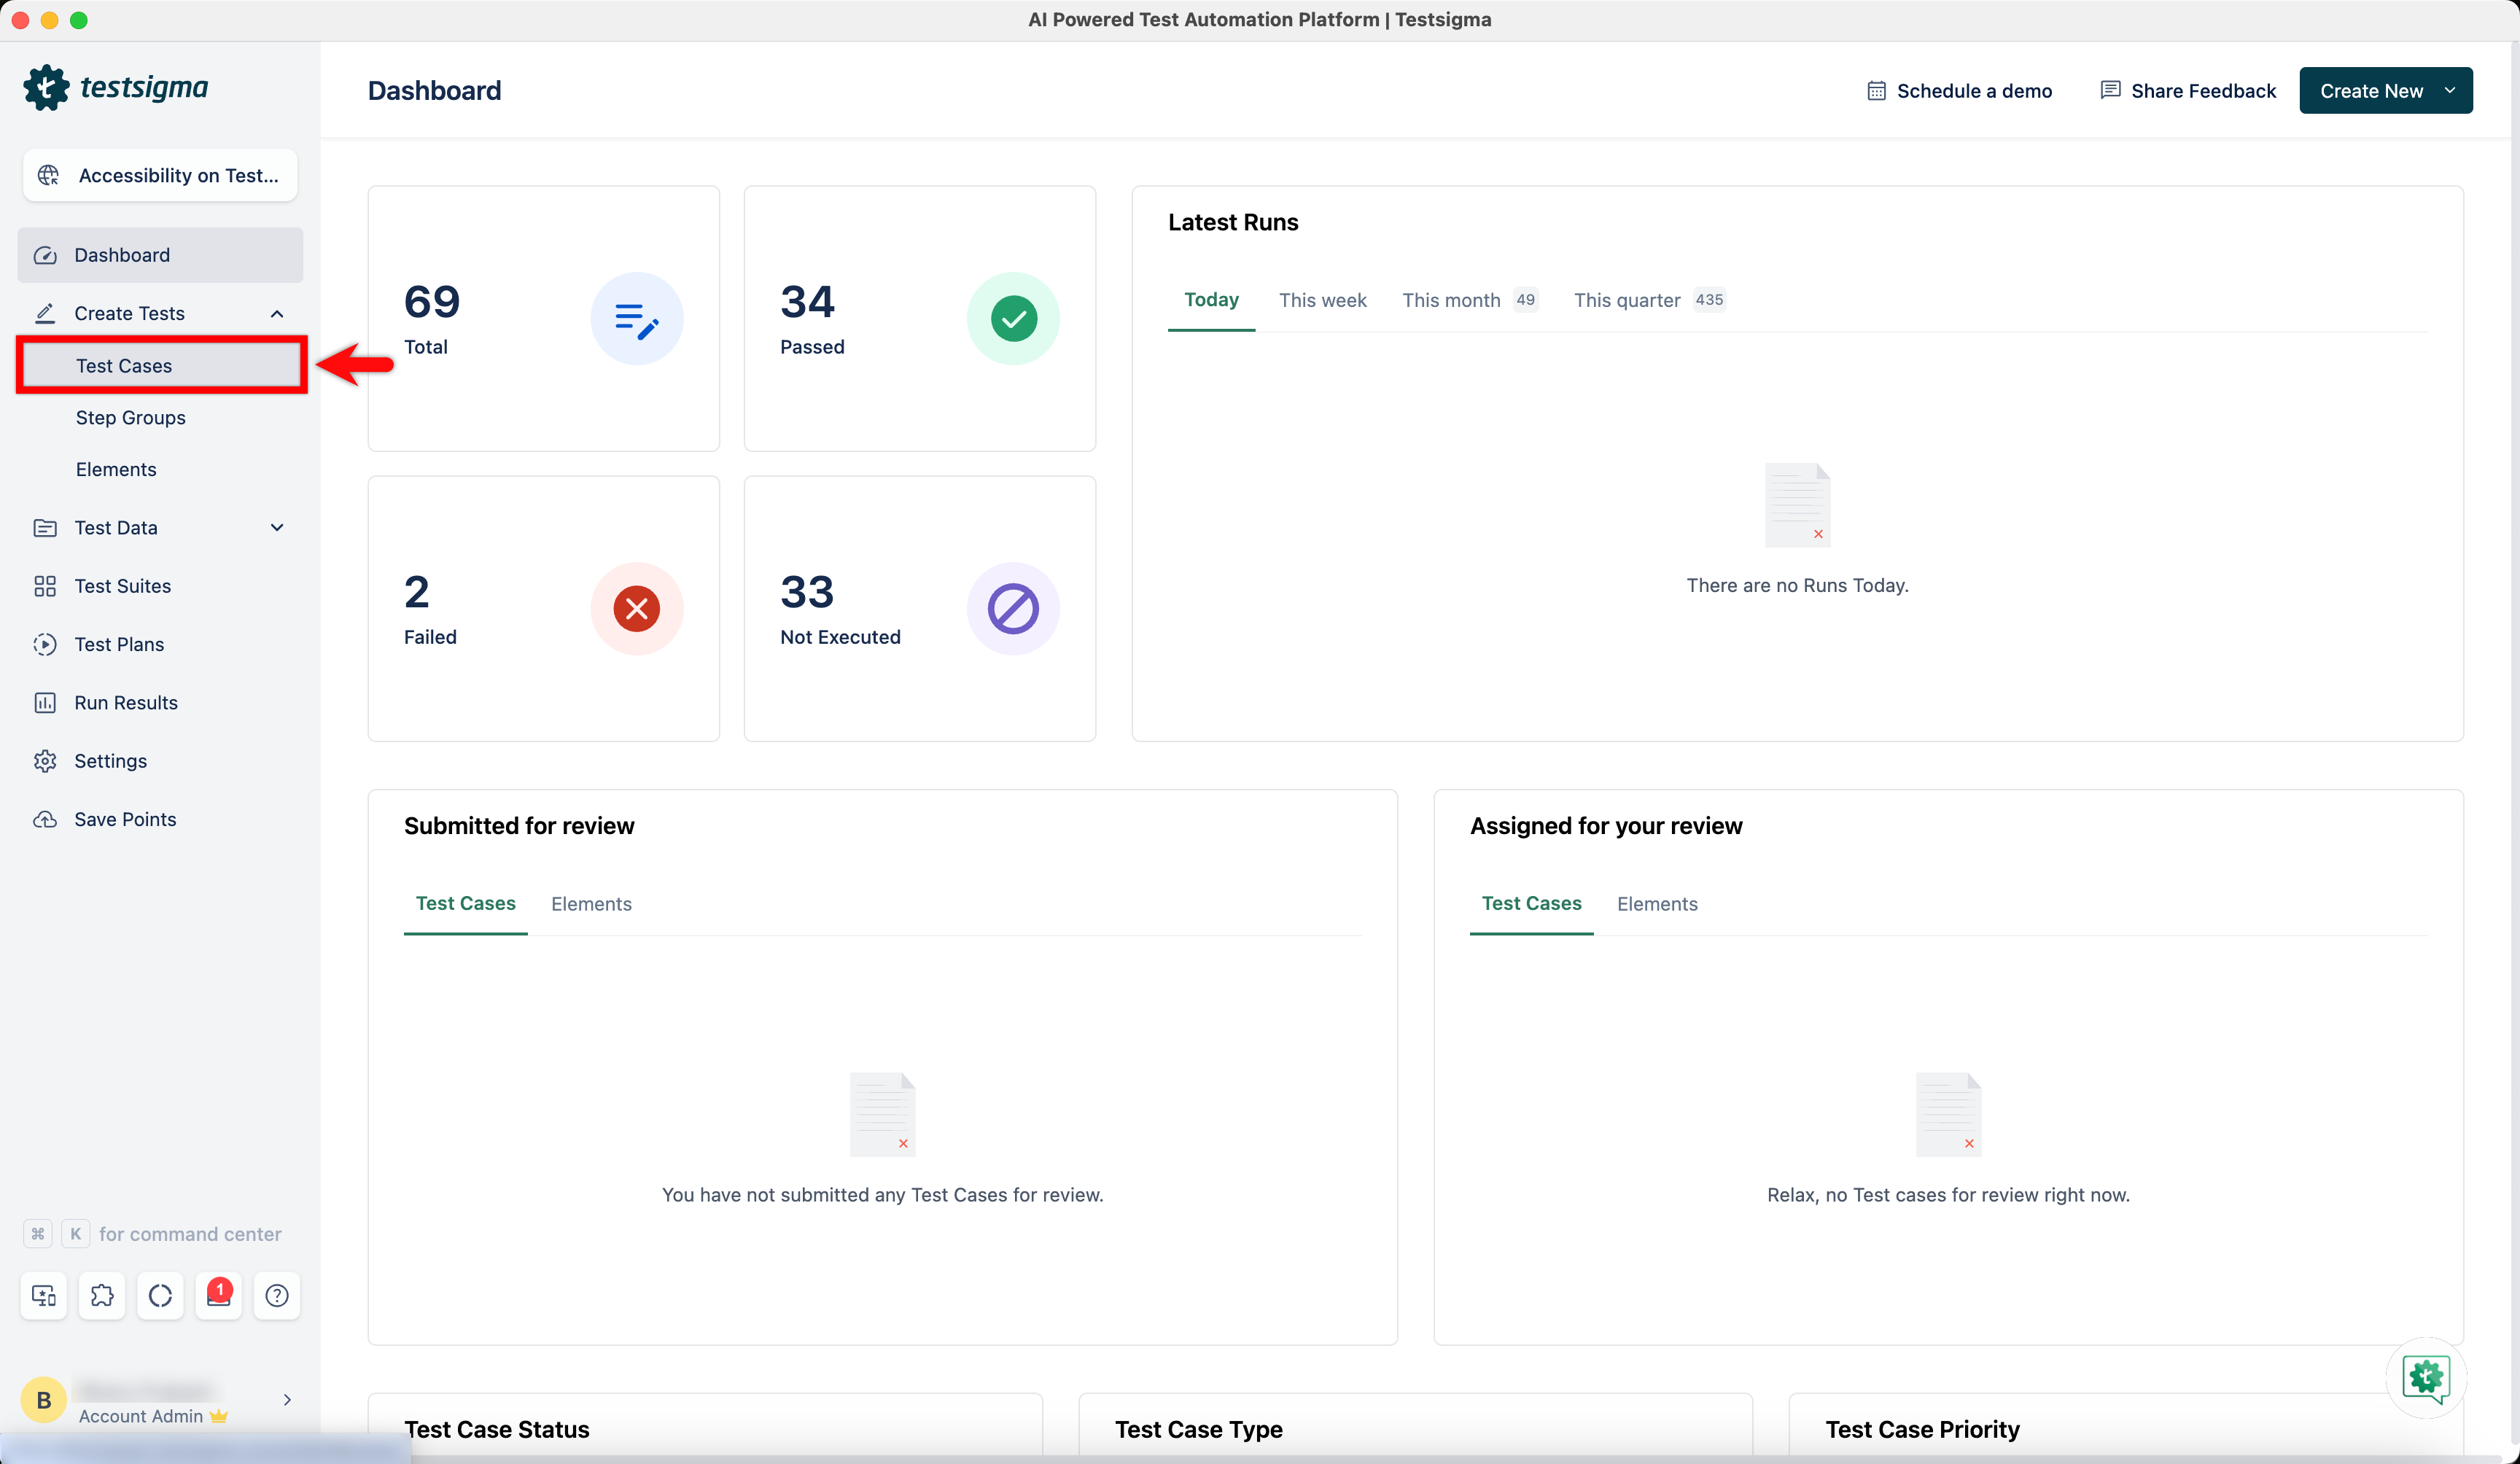
- From the left navigation bar, go to Create Tests > Test Cases.
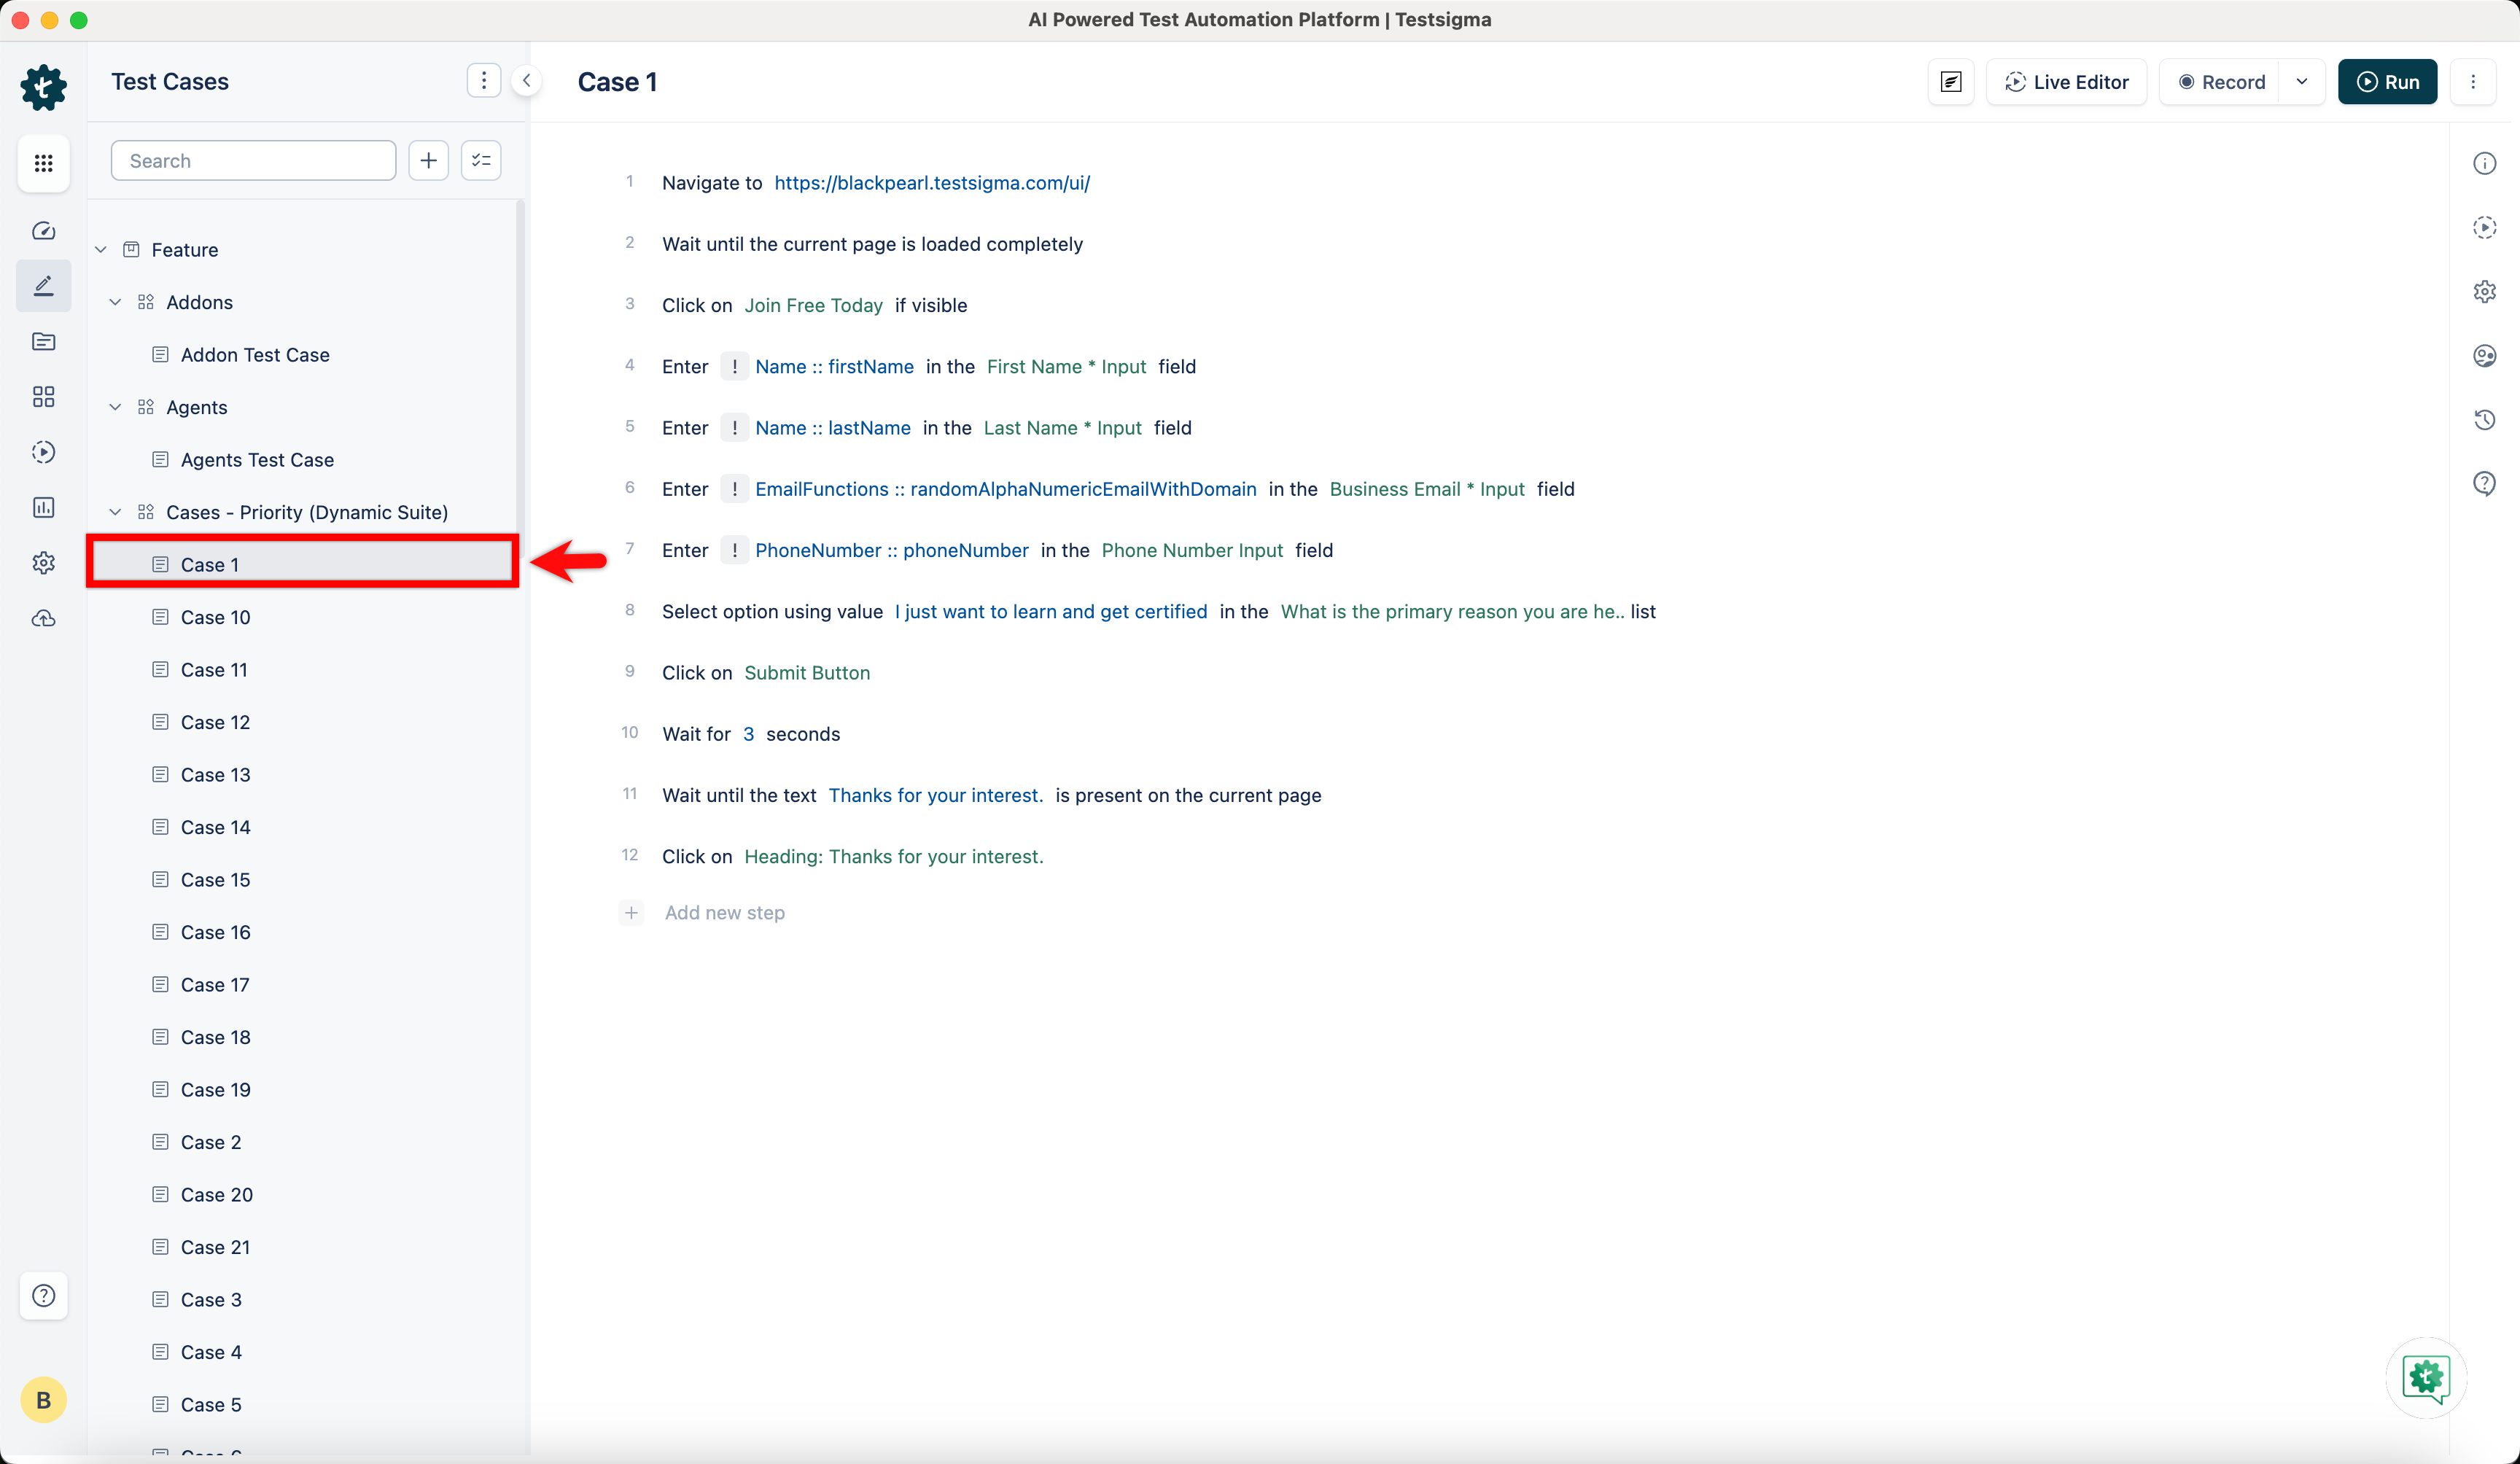
- In the Test Case Explorer section, expand a Feature and a Scenario and select the required test case.
- On the Test Case Details page, select the test steps for which you want to enable accessibility testing, and then click Update Settings.
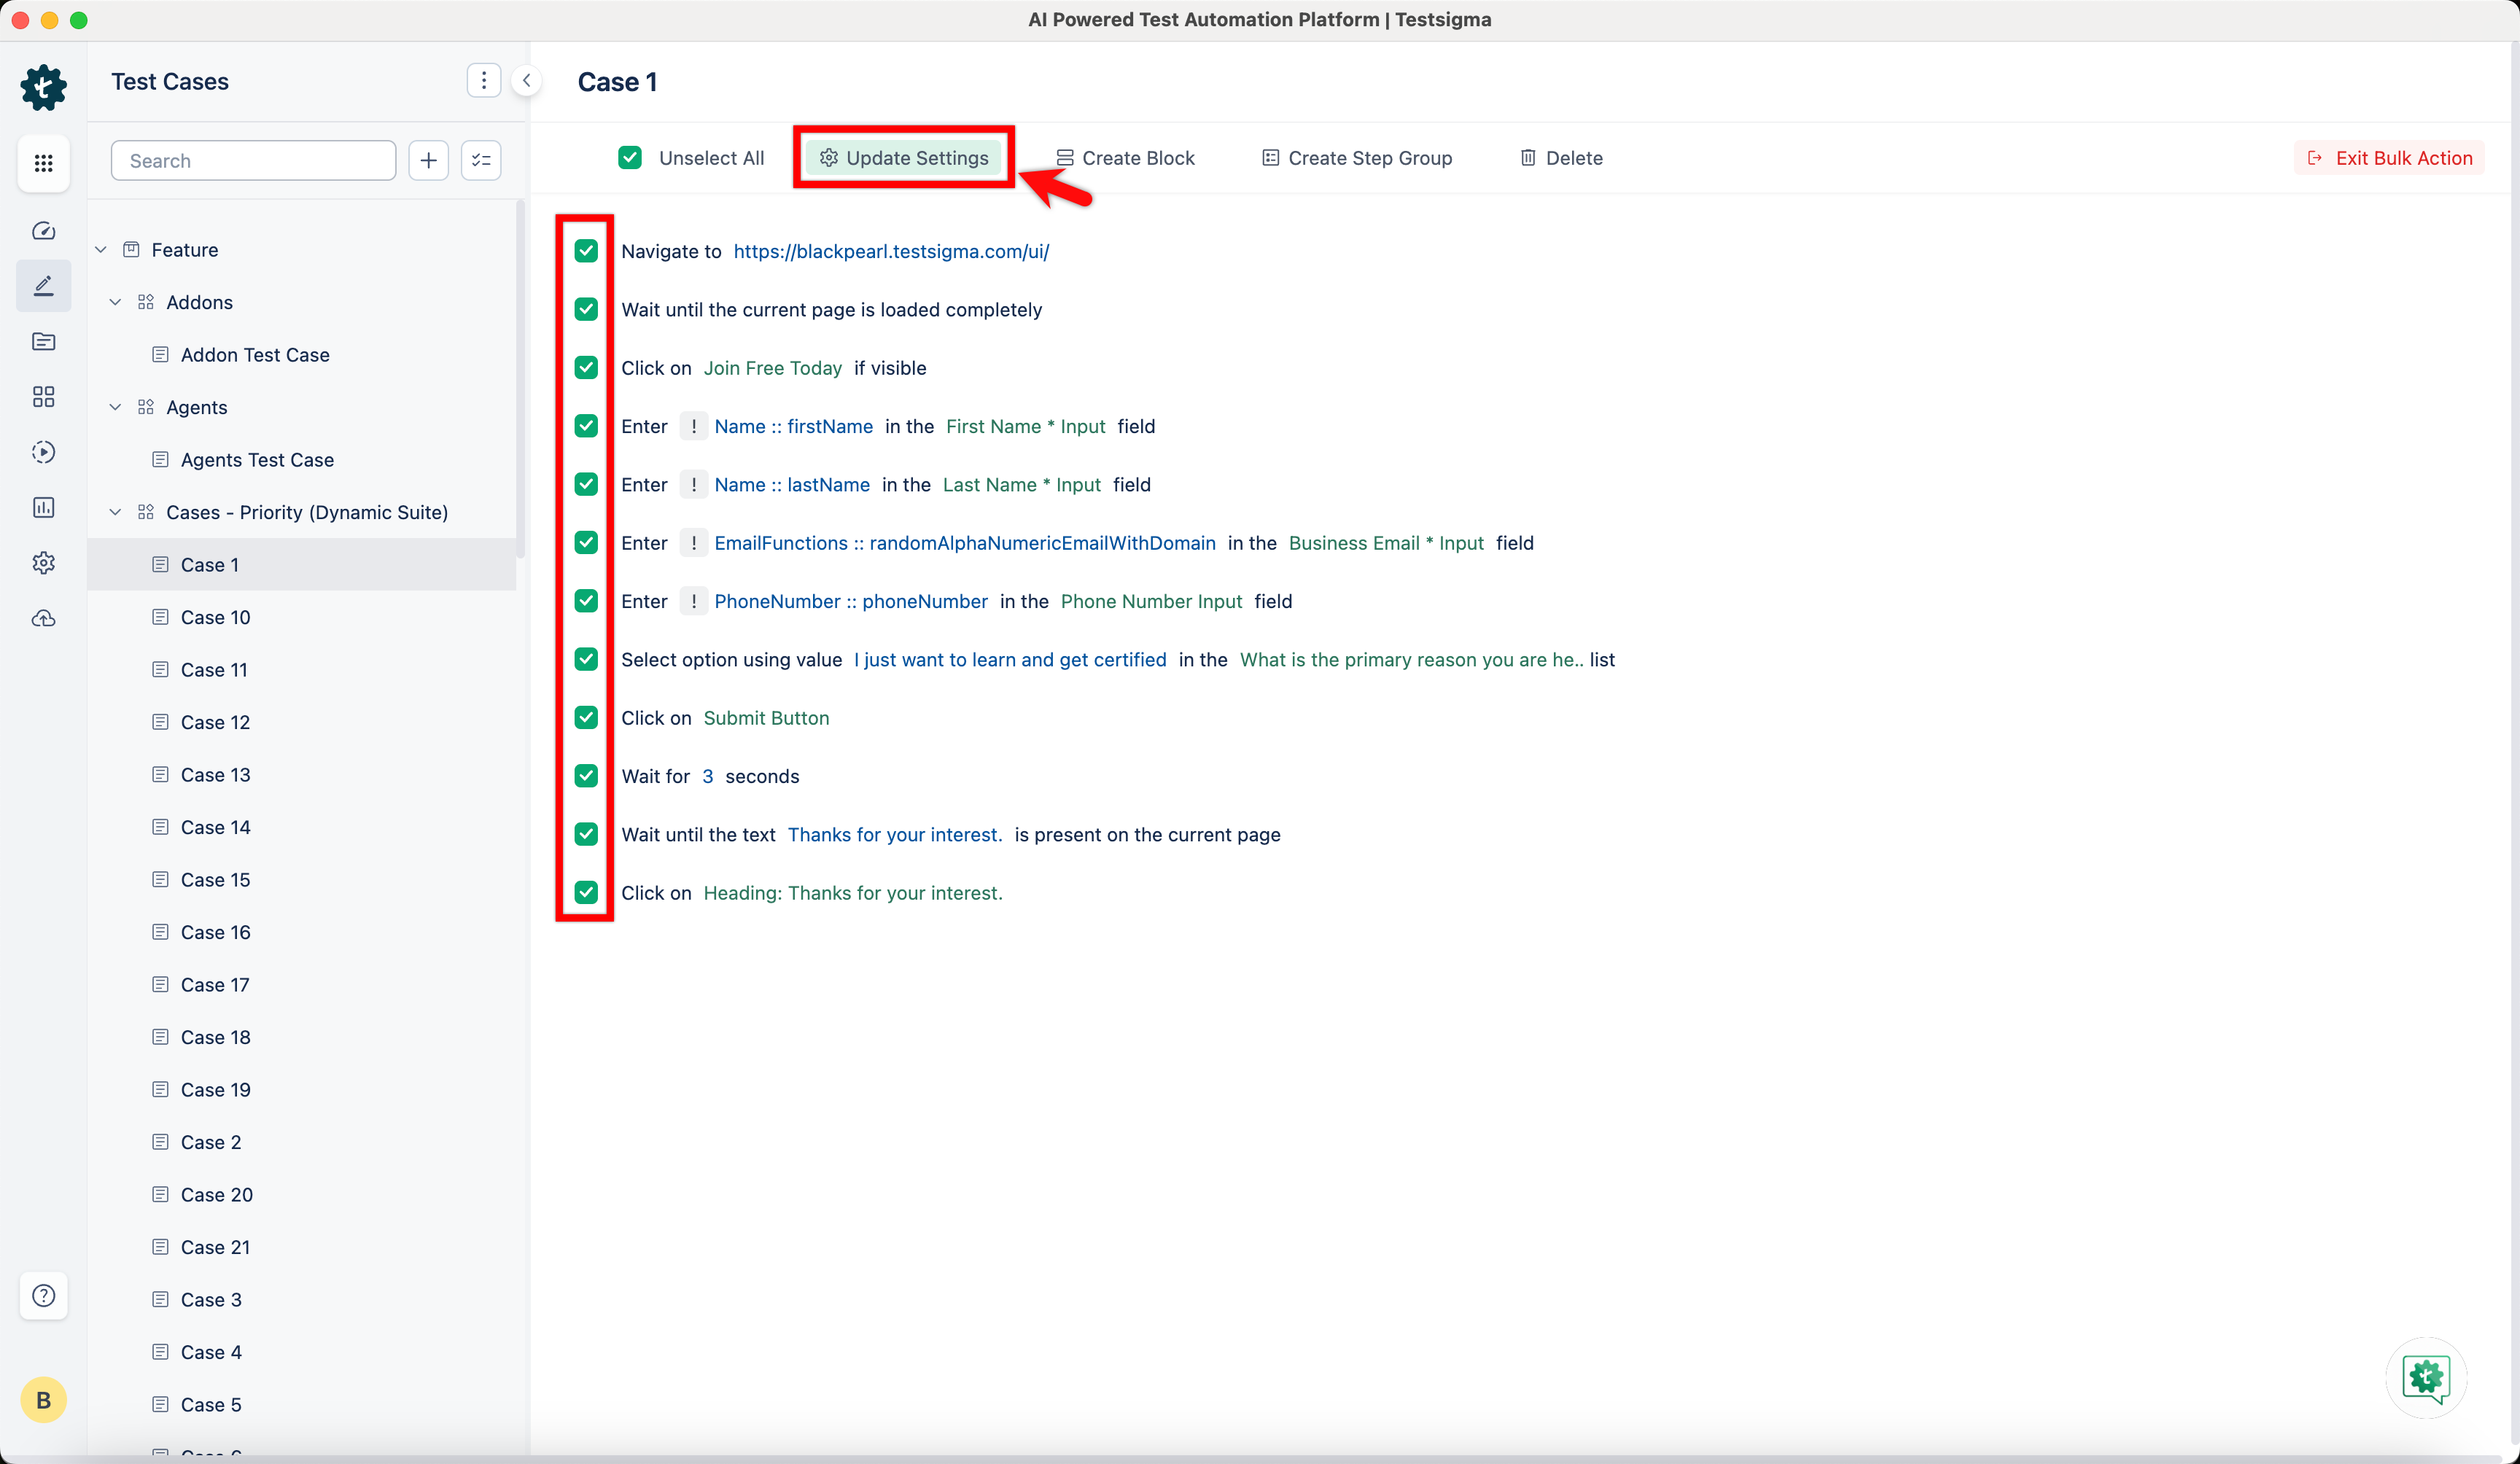
- In the Bulk Update Settings overlay, select the Enable Accessibility Testing for the step checkbox and click Update.

You can also enable accessibility testing for an individual step directly from the step’s settings.
Steps to Enable Accessibility Testing in Test Plans
- When creating a test plan, enable the Accessibility Testing toggle in Additional Settings. (14)
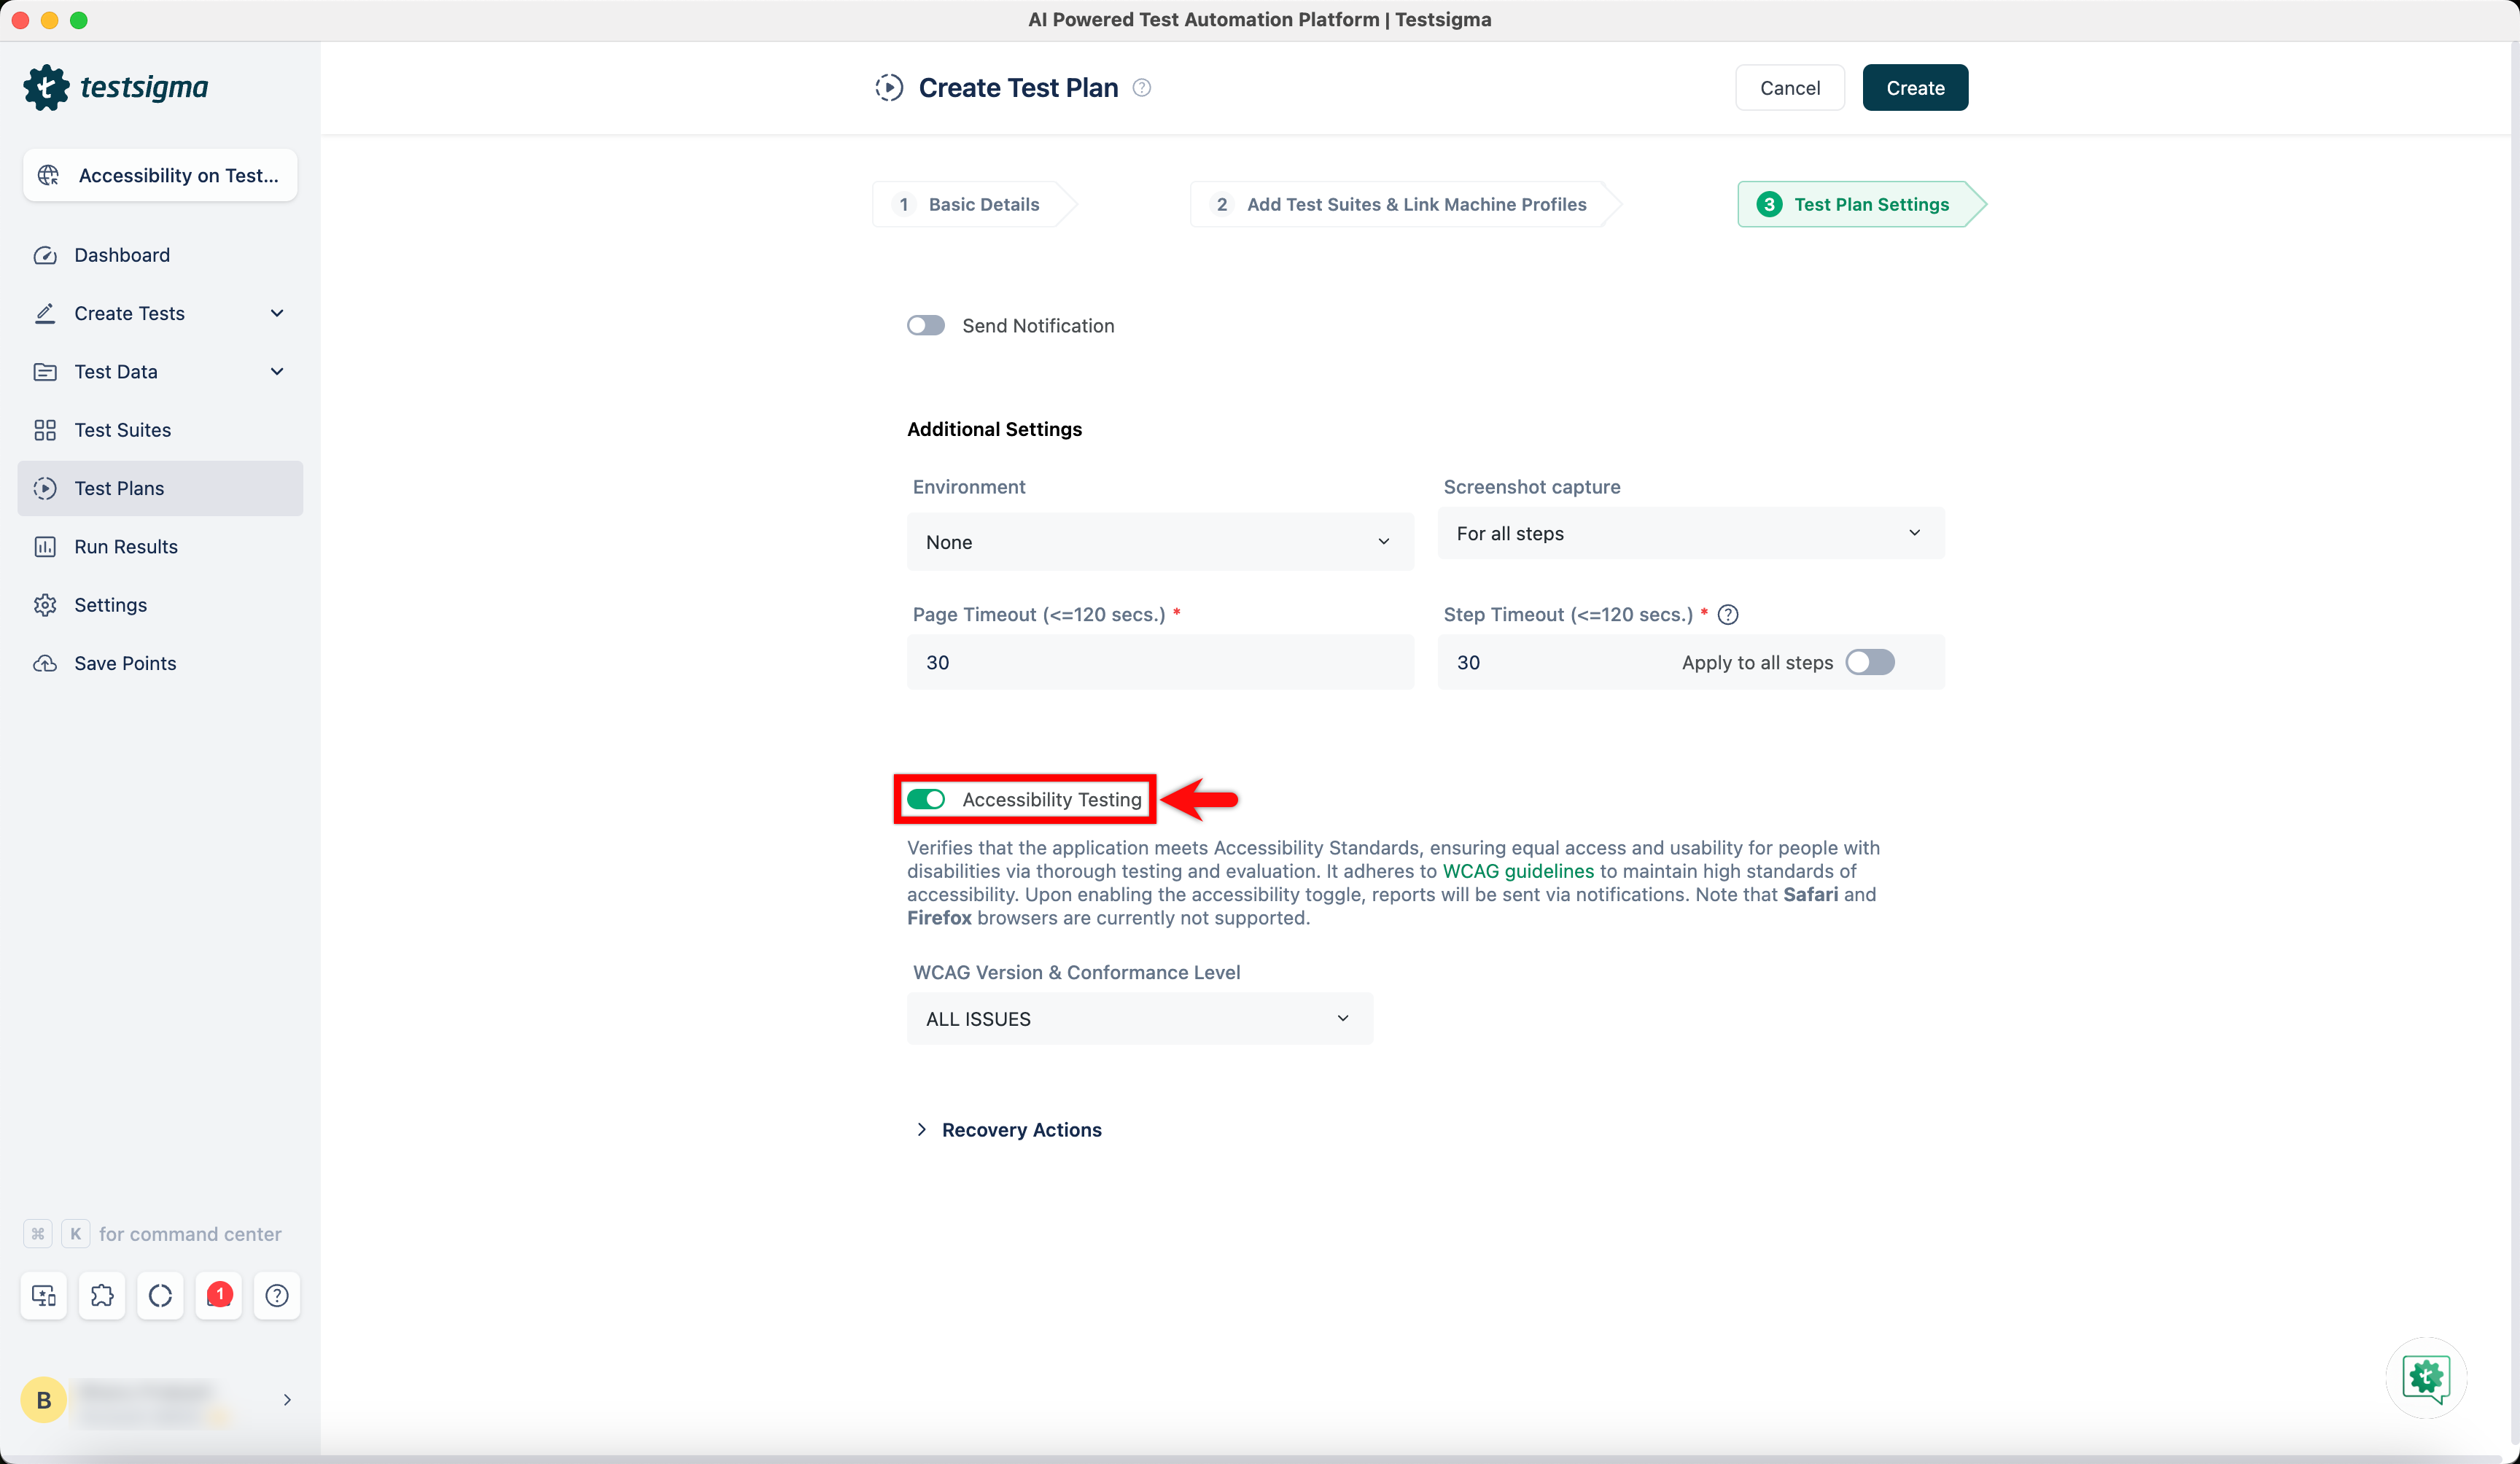
- Expand the WCAG Versions & Conformance Level dropdown and select the required version in Additional Settings.

- To execute the test plan, click the Run Now button.

- Once the test plan execution is complete, click View Reports for that test plan.
-
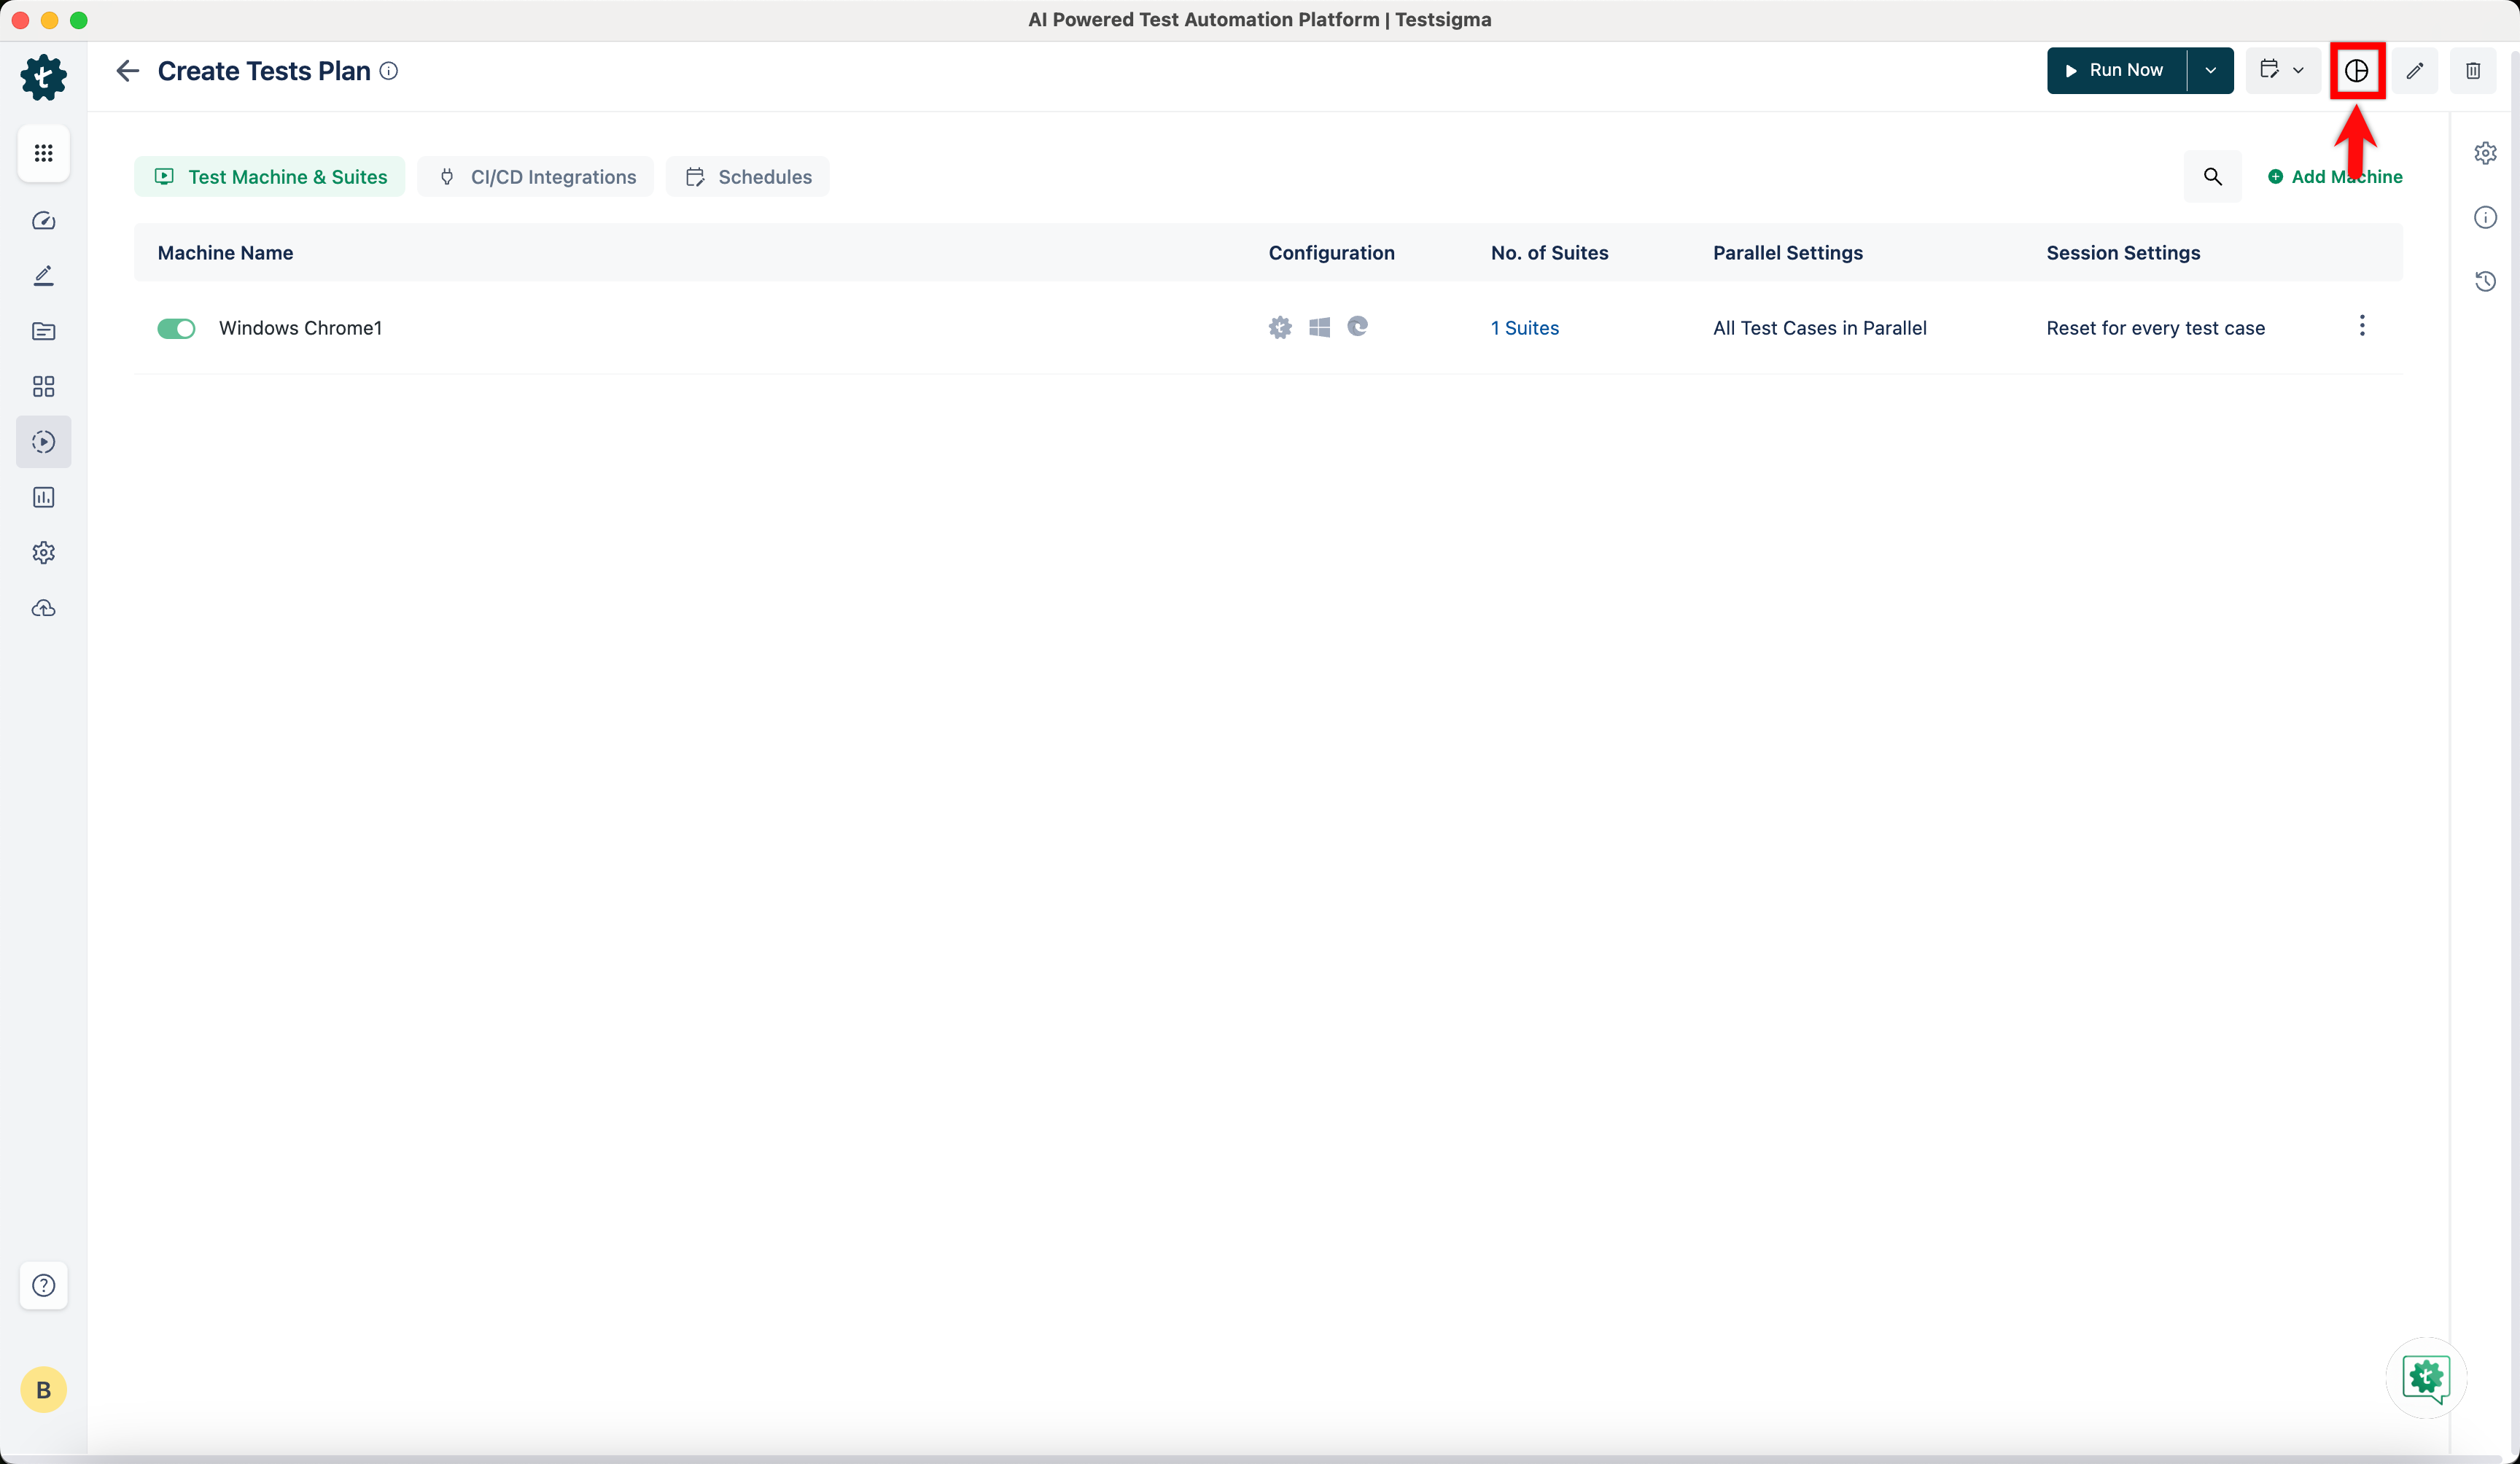
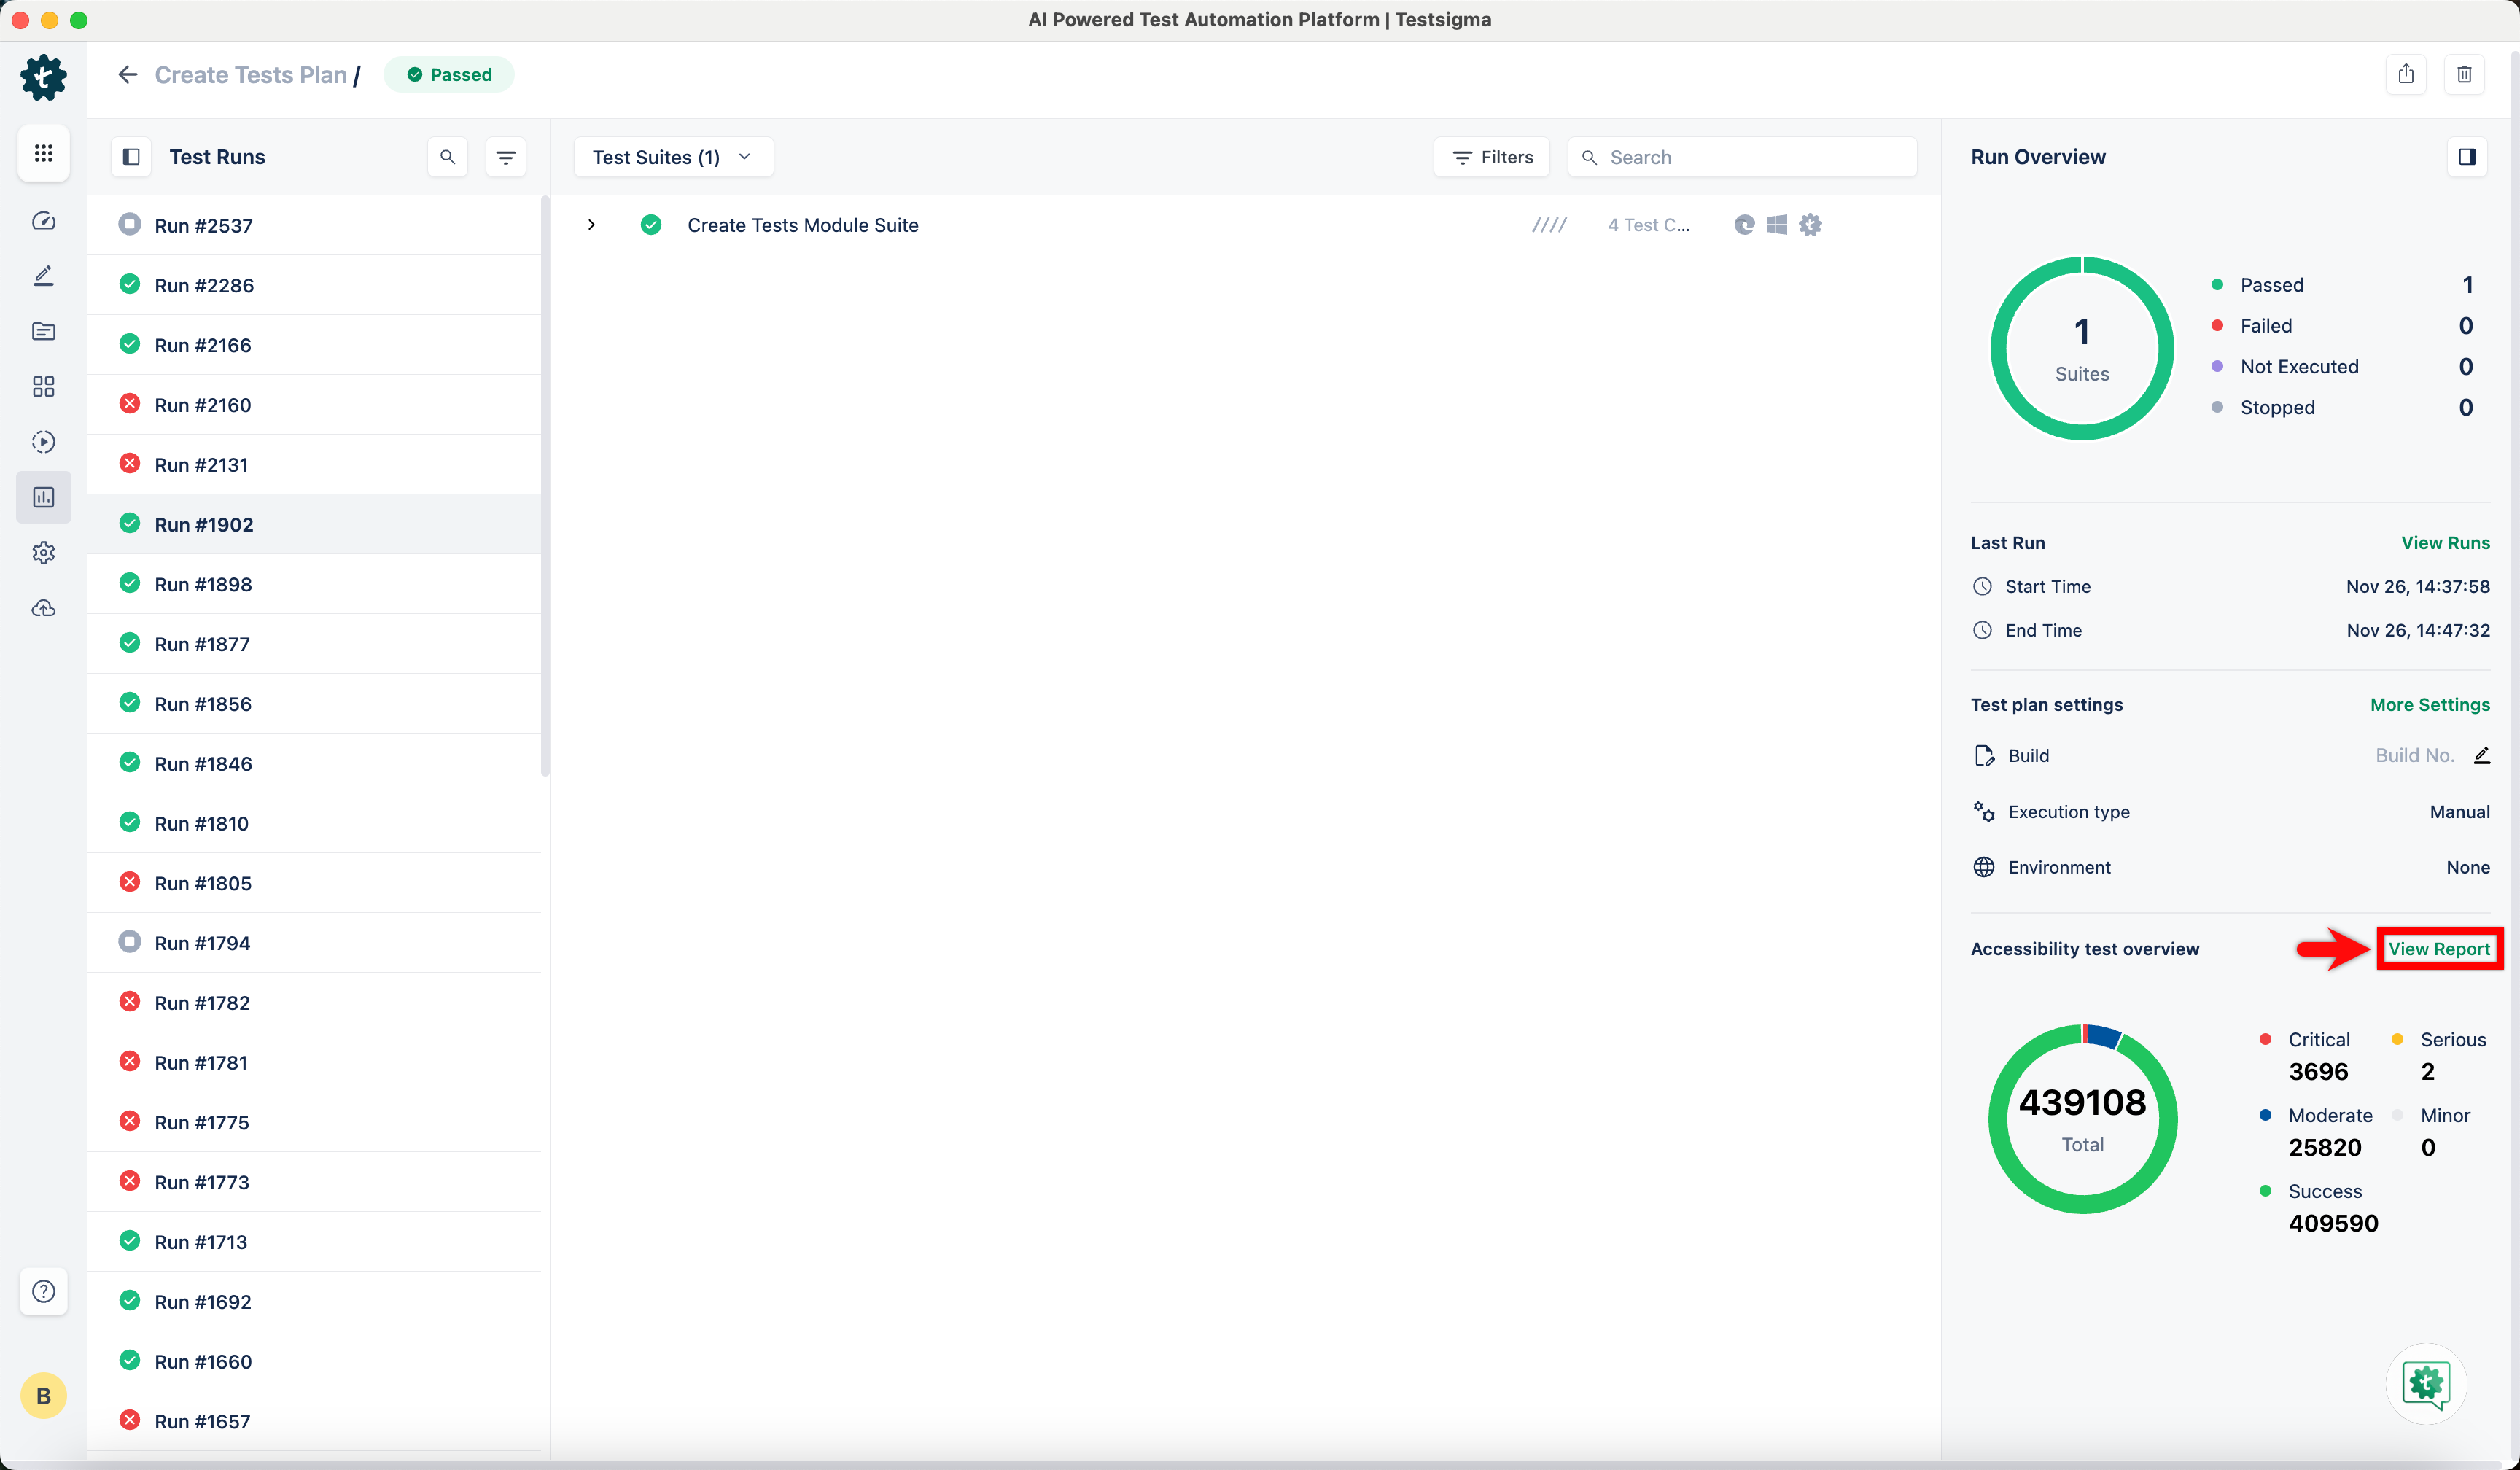
On the report page, click View Report in the bottom corner to open a detailed accessibility testing report.
Interacting with Accessibility Report
The Accessibility Report page displays the results of your accessibility report. It allows you to review errors, check severity levels, and identify the specific user interface elements that need attention.
The page is organized into two main tabs: Overview and All Issues.
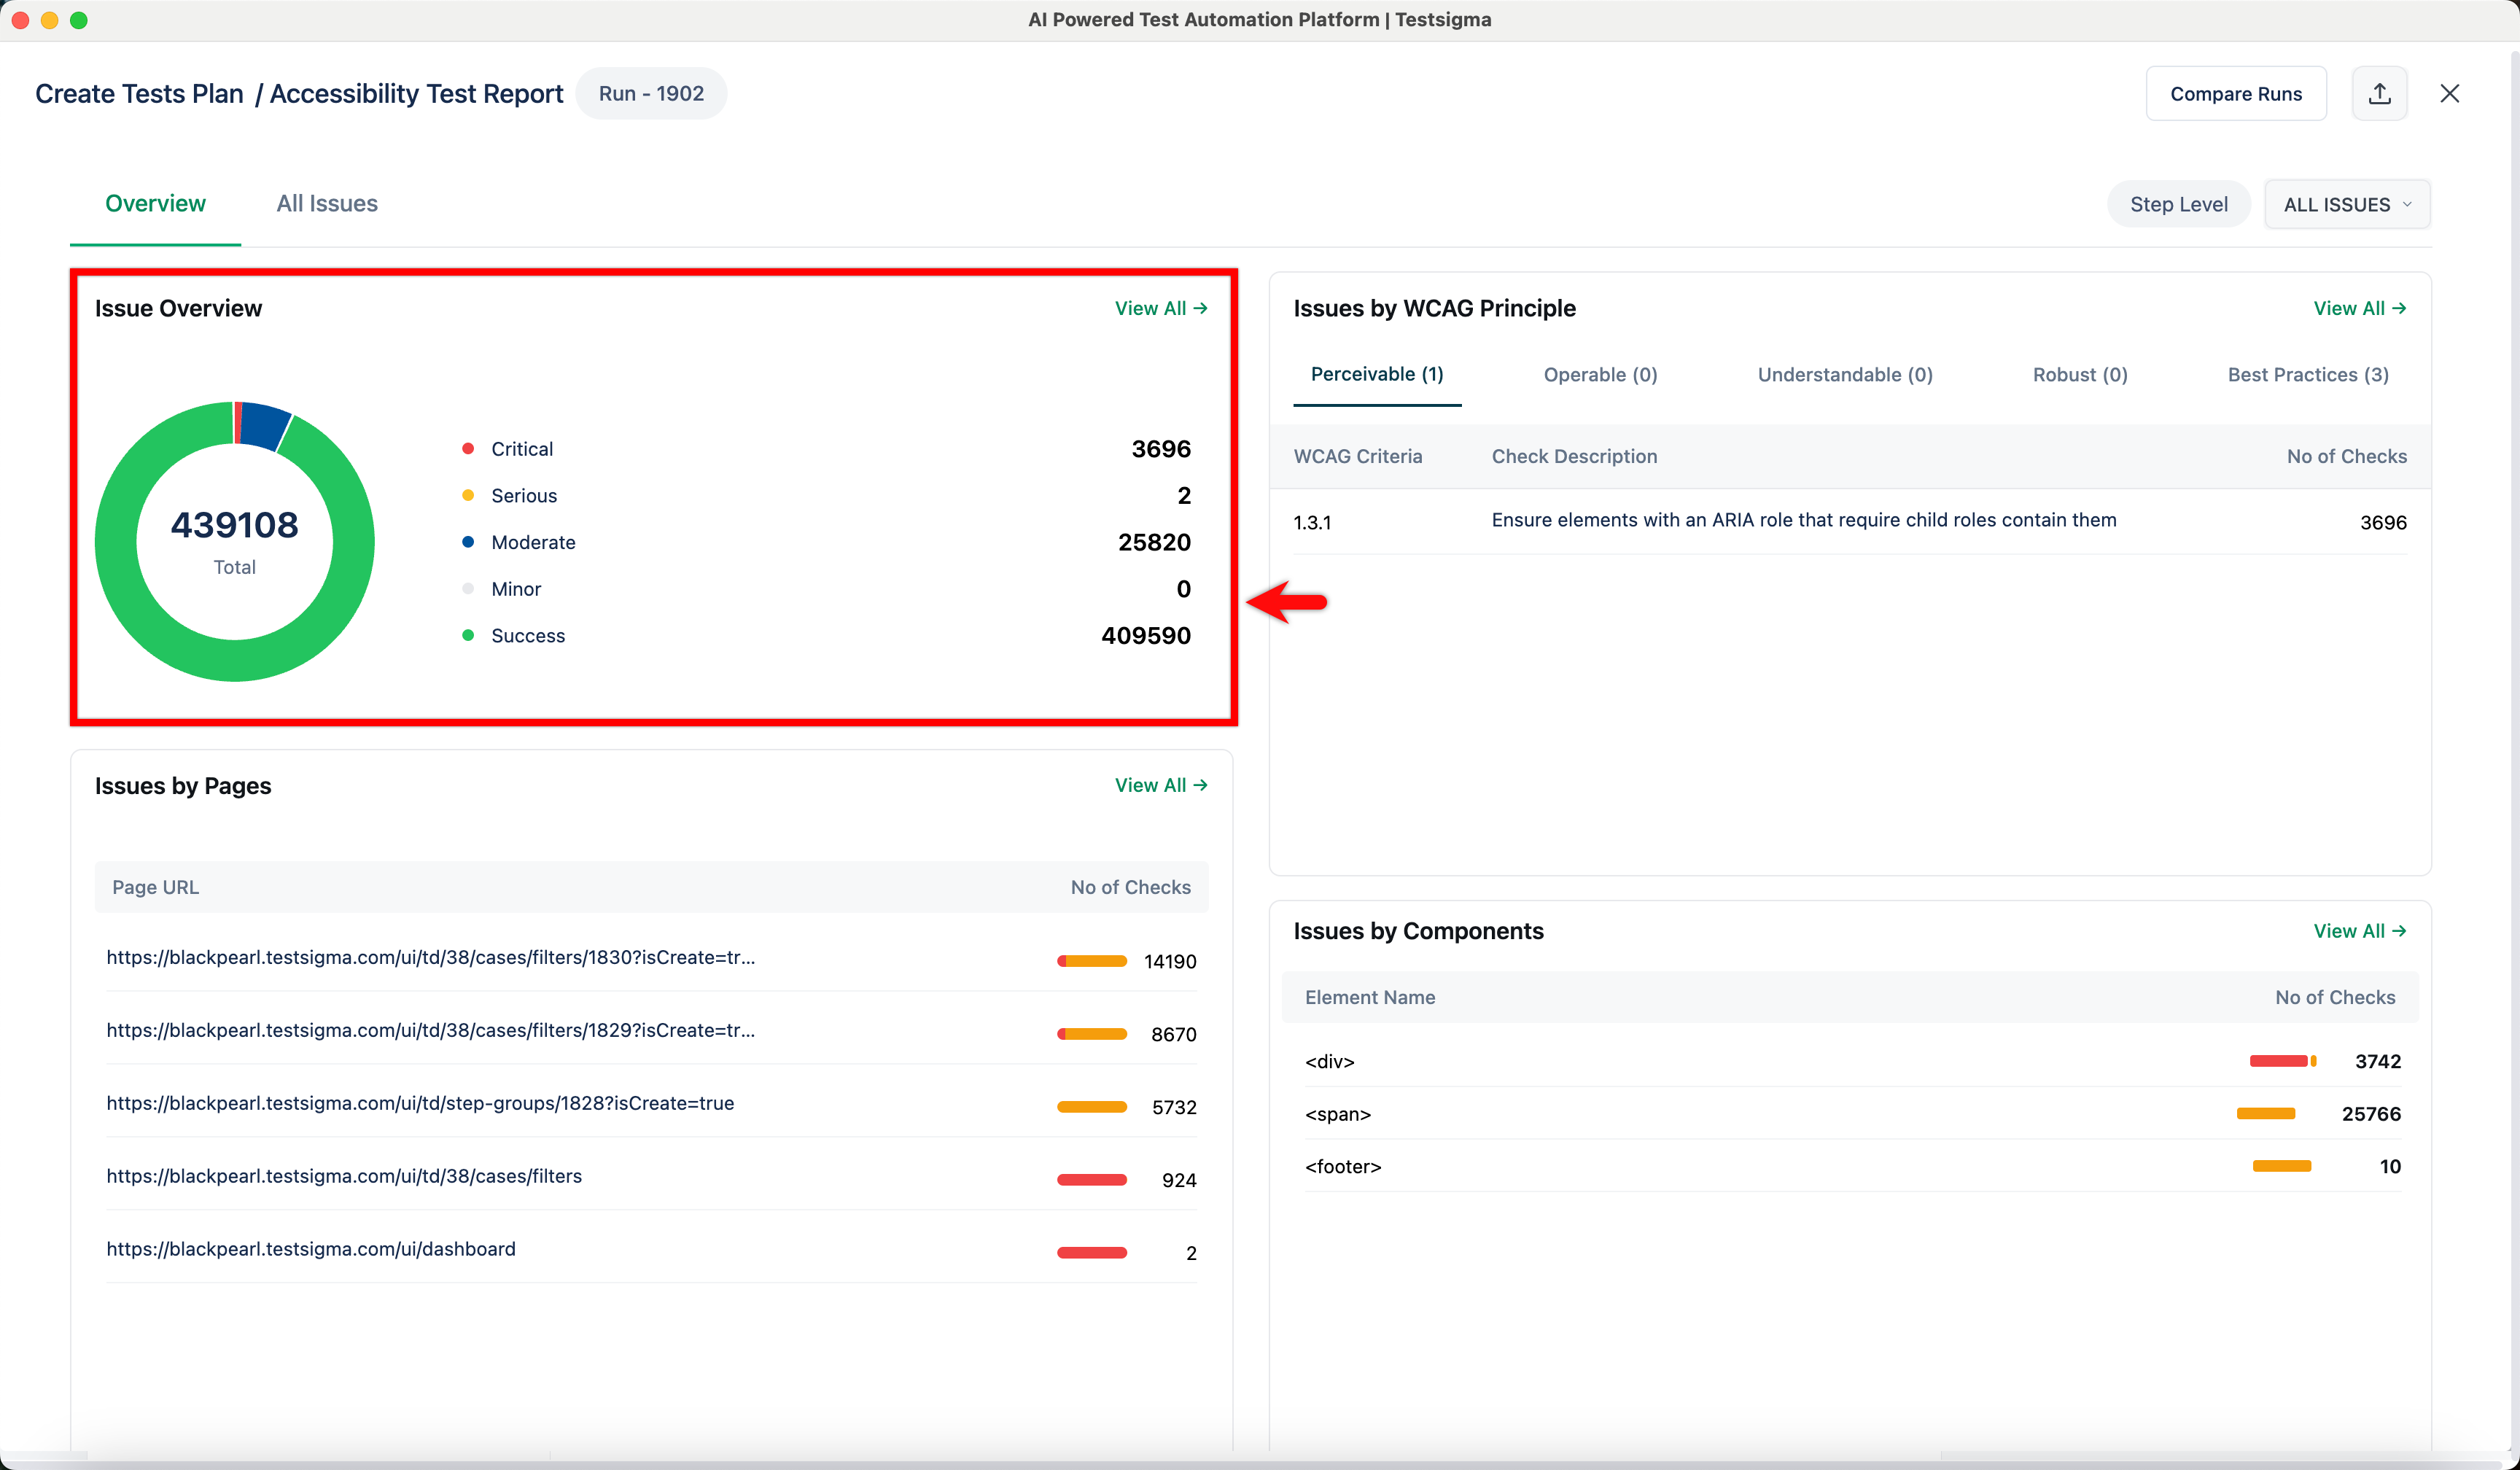
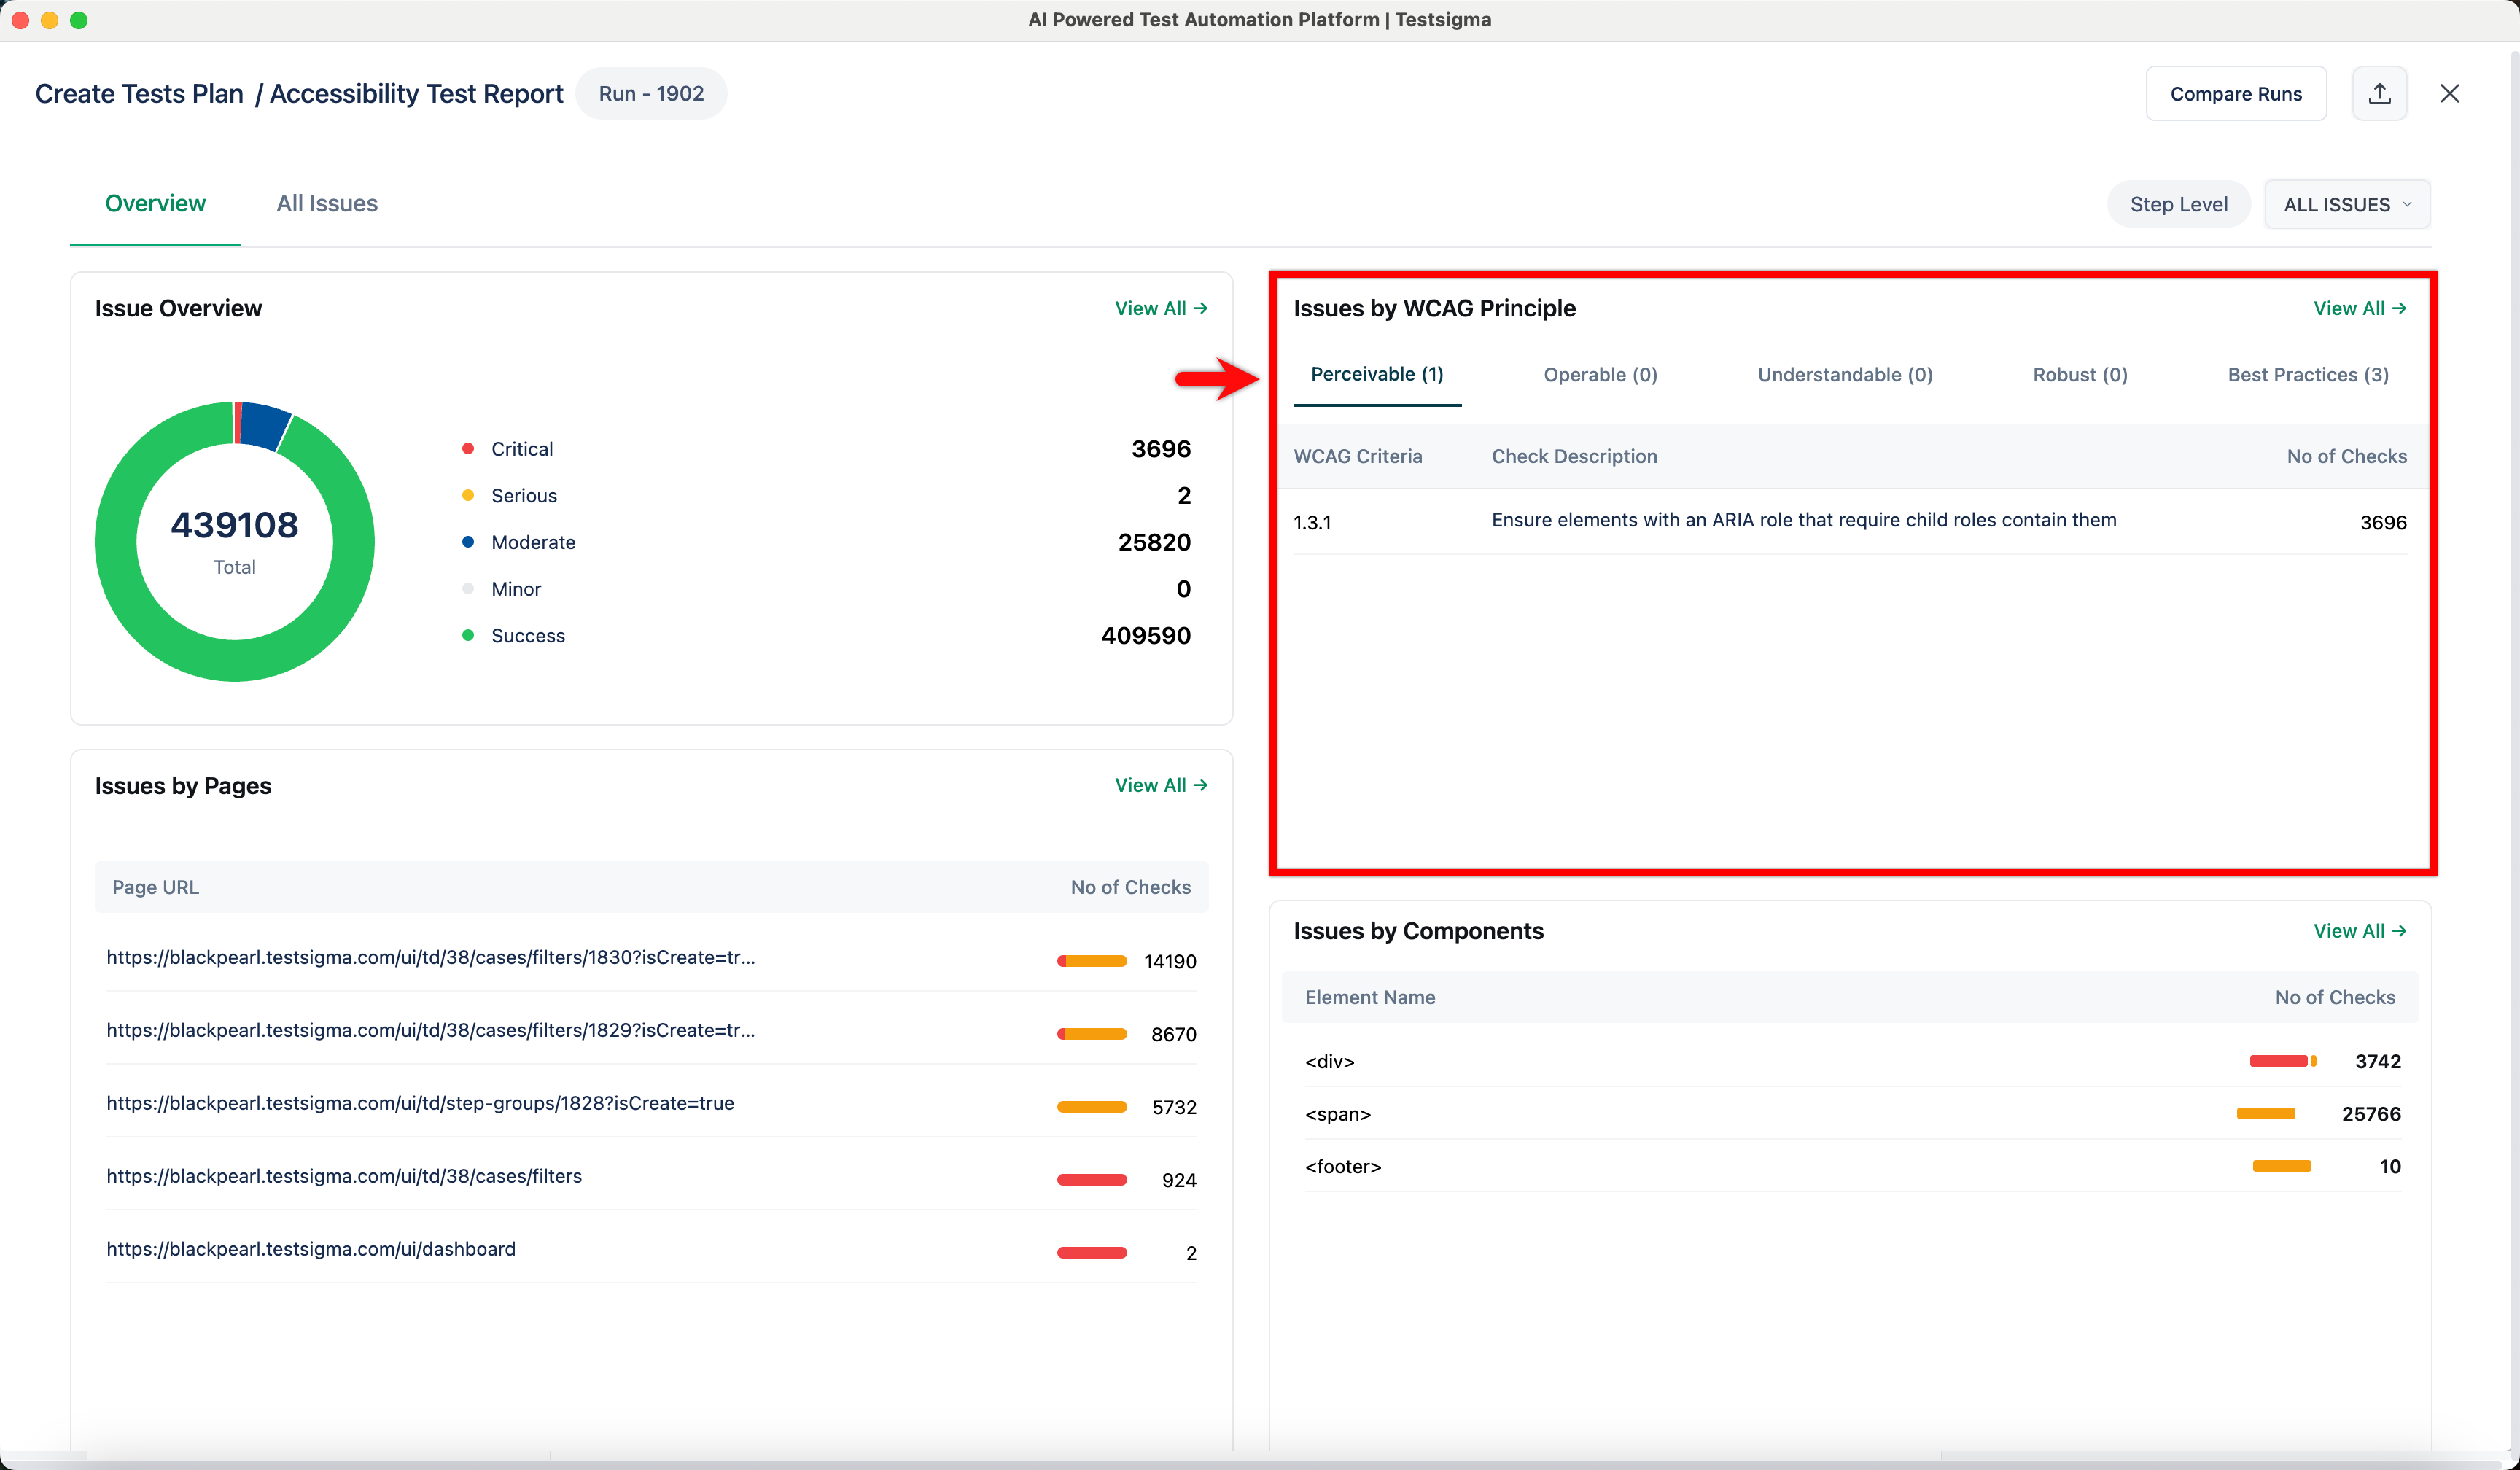
Overview Tab
The Overview tab provides a visual summary of the test execution. Use this tab to quickly check the overall status of the application.
- Issue Overview: Displays a donut chart that summarizes all issues found during the test. The chart groups issues by severity: Critical, Serious, Moderate, Minor, and Success.
-
Issues by WCAG Principle: Organizes findings by WCAG principles, such as Perceivable, Operable, Understandable, and Robust. This section lists the specific criteria violations and the number of failed checks for each principle.
 NOTE:
NOTE:Please refer to the Best Practices tab for remediation steps regarding the identified issues.

- Issues by Pages: Lists every URL scanned during the test and the number of accessibility checks that failed on that page. You can use this list to find pages with the most errors.
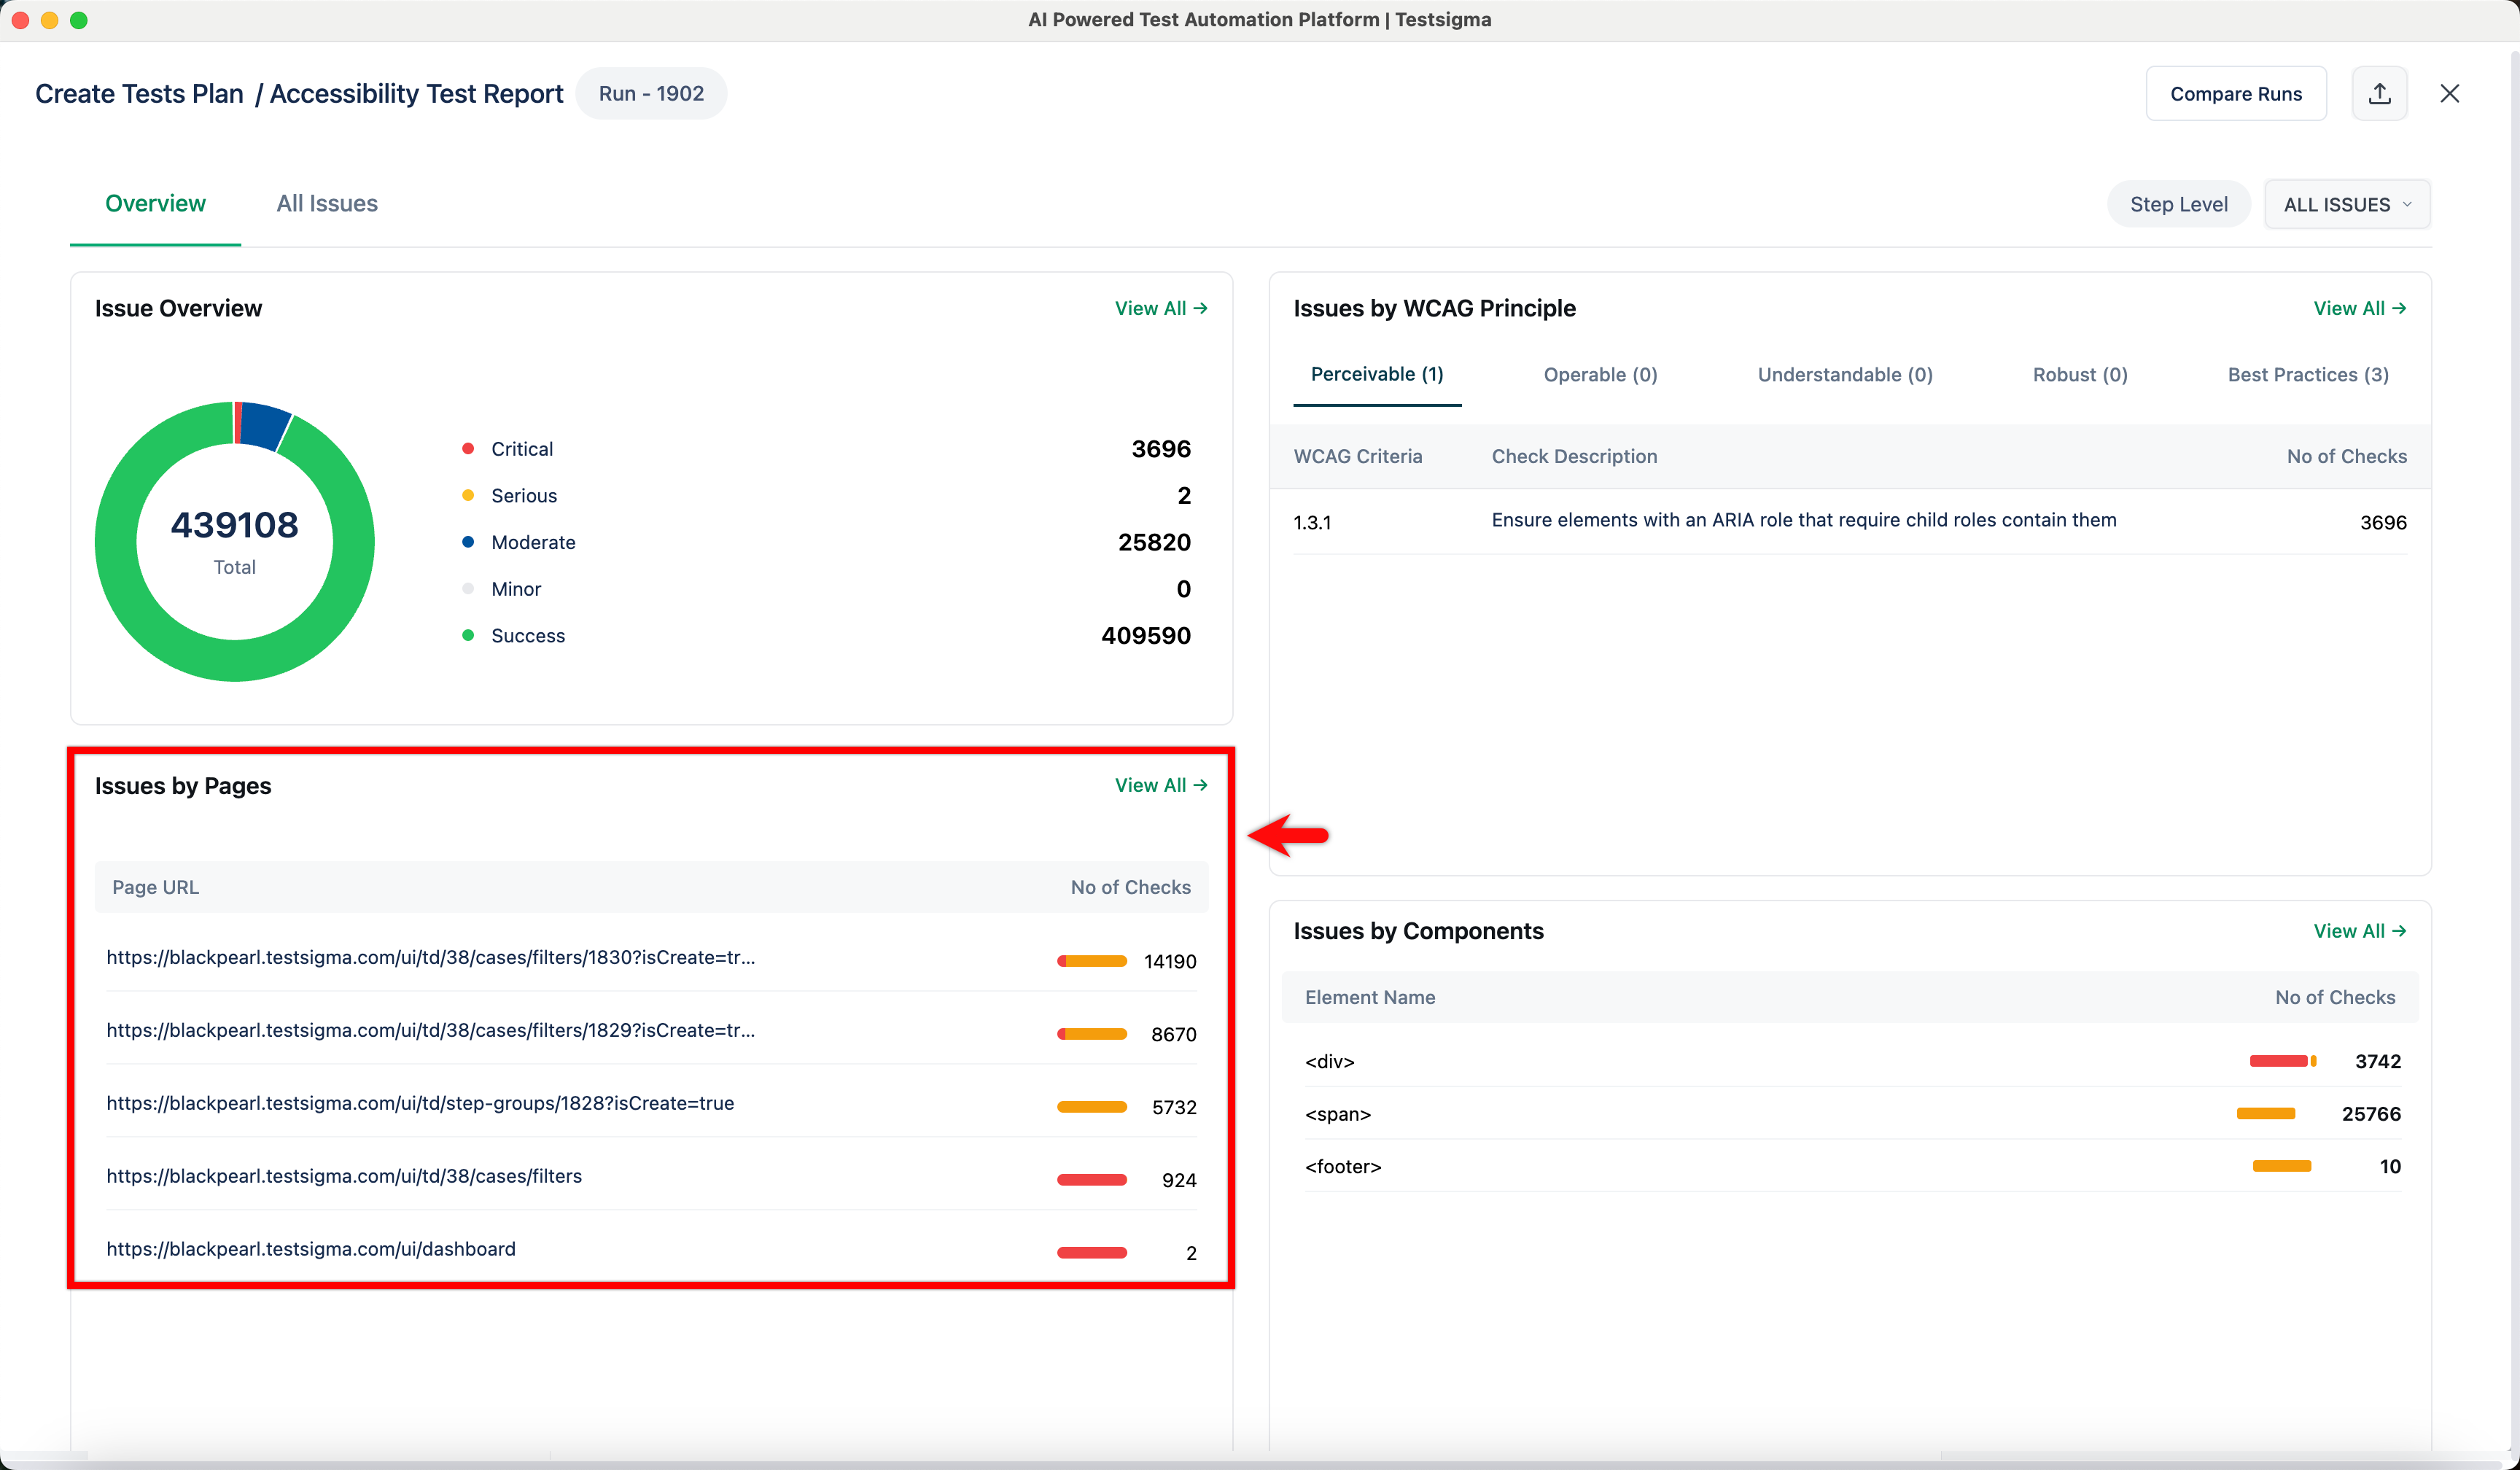
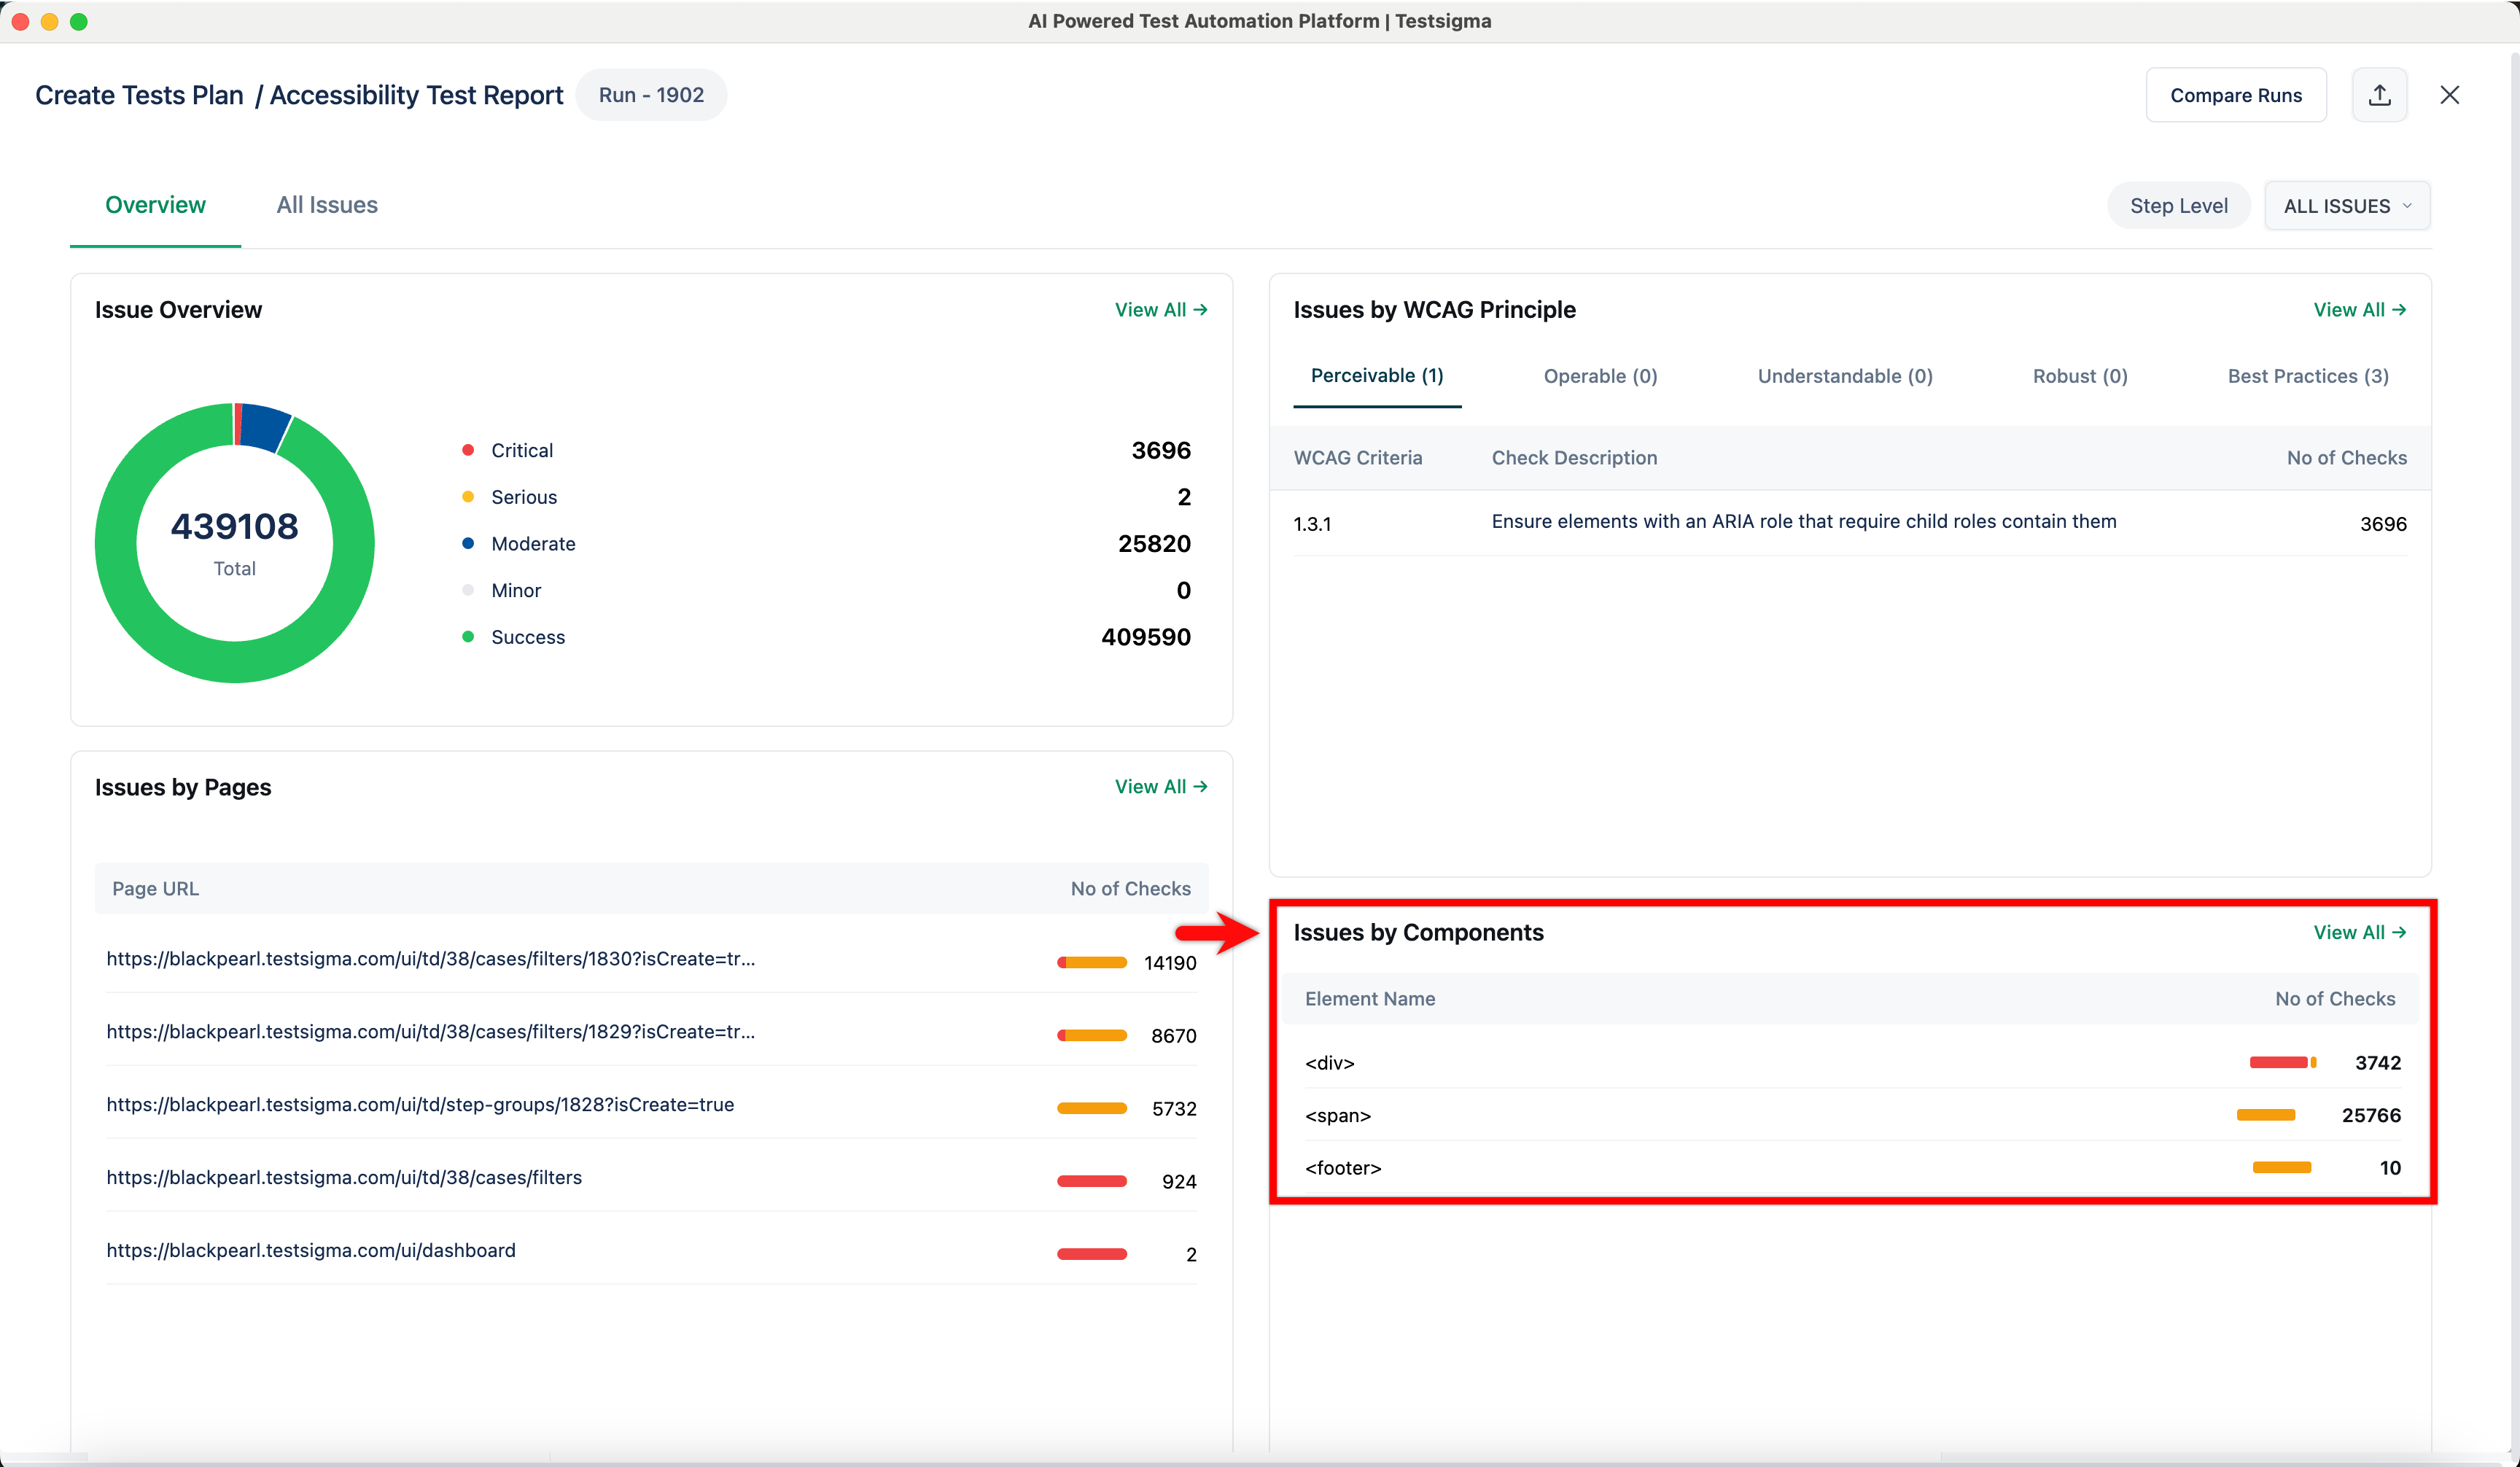
- Issues by Components: Categorizes issues by HTML element types. This helps you see if specific code components cause repeated errors.
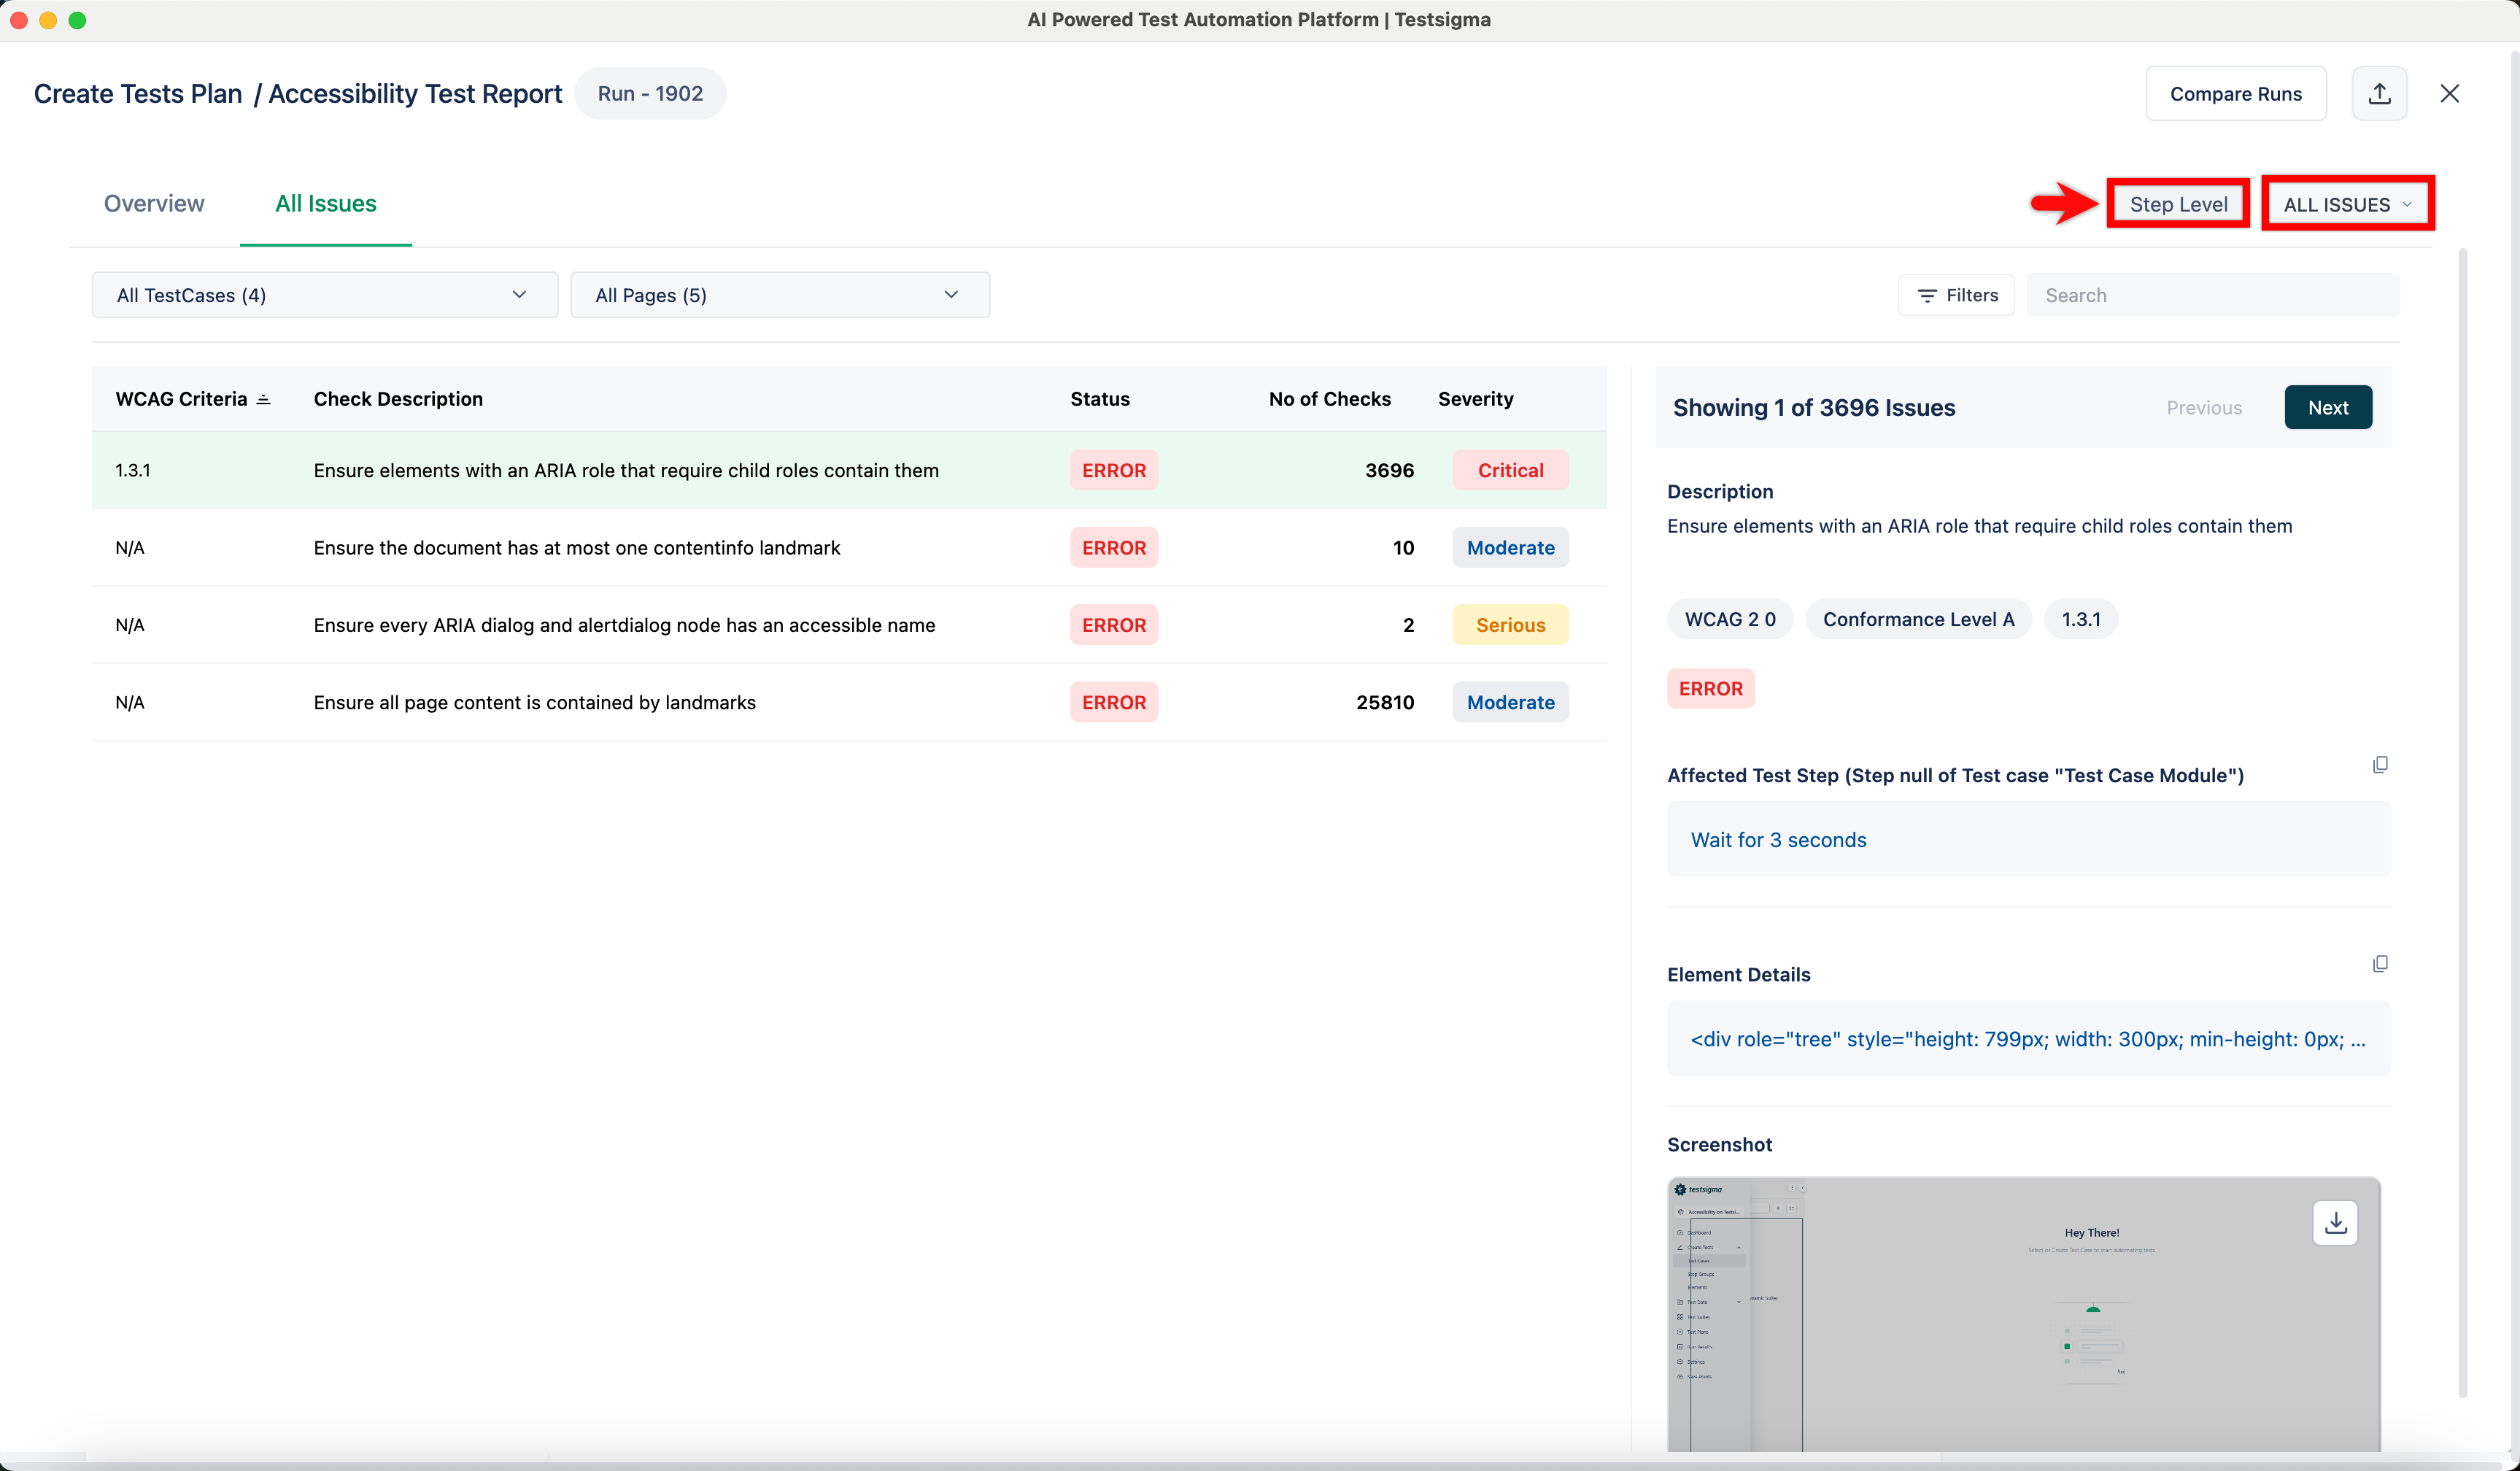
All Issues Tab
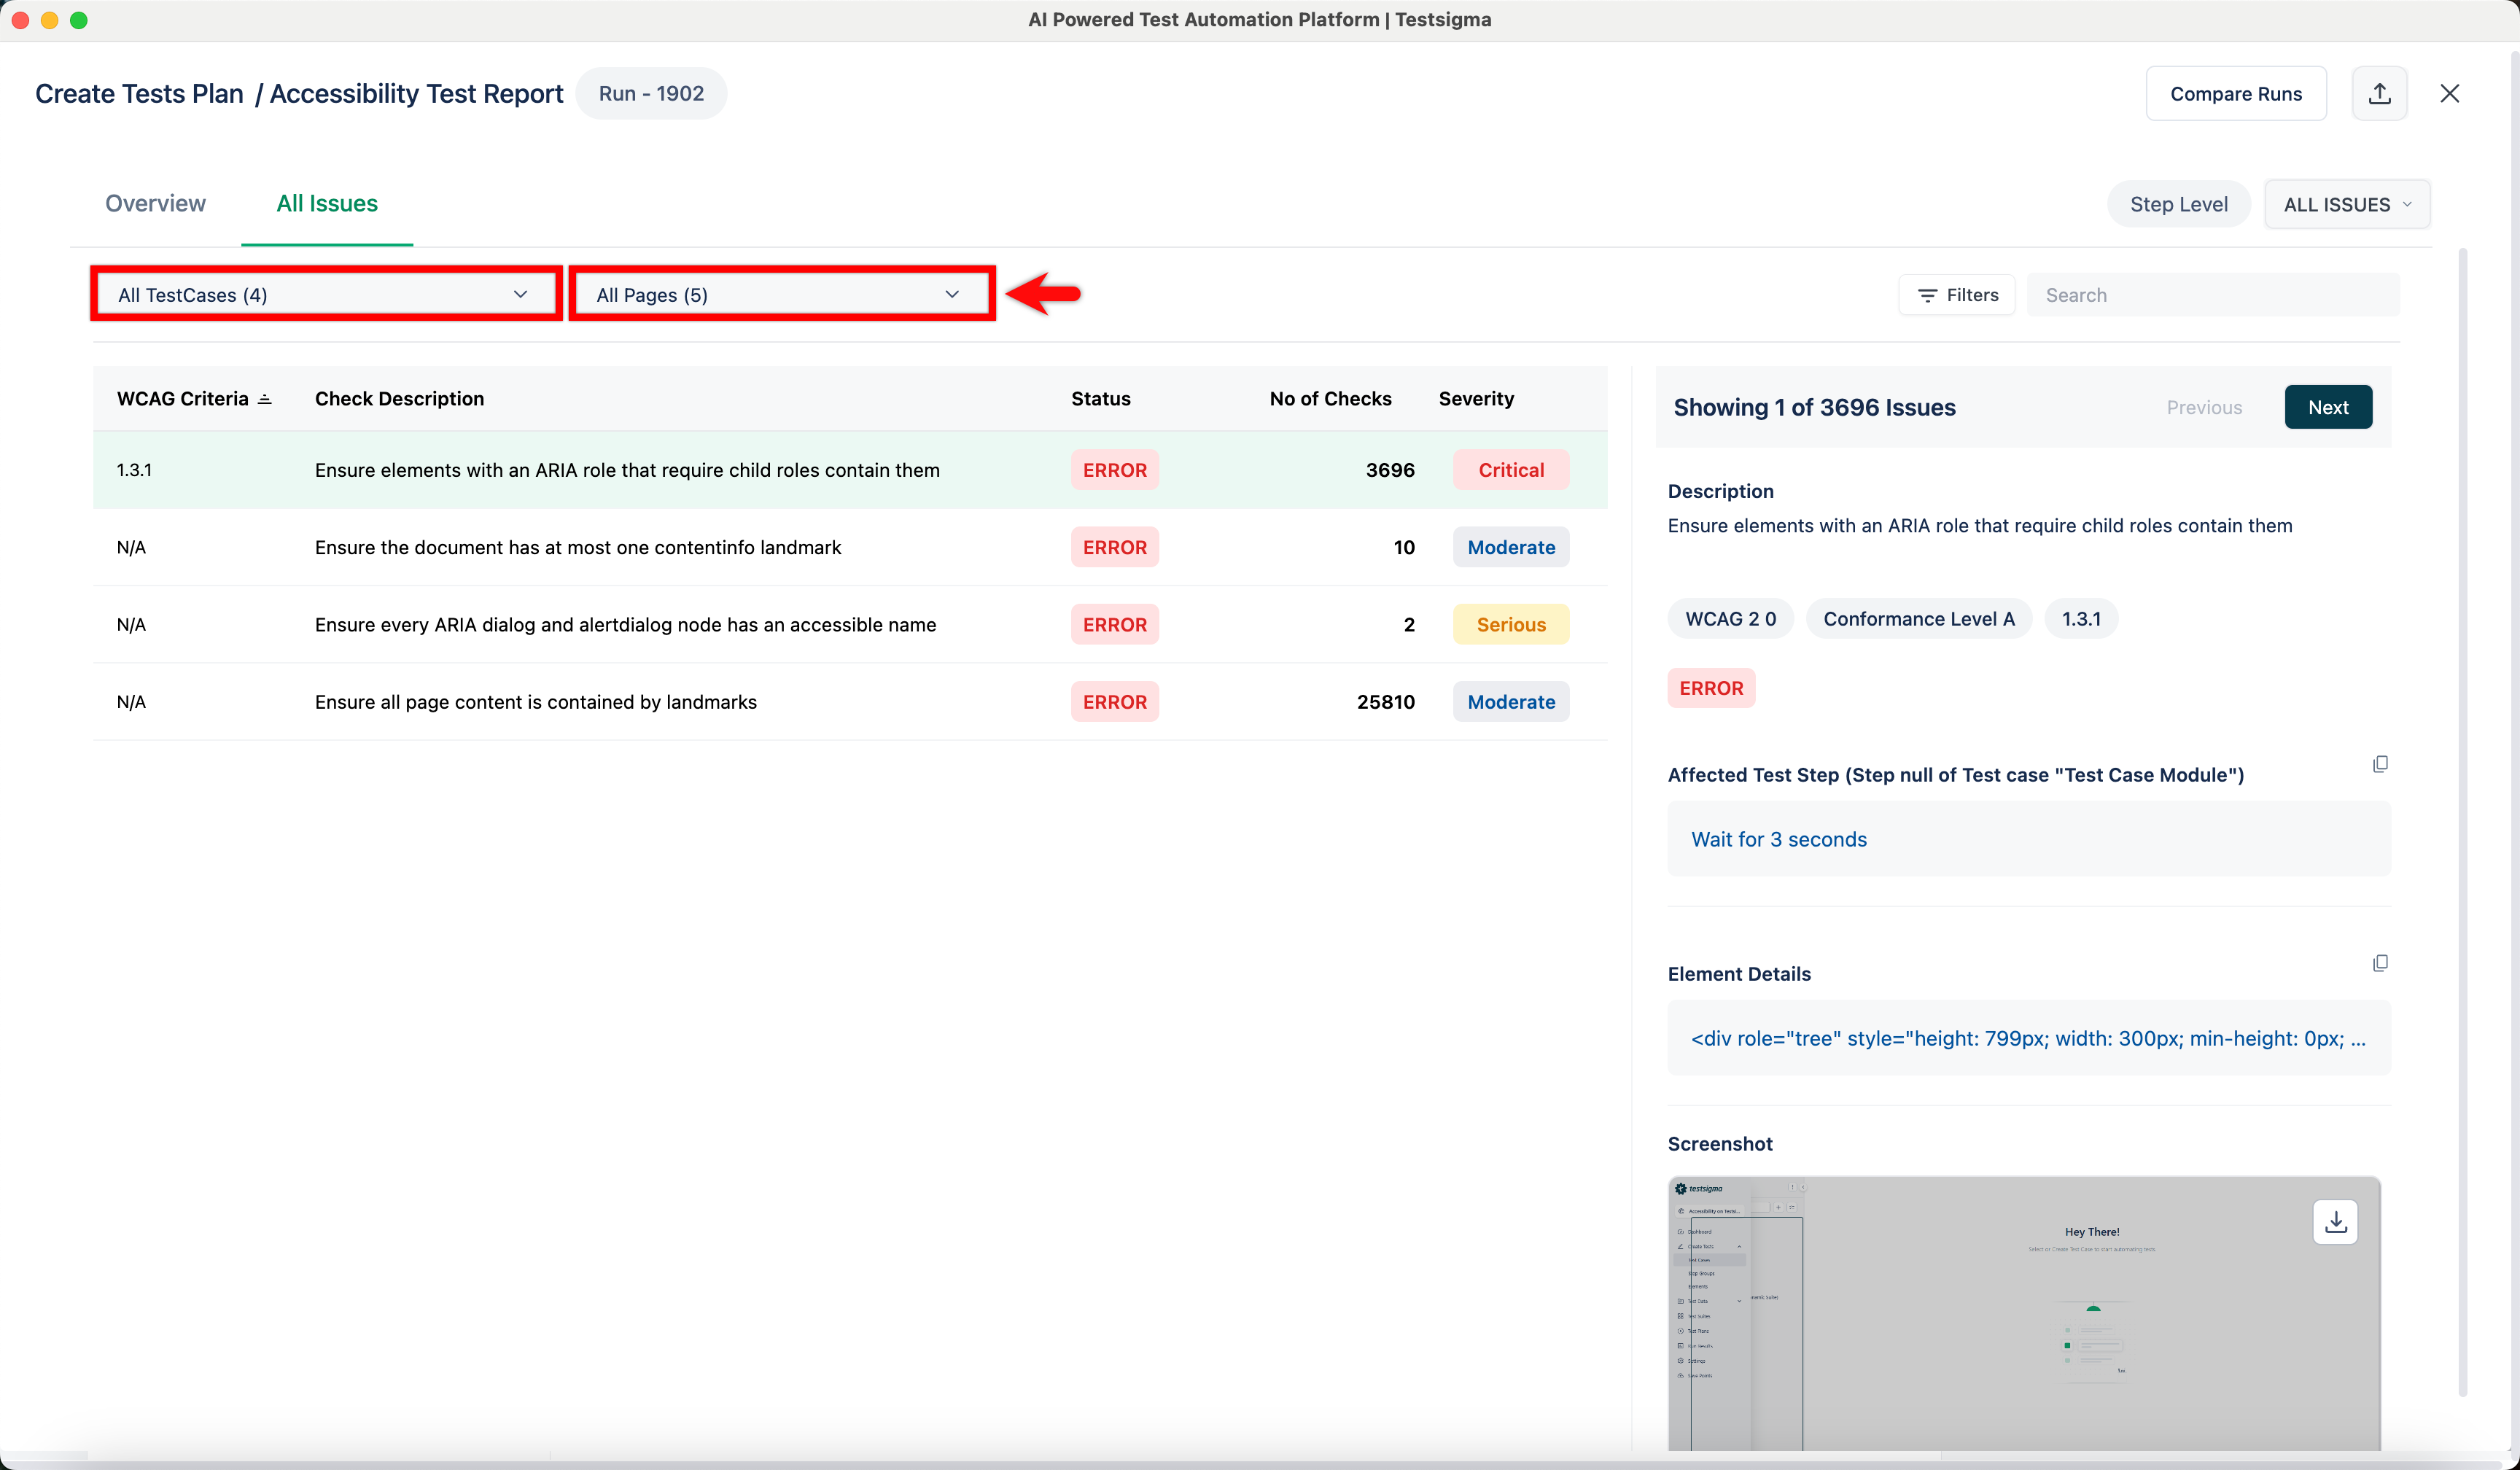
The All Issues tab displays a detailed list of every violation found. You can use this tab to investigate specific bugs and view relevant code. This tab includes search tools, an issues list, and a details pane.
-
Search and Filter Options
The top bar helps you locate specific issues:
- Dropdown Filters: Select All TestCases or All Pages to view all issues. You can also select a specific test case or page to filter the results for that item only.
- Filter and Search: Select Filters to apply specific criteria, or use the Search box to find issues by keyword.
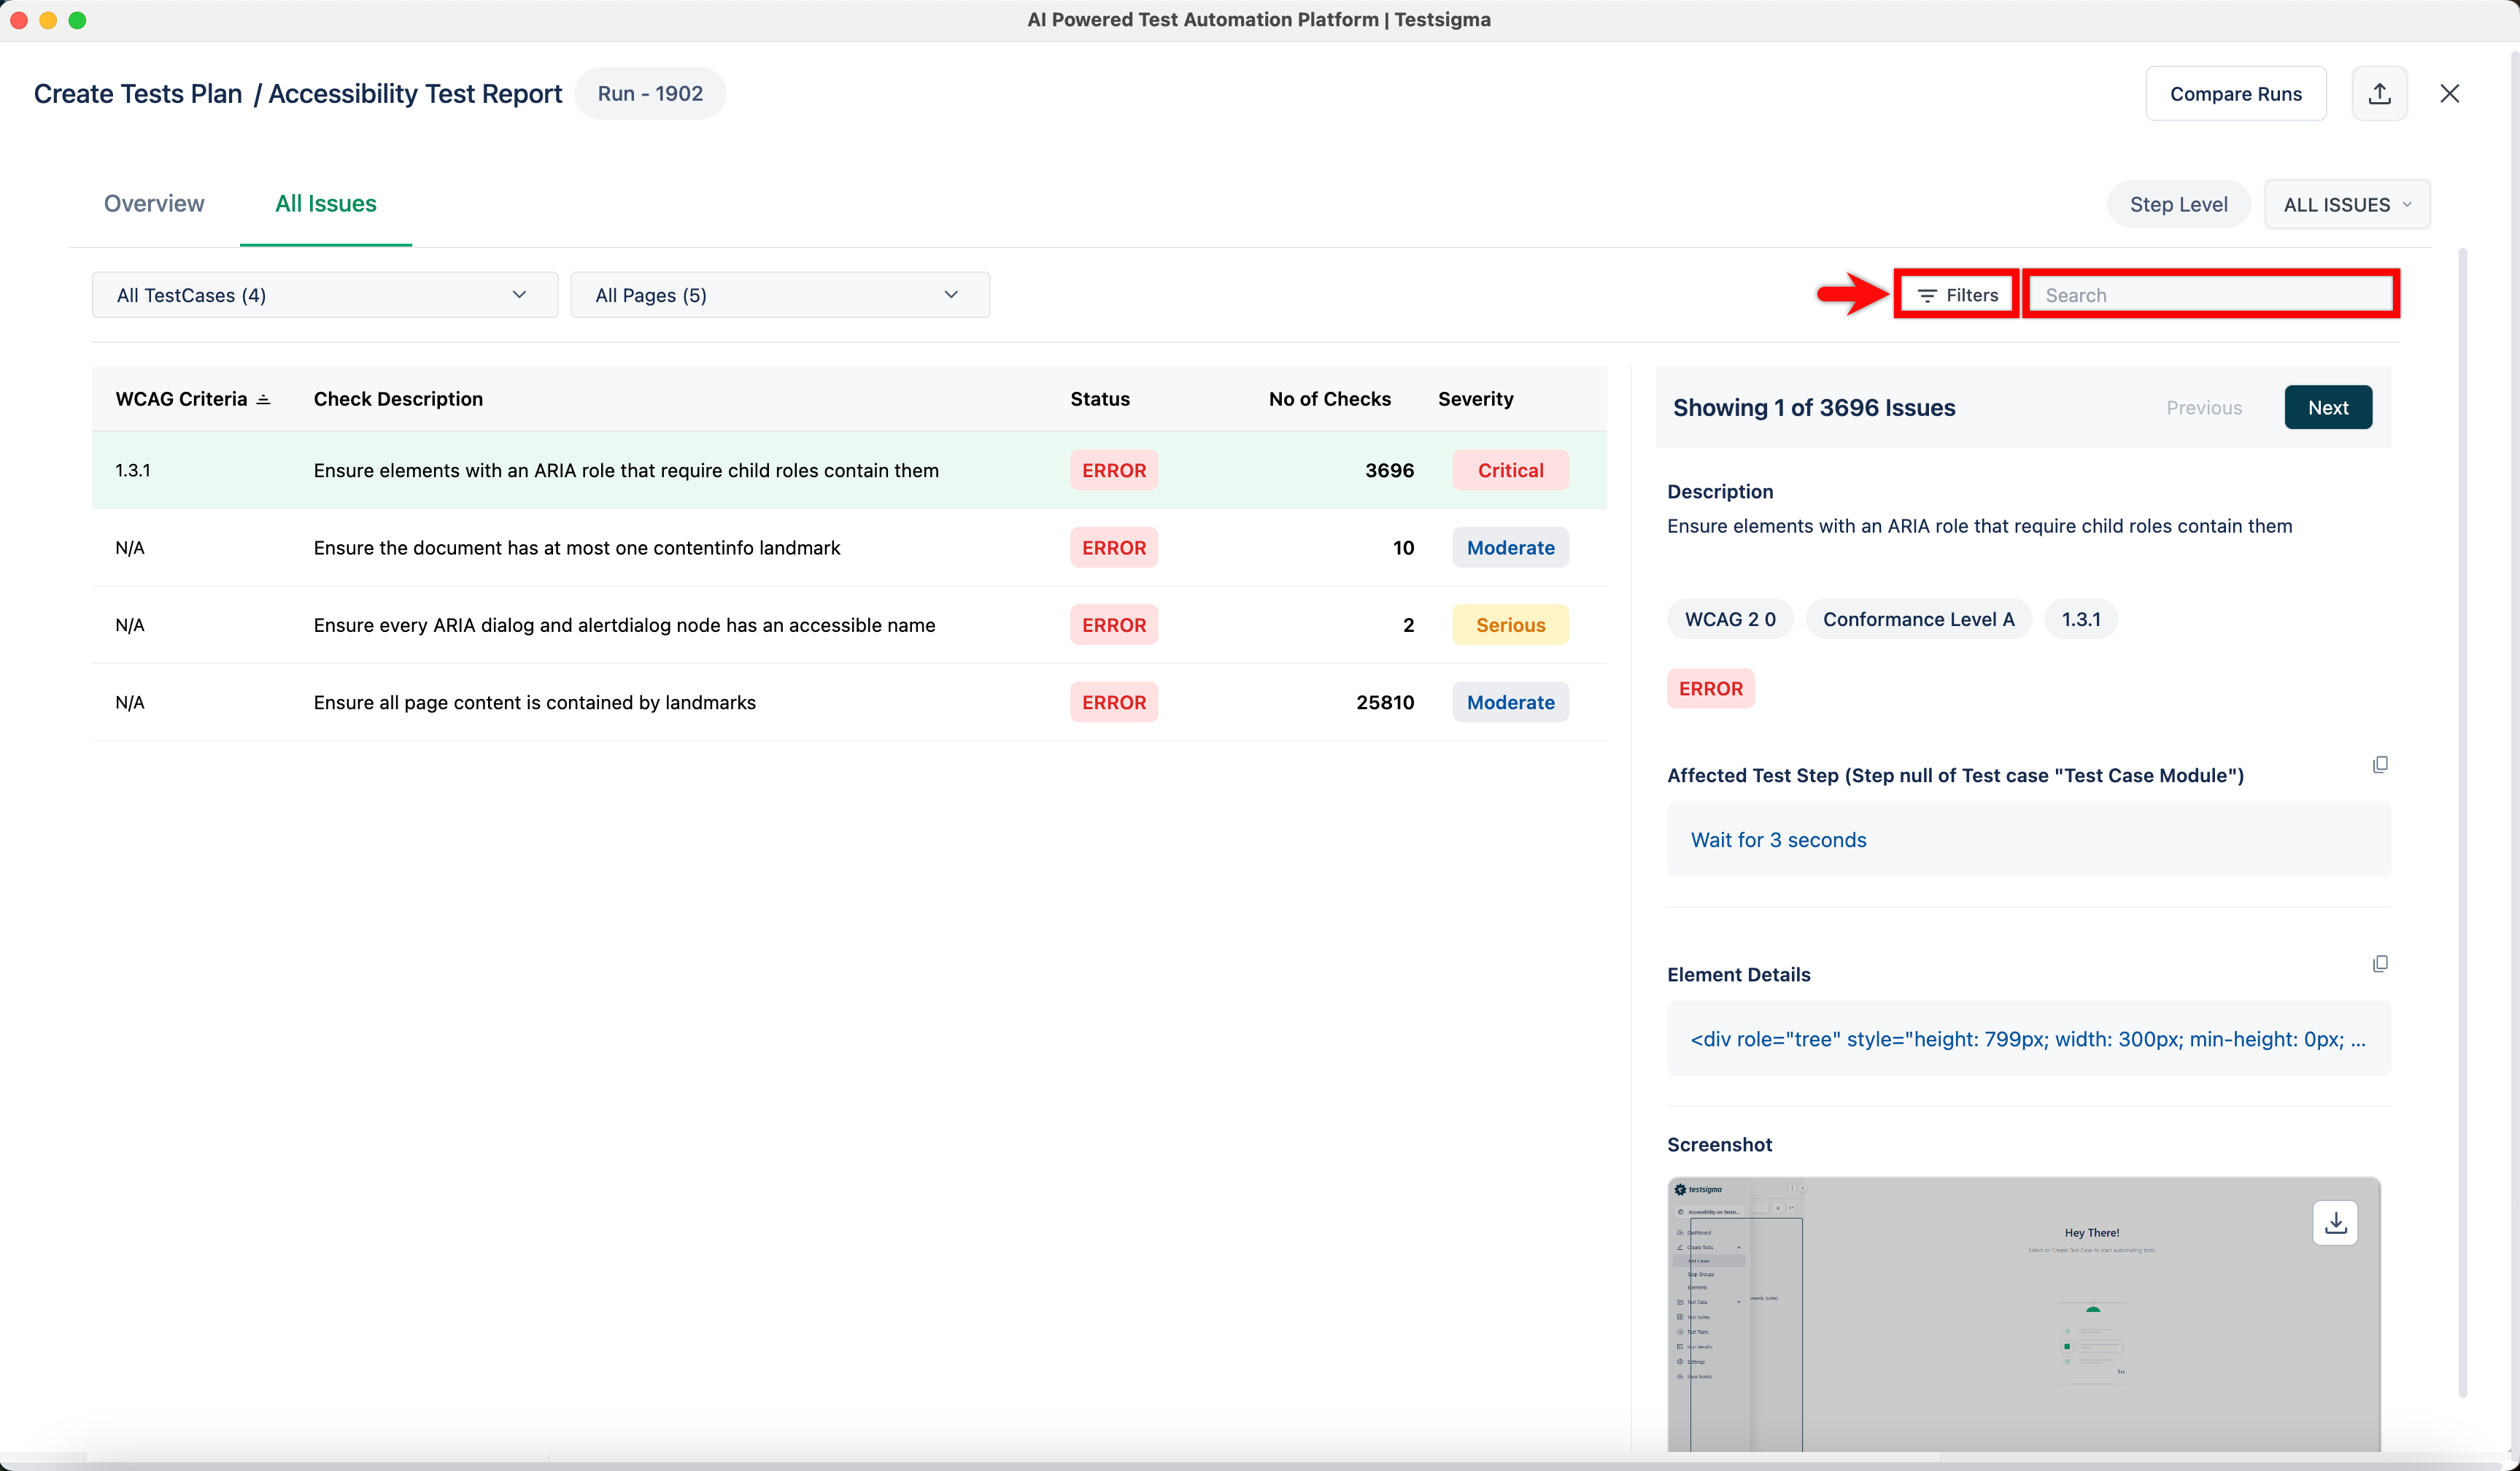
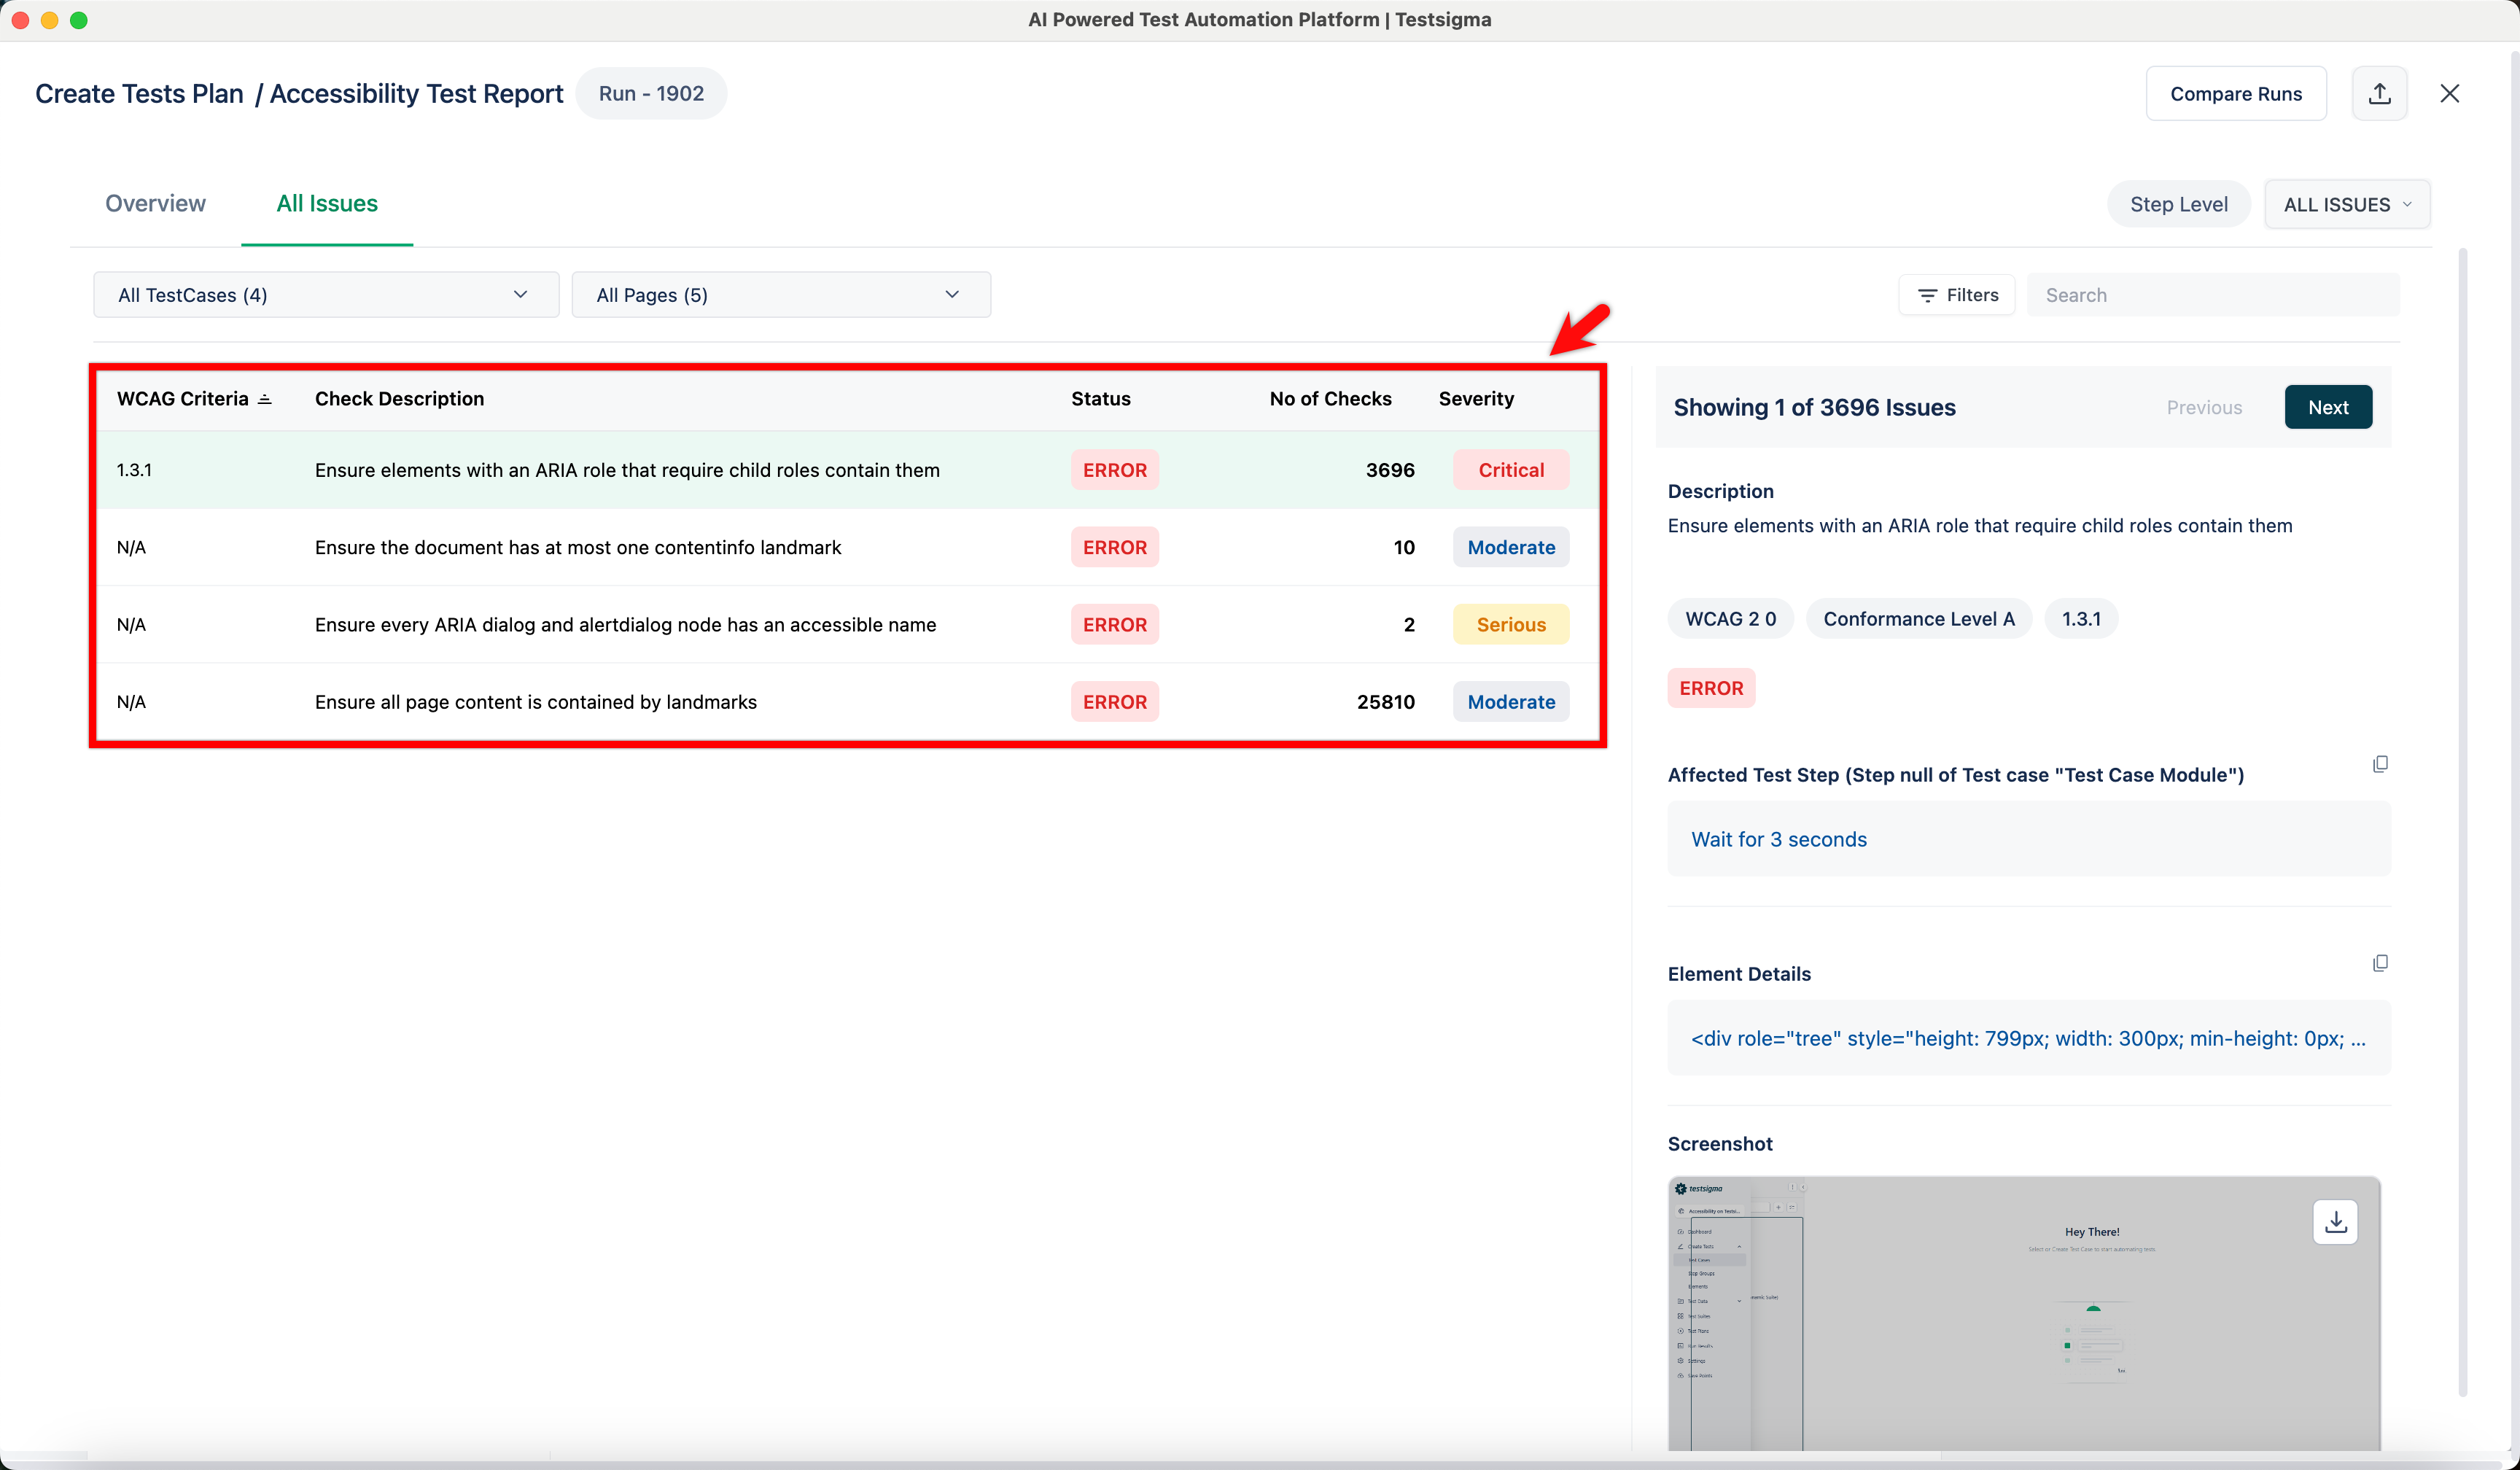
- View Options: The Step Level label confirms the issues are currently being shown at the test step level. You can use the status dropdown to filter the list by issue status.
- Dropdown Filters: Select All TestCases or All Pages to view all issues. You can also select a specific test case or page to filter the results for that item only.
-
Issues List
The main table on the left lists the violations based on your search criteria.
- WCAG Criteria: Shows the specific rule ID. You can sort the list by this column.
- Check Description: Provides a summary of the rule violation.
- Status: Indicates the result of the check.
- No of Checks: Shows the number of times this specific issue occurred.
- Severity: Displays a color-coded label indicating the impact level.
-
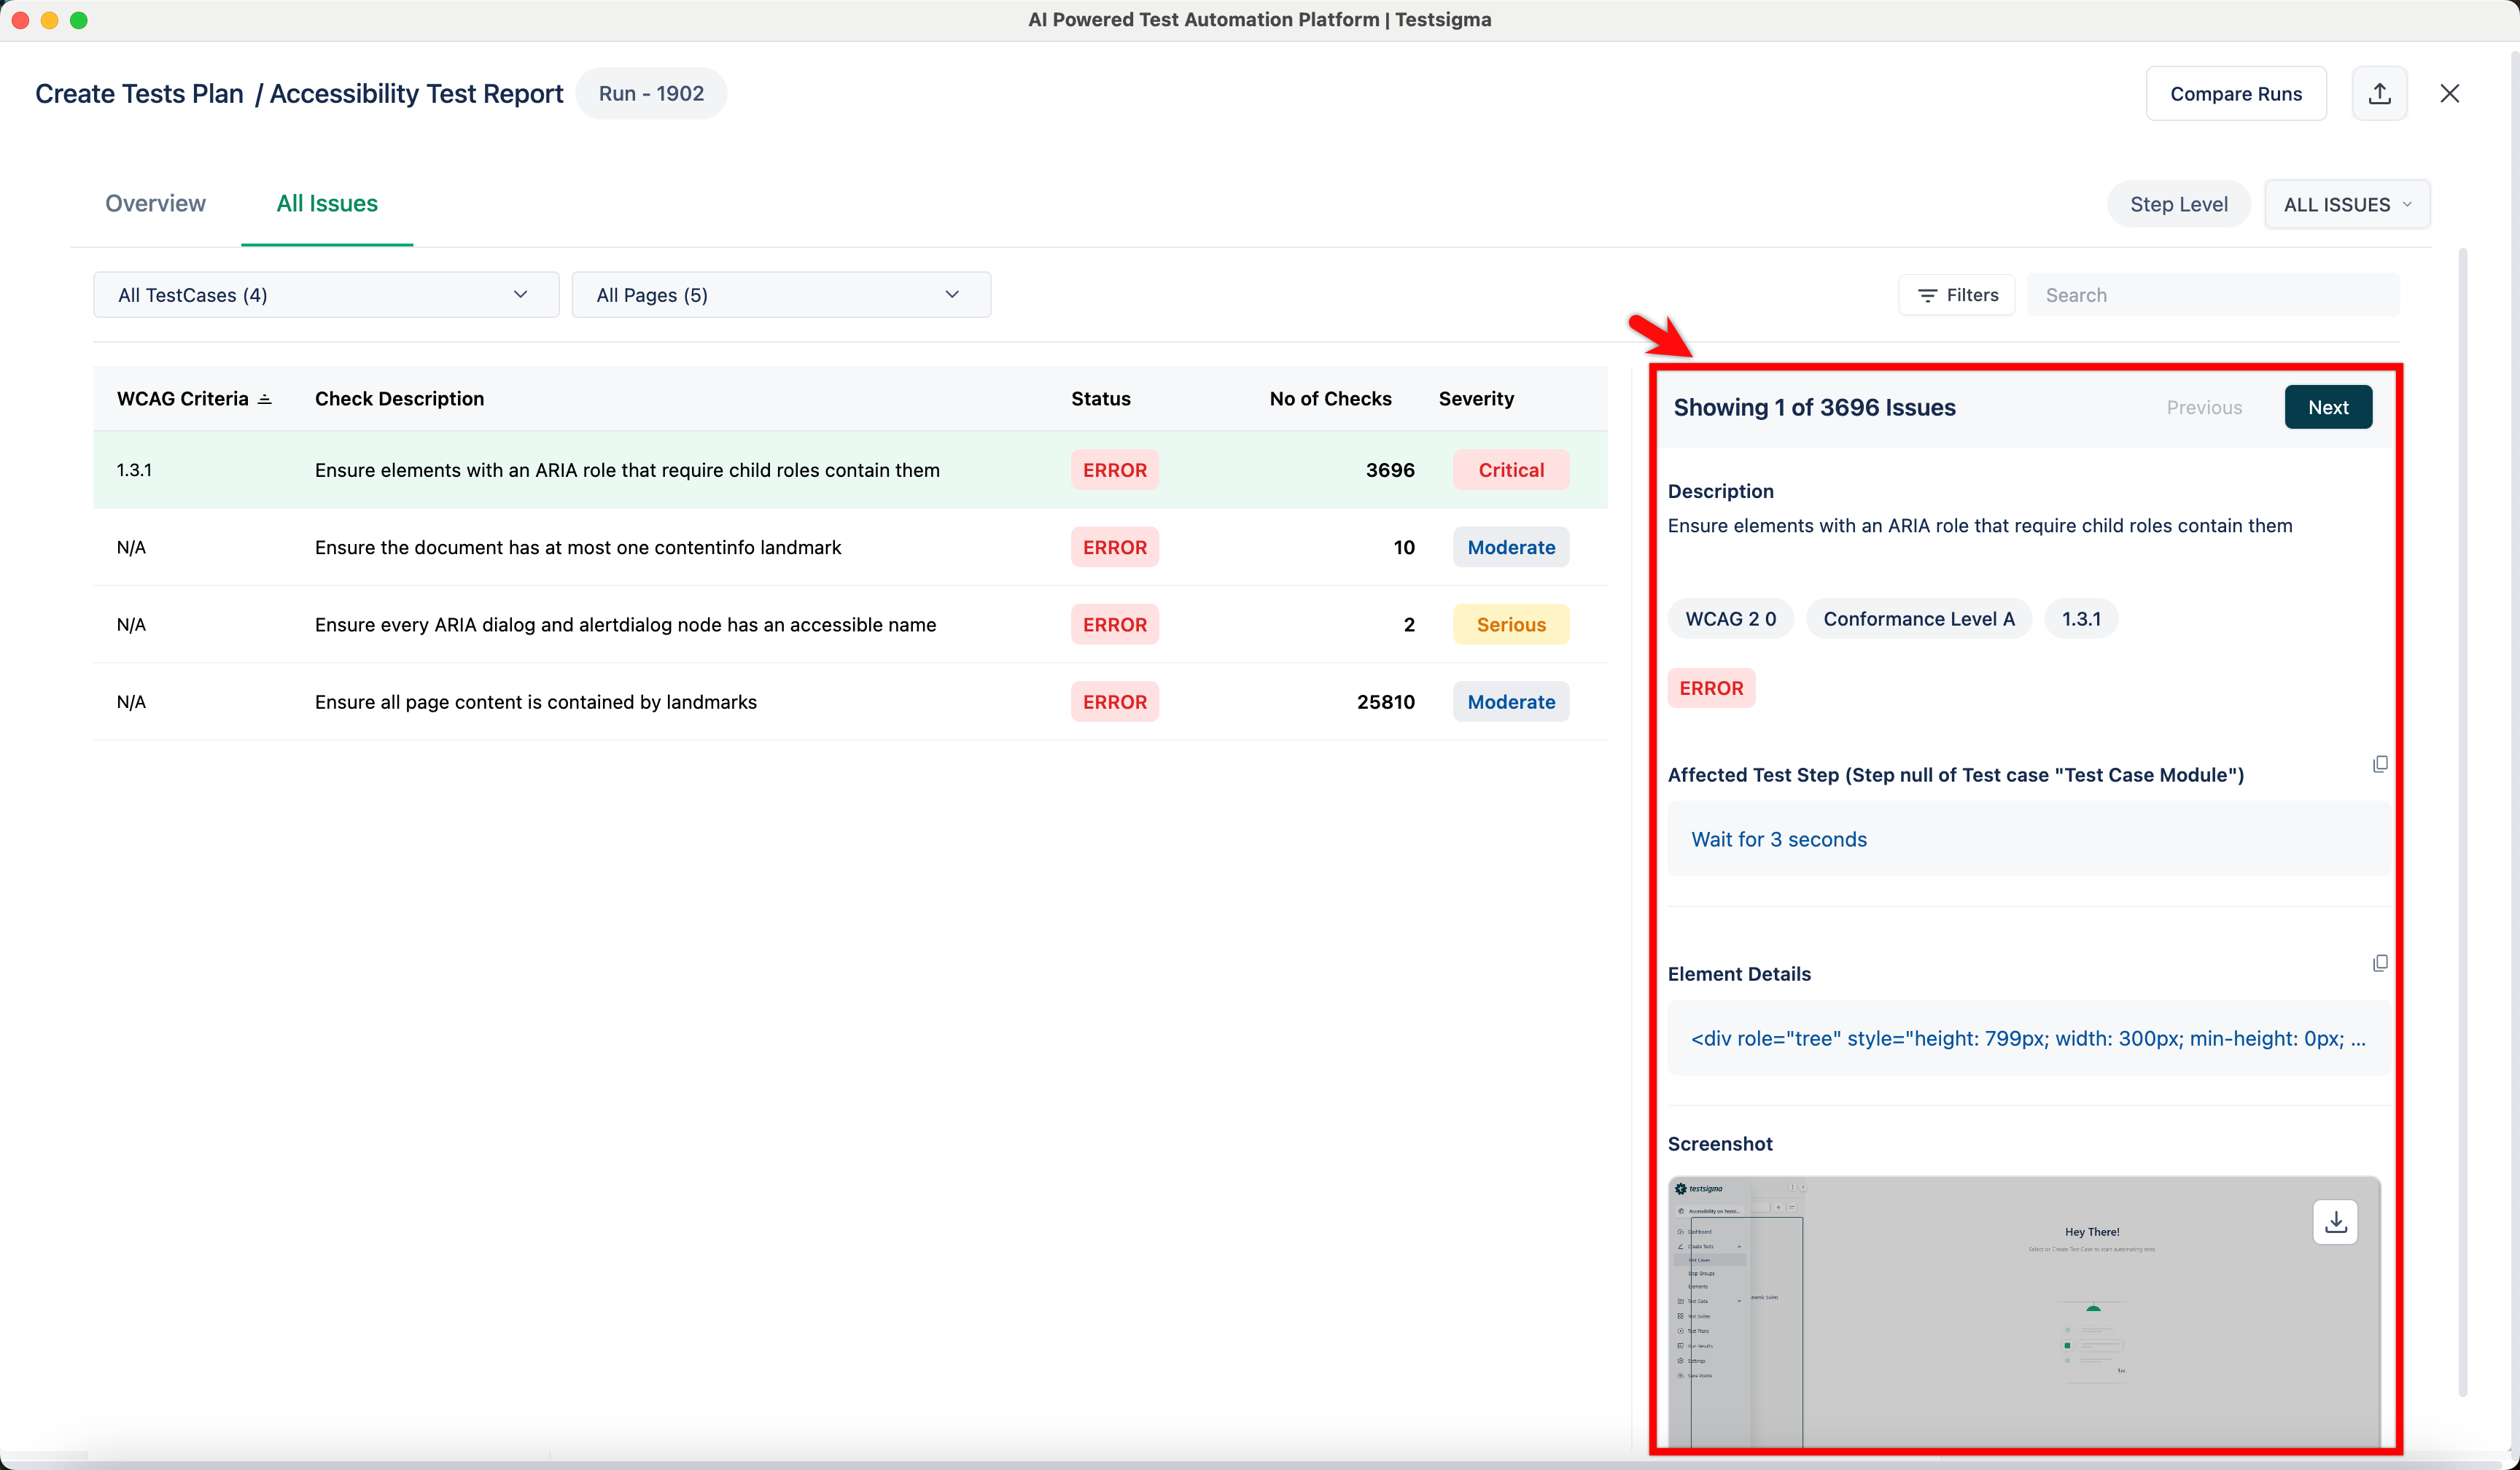
Issue Details
When you select a row in the Issues List, the pane on the right displays detailed information to help you fix the issue.
- Previous / Next: Select these buttons to look through all the instances of the single selected issue. If the No of Checks shows that the issue occurred multiple times (e.g., 15 times), you can use these buttons to cycle through and inspect all of those instances.
- Description: Displays the full definition of the violation.
- Tags: Shows the WCAG Version, the Conformance Level, and the specific Rule ID.
- Affected Test Step: Identifies the specific Test Case and Test Step where the failure occurred.
- Element Details: Displays the HTML code details for the element causing the issue.
- Screenshot: Shows an image of the page element at the time the error was detected.
Global Header Actions
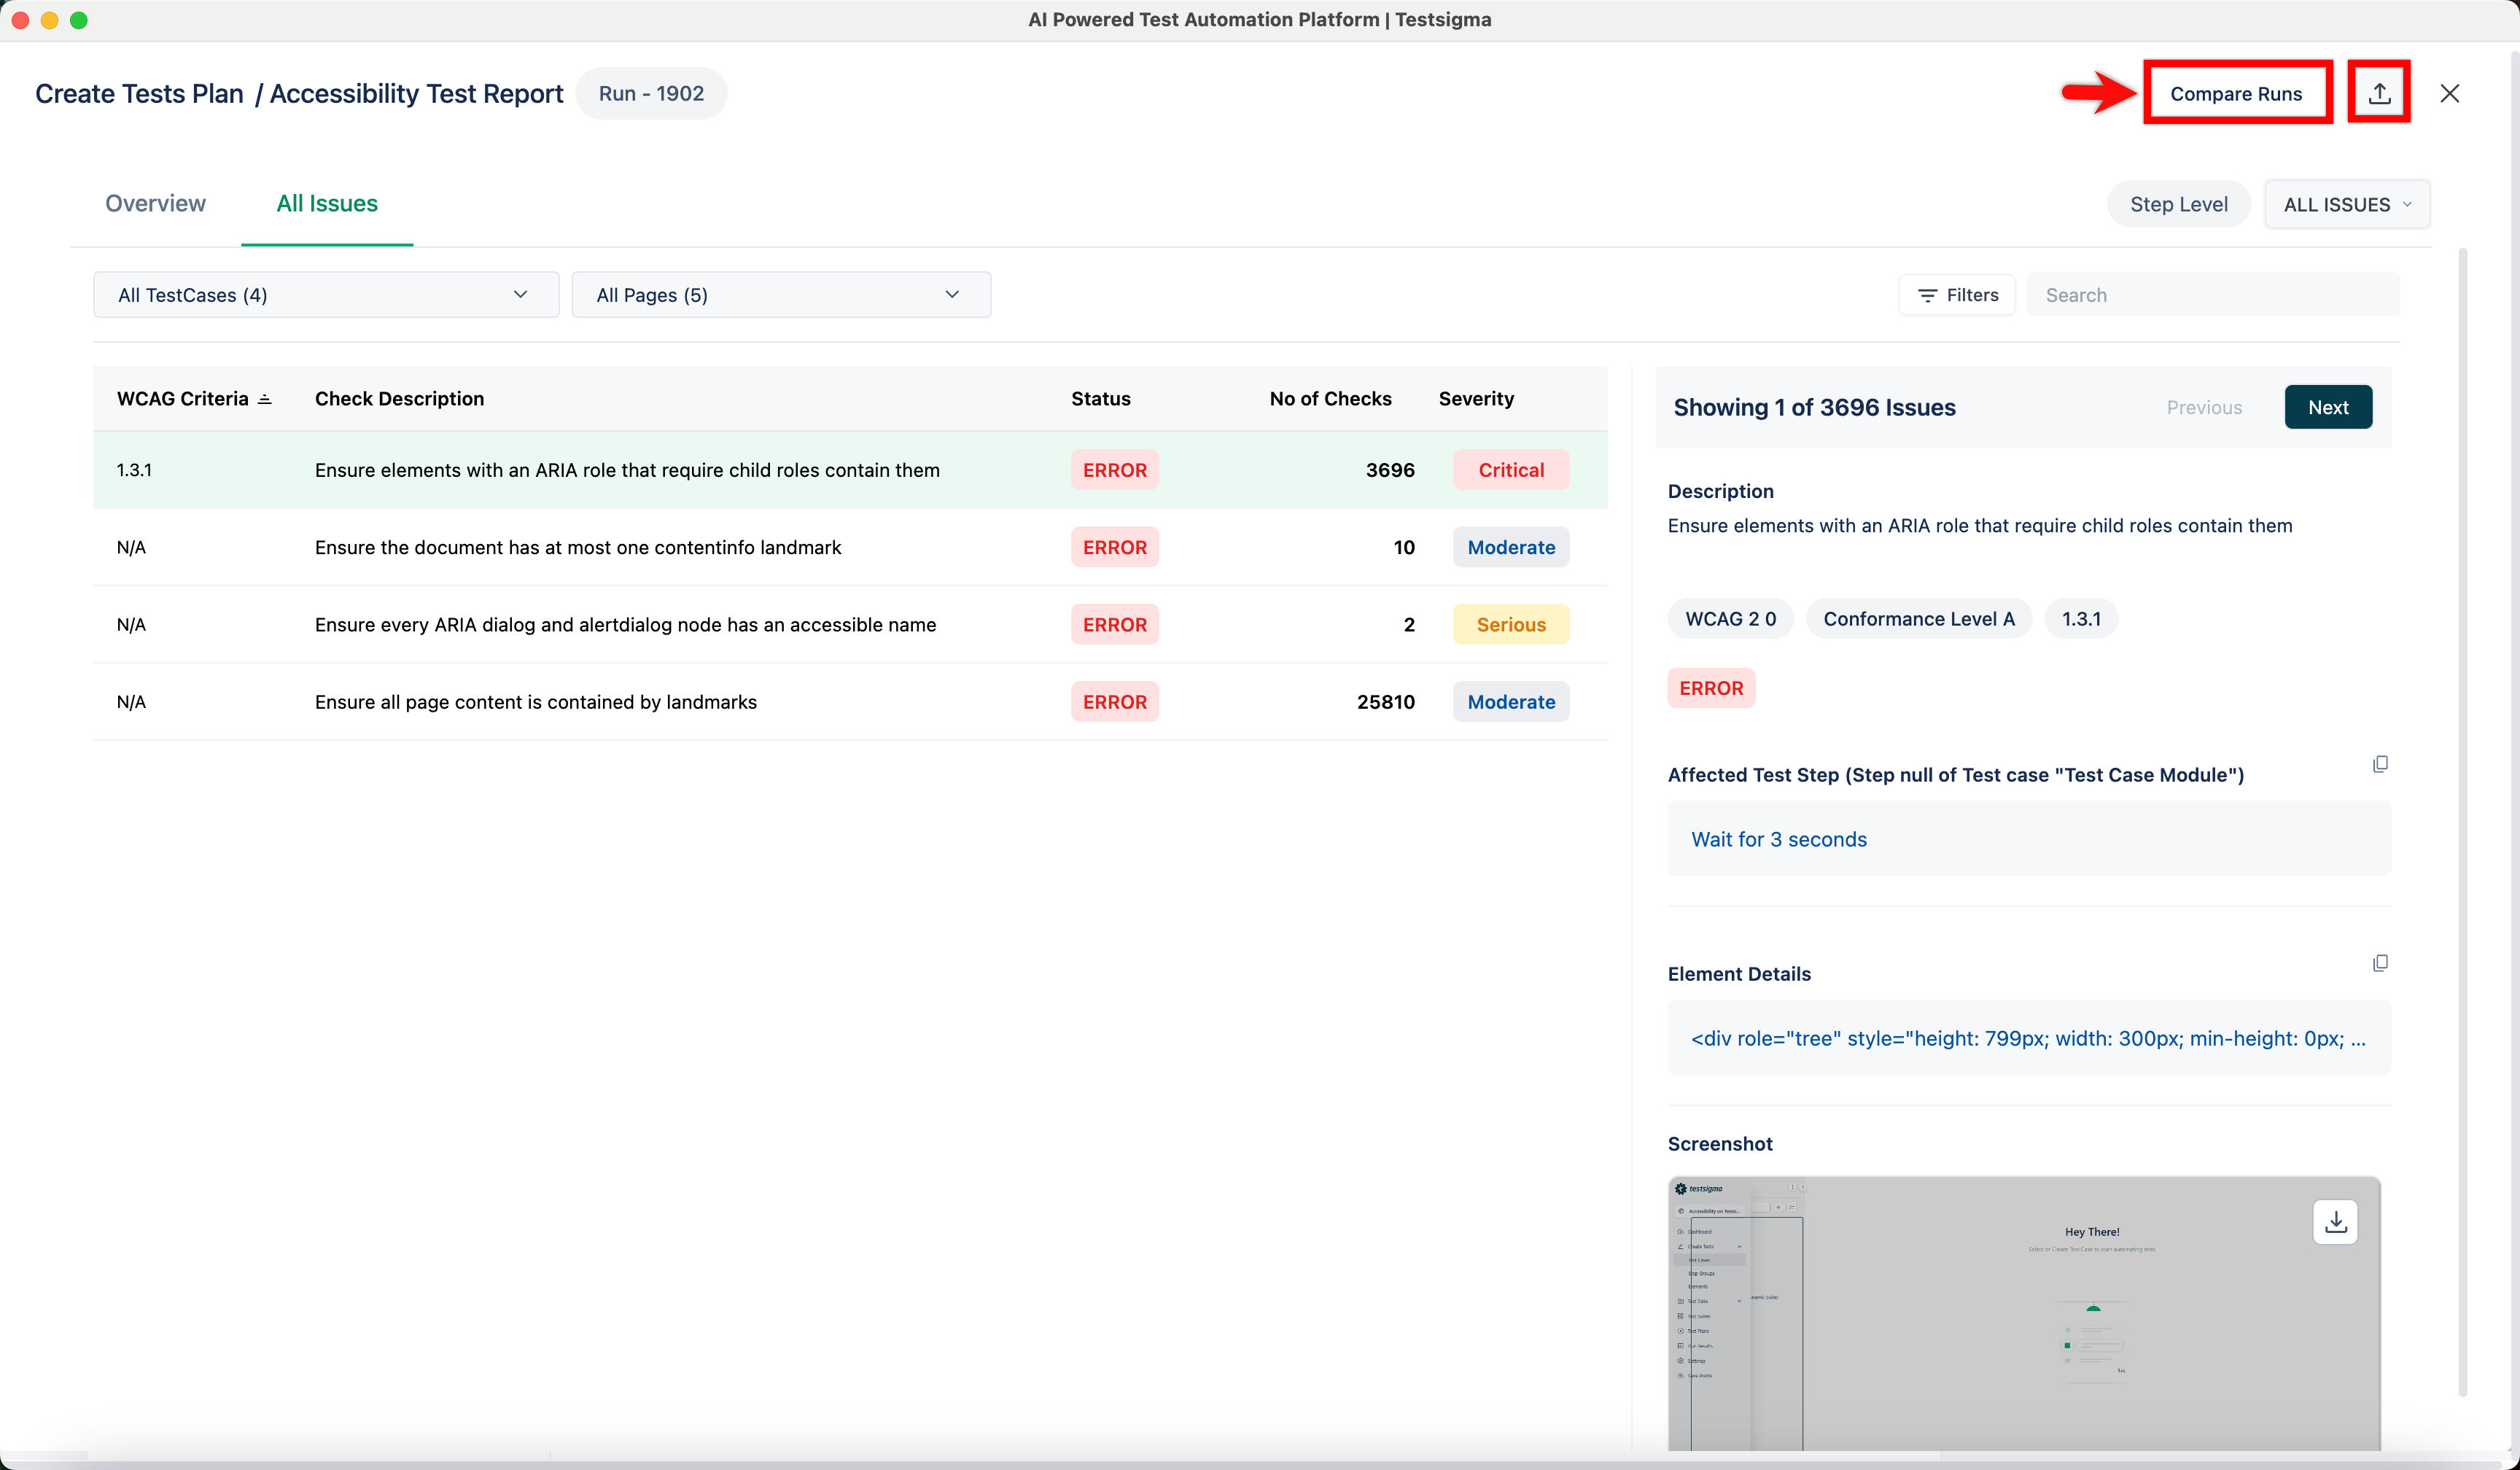
The top-right corner of the page provides global actions for the report:
- Compare Runs: Select this to compare the current report against previous test runs to track improvements.
- Export: Select the export icon to save the report data.
Want to contribute or report missing content?