
Manage Projects
Testsigma offers the ability to create multiple projects and applications, allowing for logical separation between them. Each Testsigma Project comprises different types of applications, similar to a real-life Project.
Testsigma provides four sample projects with various test cases for Web, Mobile web, Android, and iOS application types within the Testsigma account. These sample projects can be used and modified to initiate test automation quickly.
This document will walk you through creating, editing, switching, and deleting projects in Testsigma.
Creating a Project
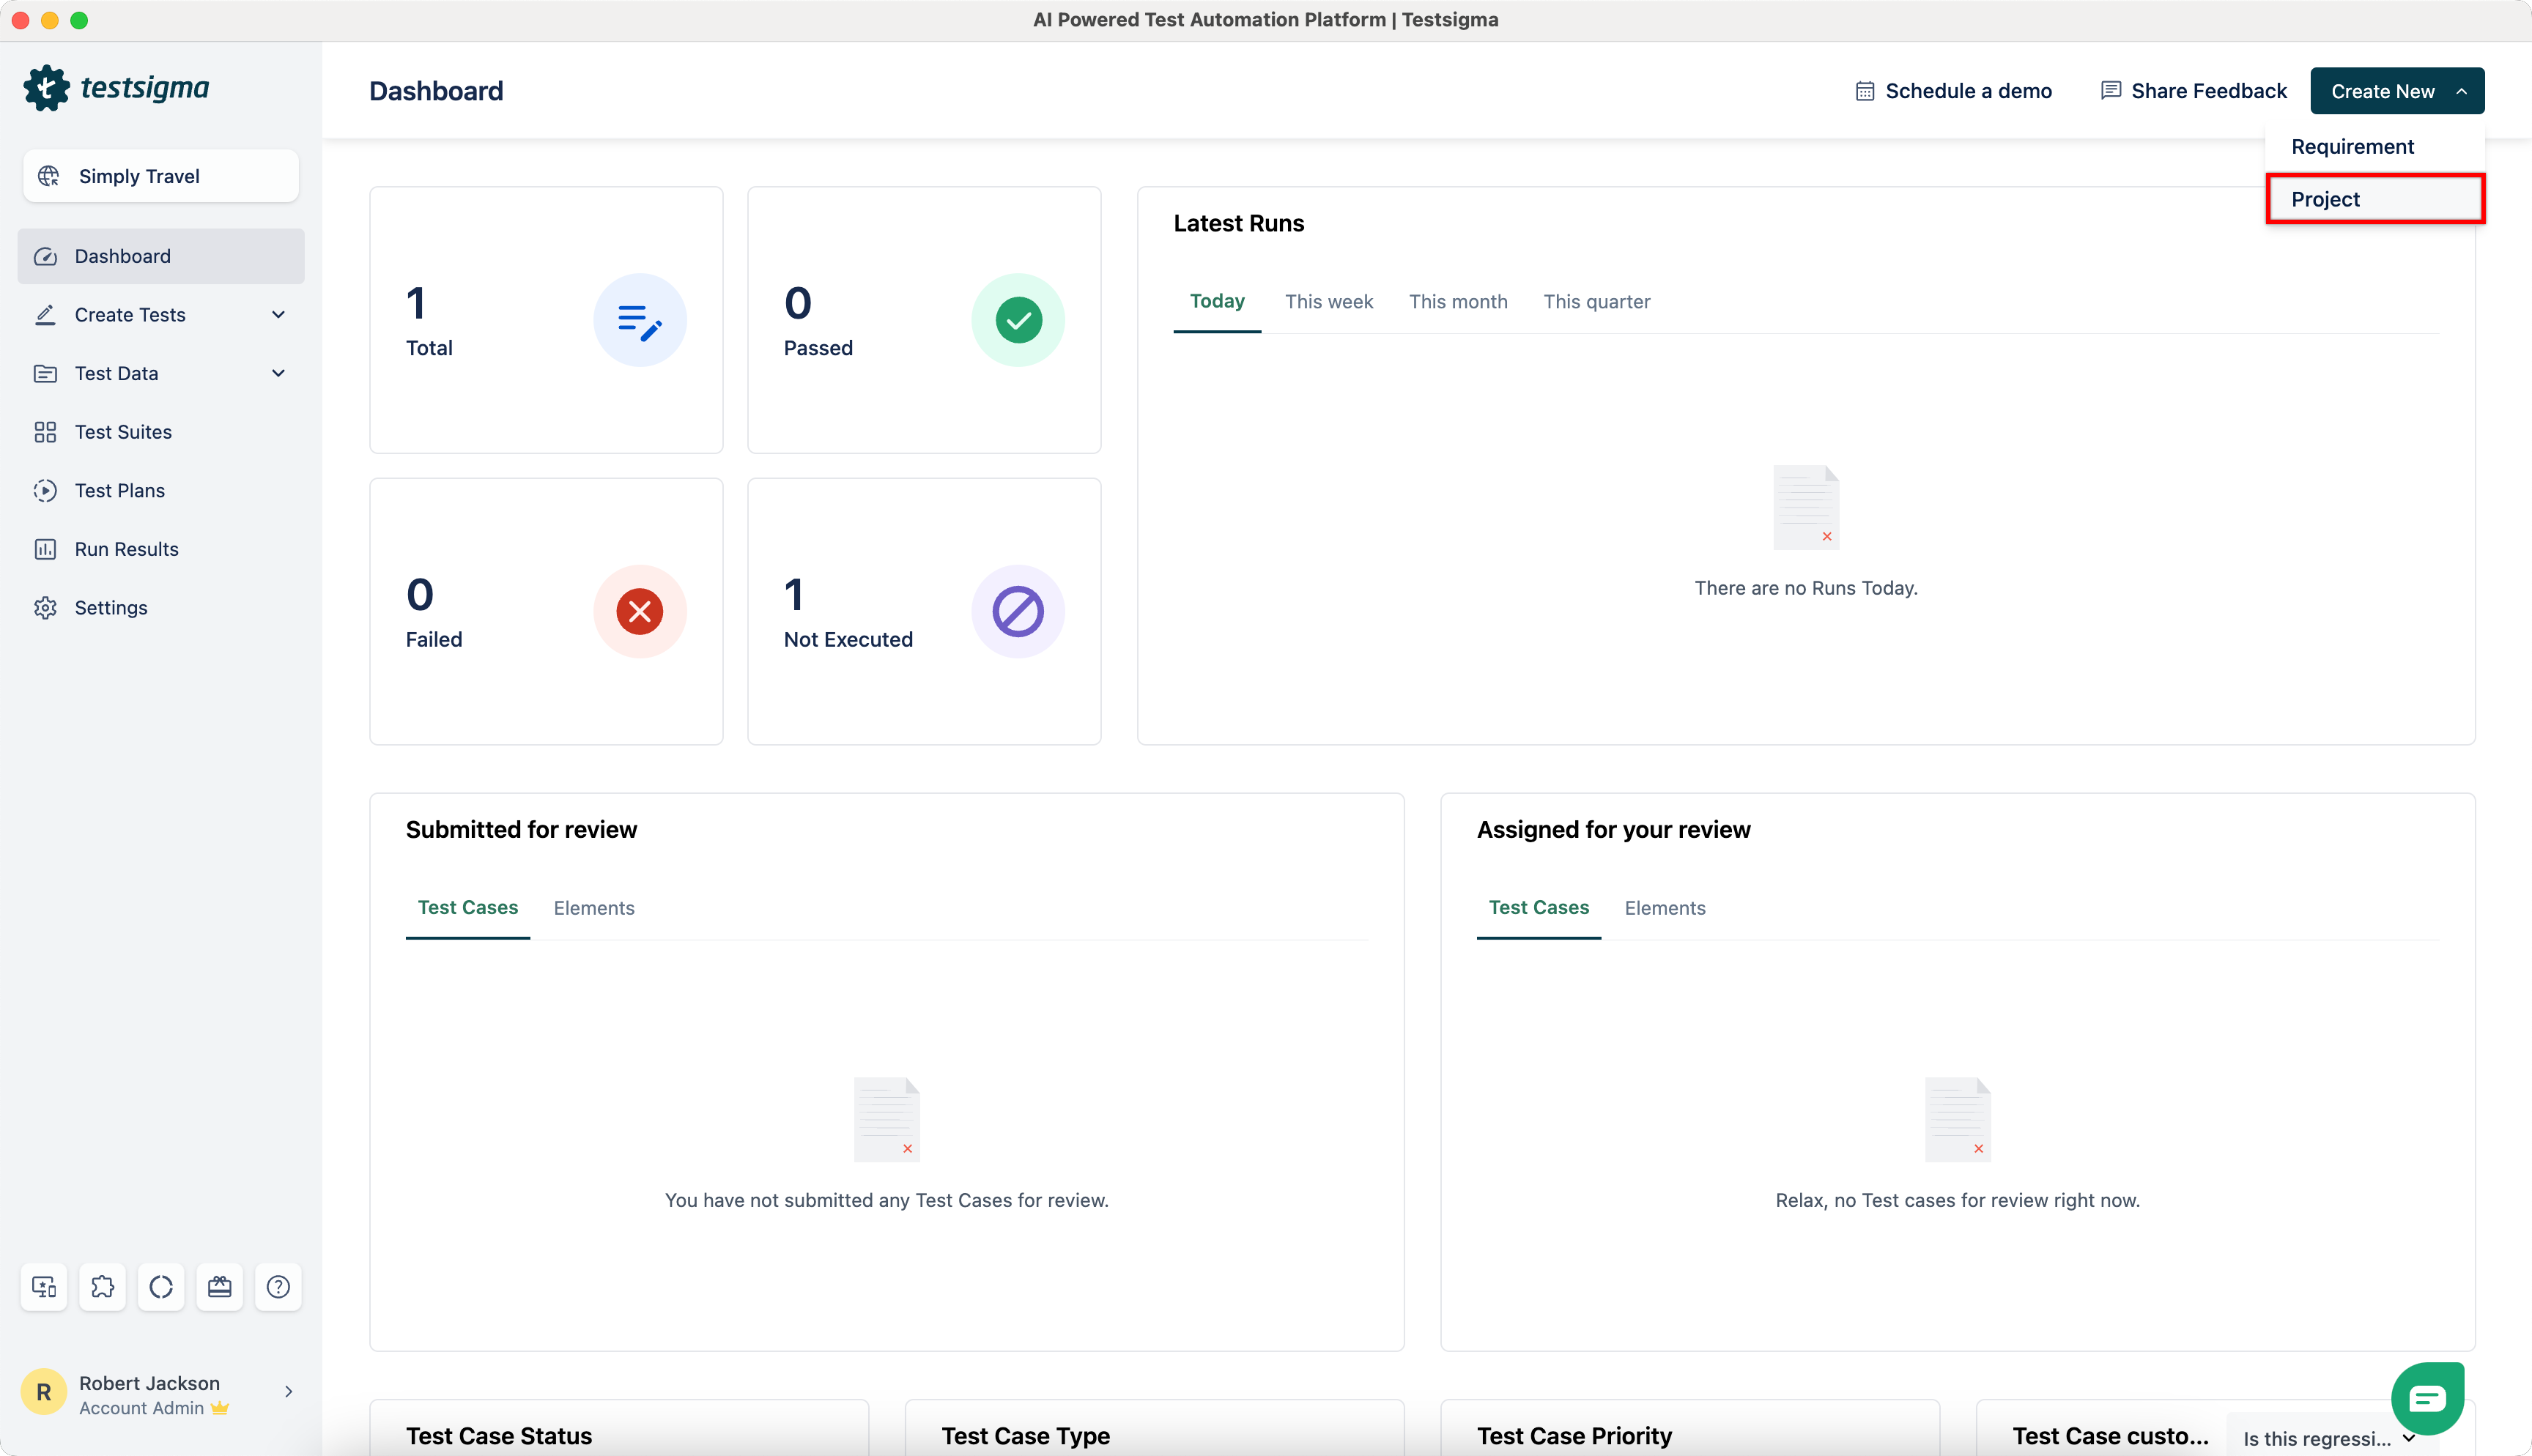
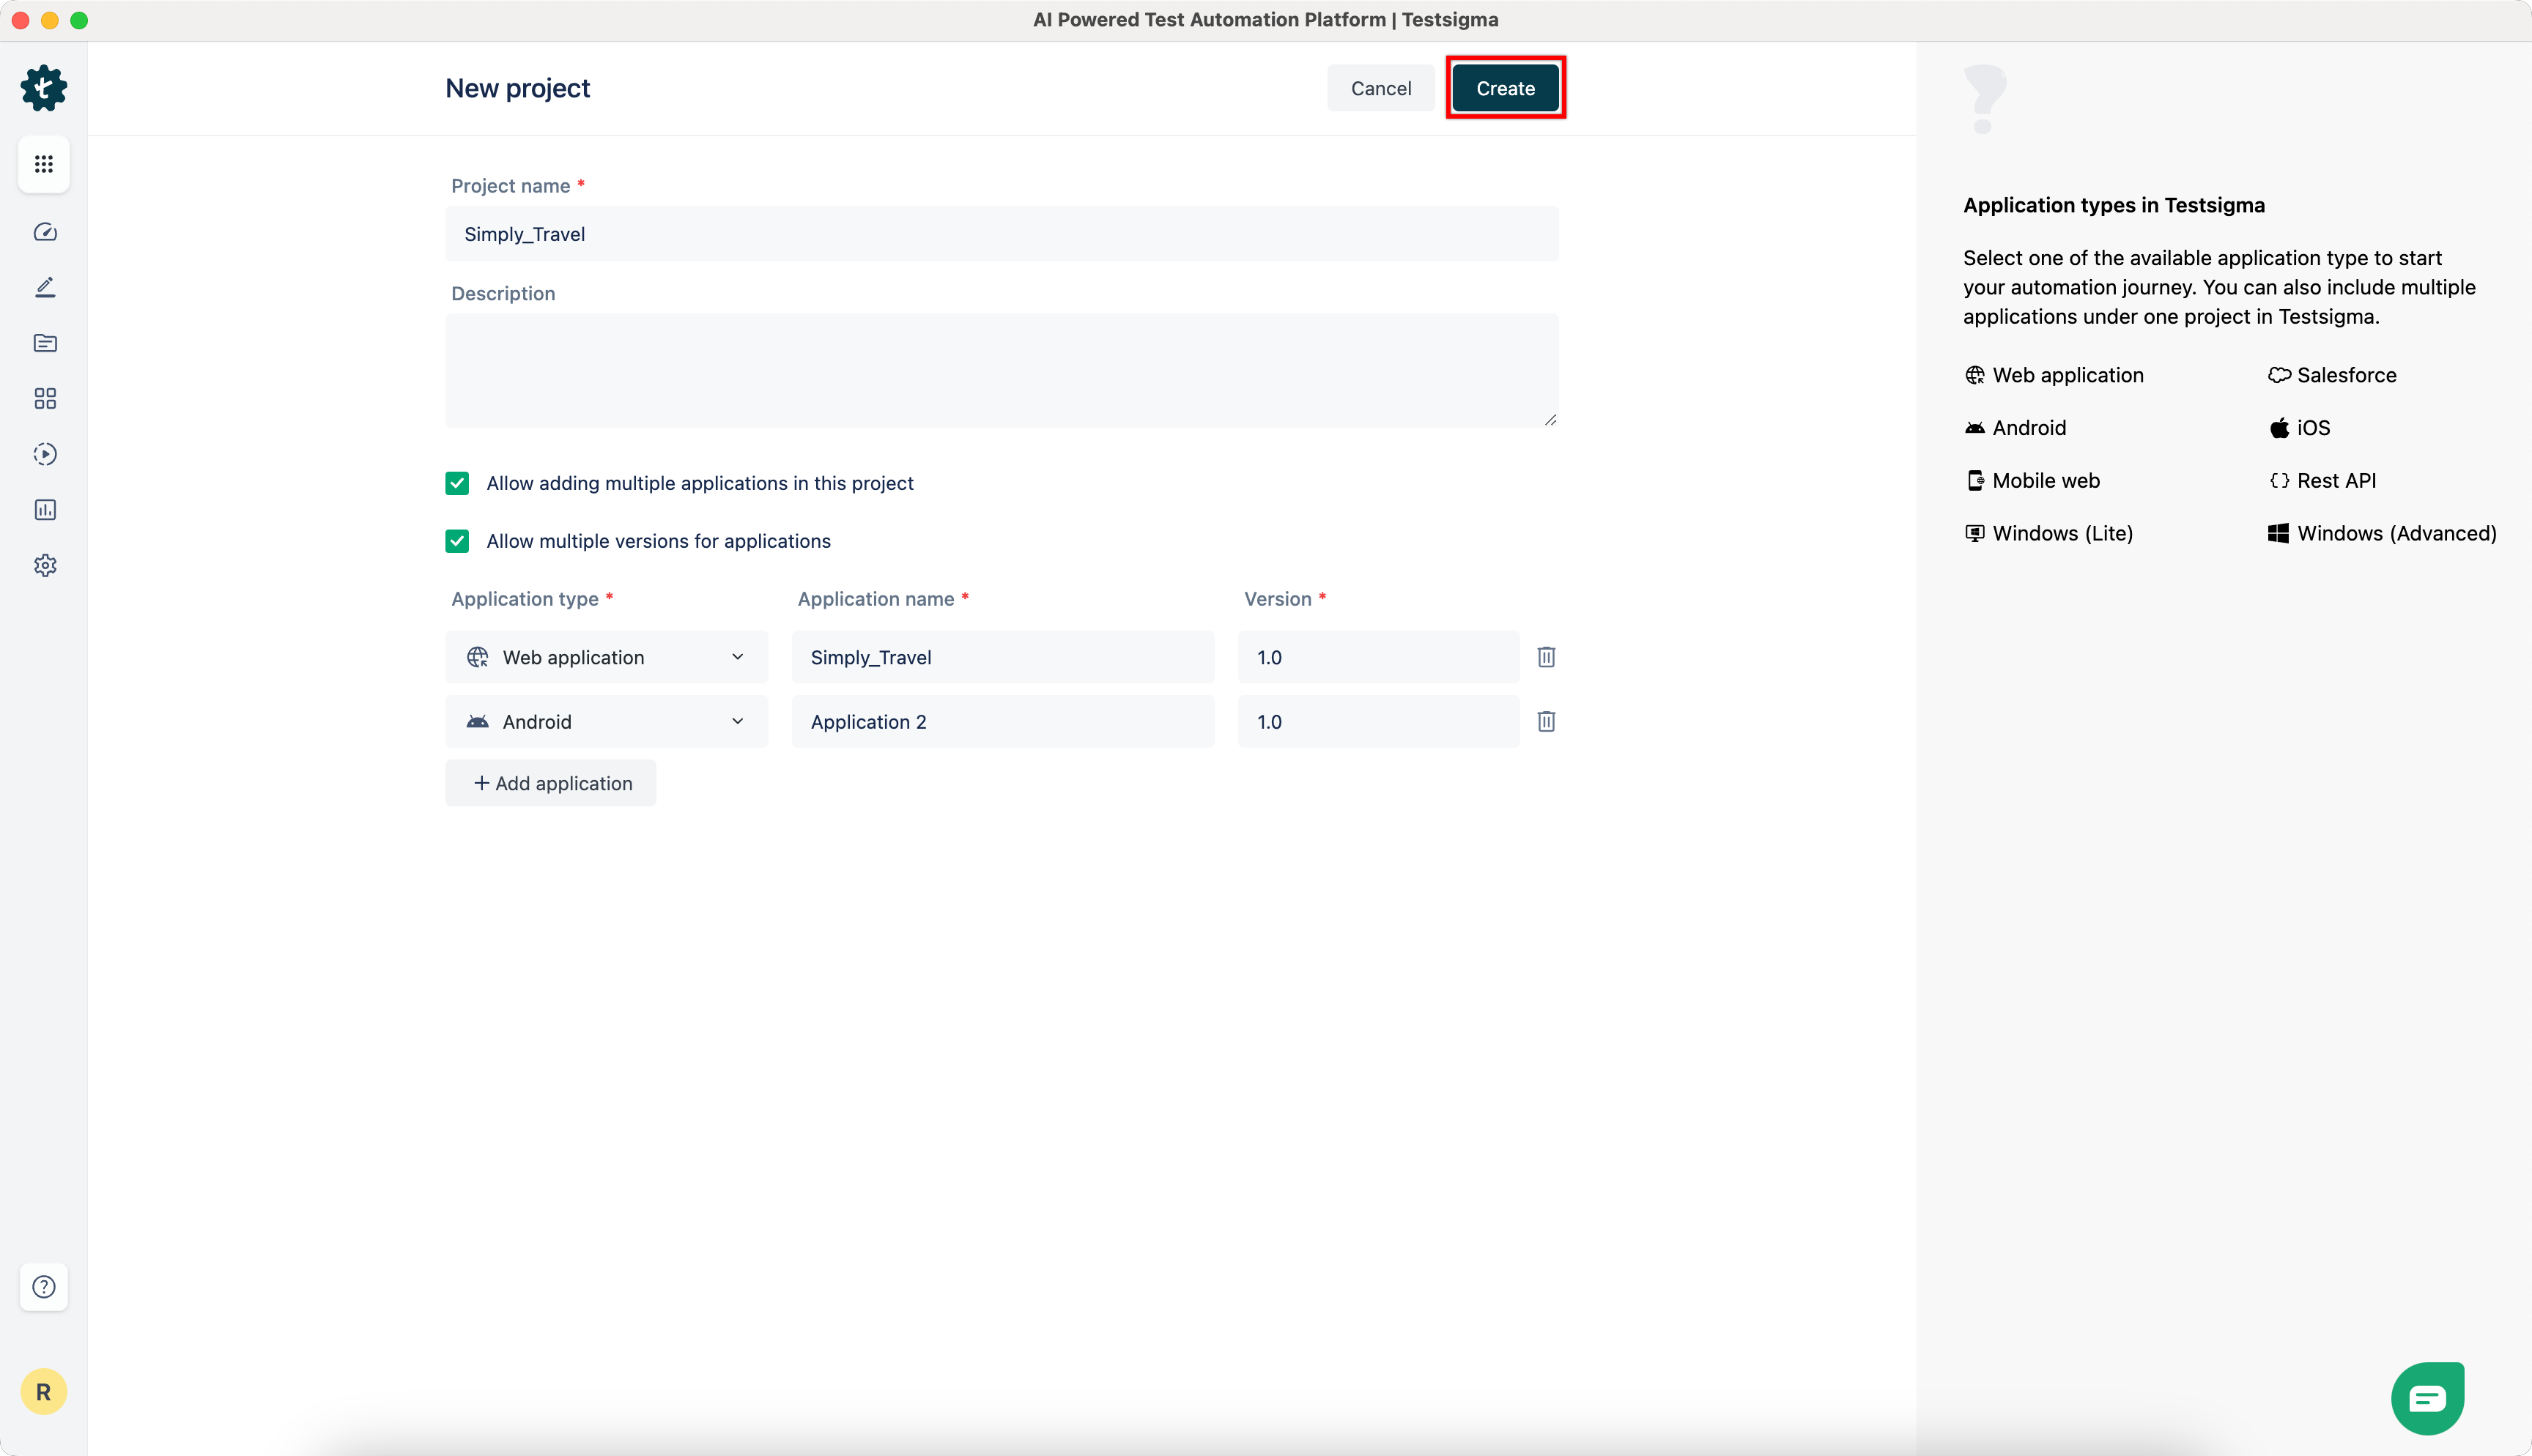
- Navigate to Create New and click on Project from the dropdown menu.
- Enter the Project Name and Description (Optional).
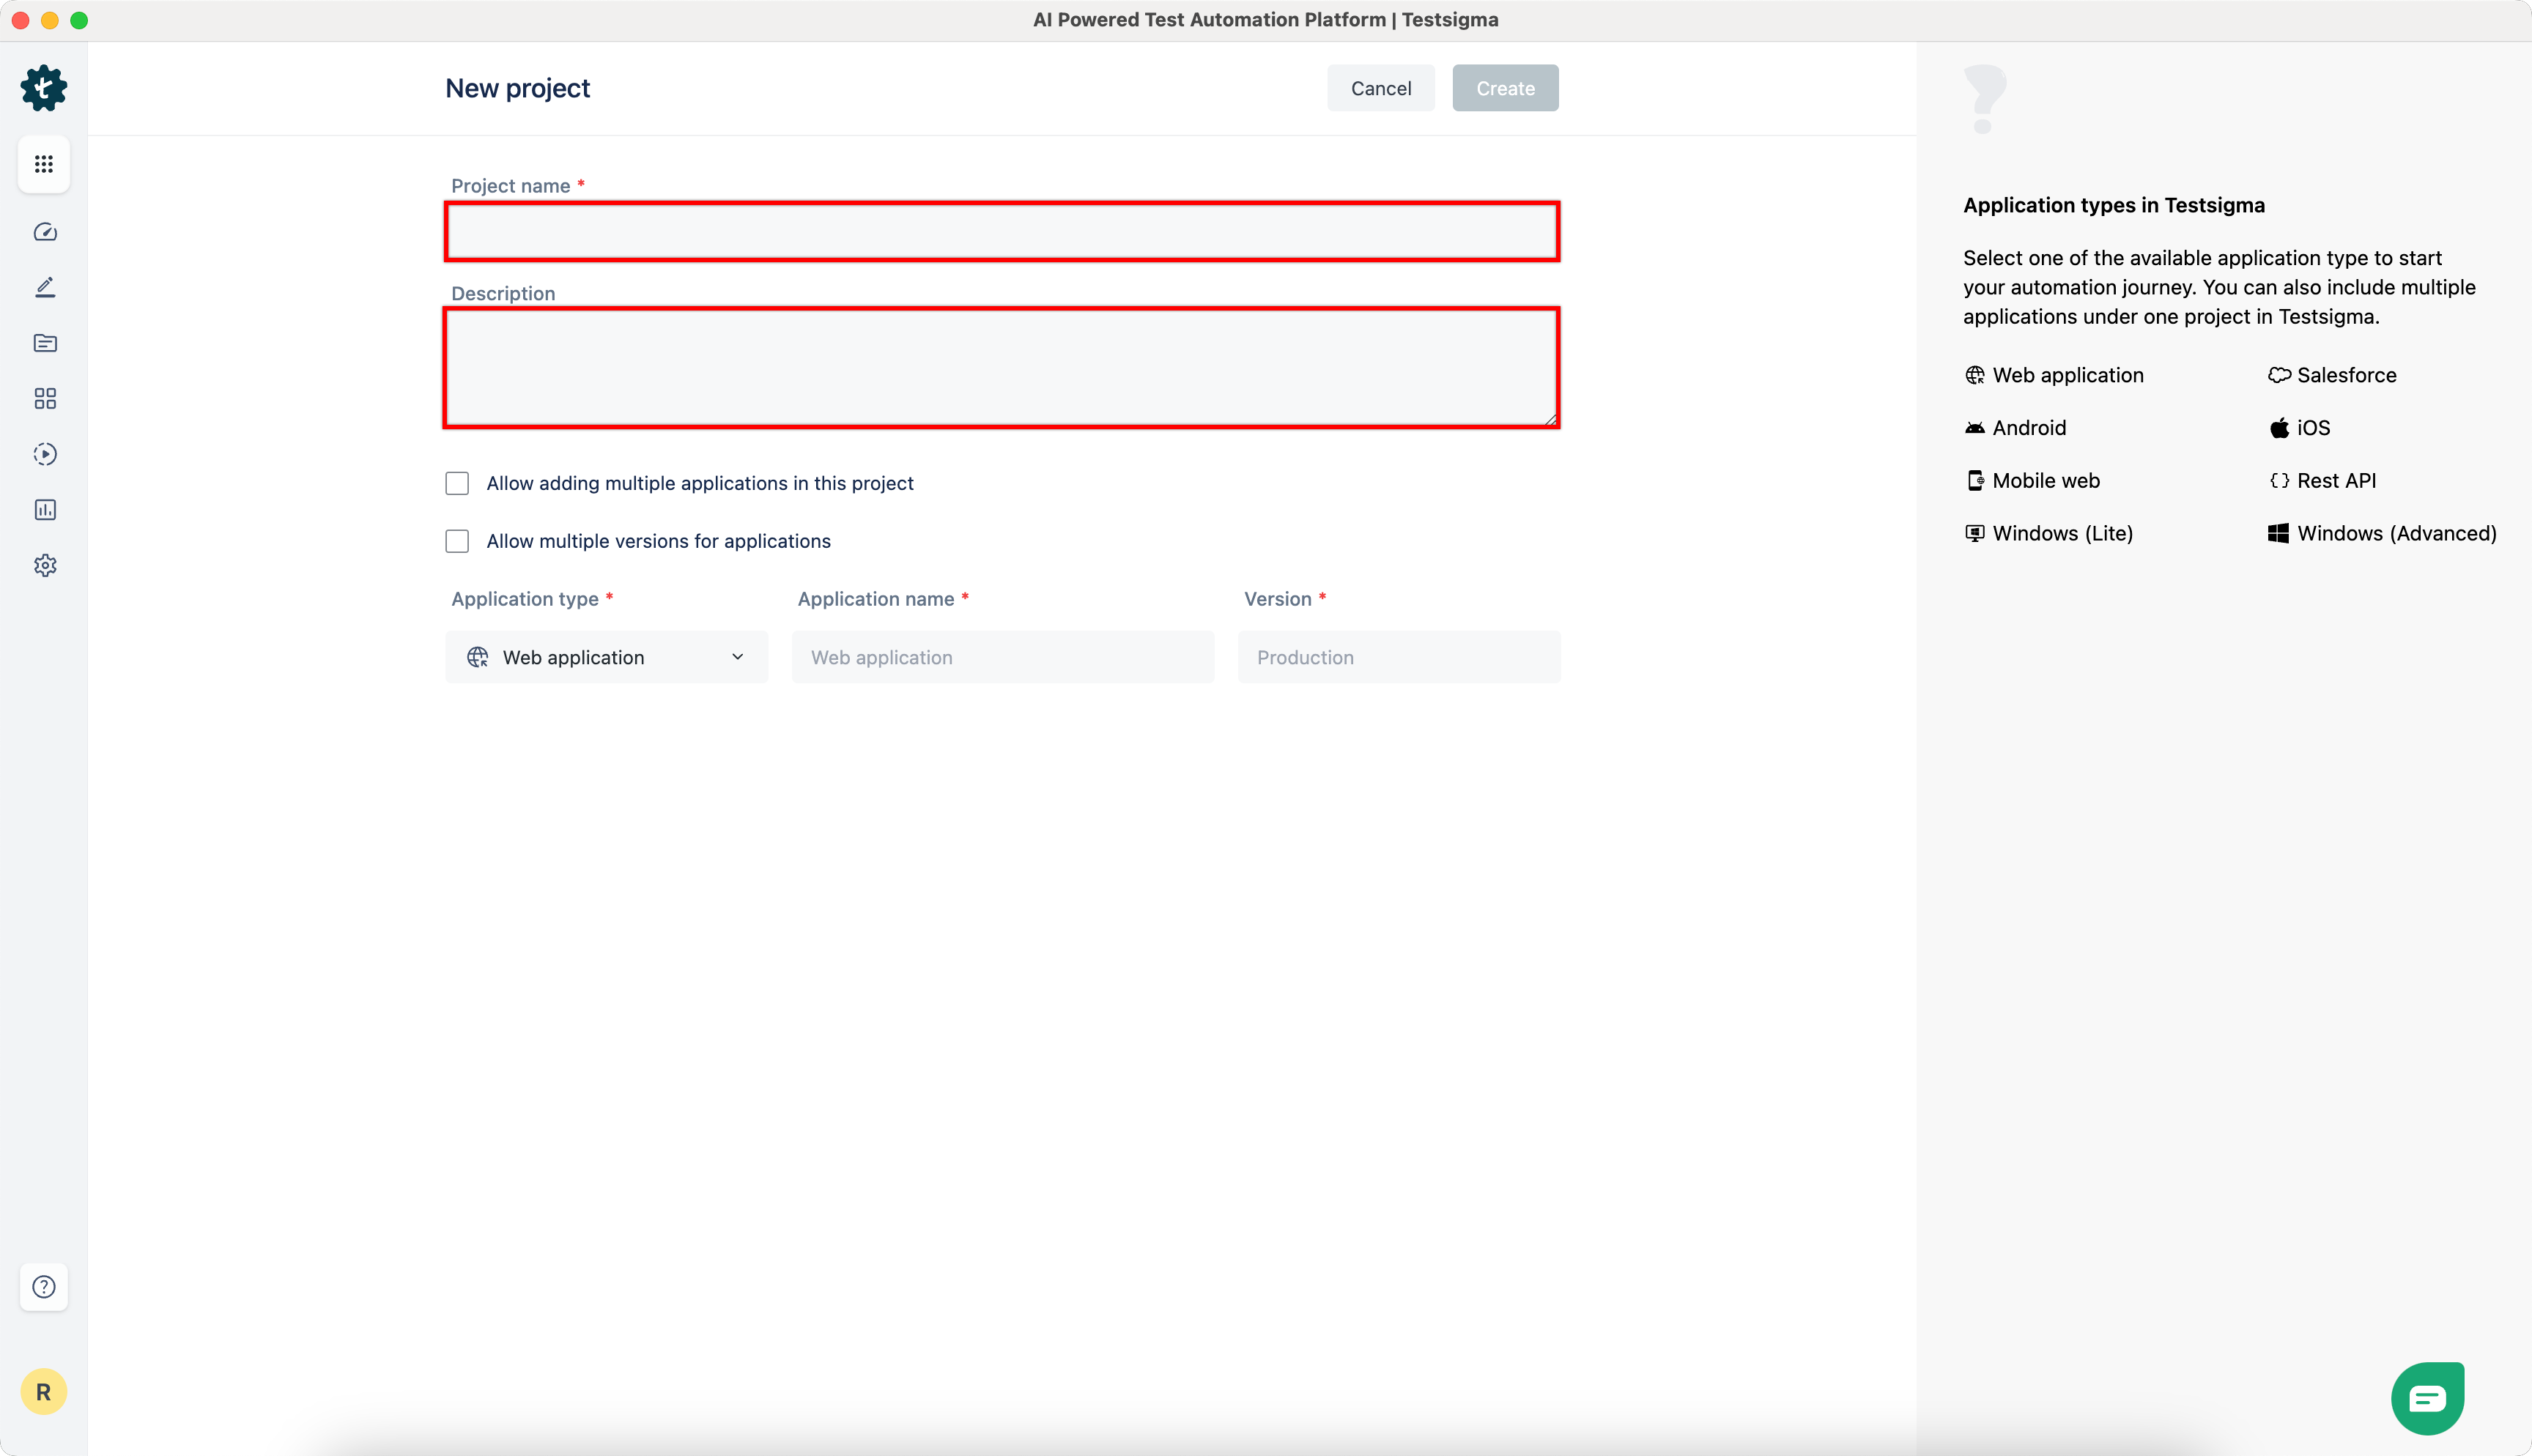
Custom fields you create for your projects under Settings > Custom Fields > Projects will appear here.
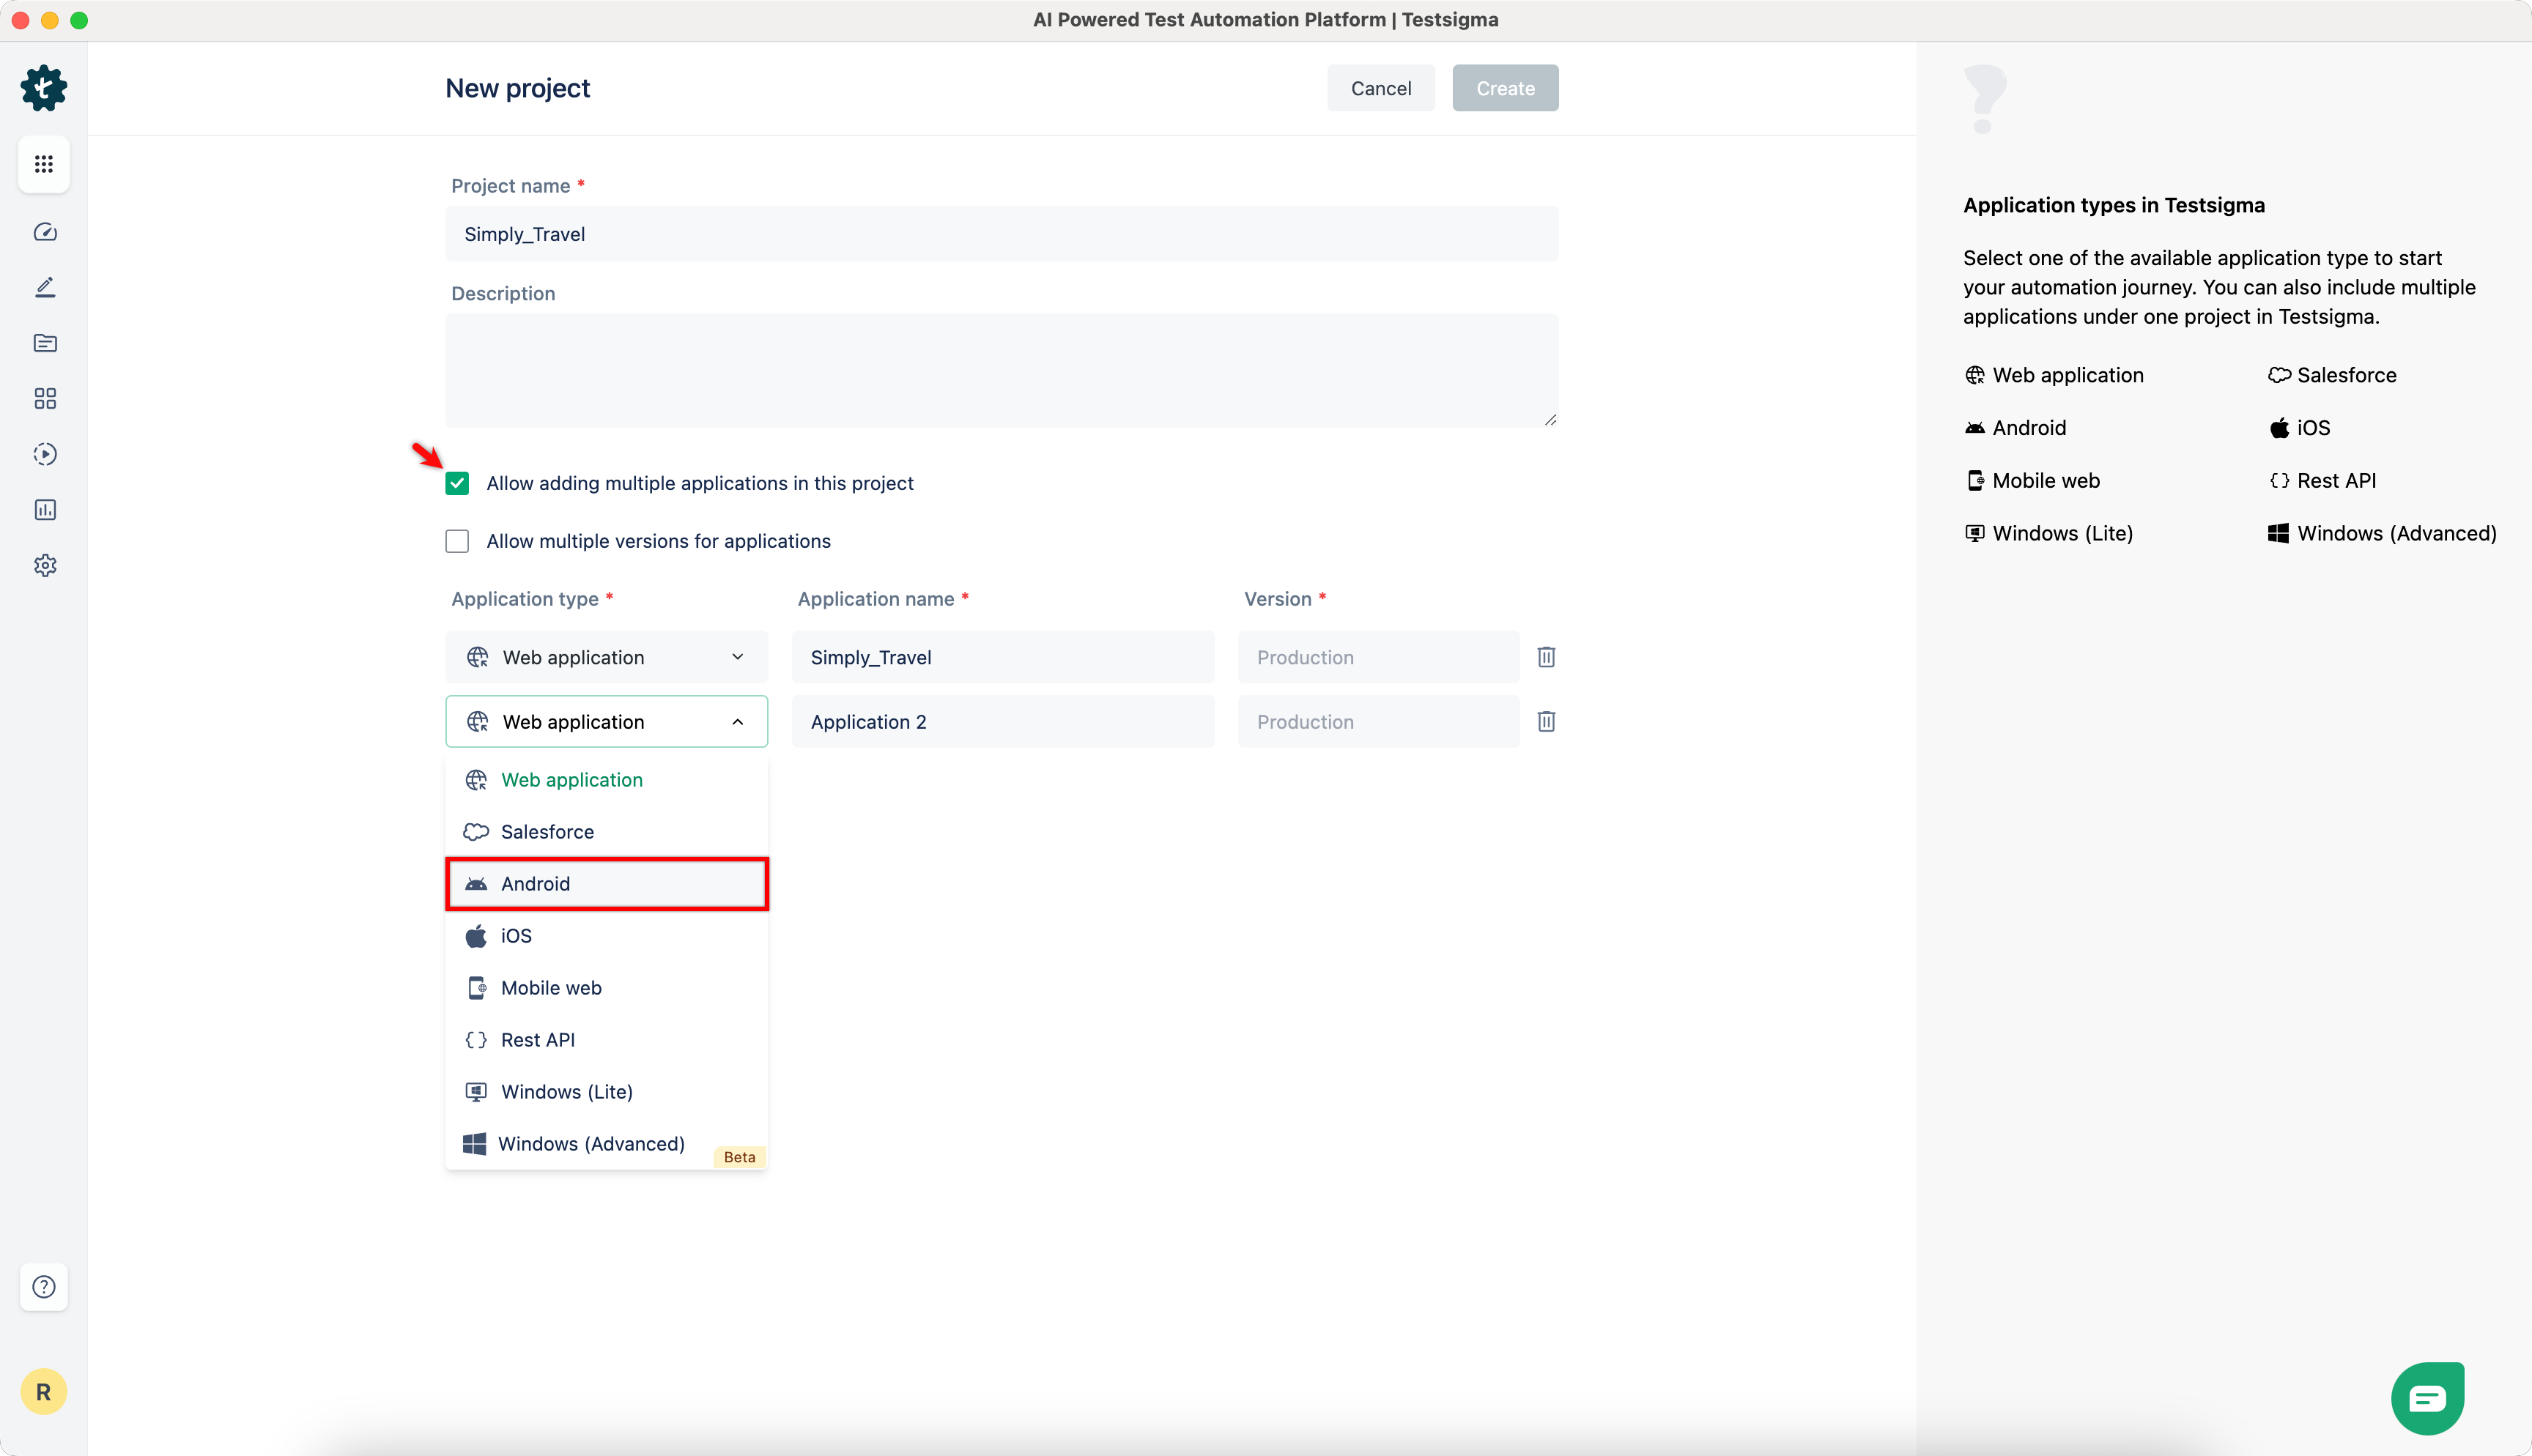
- If your project involves multiple applications, check Allow adding multiple applications in this project checbox. To add an application, click Add Application, select the Application Type from the drop-down menu, and give it a Name. By default, the project is set up for a single application.
- Also, if you want multiple versions for each application, check Allow multiple versions for applications checbox.
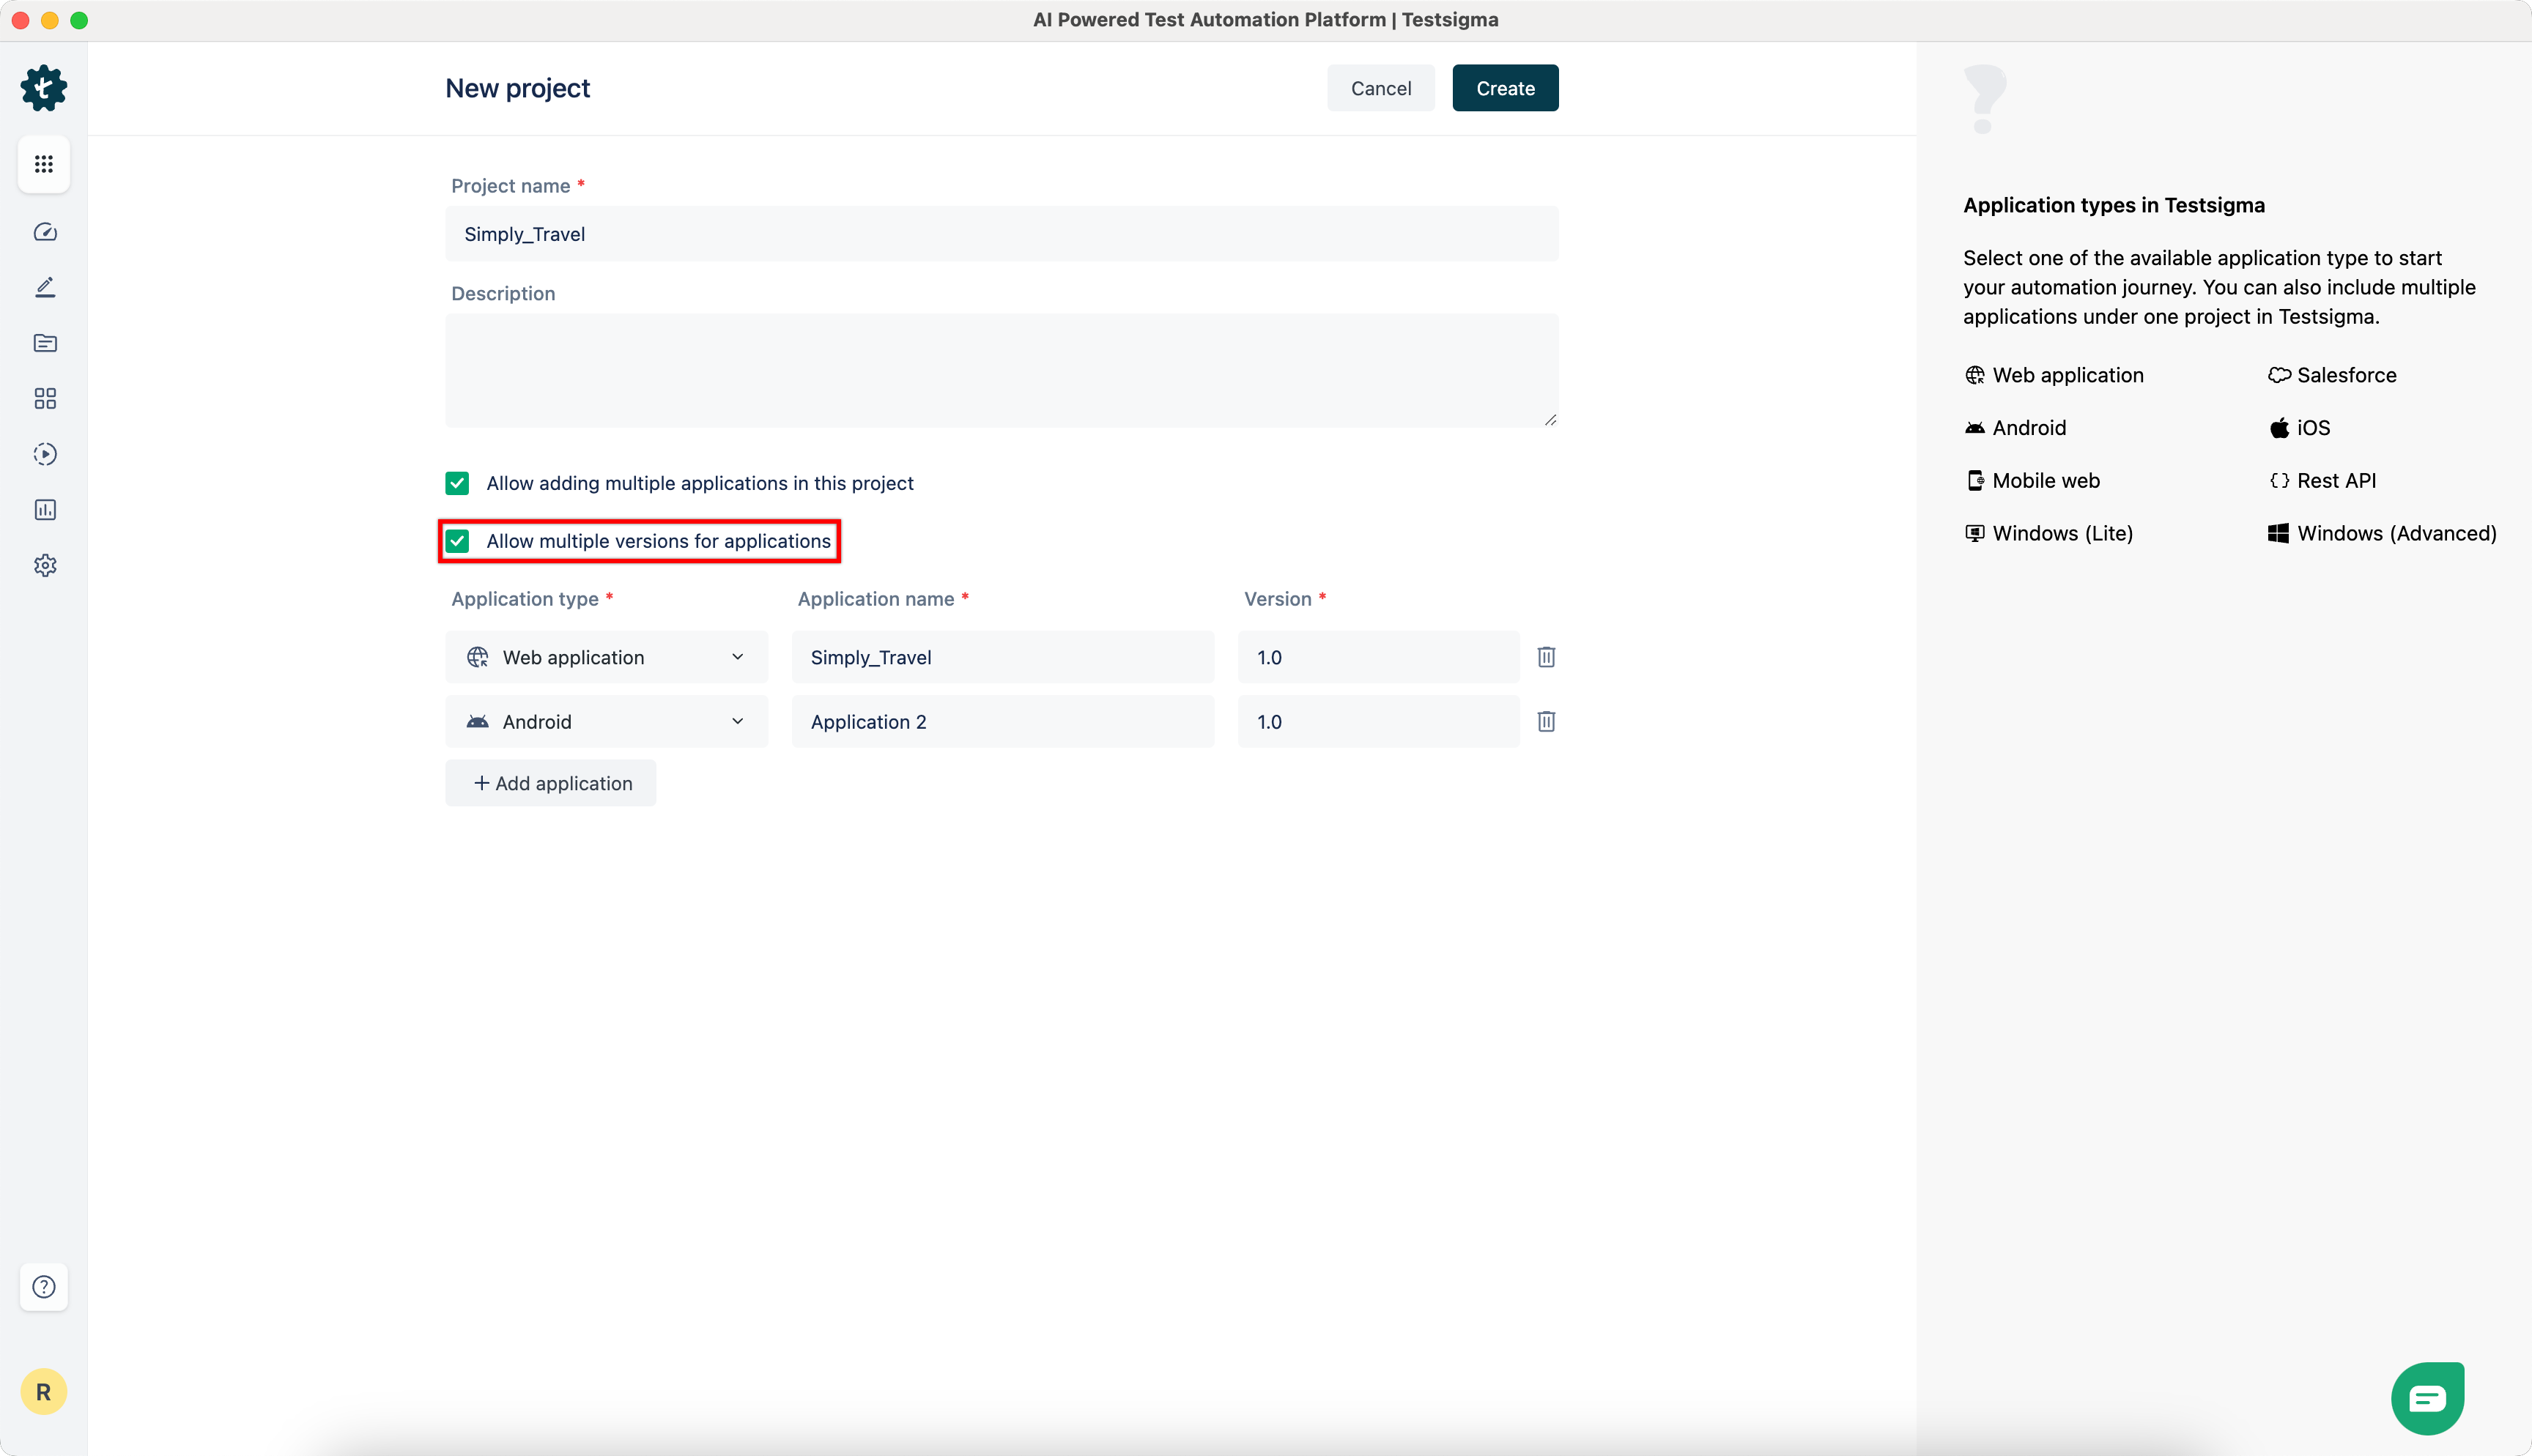
- Click on Create.
Execution Engines
Testsigma runs automated tests on two execution engines, Classic and Modern. Classic runs on Selenium. Modern runs on Playwright for web and WebDriverIO for mobile, which automatically waits for elements and page state. Modern engine reduces timing-related test failures.
You select the engine when you create an application.
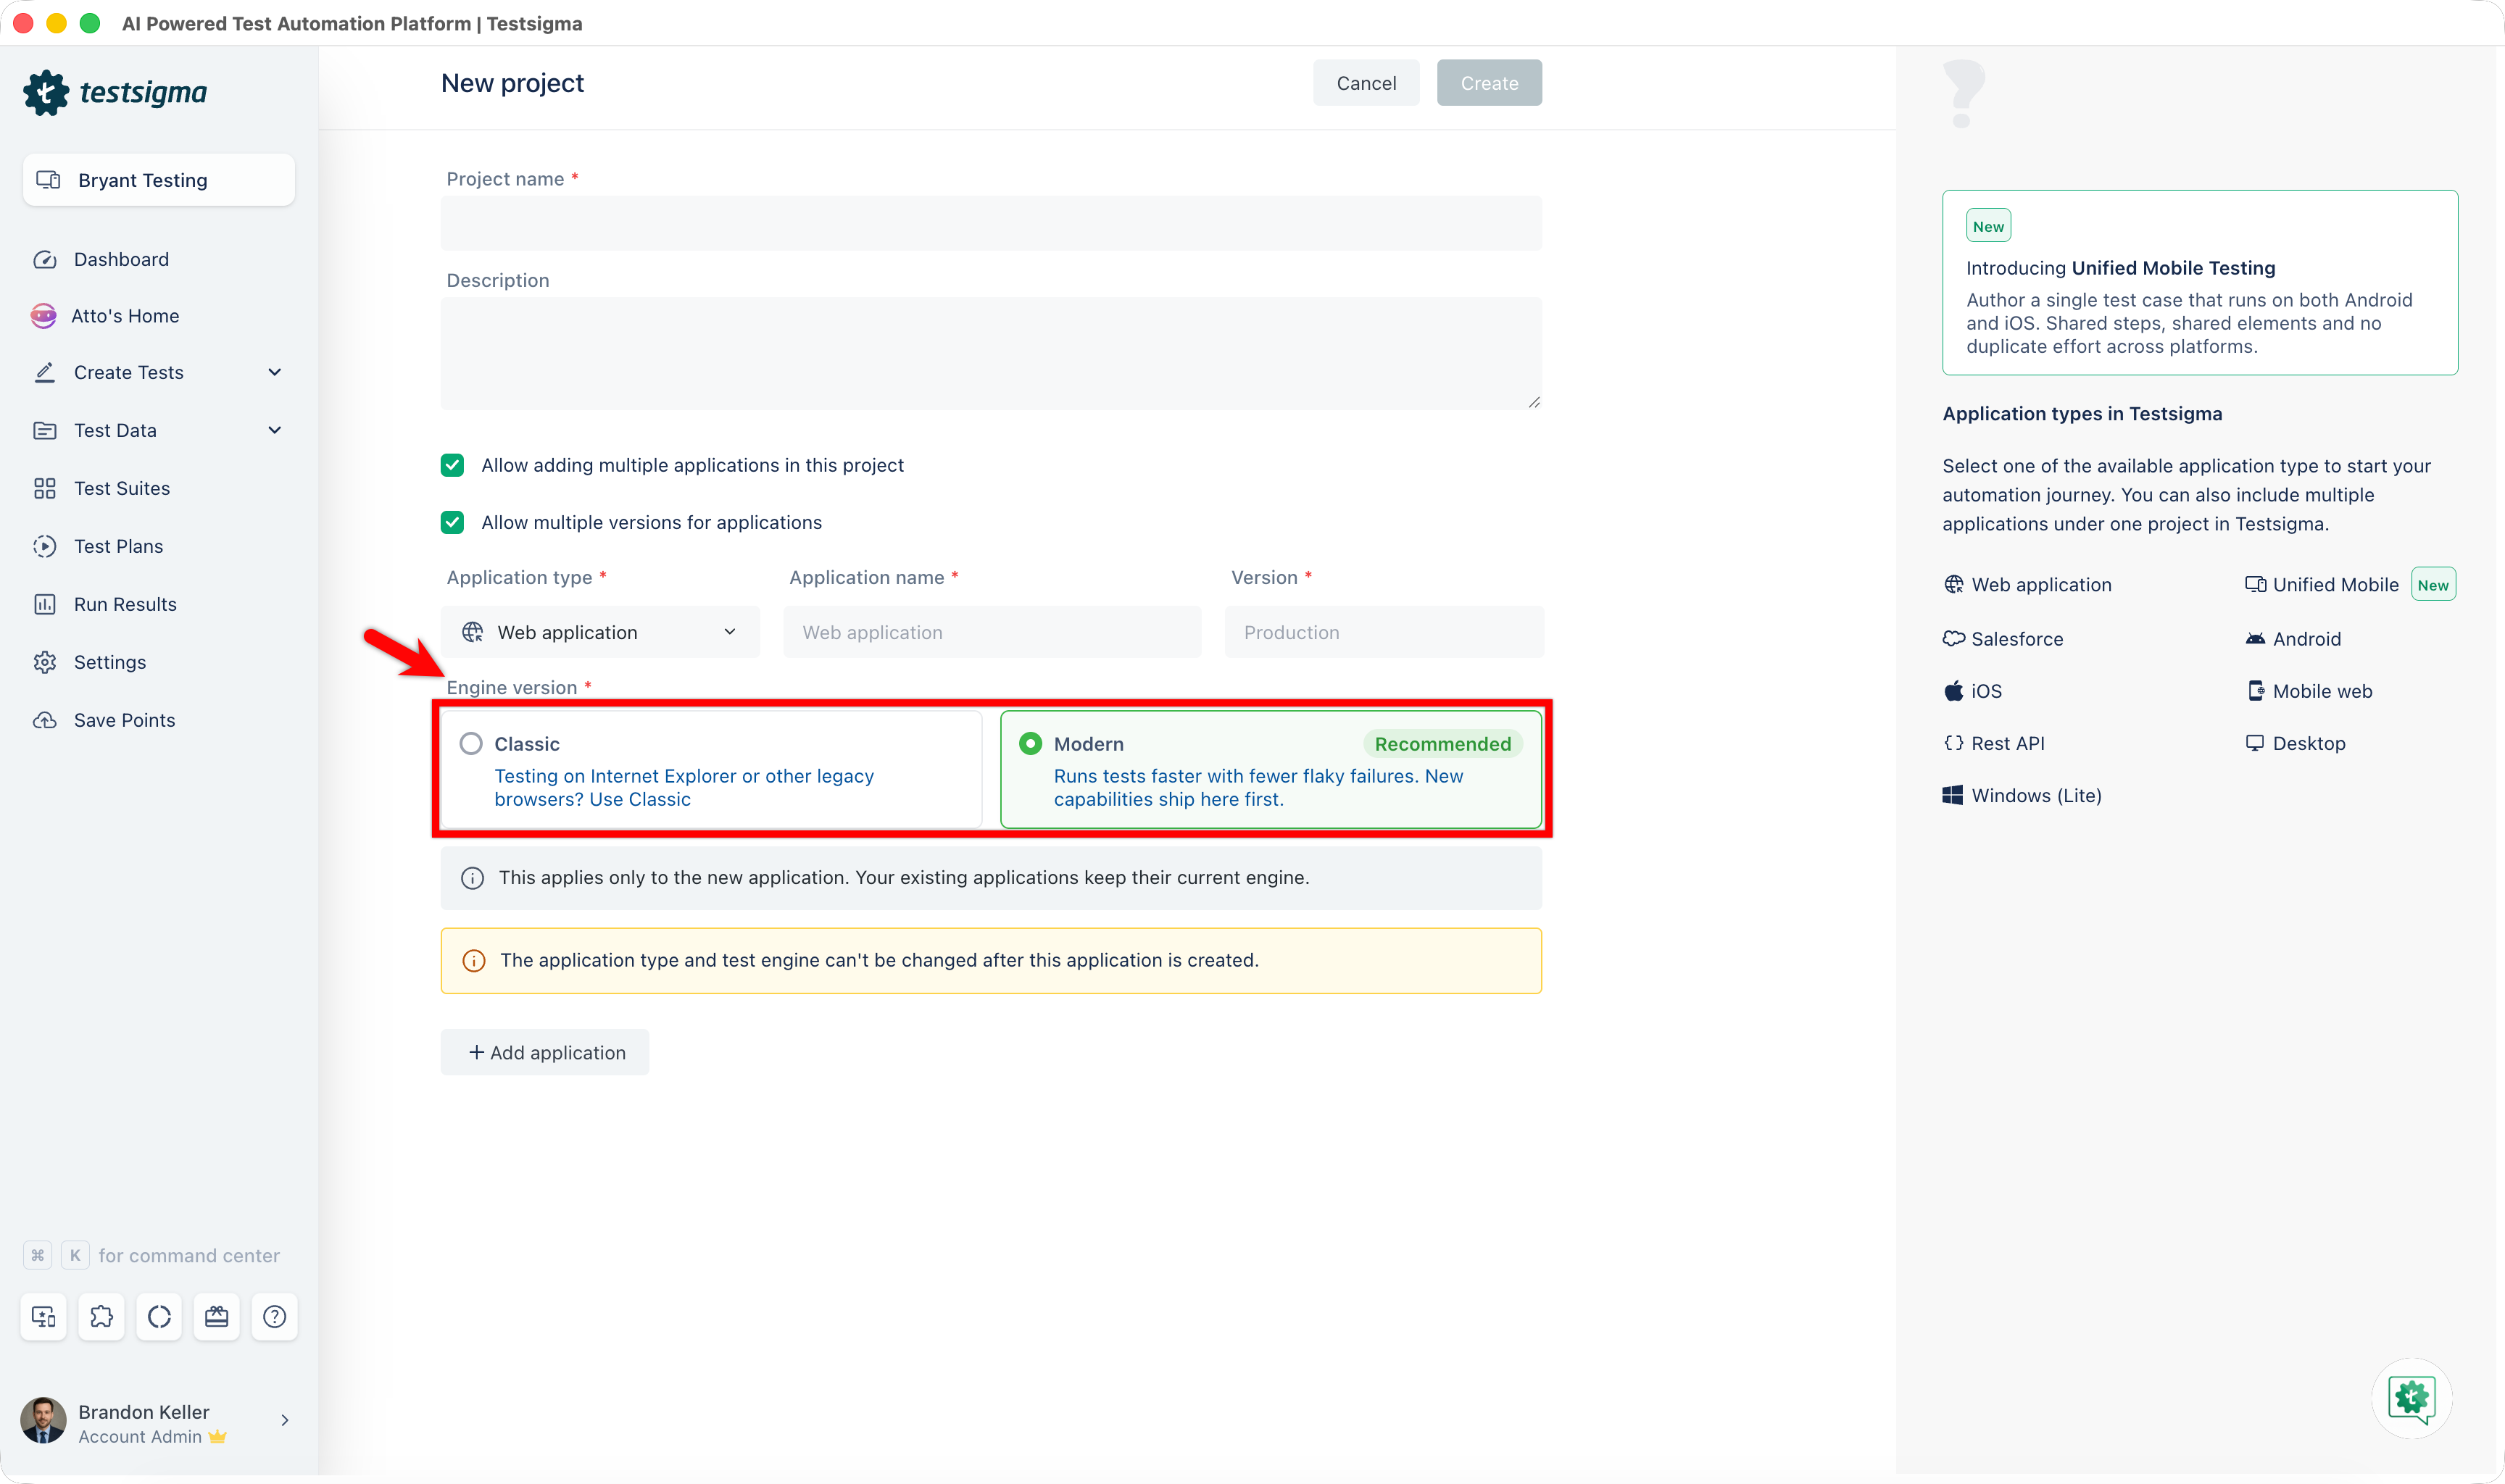
You cannot change this selection afterward. To use a different engine, create a new application.
The engines available depend on the application type:
| Application type | Available engines |
|---|---|
| Web application | Classic and Modern |
| Unified (Android and iOS) | Modern |
| Android | Classic |
| iOS | Classic |
| Mobile Web | Classic |
| Salesforce | Classic |
| REST API | Classic |
| Desktop | Classic |
| Windows | Classic |
When an application type supports more than one engine, you can select the engine while creating the application, if engine selection is enabled for your account. If engine selection is not enabled, Testsigma applies the default engine for that application type, and the selection does not appear. For more details, contact support@testsigma.com.
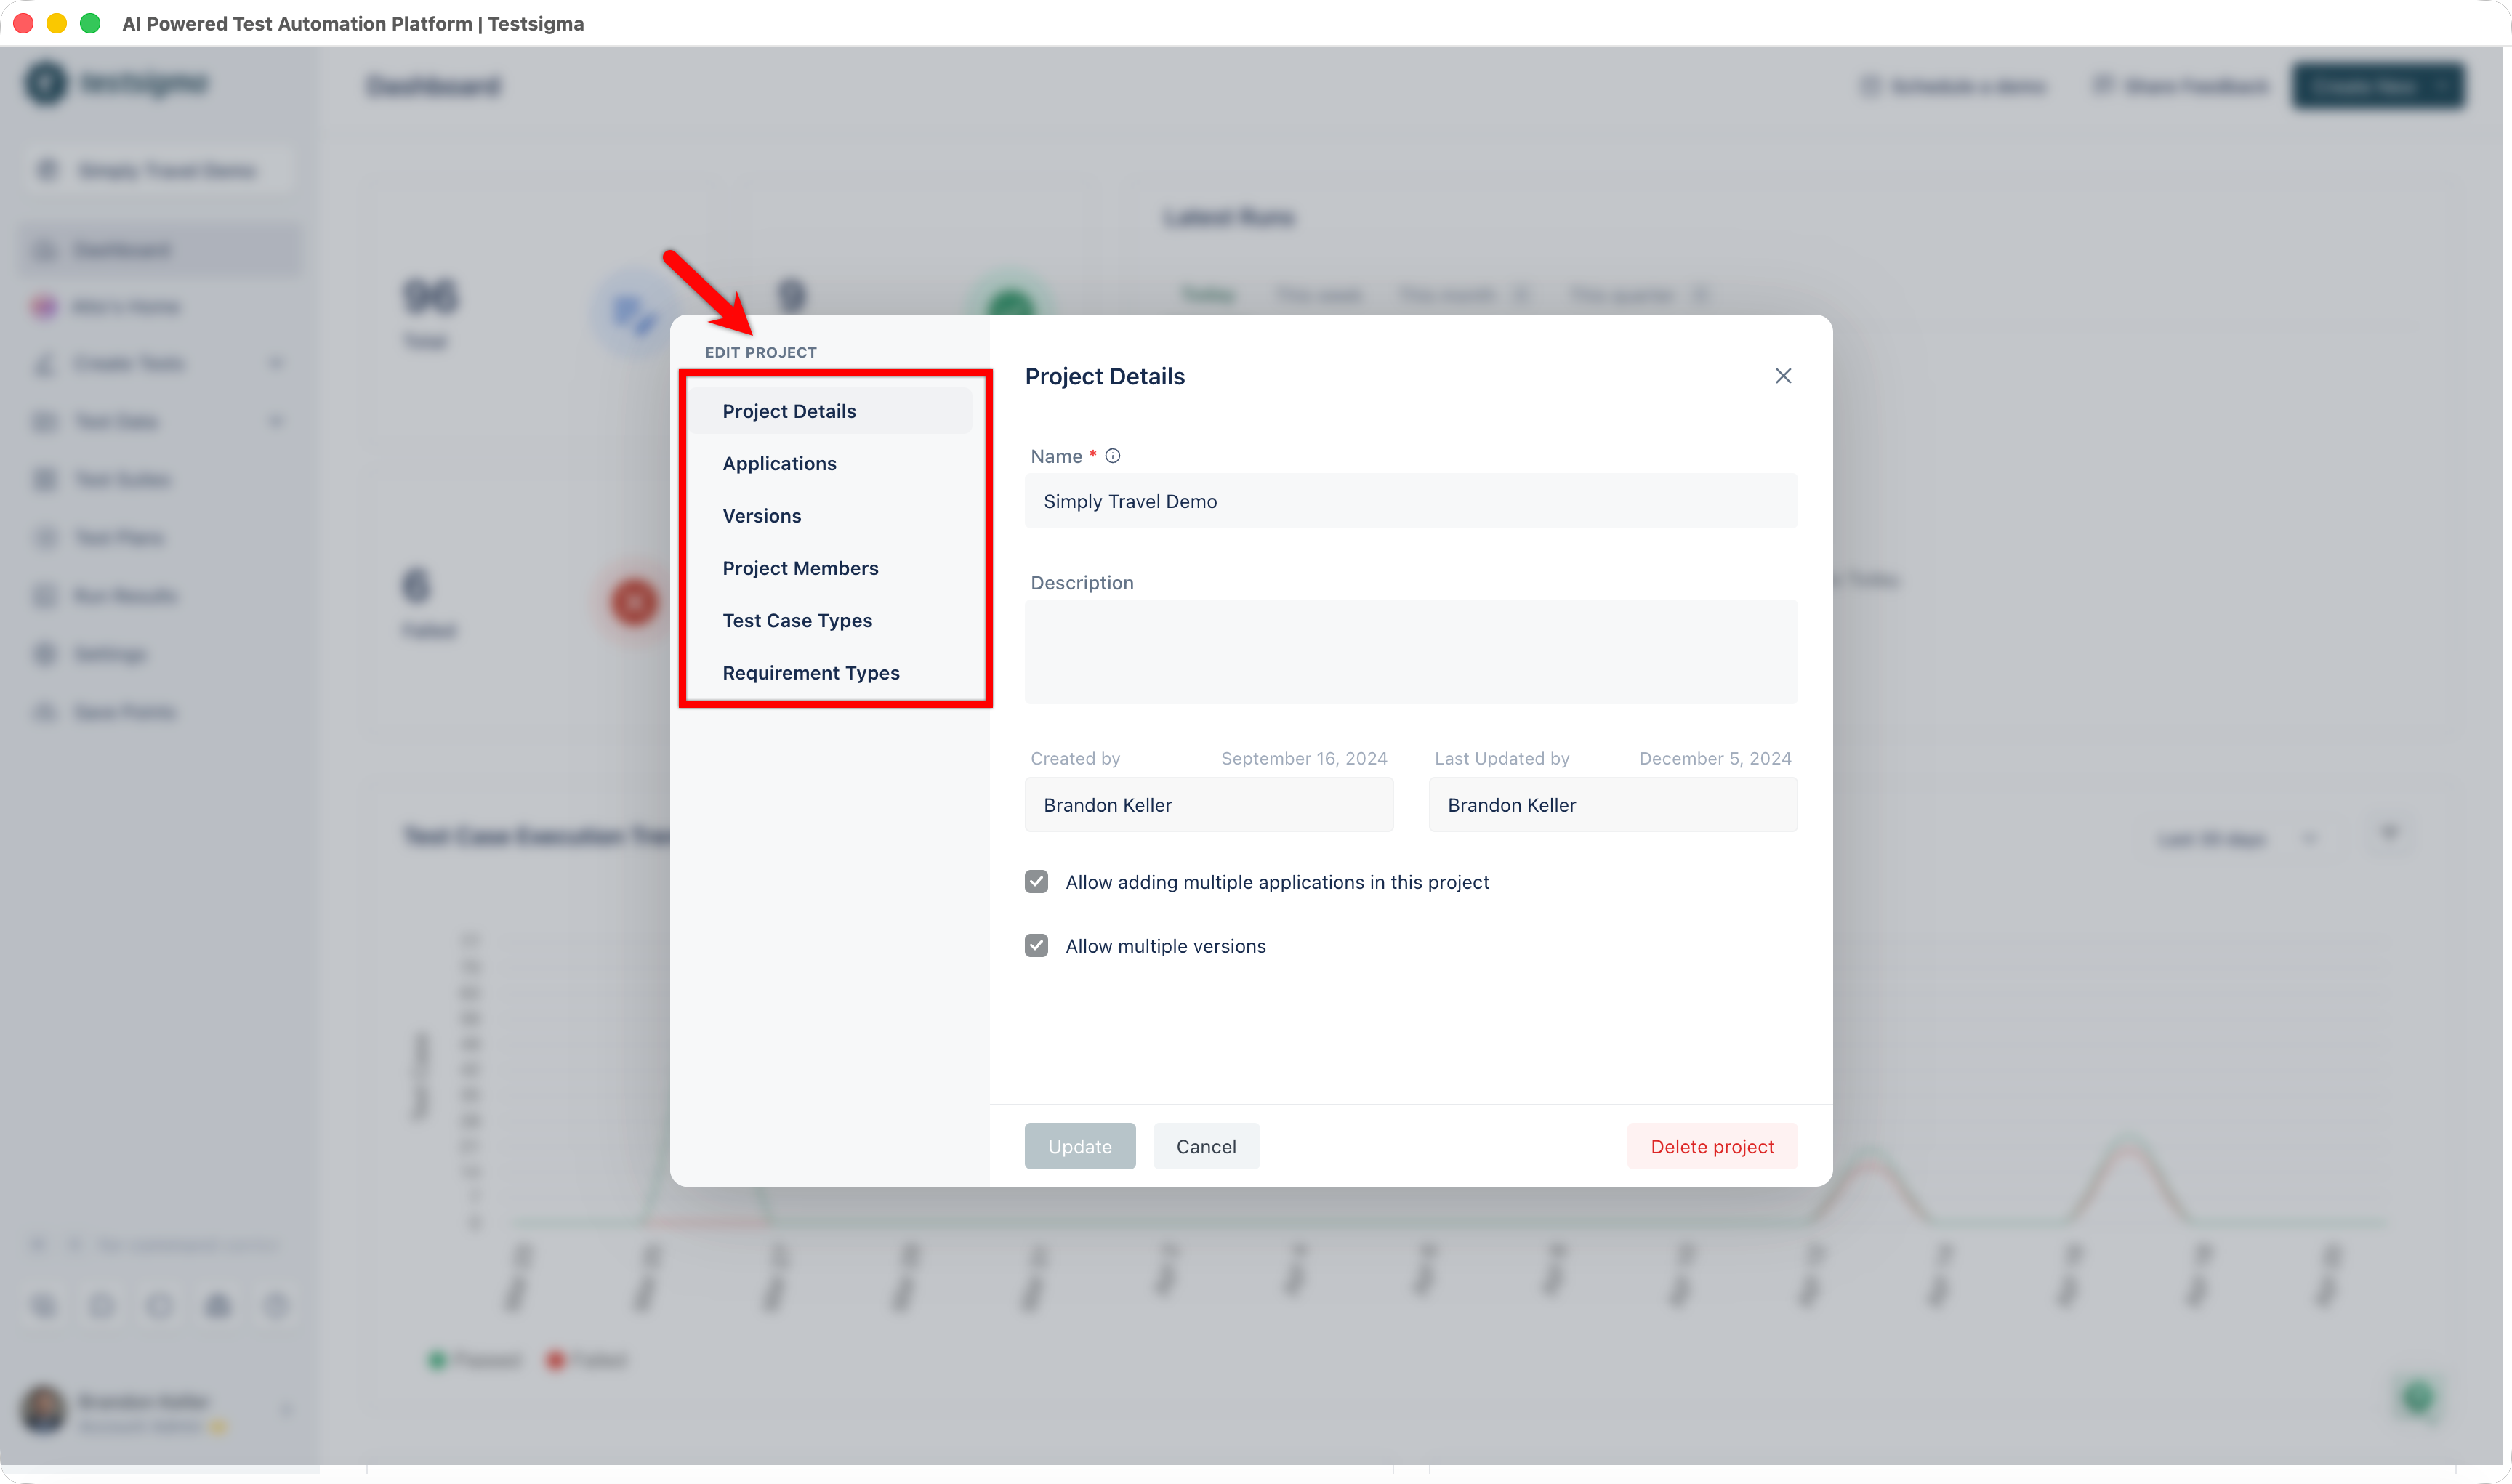
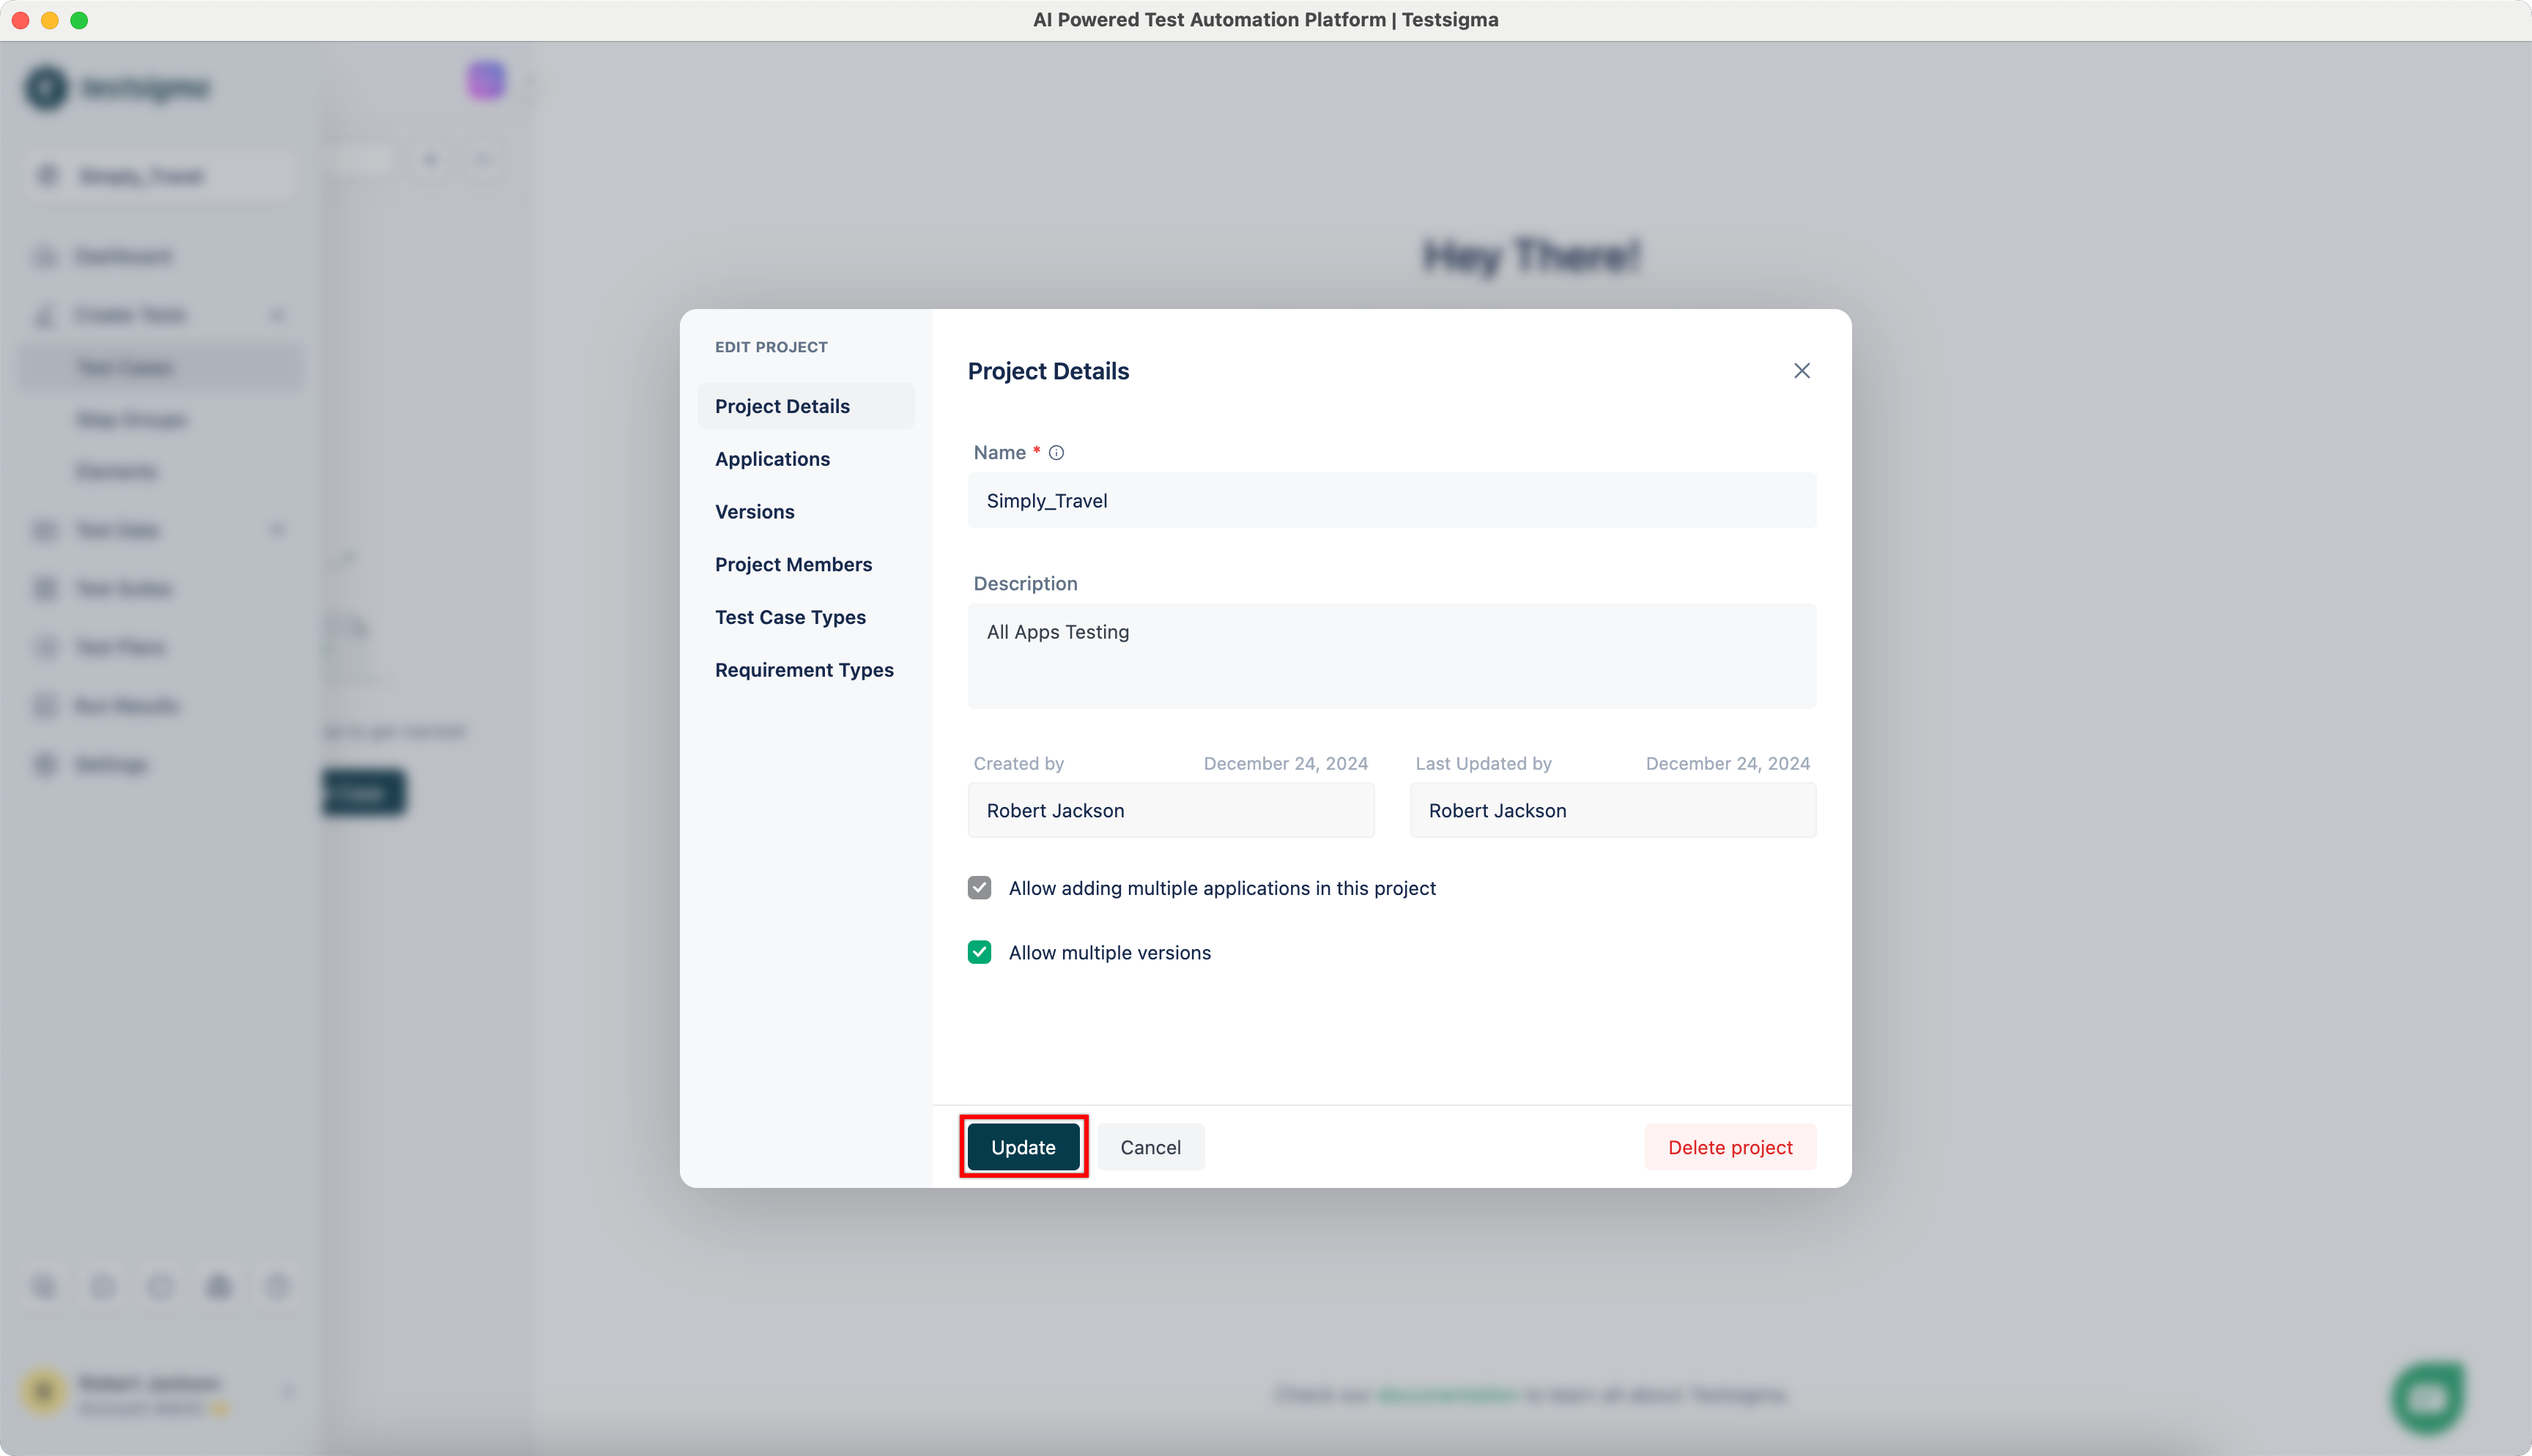
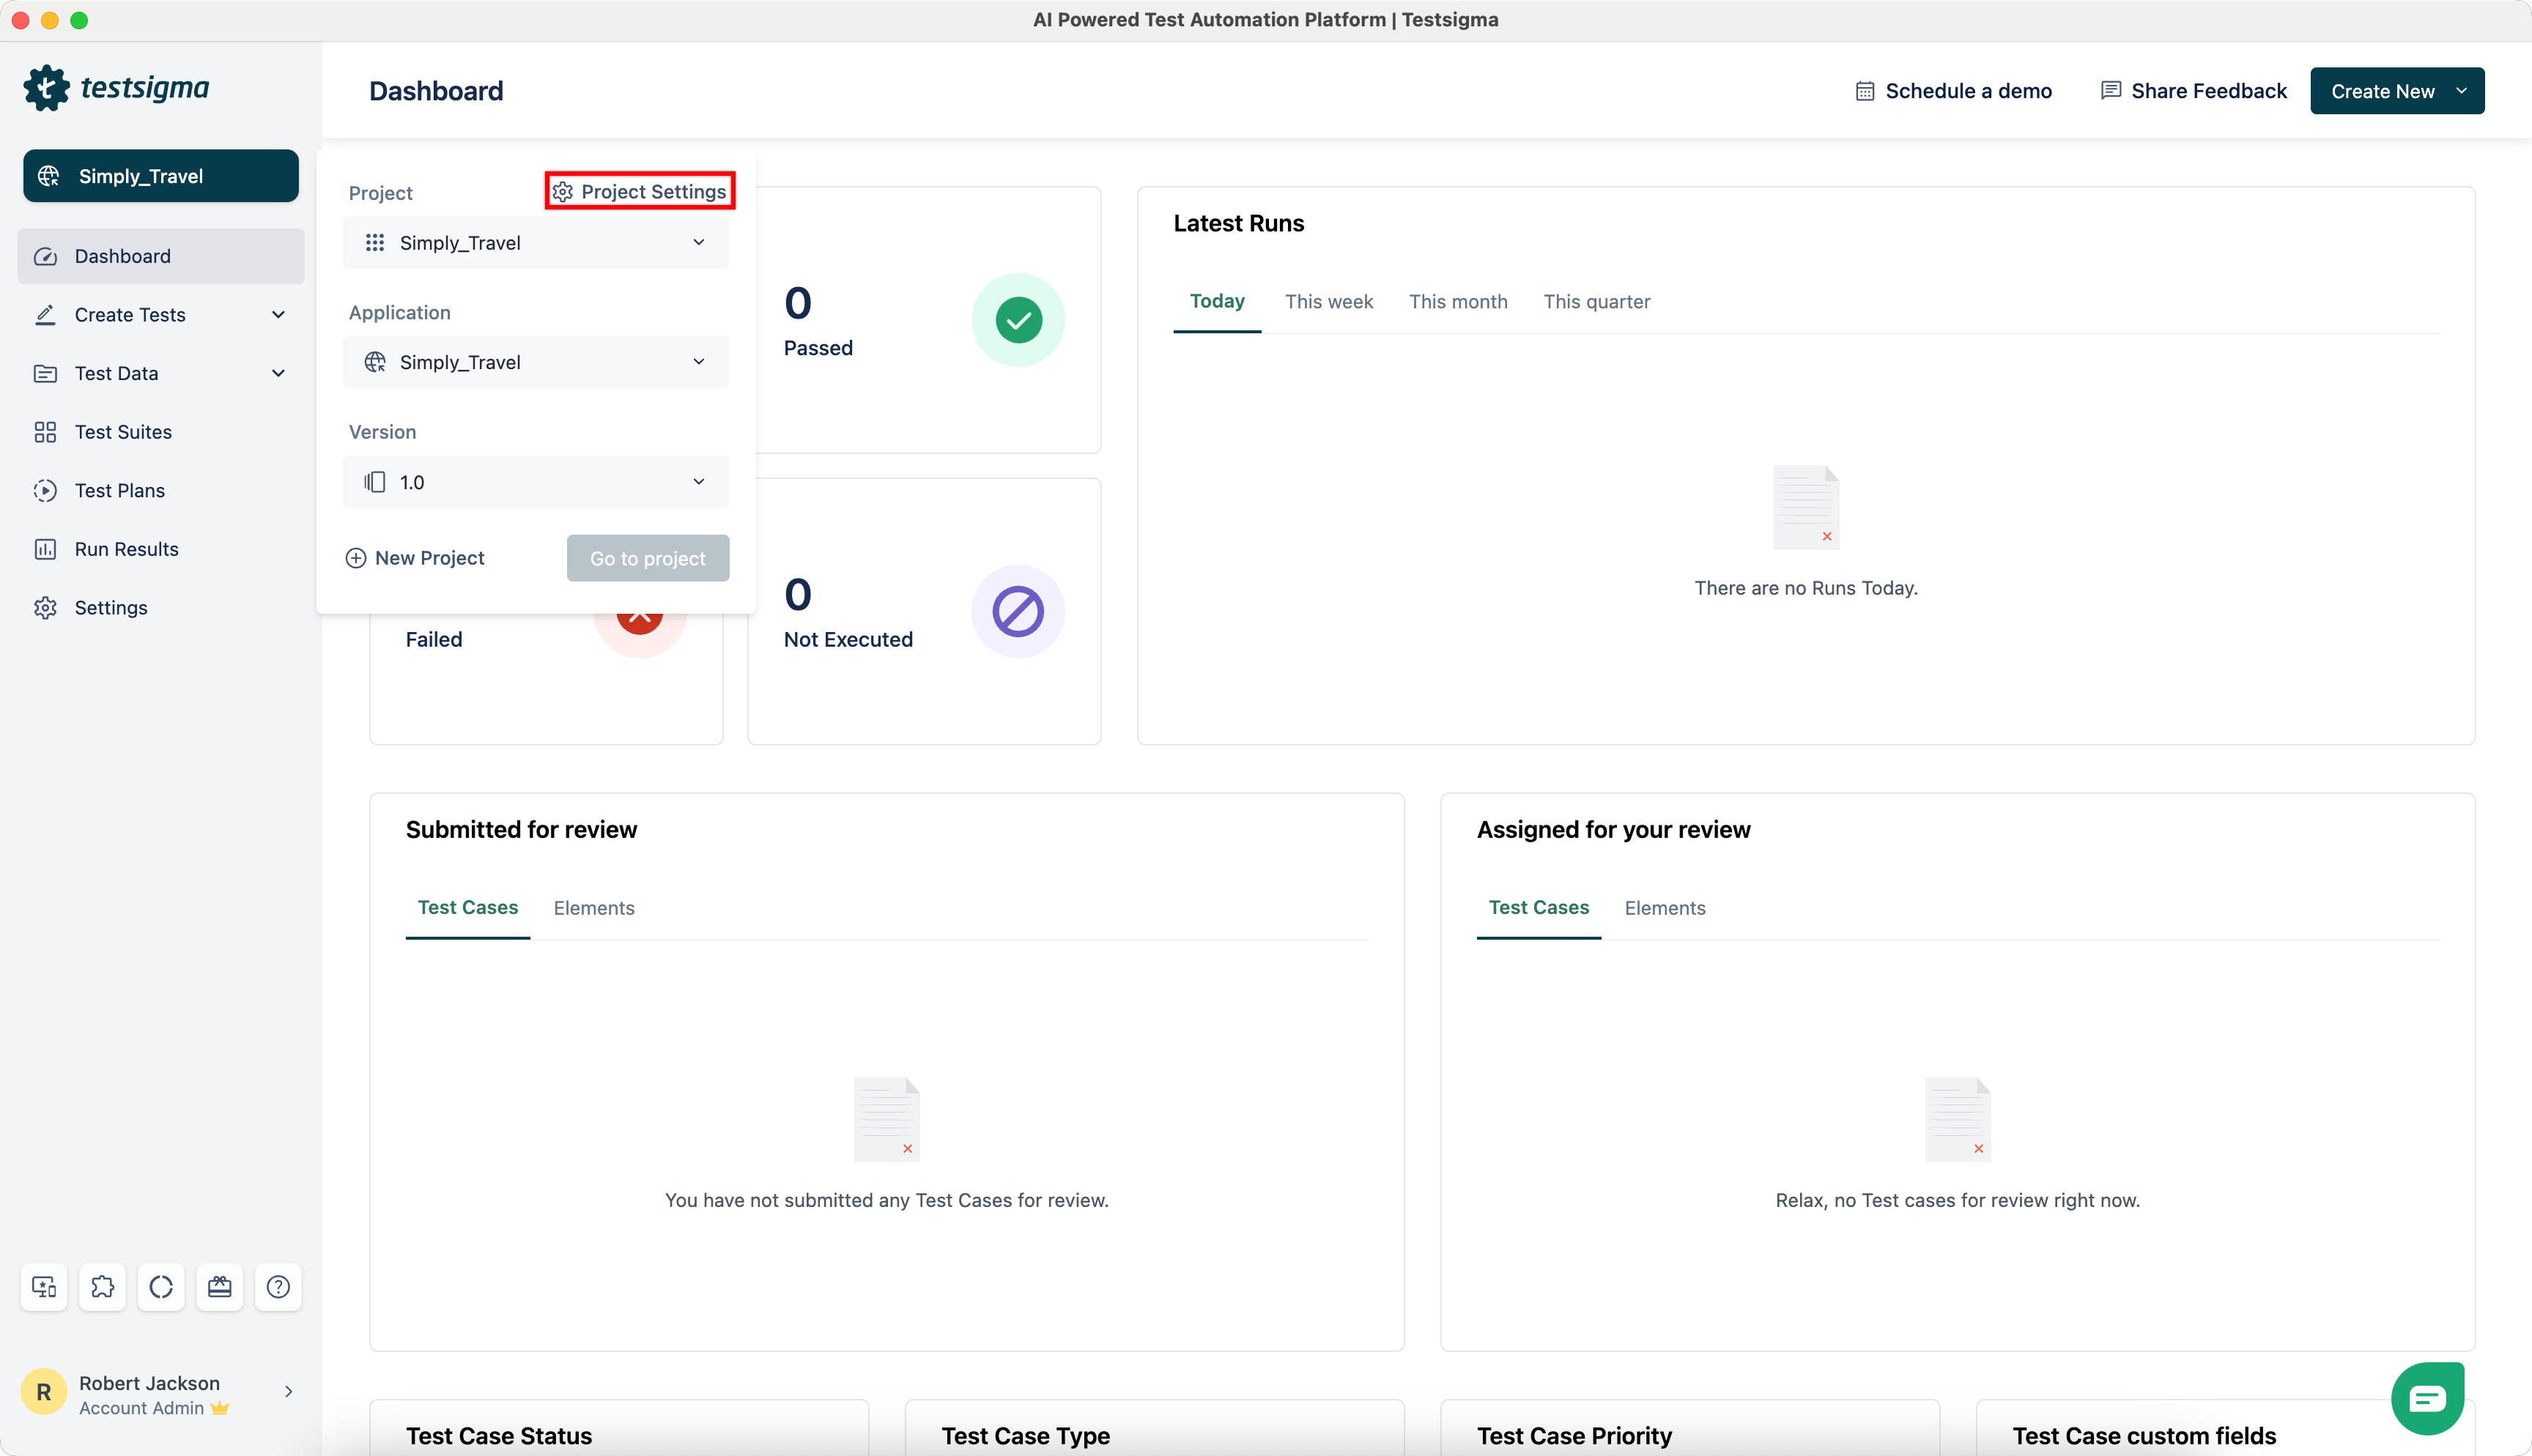
Editing a Project
- Navigate to Project > Project Settings.

- This will open the Edit Project dialog.
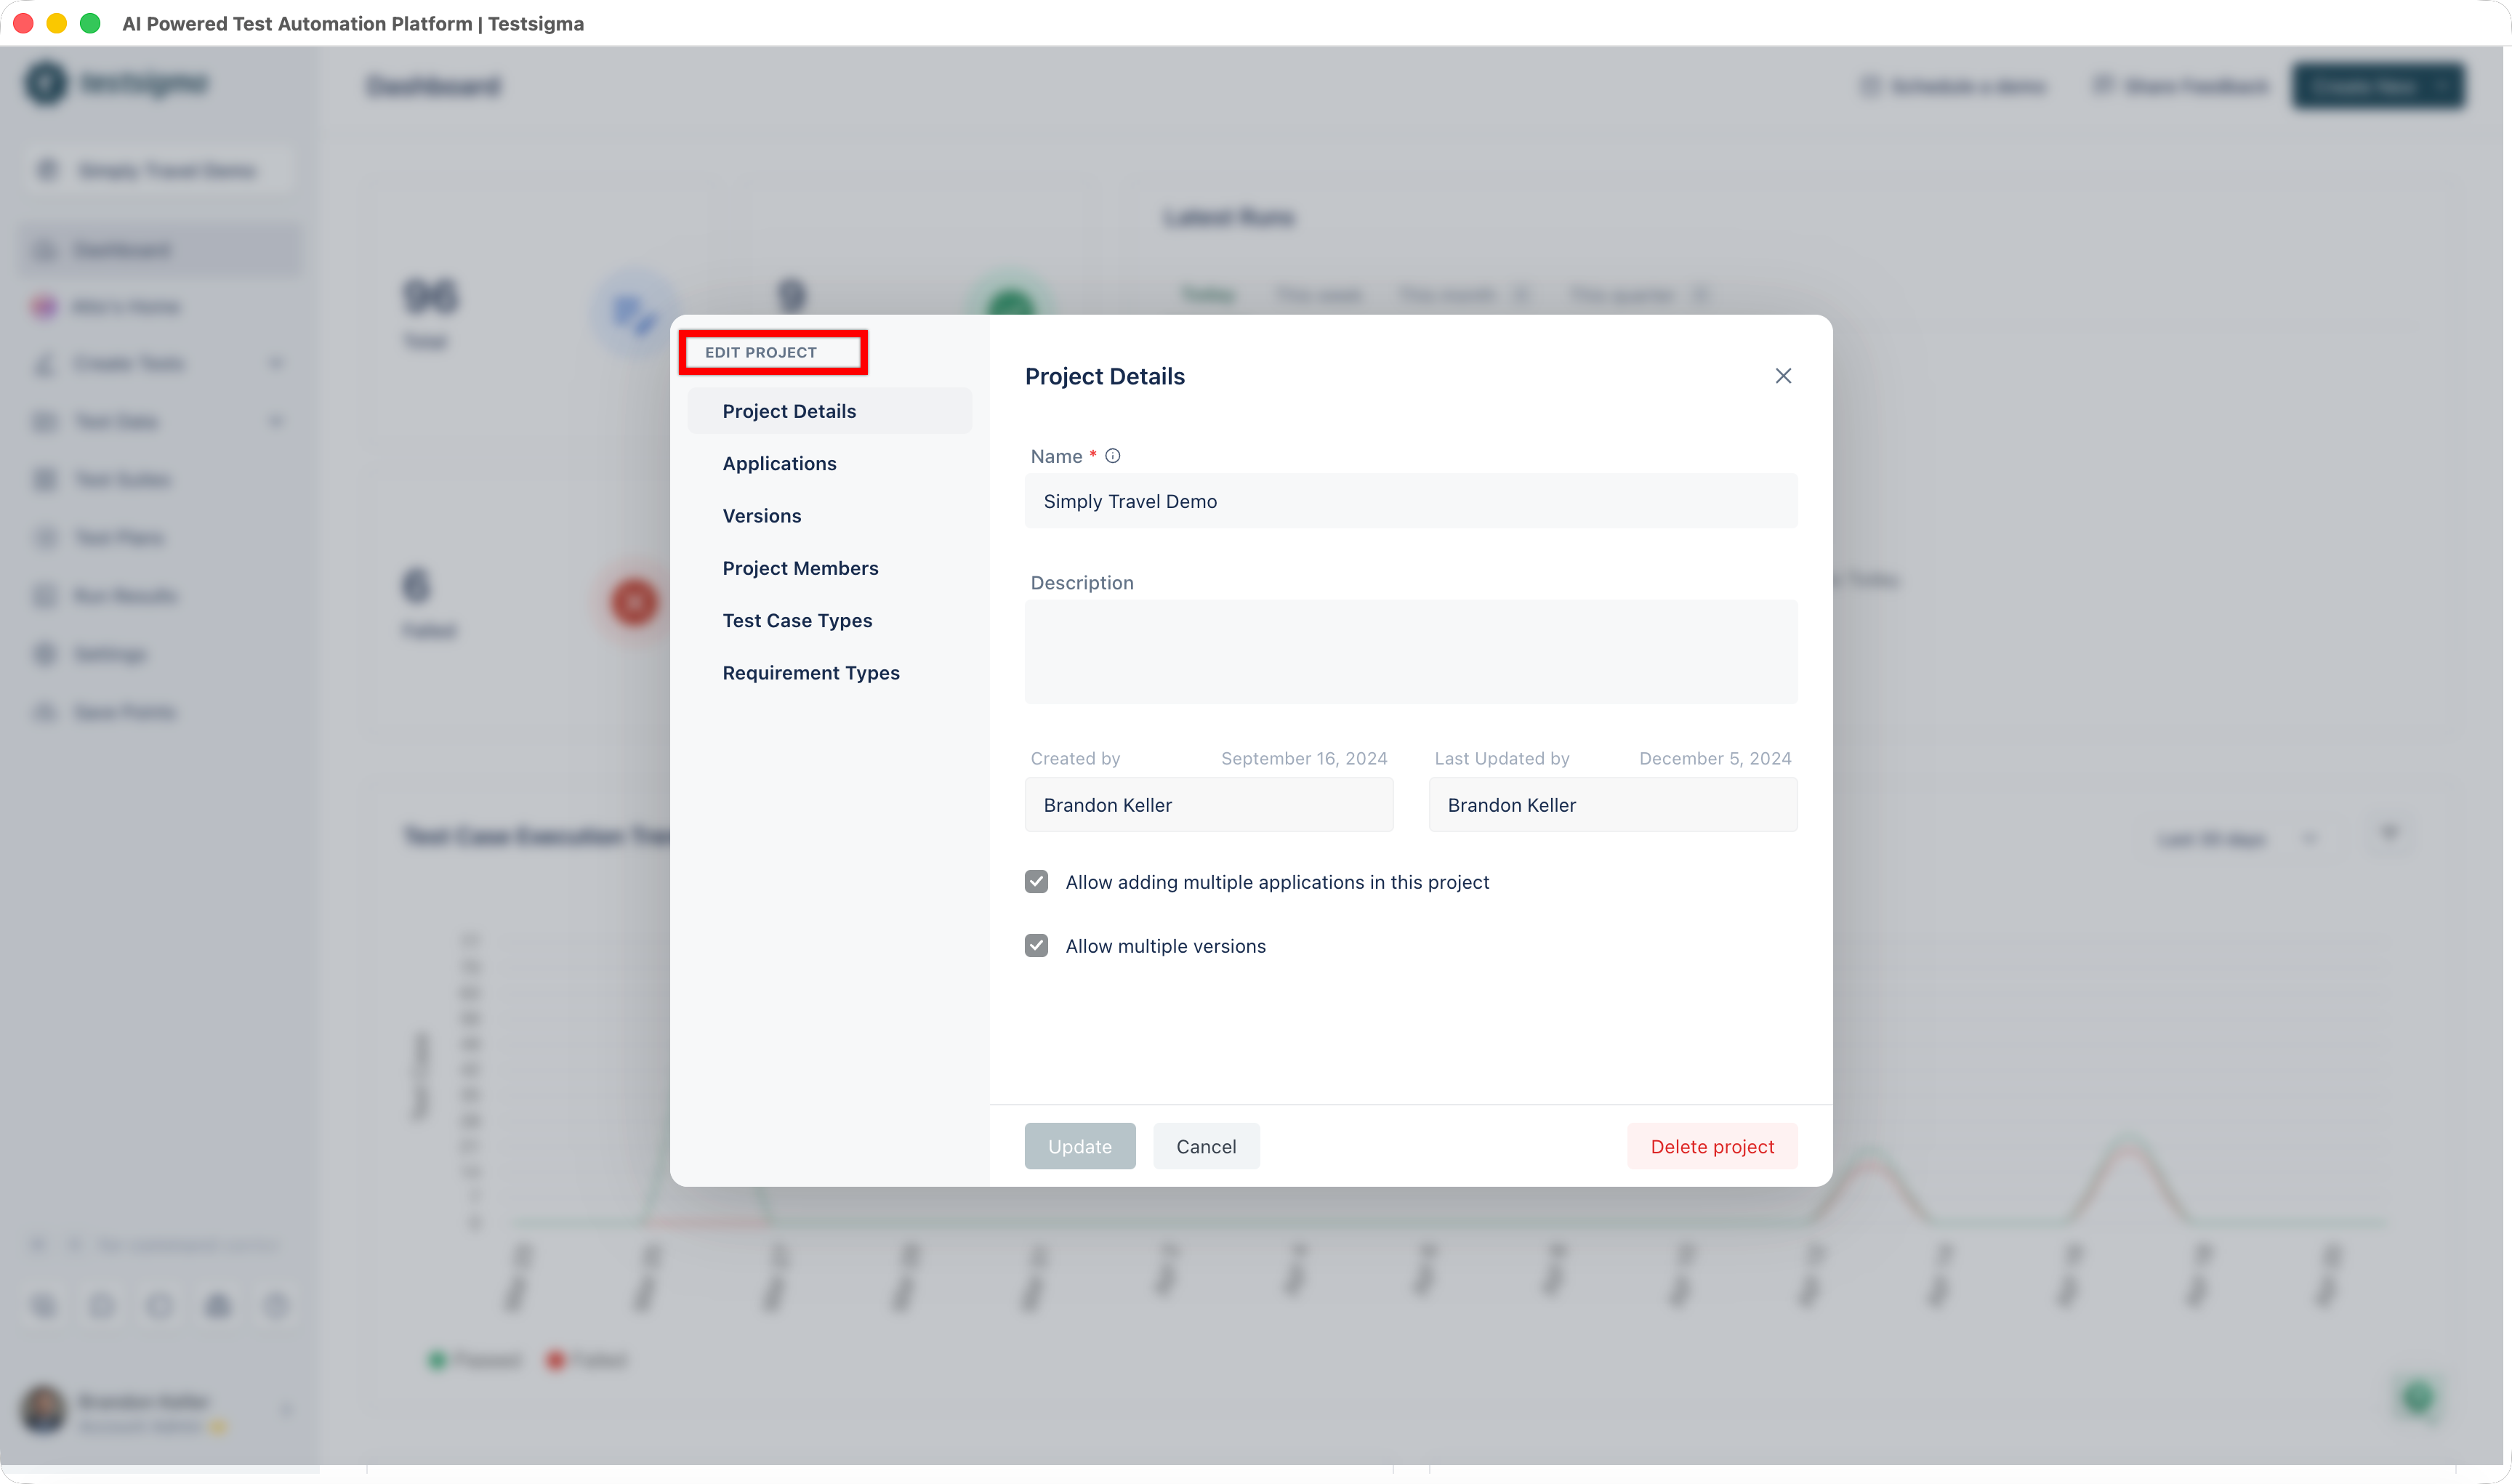
- You can update Project Details, Multiple Applications and Versions from here. Also, you can add Project Members, Test Case Types, and Requirement Types on the same dialog.
- Click on Update to save the changes.
Adding, Editing, and Deleting Applications & Versions can be done under Project Settings > Applications.
Switching Projects
- Click on the current Project from Dashboard.

- Select Project, Application, and Version from respective dropdowns and click on Go to project.
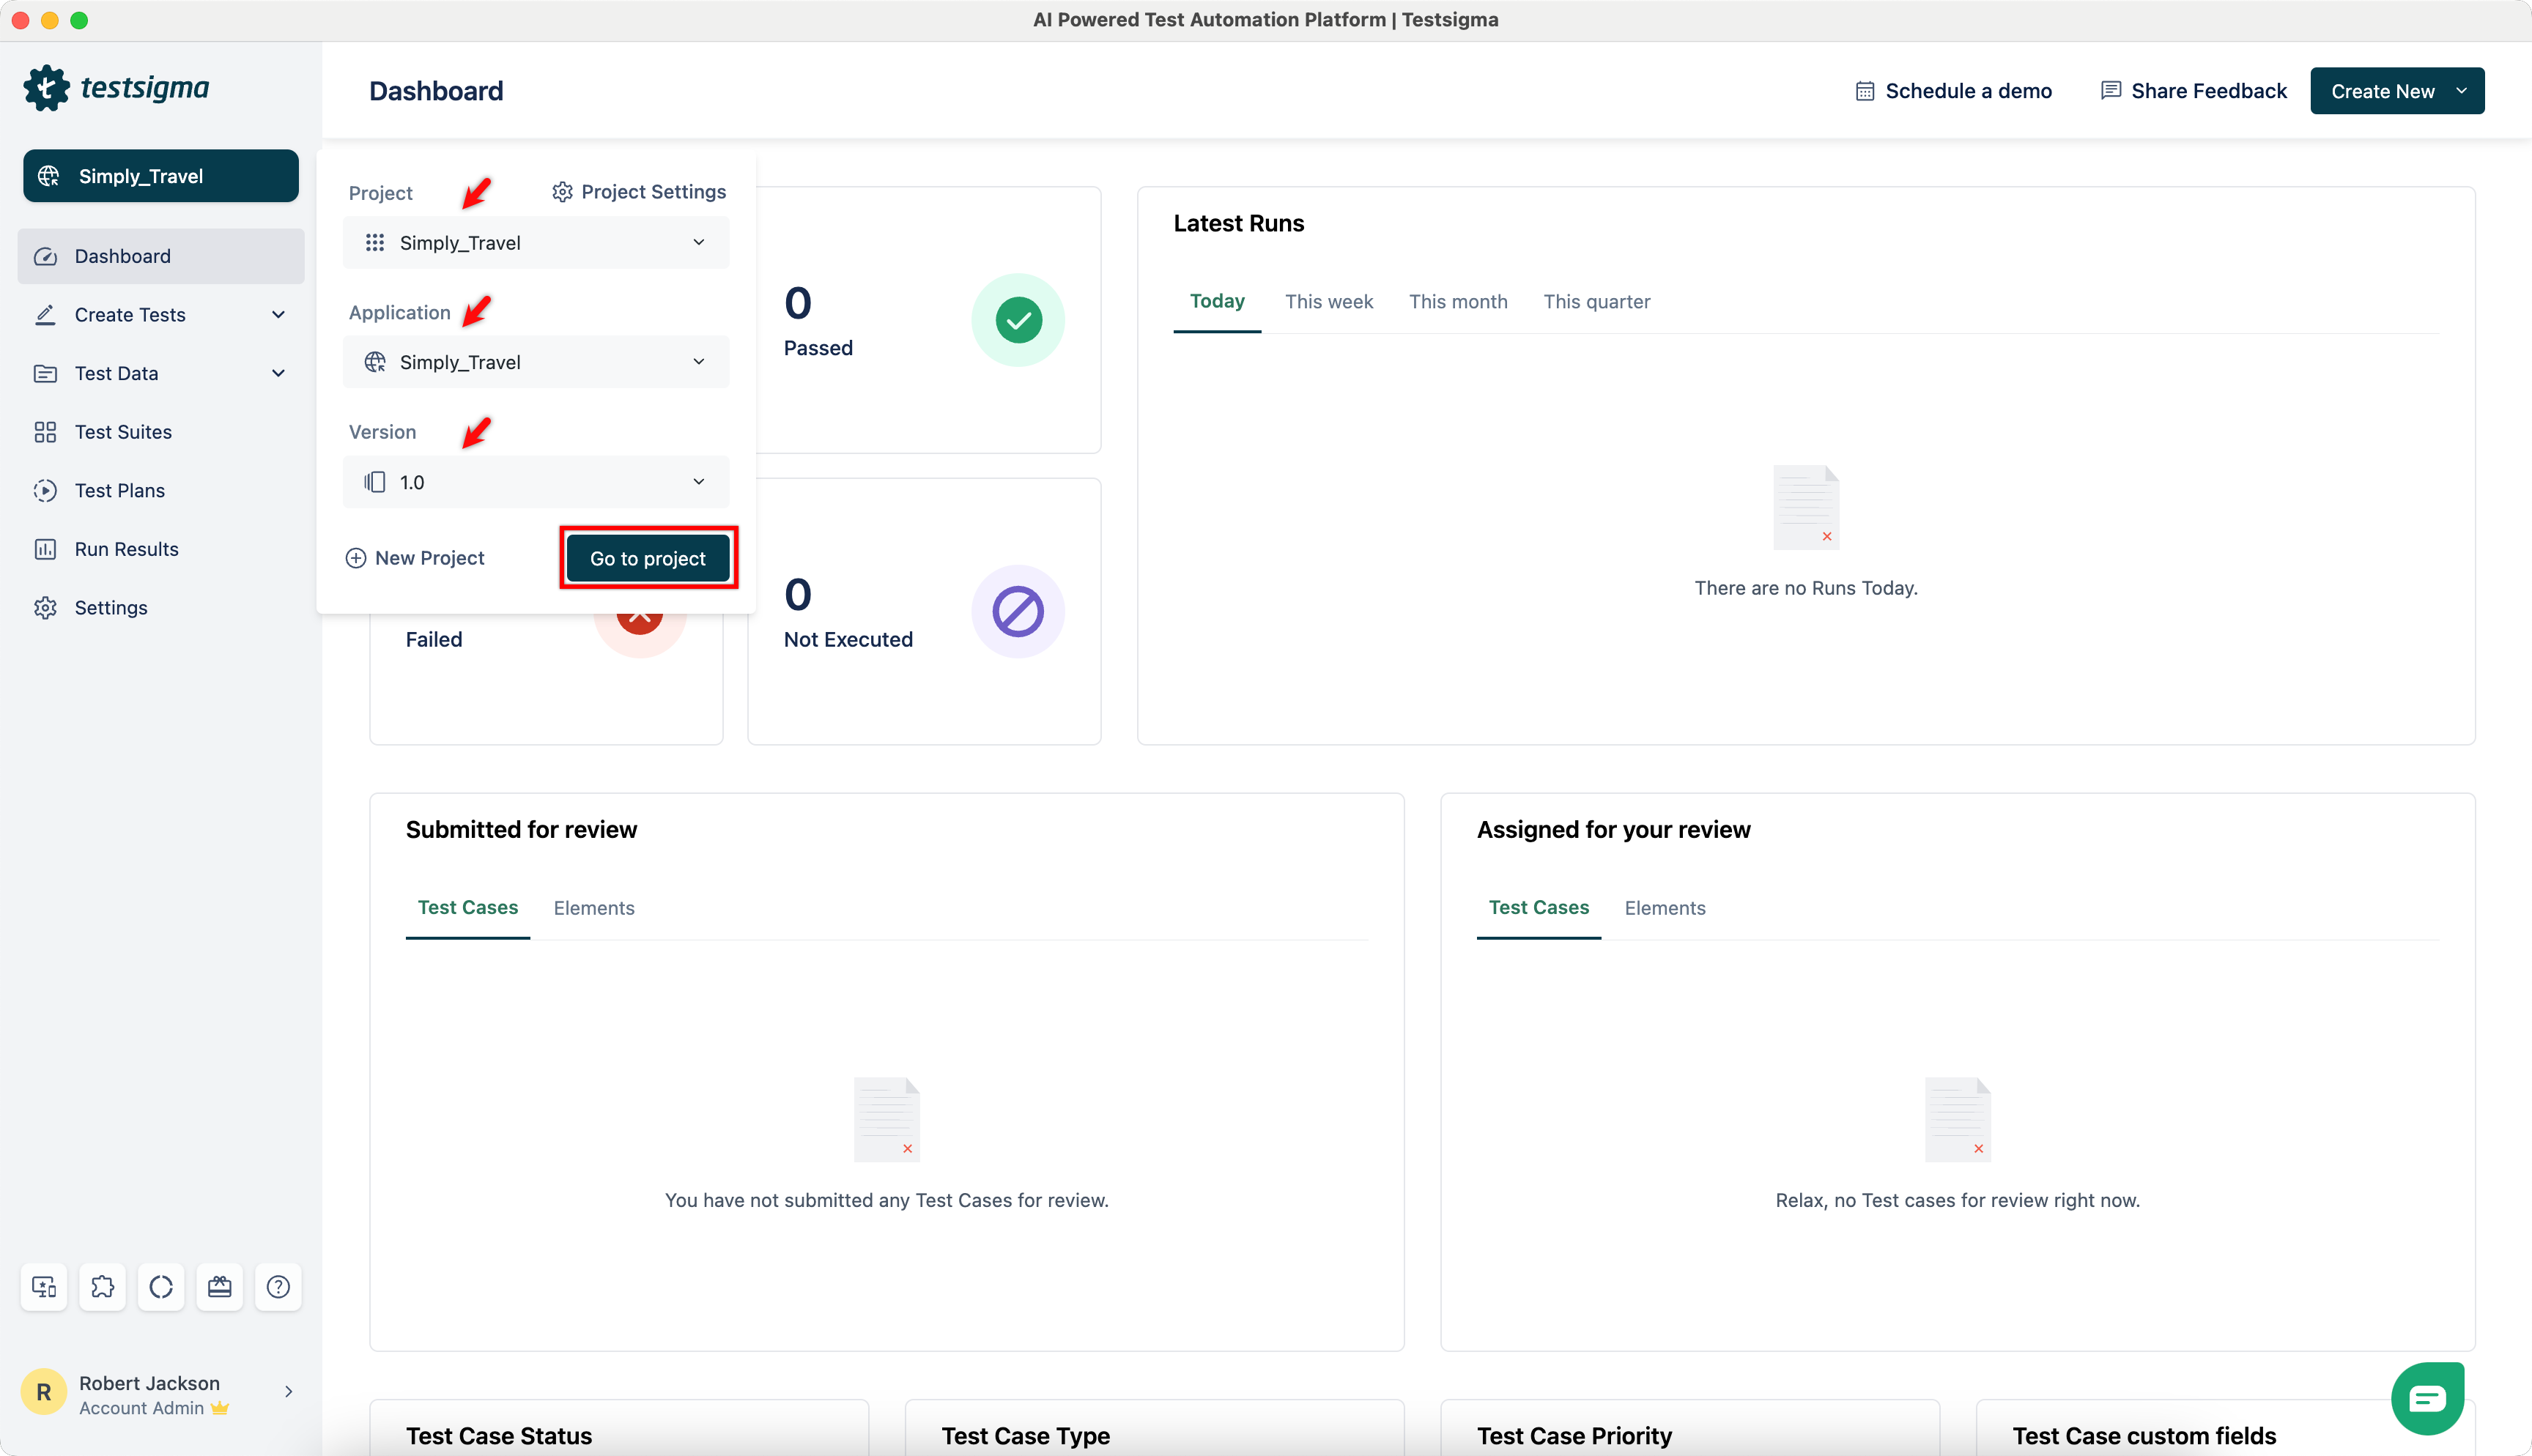
- You’ll be redirected to the dashboard of the selected project.
Deleting a Project
- Navigate to Project > Project Settings.
- Click on Delete.
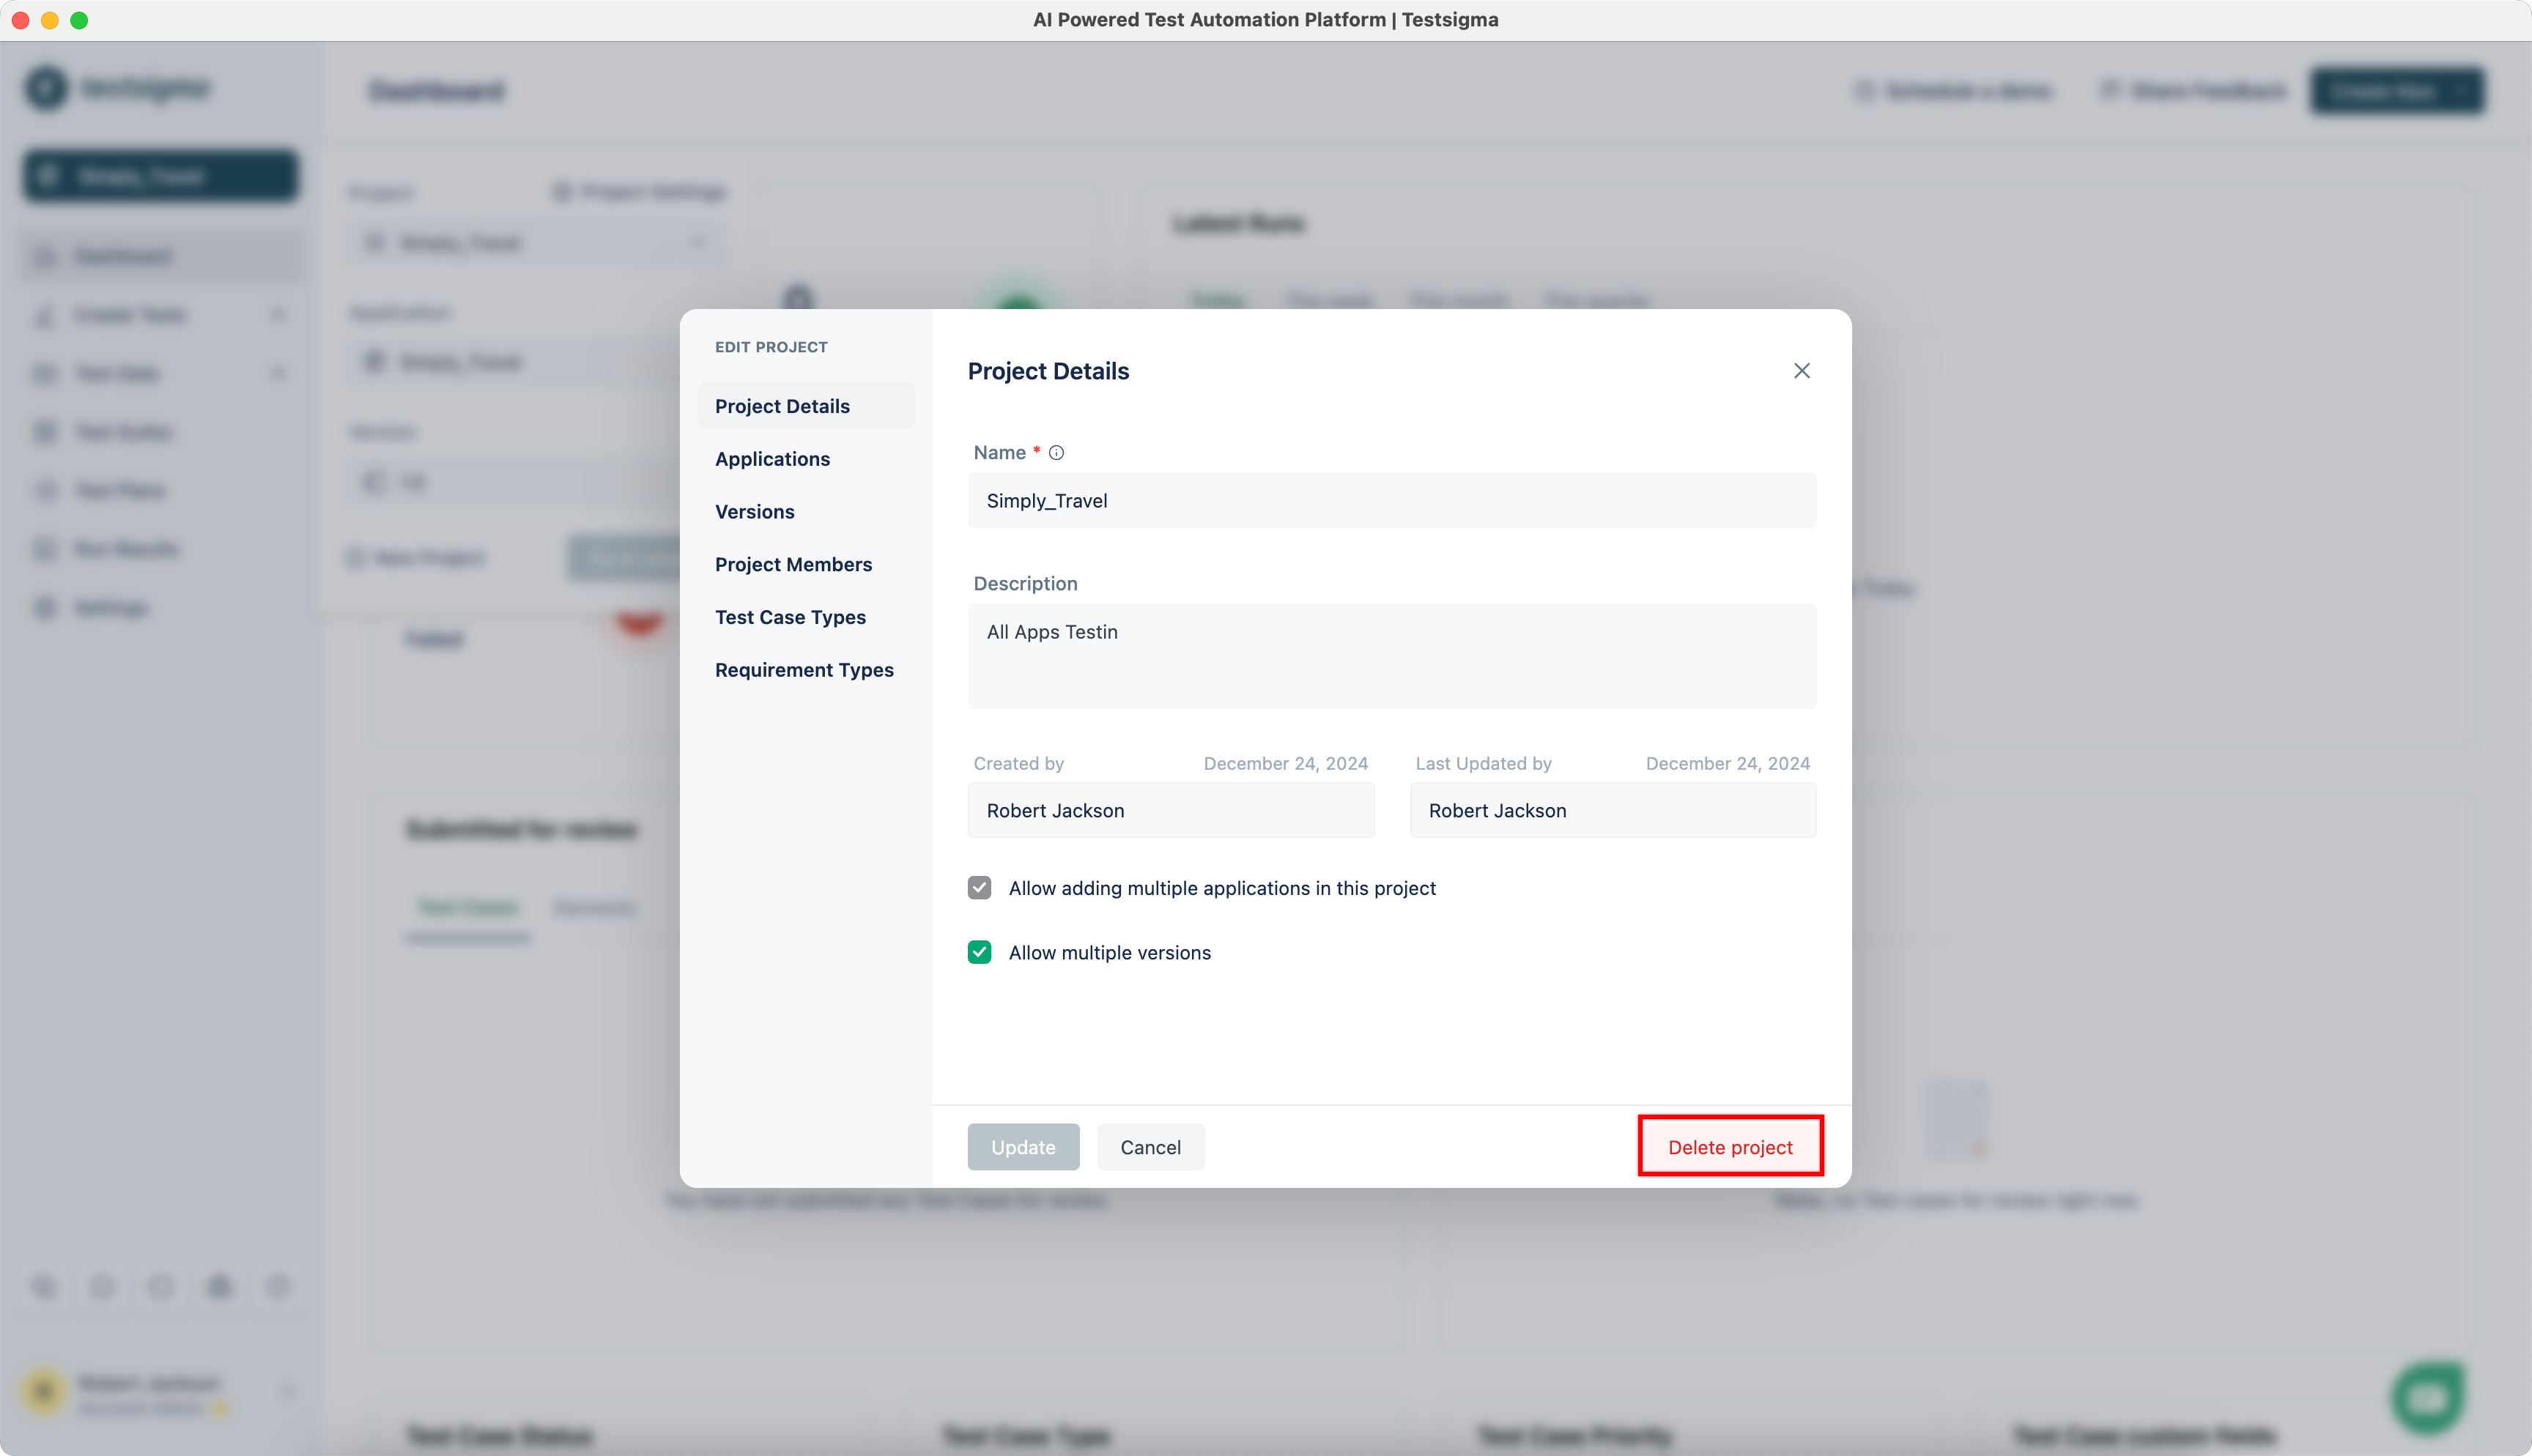
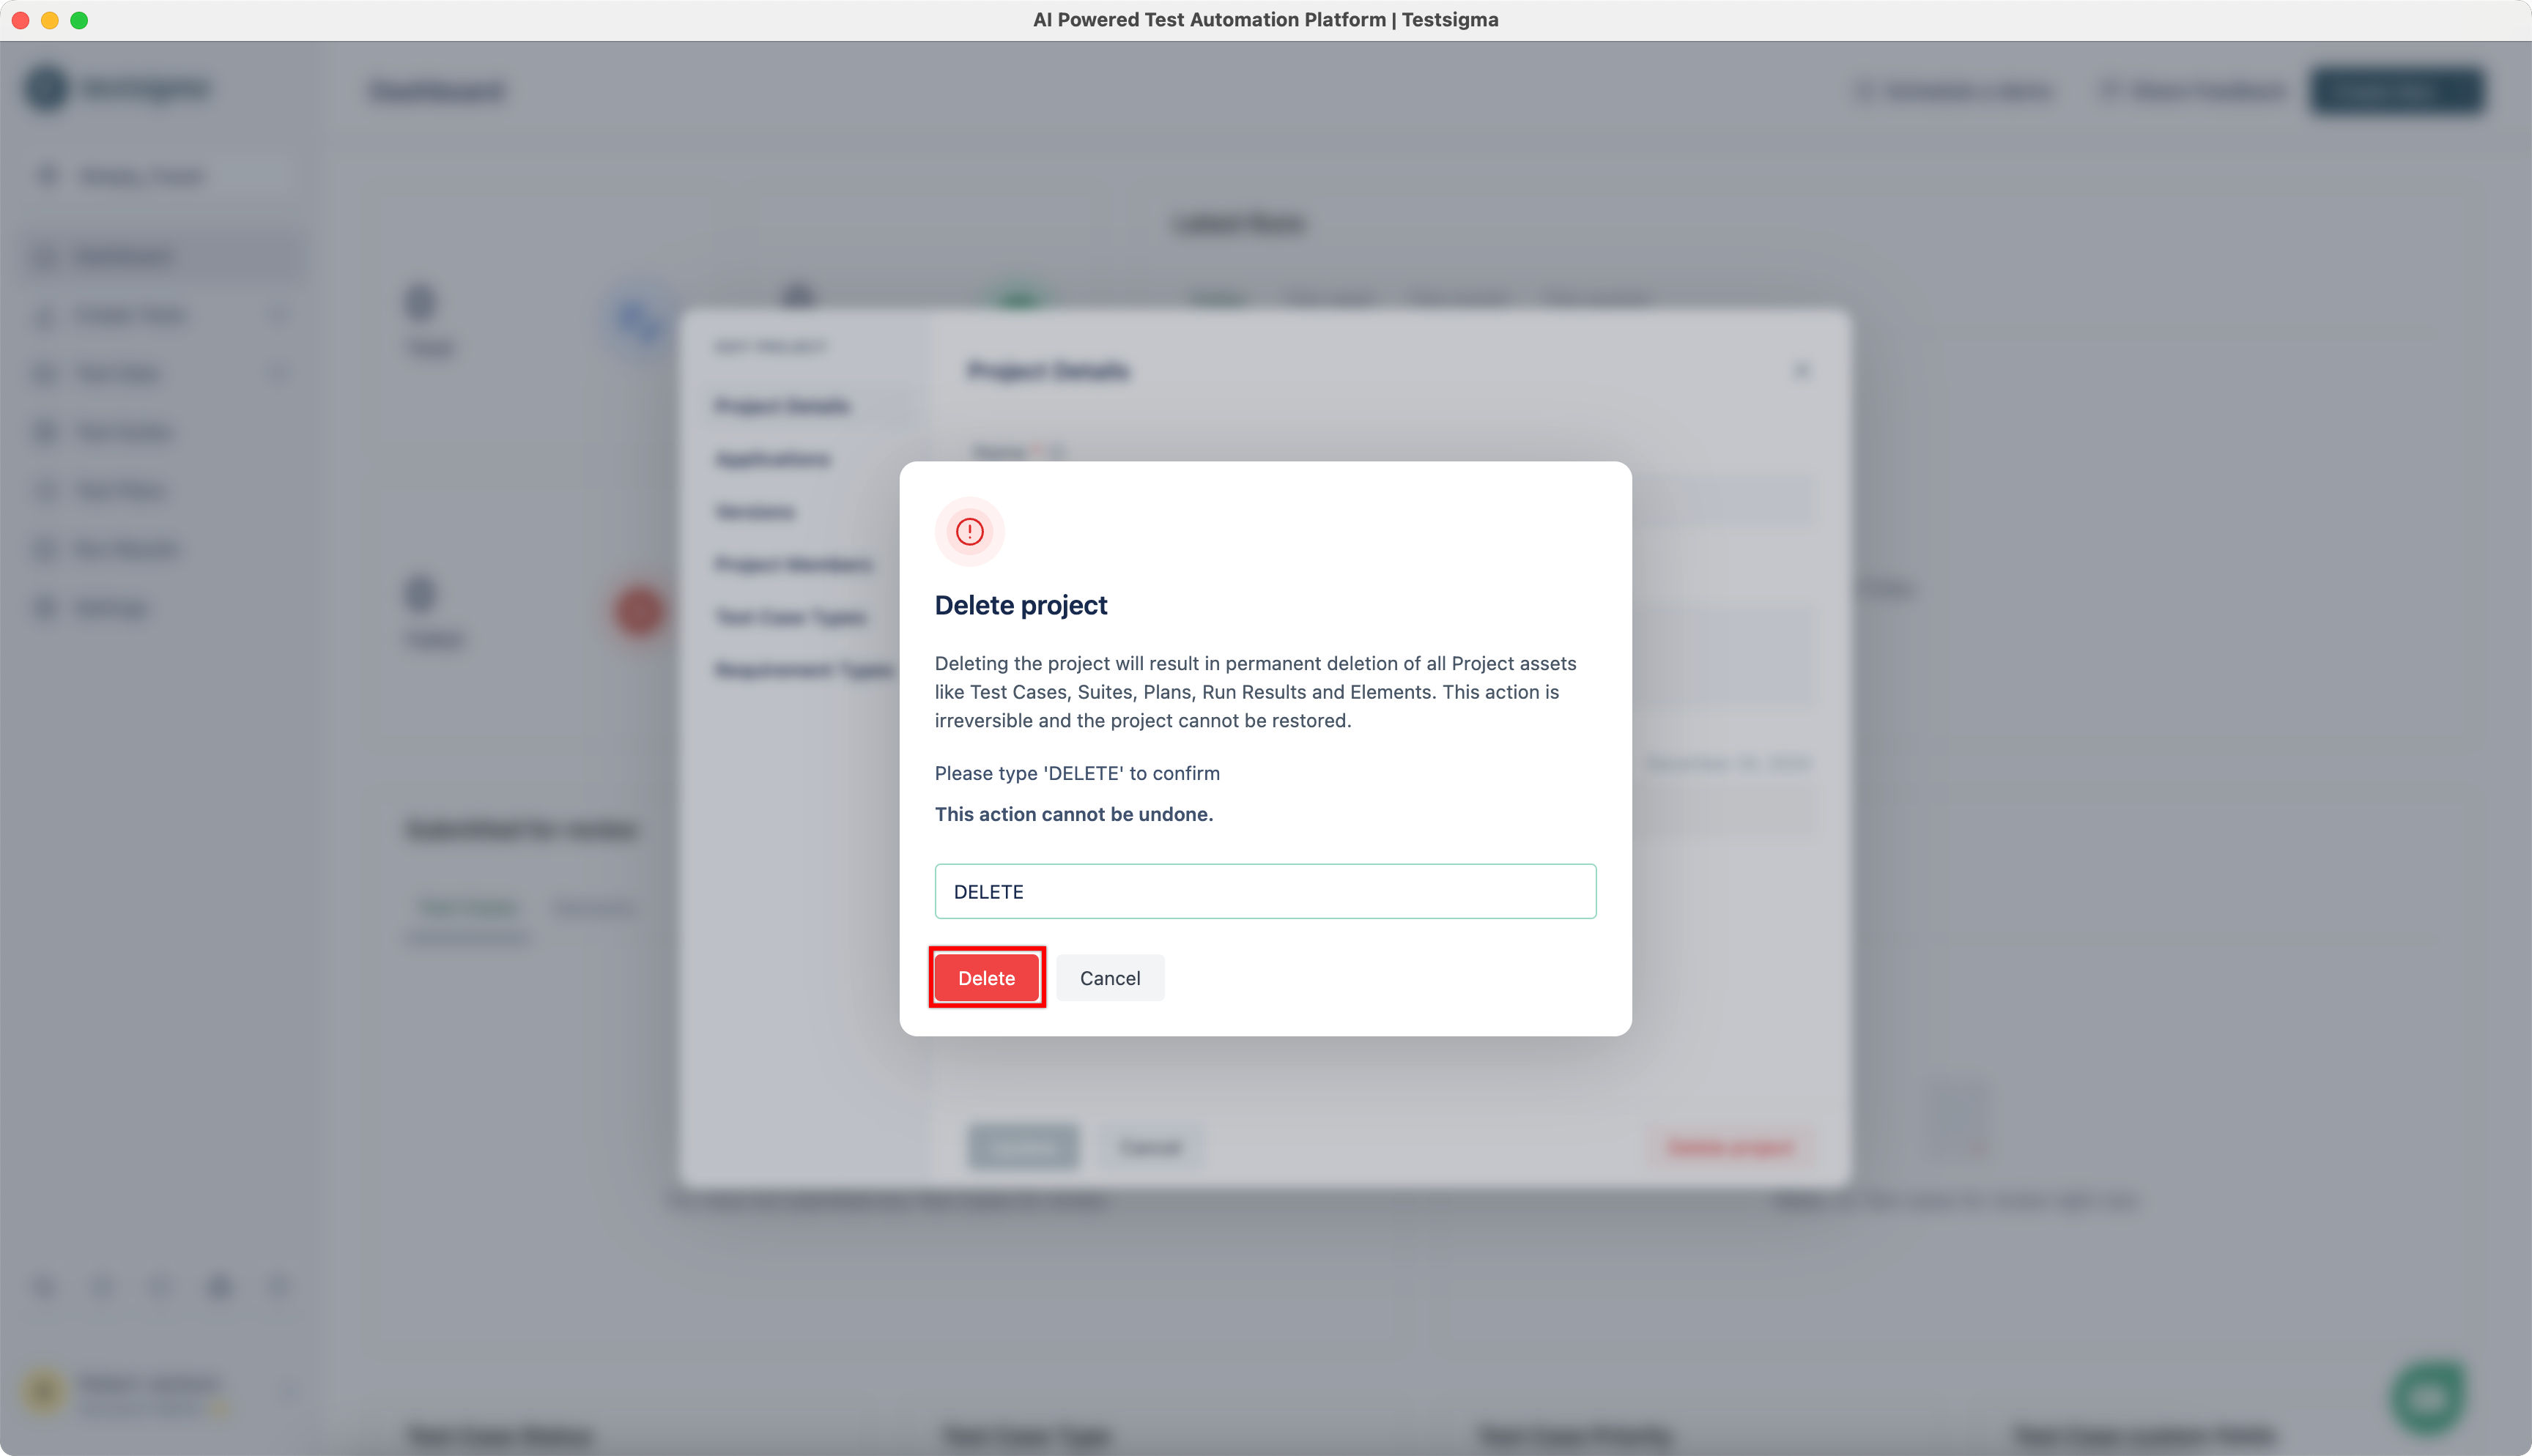
- On the Delete project dialog, enter DELETE and click on Delete.

- On the Delete project prompt, enter DELETE and click on Delete.
Deleting a Project will delete:
- All Applications & Application Versions within this Project.
- All Test cases, Elements, Test data profiles, Custom functions, Uploads, Requirements, Test suites, Test plans, Run results and Environments associated with this project.
Want to contribute or report missing content?