- create test cases
 Organizing Test Cases in Folders
- Test Cases for Web Applications
- Test Cases for Mobile Applications
- Test Cases for Mobile Web Applications
- Manage Test Cases for Web Applications
- Manage Test Cases for Android & iOS Apps
- Manage Test Cases for Mobile Web Applications
- Test Case List Actions
- Importing Postman Collections and Environments
- Custom Fields for Test Cases
- Label Management
- Update Test Case Result in a Test Plan
- Test Case: Advanced Options Guide
- Test Step Types
- Type: Natural Language
- Type: REST API
- Type: Step Group
- Type: For Loop
- Type: While Loop
- Type: Block
- Type: If Condition
- Nested Step Groups
- Image Injection
- Cross-application testing
Nested Step Groups
In Testsigma, you can create nested step groups from existing steps and step groups in a Test Case up to 3 levels. This article explains how to create nested step groups from a Test Case.
Steps to Create Nested Step Groups in Test Cases
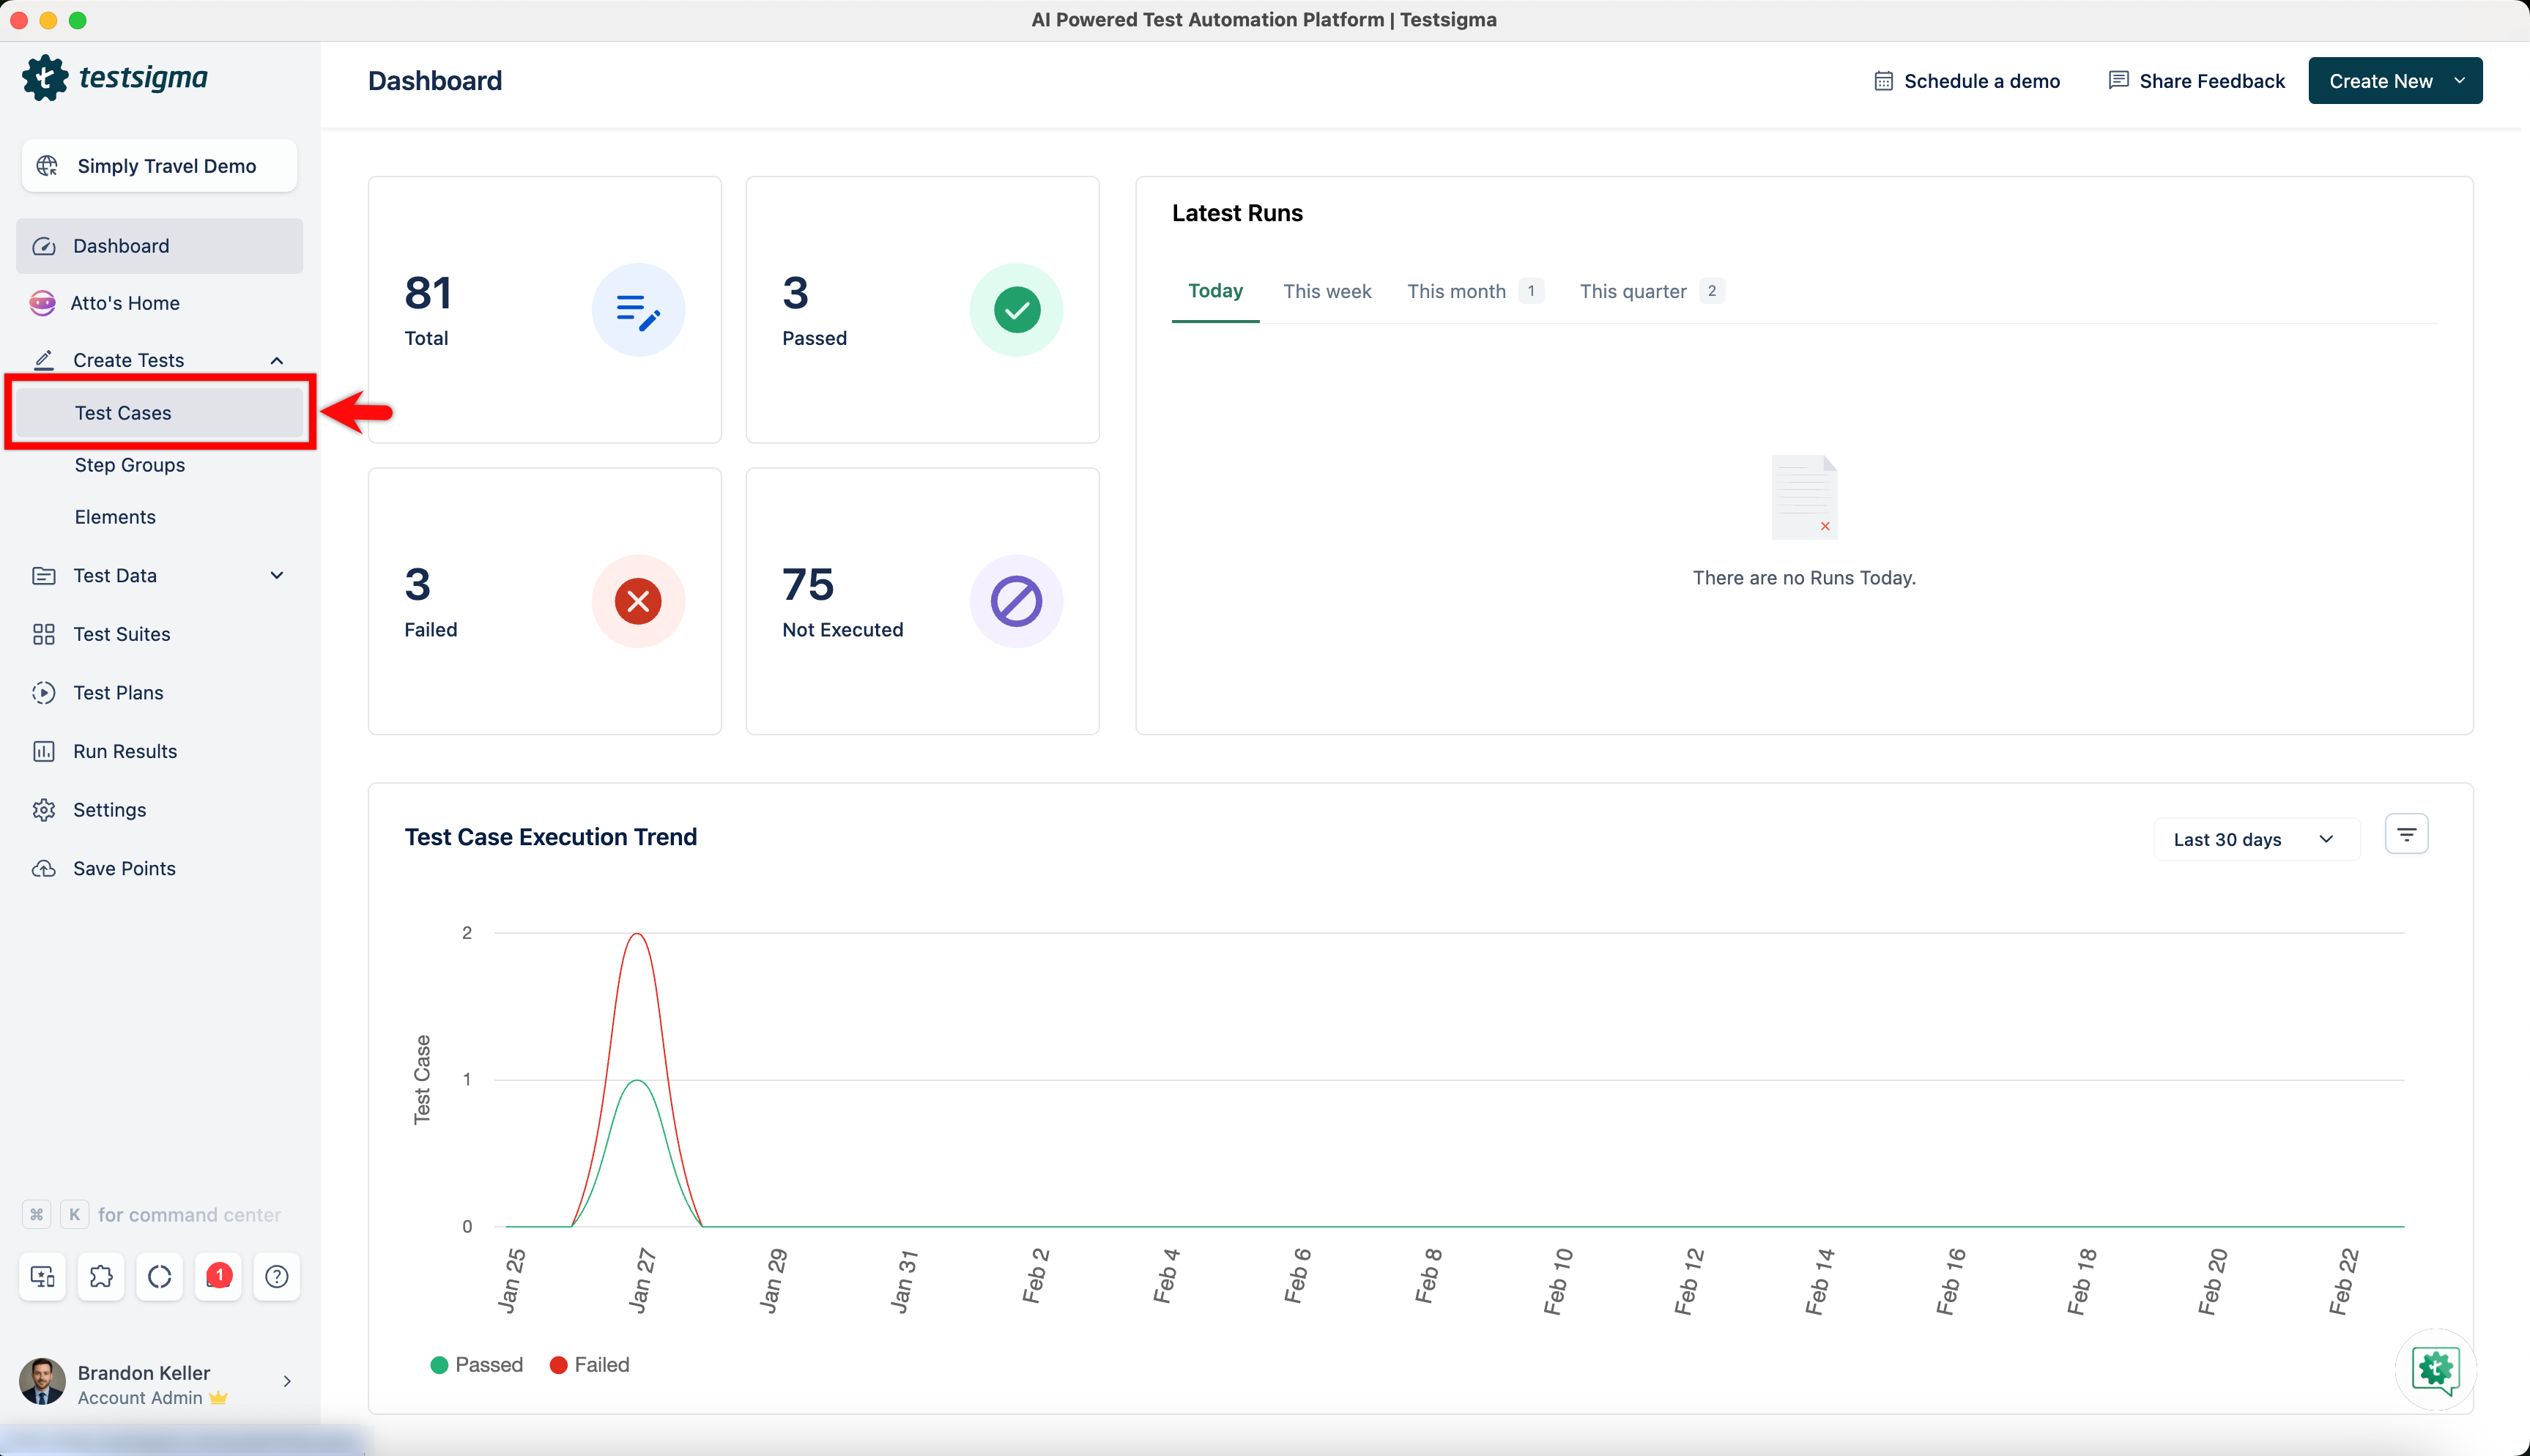
- Navigate to Create Tests > Test Cases and click on test case in which you want to create a nested step group.
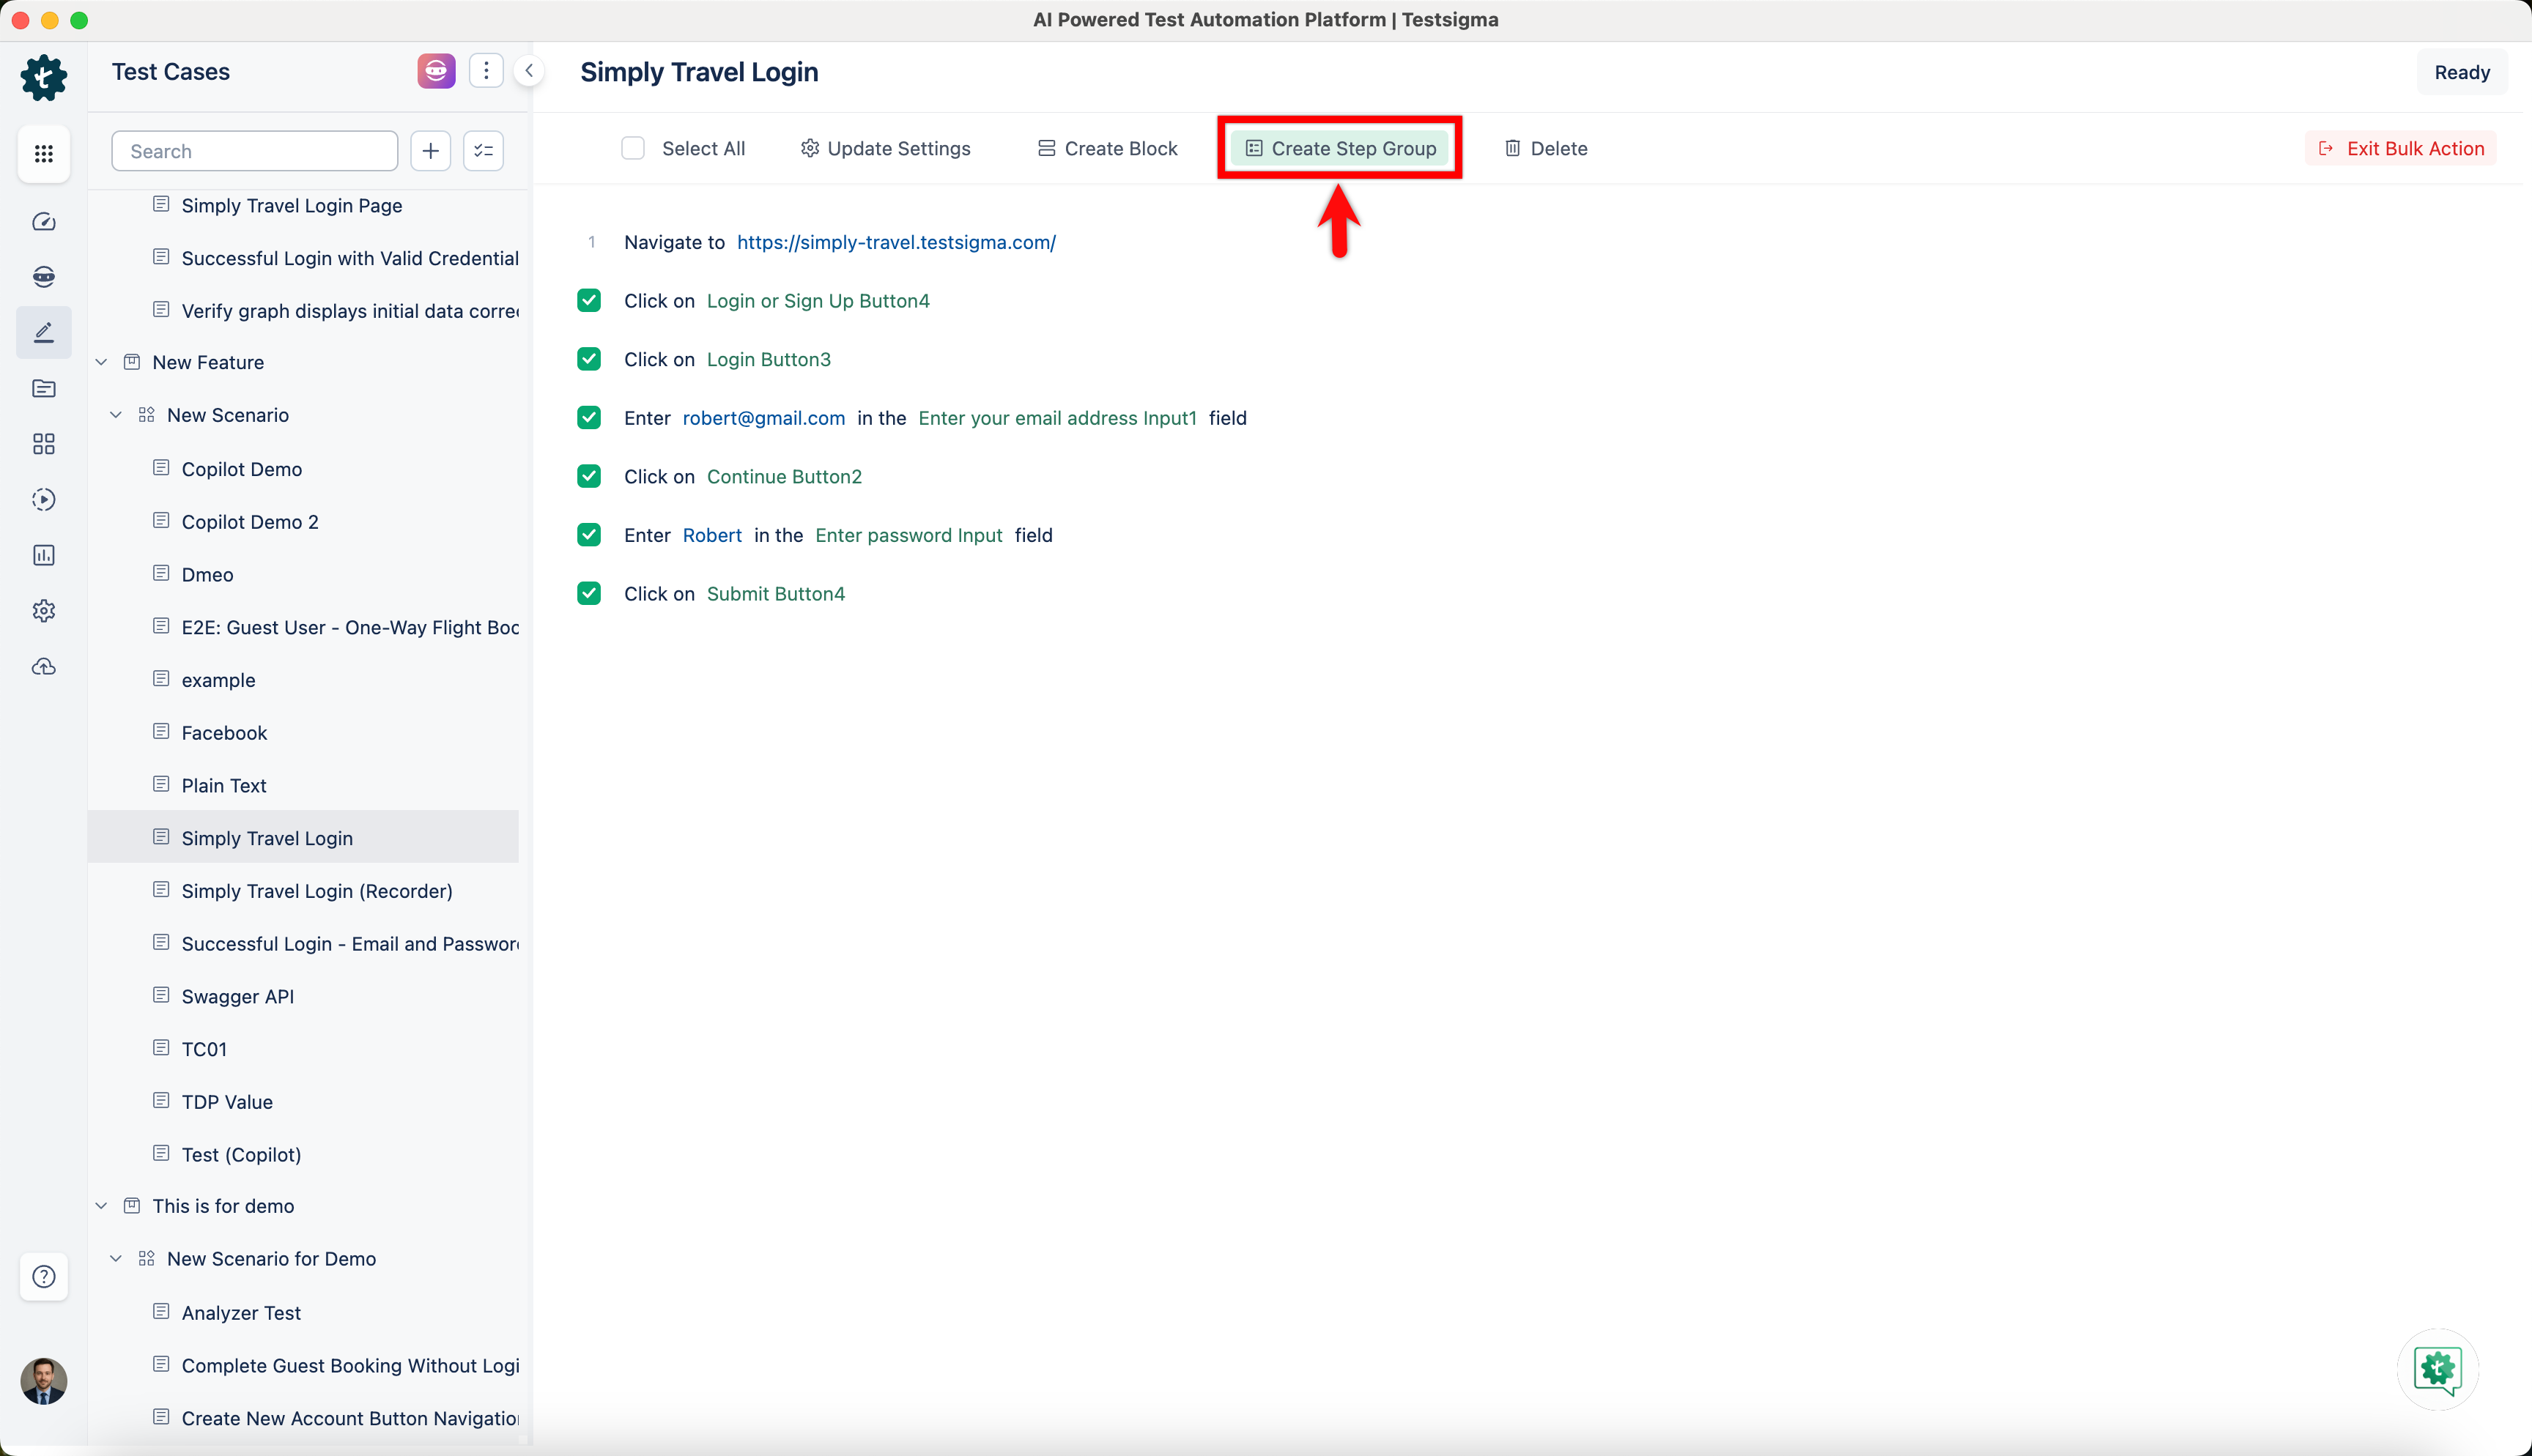
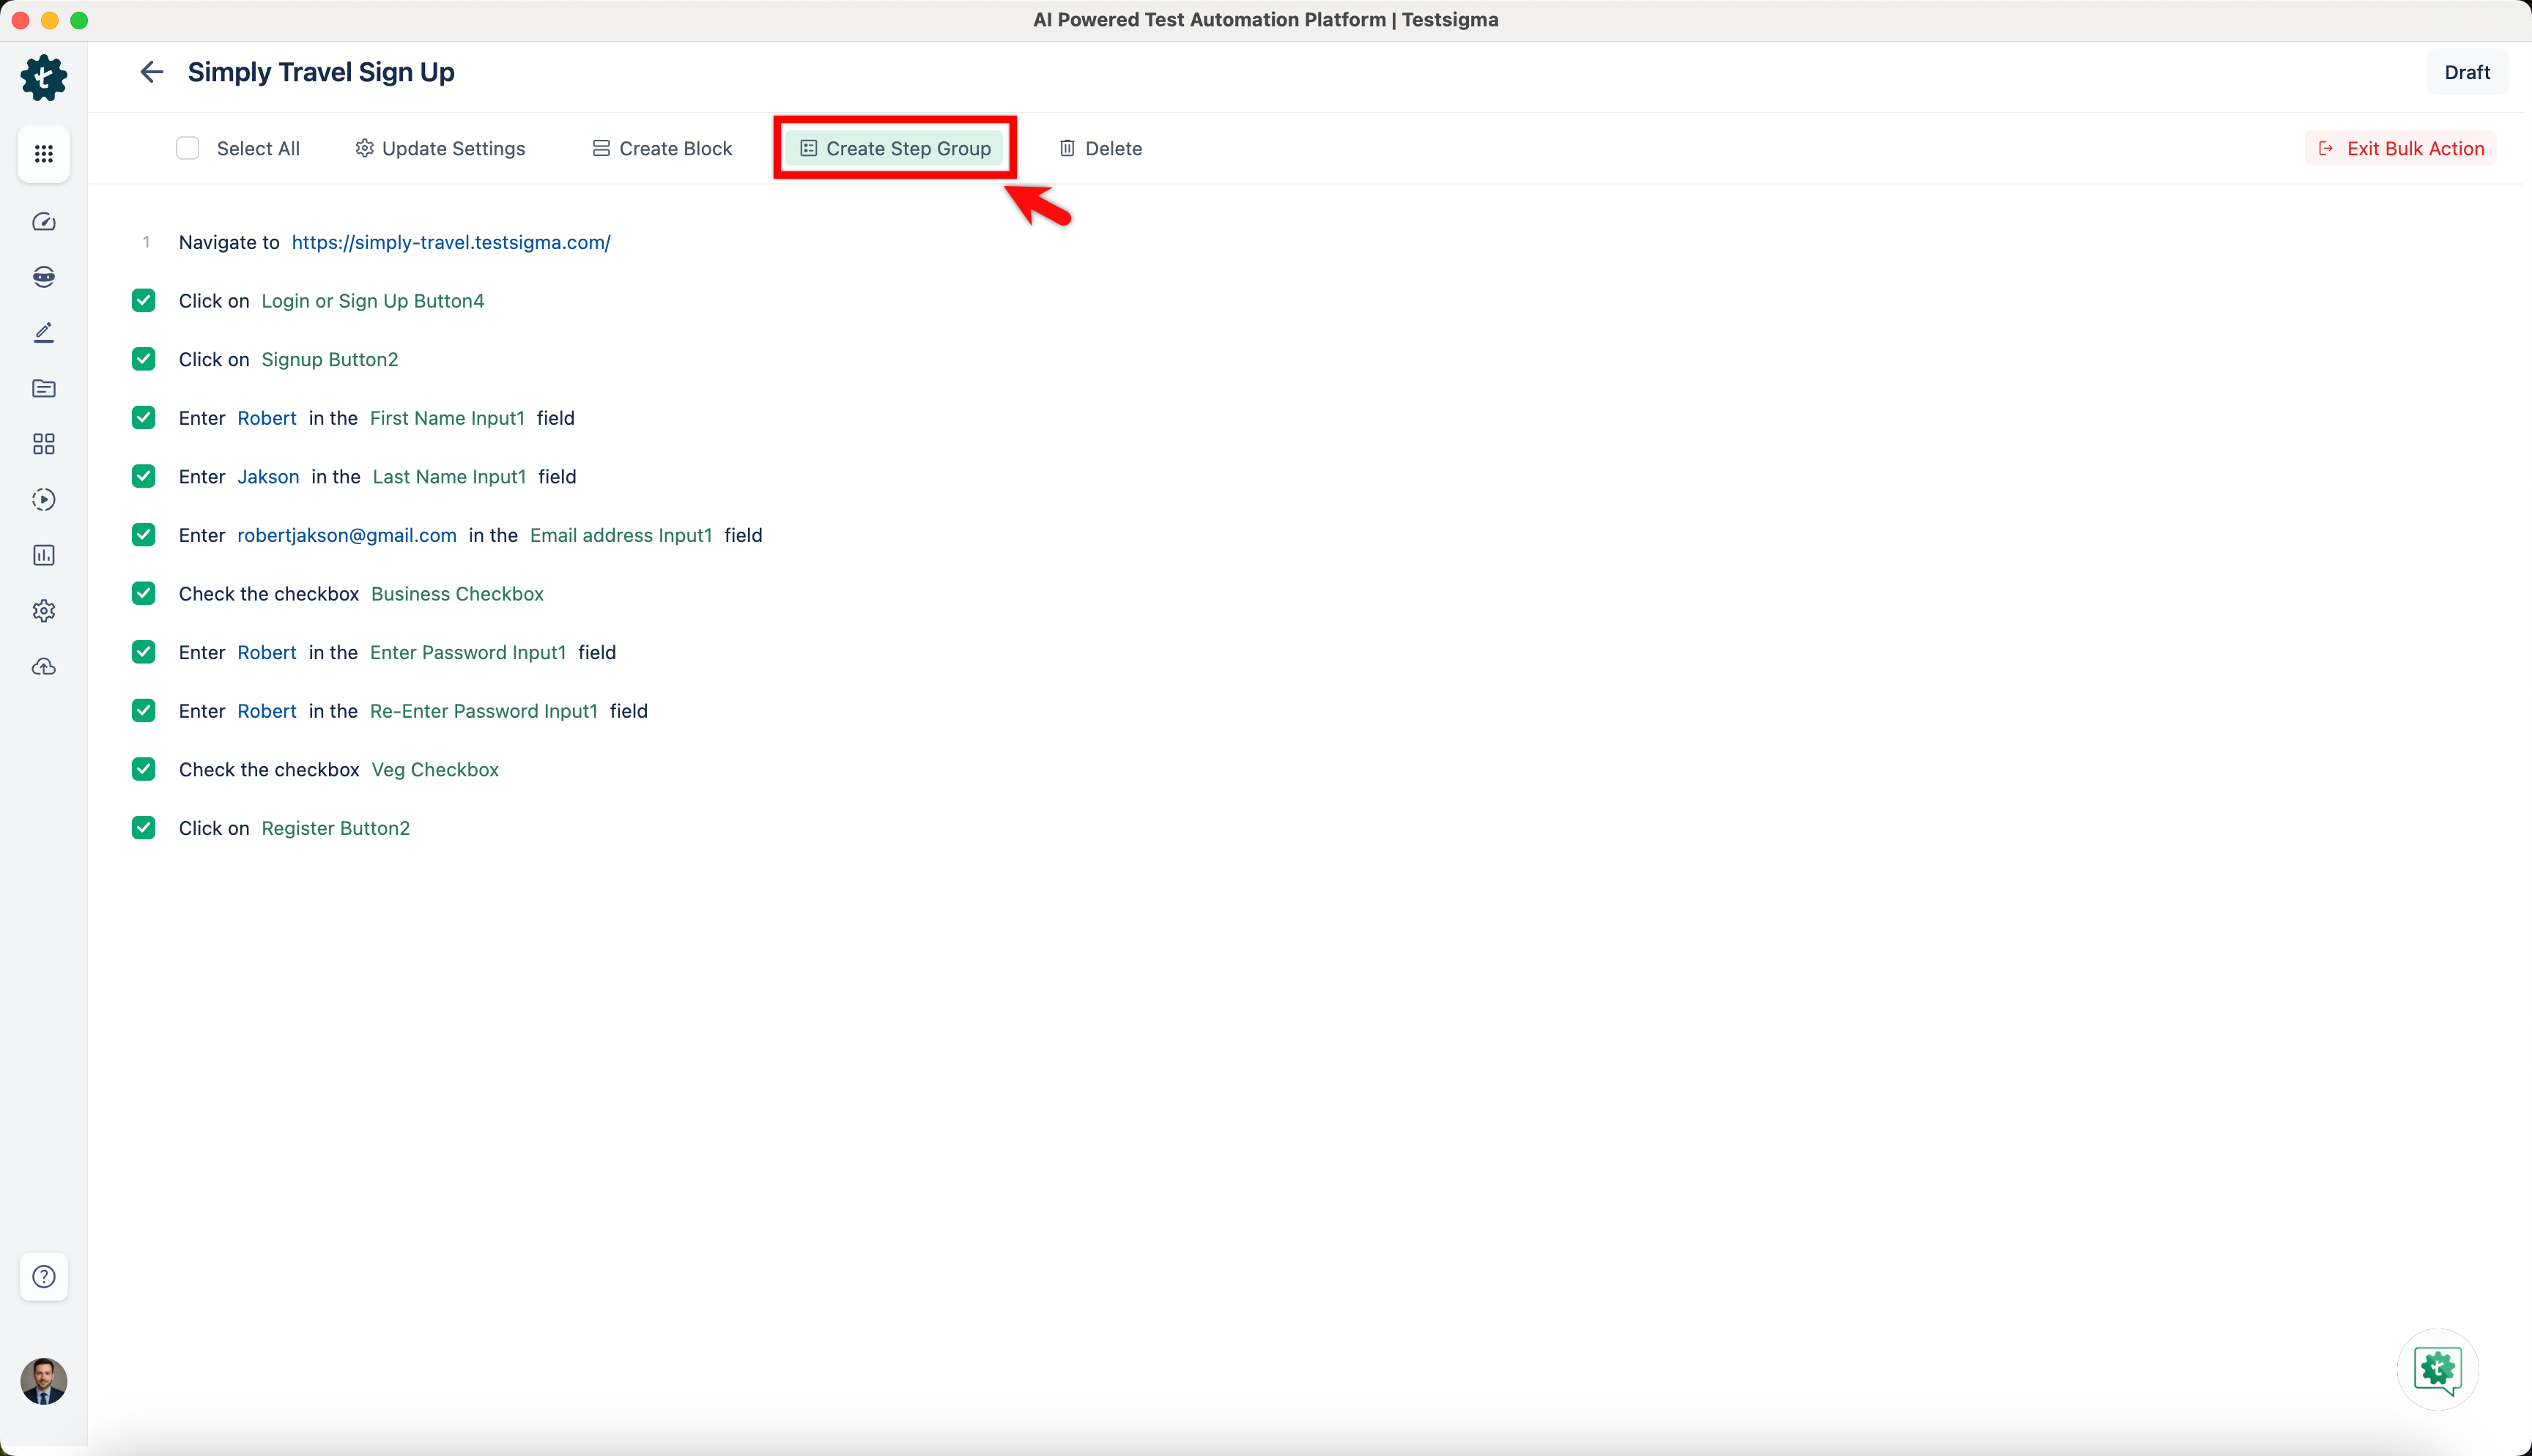
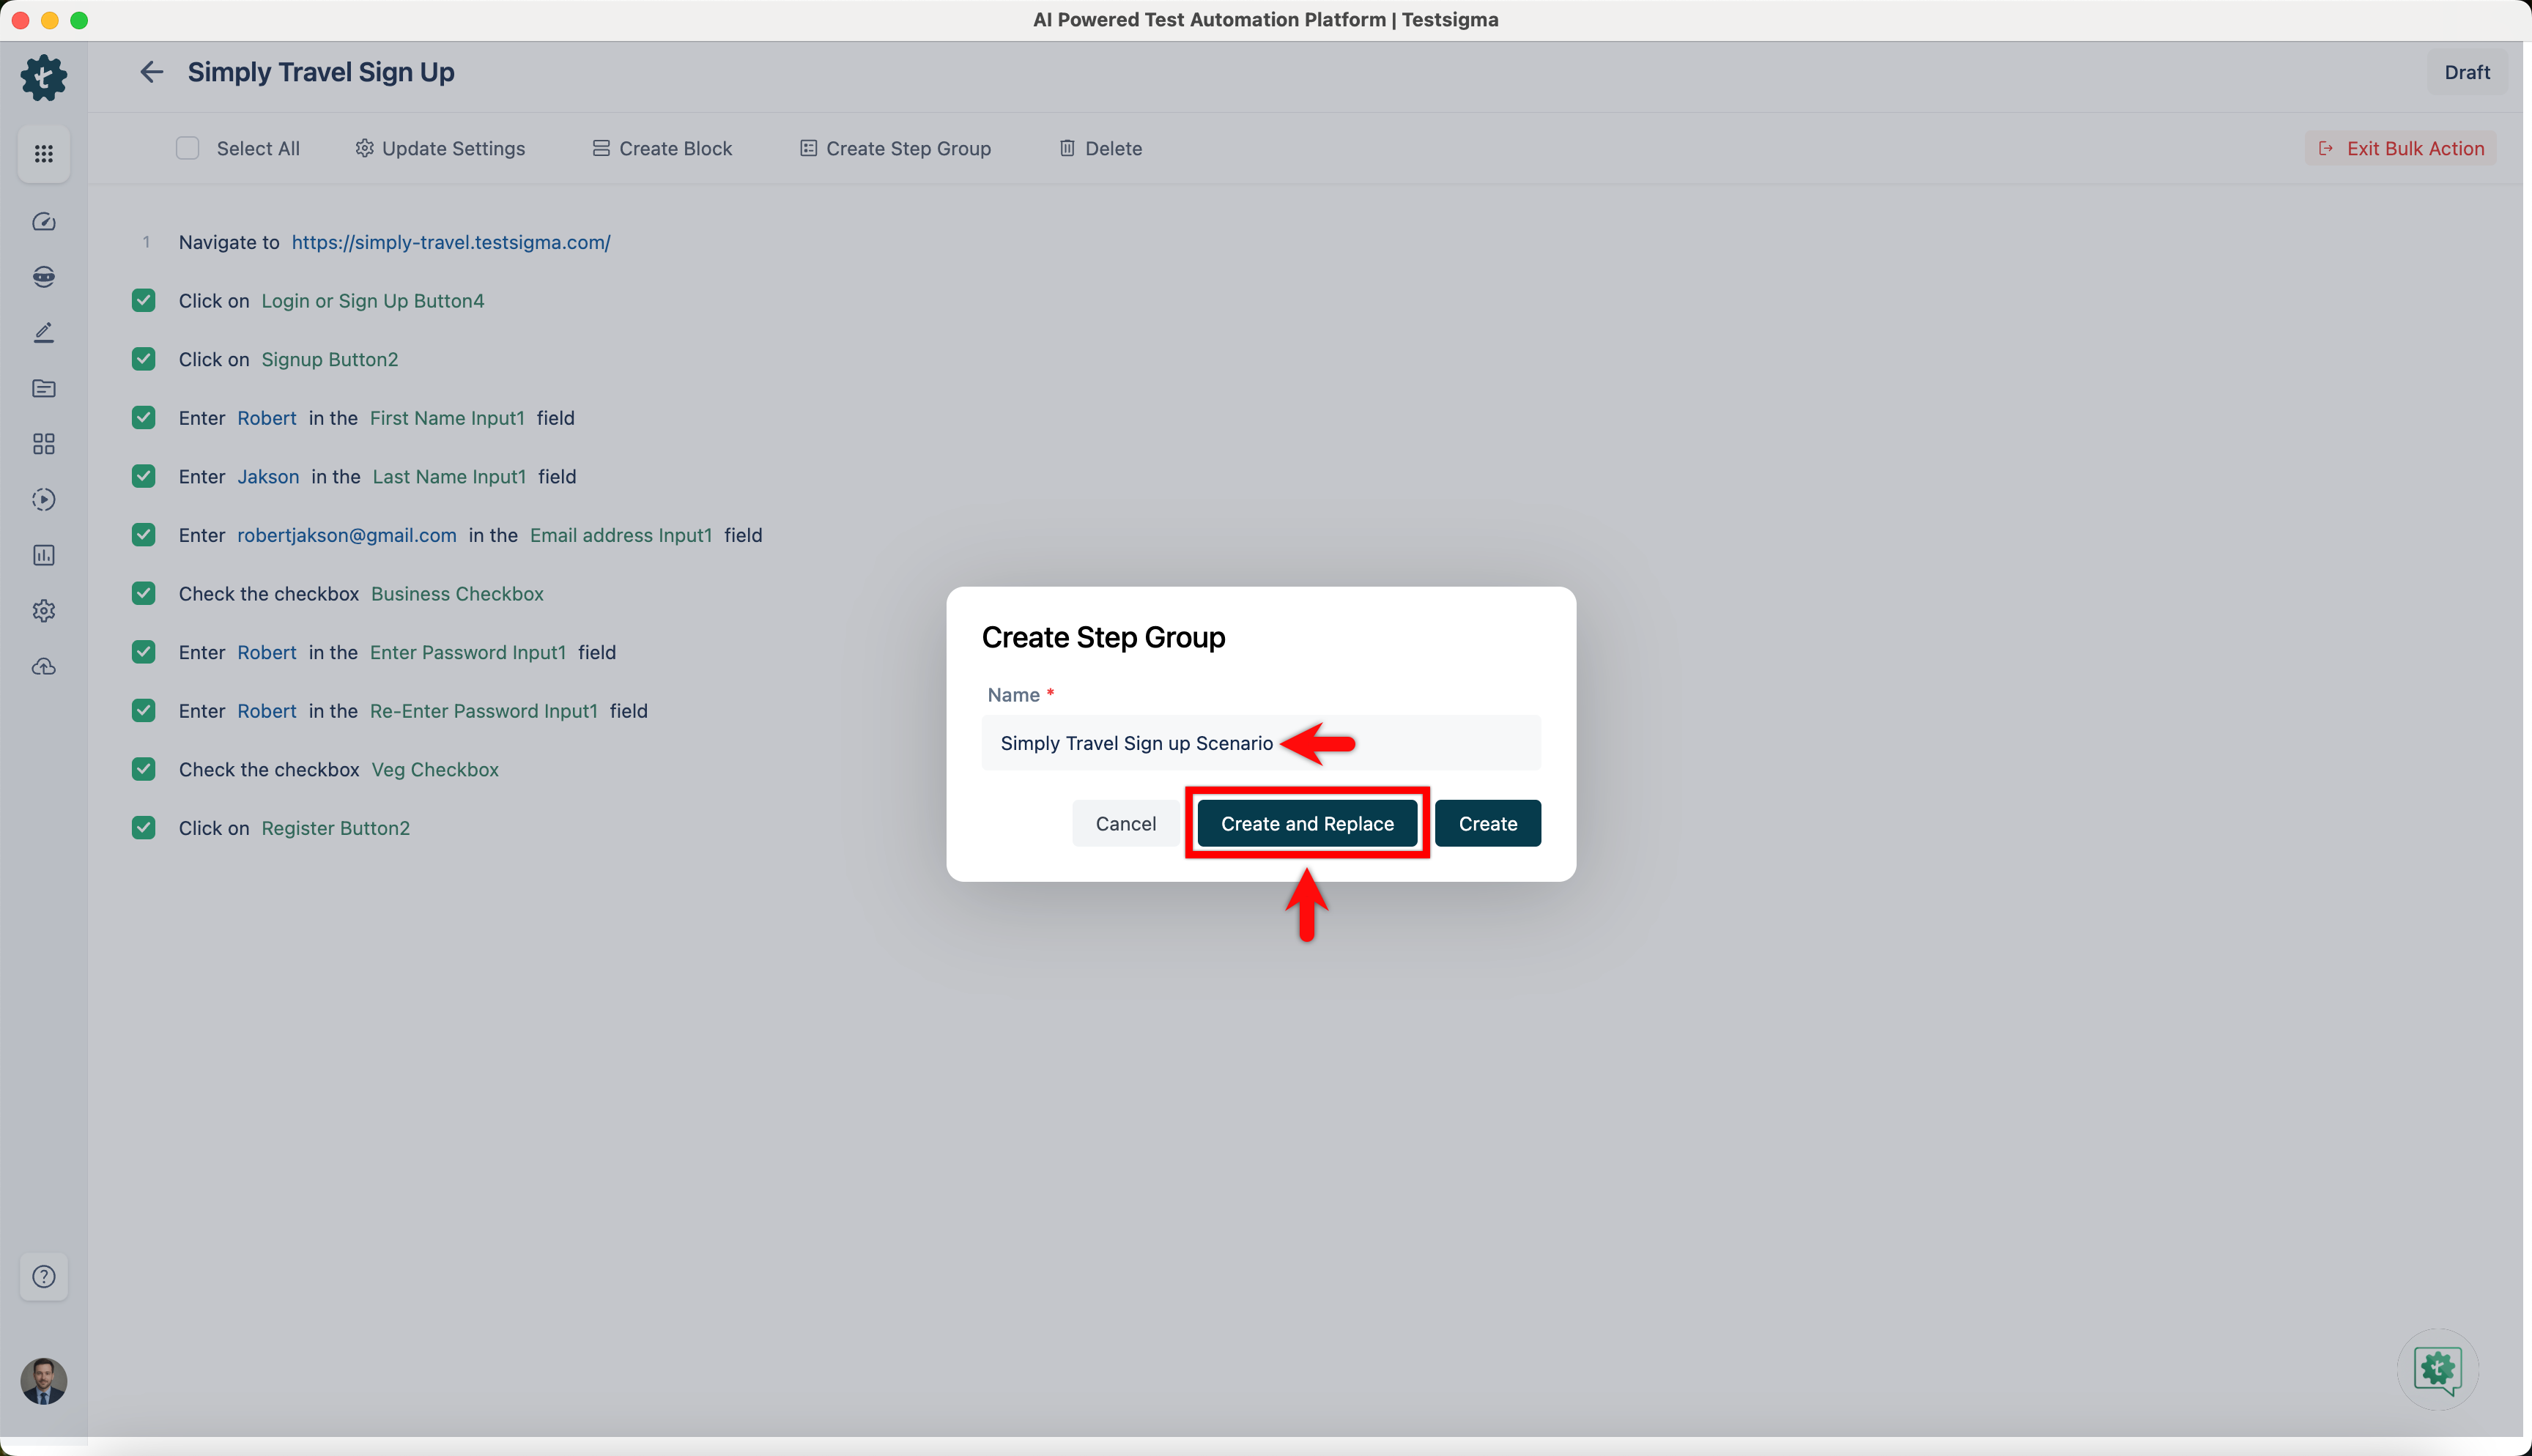
- Check the steps you want to include in a step group, and click on Create Step Group.
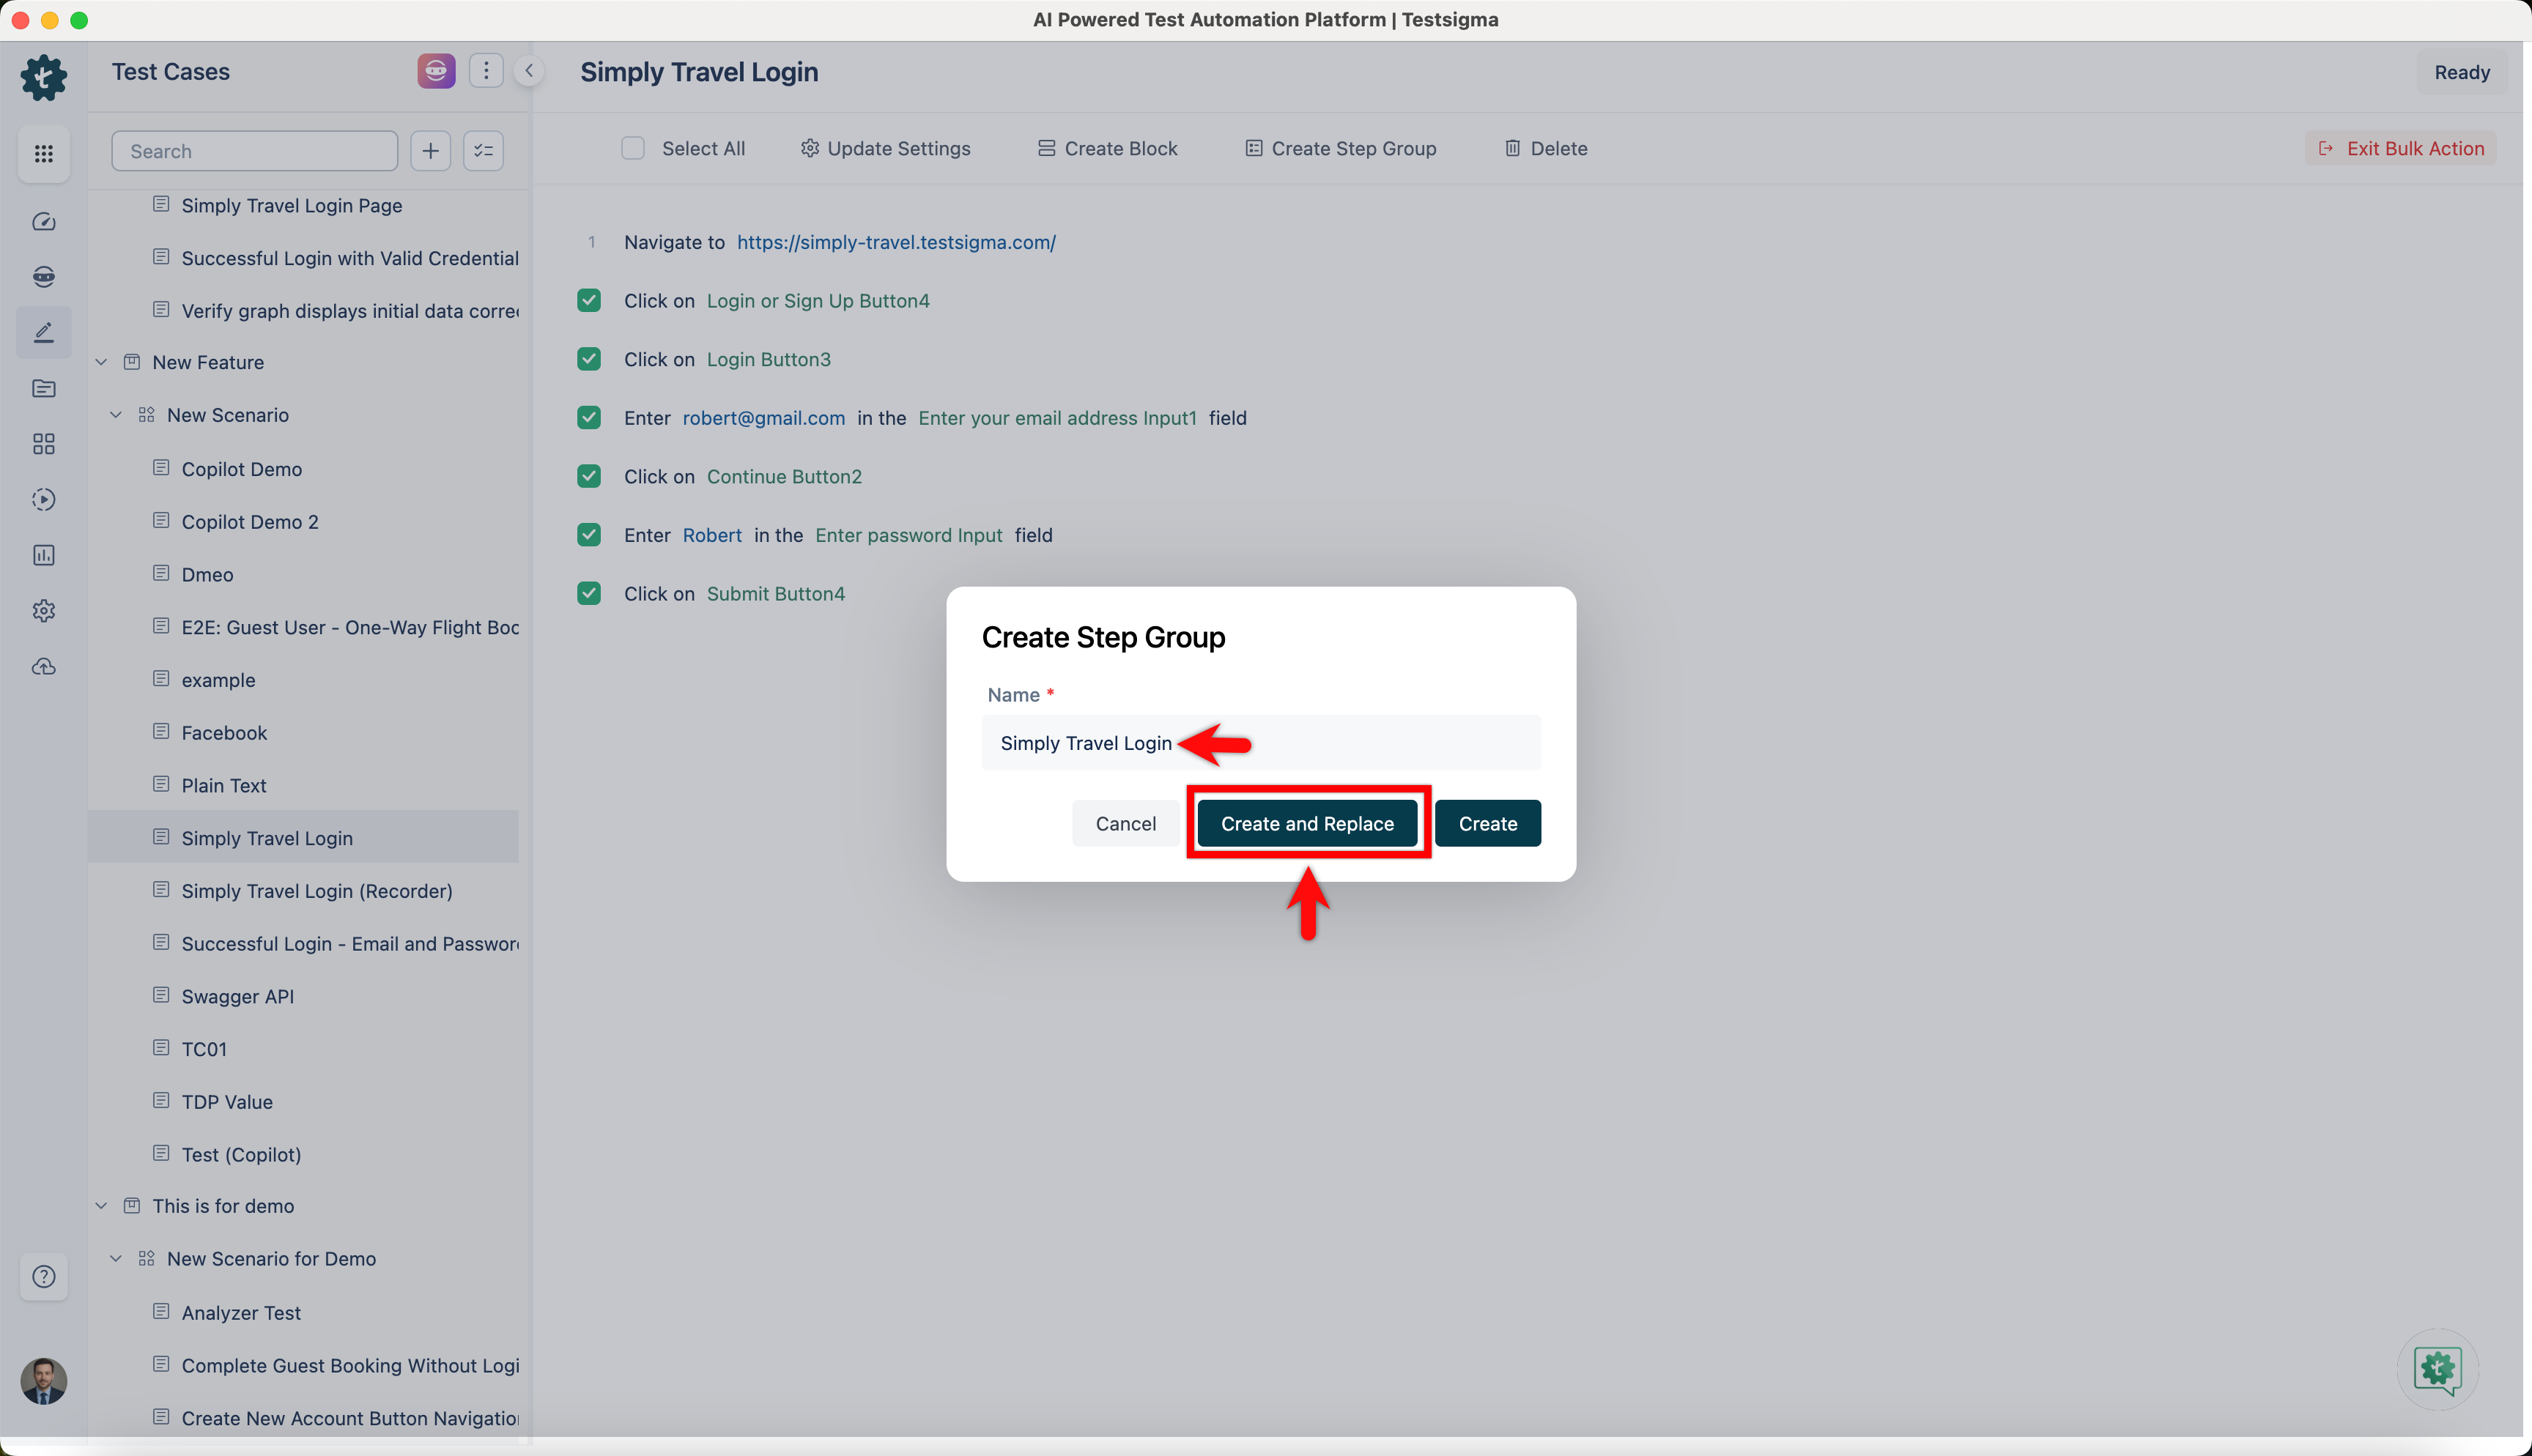
- On Create Step Group prompt, enter Name and click on Create and Replace.
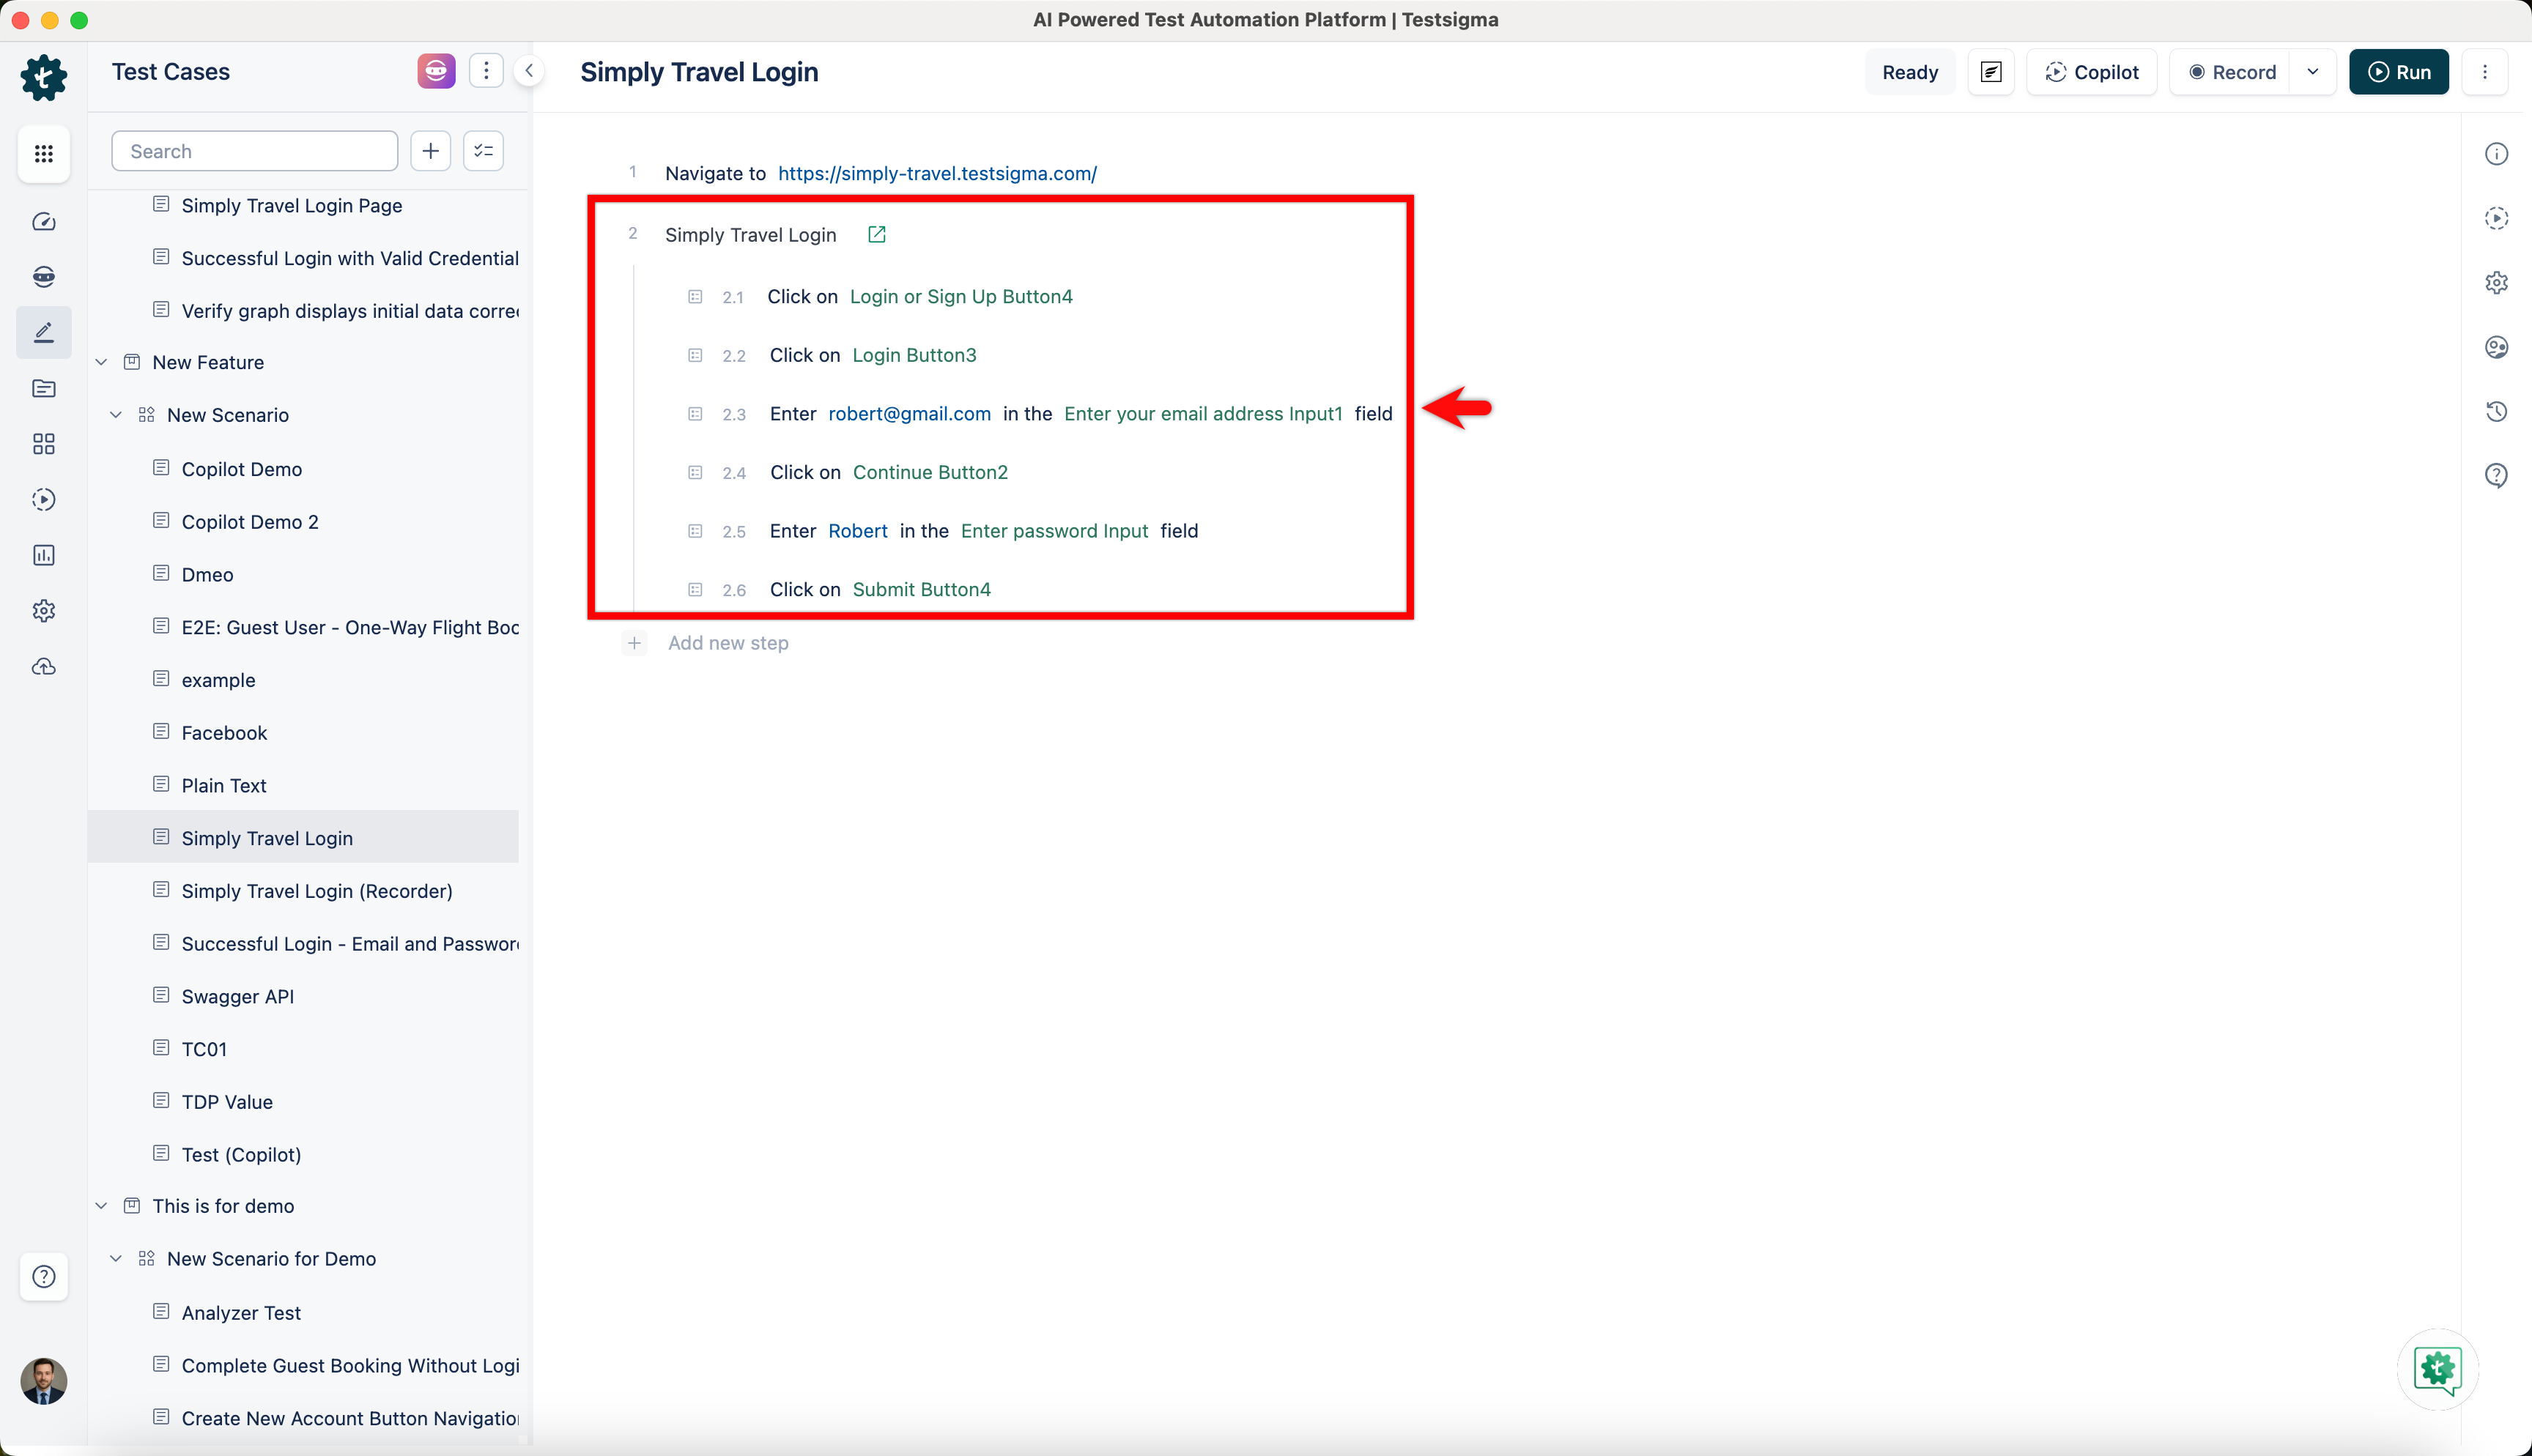
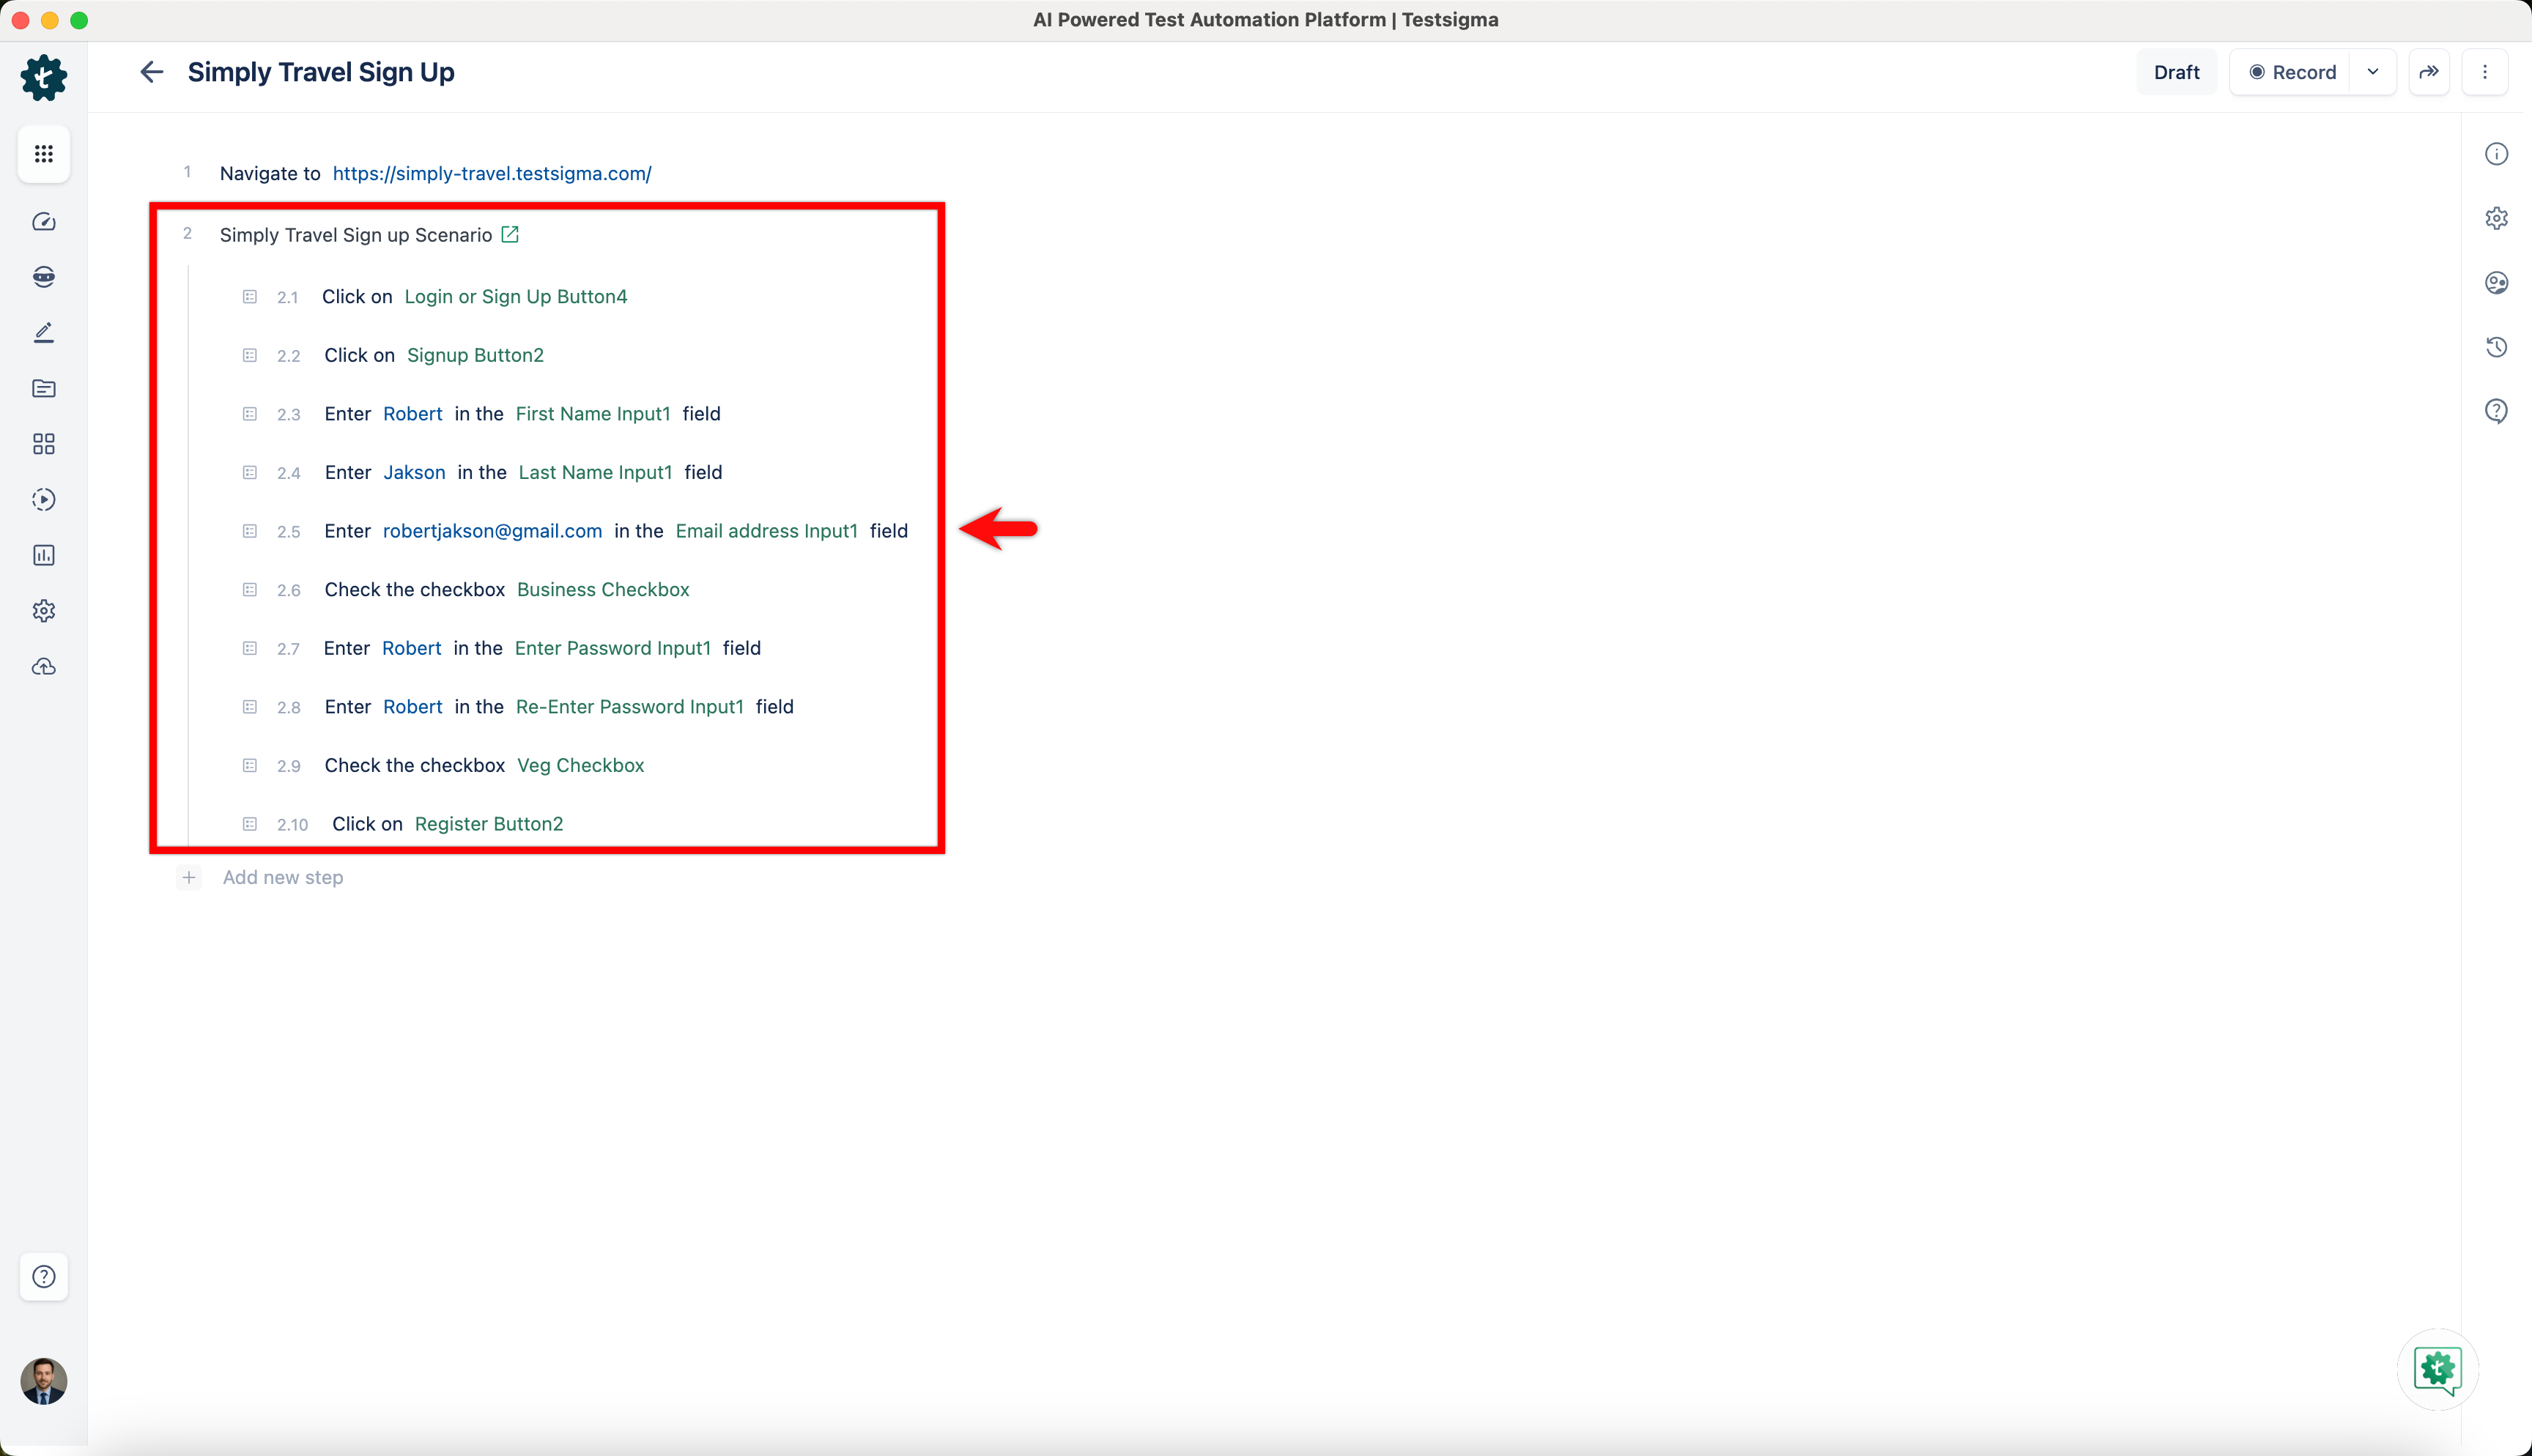
- You can see Nested step group as below.
Steps to Create Nested Step Groups in Step Groups
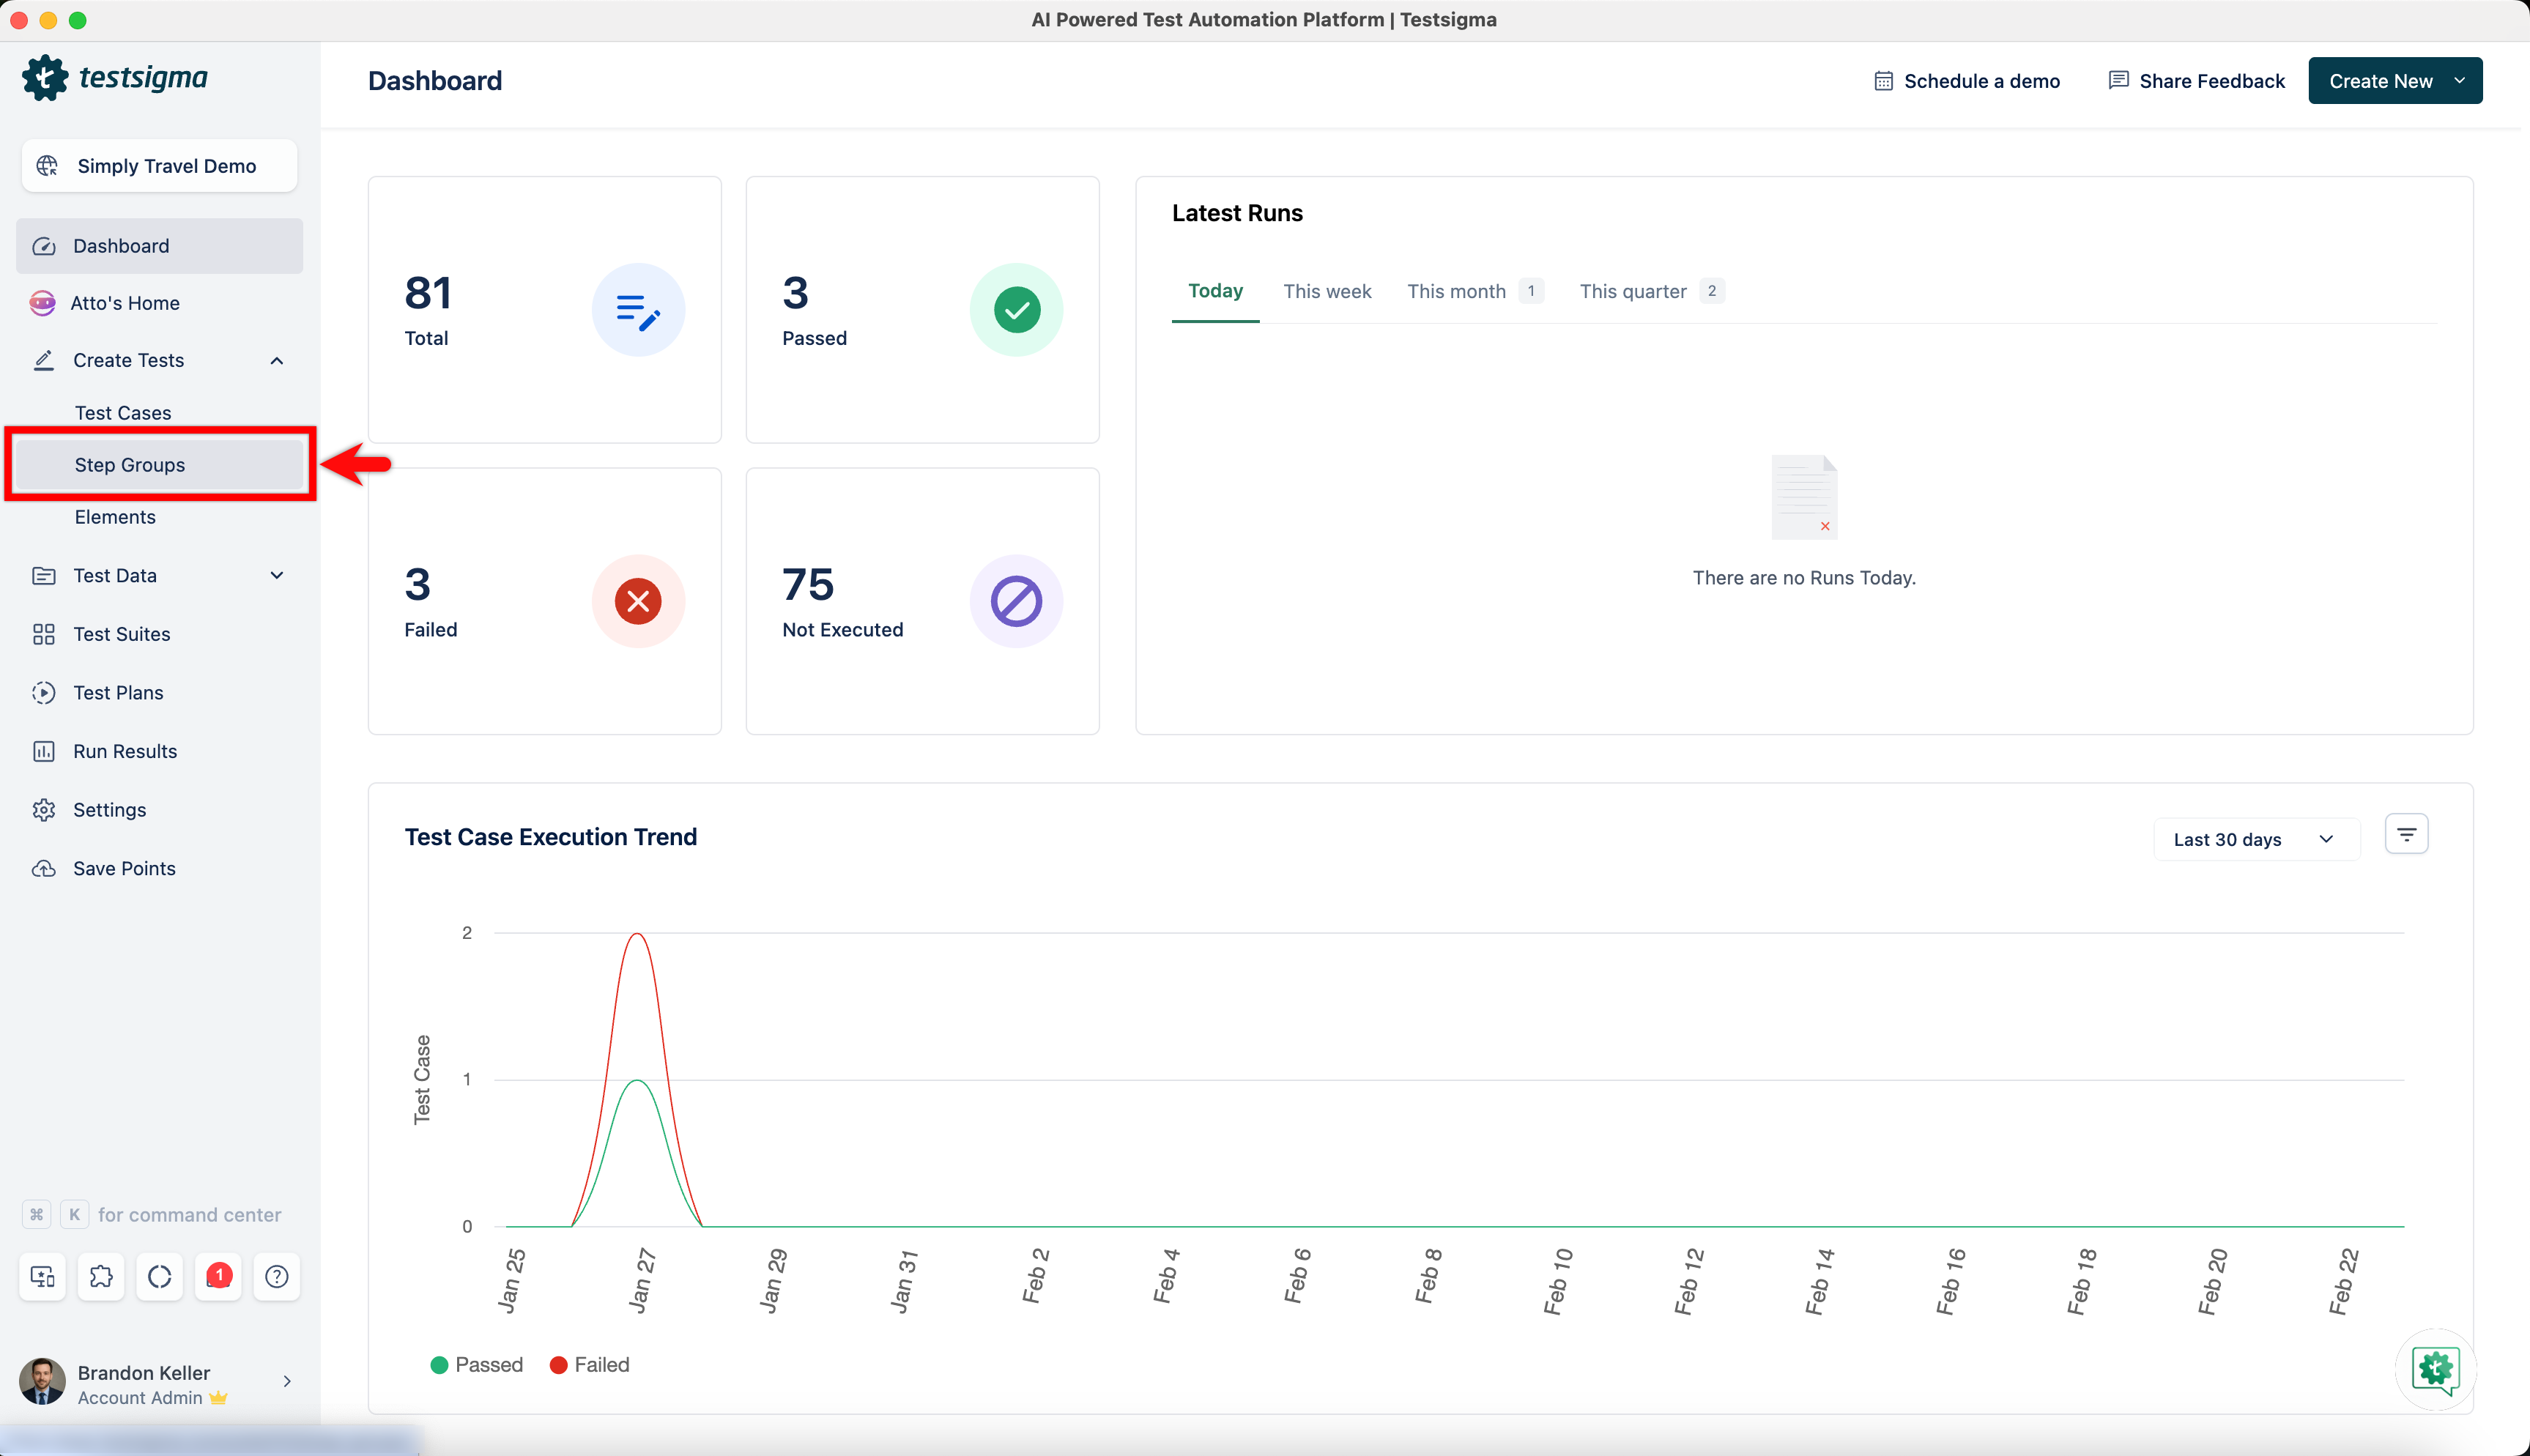
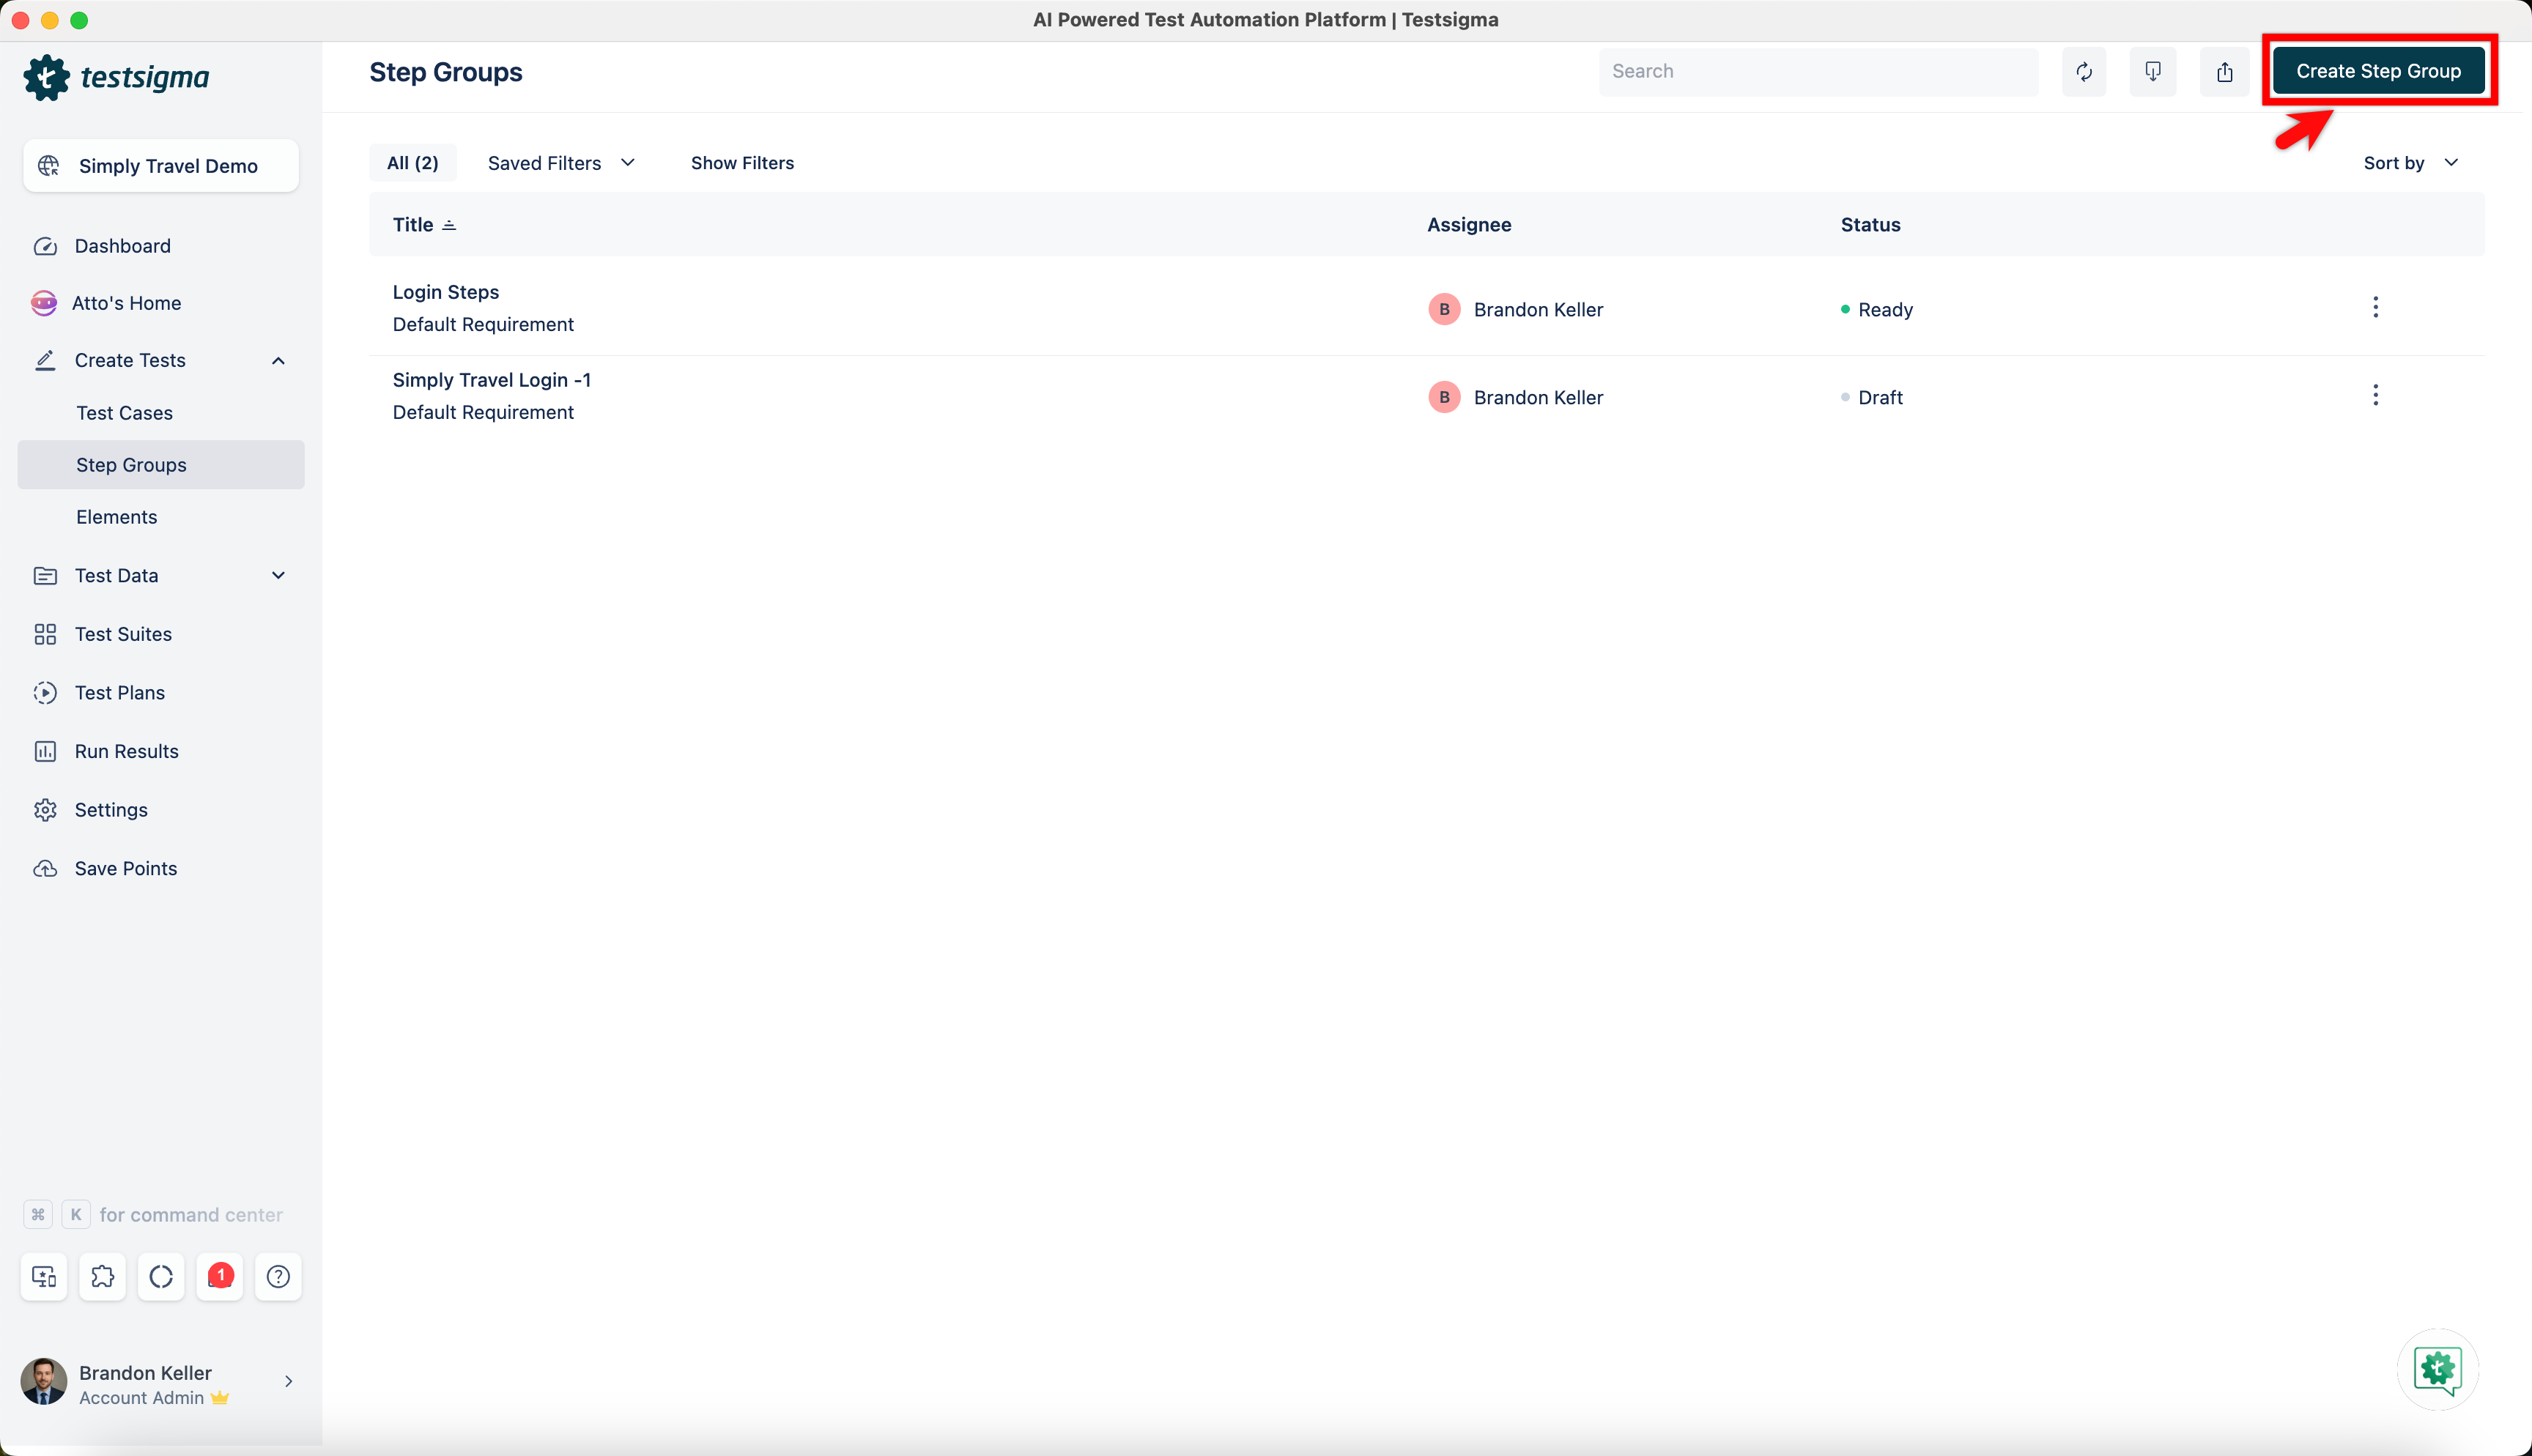
- Navigate to Create Tests > Step Groups.
- Click Create Step Group.
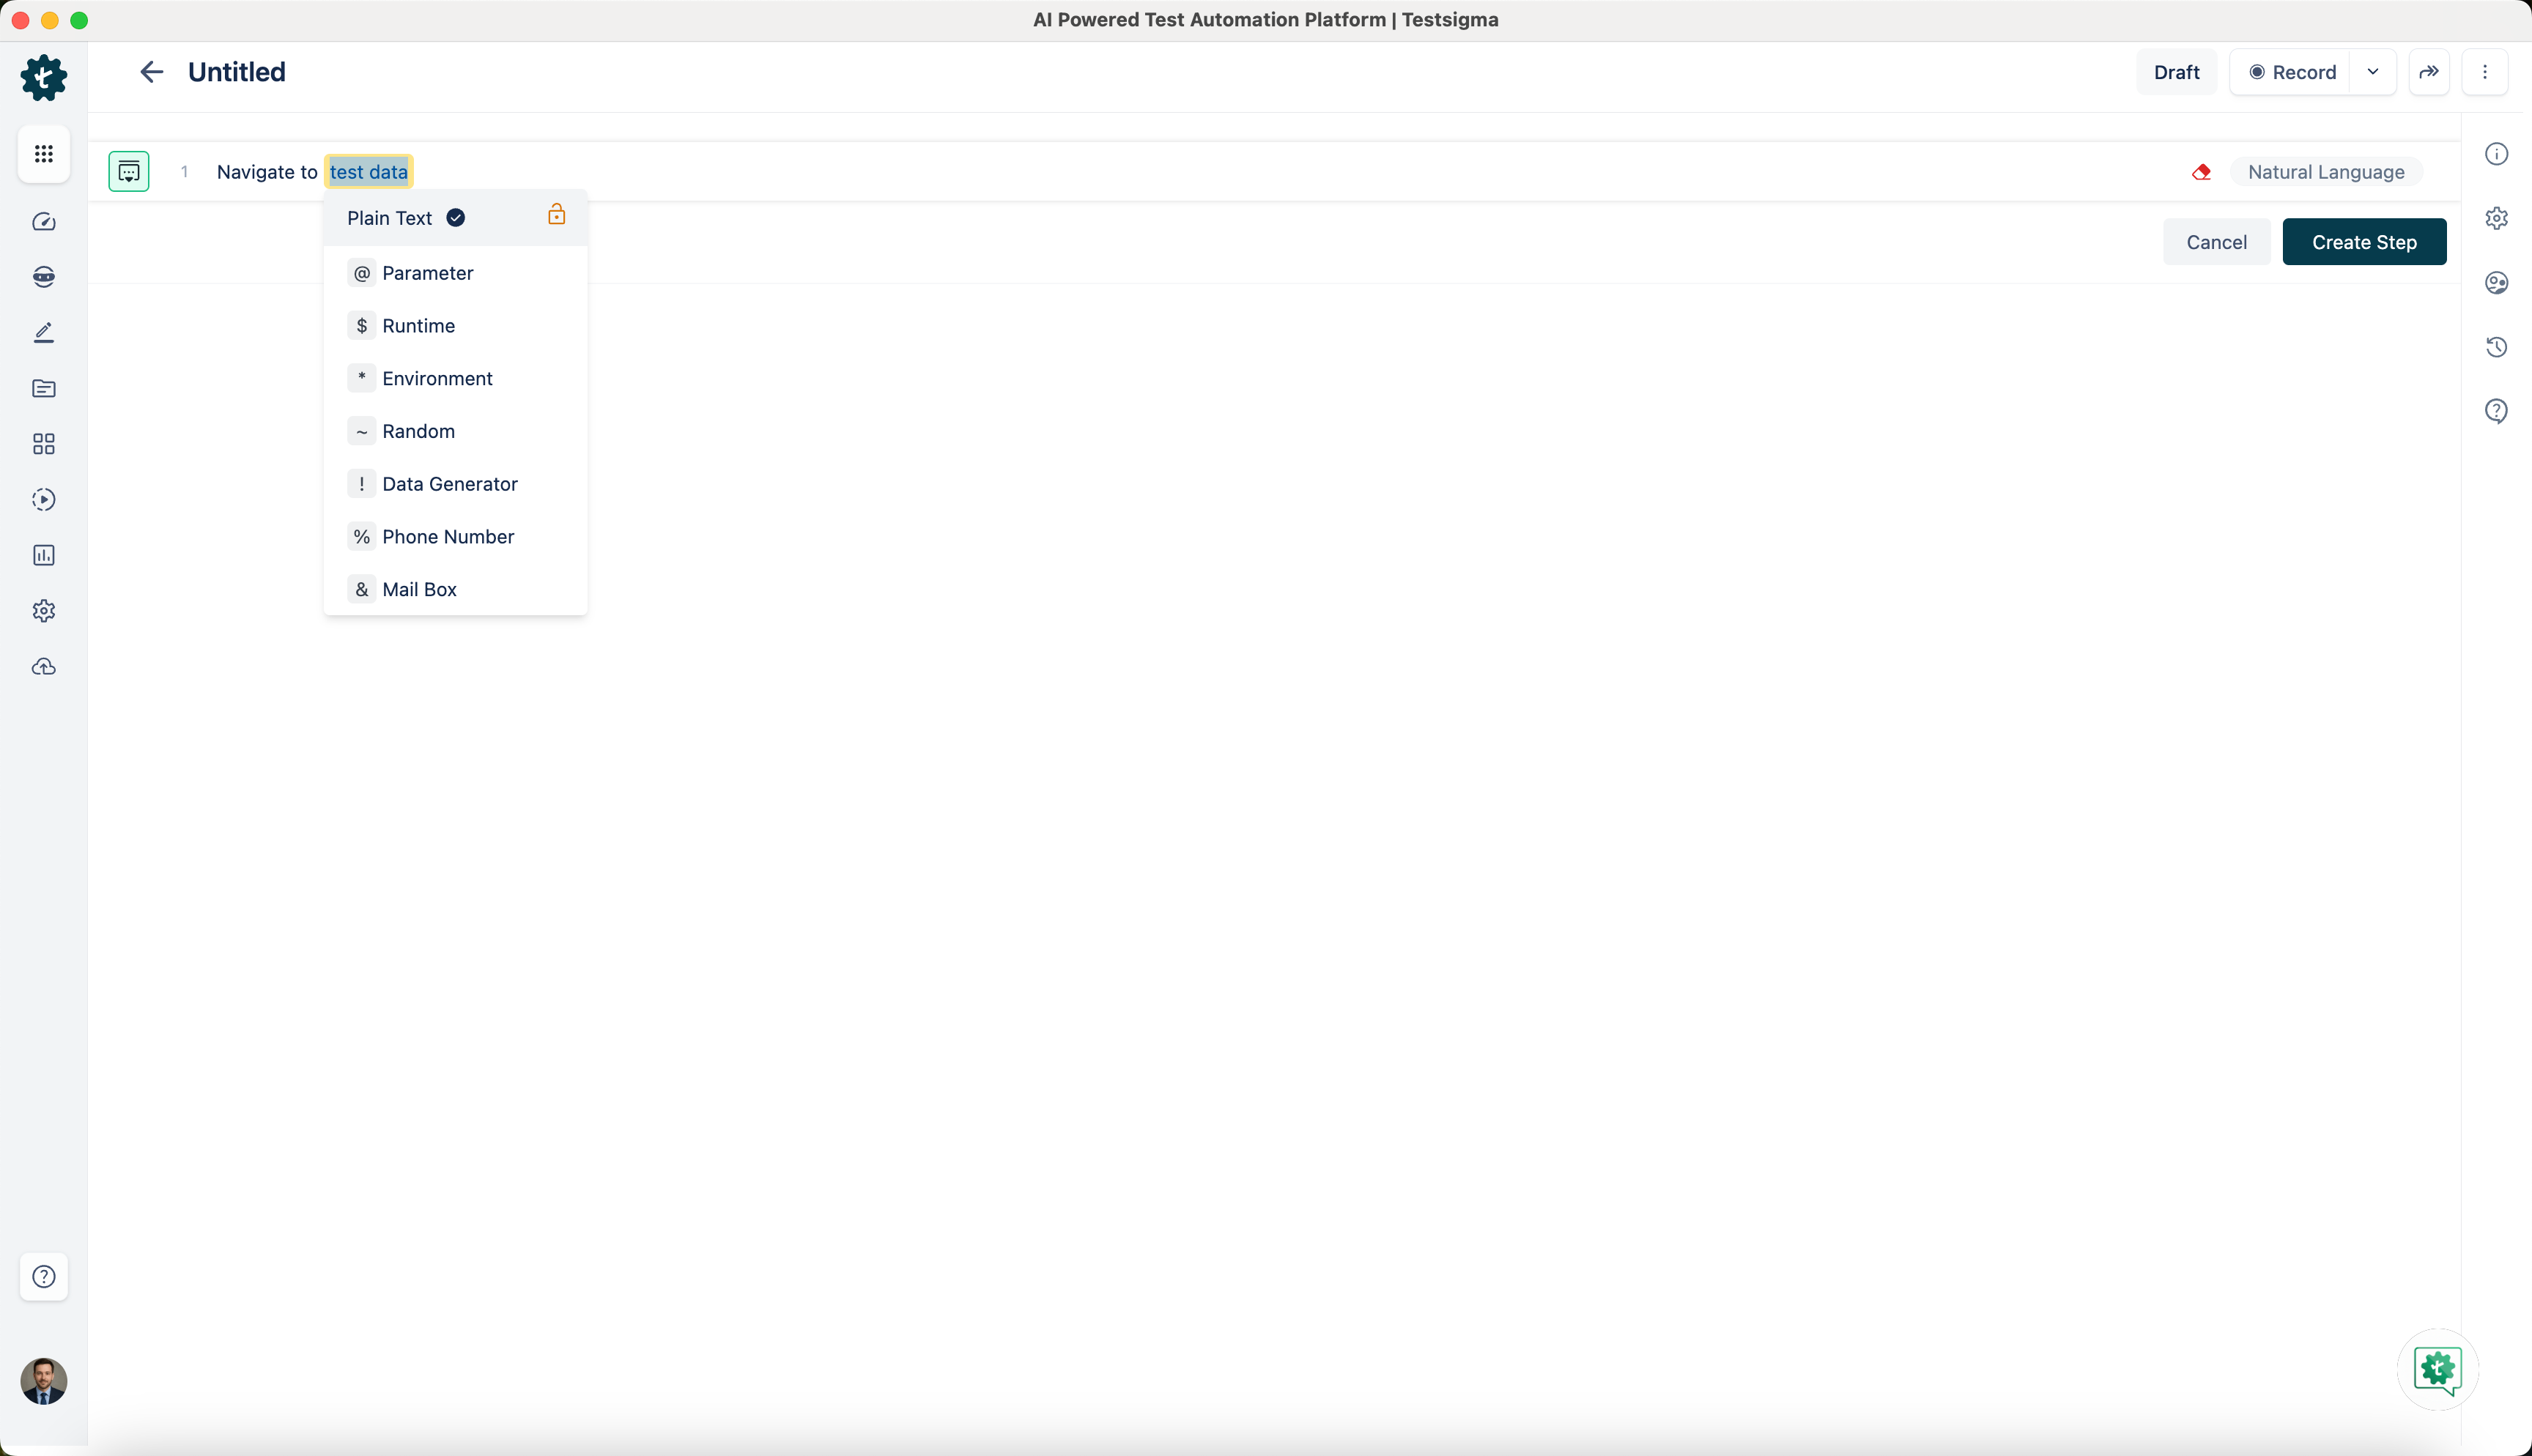
- Create the test steps that you want to include in the nested step group.
- After creating the steps, select the ones you want to add to the nested step group.
- On Create Step Group prompt, enter Name and click on Create and Replace.
- You can see the Nested step group created below.
NOTE:
You can only create up to 3 levels of nested groups in a Test Case and Step Group.
Want to contribute or report missing content?