- test plans
 Add, Edit, Delete Test Machines
- Add, Edit, Delete Test Suites
- Schedule Test Plans
- Run Test Suites In Parallel
- Cross Browser Testing
- Distributed Testing
- End-to-End Testing
- Headless Testing
- Test Lab Types
- Disabling Test Cases in Test Plans
- AfterTest Case
- Post Plan Hook
- AfterTest Suite
- Email Configuration in Test Plan
- Execute Partial Test Plans via API
Efficient Test Execution with Parallel Runs and Backup Devices
Executing tests in parallel significantly improves testing efficiency by reducing overall execution time. Additionally, adding backup devices ensures test execution proceeds smoothly, even if the primary device is unavailable. This documentation provides a comprehensive guide on configuring parallel test execution and adding backup devices for Android and iOS applications.
Prerequisites
Before you begin, ensure that you have referred to:
Configure Parallel Test Execution
Running tests in parallel allows multiple tests to run simultaneously, which reduces execution time. This approach is particularly useful for large test suites, as it delivers faster feedback and optimizes resource usage. Here are the steps to configure:
- Navigate to Test Plans and create a new test plan or open an existing one.
- On the Create or Edit Test Plan page, go to the Add Test Suites & Link Machine Profiles tab.
- If you have already set up the test machine, click the Settings icon under the Test Machine tab. Alternatively, click the Link to Test Machine icon to add a new machine profile to the test suite.
-
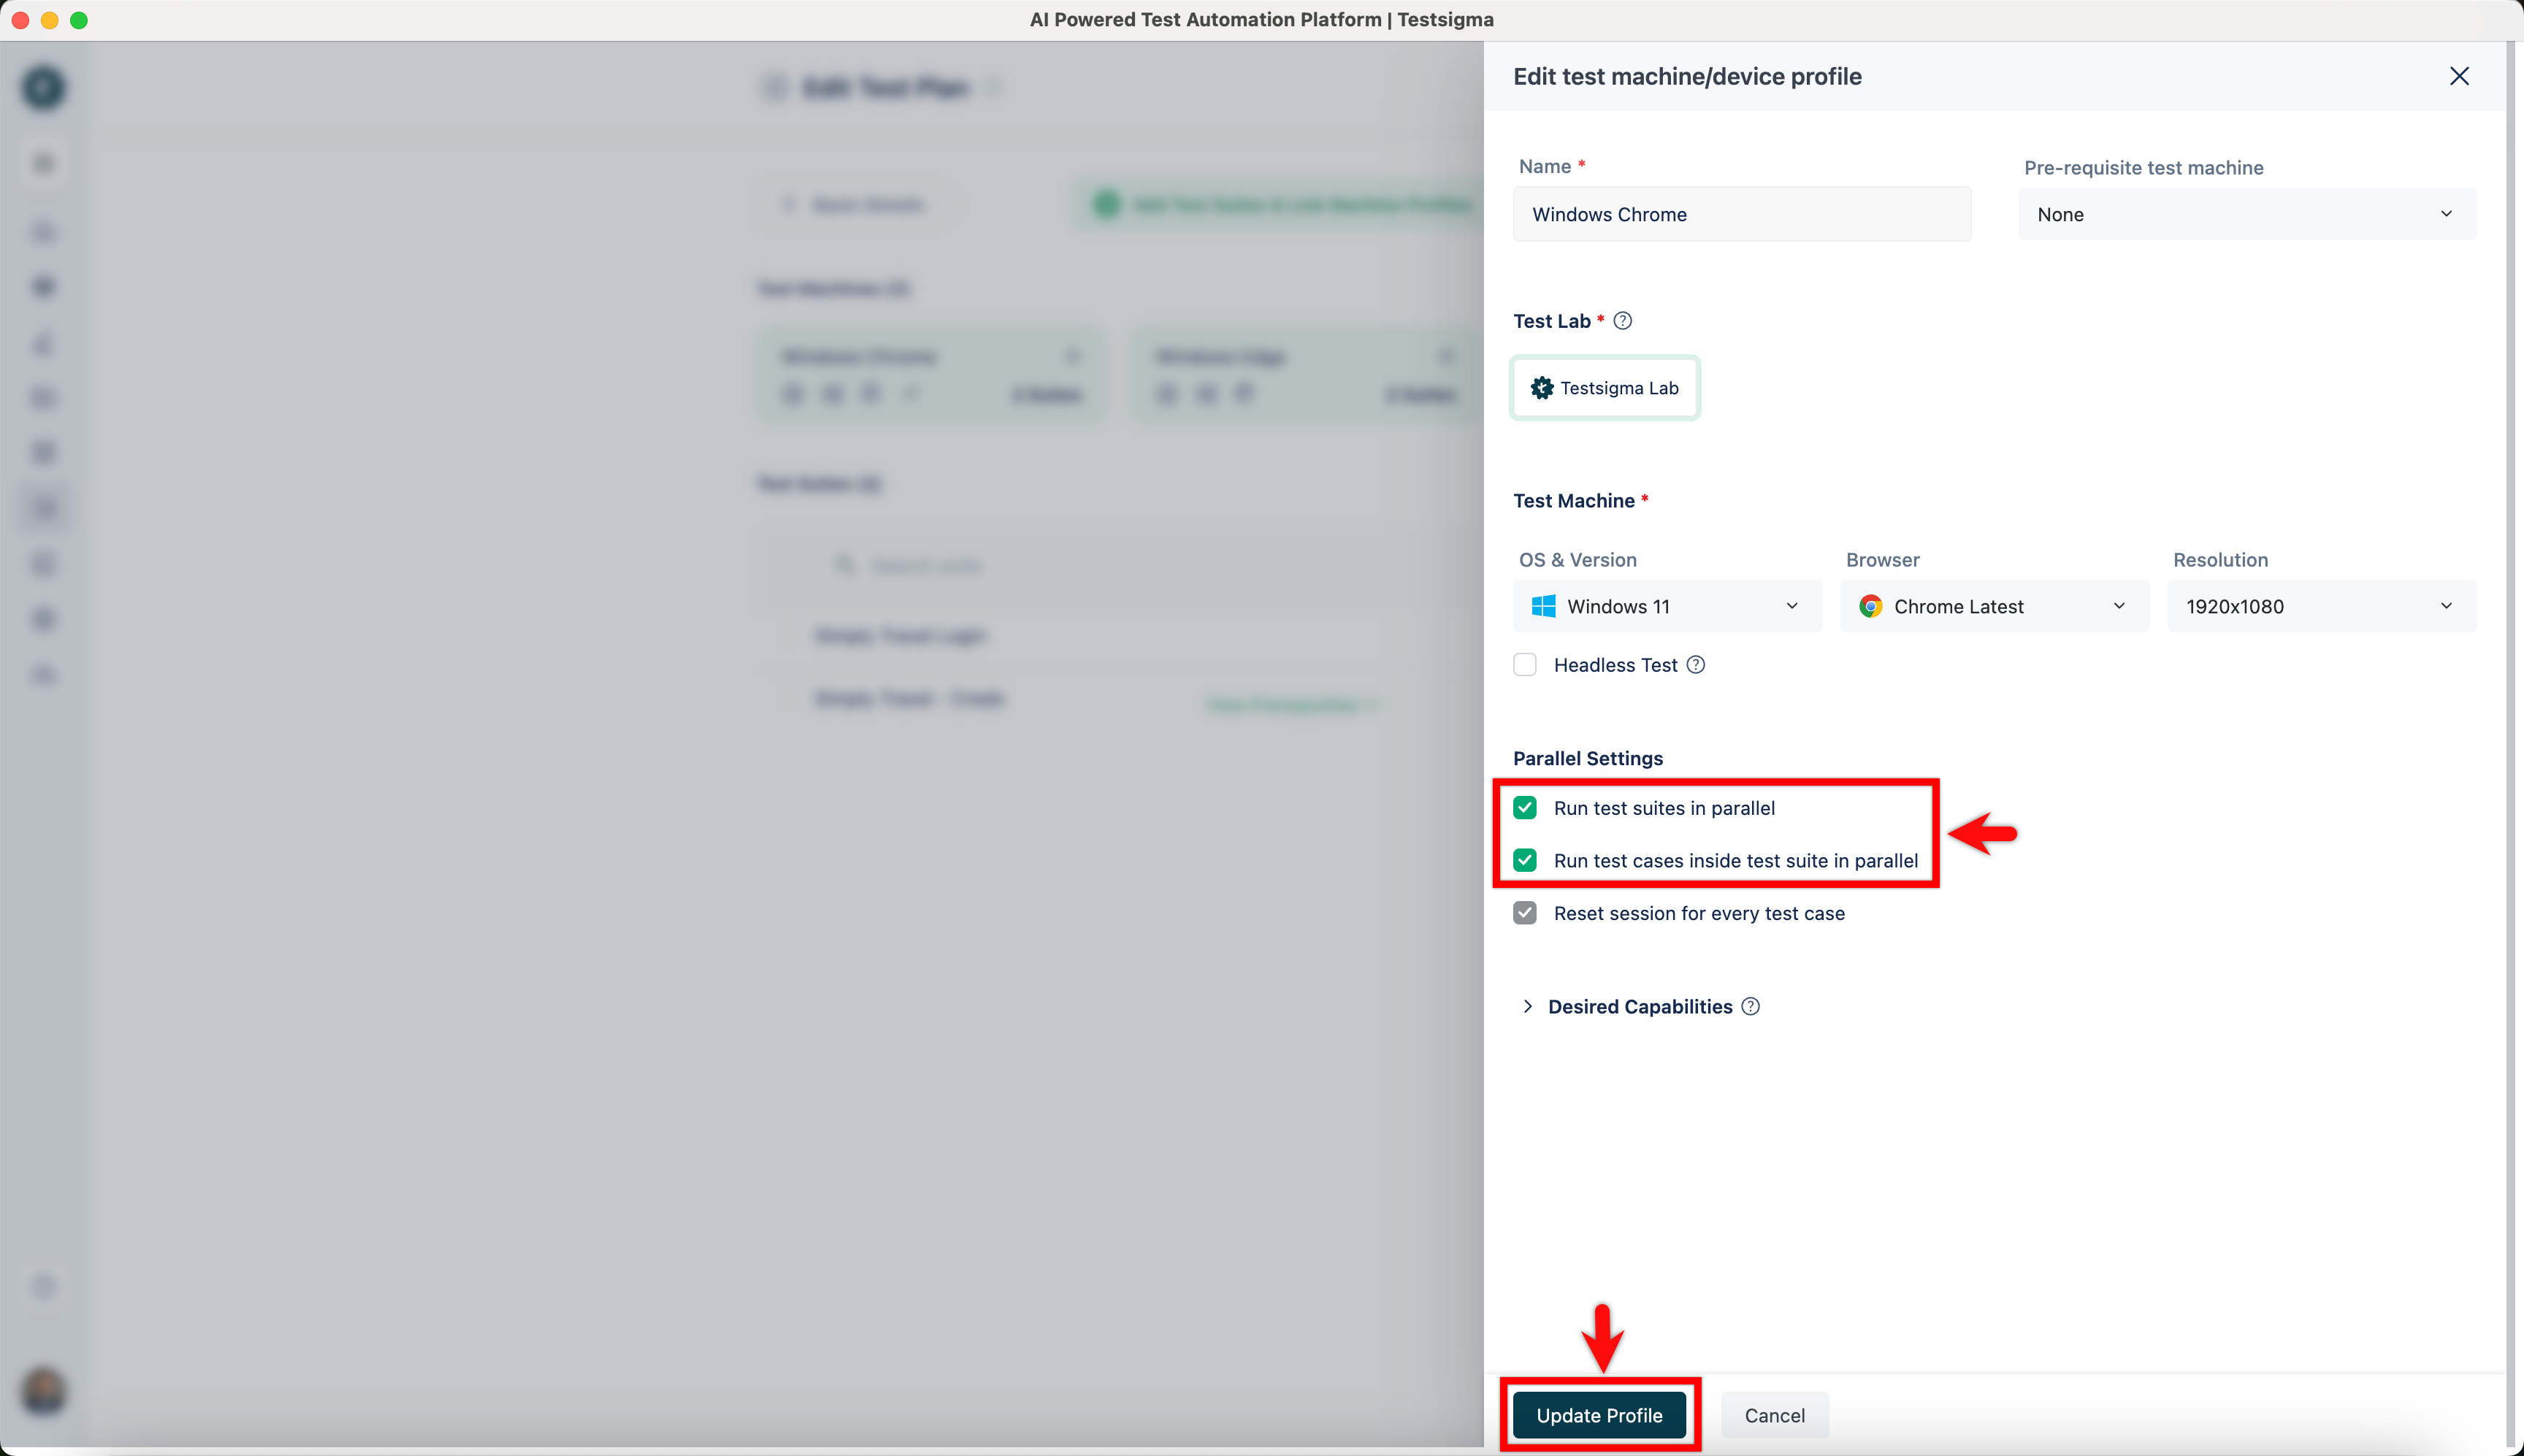
On the Edit Test Machine or Device Profile overlay, select the checkboxes for below:
- Run Test Suites in Parallel: Lets you run multiple test suites at the same time.
- Run Test Cases inside the Test Suite in Parallel: Lets you run multiple test cases within a test suite at the same time.
- Click Create or Update Profile to save the configuration.
- When you add a new machine to a test suite, the Run in Parallel checkbox is selected by default.
- To remove the parallel execution settings, follow the steps above and uncheck the boxes for Run Test Suites in Parallel and Run Test Cases inside the Test Suite in Parallel.
- Upgrade your subscription for parallel and queued runs to run more tests simultaneously.
- You can run one test plan in parallel and queue another test plan.
- A third test machine will not execute and will be removed from the queue.
- Upgrade your subscription for parallel and queued runs to run more tests simultaneously.
If your subscription allows 1 parallel run and 1 queued run:
Adding Backup Devices for Android and iOS Devices
Adding backup devices ensures that tests run smoothly even if the primary device is unavailable. This is useful for Android and iOS apps. If the primary device fails, a backup device will take over, minimizing disruptions and ensuring reliable results. Follow the steps below to add a backup device:
- On the Create or Edit Test Plan page, go to the Add Test Suites & Link Machine Profiles tab.
- If you have already set up the test machine, click the Settings icon under the Test Machine tab. Alternatively, click the Link to Test Machine icon to add a new machine profile to the test suite.
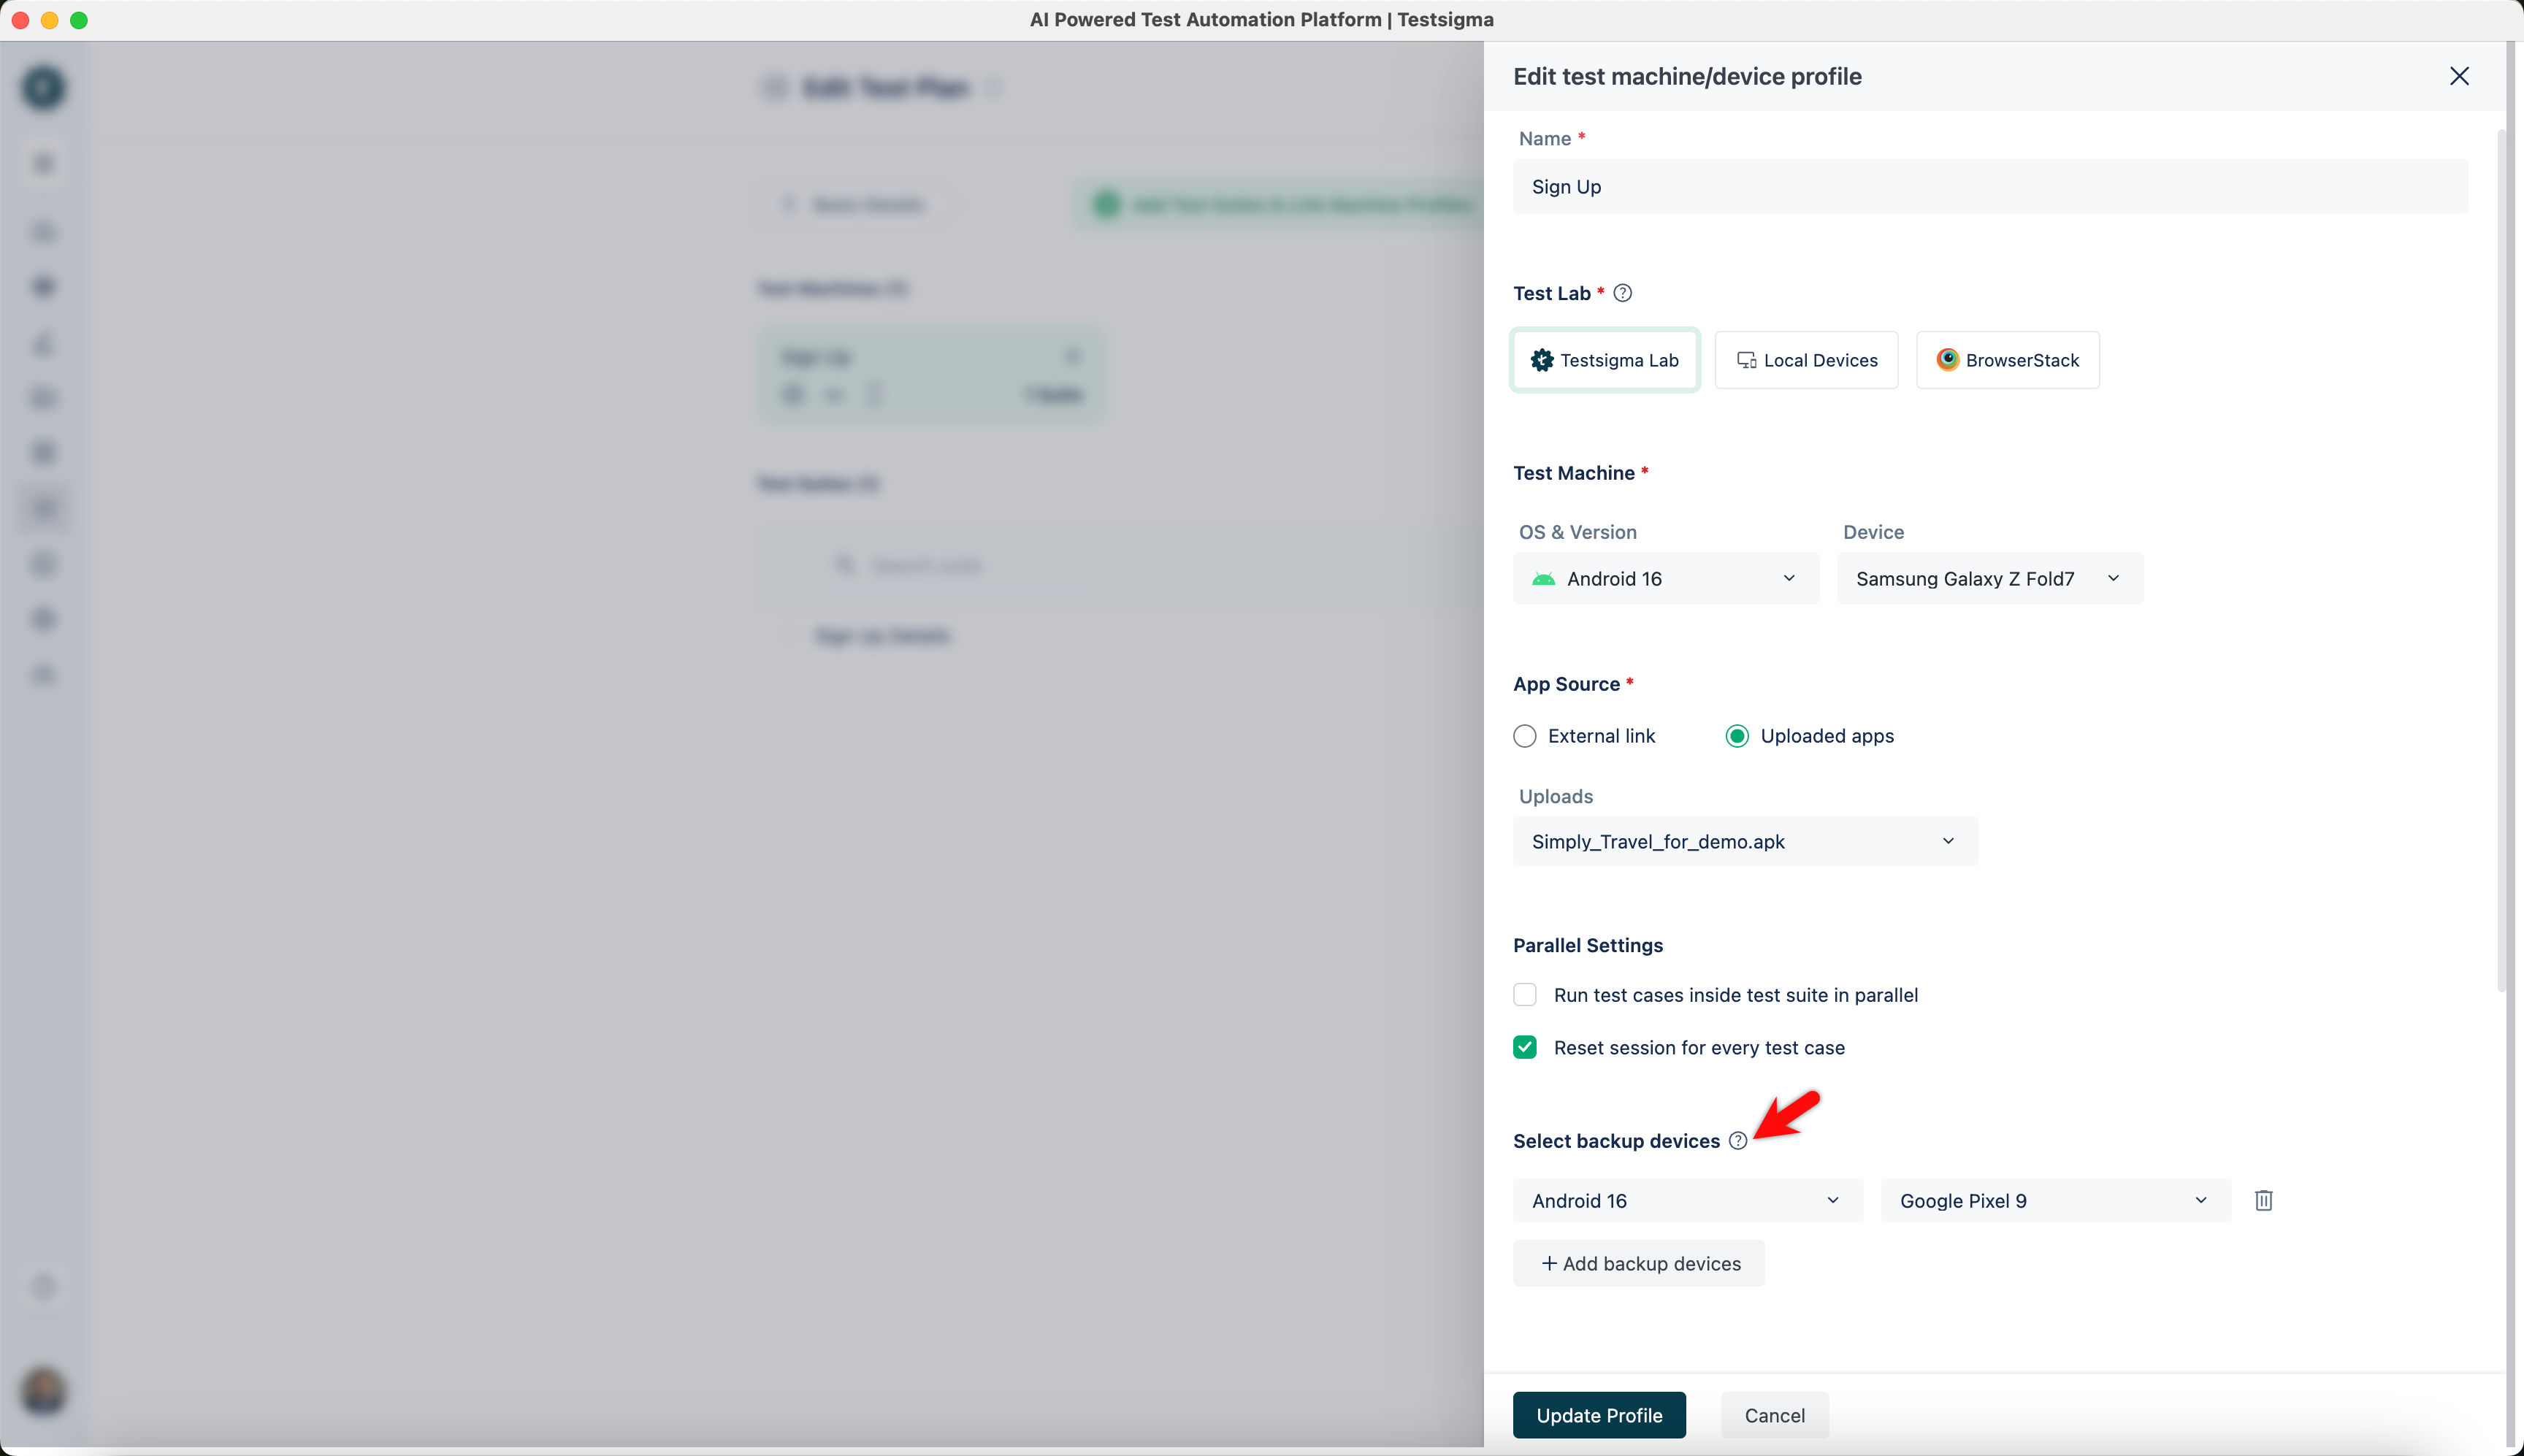
- On the Edit Test Machine or Device Profile overlay, click Add Backup Devices under Select Backup Devices.
- Choose the OS and Version, then select the Device from the dropdown menu.
- You can add multiple backup devices and then click Create or Update Profile.
Click the Delete button next to the backup device you want to remove.
Want to contribute or report missing content?