

Users
A user’s role decides what they can do, and it is assigned per project. The same person can be a Test Lead on one project and read-only on another.
| Role | Can do |
|---|---|
| Account Administrator | Everything a Super Administrator can, plus billing information for the account |
| Super Administrator | Complete control over a project, without account or billing information |
| Test Manager | Manage several projects, including assigning users, and adding applications and versions in each |
| Test Lead | Manage everything in the assigned project, including its applications and versions |
| Automation Engineer/Developer | Write, view, and update test cases, and everything test cases need: test data profiles, elements, custom functions |
| Read Only | View a project’s contents without changing anything |
Add a user
Section titled “Add a user”There are 2 routes. Settings assigns several projects at once, and project settings adds someone to the project you are in.
- From Settings: go to Settings > Users, click Add new user, enter the Email, select the projects to assign and the role for each, and click Send Invite
- From a project: go to Project > Project Settings > Project Members, click Invite, enter the Email, select the Role, and click Invite
The invited user gets an email and has to join through its link before the role takes effect. Until then they are listed on the Users page with the status Invited, and Resend Invite beside their name sends it again.
Invite a read-only user
Section titled “Invite a read-only user”A read-only user sees a project without being able to change it, which suits a stakeholder who wants visibility rather than involvement.
-
Go to Settings > Users and click Add new user.
-
Enter the user’s address in Email.
-
Select the Read Only checkbox.
-
Click Send Invite.
Invite sent successfully confirms it, and the user appears under Users as Invited.
Change a user’s role or projects
Section titled “Change a user’s role or projects”-
Go to Settings > Users.
-
Hover over the user and click the ellipsis icon
⋮. -
Click Edit User Role.
-
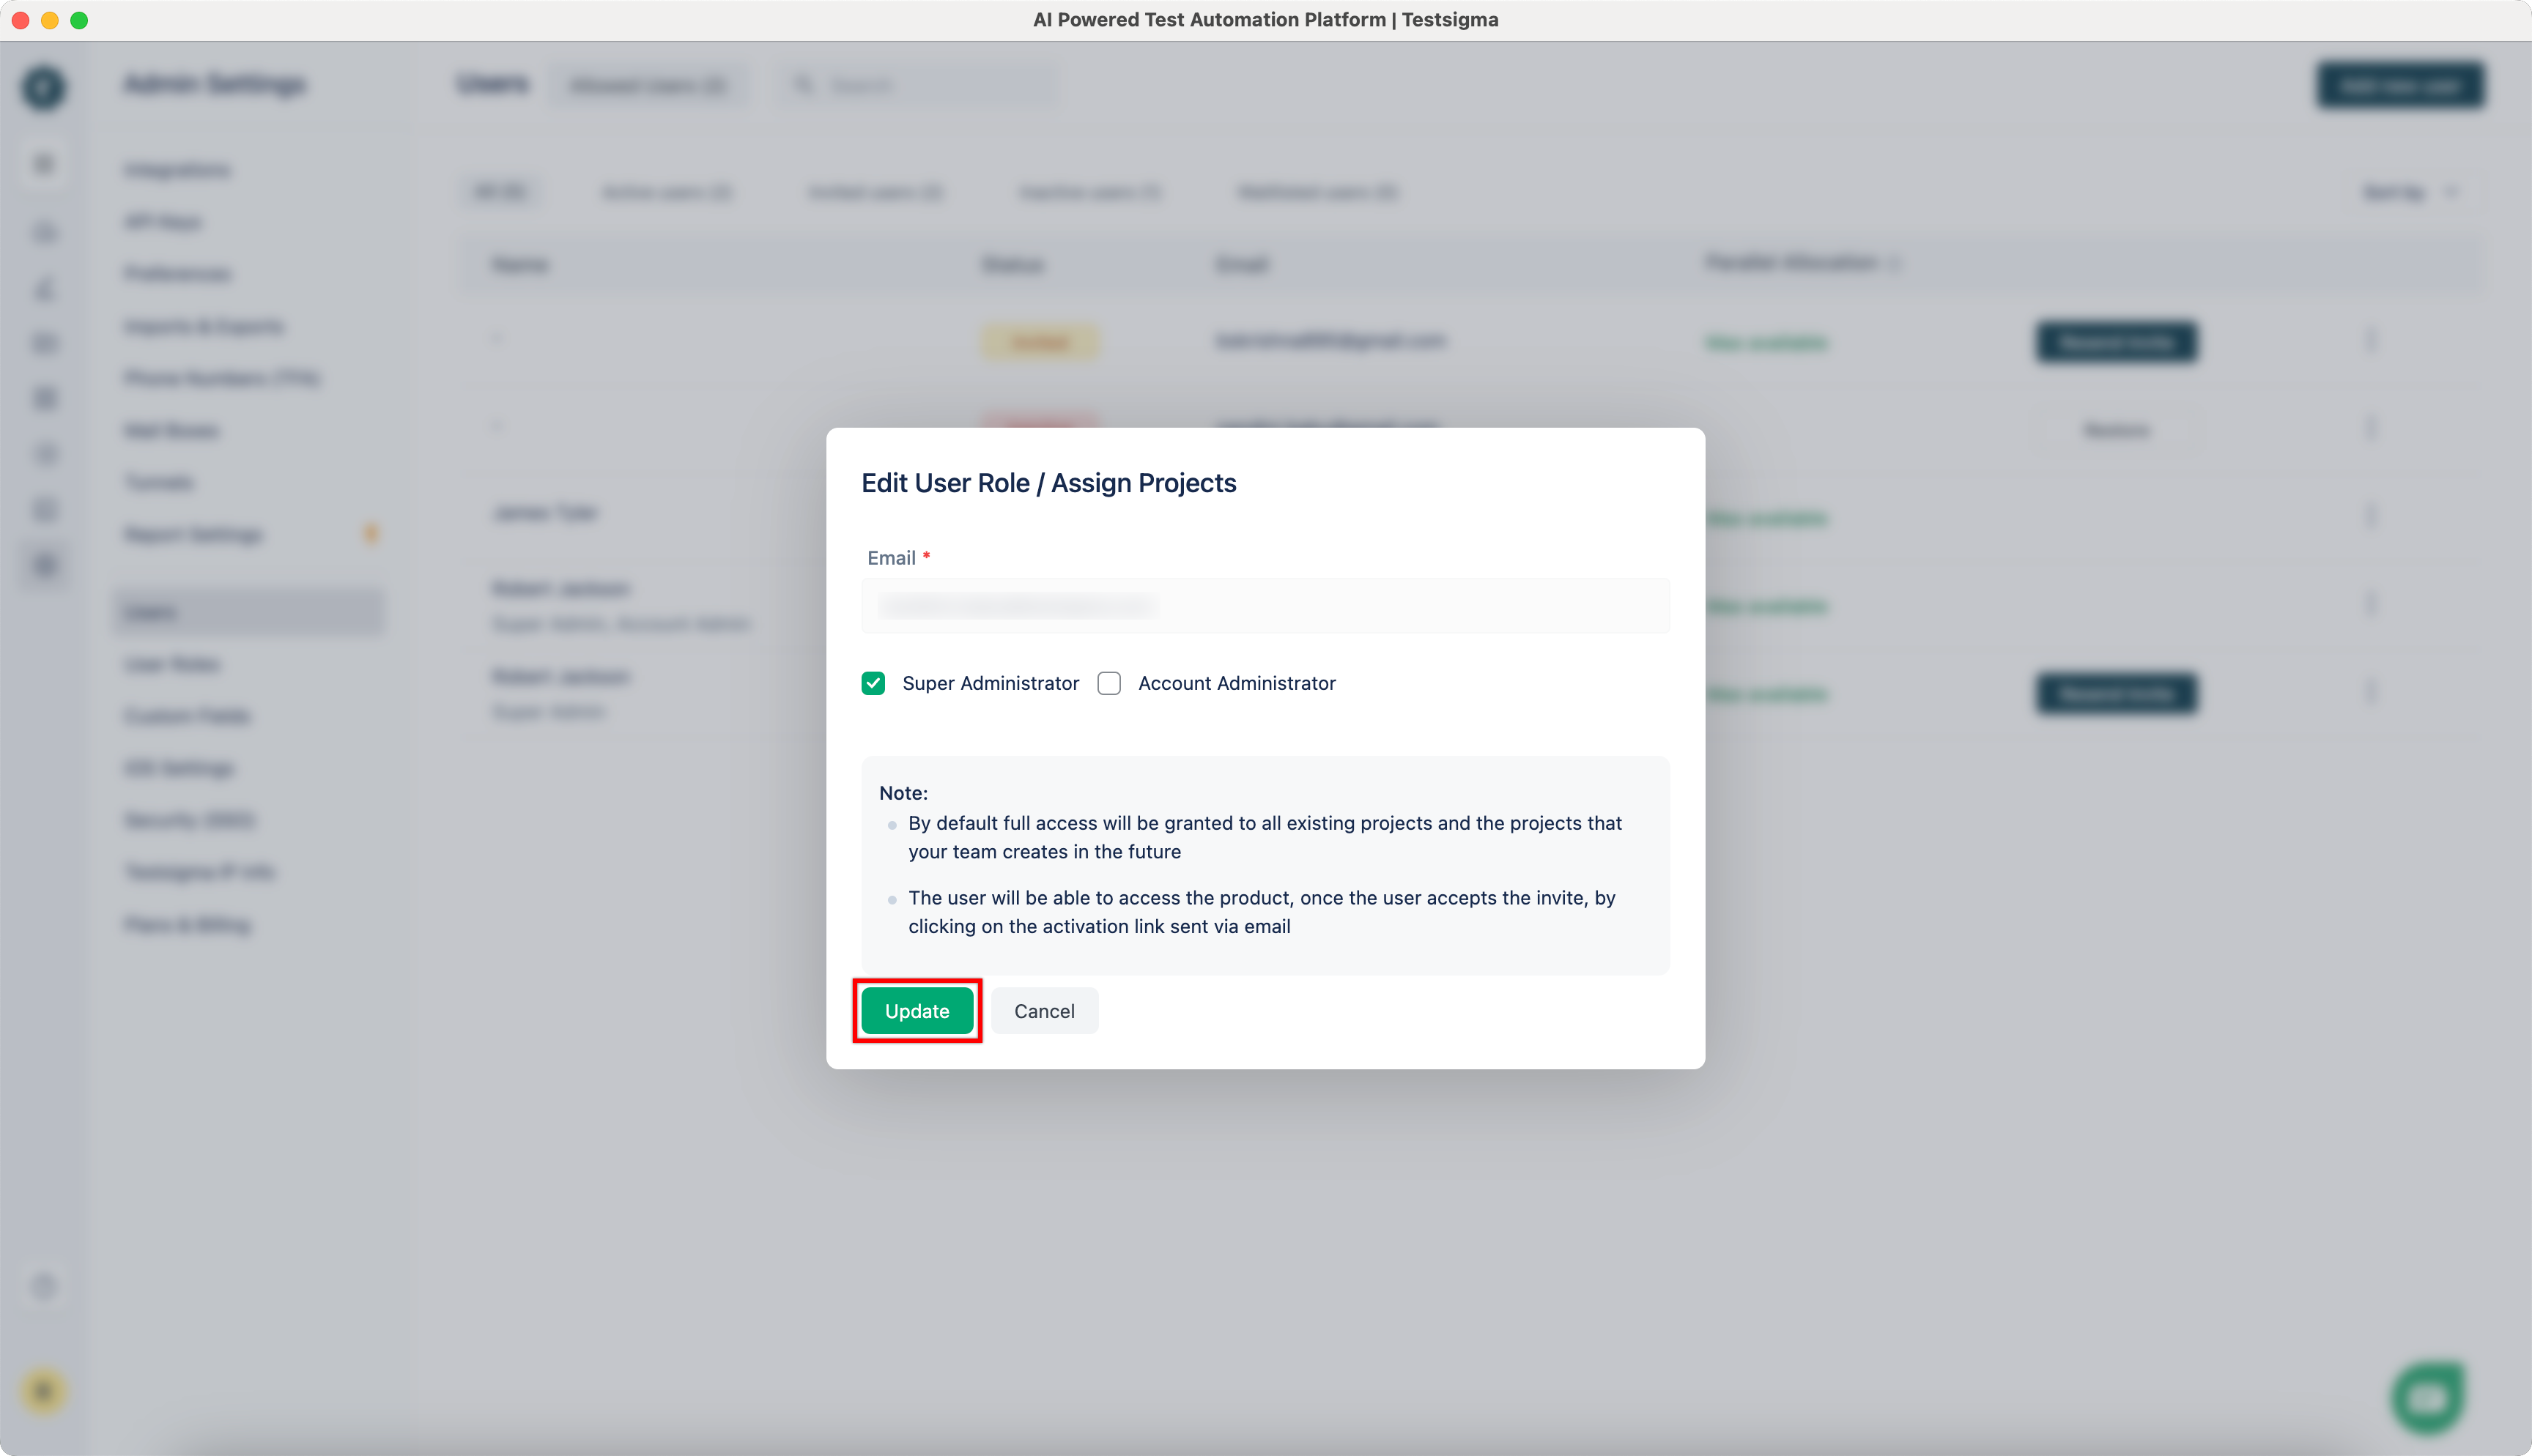
Select the roles and projects in the Edit User Role / Assign Projects dialog, and click Update.
This is also how you assign an existing user to another project, rather than inviting them again.
Remove a user from a project
Section titled “Remove a user from a project”Only a Super Administrator can remove users.
-
Go to Project > Project Settings > Project Members.
-
Hover over the user and click Delete.
-
Enter
DELETEin the Delete Member dialog and click Delete.
The same can be done from Settings > Users for a user across the account.
Review management
Section titled “Review management”Reviewers are assigned per test case and per element rather than by role, so any user can be a reviewer. See Review management.
Control who can stop executions
Section titled “Control who can stop executions”By default anyone can stop any run, which makes an accidental stop easy and disruptive. Control Who Can Stop Executions, under Settings > Preferences, restricts that.
With it on:
- Account Administrators and Super Administrators can stop any execution, from Usage Details or Run Results
- Test Managers, Test Leads, and Automation Engineers see every execution but can stop only the ones they started themselves
Anyone else has to ask a Super Administrator to halt a run.
Guest access
Section titled “Guest access”The Testsigma support team can be given temporary access to the account, and it is granted separately from user roles. See Guest access.
Was this page helpful?
Thanks for the feedback.