

Uploads
Test Data > Uploads holds two kinds of file: the mobile app builds you run tests against, and the small attachments a test step needs a URL for. Both use the same upload dialog and the same versioning, so one page covers them.
Prerequisites
- A project of the right application type — upload an Android app from an Android project, an iOS app from an iOS project.
- For an app, the build itself:
.apkfor Android,.ipafor iOS.
Where an app can live
Section titled “Where an app can live”A native app does not have to be uploaded to Testsigma at all. Three locations work.
| Location | Use it for |
|---|---|
| Your local machine | Local hybrid execution through the agent |
| Your own server, on a direct internet link | A build your CI already publishes somewhere reachable |
| The Testsigma cloud | The default, and the one this page covers |
Upload a file or an app
Section titled “Upload a file or an app”-
Open Uploads — Go to Test Data > Uploads.
-
Start the upload — Click Upload.
-
Choose the file — In Upload a file, drag it in or click Browse.
-
Label it — Set the Name and Version, then click Upload.
Manage what you uploaded
Section titled “Manage what you uploaded”On the Uploads list, click the ellipsis beside an entry. The menu offers Upload a new version, Download, and Delete.
To add a version, click Upload new version, drag in the file or Browse to it, set the Name and Version, then click Upload. Versions accumulate, so a test plan can stay pinned to a known build while you upload the next one.
Get a file’s URL
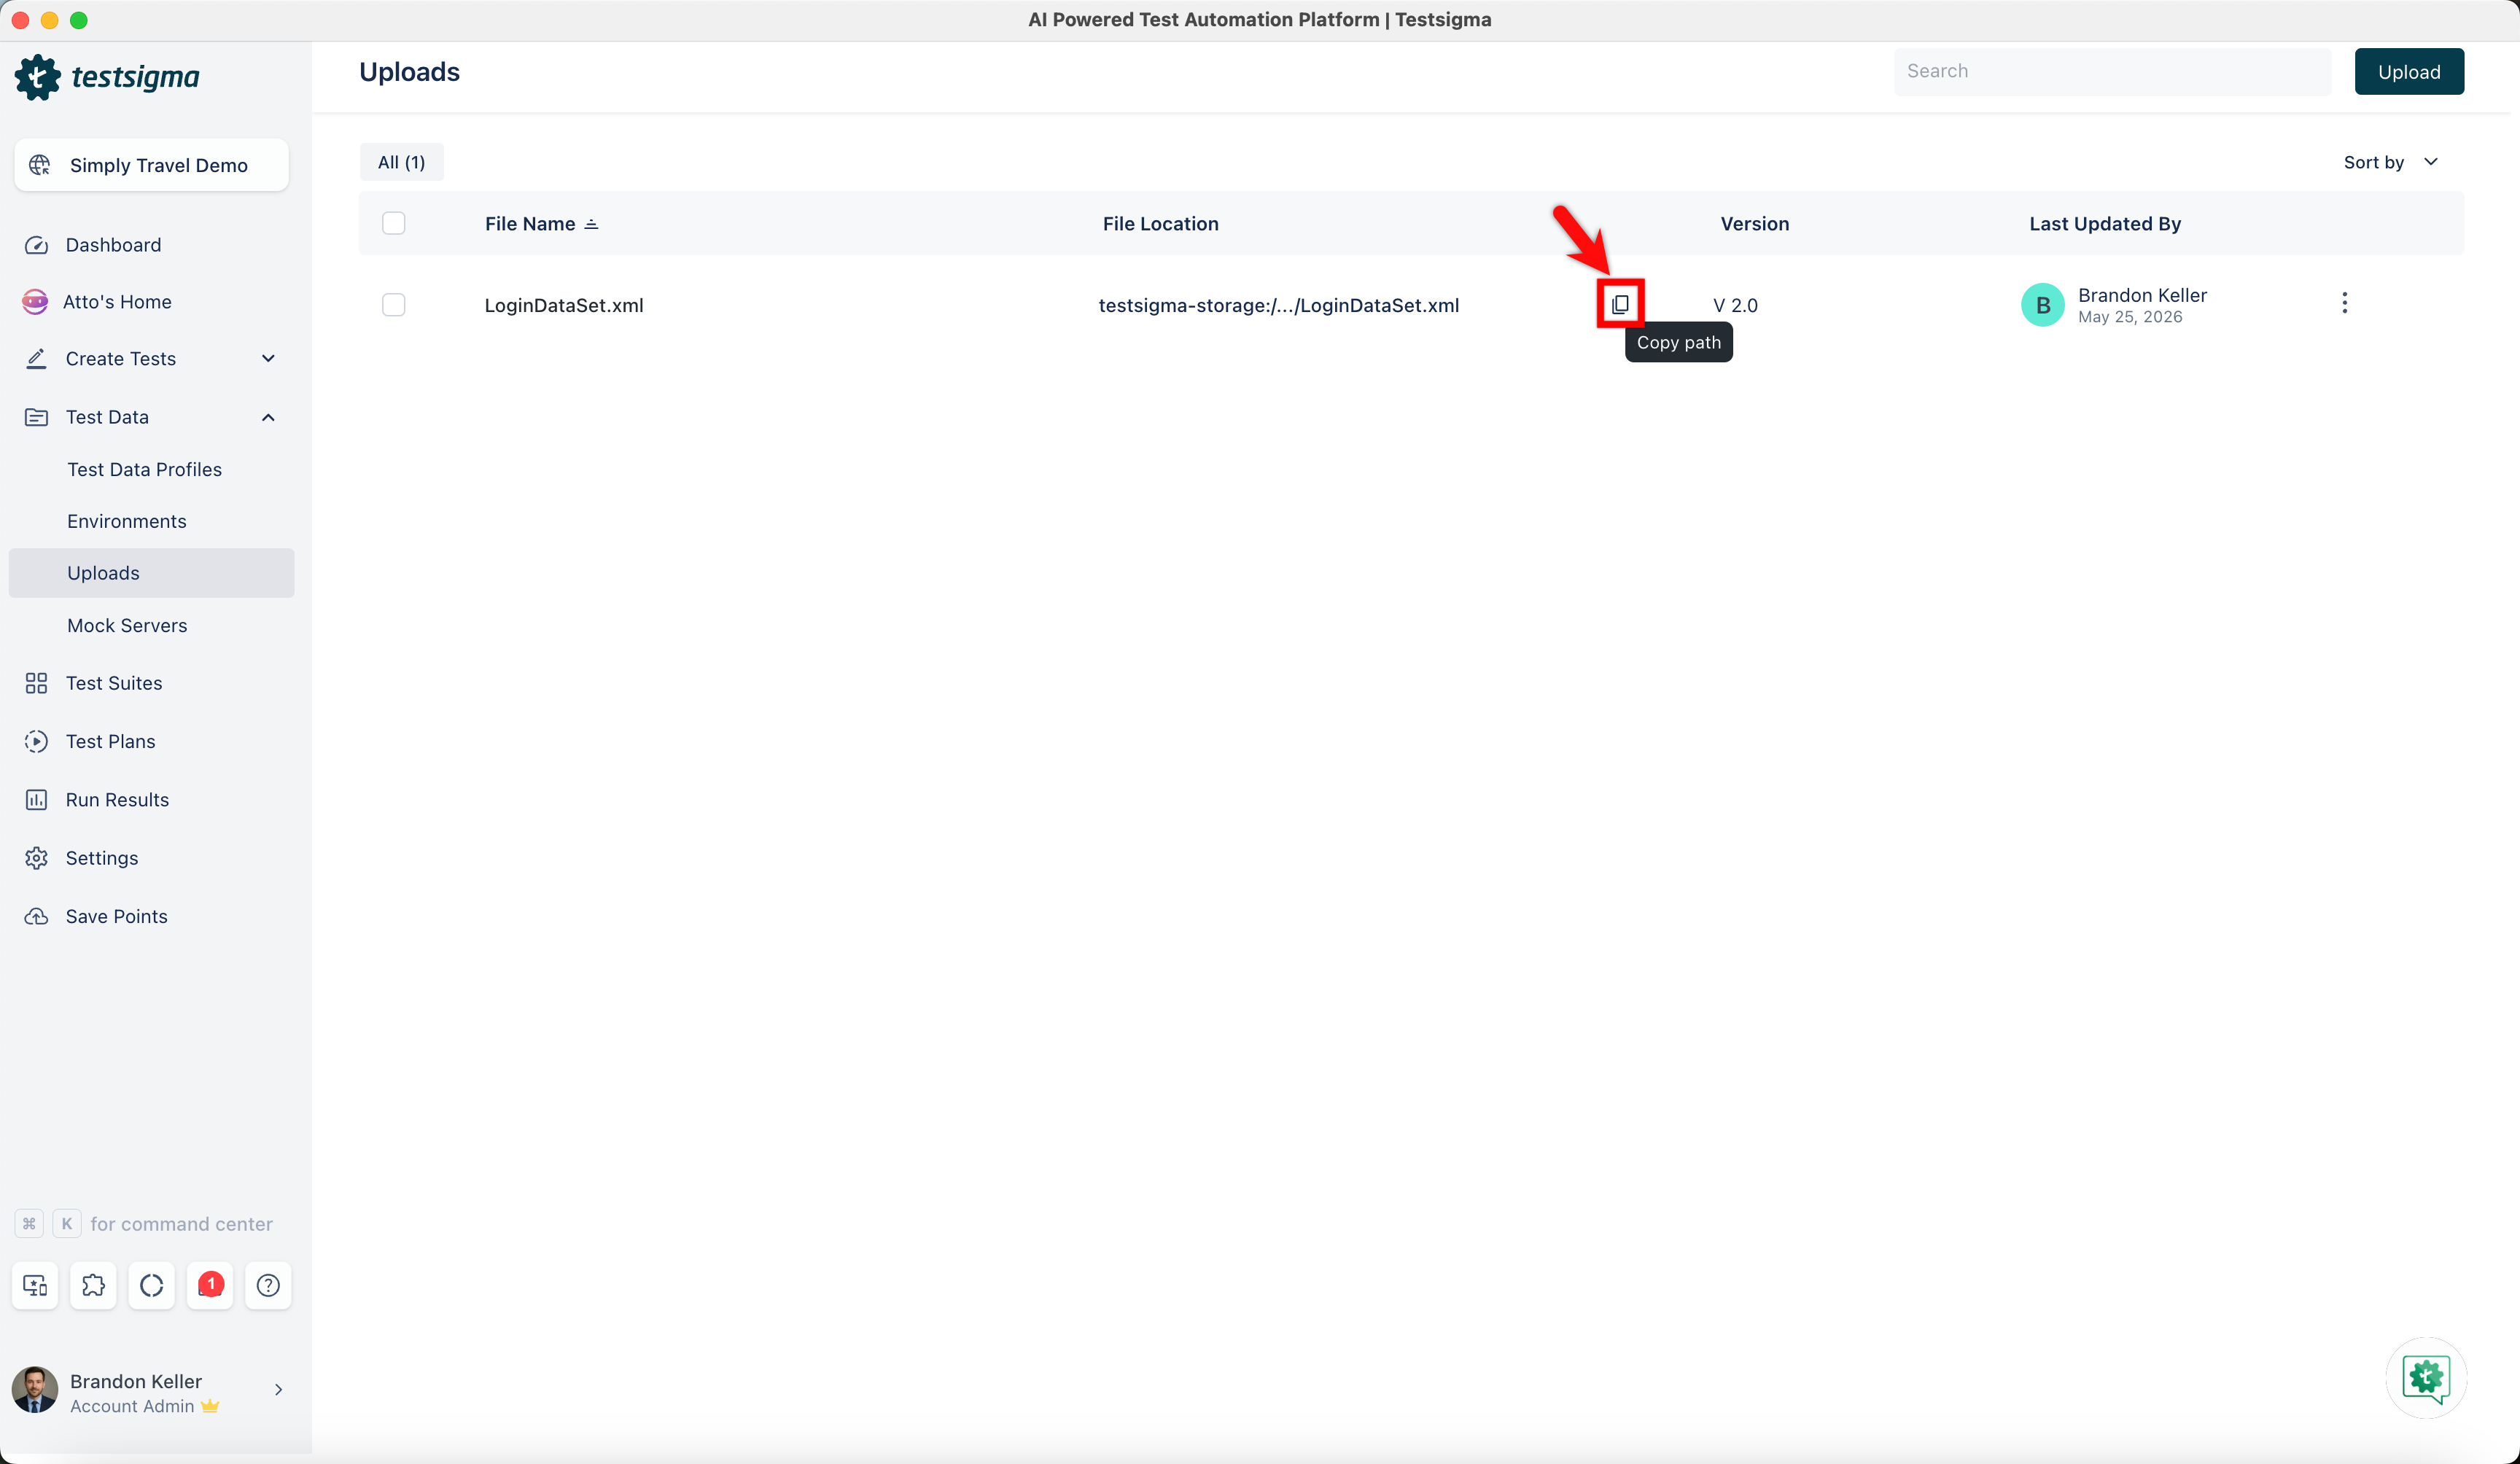
Section titled “Get a file’s URL”A test step that uploads a file needs the file’s URL rather than its name. On the Uploads page, click the copy button beside the entry and paste the path into the step.
Build the app you upload
Section titled “Build the app you upload”If you need to produce the build first, these are the routes for each artifact.
-
Open the build menu — Go to Toolbar > Build.
-
Choose the bundle — Click Build Bundle(s)/APK(s).
-
Build it — Click Build APK(s).
-
Find it — On the Build APK(s) popup, click locate. The debug APK appears in your file explorer.
-
Open the project — Open your app project in Xcode.
-
Pick the target — Select the iOS device matching your project’s device target.
-
Archive it — In the Product menu, select Clean, then Archive.
-
Export it — Find the app under Archives, select it, and click Export.
-
Choose a method — Select Ad Hoc, Enterprise, or Development.
-
Set distribution options — App Thinning None, clear Rebuild from Bitcode, Strip Swift symbols optional, and clear Include manifest for over-the-air installation.
-
Sign it — Select the Distribution Certificate and Provisioning Profile.
-
Finish — Click Export to write the
.ipa.
The certificate and provisioning profile come from Settings > iOS Settings. To create them, see the iOS tab in Connect a local device.
-
Open the project — Open your app project in Xcode.
-
Pick the target — Select the simulator matching your target device.
-
Build it — In the Product menu, select Clean, then Build.
-
Find it — The
.appfile is in your Xcode project directory.
Was this page helpful?
Thanks for the feedback.