

Import test cases between projects
Importing moves test cases from one project to another, along with everything they depend on: step groups, elements, test data profiles, environment variables, and uploads. Use it to promote work from a sandbox project into a real one, or to seed a new project from an existing library.
Run the import
Section titled “Run the import”-
Go to Create Tests > Test Cases.
-
Click the ellipsis icon
⋮in Test Case Explorer and click Import. -
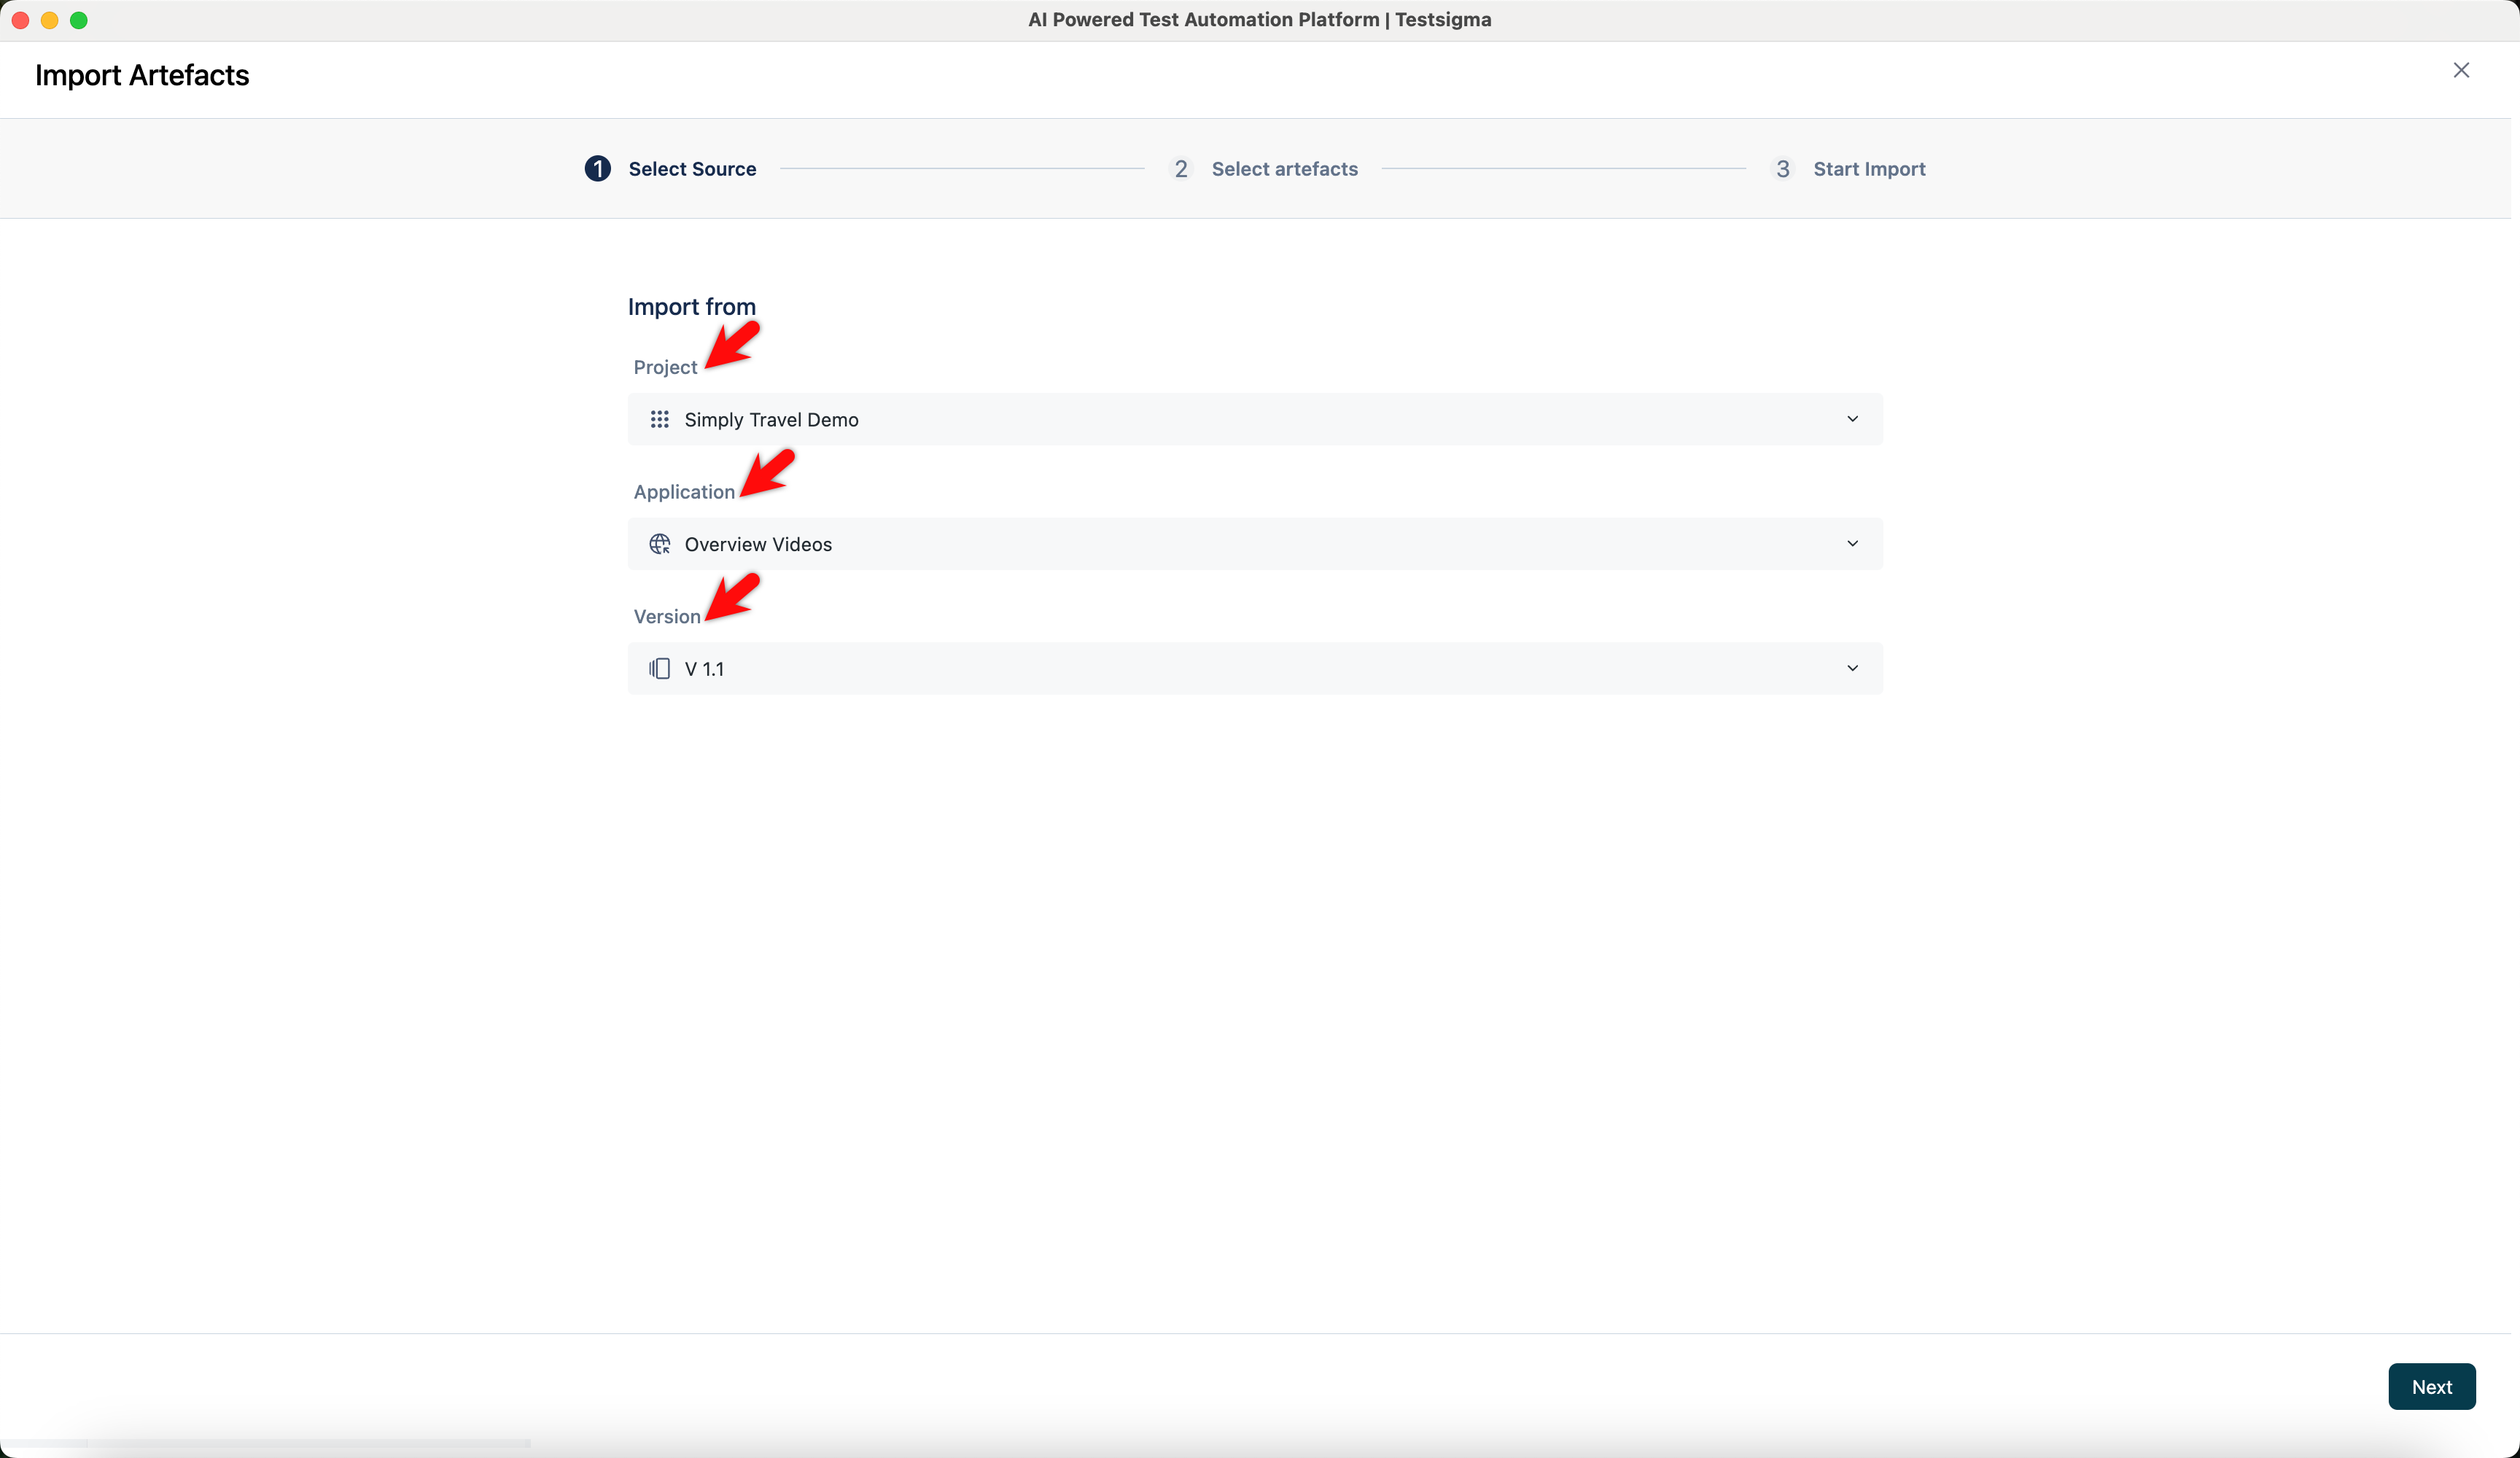
On the Select Source tab, choose the source Project, Application Name, and Version, then click Next.
-
On the Select Artifacts tab, choose the test cases you want.
-
Click Proceed to Import.
-
Review the list on the Start Import tab and click Confirm.
-
Name the save point in the Create a Save Point? dialog and click Start Importing.
-
Click Done.
Selecting a test case automatically selects the step groups, elements, test data profiles, environment variables, and uploads it uses, so a test case never arrives without what it needs to run.
To bring in an artifact that no selected test case uses, open its tab, turn on Show unlinked, and select it. Show selected reviews what you have chosen in each tab.
What the statuses mean
Section titled “What the statuses mean”The Start Import tab labels every test case before anything is written, so you can see what the import will do:
| Status | Meaning |
|---|---|
| New | The test case does not exist in the destination project |
| No Change | It exists and is identical |
| Override | It exists and differs, so the import replaces it |
The save point
Section titled “The save point”Testsigma creates a save point before writing anything, so an import can be reverted in full. Naming it after the import makes it findable later. See Projects and applications.
Import in smaller batches. A large import takes proportionally longer, and a smaller one is easier to verify and to revert.
Check what happened
Section titled “Check what happened”-
Go to Settings > Imports.
-
Click the status of the import you want to inspect.
-
Read the details in the Import Summary dialog and click OK, Got it.
This is where you confirm an import did what you expected, rather than inferring it from the destination project.
Was this page helpful?
Thanks for the feedback.