

Users and roles
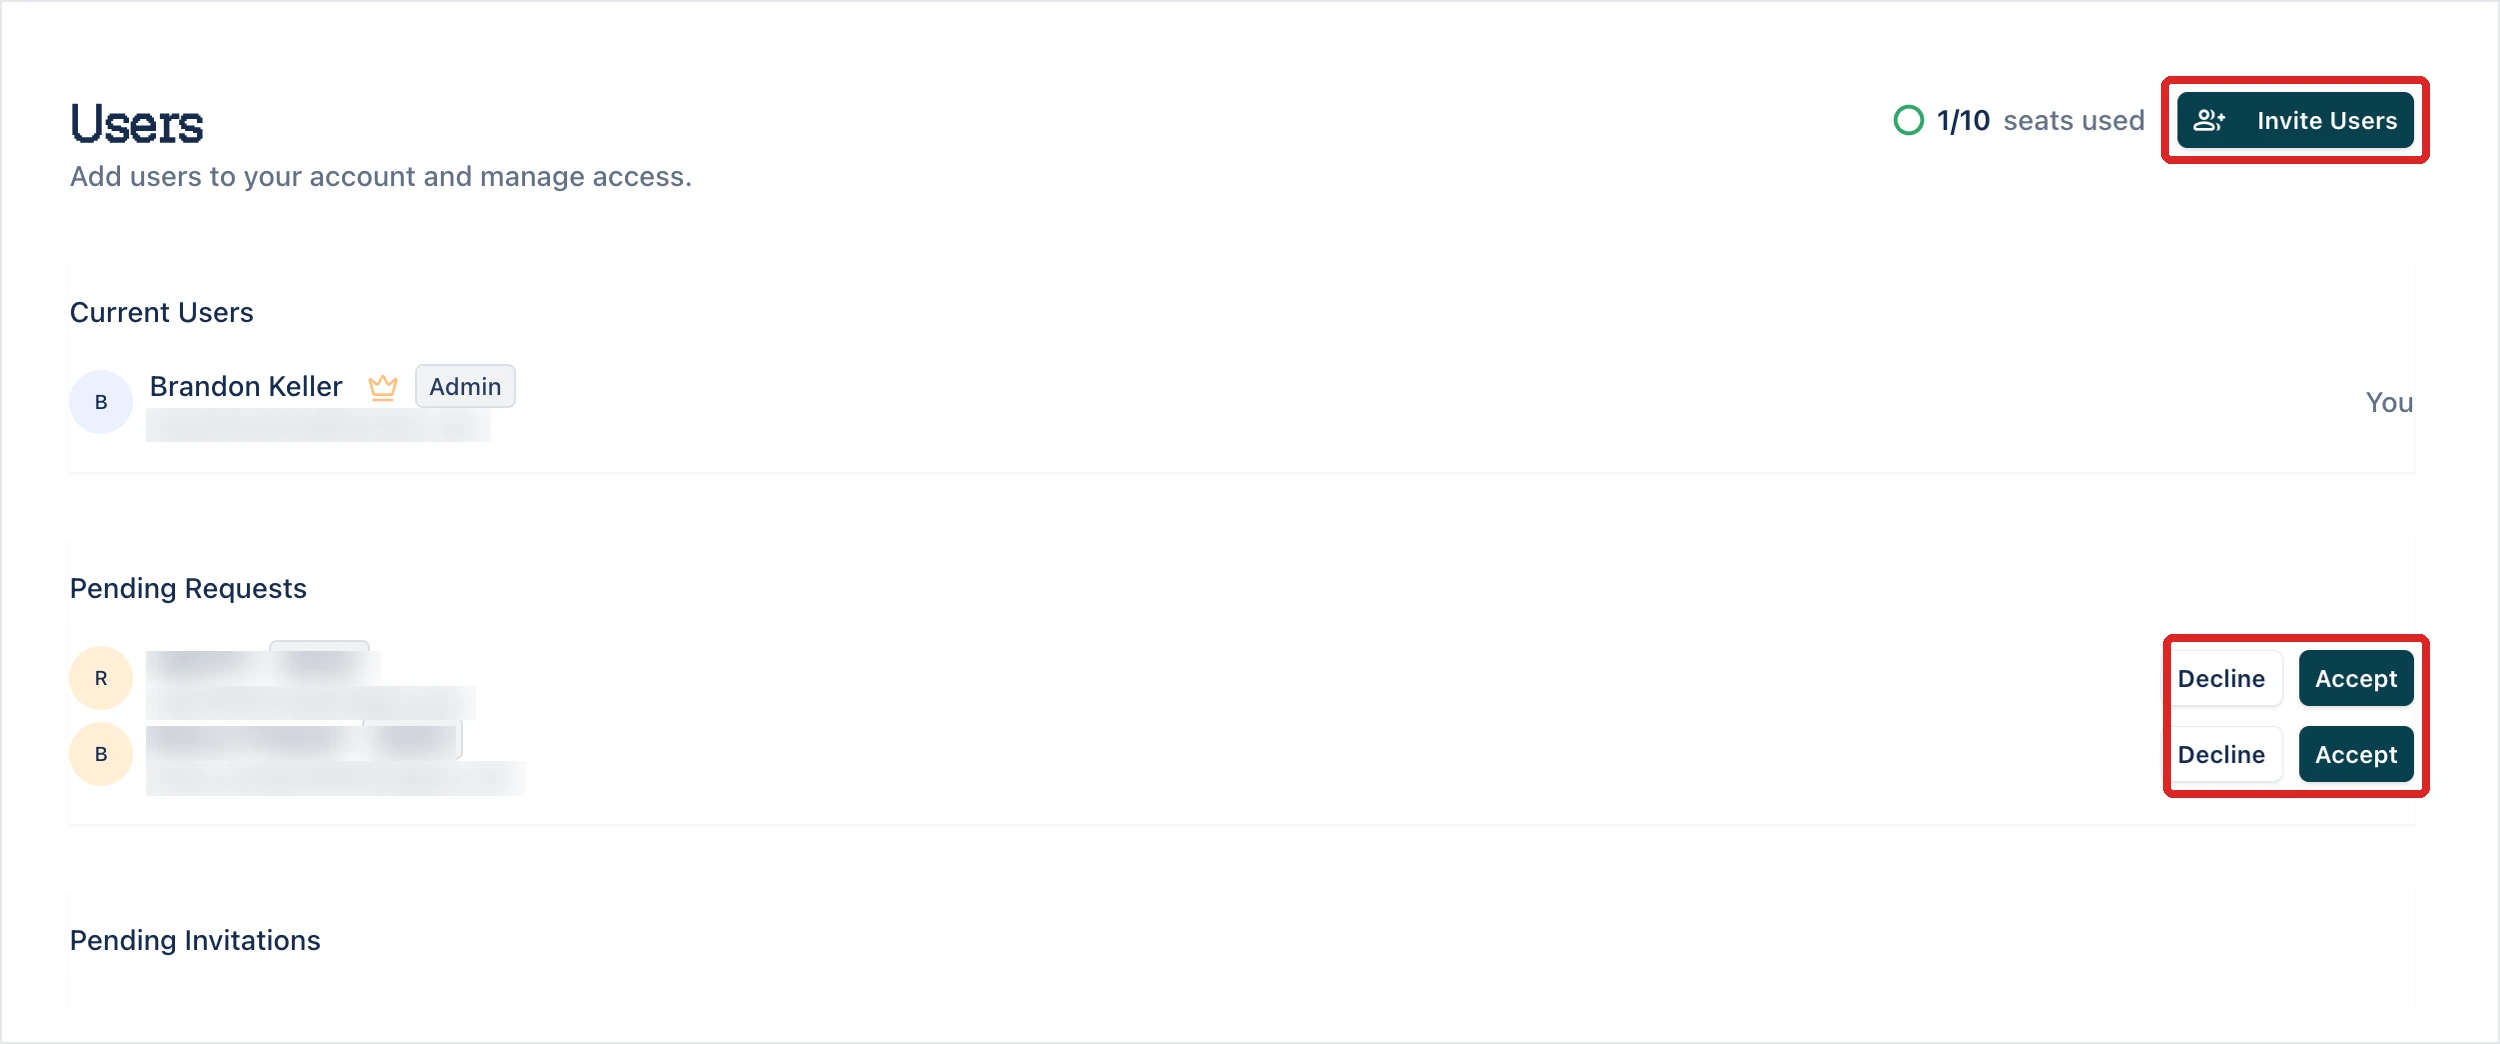
Add people to your Arcus account under Settings > Users. You can invite someone by email or accept a request they sent, and each person gets one role for the whole account. The Invite users icon at the bottom of the left navigation opens the same page.
You pick a role when you invite someone, and it applies to every project in the account.
- Admin: opens every page under Settings, including Users and Bills and Payments.
- Viewer: can open and read everything in the account, such as test cases, test plans, runs, and reports. A Viewer can’t create, change, delete, or run anything, and can’t add comments. A Viewer doesn’t use a seat.
A crown icon next to a name in Current Users marks an org owner. An account can have more than one.
Invite a user
Section titled “Invite a user”-
In the left navigation, go to Settings > Users.
-
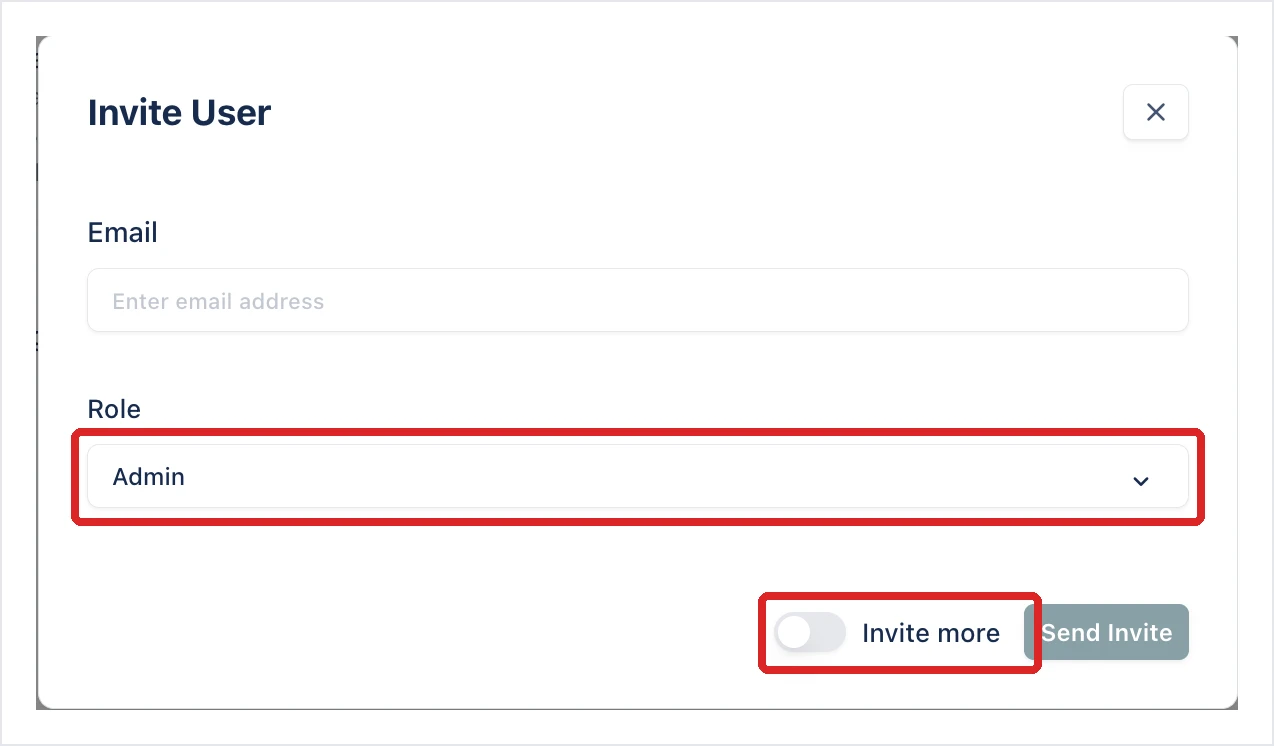
Click Invite Users. The Invite User dialog opens.
-
Enter the person’s Email.
-
In Role, select Admin or Viewer.
-
To invite another person straight after this one, turn on Invite more.
-
Click Send Invite.
The invitation is listed under Pending Invitations until the person activates their account. They then move to Current Users with the role you picked. To send the email again, click the more options icon (⋯) on the invitation, then click Resend Activation.
Accept or decline a request to join
Section titled “Accept or decline a request to join”People who already have a Testsigma account can ask to join yours. They click Request to join on your account’s card on their products page at id.testsigma.com, and the request appears under Pending Requests with a role chip beside the name. The chip is the role the person gets when you accept. You can’t change it before you accept. To change it afterwards, see Change a role or disable a user.
- To let the person in, click Accept. They move to Current Users.
- To refuse, click Decline. The request is removed.
The counter at the top of the page, for example “1/10 seats used”, counts the active users who hold a seat. Viewers, disabled users, pending invitations, and pending requests don’t use a seat. A person takes a seat when they activate their account or you accept their request.
When every seat is used, the page shows Every seat is filled with a button to add a seat or upgrade your plan. You can still send invitations, but a person with a role other than Viewer can’t join until a seat is free. Giving a Viewer a role that needs a seat fails with “All seats are in use. Add a seat to give this user a role that needs one.”
Change a role or disable a user
Section titled “Change a role or disable a user”Click the more options icon (⋯) on a user’s row under Current Users. Your own row shows You and has no options.
- Change Role: opens the Change User Role dialog. Select the role, then click Update Role. You can also change the role of a pending invitation.
- Disable User: click Disable User again to confirm. The person can no longer sign in and their seat is freed. Their row moves to Pending Invitations with an Account Disabled badge. To restore access, click the more options icon (⋯) on that row, then click Enable User.
- Add Org Owner or Revoke Org Owner: shown only to org owners.
Was this page helpful?
Thanks for the feedback.