

Create web test cases
Create a test case for a web app, then have Copilot automate it in a browser in the cloud or on your own computer. A test case has no app type of its own. You choose Web when you start a Copilot session, and again in the run configuration that runs the test case.
Create the test case
Section titled “Create the test case”-
Open Test Cases in the left navigation and open the folder the test case belongs in.
-
Click Create, or press
C. The dialog opens with Documentation selected as the template type and the folder you opened in the folder chip. -
Enter a title and, optionally, a description.
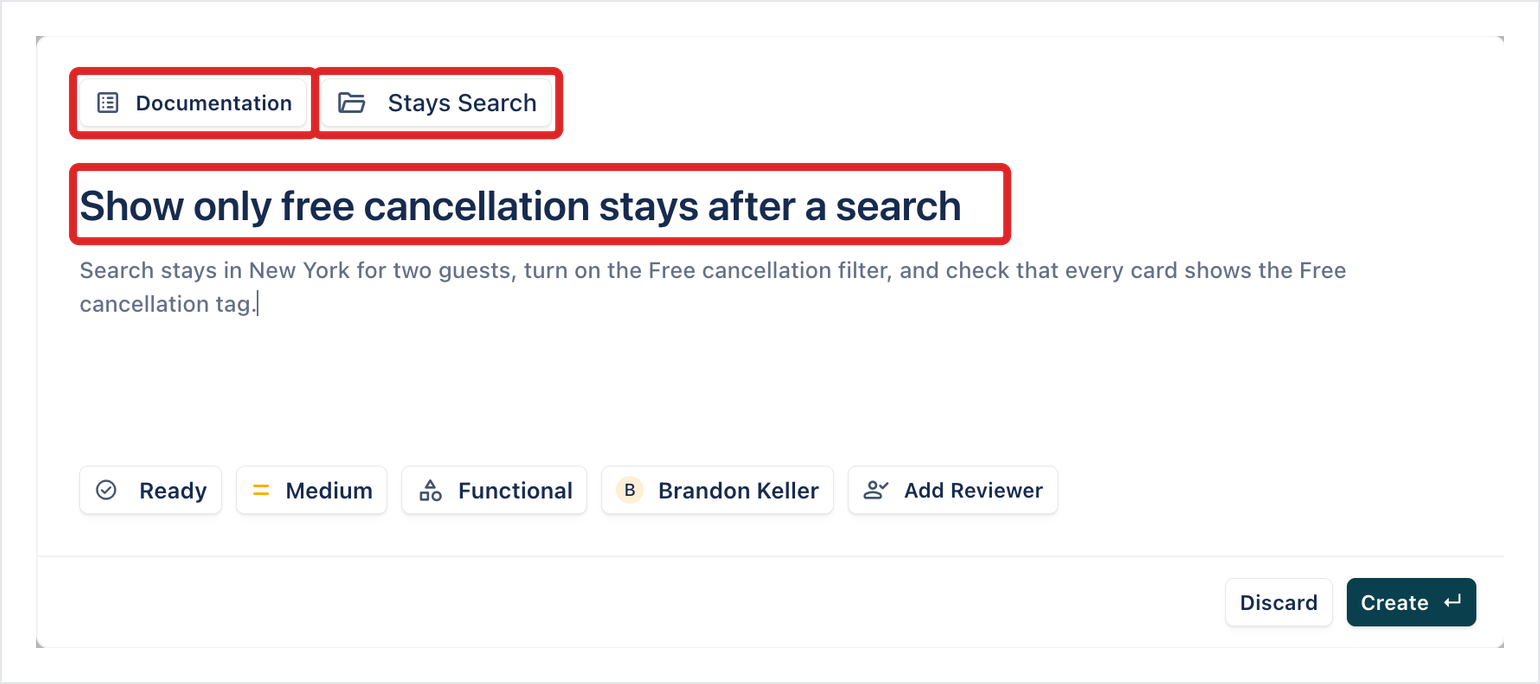
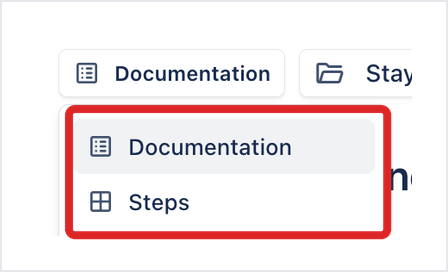
To change the template type, click the Documentation chip and select Steps. The dialog looks the same either way; the difference is in the test case editor. Documentation gives one free-text field each for preconditions, steps, and expected results. Steps gives a preconditions field and a list of separate steps, each with its own expected result.
-
If the folder chip reads Select a Folder, click it, select a folder, and click Select Folder. Without a folder, Arcus shows “Folder is Required” and doesn’t create the test case.
-
Click Create. The test case opens on the Details tab.
-
(Optional) To have Copilot learn the steps, enter the manual steps under Steps. Arcus saves them automatically.
For the template types and the other properties in the dialog, see Manage test cases.
Start a Copilot session
Section titled “Start a Copilot session”-
Open the Automated steps tab. If the test case has manual steps, click Learn with Copilot. Otherwise, click Author with Copilot. The Copilot configuration panel opens.
-
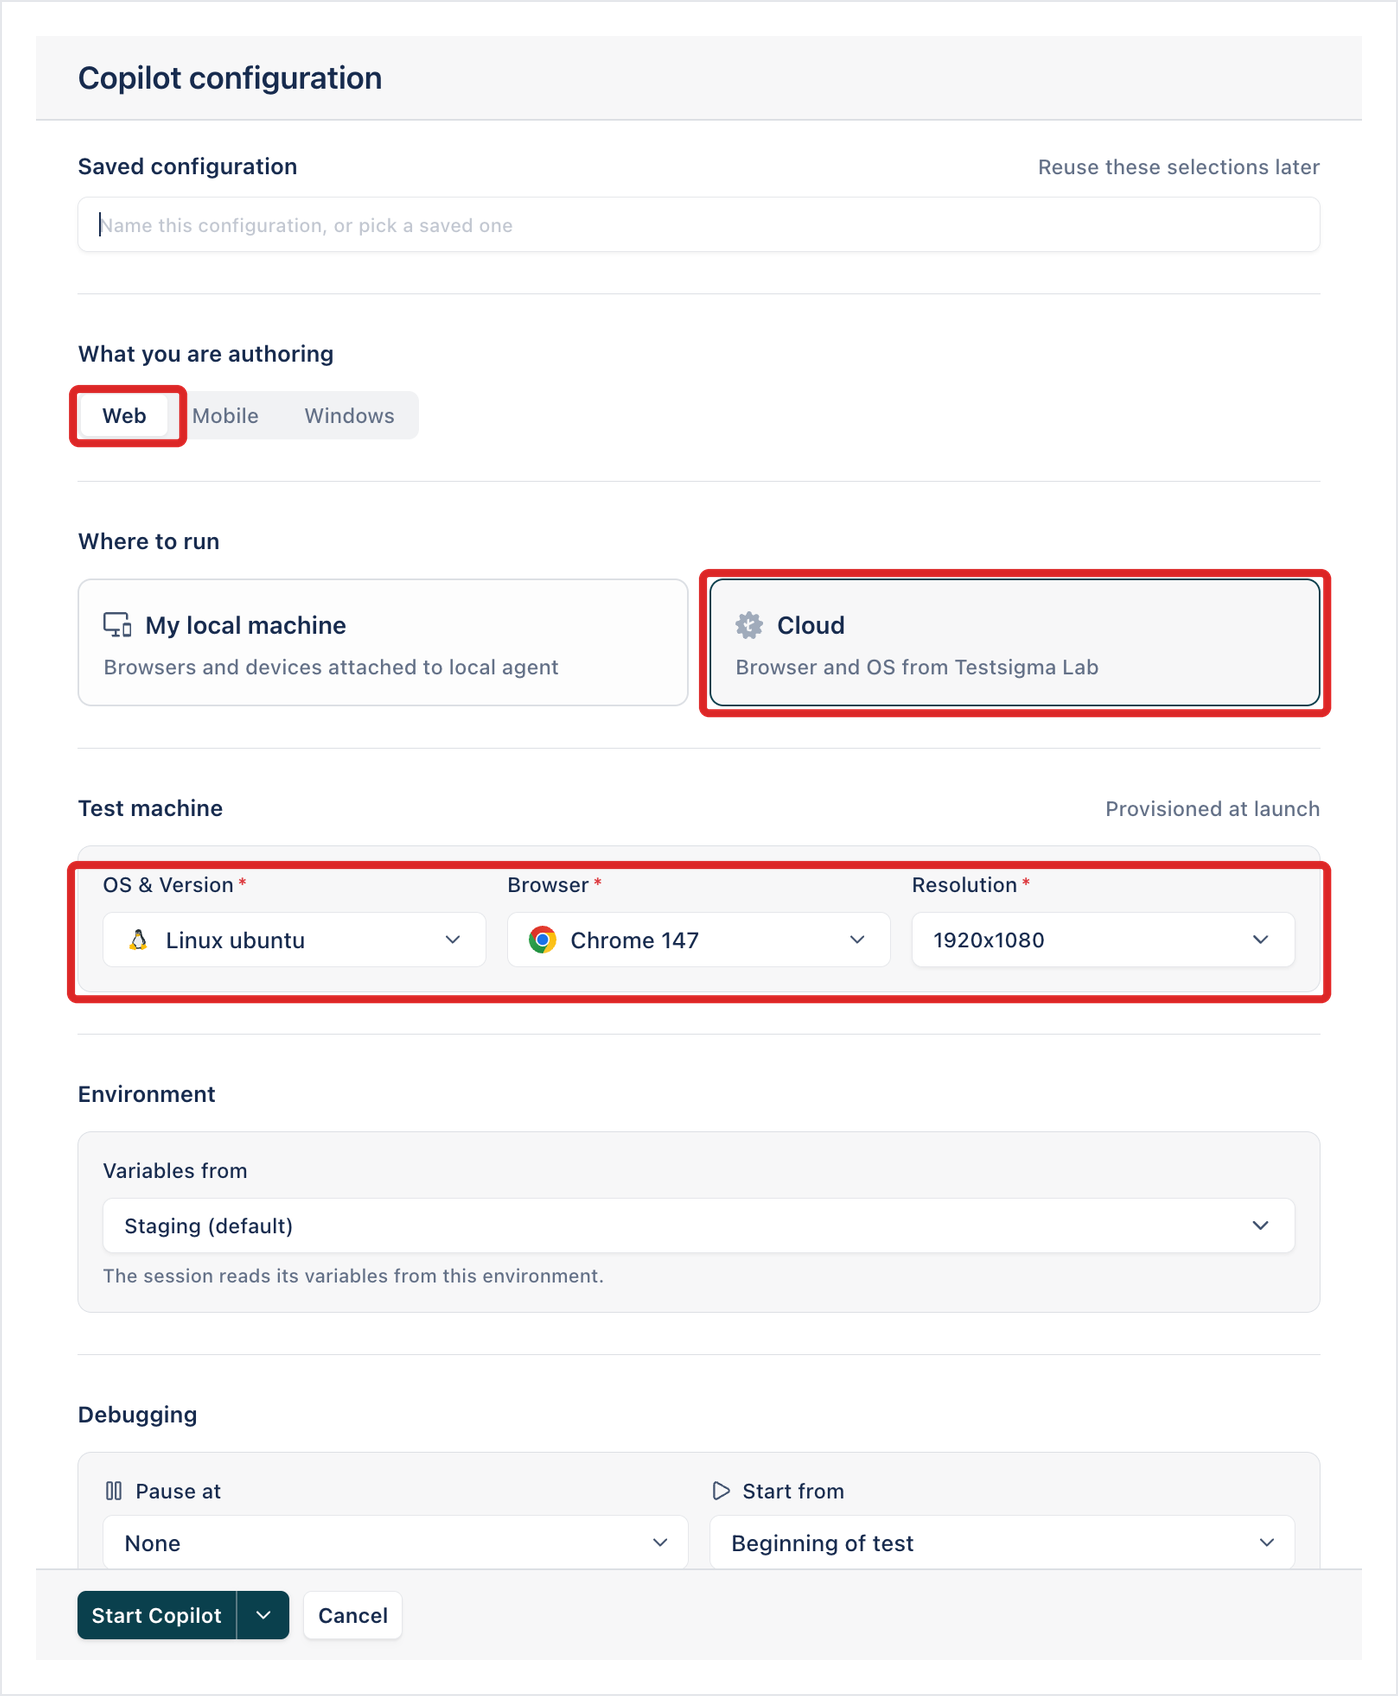
In What you are authoring, select Web.
-
In Where to run, select Cloud or My local machine.
-
Under Test machine, choose the browser:
- Cloud: select the OS & Version, Browser, and Resolution. Arcus provisions the machine when the session starts.
- My local machine: select a browser in Browser on this machine. The Arcus Agent must be running on your computer. See Install the Arcus Agent.
-
If the app’s URLs or credentials come from an environment, select it in Variables from. The section appears once the project has an environment.
-
Click Start Copilot. The session opens in a new browser tab and shows “Spinning up your cloud browser” or “Starting your local session”. When the browser is ready, the Copilot panel sits beside it.
For every setting in the panel, see Copilot configuration. If a local Chrome opens its store page for the Testsigma Recorder extension, see Record and author.
Record the steps
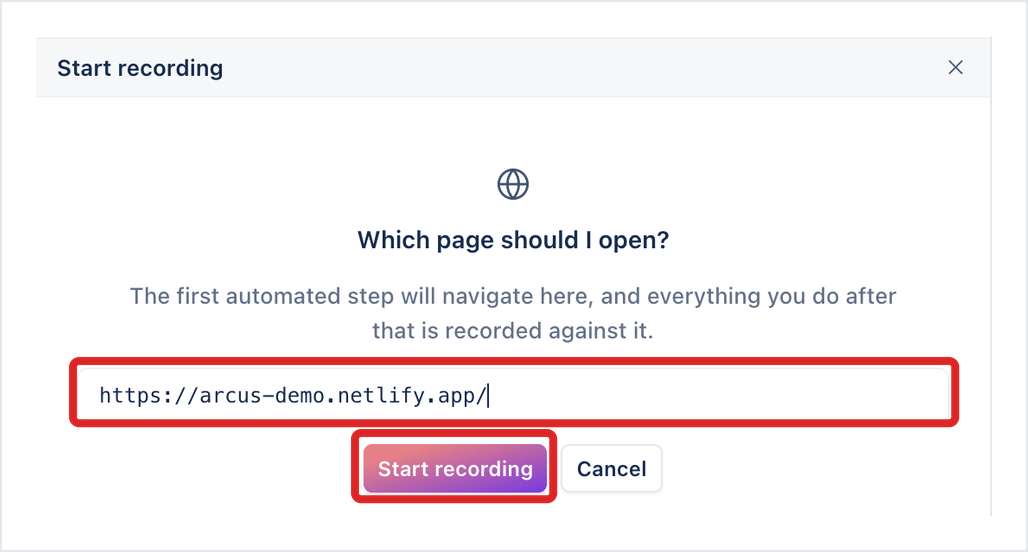
Section titled “Record the steps”If you clicked Author with Copilot, the session asks Which page should I open?
-
Enter the address of the page where the test starts.
-
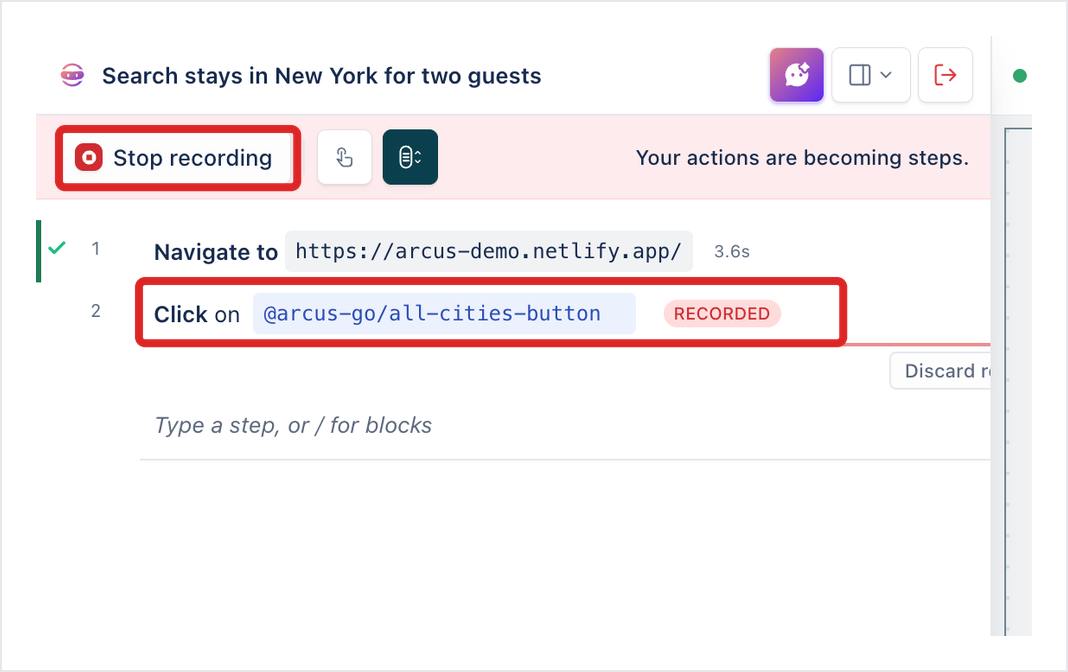
Click Start recording. Copilot adds a Navigate to step for the page, runs it, and starts recording. The banner reads “Your actions are becoming steps.”
-
Use the app in the browser. Each click, entry, and scroll appears in the step list marked RECORDED.
-
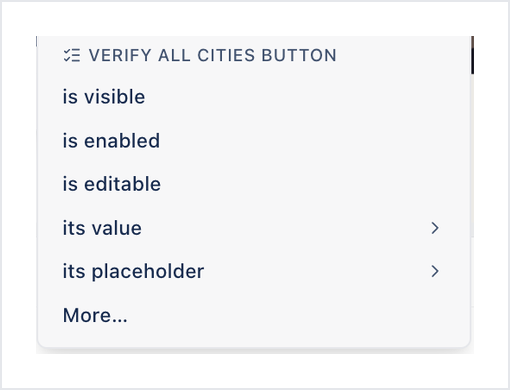
(Optional) To add a check, hover over an element in the browser. The card that appears names the element and its locator. Click Verify and select a check, such as is visible. Store saves a value from the element for later steps.
-
Click Stop recording.
To remove a step you didn’t mean to record, hover over it, click the ellipsis icon (⋮), and click Delete. Arcus deletes it at once, without a confirmation. For what each action records, see Record and author.
Learn the steps
Section titled “Learn the steps”If you clicked Learn with Copilot, click Start learning in the Copilot panel. Copilot runs the manual steps in the browser and writes the automated steps. See Learn with Copilot.
Check and save the steps
Section titled “Check and save the steps”-
Click Restart execution. Copilot runs every step from the start. Each step that passes shows a check mark and its duration, and the footer reads “Paused at the end of the test”.
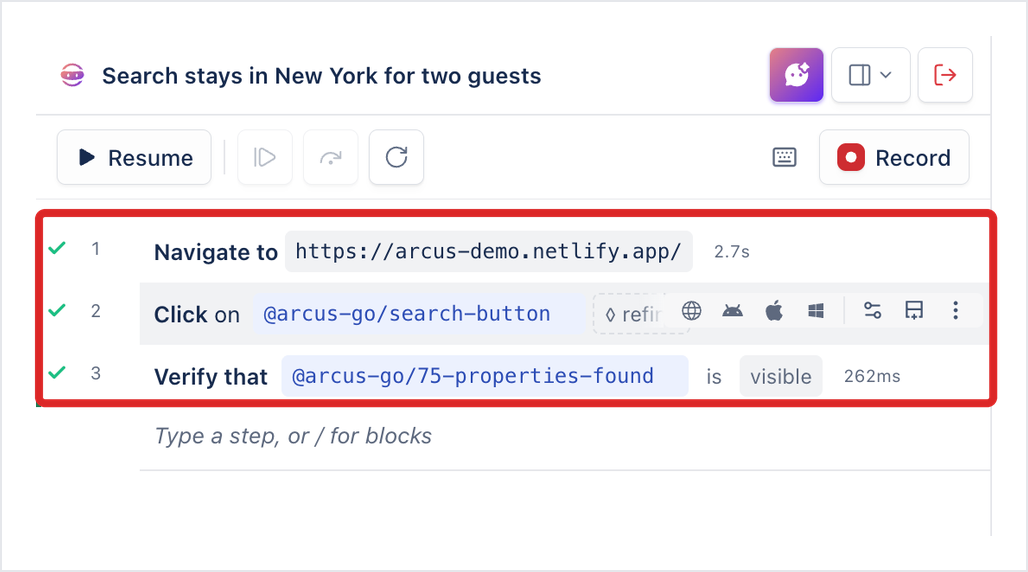
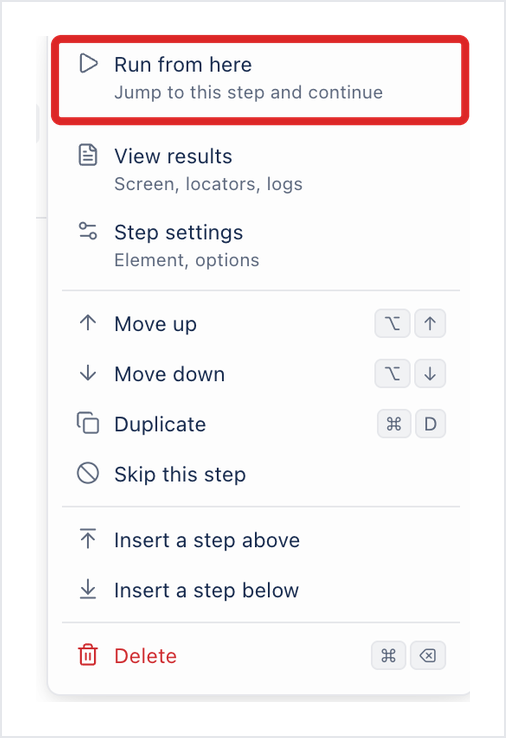
If a step fails, fix it, then click the ellipsis icon (⋮) on the step and click Run from here.
-
Click the exit icon at the top of the Copilot panel.
-
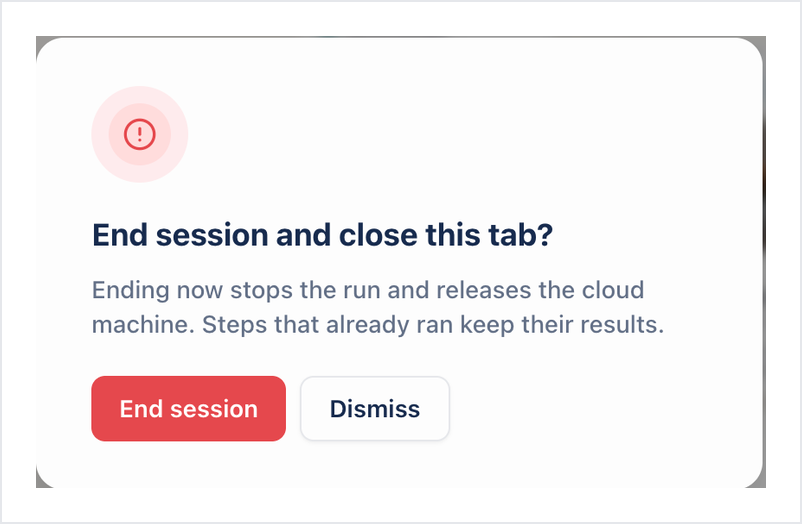
In End session and close this tab?, click End session. On Cloud, Arcus releases the cloud machine.
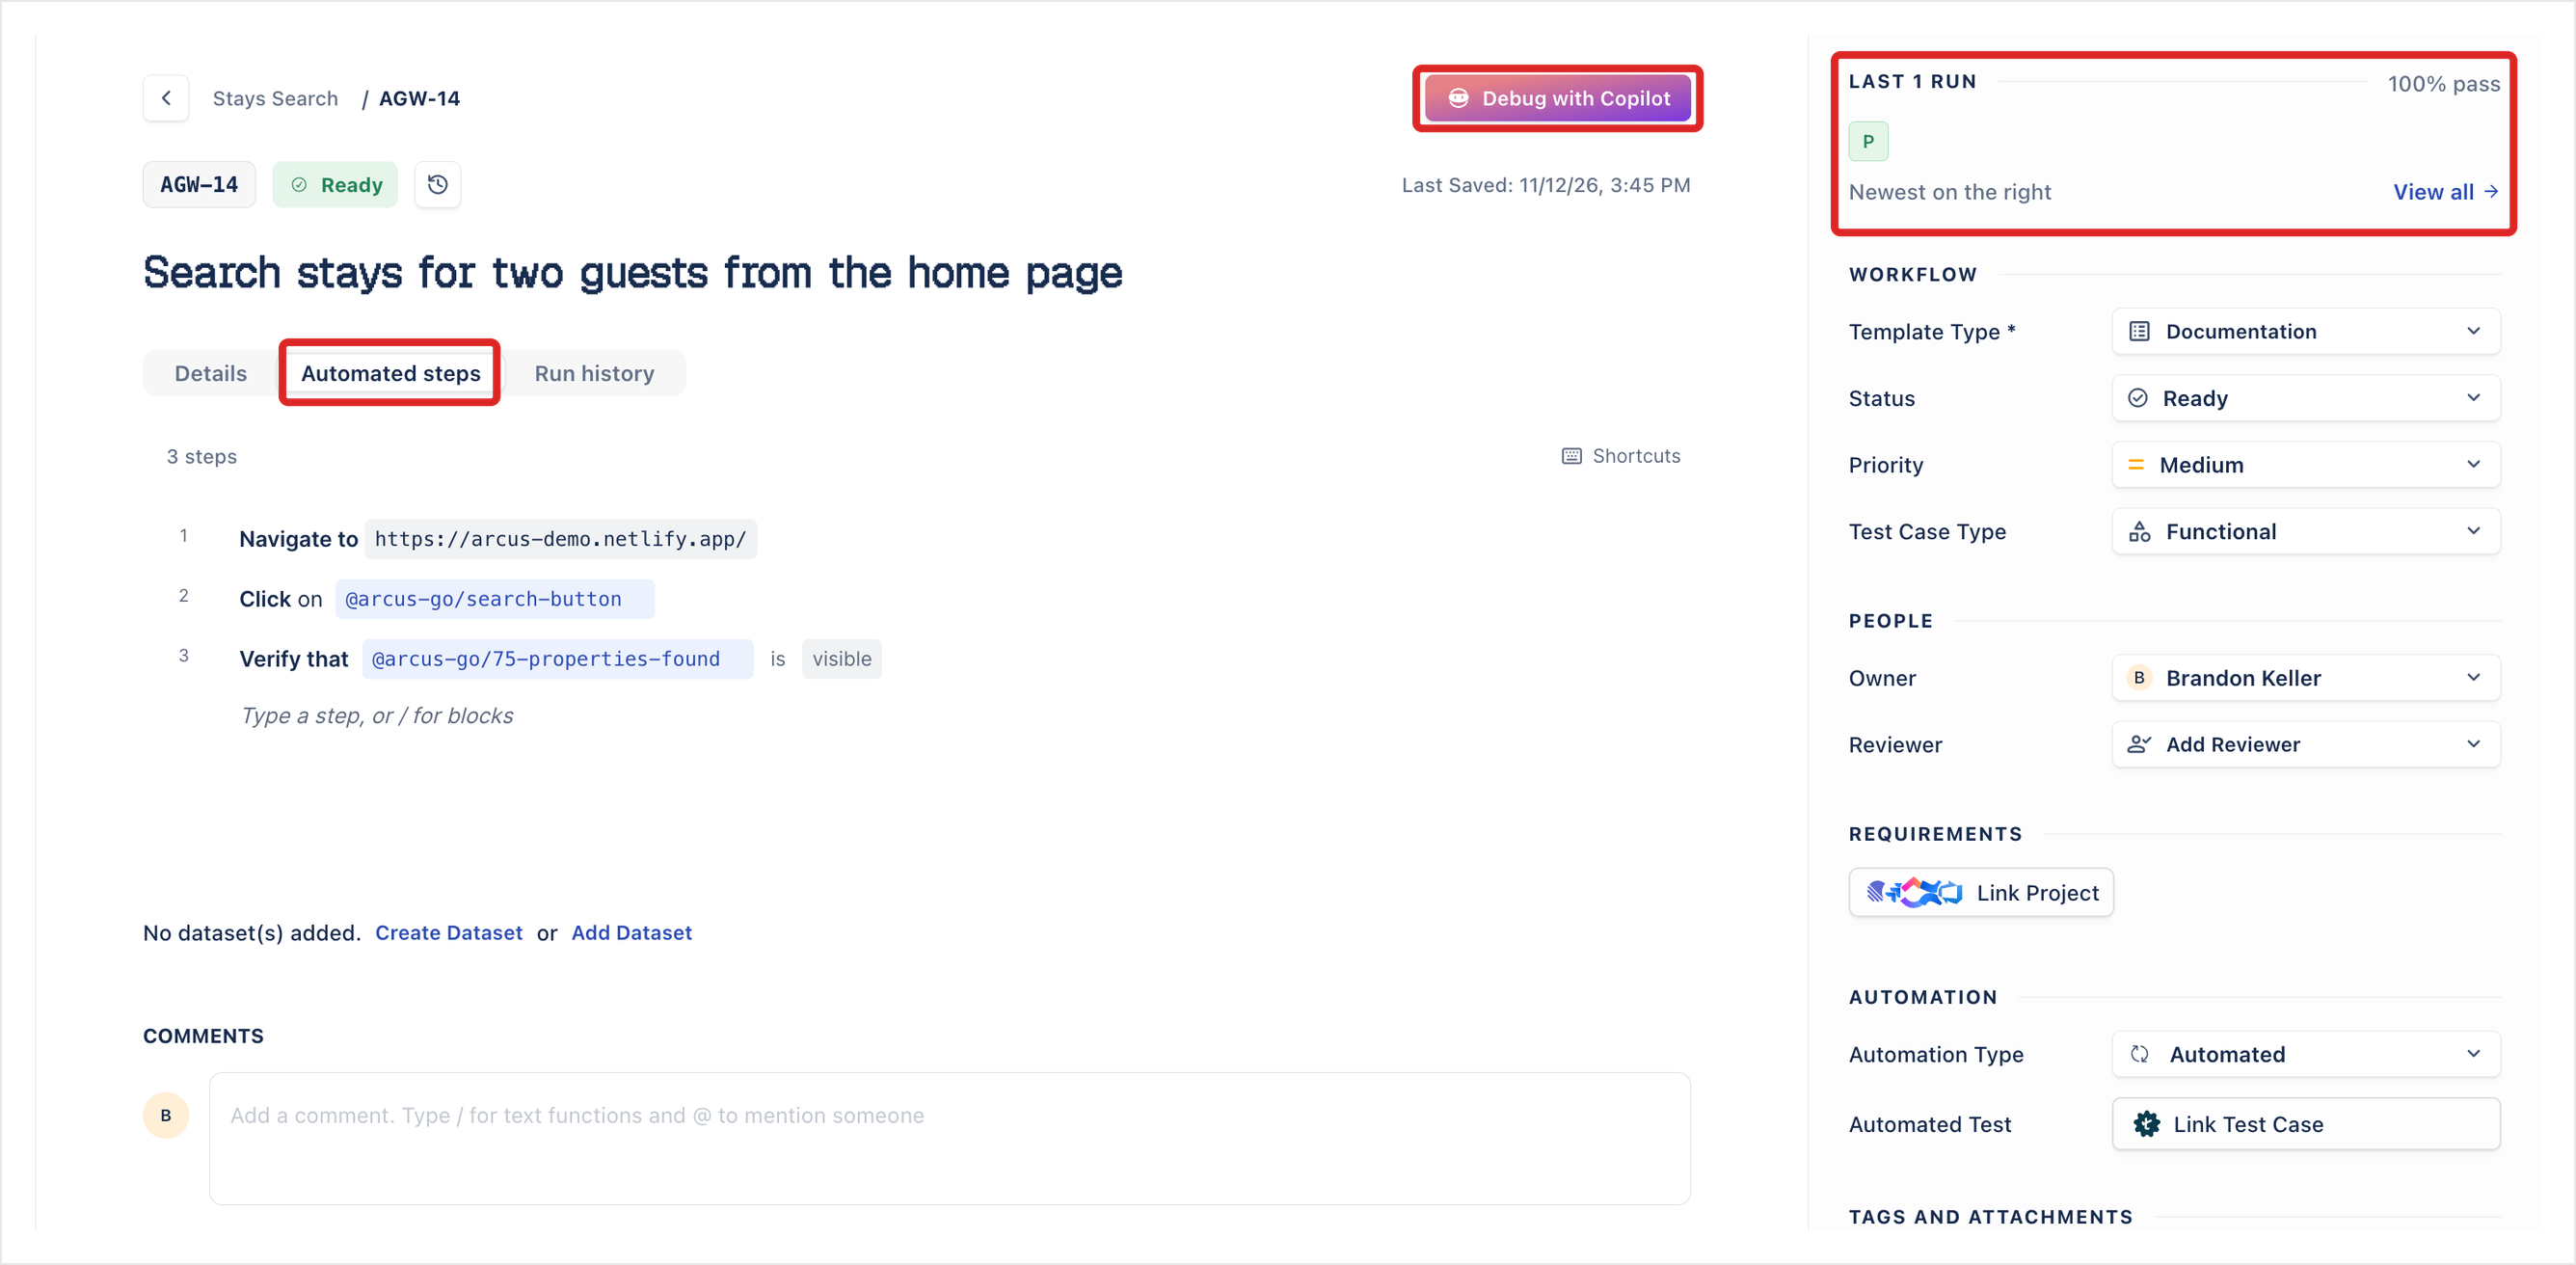
Back on the test case, the Automated steps tab lists the steps, Automation Type shows Automated, and the header shows Debug with Copilot. The session appears in LAST 1 RUN at the top of the right panel and on the Run history tab as a Copilot run. If the steps don’t show yet, refresh the page.
Run the test case
Section titled “Run the test case”Add the test case to a test run or a run template with a run configuration for Web. See Web configurations.
To replay or fix the steps later, click Debug with Copilot on the test case. See Debug and run with Copilot.
Was this page helpful?
Thanks for the feedback.