

Record and author
Record what you do in your app as automated steps. Each action you take in the session’s browser becomes a step, with an element named for what you clicked.
Start recording
Section titled “Start recording”Start a recording from any of these:
-
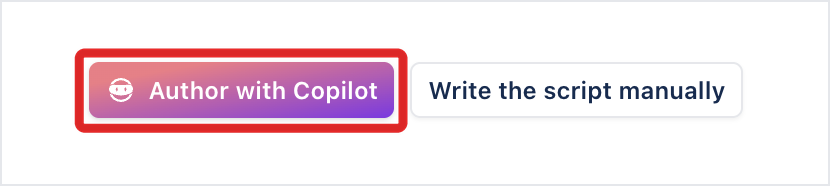
Author with Copilot, on the Automated steps tab of a test case with no manual steps.
-
Record and author, in a learning session instead of Start learning.
-
Record, in the toolbar of any Copilot session.
Author with Copilot opens the Copilot configuration first. Choose Where to run, then click Start Copilot. See Copilot configuration. The session opens on Start recording. In a session that’s already open, Record starts recording straight away.
Choose the first page
Section titled “Choose the first page”-
Under Which page should I open?, enter the address of the page where the test starts.
-
Click Start recording.
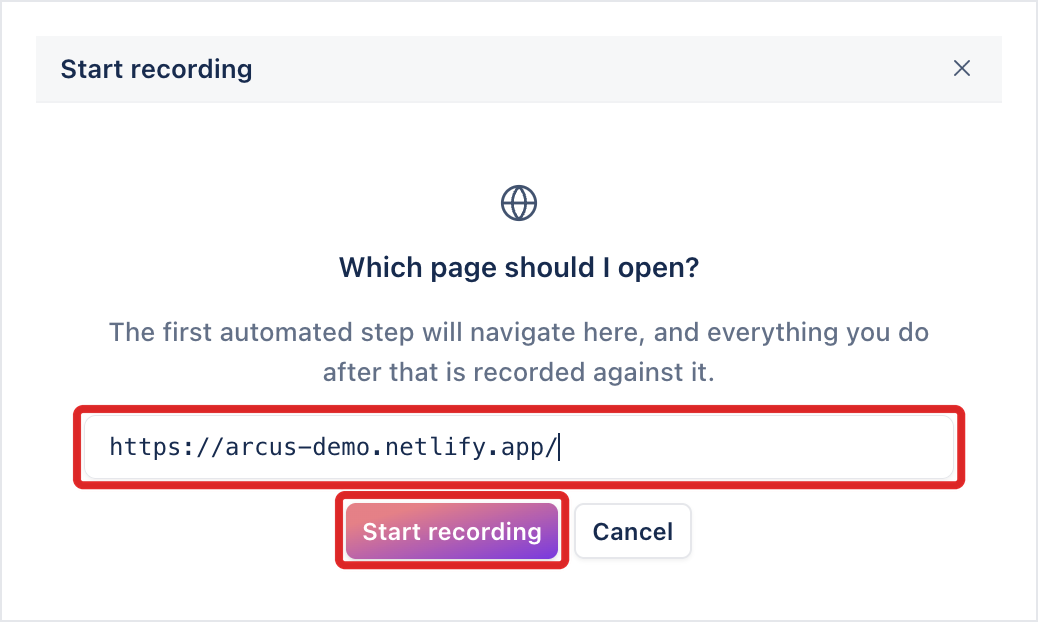
Copilot adds a Navigate to step for that page, runs it, and starts recording.
Record your steps
Section titled “Record your steps”Use the app in the session’s browser. Each action appears in the step list as you make it, tagged RECORDED, with an element named for what you acted on. Selecting a radio button or a checkbox records a Check step, such as Check @arcus-go/budget-radio-button.
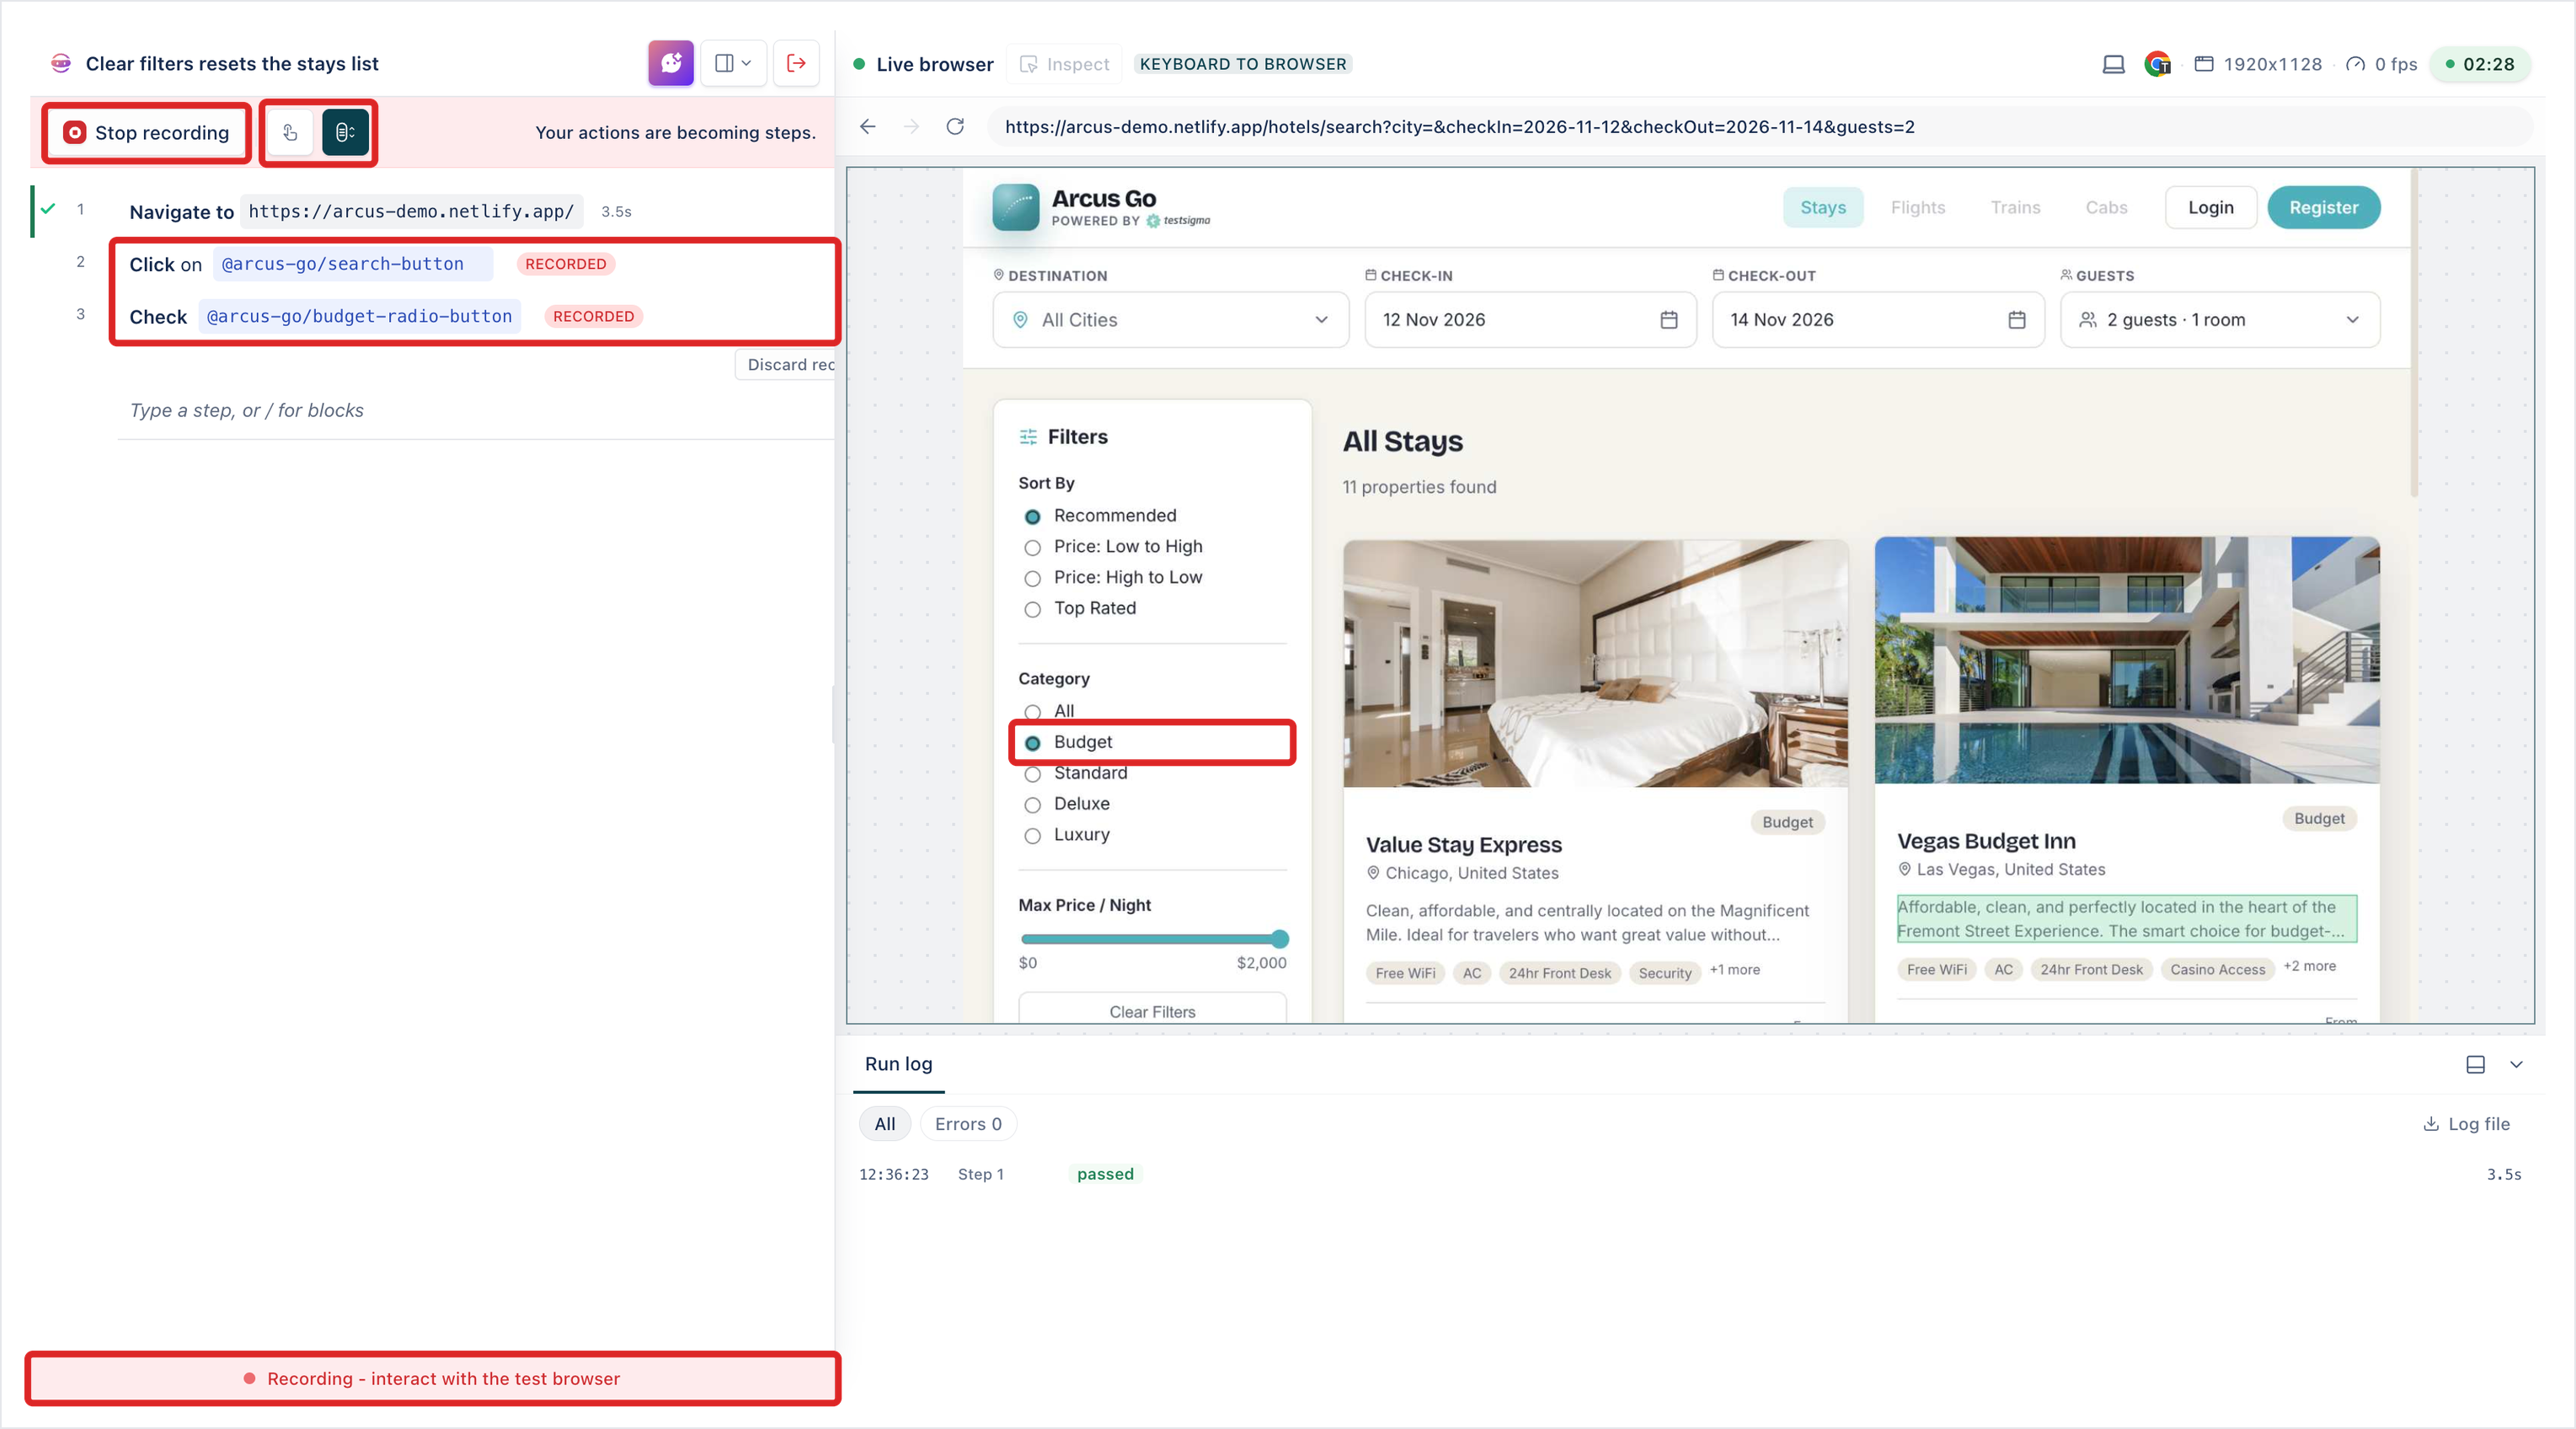
While you record, two toggles in the toolbar control what’s captured:
- Record clicks as hover steps: records a click as a hover. Off by default.
- Record scrolling as steps: records scrolling. On by default.
In a paused session, recorded steps are inserted after the paused step. While you record, the status bar reads Recording - interact with the test browser.
Add a check while you record
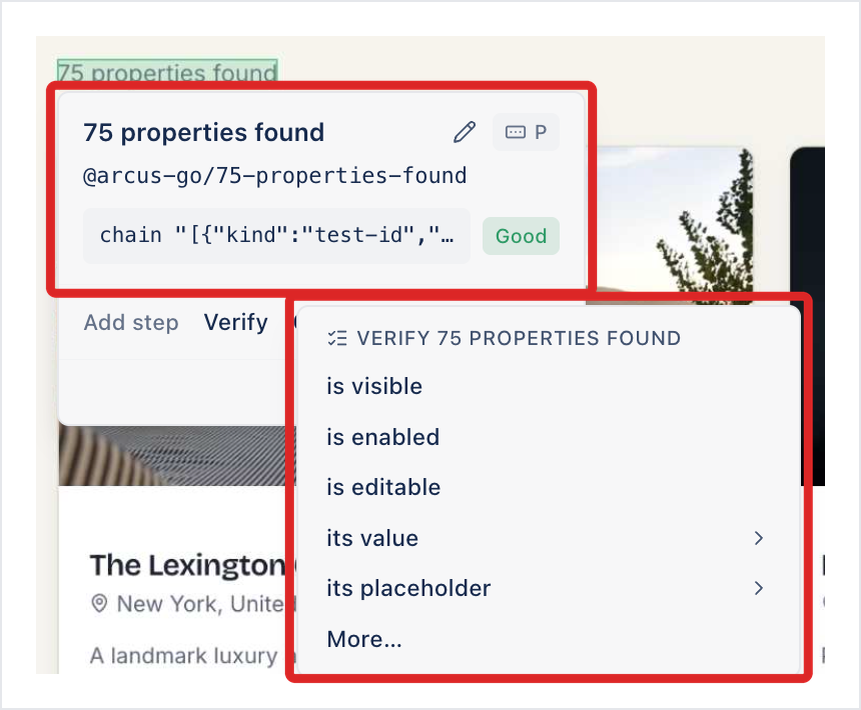
Section titled “Add a check while you record”Point at an element in the browser to see its card: the element’s name and type (such as Heading or Image), its element name, its locator with a quality grade such as Good, and Add step actions: Verify, Click, Store, and Hover.
To add a check, click Verify and choose what to verify: is visible, is enabled, is editable, its value, its placeholder, or More…. The step is added to the recording, such as Verify that the element is visible.
Stop recording
Section titled “Stop recording”Click Stop recording. Everything you did stays as steps. To throw the recording away instead, click Discard recording below the recorded steps.
To check the steps work, click Restart execution. Copilot runs every step from the start, each step that passes shows a tick, and the Run log lists each result.
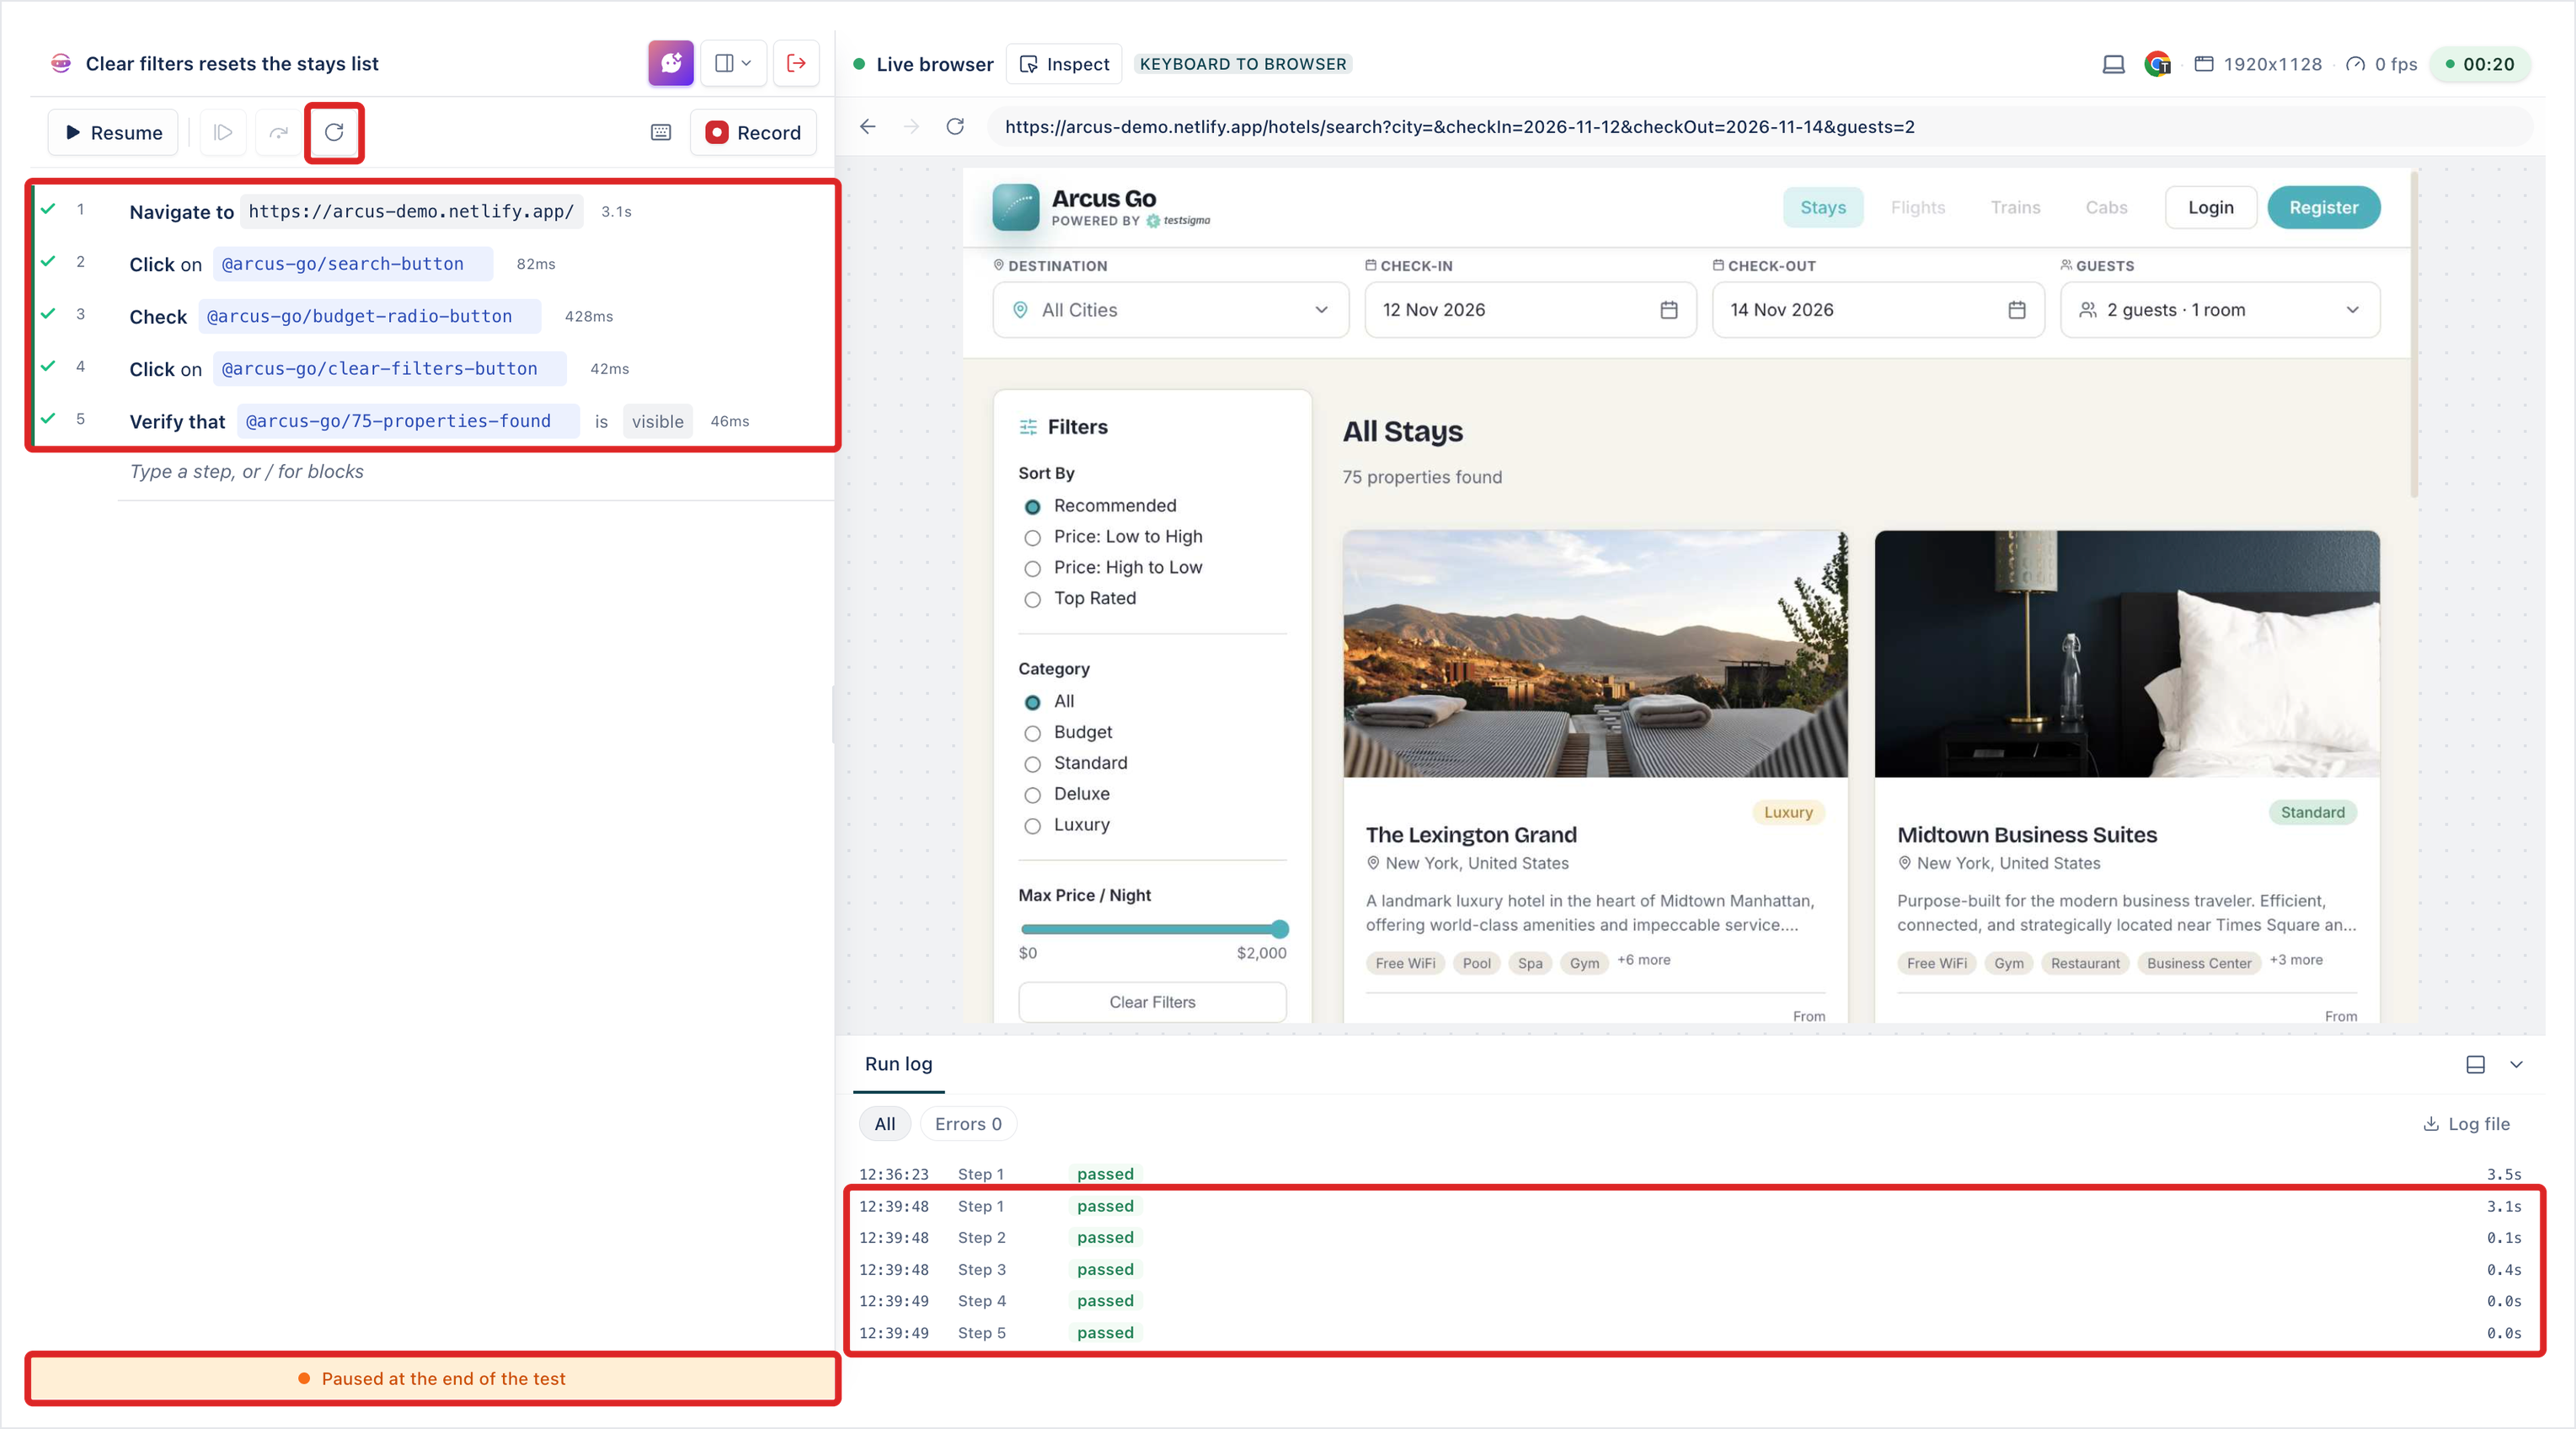
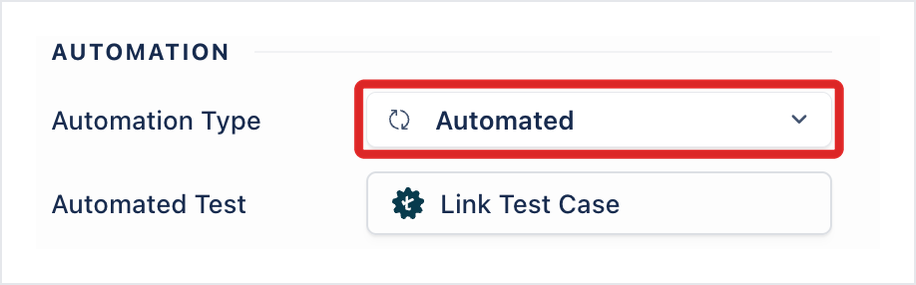
When you end the session, the steps are saved to the test case, and its Automation Type changes to Automated. Recording doesn’t change the test case’s manual steps.
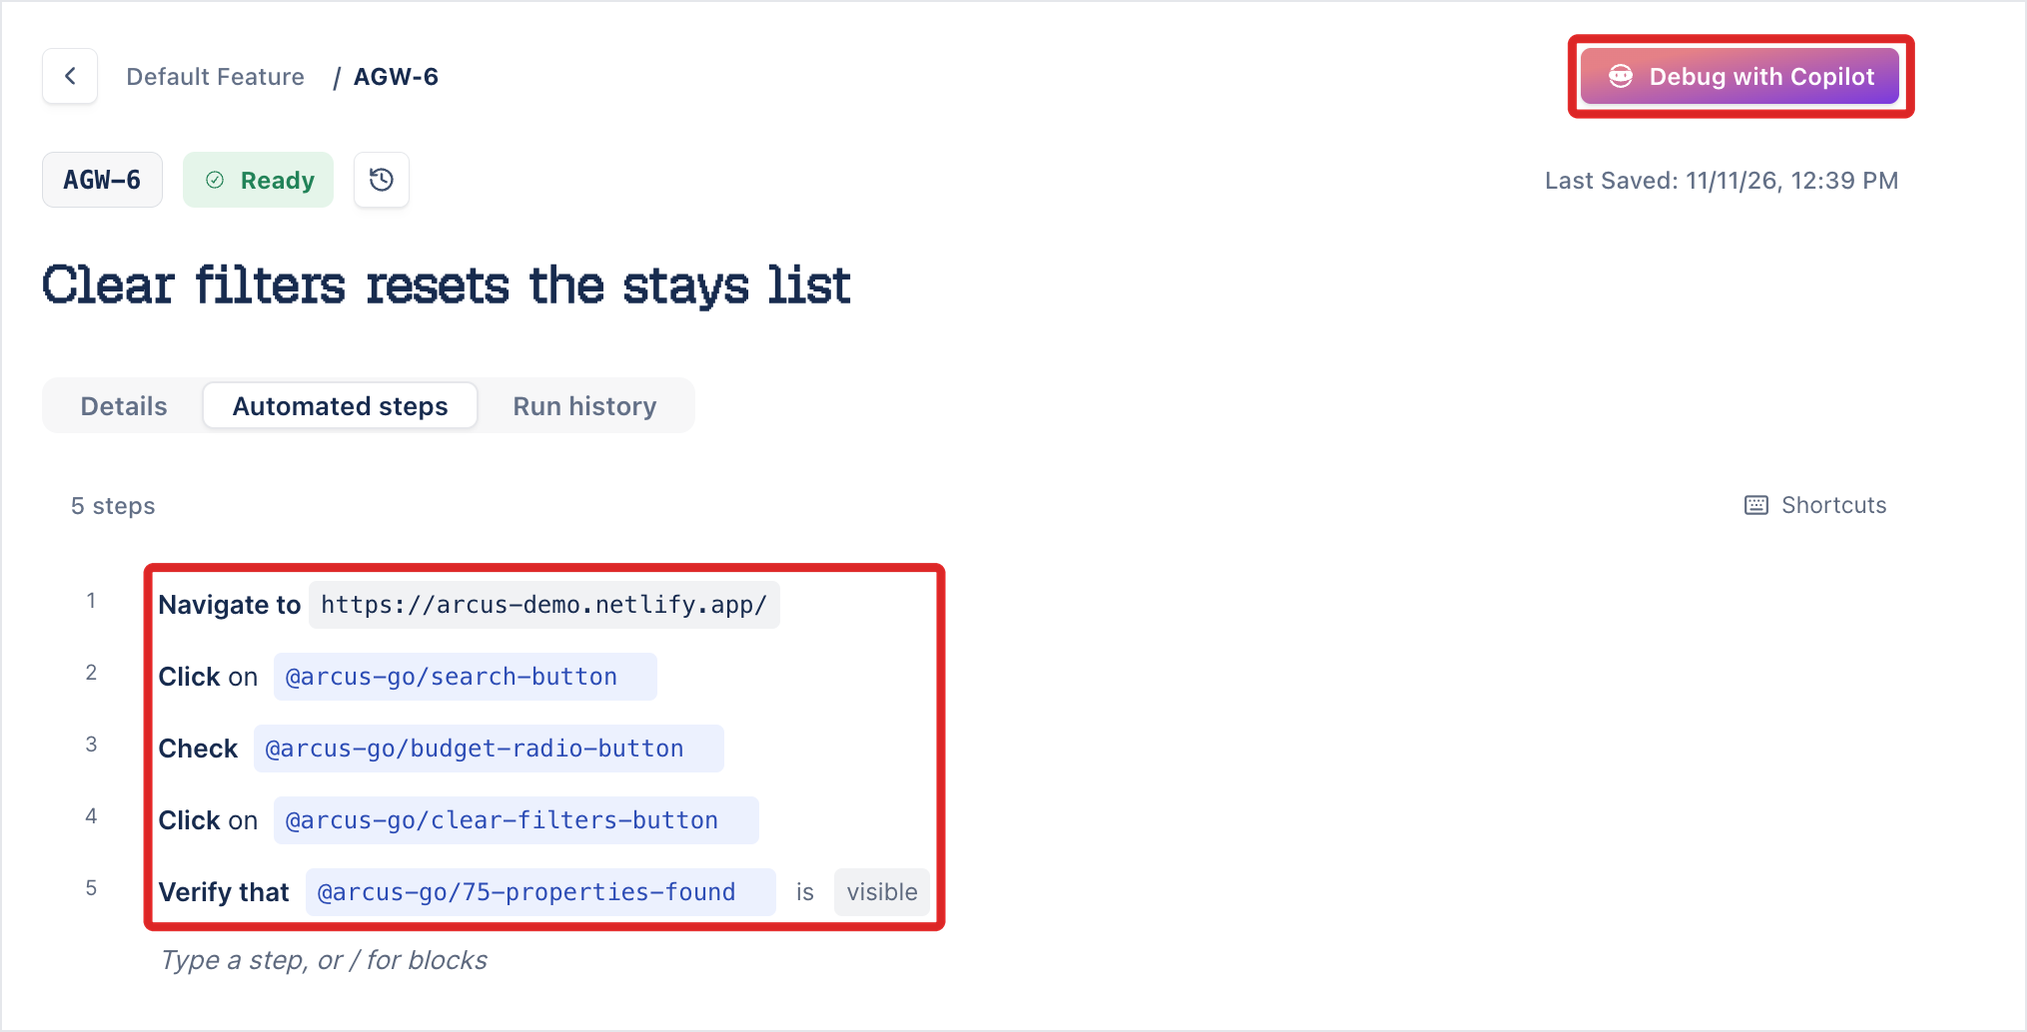
The test case header then shows Debug with Copilot. See Debug and run with Copilot.
Troubleshooting
Section titled “Troubleshooting”The browser opens the Testsigma Recorder page
Section titled “The browser opens the Testsigma Recorder page”On your own machine, the session’s Chrome can open the Chrome Web Store page for the Testsigma Recorder extension. Add the extension from that page, then start recording again. Sessions on Testsigma Lab don’t show this page.
Was this page helpful?
Thanks for the feedback.