

Create desktop test cases
Create a test case for a Windows desktop application, then record its automated steps with Copilot on your own Windows computer. A test case has no app type of its own. You choose Windows when you start a Copilot session, and again in the run configuration that runs the test case.
Create the test case
Section titled “Create the test case”- Open Test Cases in the left navigation and open the folder the test case belongs in.
- Click Create, or press
C. The dialog opens with Documentation selected as the template type and the folder you opened in the folder chip. - Enter a title and, optionally, a description.
- If the folder chip reads Select a Folder, click it, select a folder, and click Select Folder. Without a folder, Arcus shows “Folder is Required” and doesn’t create the test case.
- Click Create. The test case opens on the Details tab.
For the template types and the other properties in the dialog, see Manage test cases. Only test cases with the status Ready can be added to test runs and run templates.
Start a Windows session
Section titled “Start a Windows session”If My Local Device shows Needs attention, Copilot can’t start a session. Fix the agent first. See Needs attention.
-
Open the Automated steps tab and click Author with Copilot. The Copilot configuration panel opens.
-
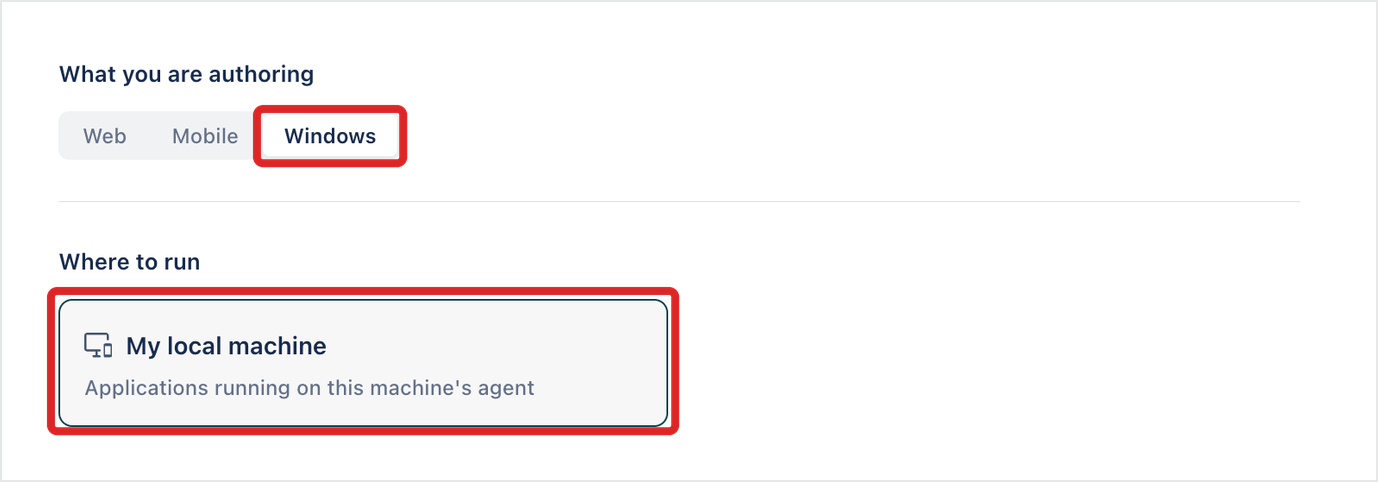
In What you are authoring, select Windows. Where to run offers only My local machine, described as “Applications running on this machine’s agent”.
-
(Optional) Set Debugging, Copilot Behaviour, and Additional settings. See Copilot configuration.
-
Click Start Copilot. The session opens in a new browser tab and shows “Starting your local session” while the Arcus Agent prepares it.
When the session is ready, the Choose the application to record panel opens beside the steps. If you close it, click Pick the application to record to open it again.
Copilot can’t learn steps for Windows test cases. It learns only web, Android, and iOS test cases. Record the steps for a Windows test case yourself, even when it has manual steps.
Choose the application to record
Section titled “Choose the application to record”- In Application technology, select what the application is built with. For WinForms, WPF, Win32, and WebView2 applications, select UIA (WinForms, WPF, Win32, WebView2). Choose it before you pick the application.
- Select Open an application by path.
- In Executable path, enter the full path of the application’s
.exefile. - (Optional) In Arguments (optional), enter the command-line arguments the application starts with.
- Click Open and record. The Arcus Agent opens the application, and Copilot adds a Launch the Windows application step for it. If the application at that path is already running, the agent attaches to it instead of opening a second copy.
To record an application that’s already open, select Attach to a running application instead. To record more than one application in the same session, click Record another application.
Record the steps
Section titled “Record the steps”- Switch to the application and perform the test. Each action appears in the Copilot panel as a step marked RECORDED, with an element named after the application and the control.
- After you type in a field, press
TaborEnterbefore you move to another control. The recording banner reads “Commit a field with Tab or Enter before moving on.” - When you finish, click Stop recording.
The Applications list shows the application being recorded, with its window title, executable, and process ID, and Recording here beside it. If you close the application, its row shows exited and a Reopen button.
Save the steps
Section titled “Save the steps”- Click the Stop the run and go back to editing icon at the top of the Copilot panel.
- In End session and close this tab?, click End session.
Back on the test case, the Automated steps tab shows the recorded steps, and Automation Type shows Automated.
Replay the steps
Section titled “Replay the steps”- On the test case, click Debug with Copilot.
- In What you are authoring, select Windows.
- Click Start Copilot. Copilot opens the application again and runs each step. Each step that passes shows a check mark and its duration.
Failed steps, step results, and element details appear as they do for web test cases, with Windows locators instead of web locators. See Debug and run with Copilot.
Run the test case
Section titled “Run the test case”Before you add a Windows computer to a run configuration, sign in its Arcus Agent and move it to a profile used for execution. A new agent starts on the Default profile, which is used for authoring only. See Change the machine’s profile.
- Create a run configuration with Windows in What you are authoring and Local Agent in Where to run.
- In Agent, select the Windows computer.
- Use the run configuration in a test run or a run template.
Was this page helpful?
Thanks for the feedback.