- create test cases
 Organizing Test Cases in Folders
- Test Cases for Web Applications
- Test Cases for Mobile Applications
- Test Cases for Mobile Web Applications
- Manage Test Cases for Web Applications
- Manage Test Cases for Android & iOS Apps
- Manage Test Cases for Mobile Web Applications
- Test Case List Actions
- Importing Postman Collections and Environments
- Custom Fields for Test Cases
- Label Management
- Update Test Case Result in a Test Plan
- Test Case: Advanced Options Guide
- Test Step Types
- Type: Natural Language
- Type: REST API
- Type: Step Group
- Type: For Loop
- Type: While Loop
- Type: Block
- Type: If Condition
- Nested Step Groups
- Image Injection
- Cross-application testing
Test Cases for Mobile Applications
Using Testsigma, you can easily create test cases for android & iOS applications using Atto and the AI-powered Copilot. This article walks you through all four approaches to help you get started quickly.
Prerequisites
Before you begin, ensure that:
You have referred to the Documentation on creating projects. You have referred to the Documentation on creating folders. Testsigma Terminal is installed, and a local device is connected and available as a Test Machine. The application file (APK for Android or IPA for iOS) is available and uploaded as an App Source. You have referred to the Documentation on creating Elements.
Steps to Generate Test Cases Using Atto
Please refer to the documentation on generating test cases using Atto for Mobile applications.
Steps to Generate Test Cases Using Copilot
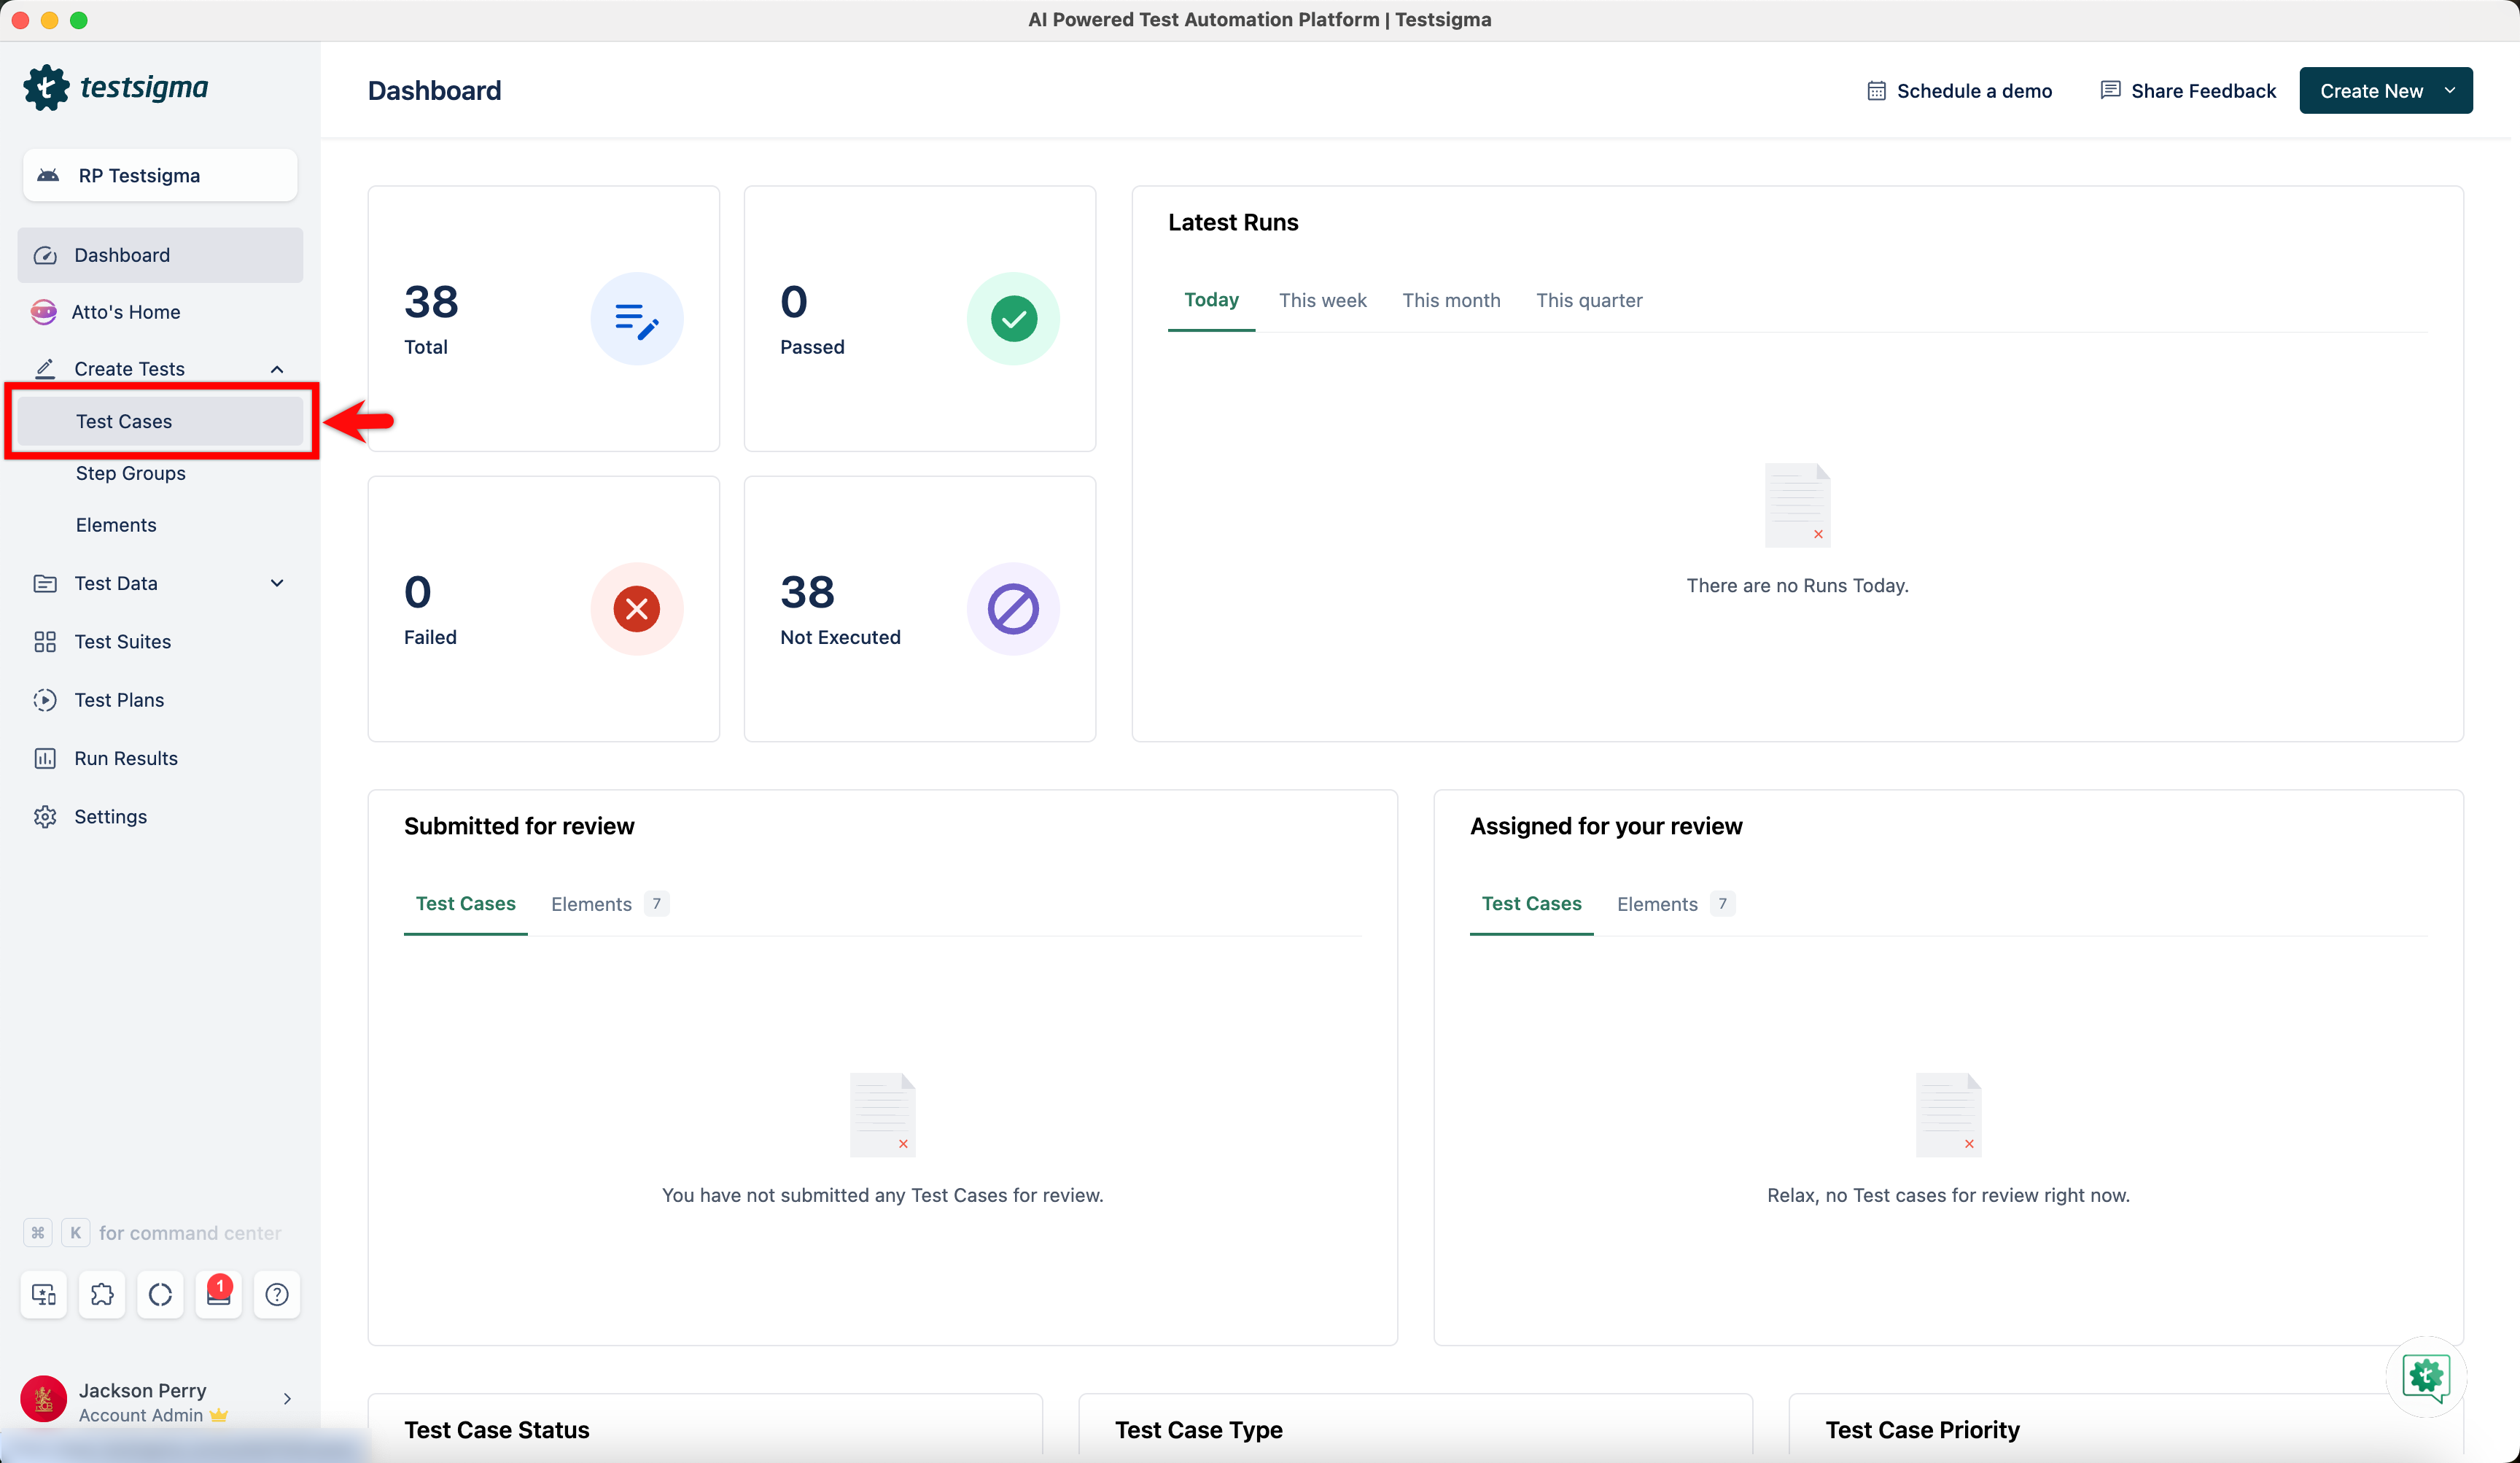
- From the left navigation bar, go to Create Tests > Test Cases.
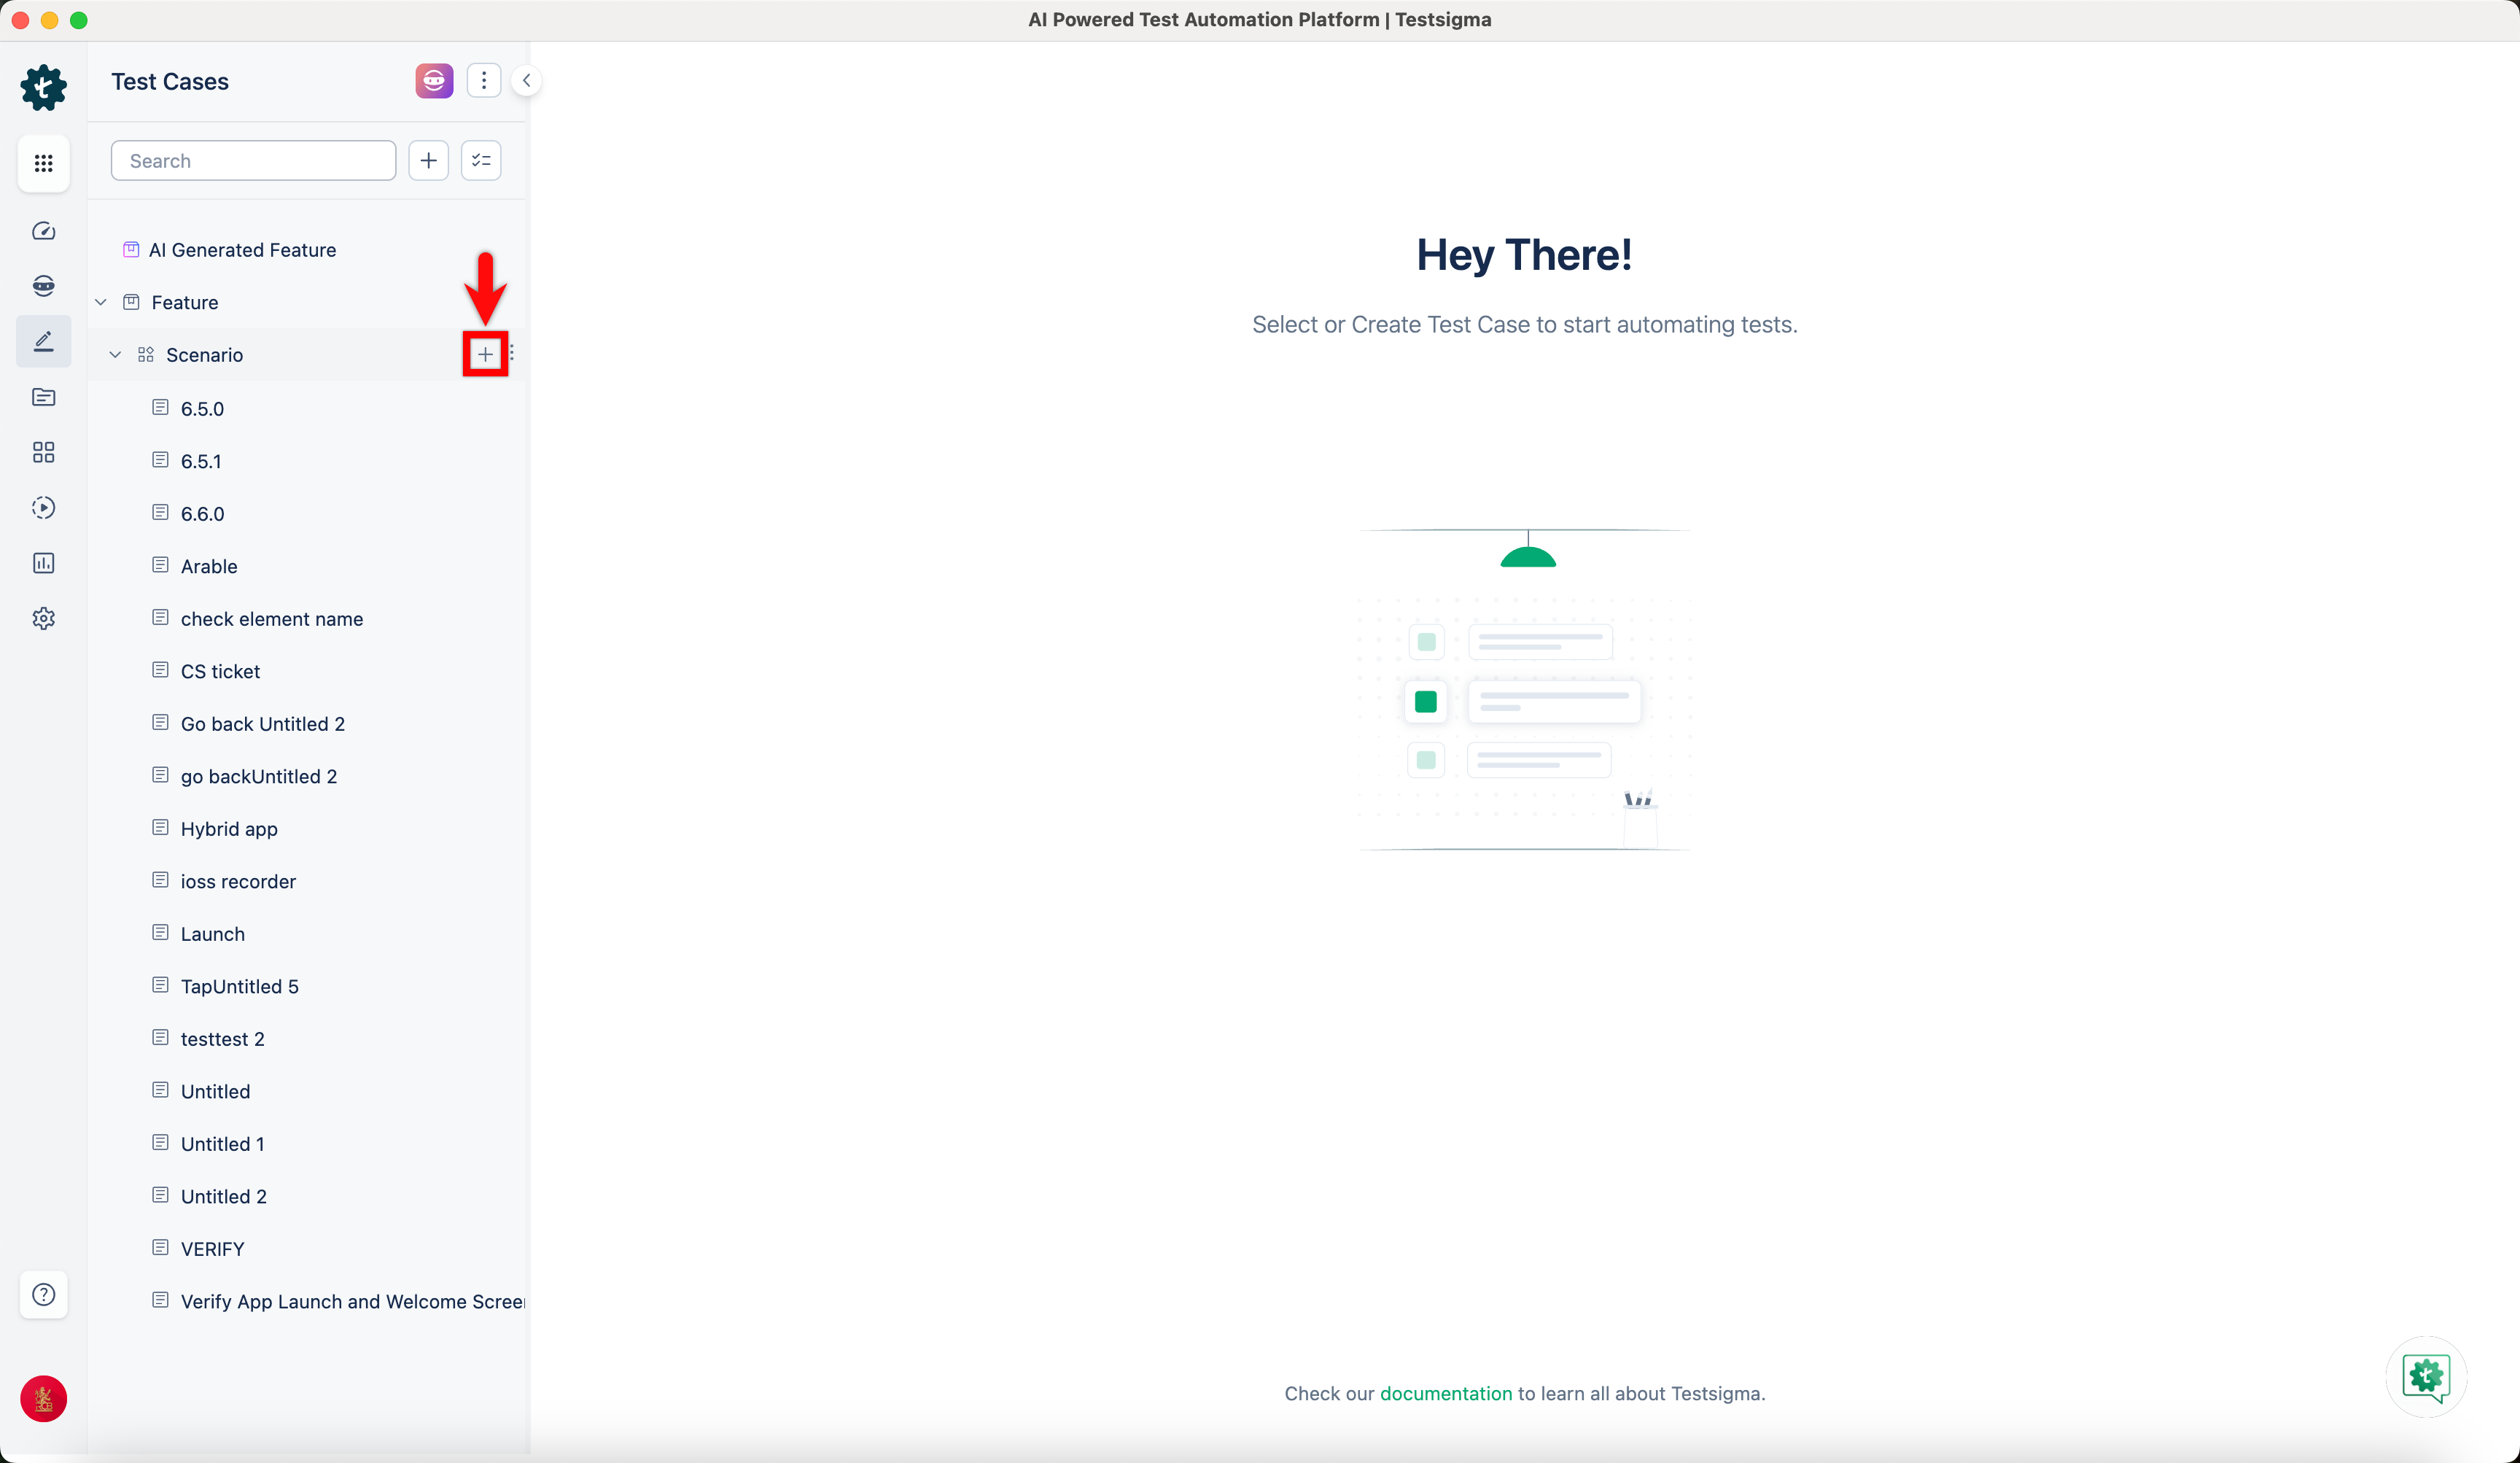
- In the Test Case Explorer section, expand a Feature and click the + icon next to the required Scenario. This opens a dialog box.
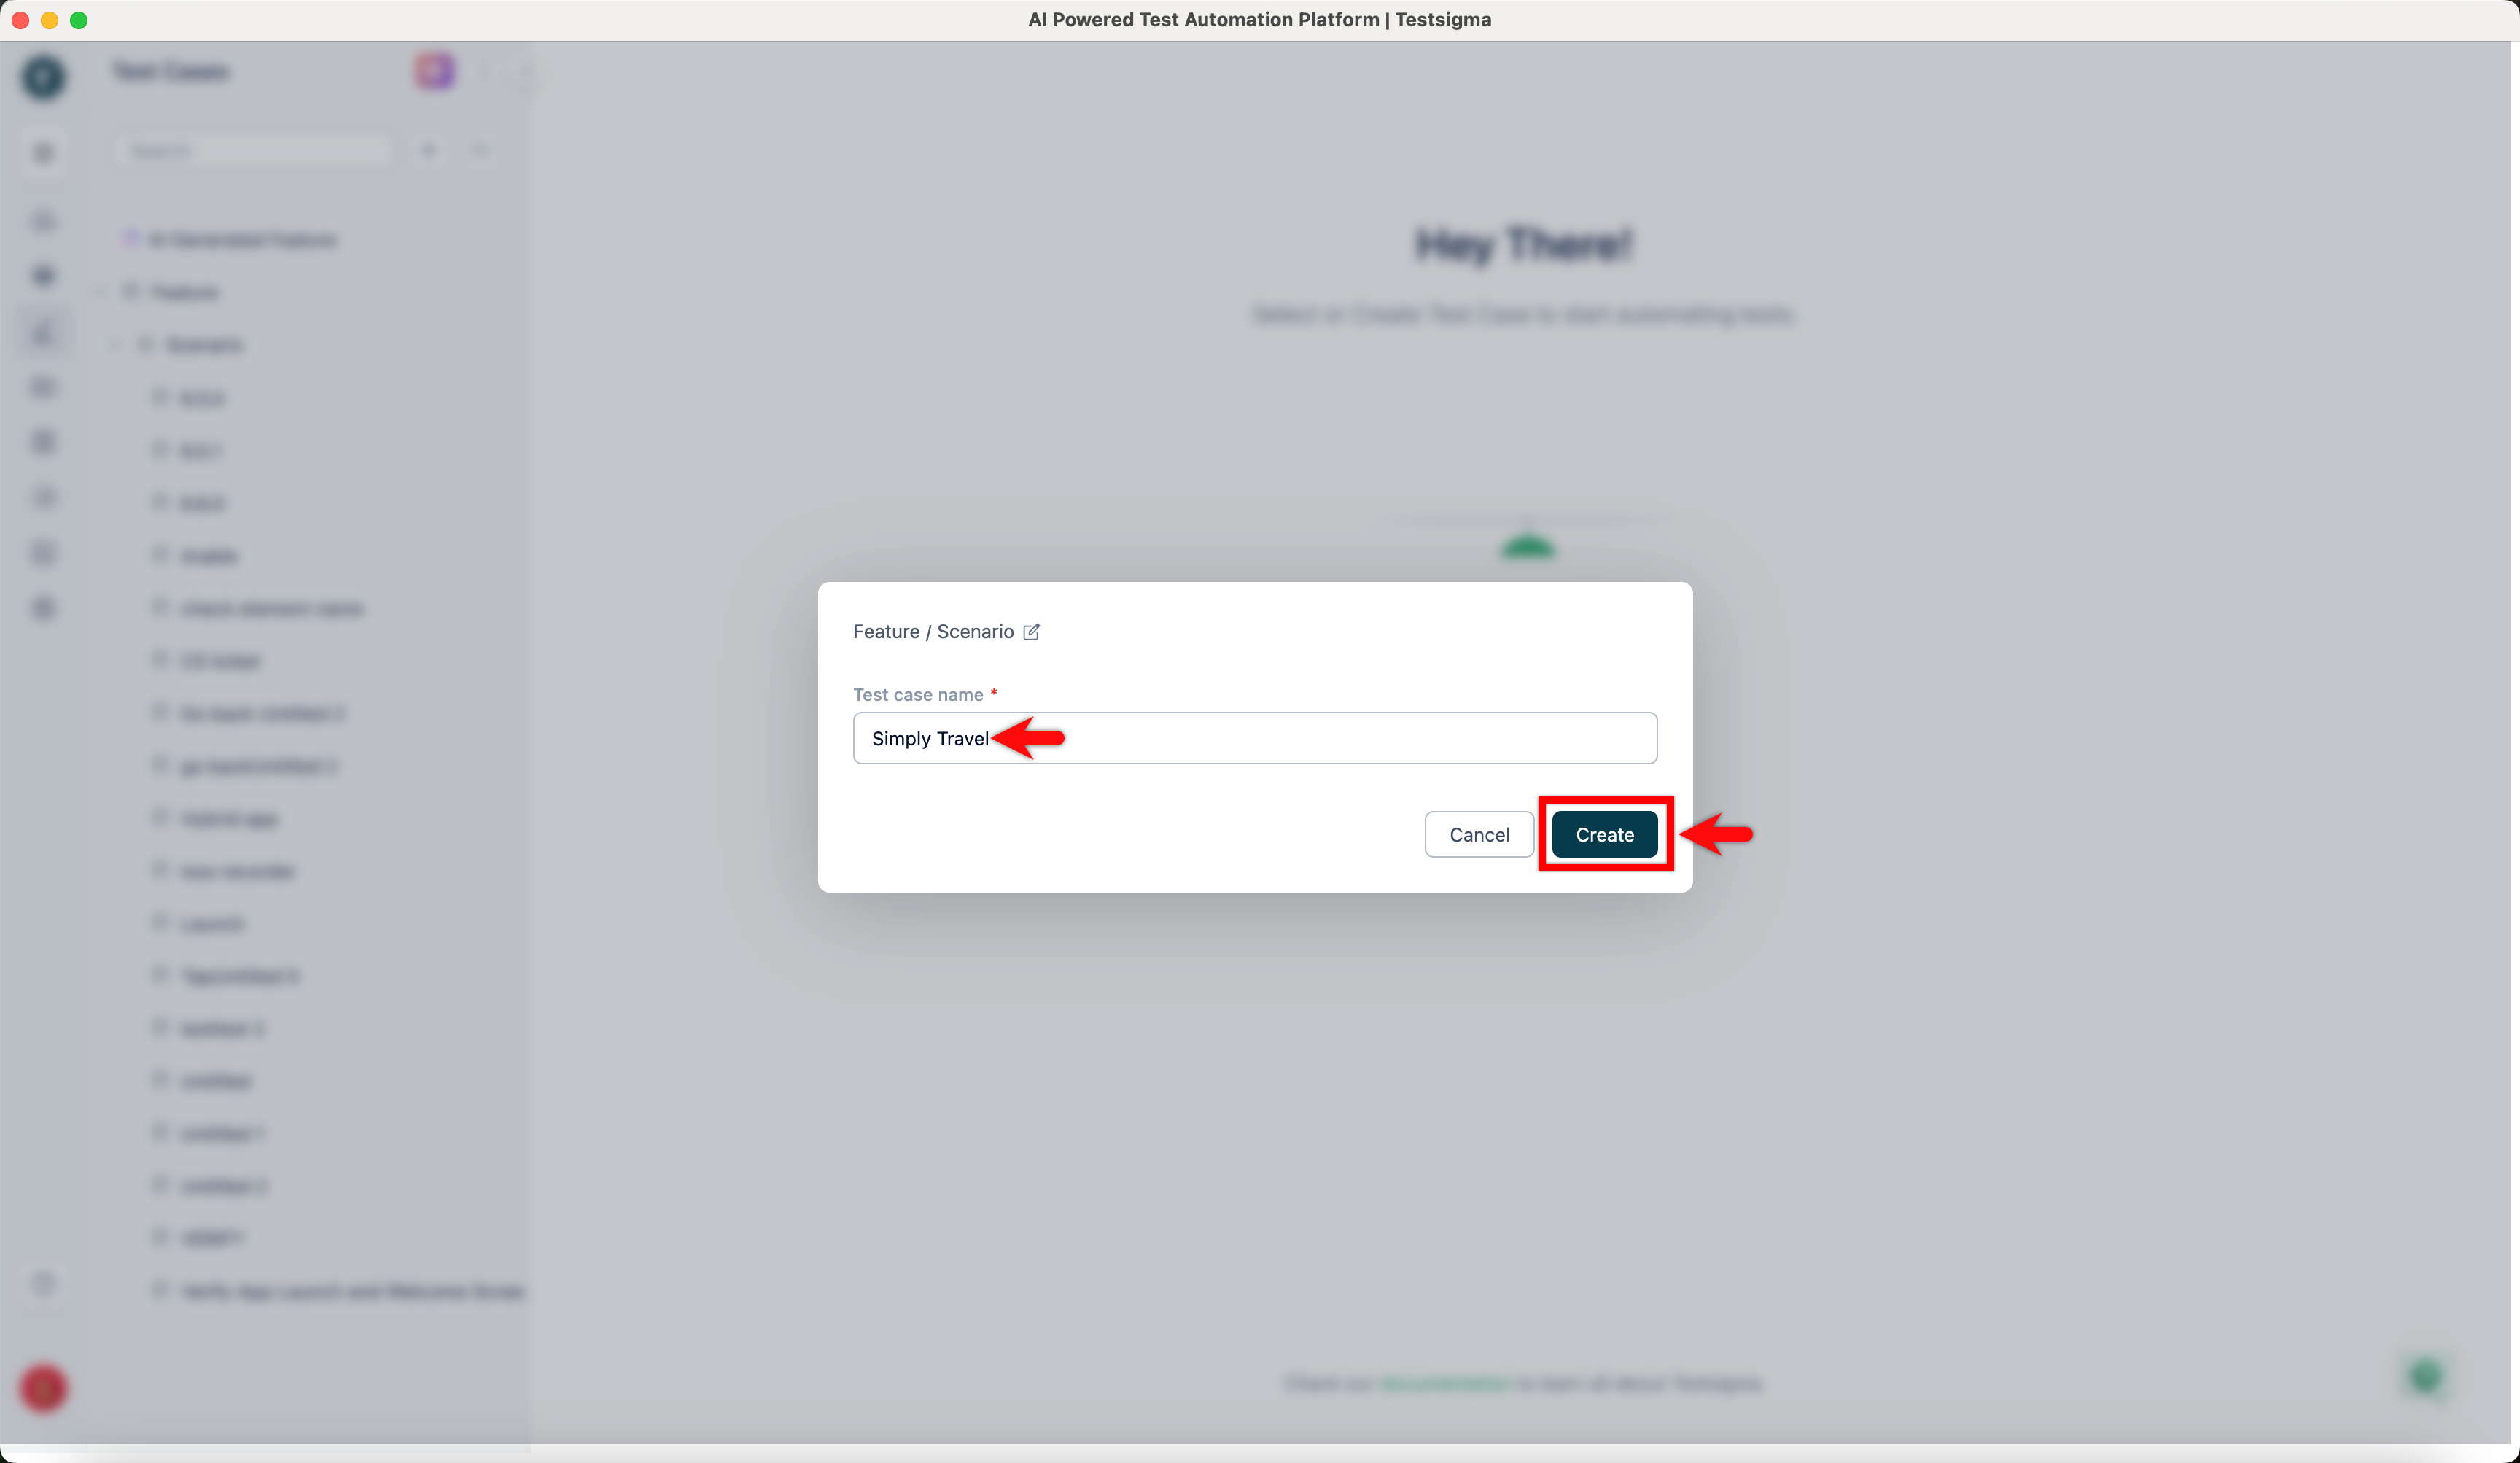
- In the dialog box, validate the target feature and scenario, enter the name in the Test Case Name input box, and click Create.
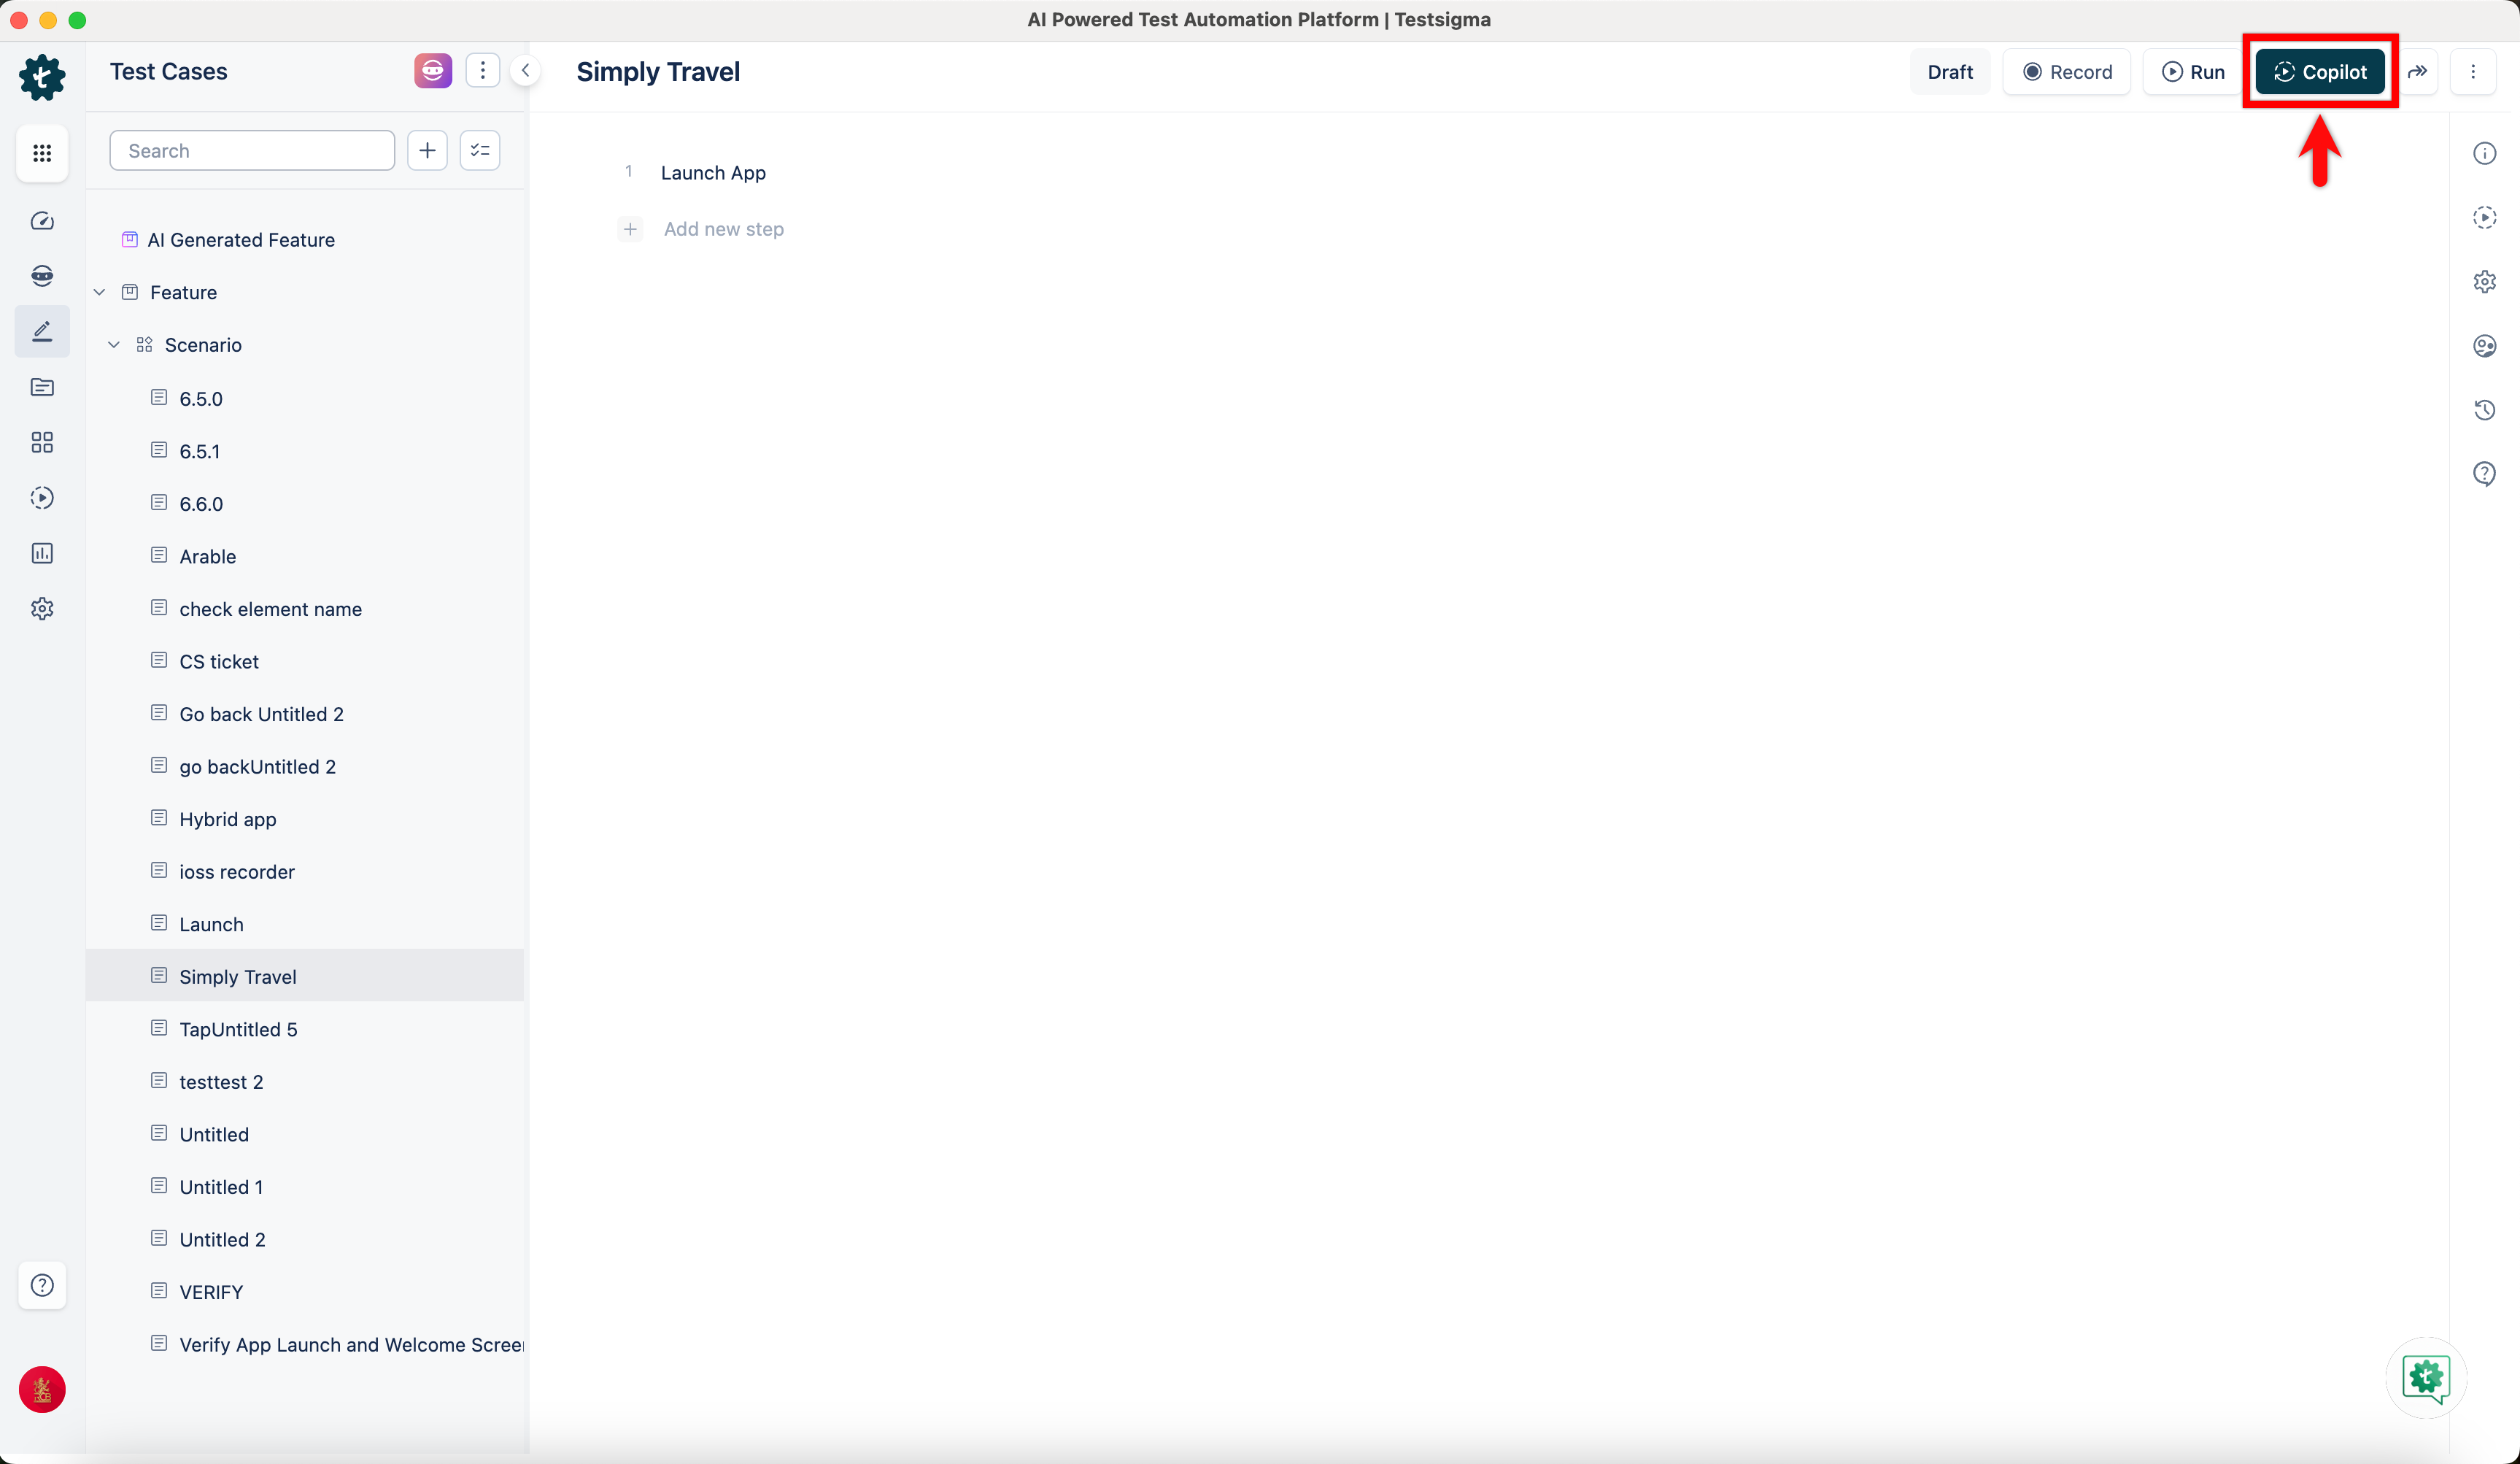
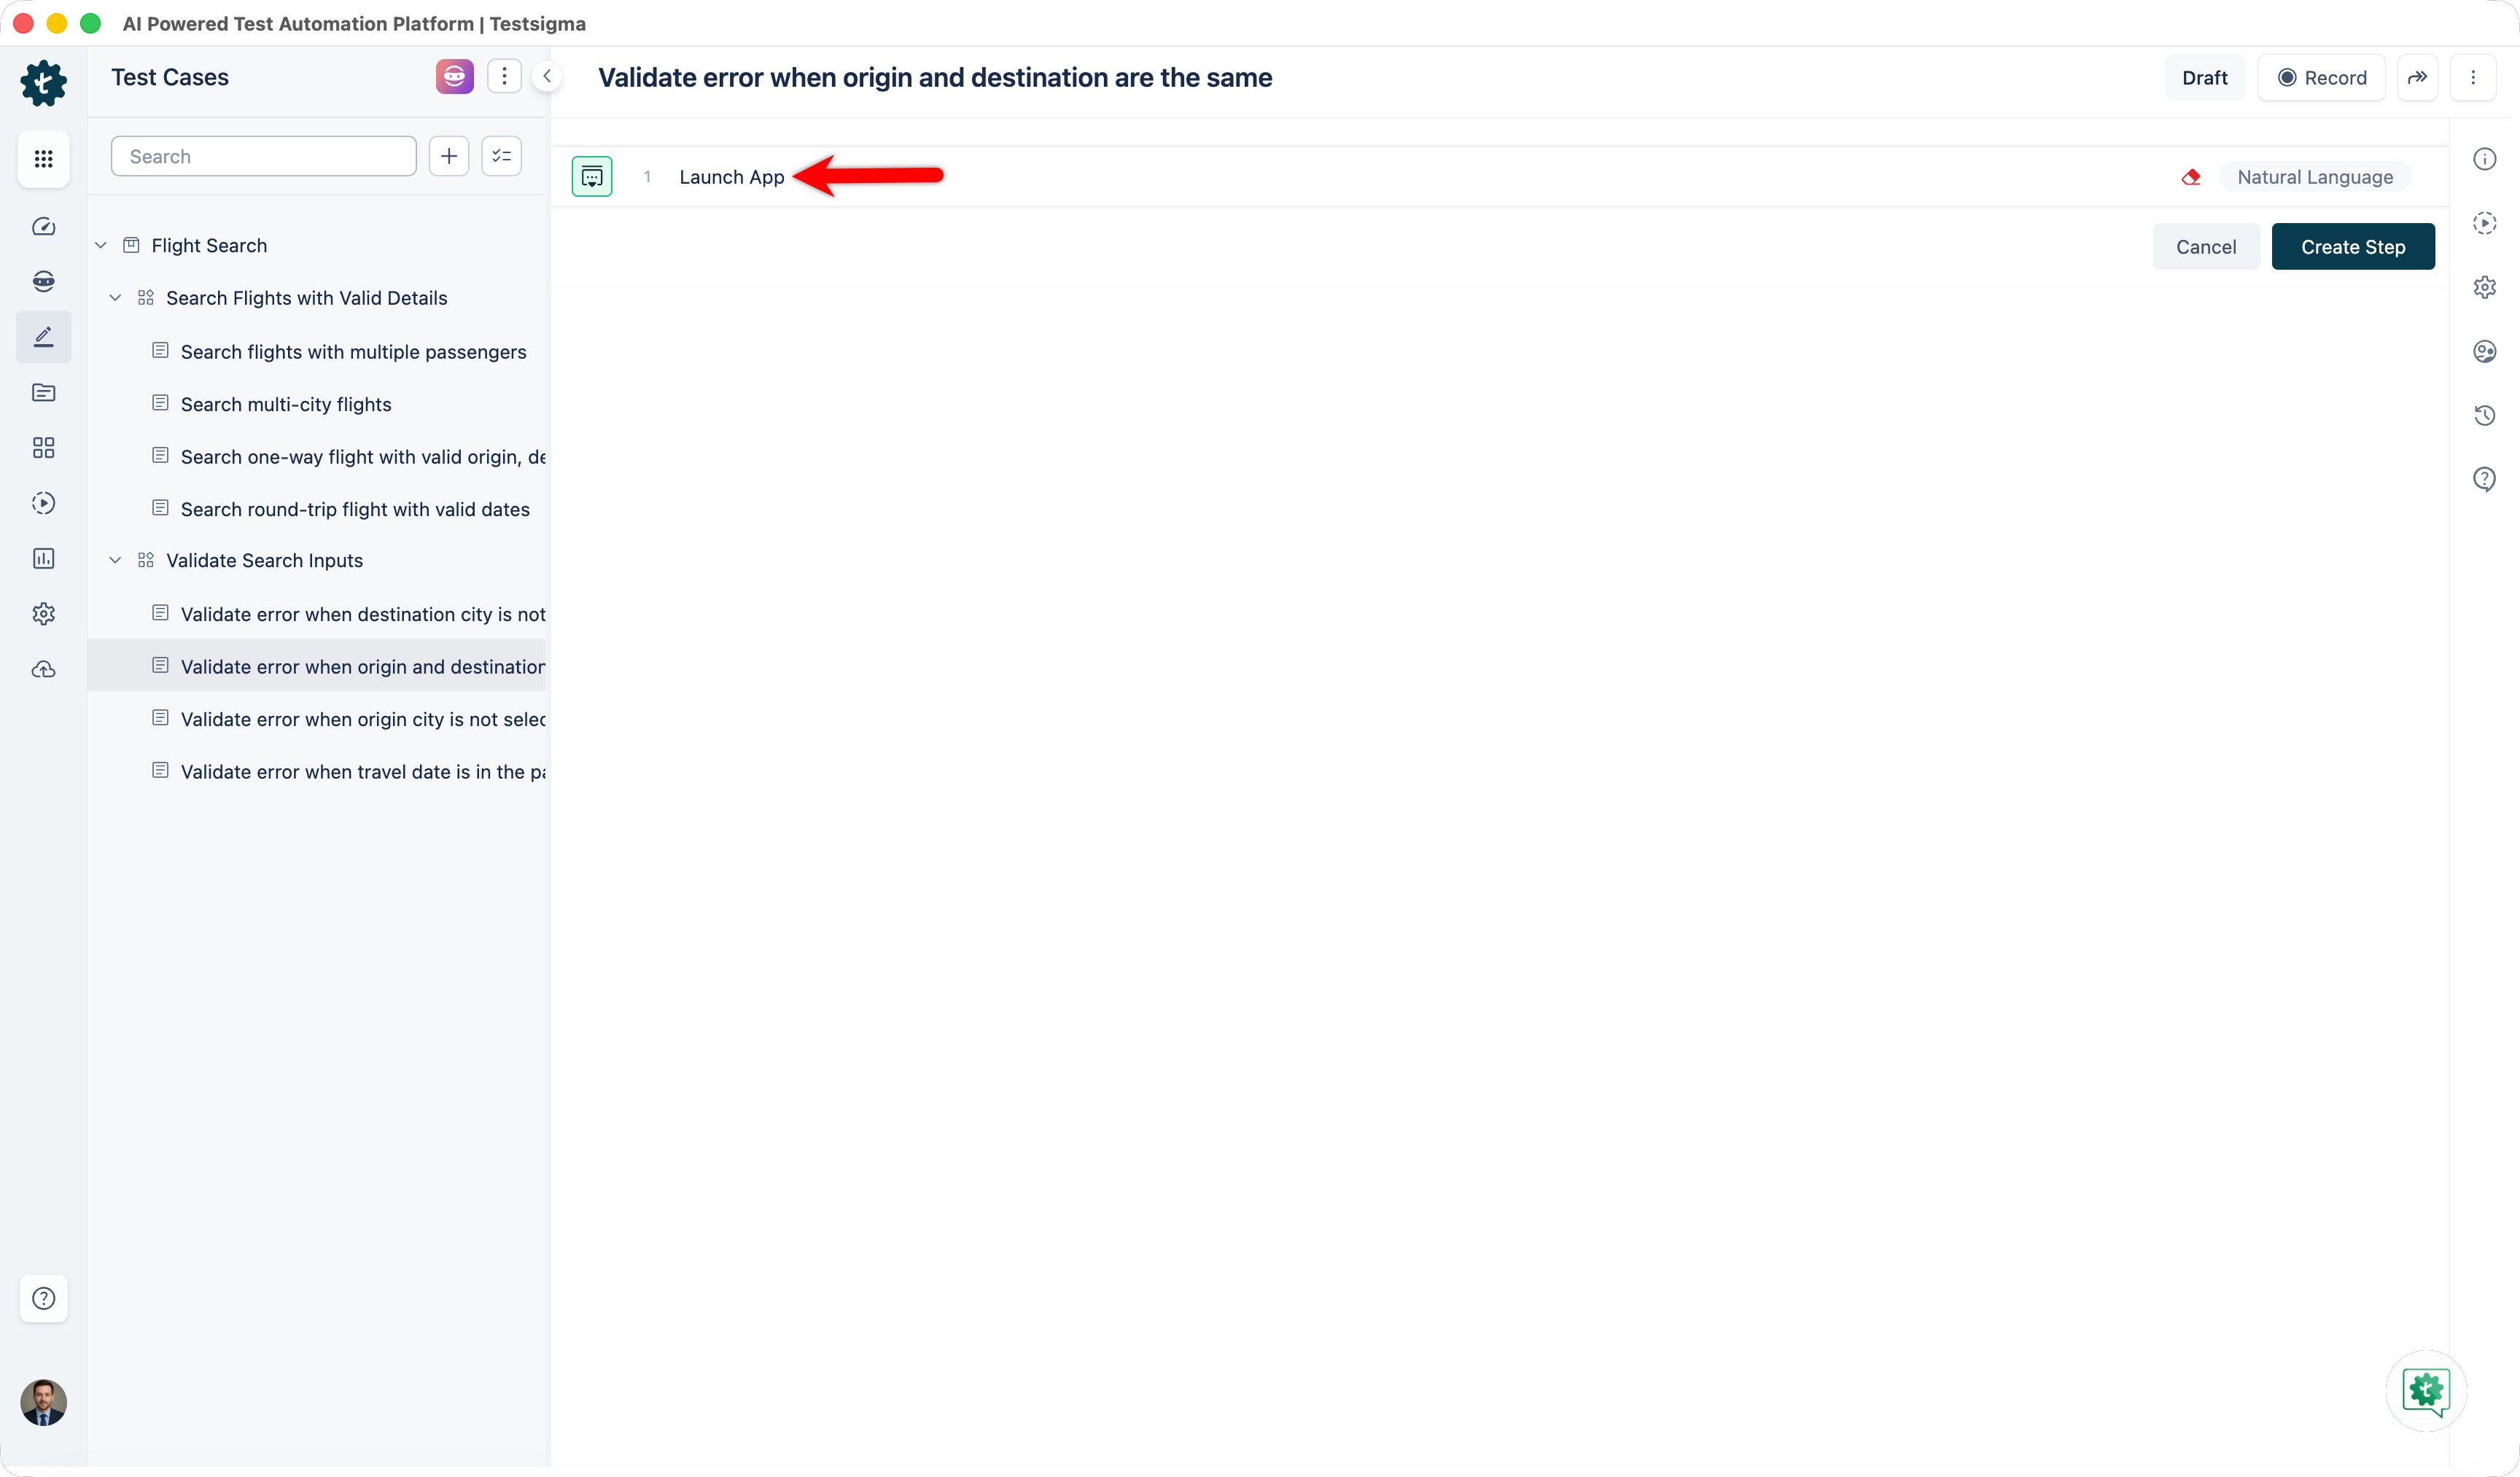
- In the Test Case Details page, click Create Step.
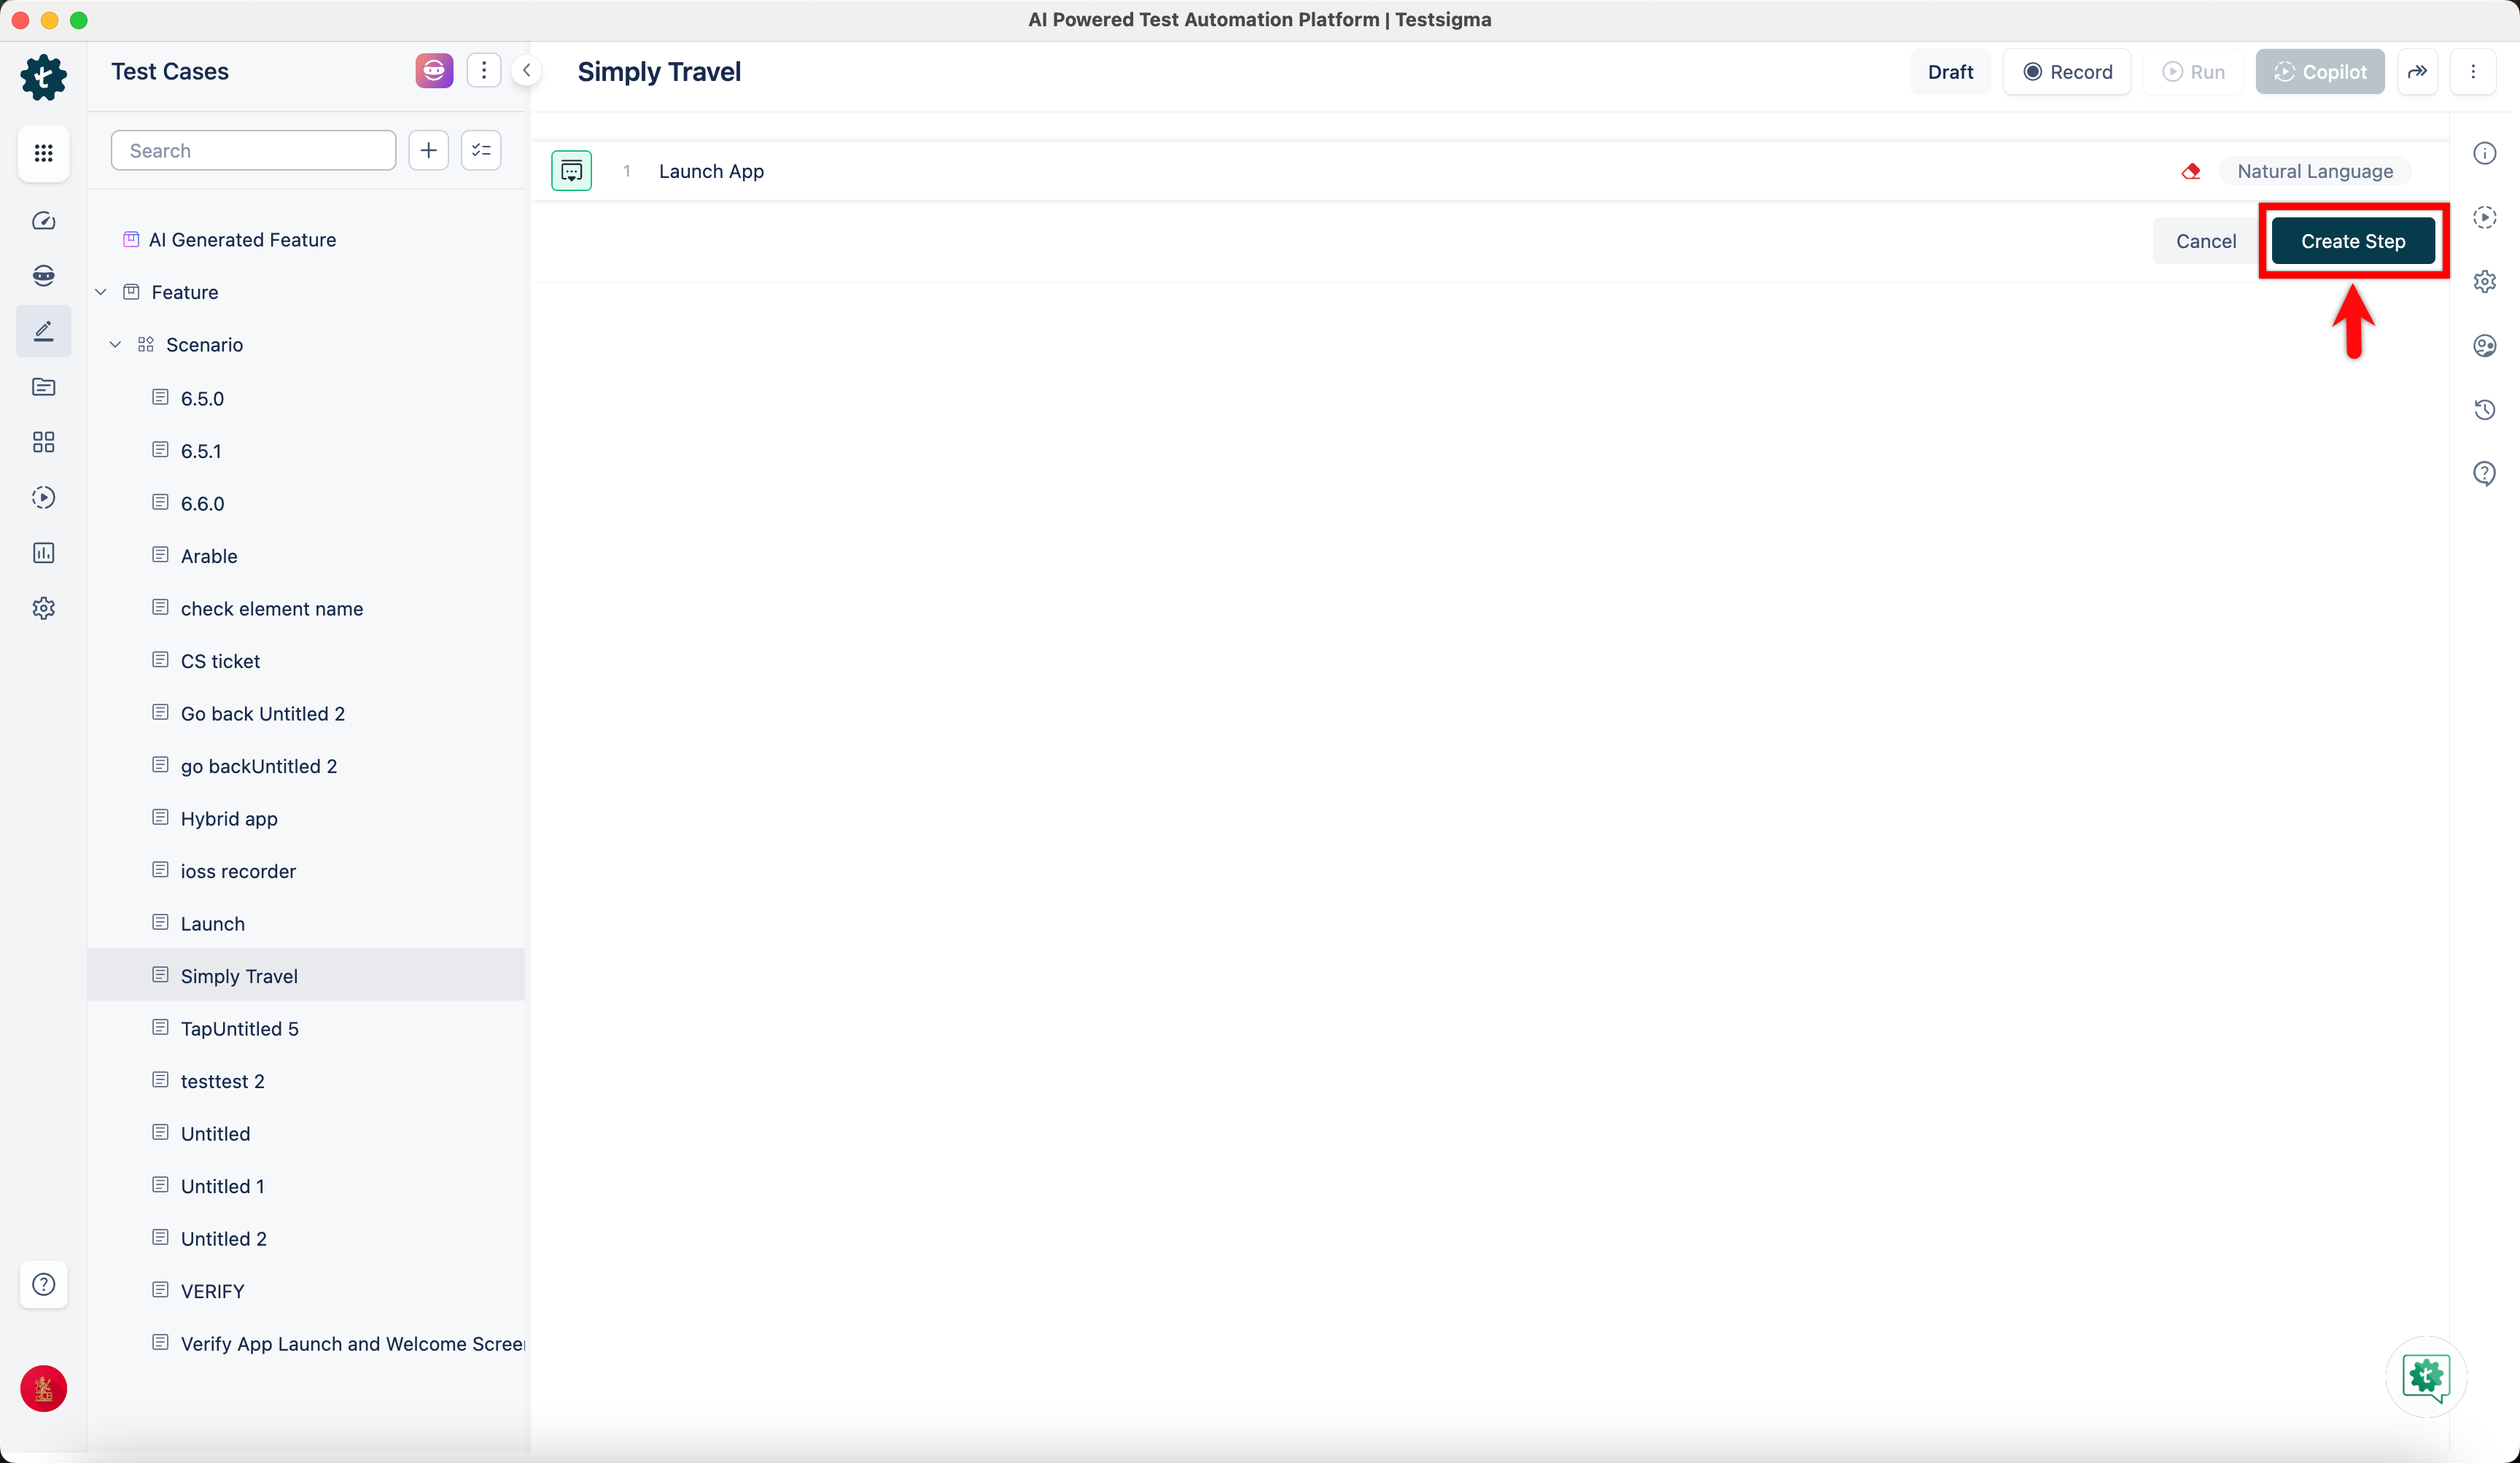
- Click Copilot at the top right corner.
- In the Copilot overlay, configure Test Machine and App Source, and click Launch.
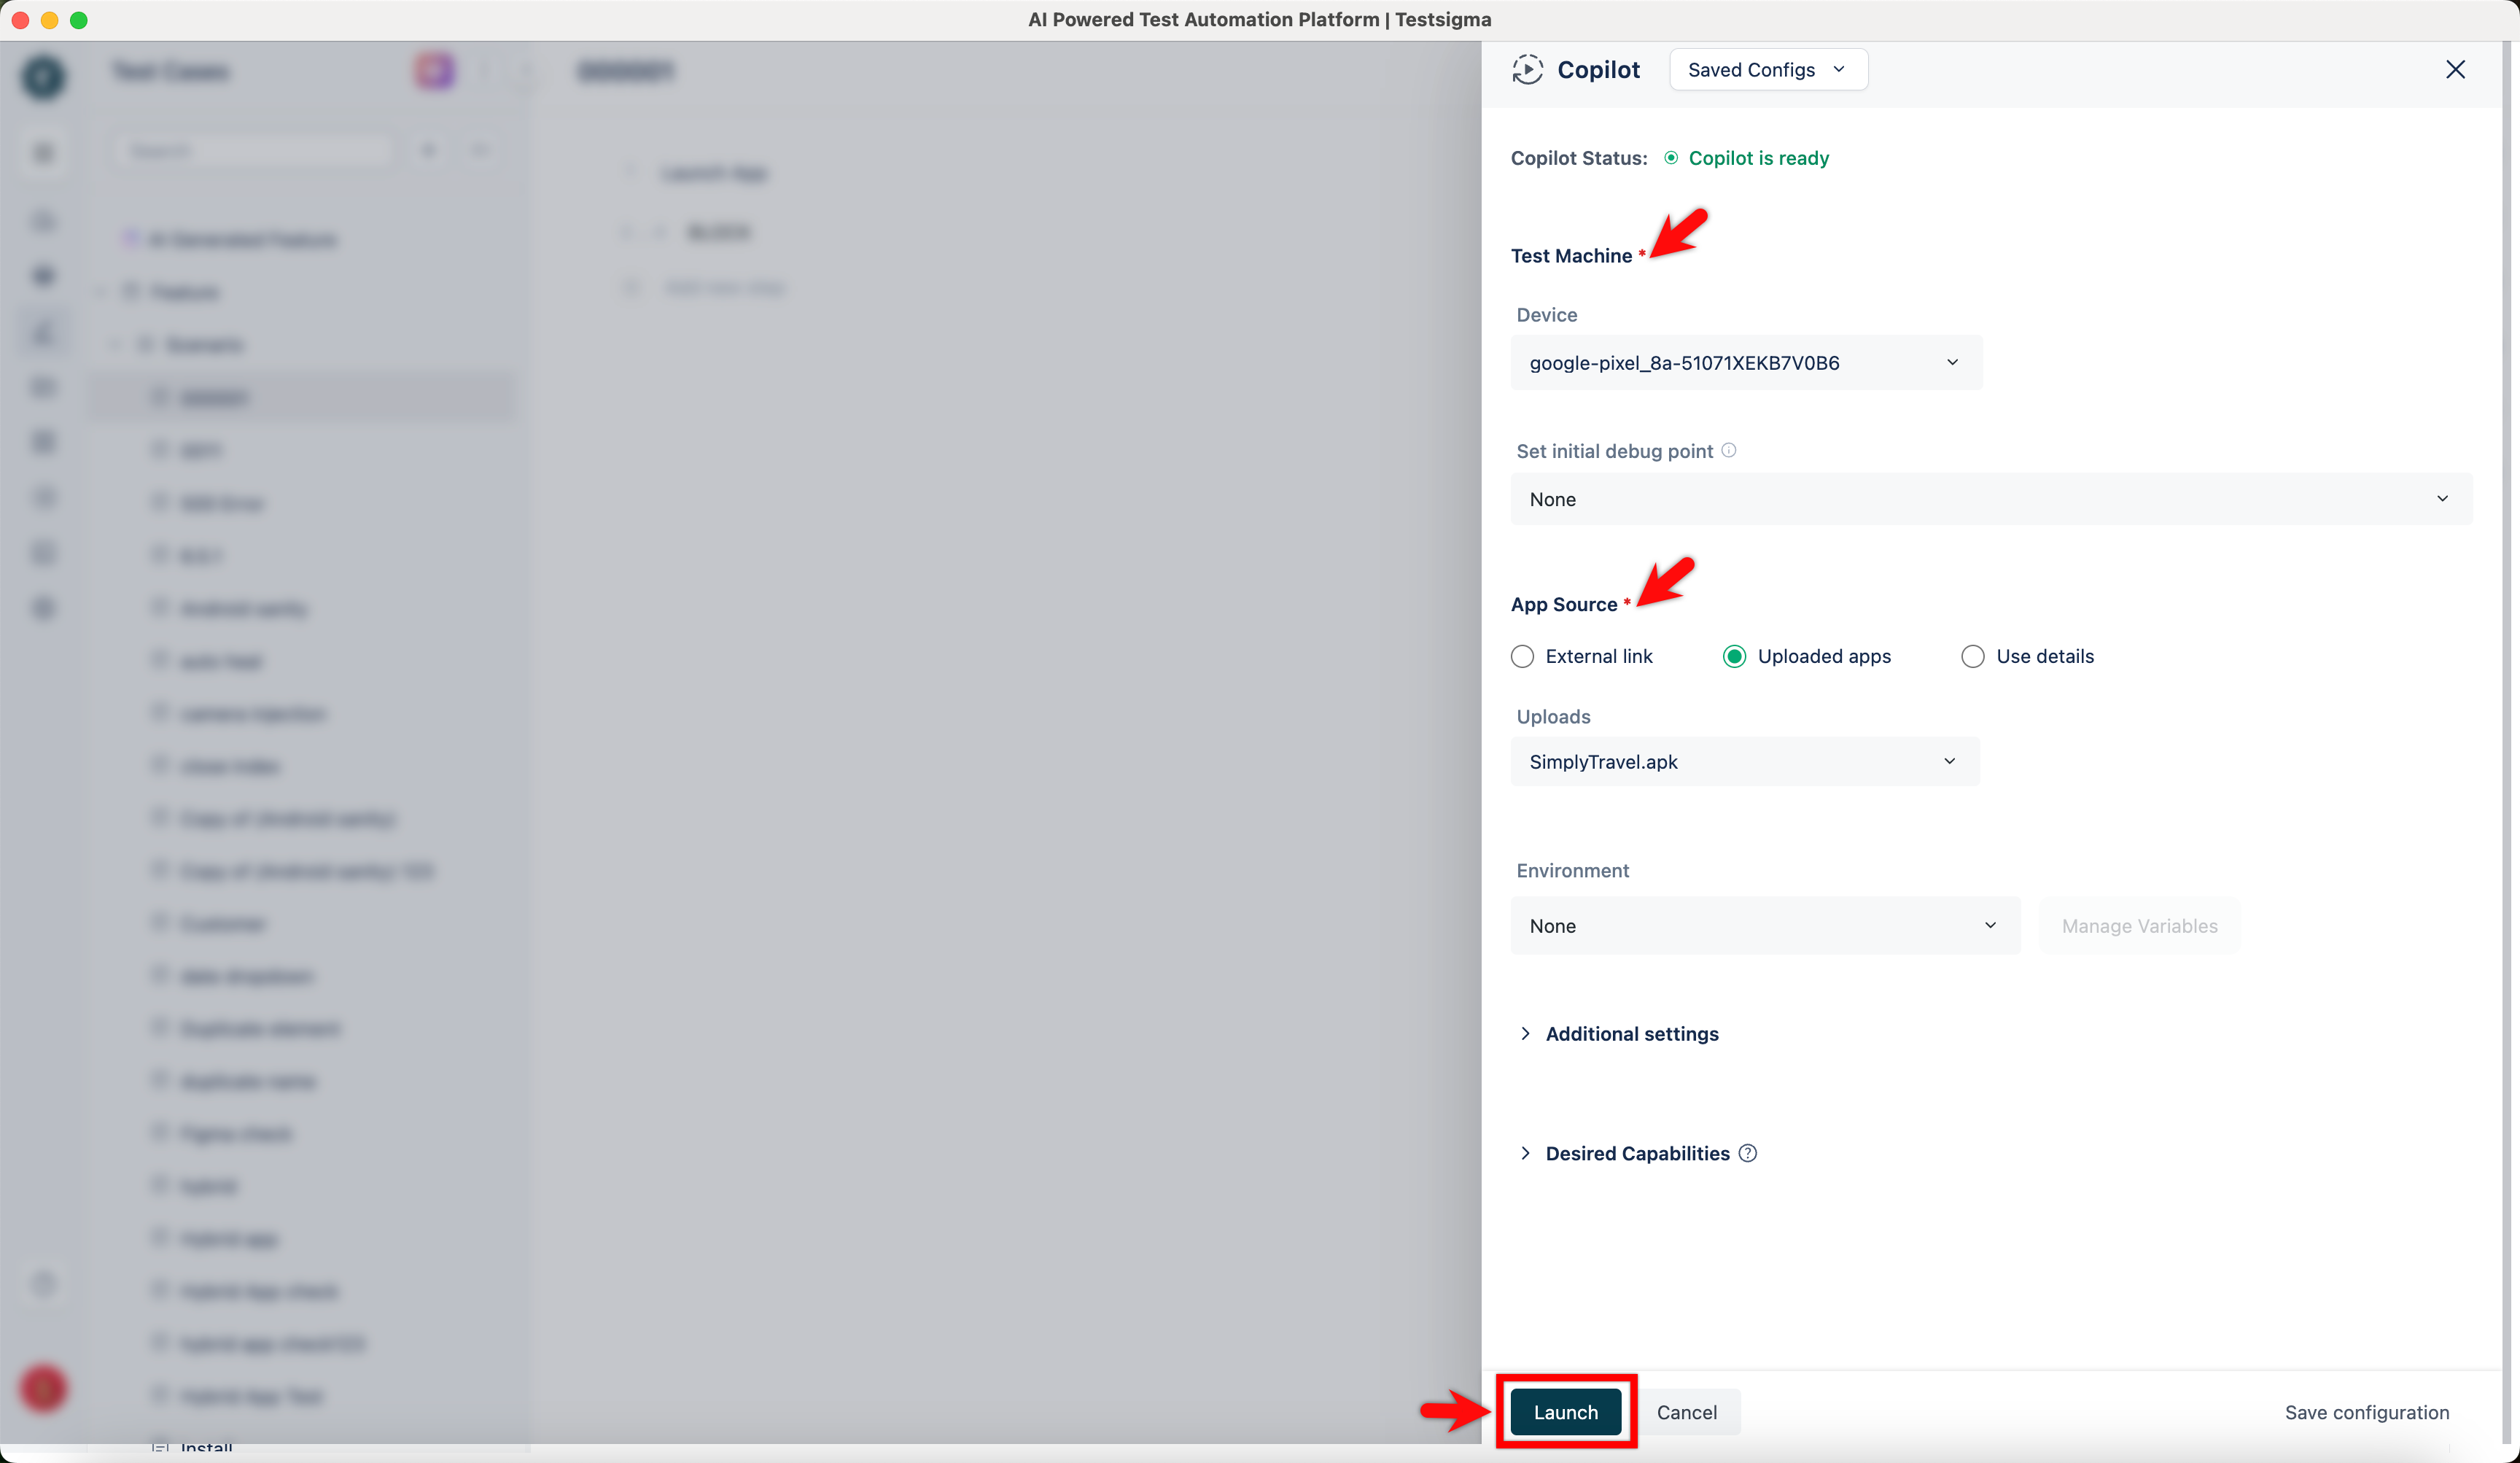
- Copilot opens a mirrored session of your application within Testsigma.
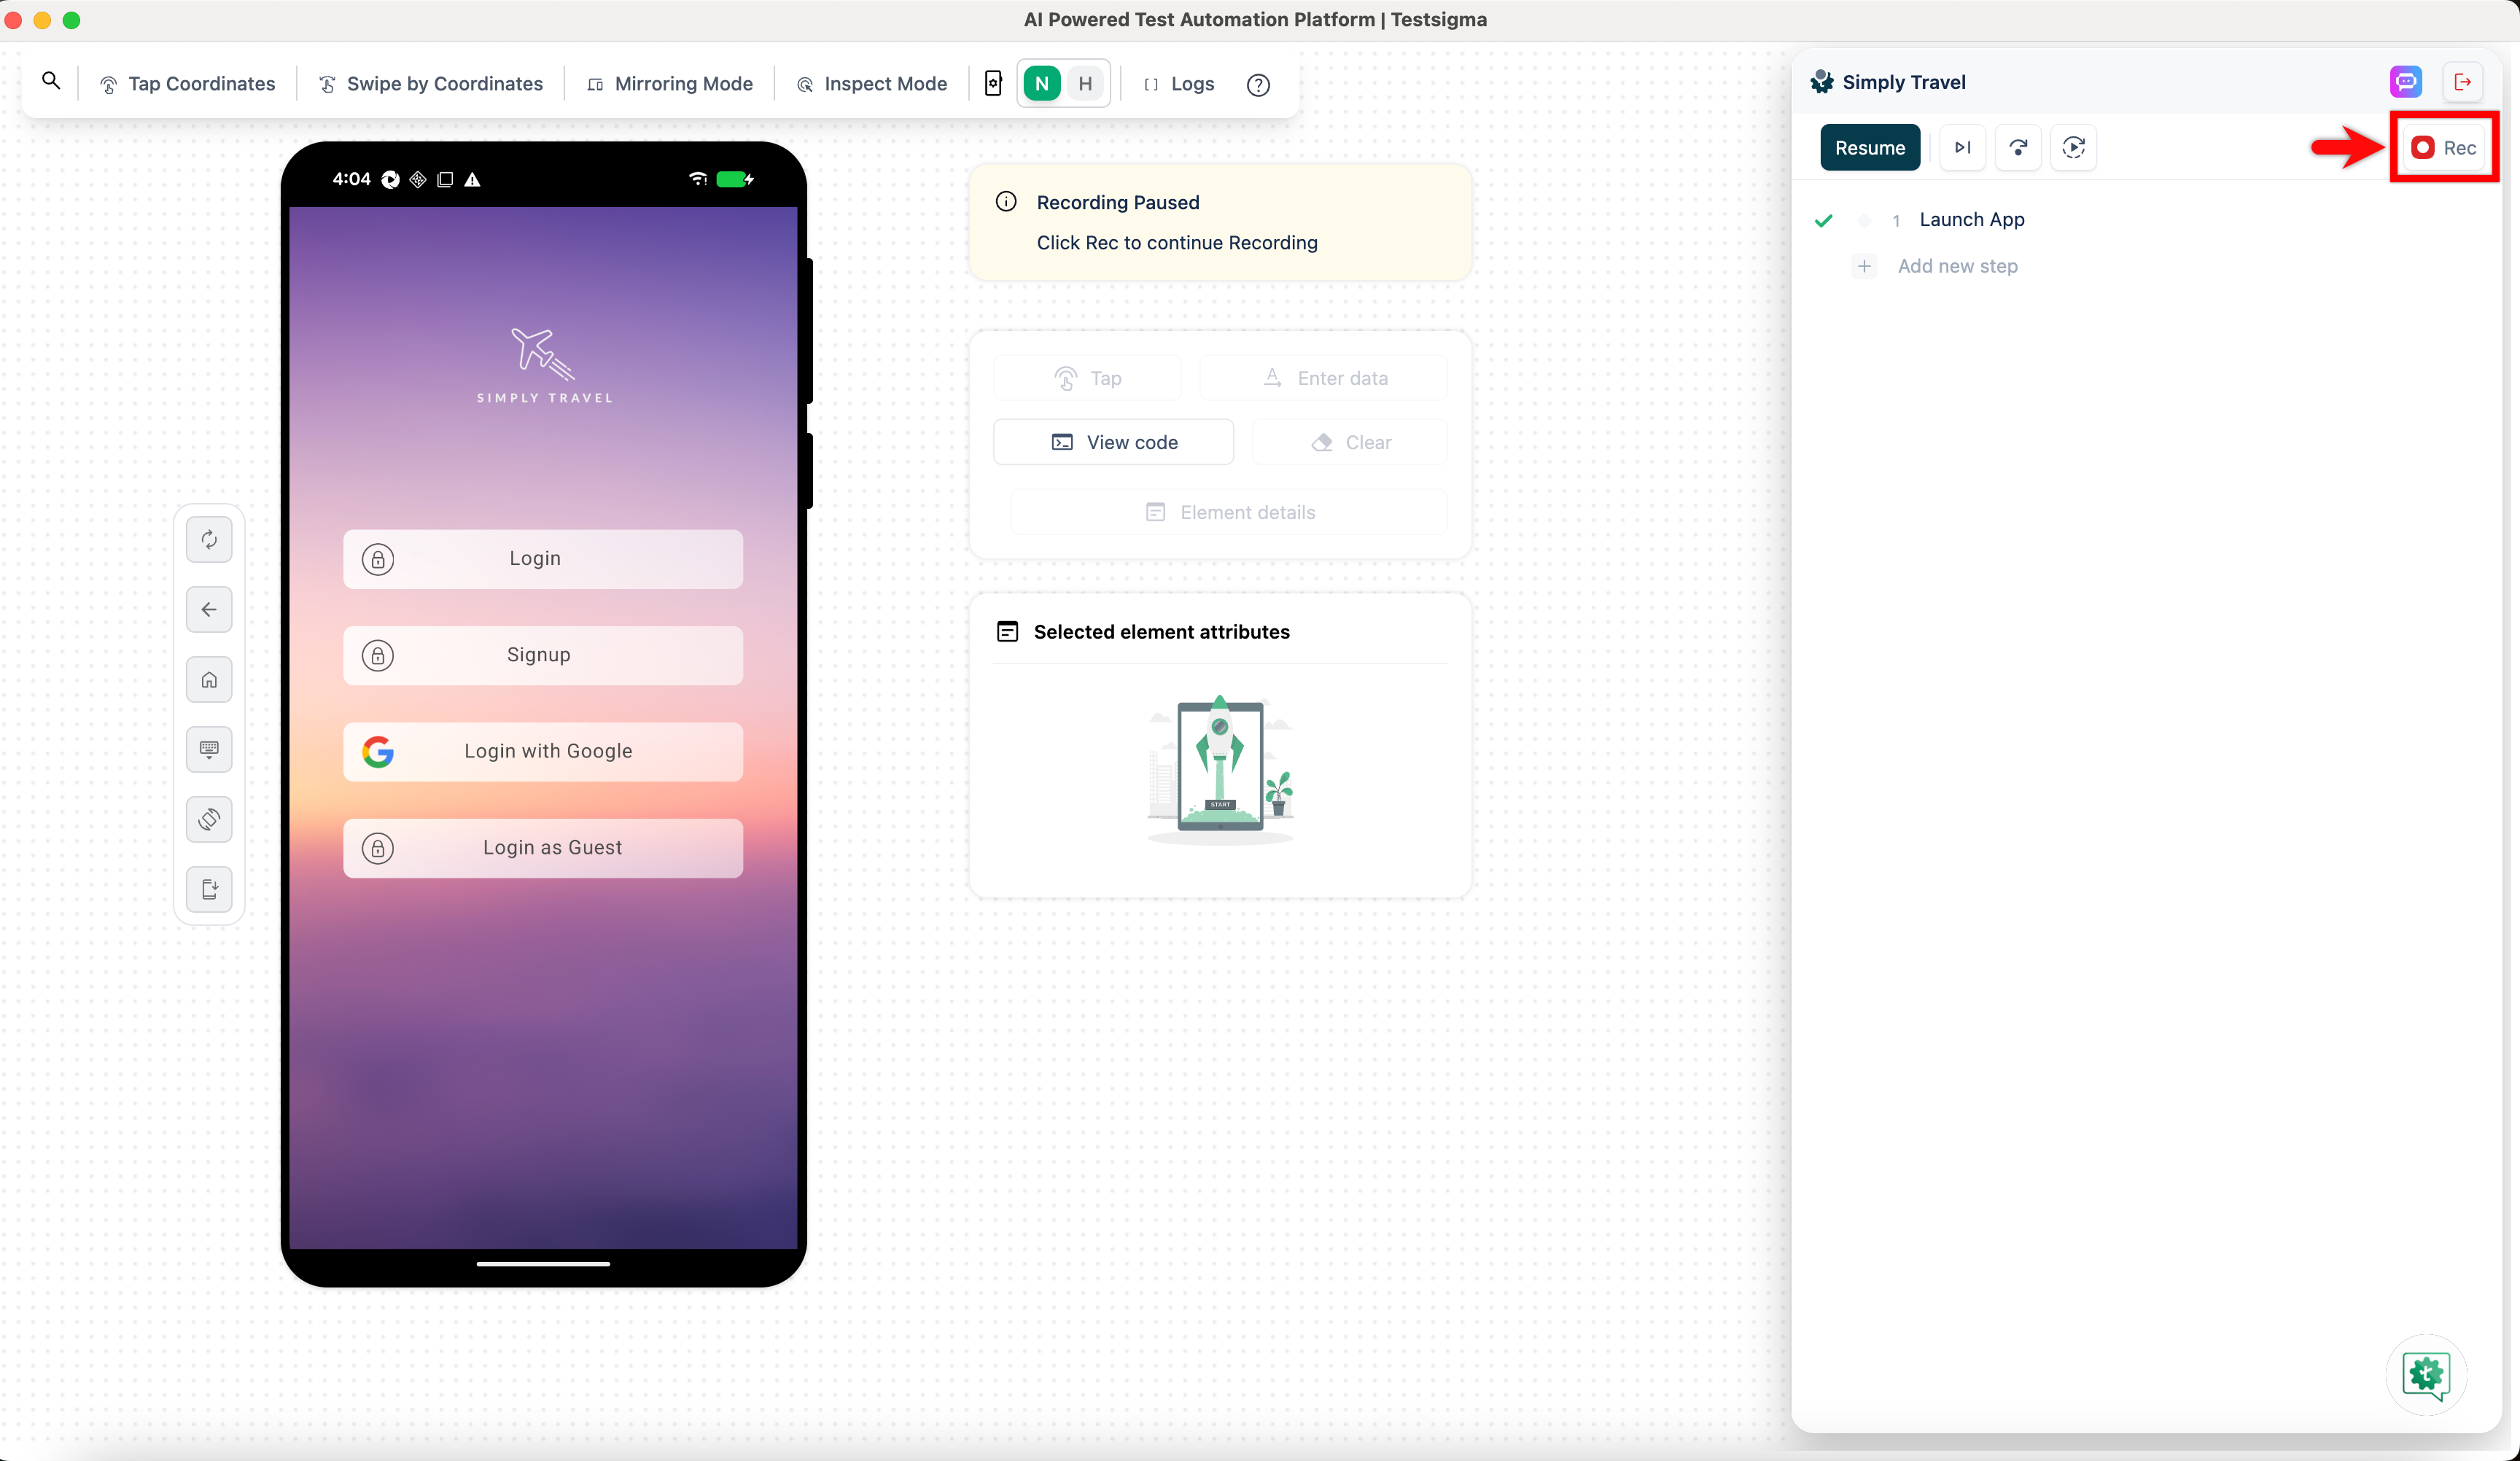
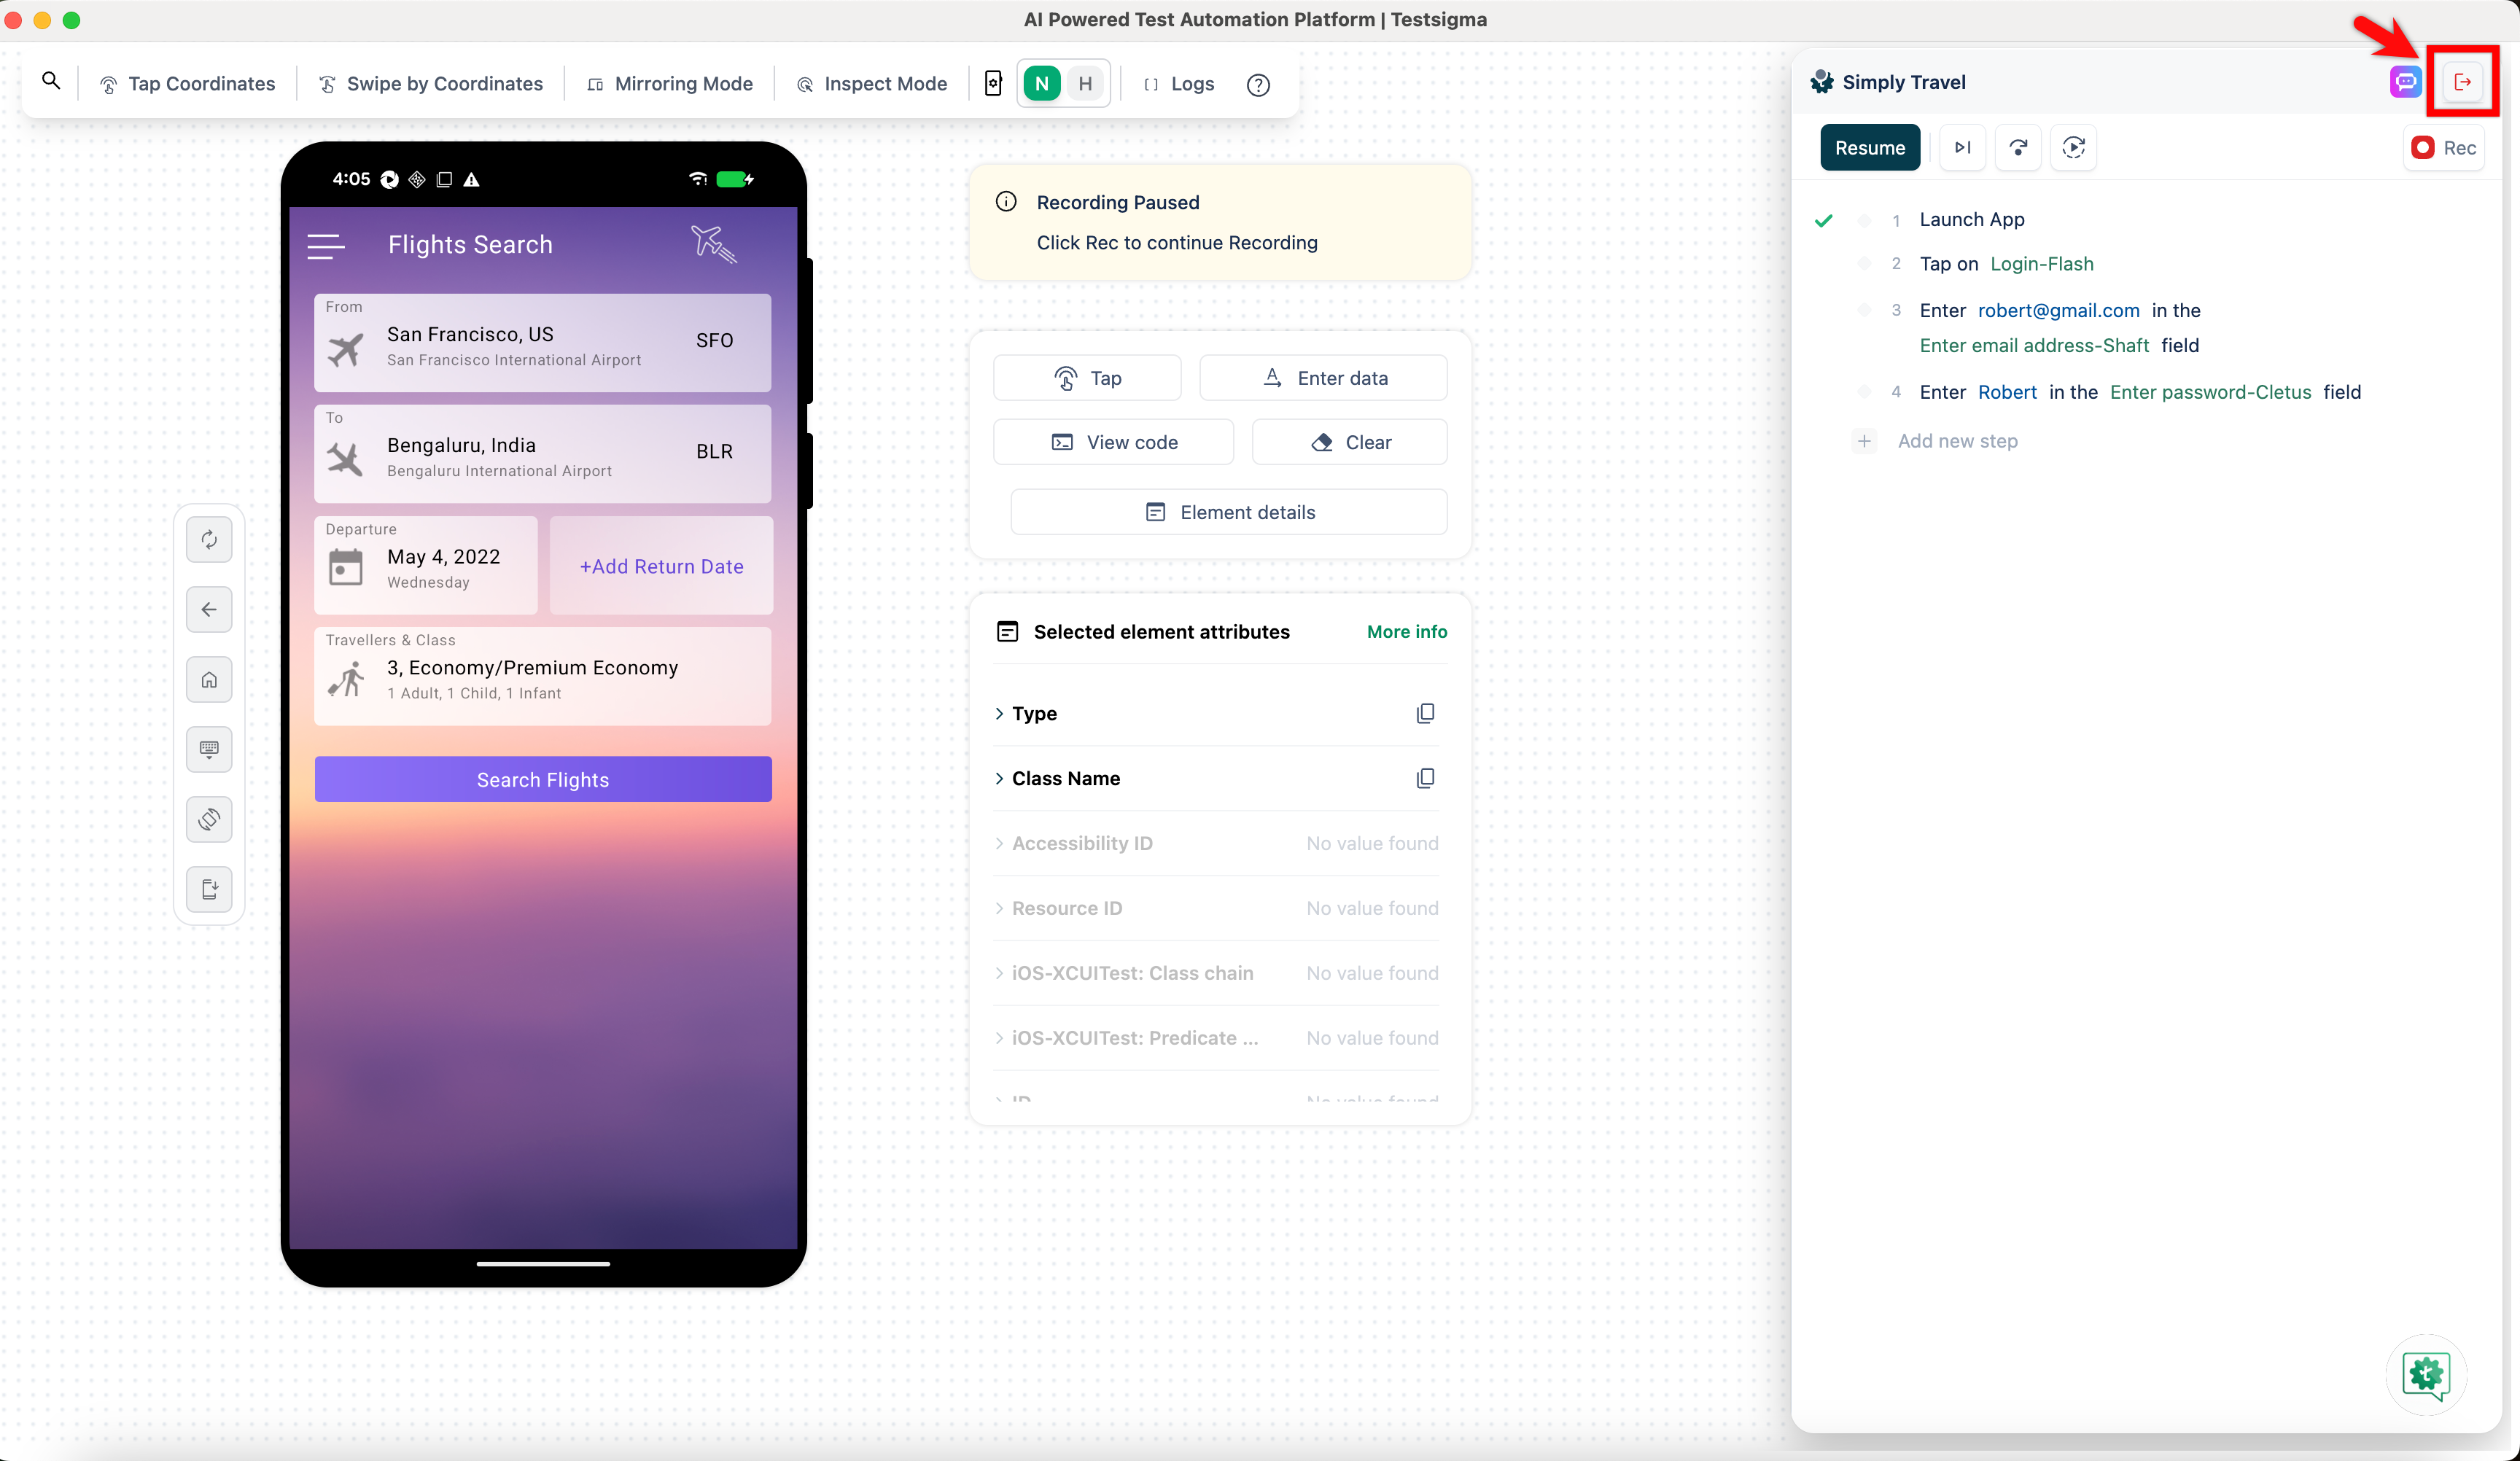
- In the Copilot dialog, click Rec and perform the actions on the page that you want to capture as test steps.
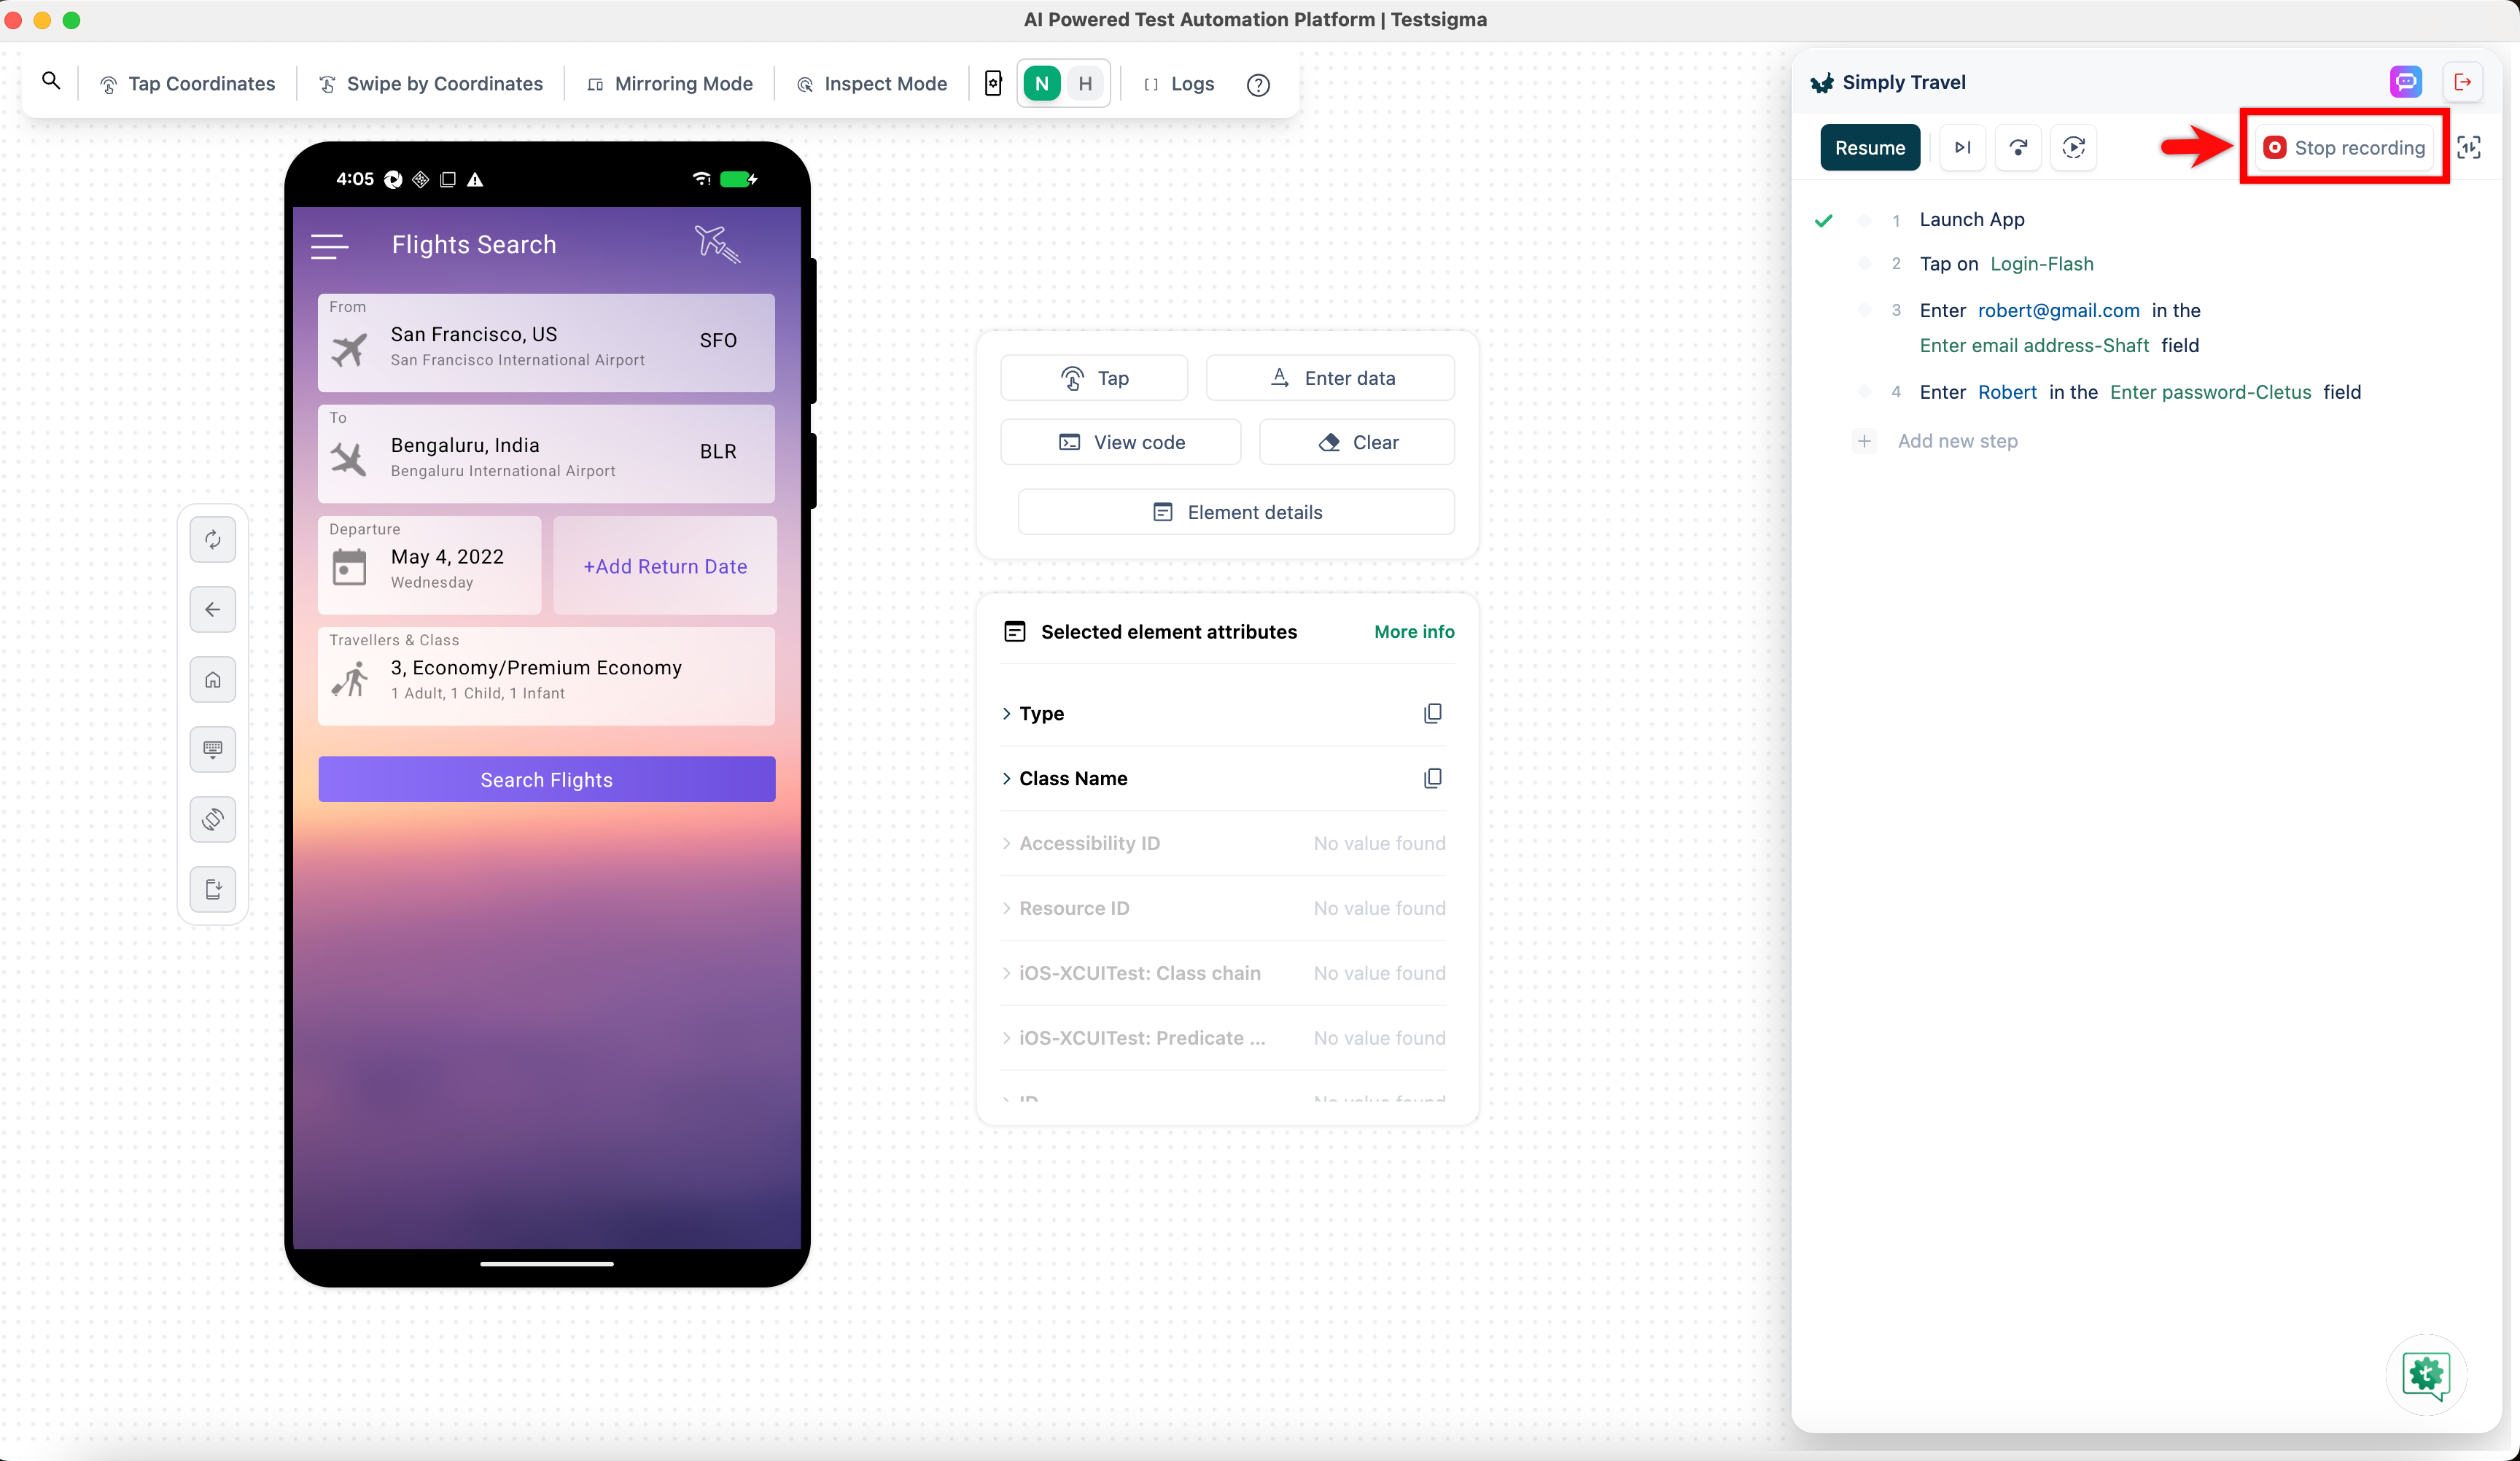
- Once you have recorded all the necessary steps, click Stop Recording.
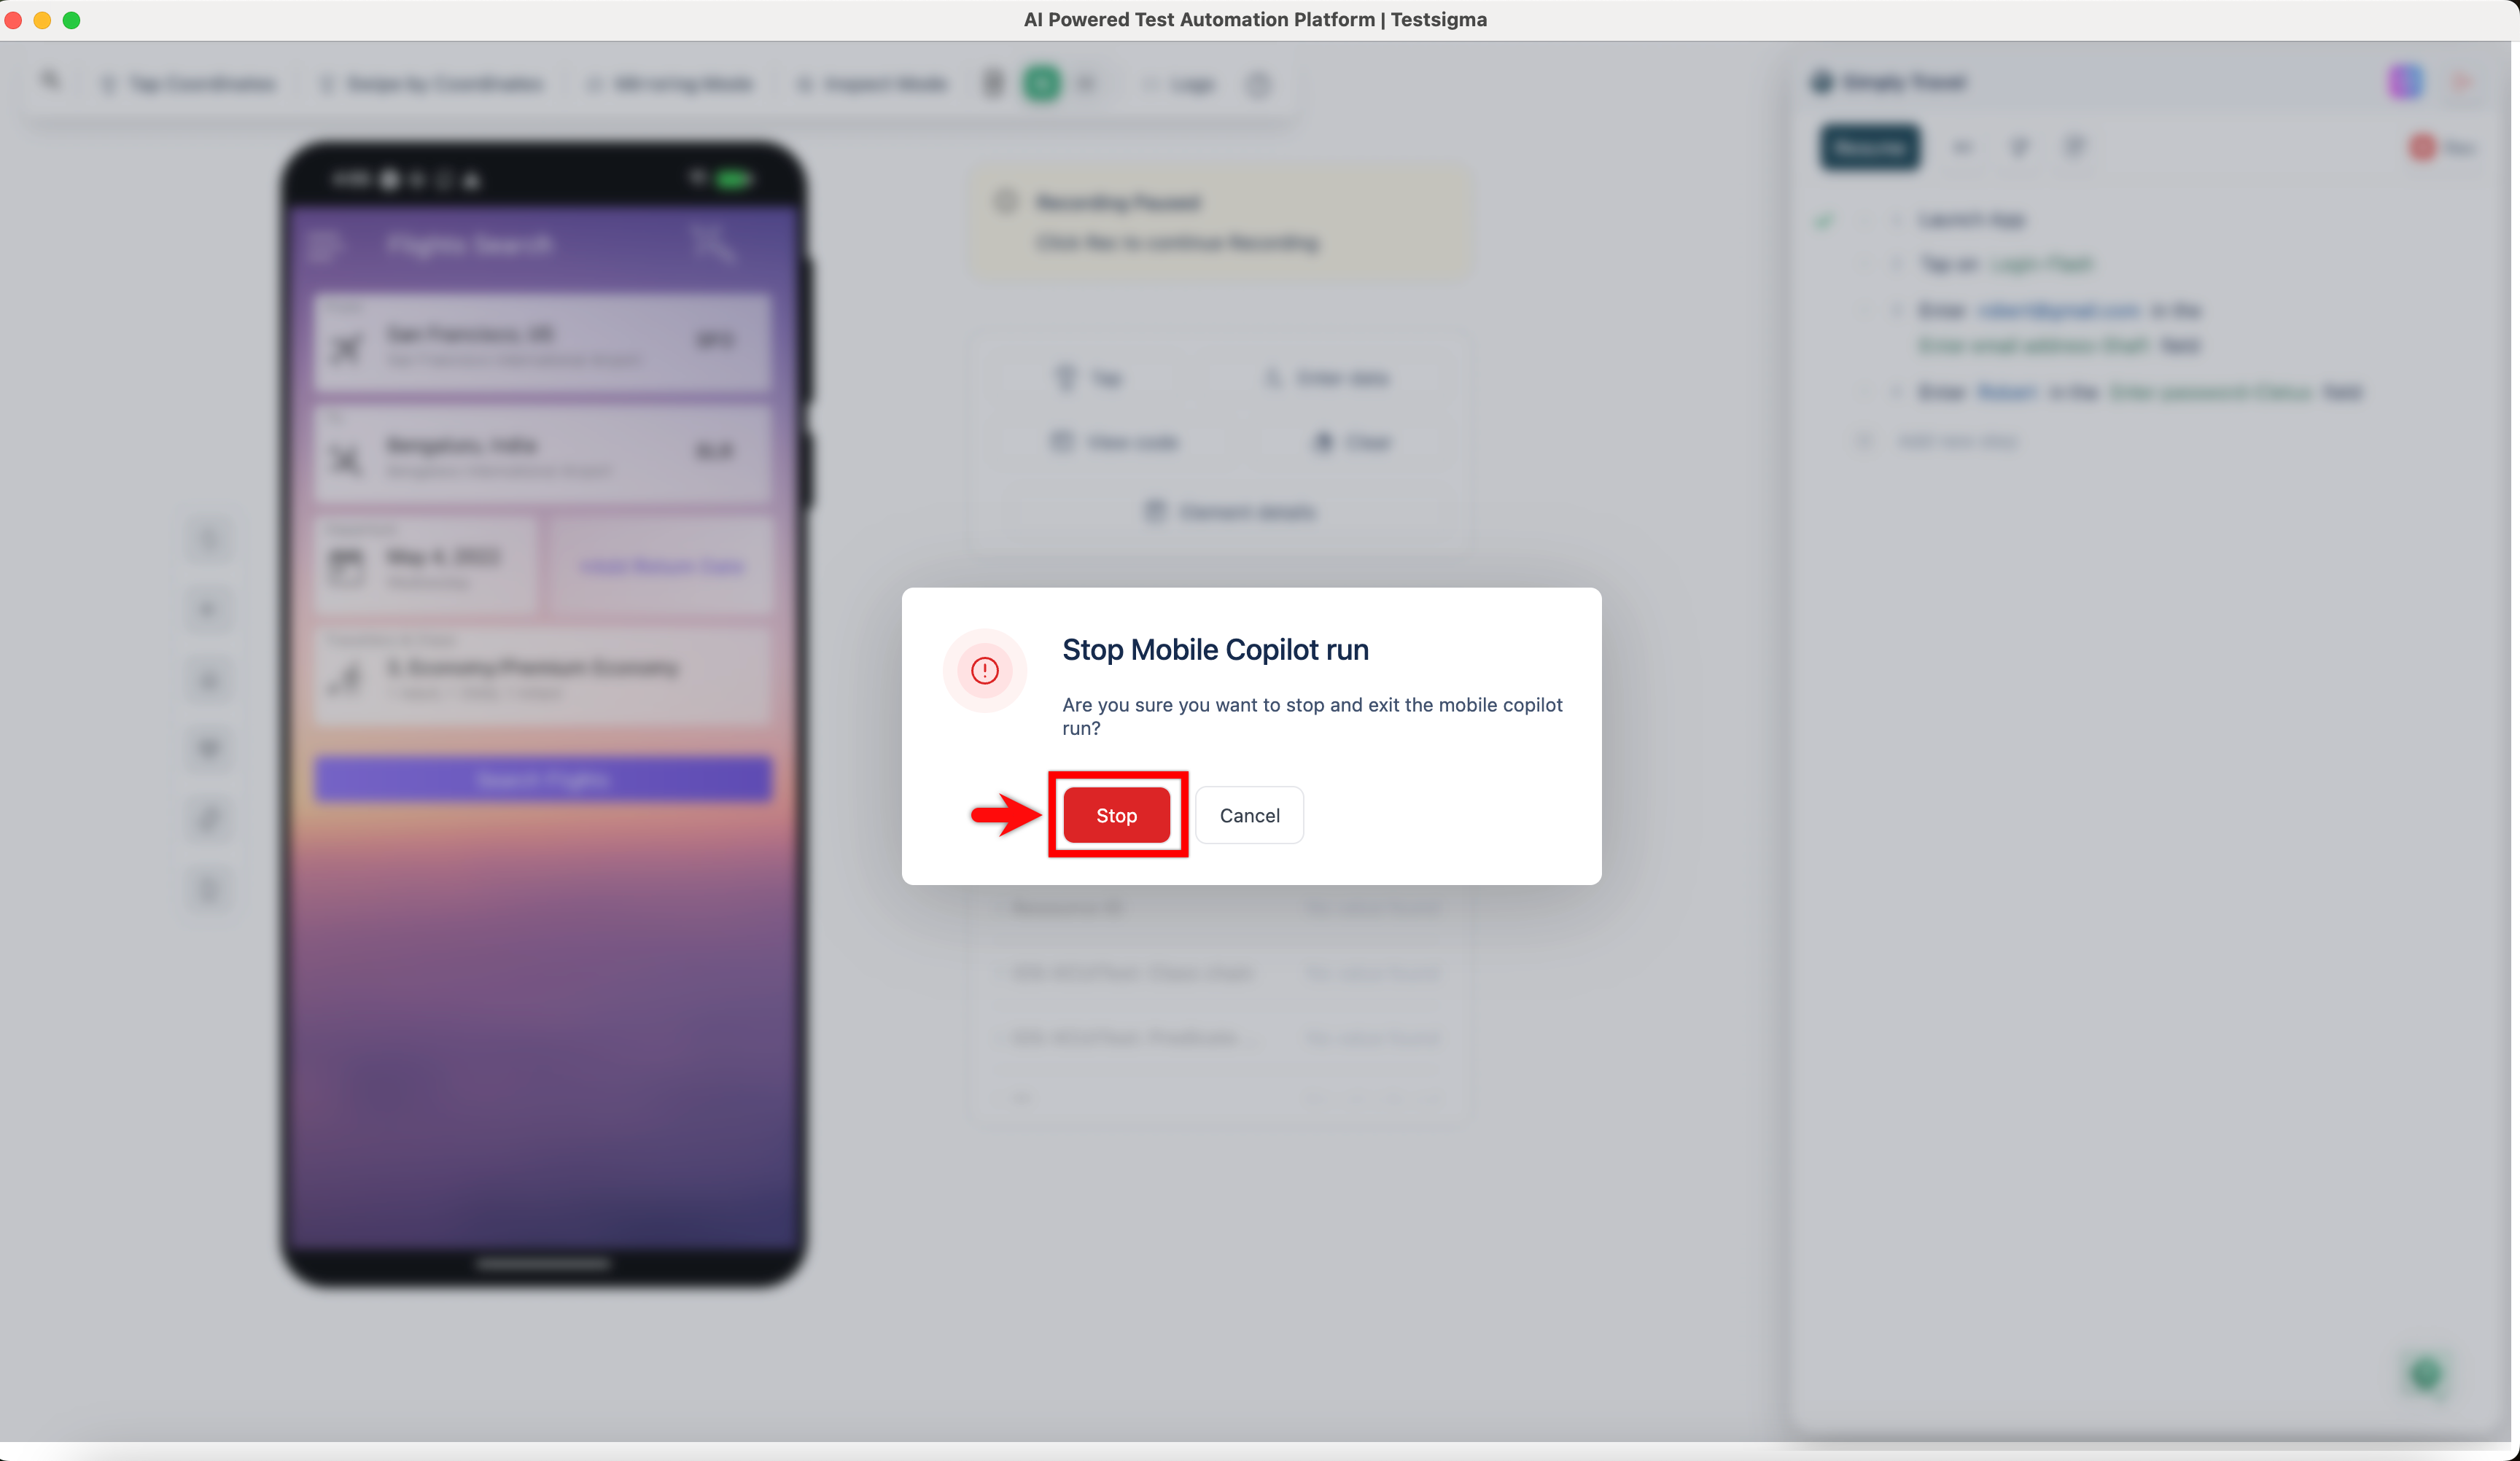
- Click Exit Copilot. A dialog box opens.
- In the Stop & Exit Copilot dialog, click Stop Copilot. All the recorded steps are saved in the Test Case Details page.
Steps to Create Test Cases Using Recorder
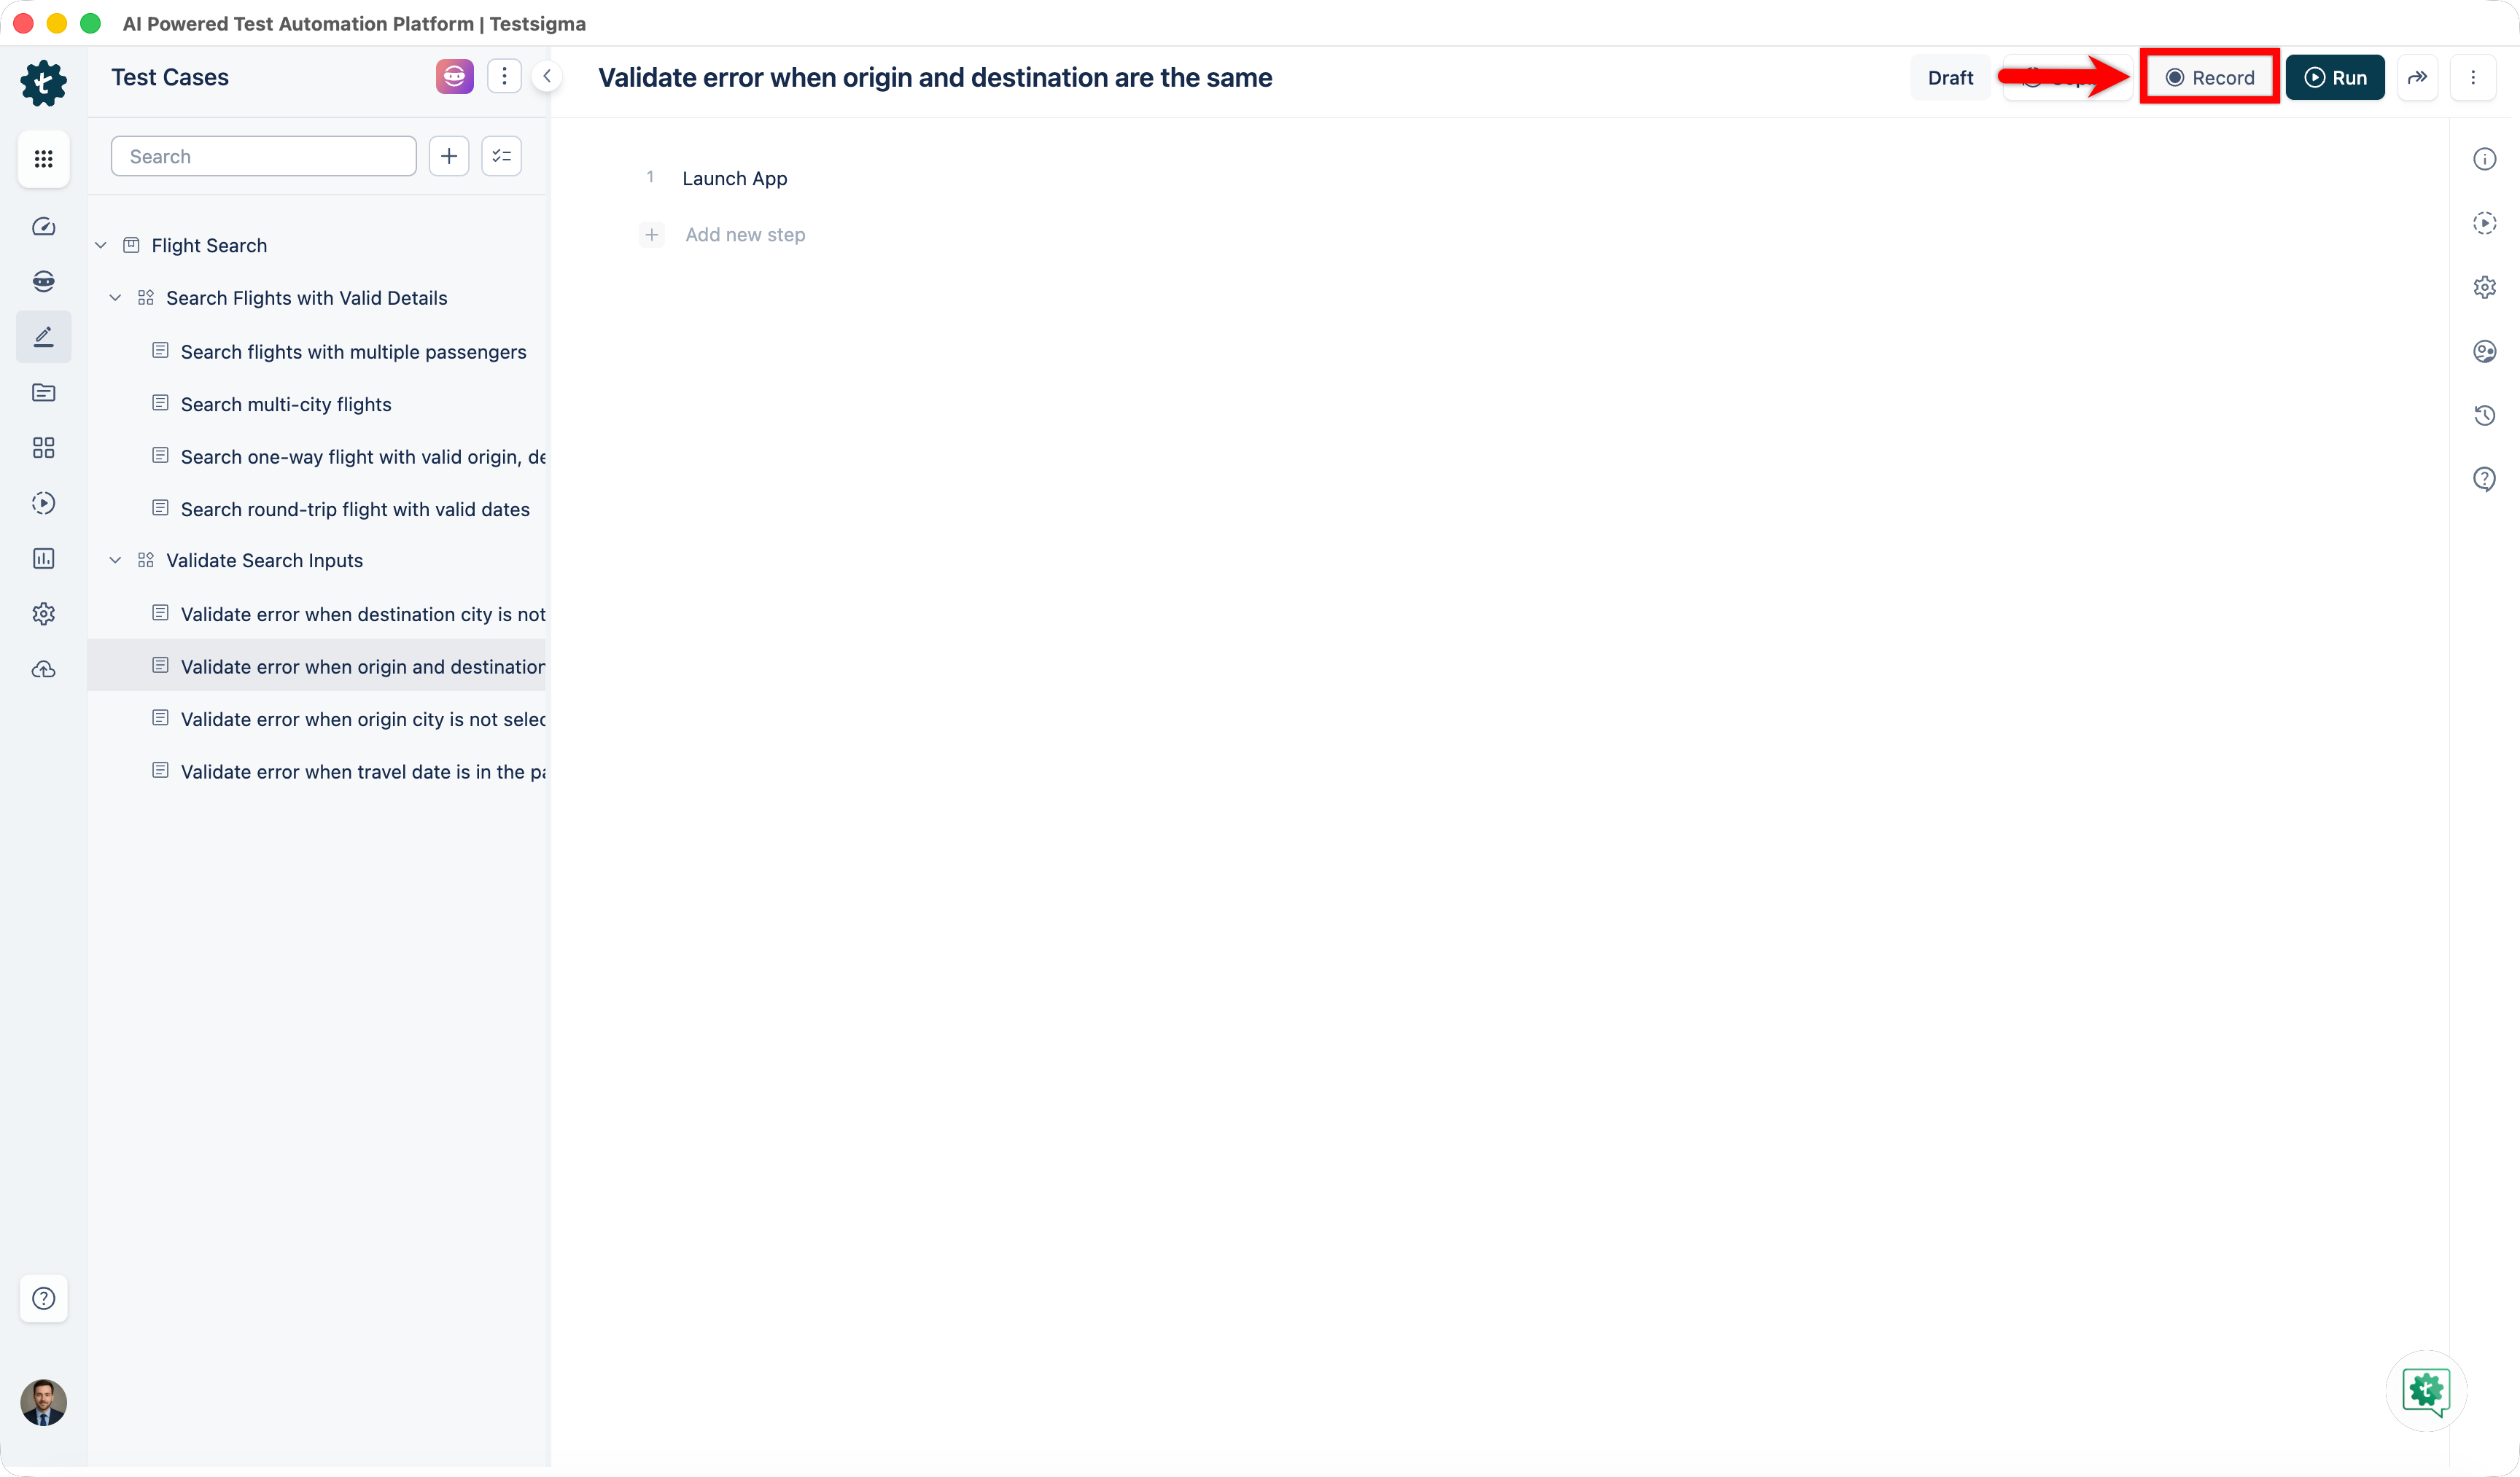
- From the left navigation bar, go to Create Tests > Test Cases.
- In the Test Case Explorer section, expand a Feature and click the + icon next to the required Scenario. This opens a dialog box.
- In the dialog box, validate the target feature and scenario, enter the name in the Test Case Name input box, and click Create.
- In the Test Case Details page, click Record at the top right corner.
-
In the Record test steps overlay:
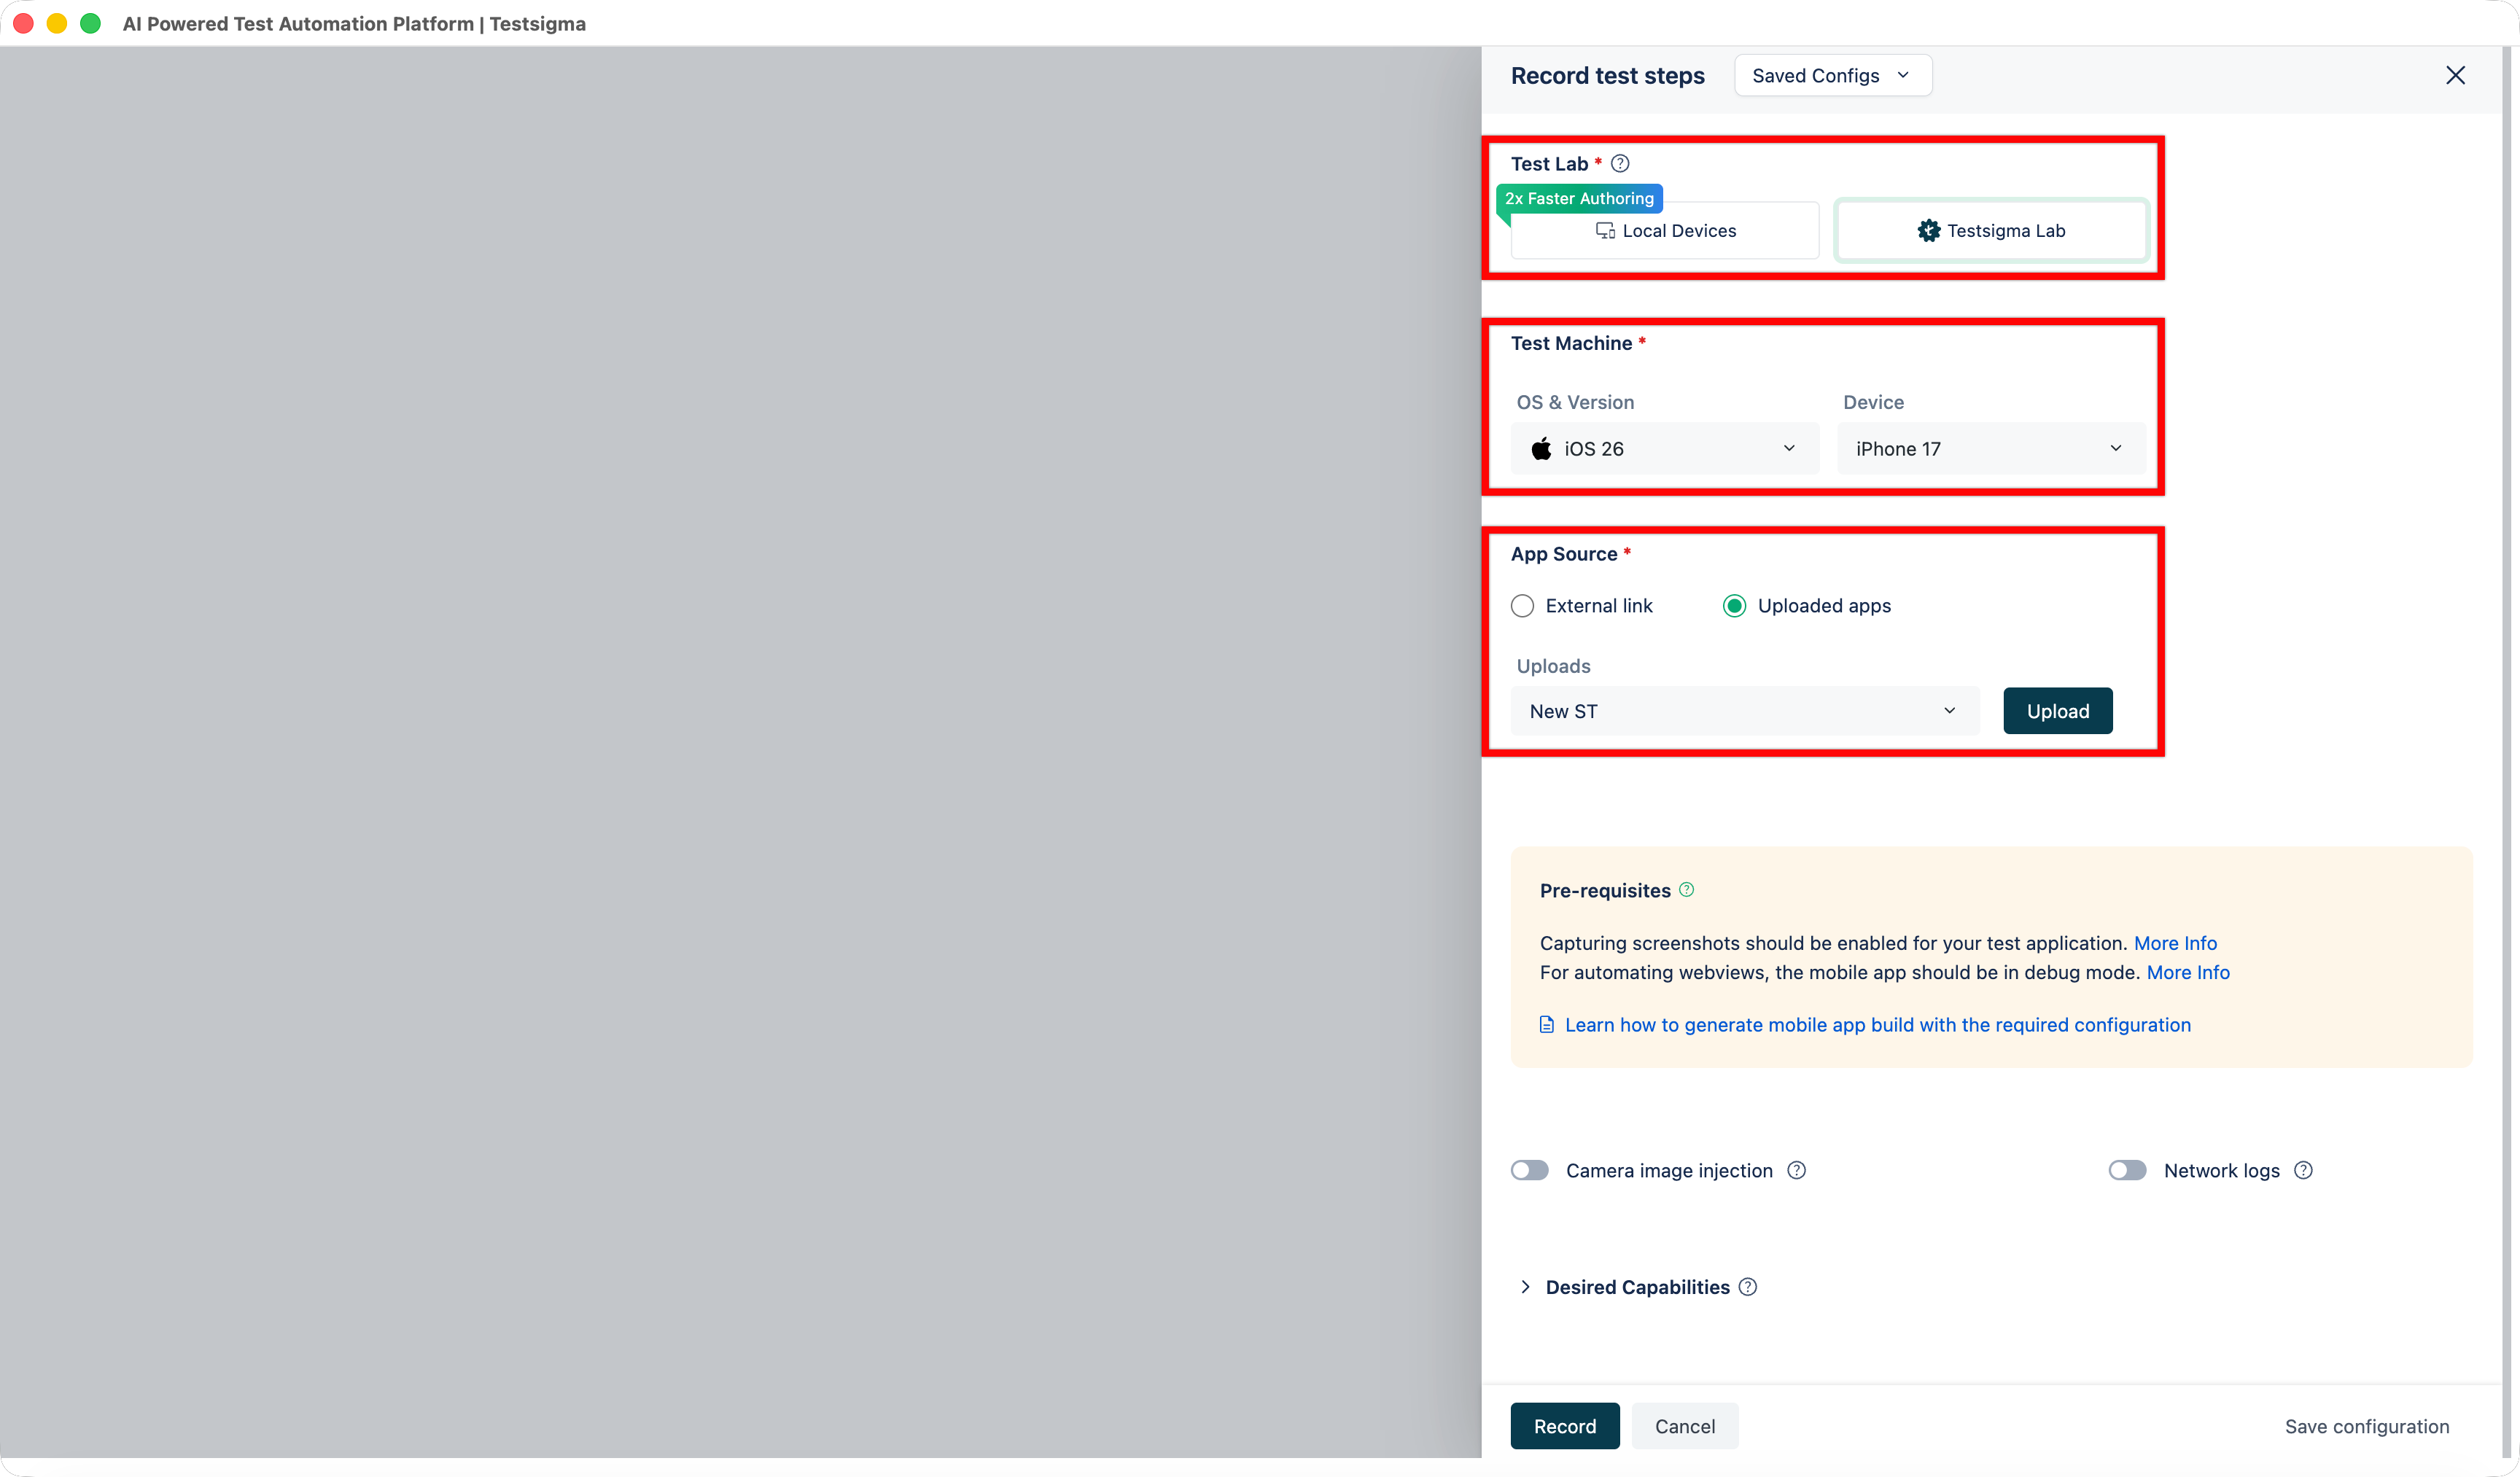
- Select a Test Lab.
- Select a Test Machine.
-
Under App Source, choose one of the following options:
- Paste an external public link to the application.
- Click Upload and browse to upload the application file.
Additional Information
When uploading an IPA application, the following options are available under Supported Device.
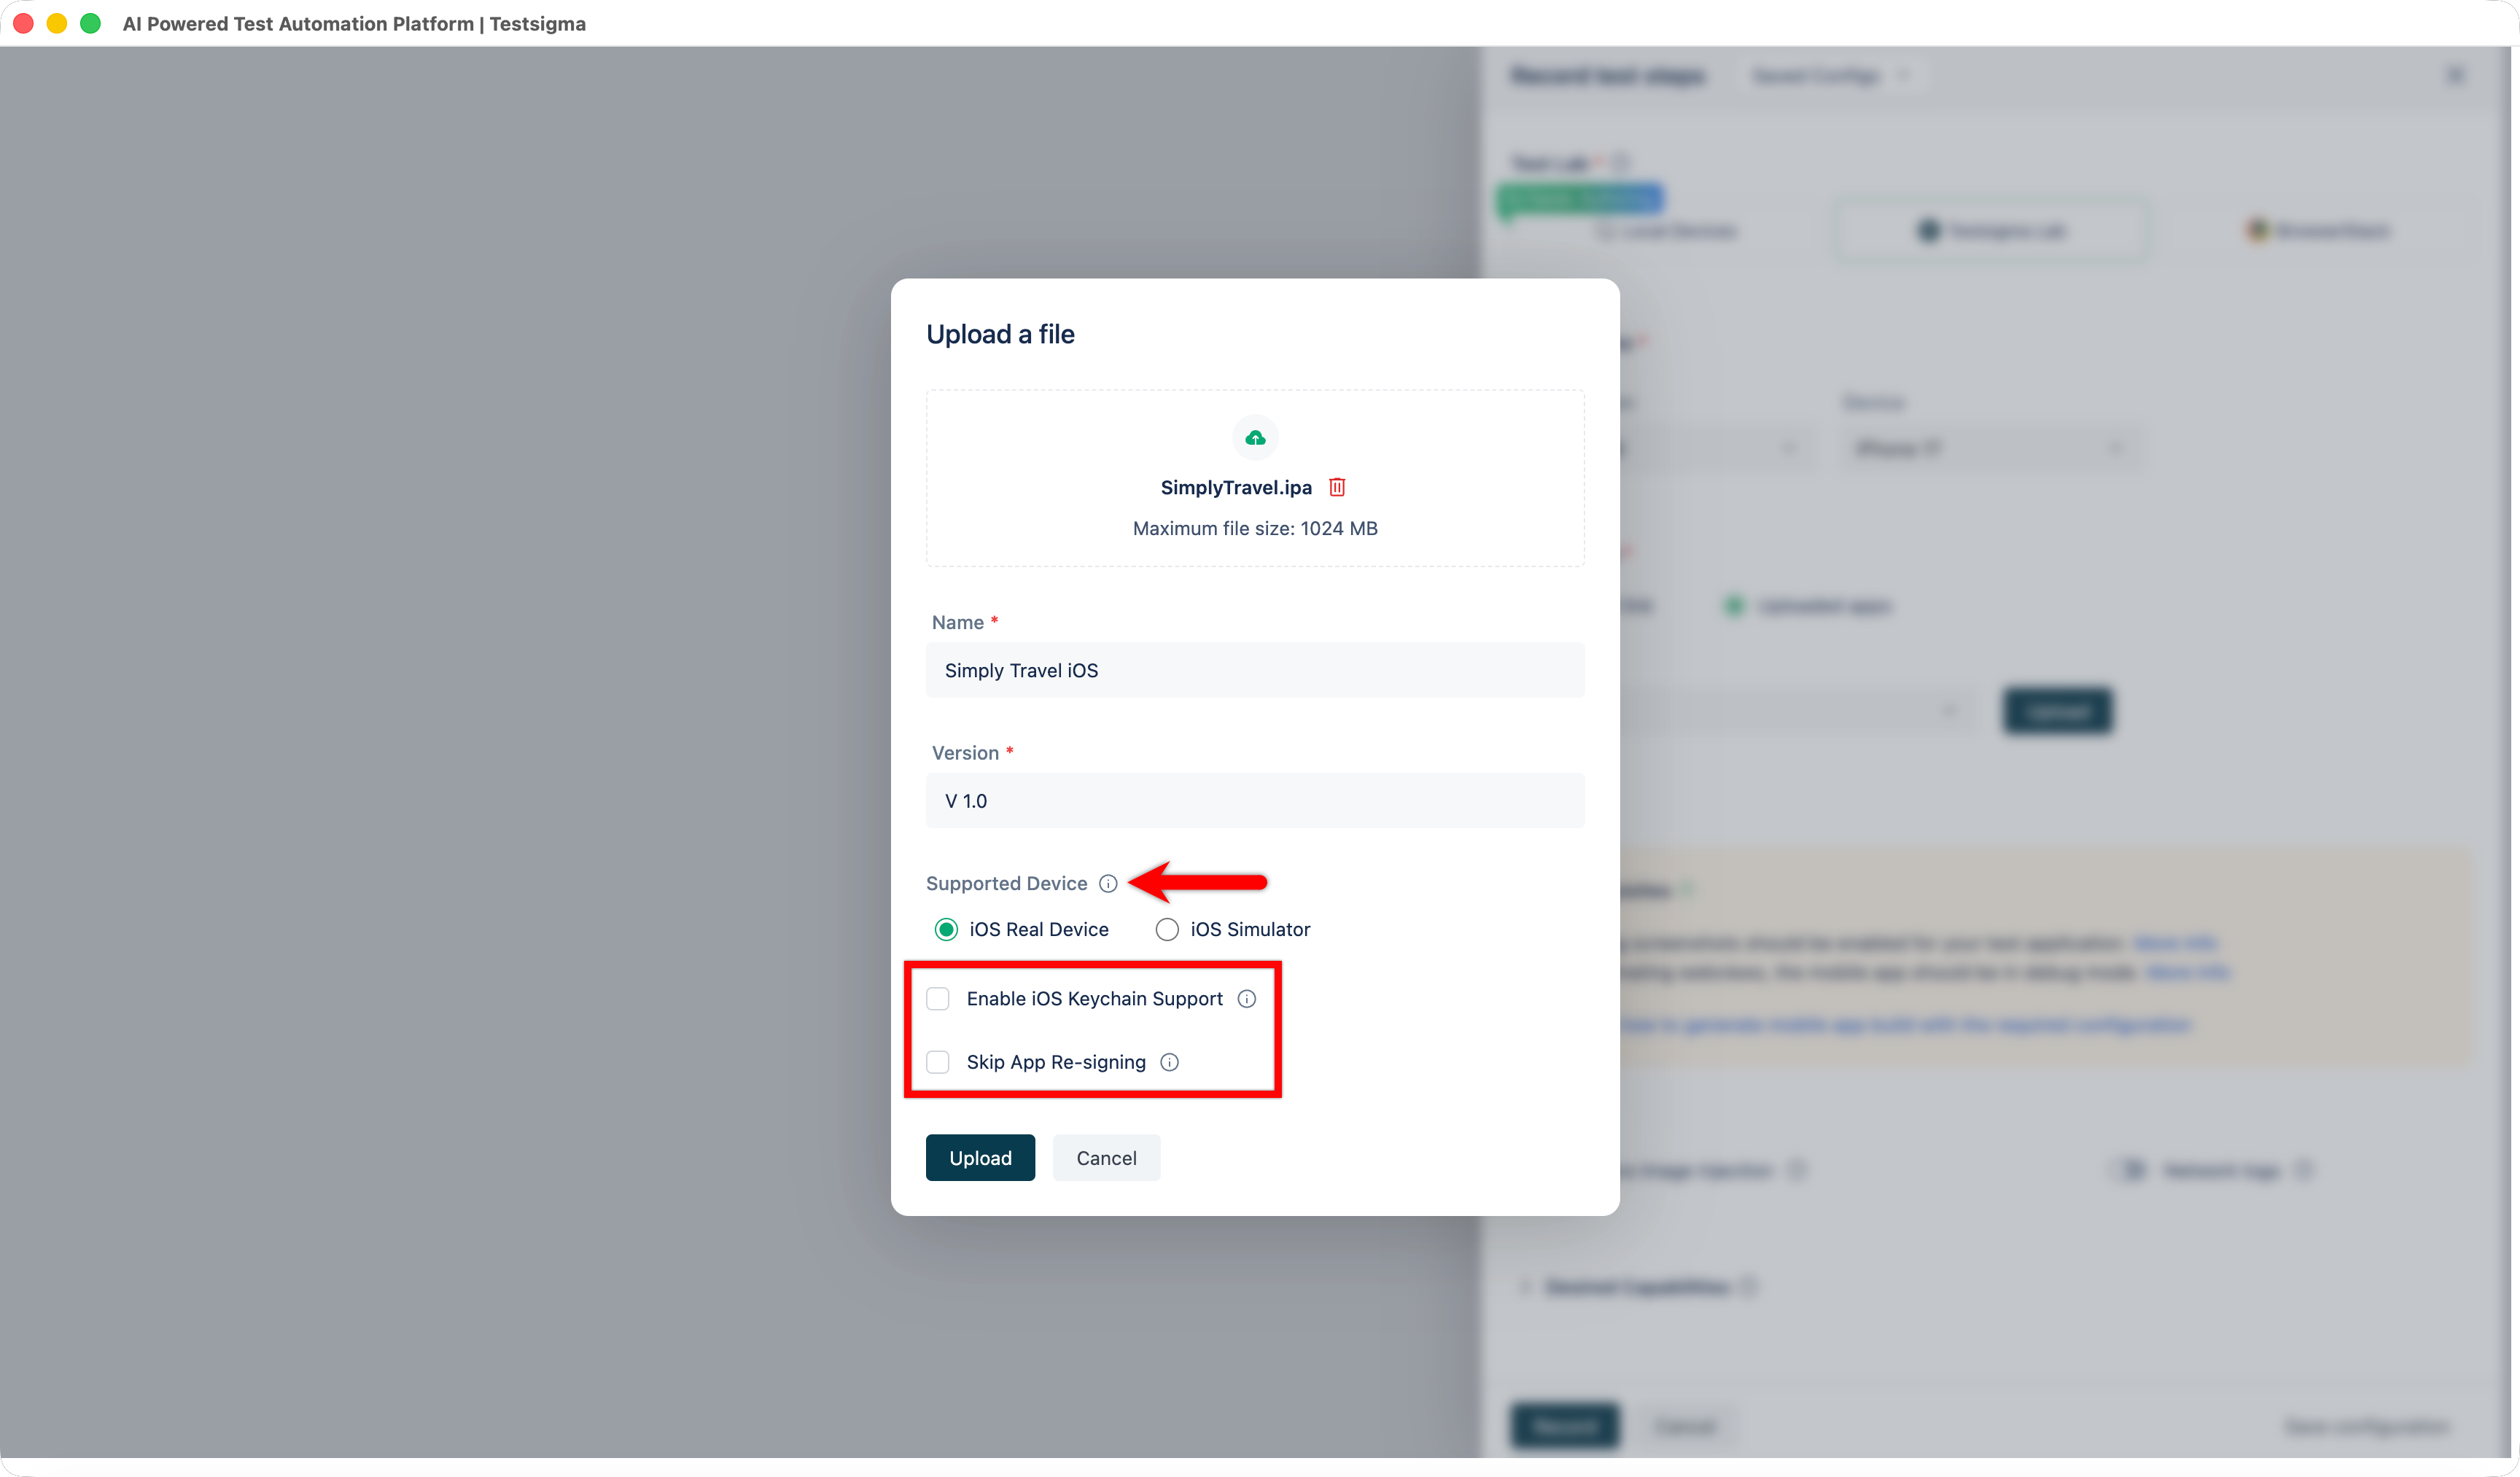
- Enable iOS Keychain Support: Select this option to automatically clear iOS Keychain data after each test session. Clearing the keychain prevents test failures caused by credentials or tokens stored from previous sessions. Use this option if the application cannot access keychain groups after the Bundle Seed ID or Team ID changes during app signing.
- Skip App Re-signing: Select this option if the application is already signed using the Apple Developer Enterprise Program. When this option is enabled, Testsigma installs the application without re-signing it. This allows you to test features that require the original application signature, such as push notifications on Testsigma devices.
- Click Record and wait for the application to load completely.

- Perform the actions in the application. The Recorder captures the interactions and converts them into test steps.
For details about Recorder controls and actions, see Controls and Actions.
Steps to Create Test Cases Using NLPs
- From the left navigation bar, go to Create Tests > Test Cases.
- In the Test Case Explorer section, expand a Feature and click the + icon next to the required Scenario. This opens a dialog box.
- In the dialog box, validate the target feature and scenario, enter the name in the Test Case Name input box, and click Create.
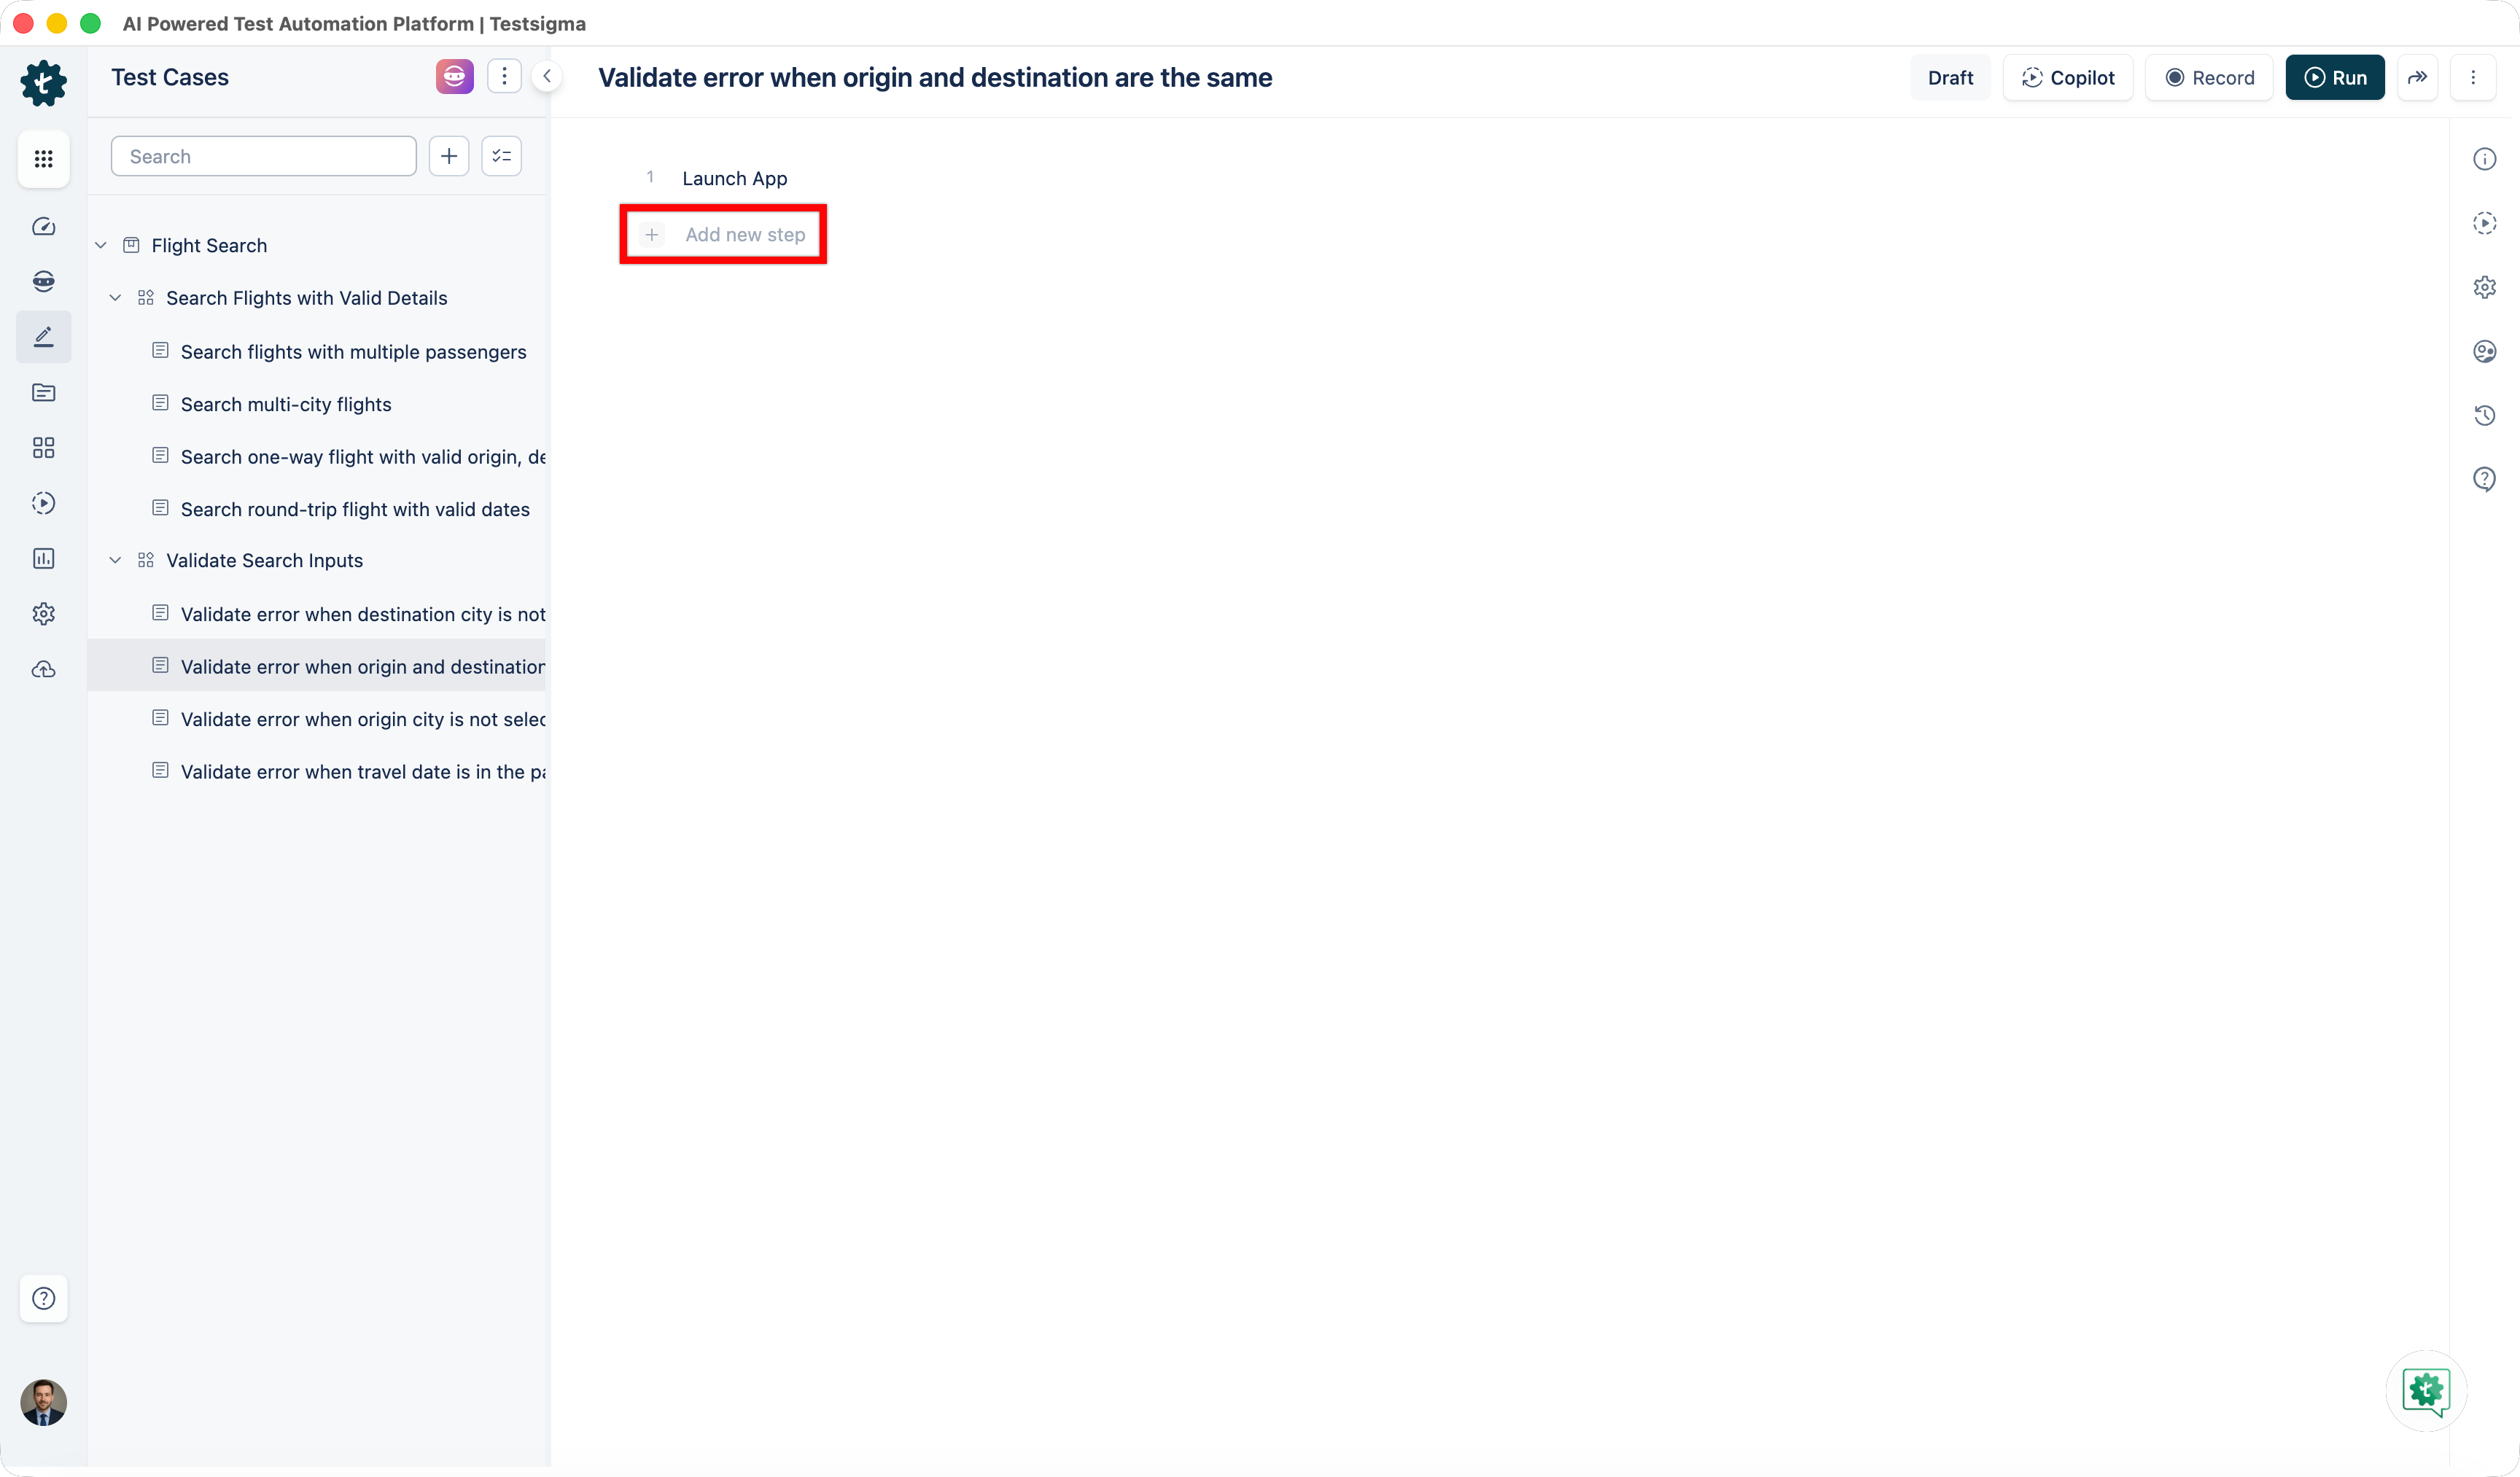
- In the Test Case Details page, the first step is created by default as Launch App.
- Click Add New Step.
- Select the appropriate NLP step, then provide the required test data and elements.
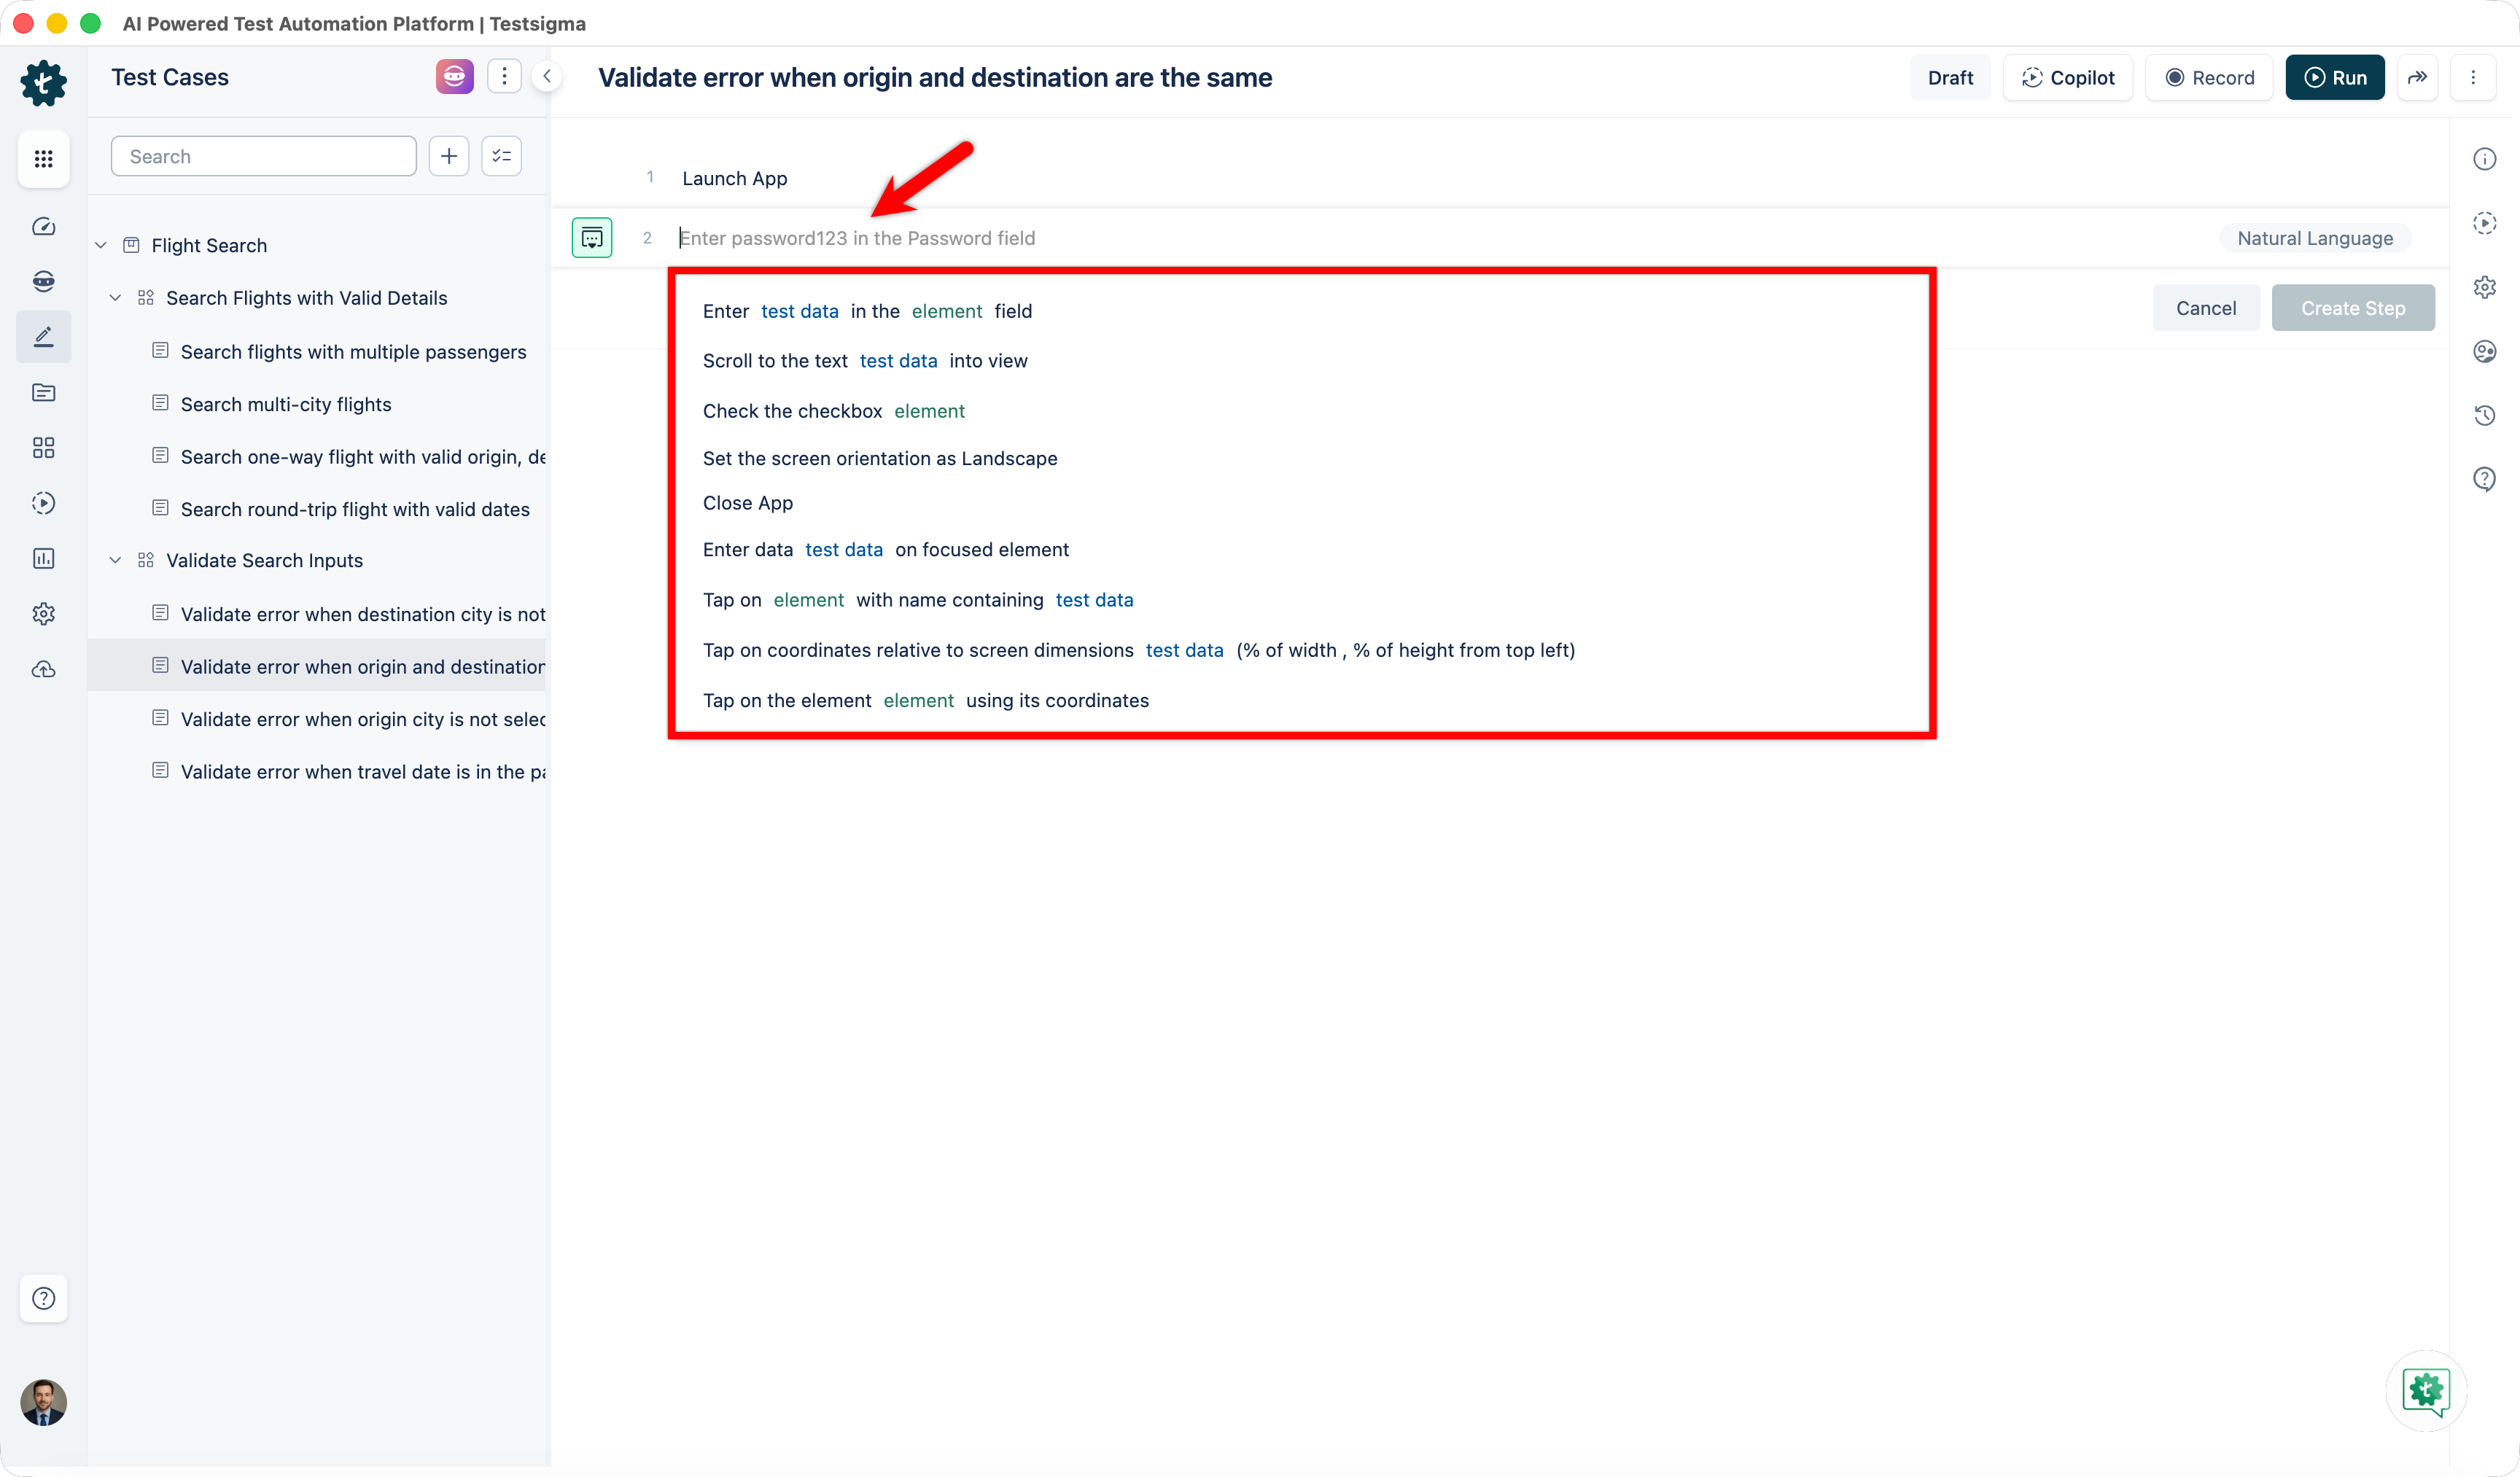
- Repeat Step 5 and Step 6 to add additional steps and complete the test case workflow.
Steps to Create Test Cases for Unified Mobile Apps
You can create one test case in a Unified application instead of maintaining separate Android and iOS test cases. When you run the test, you upload the Android (.apk) and iOS (.ipa) app files, and Testsigma runs the single test case on both platforms and auto-heals the locators that differ between them.
The following video demonstrates this workflow.
Want to contribute or report missing content?