
Integrating Jira Server/Data Center with Testsigma
You can integrate Testsigma with Jira Server or Data Center to simplify issue tracking and enhance your testing workflow. This integration allows you to log, manage, and track bugs directly from Testsigma. This article discusses how to integrate Jira Server with Testsigma.
Prerequisites
Before you begin, ensure you have admin access to your Jira Server or Data Center instance.
Steps to Integrate Jira Server or Data Center
- From the left navigation bar, navigate to Settings.
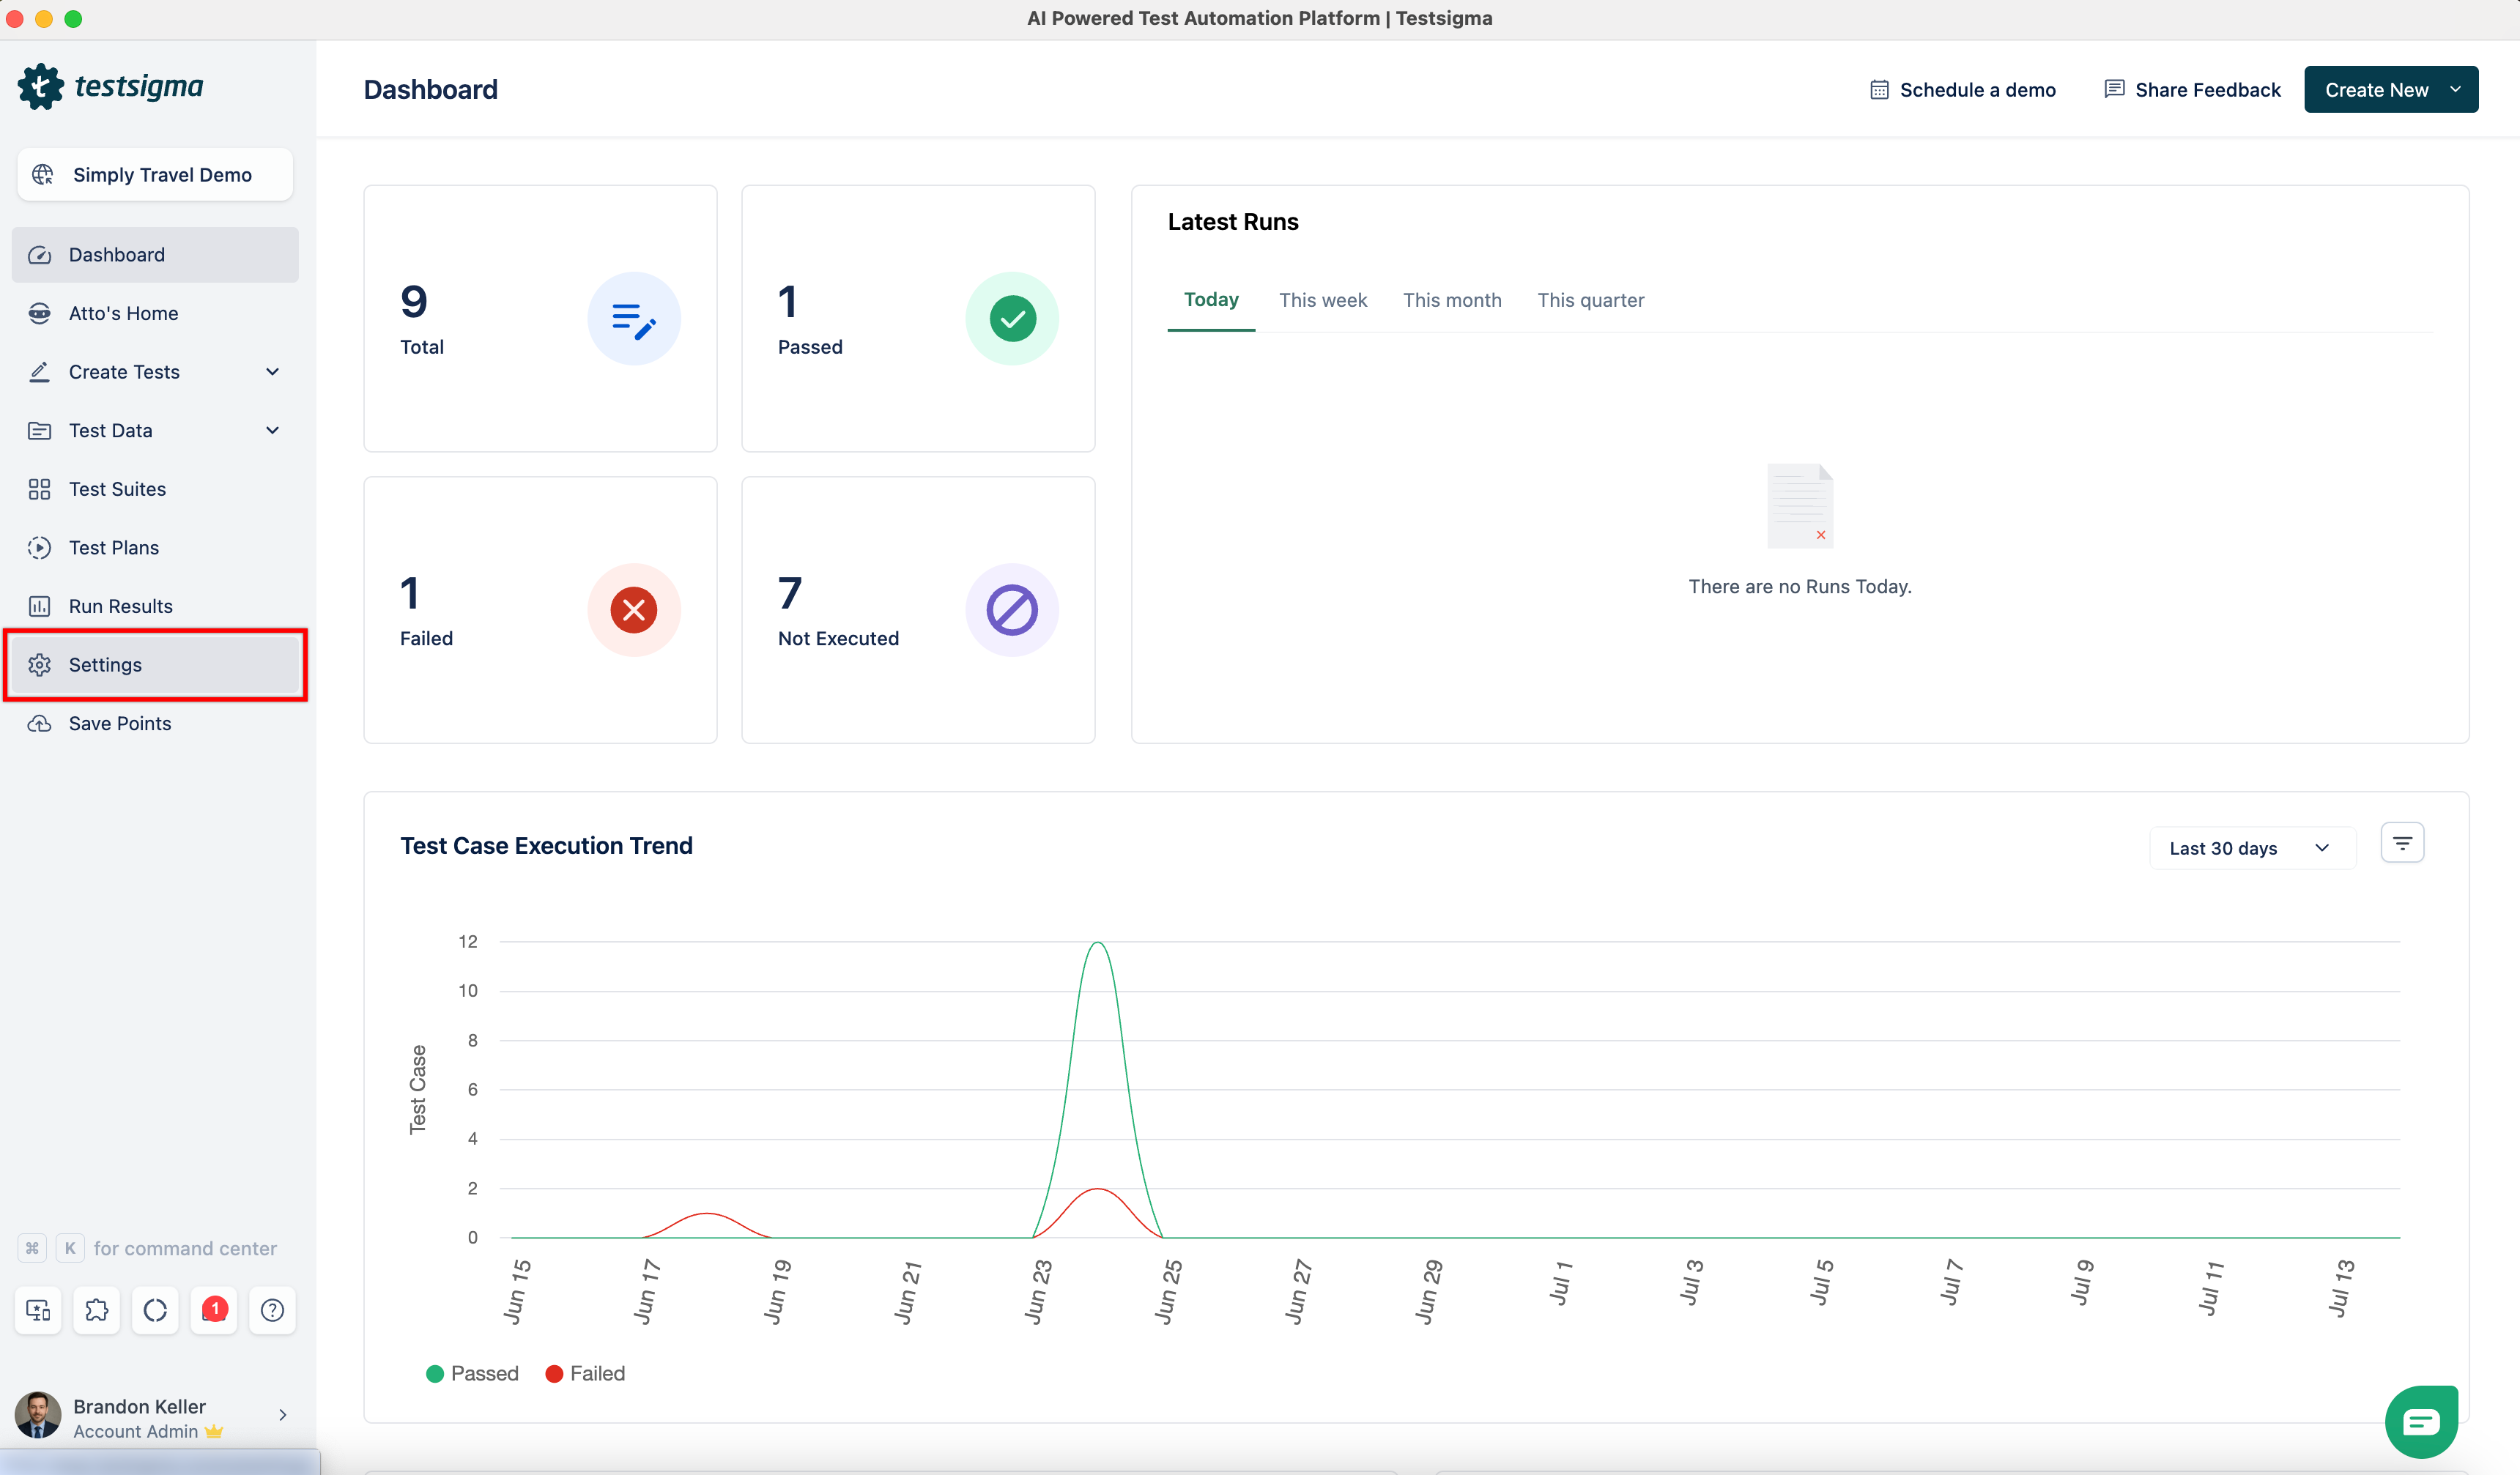
- In the Admin Settings panel, select Integrations.
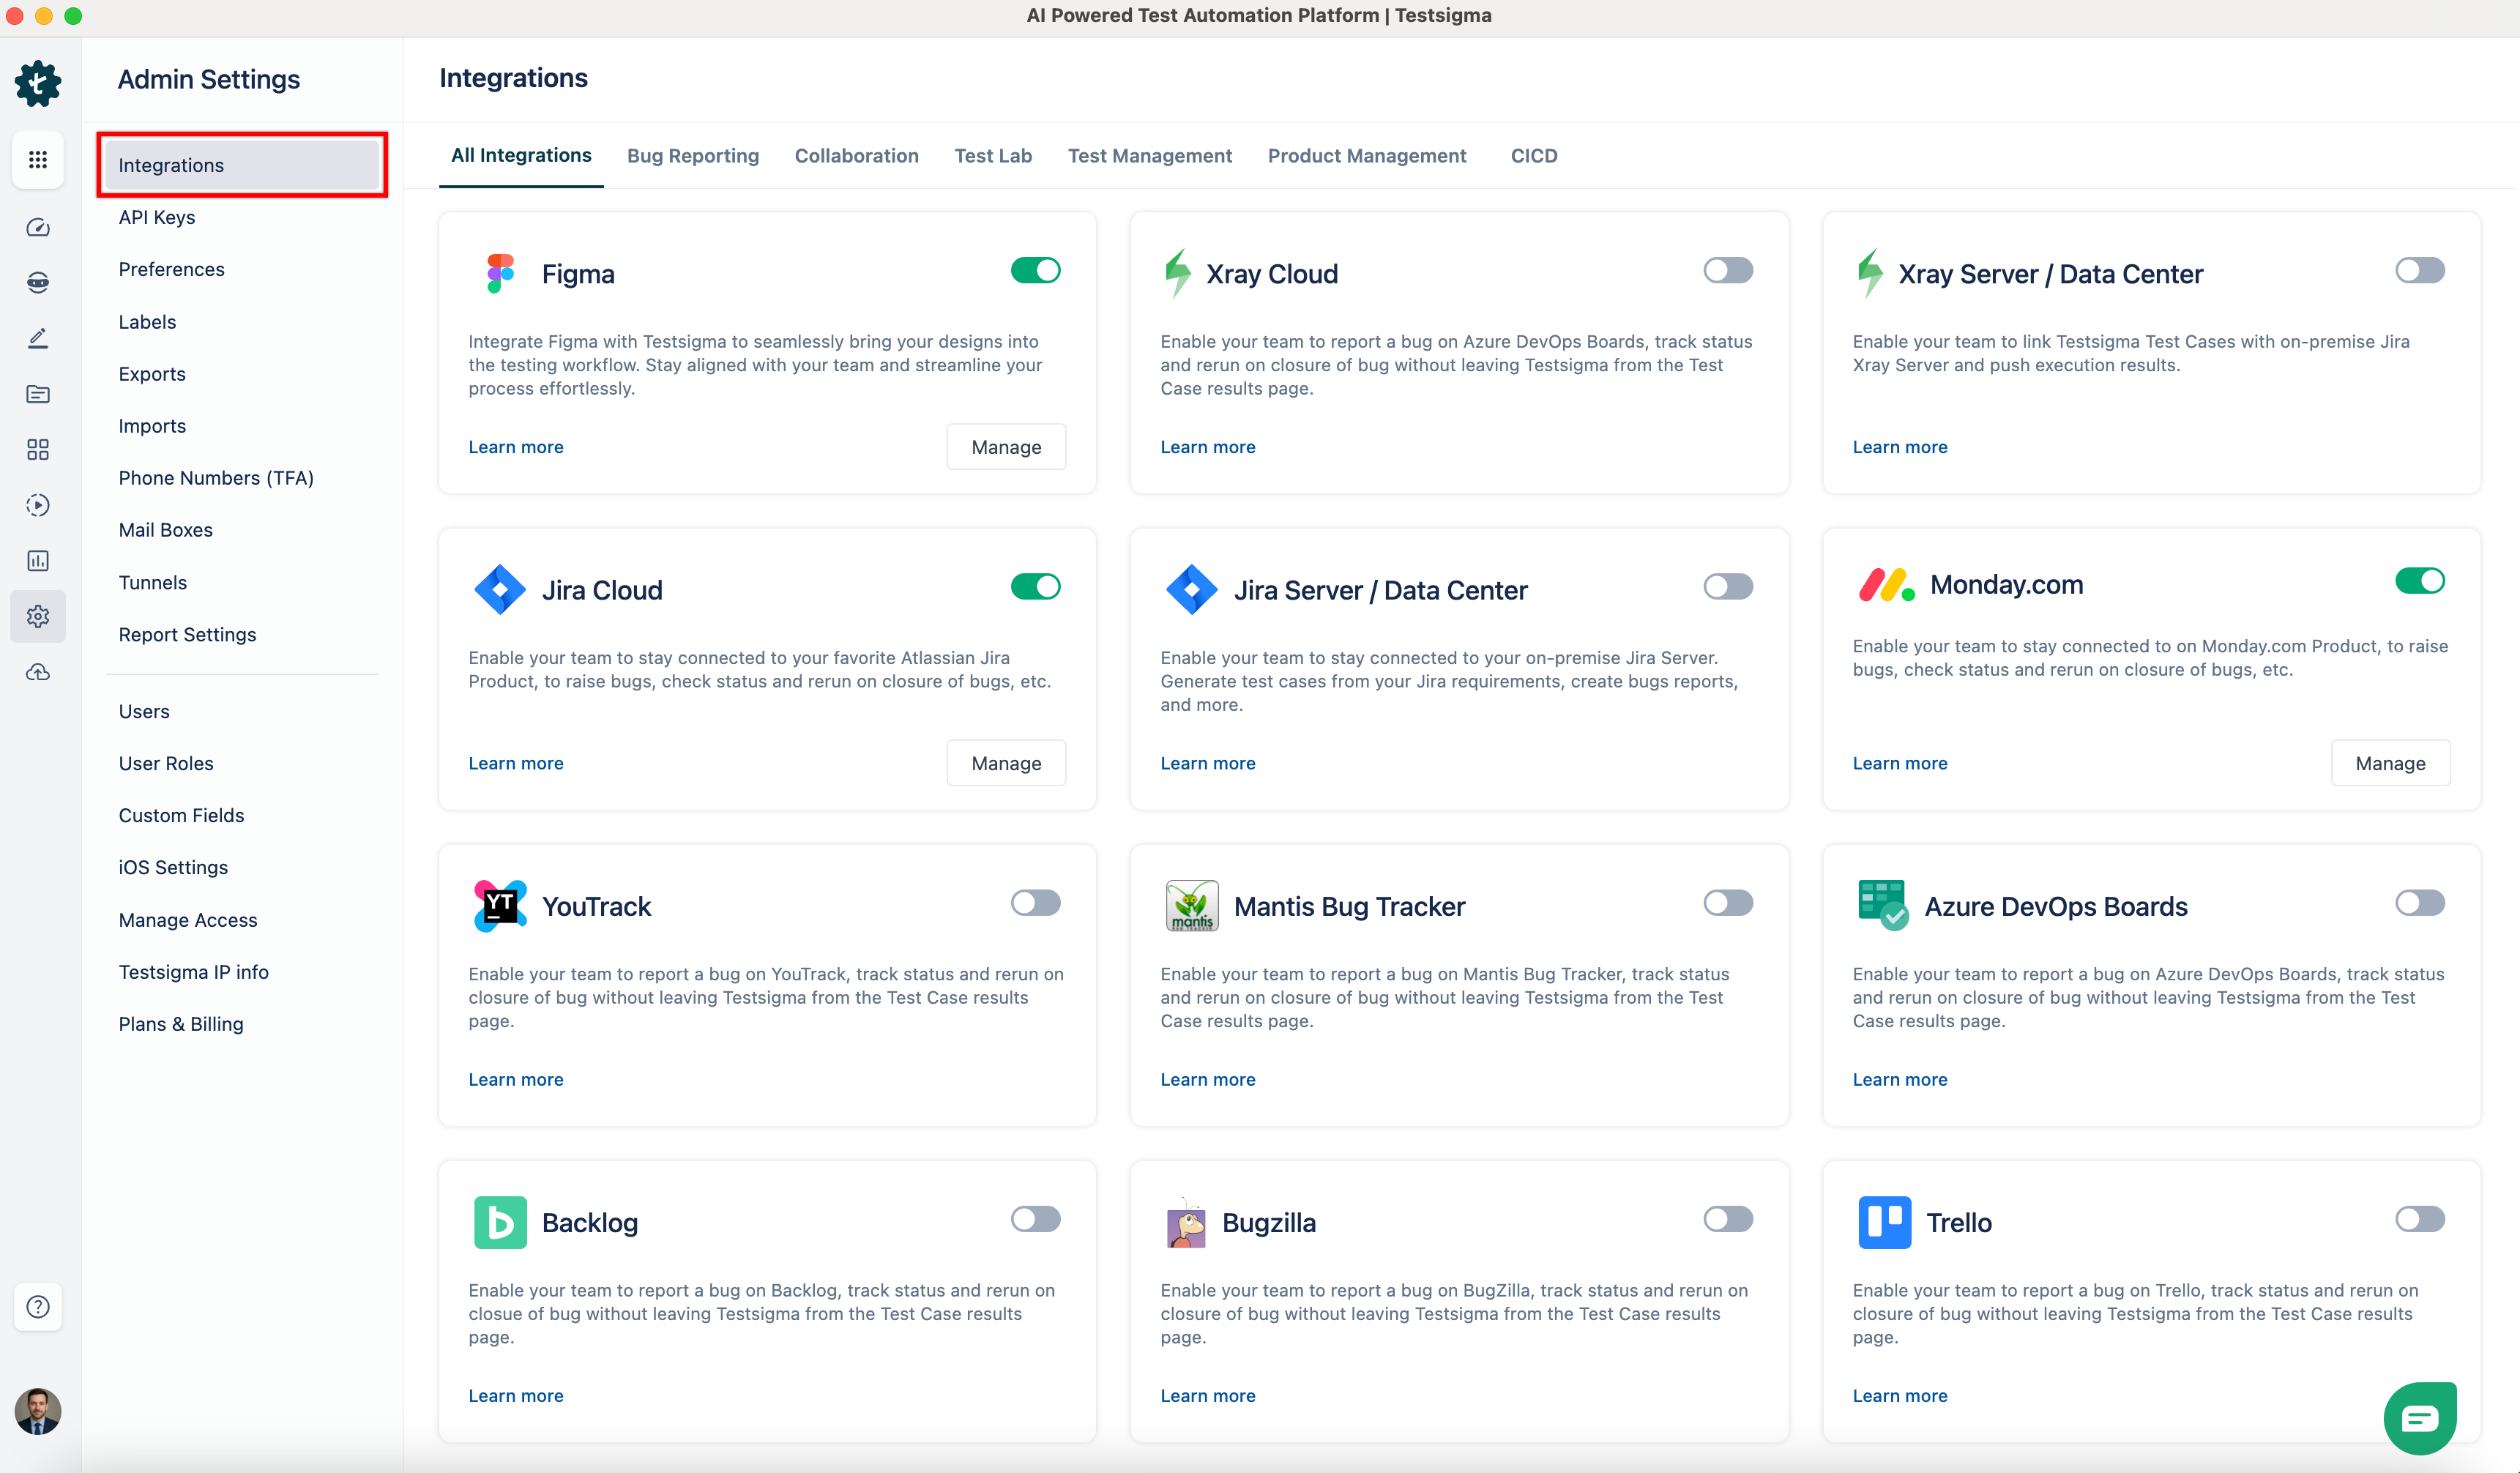
- In the Integrations page, enable the toggle on the Jira Server / Data Center widget.
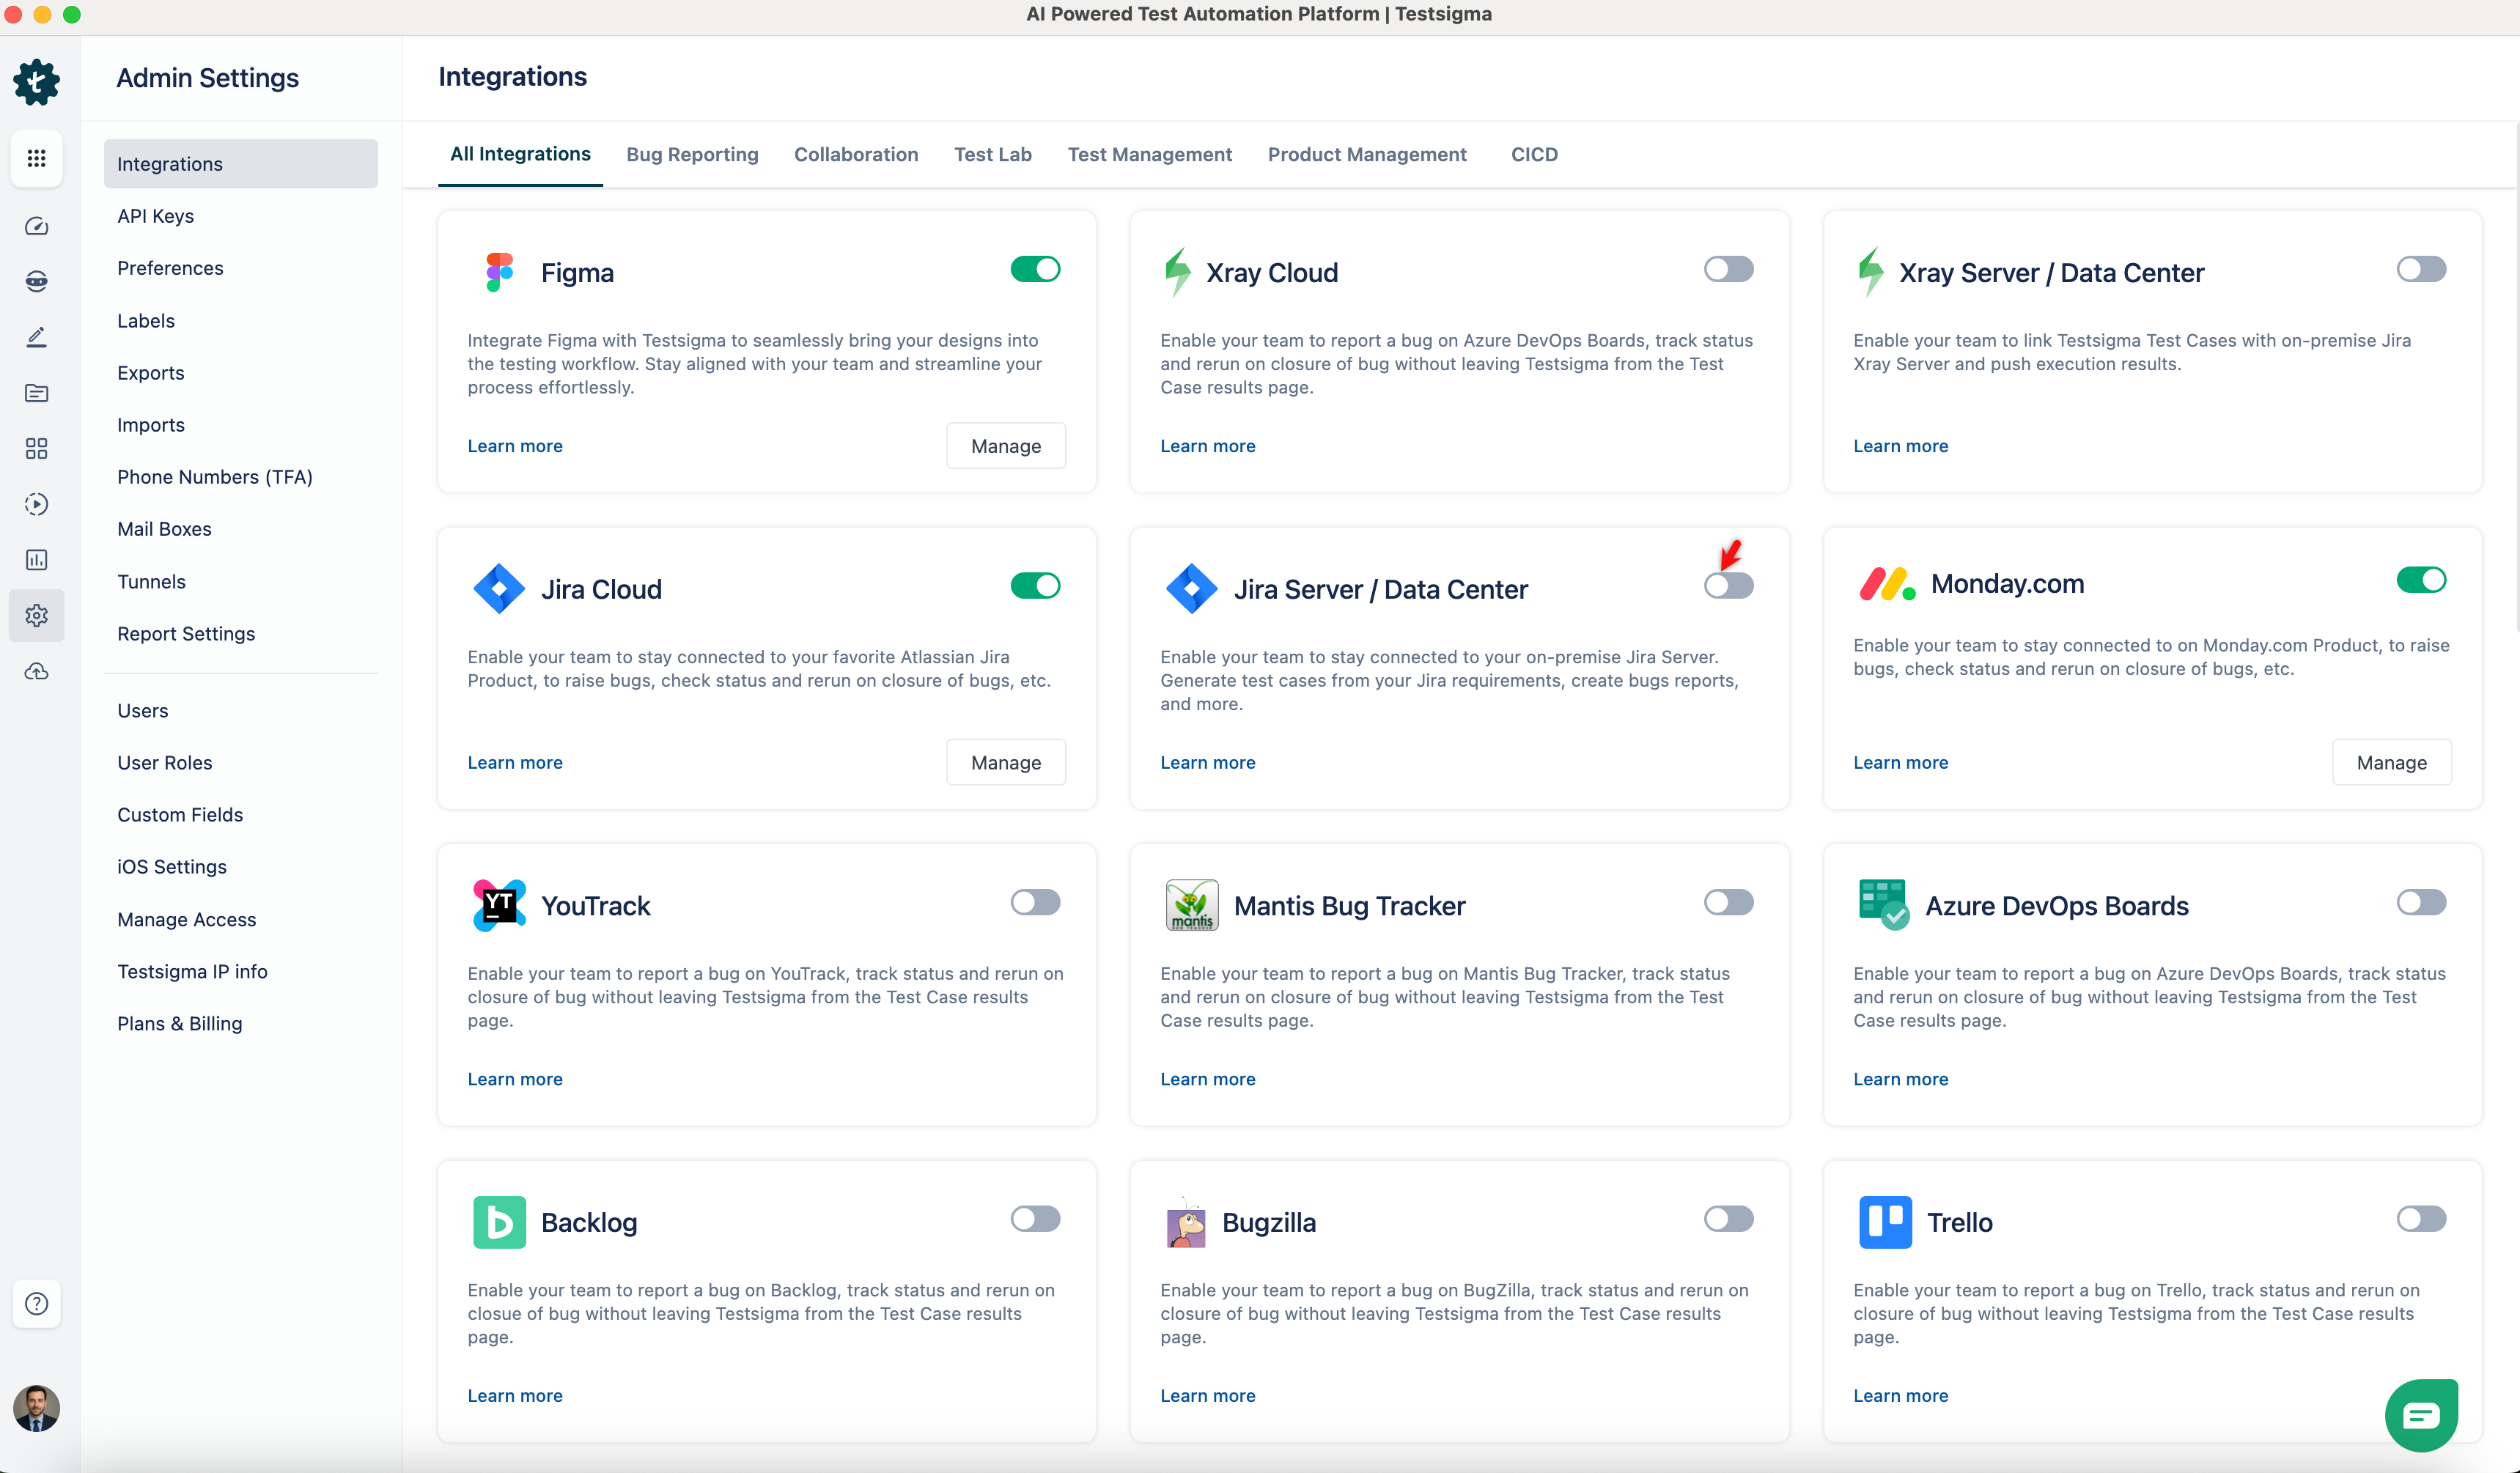
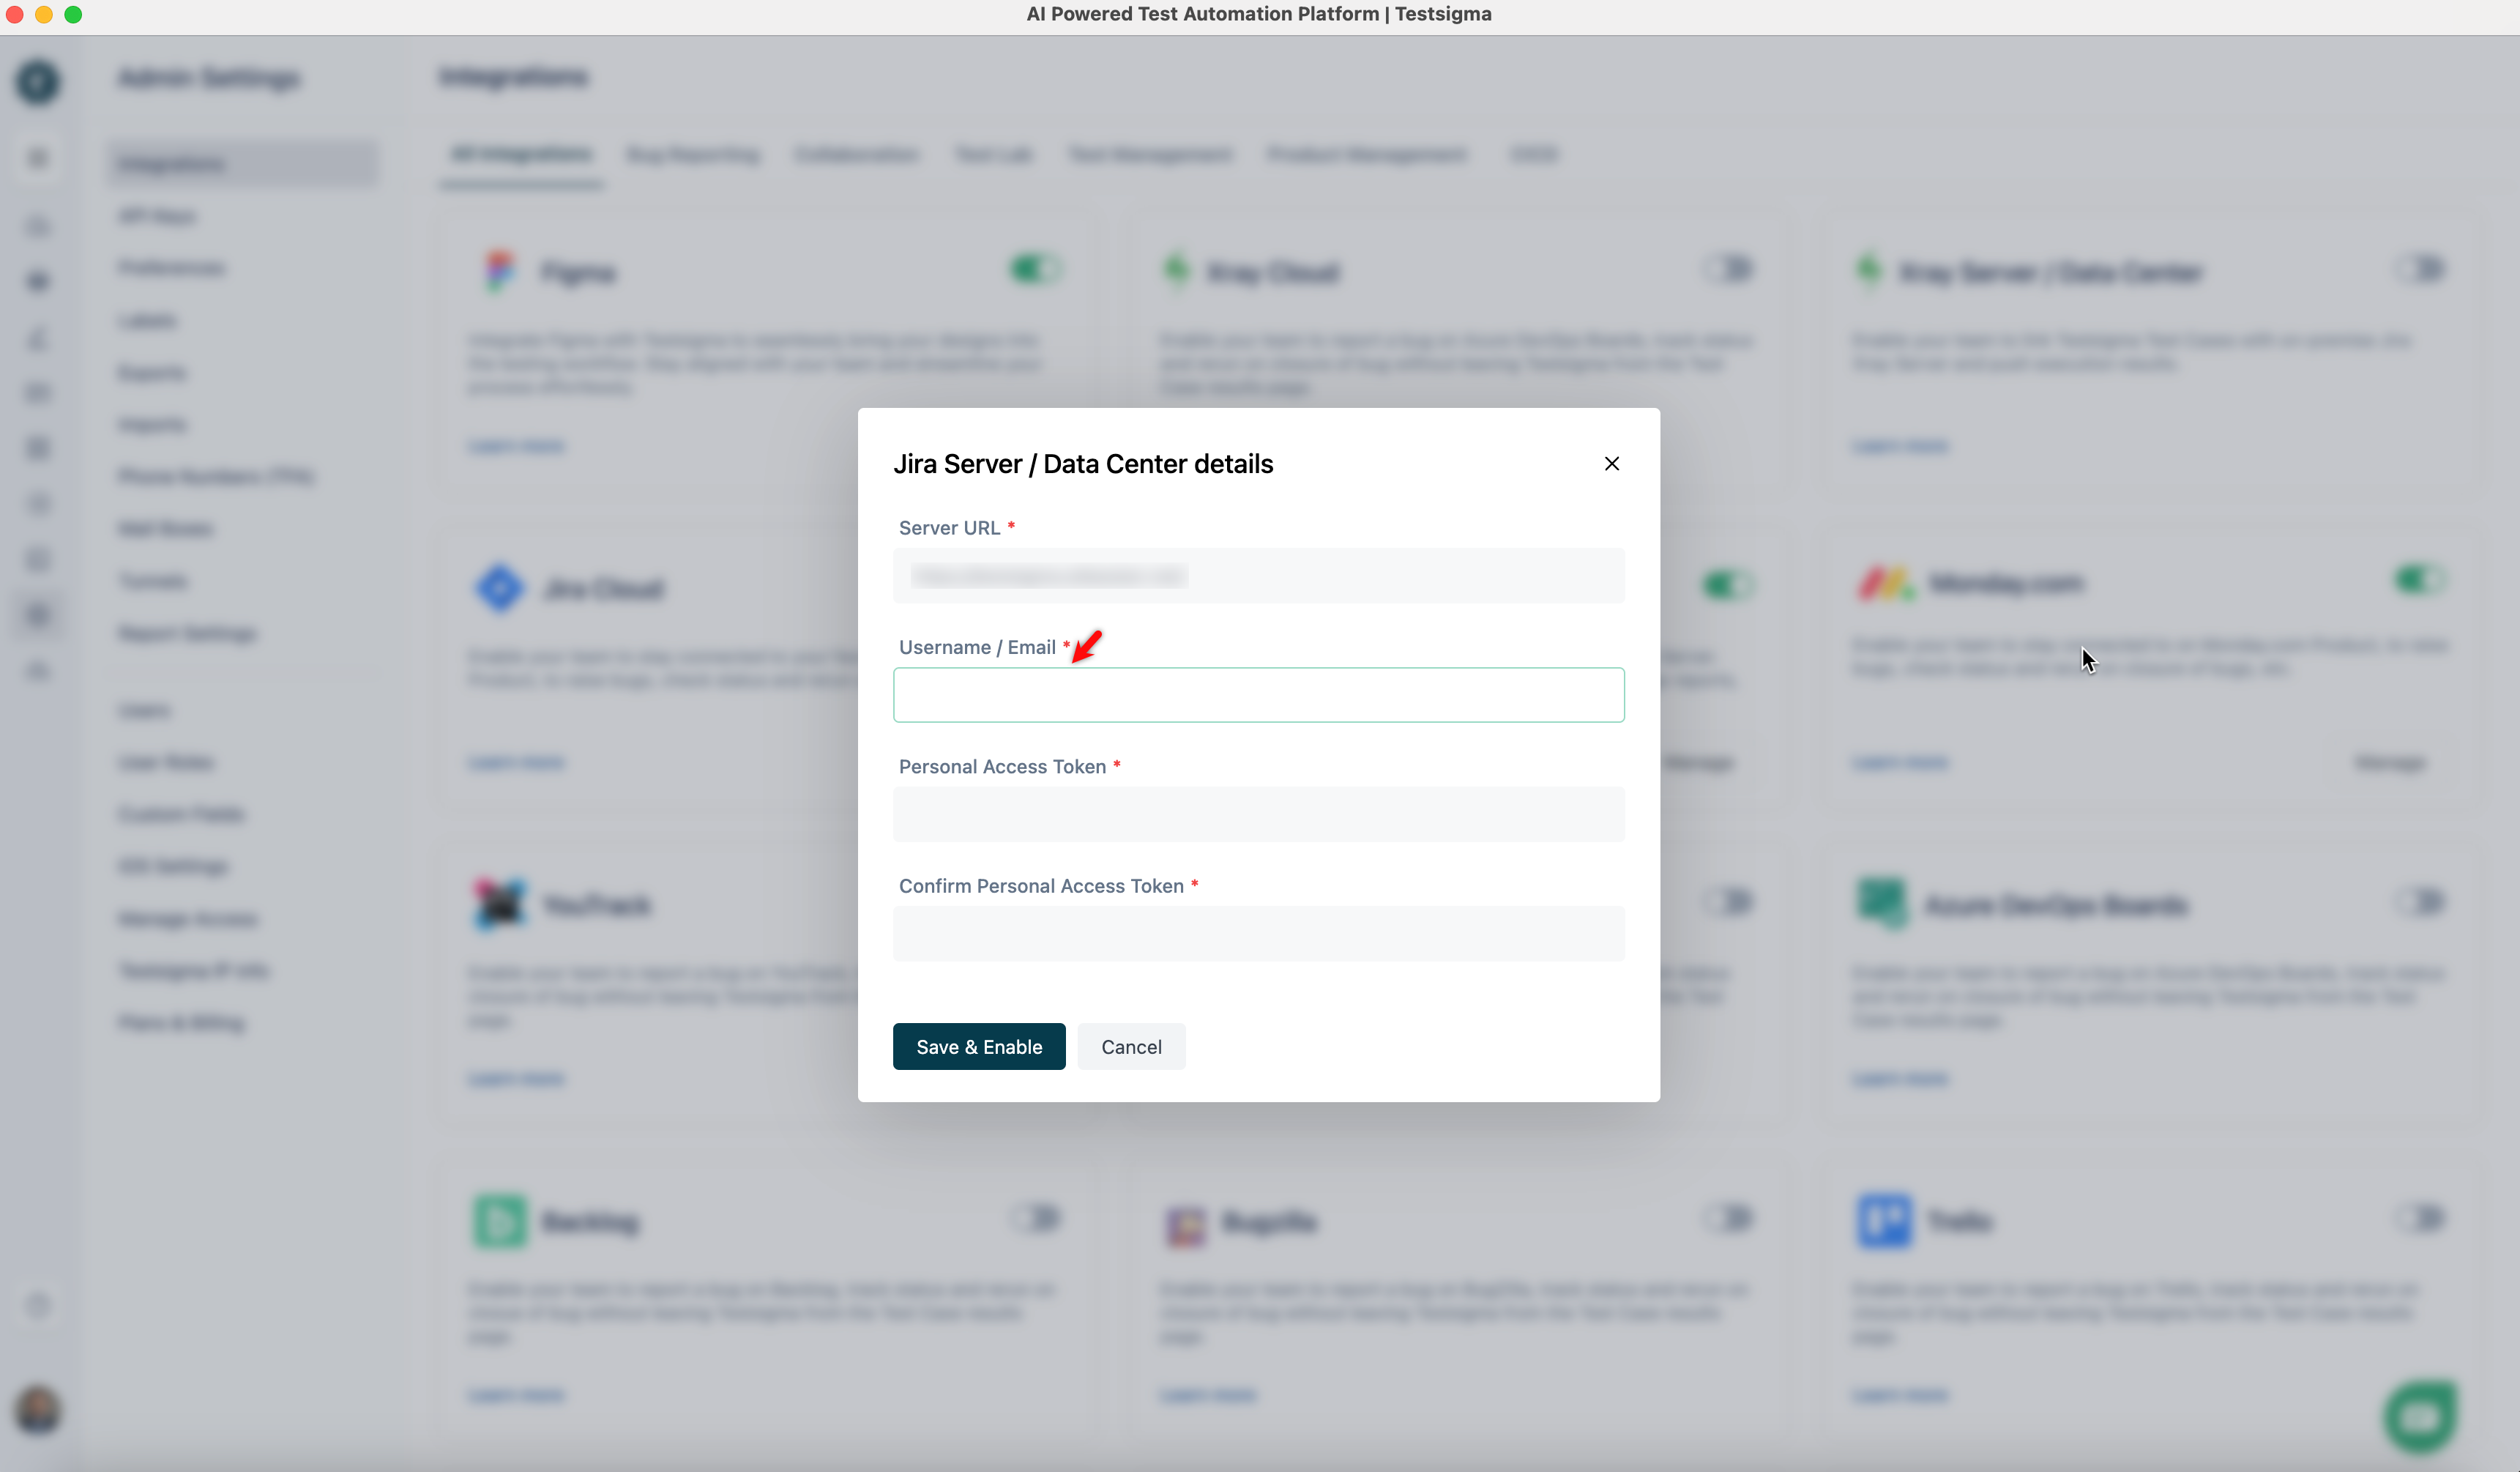
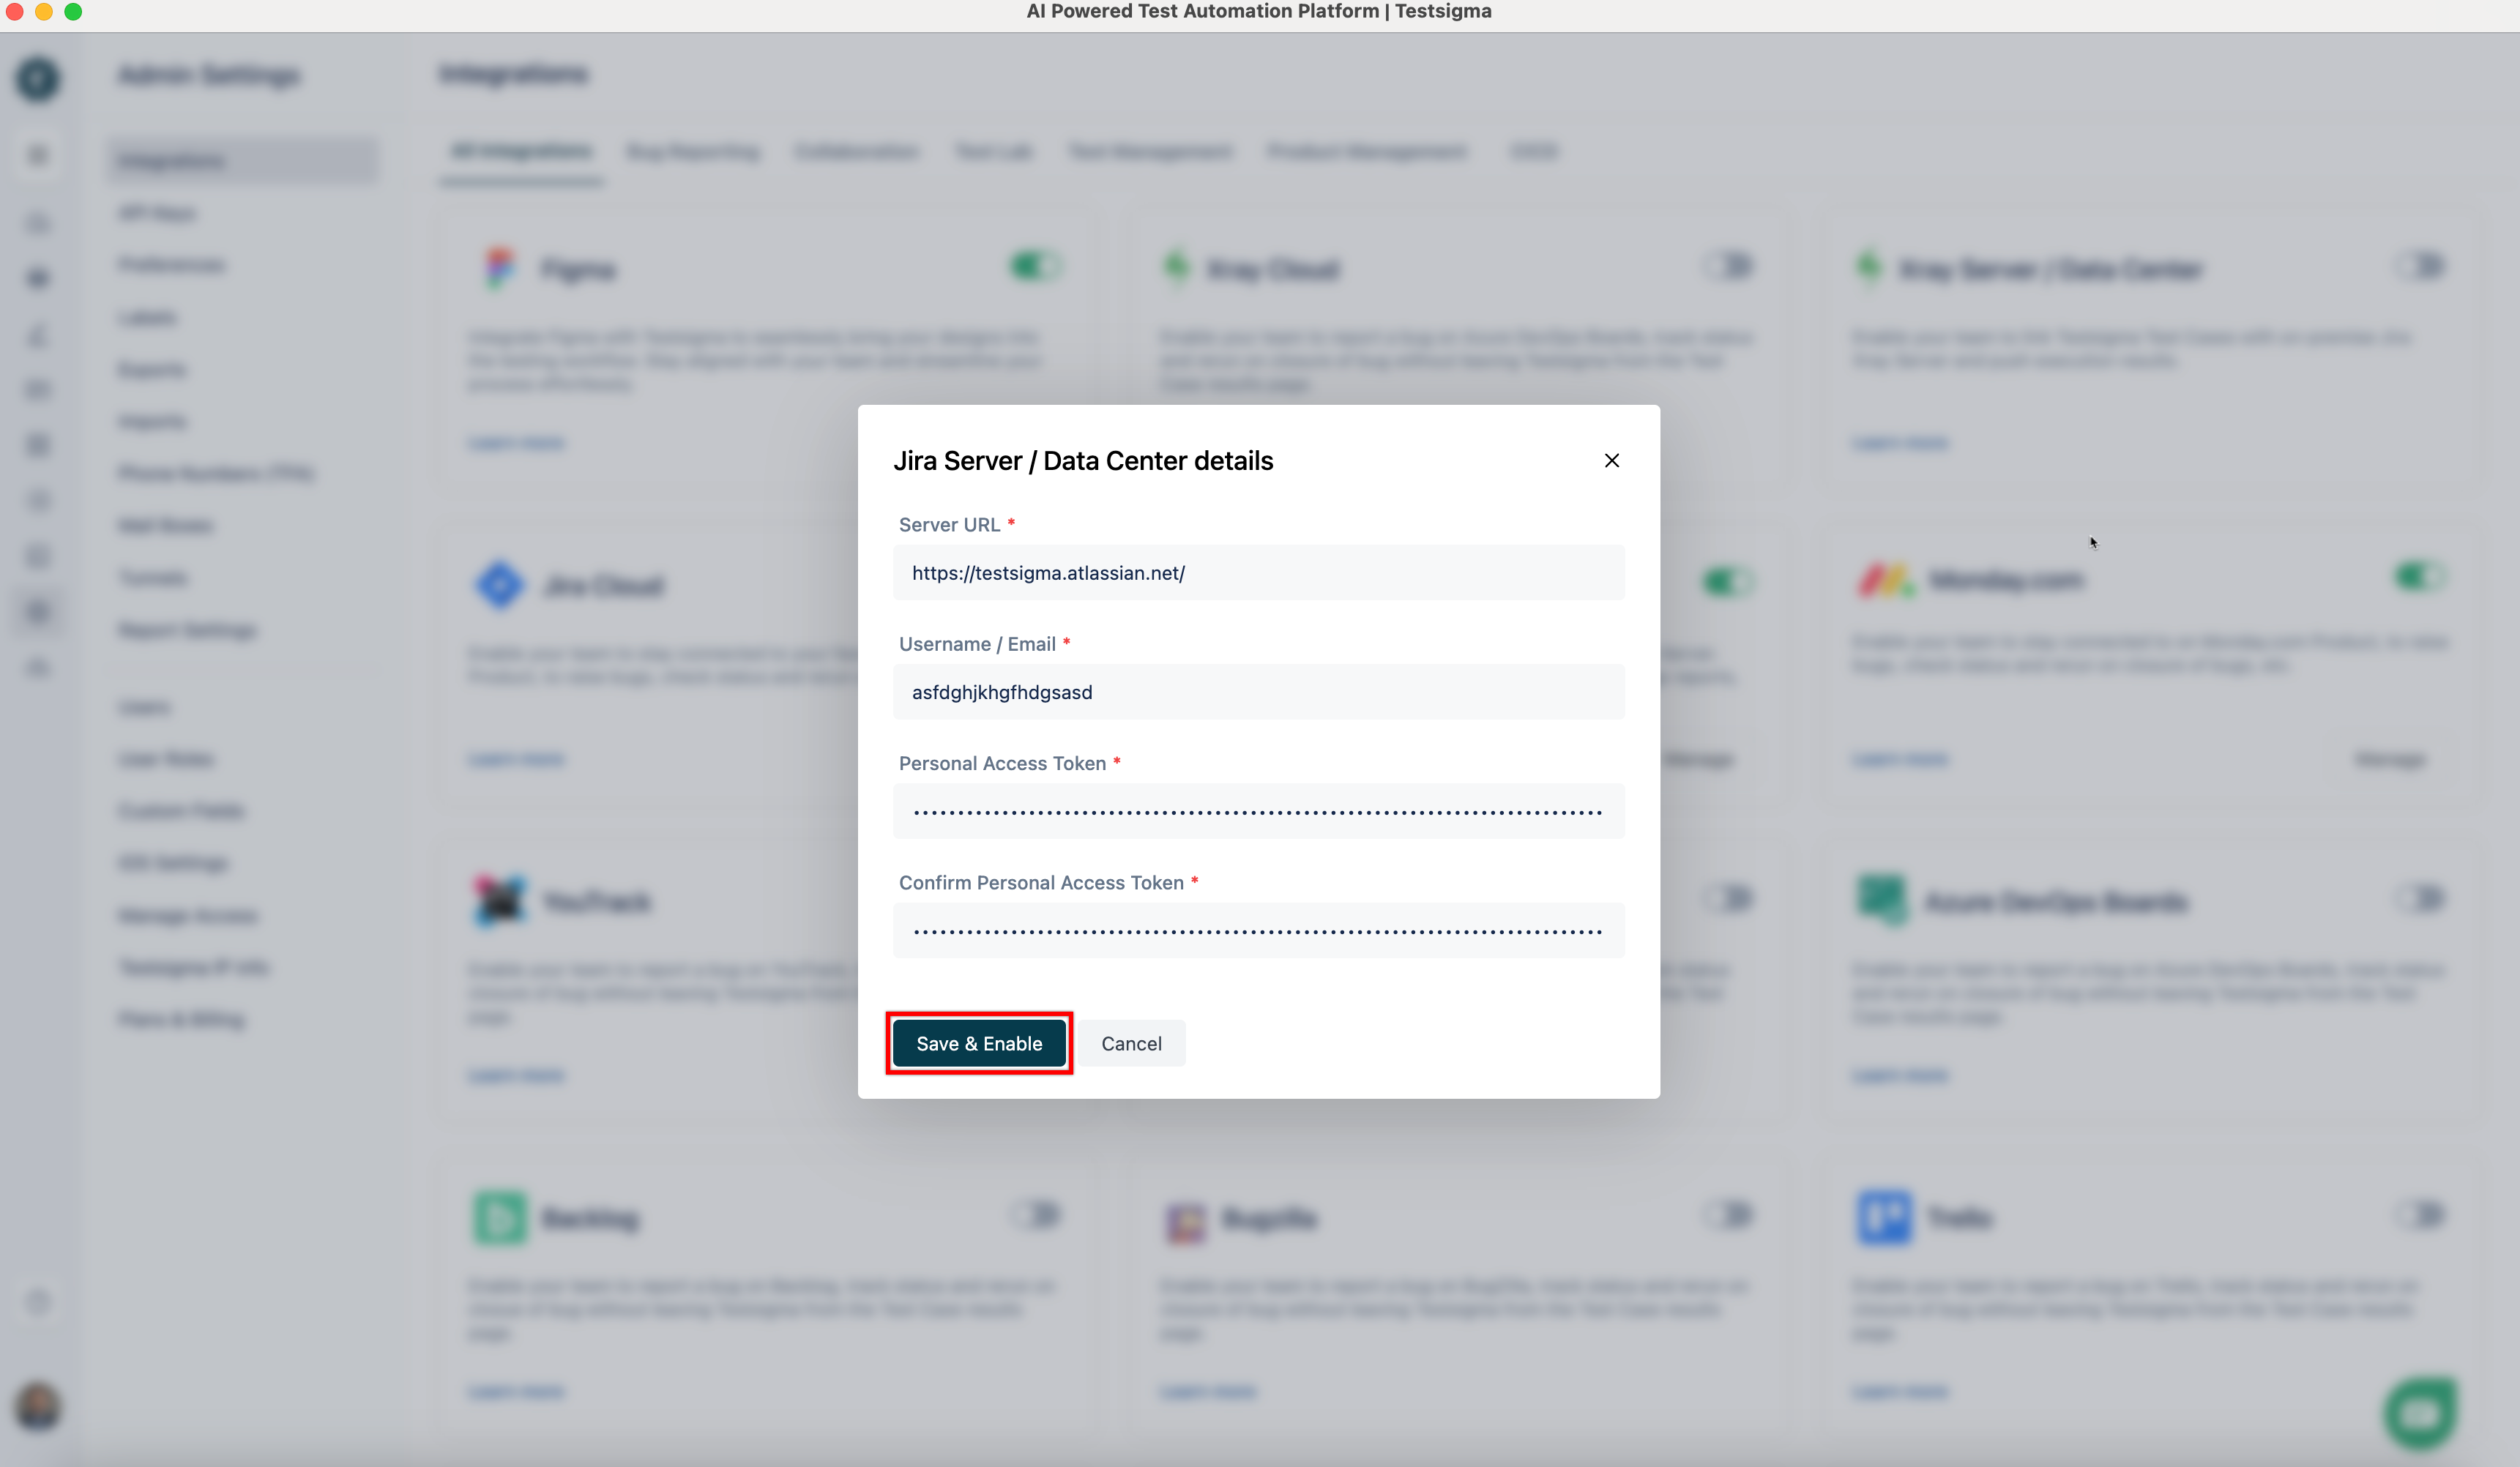
- The Jira Server / Data Center dialog box appears.
Configure Jira Server or Data Center Integration
- In the Server URL field, enter the base URL of your Jira Server or Data Center instance. Make sure to include the protocol (https:// or http://) and the domain or IP address.
Examples:
- https://jira.yourcompany.com
- https://your-domain.atlassian.net (for Jira Cloud, though this setup is mainly for Server/Data Center)
- http://192.168.1.100:8080 (for internal/local instances)
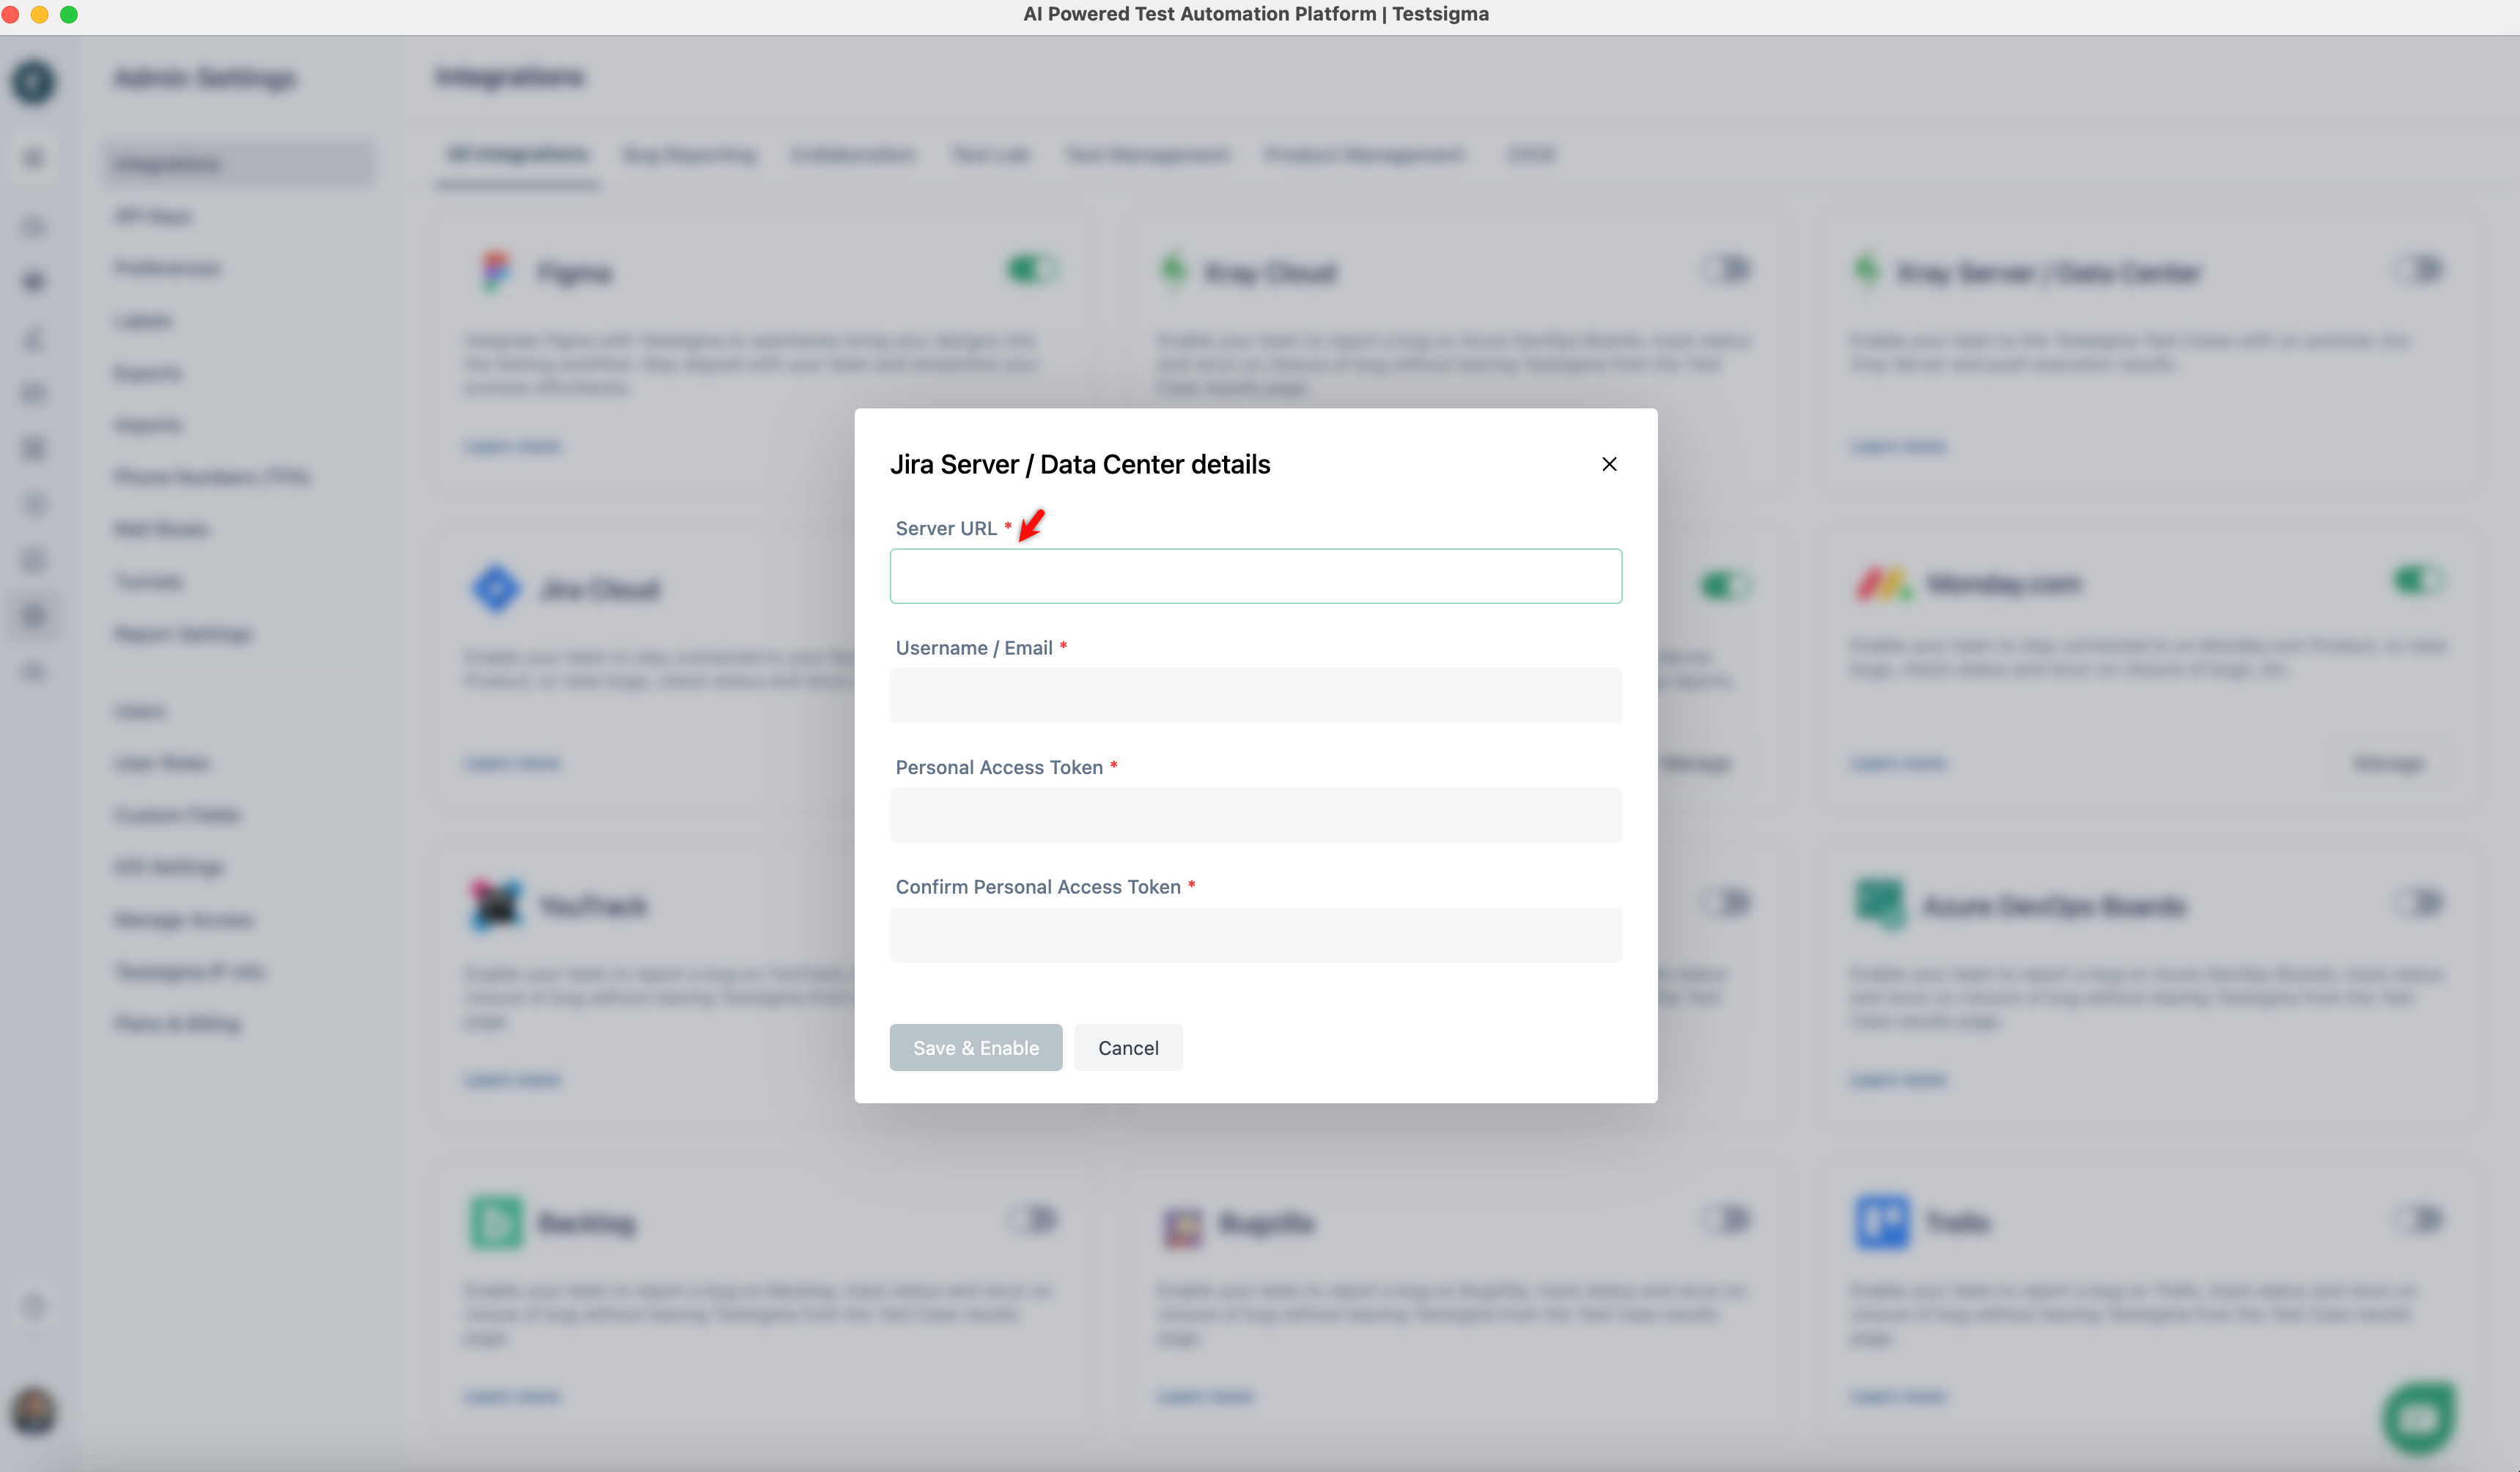
- In the Username / Email field, enter your Jira account credentials.
Example:
- Username: john.smith
- Email Address: john.smith@company.com
NOTE:
Please contact your Jira administrator if you’re unsure which format to use.
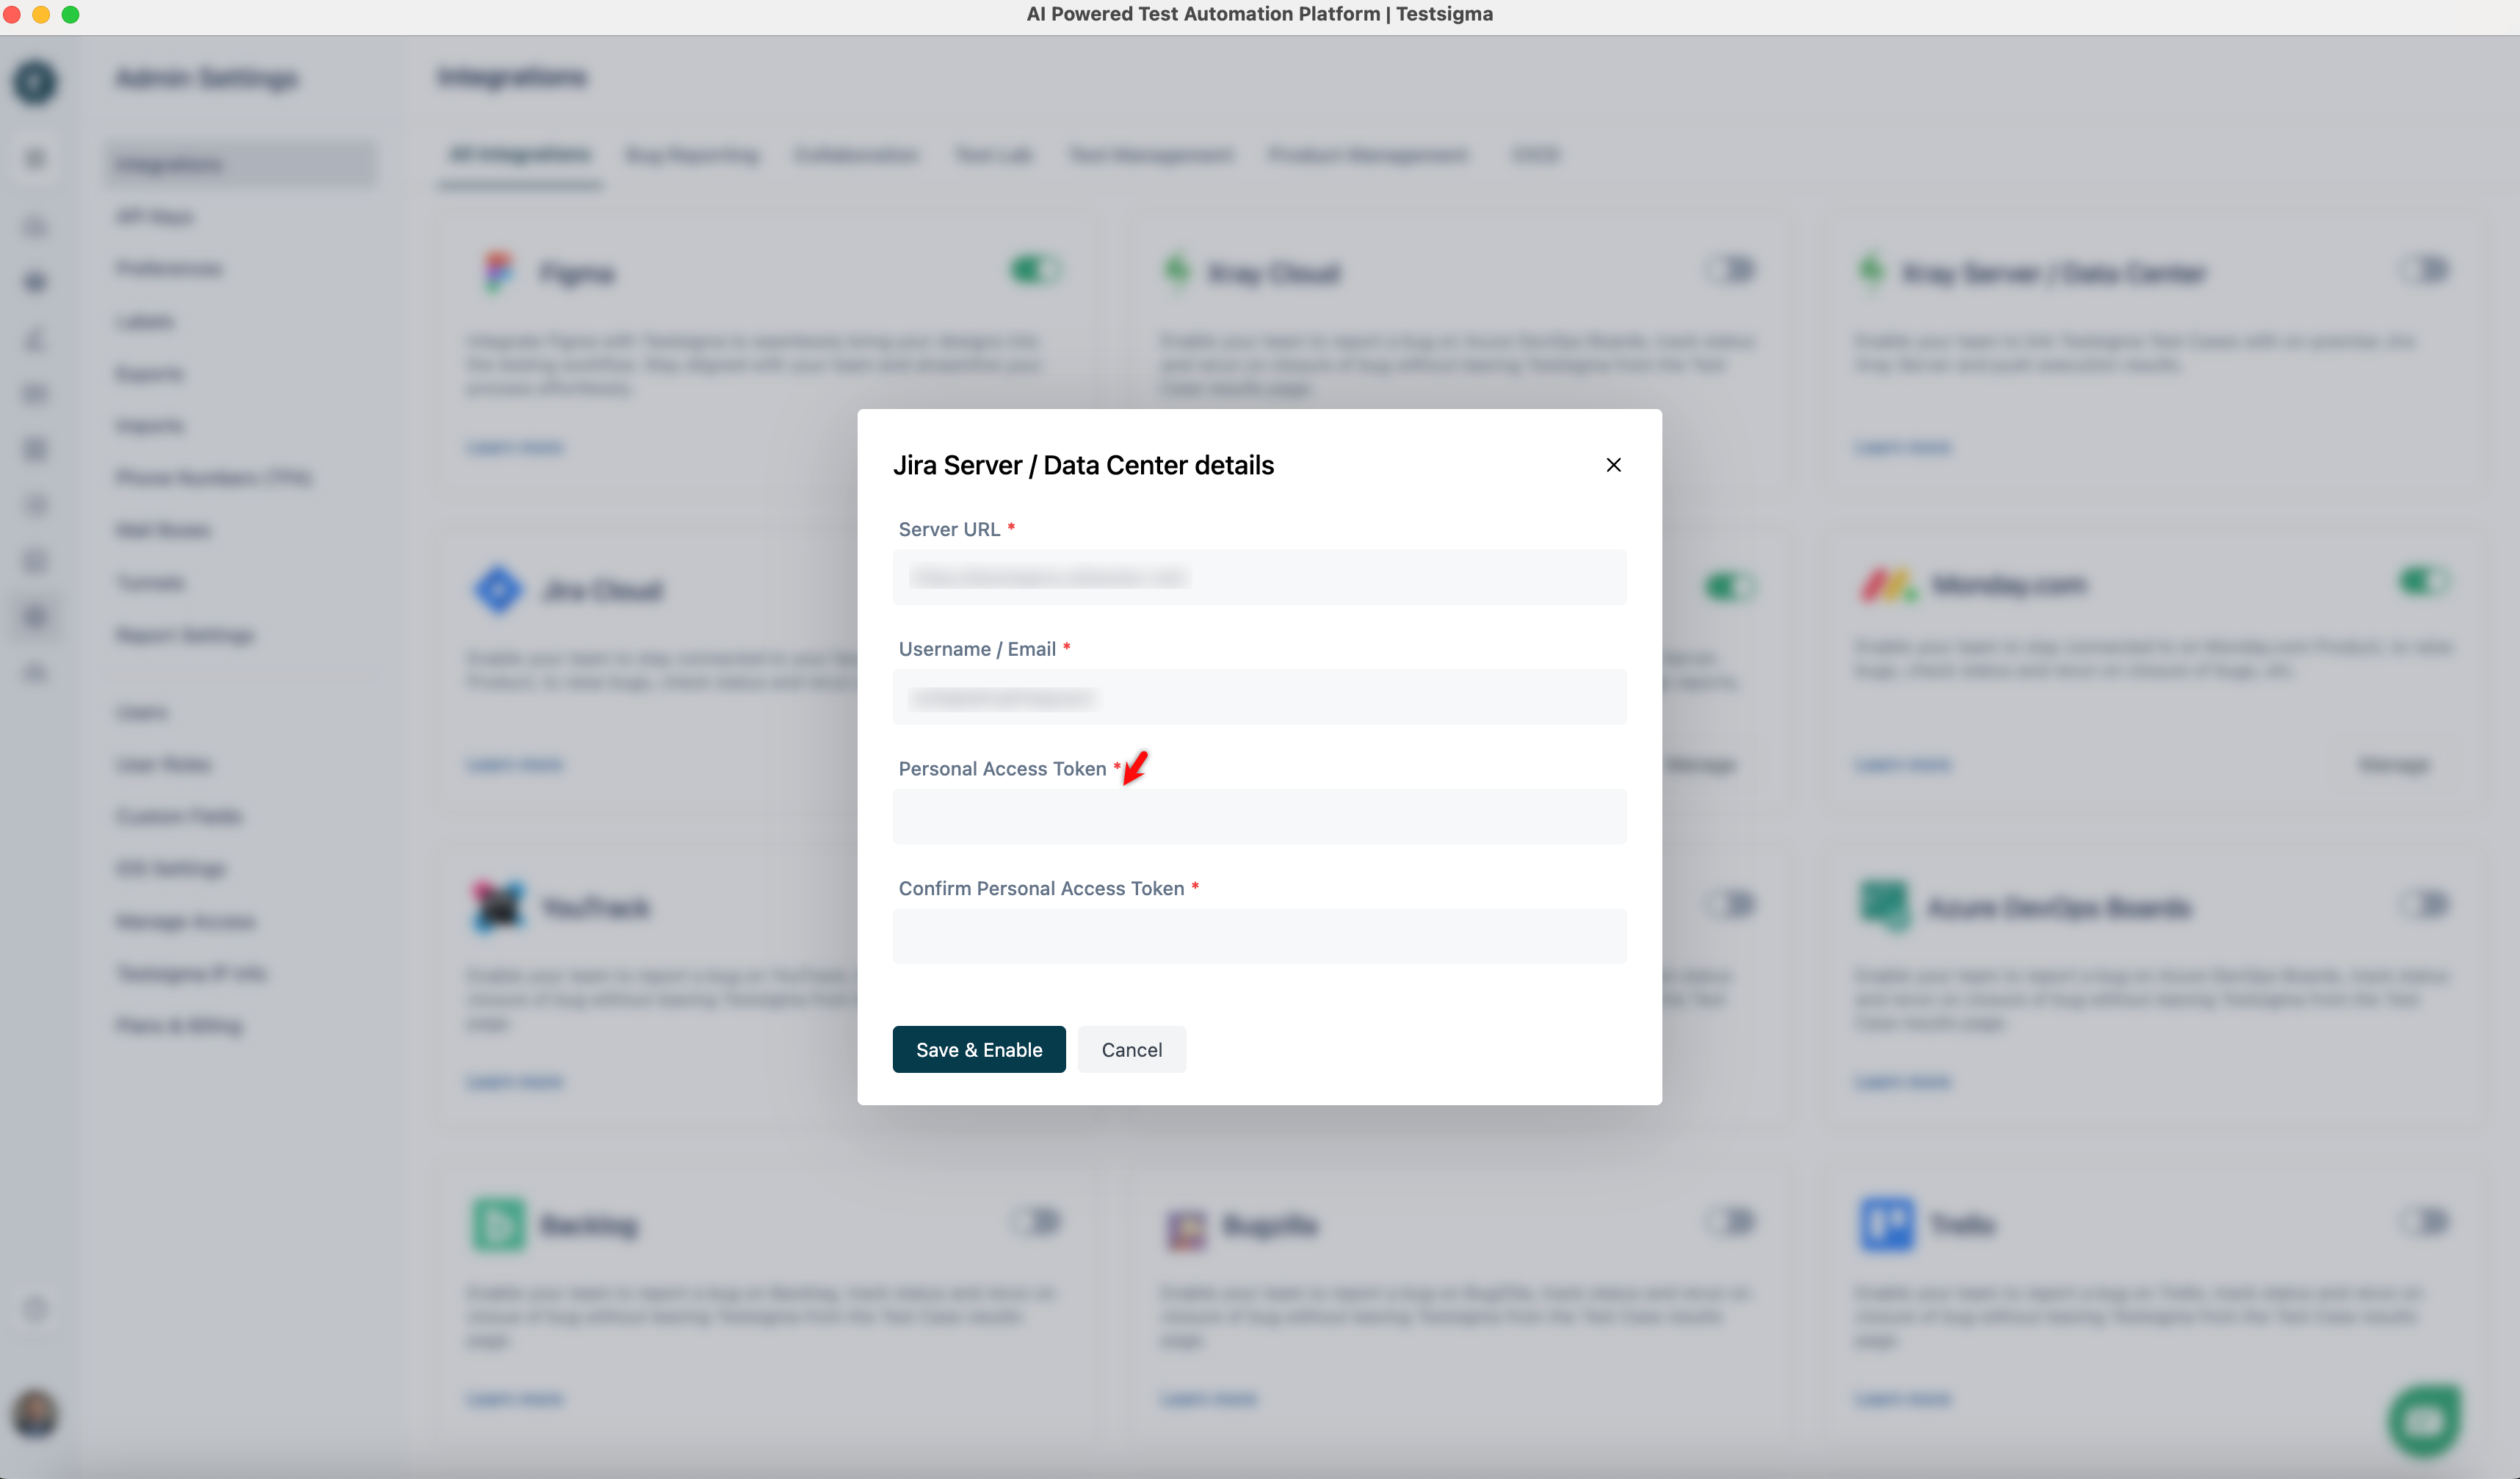
- In the Personal Access Token field, paste the token you generated from your Jira account.
INFO 💡:
Steps to Generate a Personal Access Token
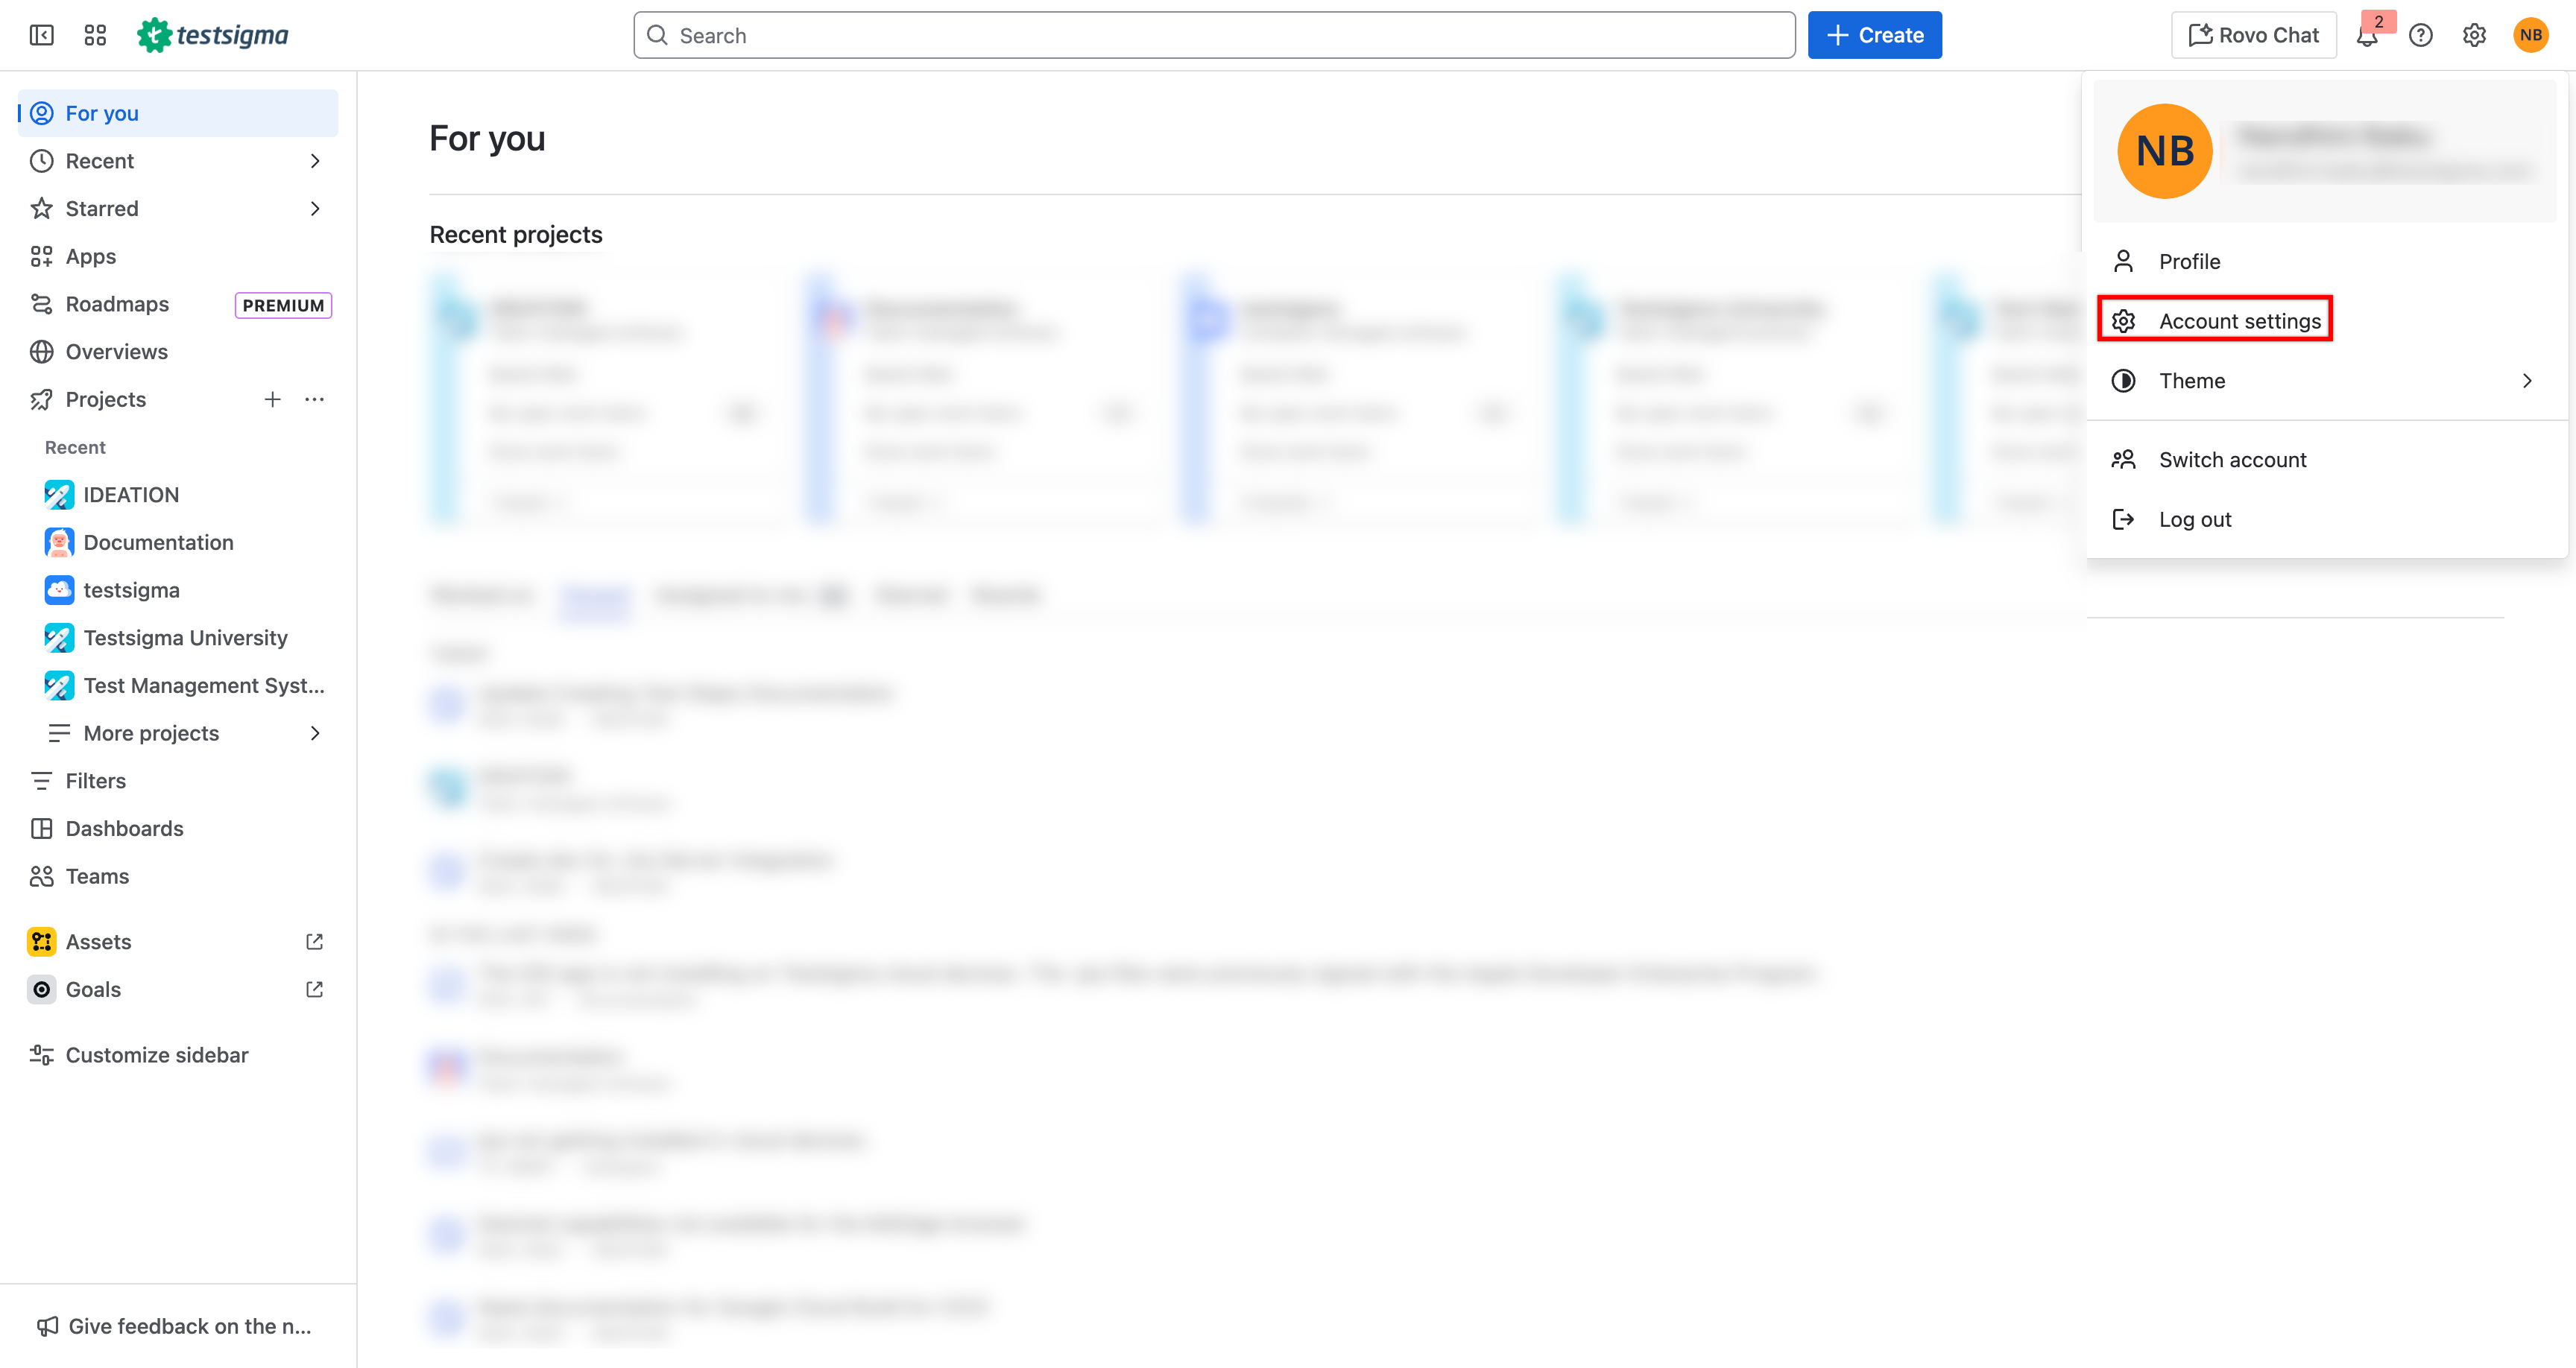
- Sign in to your Jira account.
- Click your Profile icon and select Account Settings.
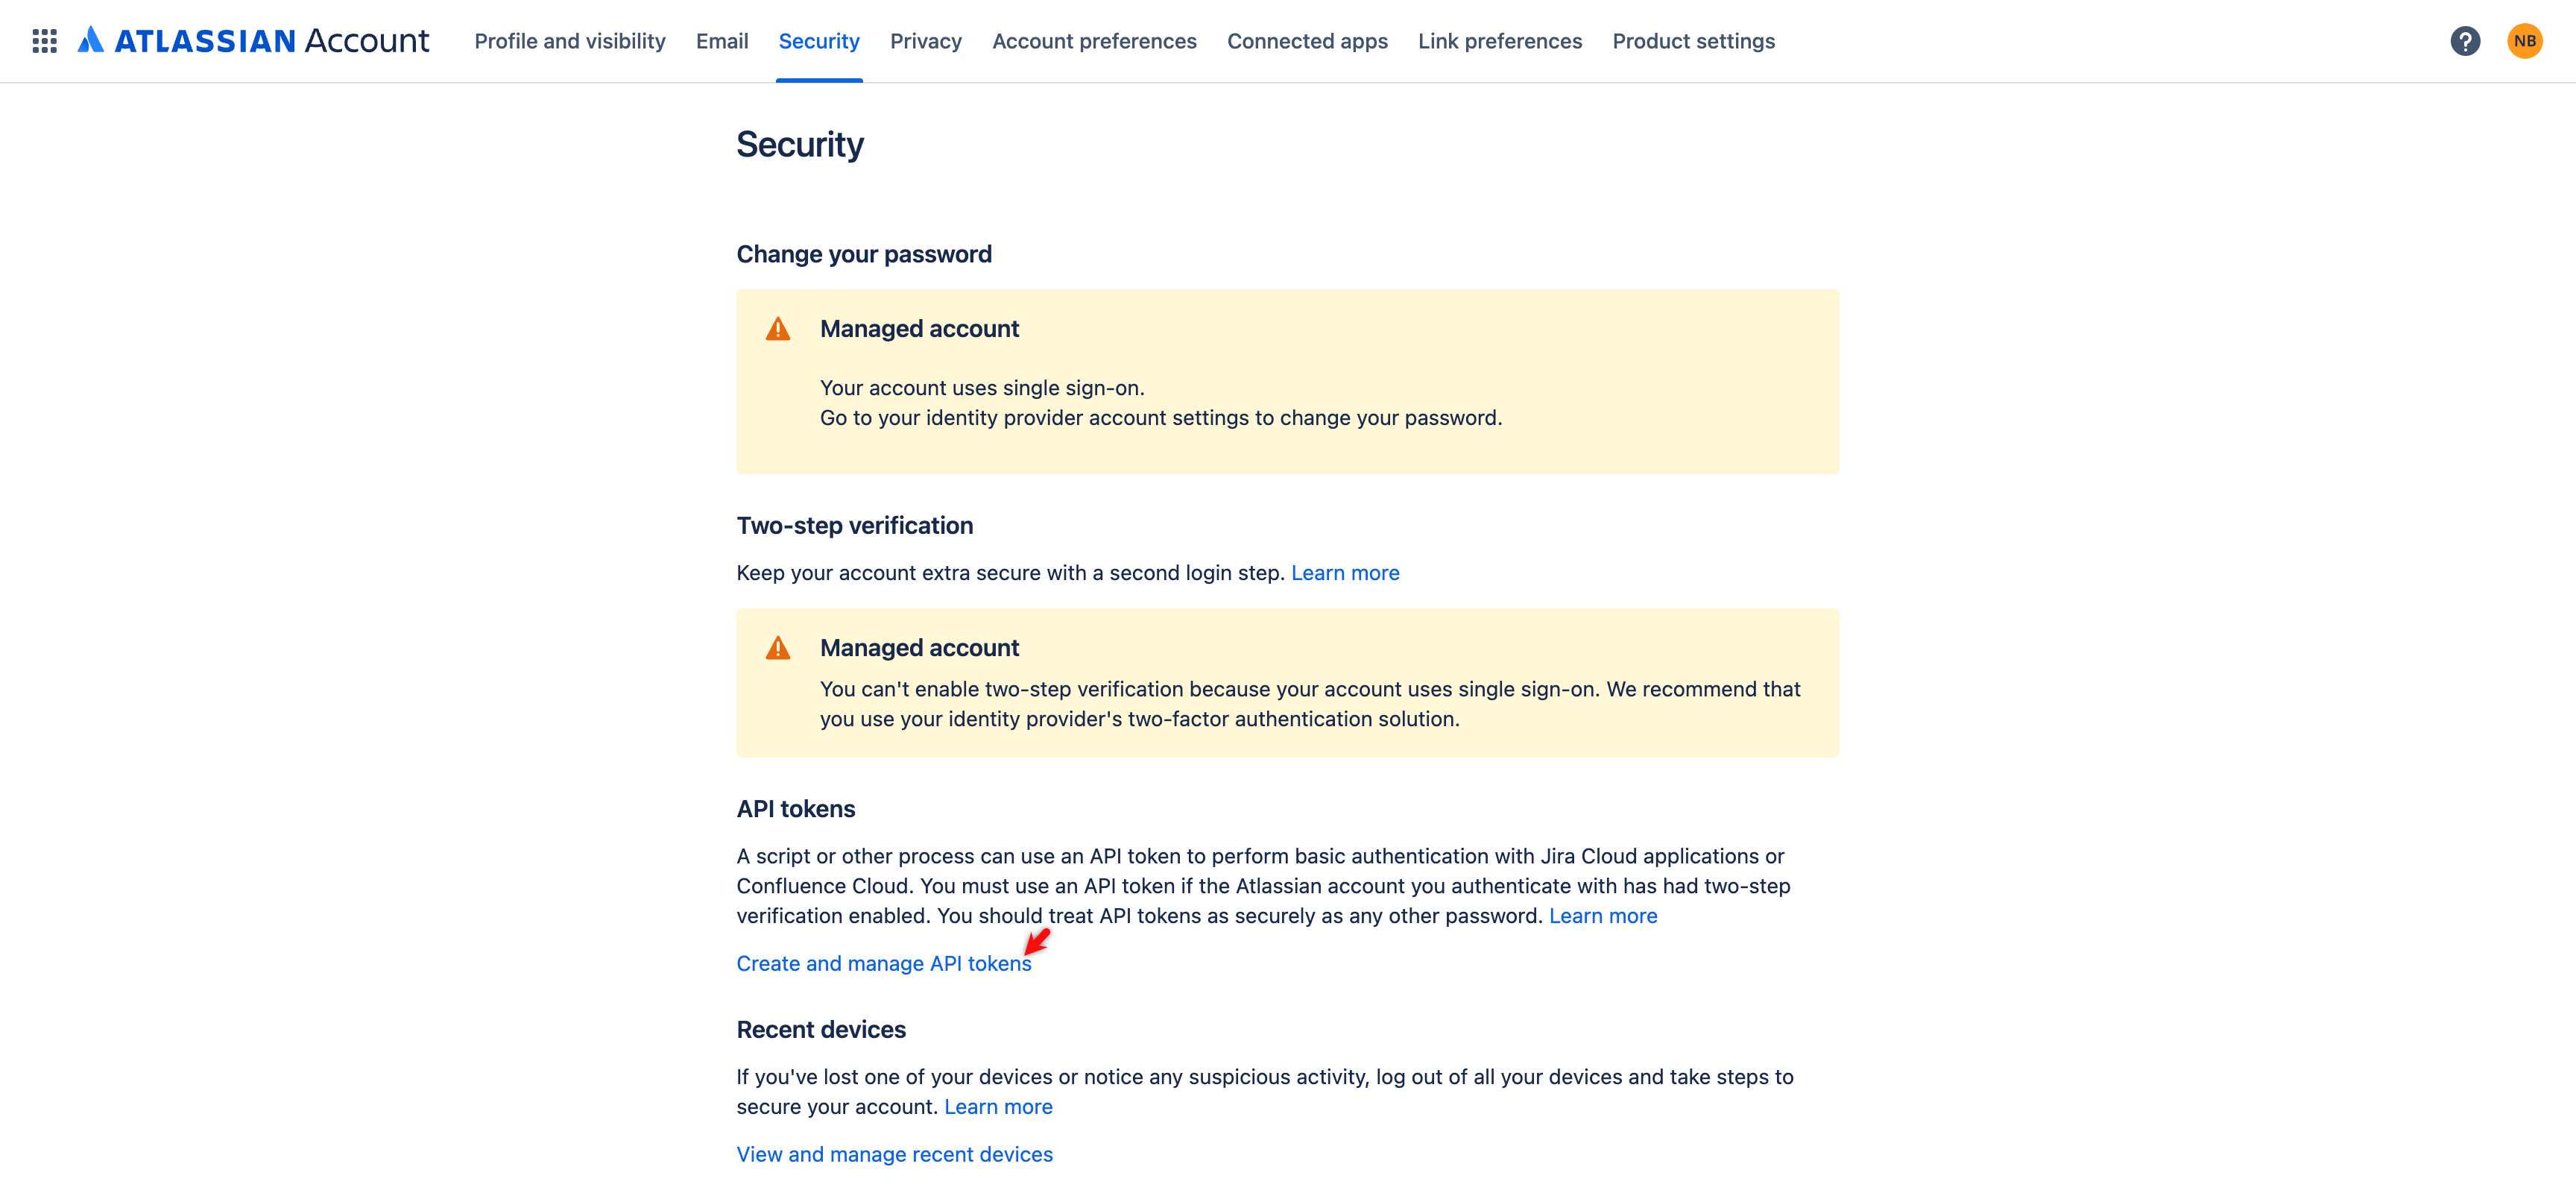
- In the Account page, go to the Security tab.
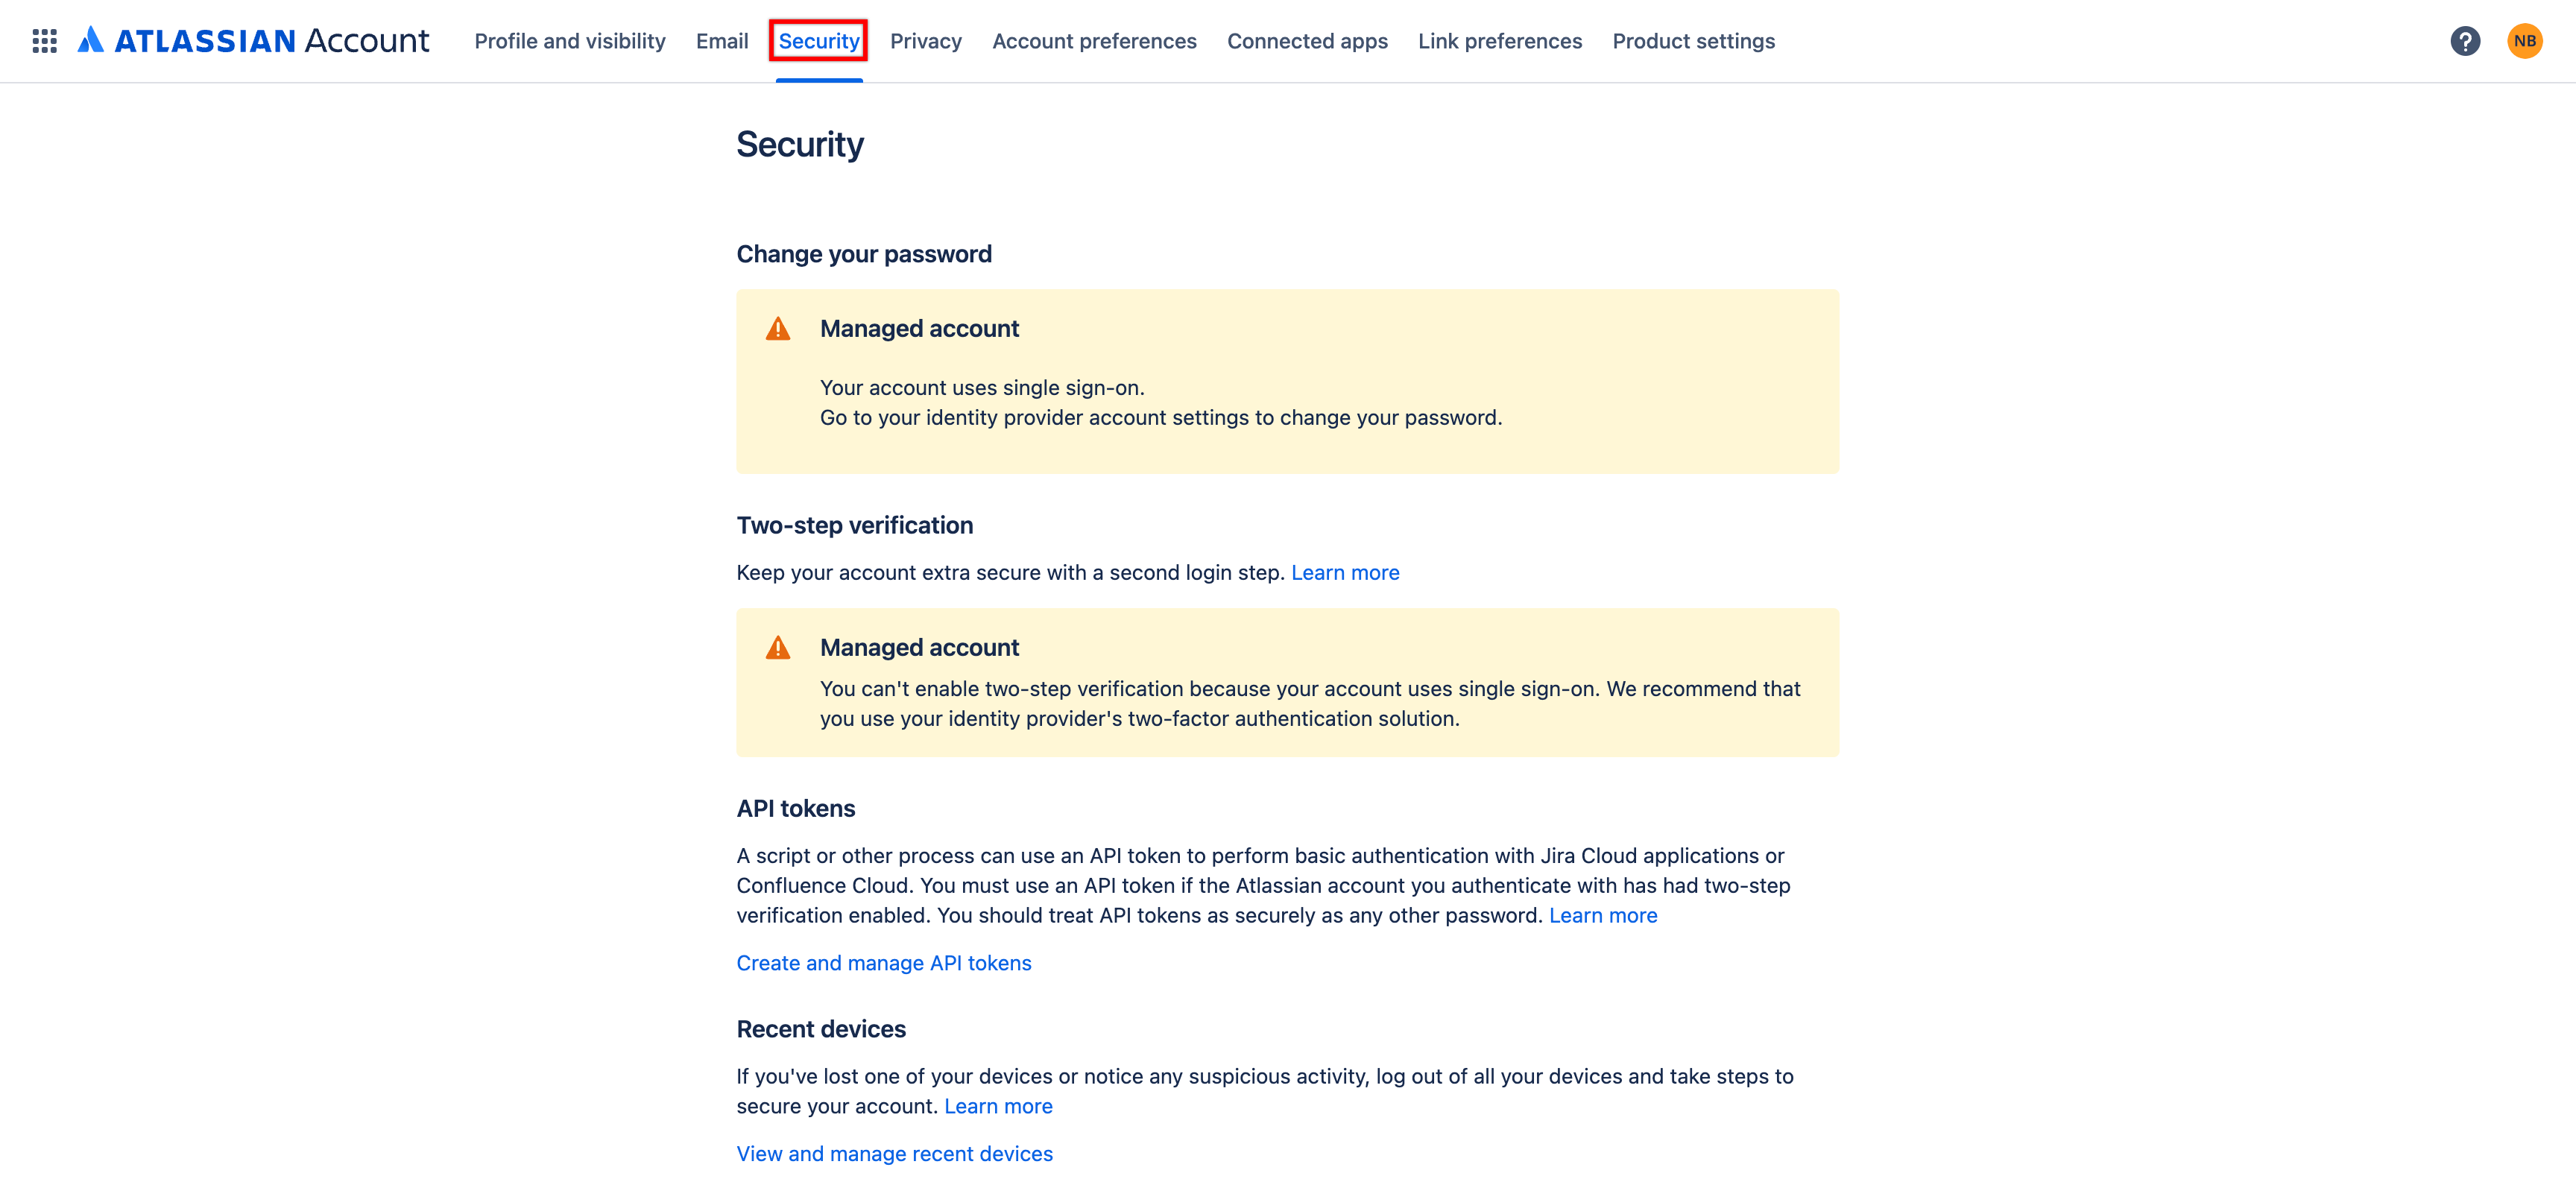
- In the Security page, under API Tokens, click Create and manage API tokens or API Tokens.
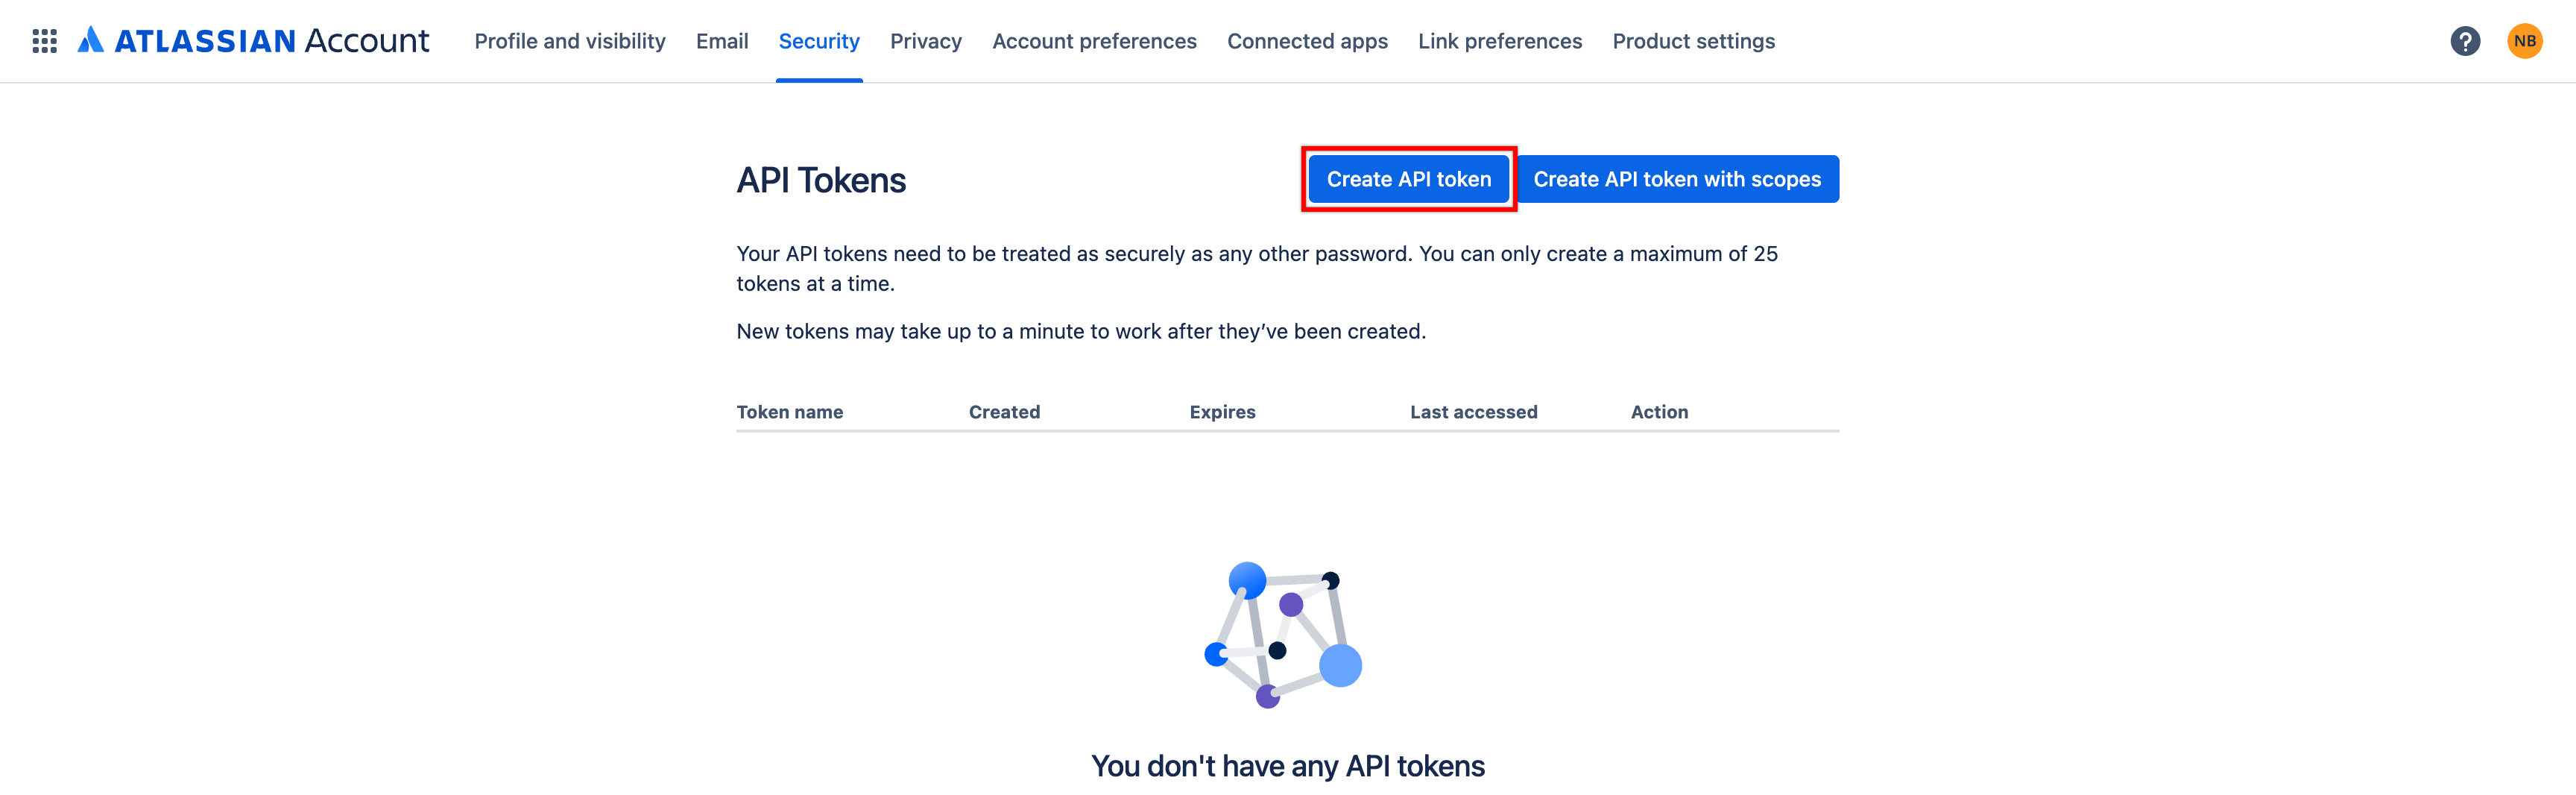
- In the API Tokens page, click Create API token.
- In the Create an API token dialog, enter a name and click Create.
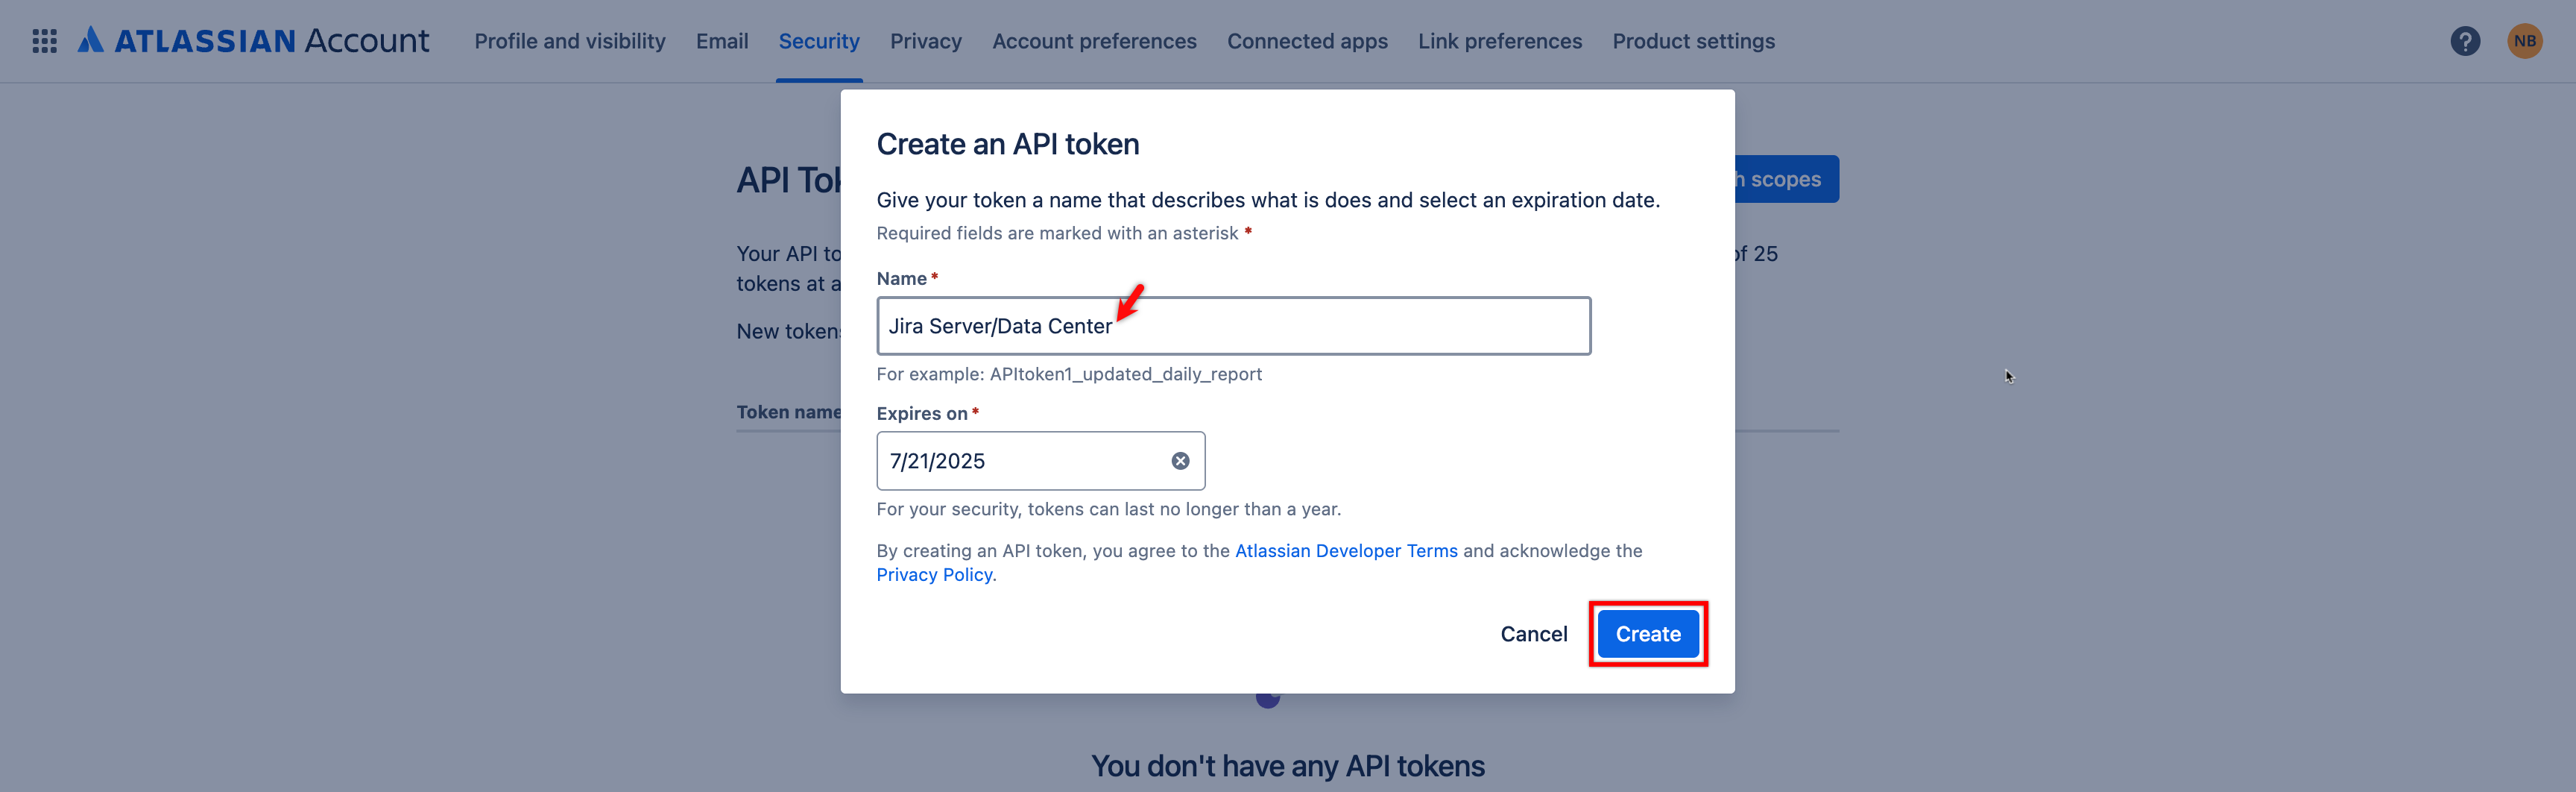
- In the Copy your API token dialog, click Copy and then click Done.

- Paste the same Personal Access Token in the Confirm Personal Access Token field.
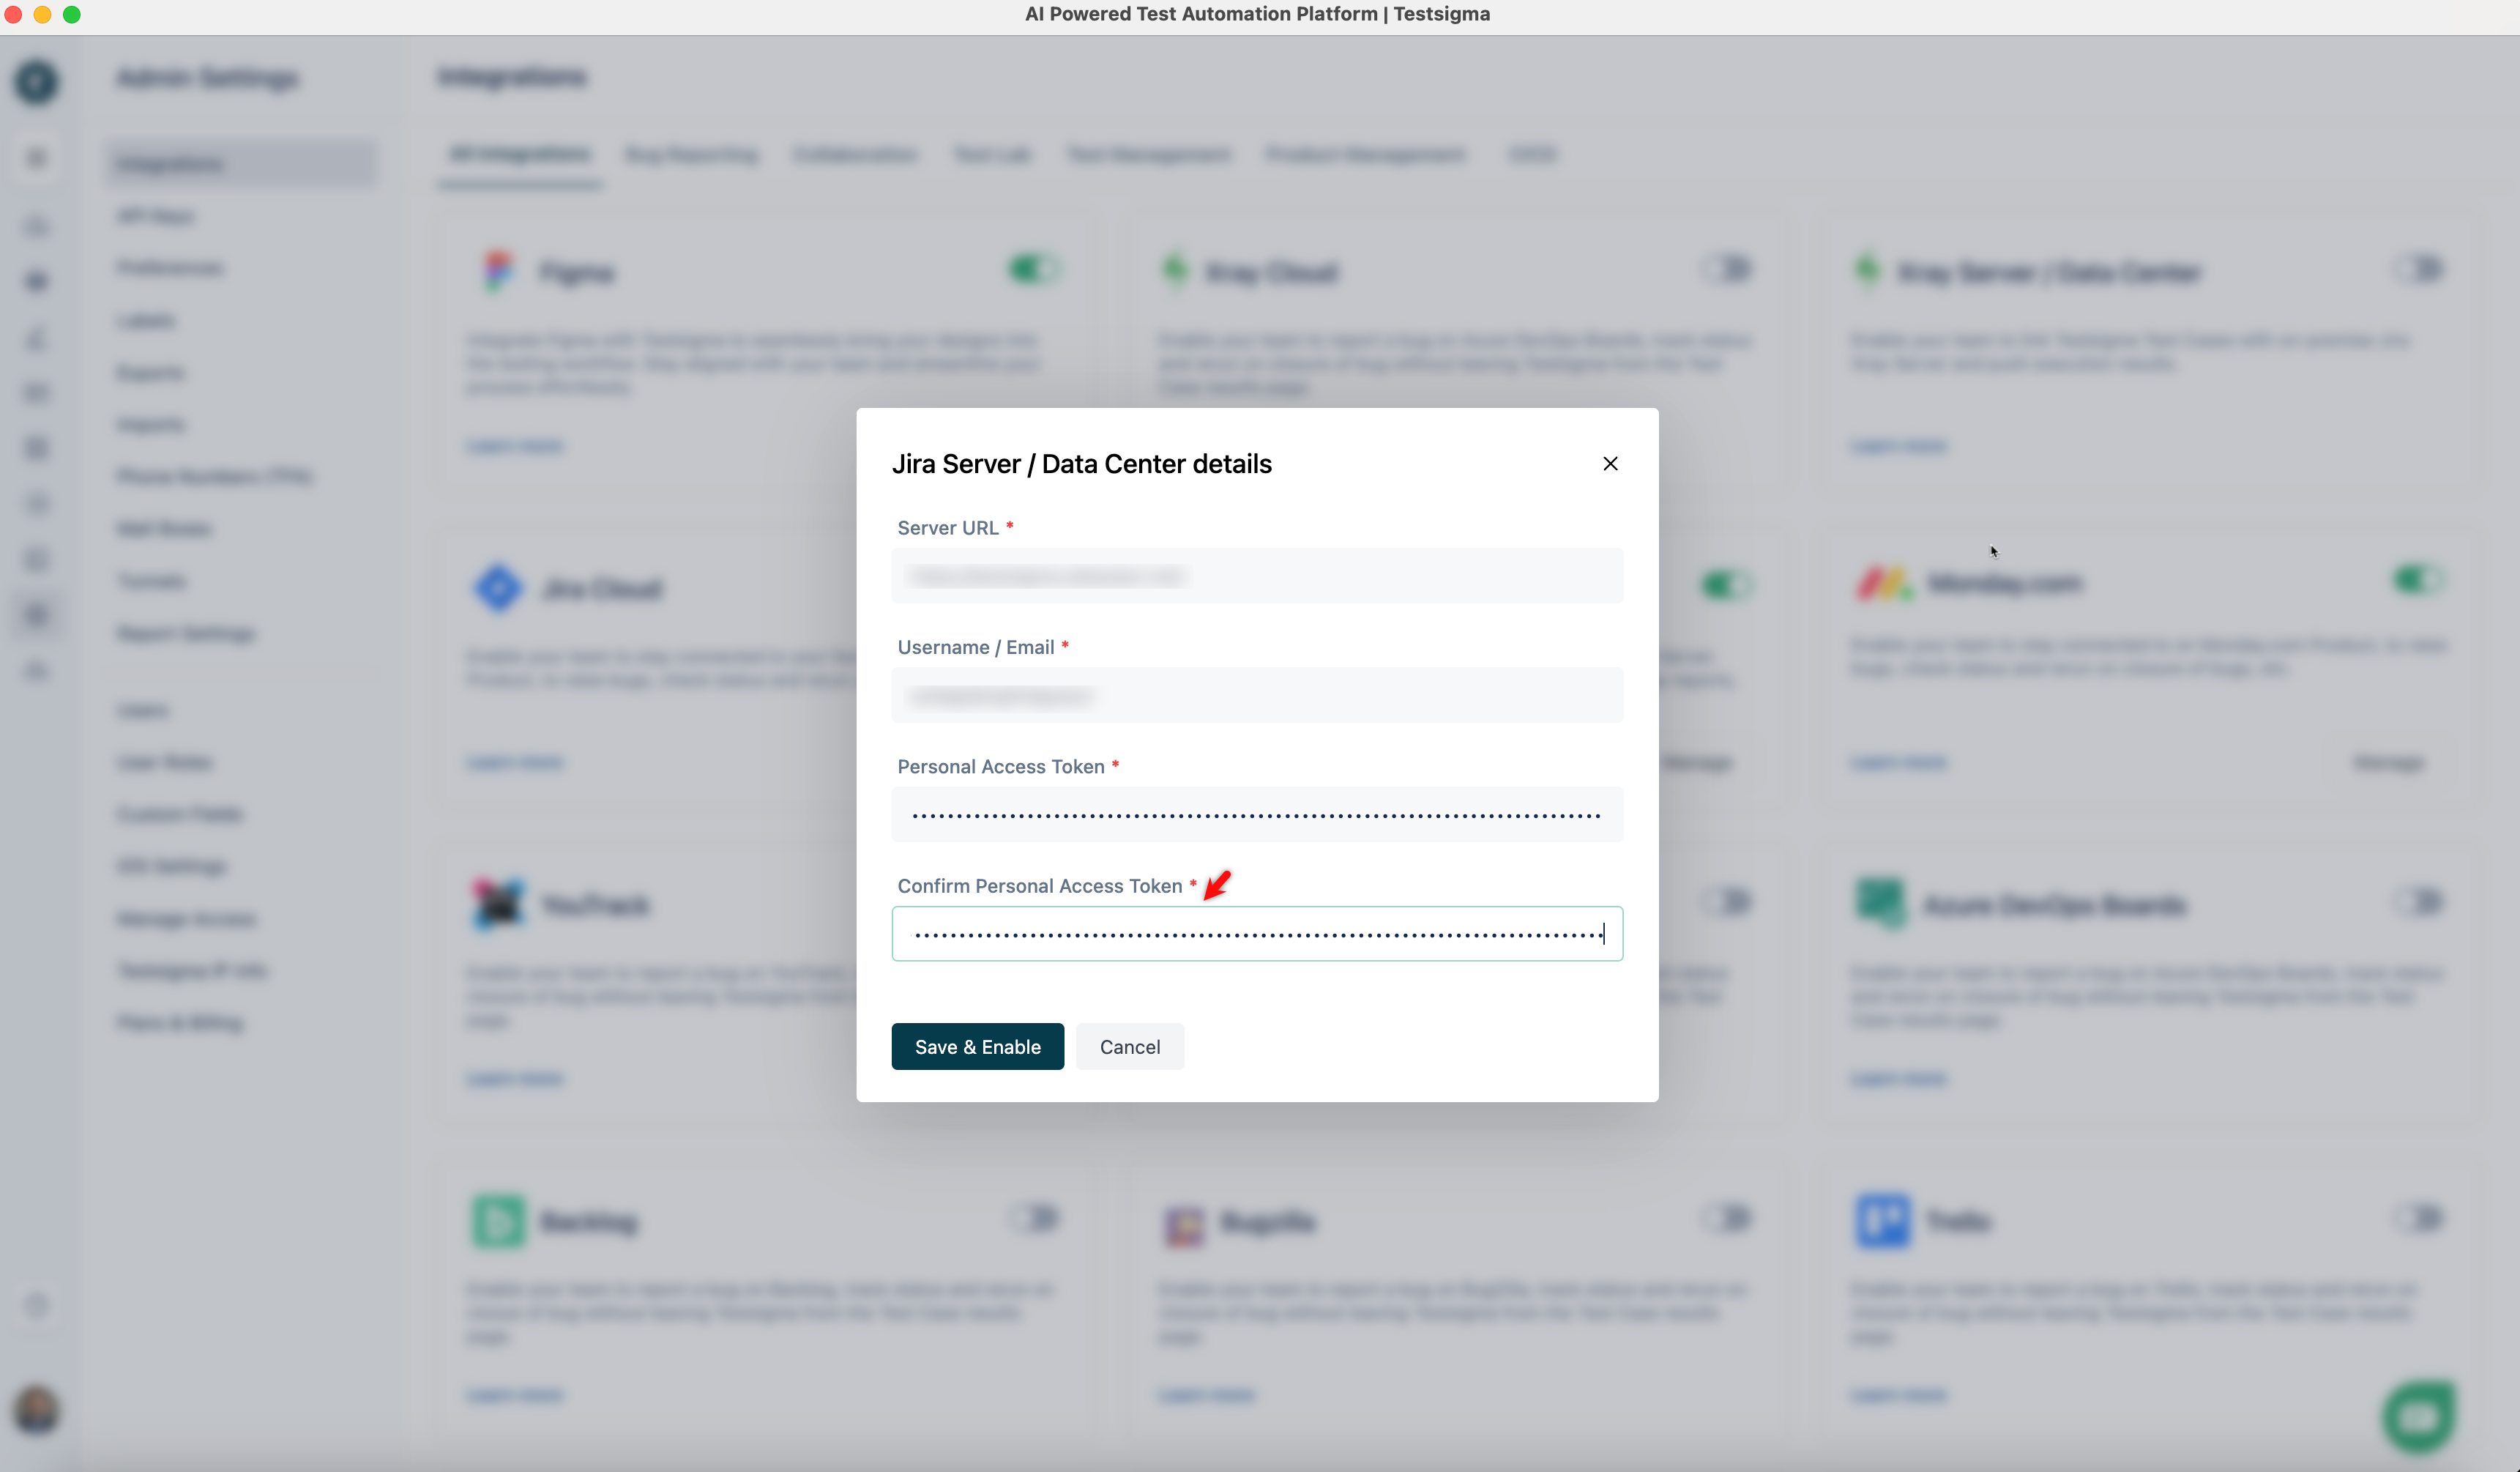
- Click Save & Enable.
NOTE:
Personal Access Tokens are more secure than passwords as they can be individually revoked and often have limited scopes or permissions. Never share your token or store it in plain text.
Want to contribute or report missing content?