
Are you new to visual testing and don’t know where to start? If so, then you’ve come to the right place. In this comprehensive guide, we’ll walk you through all the basics of visual testing, including what it is, why it’s important, and how to get started. By the end of this guide, you’ll have a better understanding of the basics and be able to apply them to your projects. Let’s get started!
Table Of Contents
- 1 What is Visual Testing?
- 2 Why is Visual Testing Important?
- 3 When Should You Perform Visual Testing?
- 4 What can Teams achieve with Visual Testing?
- 5 Why Should You Automate Visual Testing with AI?
- 6 Who Should Use Visual Testing?
- 7 Visual Testing Types for Different Testing Approaches
- 8 Comparison with Other Testing Types (Visual Testing vs Functional Testing)
What is Visual Testing?
Visual Testing, sometimes referred to as visual UI testing, verifies that the software user interface (UI) is presented correctly to all users. This is an extremely important process, as software applications and websites need to look just as good on a wide variety of devices and browsers.
It ensures that each element on the page appears in the right shape, size, and position, helping developers create a unified experience for their users. With this testing, we can quickly detect any discrepancies or errors between what they expect to see and what is shown on screen. Ultimately, this helps them ensure that their product meets usability standards and is fully optimized across platforms.
Therefore, visual testing is an effective way to ensure the UI is working as intended and looks great on any device.
By implementing visual tests into your test process, you can ensure that your product delivers an optimal user experience to all users no matter what device or browser and version they are using. This allows for better user experience and satisfaction, which can lead to improved customer loyalty. As such, incorporating visual tests into the test process is highly advantageous for any organization.
Why is Visual Testing Important?
Visual testing is important to ensure that the User Interface (UI) meets the design requirements and usability standards. It helps identify the visual bugs or design inconsistencies that can affect the user experience, which might lead to user frustration or sometimes abandonment of the application.

For example, in the above example, the UI elements overlap with each other, and only this testing can help detect these types of visual bugs that affect user experience.
It helps identify UI defects that can not be detected in functional testing, as they only ensure that the application works as intended.
When Should You Perform Visual Testing?
Visual testing must be performed to ensure that your application’s GUI meets design expectations and guidelines, and that there are no design or website layout-related visual issues. Here’s a checklist to follow describing when to perform visual testing:
- After every UI change, including the introduction of new components, CSS tweaks, layout refactorings, and theme/dark mode reworks.
- After dependency updates for design systems, CSS libs, and upgrades for browsers and operating systems.
- Before releases and during regressions, by including visual checks in smoke/regression packs.
- For critical flows involving login, search, cart/checkout, onboarding, and dashboards.
- After changes in CMS templates, marketing banners, and dynamic cards.
What Can Teams Achieve with Visual Testing?
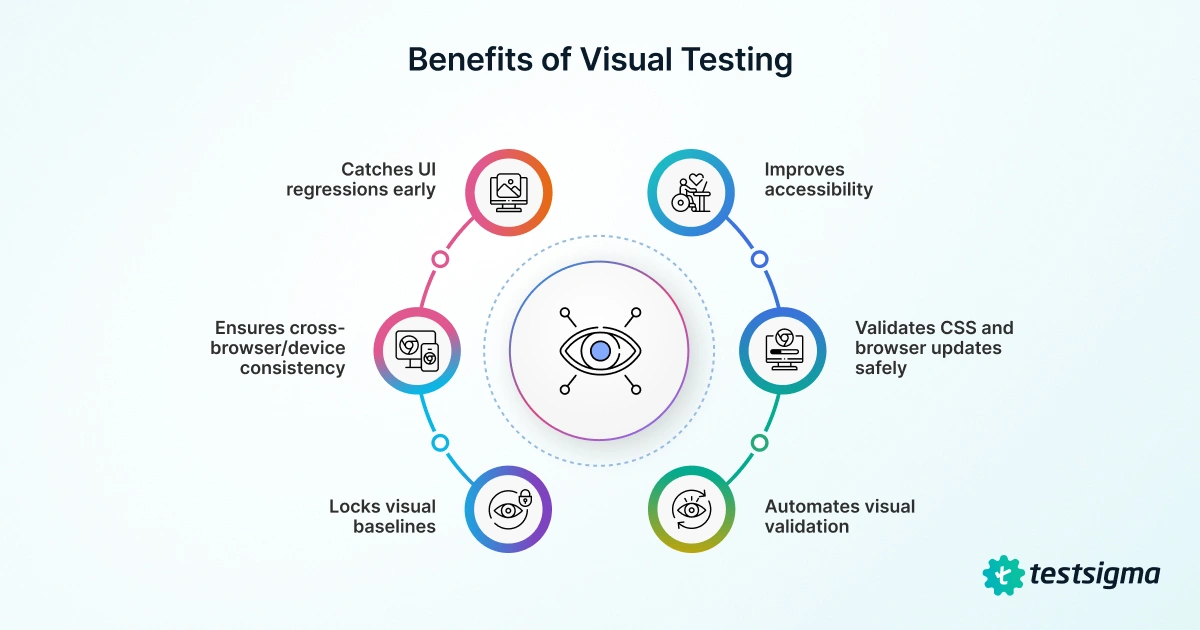
It can help teams spot unintended UI changes by comparing the current scenes to the approved design specifications. It covers what functional tests often miss, allowing teams to ship interfaces that look and work correctly. Here’s what teams can achieve:
- It can detect issues in spacing, alignment, color, font, and z-index, allowing teams to catch subtle UI regressions early.
- It can help teams validate key breakpoints and viewports to avoid responsive issues, ensuring cross-browser and device consistency.
- It can help teams lock in typography, palettes, iconography, and component tokens with visual baselines, protecting brand and design systems.
- It can automate repetitive visual validation, thus freeing the QA team for exploratory testing.
- It can validate CSS/design-system or browser updates safely, de-risking refactors and library upgrades.
- It can indirectly improve accessibility by revealing overlaps, clipping, and low-contrast states.
Why Should You Automate Visual Testing with AI?
Visual automation testing upgrades fragile pixel differences into perceptual checks that understand layouts, components, and user impact, allowing you to catch real UI issues faster without requiring extra effort. Here are a few more benefits provided by visual AI testing:
- AI ignores anti-aliasing, tiny font shifts, and harmless repaint noise, thus cutting false positives.
- It flags meaningful changes, such as overlaps, misalignment, and missing icons, instead of flagging changes in pixels.
- AI has layout and component awareness, so it understands regions and states and provides actionable diffs.
- It can handle dynamic content properly, as it can auto-mask volatile areas and apply smart thresholds.
- AI can ensure cross-browser consistency by normalizing rendering quirks across various devices and resolutions.
- Through auto baseline management, AI groups similar changes, suggests safe approvals, and prevents drift.
- AI can also help you scale CI/CD pipelines through fast, parallel checks that act as quality gates on PRs and releases.
Who Should Use Visual Testing?
Anyone responsible for the product’s appearance and feel should utilize this test to ensure it meets the desired standards. Here’s a detailed list of teams and roles for whom it is essential:
- Frontend & Mobile Engineers: It can help them catch CSS/layout regressions per PR, and guard responsive breakpoints.
- QA/SDETs: It can help them add a visual safety net to functional tests, thereby reducing the need for manual UI checks.
- Designers & Design-system Owners: It can help them protect brand tokens (colors, type, spacing) and component libraries.
- Product Managers: It can help ensure critical journeys (such as signup, checkout, and onboarding) are working correctly before release.
- Content/Marketing Teams: It can help them validate CMS pages, landing pages, and emails/PDFs across clients.
- Data Visualization/Dashboard Teams: It can help them spot chart rendering, axis, or label overlaps.
Visual Testing Types for Different Testing Approaches
There are three distinct types of visual tests based on the type of testing that needs to be performed. They are:
Manual Visual Testing
This type of testing primarily involves manually inspecting the software’s visual elements to ensure they are functioning correctly and in accordance with the design regulations. A prime example of this is reviewing the product UI to identify any defects in the UI/UX or visual elements.
Challenges:
- Since this involves testers performing tests manually, there’s an increased risk of human errors.
- Any issues spotted during manual testing might be difficult to reproduce.
- Since manual testing cannot cover every possible scenario, it can lead to potential blind spots or missed bugs.
- Manual testing can be very time-consuming since testers have to check every page or screen of the application/website.
- Since multiple testers evaluate the application/website, there may be inconsistencies in identifying visual defects, leading to varying results.
- Manual testing can prove to be expensive since a large number of testers are required to perform the testing.
Automated Visual Testing
This type of testing uses automated tools to compare the visual elements of the software to a set of expected results. The tools can validate the visual elements based on the test cases.
Challenges:
- Automated testing may require frequent maintenance to ensure that test cases are accurate and up-to-date according to the requirements.
- Automated testing may yield false positives or negatives, resulting in incorrect results.
- Writing and maintaining automated test scripts requires experience in coding and testing frameworks.
- It also requires a stable test environment, which can be difficult to set up and maintain.
- Visual AI testing requires an initial investment to buy tools and other resources, which can act as a roadblock for small organizations.
Visual Regression Testing
Visual regression testing tools can ensure that changes to the software do not result in any unexpected changes to the visual elements. For example, it is used to compare the appearance of a web page before and after an update to ensure that the overall look and feel are unchanged.
Based on the project need and audience response, there are more subtypes of specialized testing, such as:
- Usability Testing: These types of visual checks assess a UI’s ease of use and intuitiveness. UX professionals usually use tools like eye-tracking technology to ensure that users can easily navigate a design or interface. For example, it can help testers determine how users interact with the menu bar of a mobile app or how quickly users can locate a product on e-commerce websites.
- A/B Testing: This type of testing enables designers to compare two versions of a design to determine which one is more effective in delivering a specific message or achieving a certain goal. For example, web designers can compare two color palettes and choose the one that looks and feels better as a call-to-action.
- Compatibility Testing: Compatibility testing ensures that the software works across multiple platforms, browsers, and devices. For example, it involves running tests to ensure that a website displays correctly on various platforms, or verifying that a mobile app functions seamlessly on both iOS and Android devices.
- Color Contrast Testing: This type of testing evaluates the contrast between colors and ensures that they are suitable for the target audience or message. For example, the color contrast of the text and the background must always be within the ideal range.
- Responsive Web Design Testing: This type of testing usually focuses on ensuring that a website is functional and works as intended on different devices, such as desktops, laptops, tablets, and smartphones.
- Motion Graphics Testing: This testing process is used to evaluate how well a design communicates through motion graphics, such as animations and videos. It is used to ensure that the motion graphics effectively promote the product, service, or message in the intended manner and are engaging.
- Iconography Testing: This type of testing evaluates icons and other graphical elements to assess their effectiveness in conveying the intended message or action.
- Visual Accessibility Testing: This type of testing ensures that the product is visually compatible with assistive technology and can be accessed by all audiences. For example, accessibility experts can test whether users can easily distinguish between buttons with similar shades on a website.
- Layout Testing: This type of testing focuses on the placement of elements within a layout to ensure an interface is consistent and visually appealing.
Comparison with Other Testing Types (visual Testing Vs Functional Testing)
| Aspect | Visual Testing | Functional Testing |
| Primary Goal | Ensures that the UI looks correct (layout, colors, spacing, rendering) | Ensures the app works correctly (flows, inputs, outputs, business rules) |
| Validates | Pixel/element appearance, alignment, responsive layouts, theming/branding | API responses, UI behavior, data persistence, validations, navigation logic |
| Typical Defects Caught | Misalignment, overlap/clipping, missing icons/images, CSS regressions, contrast issues | Broken workflows, incorrect calculations, wrong states, validation errors, and auth issues |
| Granularity | Screenshots of components/regions/pages compared to baselines | Steps and assertions against DOM/API/state per scenario |
| Change Detection | Image/DOM diffs highlight visual drift | Pass/fail assertions verify expected behavior and data |
| Maintenance | Update baselines when intended visuals change and manage ignore regions | Update locators, test data, and assertions when logic or DOM changes |
| Speed | Fast for component/PR snapshots but slower for large, cross-browser matrices | Fast for unit/integration tests, but slower for complete end-to-end suites |
| Cross-browser/Device | Excellent at highlighting rendering quirks across engines and viewpoints | Verifies behavior but may miss subtle visual inconsistencies |
| Output | Diff images + change summary/score | Test reports with step logs, assertions, and error stacks |
| Tooling Fit | Snapshot/visual compare tools, integrates with end-to-end runners | Unit, integration, API, and end-to-end frameworks with assertions |
