- Test Data Types
 Raw
Raw- Parameter
- Runtime
- Random
- Data Generator
- Phone Number
- Mail Box
- Environment
- Concat Test Data
- Folder Structure for Test Data Profiles
- Create Test Data Profile
- Update Test Data Profile
- Update Value in Test Data Profile
- Import Test Data Profile
- Bulk Deletion of a Test Data Profile
- Create Test Data [Environment]
- data generators
- Default Test Data Generators
- Address Function Type
- ChangeDataType Function Type
- Company Function Type
- DateFunctions Function Type
- DomainFunctions Function Type
- EmailFunctions Function Type
- File Function Type
- Friends Function Type
- IdNumber Function Type
- Internet Function Type
- MailboxAliasFunctions Function Type
- MailboxFunctions Function Type
- Name Function Type
- NameFunctions Function Type
- Number Function Type
- NumberFunctions Function Type
- Phone Number Function Type
- PhoneNumberFunctions Function Type
- Random String Function Type
- RandomText Function Type
- StringFunctions Function Type
- TestDataFromProfile Function Type
Folder Structure for Test Data Profiles
Testsigma organizes Test Data Profiles (TDPs) in a two-level folder hierarchy using Features and Scenarios. This structure helps you manage test data at scale, reduce visual clutter, and navigate large projects efficiently. Before you create a Test Data Profile, set up the Feature and Scenario folders that will contain it.
Prerequisites
Before you begin, ensure that you have an active Testsigma project with the required permissions to manage test data.
Overview
Test Data Profiles are organized in the left panel using the following hierarchy: Feature > Scenario > Test Data Profile.
- A Feature is the top-level folder that represents a functional area of your application.
- A Scenario is a sub-folder nested within a Feature that groups related Test Data Profiles.
- A Test Data Profile is the data set stored within a Scenario.
Features and Scenarios load in a collapsed state by default, so you can expand only what you need. Testsigma preserves the expanded or collapsed state when you switch between tabs, so your navigation context is not lost.
Create a Feature
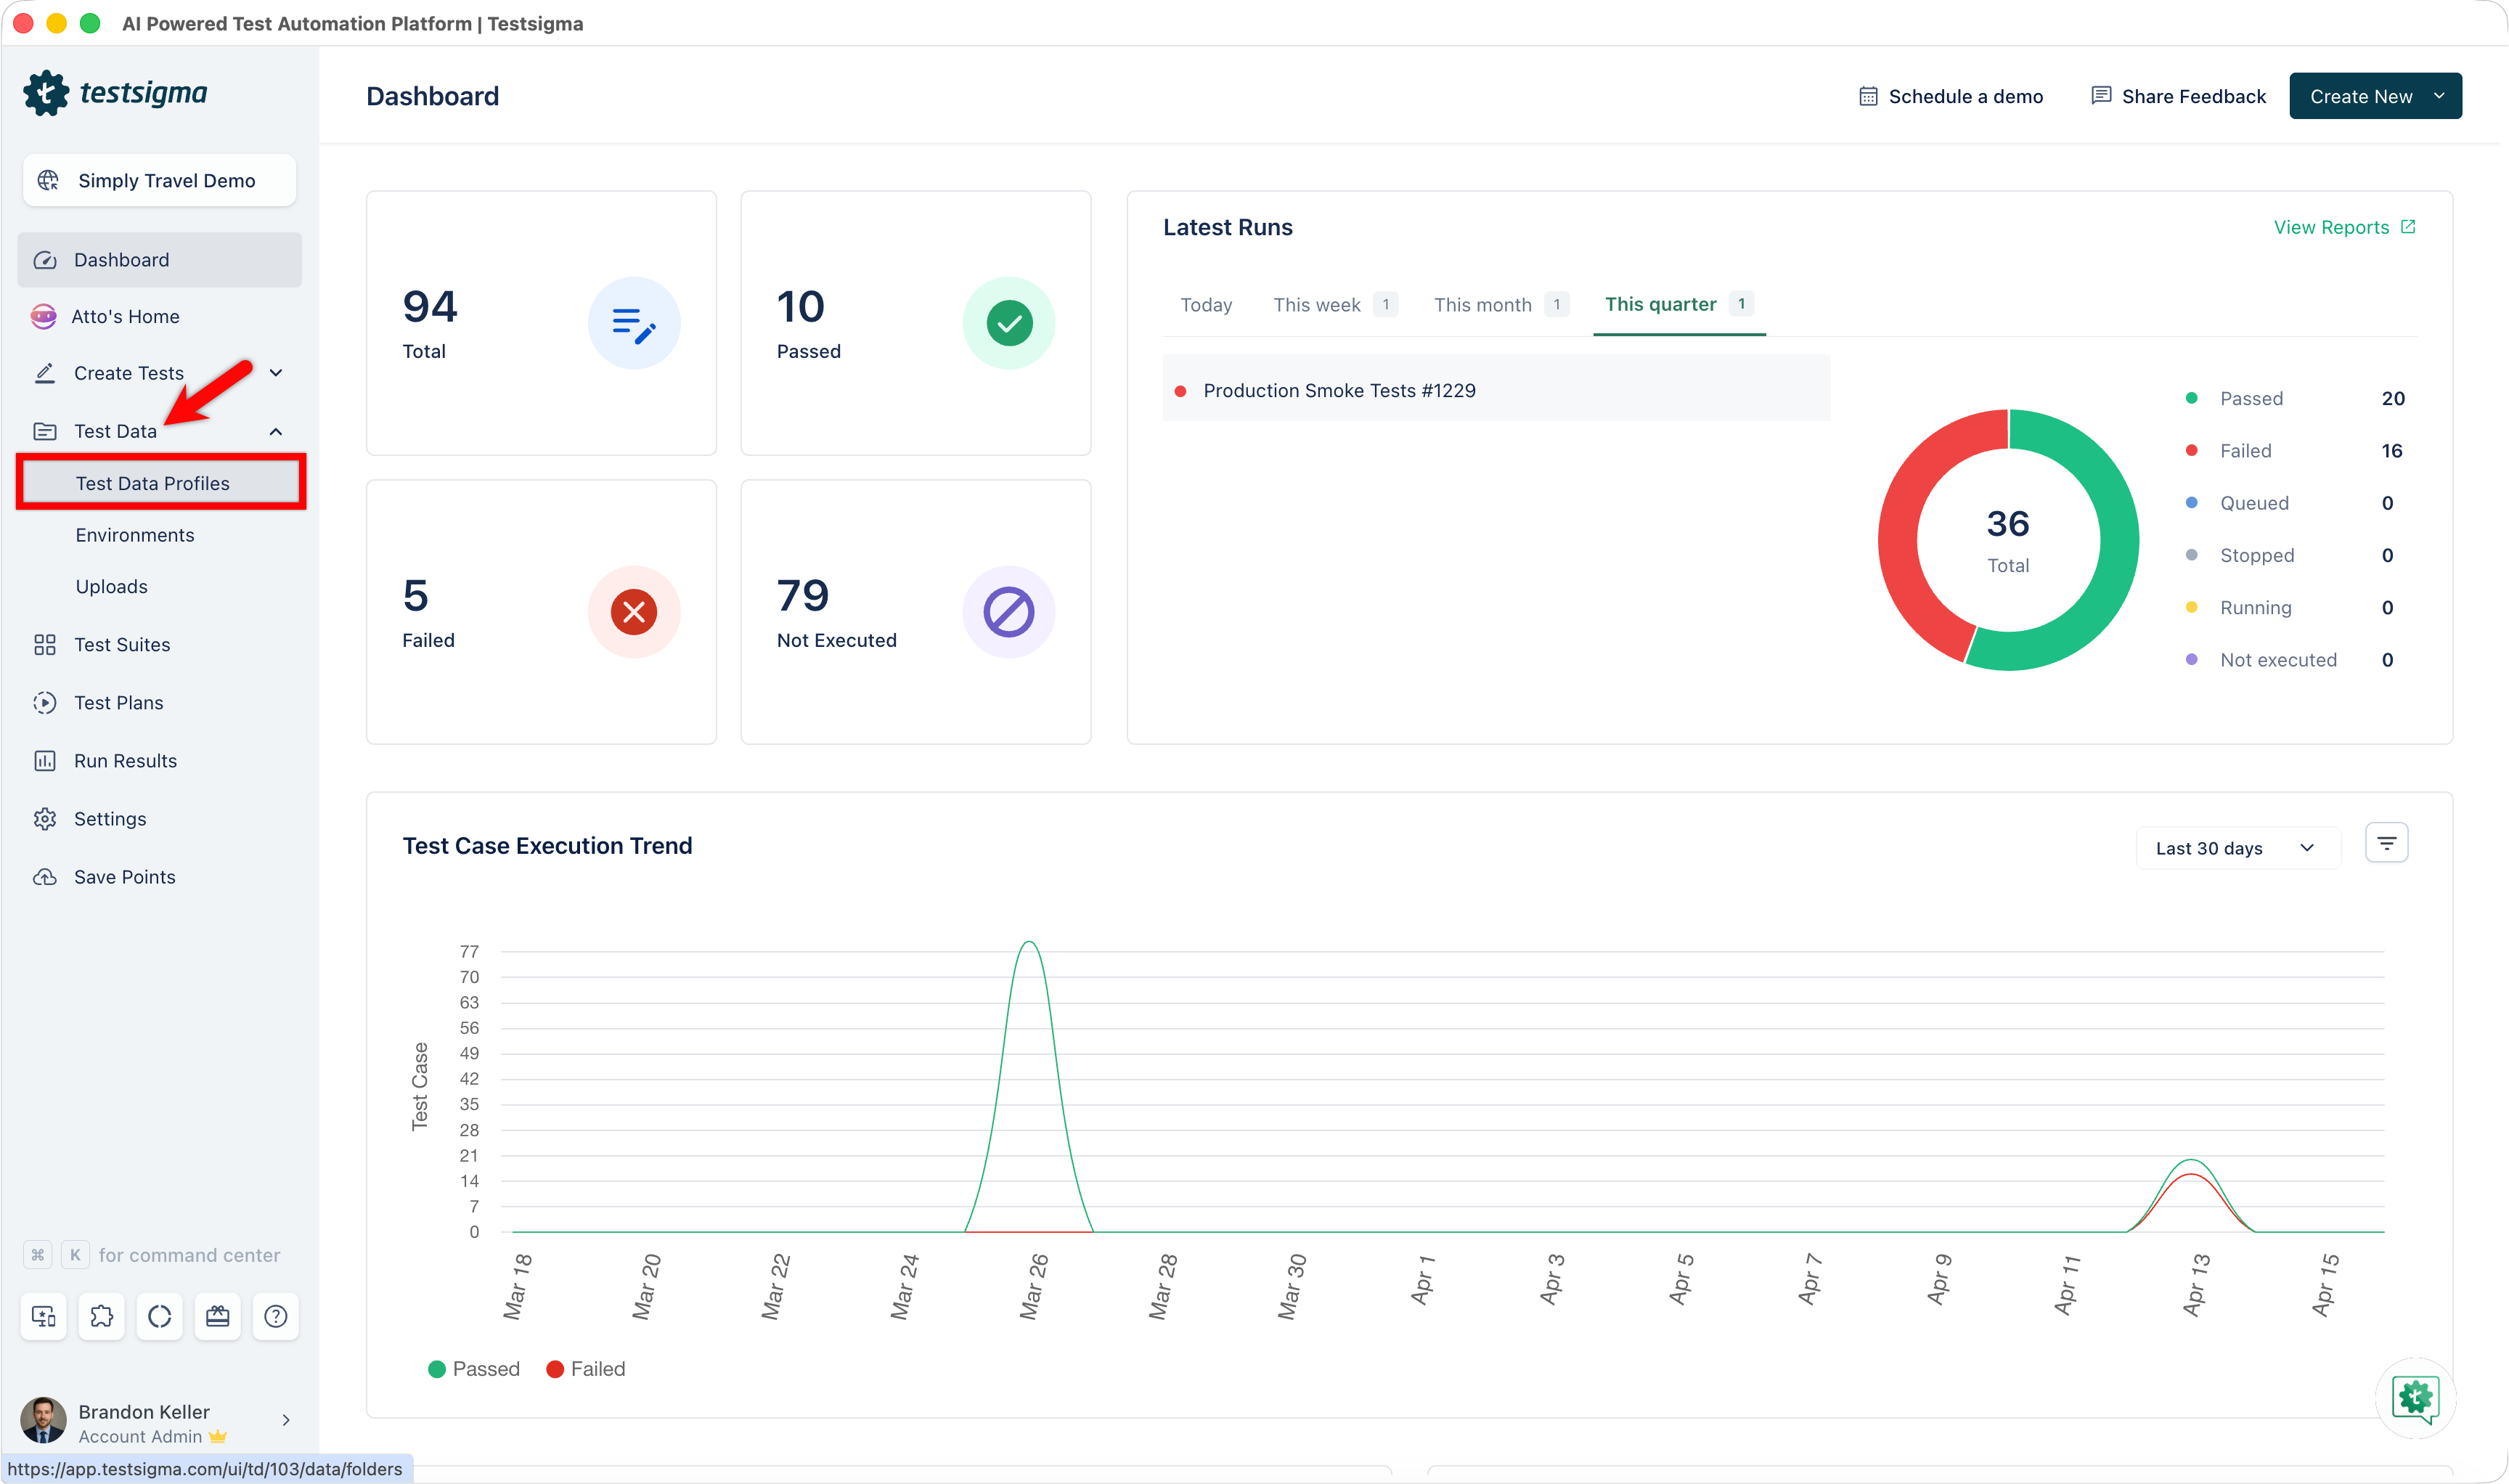
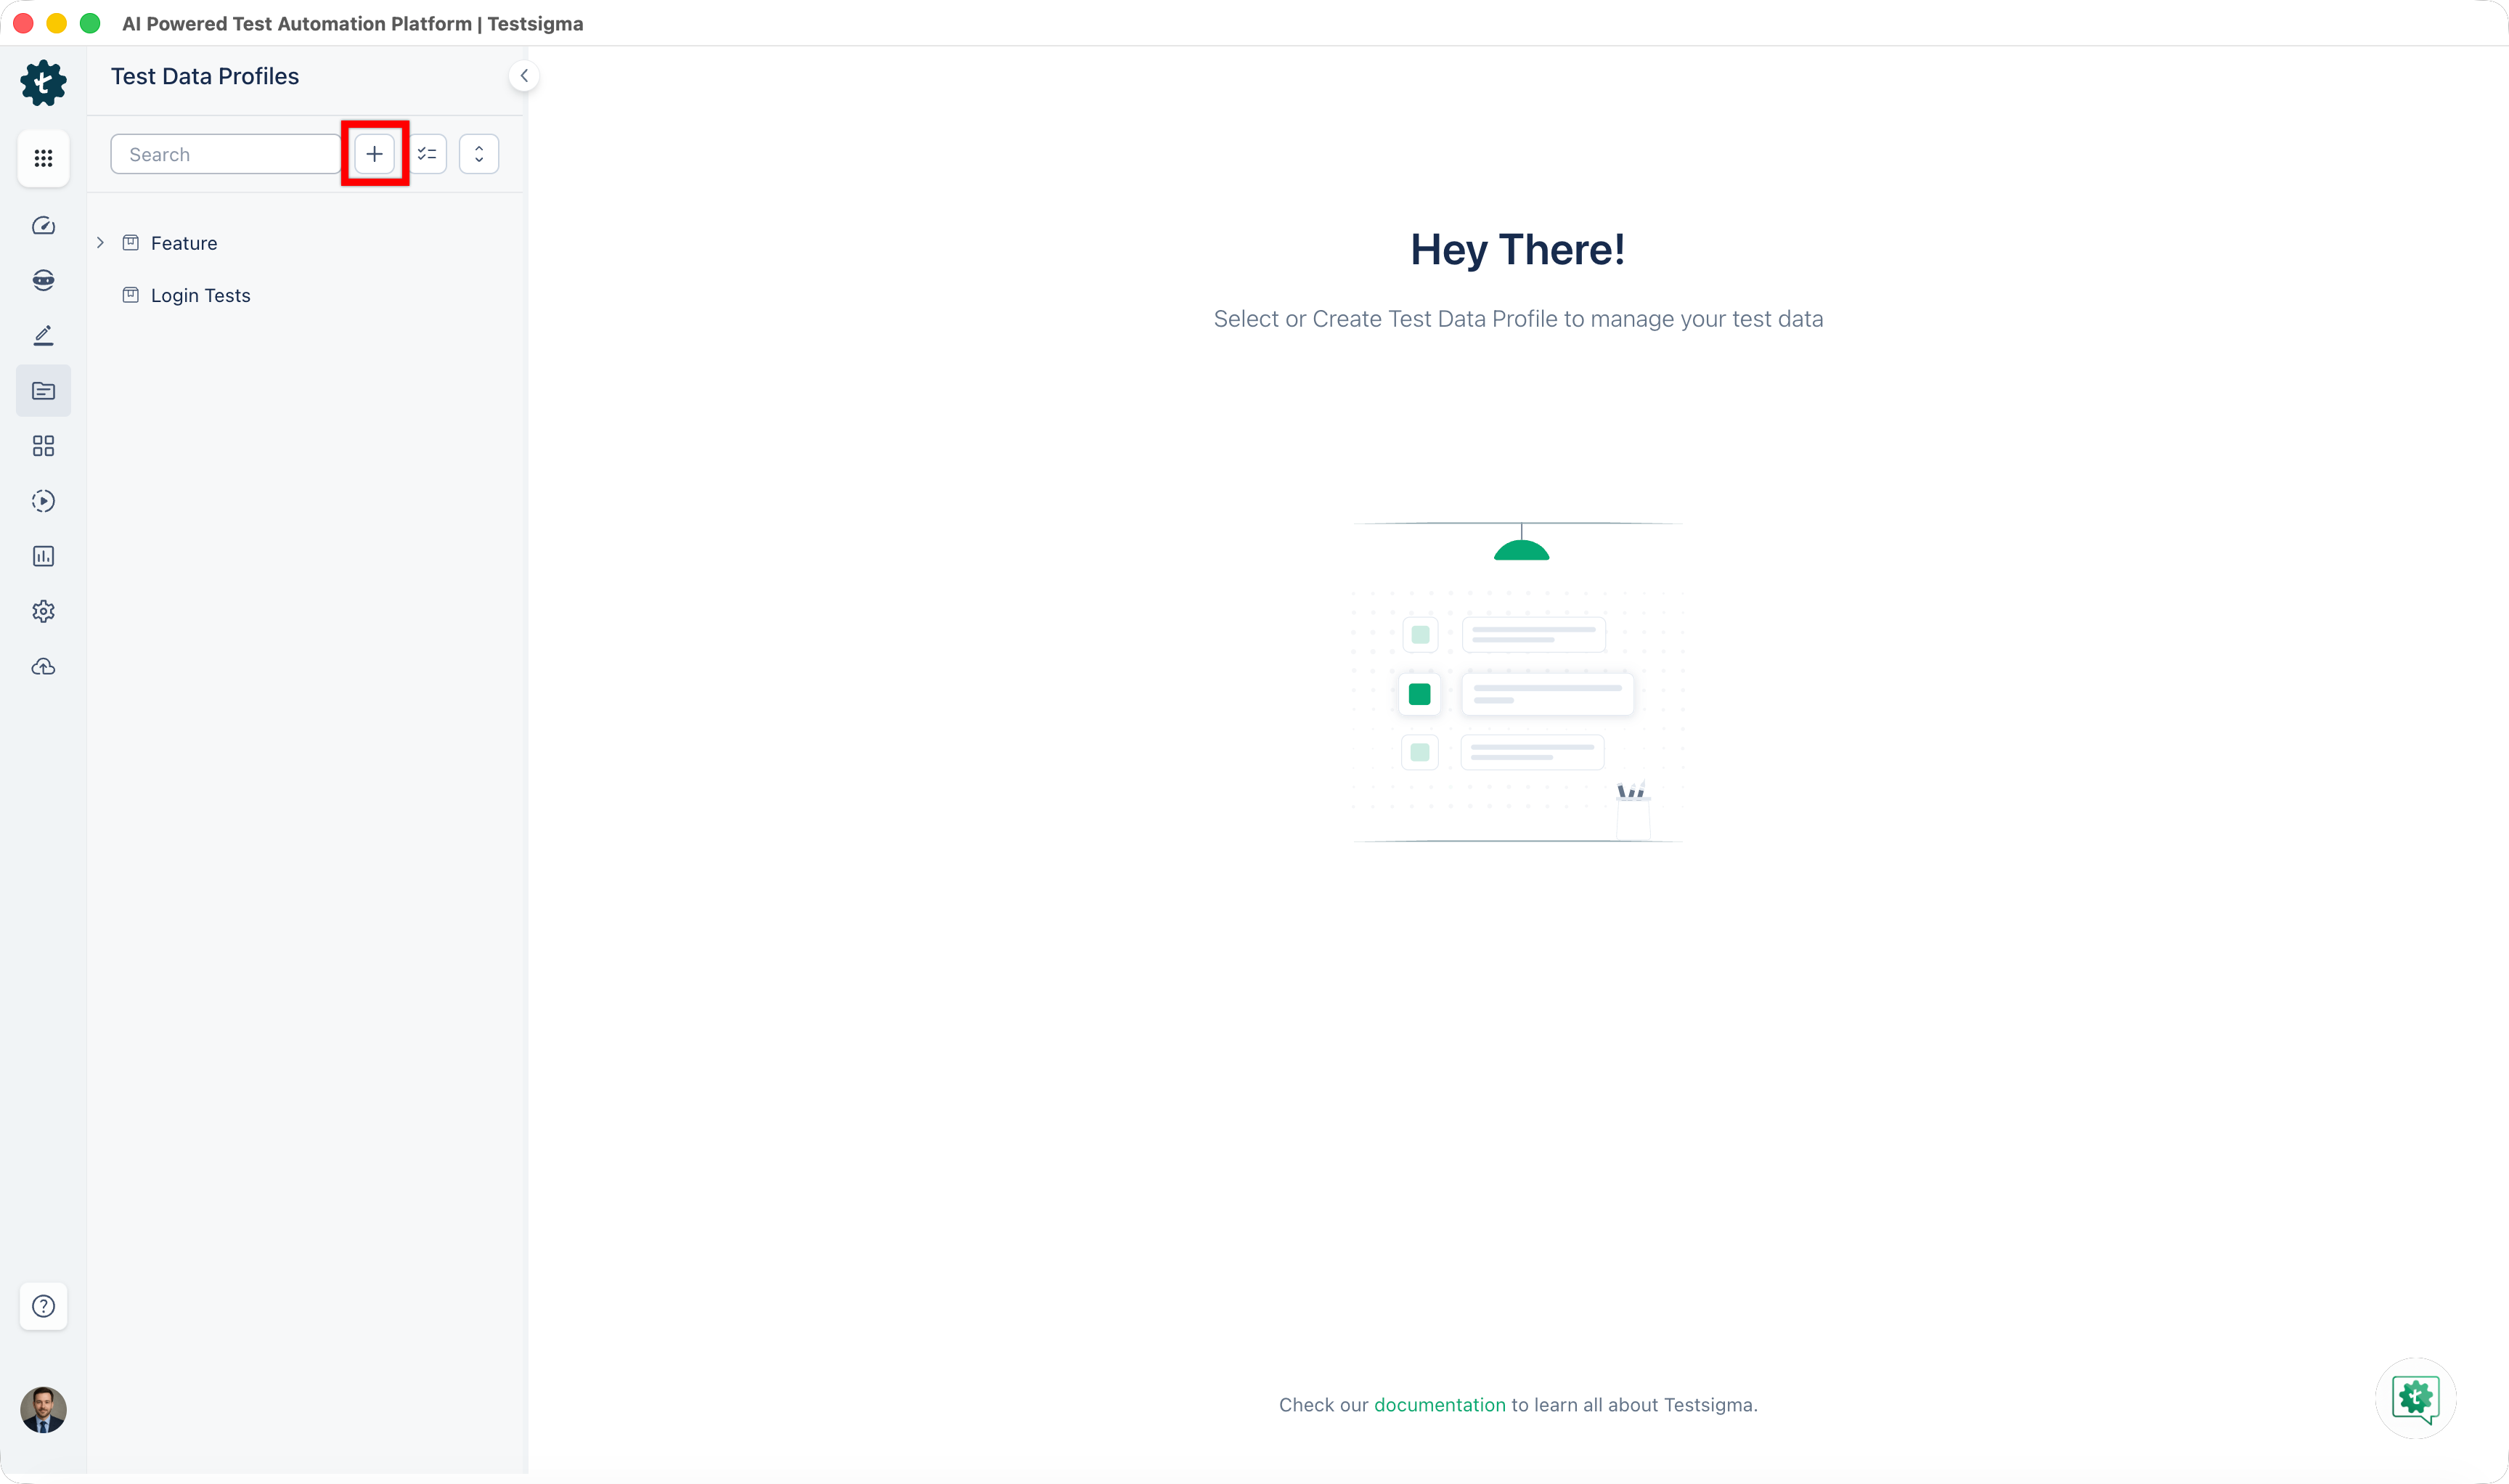
- From the left navigation bar, go to Test Data > Test Data Profiles.
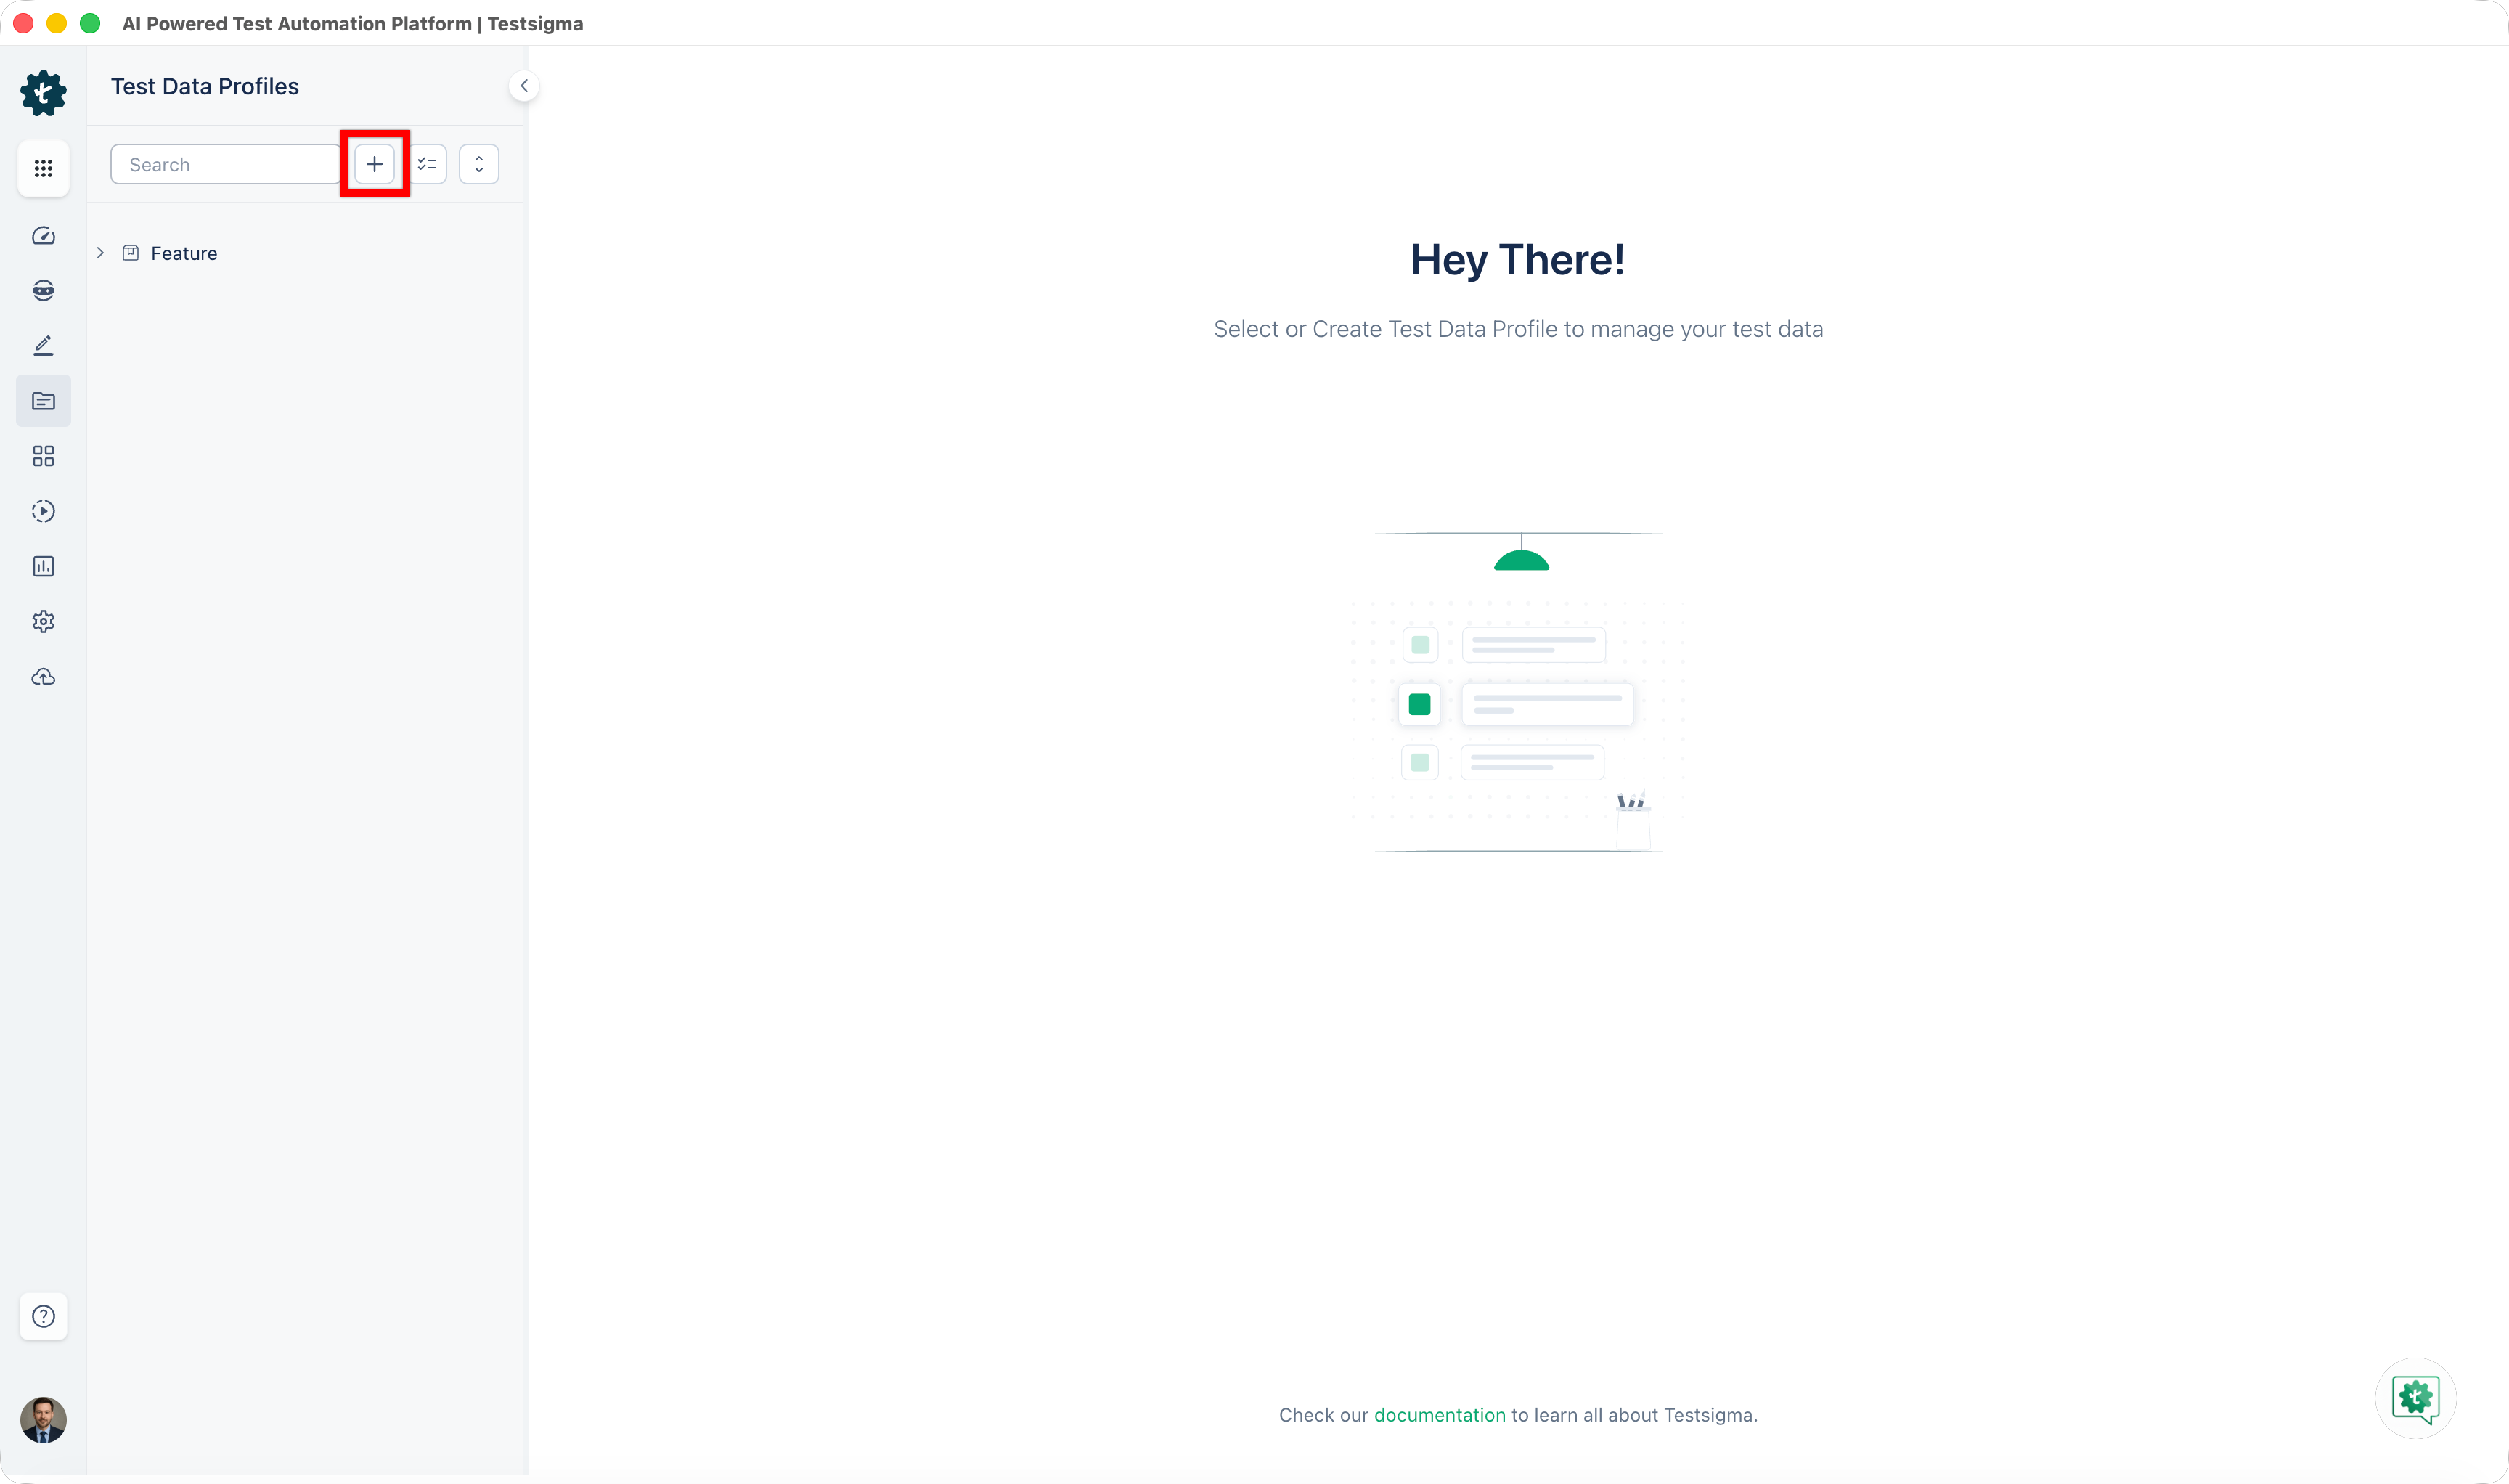
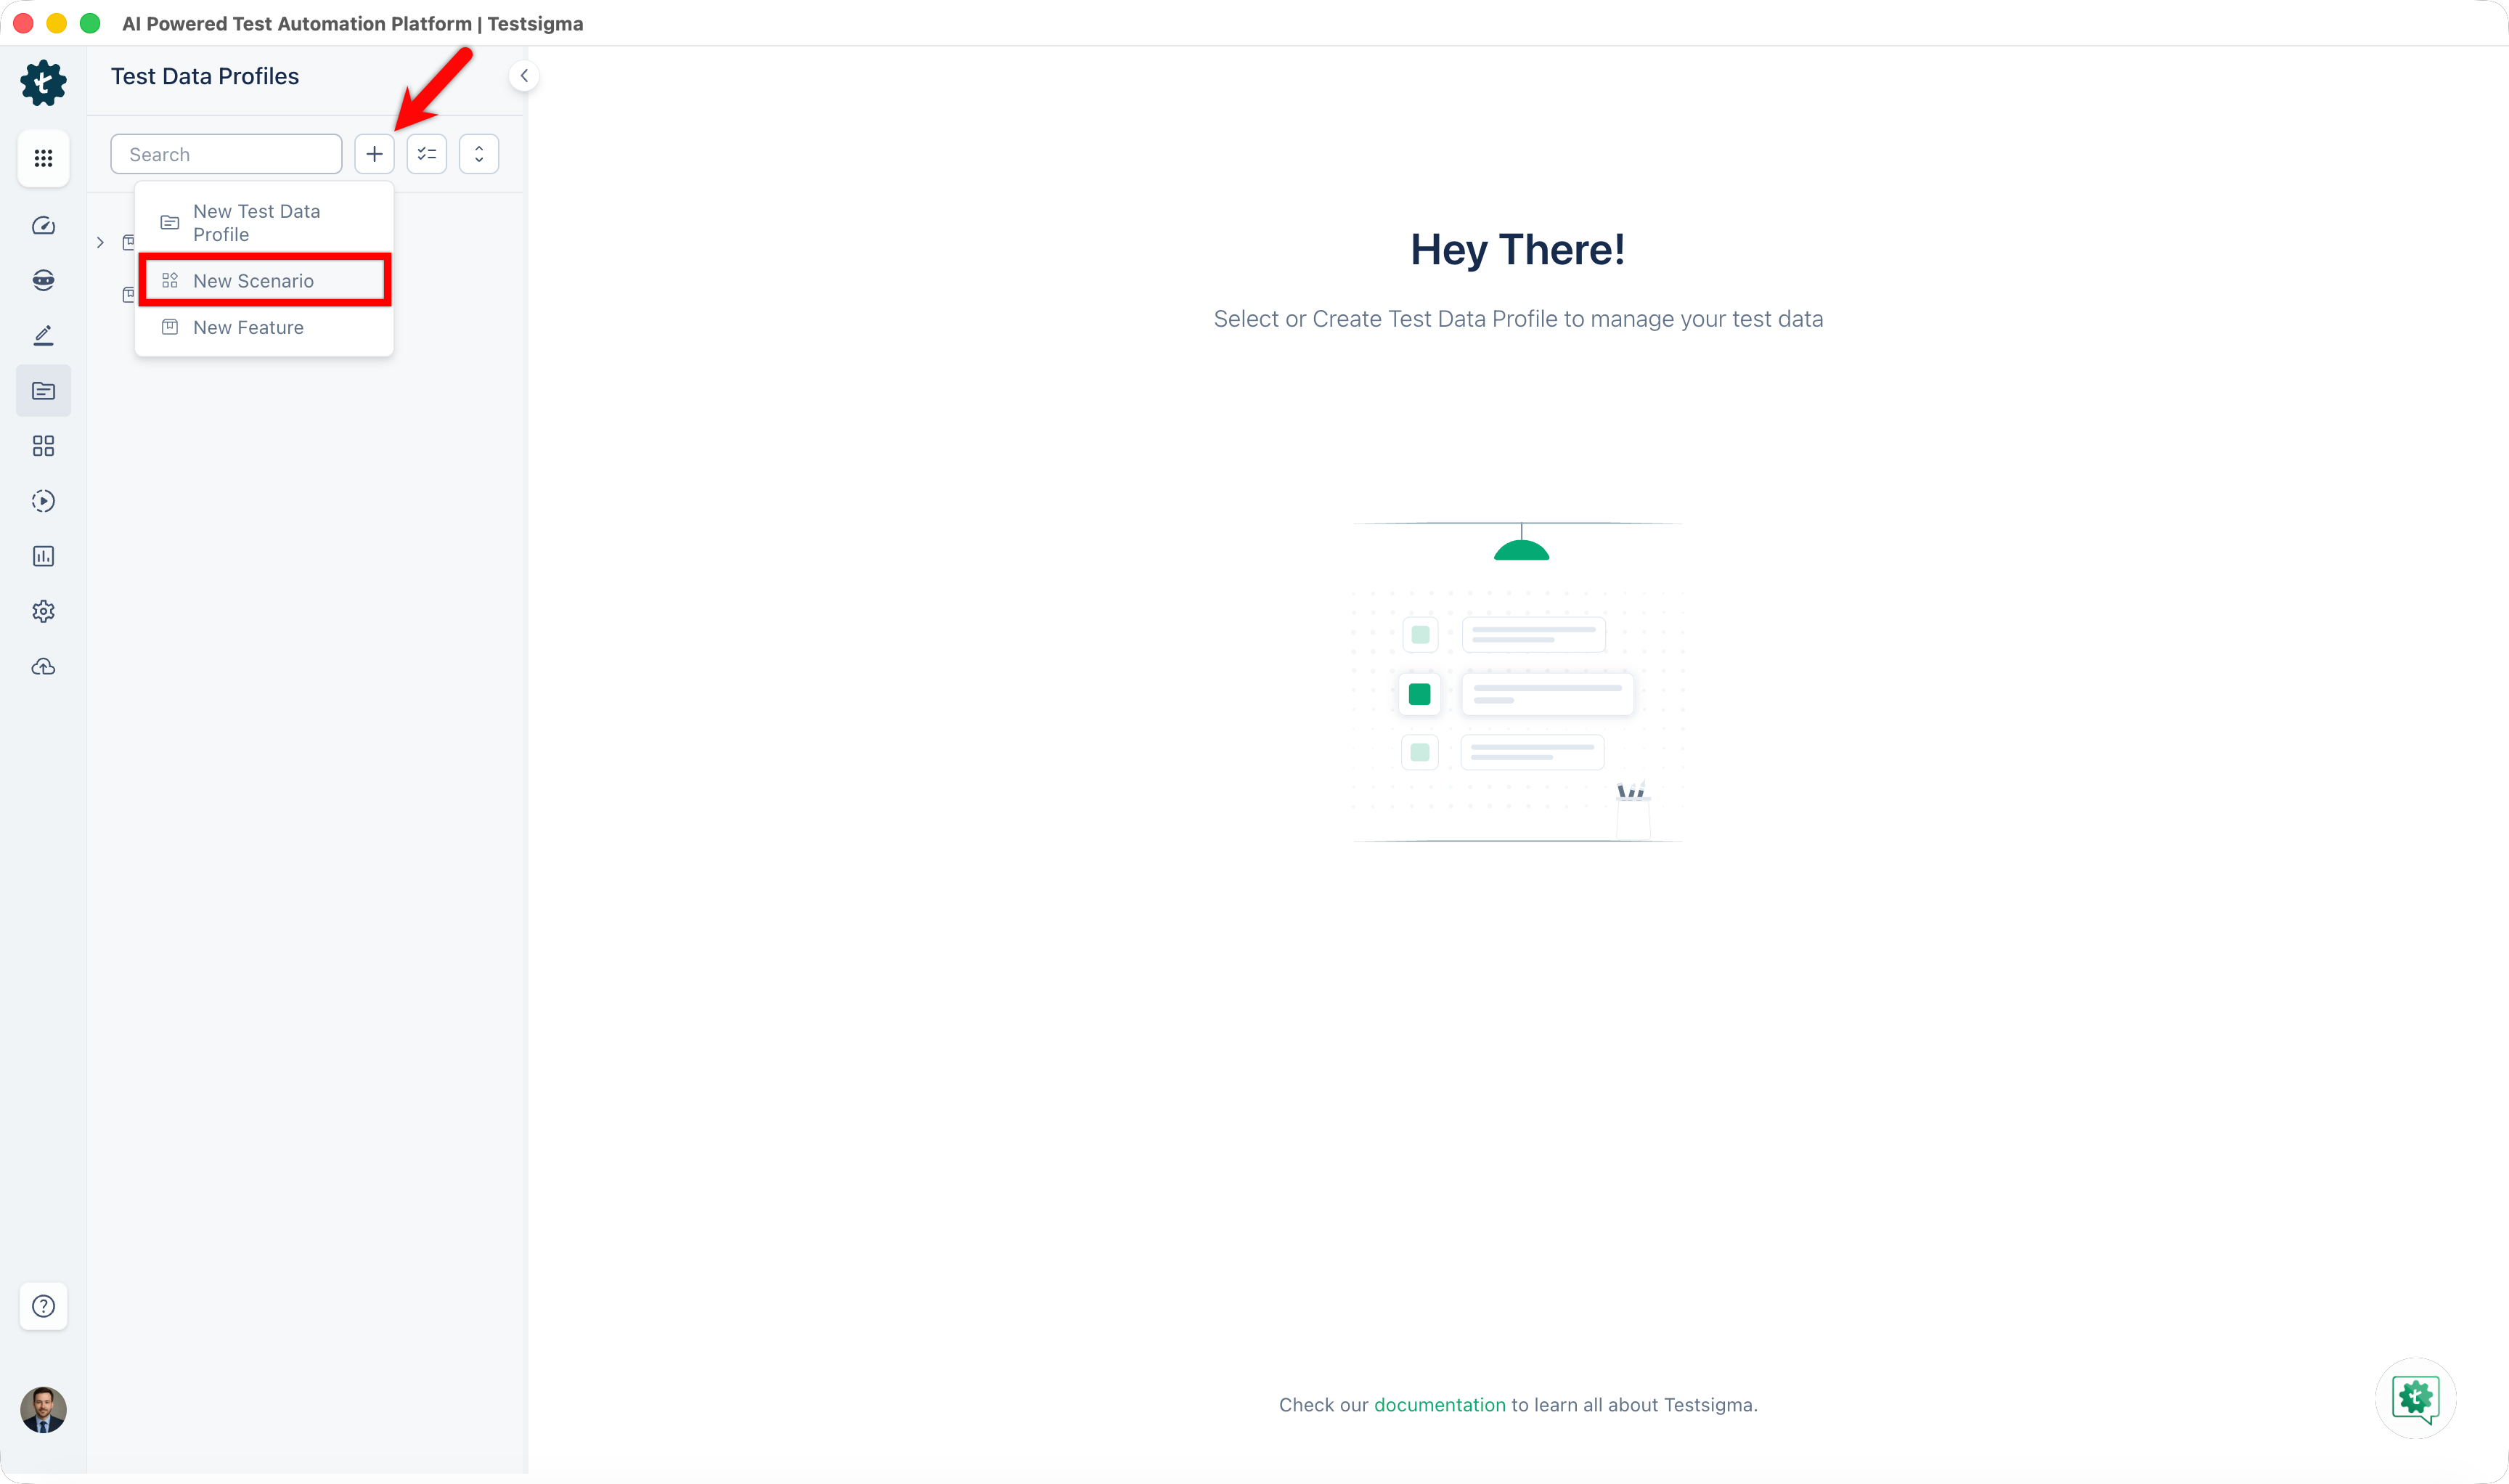
- At the top of the left panel, click '+'.
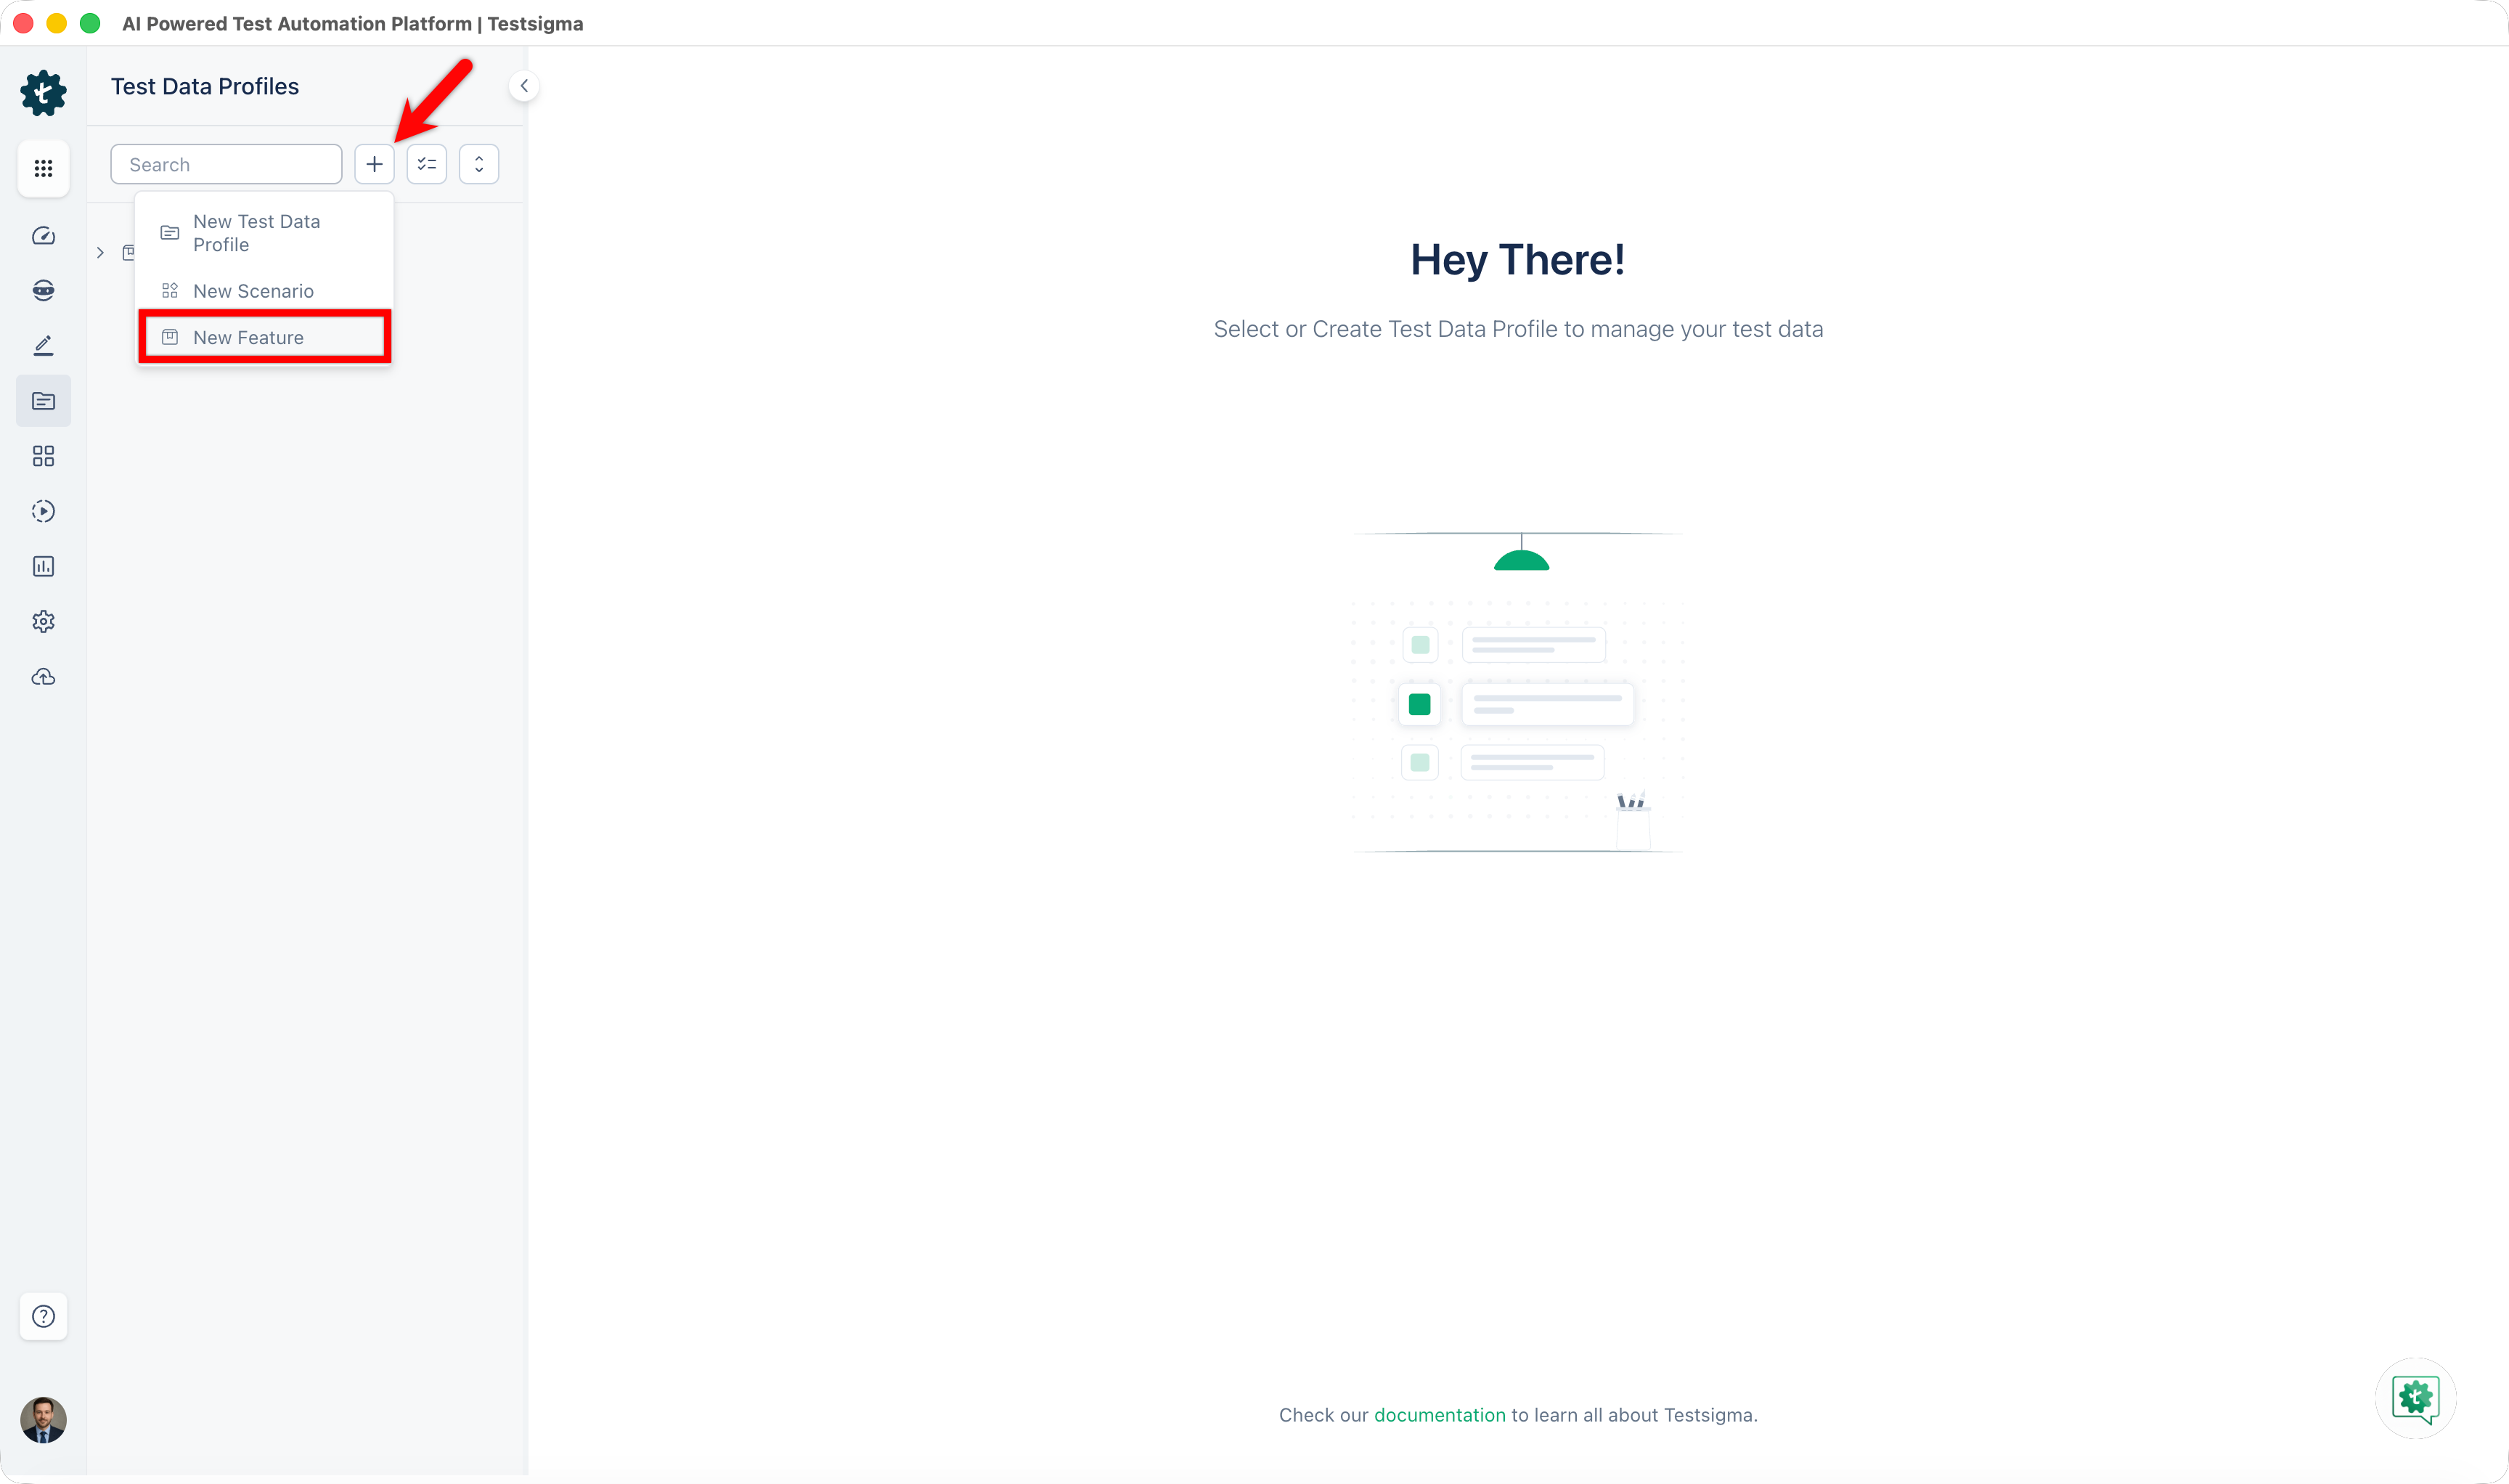
- From the dropdown, select New Feature.
- In the New Feature dialog, enter a name in the Feature name field.
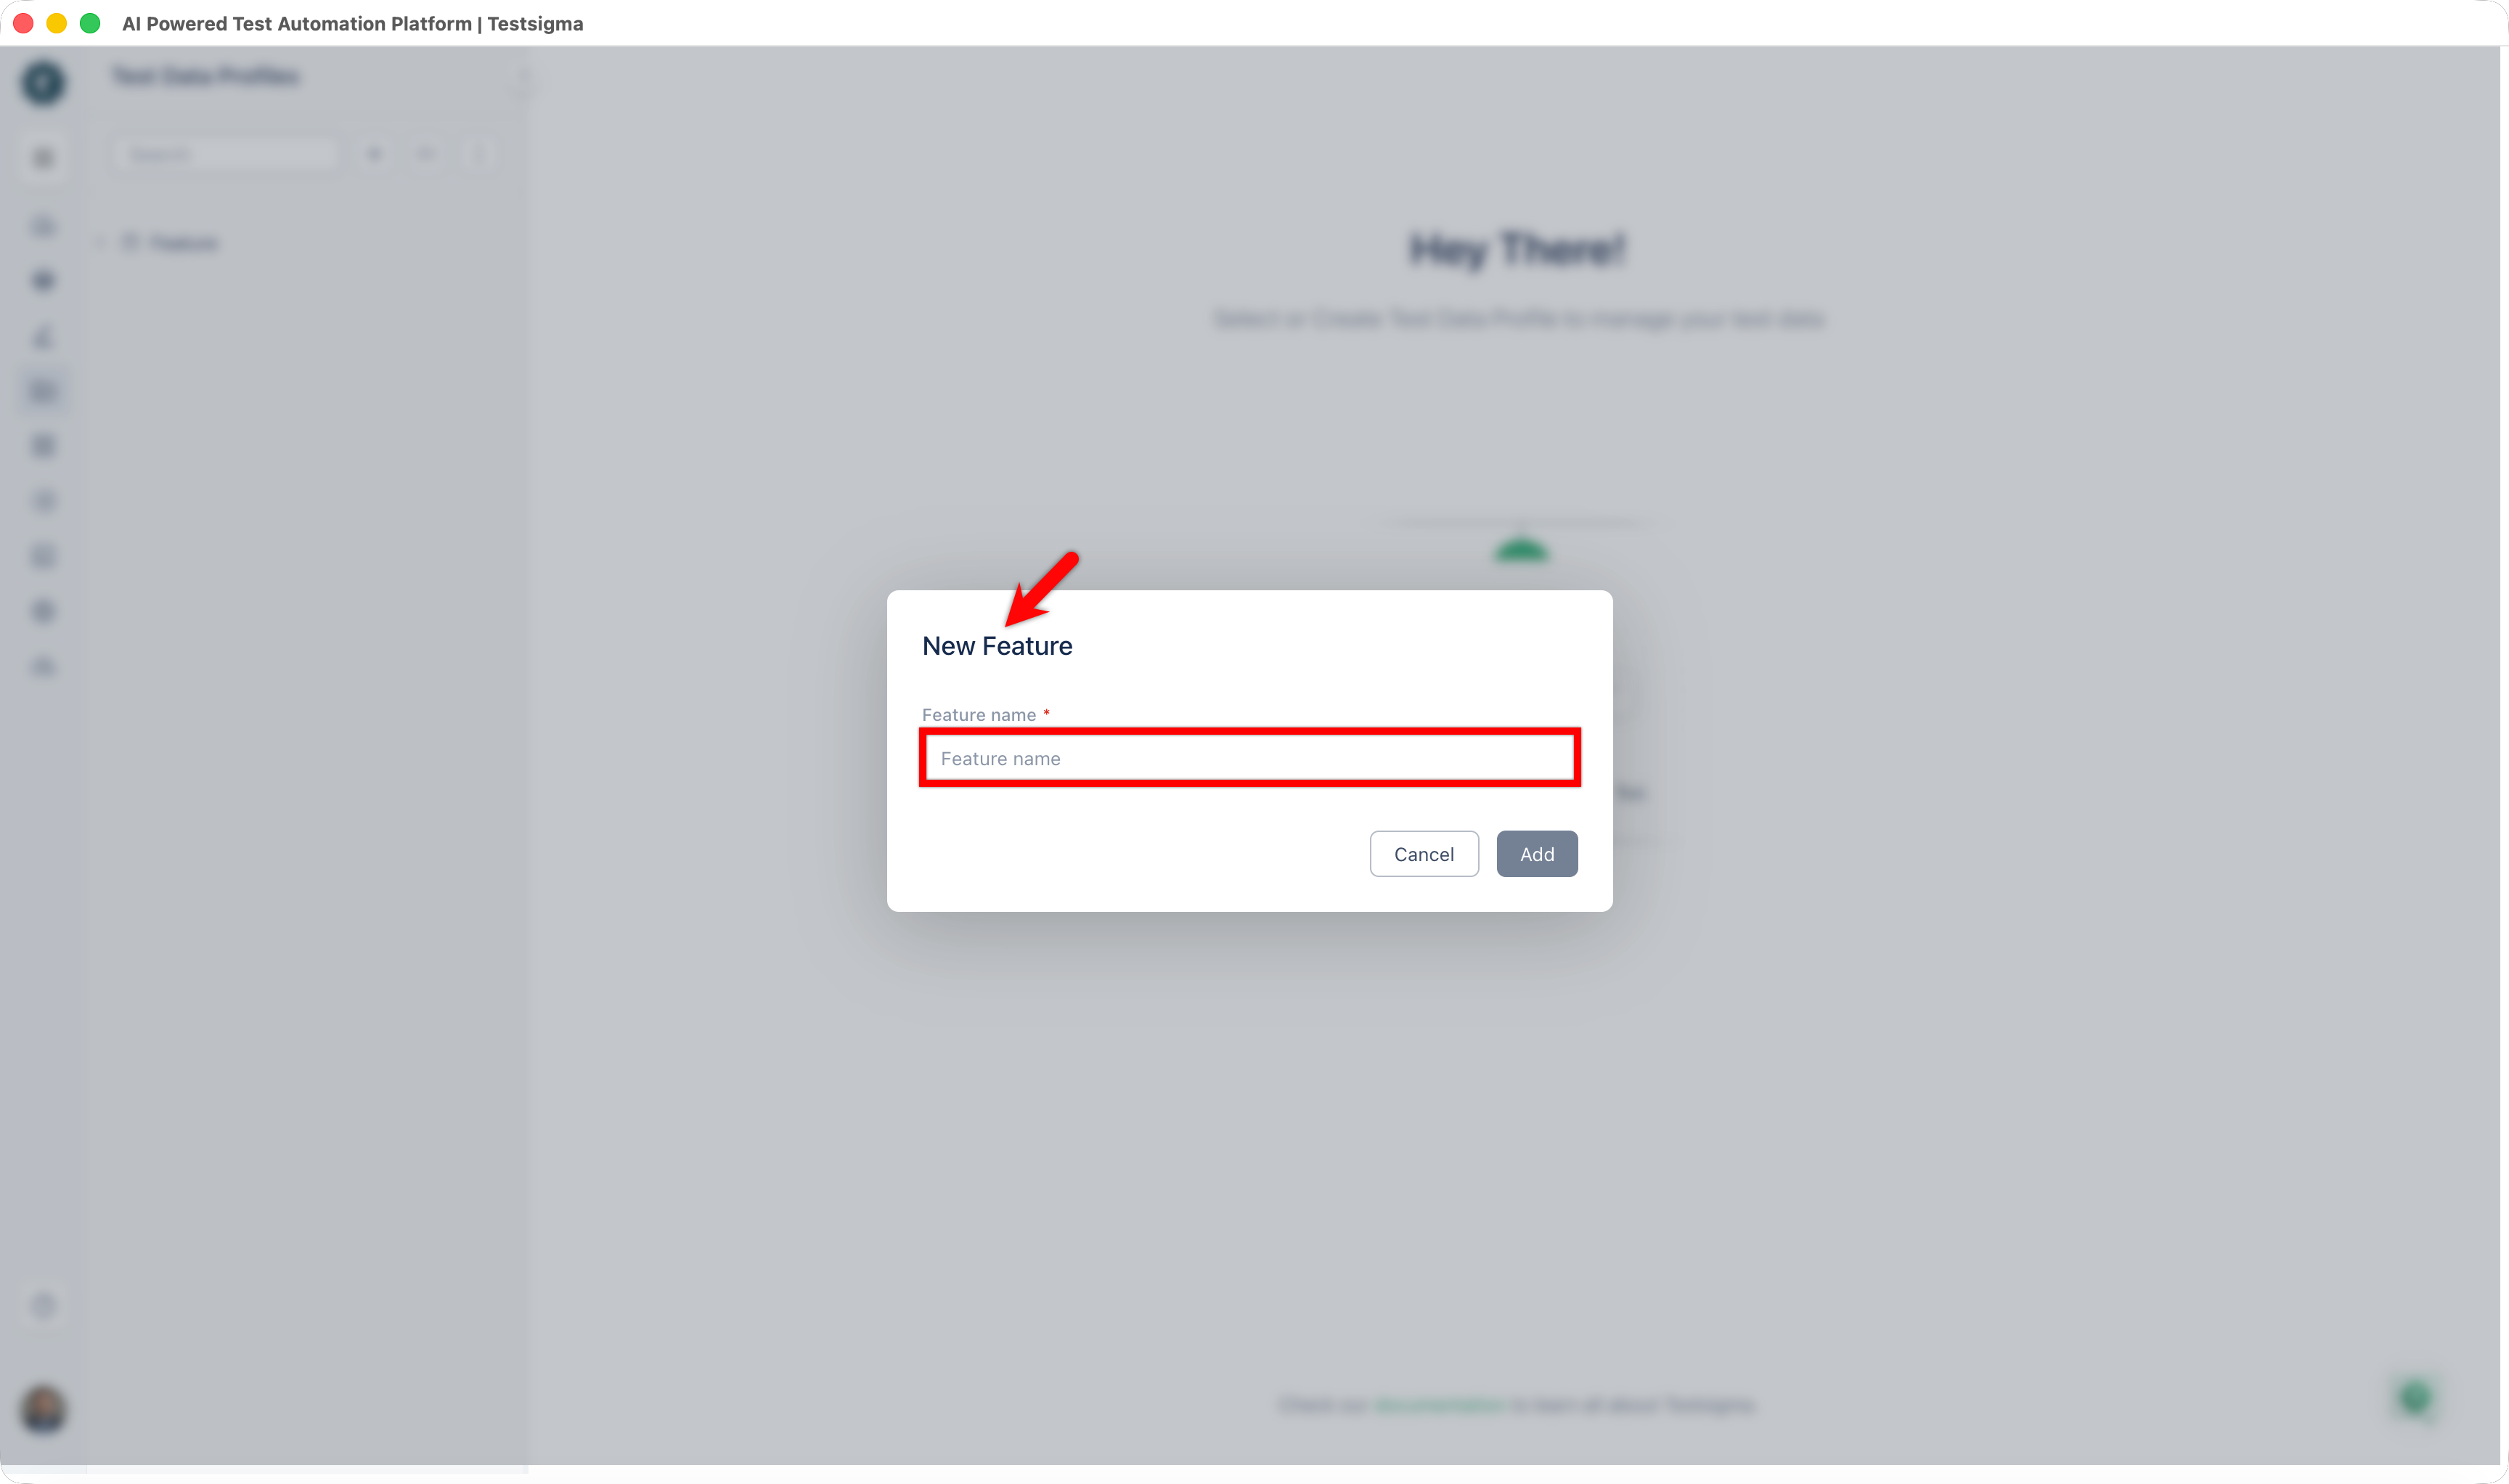
- Click Add.
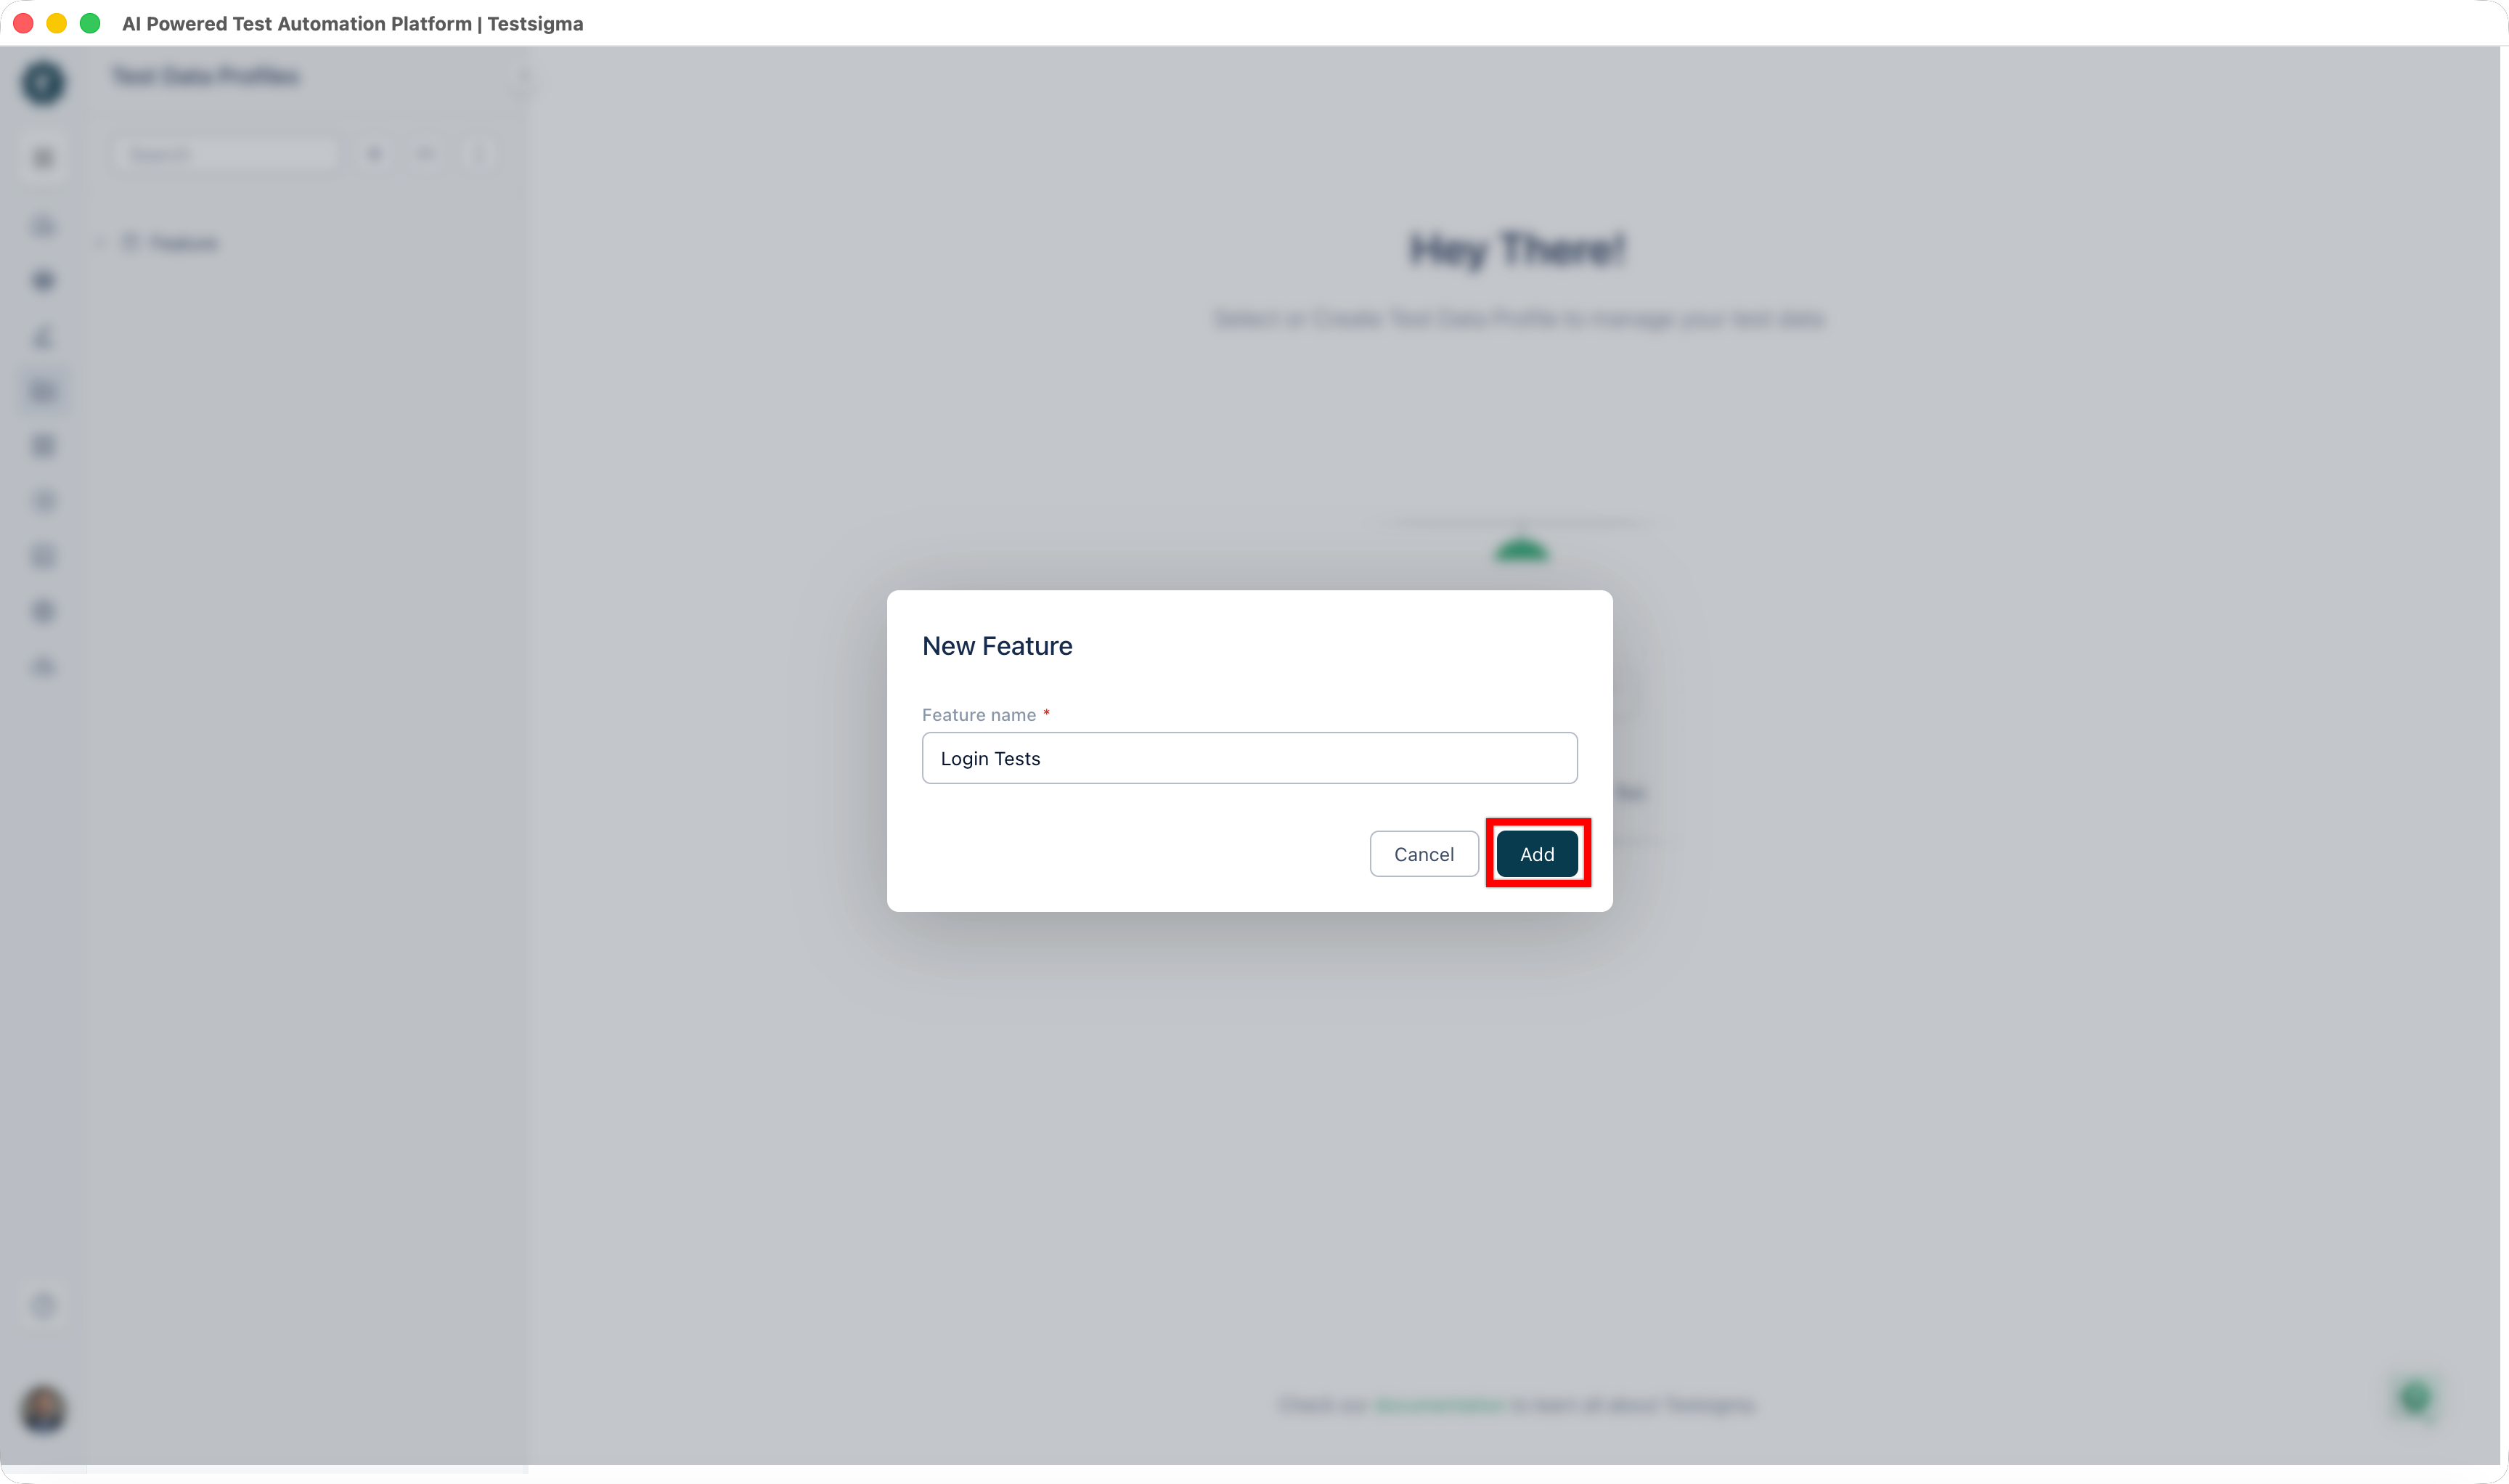
The Feature appears in the left panel folder tree.
Create a Scenario
- At the top of the left panel, click +.
- From the dropdown, select New Scenario.
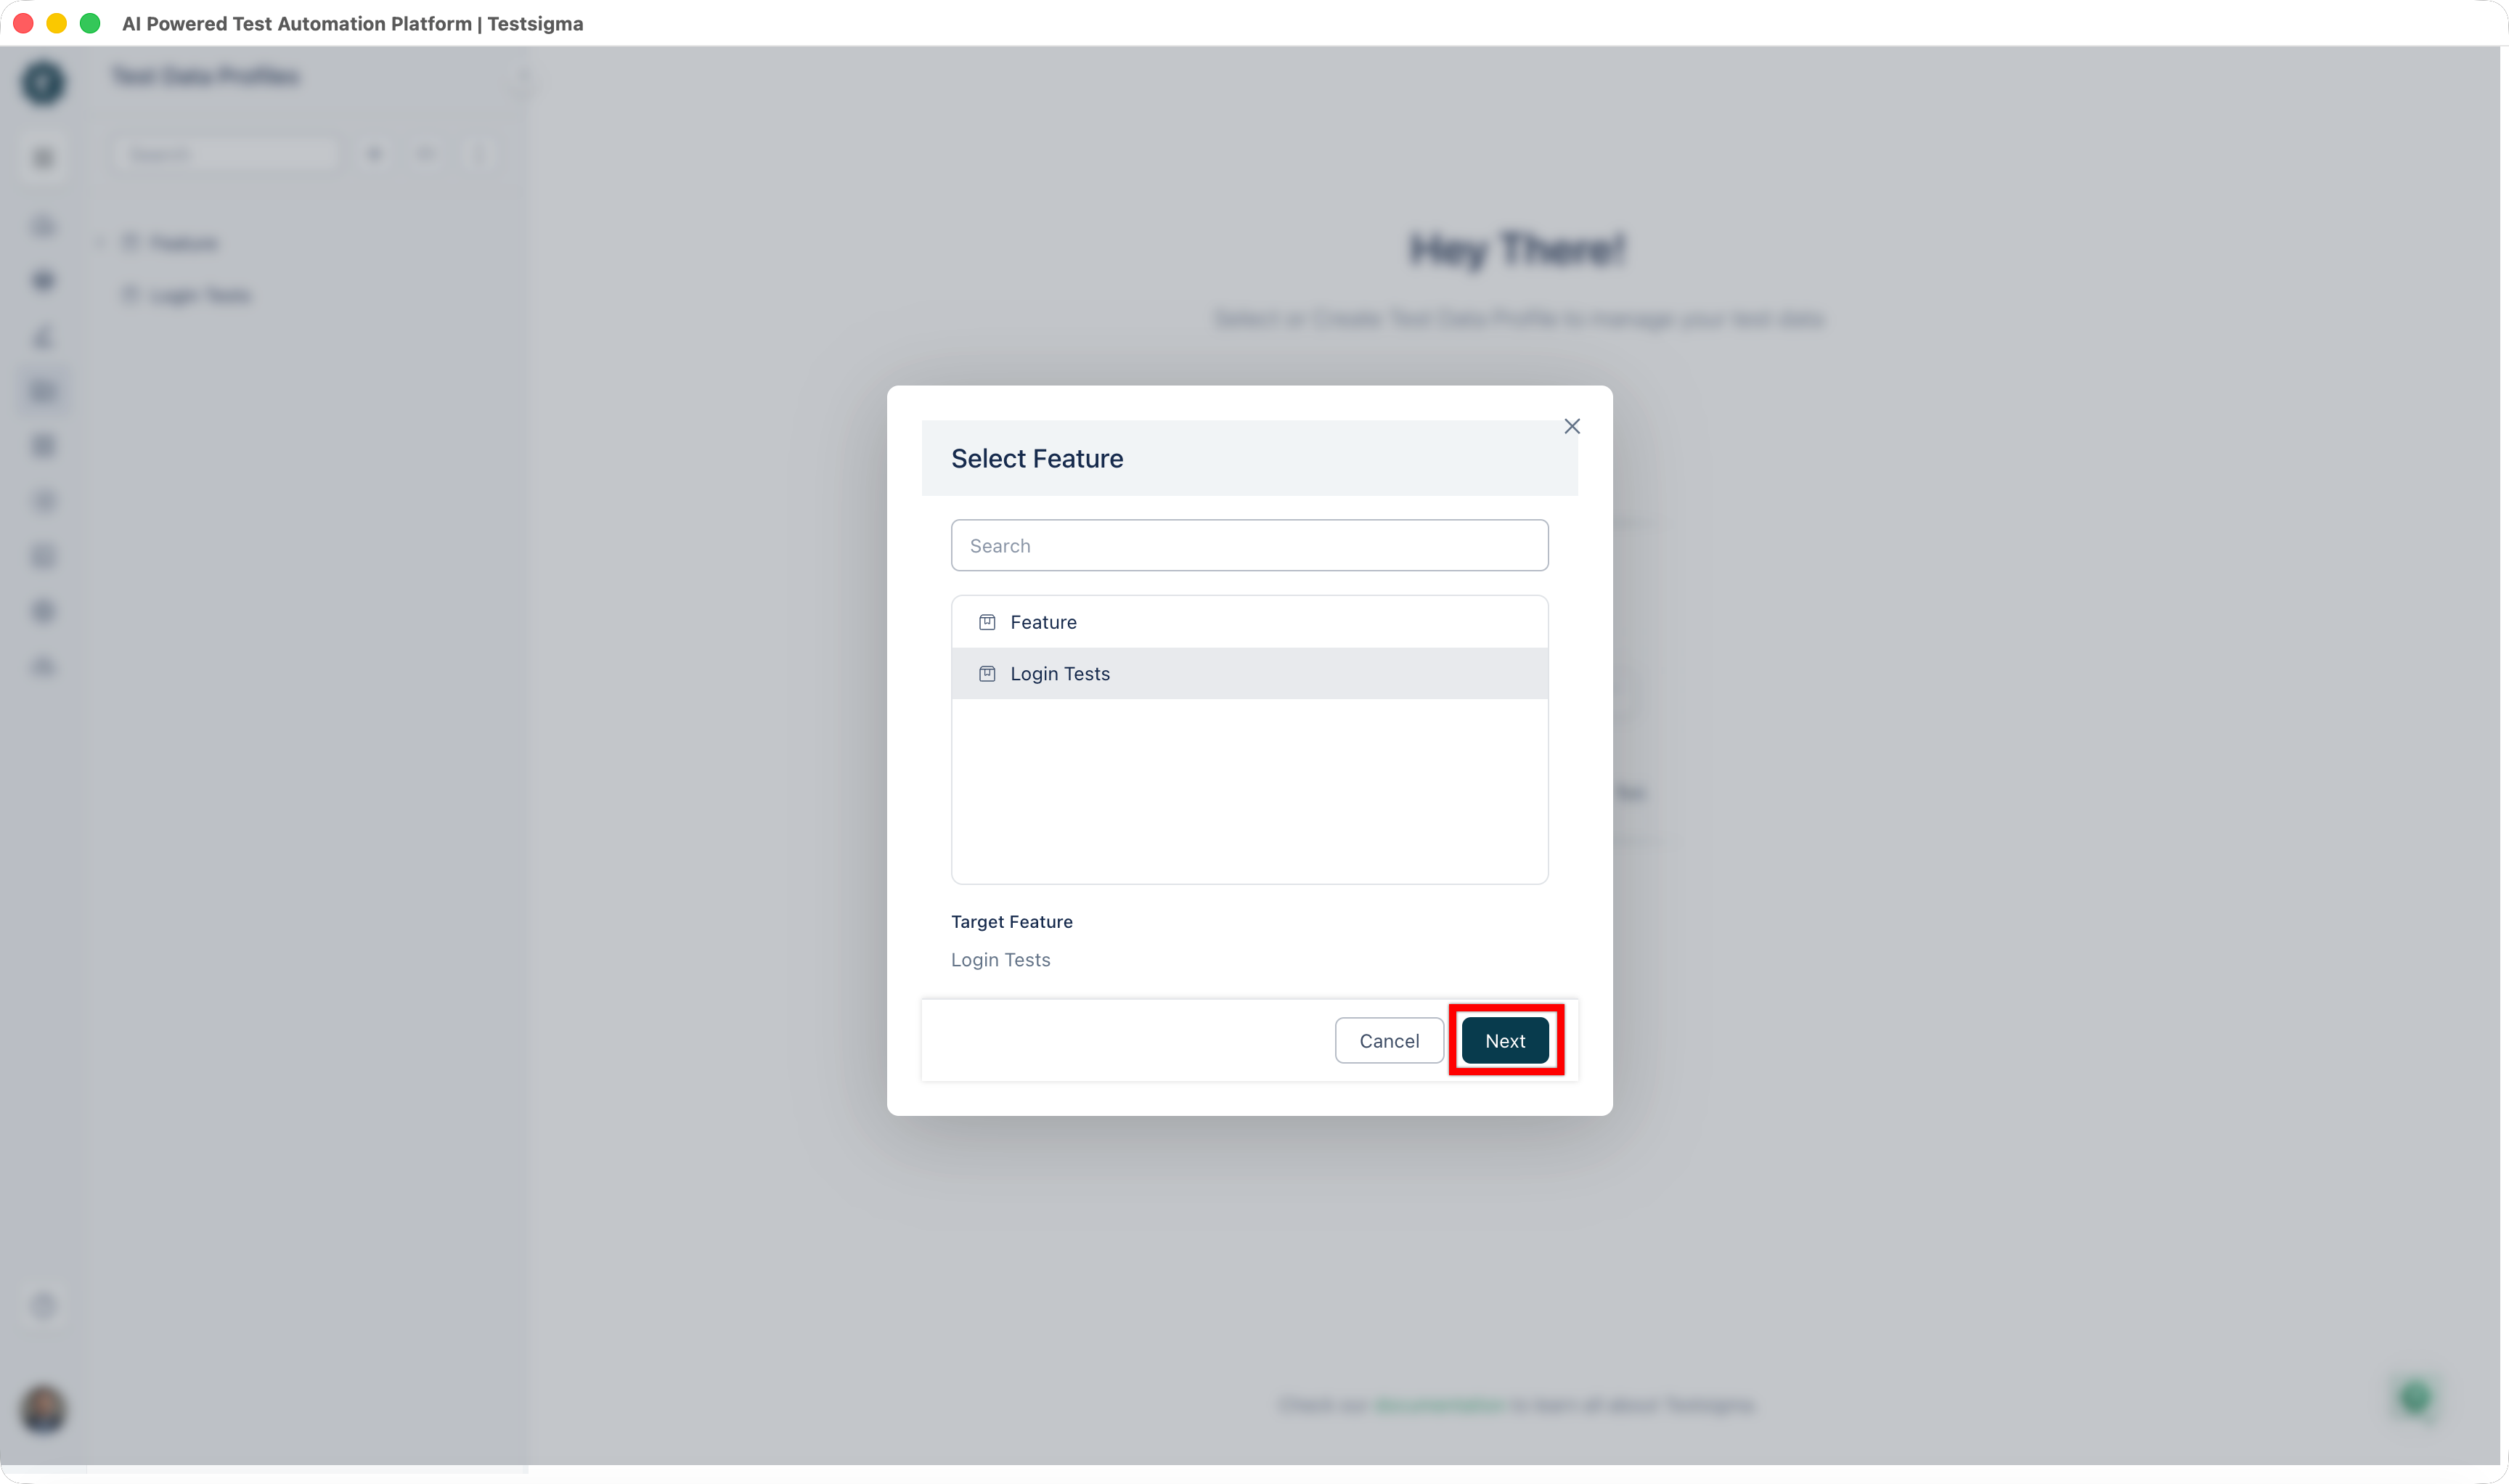
- In the Select Feature dialog, select the Feature under which you want to create the Scenario. The selected Feature appears under Target Feature at the bottom of the dialog.
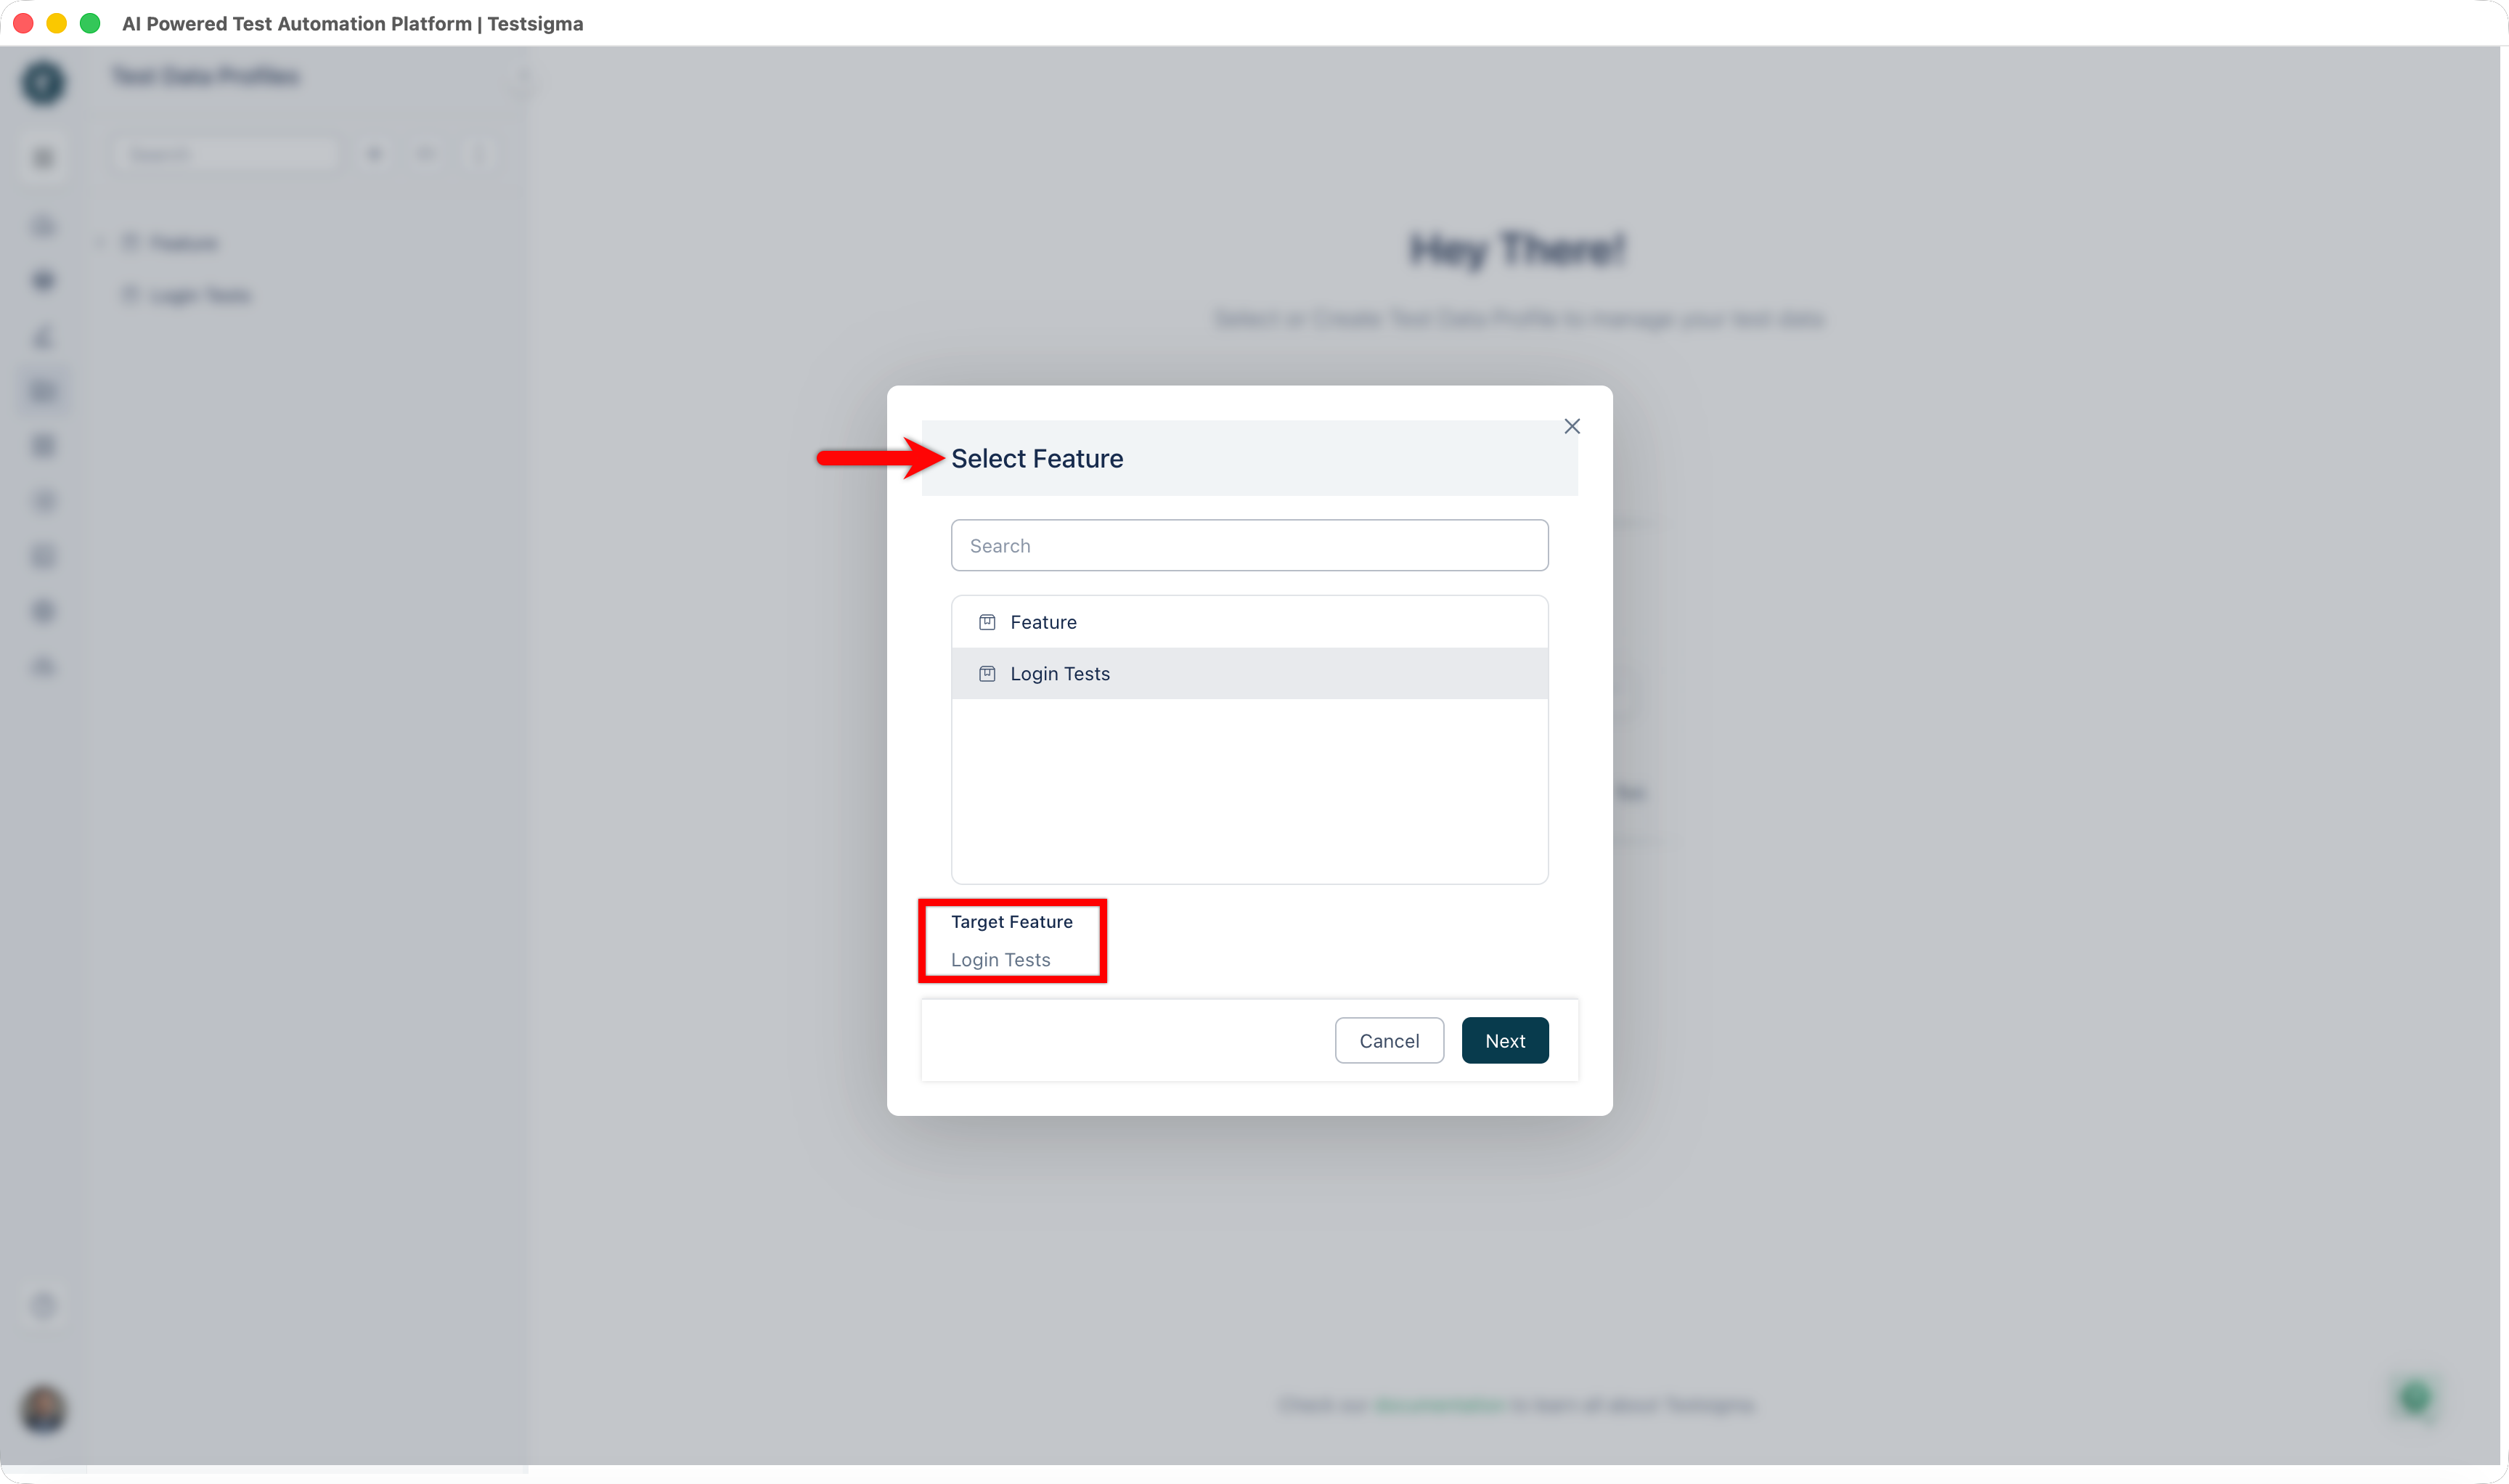
- Click Next.
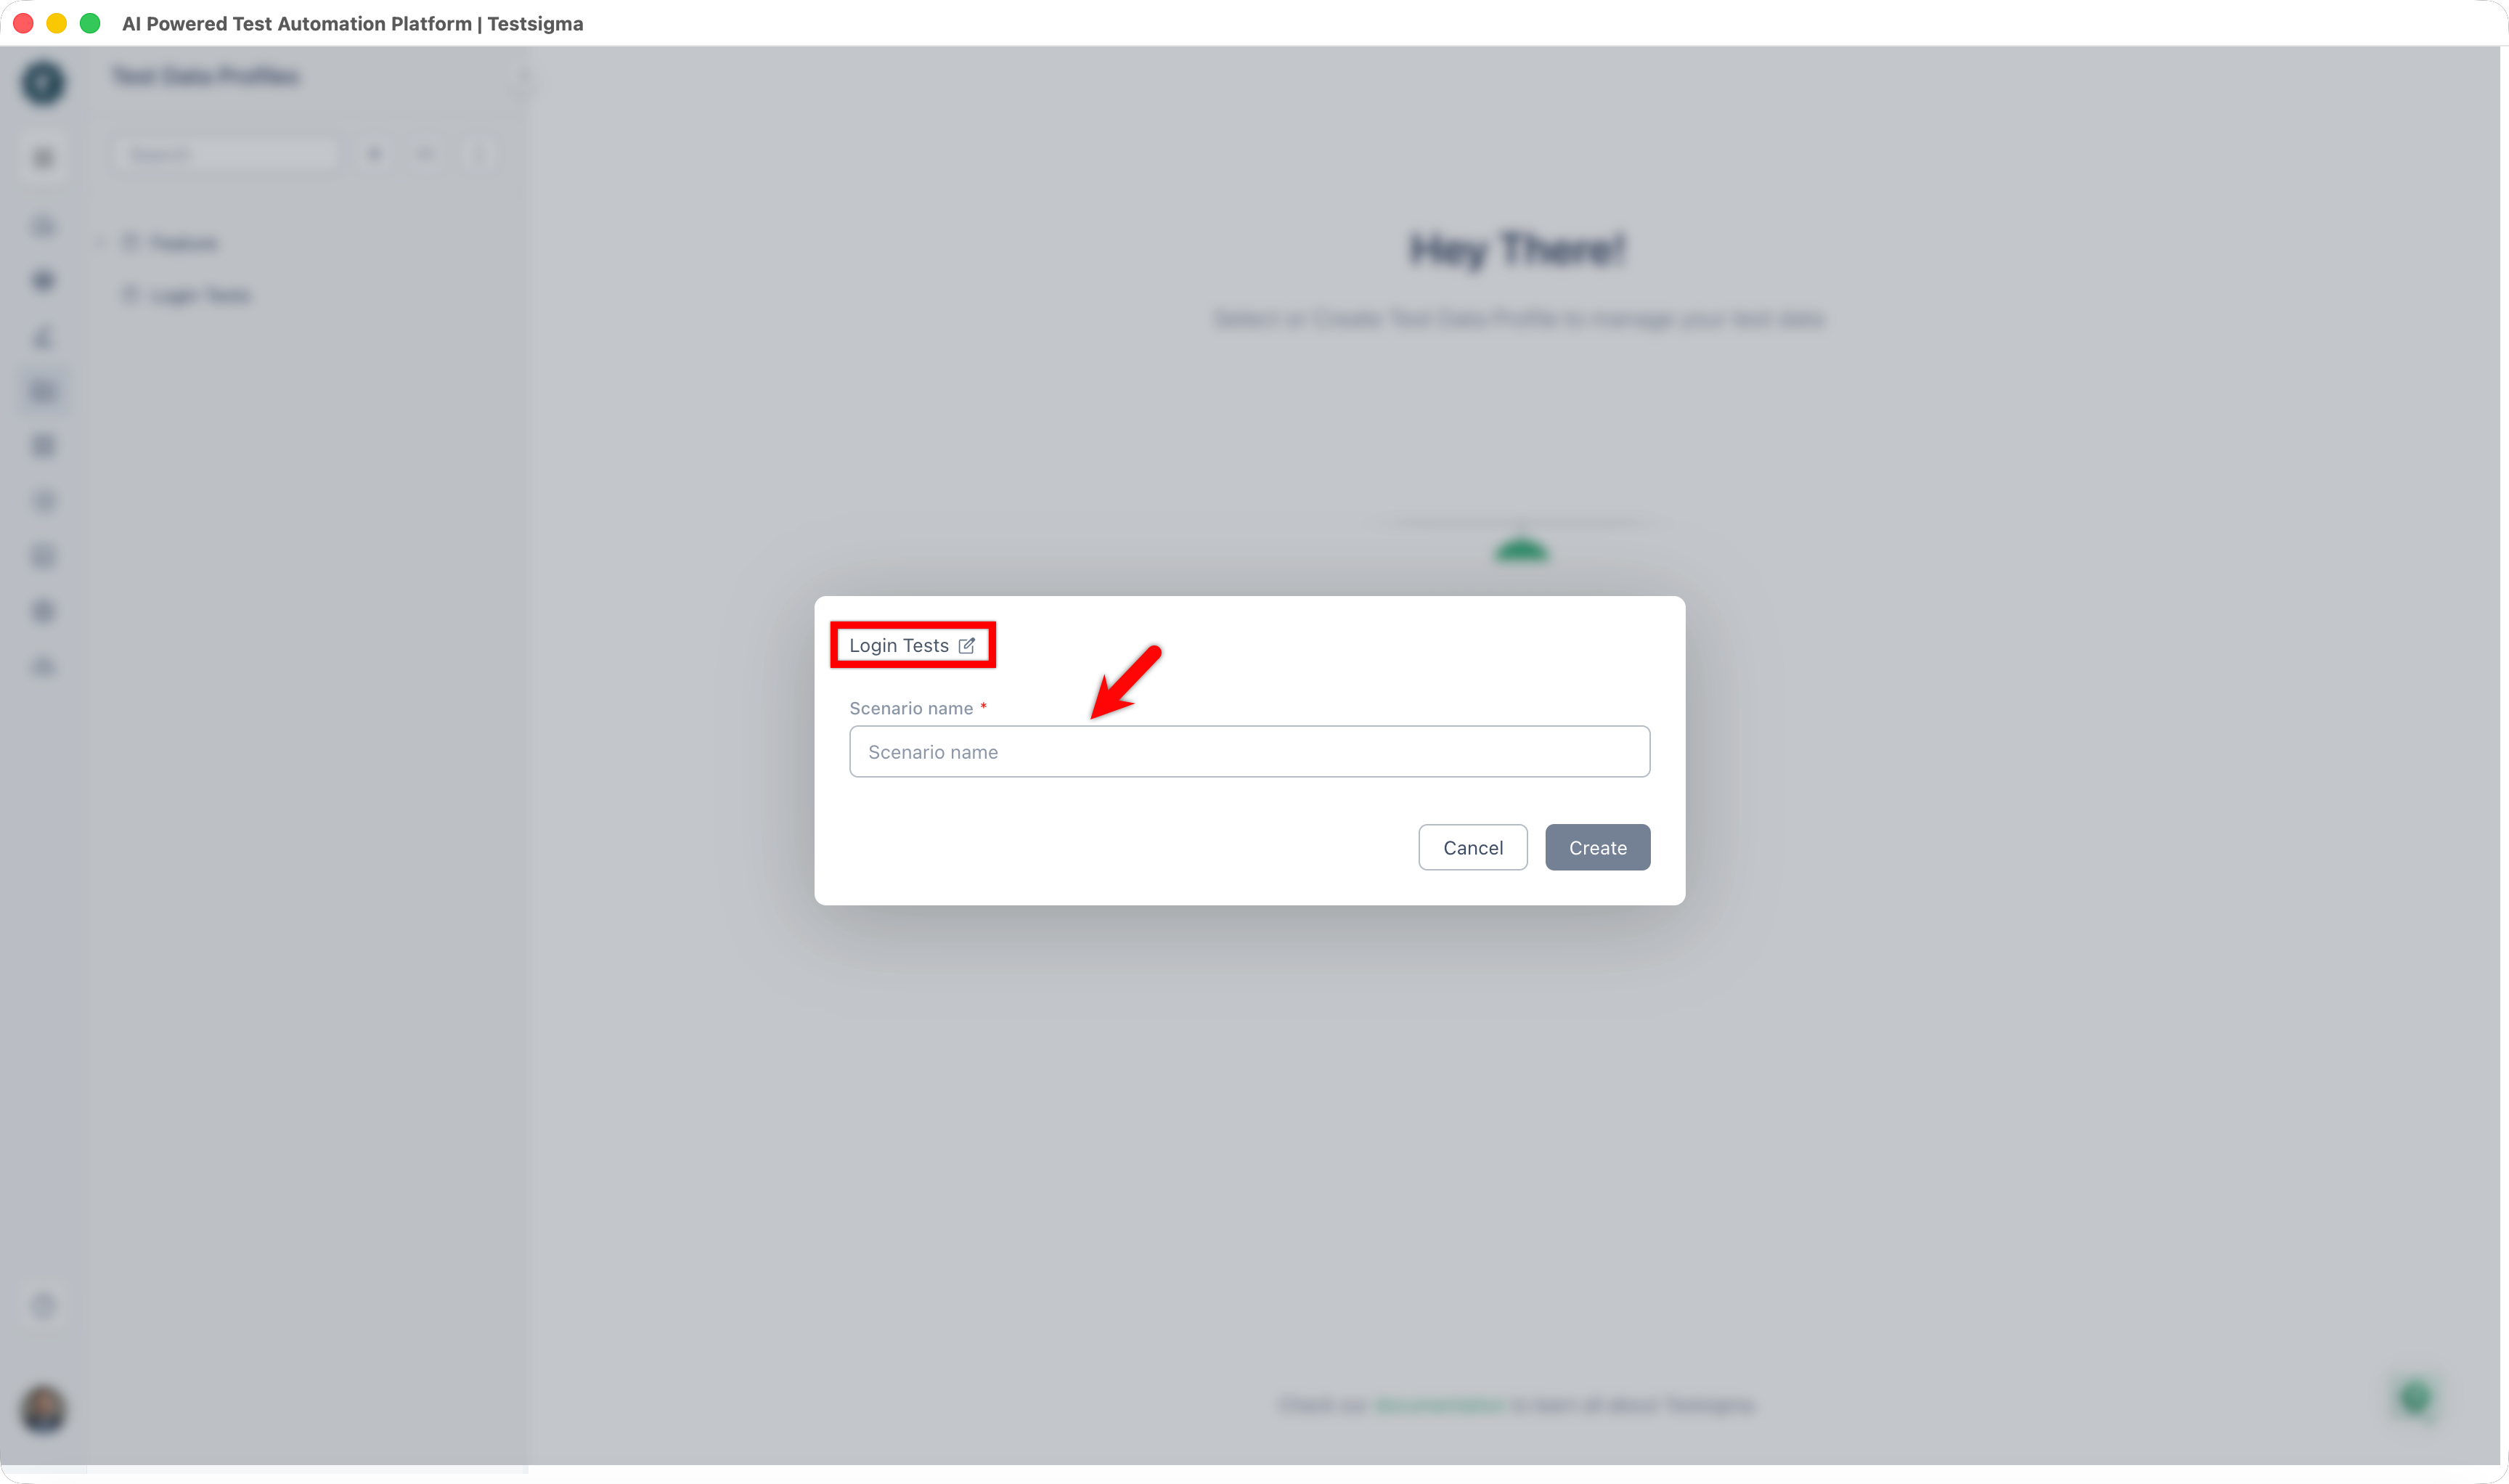
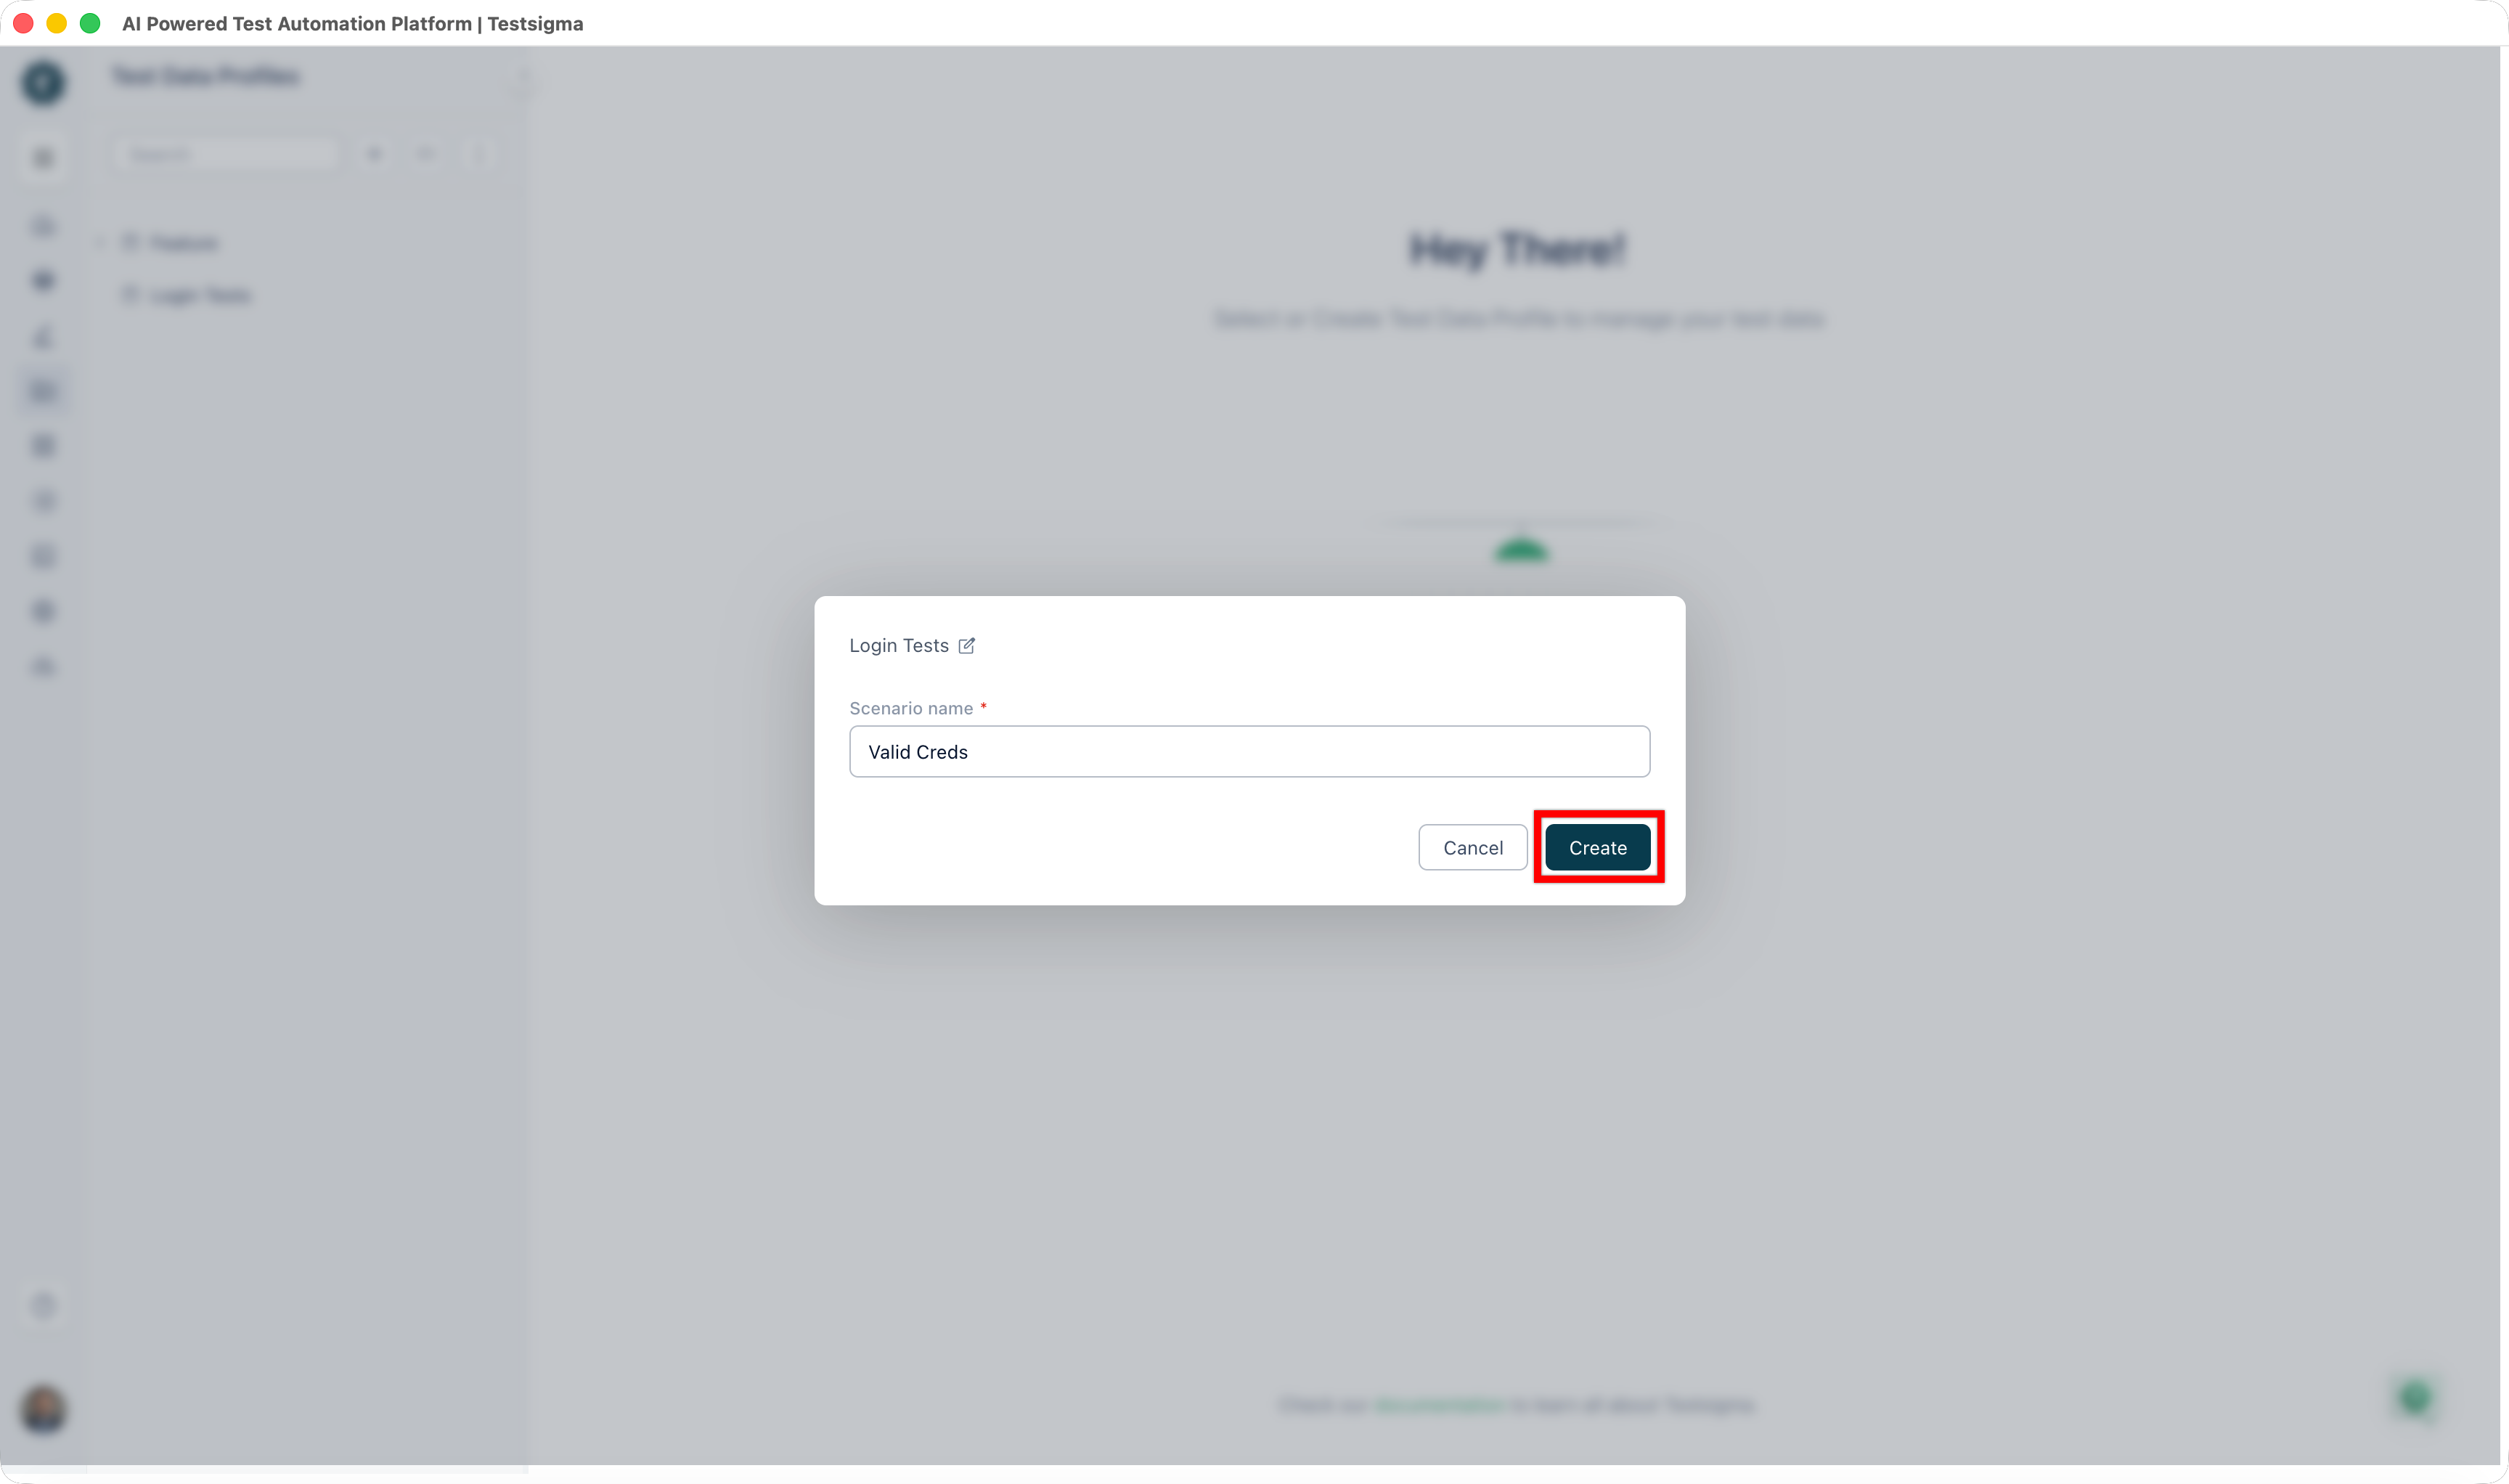
- Confirm the parent Feature shown at the top of the dialog, then enter a name in the Scenario name field.
- Click Create.
The Scenario appears nested under the selected Feature in the left panel.
Add a Test Data Profile to a Folder
You can add a Test Data Profile to a specific Feature and Scenario in two ways.
From the + menu
- At the top of the left panel, click '+'.

- From the dropdown, select New Test Data Profile.

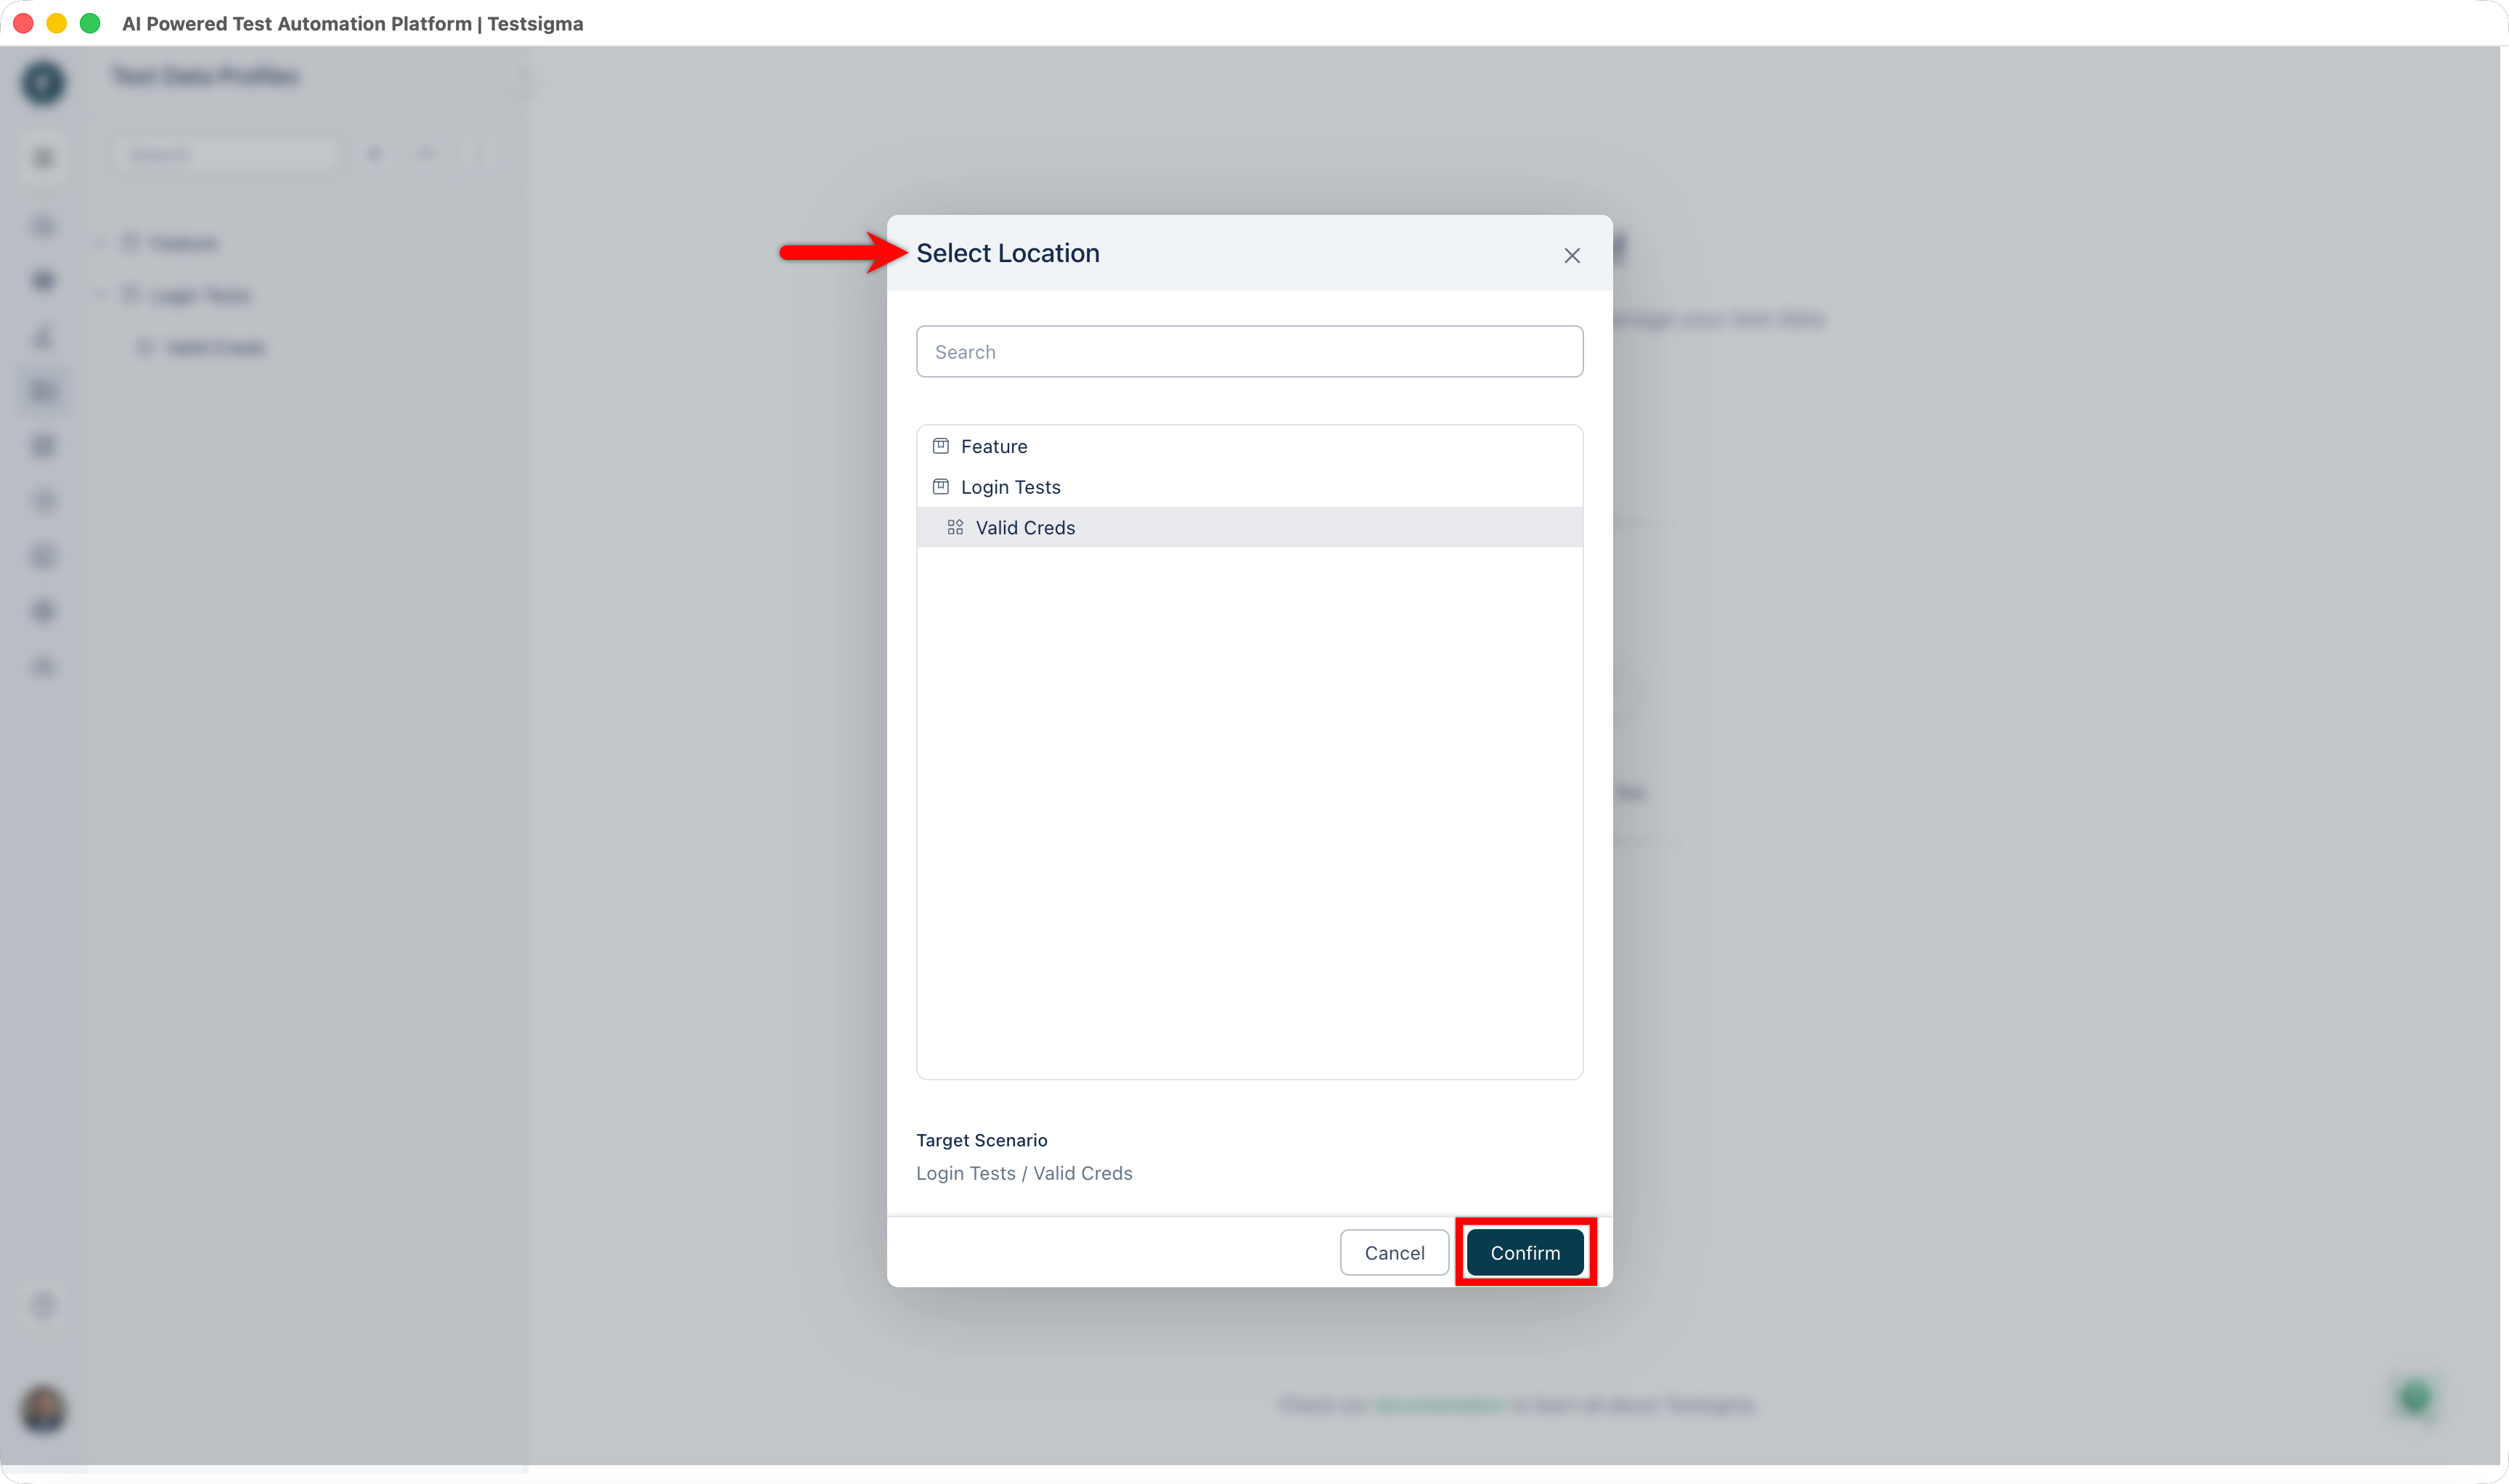
- In the Select Location dialog, select the Feature and then the Scenario where you want to store the profile. The selected Scenario appears under Target Scenario at the bottom of the dialog.
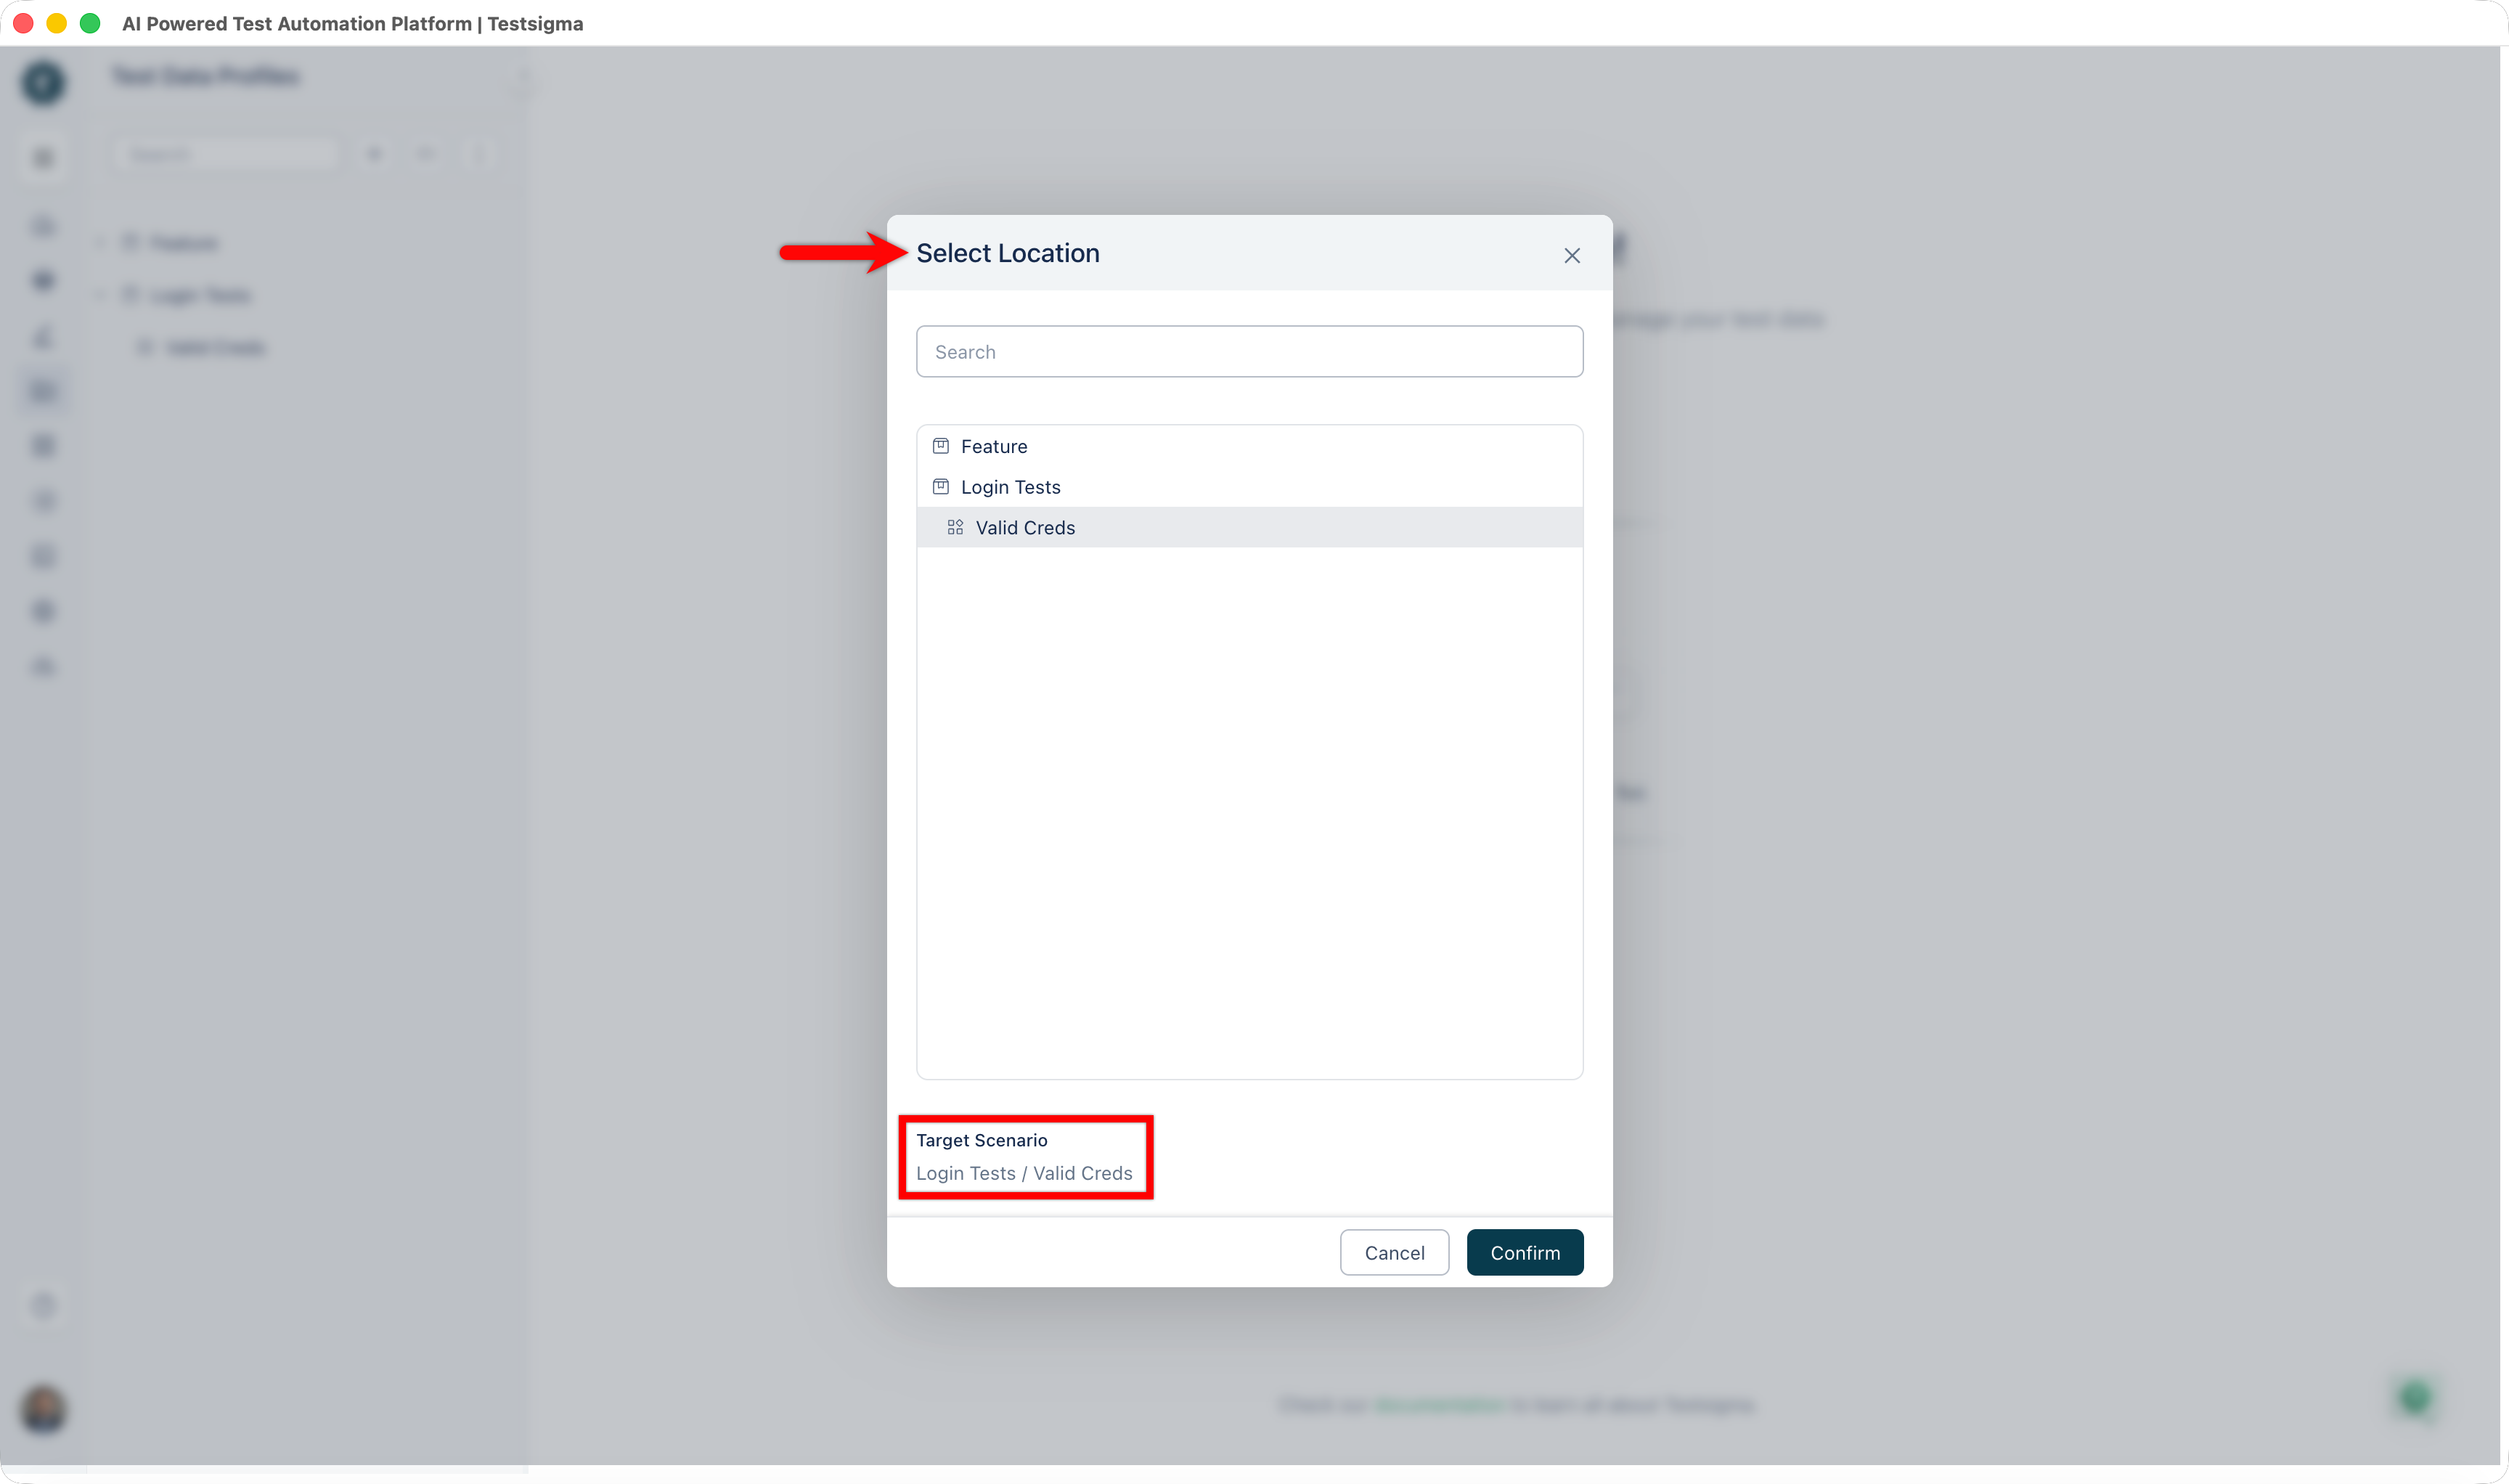
- Select Confirm, then complete the profile creation. For more information, see Create a Test Data Profile.
From the folder tree
- In the left panel, expand a Feature to reveal its Scenarios.
- Hover over a Scenario. A '+' icon appears next to the Scenario name.
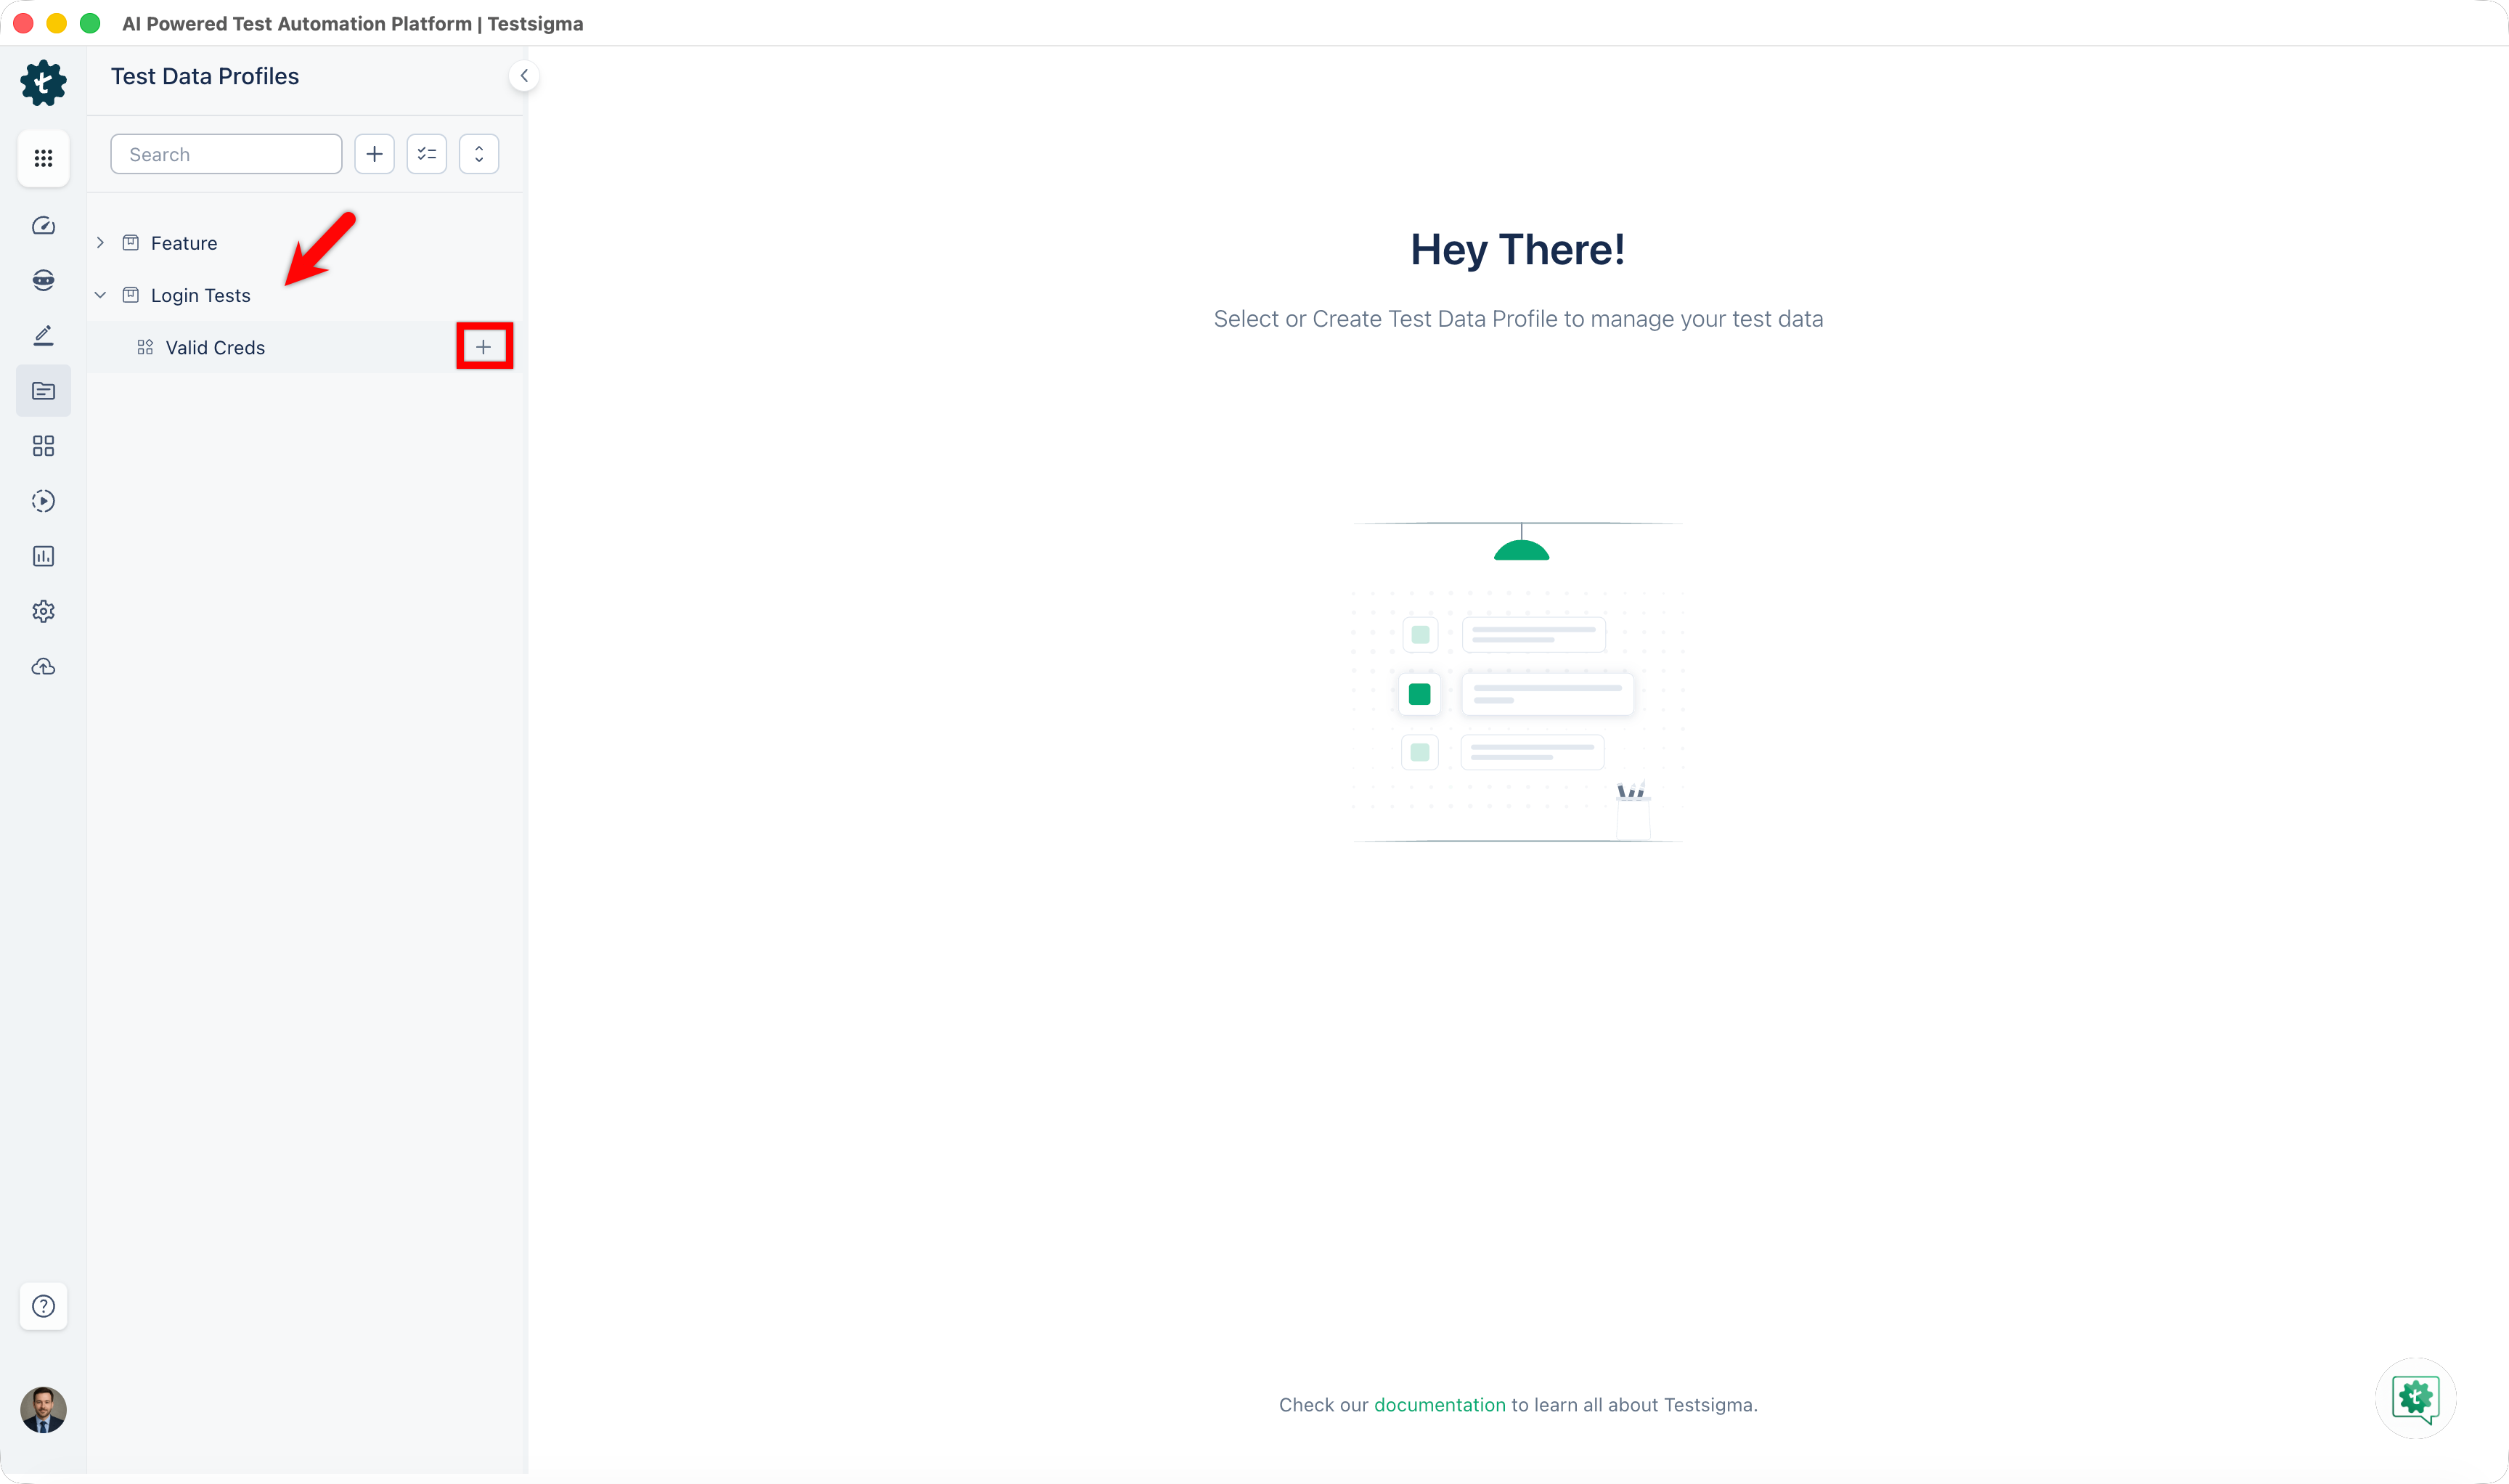
- Click +.
A new Untitled Test Data Profile opens in the editing view, already associated with that Scenario.
For more information on completing the profile, see Create a Test Data Profile.
Search for a Test Data Profile
Use the Search bar at the top of the left panel to find a Test Data Profile by name. Results filter in real time as you type, across all Features and Scenarios in the project.
Related articles
Want to contribute or report missing content?