- test plans
 Add, Edit, Delete Test Machines
- Add, Edit, Delete Test Suites
- Schedule Test Plans
- Run Test Suites In Parallel
- Cross Browser Testing
- Distributed Testing
- End-to-End Testing
- Headless Testing
- Test Lab Types
- Disabling Test Cases in Test Plans
- AfterTest Case
- Post Plan Hook
- AfterTest Suite
- Email Configuration in Test Plan
- Execute Partial Test Plans via API
End-to-End Testing in Testsigma
End-to-end (E2E) testing validates a complete business workflow from start to finish, as experienced by an end user. In modern applications, a single workflow often spans multiple applications, runs across different platforms, and relies on several interconnected systems.
For example, a user may book a flight on a web application, cancel the booking using a mobile application, and then verify the refund status on the web. This workflow involves systems such as authentication services, booking engines, payment gateways, and notification services. End-to-end testing ensures that these systems work together correctly and that data remains consistent across the entire workflow.
This document discusses enabling and configuring end-to-end testing in Testsigma by creating a single test plan that includes test suites from multiple projects and applications.
Prerequisites
Before you begin, ensure that you have referred to:
Enable End-to-End Testing
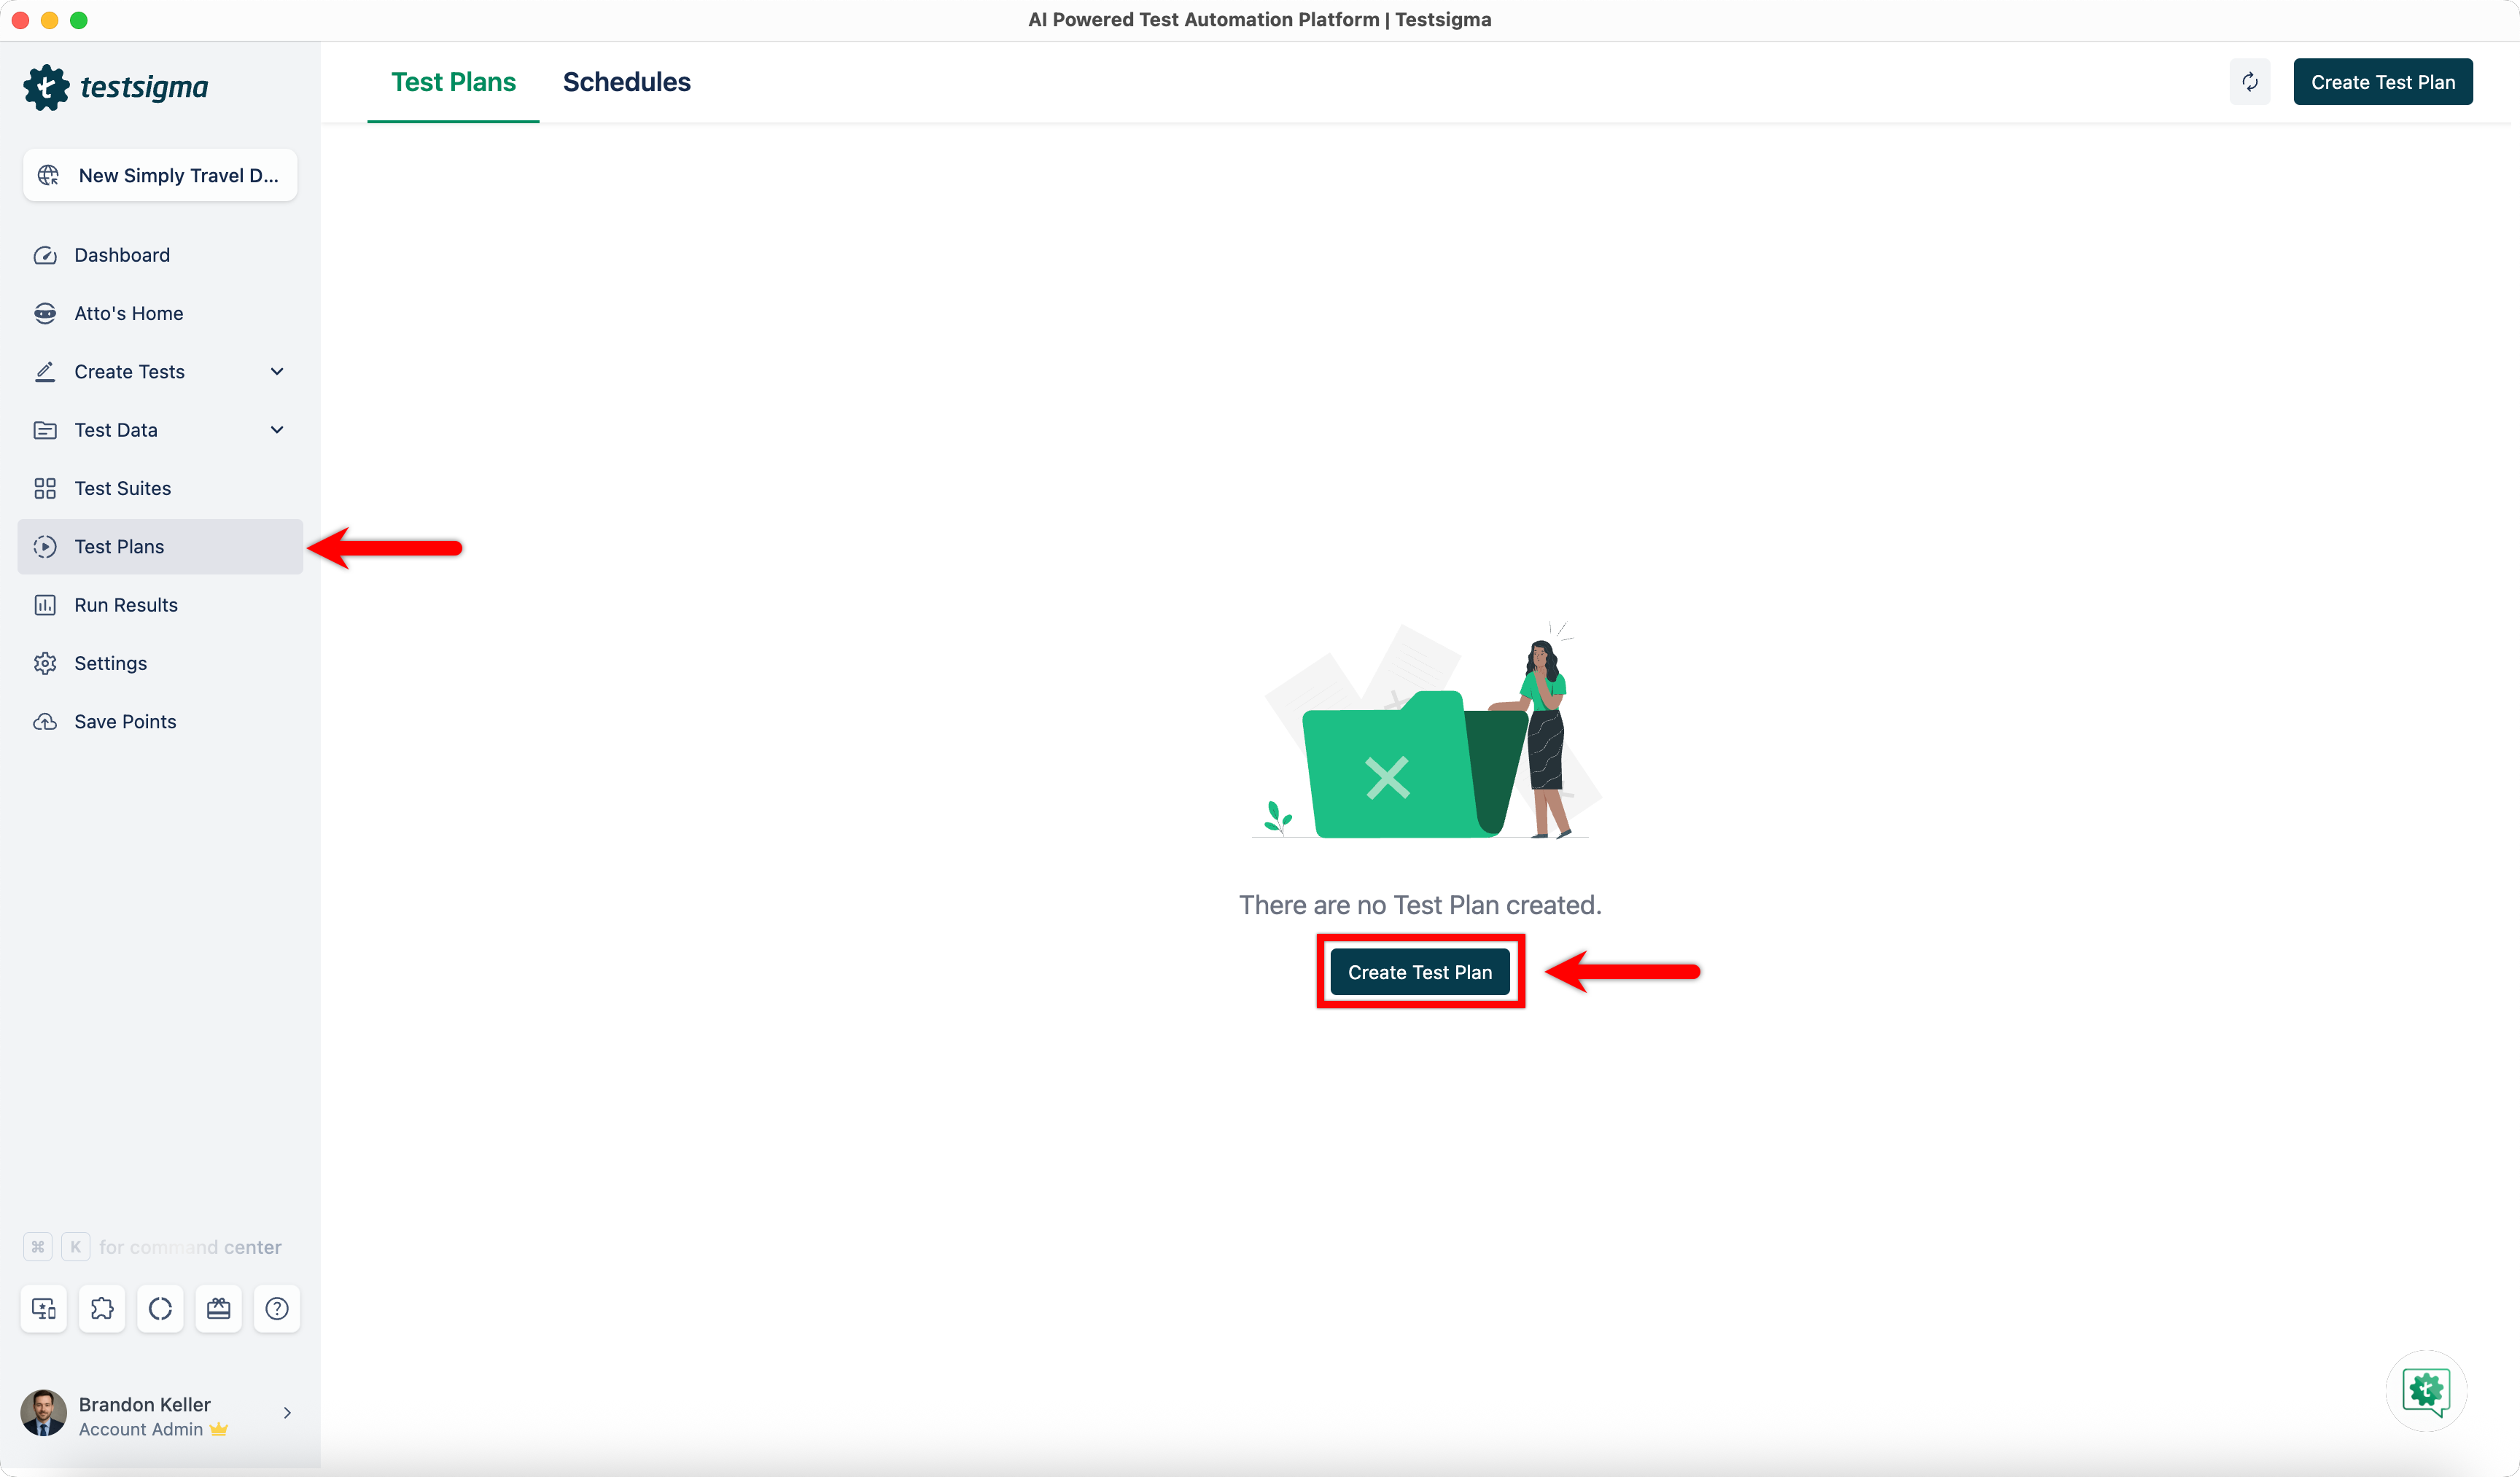
- From the left navigation bar, go to Test Plans and click Create Test Plan.
-
In the Basic Details tab, provide the following information and click Continue:
- Name (Required): Enter a title for the test plan.
- Description (Optional): Enable the Description toggle and briefly describe the purpose and scope of the test plan.
- Labels (Optional): Add labels to help organize and manage test plans.
- Test Plan Type (Required): Select Custom Test Plan.
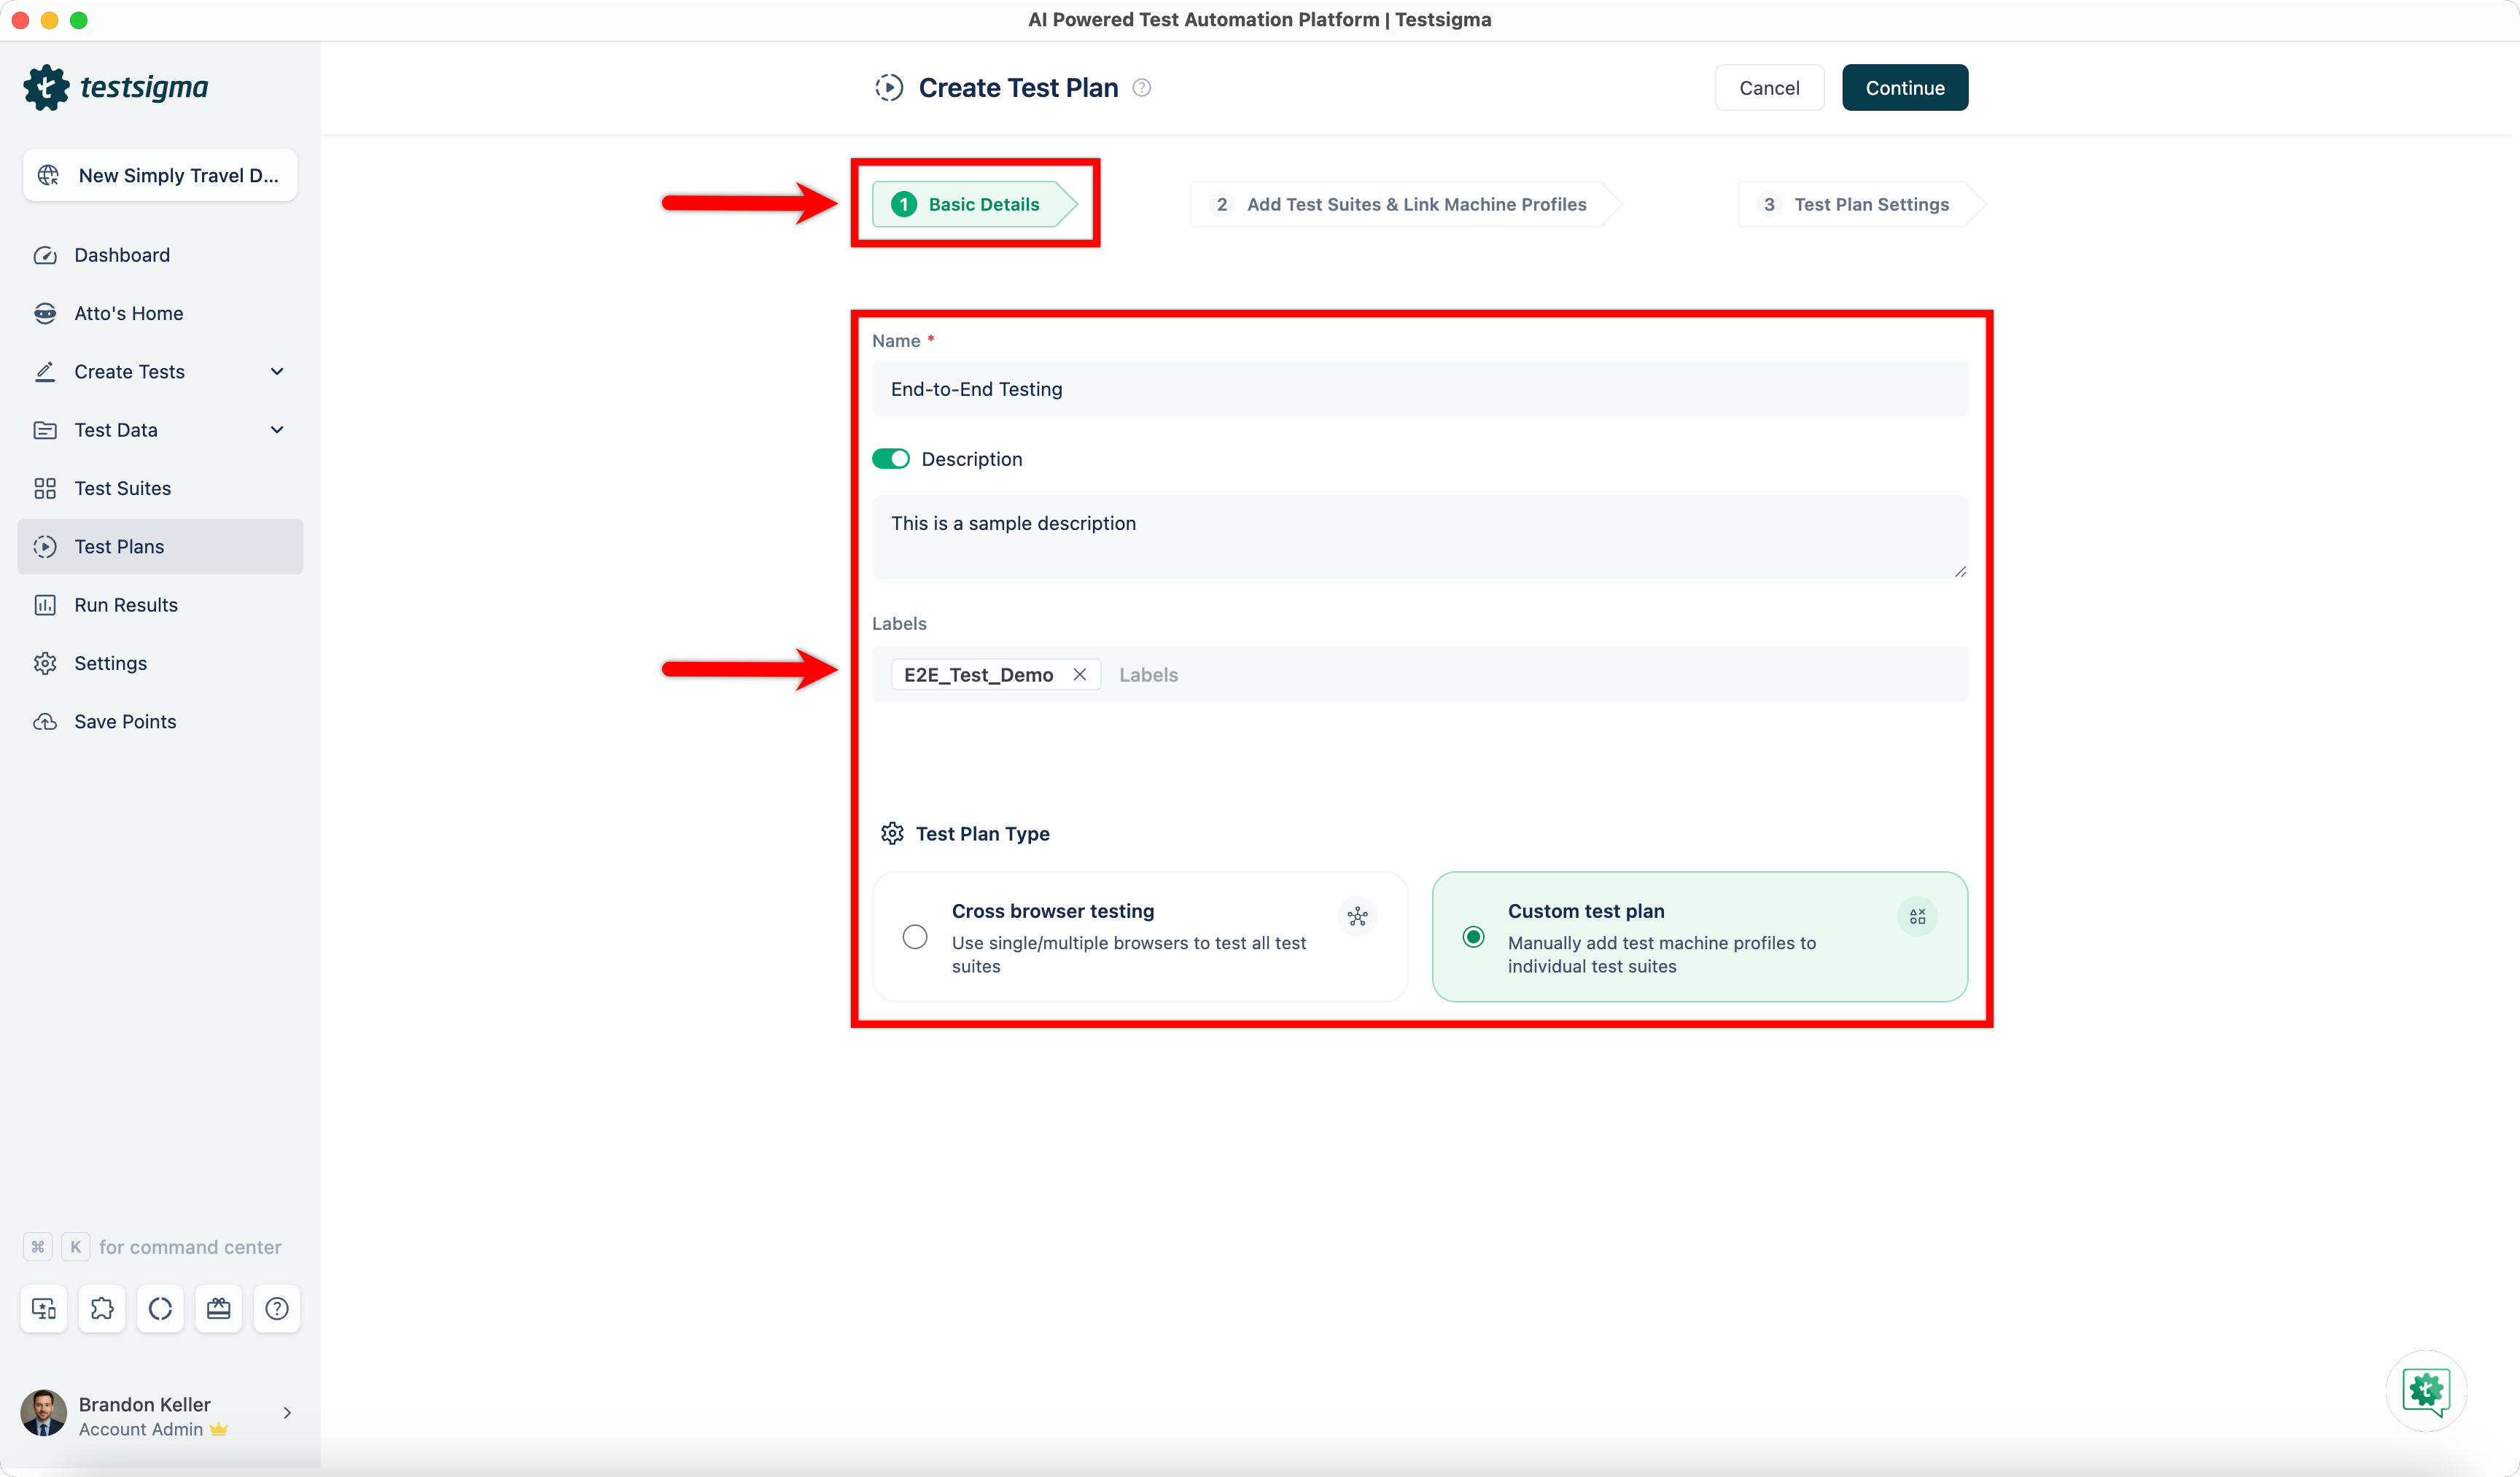
End-to-end testing can be enabled only for Custom Test Plans.
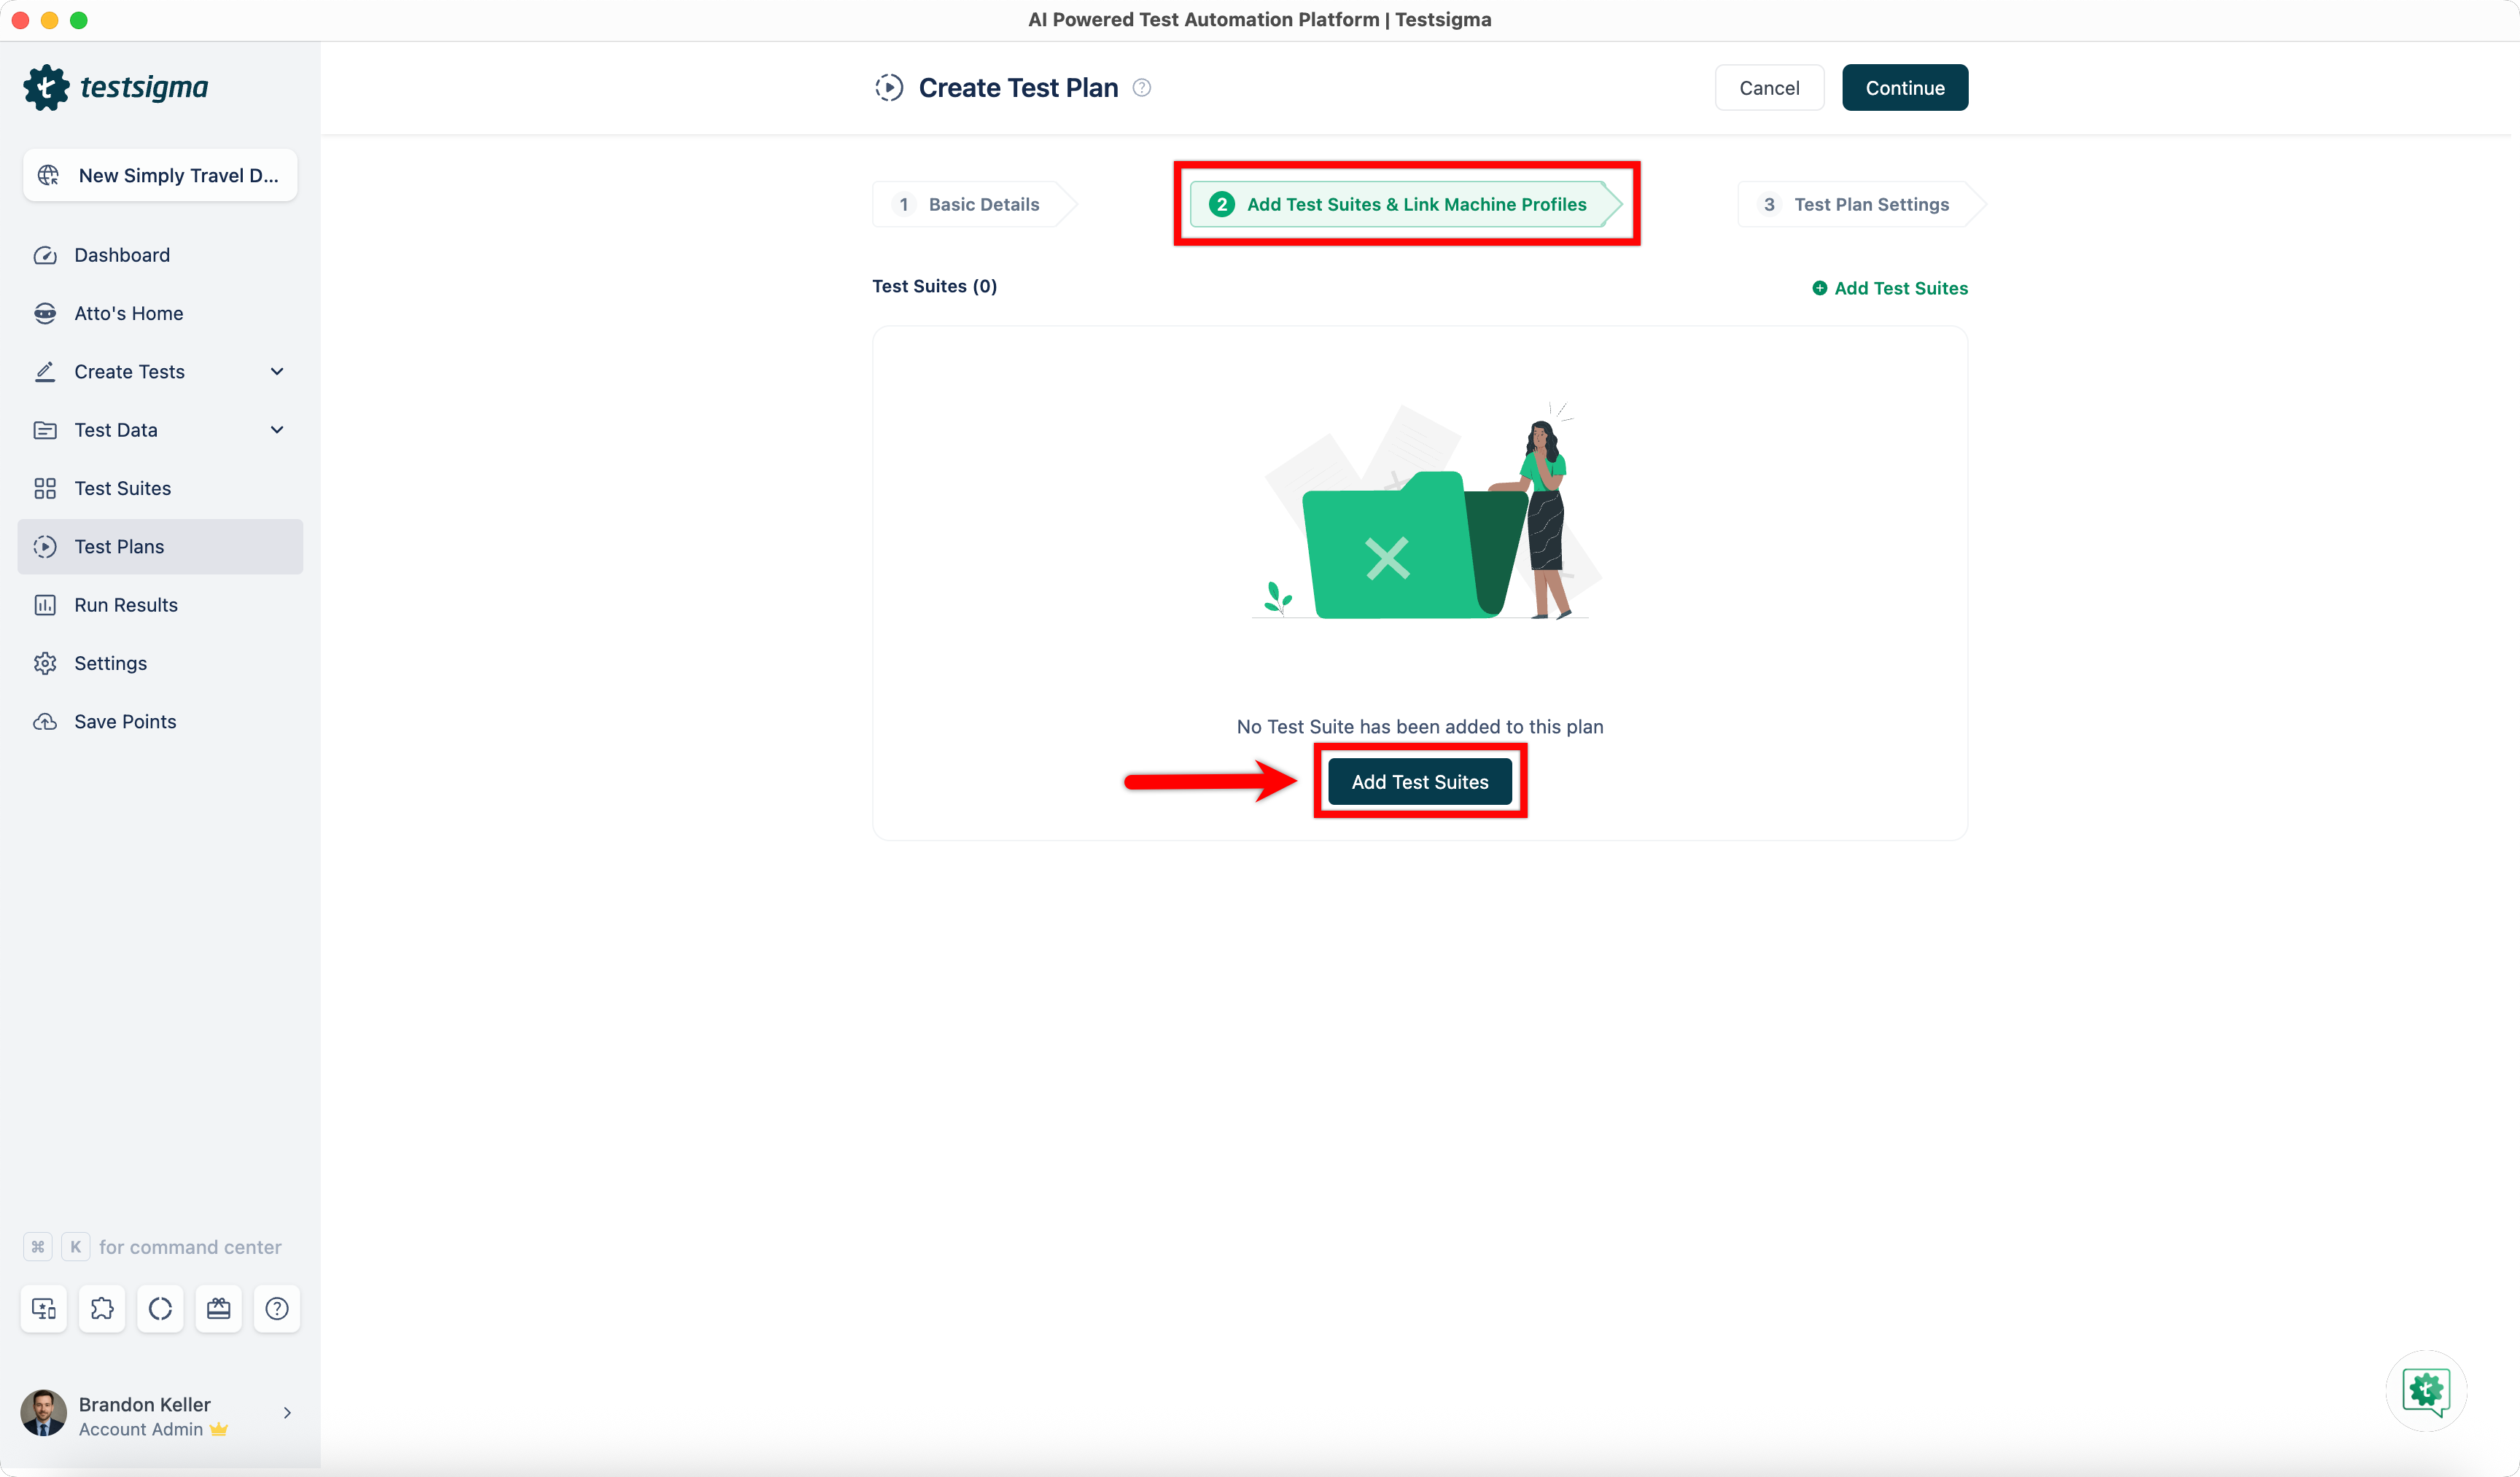
- In the Add Test Suites & Link Machine Profiles tab, click Add Test Suites.
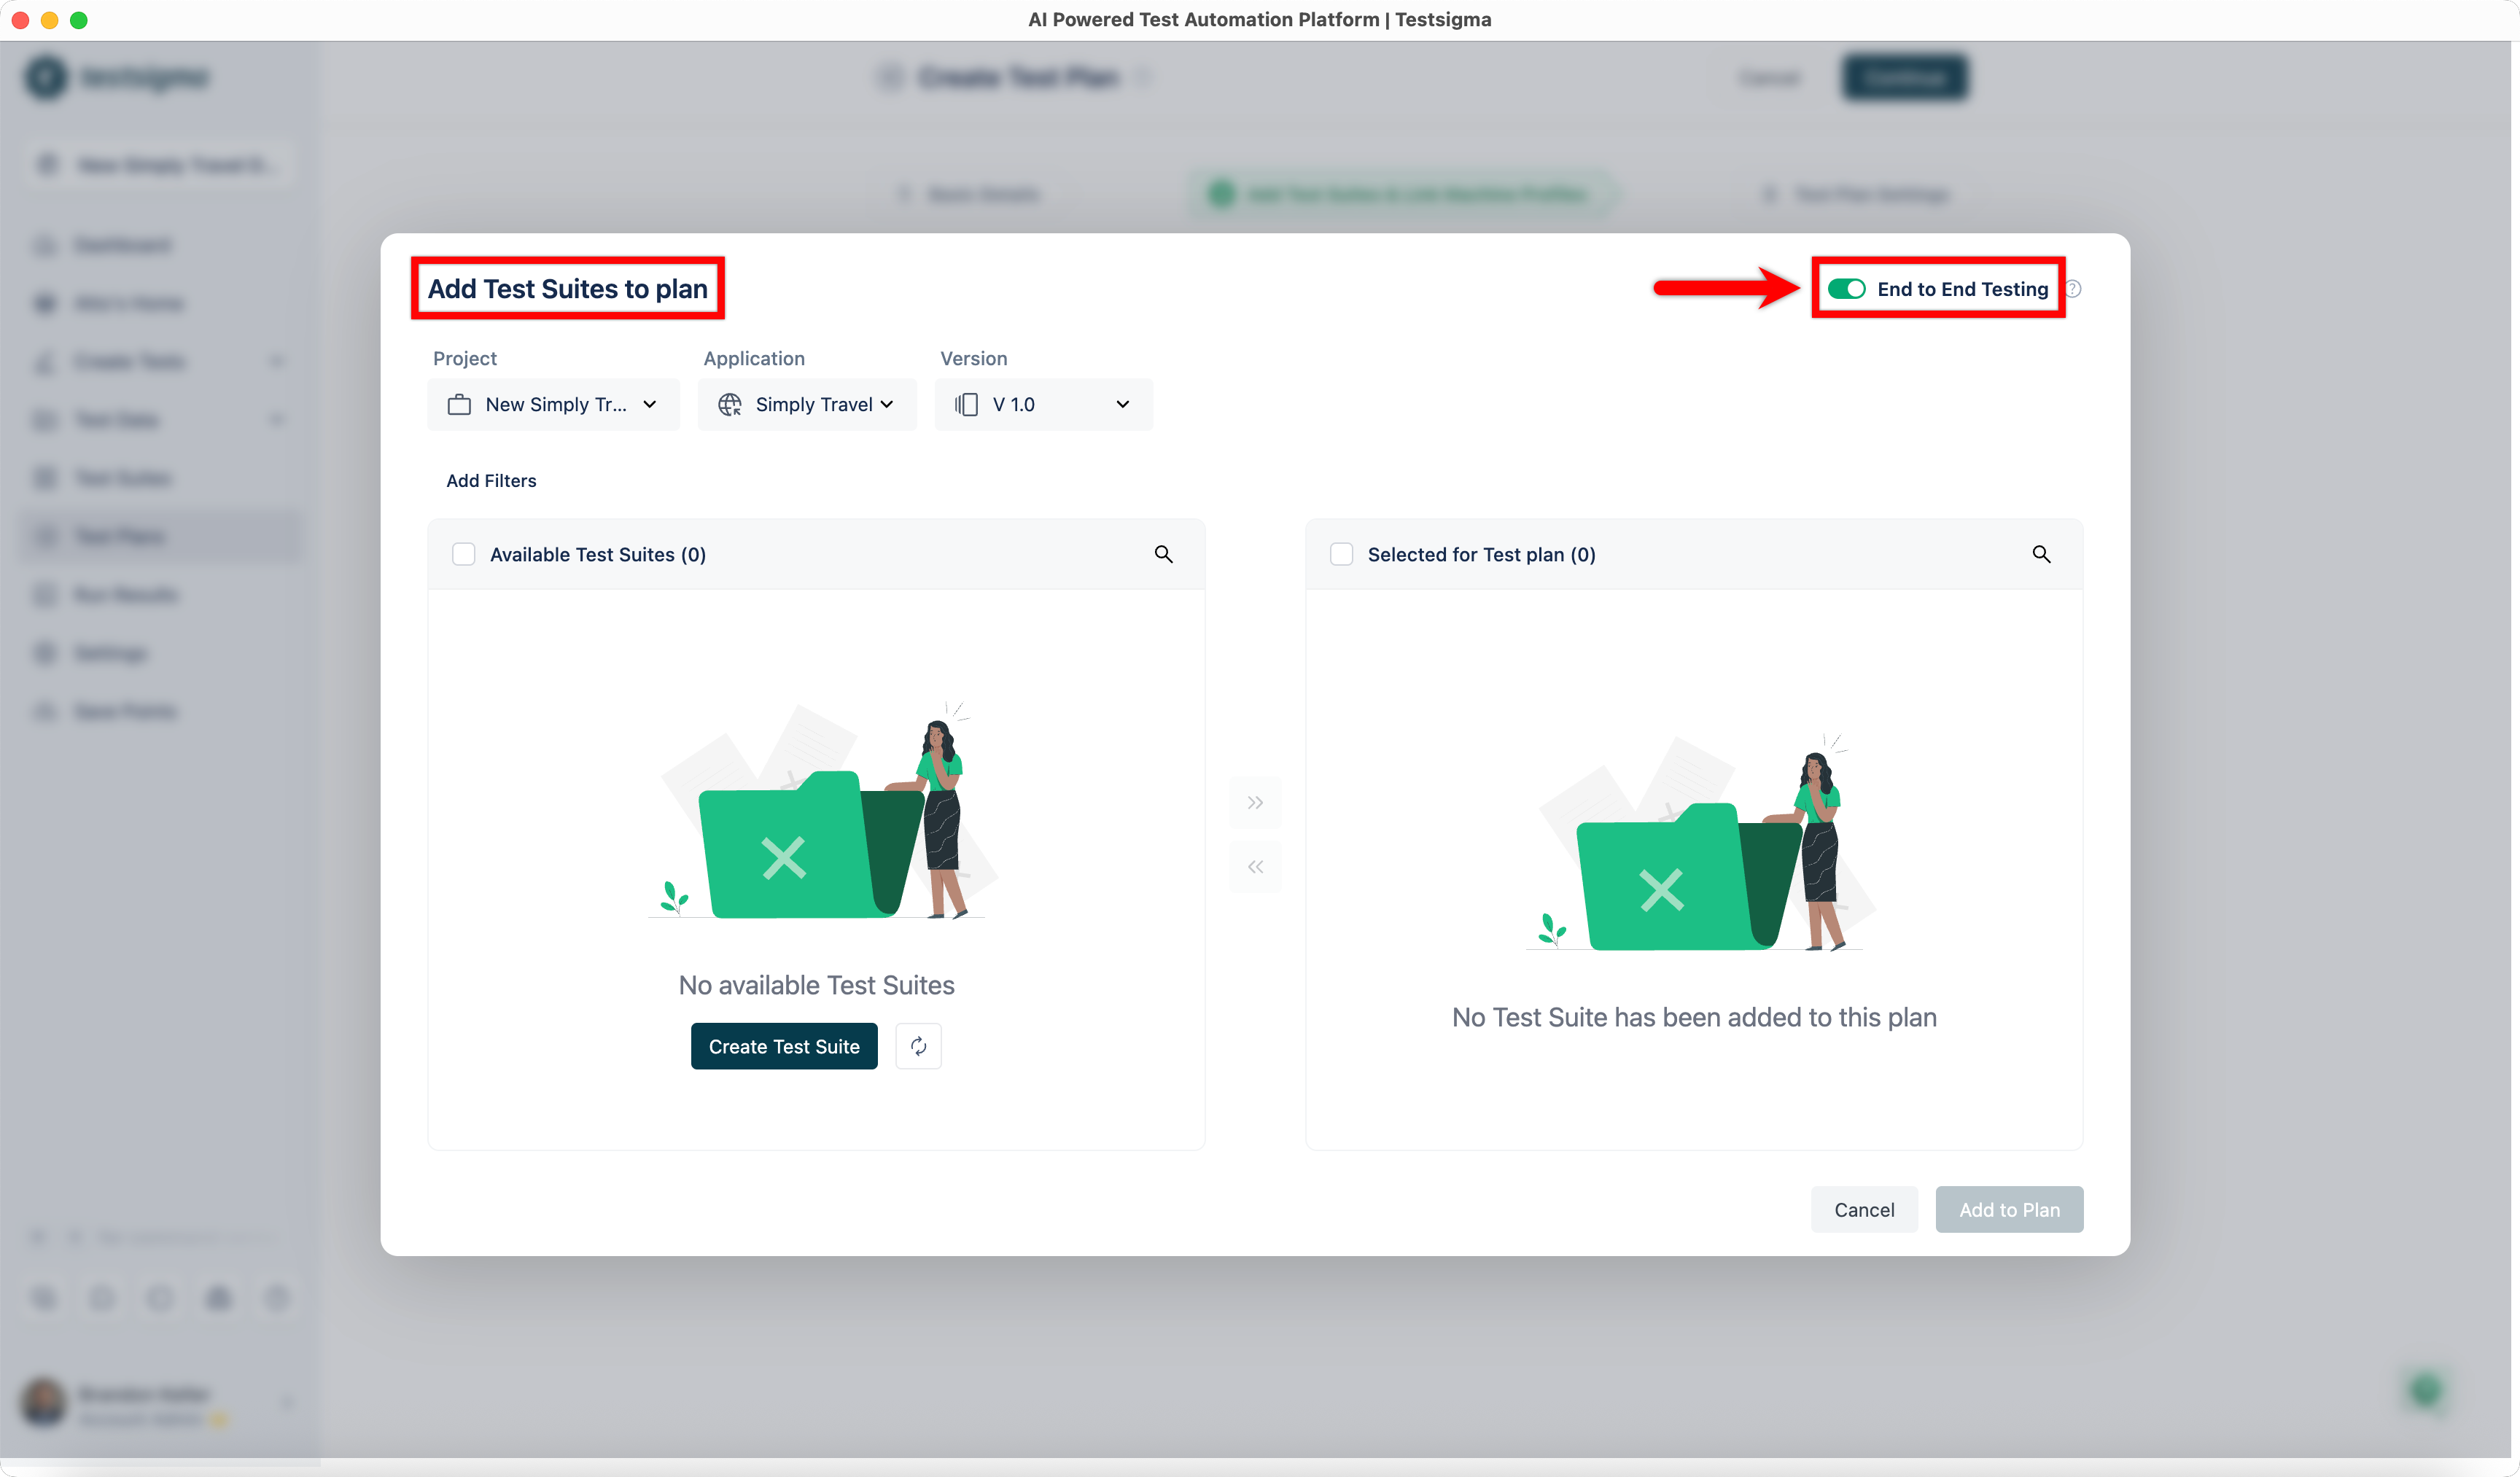
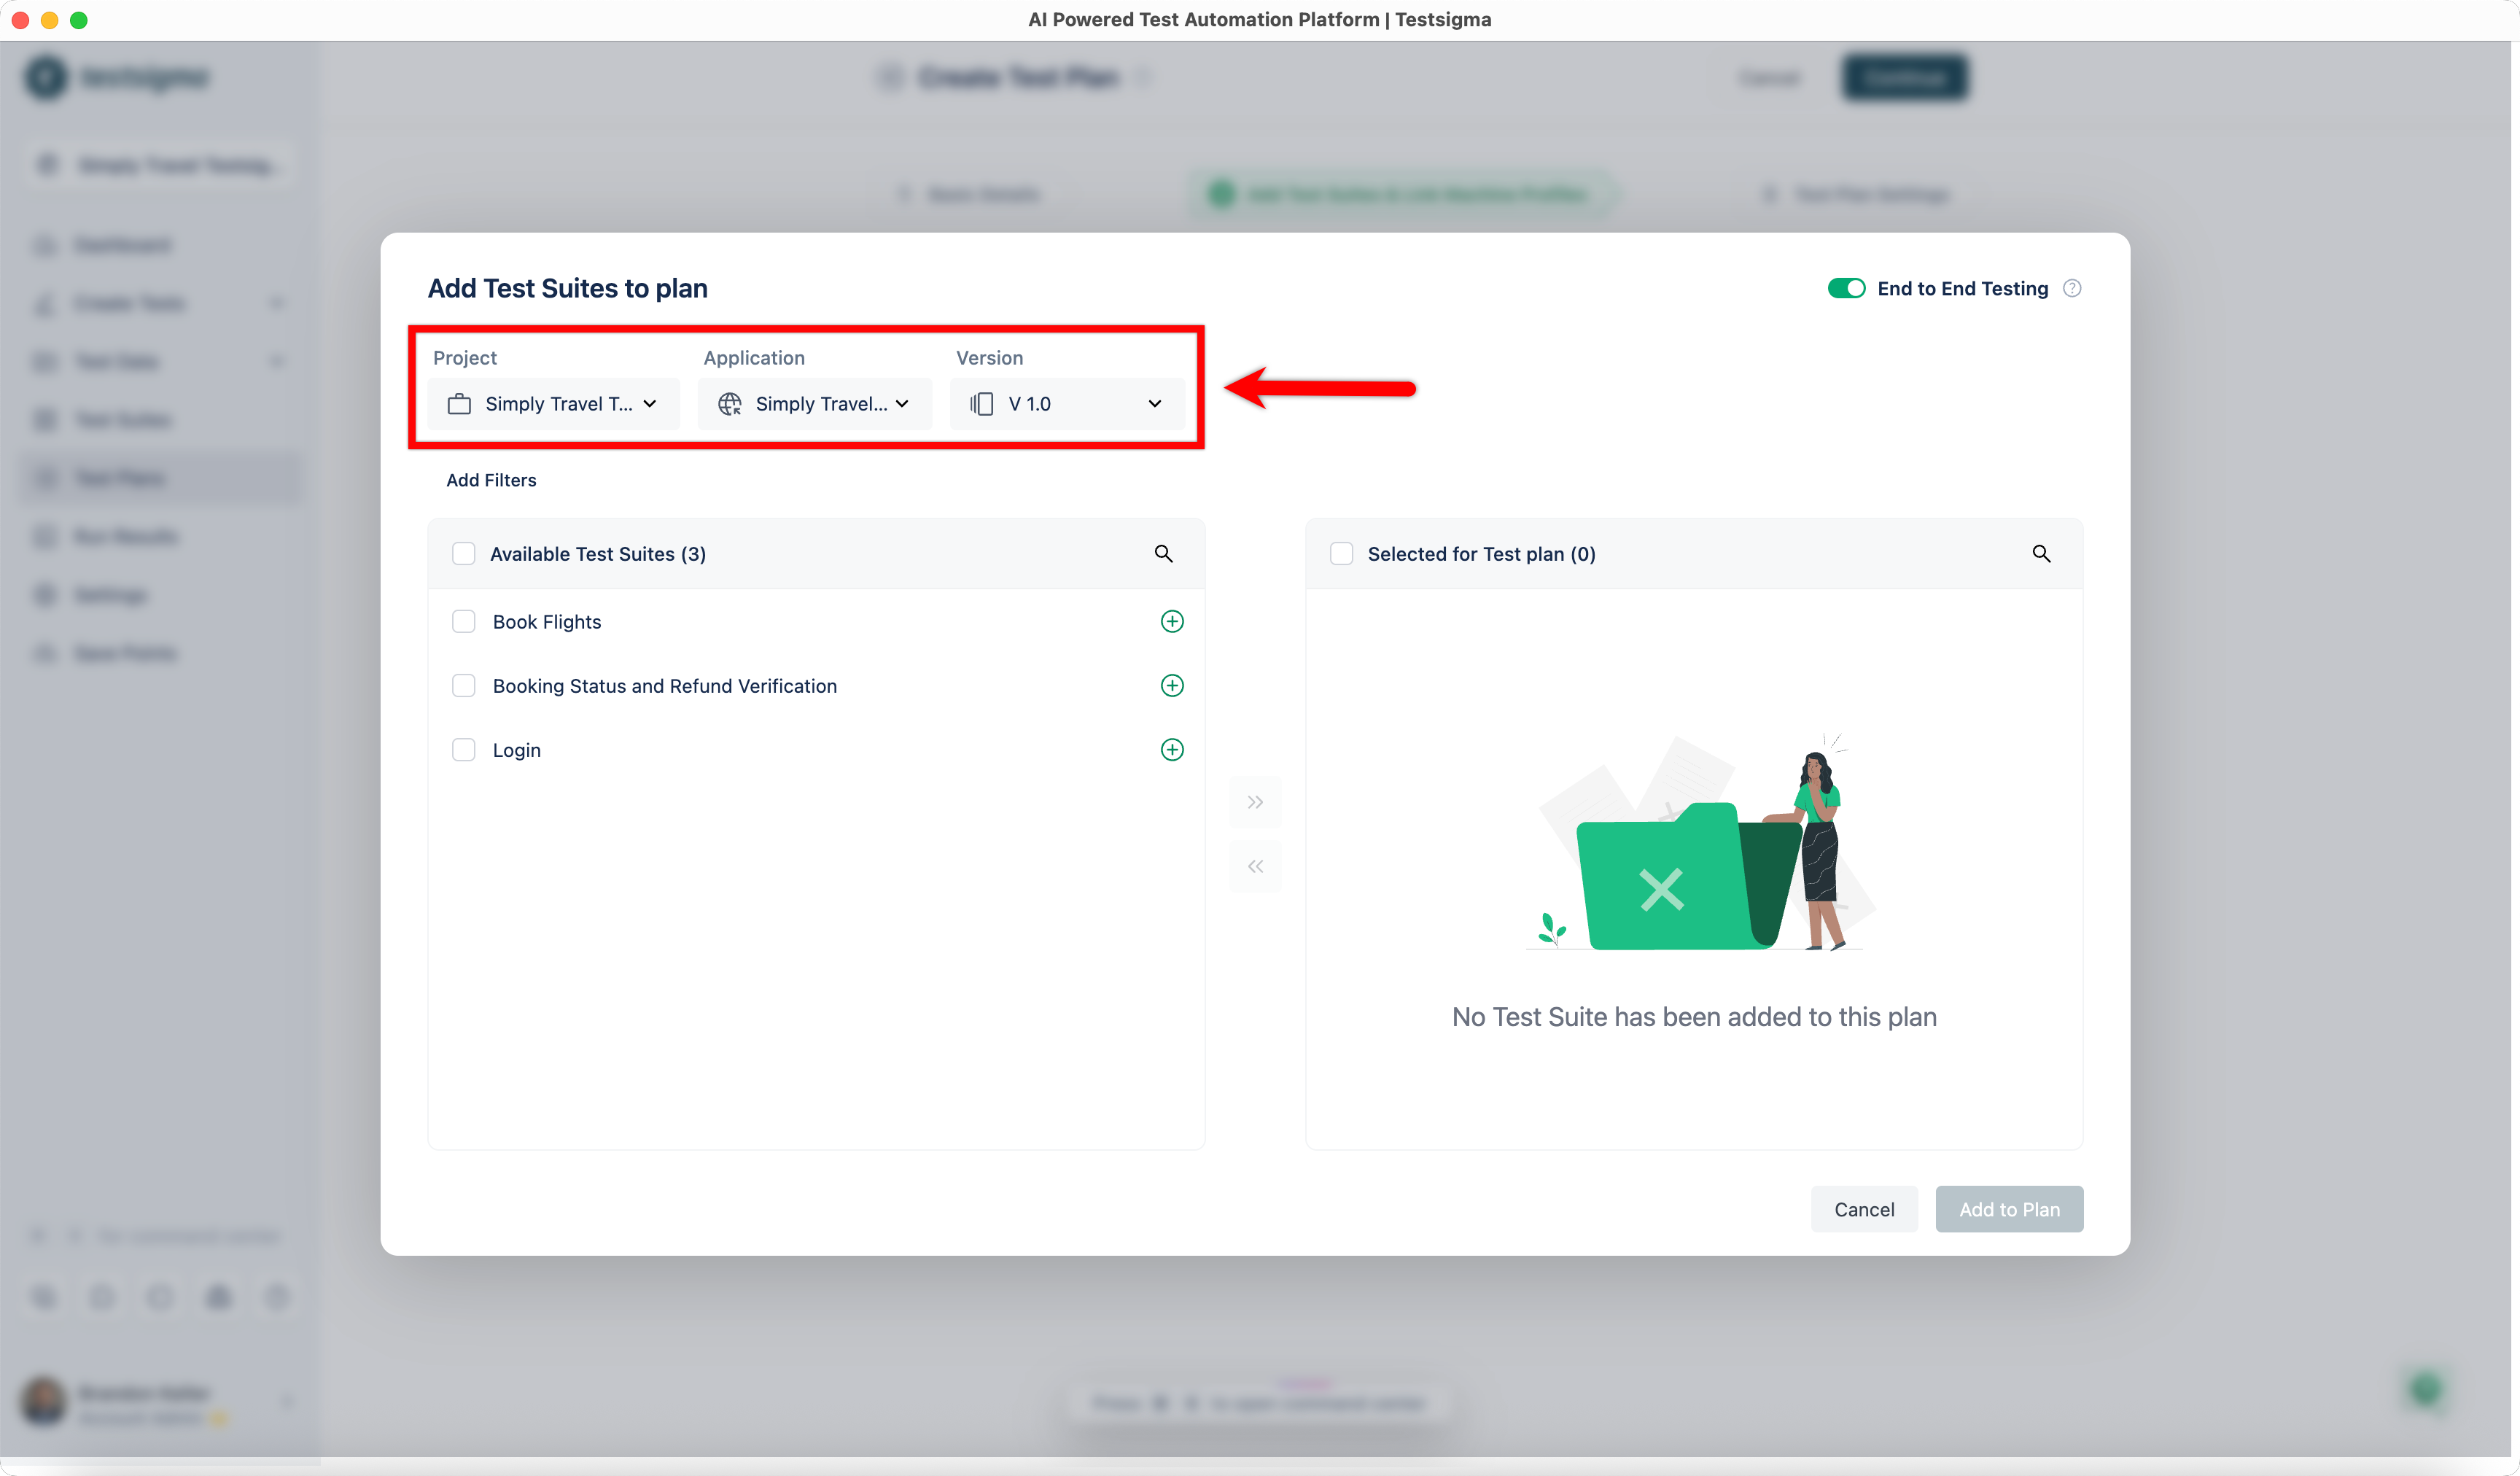
- In the Add Test Suites to Plan dialog, enable the End-to-End Testing toggle.
Add Test Suites from Different Projects & Applications
When end-to-end testing is enabled, you can add test suites from multiple projects and applications to a single test plan. You add test suites incrementally by selecting a project and application, adding the required suites, and then switching to another project or application to continue adding more suites.
- In the Add Test Suites to Plan dialog, select the Project, Application, and Version.
- From the Available Test Suites list, select the required test suites and add them to the plan.
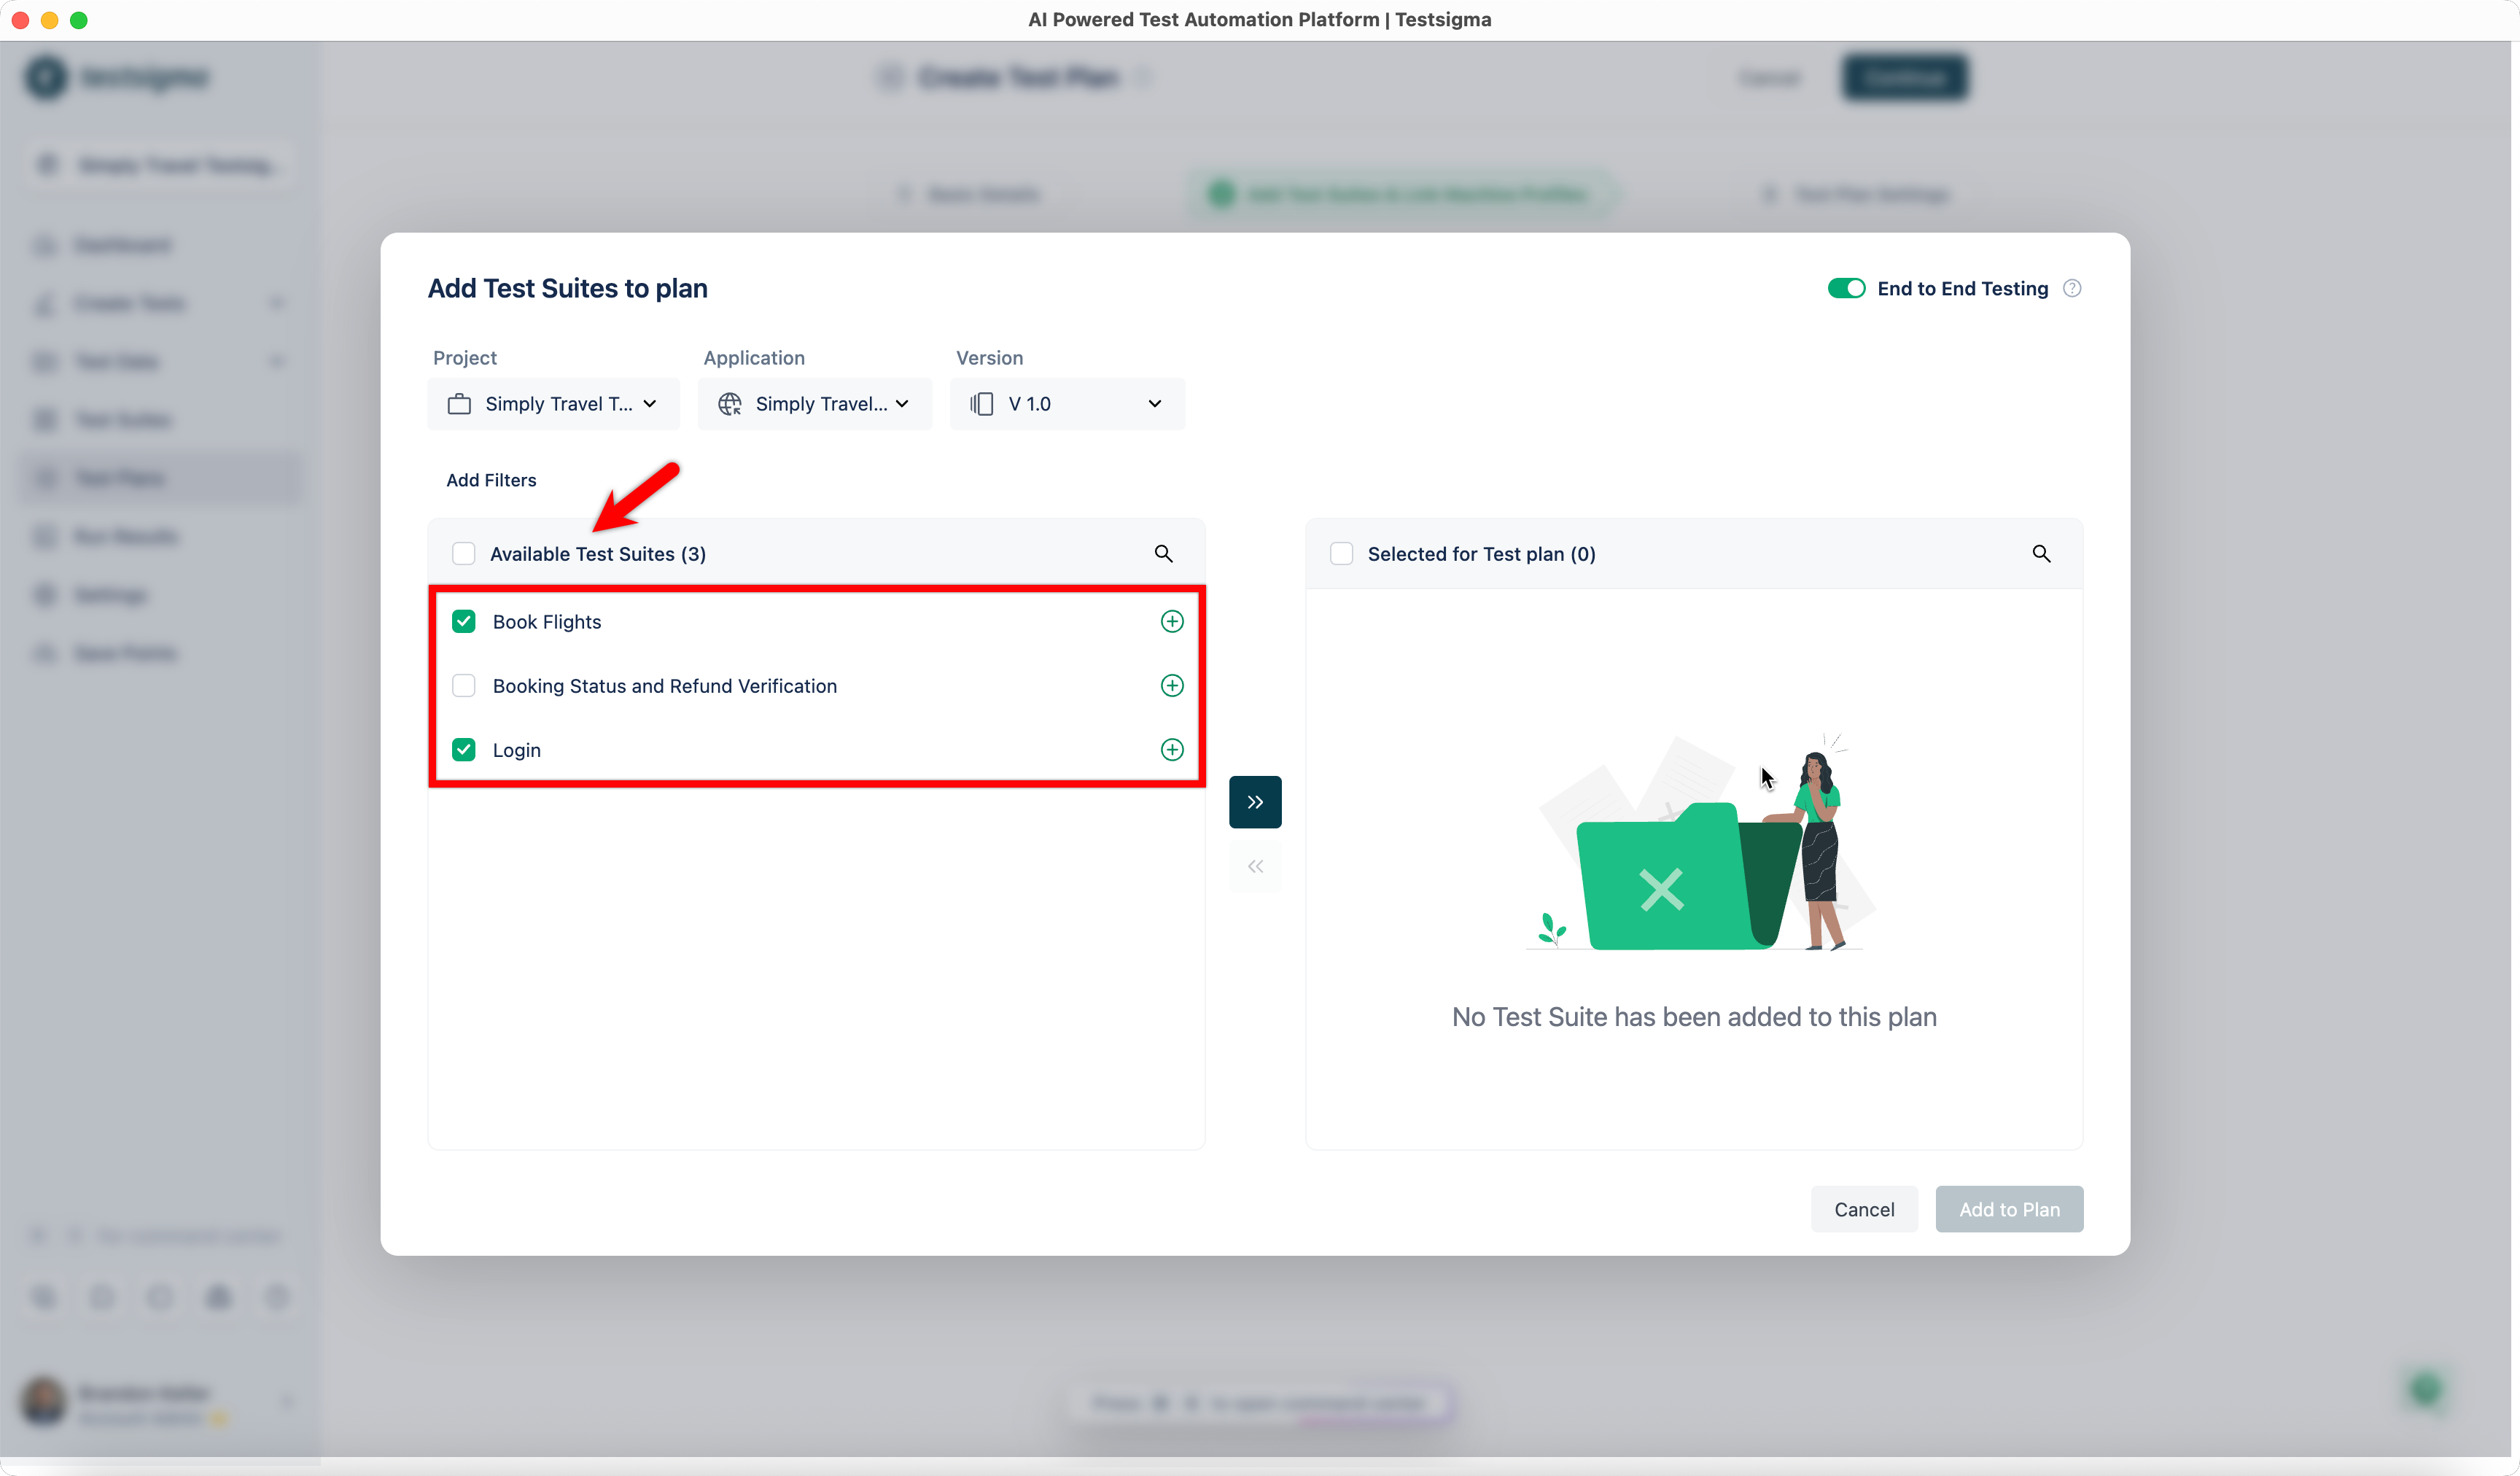
- The selected test suites appear in the Selected for Test Plan section.
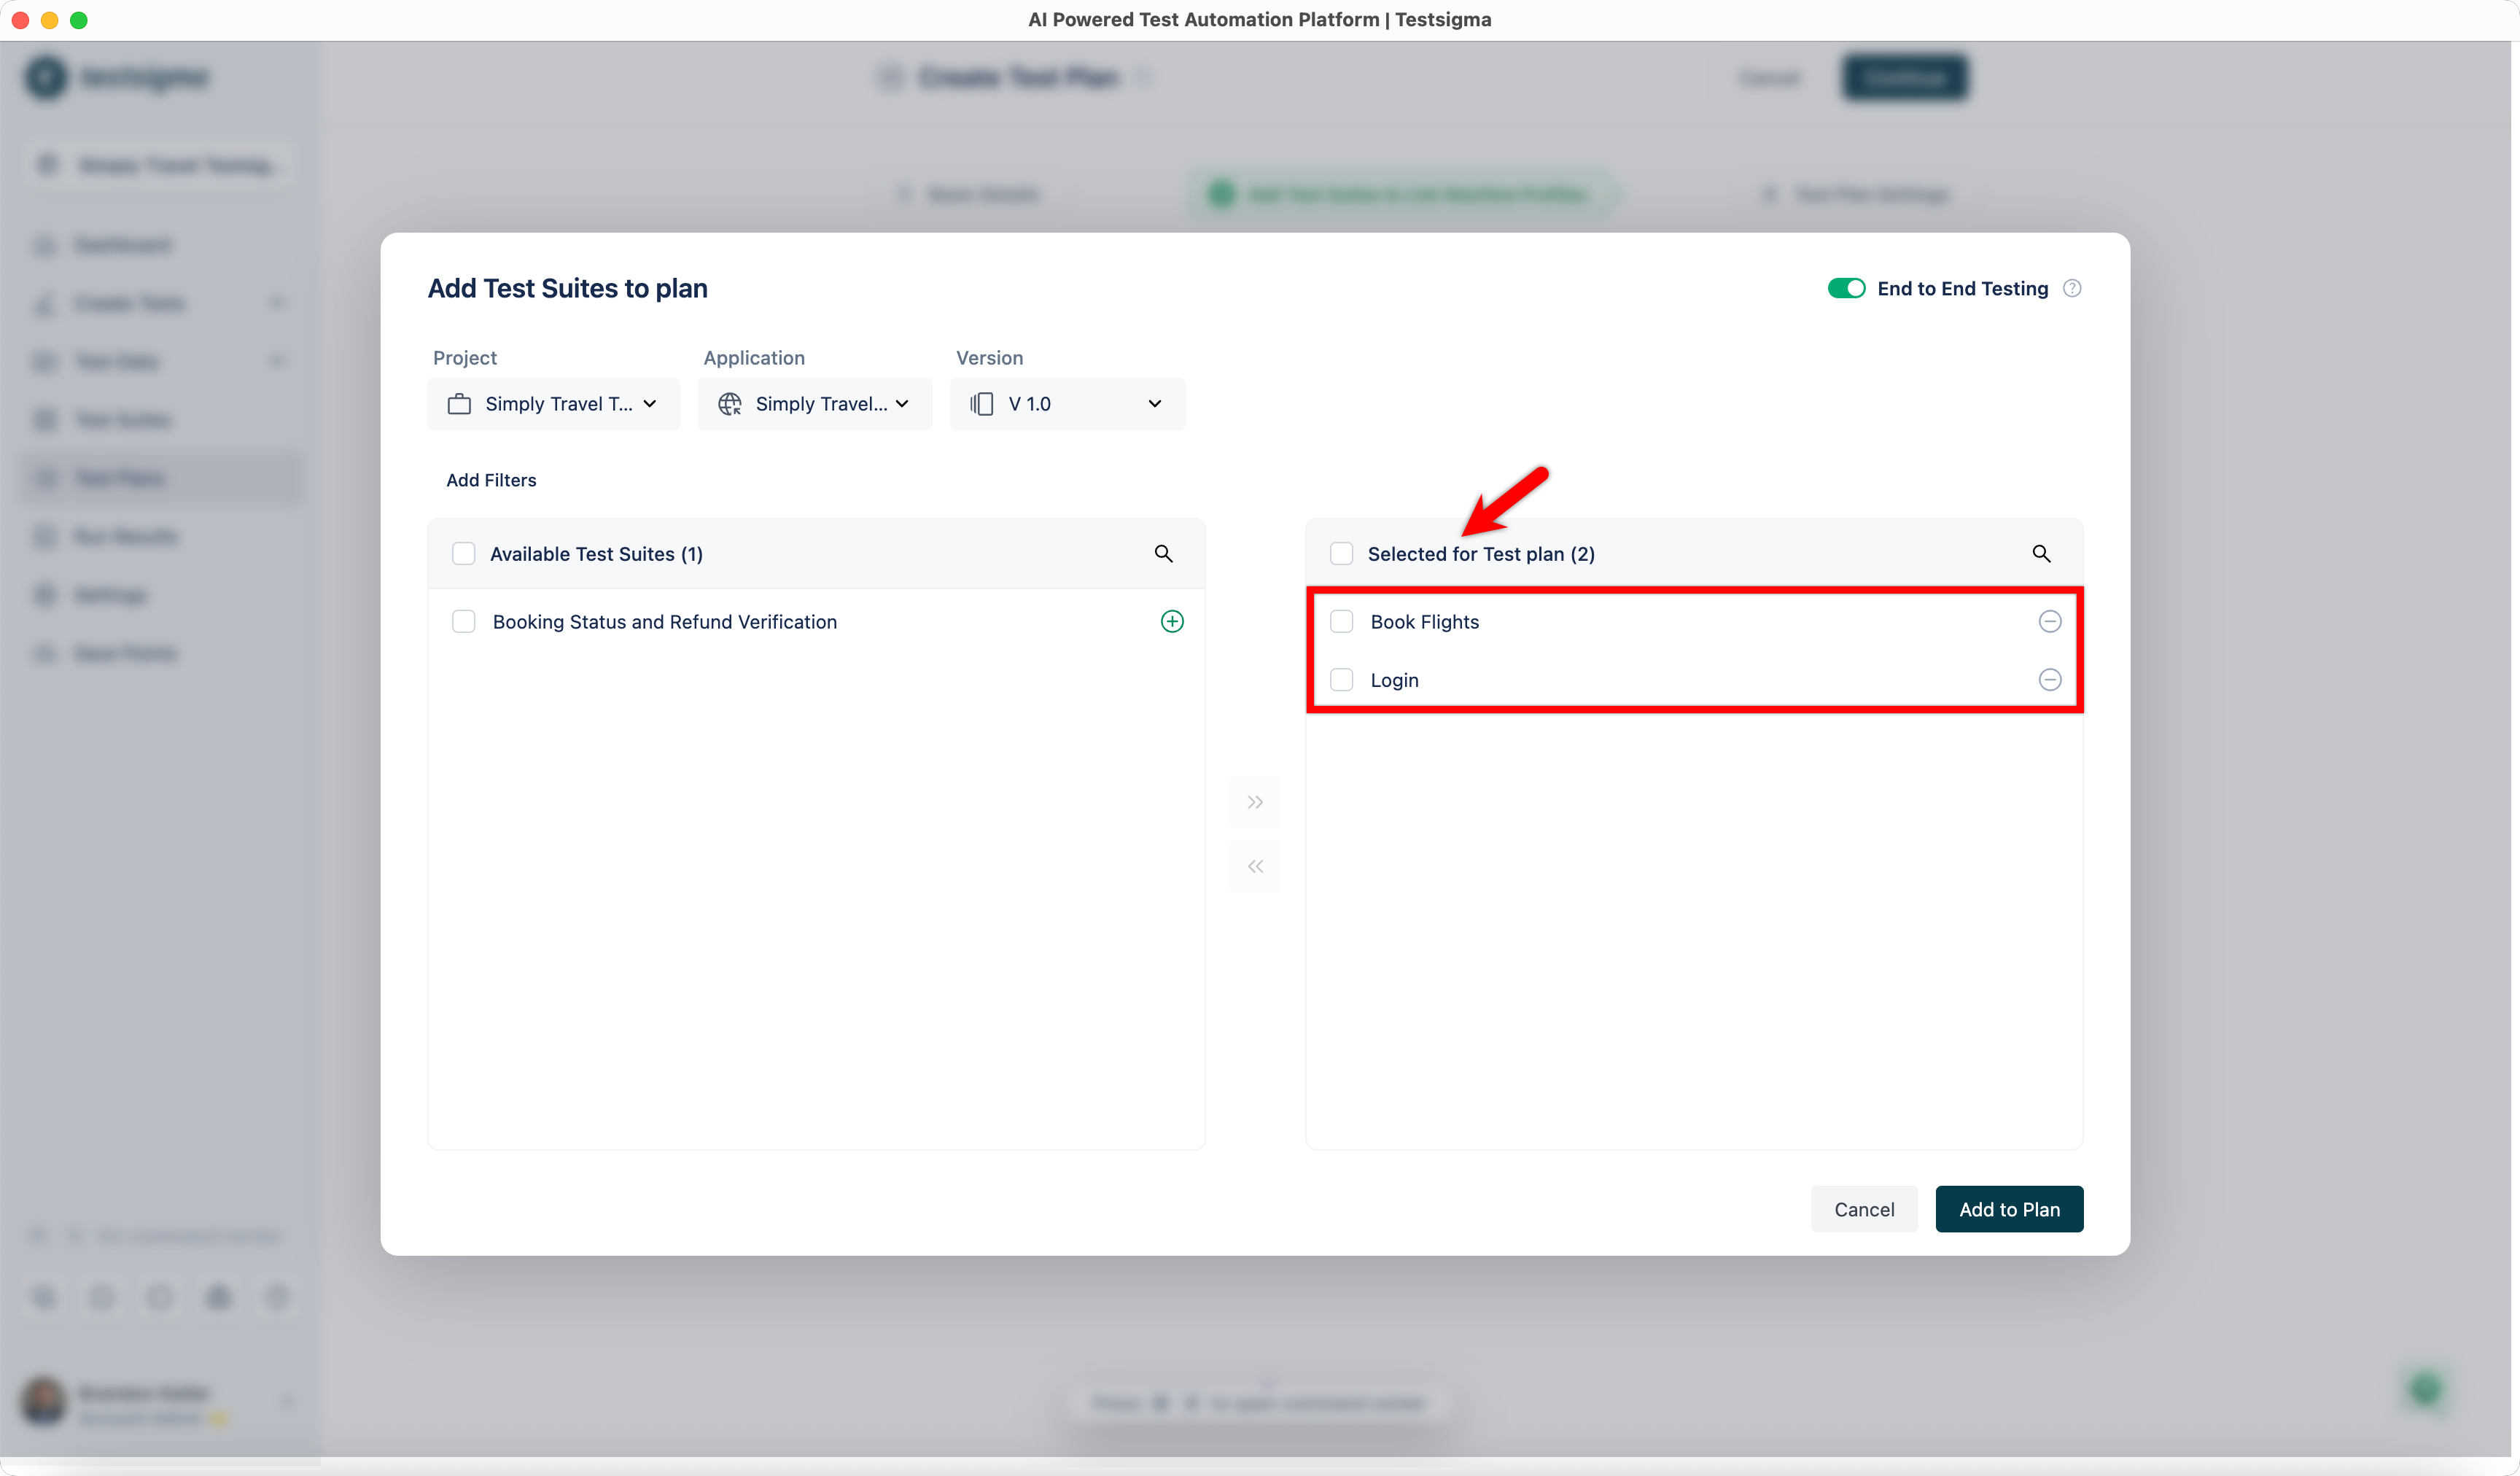
- Change the Project, Application, or Version to add test suites from a different source.
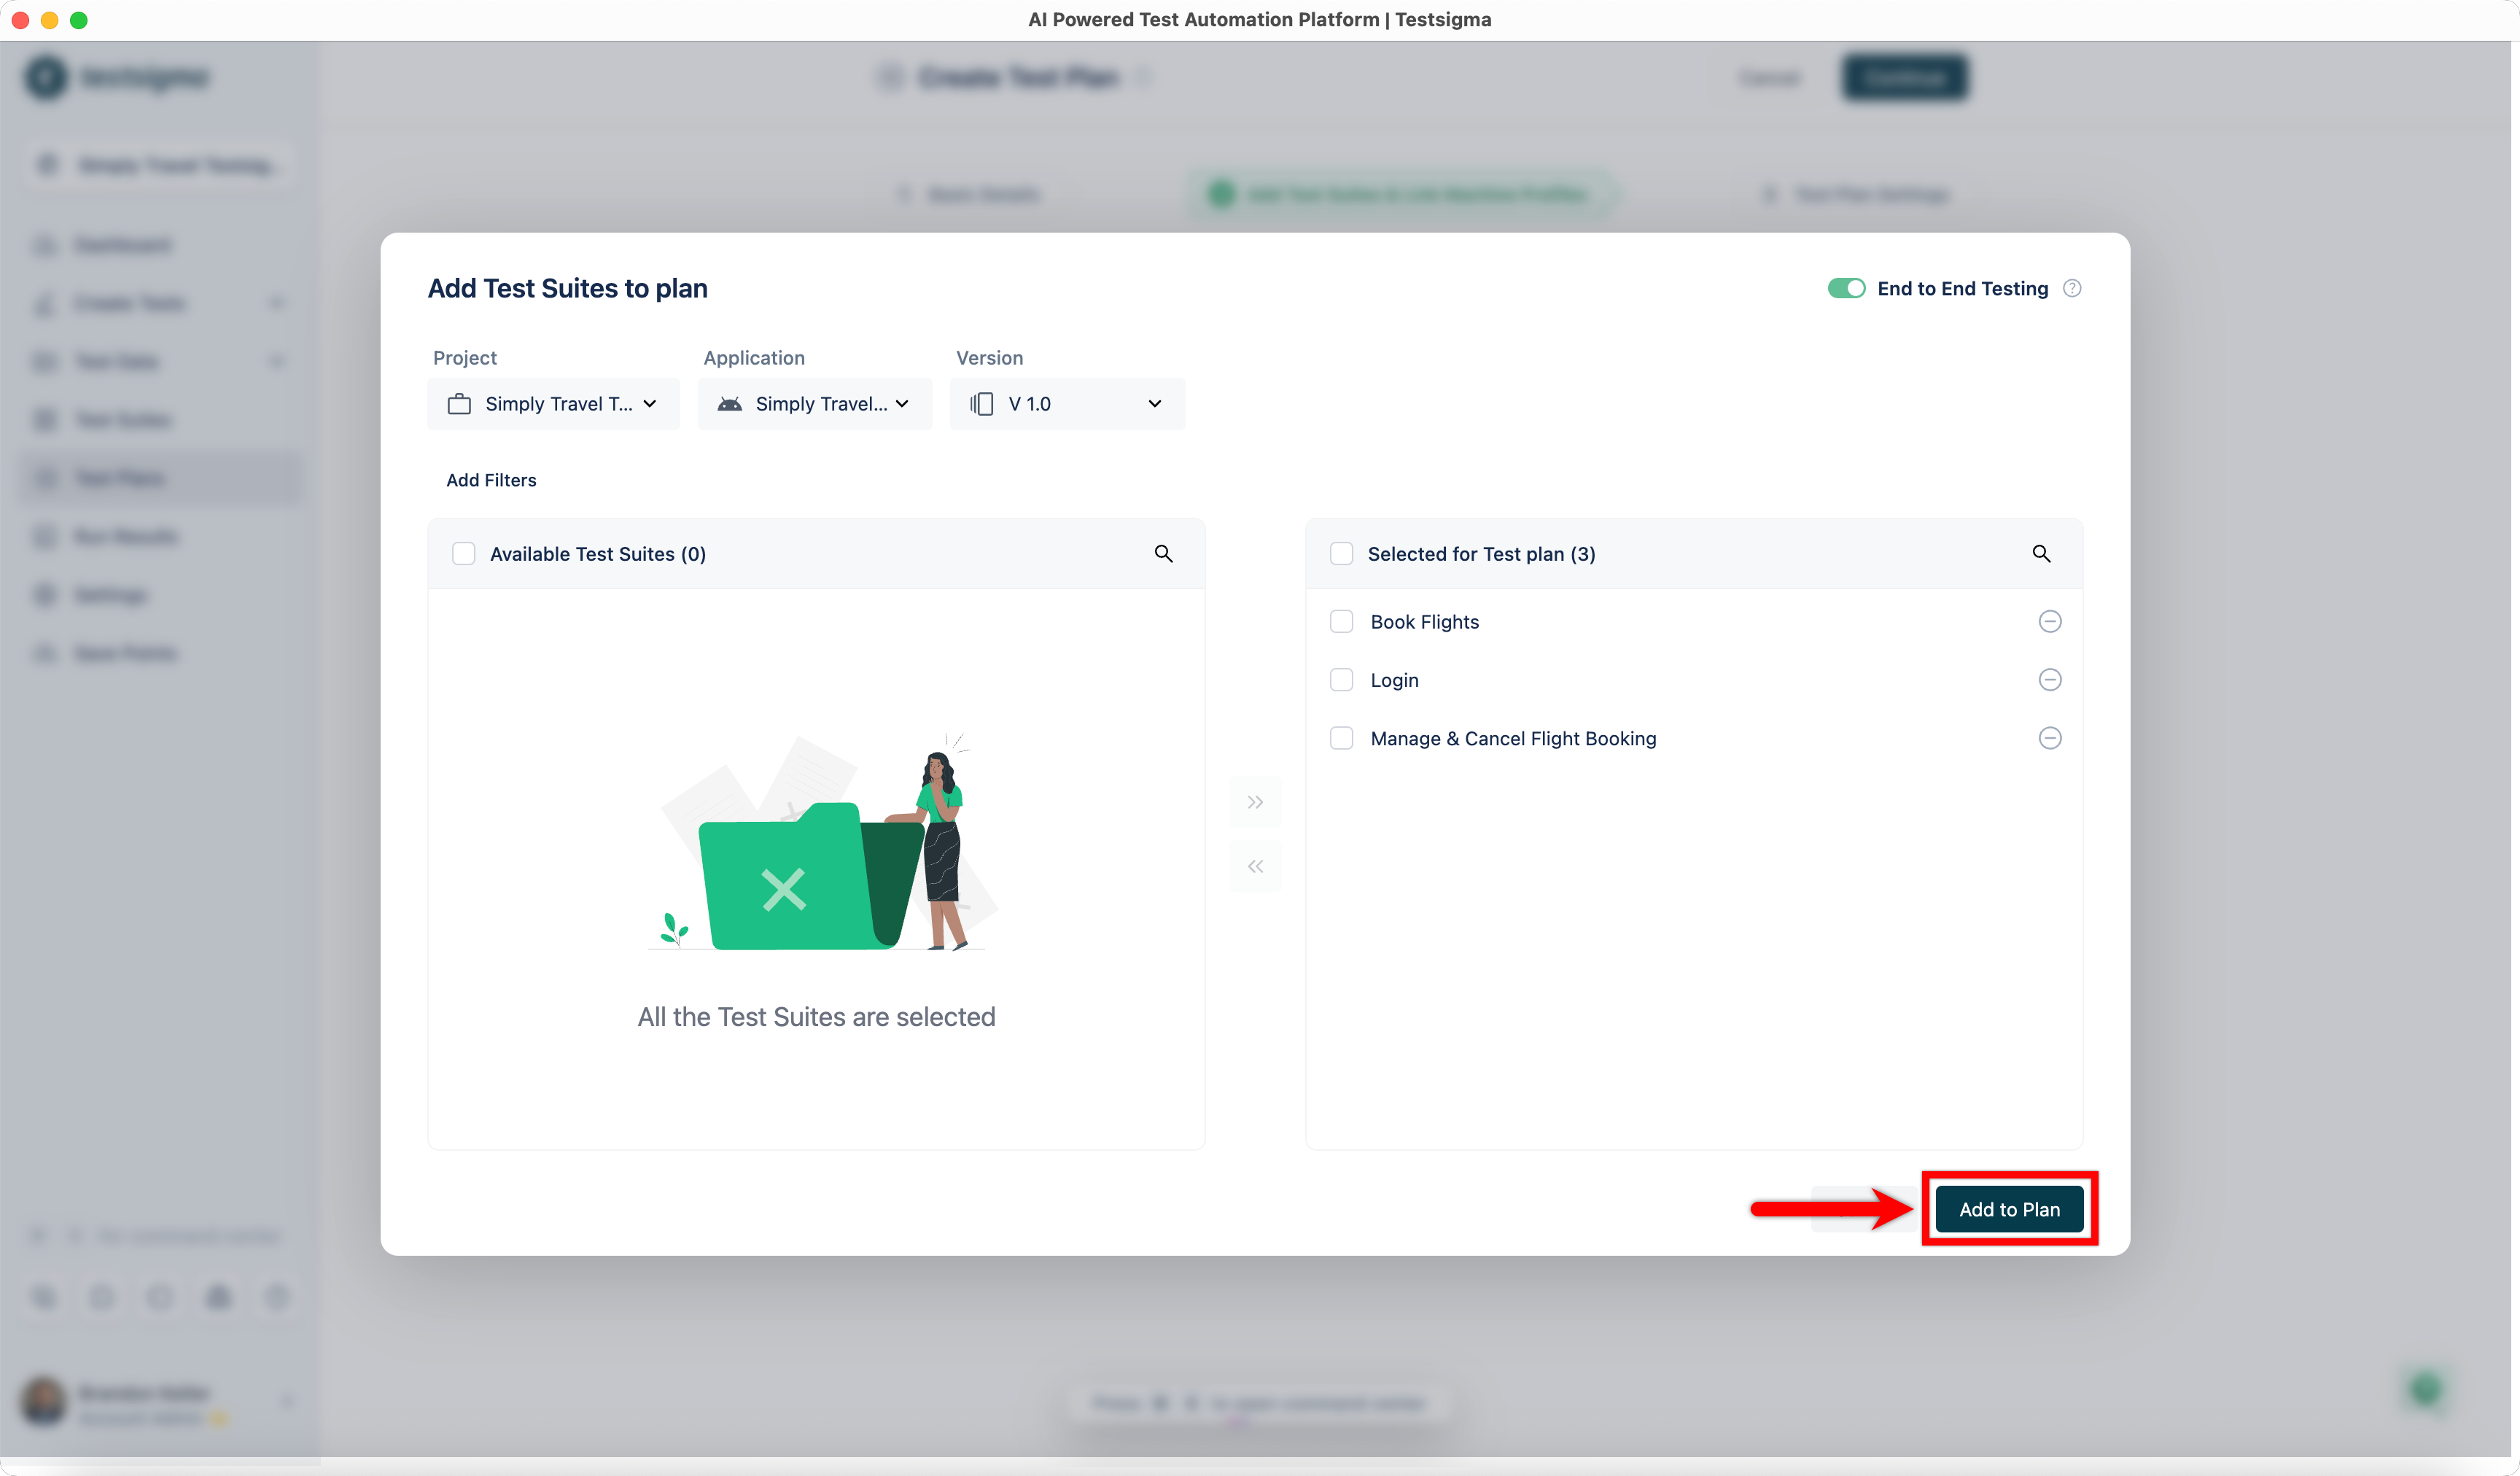
- Repeat steps 1–3 until all required test suites from different projects and applications are added.
- Click Add to Plan.
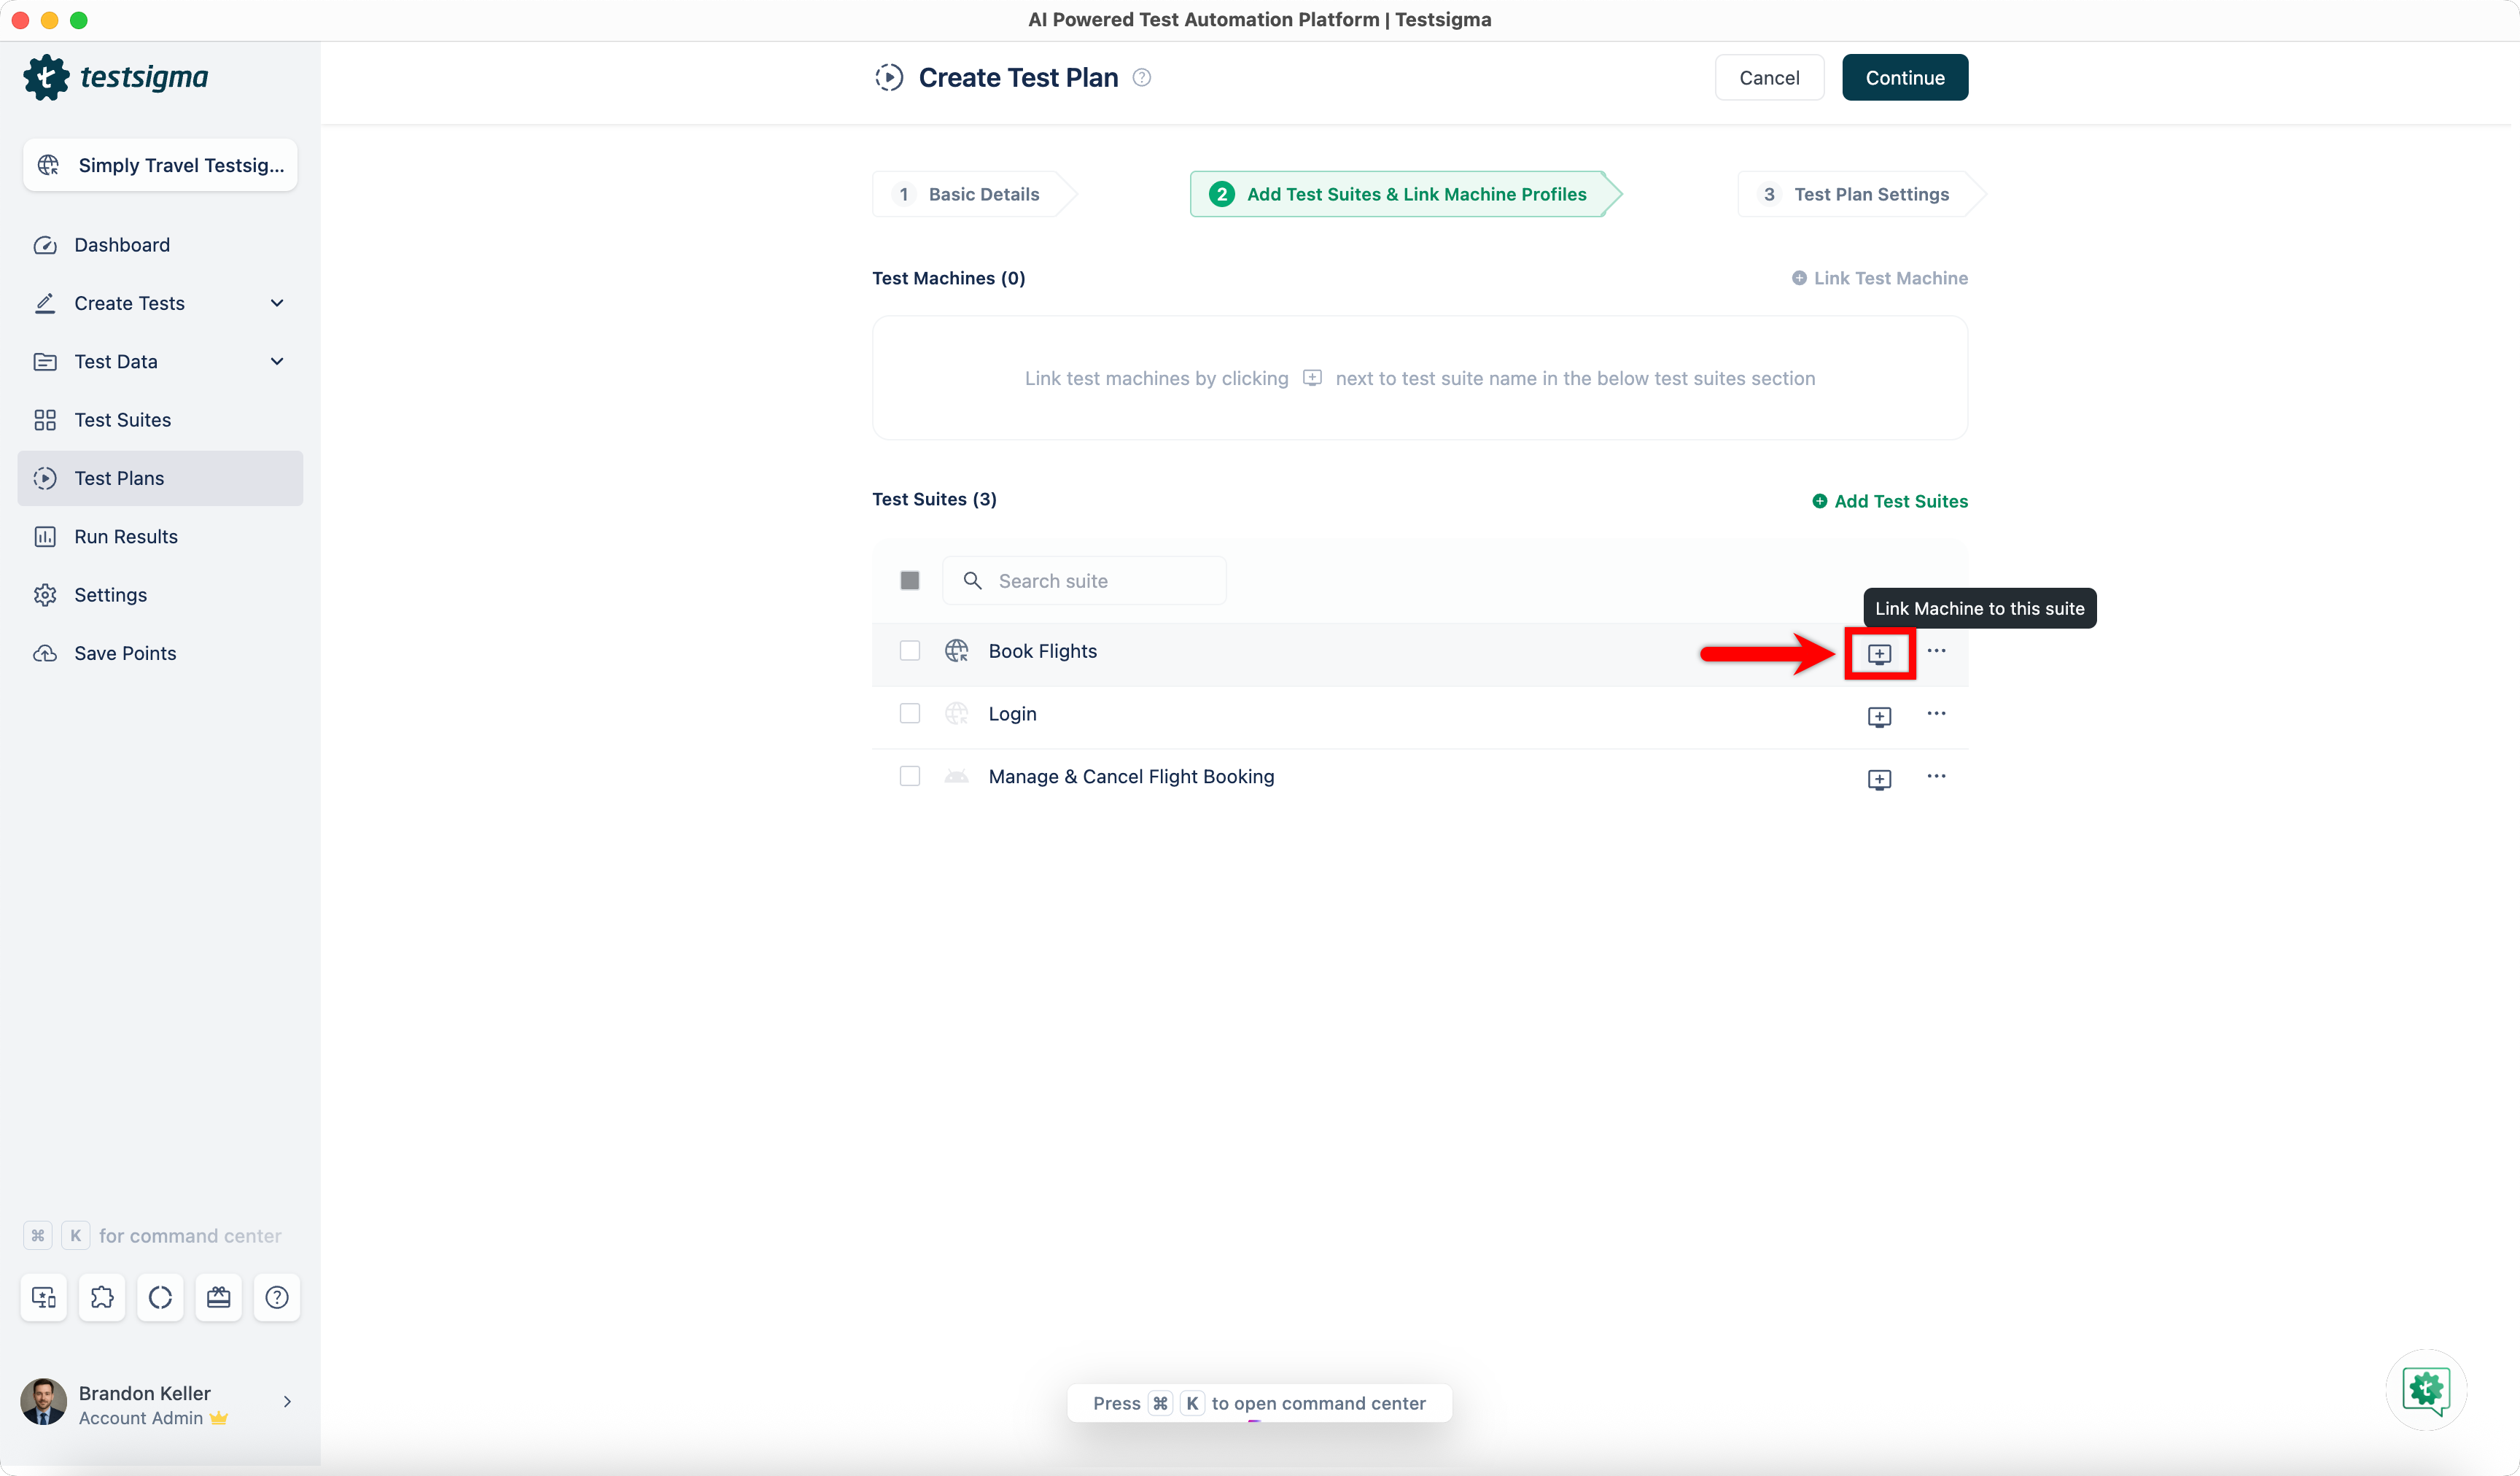
- In the Add Test Suites & Link Machine Profiles tab, click Test Machine for a test suite.
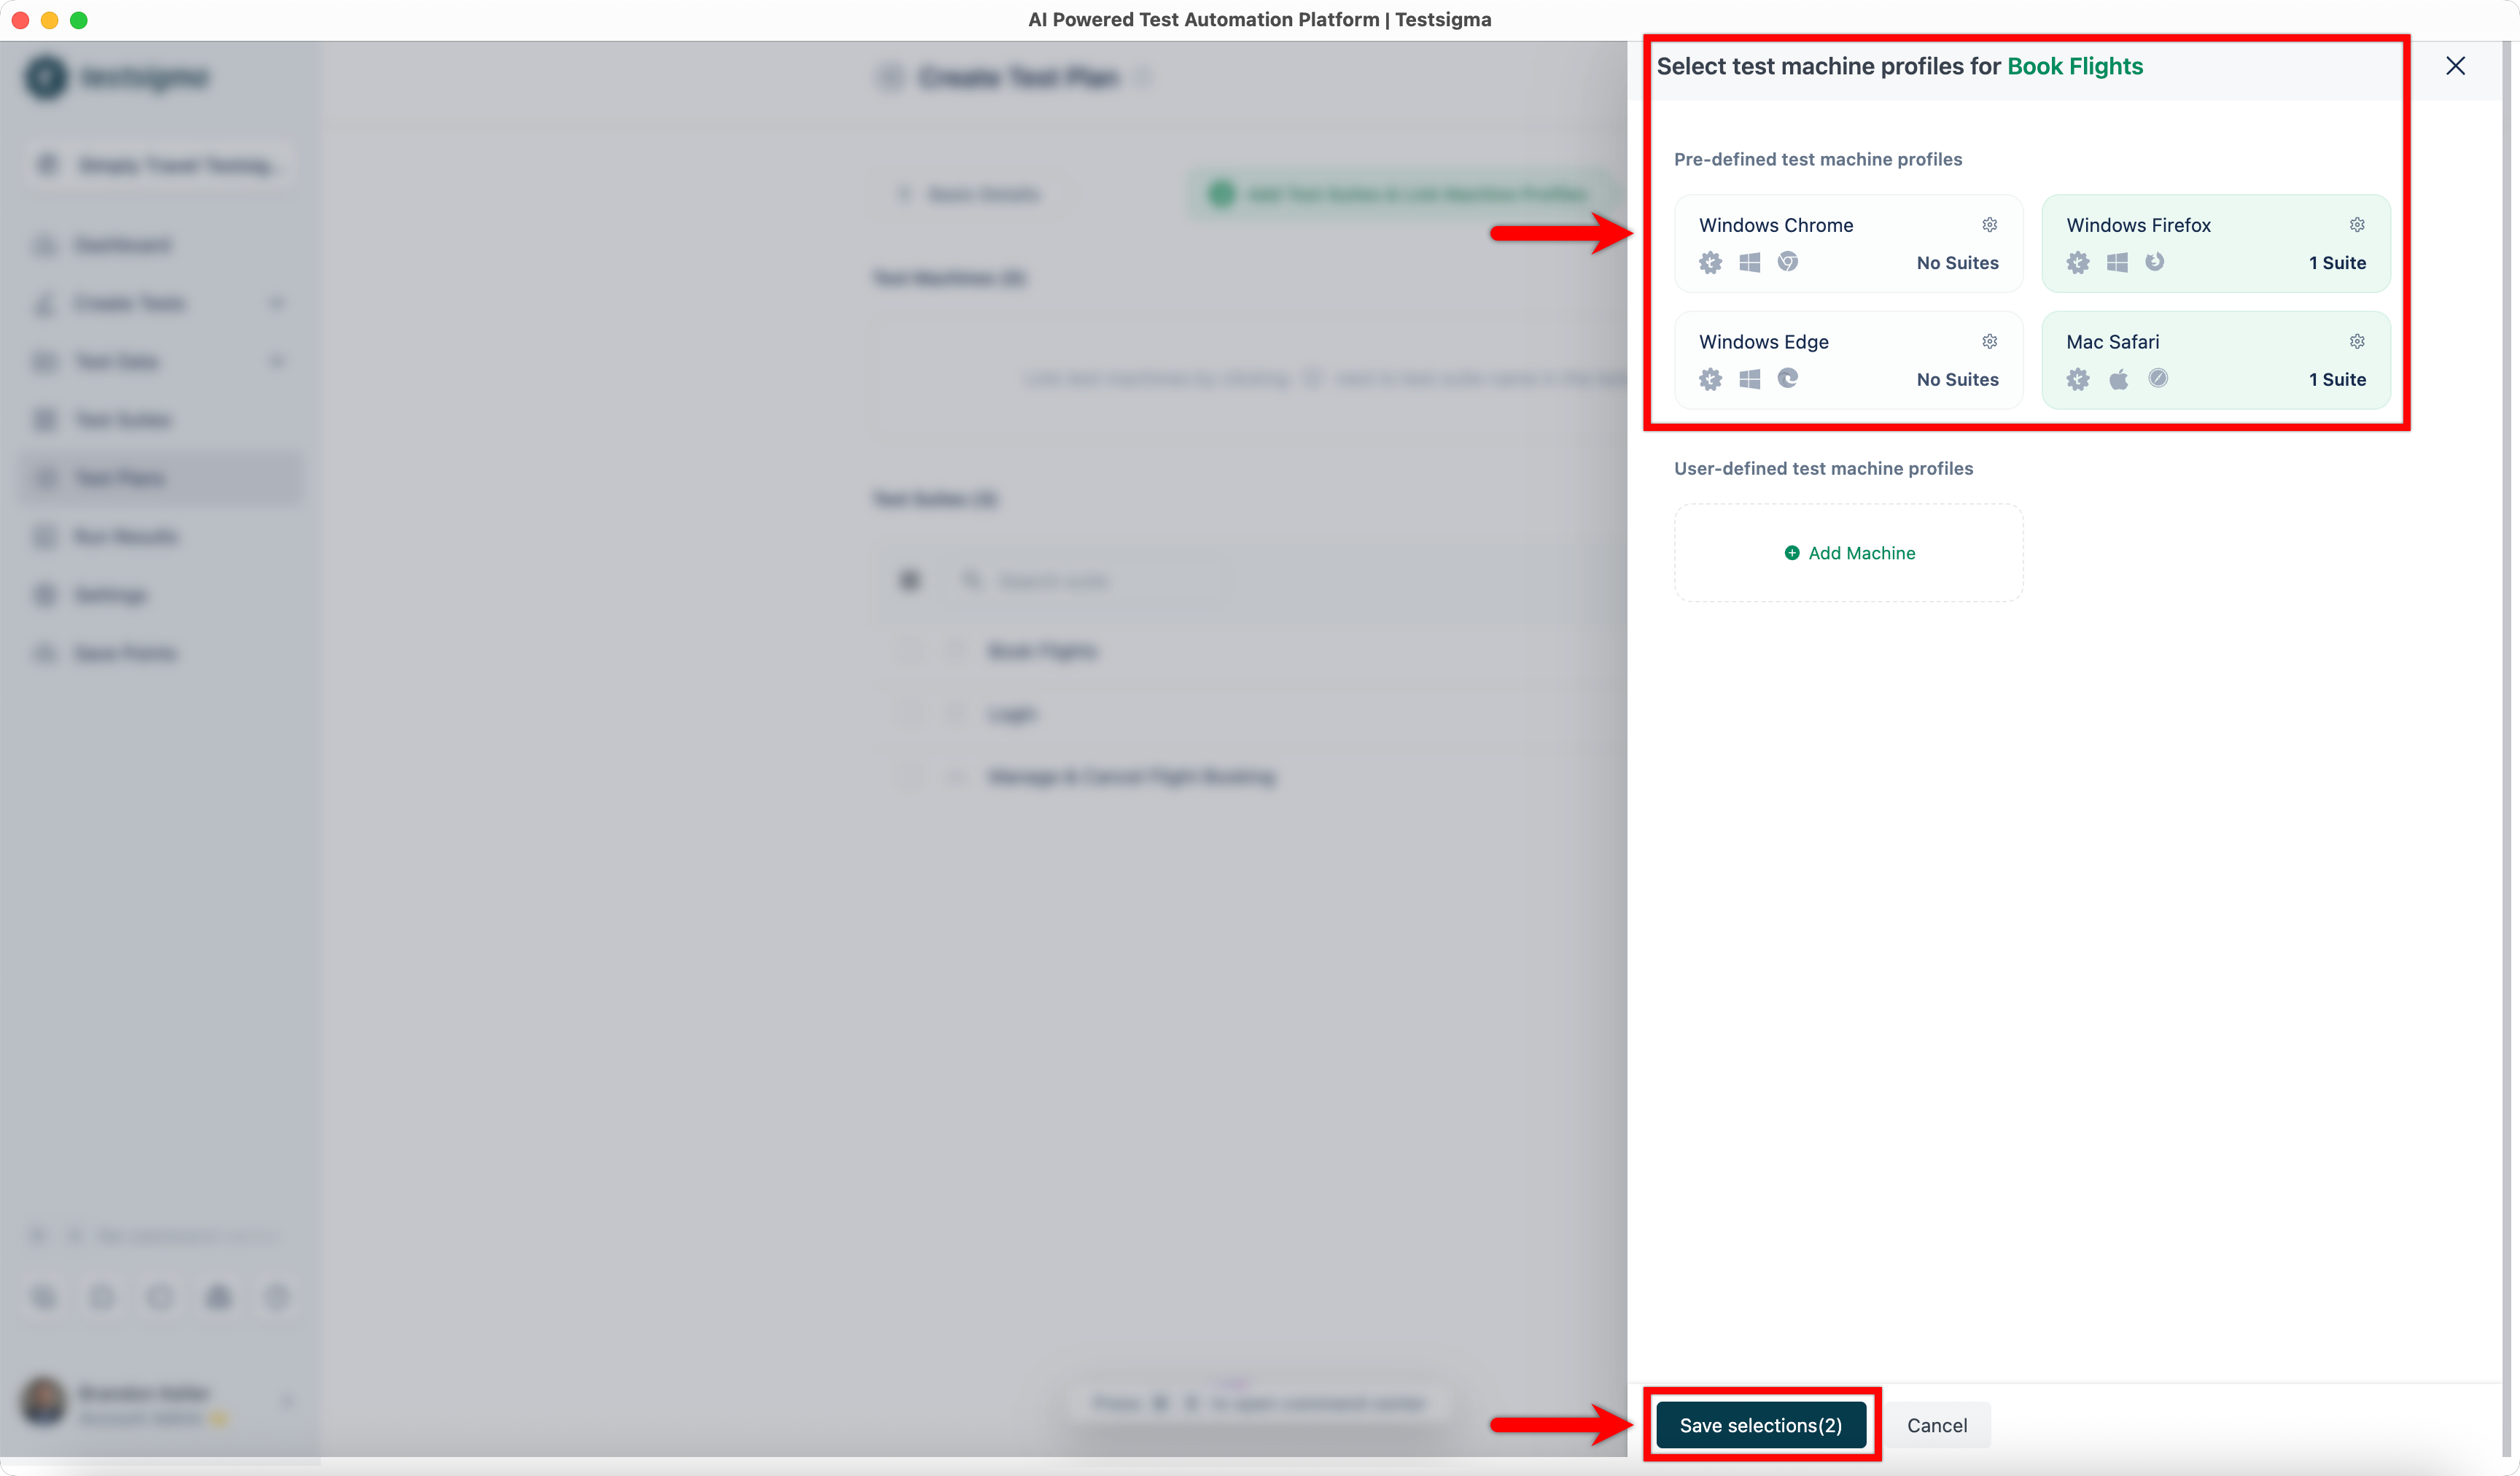
- In the Select Test Machine Profiles overlay, select the required test machines and click Save Selections.
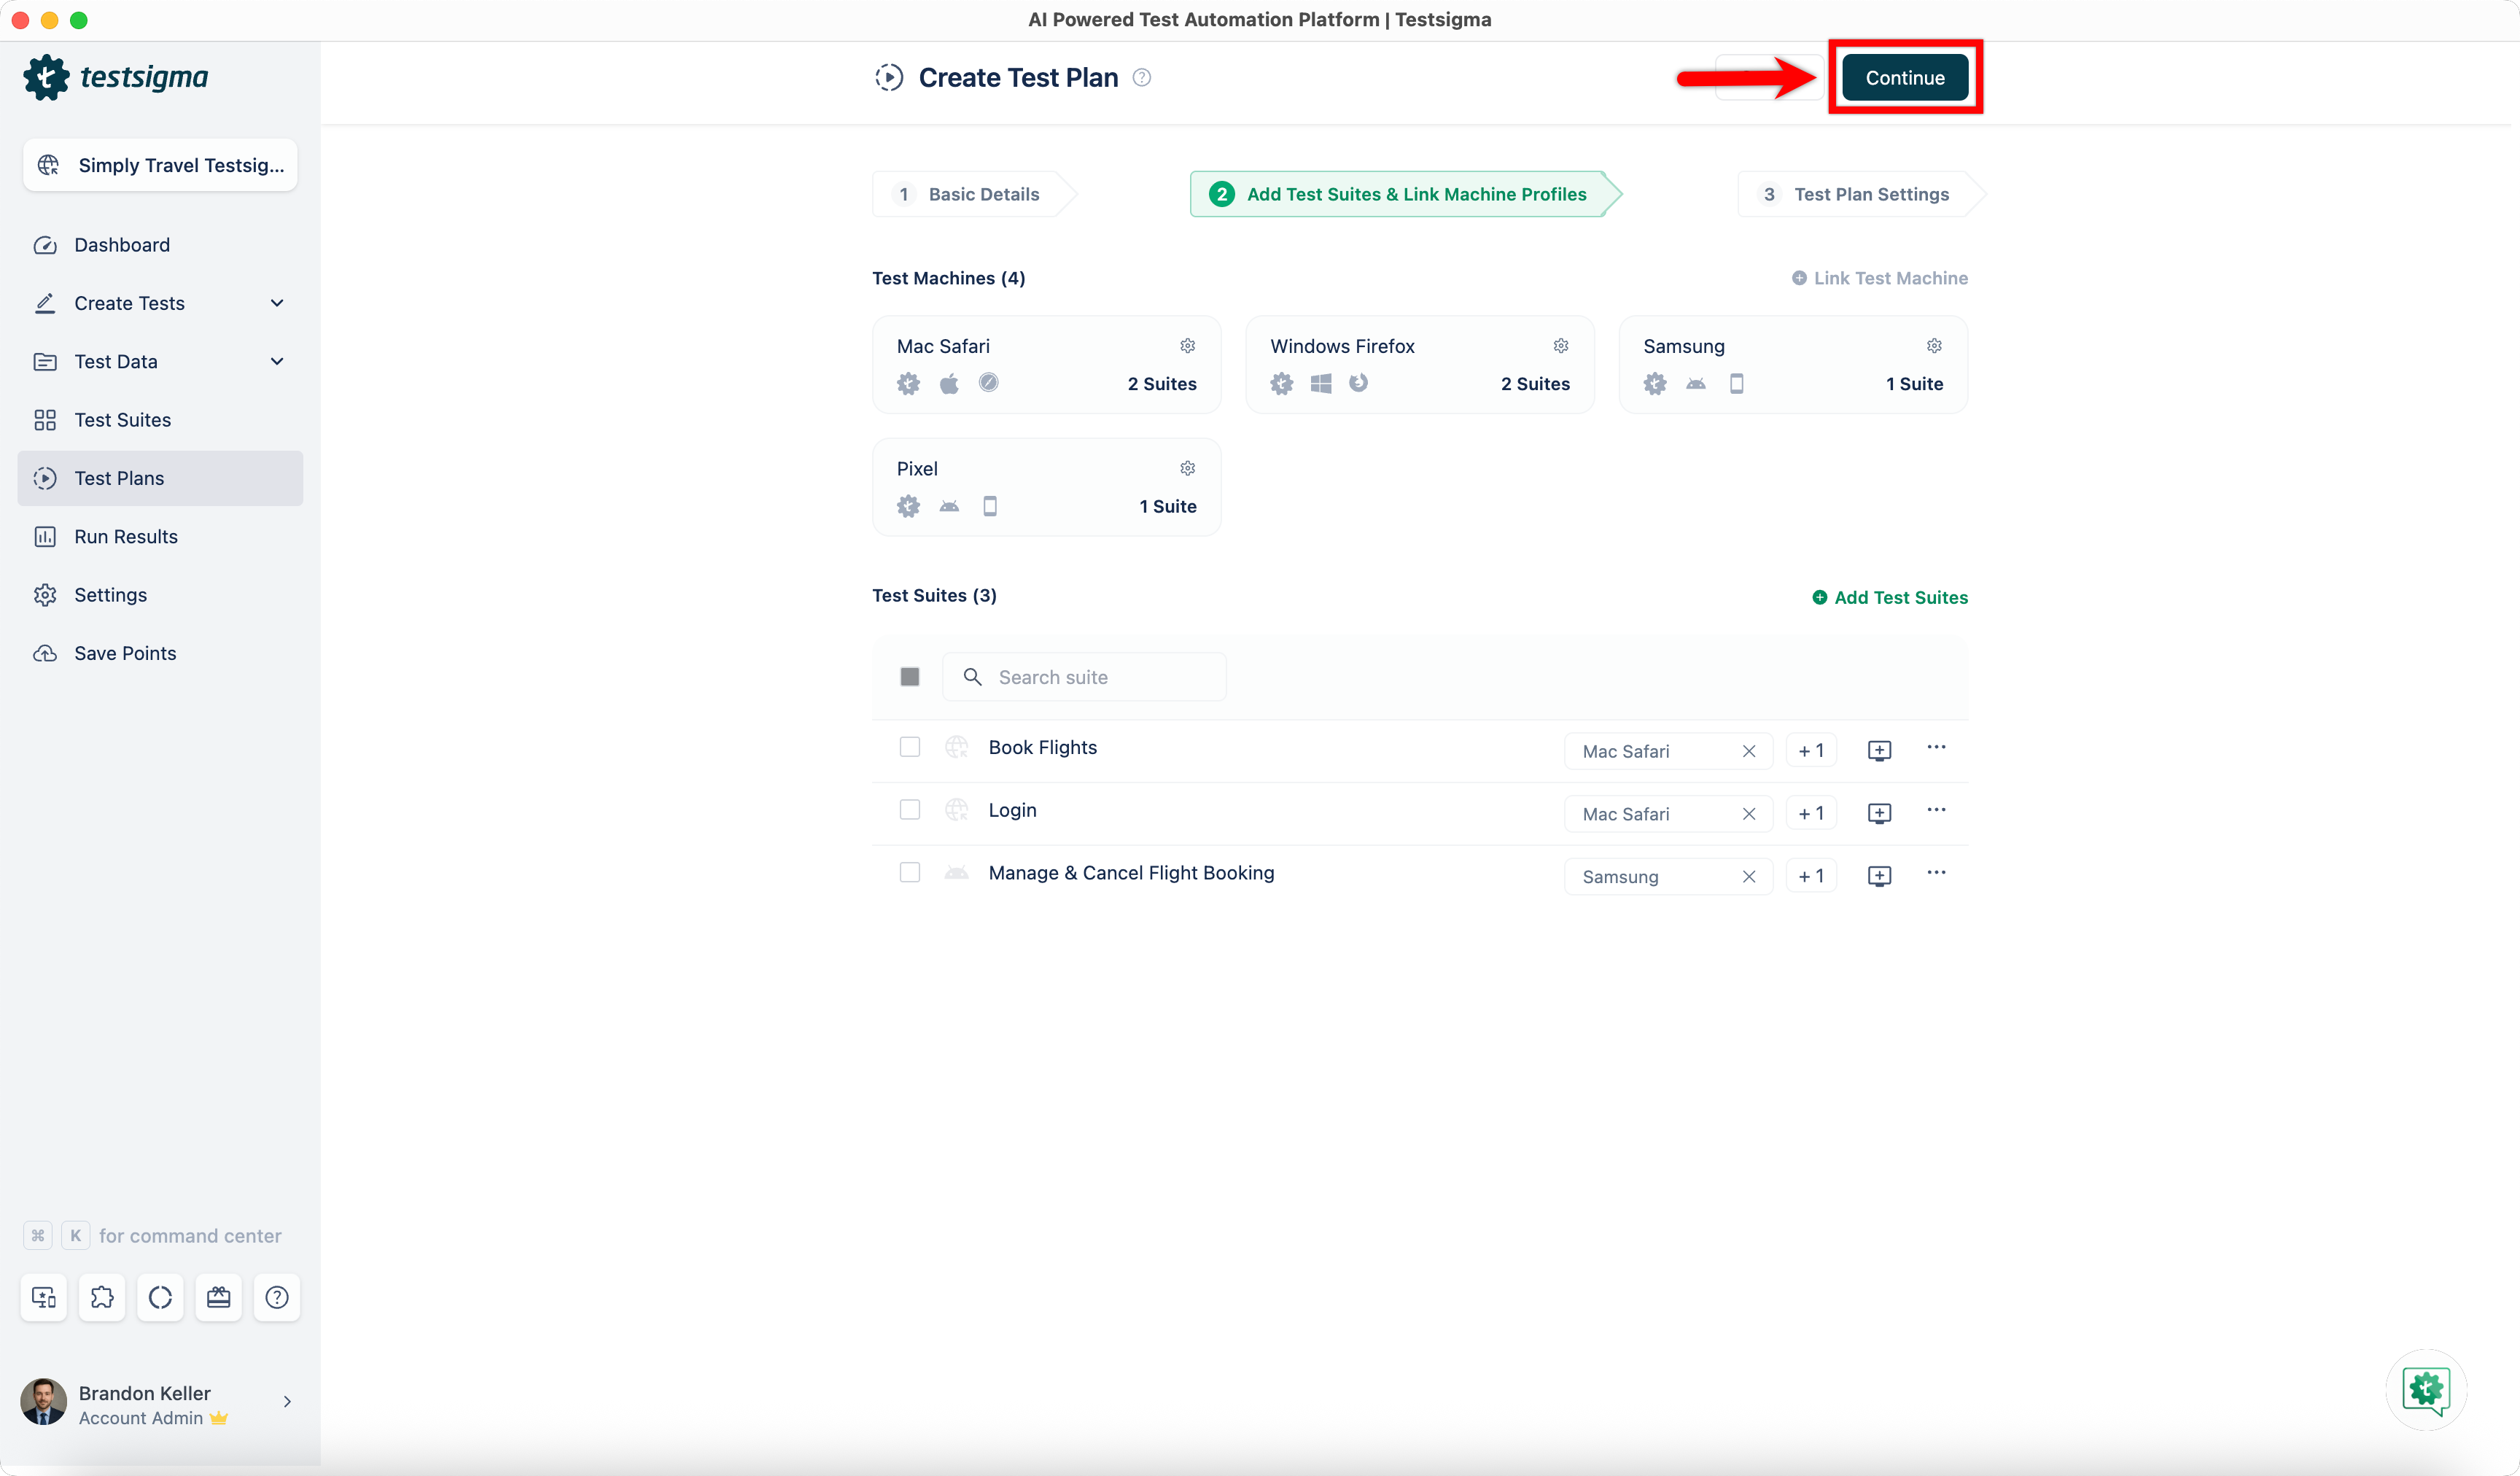
- Repeat the same for each test suite, selecting machine profiles based on the application type.
- Click Continue to proceed with the remaining test plan configuration.
Want to contribute or report missing content?