- Results & Reports
 Test Plan Run Results
- Filters on Run Results
- Custom PDF Report Generation
- Custom Allure Reports Generation
- Custom JUnit Report Generation
- Dashboard
Manage Custom Dashboard
This guide walks you through the complete process of creating and managing custom dashboards in Testsigma. You will learn how to create a new dashboard, select and arrange widgets, apply filters, and edit your dashboard as needs evolve.
Dashboards are designed to be created quickly. A basic dashboard with 5–7 widgets can be set up in minutes. You can add more widgets, adjust filters, or create additional dashboards at any time.
Prerequisites
Before you begin, ensure that:
- You have an active Testsigma account with dashboard access (contact your Testsigma Support to enable it for your account).
- You have referred to the documentation on creating projects to set up at least one project.
- You have referred to the documentation on configuring applications to add at least one application to your project.
- You have completed at least one test run so there is data to display on your dashboard.
Steps to Create a Dashboard
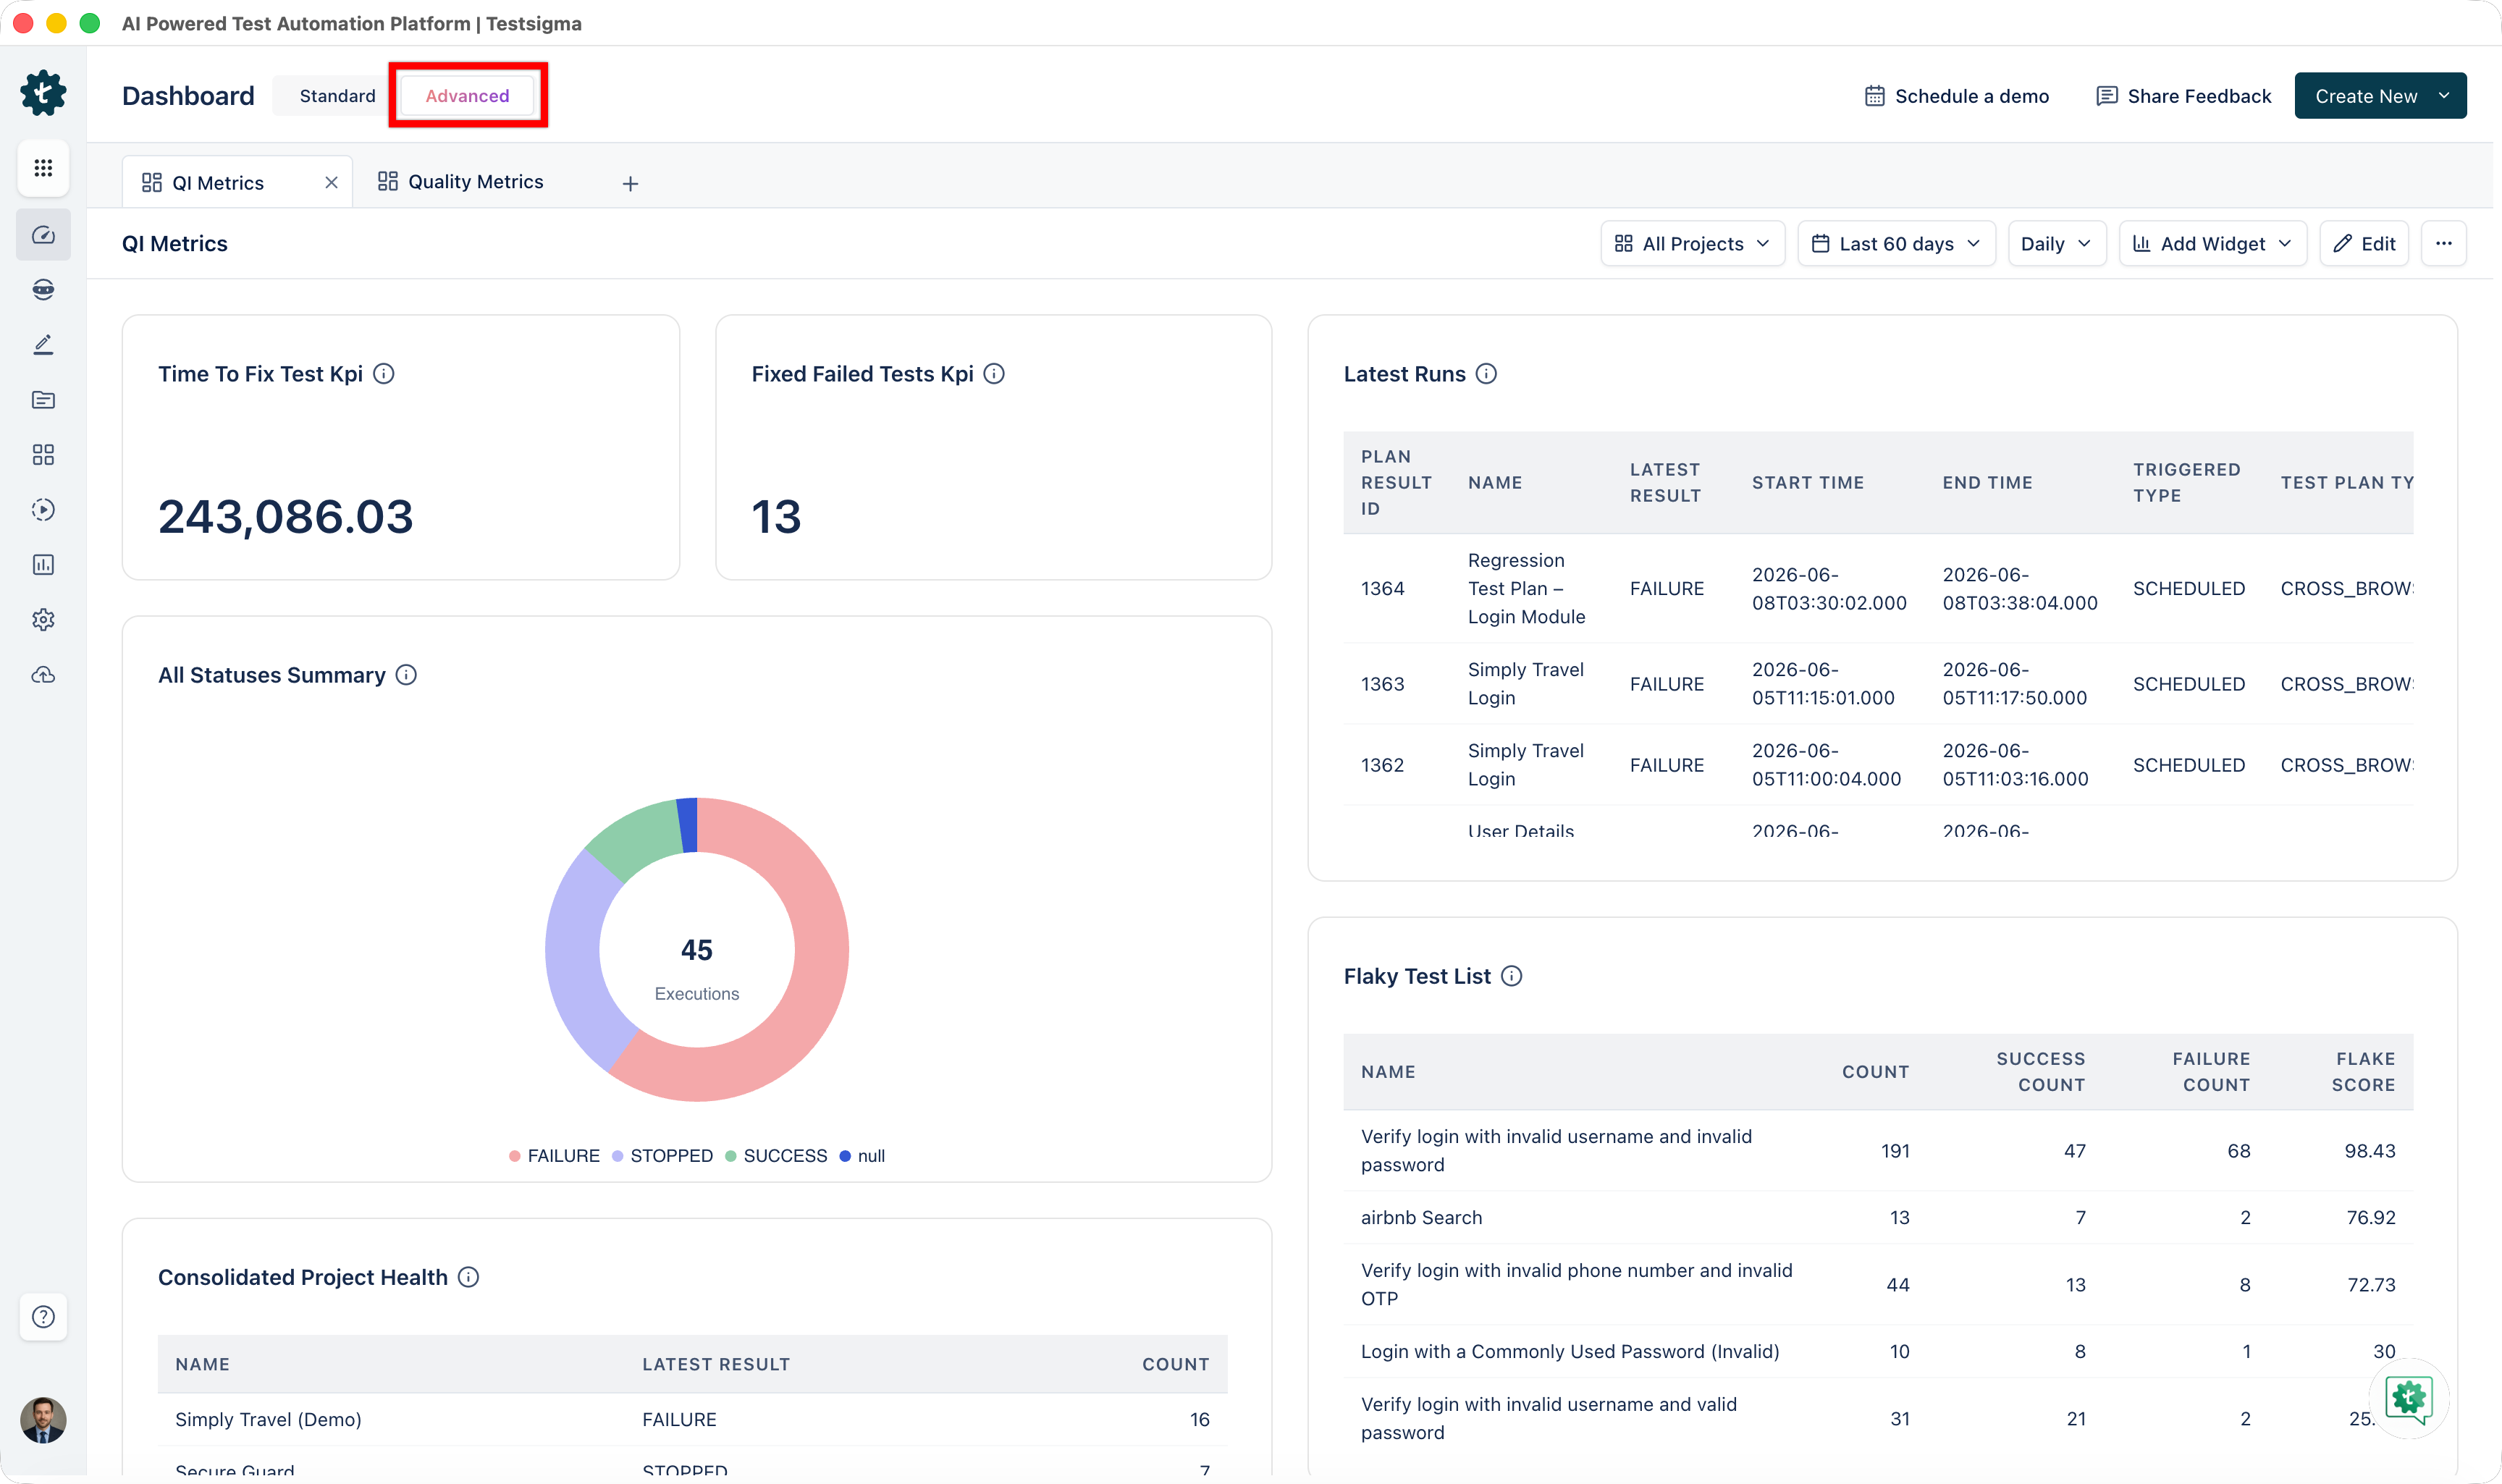
- On the Dashboard, click Advanced next to Legacy.
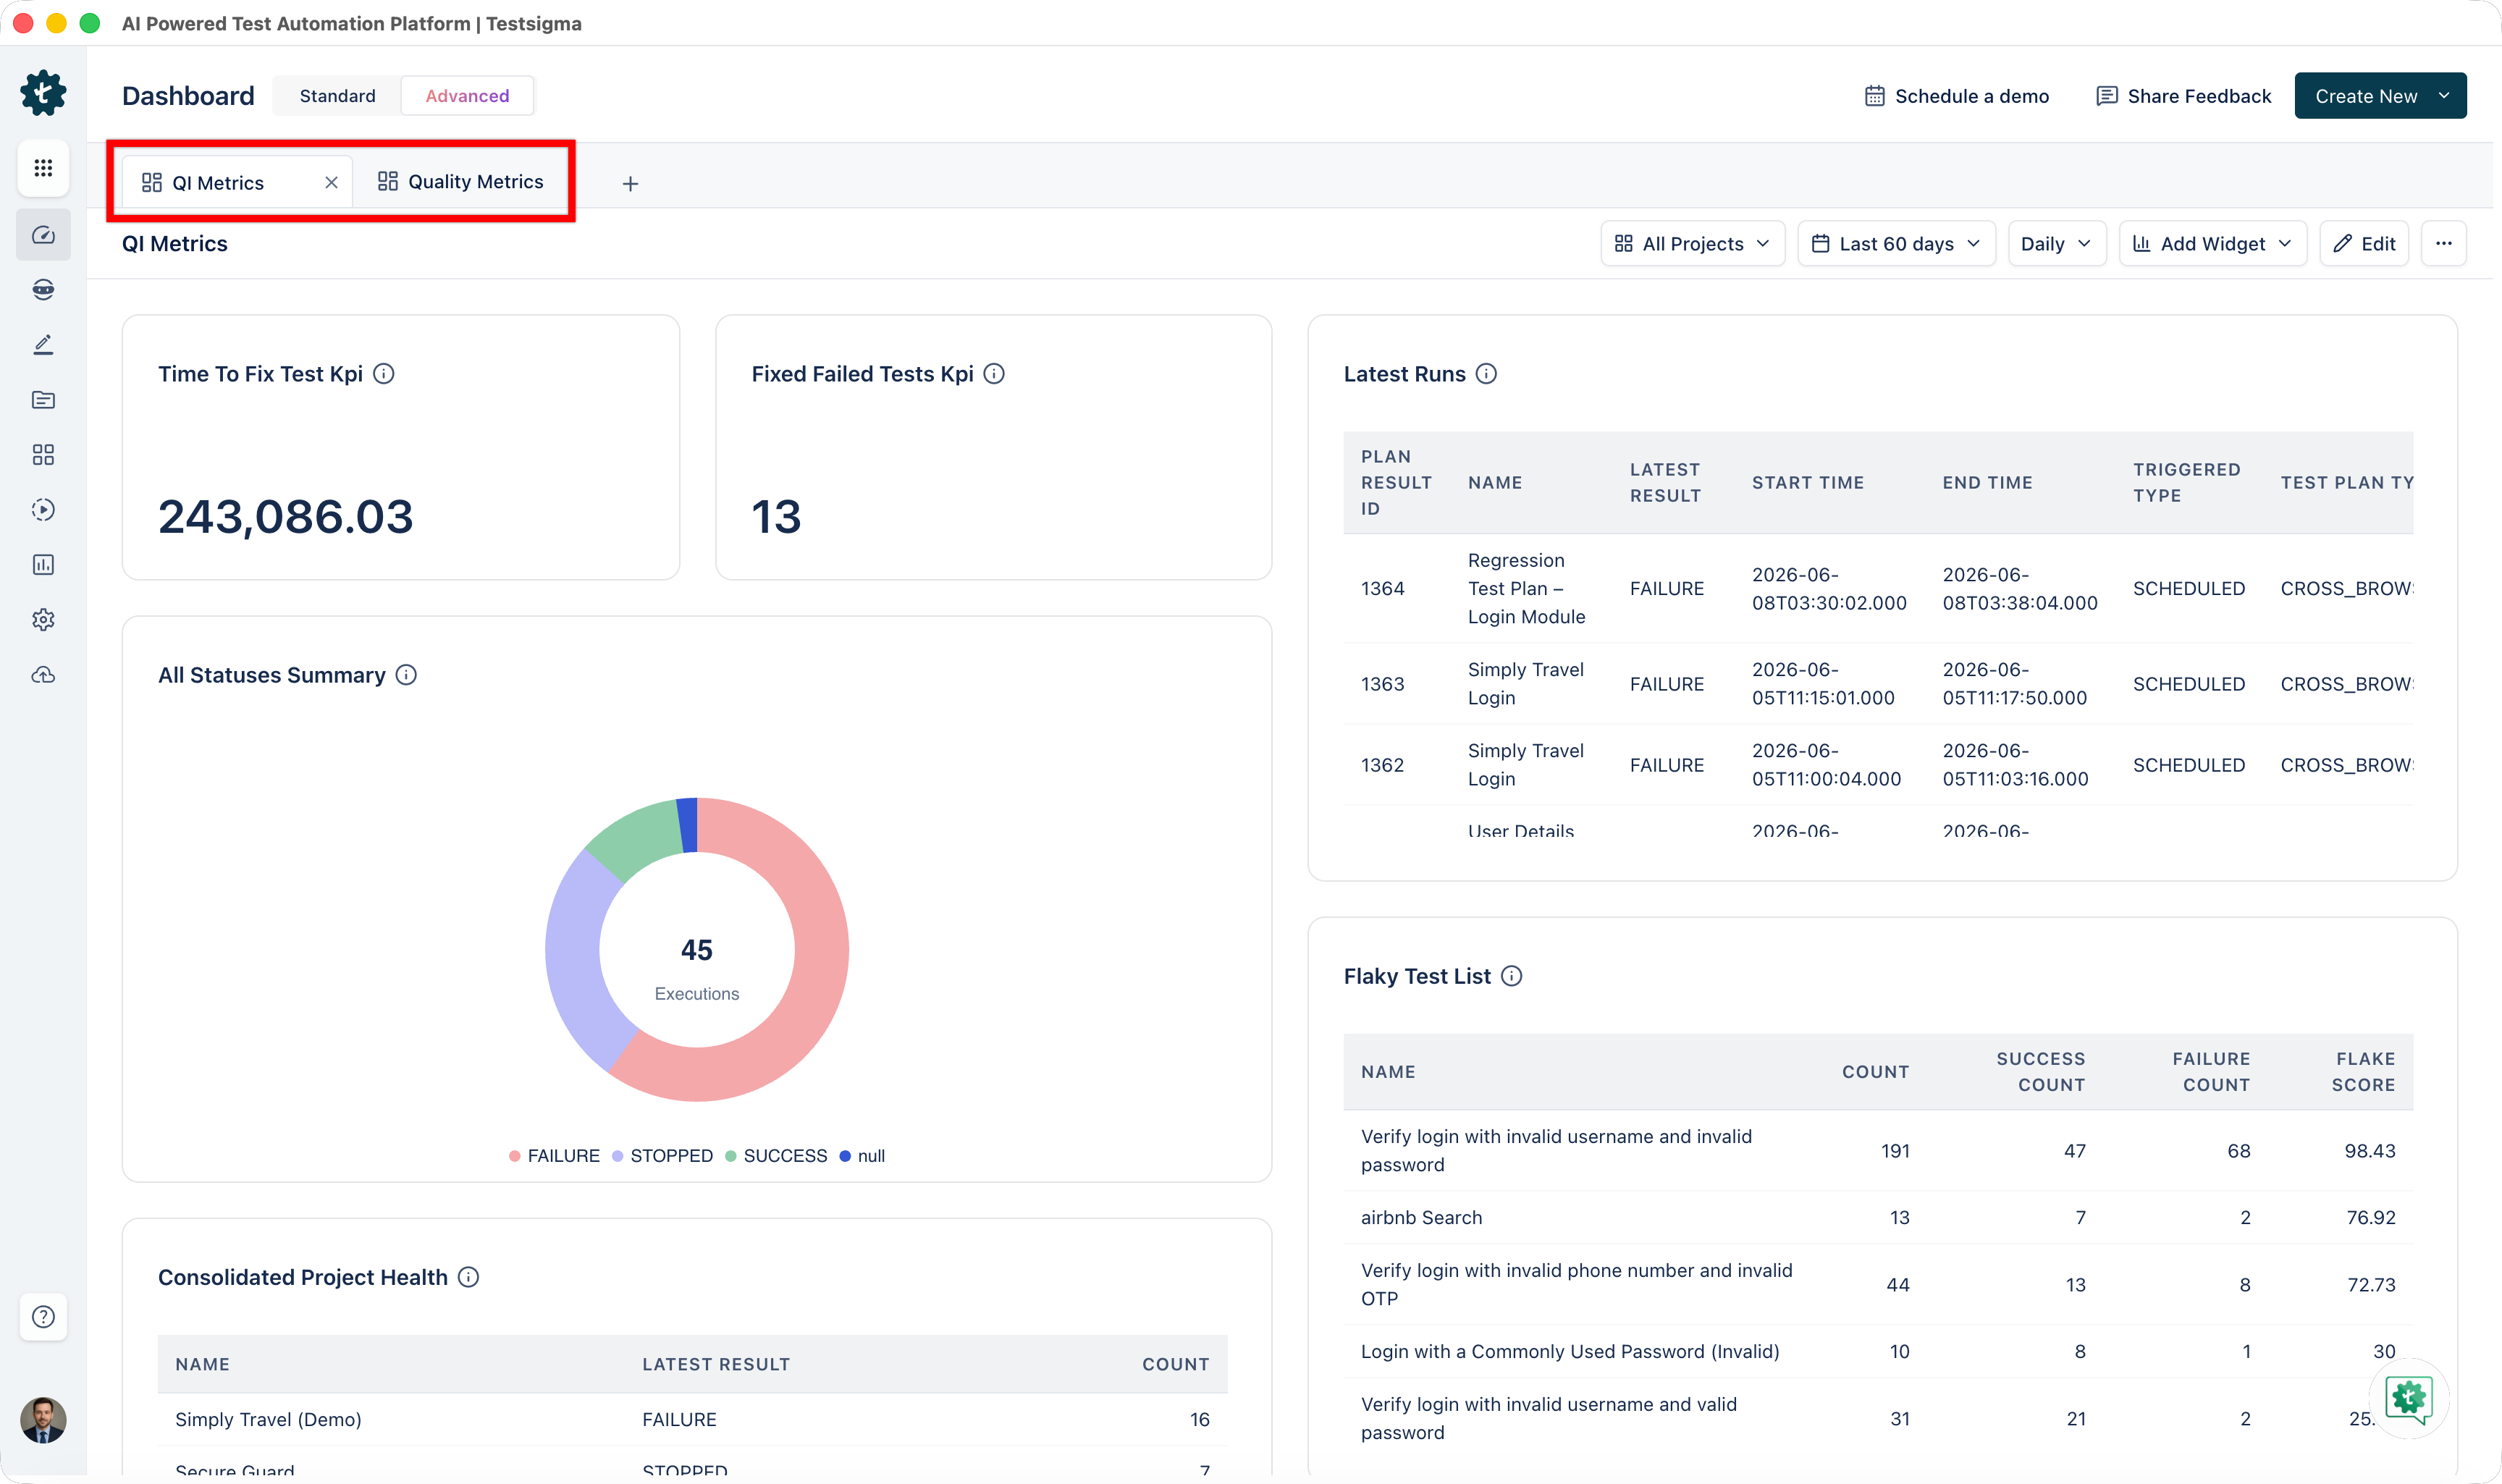
- A list of existing dashboards appears in tabs. If this is your first dashboard, the list will be empty.
-
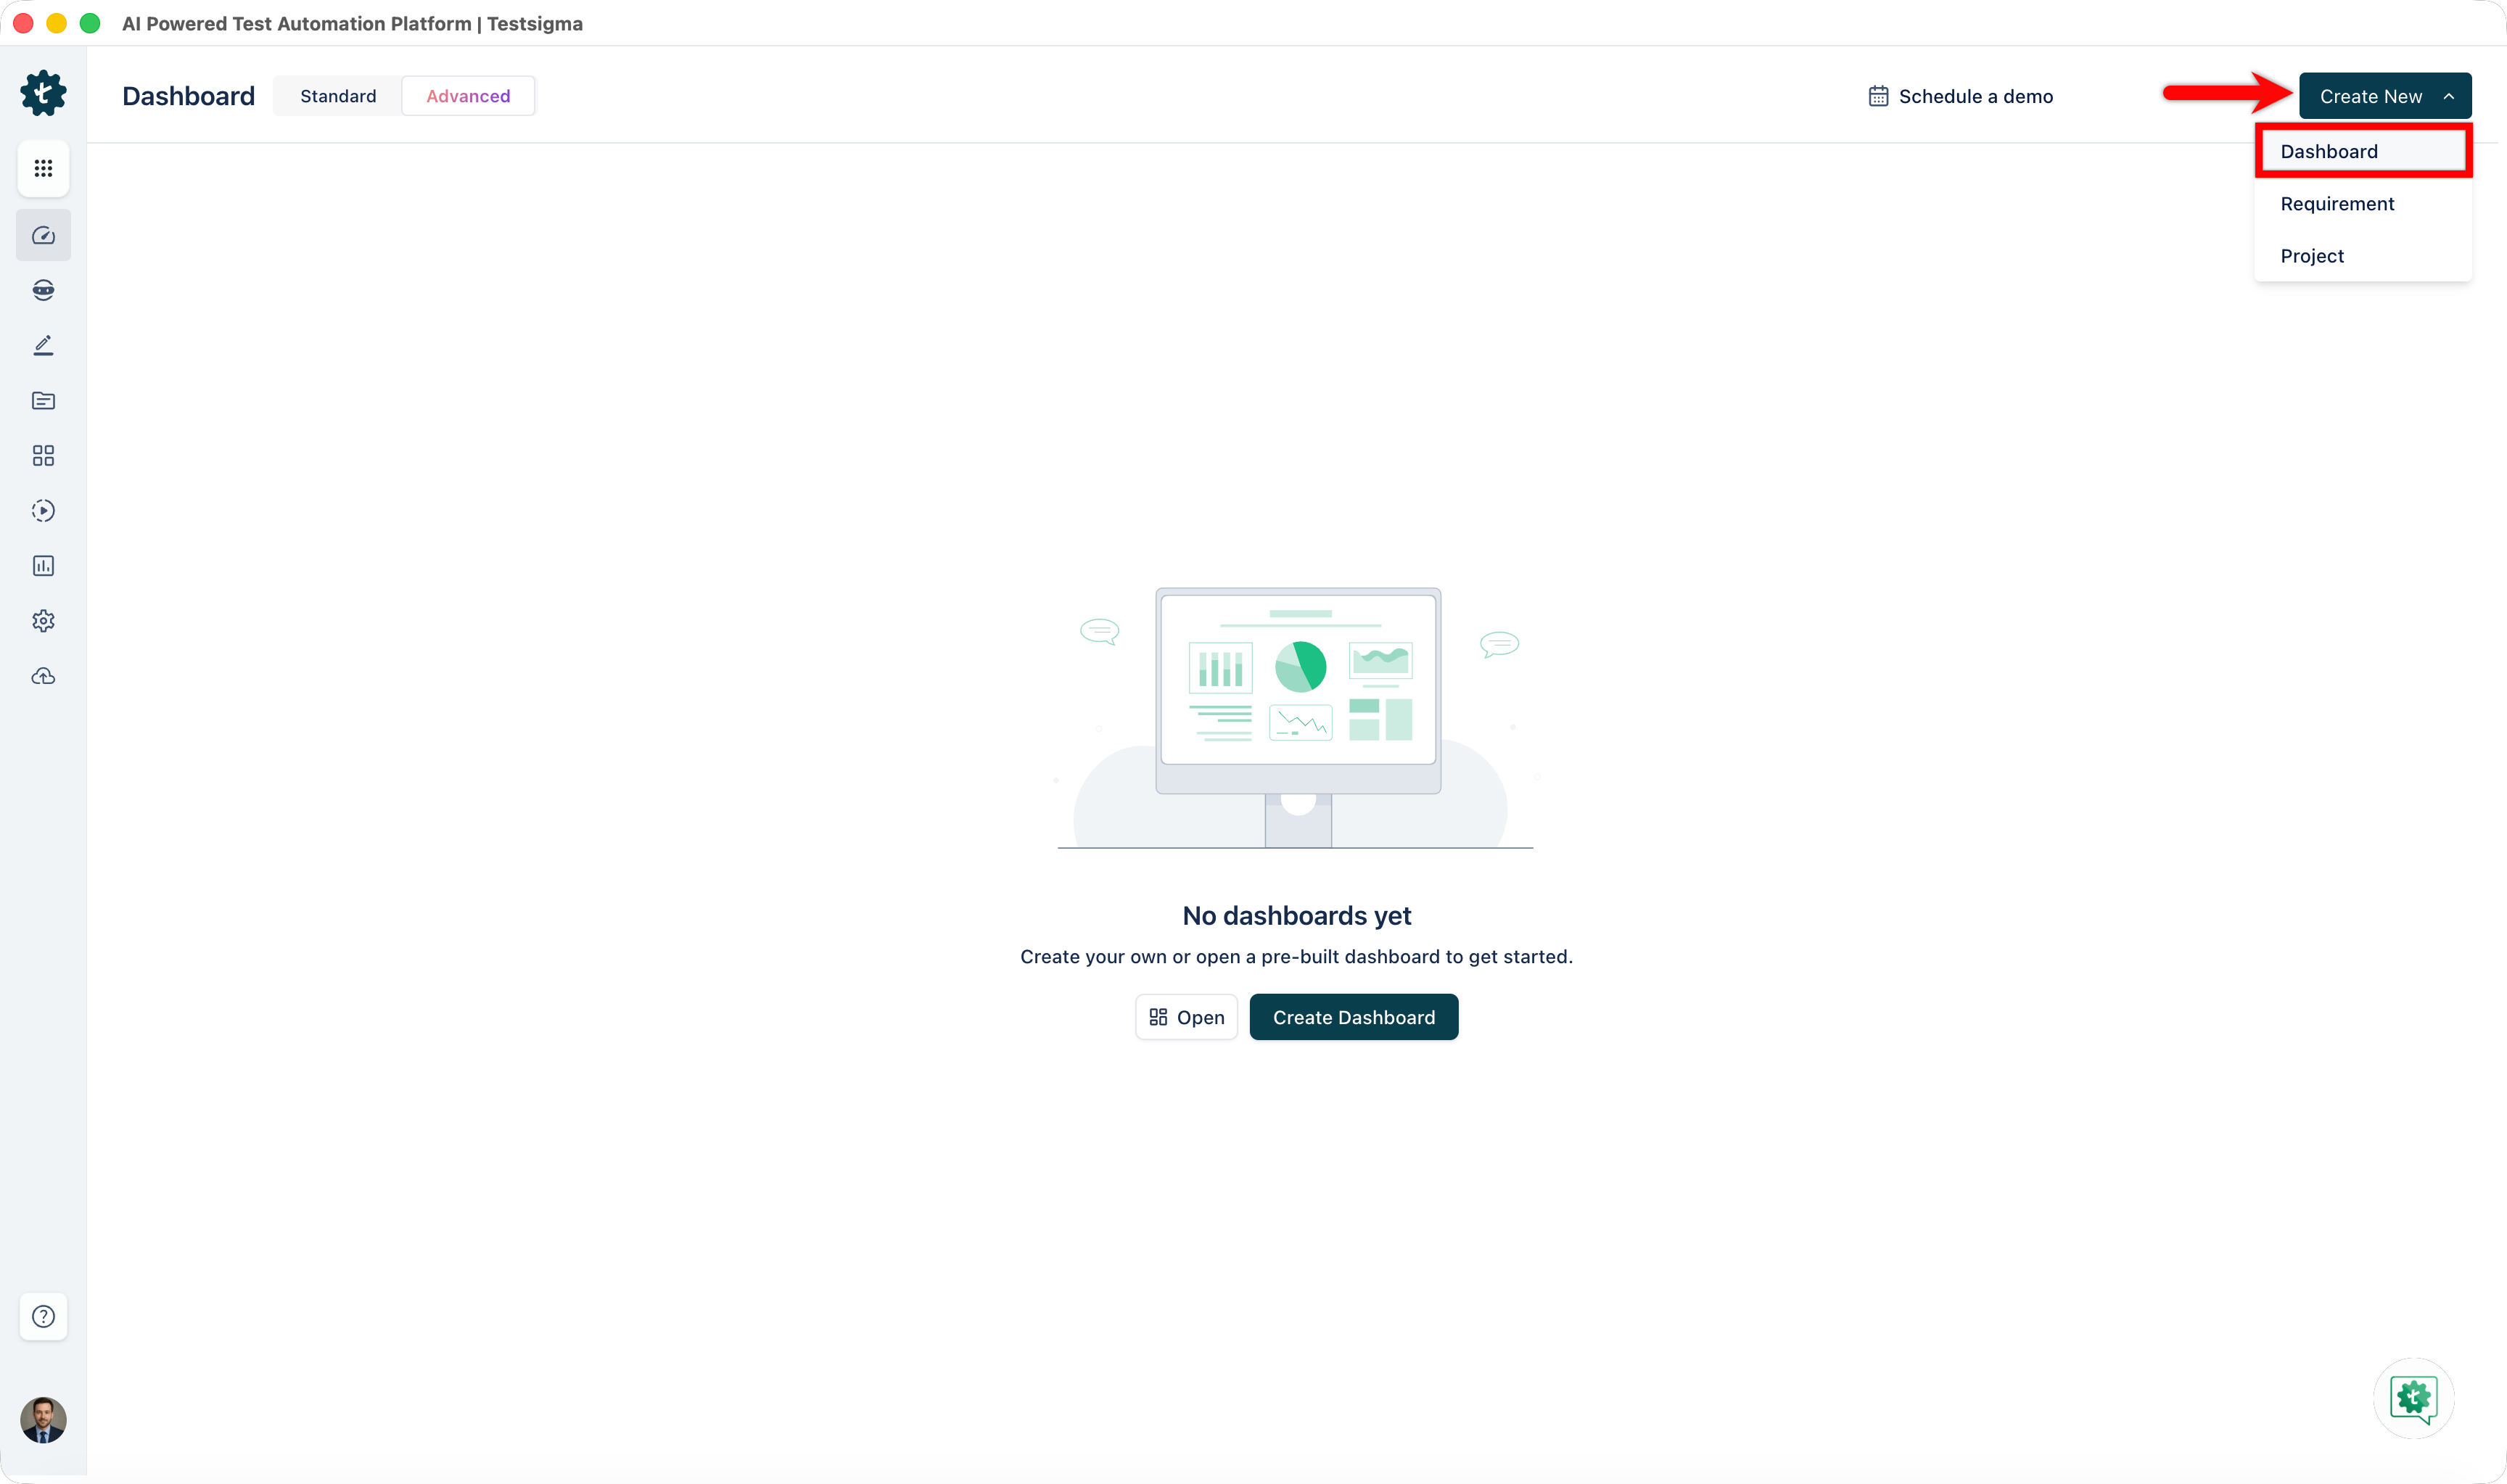
Click Create Dashboard. A tab opens prompting you to enter a dashboard name and select widgets.

Alternatively, click Create New + in the top-right corner and select Dashboard from the dropdown menu.
-
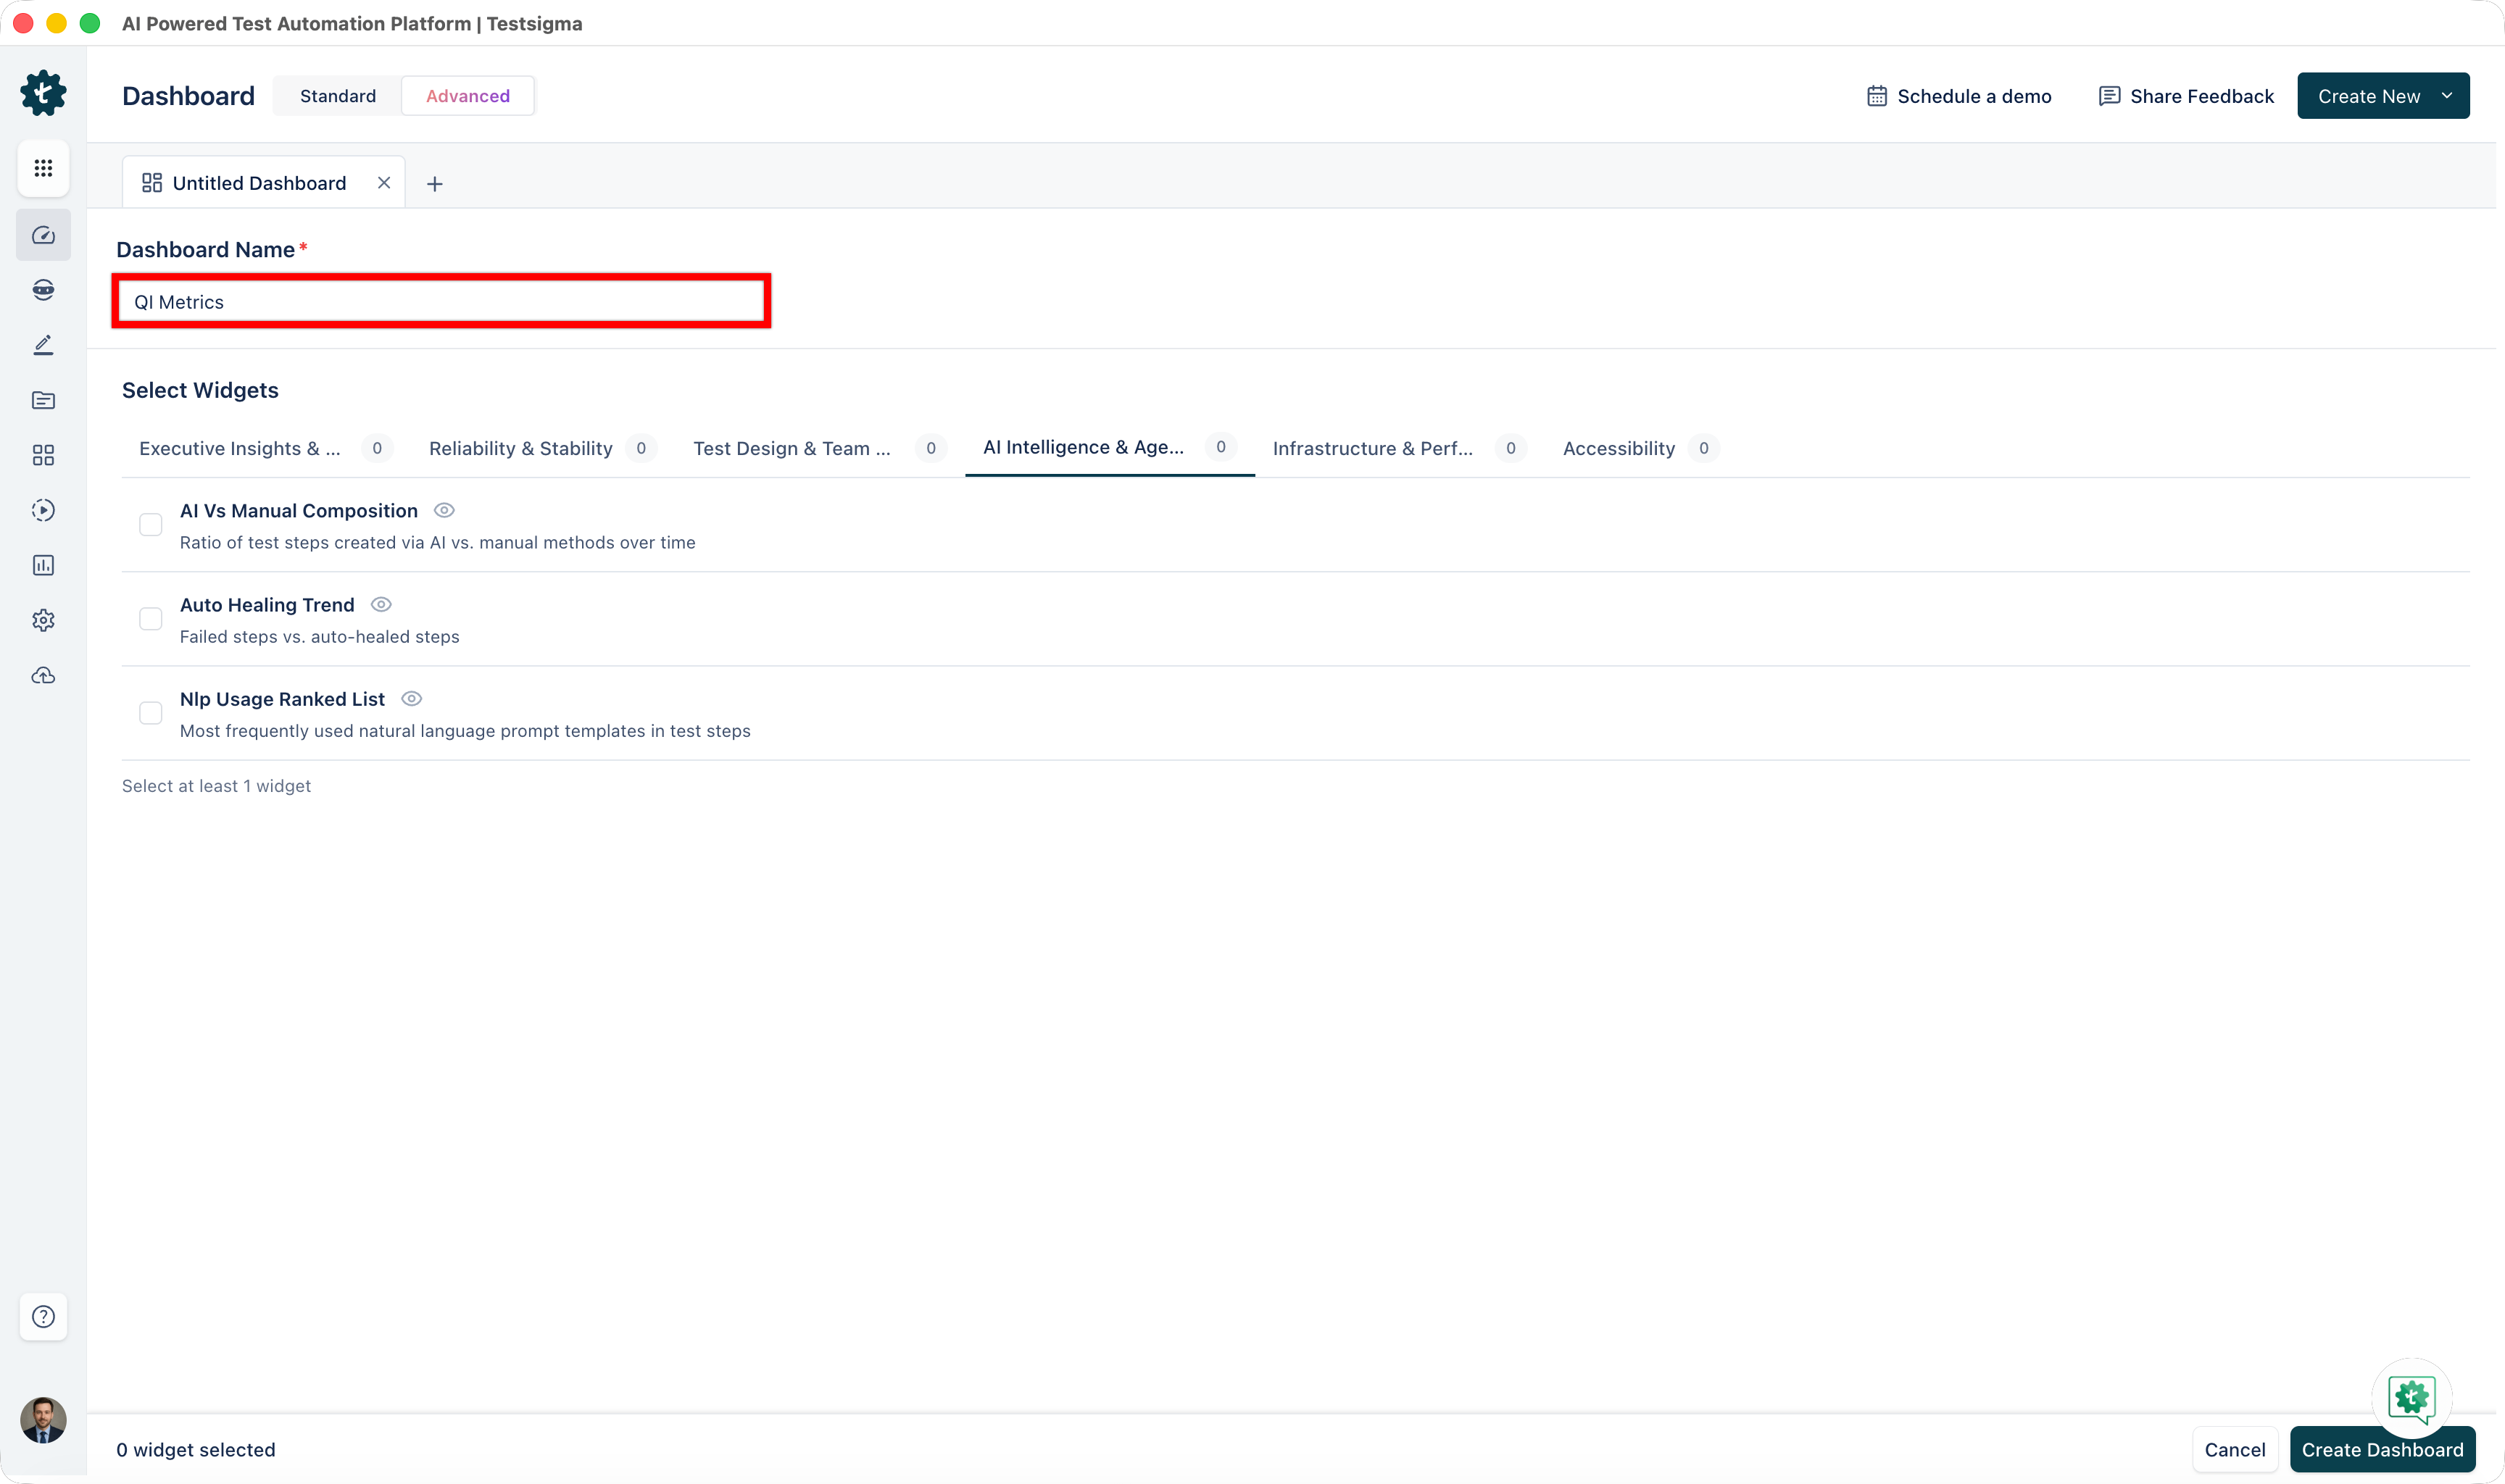
Enter a descriptive name for your dashboard. The name should convey its purpose and audience.
Examples: "Release Readiness - Q2 2026", "Mobile App Quality Dashboard", "Team Velocity Tracker"
Tip: Use names specific enough to be searchable but concise enough to fit in navigation menus.
-
Select Widgets from the library, which is organized into six categories:
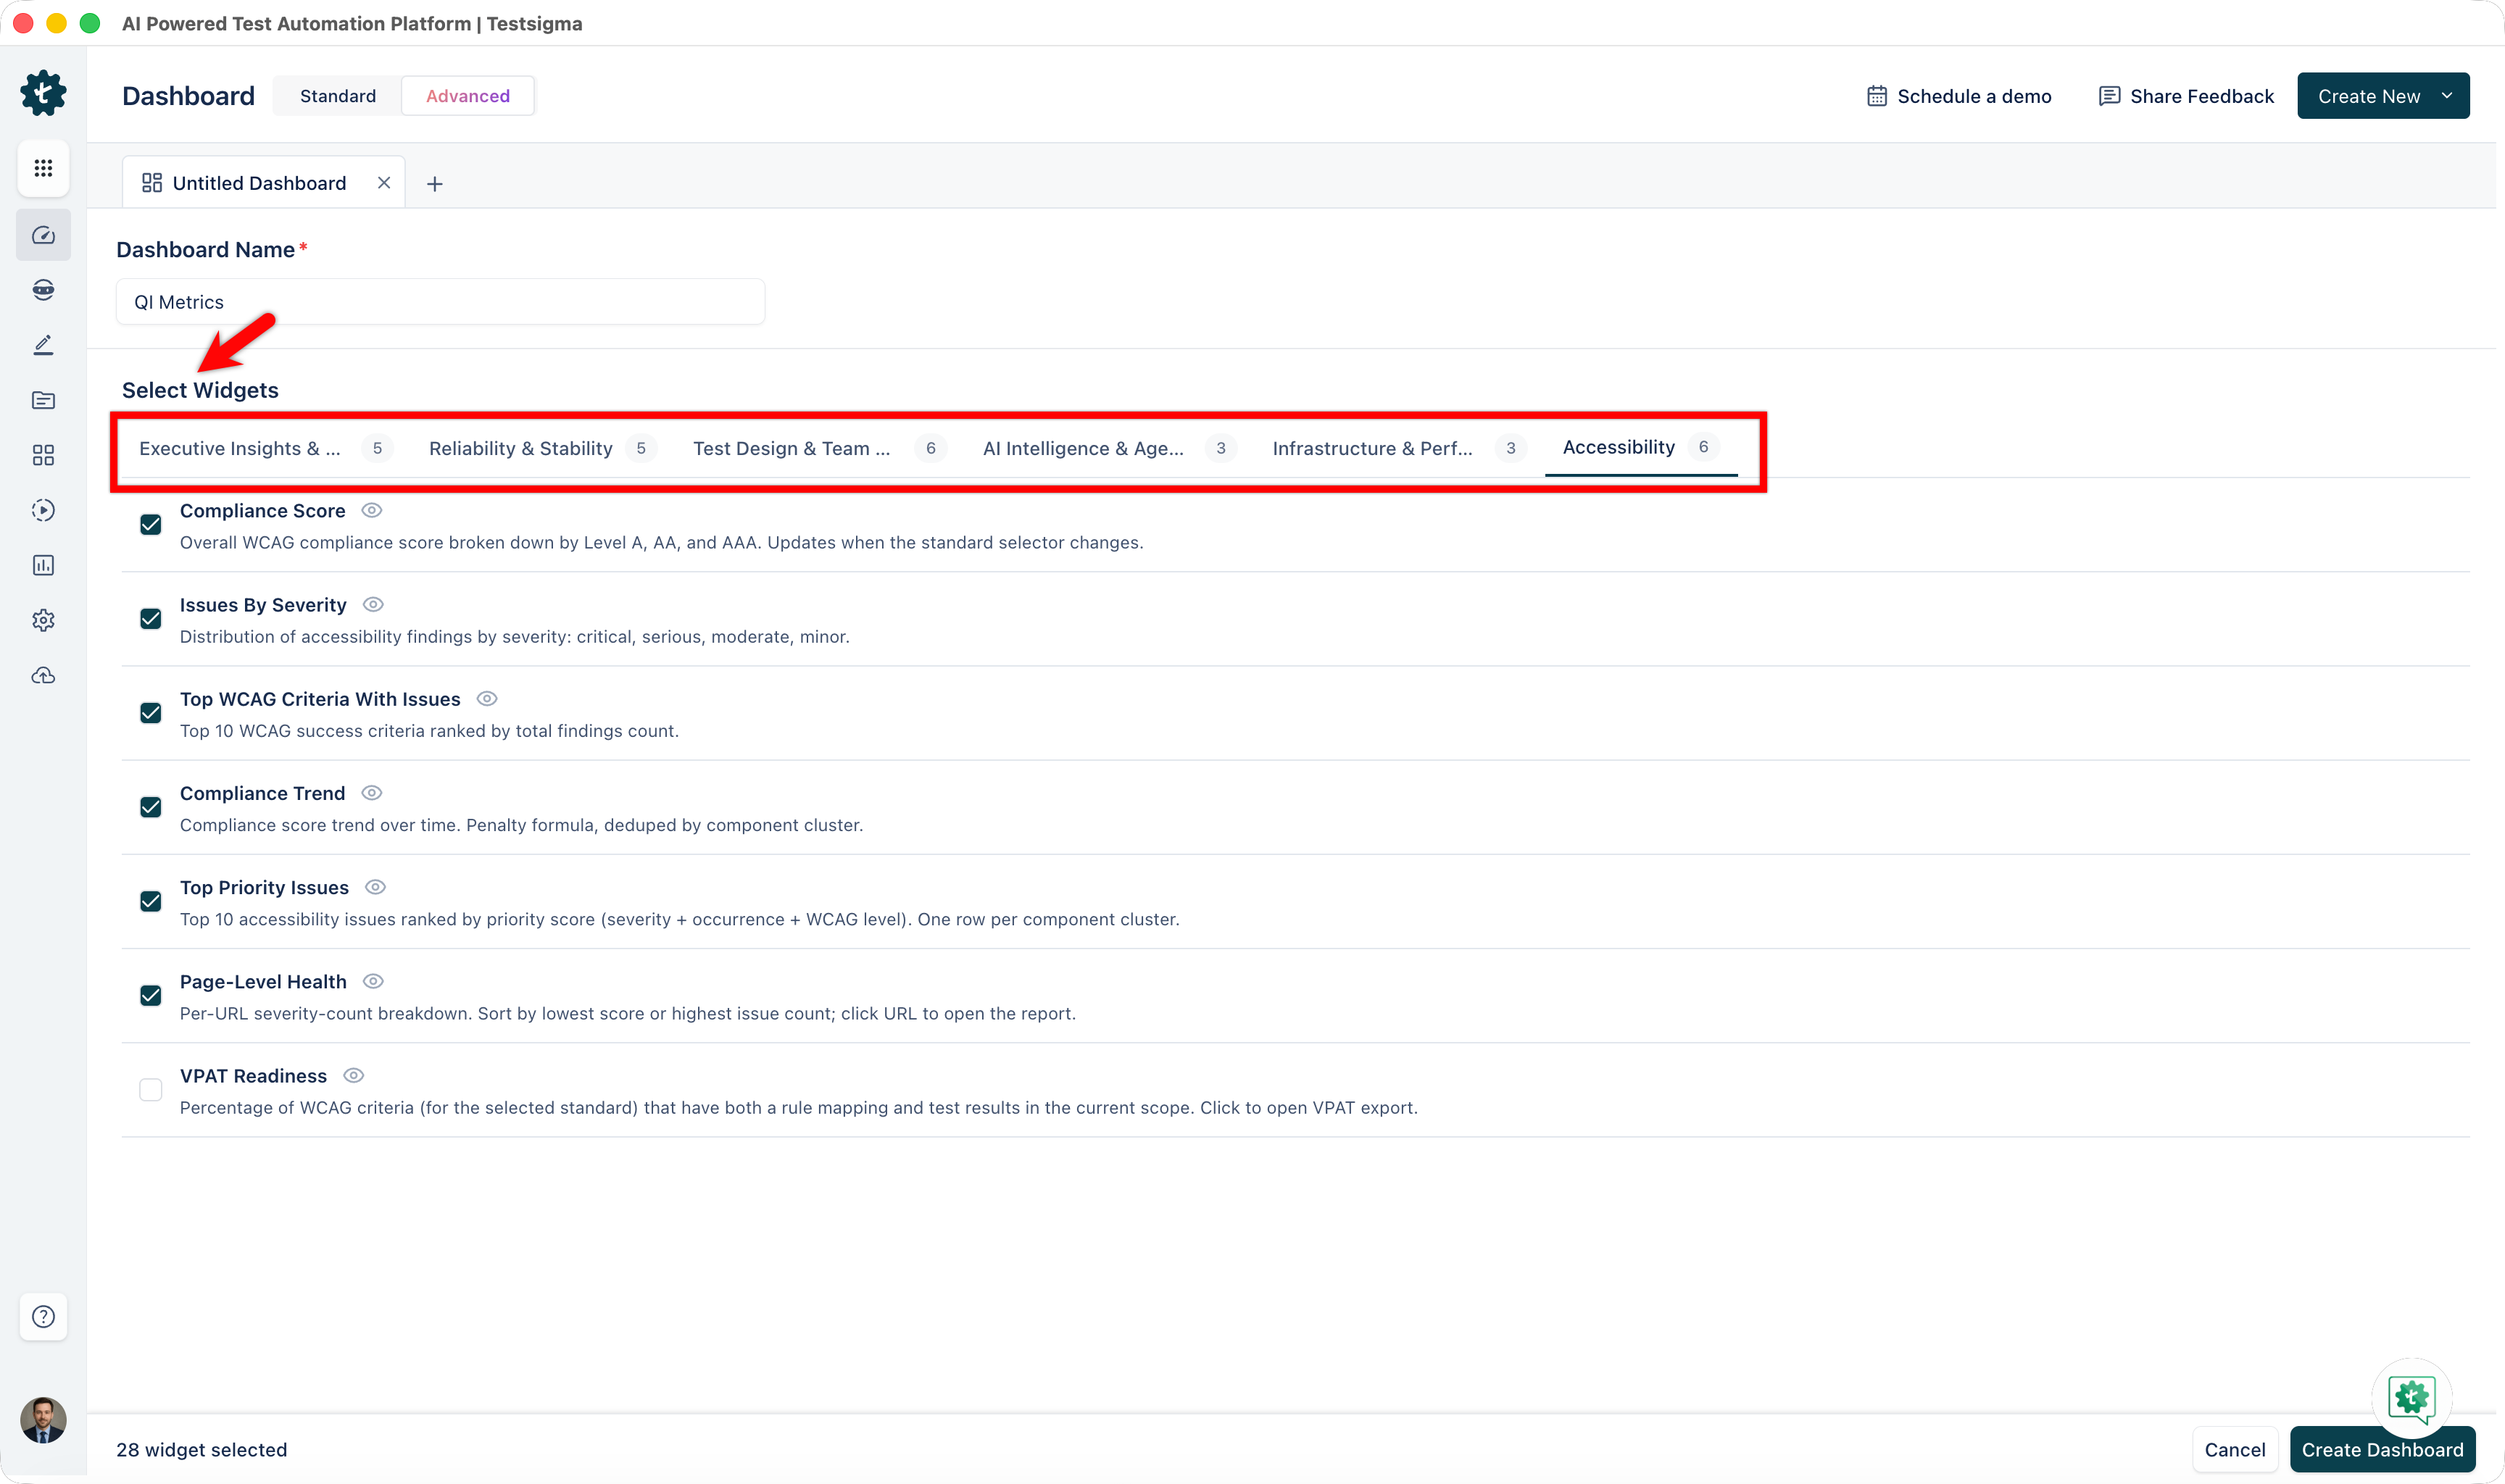
- Executive Insights & Release Readiness
- Reliability & Stability
- Test Design & Team Productivity
- AI Intelligence & Agentic ROI
- Infrastructure & Performance
- Accessibility
NOTE:You can choose multiple widgets from the same category and mix widgets from different categories. For more details, see the Widgets Reference.
You can also click the eye icon next to any widget to preview it before adding it to your dashboard.
- Click Create Dashboard.
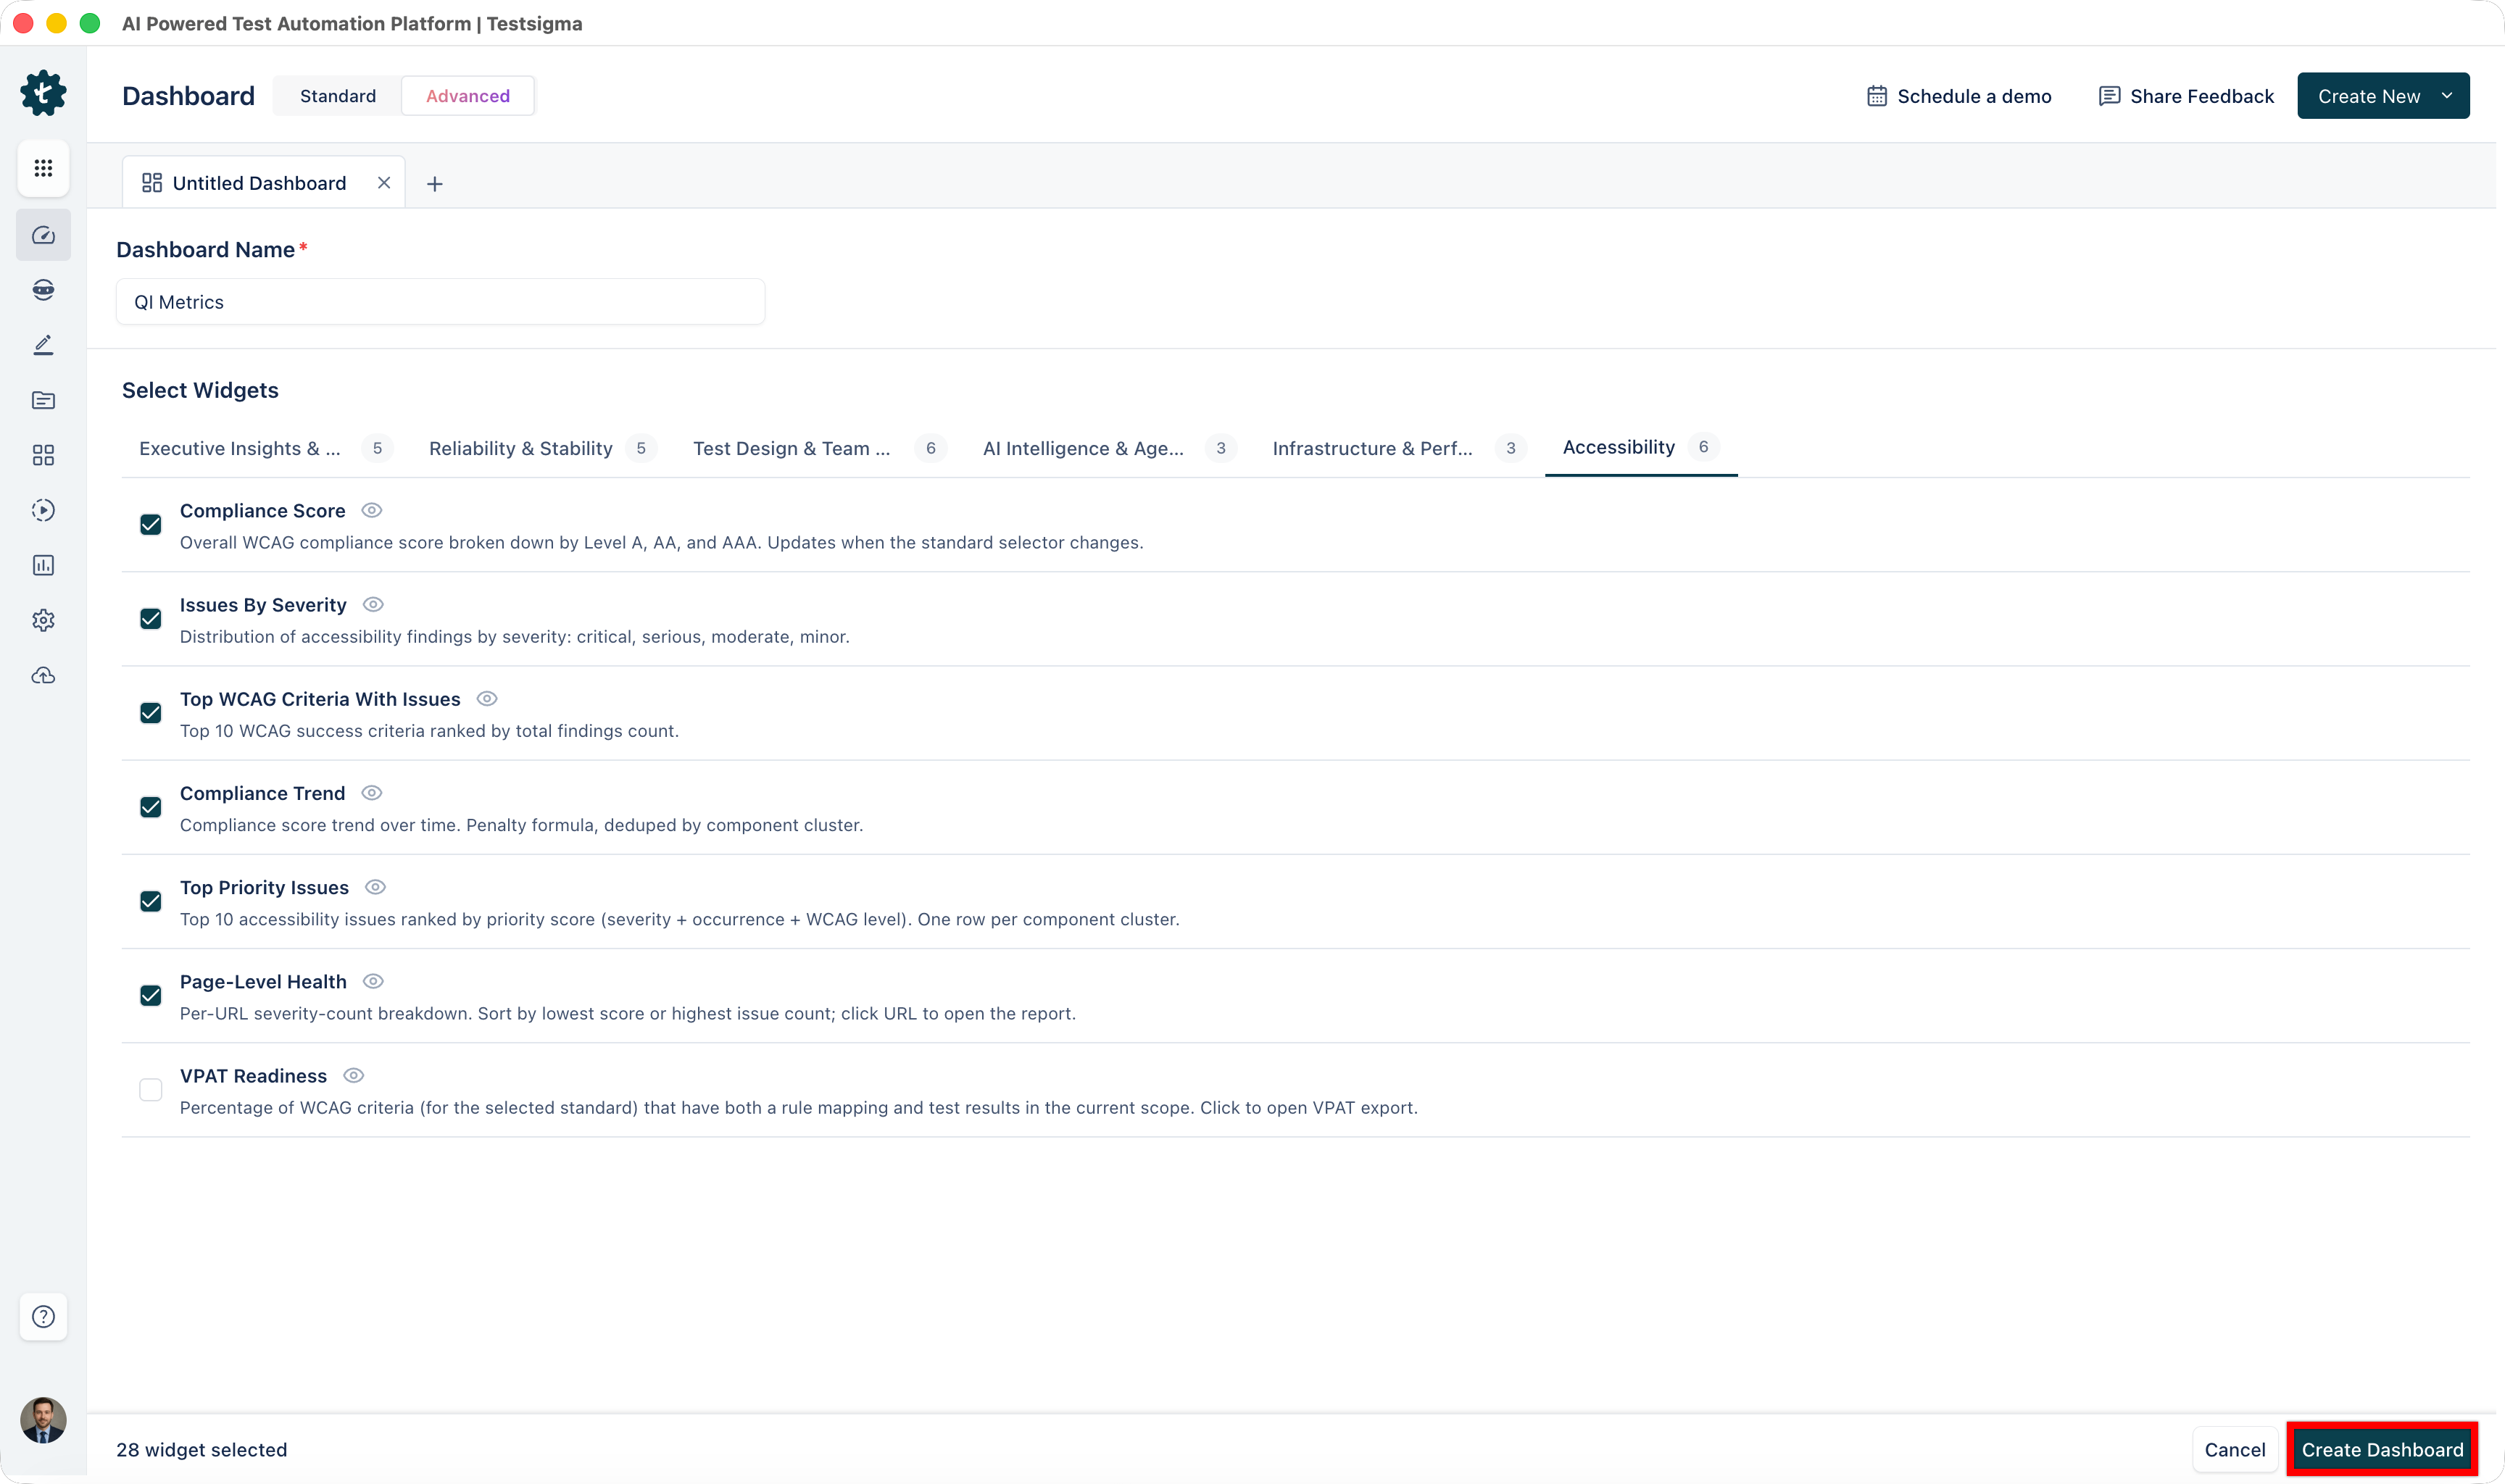
Your dashboard is now live. Widgets display data and update in real time as test executions complete.
Apply Filters
- Open the Dashboard.
- The filter controls appear at the top of the dashboard.
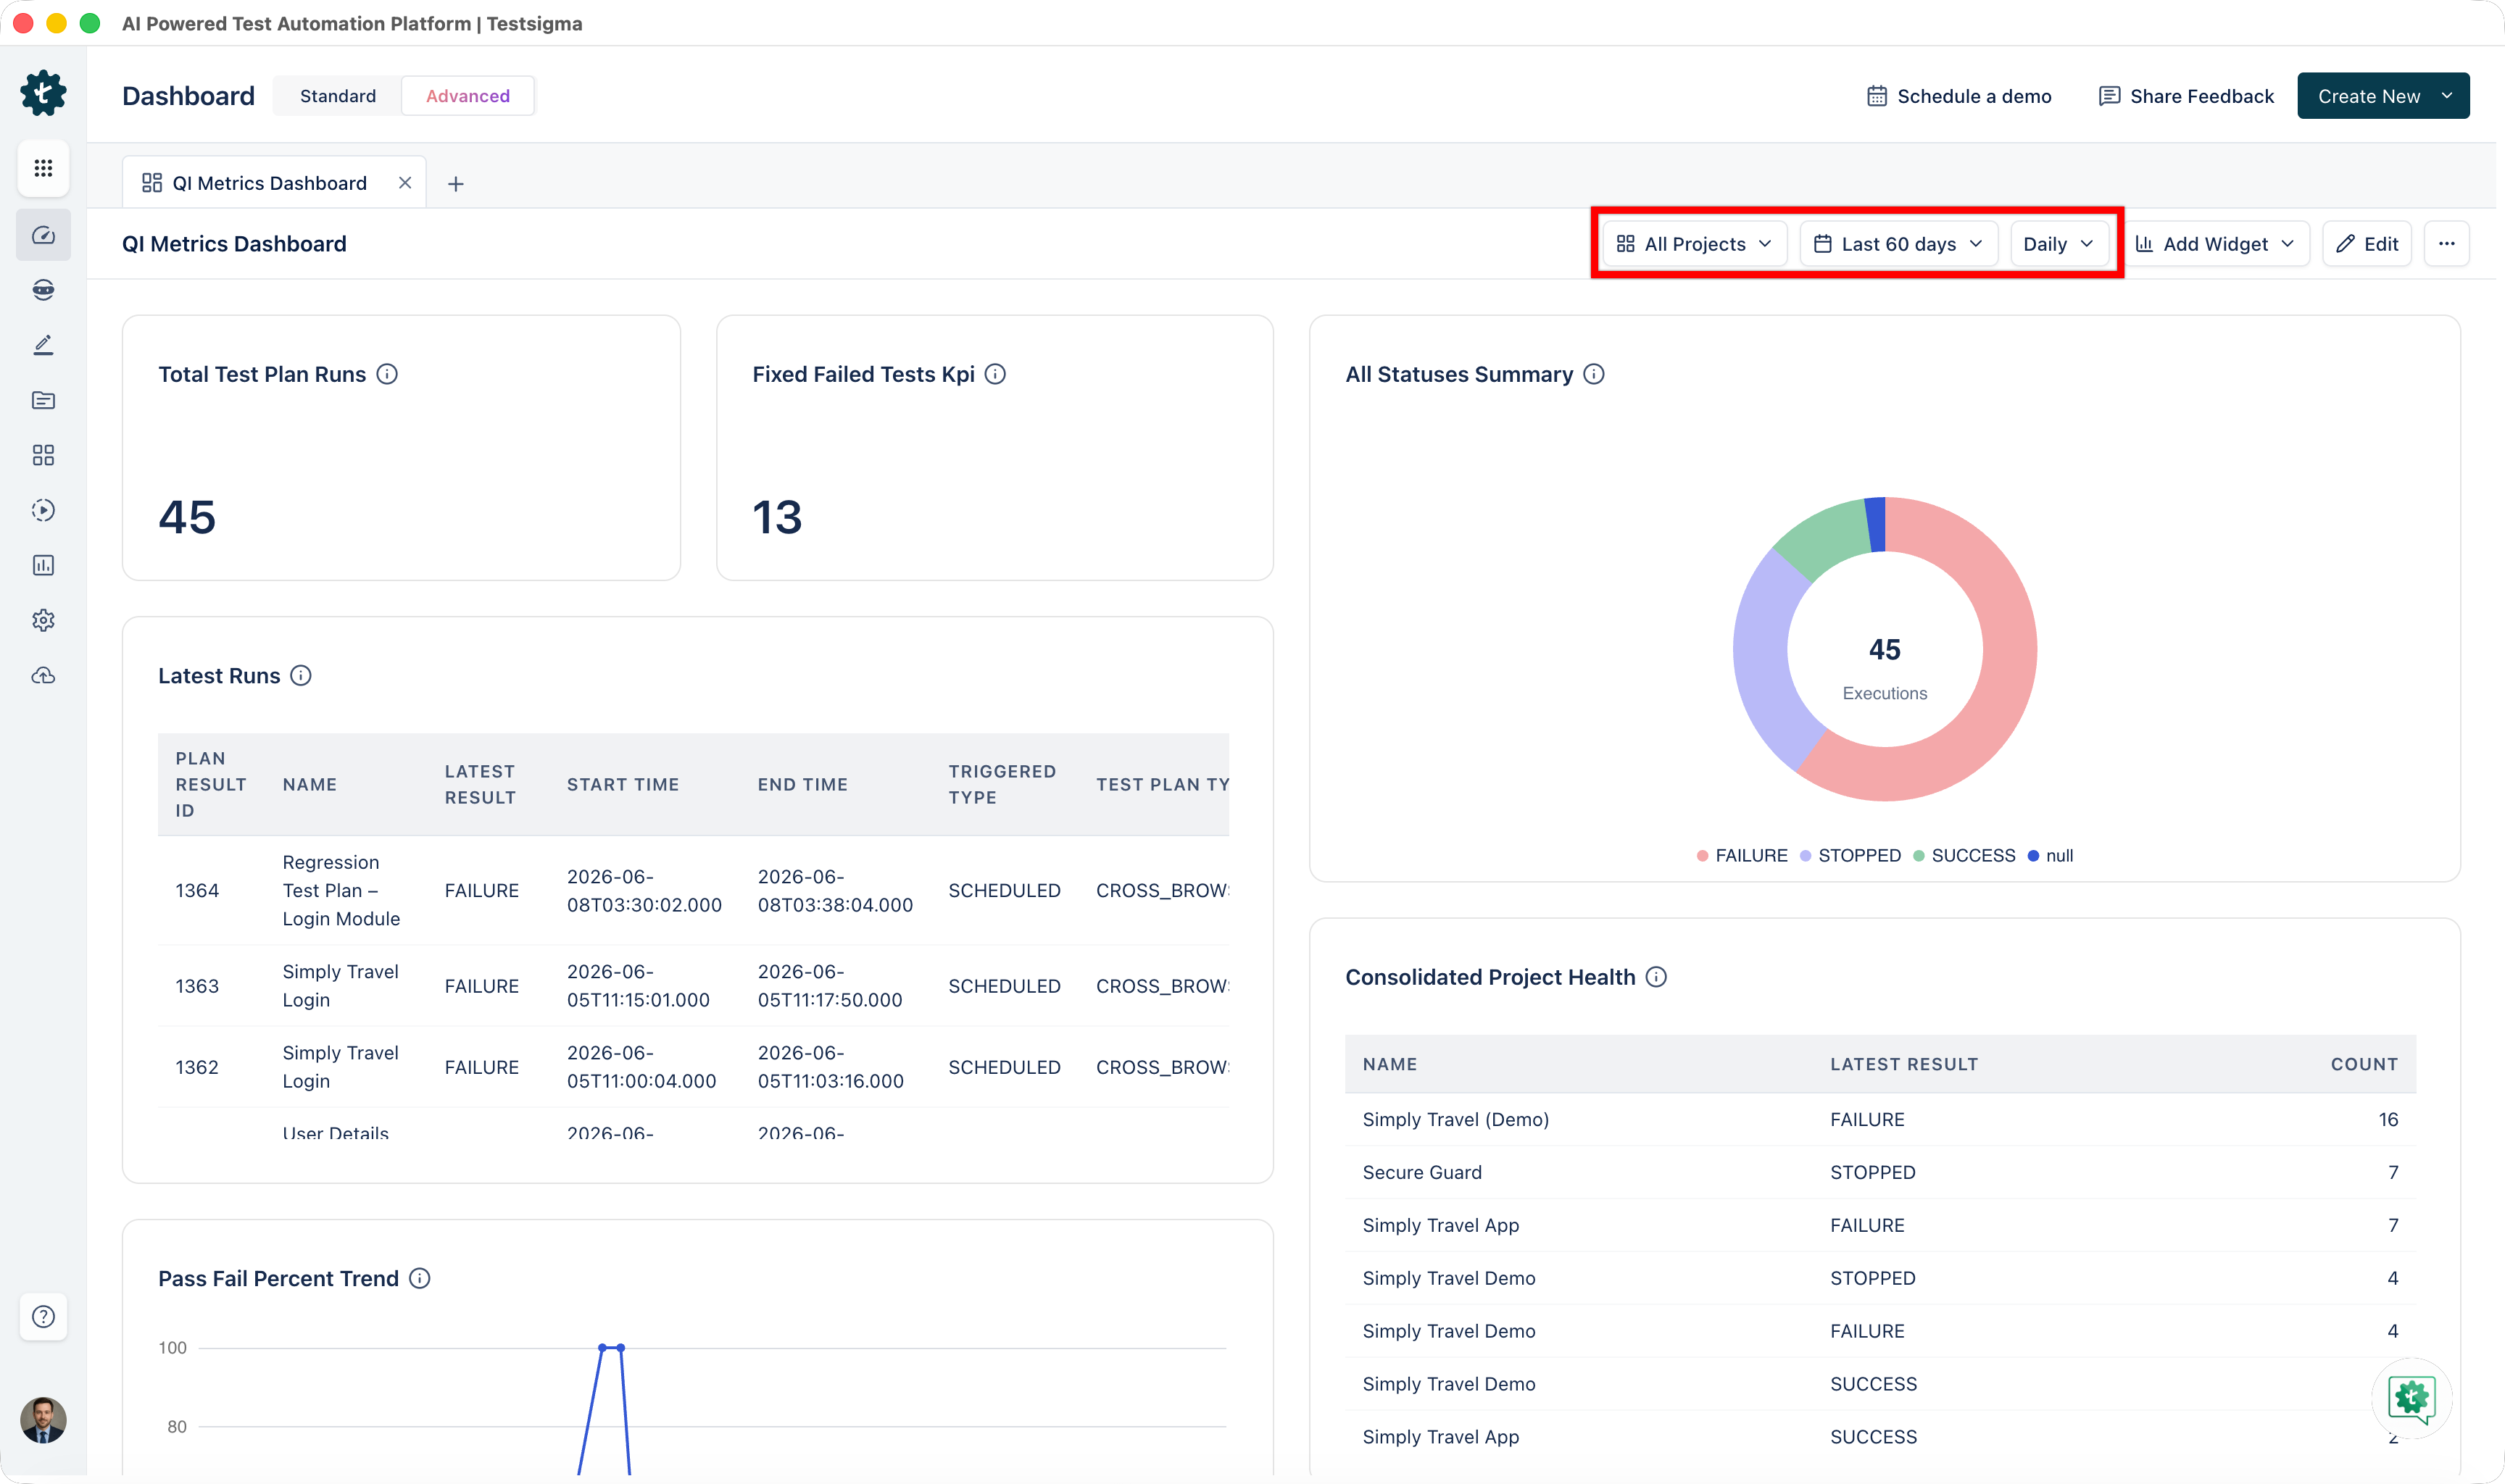
- Click any filter control to open its menu.
-
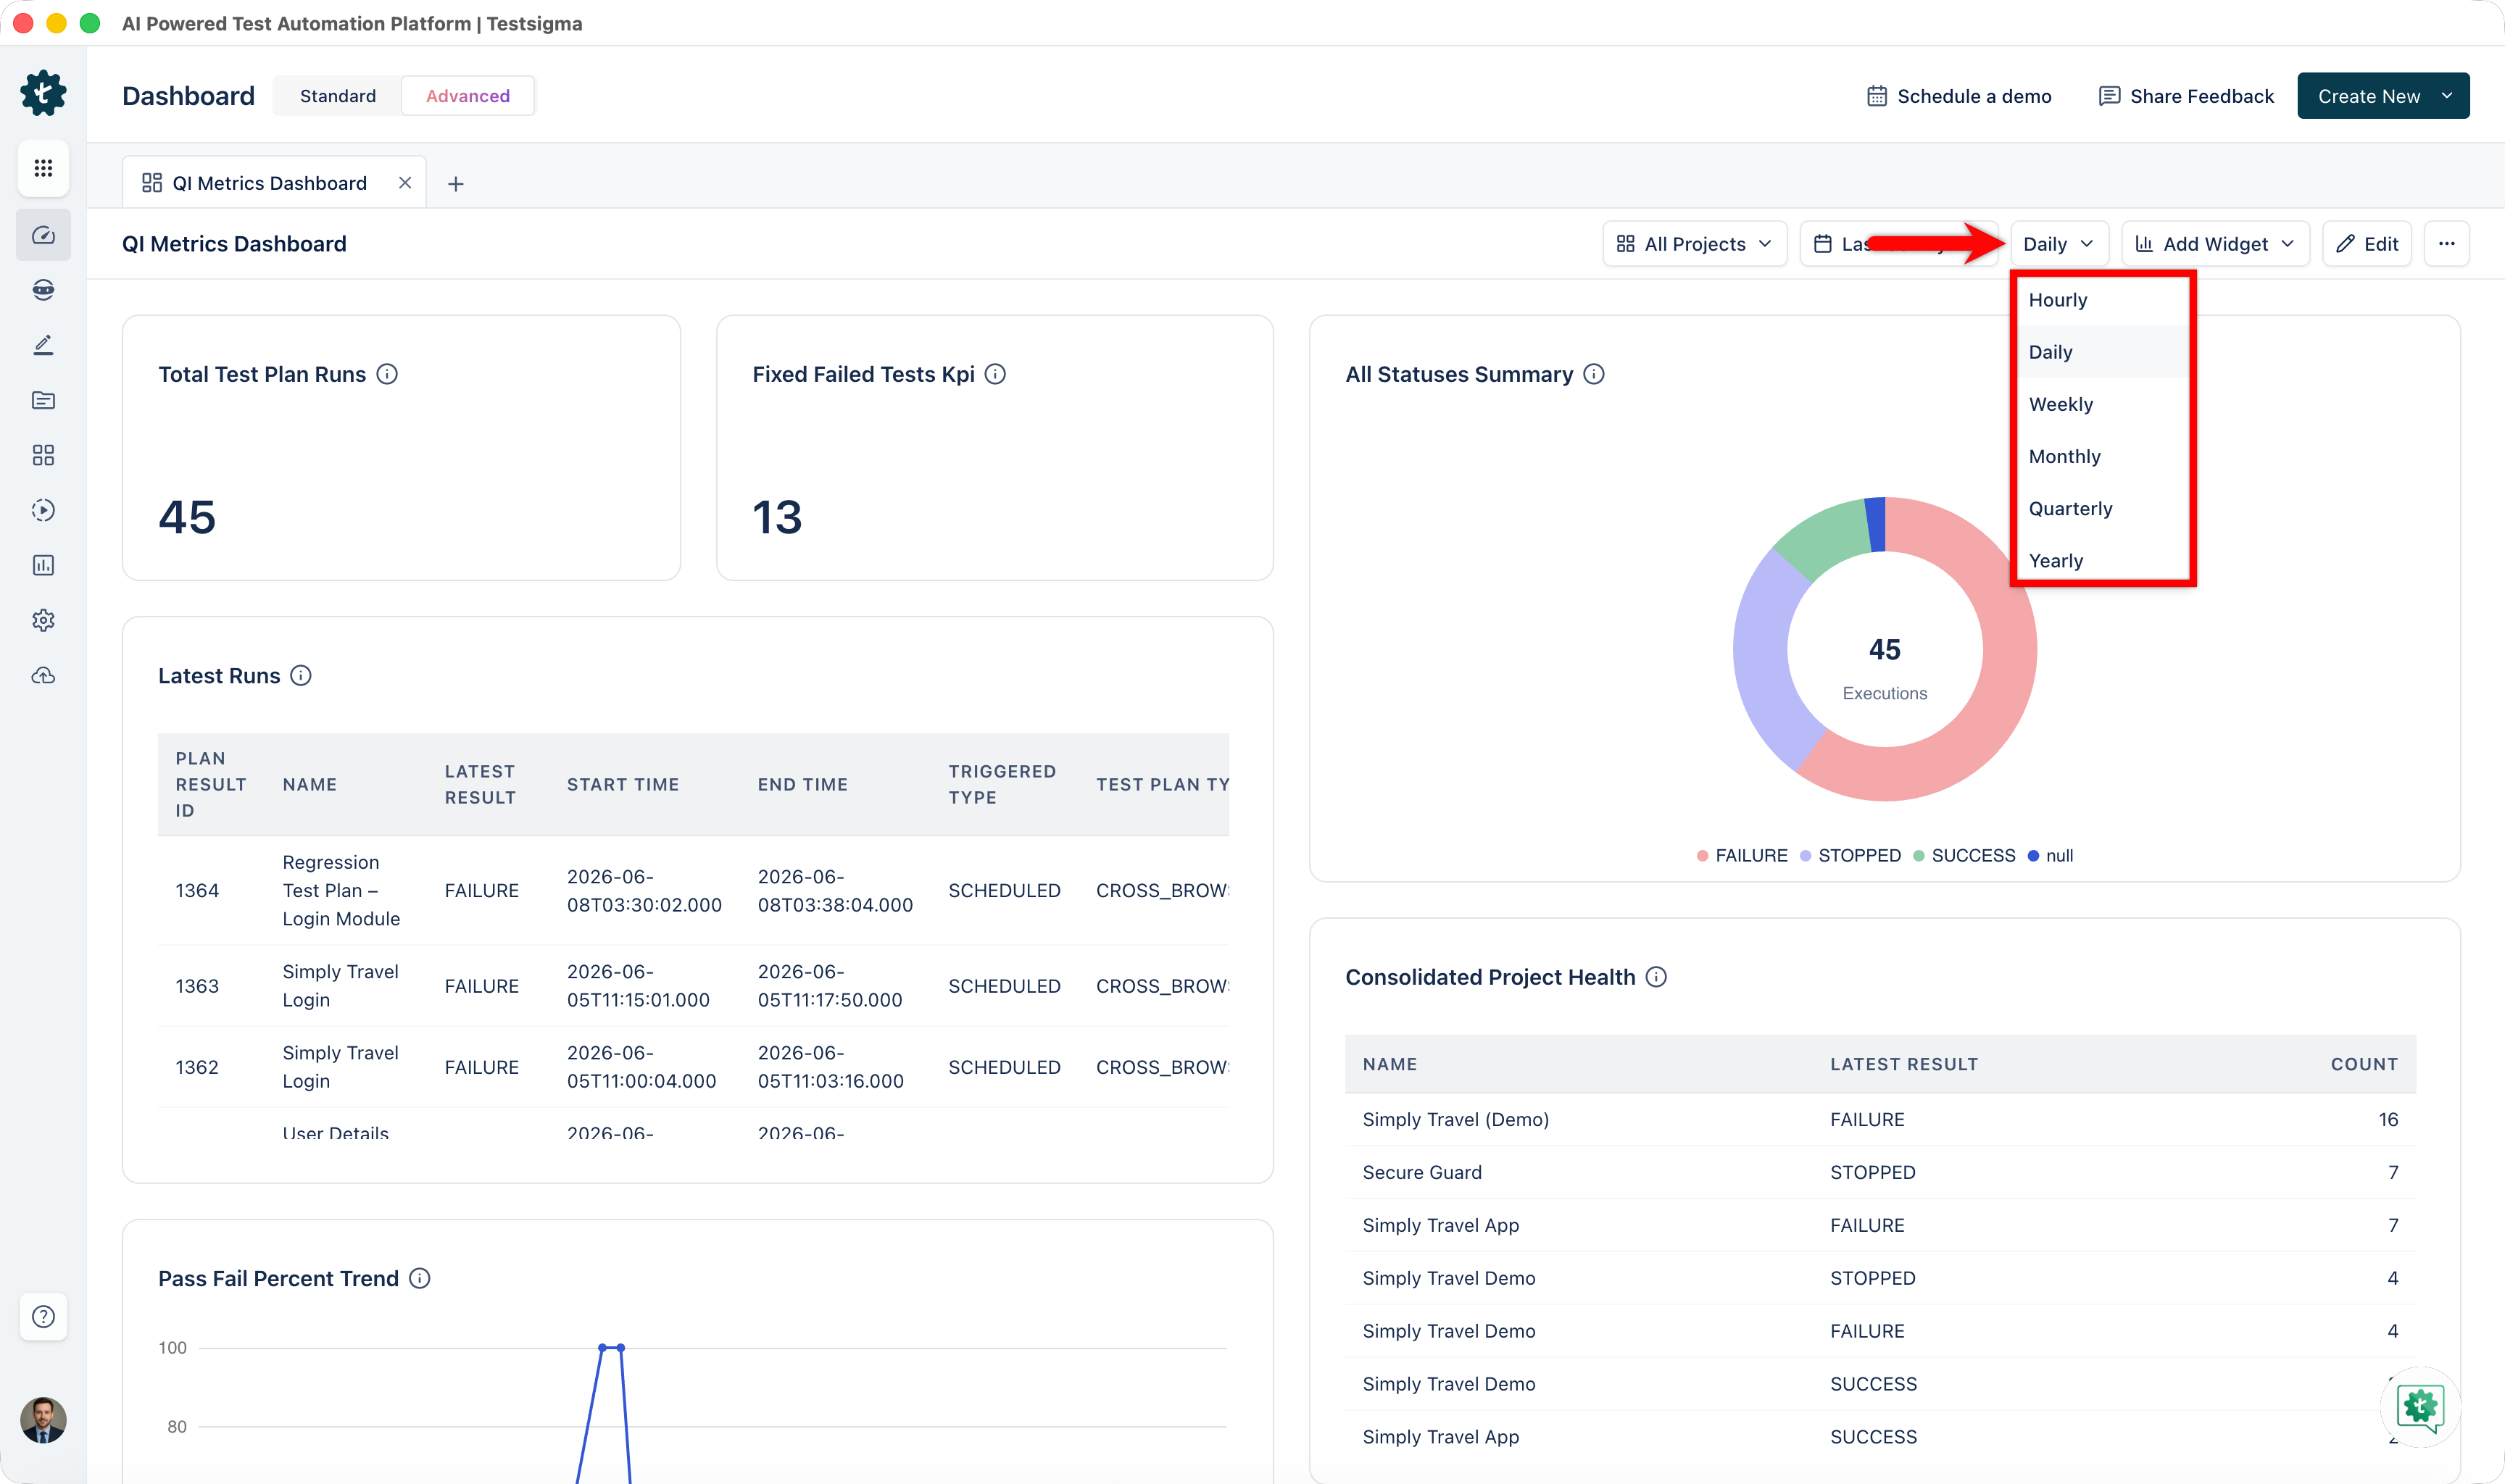
Select your desired value. The following filter dimensions are available:
- Project: Use the Project selector to scope data to a specific project, application, and version, or select All Projects to view aggregated data.
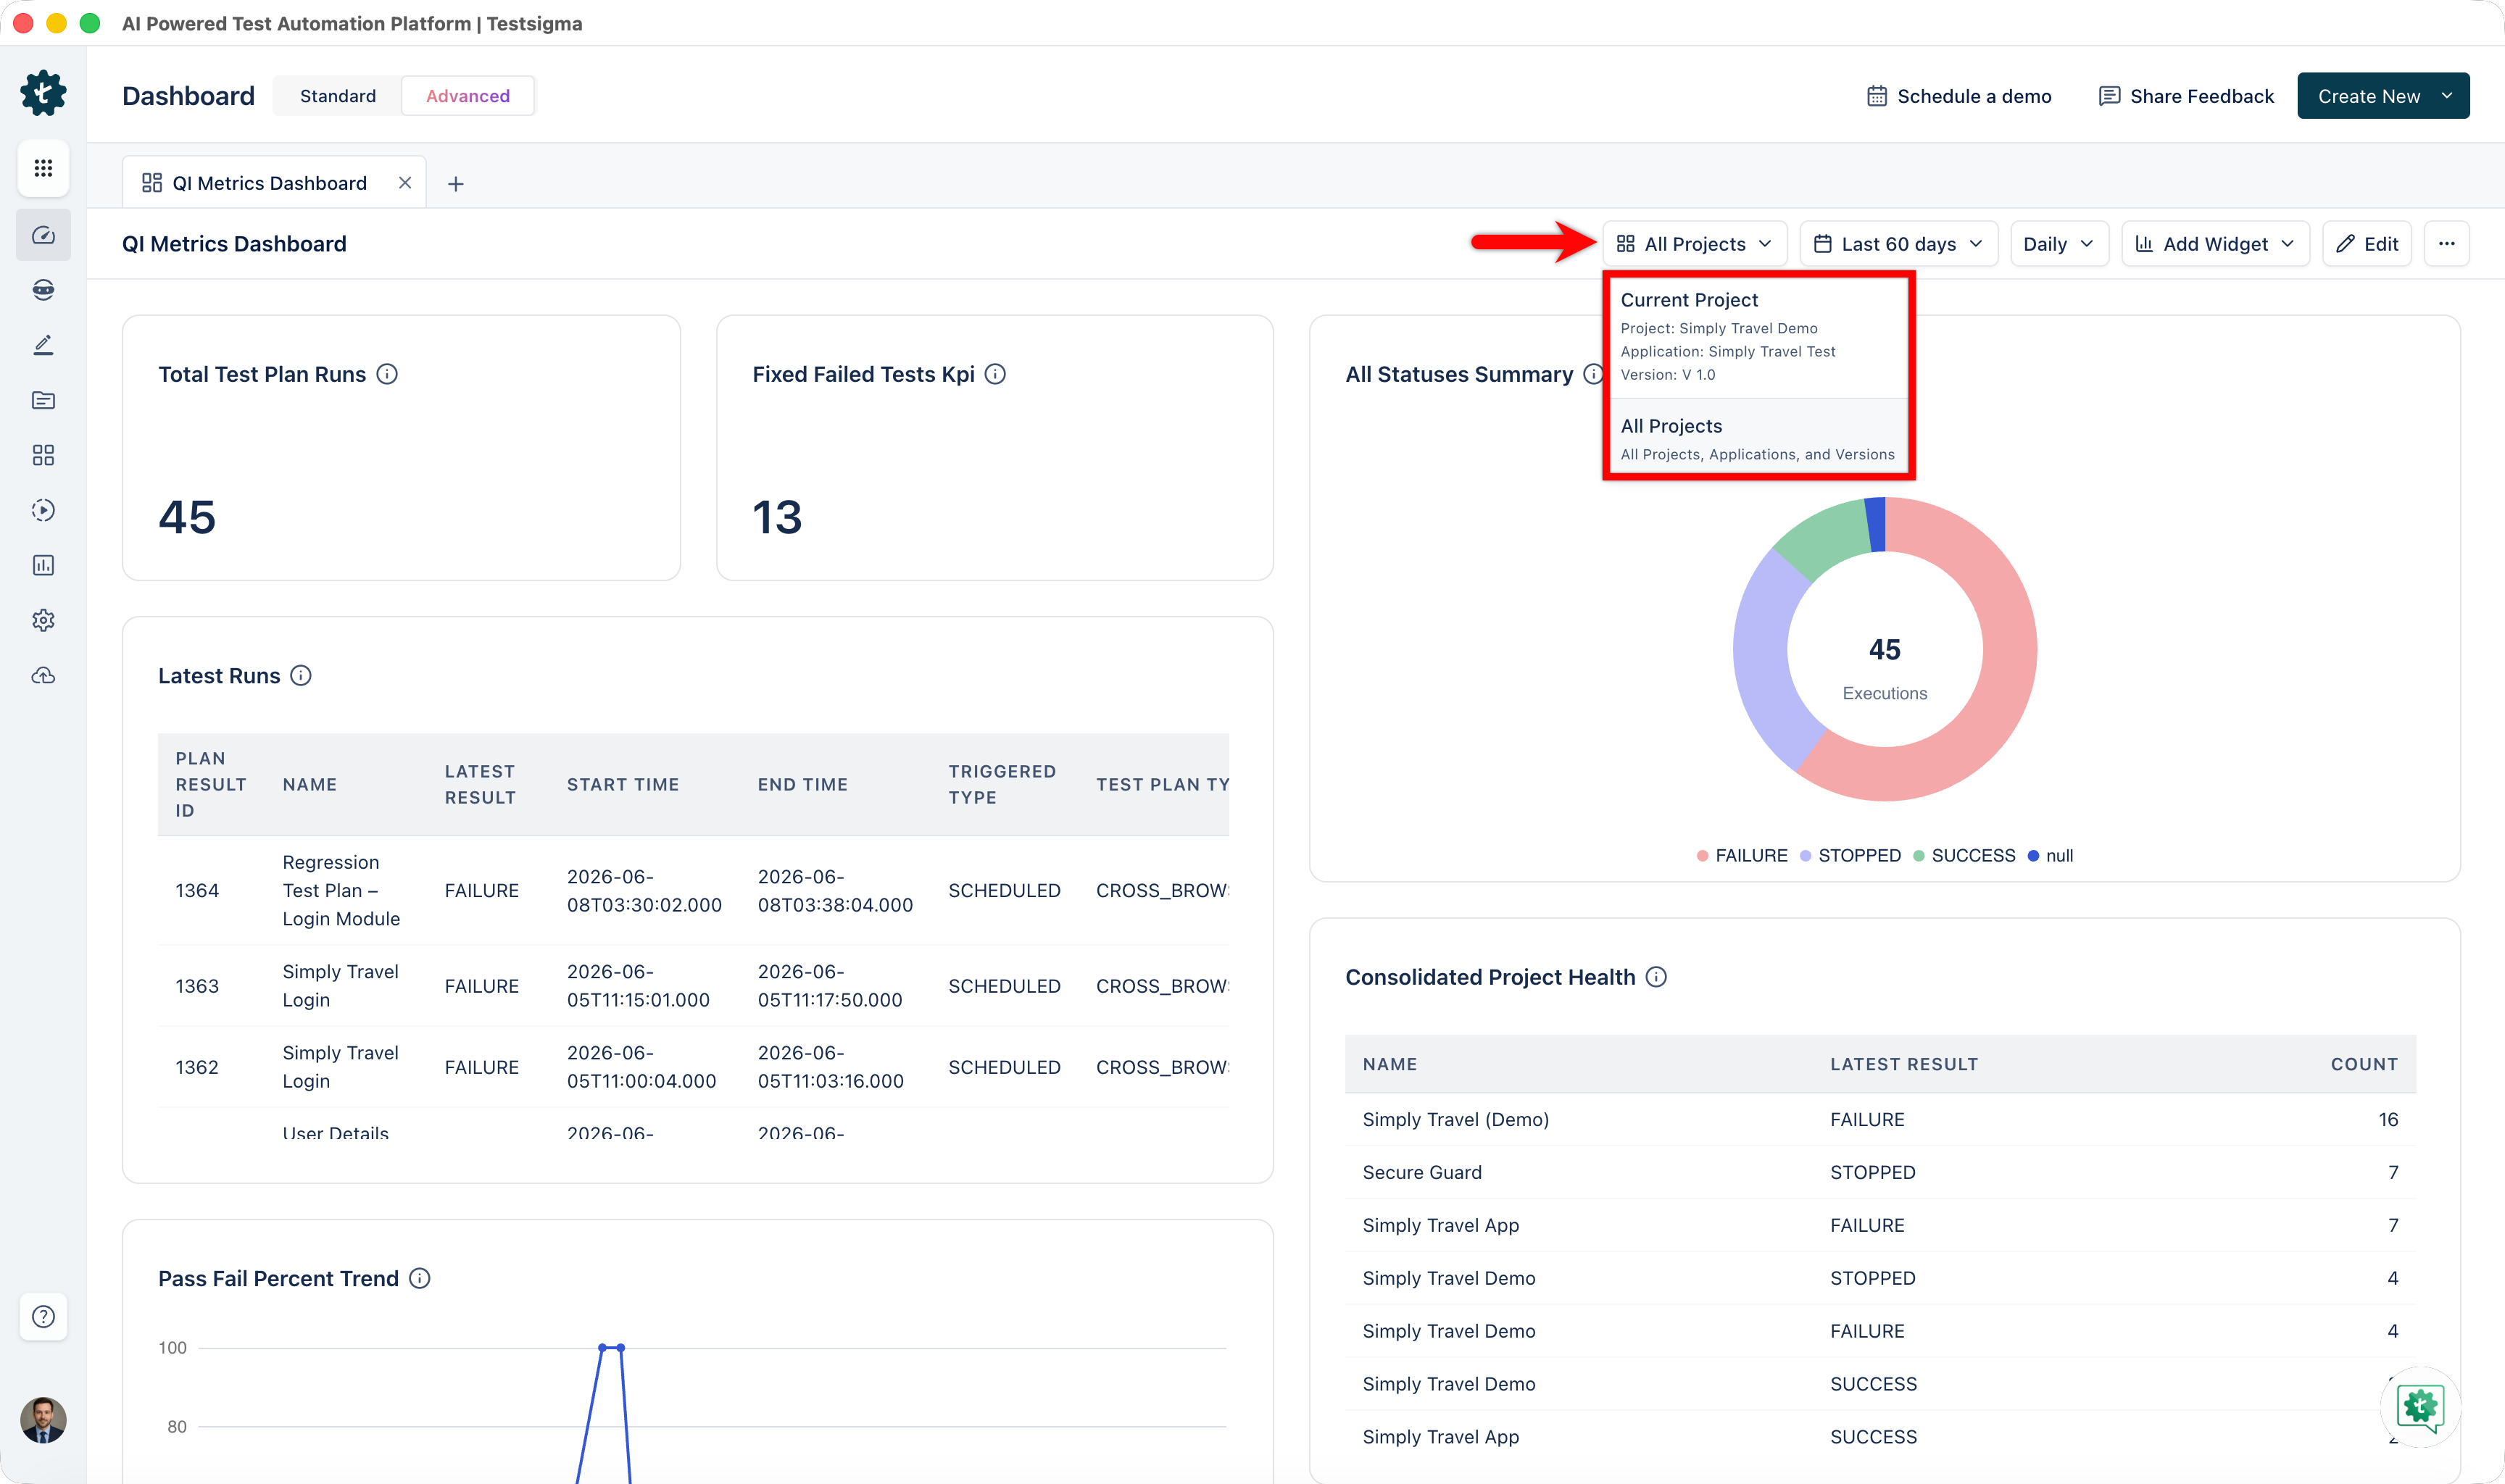
- Date range: Use the Date range filter to define the time period for analysis. Available options include recent hours (3–24 hours), current periods (Today, This Week, This Month, This Quarter), and longer ranges (Last 3–60 days), or Custom Date.

- Interval: Use the Interval filter to control how data is grouped. Options include Hourly, Daily, Weekly, Monthly, Quarterly, and Yearly.
- Project: Use the Project selector to scope data to a specific project, application, and version, or select All Projects to view aggregated data.
- All widgets update to reflect your filter selection.
Steps to Edit a Dashboard
After creating a dashboard, you can add widgets, remove widgets, or change the arrangement.
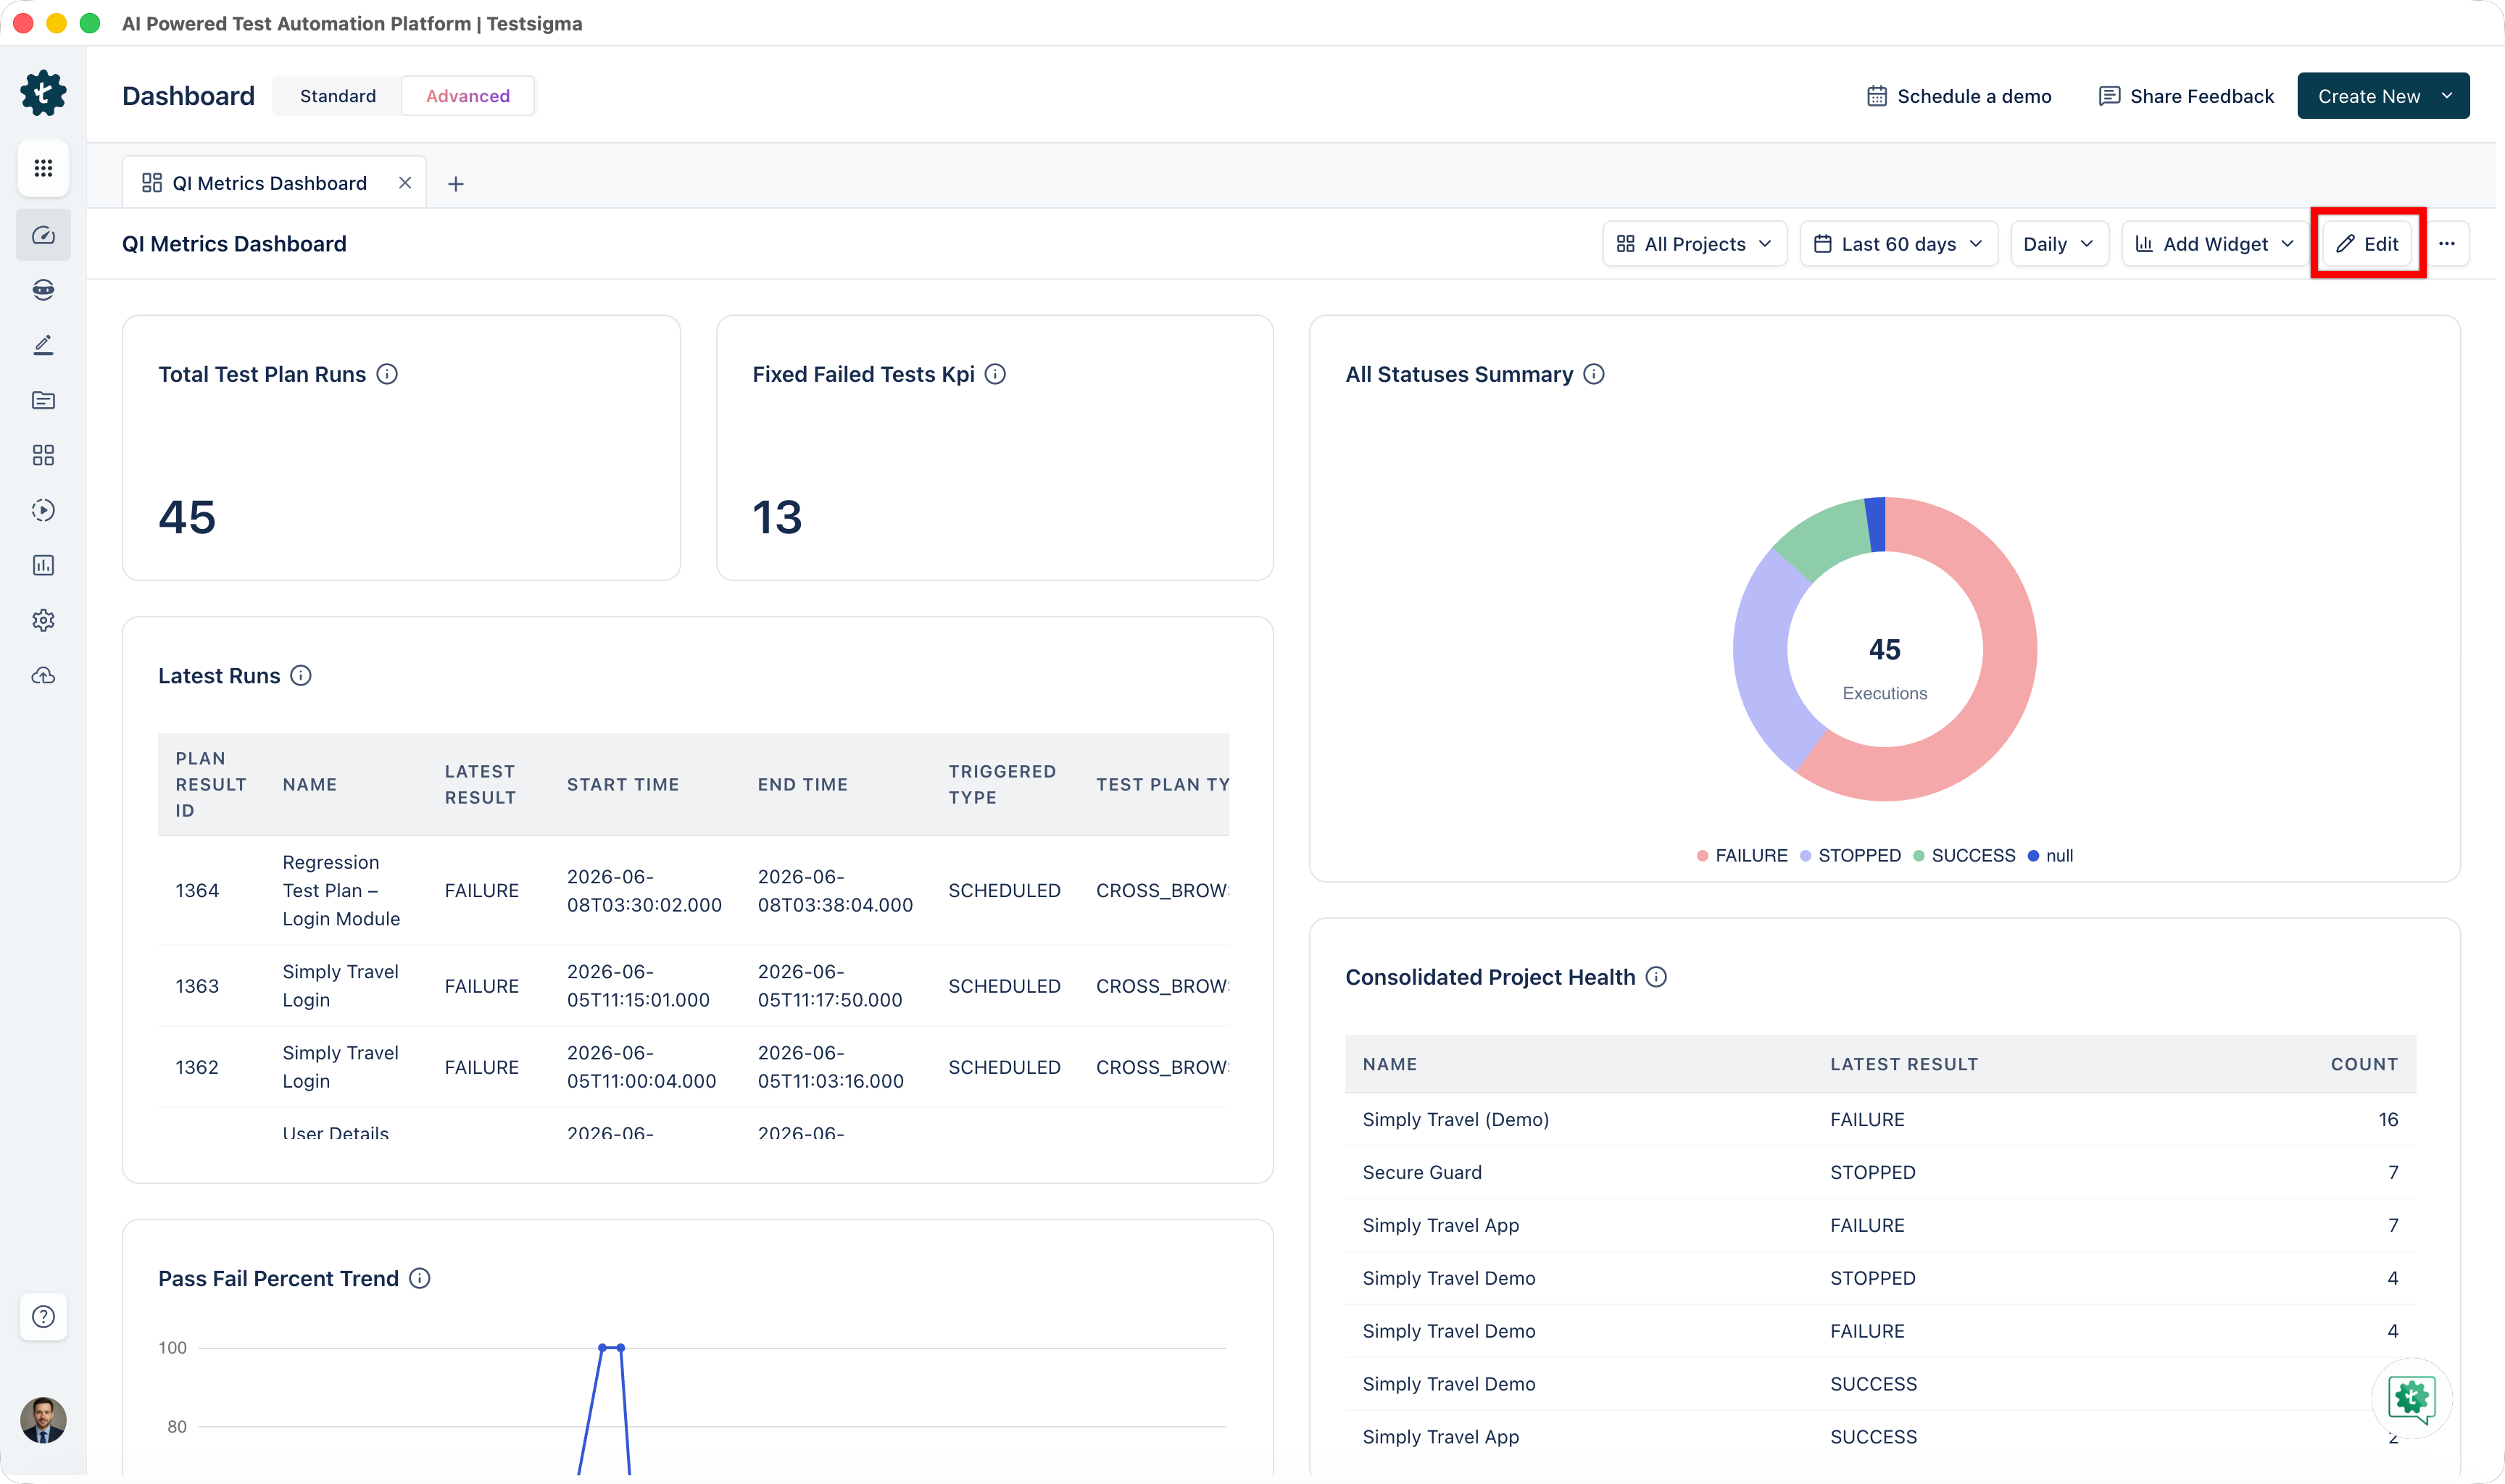
- On the Dashboard, switch to the Advanced dashboard and click the dashboard you want to modify.
- In the top-right corner, click the Edit button.
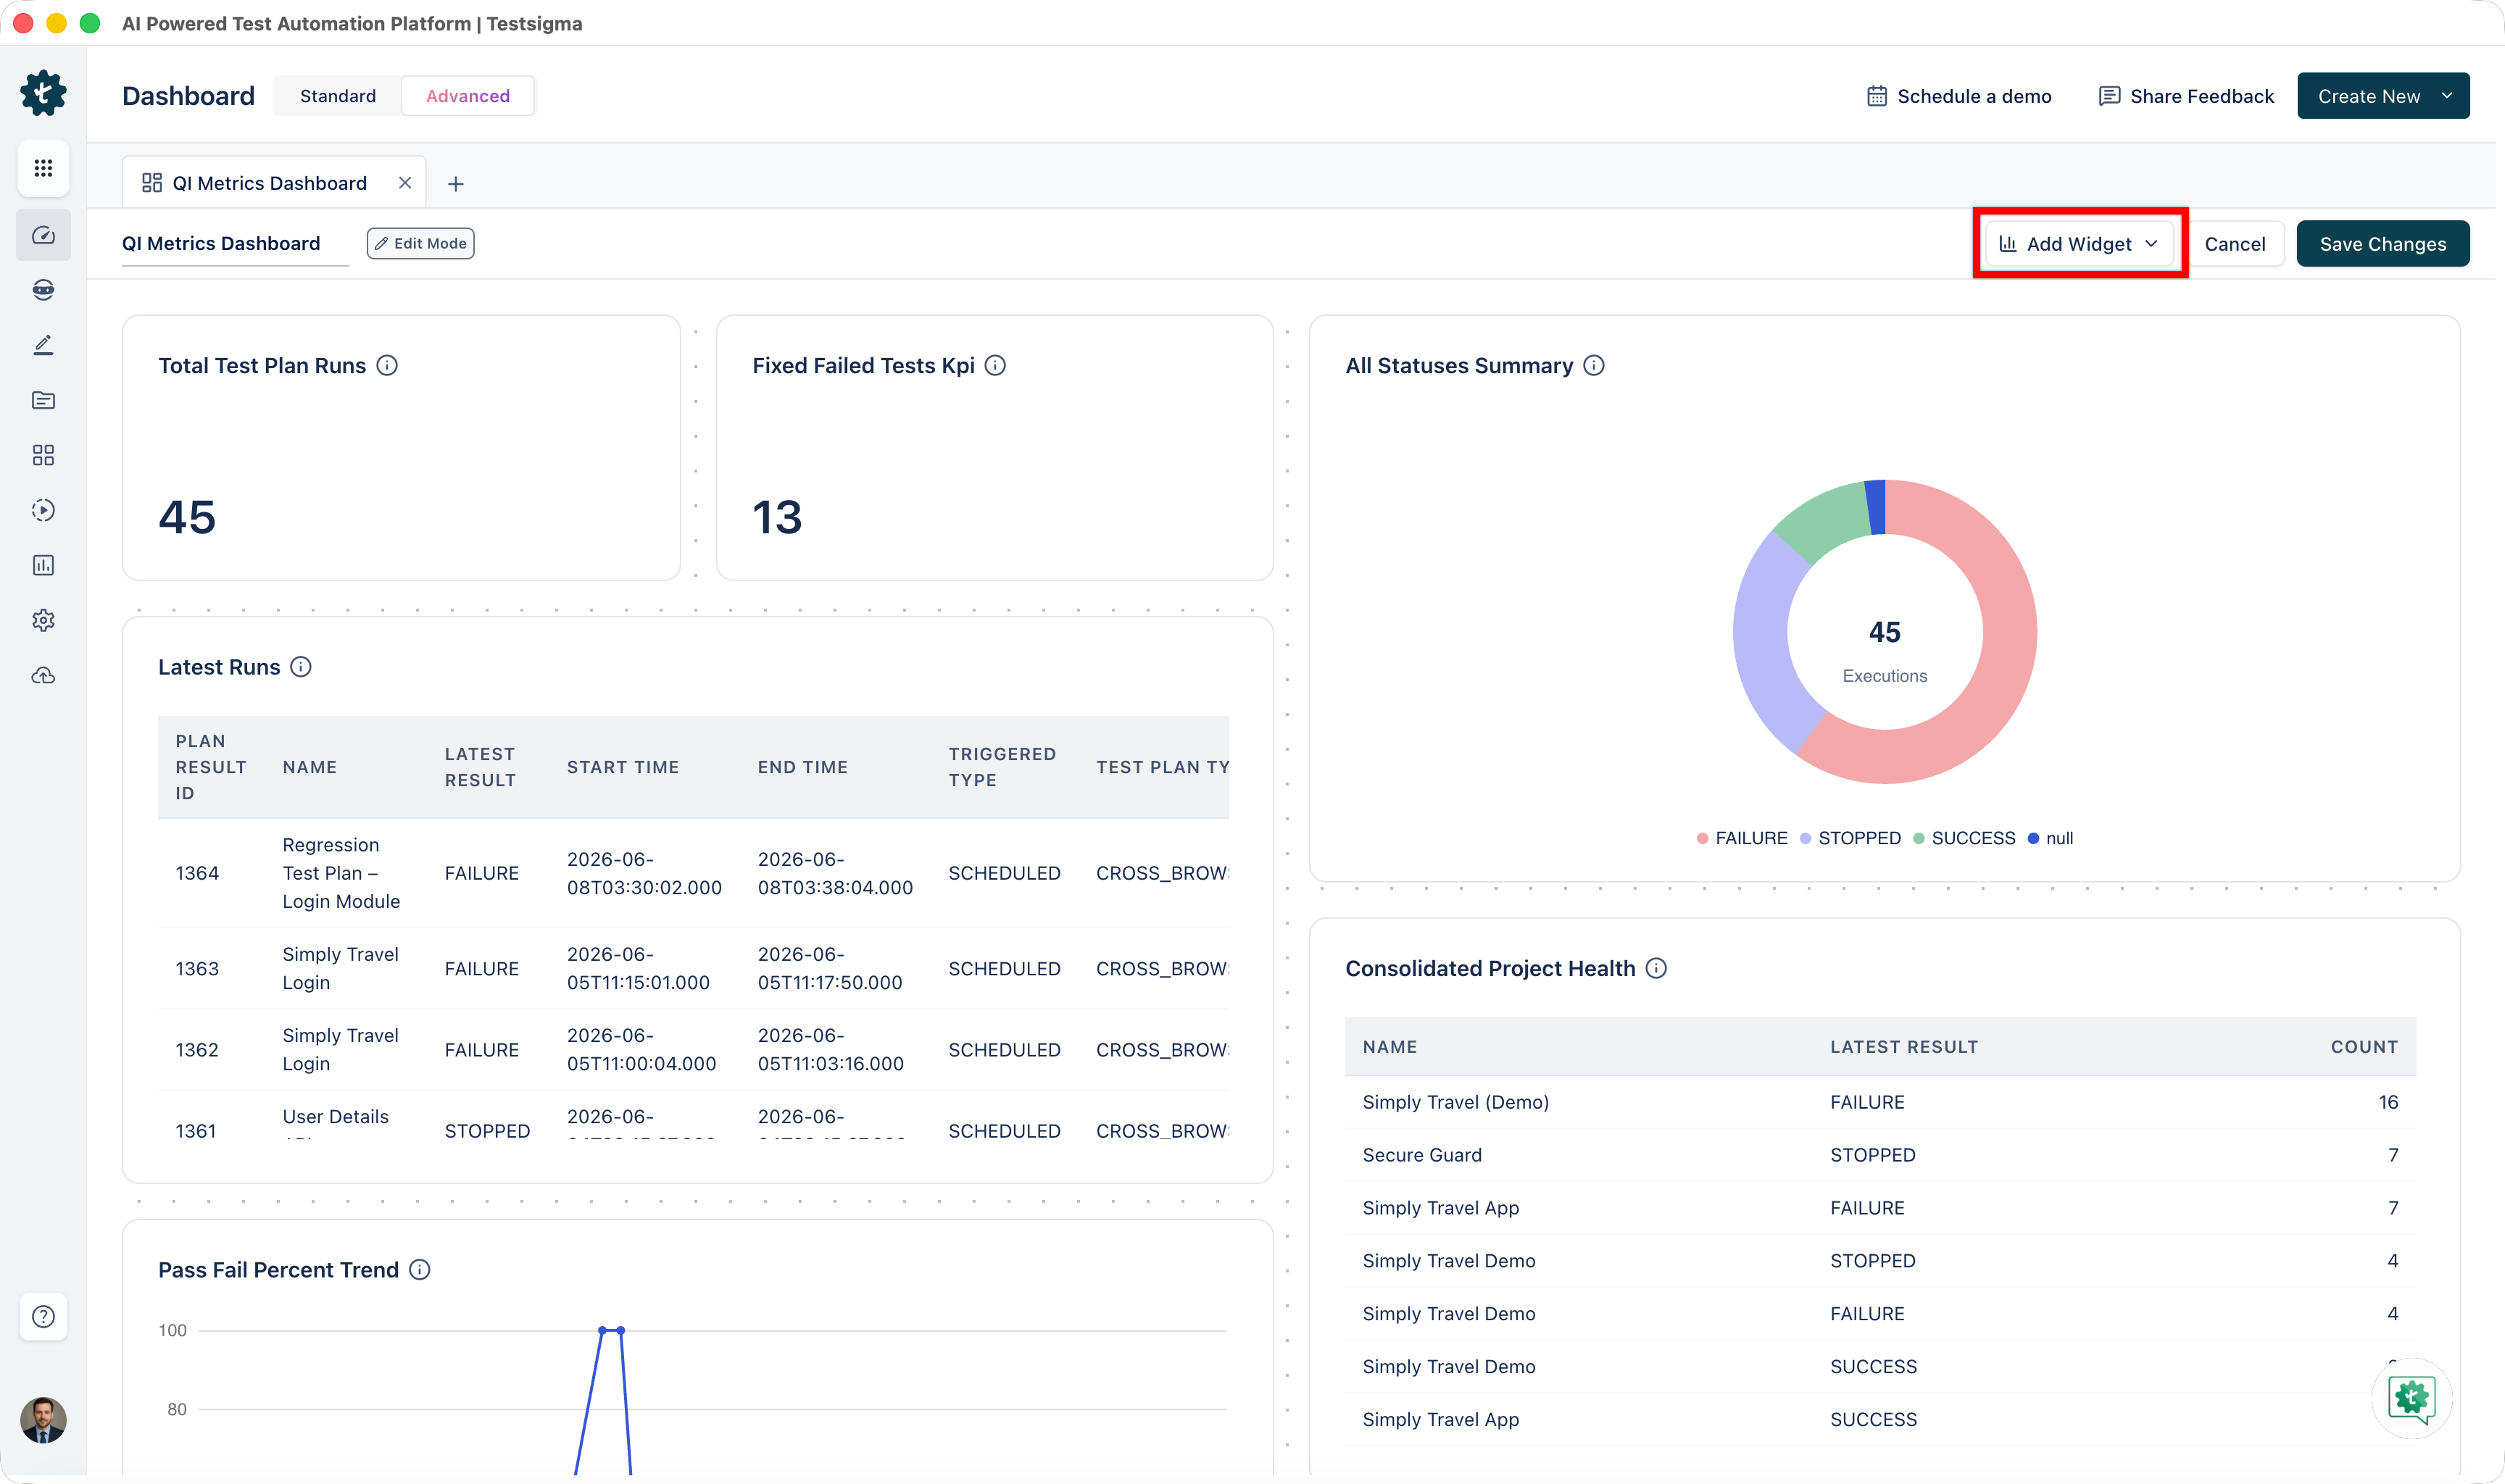
- Click Add Widgets to open the widget library. Select additional widgets from any category. Your current selections are highlighted.
-
Hover over any existing widget to perform two actions:
- Delete: Click the Delete icon to remove the widget from the dashboard.
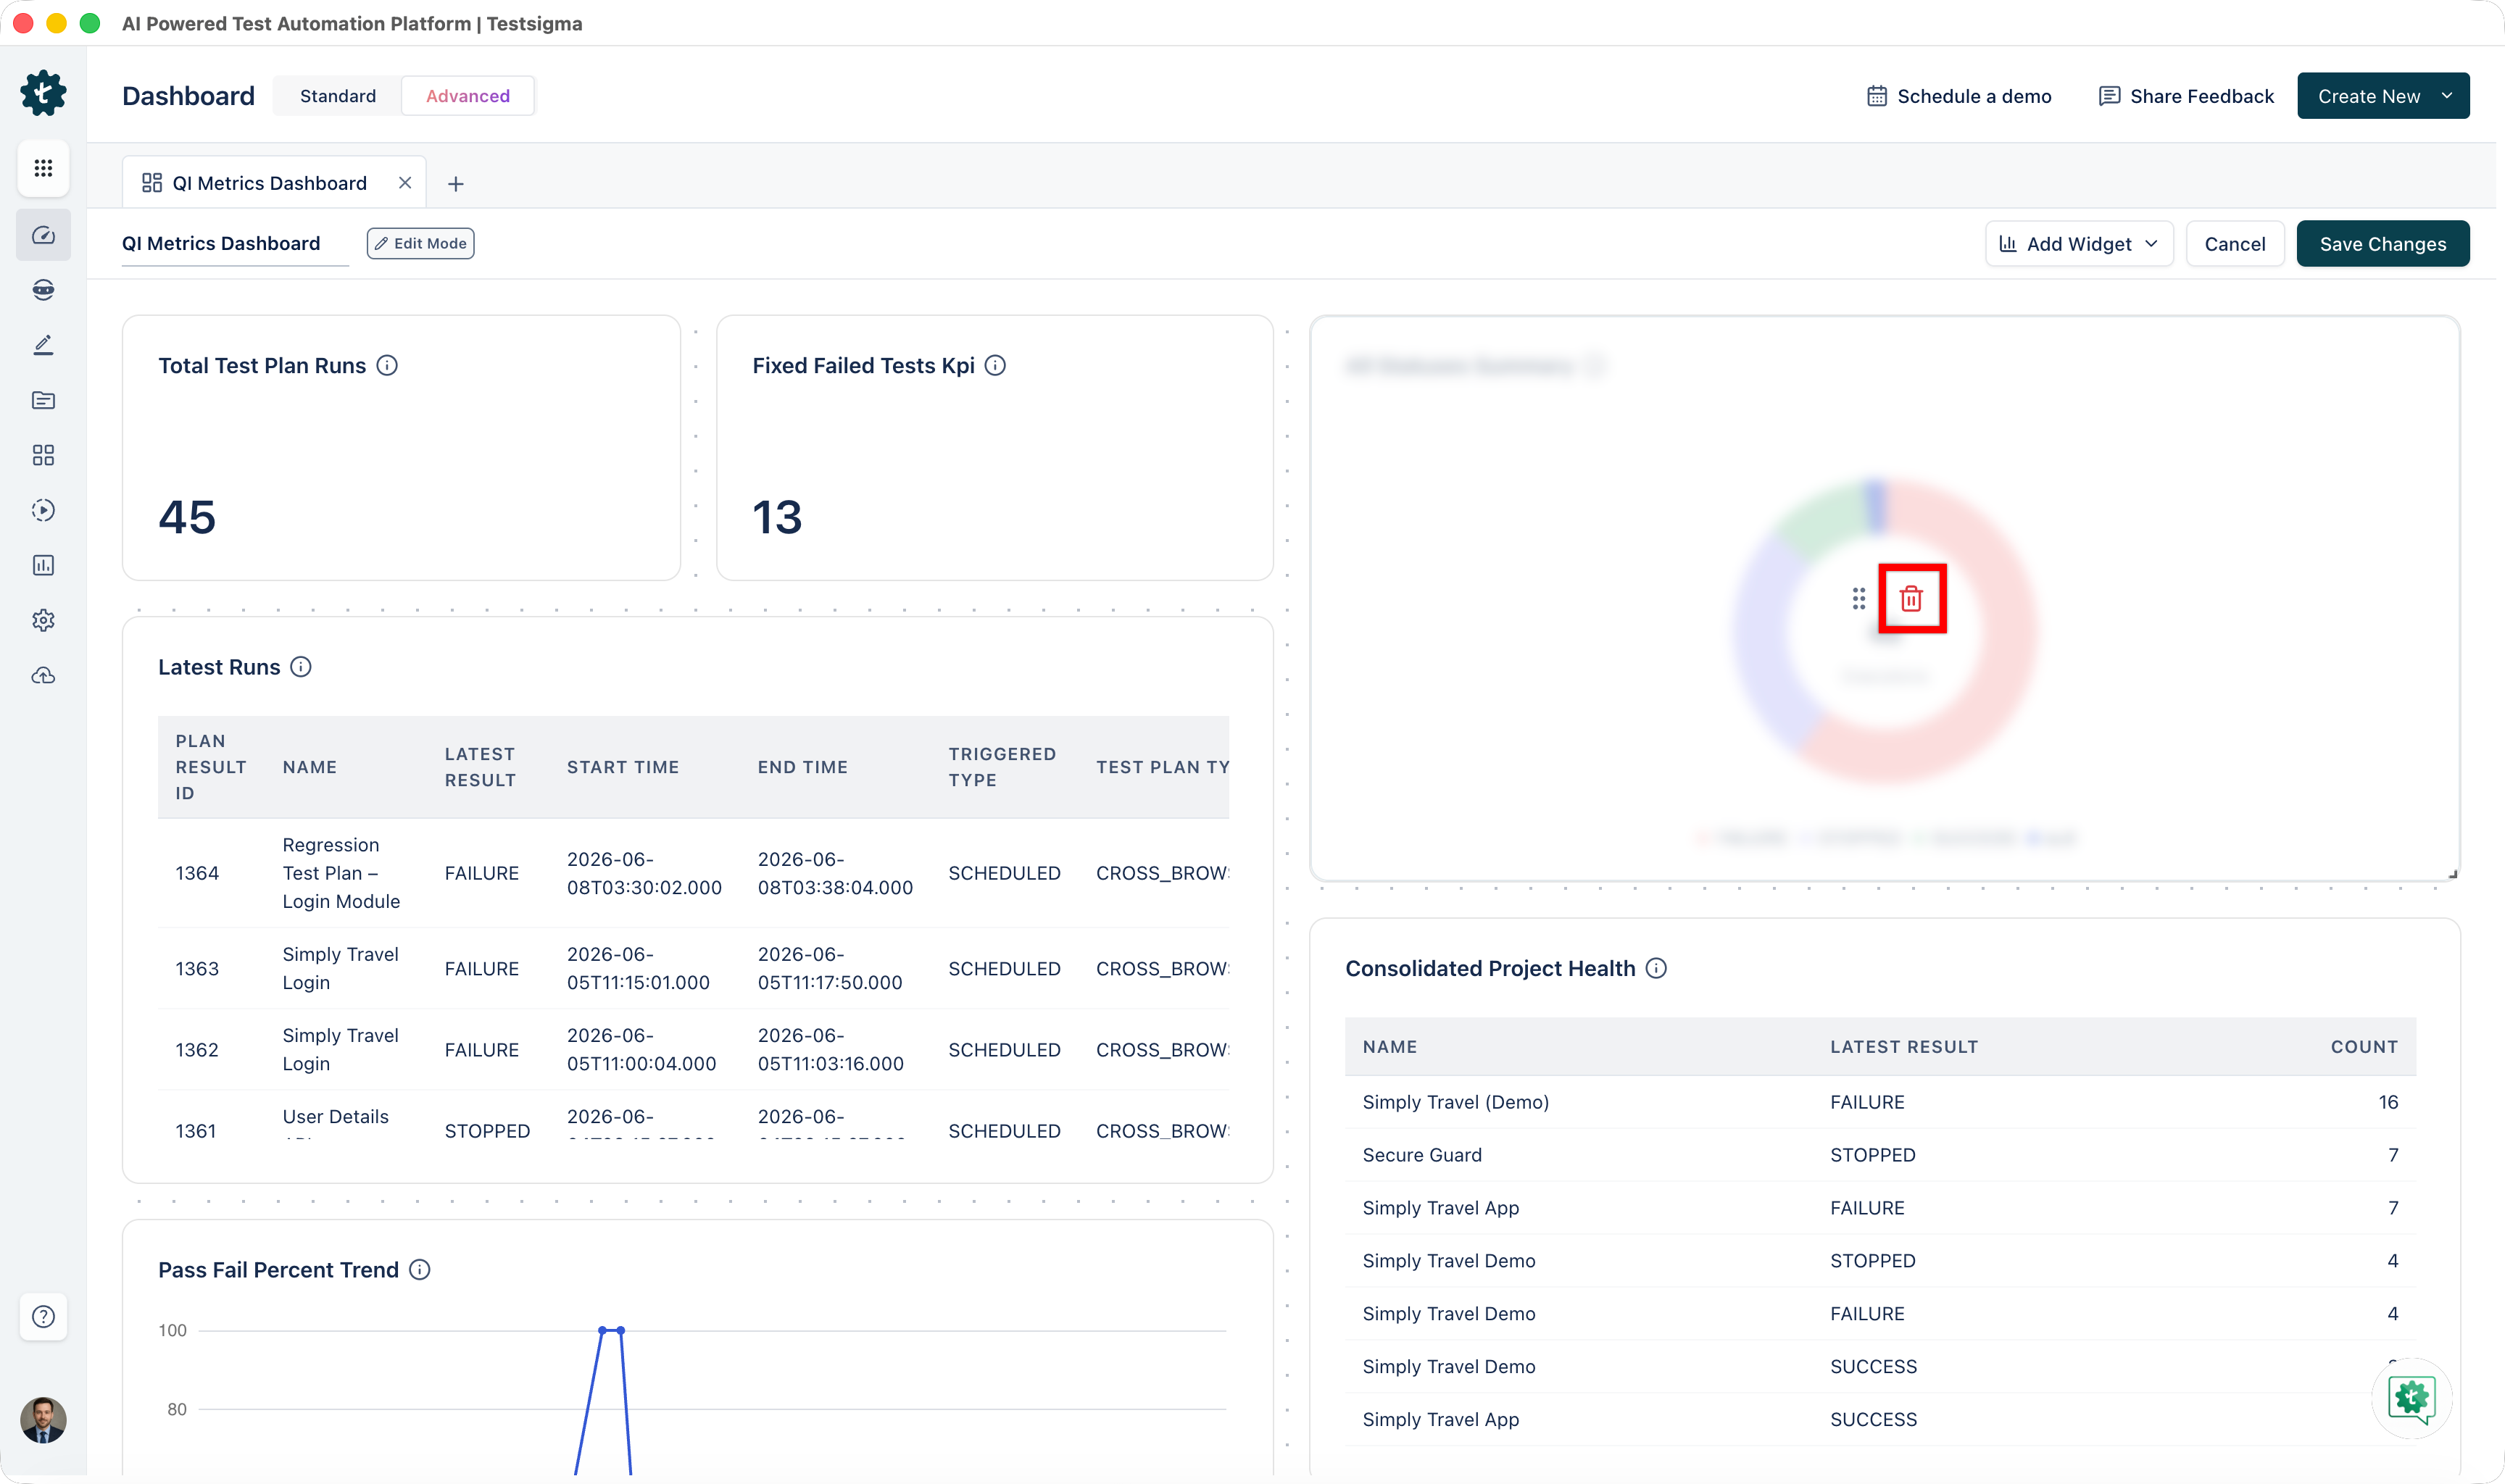
- Rearrange: Click, hold, and drag the Drag icon to reposition the widget.

NOTE:Removing a widget deletes it from your dashboard permanently. You can add it back later if needed.
- Delete: Click the Delete icon to remove the widget from the dashboard.
- Click Save Changes to apply your changes.
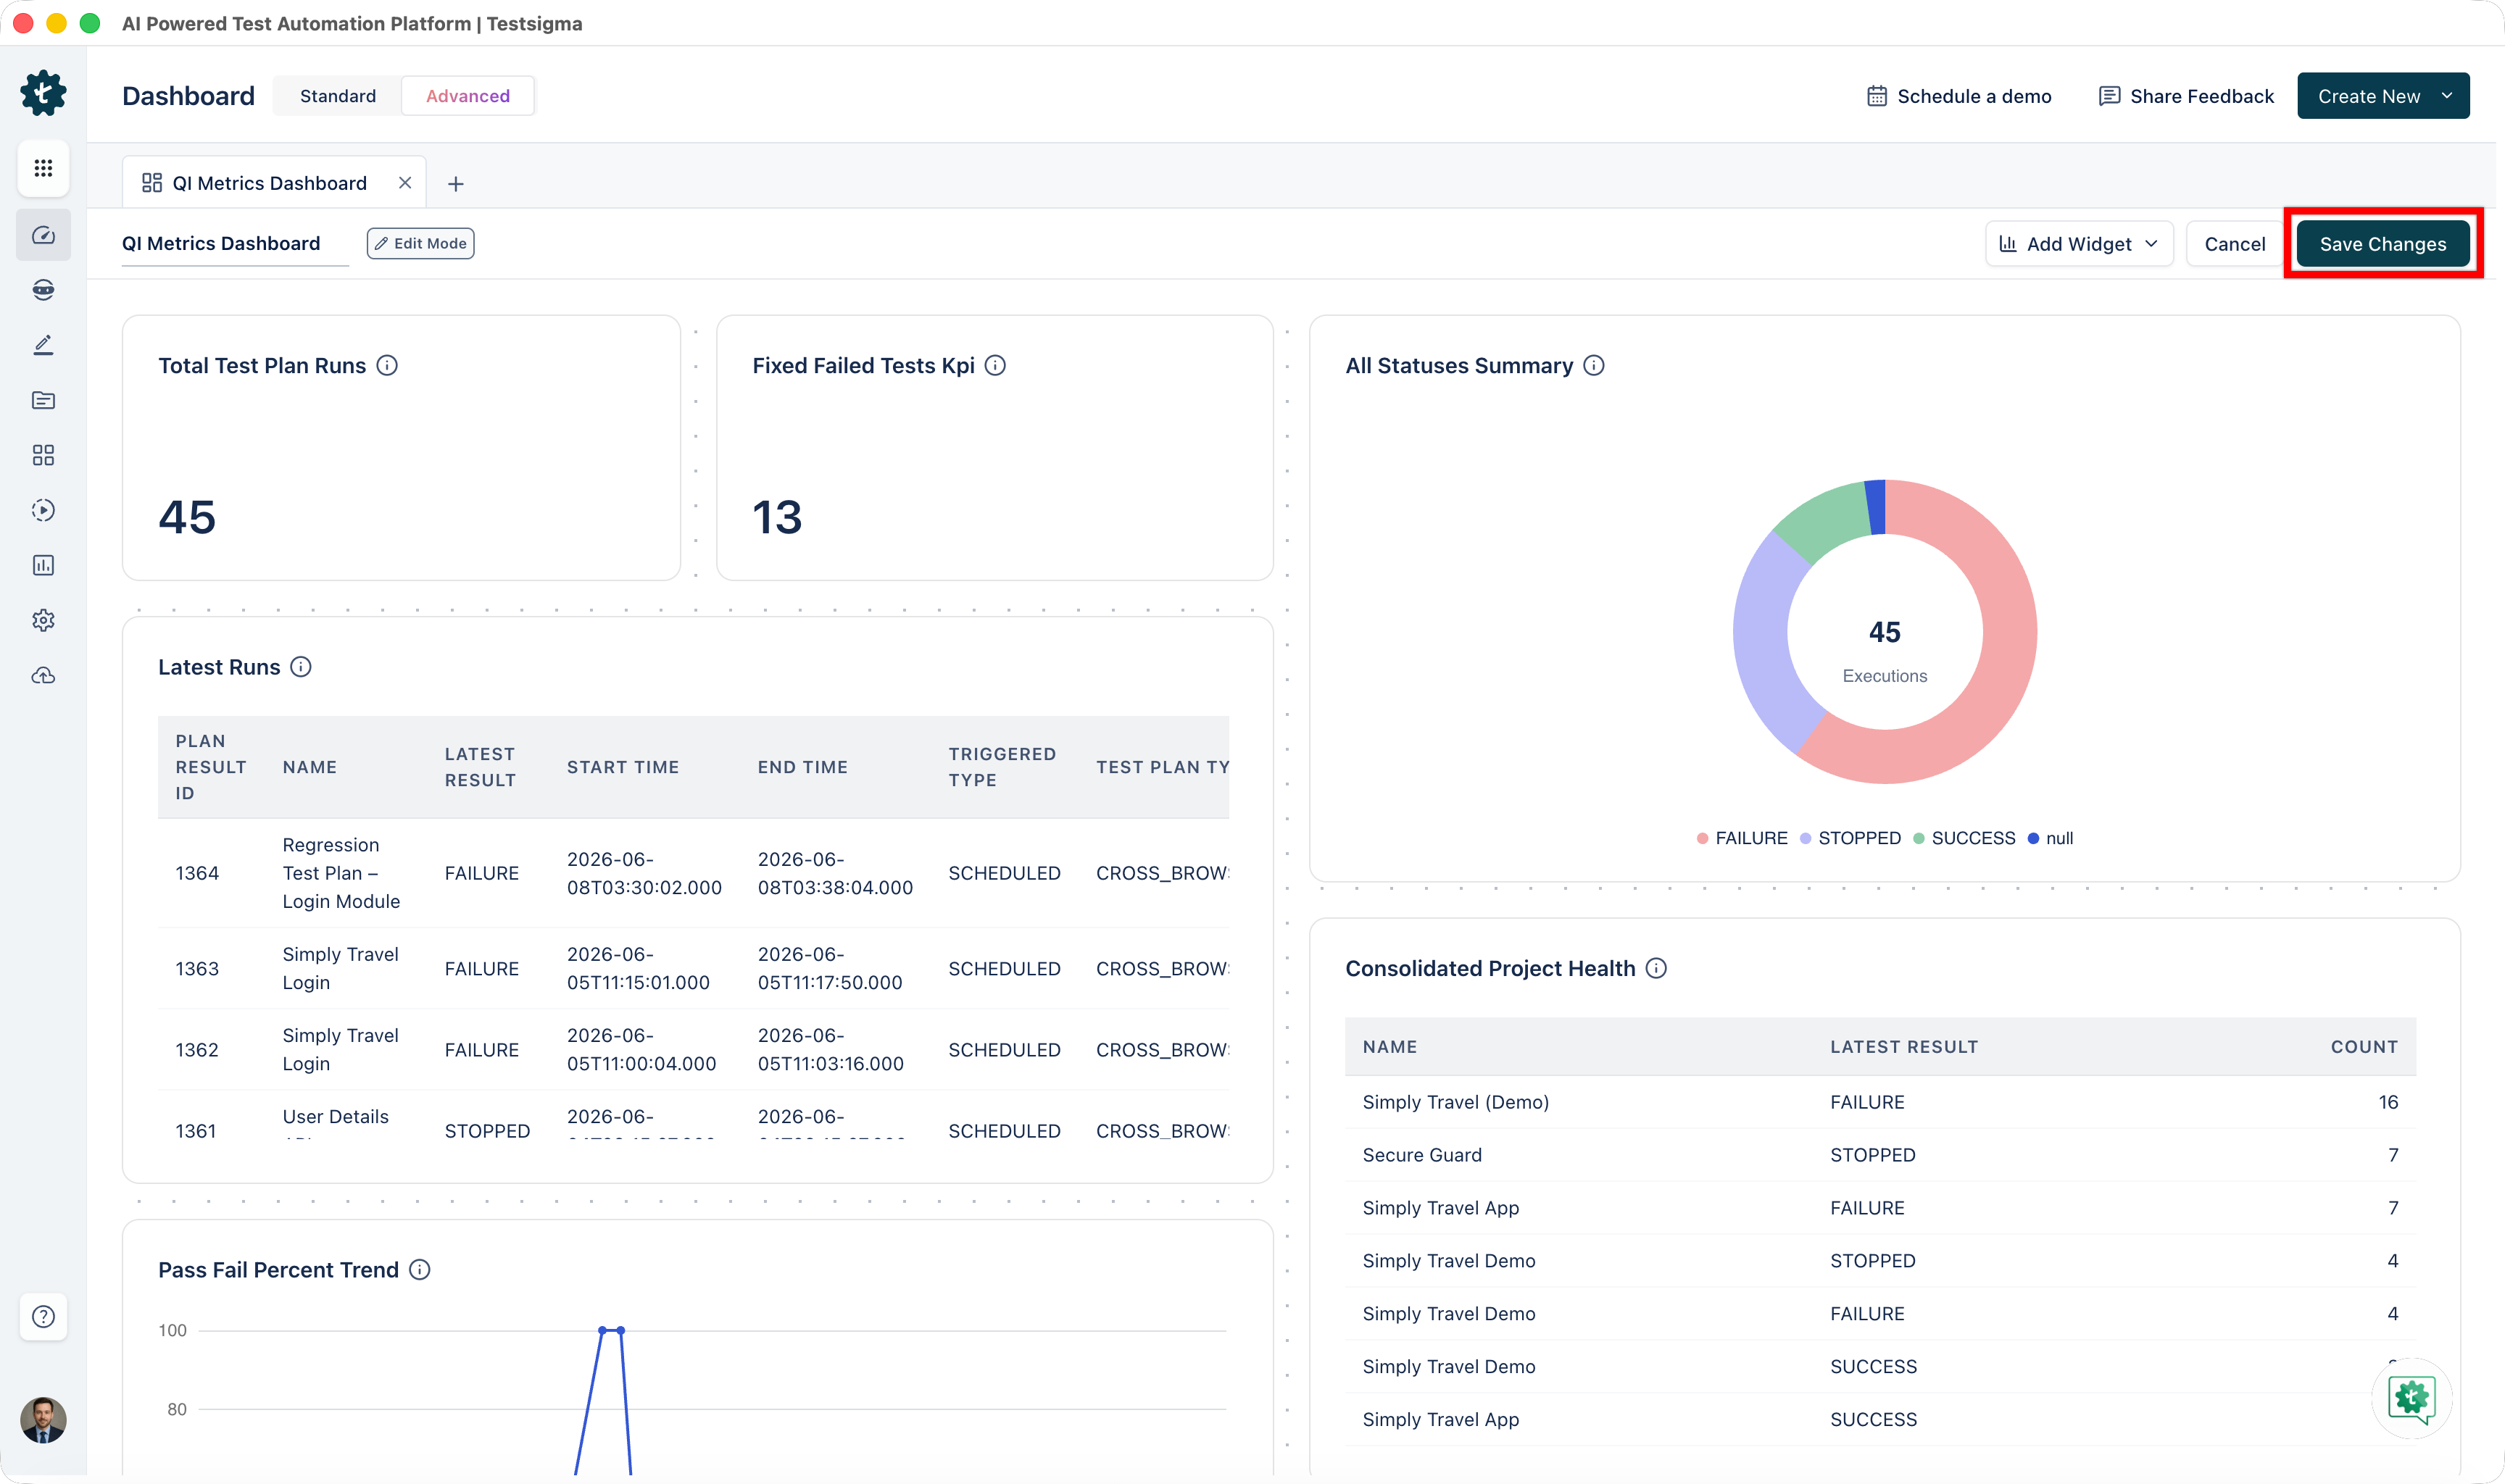
Your dashboard updates immediately with the new widgets and layout.
Share Dashboard
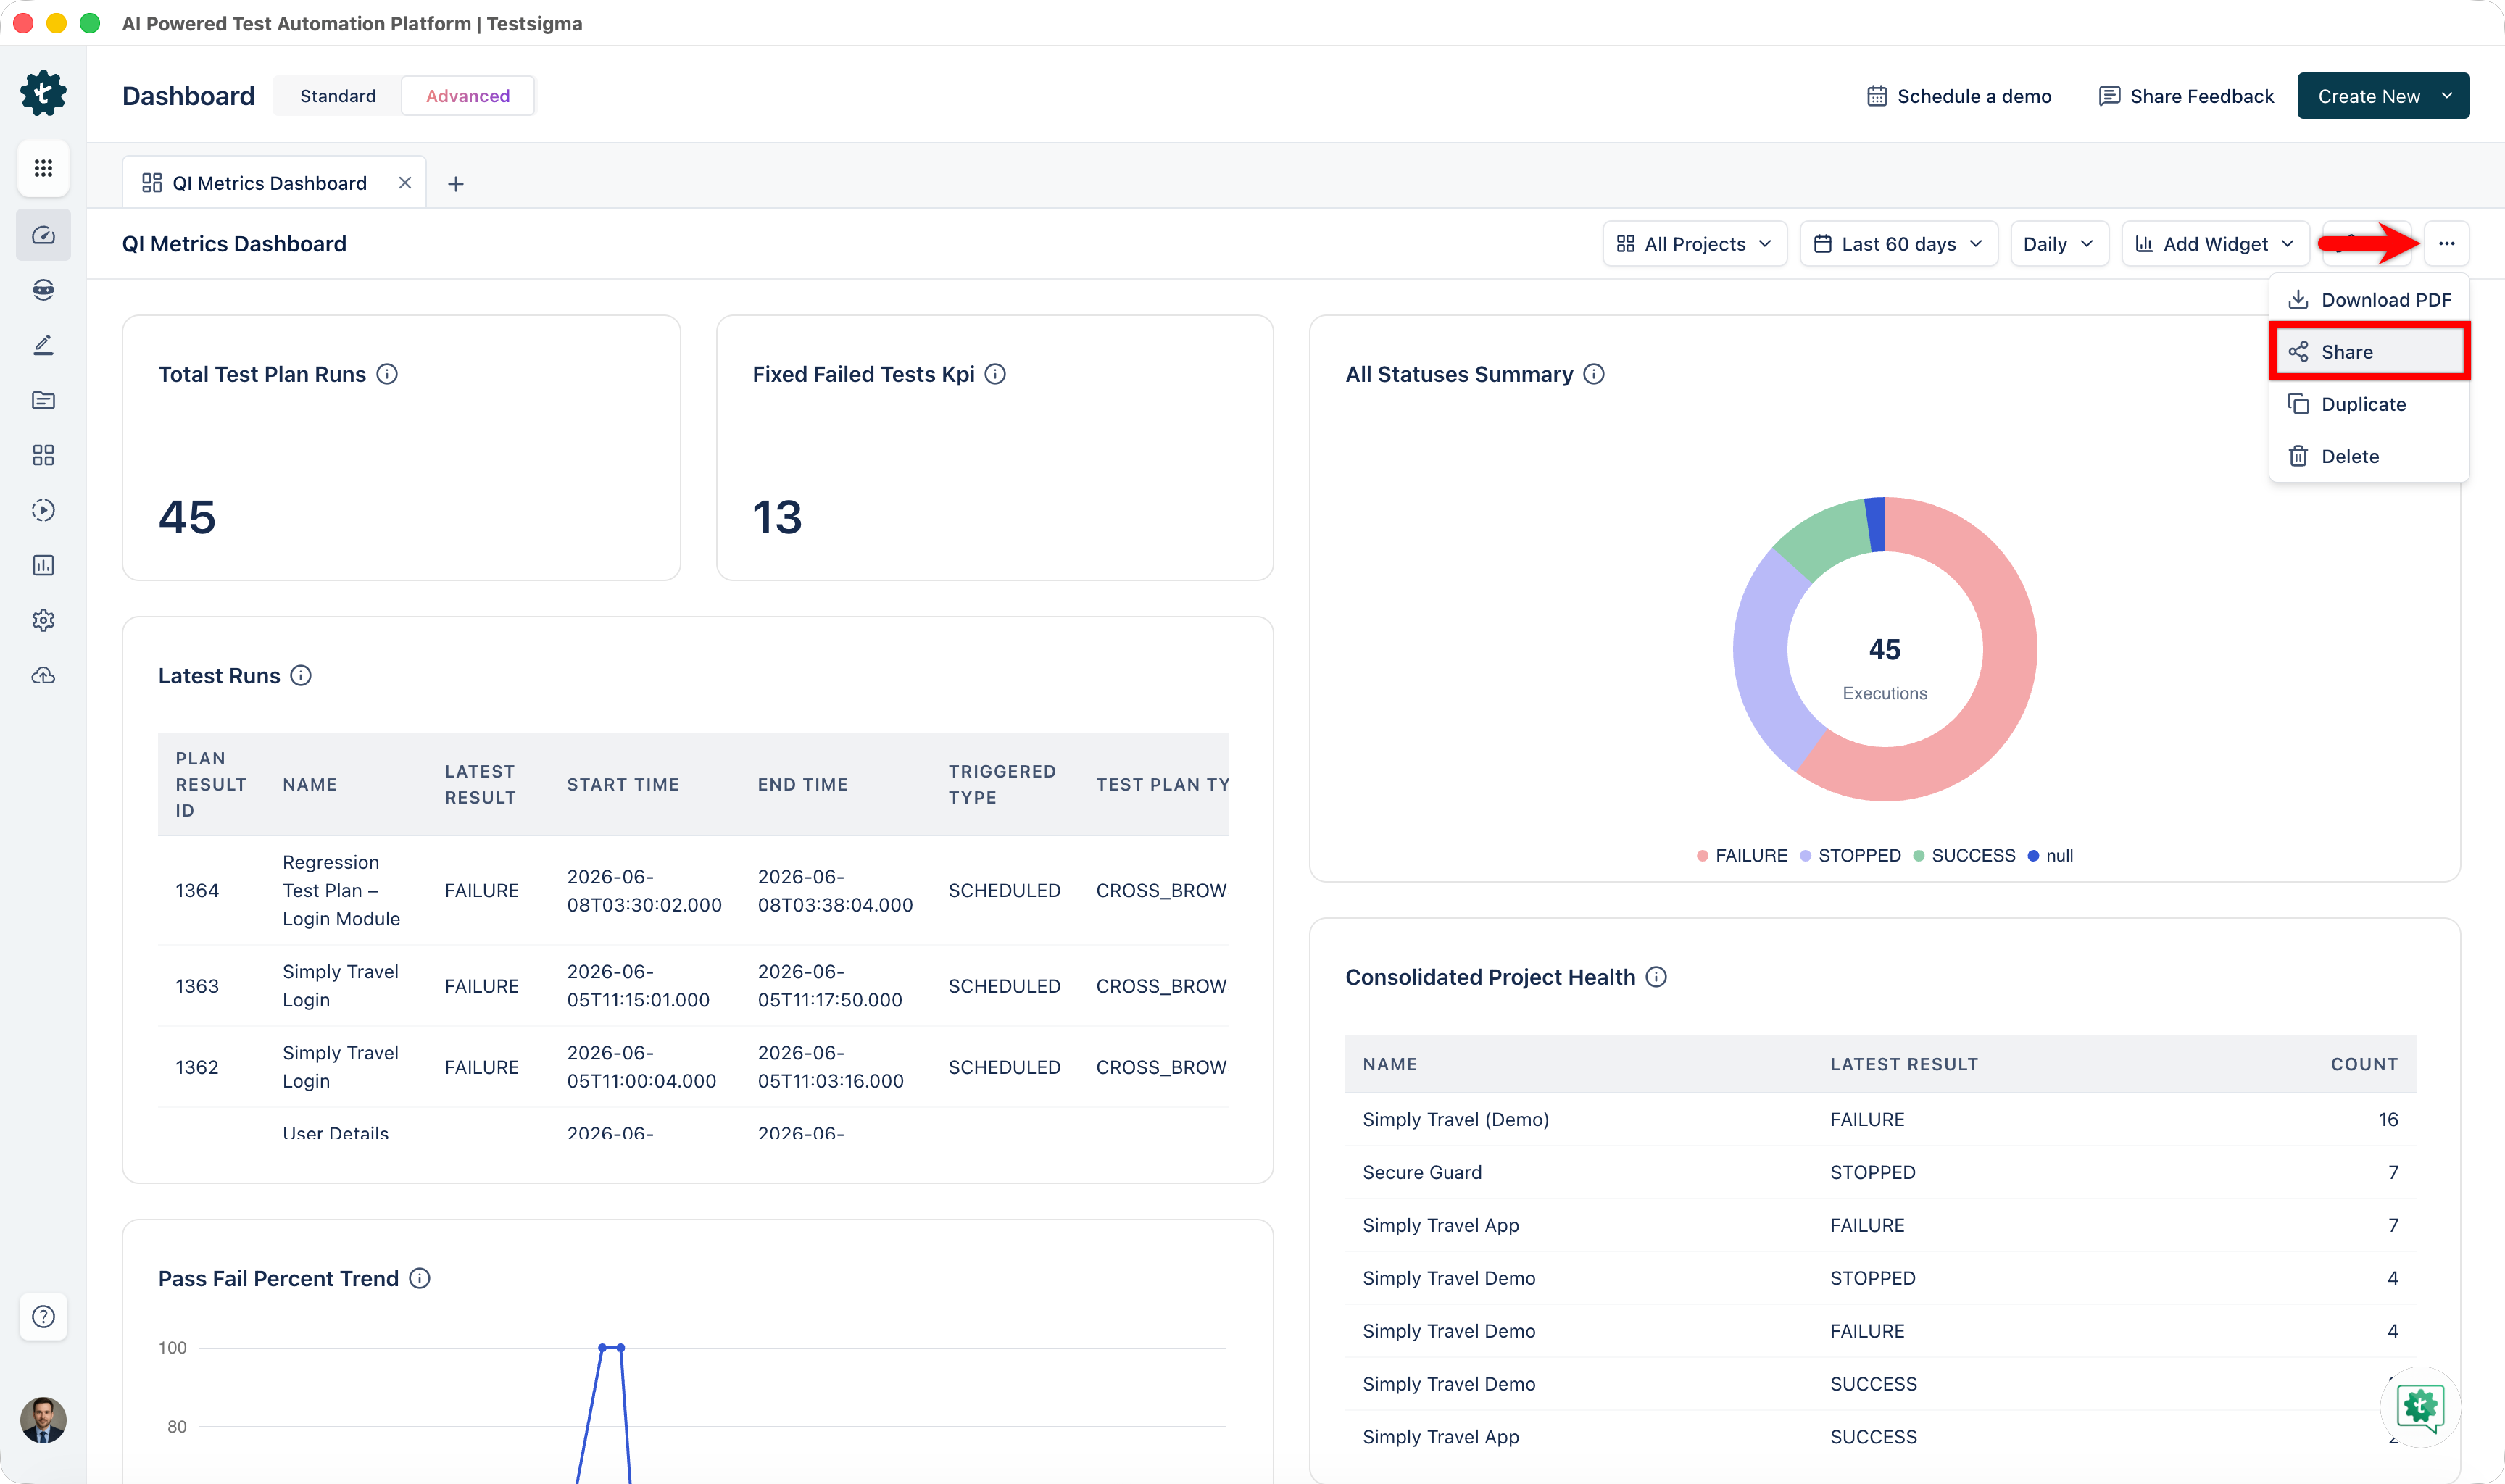
- On the Advanced dashboard you want to share, go to More Options > Share.
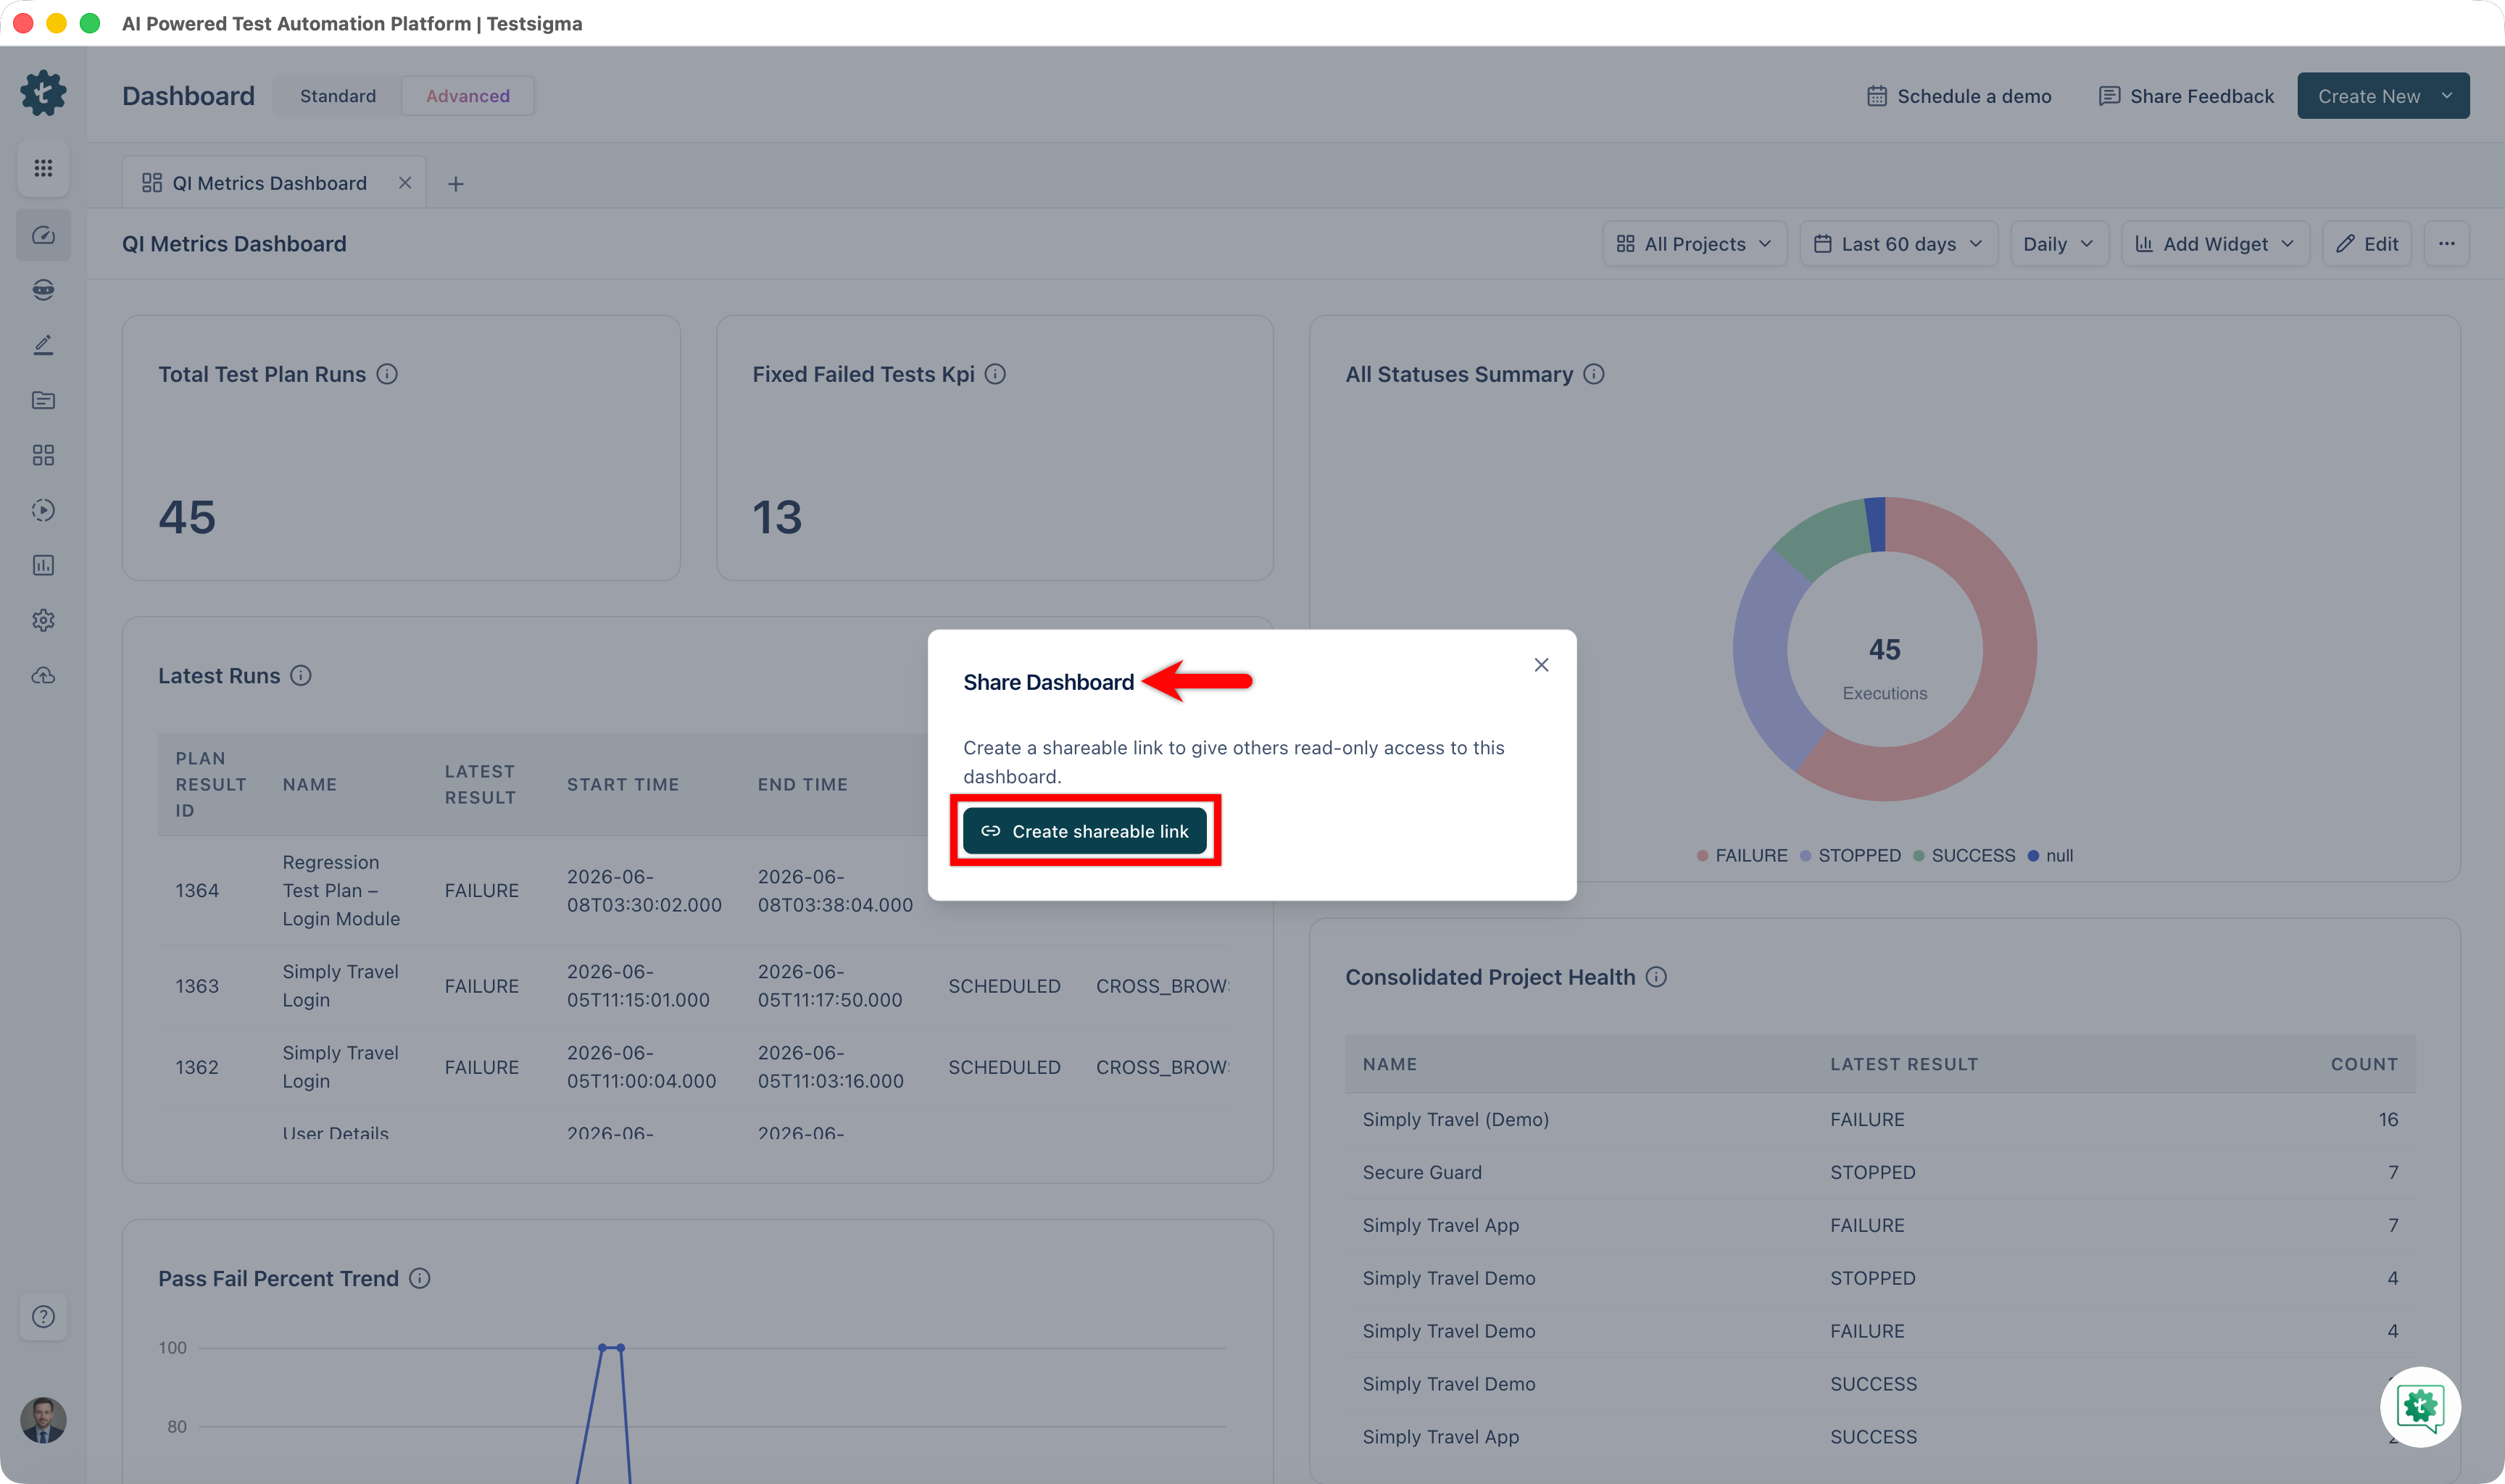
- In the Share Dashboard dialog, click Create shareable link.
-
Click Copy link to share it with stakeholders.
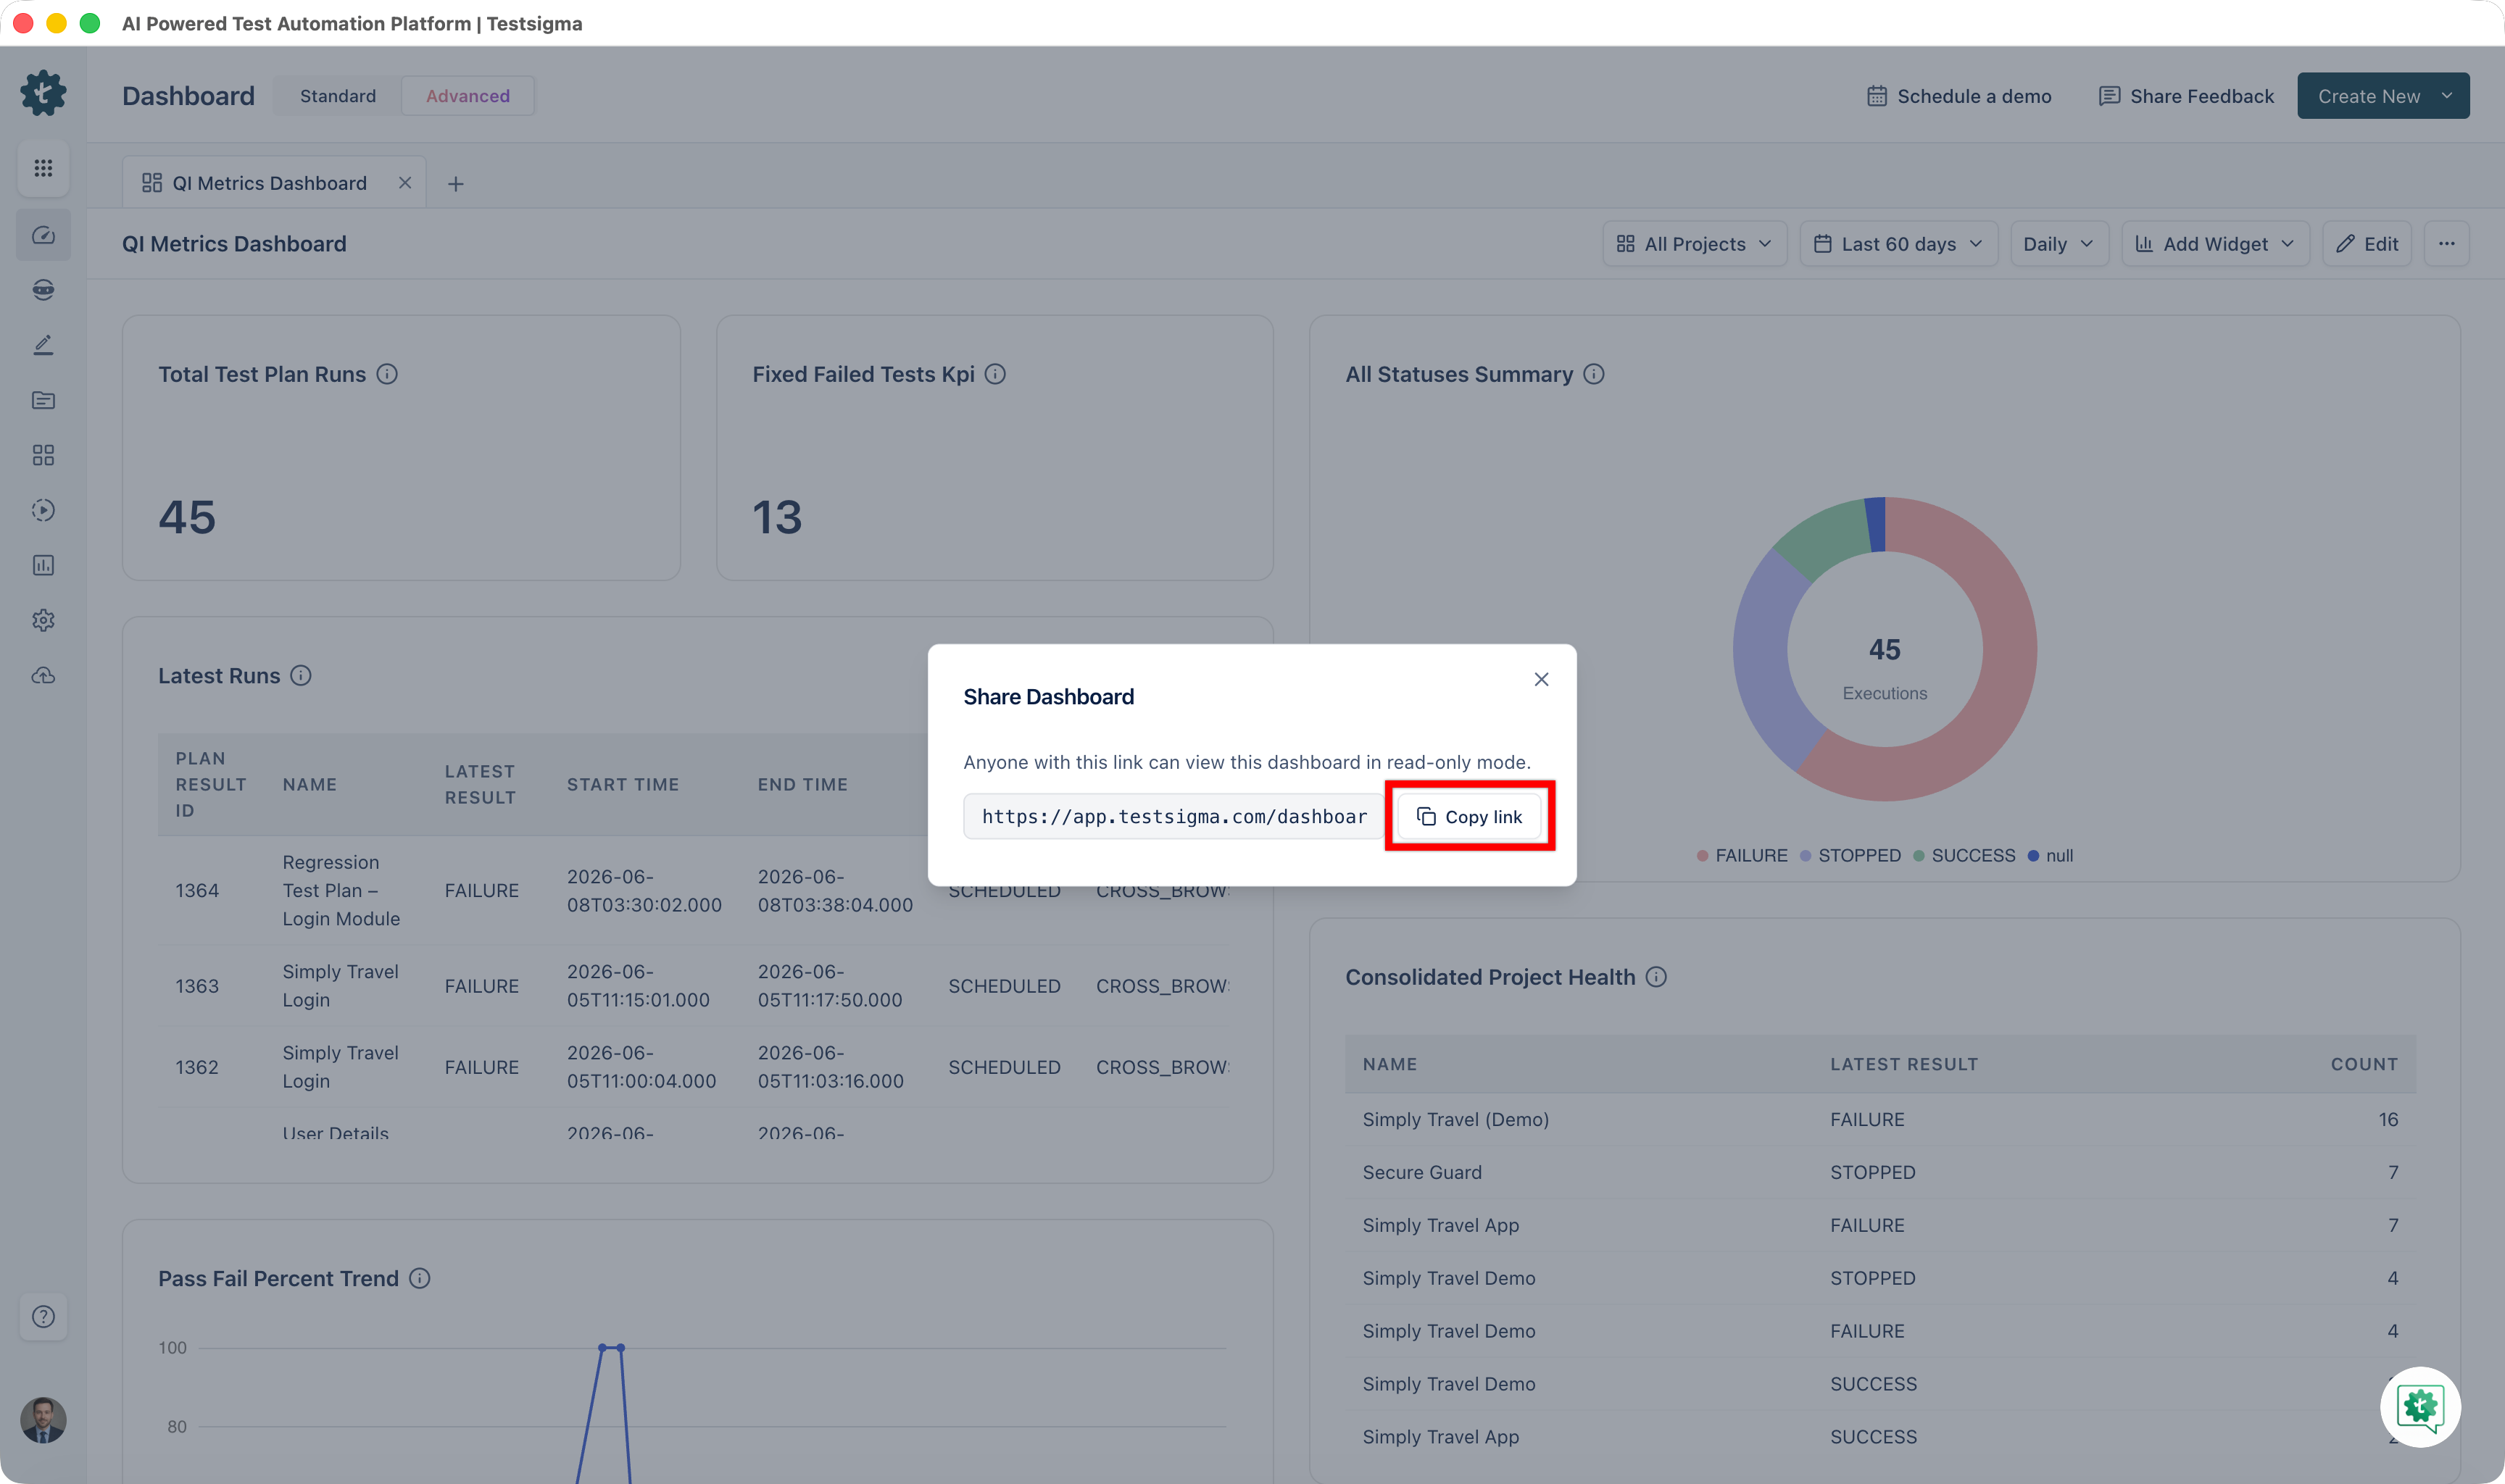
Anyone with the link can view the dashboard in read-only mode.
Want to contribute or report missing content?