- test plans
 Add, Edit, Delete Test Machines
- Add, Edit, Delete Test Suites
- Schedule Test Plans
- Run Test Suites In Parallel
- Cross Browser Testing
- Distributed Testing
- End-to-End Testing
- Headless Testing
- Test Lab Types
- Disabling Test Cases in Test Plans
- AfterTest Case
- Post Plan Hook
- AfterTest Suite
- Email Configuration in Test Plan
- Execute Partial Test Plans via API
Manage Test Suites in Test Plans
While creating a test plan, you need to add at least one test suite to the test plan to develop it successfully. This article discusses how to manage test suites in test plans.
Prerequisites
Before you begin, ensure that you have referred to:
Editing Test Suites in a Test Plan
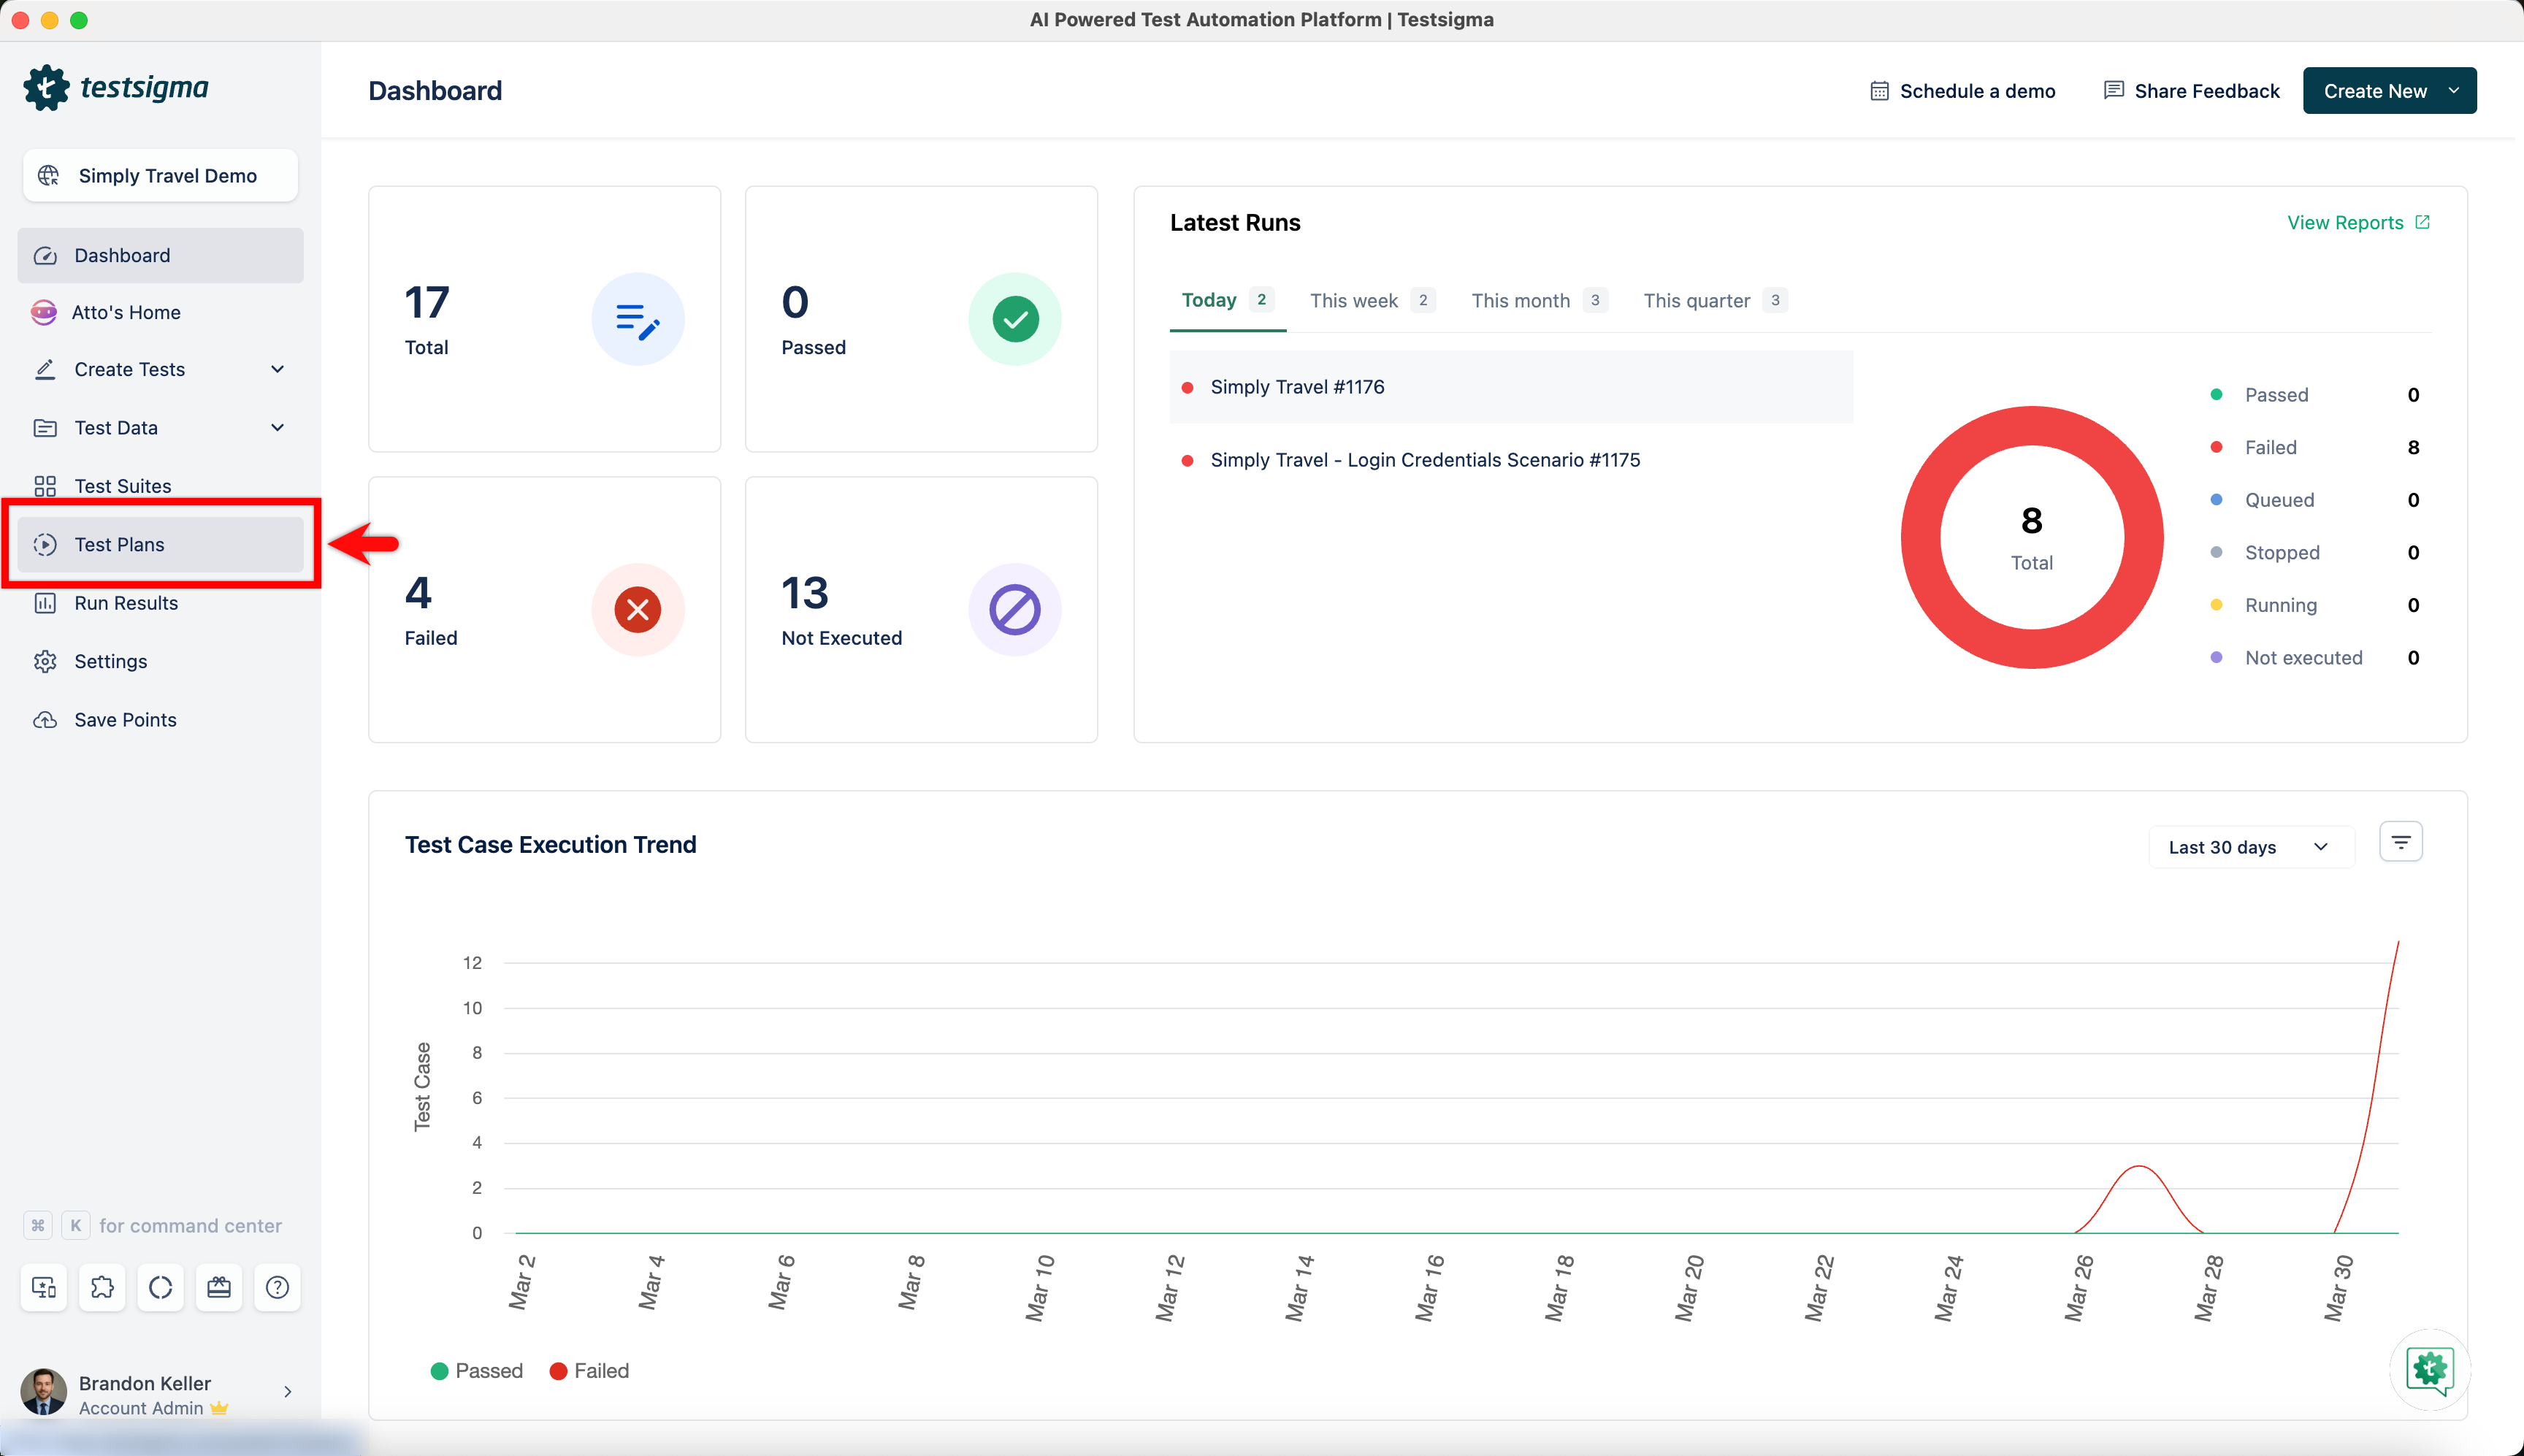
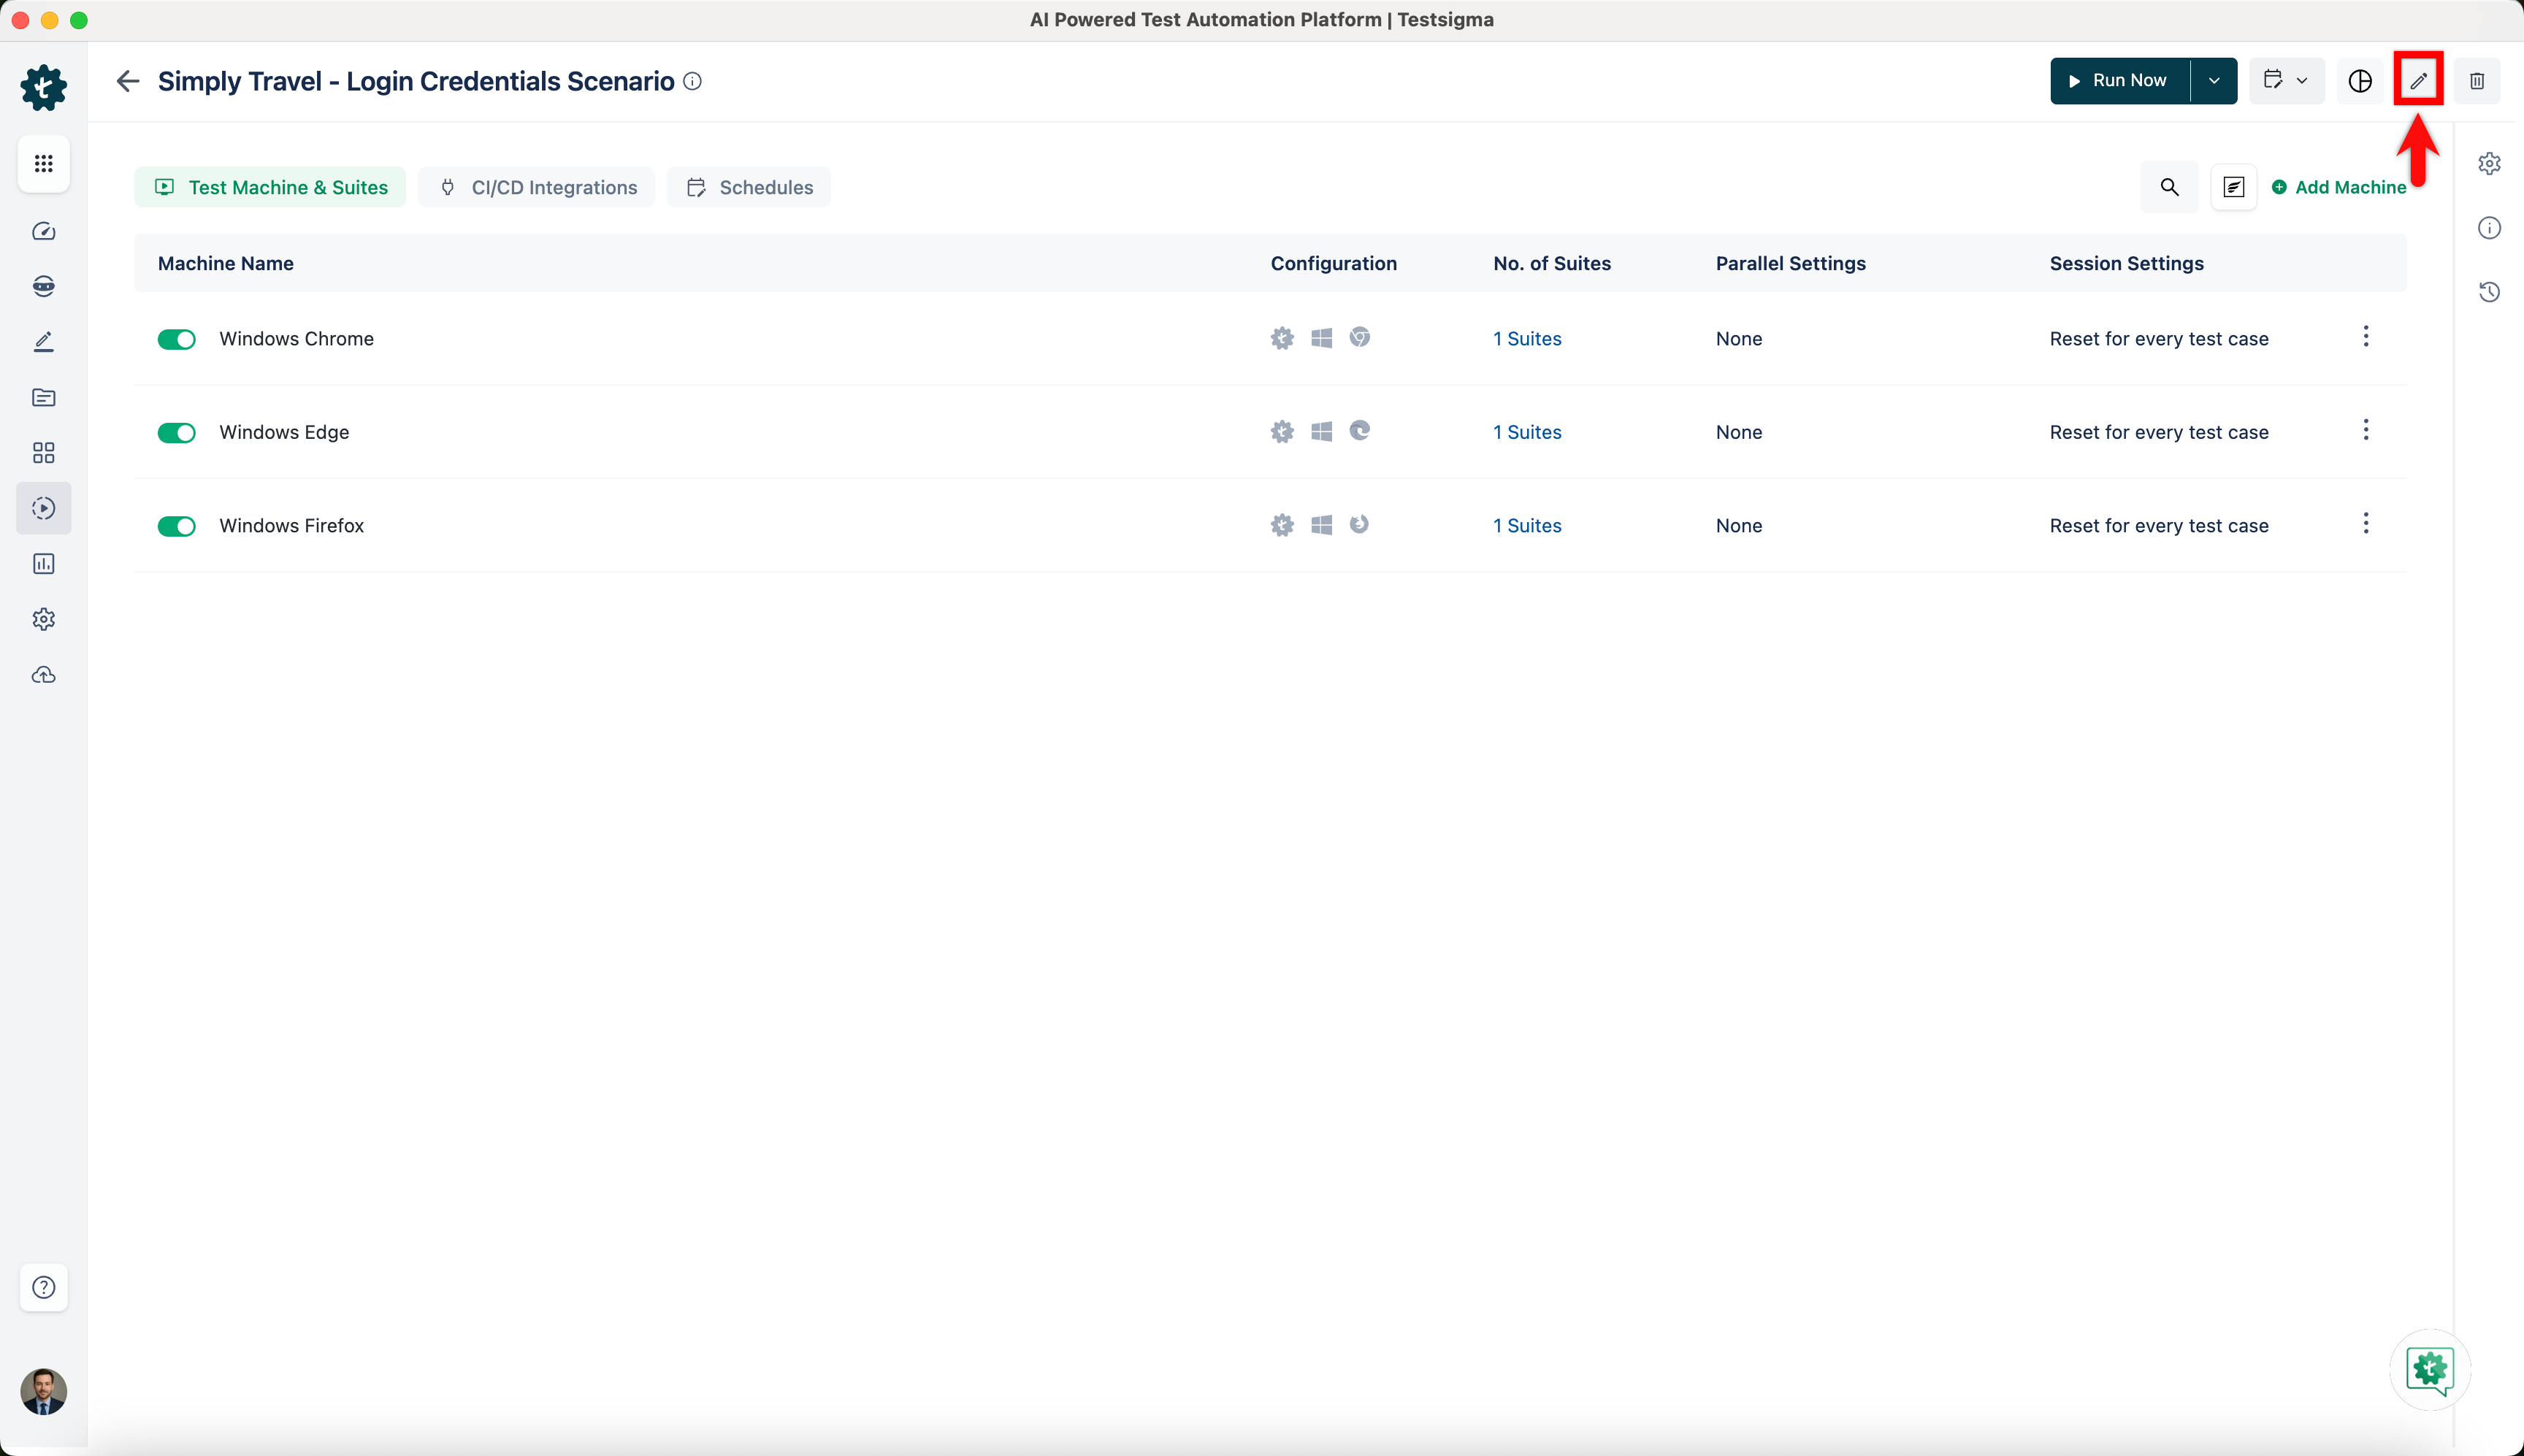
- Navigate to Test Plans, create a test plan or click on any existing test plan.
- Click on Edit.
-
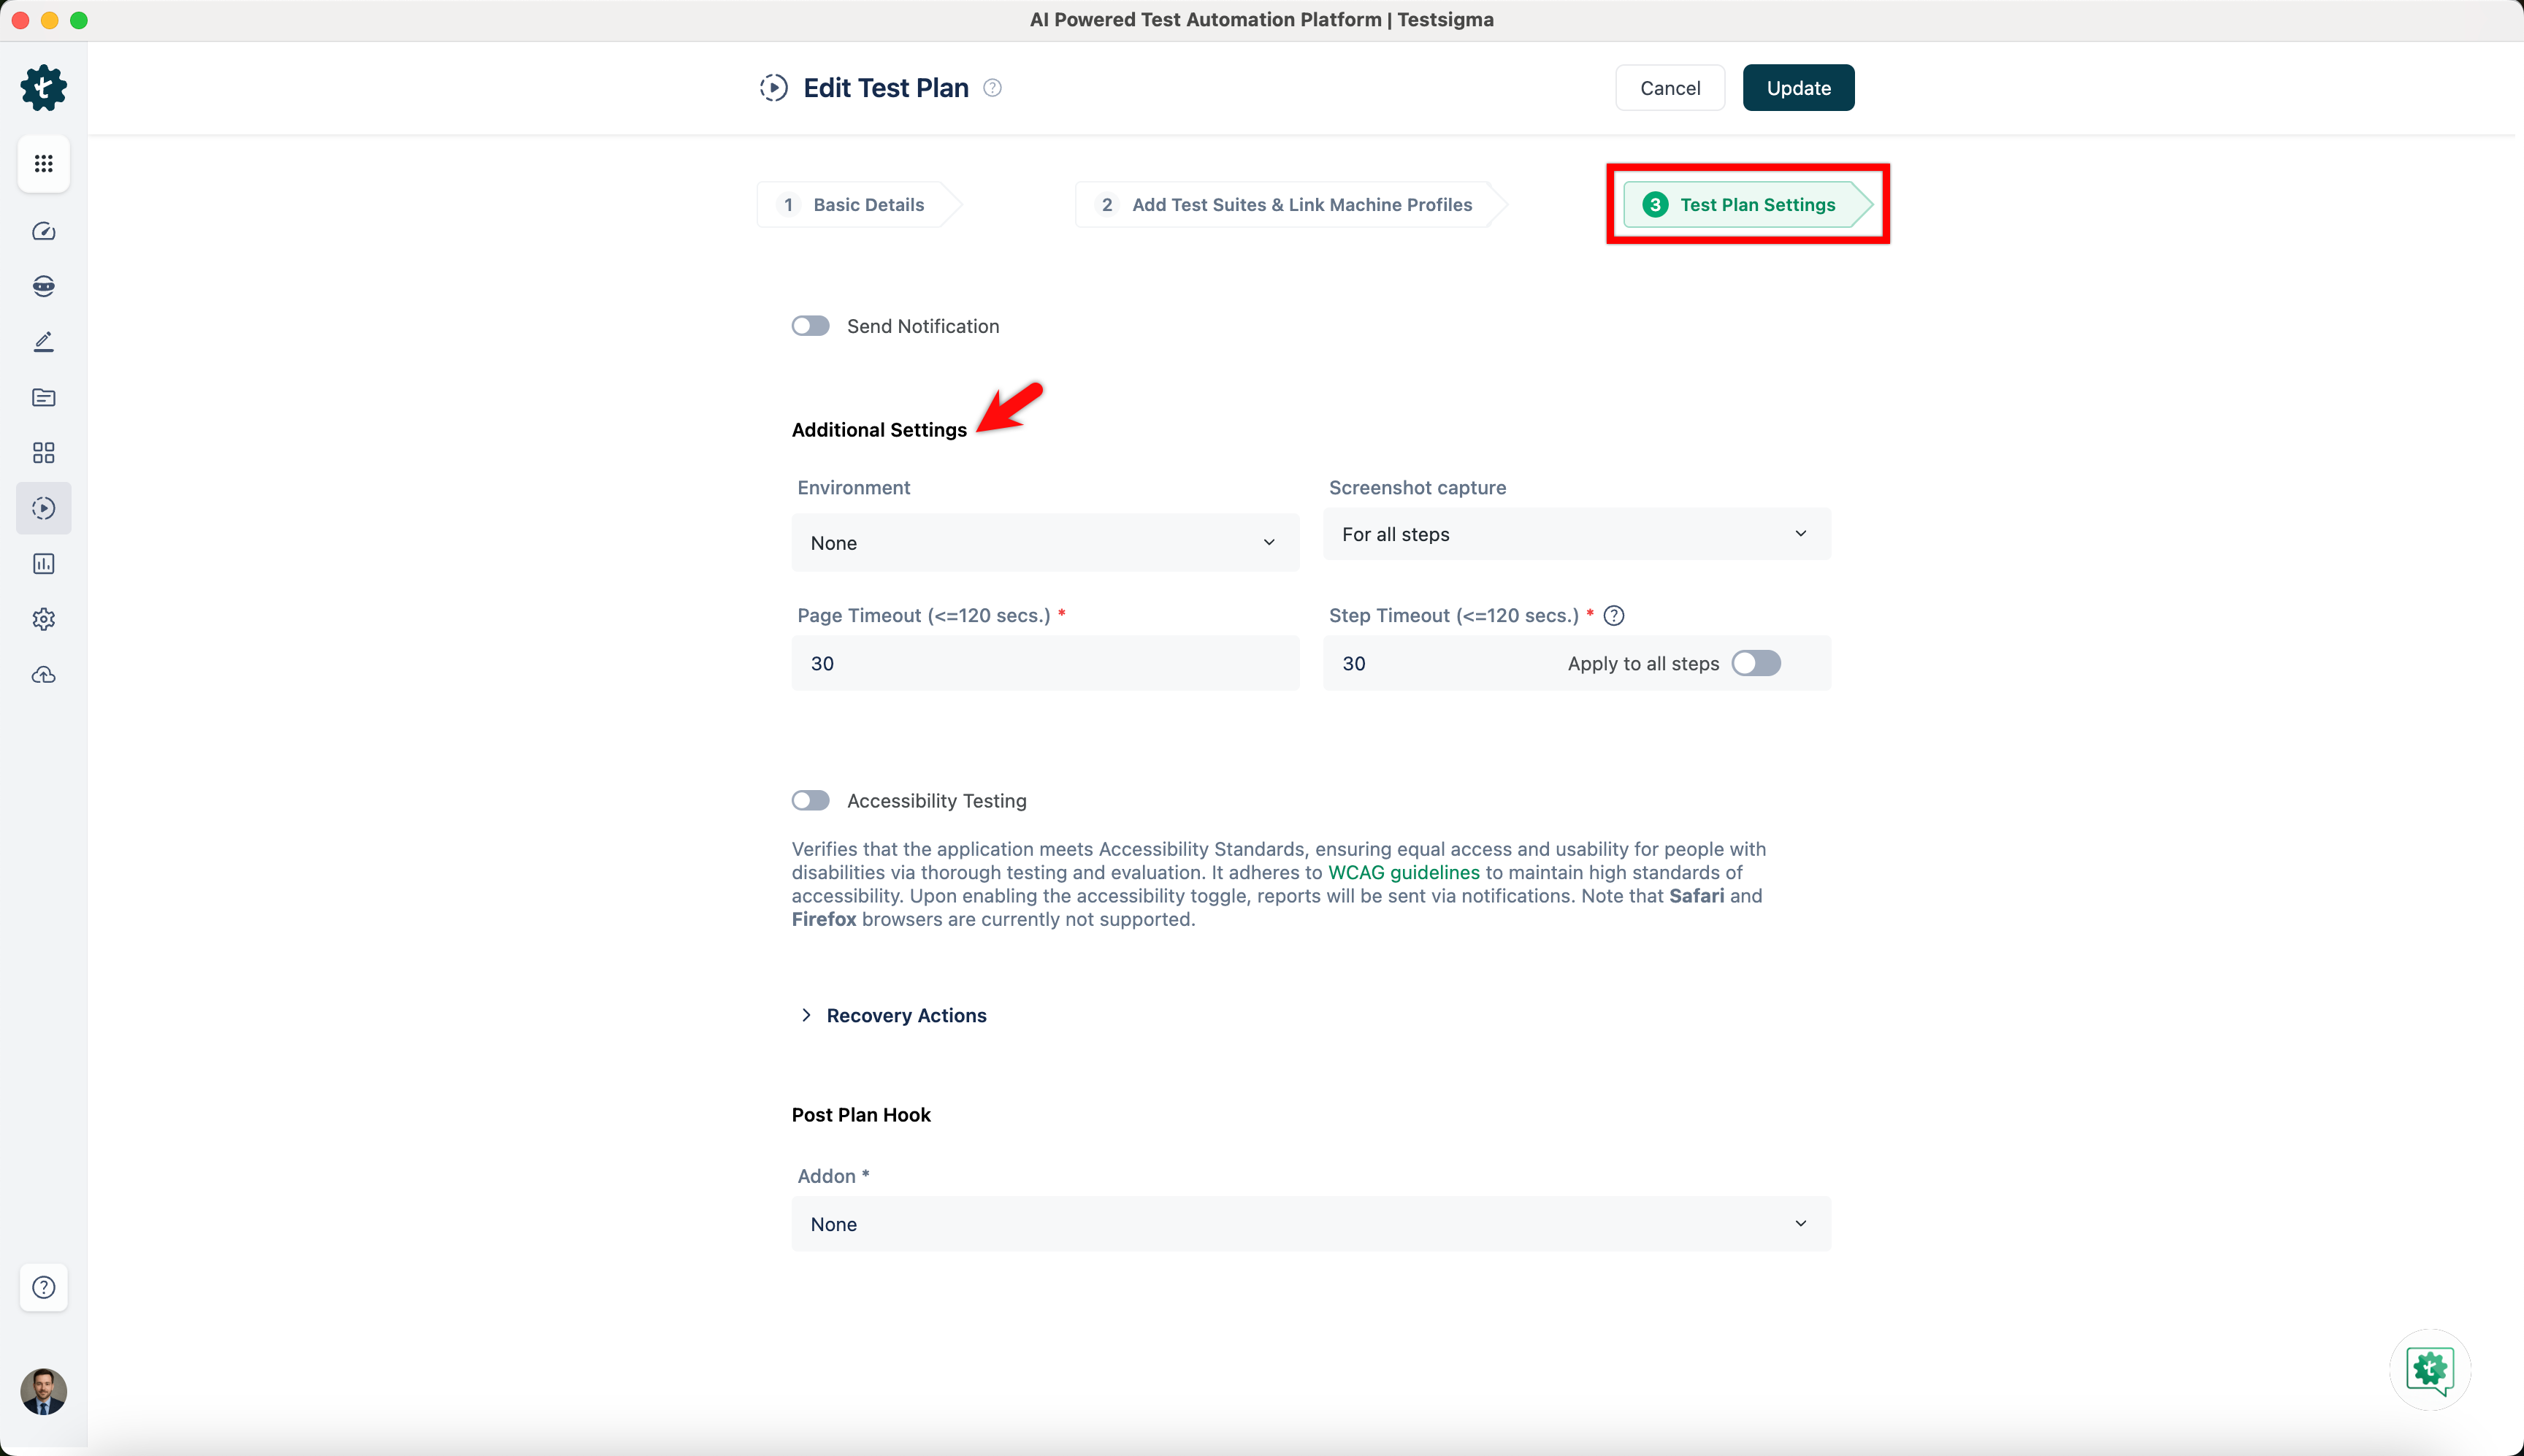
On the Edit Test Plan page, there are 3 sections.
- Basic Details: You edit test plan Name, Labels and Test Plan Type on this section.
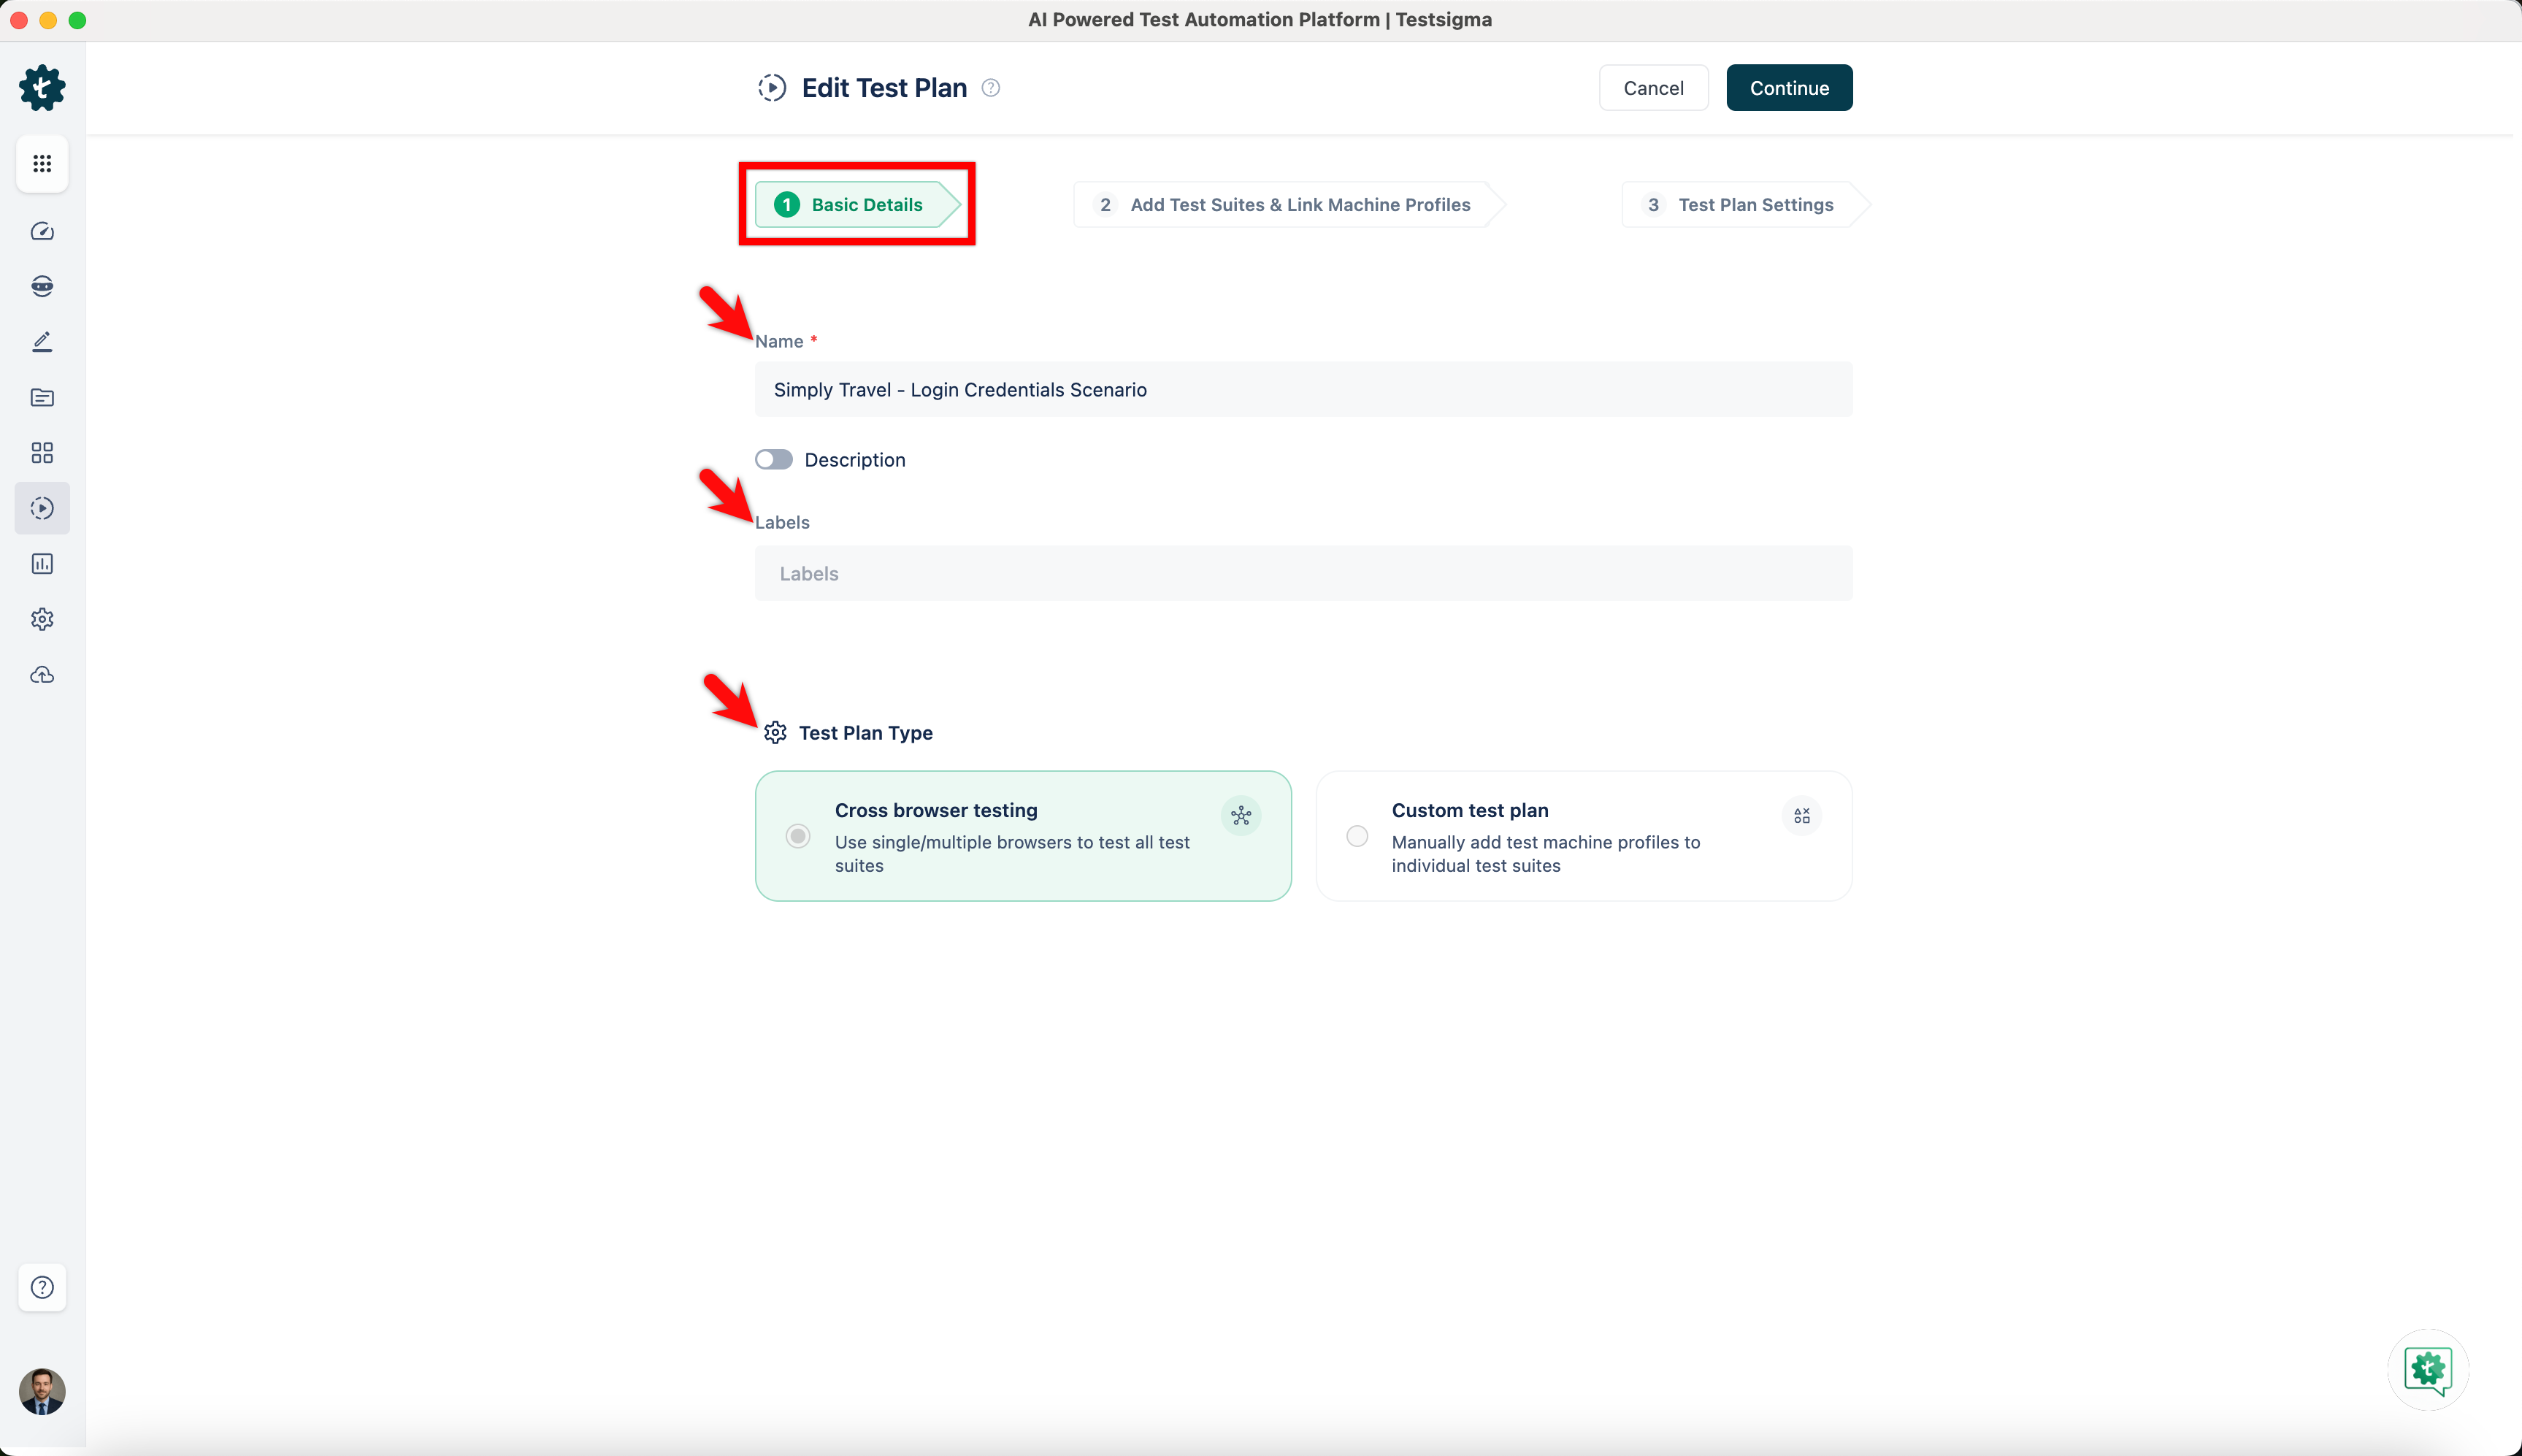
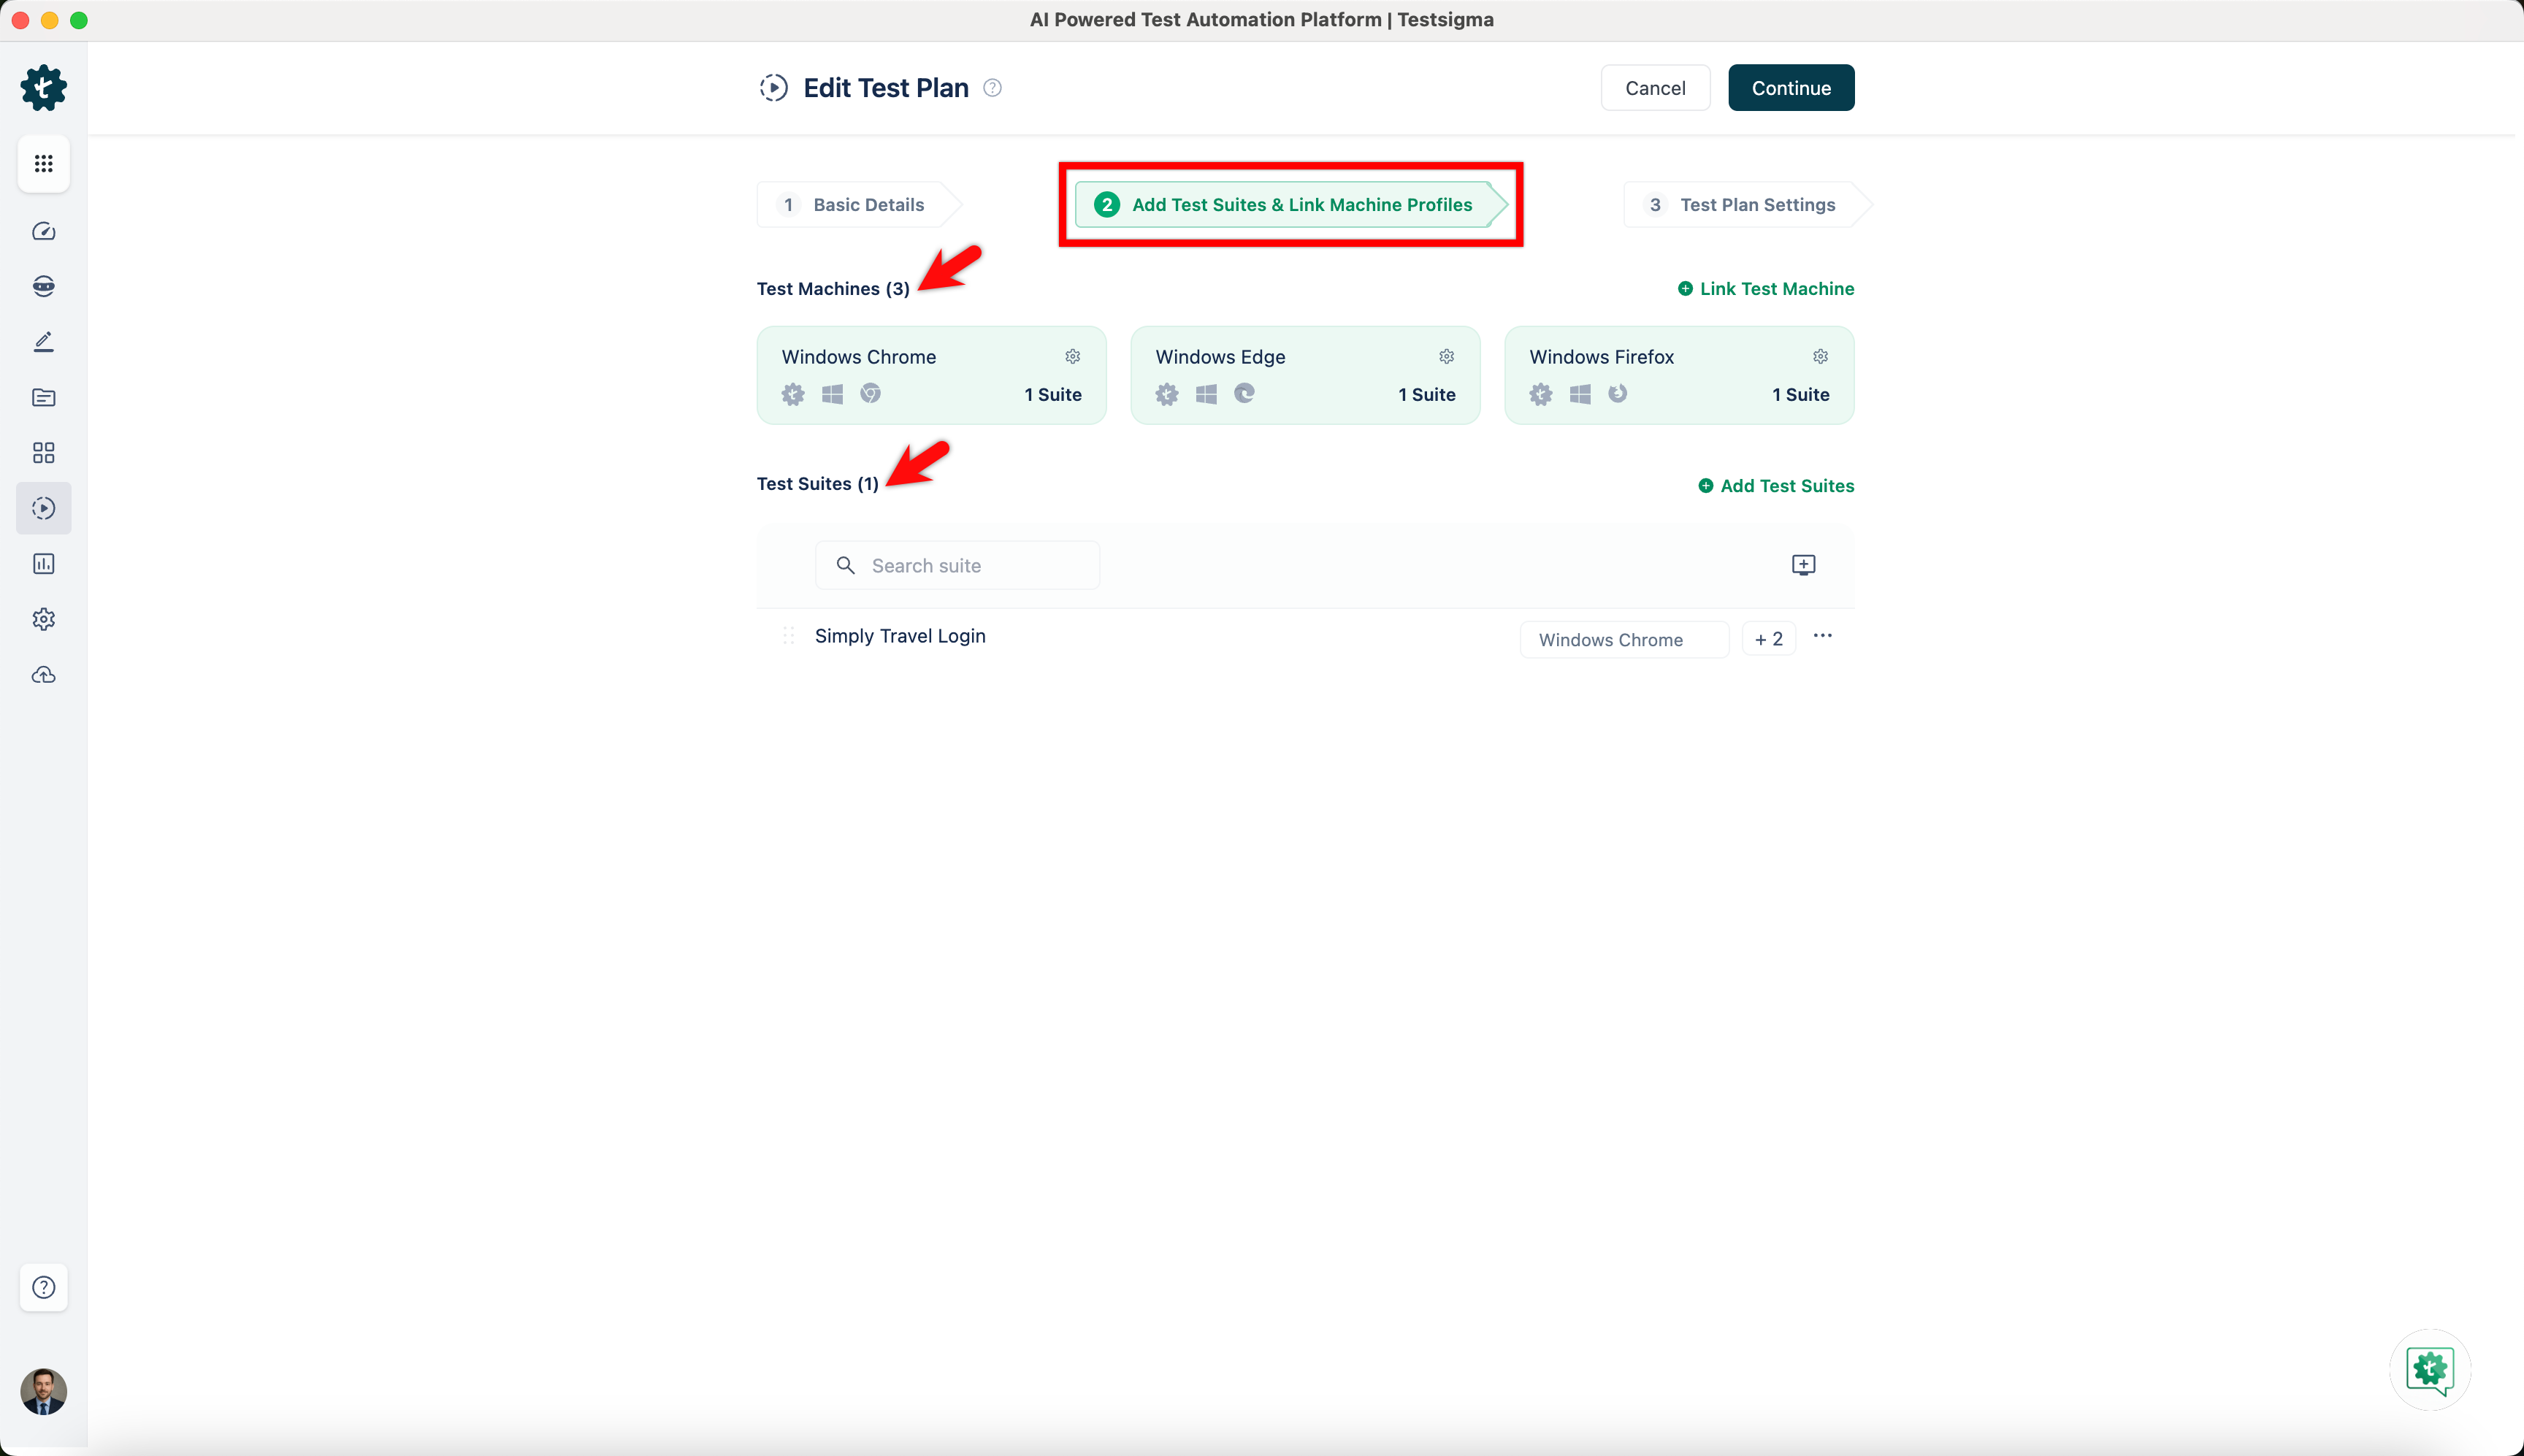
- Add Test Suites & Link Machine Profiles: You can add/remove test suites and test machines on this section.
- Test Plan Settings: You can edit Additional Settings on this section.
- Basic Details: You edit test plan Name, Labels and Test Plan Type on this section.
Alternatively, you can also add/remove test suites directly from the test plan details page.
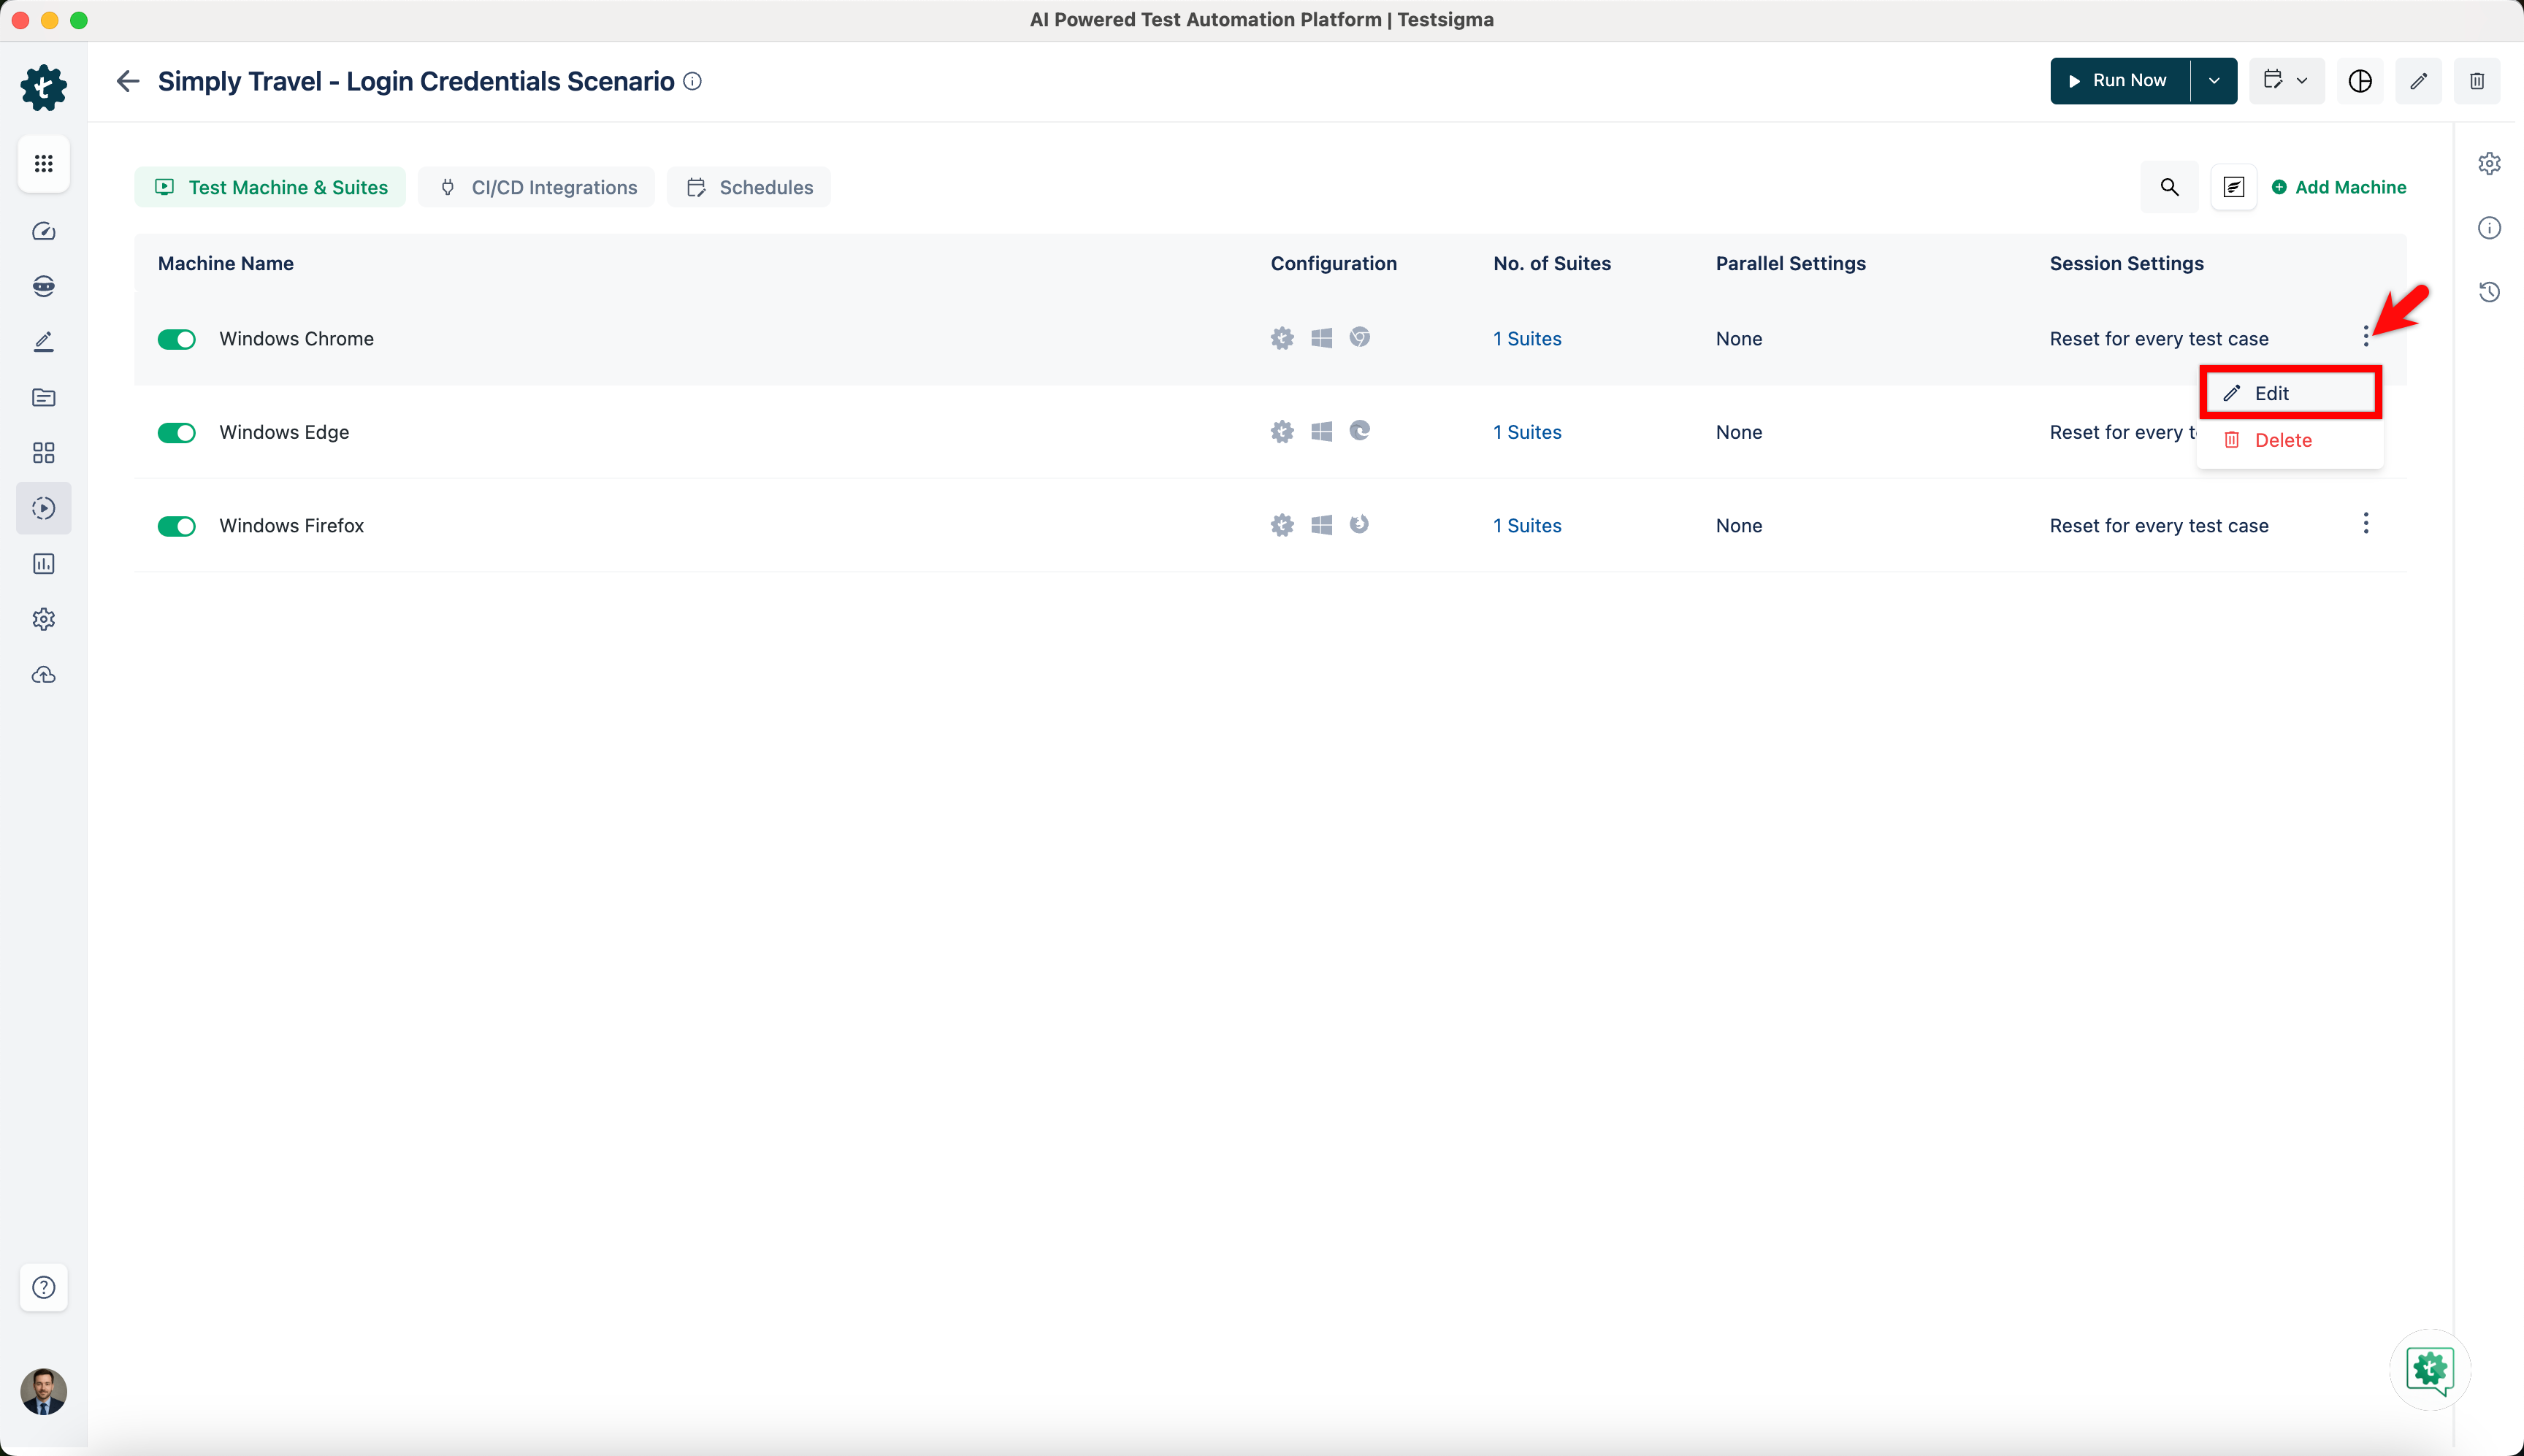
Manage Test Suites from Test Plan Details Page
- Navigate to Test Plans and click on any existing test plan.
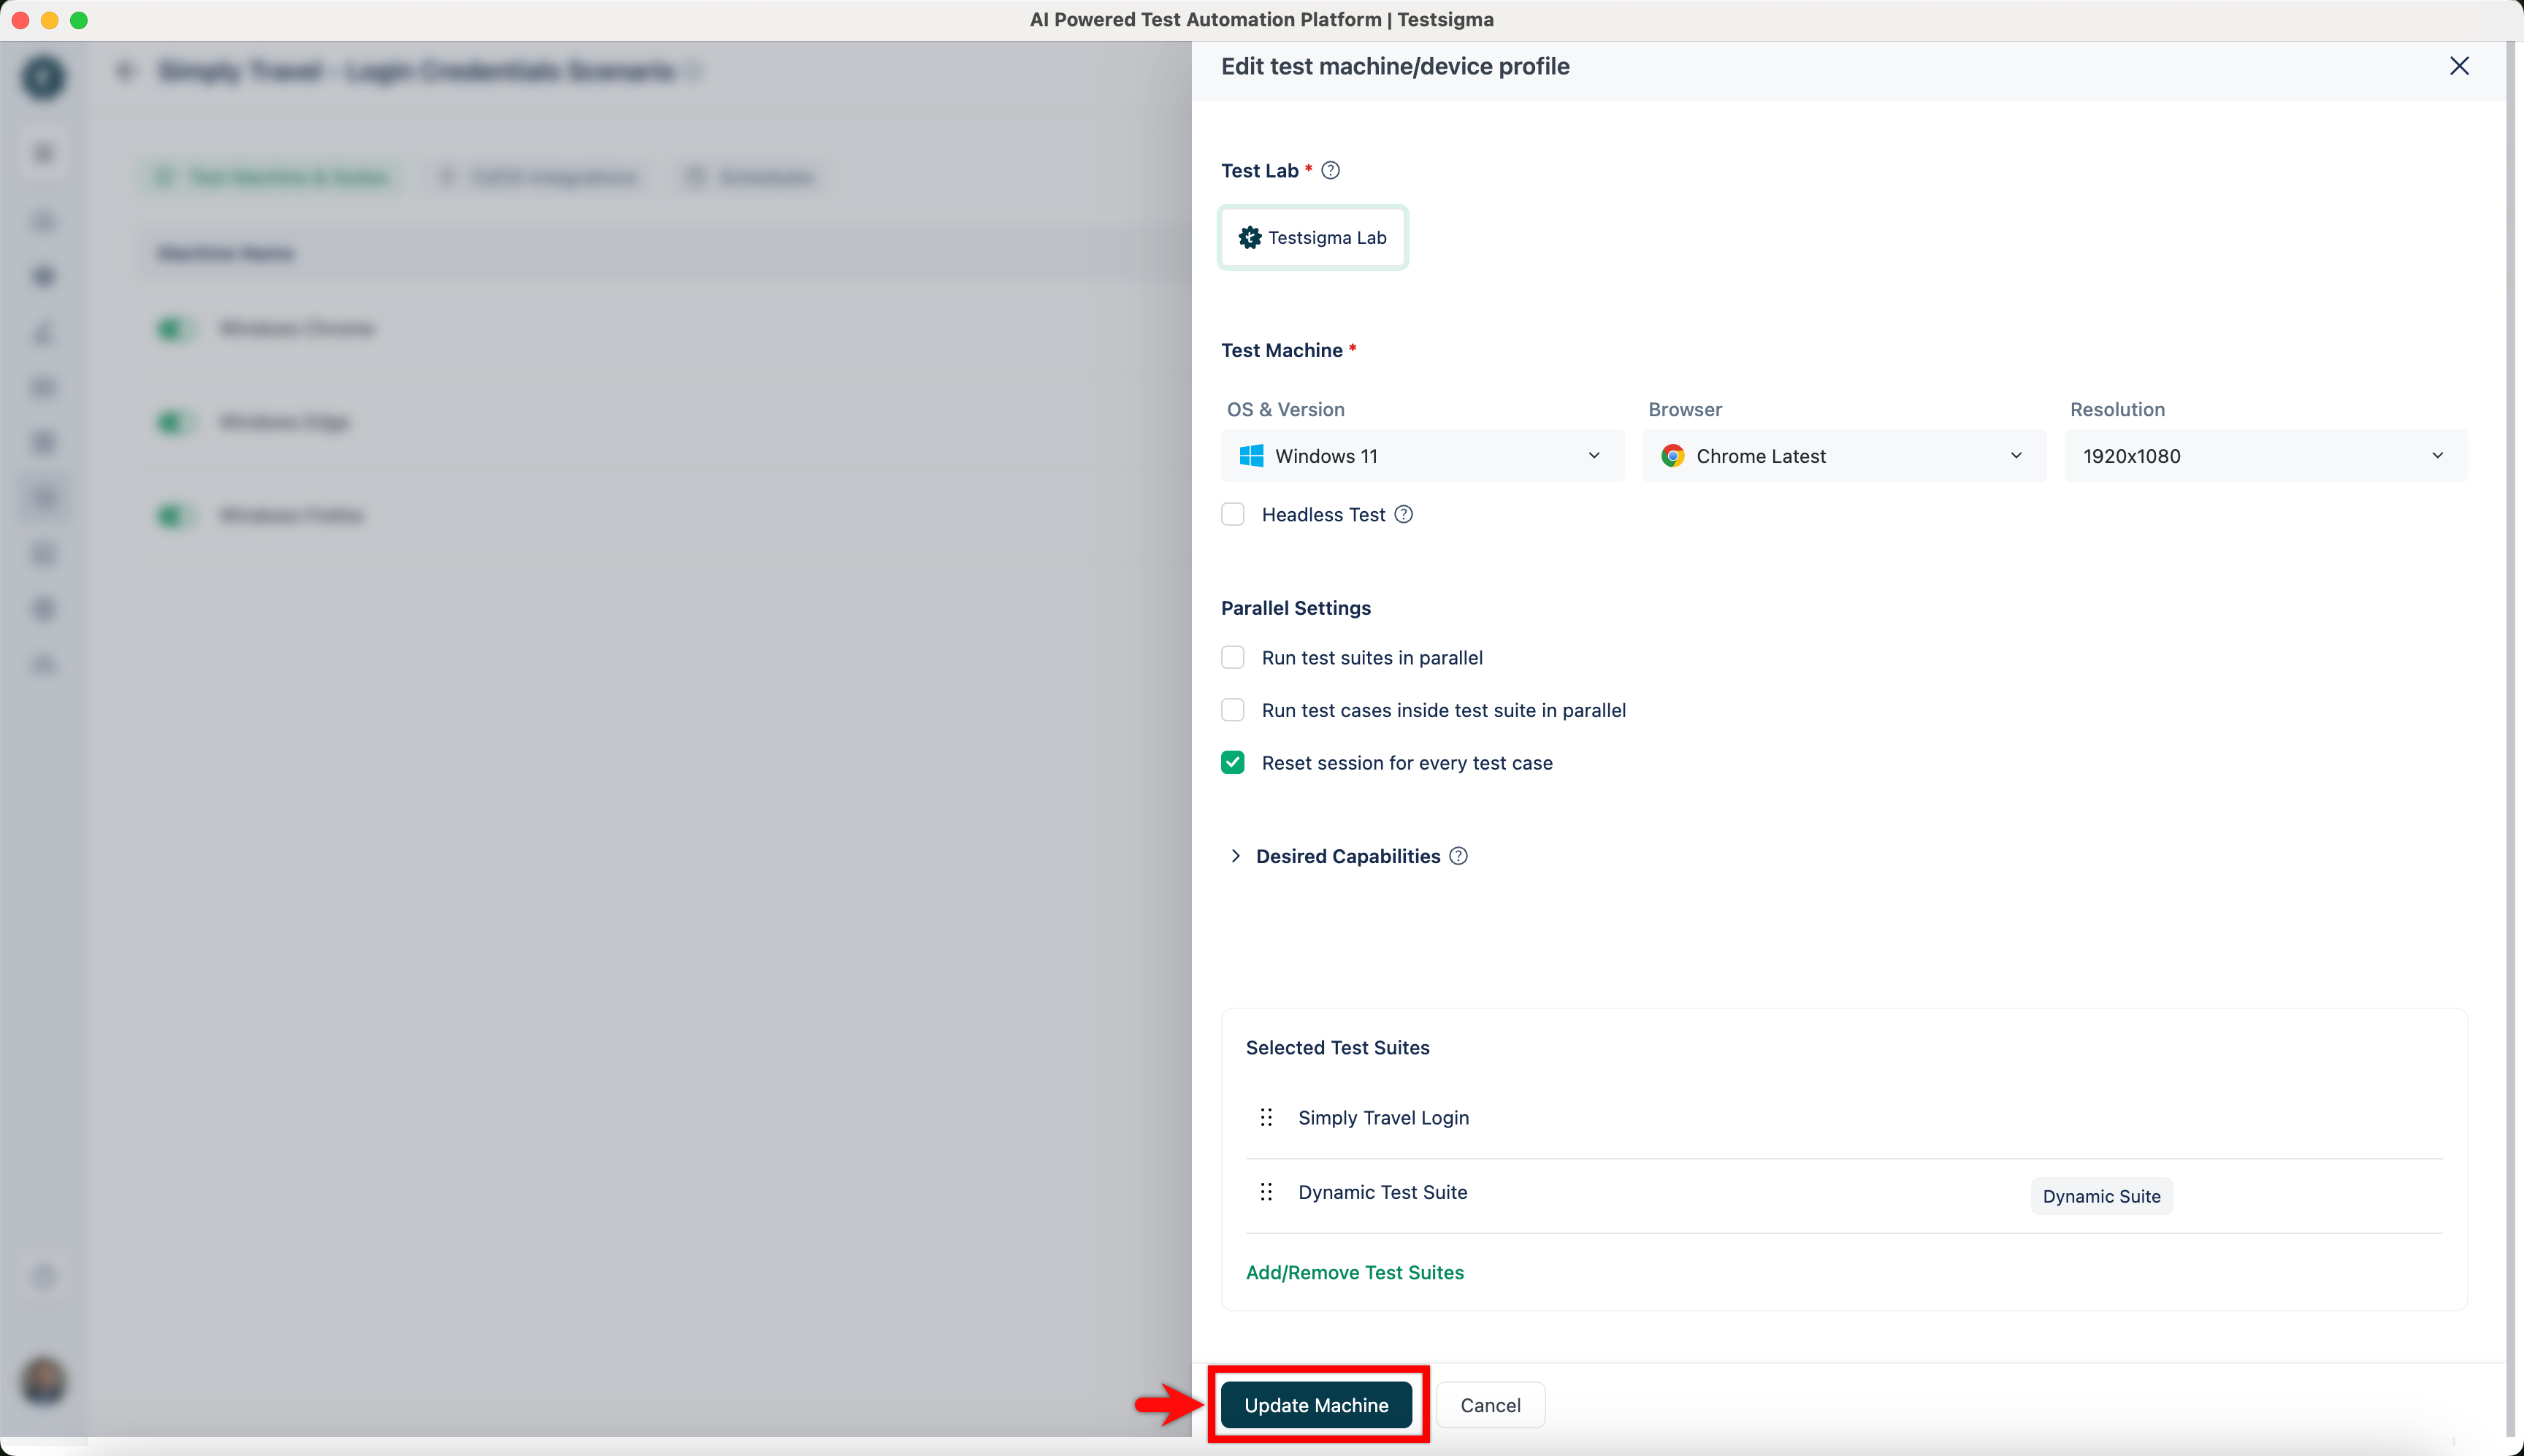
- On the test plan details page, hover over the test machine for which you want to add/remove test suites, click on Kebab Menu, and click on Edit.
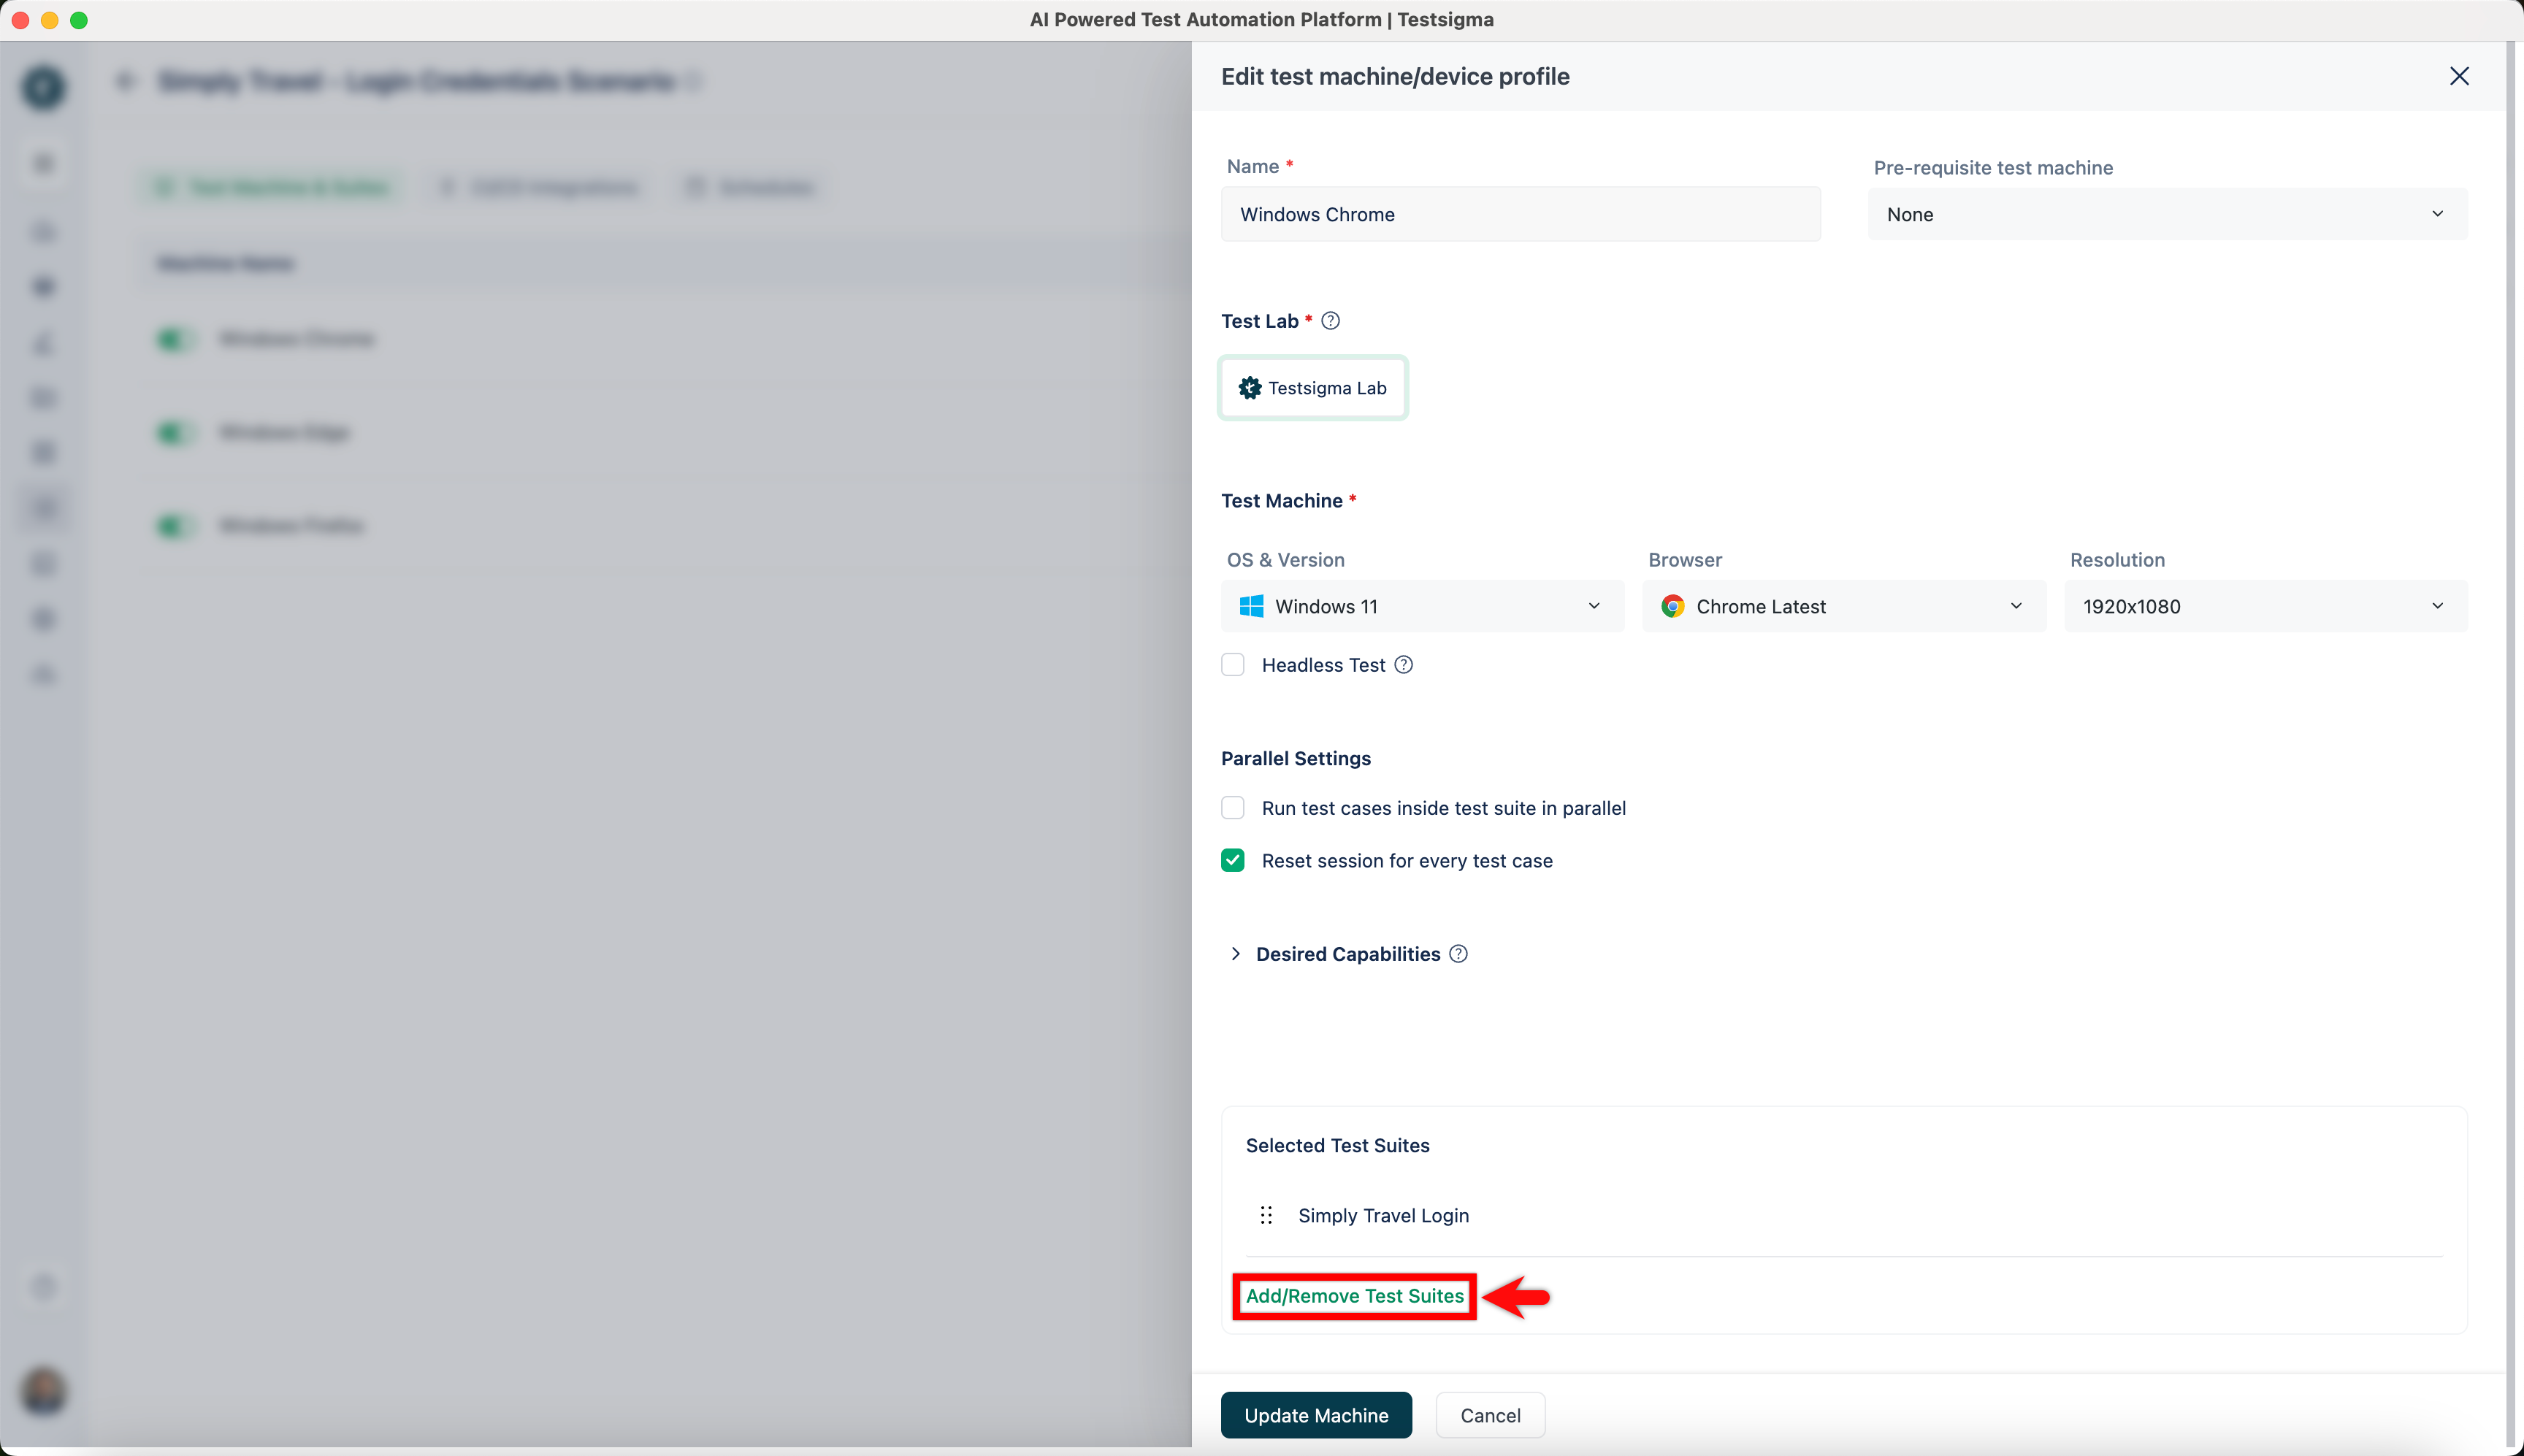
- On the Edit test machine/device profile overlay, click on Add/Remove Test Suites.
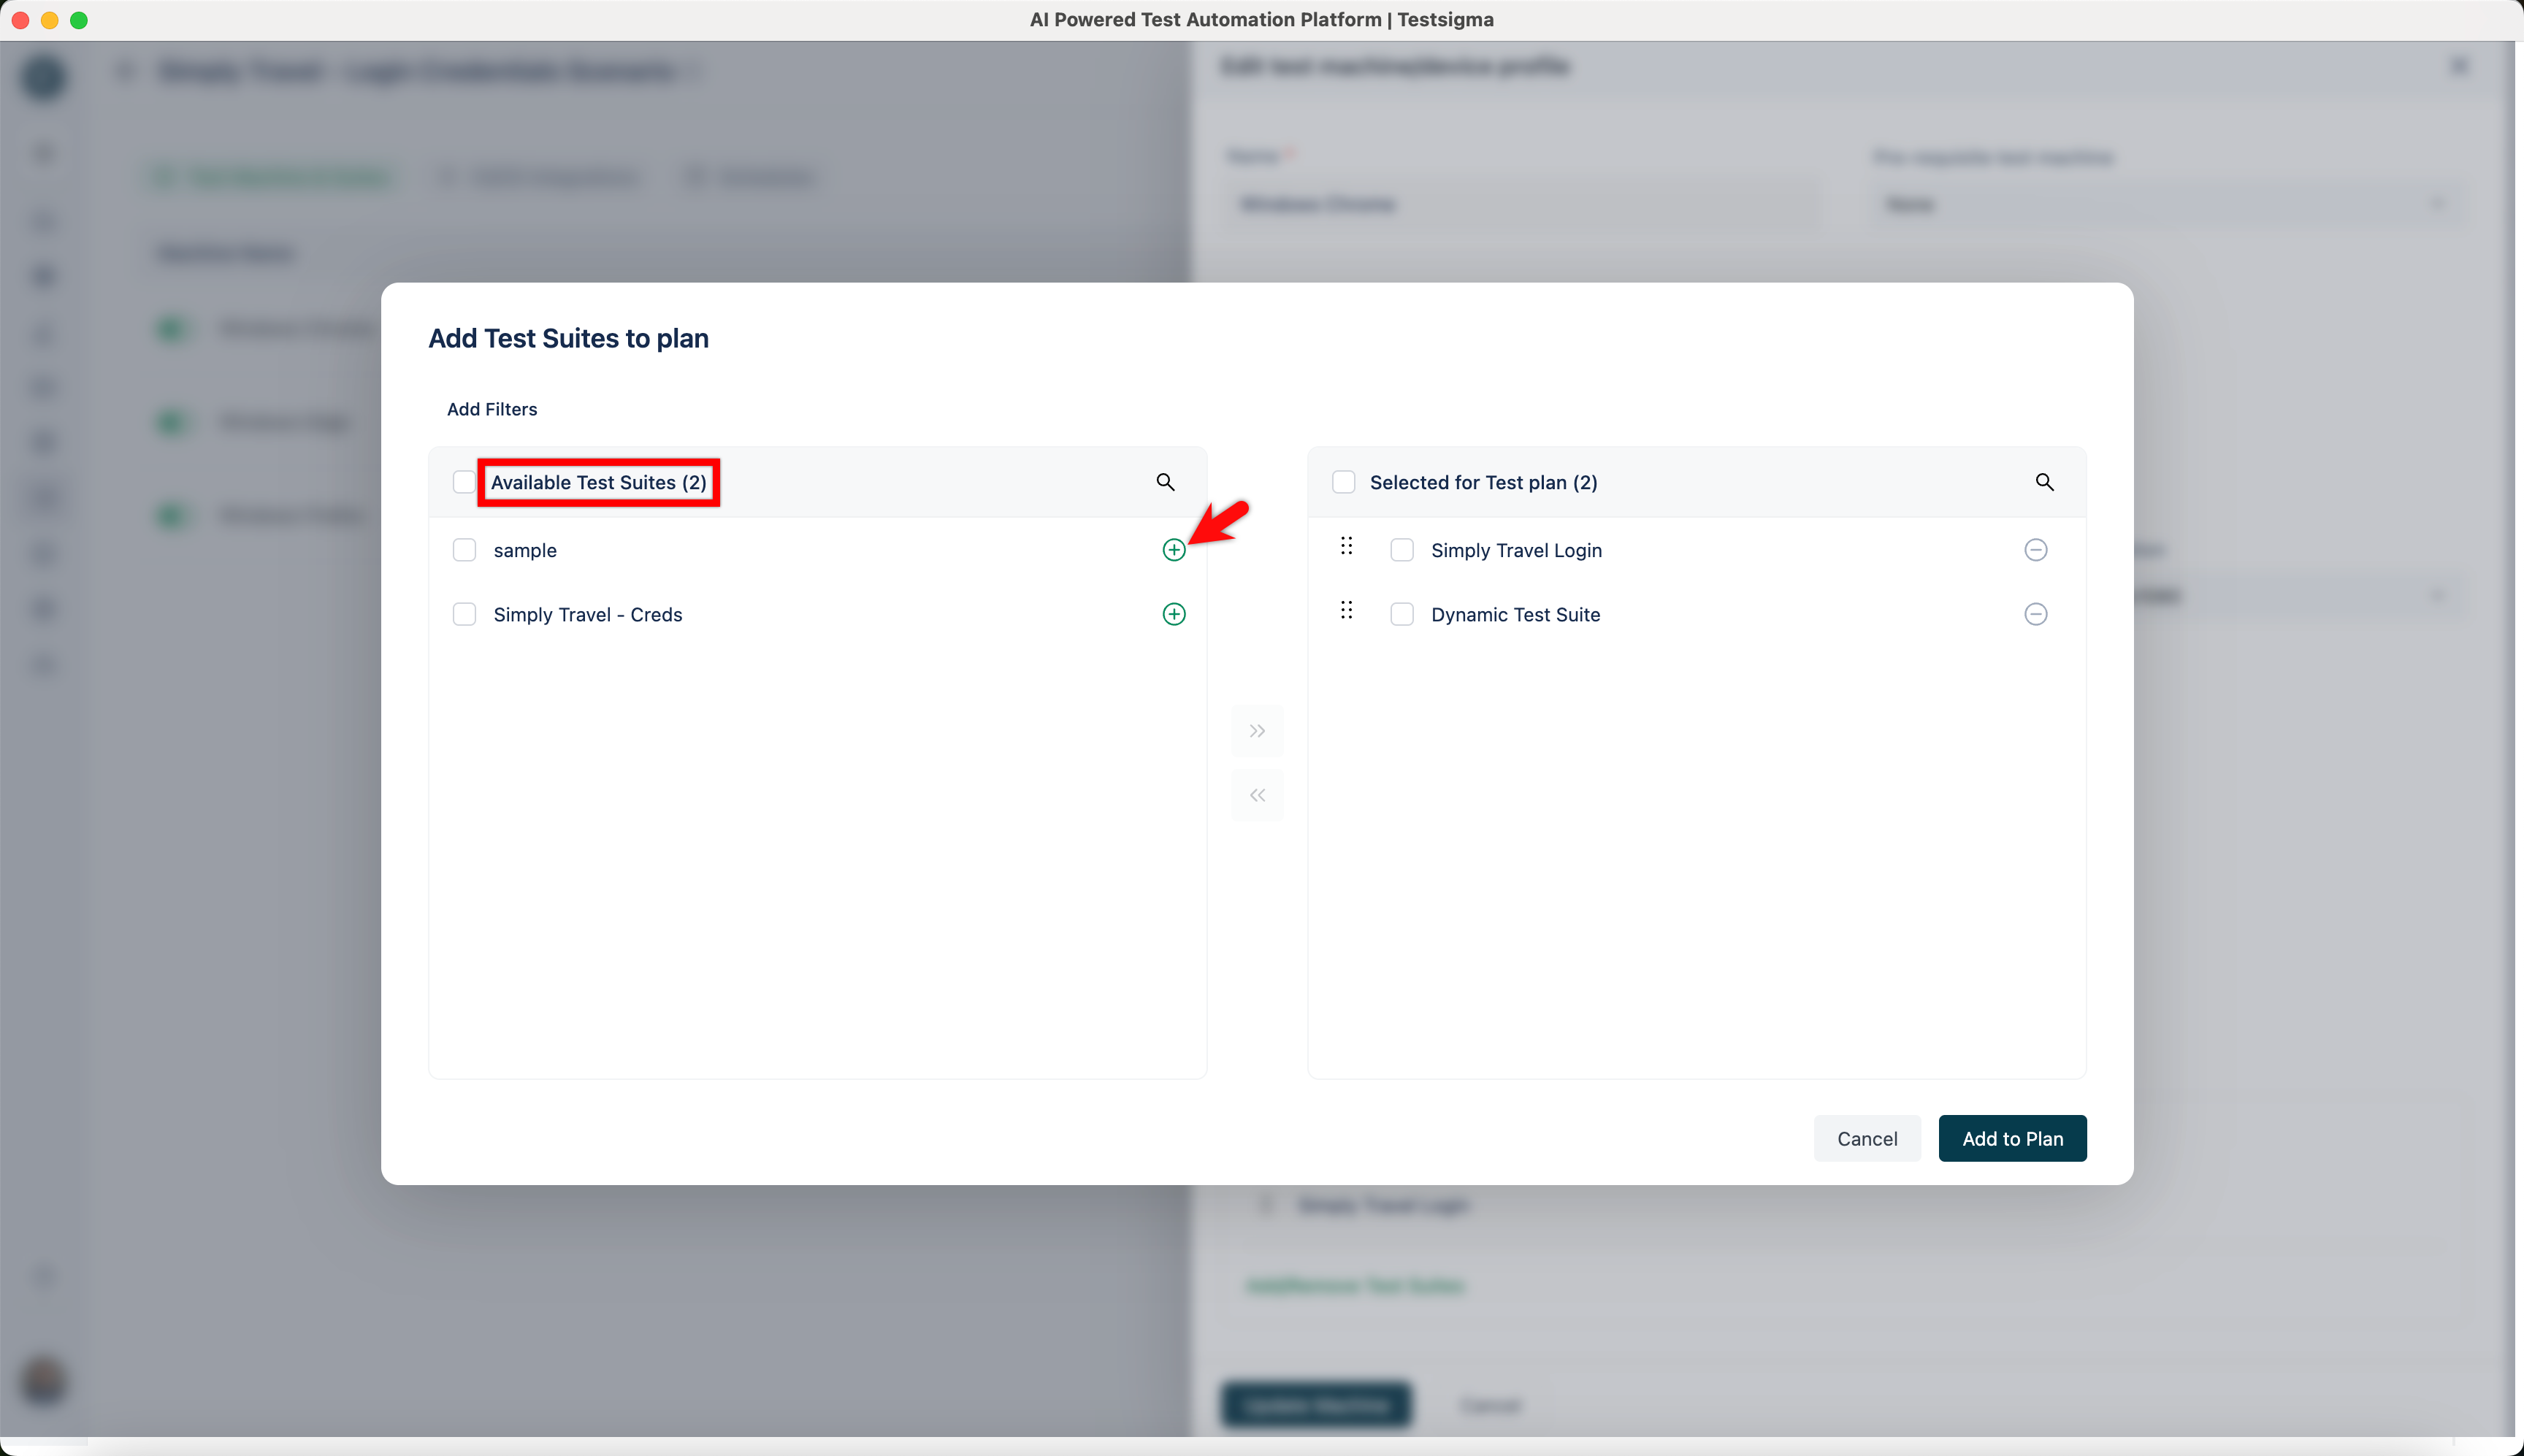
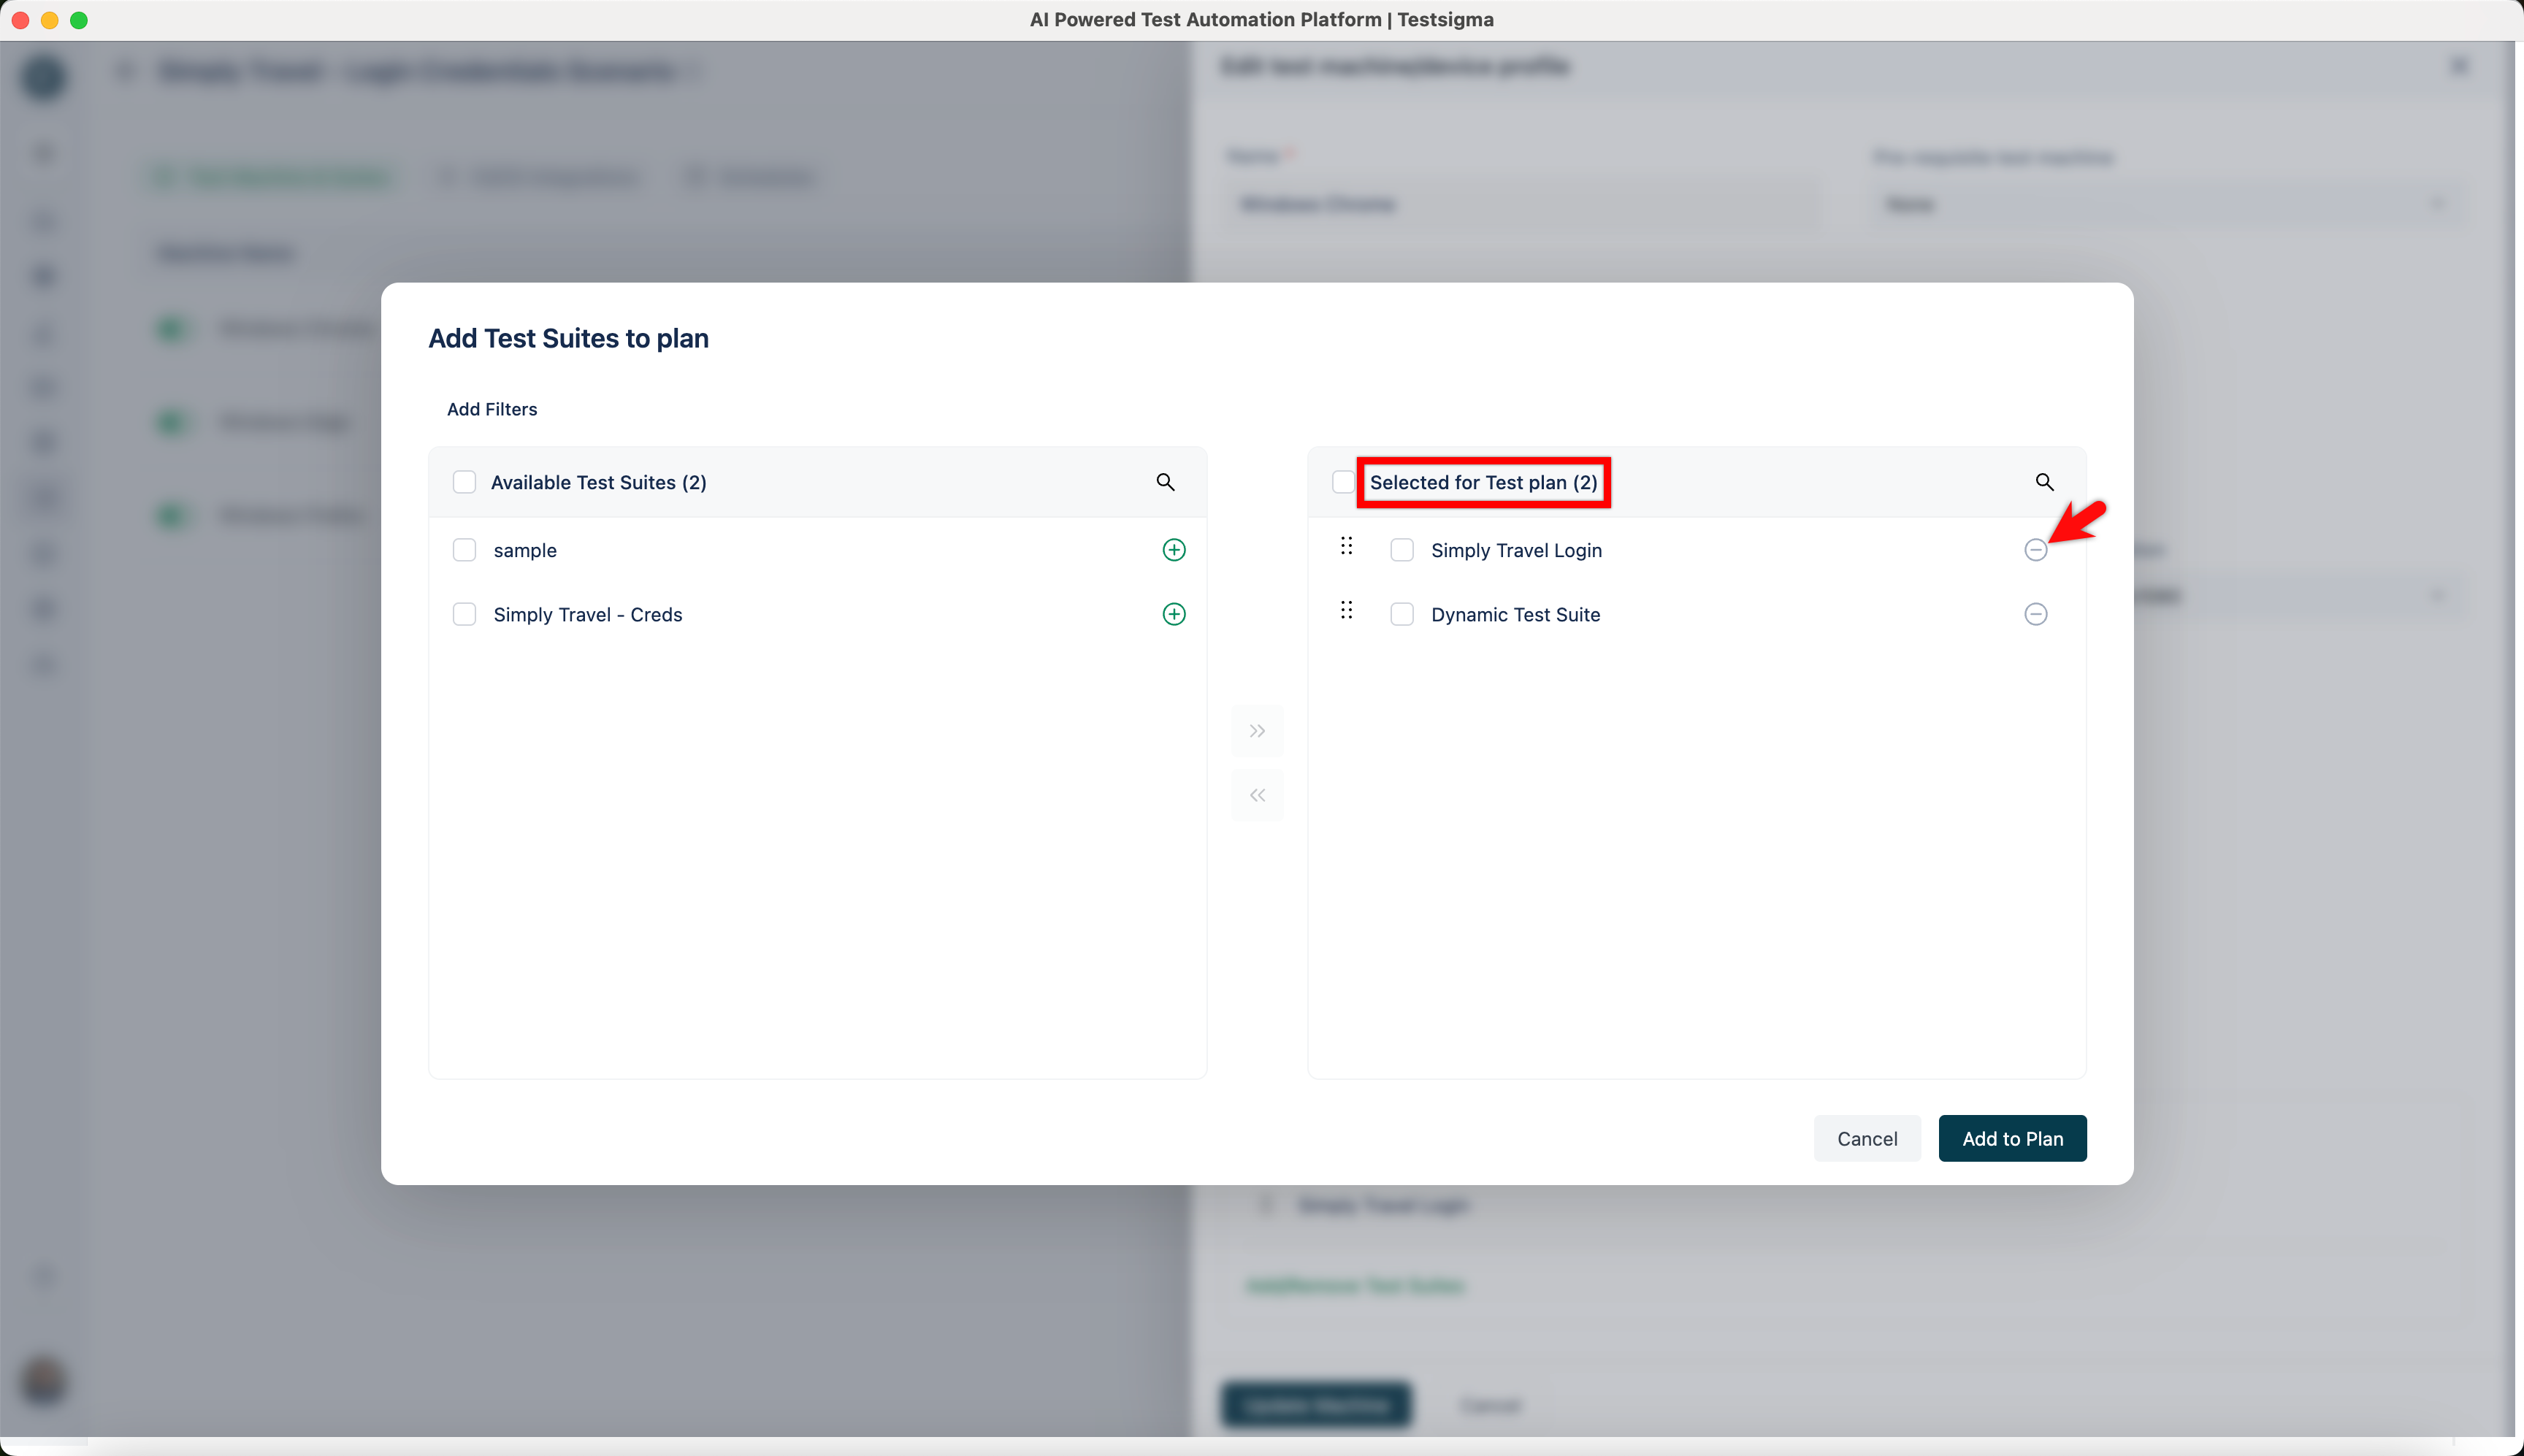
- An overlay of Add test suites to plan opens.
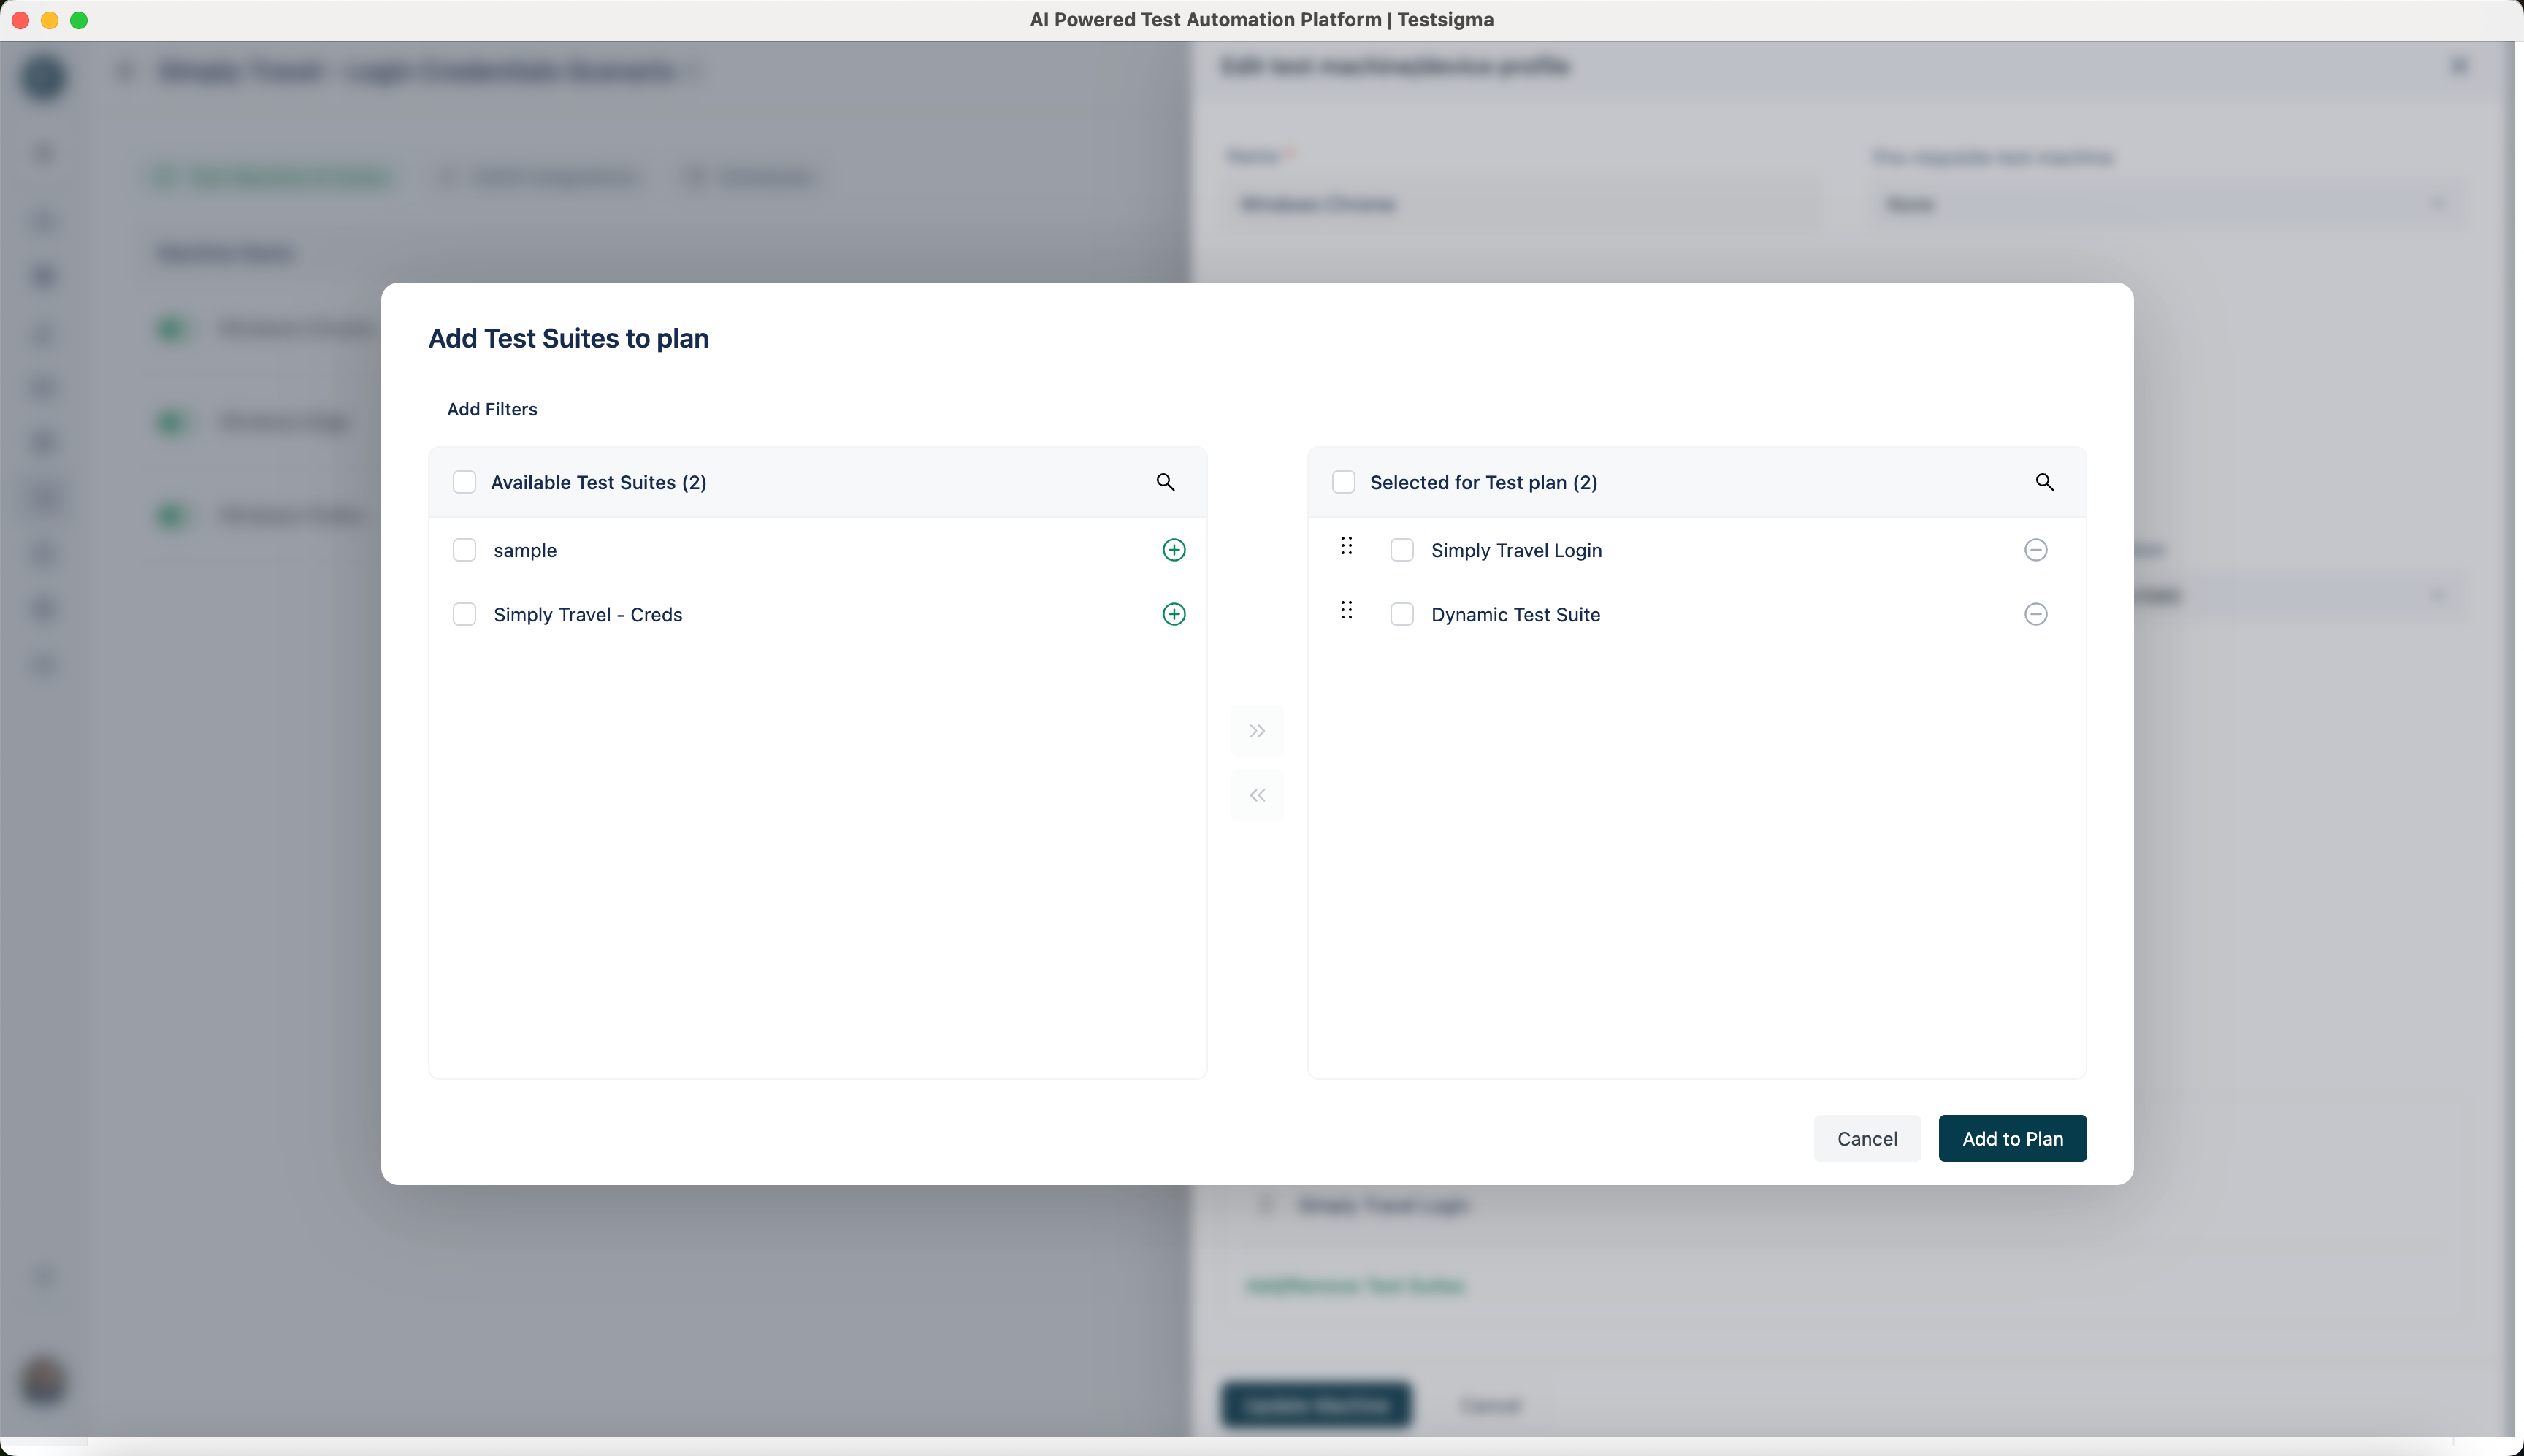
- To add a test suite, click on the ‘+’ button of the test suite of your choice from Available Test Suites.
- To remove a test suite, click on the ‘-’ button of the test suite of your choice from Selected for Test Plan.
- Once the Test Suites are added/removed from the test plan, click on Update Machine from Edit test machine/device profile overlay.
Want to contribute or report missing content?