- auto healing
 Introduction: Auto-Healing
- Enable the Auto-Healing Feature
- AI-Enabled Auto-Healing for Web Applications
- AI-Enabled Auto-Healing for Salesforce Applications
- AI-Enabled Auto-Healing for Mobile Applications
- Auto-healing for AI-Generated Test Cases
- Using Auto-Healing in Copilot Test Execution
- Auto-Healing Insights
Using Auto-Healing in Copilot Test Execution
With Auto-Healing enabled, you can execute test cases directly in Copilot to validate element locators in real time. This helps ensure that any changes in the application’s UI are automatically detected and corrected during execution. This article discusses how auto-healing identifies and updates element locators while executing test cases in the Copilot.
Prerequisites
Before you begin, ensure that:
- You have referred to the documentation on enabling the auto-healing feature.
- You have referred to the documentation on installing the Testsigma Terminal.
- You have referred to the documentation on managing test cases.
Use Case for Auto-Healing
Let’s say we are testing a login page for https://www.facebook.com/.
Here are the steps to produce:
- Navigate to https://www.facebook.com/.
- Enter demo@example.com in the Email address or phone number field.
- Enter demopassword in the Password Input field.
- Click on Log in Button.
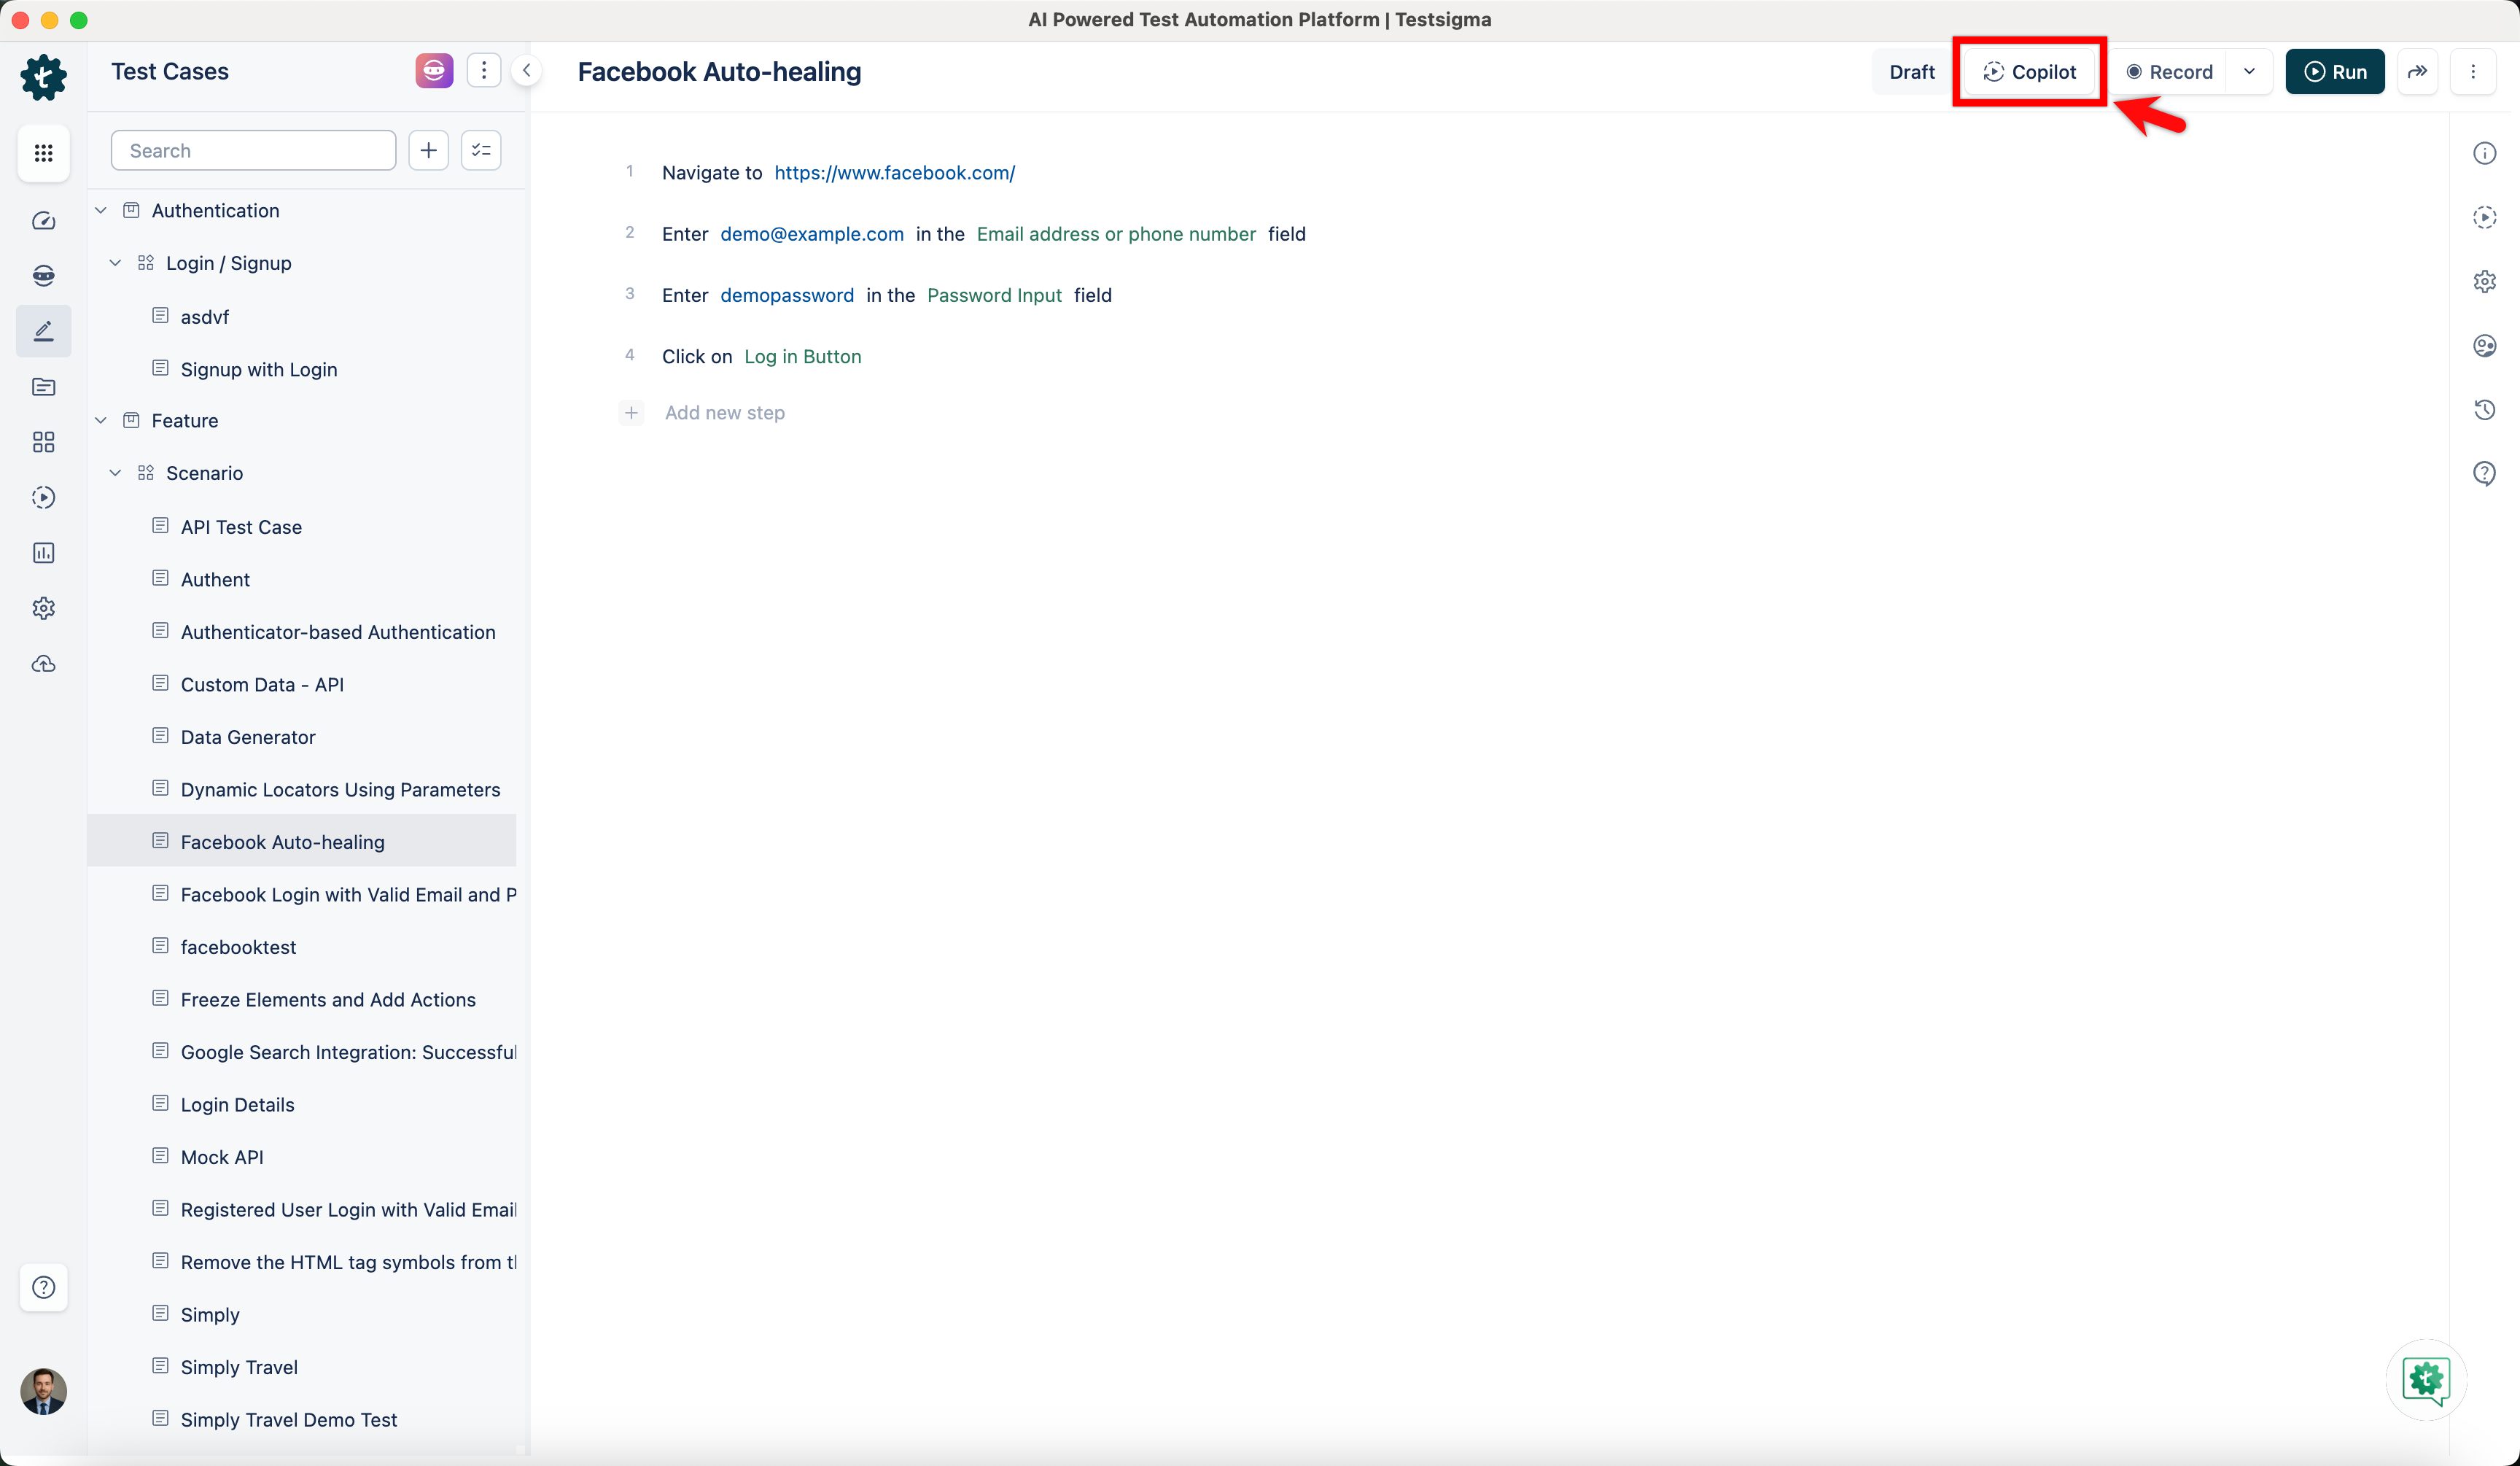
- Once you have created the test steps, click Copilot.
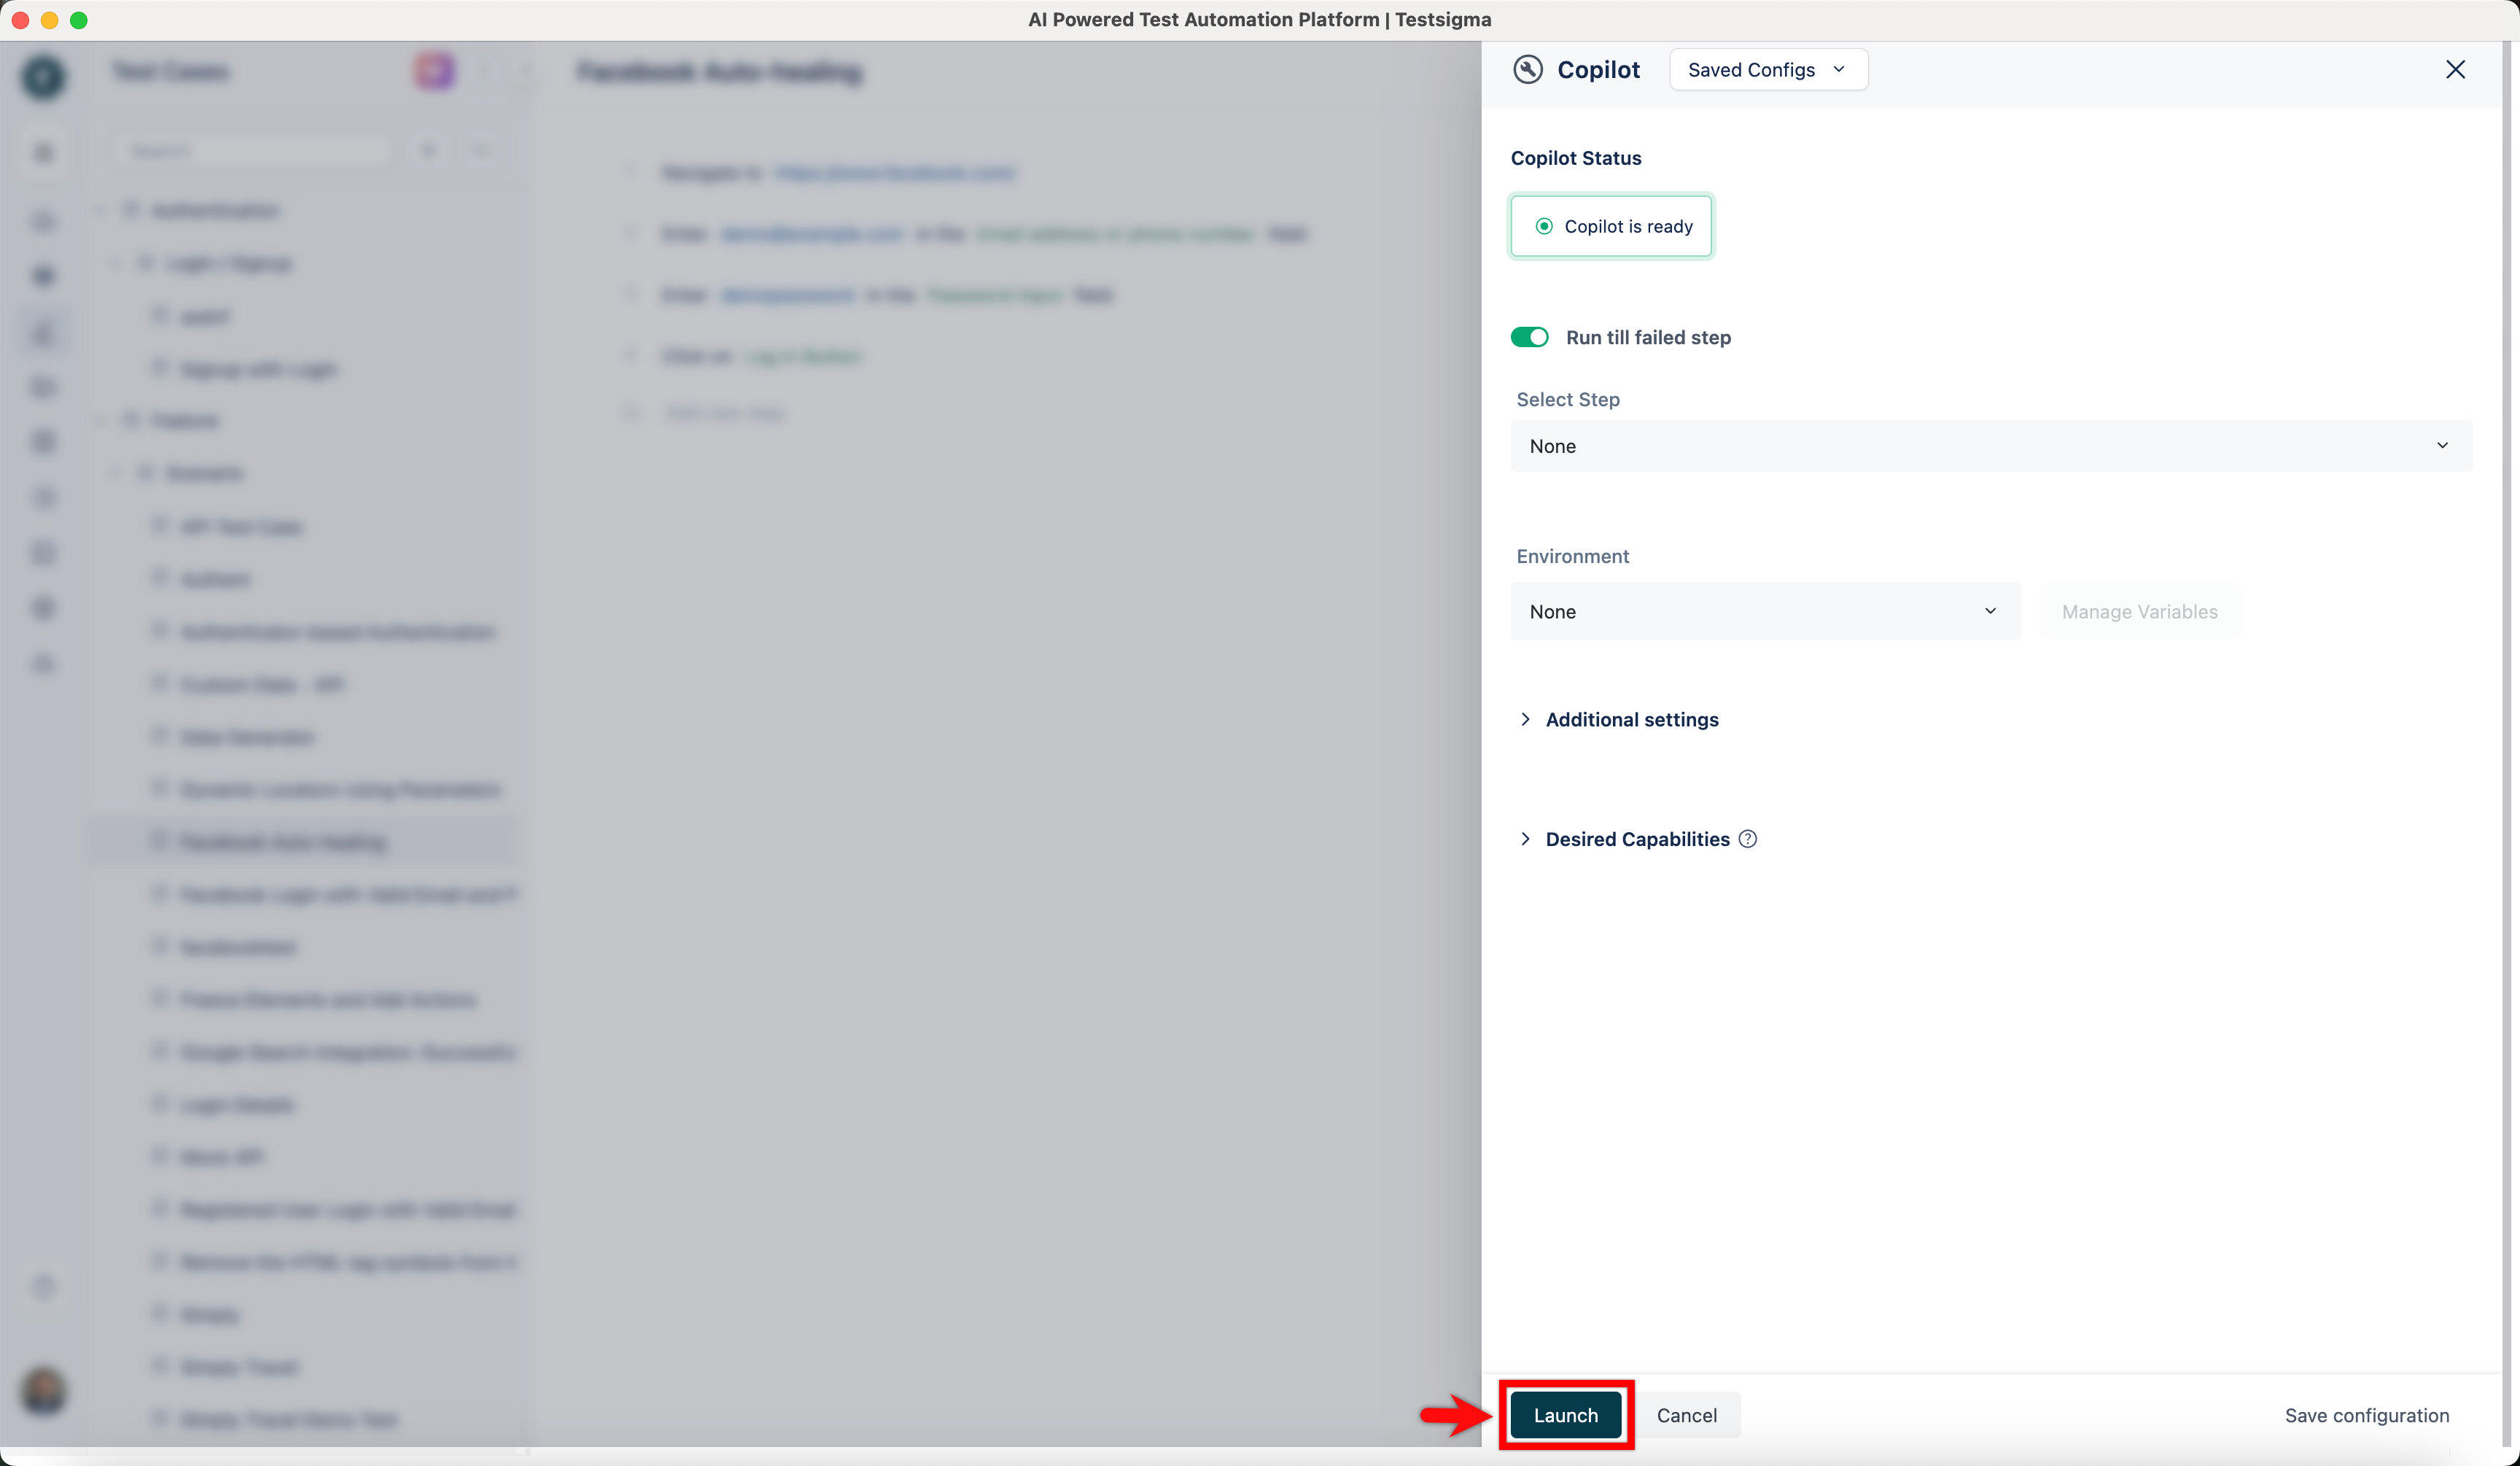
- On the Copilot overlay, configure the required options and click Launch.
- Consider that the XPATH for the element Email address or phone number on step 2 changed.
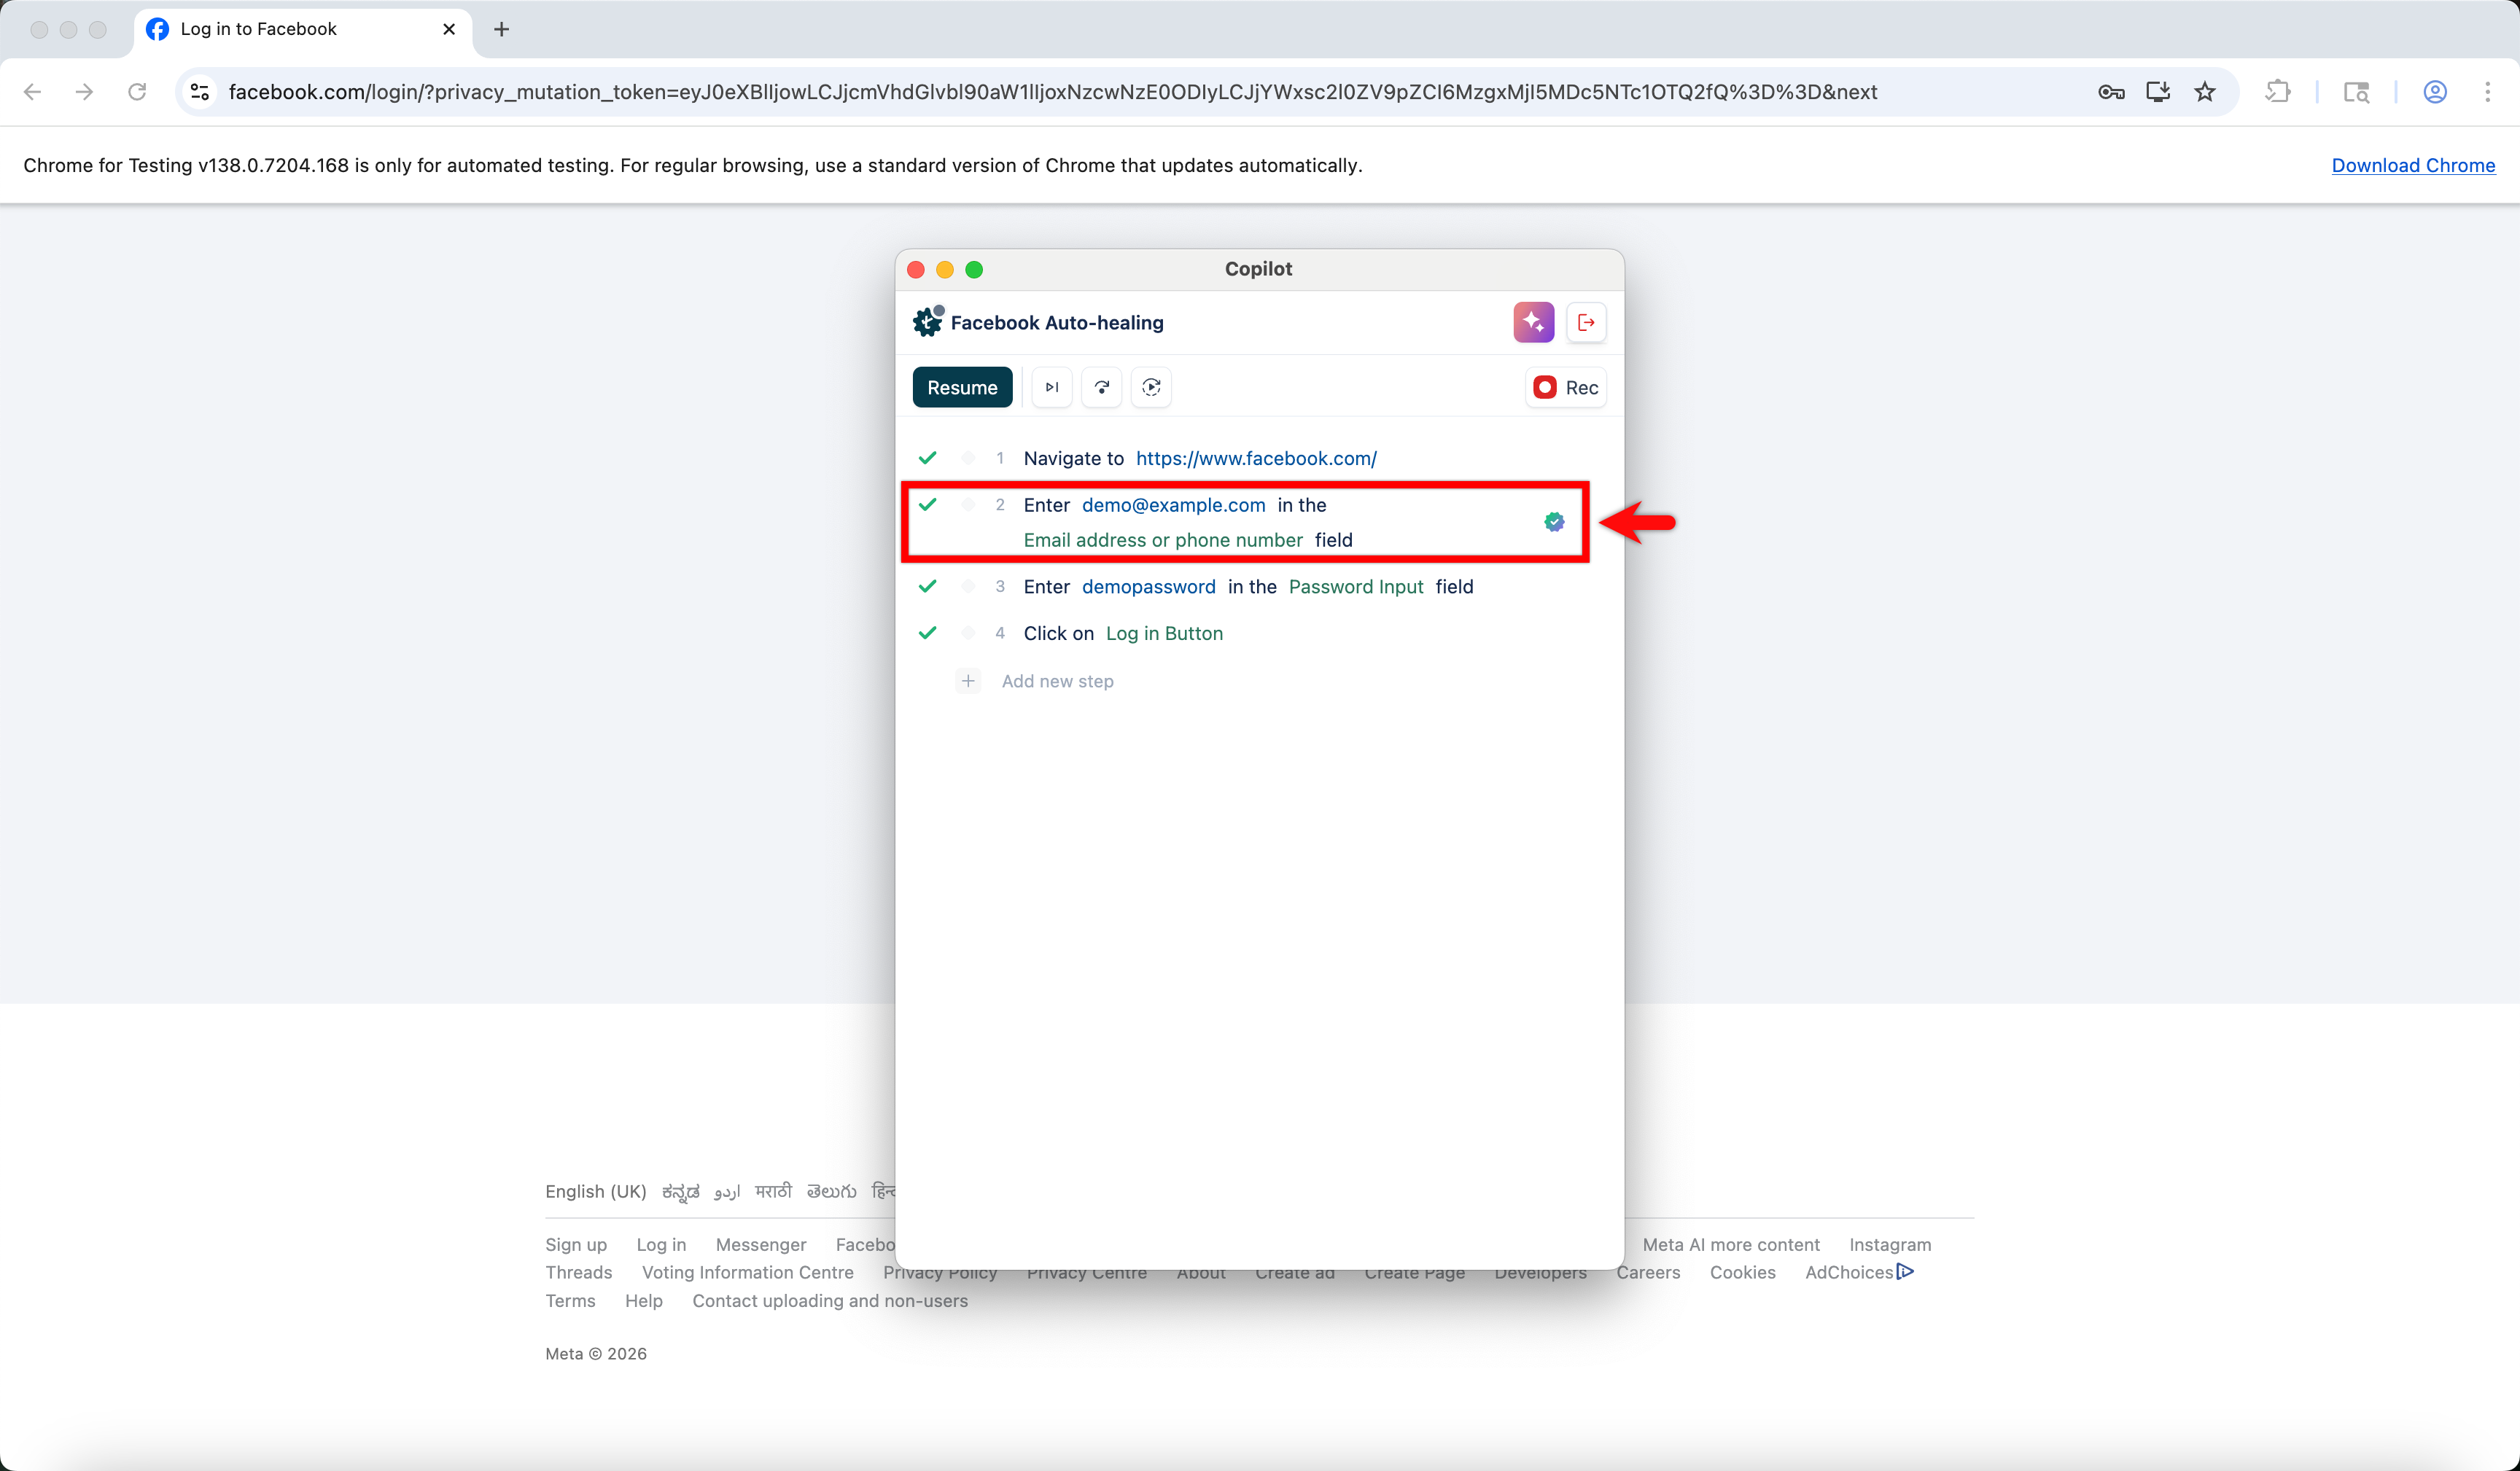
-
When the test case is executed in the Copilot with the Gen AI auto-healing feature enabled, Testsigma automatically identifies the updated XPath and successfully locates the element.
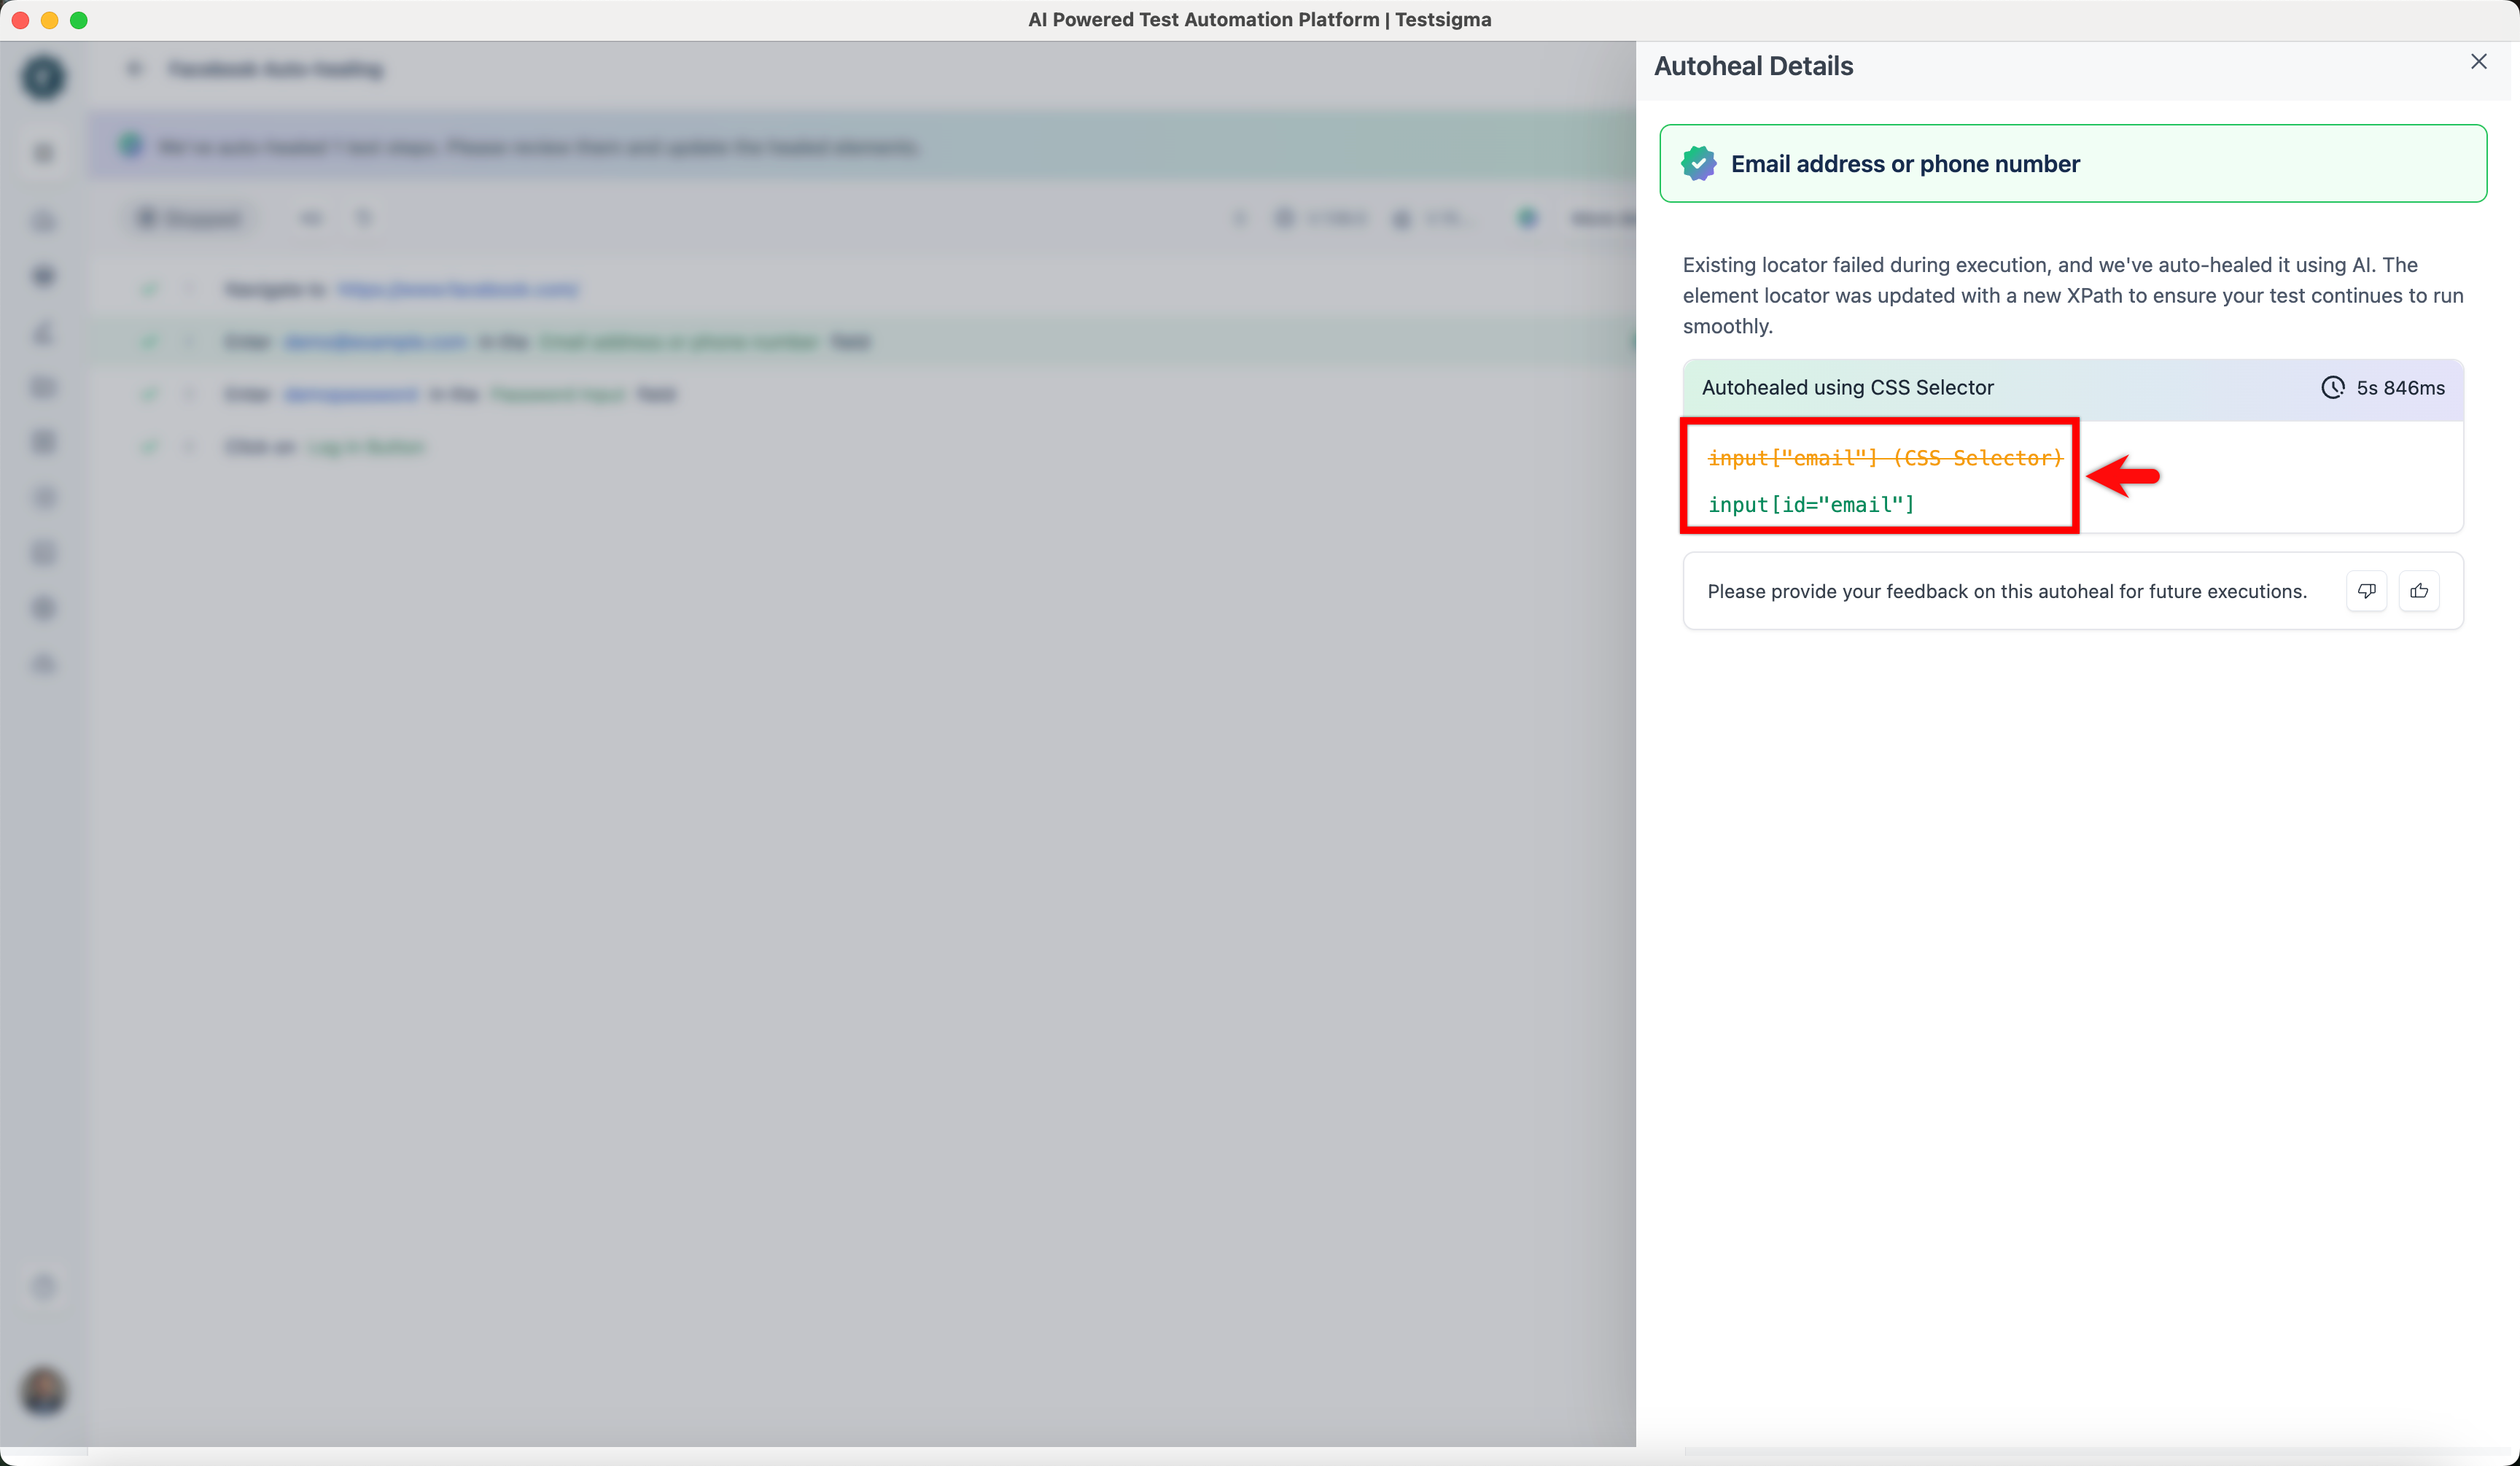
Auto-Healing Insights
Once the test execution is complete, please refer to the documentation on Auto-Healing Insights to view the auto-healing results and learn how to update the element locator.
Want to contribute or report missing content?