Get Started with Automating Web Applications
This tutorial is made to help you learn the basics of creating tests with Testsigma and help you create and execute your first test case for a sample web application - “Simply Travel”.
We cover:
- Prerequisites needed for getting started
- How to use Testsigma Chrome extension to capture every detail efficiently
- How to write your first test and run it in the cloud
- A sample web application scenario tested using Testsigma
- How to view the comprehensive test results
Prerequisites
- You have a Testsigma account : If you haven't already, sign up for a free trial The trial includes all product features and free support (always!) You may reach out for help via the in-app chat or email to support@testsigma.com
- You have added the Test Recorder (Browser Extension) The recorder will automatically render/capture steps (in readable natural language) based on how you interact with the application under test. You can add Testsigma’s extension from the Chrome webstore by visiting this link. For a detailed overview, check here.
Setting the stage to write your first test
Workflow: Create a Project > Add a Test Case > Add Test Steps
Let’s understand these in detail.
- Project - Can be your web application for instance
- Test Case - specific scenario that has to be tested, say, login functionality
- Test Steps - the actual set of instructions/steps required to test the functionality
By default, 4 Projects will be readily available on your account. These projects (here, Web application) will also have a few sample Test Cases and Test Steps ready for your reference.
- Start by creating a Project first. For a detailed overview, check here.
- Create a Test Case For a detailed overview, check here.
- Add Test Steps Once you create a Test Case, you will be redirected to the page where you can add all your Test Steps.
This video should give you a quick insight to these 3 steps.
The next section explains how you can add steps to test the below sample scenario.
- Navigate to https://travel.testsigma.com/signup
- Enter First Name, Last Name, and few other details
- Verify a text present in this page etc..
There are two ways you can add Test Steps to your Test Case:
- Add/Record Test Steps using the Test Recorder
- Write your test step by step in simple English language
Before you start make sure you’ve referred to the ‘Setting the stage to write your first test’ section in this tutorial and your are currently in the ‘Test Case Details’ Page
Method 1 : Add/Record Test Steps using the Test Recorder
The Testsigma recorder sits directly on your app (web and mobile), acting as both recorder and object spy letting you create the most stable tests in a matter of time.
If you have not installed the Chrome extension from the webstore, you will be prompted to install the extension when you try recording your steps in this stage.
Step 1. The first step is to navigate to the application you are testing
Since this is always the first step, a default “Navigate to test data” action will be added by default.
Test data is a terminology in Testsigma which refers to the input values you wish to provide.
So, you only need to paste the website address (URL) you are testing. In this case, the Simply Travel web application URL which is https://travel.testsigma.com/signup.
Paste this link in place of test data.
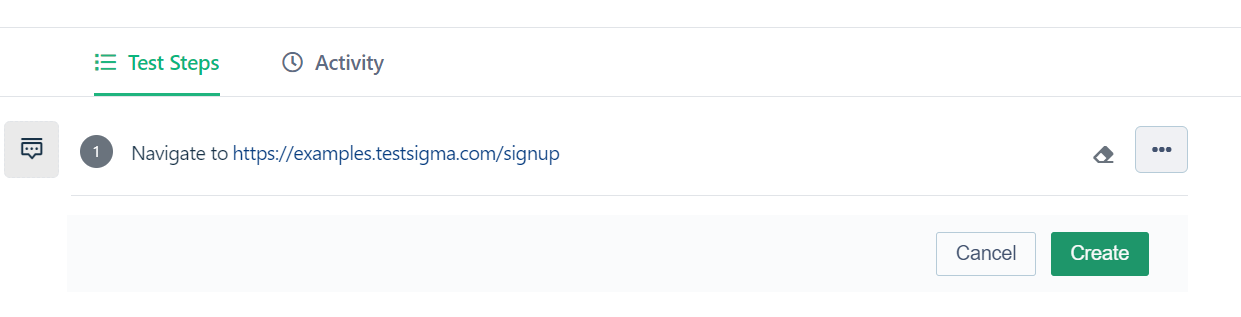
Click Create. And you just created your first step!
Step 2. Click on the Record button at the top right to start recording your interactions.
You will see that a new window appears that will navigate you to the URL you just entered.
Here, you can start performing your desired actions on your web application. Note that each click, keystroke will be recorded as steps. The corresponding simple English tests will be automatically created and added below the first step you just created (Step 1).
To enter some value, click on any text field in the form, enter a name (say, John Doe). The input you entered and its address will all be automatically captured by the smart recorder.
Step 3. Add a verify statement (assertion) manually
After performing these basic actions we need to verify that they were successful. We do this by using a verify statement which is otherwise called an Assertion in Test Automation.
So first click on the empty test step below the most recently created one in the recorder. From the drop down list select ‘Verify that the current page displays test data’
To add more steps additionally to the already recorded tests (like we discussed in Method 1) manually. Refer to this guide.
Step 4: When you are done, click Finish.
You will now be taken to the Test Cases Details page where you will see all the steps that were captured as a result of your interactions with the application.
Here’s a video that summarizes the steps we have discussed.
Explore the recorder and ways you can use it to its full potential and record all complex scenarios here.
This is a basic test that can be recorded by interacting with your app. We will dive into more advanced capabilities in other tutorials or ping us for awesome support!
Method 2 : Write automated test steps in plain English (manually)
Testsigma lets you create automated tests easily in plain natural language.
This is our recommended approach. It’s easy and readable!
Check out this page to learn how to write steps from scratch in plain natural language! Here’s a list of some actions Testsigma provides.
Here’s how you can manually create the steps using simple English for the same set of actions we performed in Method 1.
Test Step 1. Navigate to the web page you wish to test. A default “navigate to” step will already be added as this is always the first step.
You only need to replace the test data part with the URL of the application or the website address. Here, https://travel.testsigma.com/signup
Click Create.
The first step would like this: Navigate to https://travel.testsigma.com/signup
Test Step 2. To enter some values in the Simply Travel sign up form, use the “Enter” actions.
Pick the following action from the dropdown: Enter test data in the element field
Here, test data as we discussed is any input value you wish to enter, here the Full Name.
Let’s replace it with a name, say, John Doe.
Enter John Doe in the element field.
Next, is the element part.
This will help us locate where this Full Name (John Doe) field resides on the web page.
In Testsigma, Elements represent the unique address/locators of the actual elements (such as a button, a text field, a link etc) on your web page. These (can be xpath, id, link text etc.) help us locate where they reside and interact with them to perform actions on them. Refer to this guide to learn more about Elements.
Simply click on the element part. You will get a list of elements that are already captured. Select from the list if it already exists.
If you want to create a new one, click on “New” Button. Go to your web application, tap on the Full Name field. This will automatically capture the address of that specific element.
Click on Save.
Click Create to save your step.
Similarly, fill out other fields as desired using the “Enter” action.
Test Step 3. To perform a Click action, use the action:
Click on element.
Here, there’s no input you are providing so you only need the element (or the unique address of the button you are interacting with). To capture the element value using the Recorder, simply choose the action and click on the element and repeat the steps as we did before(previous step).
Here’s a quick video of the steps:
Run your test case
You can run your tests locally on your own machine or on the devices on the cloud (that you may not necessarily own!)
At the top right of your Test Steps page, click on Run.
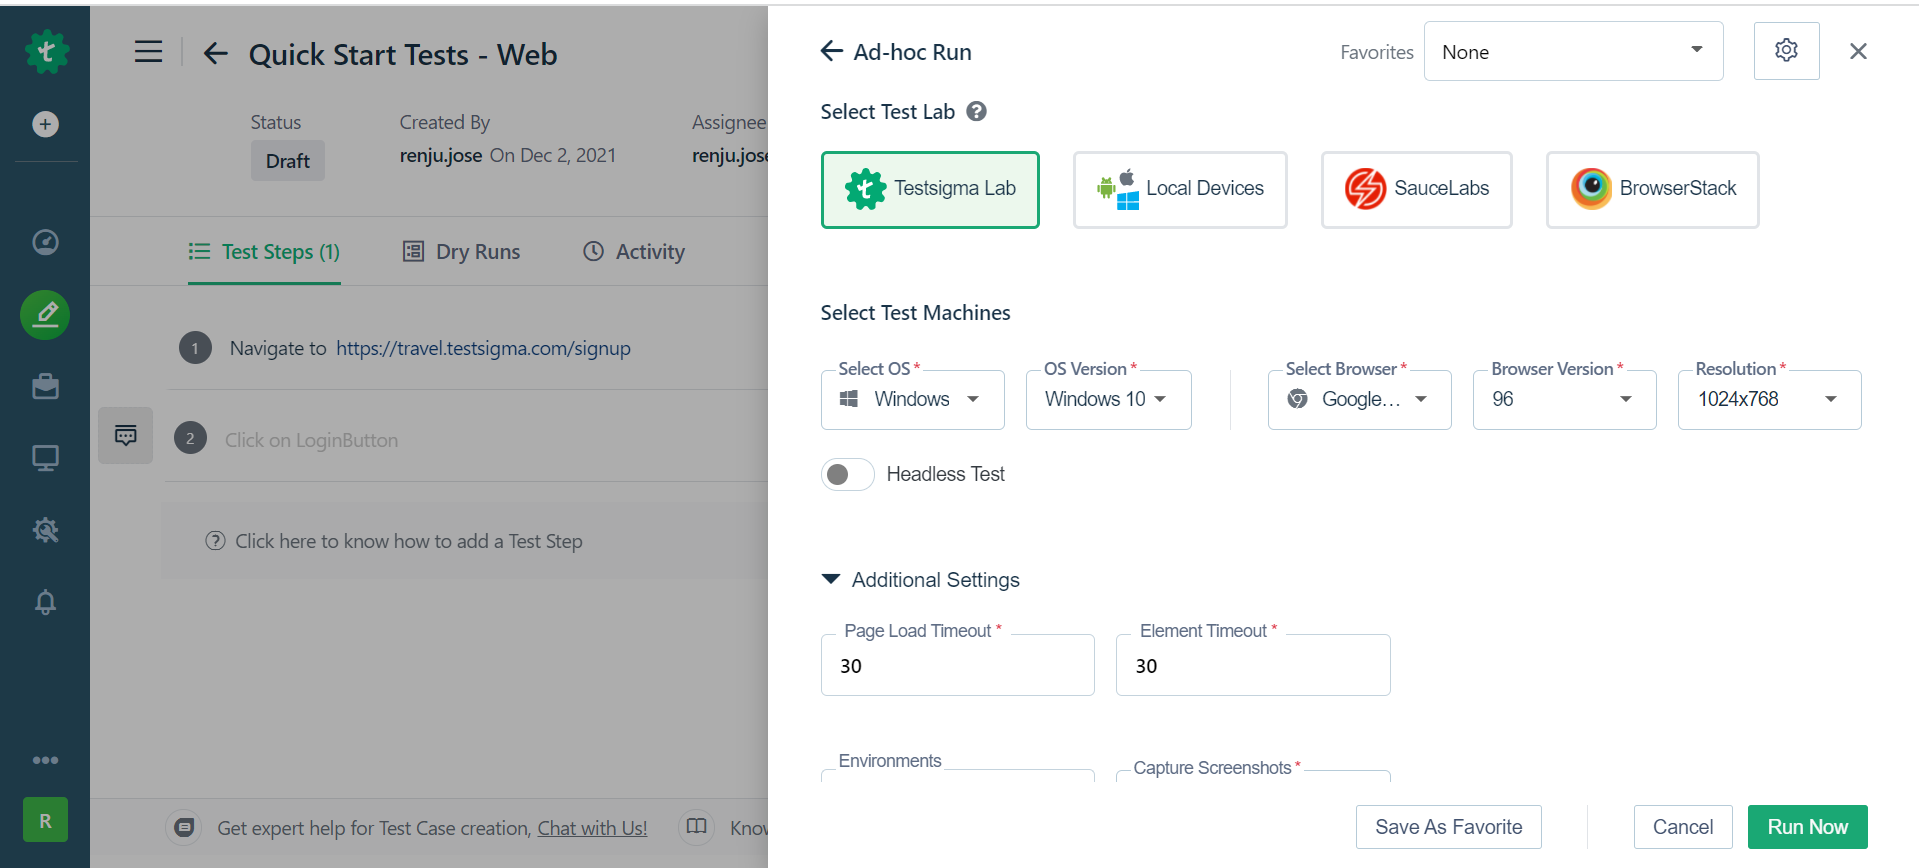
Here’s how you can execute your tests. Learn more about Ad-hoc run here.
Viewing Results
Testsigma provides simple, accessible and easy to analyze reports.
After clicking on Run Now, you will be redirected to the Test Case results page with a summary of your test run, all of your test steps, their run status; whether it failed and why it did. You will also find screenshots of every step execution and video of the test run.
You would also find all previous run results in the Dry Runs tab. You can also share the results of your test run with your teammates as shown in the image below.
These reports can be viewed directly in the Testsigma application, or can be downloaded or emailed for sharing.
Next Steps
- Practice in your account. If you don't have an account Try out!.
- Try all options in Test Recorder. Try it out!
- Create Test Plans and Schedule. Head over to this link!
- Try out more advanced capabilities. Check out our detailed documentation.
Reach out to us through in app chat for a walk through or if you have any questions!
Join Testsigma’s Discord Server