How to setup Agents to run tests in android local devices
What we will cover:
- Creating an account on Testsigma (it’s free!)
- Setting up Testsigma Agent (for local devices)
- Registering Agent(s)
Creating an account on Testsigma
In order to create an account, navigate to https://testsigma.com/signup
After successful sign up, you will receive a confirmation email. Make sure to confirm so your account will be activated before you begin.
Let’s now understand how to test beyond limits in the comfort of your own local (or remote) Android mobile phone, tablets.
To do this, you need to set up Testsigma Agent which is a one time installation. The Agent provides access to all you need for seamless mobile testing.
Download Testsigma Agent for Android
Navigate to Agents in the left navigation pane.
Agents > Download Agent
You’d see logos of iOS, Windows and Linux.
You need to download the Agent depending on the device you are currently running the Agent on (Windows or Mac or Linux OS that you are currently using). All that is needed to interact with an Android device, the tools, latest drivers, SDKs are inherent and you don’t need to worry about this part.
Start Testsigma Agent
For Windows
- Extract the file you just downloaded. Double click on ‘start.bat’ file. Wait for a few seconds. You can check the Testsigma Agent icon in the system tray icon as shown below.
For Mac/Linux
Once the downloaded file is extracted, double click on ‘start.sh’ file.
Wait for a few seconds. Check the Testsigma Agent icon in the System Tray.
P.N. (ONLY THIS PART IS DIFFERENT THE REST OF THE STEPS ARE IDENTICAL FOR BOTH ANDROID AND IOS)
Register the Testsigma Agent
Once your Testsigma agent is up and running and shows the STARTED status, click on the Agents tab.
Agents > Add a new Agent
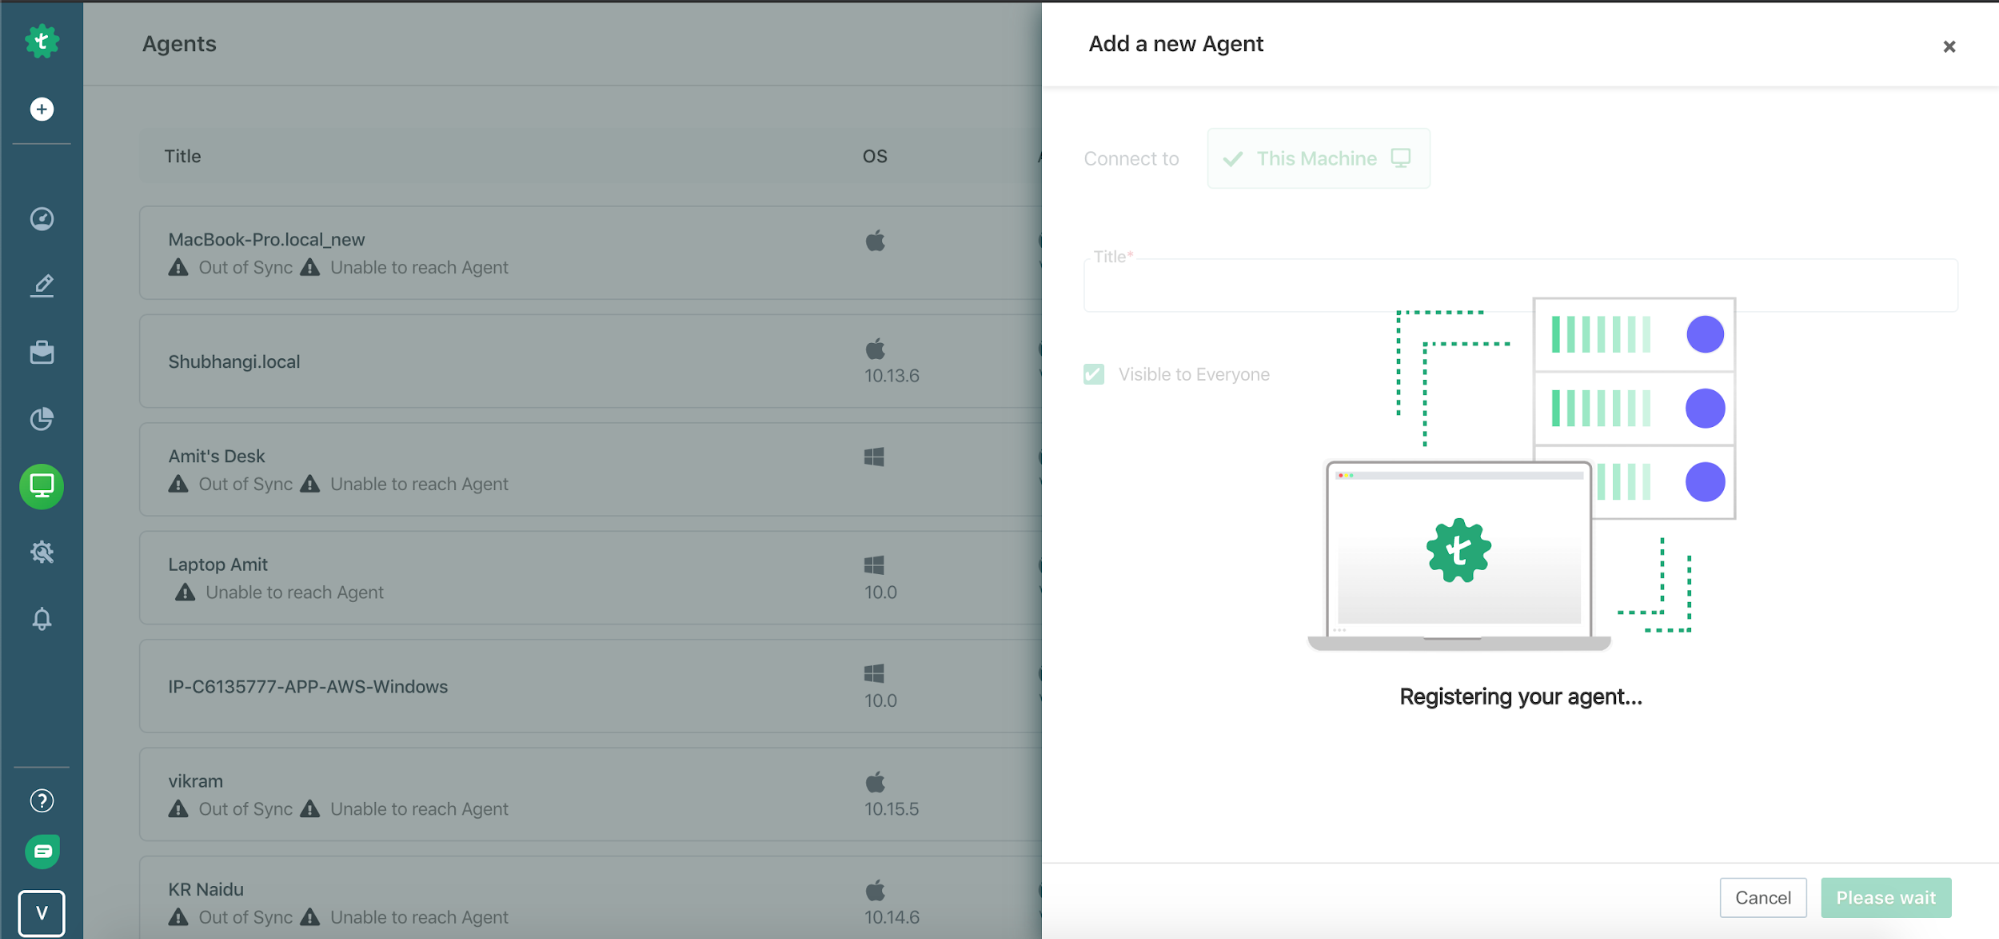
Enter a title/name for your machine and click on the Save button.
You can either make the Agent private or public to your teammates.
You can change the port if desired.
Once saved, all available browsers on your machine will be displayed here.
Back in the Agents page, you can check the Active Agents. You can pick one to run your tests.
Though you can only set up one Agent on your current machine, you can add as many Agents as you need or connect to your teammates or your client’s machines.
Once the Agent is set up and running, you can prep your mobile device to start automating!