How to automate tests for Android Apps using local devices
Before you start recording your first automated test on your privately owned Android devices, locally, you will need to make sure you have set up the Testsigma Agent.
What we cover:
- Testsigma Agent : What is it?
- How to prepare your Android device to interact with the recorder
- Creating and Recording an automated test
- Adding Test Steps
- Running the tests
What is a Testsigma Agent?
A small utility program that avoids the hassle of multiple configuration and complex setups that you would otherwise need to execute tests on your private devices.
The Testsigma Agent connects the Testsigma server to your local machine.
This allows for a highly collaborative environment where you have the Agent installed on your local machine allowing you to develop tests, run and share them on your device (Android or iOS) or its browsers.
There is absolutely no maintenance overhead as the Agent is up to date with all necessary drivers & tools you need to run your tests glitch-free.
With one Agent, you can connect as many local machines as you want.
Also, you may set your Agent to private mode according to your preference in case you do not wish it to be seen among the list of active Agents on the team’s Testsigma account.
Why do you need to install the Agent?
Download & Install Testsigma Agent
Once you have created an account with Testsigma, you just need to follow a few simple steps to get set and go!
Follow this guide to know how you can install and set up the Testsigma Agent on your machine.
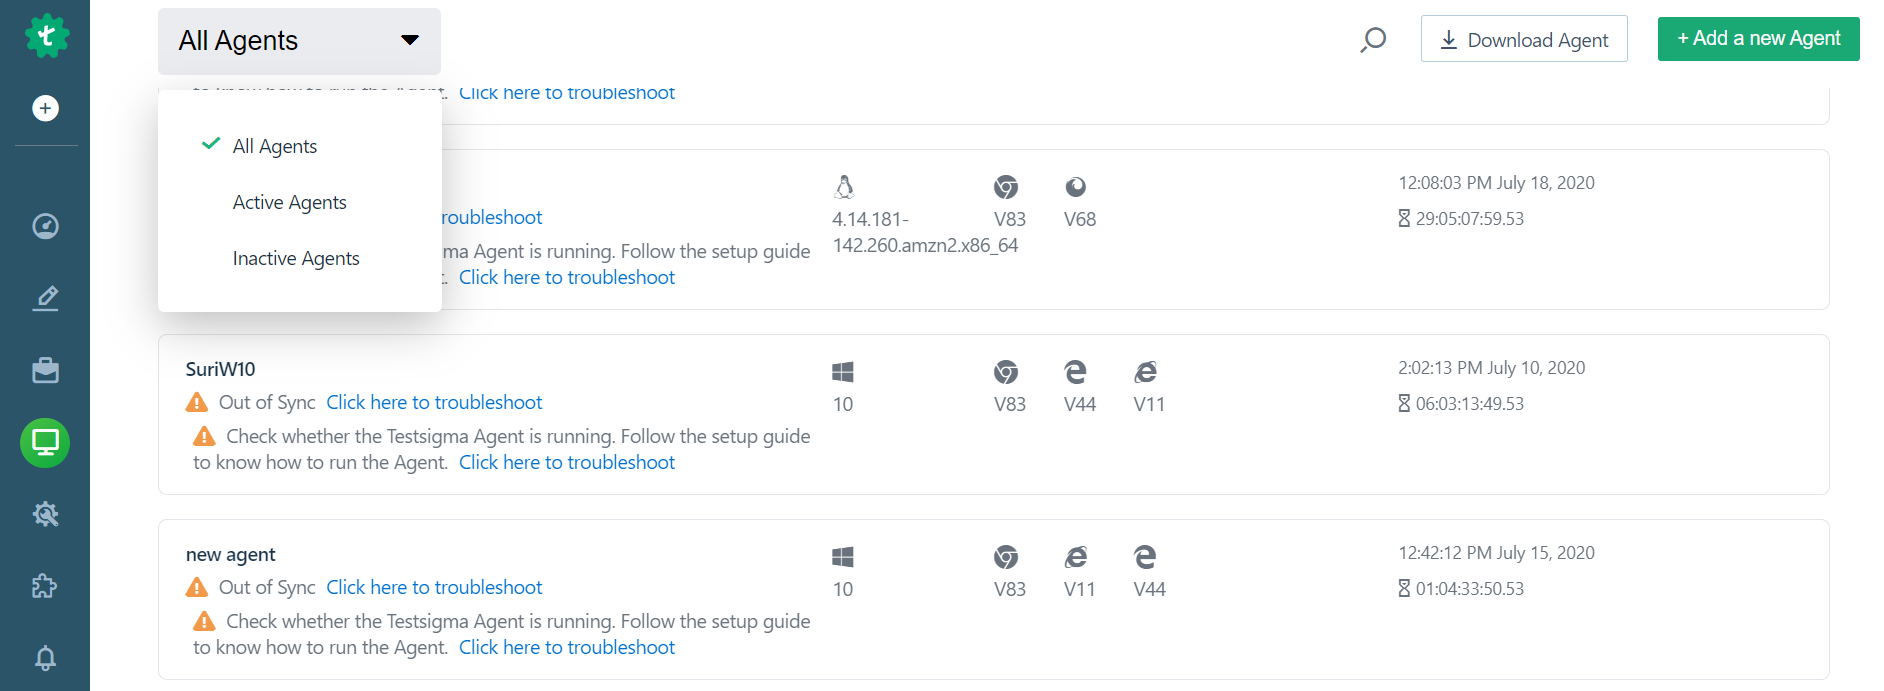
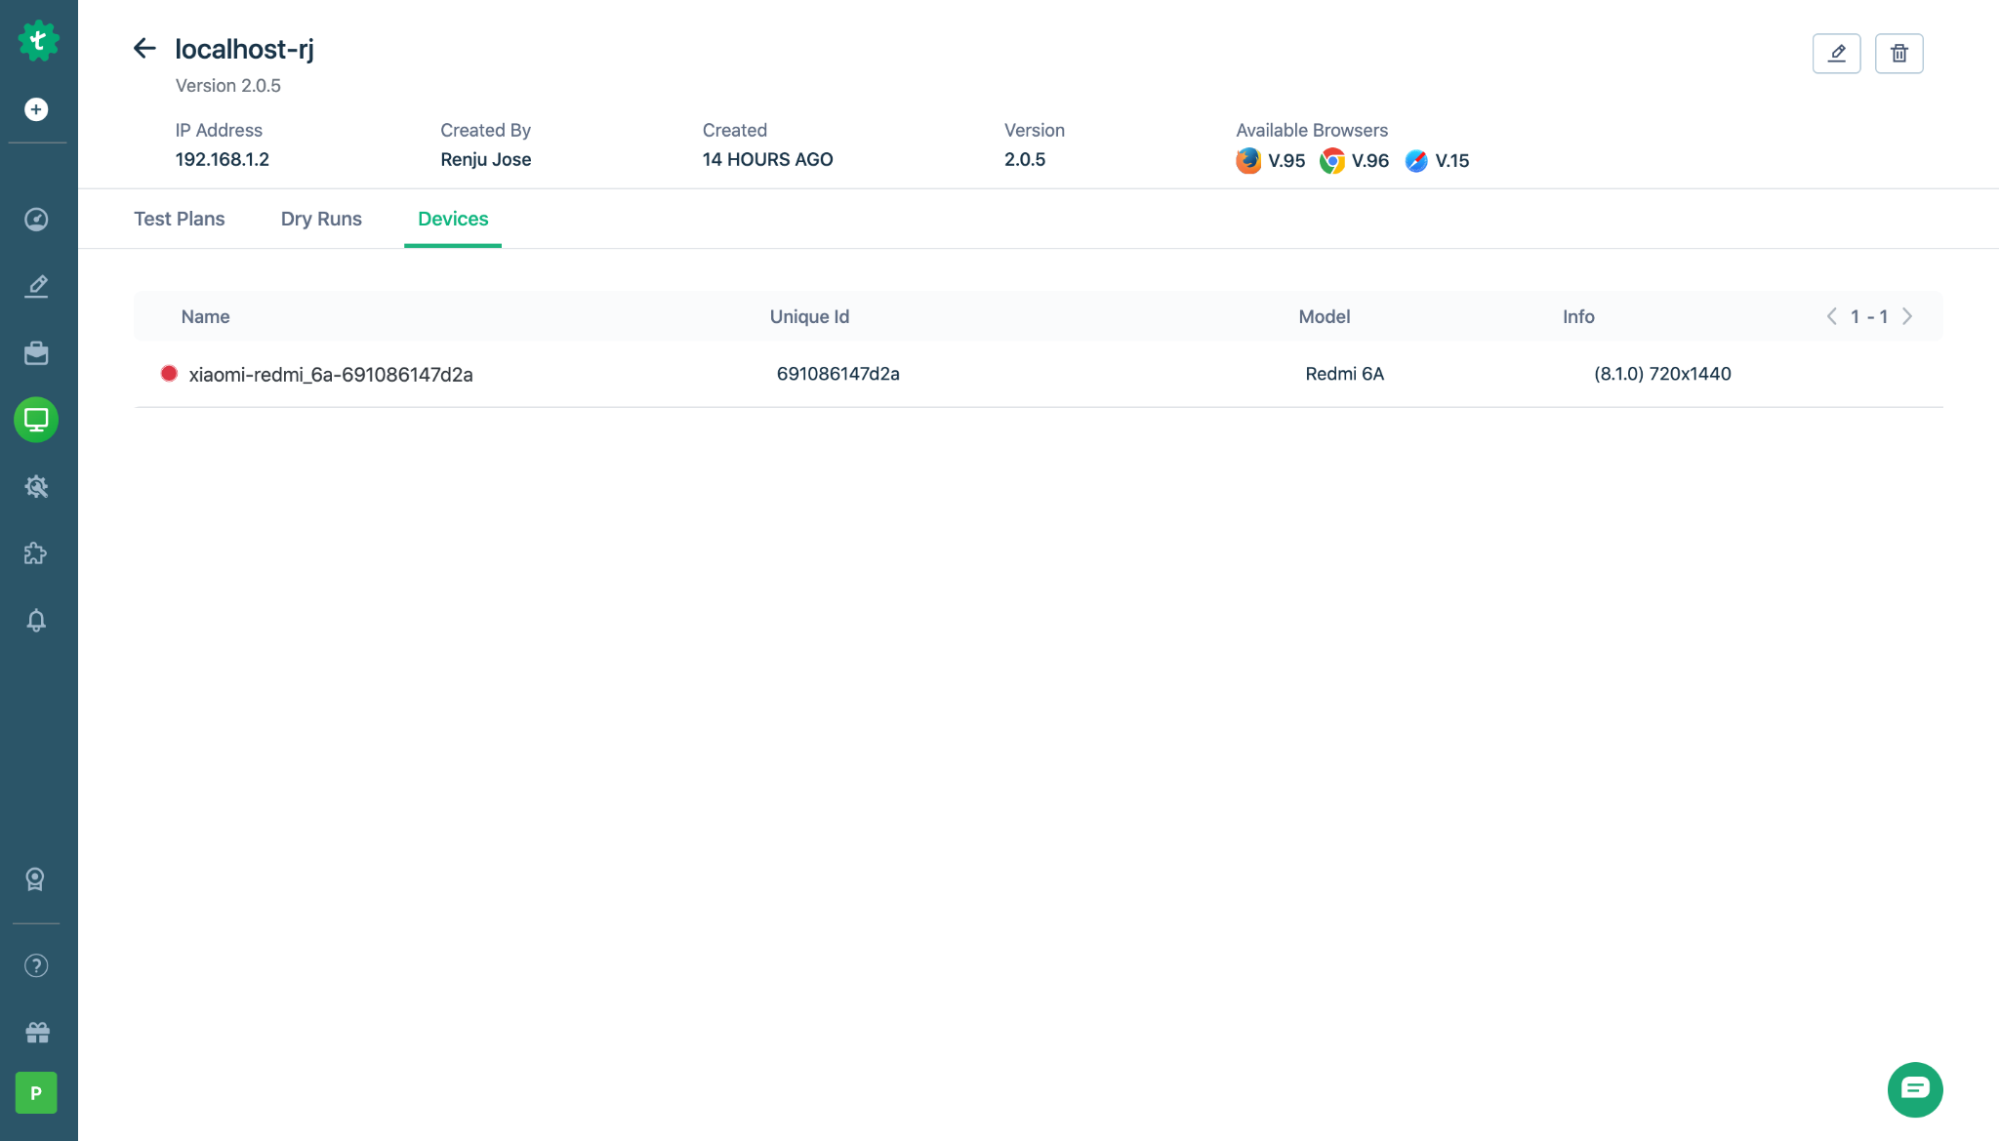
Once the connection between the Testsigma server and the Agent is established, and registered, navigate to the Agents tab on the left navigation pane. The Agent that you registered will be displayed with all the available browsers in that Agent machine.
Prep your Android device
Before you get started with recording tests on your android device, you will need to make sure it is in developer mode. You can do this from the Settings option in your device (for Android 8.0 and higher). Select the About Phone option. Choose the Info option and tap on the Build number option 7 times. The developer mode will now be enabled.
Once you have done that you can find an option in the Settings called developer options. Choose this option and enable the USB debugging option.
Your device should now be ready for use with Testsigma. Using an appropriate USB cable, you can plug it into any device with a Testsigma Agent in order to start using it. When you do that, you should get a popup asking you to authorize the device for use with Testsigma.
Select yes and you can start automating.
Create a Project
You can start by creating a new mobile Project.
You may also create a new test case under an existing Android Project (readily available in your account).
To create a new project, click on the + icon on the left pane. Enter a name, click Next.
Choose if you’d like to add a single application or multiple ones and click Next.
Then, choose the application type as Android Native App, enter the name of your application and press Next.
Create Test Case
Once you create a project you will be taken to a test case page. Click on +TestCase. In the new page, fill in a name and description for your test and press Next. You will now be taken to the test steps page where you can add all your steps (manually picking from the actions or automatically using the Testsigma Recorder).
Here’s a summary of the steps discussed so far:
Launch Test Recorder & Record Steps
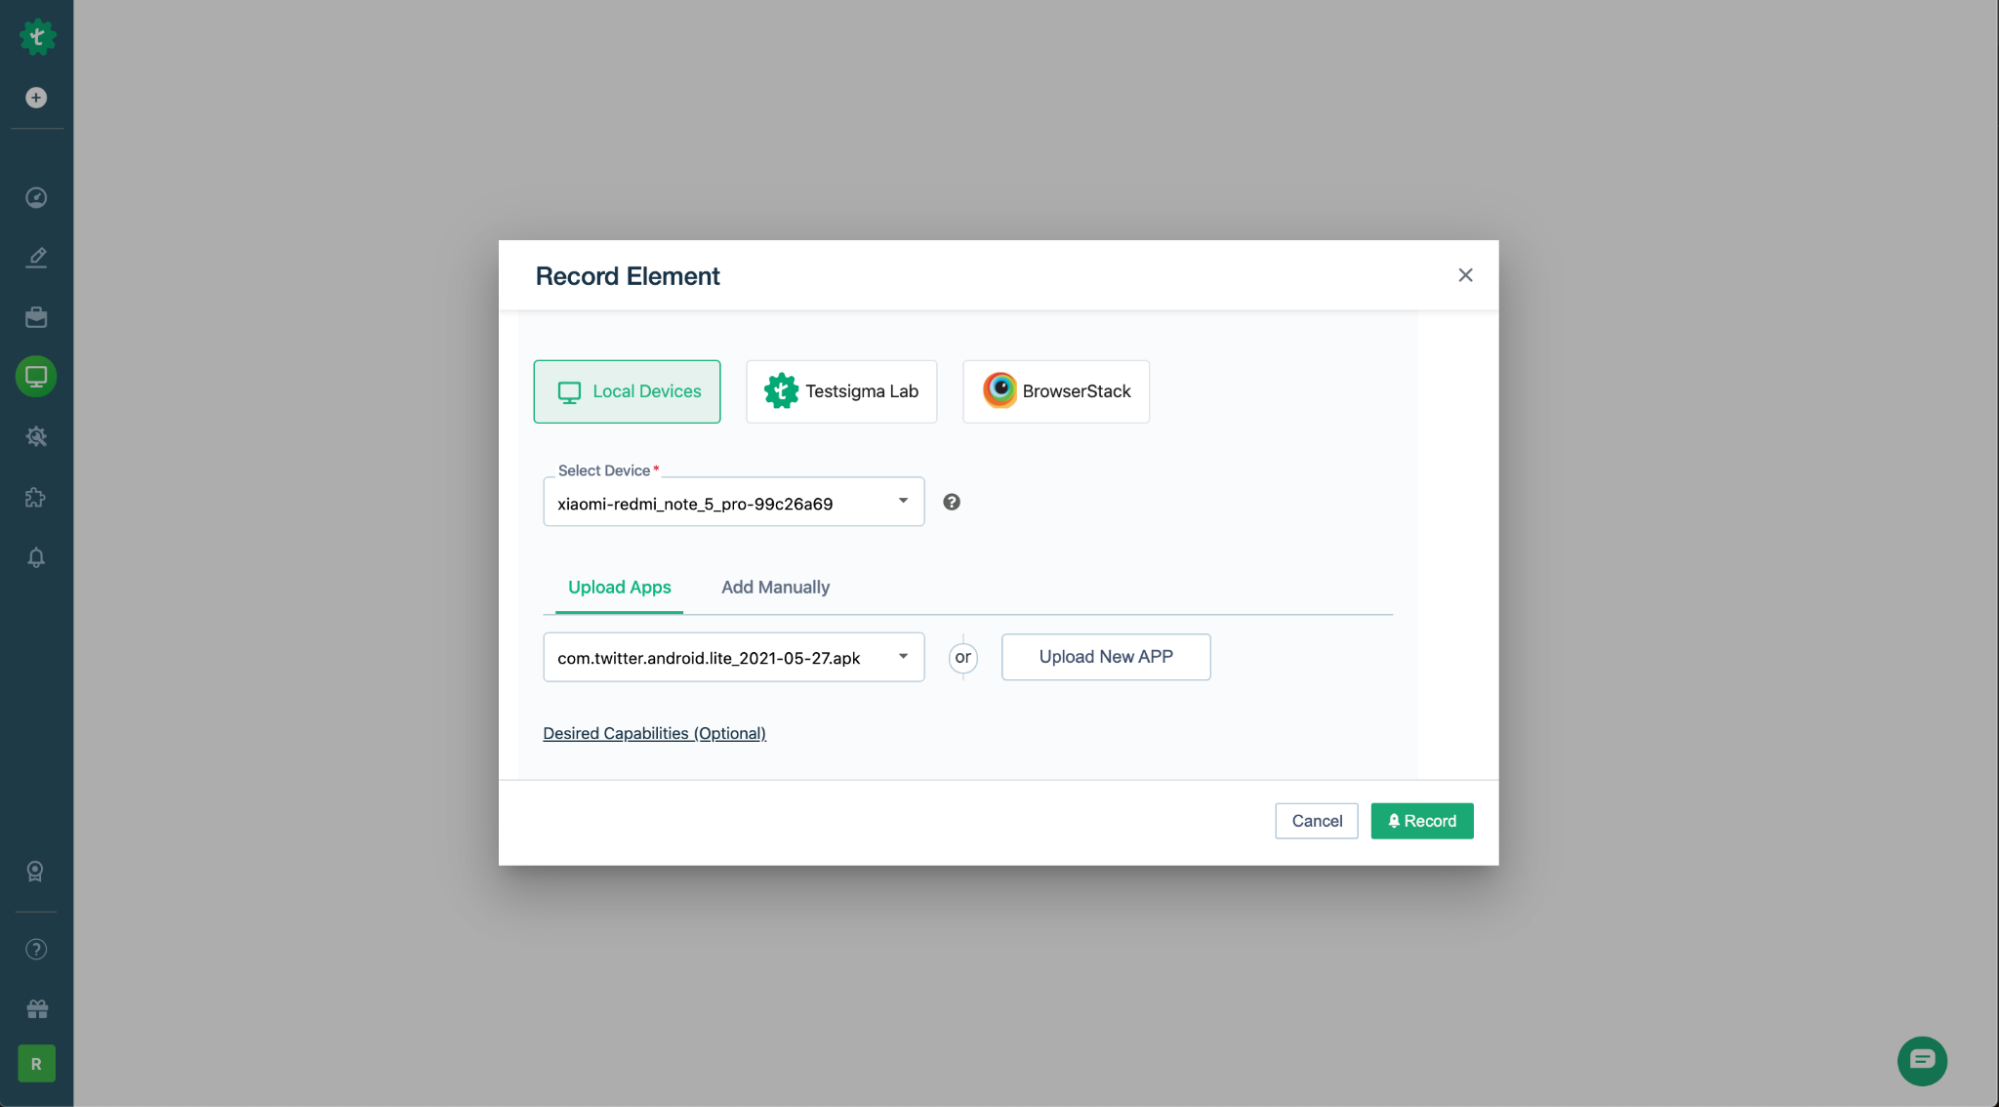
Now to add steps, click on Record at the top right.
Choose the Local Devices option.
Upload the application you’d like to check. Upload the .apk file of your application.
The recorder will now launch and will see the same app open up on your Android mobile too. The actions that you perform on the recorder will run on the mobile that you are connected to.
Based on these interactions, the test steps will be generated automatically.
Creating Test Steps
Refer to this detailed tutorial to understand how you can use the Recorder to automate your app.
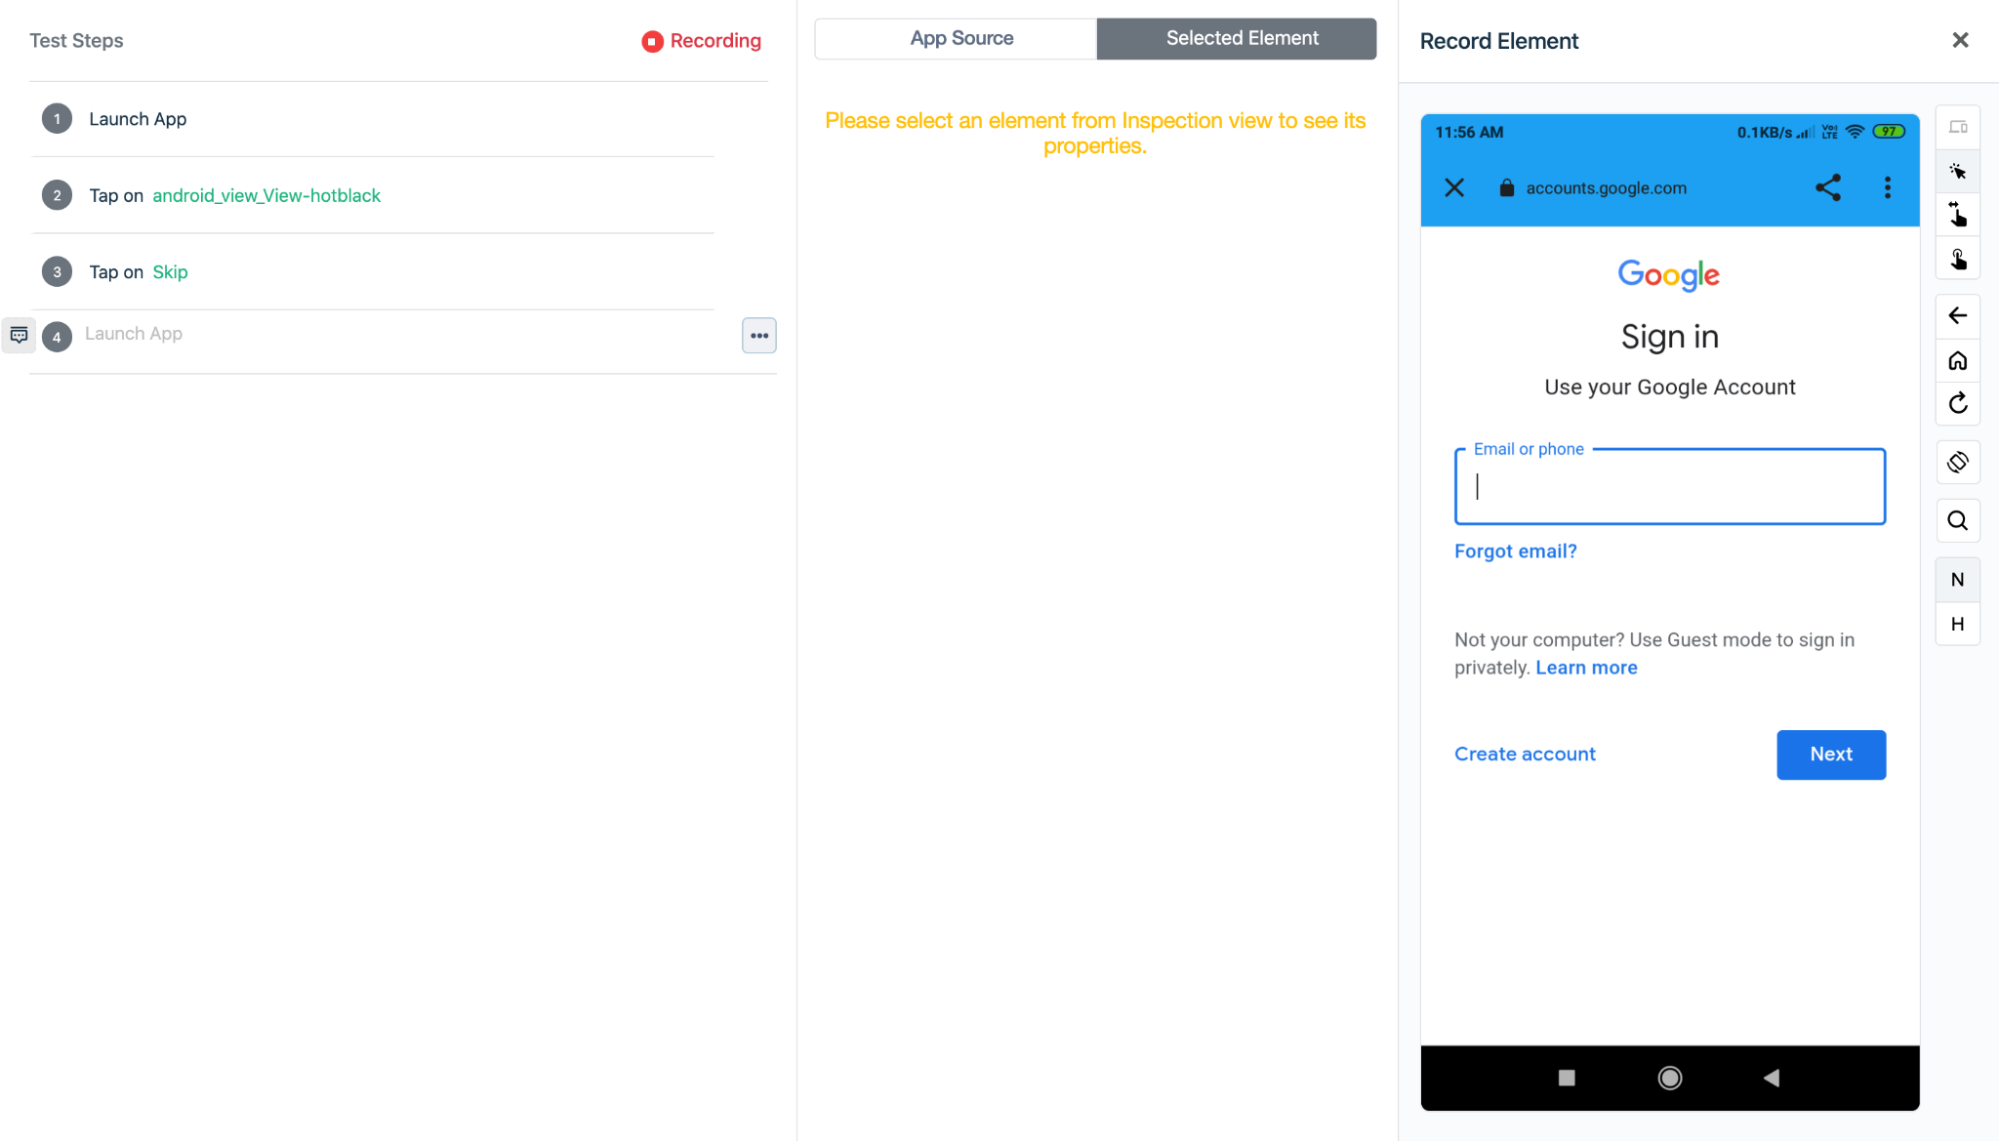
In order to create test steps all you need to do is interact with the application in the recorder that launches and each action that you perform will be recorded as a step in the test case.
All your actions like a tap, entering some values on the app will be recorded and its corresponding steps will be automatically generated.
Once you have added the test steps that you want, click on the quit recorder icon. This saves all your steps. Your test is now ready!
Run Tests on Local Devices
Simply click on Run. Choose Local Devices.
Select your Android device and click Run Now.
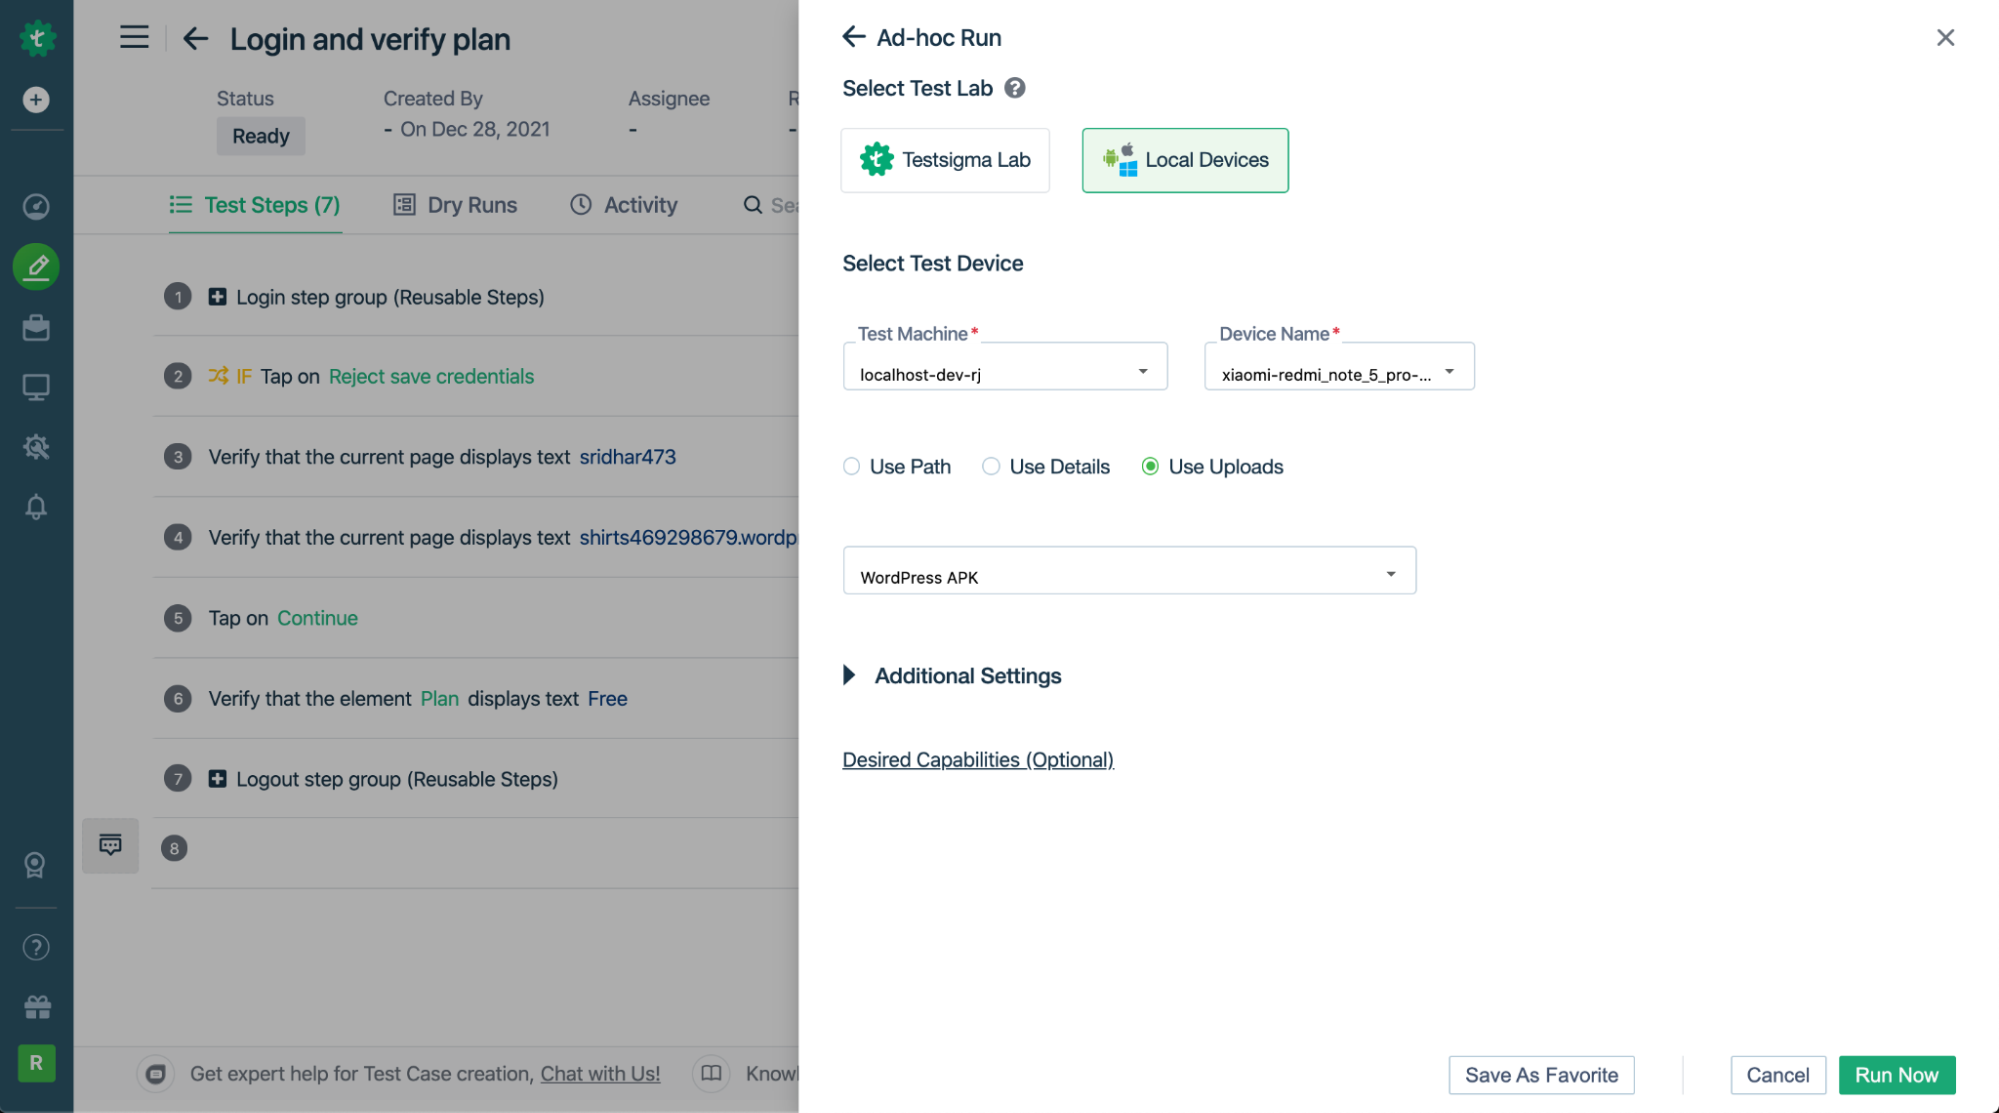
That’s it!
Next Steps
- Practice in your account. If you don't have an account Try out!.
- Try all options in Test Recorder. Try it out!
- Create Test Plans and Schedules using local devices. Head over to this link!
- Try out more advanced capabilities. Check out our detailed documentation.
Reach out to us through in app chat for a walkthrough or if you have any questions!
Join Testsigma’s Discord Server for support