How to create Test Steps for uploading files
To automate the file upload action in Testsigma you need to upload the file(that you want to use in the automated action) into Testsigma Storage.
Prerequisites
You should already know how to:
How to create test steps for testing file upload
- Go to Test Development > Uploads.
- Click on upload on the top right corner as shown in the image below.
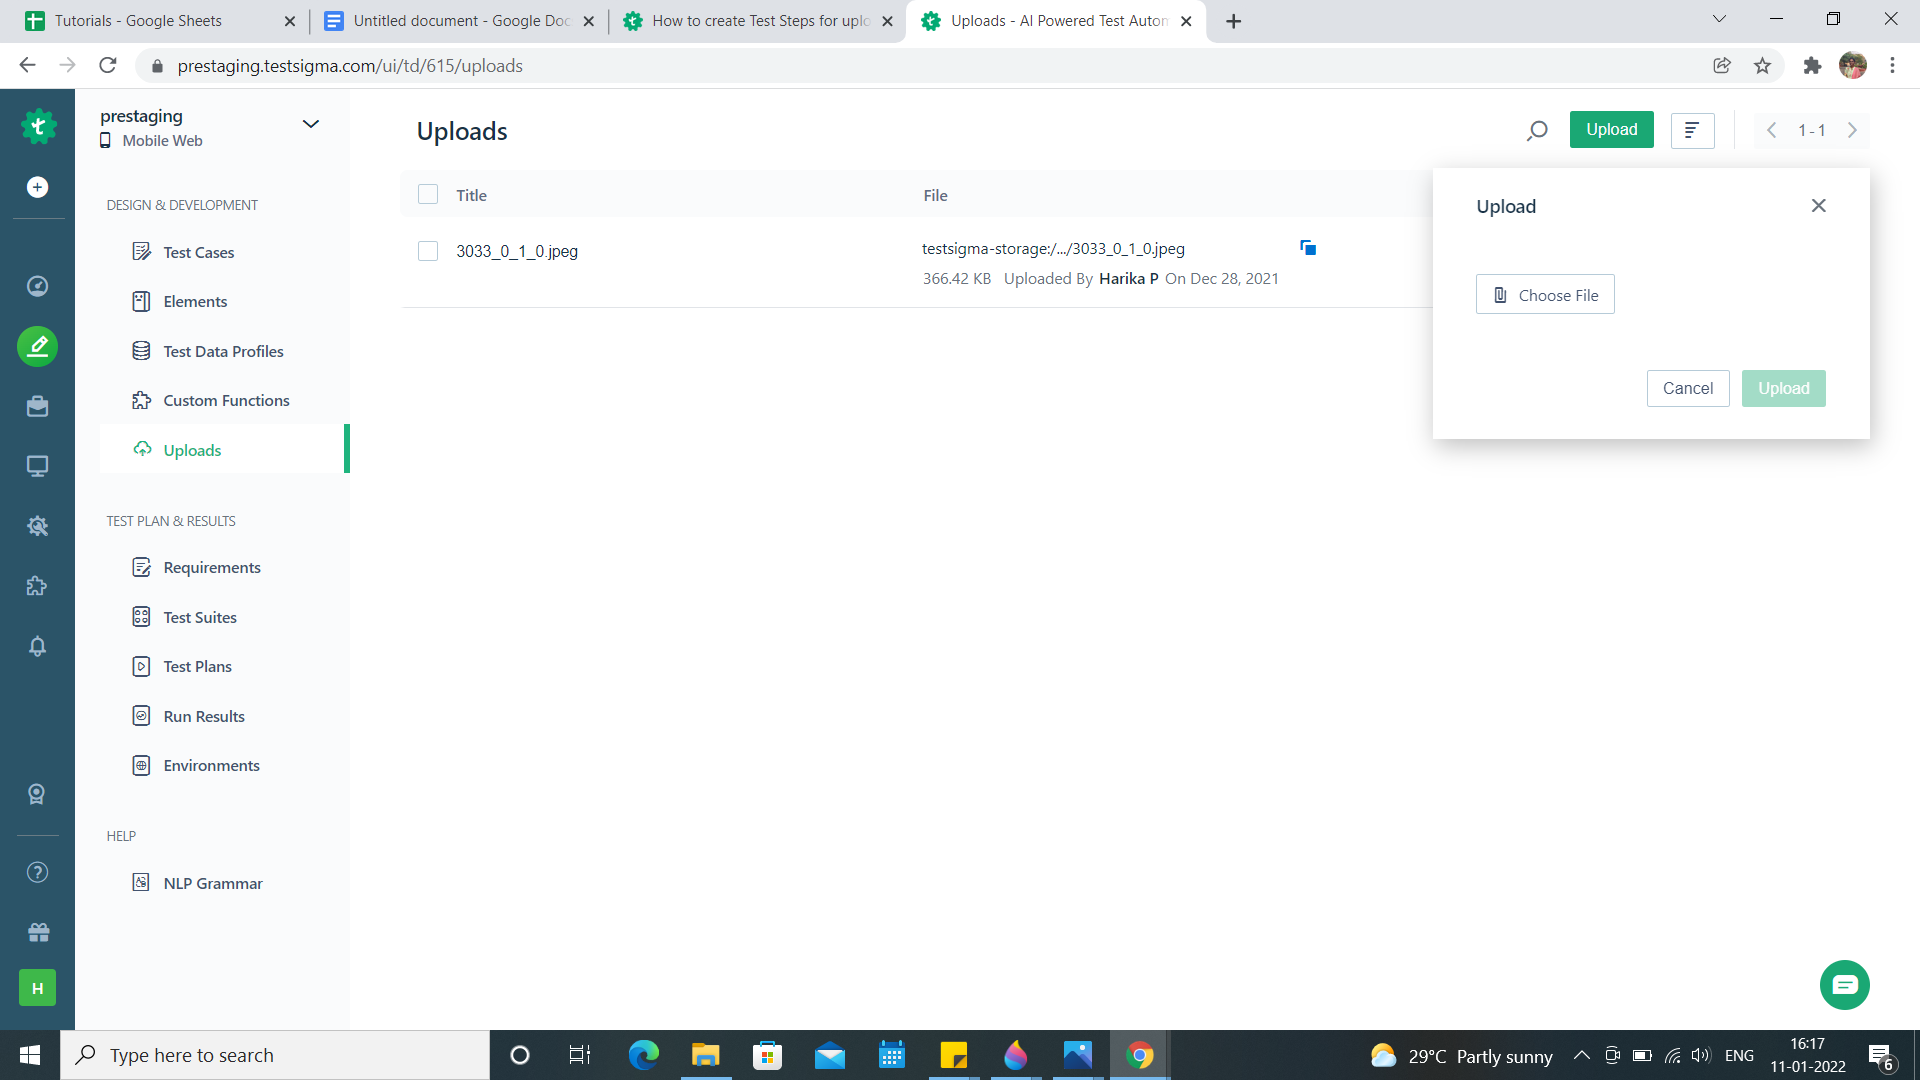
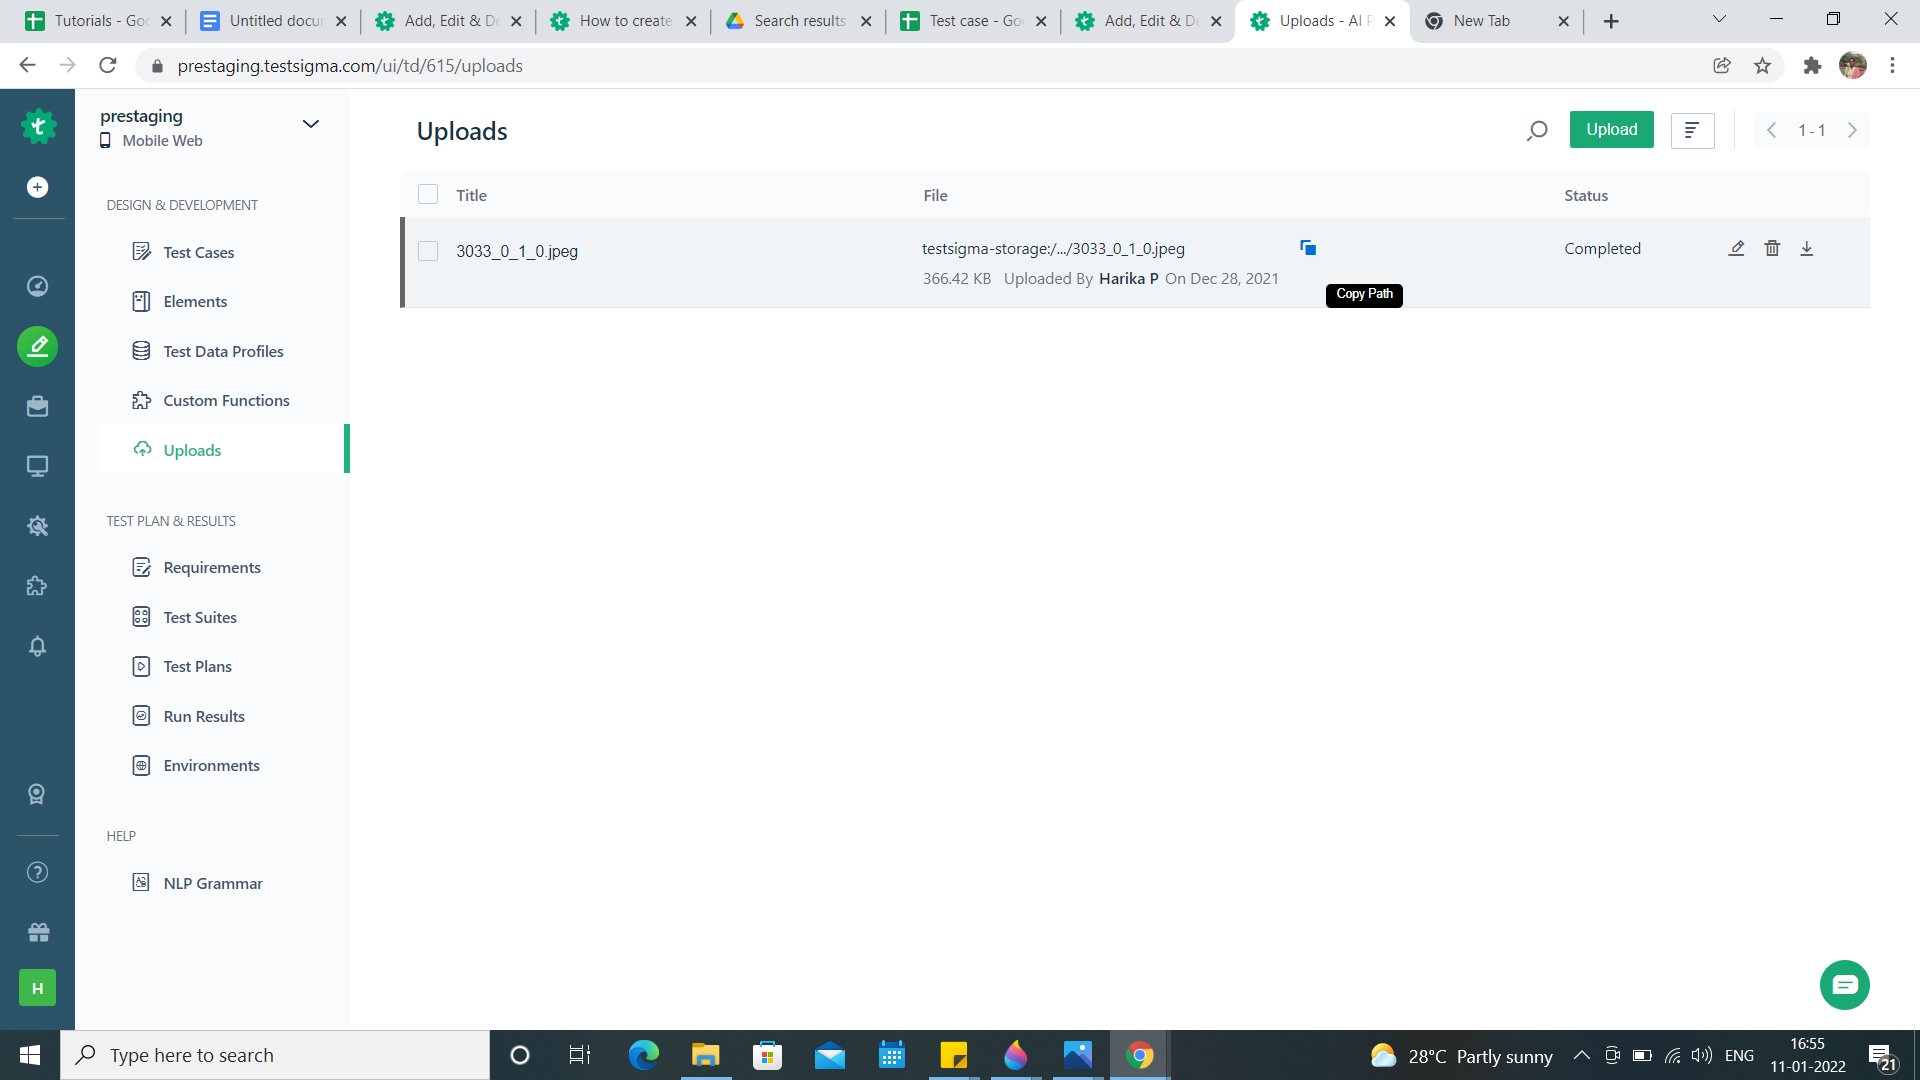
- Choose and upload a file. The uploaded file will appear as shown below.

- Click on the blue color box beside the file to copy the file path.
Now let us discuss how we can use these links in our Test Steps.
- Create a Test Case and navigate to the application with the help of URL.
- Use NLP: Upload file test-data using the element element.
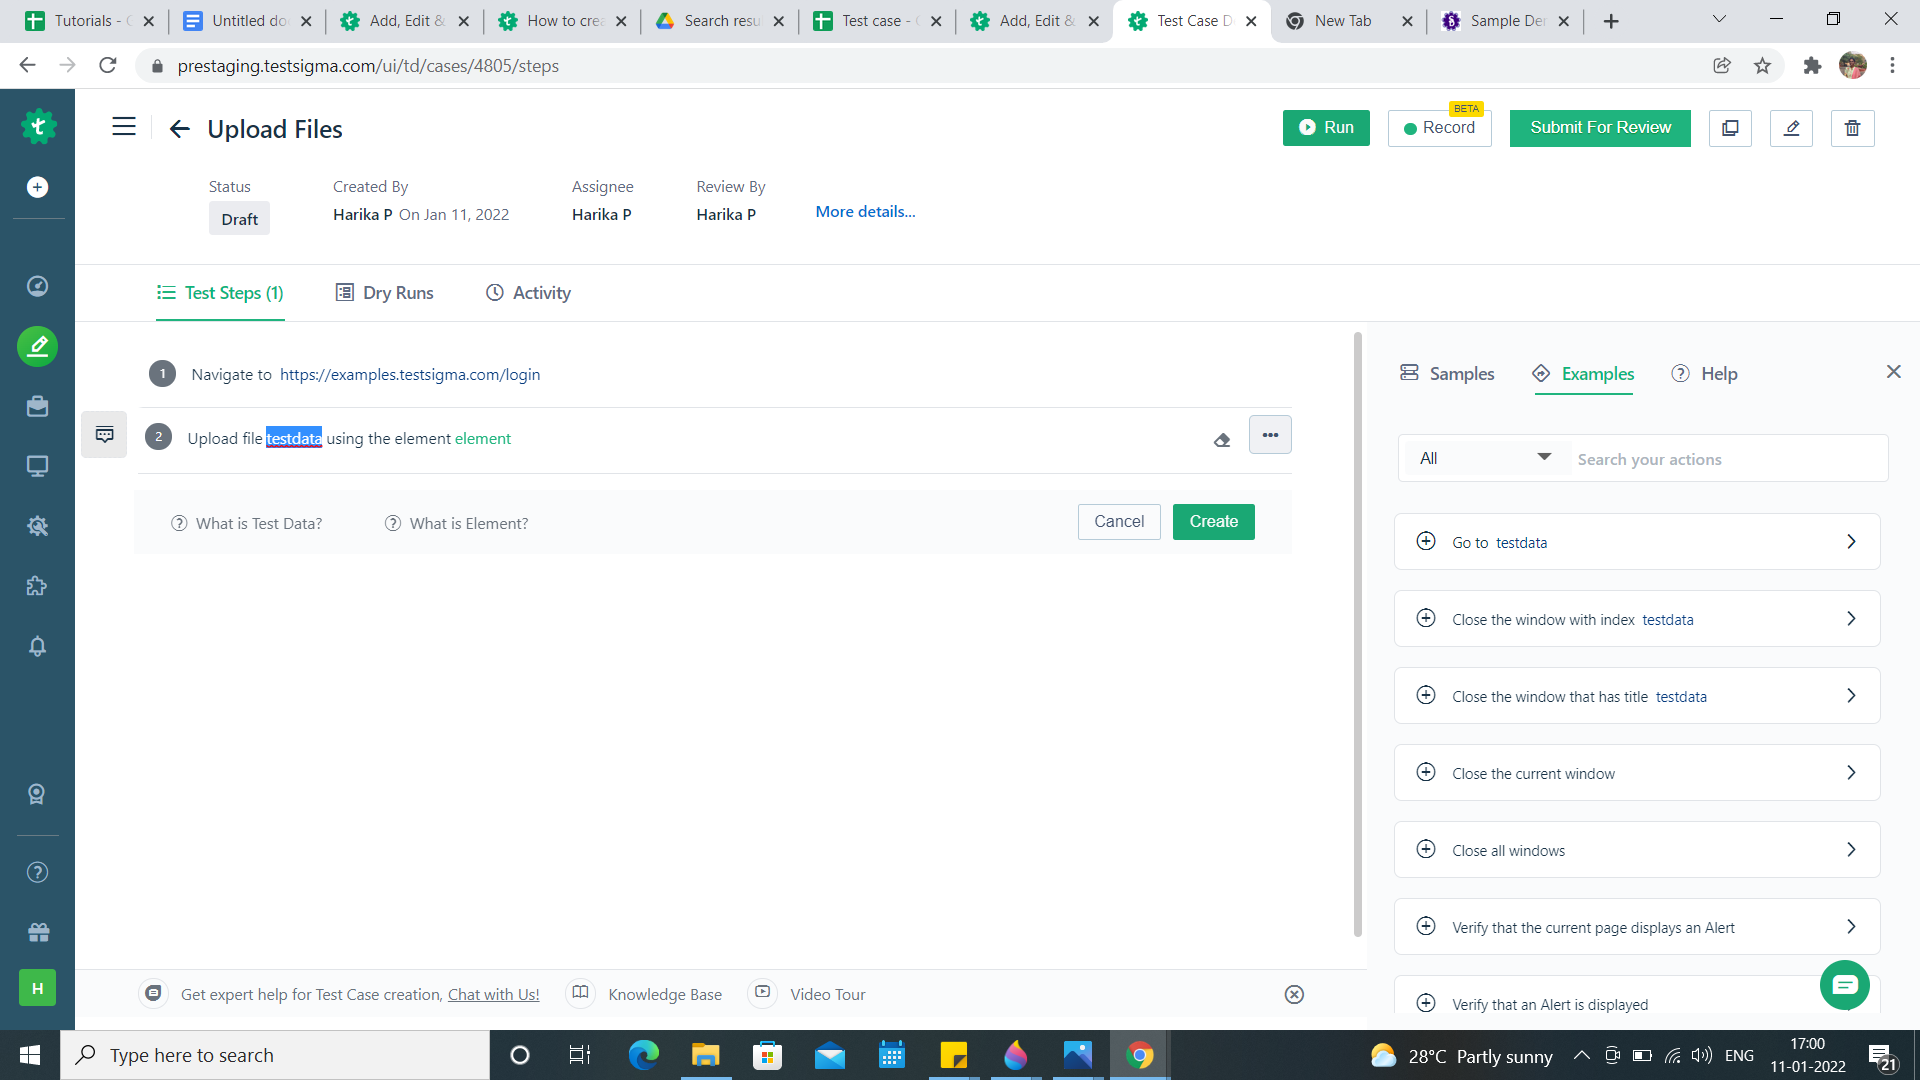
- Replace test-data with the file path copied in step 4.

- Click Create.
- Add more steps to complete the Test Case.
- When you run the Test Case the file will be uploaded in the application. That's all we need to perform in order to add a Test Step to upload a file using Testsigma.