Android & iOS: How to build Test Cases using Mobile Recorder
This tutorial walks you through Testsigma’s mobile recorder and how you can create a test case with a few test steps for both Android & iOS applications.
We cover:
- Launch Testsigma Recorder to effortlessly capture steps automatically
- Explore Testsigma Recorder and its options in detail
- How to start recording
- How to use Testsigma mobile recorder to capture & create different types of steps effortlessly
Before you start make sure you’ve referred to the ‘Setting the stage to write your first test’ ‘section in this tutorial and your are currently in the ‘Test Case Details’ Page
Launch Testsigma Mobile Recorder
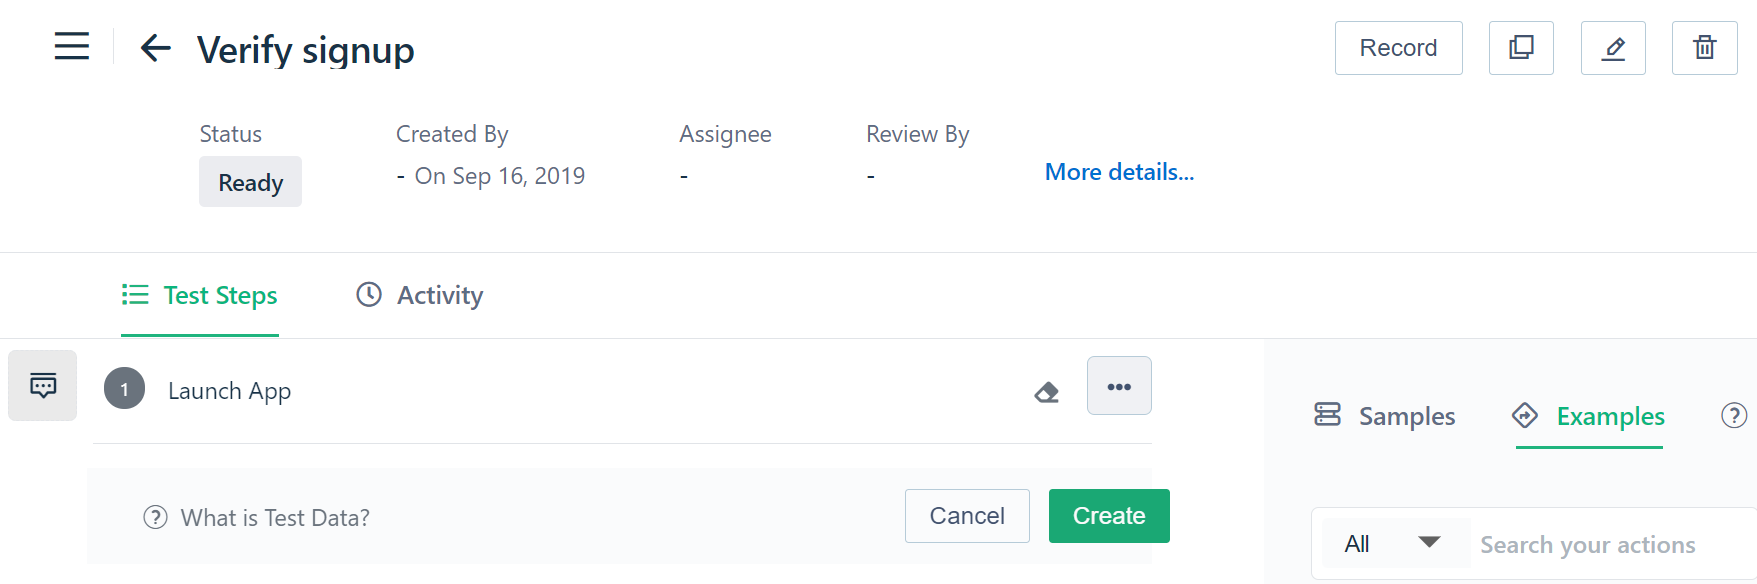
To launch the Recorder, simply click on the Record button at the top of the Test Cases Details page.
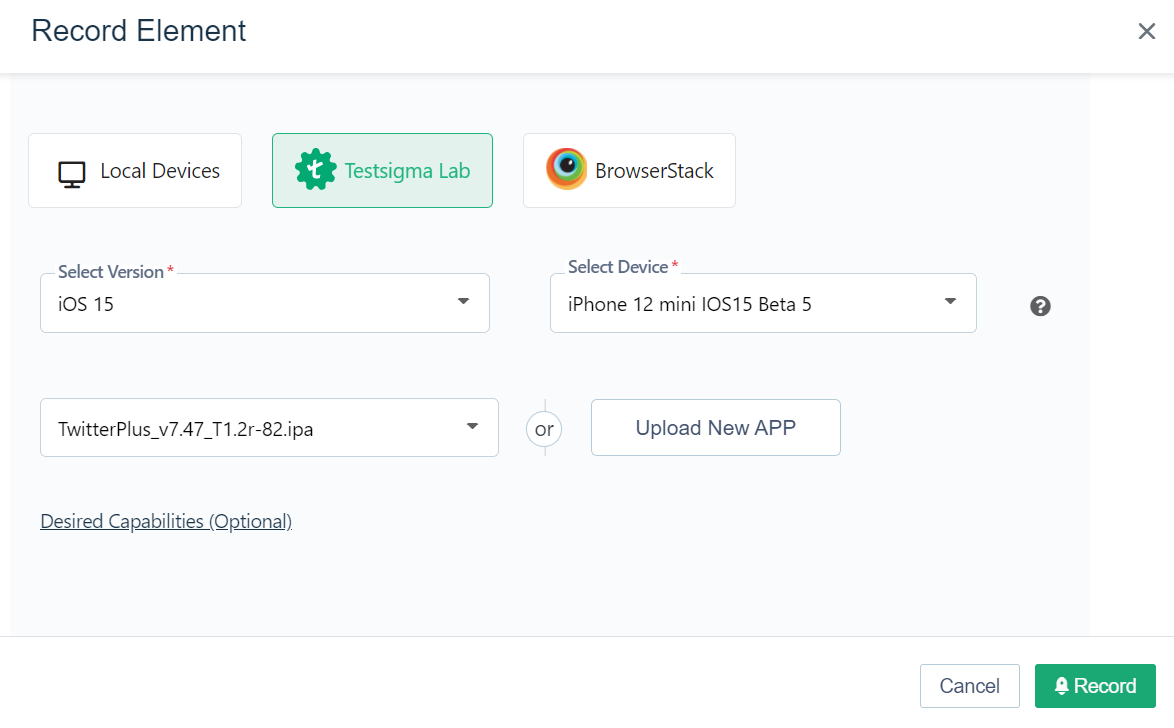
Choose the test environment (local device or cloud options), the device and version you’d like your tests to execute on. Also, upload the .ipa file (for your iOS app) or the .apk file (for your Android app). If already uploaded, simply choose the one you wish to test from the dropdown. Click Record.
The Mobile recorder will now launch.
Testsigma Mobile Test Recorder Options
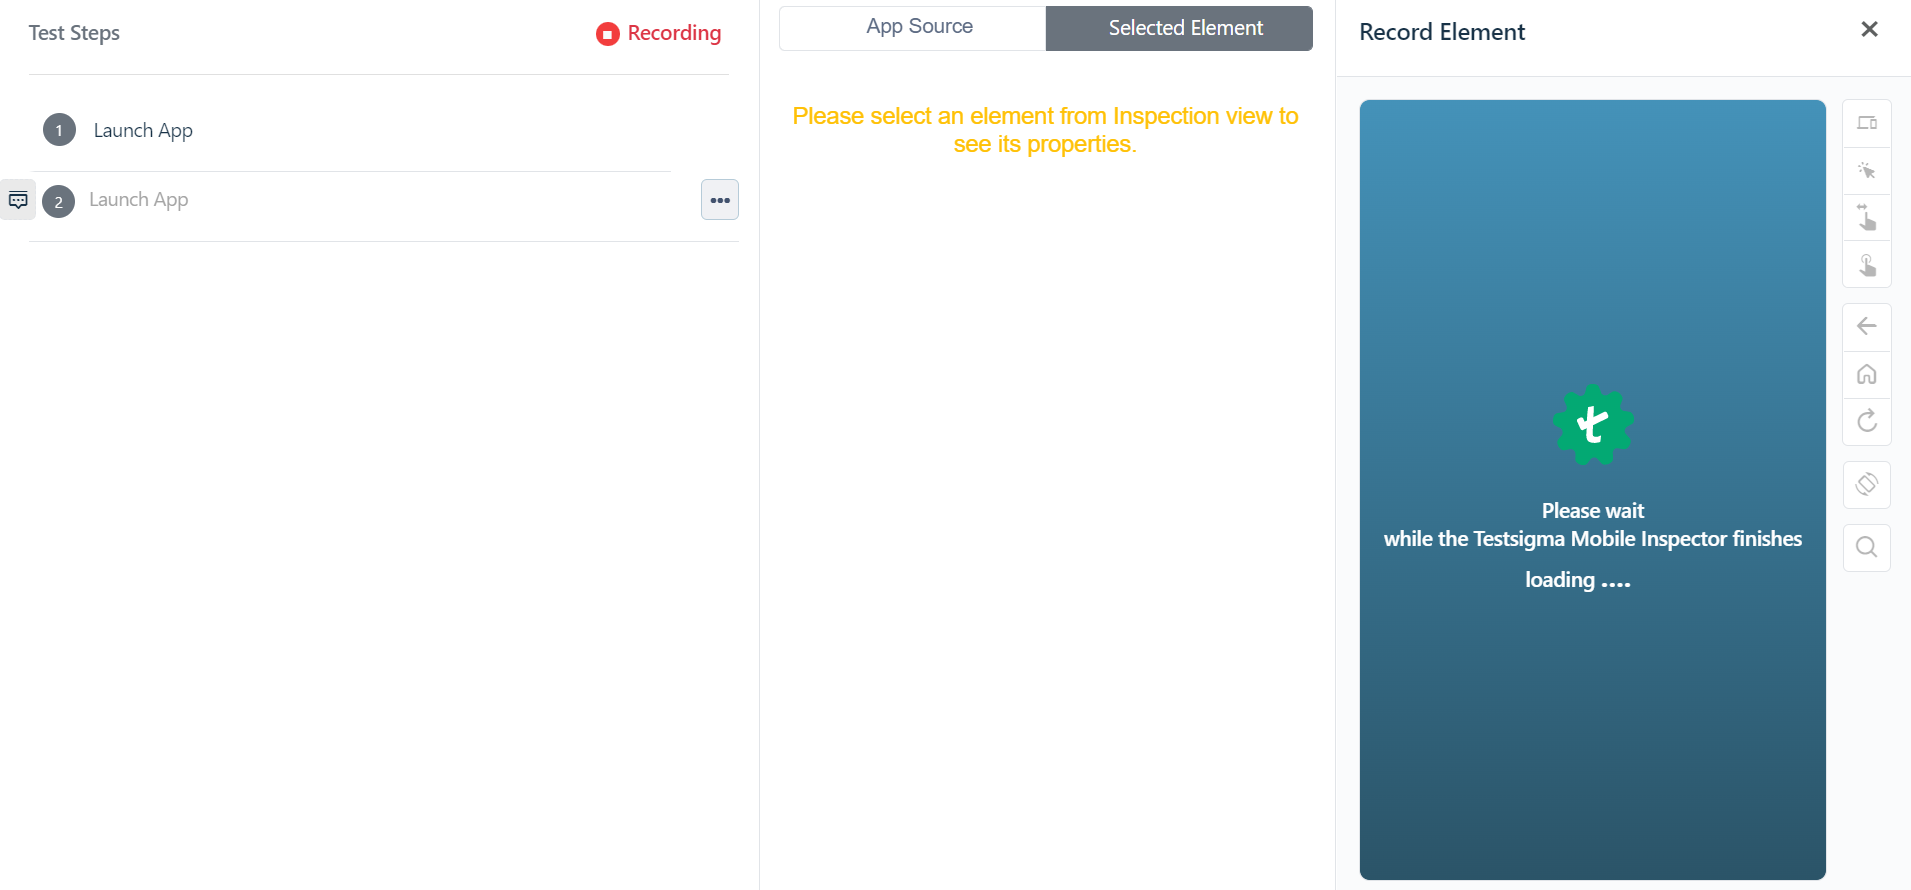
On the new window that opens up, you will see 3 panes; one in the right, one in the left and one in the centre. Let’s explore all 3 of them.
- The right pane (recorder)
The one at the right is Testsigma’s mobile recorder that shows the app you just uploaded. This is where you will interact while the recorder captures all actions that are performed on the screen
Wait for a couple minutes as Testsigma Recorder opens the Twitter app for iOS on the mobile recorder.
Once the app loads, you can now proceed to perform actions on this screen. The corresponding tests for all your actions will automatically be generated in plain English (which you can edit). These steps are displayed in the left pane.
Let’s quickly look at the Recorder options:
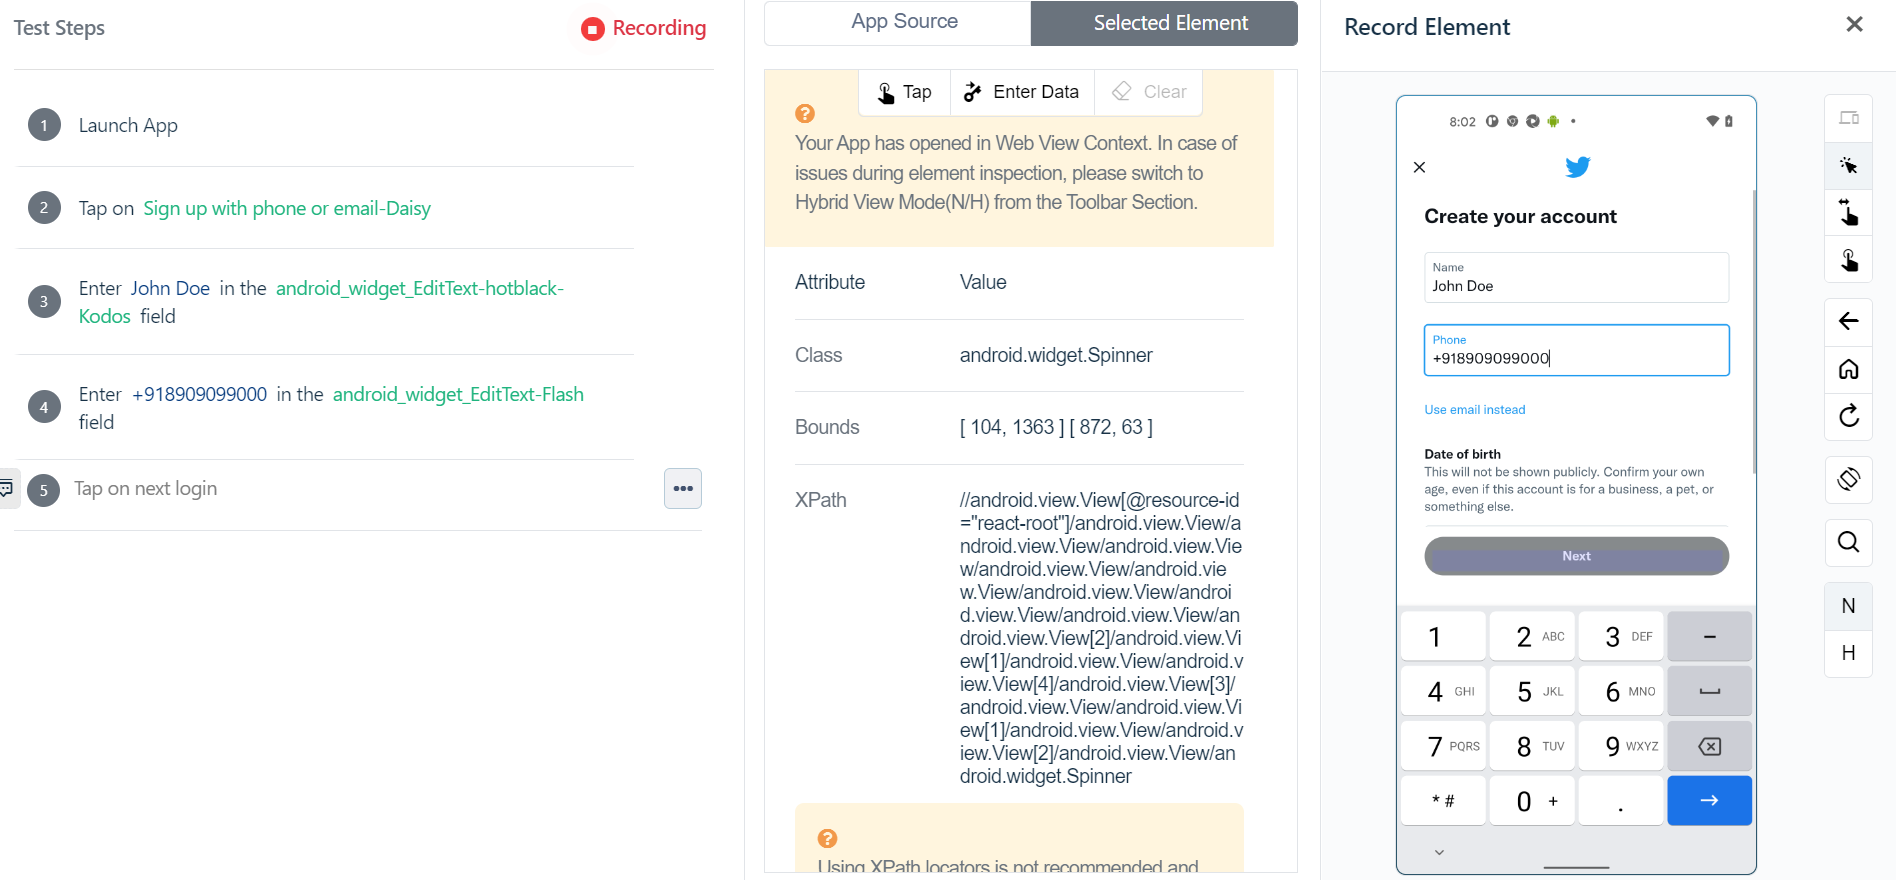
Inspection mode option at the right will allow you to interact with an element and also analyze the details of this element. An element is any field you are interacting with on the app. This could be a text box, a button or anything on the application you are testing.
Element details indicate the “address” of the particular element (also called as locators in Selenium) to locate where this element resides on the application. This will be unique.
The inspection mode is selected by default so you can go ahead interact with the app as needed.
A few other actions you will see on the recorder include:
- Swipe & Click, Press Back & Home
- Refresh Screen
- Change Mode to Landscape
- Switch to Native/Hybrid mode
- The centre pane (recorder controls)
Upon clicking any element in the inspection mode, you will see that a new pane appears towards the centre. You will also see that all the details related to an element are displayed here.
These element details are specific to the element you are interacting with. You’d also find Tap, Enter test data and Clear actions to perform interactions on the app.
A tap action will click on the element while Enter any text also called test data in Testsigma allows you to write/provide input values in the elements.
Up next, let’s explore the left pane where the test steps are added automatically.
The left pane (test steps)
This page displays all the steps that will be automatically generated (in plain English!) in response to the actions you perform in the right pane i.e, on the app. The corresponding steps are created in plain natural language and added here(which you can edit at any time).
Let’s say you clicked on an element, the corresponding simple English step will be added at the test editor on the left pane automatically.
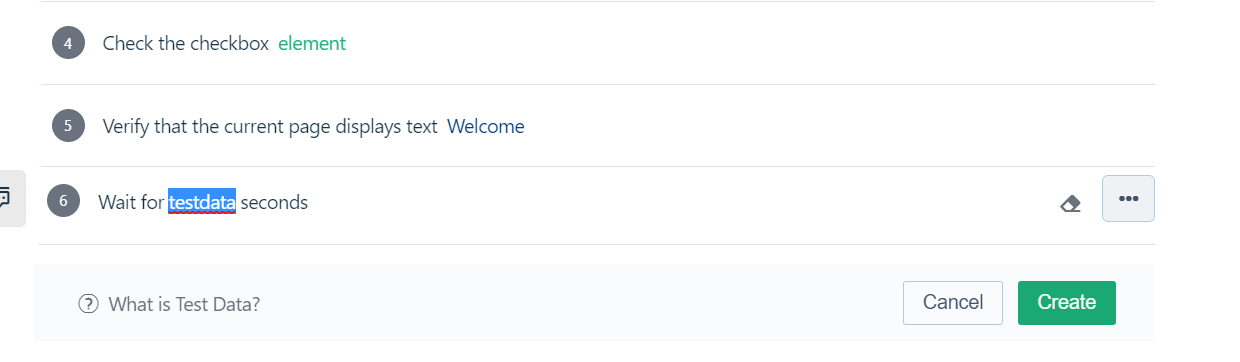
There are a few things you can play around with here. You can clone a step, check the step details like wait time, element name and its details etc, edit the step or delete it.
You can also do bulk action to update the steps or reorder.
To pause/continue recording your interactions on the app, click on the red text that says, Recording.
Note that you can add steps at any time during recording(like adding a verify step for instance) or afterwards, manually. Learn more
You may additionally group steps, add conditional loops, create a custom step that isn’t available on the list of readily available templates too. Learn more about supported Test Step types here.
How to add test steps - a quick summary
Lets learn how to perform the actions in Test Recorder
- Record Actions
- Add steps Manually
- Create/Edit Elements
- Use Step Groups
- Add Conditional statements
Learn more about Test Recorder here.
Record Actions
Here’s a sample scenario that we are going to automate.
Once the app launches, the recorder will be in inspection mode, ready to automatically record interactions, also the element details that you are interacting with.
Lets see how to add a few steps as shown in the video.
Step 1: Perform a Tap action. Click on “Create Account” that is displayed on the Twitter app screen, keep the focus on this button. To perform Tap action, click on Tap.
Step 2: Enter some values To enter value, click to focus on the element and click on the Enter Data option.
Here, enter any input value (here, any name say, John) and save by clicking on the Enter Data button.
Step 3: Clear values
Let’s say you wish to clear some text, focus on this field and click on Clear. This will wipe clean the entered value on this field.
Add Manual Steps
You can create the same steps we recorded manually using the respective action in the Test Cases Details page using grammar that starts with Tap, Enter, Clear etc.
Additionally, you can perform actions like Verify, Wait, etc from the Testsigma actions at the time of recording too.
To perform let’s say a Verify action manually, start typing Verify on the test editor on the left pane and choose the Verify grammar you prefer from the list of templates.
Refer to 3.30 seconds in
Edit element manually
You can edit an element by clicking on the element and clicking on the 3 dots option and you can either manually enter the locator/element details or record by clicking on the field on the recorder.
Here’s a quick video that demonstrates this.
In addition to plain natural language steps, Testsigma lets you create Step Groups, conditional loops etc.
Let’s try out a few advanced steps.
Let’s try and use a Step Group in a Test Case
Step groups combine reusable test step(s) in one so they can be used across the test case. You only need to specify it in your test steps as needed.
New to Step Groups? Head over to this tutorial.
If you are using a step group that is already available, you may simply choose the test step type as Step Groups and choose the name of the step group you wish to add.
These steps within the step group would be run automatically in each place they are in use.
Here’s a video that demonstrates how.

Add Conditional IF
Additionally, you may add an If condition or play around with loops by choosing the Test Step type you prefer from the test step type dropdown and continue to record your steps.
Click to toggle the Conditional IF option.
Pick the condition you prefer from the list. The next step would be the action to perform if this condition becomes true. They can be one or more steps.
Click on Add Step to add more steps under the IF condition which will execute if the condition is true. The “Add Step” button will be visible once you hover over the IF condition. You can add an Else/Else IF condition and add steps by hovering over the step with the IF condition.
Here’s how you can do it:

Resources you may check out:
Quick Guide iOS automation (Sample app)
Quick Guide Android automation (Sample app)
This is a basic walk-through. For queries, reach us via the in-app chat or ping us at support@testsigma.com for awesome support!
Next Steps
- Practice in your account. If you don't have an account Try out!.
- Try all options in Test Recorder. Try it out!
- Create Test Plans and Schedules using local devices. Head over to this link!
- Try out more advanced capabilities. Check out our detailed documentation.
Reach out to us through in app chat for a walkthrough or if you have any questions!
Join Testsigma’s Discord Server for support