We rely on mobile apps daily, from ordering food to staying connected on social media. For developers and testers, ensuring these apps work seamlessly is a challenge. With over 3.9 billion Android users worldwide, testing your Android apps to ensure they provide an optimal user experience for everyone is crucial. That is where Android app automation comes in.
Table Of Contents
- 1 Overview
- 2 What is Android App Automation?
- 3 Why Do You Need To Automate Your Android Tests?
- 4 Types of Android App Automation
- 5 Steps to do Android App Automation
- 6 Top Tools for Android App Automation
- 7 Pros & Cons of Using Automation Tools for Android Apps
- 8 How Does Testsigma Help in Android App Automation?
- 9 Best Practices for Android App Automation
- 10 Conclusion
- 11 Frequently Asked Questions
Overview
What is Android App Automation?
Android app automation is the process of using tools and frameworks to test Android applications automatically. Instead of manually clicking through an app, automation simulates user actions to validate functionality, performance, and reliability across devices and OS versions.
Benefits of Automating the Android App
- Faster Testing Cycles – Run tests quickly across multiple devices.
- Better Accuracy – Reduces human error in repetitive test cases.
- Scalability – Test on different Android versions, screen sizes, and hardware.
- Cost-Efficient – Saves time and resources compared to manual testing.
- Continuous Delivery – Integrates with CI/CD pipelines for frequent releases.
Types of Android App Automation
- UI Automation – Verifies how the app’s interface behaves when users interact.
- Functional Testing – Ensures core features work as intended.
- Performance Testing – Checks app speed, responsiveness, and resource usage.
- Regression Testing – Confirms that new updates don’t break existing features.
- End-to-End Testing – Simulates complete user workflows from start to finish.
Steps to Do Android App Automation
- Requirement Gathering – Define test scope and objectives.
- Select a Framework/Tool – Choose based on your tech stack (e.g., Appium, Espresso).
- Set Up Environment – Install SDK, emulators, or connect real devices.
- Create Test Cases – Write or record automated scripts for scenarios.
- Execute Tests – Run on devices/emulators or cloud-based platforms.
- Analyze Results – Review reports, track bugs, and refine tests.
Best Tools for Android App Automation
- Testsigma – Agentic, AI-powered, codeless automation platform.
- Appium – Open-source, cross-platform testing framework.
- Espresso – Google’s native Android UI testing framework.
- UIAutomator – Tests Android system and apps across devices.
- Robot Framework – Keyword-driven test automation framework.
Reports state that app crashes lead to 71% of uninstallations, emphasizing the need to test apps thoroughly. Android app automation helps ensure that your applications are tested thoroughly and efficiently before they are released to the public.
What is Android App Automation?
Android app automation is a process that combines three elements: the Android operating system, a native or hybrid Android-compatible application, and automation tools. When these automation tools verify the application’s features, we term it Android app automation or Android automation testing.
Since it is an automated testing process, manual interventions are not required once the scripts are written and stored in the suites. These tests focus on multiple angles to enhance the quality of the application and explore weak areas.
For instance, some popular places to implement Android app automation are the user interface, function verification, data consistency, and non-functional parameters. Testers often implement scripts that mimic the user’s actions, such as pressing a button, typing characters from the keyboard, and scrolling to ensure these actions produce the intended results.
Why Do You Need to Automate Your Android Tests?
Someone who has just started their journey on Android applications or has worked only on smaller applications would wonder about the importance of automation in Android applications. Why not install and open the application on an Android device and start navigating through various options while considering the functionality we are testing? This is correct and is doable too. However, this question may only arise in someone’s mind who has worked on more minor scales. If we scale up every parameter on all sides, manual testing becomes repetitive, boring, costly, and error-prone.
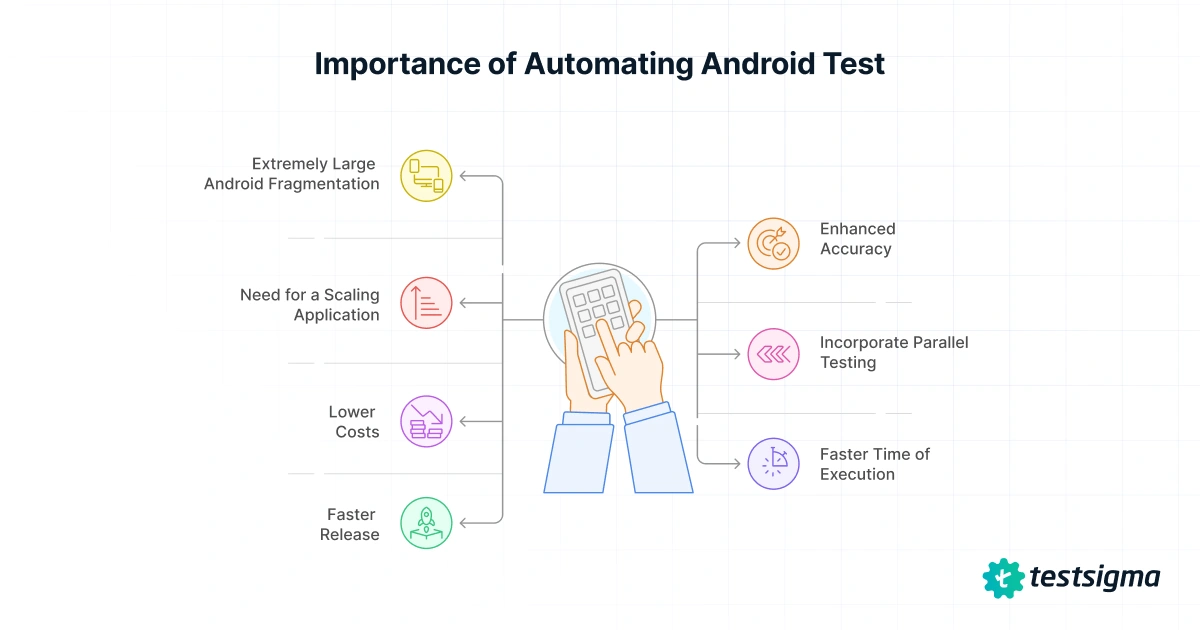
Today, we need automated mobile app testing for Android for the following reasons:
1. Extremely Large Android Fragmentation
Android fragmentation is the diversity of Android devices in the market today. If two people say they own an Android device, they are just talking about the operating system’s name, just as they would say they both own a house. However, when details are explored, those two operating systems will look much different than before. For instance, one will have a few additional API support while one will have a few deprecated ones. One will support XYZ, one will not. Even if we take non-technical things, their phone sizes will be different and their hardware could be from different manufacturers, too such as Qualcomm and Exynos if we take Samsung as an example.
Currently, the Android fragmentation based on the operating system version looks as follows:
Mix it up with other variations including manufacturers (that were more than 1200 by 2019), the list is extremely large. Android’s official website states that more than 24000 distinct devices exist in the market as of 2019. Each year this list grows with each small variation giving rise to multiple more additions. Can a manual process handle so many devices in each release? That’s impossible without Android automation.
2.Enhanced Accuracy
Machines are accurate. When some algorithm is fed into a system, it will either perform correctly each time or incorrectly each time (pointing to the error in the algorithm). What it won’t do is randomly make errors on its own without any change in the code or algorithm. Humans are not like that. For routine work that a human does frequently (or repetitively), they are bound to make at least one mistake when the work is done a thousand times.
This may be fine with the work where mistakes can easily be rectified or reversed or even identified easily. However, Android applications do not provide that level of comfort. A simple mistake in testing could mean a fault in the functionality which can be related to any action in the application. In the worst cases, it could even crash frequently on the end-user’s device. For such high-risk jobs, automation is a perfect way to reduce such events in the future.
3. Need for a Scaling Application
Smaller applications are easier to test, debug, and maintain. They have a smaller code base and a smaller team where everybody knows everybody. But as an application grows, so does the team along with it. A growing application means the code base will now include more files scattered all over the place. The organization will have multiple teams to manage various areas of the application and the application itself will start to look extremely complex with hundreds of components. One thing that a tester will feel in the process is how the testing time keeps on increasing with every release. Till one point, it might be alright but beyond that point, we are just pushing the release date forward and forward.
Scaling of an application requires the adoption of multiple tools that will help the testing team in multiple areas. The first with a good return on investment will be an automation tool to be applied to these complex areas where the tester writes the script once and executes it as many times as they like.
4. Incorporate Parallel Testing
To understand parallel testing, let’s take a contrasting example between manual testing and Android automation testing by keeping parallelism as the focus. Let’s say we have 100 tests to perform and ensure that the Android application is ready for the release. These 100 tests can be separately divided into 5 blocks of 20 tests each keeping in mind that each block has dependent tests. So these 20 can only be run in a sequential order.
First, we start with manual testing. Here we have two options. Either let one tester test all the tasks which will start from 1 and sequentially go to 100. This means if one test took 5 minutes, the tester took 500 minutes to complete. Otherwise, we could take 5 testers and let them do each block together. This will take 20 x 5 i.e. 100 minutes.
Let’s now consider Android automation testing for the same. One test in the automation test will take around 1 minute to run so the tests are completed in 100 minutes.
This run can further be divided with parallelism. If we parallelly run each block together, 100 tests are completed in just 20 minutes. Compare this time with a scale of thousands of tests and think of the time we save with Android automation.
5. Lower Costs
To understand the cost reduction with respect to Android automation, let’s pick the same example used above with time already associated with the runs. In this, we can attach costs now by considering the costs of the tester charged to the company. So, if one tester takes $50 an hour then this becomes an additional cost to the costs of executing the test cases in the manual testing. Hence, the total cost becomes $250 for one hour or $416.66 for 100 minutes.
Similarly, for the Android automation testing described above, if one test took 5 minutes to write then the company is charged $2083.3 for writing these tests (for 500 minutes). However, it should be noted that this is just a one-time cost. If we talk about 10 next releases, the cost here remains the same but manual testing becomes $4166. Scaling this up to 100 releases clearly shows how much money an organization saves through Android automation.
6. Faster Time of Execution
Manual testing is time-consuming in a lot of ways. The most direct observation we can make is that the time taken to execute one test depends on the type of test. If the test is complex and requires multiple steps, it will take more time to perform the actions on it. In addition, we have data-driven testing as well, where one field will have to take multiple values (sometimes thousands) to ensure that it is protected against invalid responses. It is a time-heavy task, which also opens up the scope for errors.
Android automation can simplify this situation by not only reducing the time of execution per test but also executing the tests in parallel. Since it is done by a computer, each test will now take considerably less time and can do repetitive work as many times as possible.
Now, since the comparison is with “manual” testing, we should also take into consideration the “human” factor. So let’s say we have 100 tests and each test takes 5 minutes on average. This amounts to 500 minutes or more than 8 hours. Can any human work for 8 hours without ever taking a break or getting distracted with the same efficiency? Obviously not. What should take 500 minutes will convert to 600 minutes if done by two testers or more than 20 hours if only one tester is there. Whereas, in automation testing, a machine can work day and night without distraction or taking a break. Hence, the time difference is large between the two methodologies.
7. Release Faster
The more time we save, the more time we have for other testing activities. The more time we have, the quicker we can point out the bugs and tell the developer about them. The quicker we tell the developers, the quicker we get the fix and the quicker we merge it into production. Hence, the impact of Android automation is navigated to the release cycles, which is one of an organization’s major goals.
These reasons make us inclined towards Android automation in case we are struggling with the decision and wondering whether it’s a good choice for us. Considering the scale of applications today and how things operate in many small services, it is always recommended to adopt Android app automation from the start.
Types of Android App Automation
There are two types of Android app automation:
- Scripted Android automation.
- Codeless Android automation.
Both of them have their strengths and bring different methodologies to the table.
Scripted Android App Automation
The most conventional type of Android app automation is by writing code using any programming language, given that the testers’ tool supports it. These snippets of code are called scripts and may look as follows:
driver = webdriver.Chrome('./chromedriver')
driver.get("https://www.testsigma.com")
print(driver.title)
This small script prints the title of the webpage www.testsigma.com and is written using Selenium in the Python programming language. As one can see, this snippet is the coded version of some action that the tester needs to perform on the website. Here, it is as simple as printing the web page’s title. However, it can be much more complex, including search operations, inputting words into fields, scrolling the page, navigation, and more.
Scripted Android app automation needs to be in a programming language only. Therefore, when the team starts this path, they must be aware of the language and the test automation framework. This is generally not as simple as it looks.
A lot of the time, the team has people who do not align with the same knowledge base as per their experience. In such a case, the project’s interest is kept in focus, and additional money is spent on training the team members on the decided language and framework. Sometimes, the team may also hire new candidates, which is an extra expense for the project. Both of these methods will consume time and delay the project completion date, which could be a problem if there is not much time left.
Codeless Android App Automation
A contrastingly opposite approach towards testing the Android application using automation is through codeless automation tools, like Testsigma. As the name suggests, the tester ditches the programming language (or code) and uses alternate methods to write scripts that the machine will understand. The type of method depends on the tool a tester adopts, and there are no set generalized standards. This gives power to a tool as it tries to stand apart from the crowd using its mechanisms. What lies in a tester’s hand is to explore such tools and adopt the one that suits them and their team.
As an example, the codeless test automation tool Testsigma uses the English language to write scripts. The same script used above in Python could be written on Testsigma as follows: Navigate to www.testsigma.com.
It is not so hard to guess here that codeless test automation will, in most cases, not require any experience with the tool. A tester can read the documentation and use any tool with minimal learning. Moreover, we cut down on the additional expenses highlighted in the scripted Android app automation. The team will rarely require an additional member unless the workload needs to be shared. The only expense the team gets here is the subscription costs of codeless testing tools.
Steps to Do Android App Automation
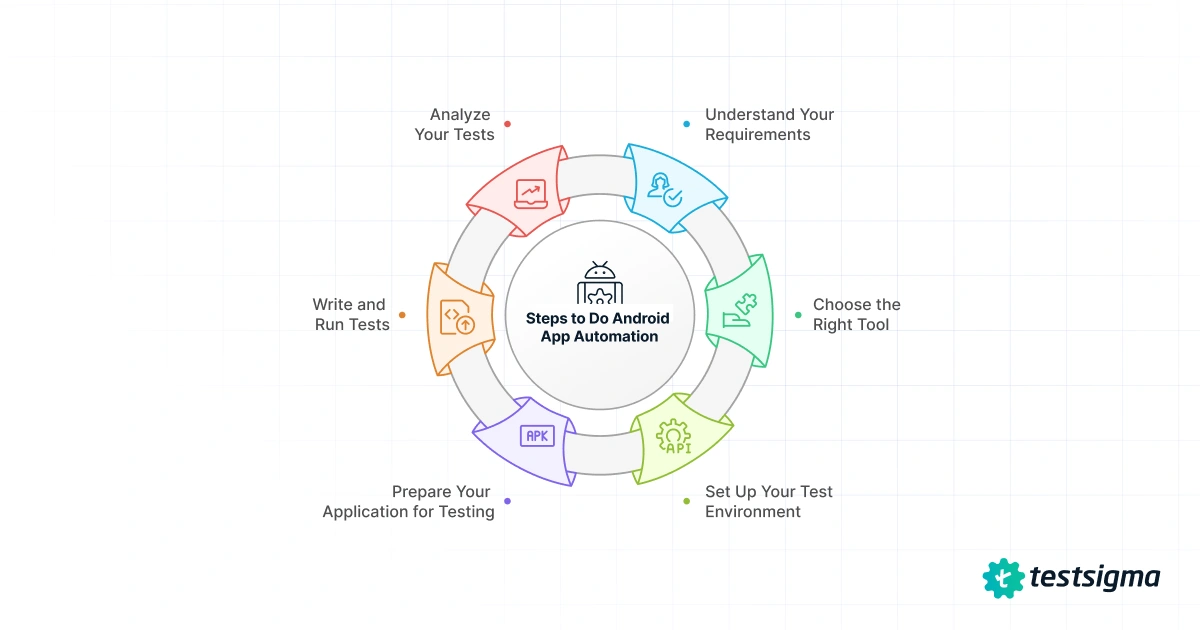
- Understand Your Requirements – Define what needs to be tested, target devices, OS versions, and testing goals.
- Choose the Right Tool – Select an automation tool like Testsigma, Appium, or Espresso based on your needs (no-code, native, cross-platform, etc.).
- Set Up Your Test Environment – Install the required SDKs, emulators, and physical devices, and configure your automation framework.
- Prepare Your Application for Testing – Use a debug or test build, enable necessary permissions, and add test hooks.
- Write and Run Tests – Create test scripts or use a no-code platform to simulate user actions and run them on target devices.
- Analyze Your Tests – Review test results, logs, and reports to identify failures, bugs, and areas for improvement.
Top Tools for Android App Automation
Below are the top mobile test automation tools, which will help you with Android app automation and save you time.
Testsigma
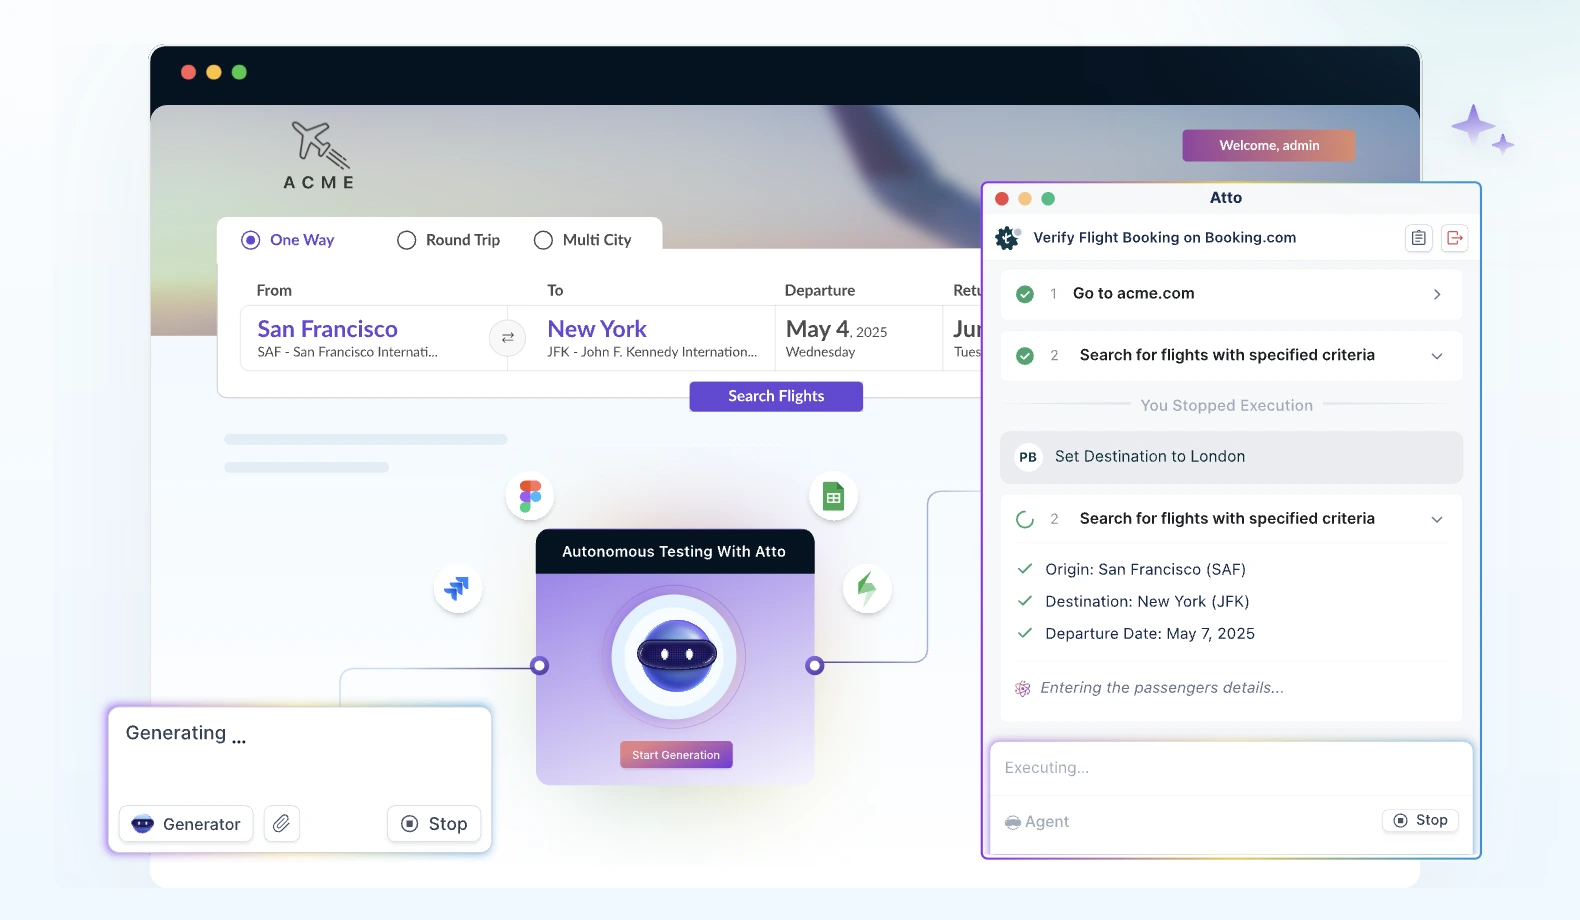
Testsigma is an agentic AI-powered test automation tool that supports testing like web, mobile, browser, SAP, Salesforce, and API. It uses an NLP model to convert plain English texts to test cases. Atto, Testsigma’s intelligent agent, performs agentic testing with its specialized agents.
Features of Testsigma
- No-Code Test Creation – Create Android app test cases without writing code using natural language commands.
- Real Device & Emulator Support – Run tests on a wide range of real Android devices or emulators via Testsigma’s built-in device cloud or your own devices.
- Cross-Platform Testing – Write once, test across Android, iOS, web, and APIs, ensuring platform consistency.
- Self-Healing Tests – Automatically detect and fix broken test steps caused by minor UI changes, reducing flakiness.
- Parallel testing – Run multiple tests simultaneously across devices to speed up test cycles and CI/CD pipelines.
Ranorex Studio
Ranorex Studio is a codeless test automation tool that supports tech stacks such as .NET, C#, HTML5, Java, etc. It can be integrated with primary CI/CD tools and is great for GUI testing. Like most codeless testing tools, Ranorex has features like drag and drop, capture and replay, recording, etc.

Features of Ranorex Studio
- Auto-healing – Ranorex self-heals using object recognition to dodge exceptions and decrease manual maintenance
- Extensive support for different testing – Supports API testing, data-driven testing, Keyword-driven testing, and regression testing.
- Cloud-based – It’s fully cloud-based and offers a remote working functionality called ‘Ranorex Remote’ for teams to collaborate and work from anywhere.
- Parallel test execution – You can run tests in parallel on physical servers, virtual servers, or Selenium grids.
Appium
Appium is an open-source, cross-platform mobile automation tool that supports native, hybrid, and mobile web apps.

Features of Appium
- Cross-Platform Support – Automate Android and iOS apps using the same test codebase.
- Language Agnostic – Supports multiple languages (Java, Python, JavaScript, Ruby, etc.) via WebDriver protocol.
- No App Modifications Needed – Test apps without requiring code changes or recompilation.
- Support for Real Devices and Emulators – Tests can be run on real devices and emulators.
- Integration – Easily integrates with CI/CD tools like Jenkins and GitHub Actions.
BitBar
BitBar, formerly known as Testdroid, is a cloud-based mobile testing platform for manual and automated testing on real Android and iOS devices.
Features of Testdroid
- Real Device Cloud: Access hundreds of real Android devices remotely for accurate testing.
- Supports Multiple Frameworks: Compatible with Appium, Espresso, Robot Framework, etc.
- Parallel Testing: Run tests on multiple devices simultaneously to save time.
- CI/CD Integration: Easily connects with popular CI tools for seamless continuous testing.
- Detailed Reporting: Provides video recordings, screenshots, and logs for every test run.
Selendroid
Selendroid is a test automation framework for Android apps, built on the Selenium WebDriver API.

Features of Selendroid
- Native and Hybrid App Support: Test both app types using the same test scripts.
- Plug & Play: Can be used with existing Selenium tests with minimal changes.
- Multiple Device Support: Automate tests on emulators and real devices in parallel.
- Built-in Inspector: Offers a UI inspector to identify app elements easily.
Note: Selendroid is less actively maintained than other tools and is more suitable for older Android versions.
Espresso
Espresso is Google’s native UI automation framework for Android, which is integrated into Android Studio.

Features of Espresso
- Tight Android Integration: Optimized for Android apps with direct access to app internals.
- Fast and Reliable: Executes tests on the same thread as the app, reducing flakiness.
- UI Synchronization: Waits for UI events and animations to complete before running actions.
- Test Recorder: Record and generate UI test scripts using Android Studio’s Espresso Test Recorder.
- Seamless CI/CD Integration: Works well with Gradle and Firebase Test Lab for scalable testing.
Pros & Cons of Using Automation Tools for Android Apps
Some pros and cons of using automated testing tools for Android apps include,
Pros
- You can test your Android apps on various devices, platforms, screen sizes, and resolutions.
- You can easily scale your automated tests as your mobile application scales.
- Test maintenance is made easy. For instance, Testsigma’s auto-healing capability helps prevent test failures beforehand, reducing test maintenance overhead.
- You can achieve high test coverage by running your test across a wide variety of devices. Additionally, test automation tools allow you to automate every possible scenario, which is not feasible manually.
- Avoid manual errors and get high test accuracy with Android app testing tools.
Cons
- If your application’s UI is unstable, then automating UI tests won’t help, as the tests may keep breaking. So, go for automation if the application UI is stable and is not going through significant changes..
- Manual testing is a better method for testing your Android application when you are relatively new to the market and have few features to test.
- Test automation gives you an ROI if you plan to execute your tests multiple times in the long run, but manual testing is the recommended approach if you are likely to run your tests only a couple of times.
How Does Testsigma Help in Android App Automation?
Testsigma is a cloud-based codeless test automation tool for Android, iOS, or web-based applications. While it can be addressed as a “tool” among common testing terms to better understand it, in reality, Testsigma is an ecosystem that provides every functionality required from one end of testing to another. This includes support for various types of testing needs, such as data-driven testing, regression testing, API testing, and cross-browser testing.
Being a codeless tool, Testsigma implements artificial intelligence using natural language processing that can understand plain English and convert it to actions on its own. How easy it would be for someone just starting their career to write test cases in English and see the magic happening on a device connected through their credentials with just a couple of clicks!
To summarize the most celebrated features of Testsigma, we can list the following:
- English-based scripting: Testsigma takes input in the English language as test scripts to convert them into actions. This method is easier, faster, and low on maintenance.
- Mobile test recorder: Testers can go one step further than codeless scripting and let the platform write test cases for them using a mobile test recorder. The recorder installs the Android application on real devices and presents the screen over the cloud, just like a physical device. Then, the tester can interact with the application similarly to manual testing approach, while Testsigma will note their actions and convert them into test cases. These test cases can be saved and repeated on any device and as many times as wanted.
- Self-healing: Artificial intelligence algorithms incorporated into the mobile testing domain can detect the changes in UI and the tests associated with those changes. As a result, a self-healing process is initiated that modifies those test cases based on the changes in the user interface.
- Versatile device lab: Testsigma comes with a diverse 2000-device mobile lab that can be used to test any Android application on any combination of specifications a tester likes.
- Rich tools: The platform does not end its offerings at just codeless test automation. It goes one step further and provides all the necessary tools required for a testing experience. This includes screenshot capturing, test session recording, sharing the findings with teams, collaborating on a single test, and much more.
- Diverse testing support: One of the most important things for Android app automation is to test using diverse methods to point out bugs from different angles. This includes cross-platform testing, data-driven testing, API testing, and regression testing just to name a few.
- Reports: Finally, all the testing conducted on the Android application can be documented in a graphical report that is easy to read by technical or non-technical members.
Best Practices for Android App Automation
To work with Android app automation in the most effective way, the team is recommended to follow certain best practices for better results:
1. Choose Tools Wisely
A large part of Android app automation is the tools used to conduct the testing process. A wrong tool can demand additional time in managing the scripts and may take the testing process backward instead of proving to be fruitful. It is one of the most important decisions to make for a testing team and therefore, it is always recommended to take as much time as required and settle on the most suitable tool as per the team, the experience, and the project.
2. Do Not Start Testing without a Strategy
A test strategy is required to document all the things that the team needs to do and all the things that could go wrong in the process. It is extremely important to analyze the risks and set the optimal path for testing. Devising test strategies helps the team not get stuck in between and then retrace their path, all of which are huge time and monetary losses. To make the maximum out of automation testing, it is always recommended to devise a strategy, share it with the team, get feedback, redesign, and then start testing.
3. Use Real Devices As Much As Possible
Real devices are the actual physical devices available in the market. Since they are the same devices (with the same hardware) that the end-user will use, they provide the best parameter values for various tests. Teams using real devices can explore bugs and glitches that might stay hidden in emulators and simulators. However, they are pricey to use, and tools like Testsigma would be the best way to go.
4. Keep Removing Target Devices
As the new devices keep appearing in the market, they include newer APIs and faulty (or not so efficient) API deprecation. Some newer functions are also added, while some previous ones are removed, and so on. This makes it harder for developers to build an application that satisfies all the target devices and keeps adding the newly released ones. While it can be done practically, it makes the code complex, while we know that the market share of old phones keeps decreasing as well.
The best practice to follow in such a case is to keep eliminating the older devices as their APIs and other support are deprecated. However, this should be done with careful consideration and analysis only.
5. Do Not Underestimate Non-Technical Metrics
While teams try to focus on technical metrics such as functional verifications, it is equally important to focus on non-technical metrics. A non-technical metric will equally impact the user (if not more) because sometimes it does not even let the user reach the functionality the team developed and tested rigorously. For instance, if load testing is not done, a huge load can break the infrastructure, and the user will not be able to interact with the application. Such metrics should always be tested with priority.
6. Monitor and Analyze the Defects
If the testers could expose bugs in Android app automation, they need to be documented and taken special care of in the future. This can be achieved by repeatedly testing them on priority and implementing the rule that the test that failed earlier has a higher priority to fail again.
The team should also constantly monitor the test runs and check the patterns of any failure. The bug may not always be in the Android application, but sometimes in the infrastructure. Following these best practices will help the team work on a set path with minimal failures.
Conclusion
Android application automation is one thing that can help you share responsibility, wrap things much quicker, and be far more accurate than manual. Not to mention the cost it saves and keeps saving as long as it is run. The idea of Android app automation has too much depth with a few variables that may make you ponder the choices and their consequences. For instance, whether to go for scripted testing or codeless testing, etc. This post throws light on Android app automation by exploring all the possibilities and choices a user would want to make. We hope this guide covers every little thing a new or experienced tester is looking for and takes advantage of it in the next project.
Frequently Asked Questions
Android applications can be automated in any language as long as the framework used for automation testing supports it, such as Appium. If Java is one of the supported languages, it can be used for automation.
Android automation apps are safe and highly recommended because they save organizations time and money. Moreover, there is no chance of test execution errors, which are more efficient than manual methods.
Many tools support the Python programming language to automate Android applications. Appium and Selenium are the most popular choices in this regard.
Appium is one of the most popular automation testing platforms. It is also extremely easy to test the Android application using Appium. All we need to do is install Appium, write a test script in the language we want, start the Appium server, select an Emulator to test the application on, and run the test script on the setup.


