- Projects
- Test Cases
- Data Sets
- Imports and Exports
- Step Groups
- Test Runs
- Test Plans
- Integrations
- Testsigma Two-way Integration
- Settings
- Manage Users
- Reports & Analytics
- CI/CD Integrations
Import Test Data from CSV Files
Learn how to quickly import test cases in bulk using CSV files in Test Management by Testsigma for easy migration.
Test Management by Testsigma allows you to quickly import test cases in CSV files into an existing project. This feature simplifies the migration process from other tools by enabling bulk test case imports. This article discusses how to import test cases using a CSV file.
Prerequisites
Before you begin, ensure that a Project and Folders are created in Testsigma. For more information, see Projects and Organizing Test Cases.
Interactive Demo
Import Test Cases
-
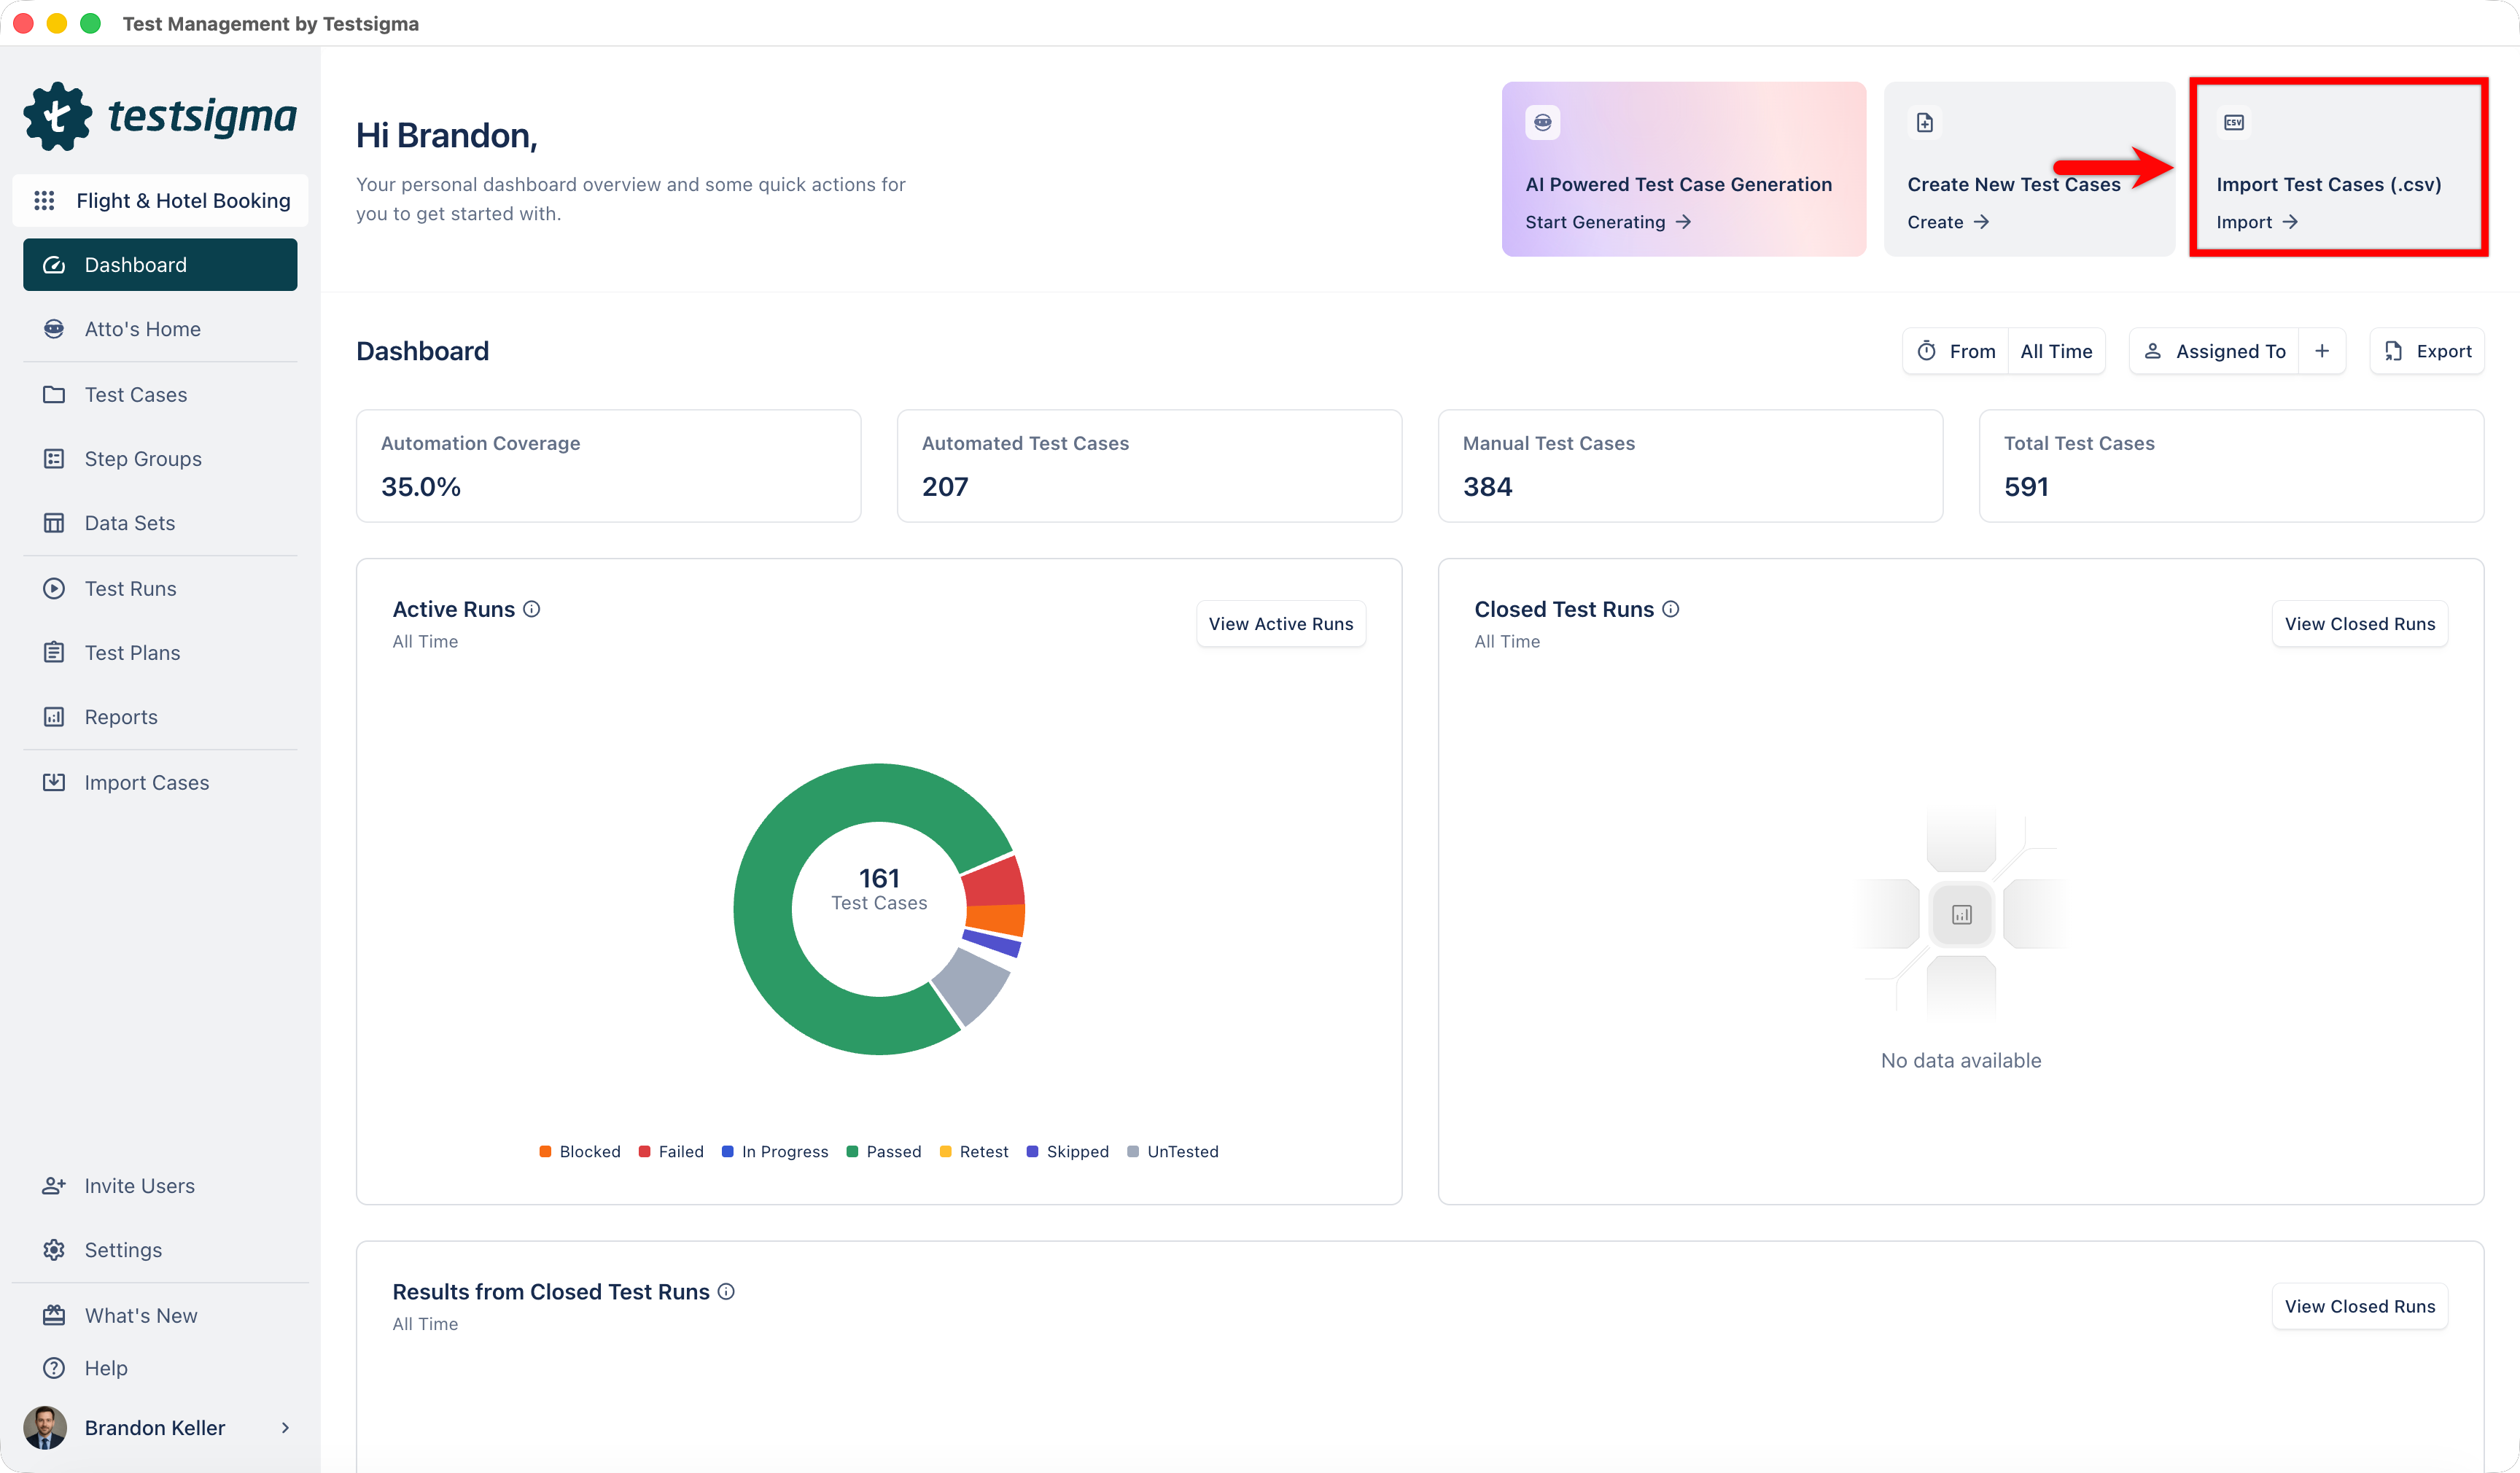
From the left navigation bar, go to Import Cases. This will open the Import section on Project Settings.
Alternatively, click Import from the top-right corner of the Dashboard.
-
Click Import via CSV and choose the template type:
- Steps: For step-based test cases
- Document: For document-style test cases
- Click Upload File and select the CSV file.
Prepare and Import
- After uploading the CSV file, the Uploaded File Preview section opens.
- Verify the file content and click Next.
-
In the Map Properties and Values section, you will see two panels:
- Map Properties to map CSV columns
- Test Case Preview to validate mapped data
- Atto automatically maps CSV columns to the corresponding fields in Test Management by Testsigma.
- Review the mapped fields. If any fields are missing or incorrectly mapped, update them manually.
- Verify the mapped data in the Test Case Preview section.
- Click Begin Import to start importing the test cases.
- The system creates an import log in the Imports section to track progress and results.
View Import Results
- Once the import is complete, navigate to the Imports section and open the required import log.
-
The Import Results page displays a summary of the import, including:
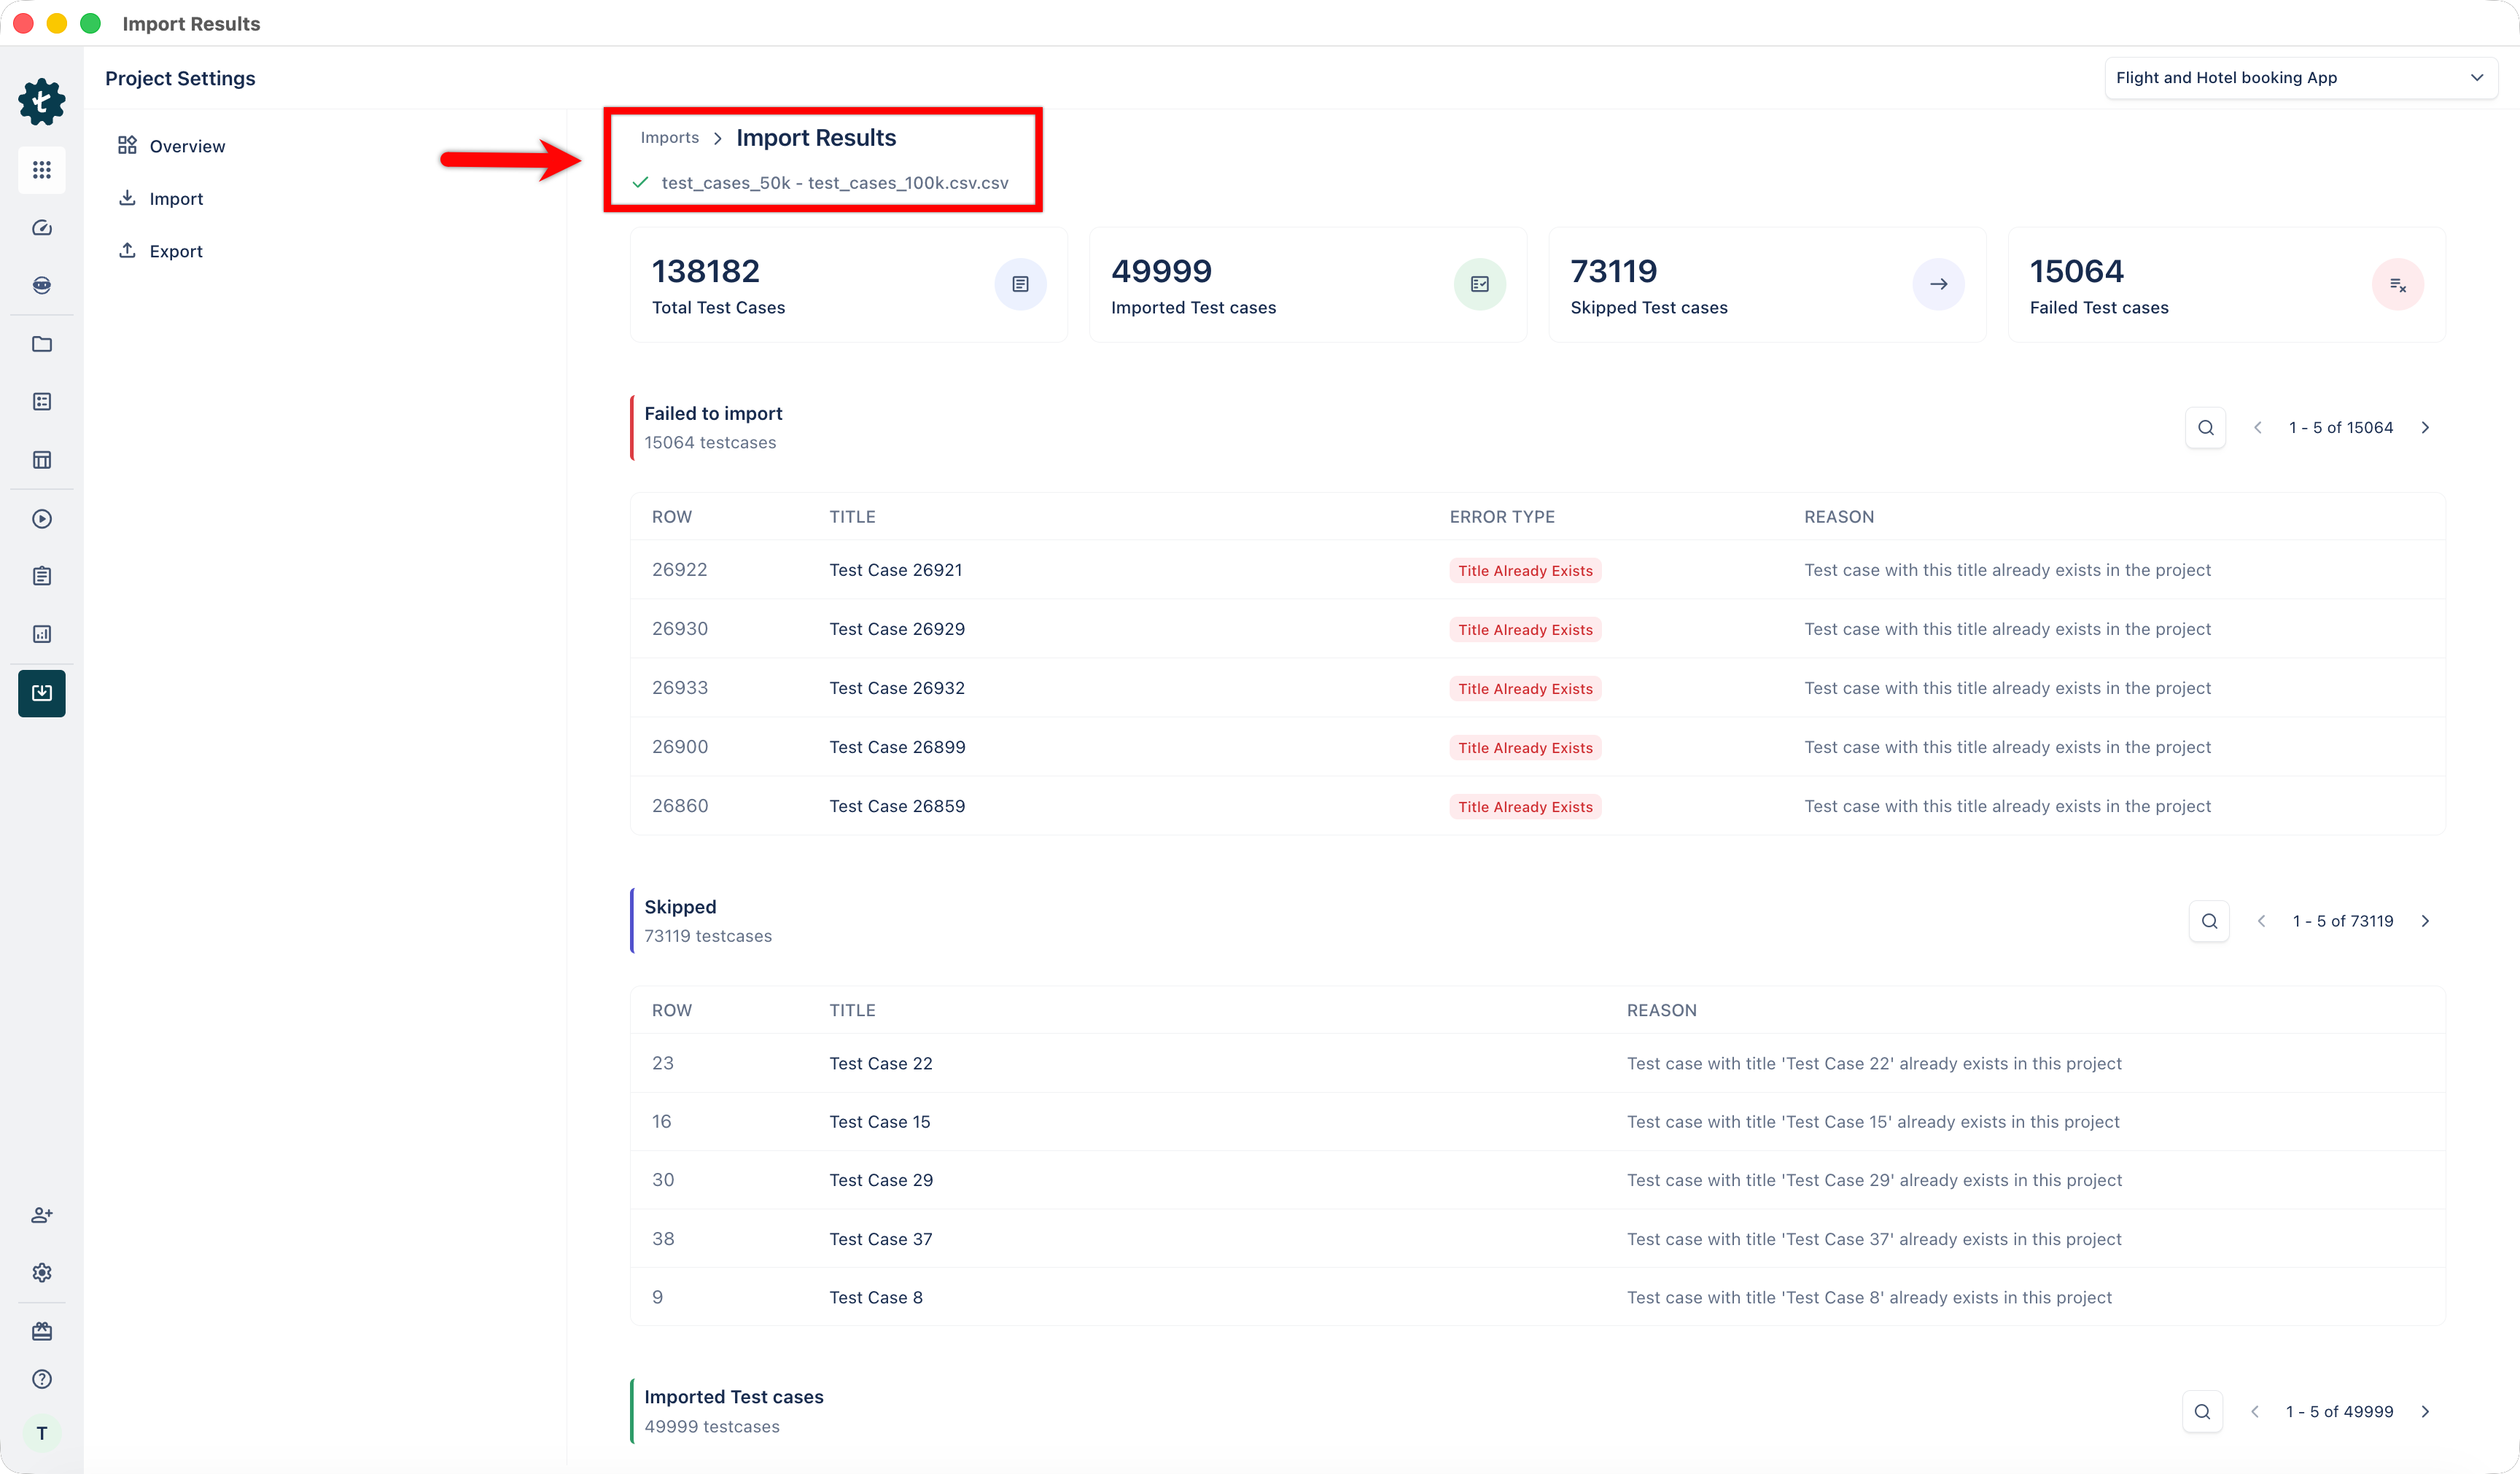
- Total Test Cases
- Imported Test Cases
- Skipped Test Cases
- Failed Test Cases
-
Review the Failed to Import section to identify test cases that were not imported.
- Check the Error Type and Reason columns to understand the issue (for example, duplicate test case titles).
-
Review the Skipped section to see test cases that were ignored during import.
- Reasons may include existing test cases in the project.
- Review the Imported Test Cases section to verify successfully imported test cases along with their details.
- Use this information to fix issues in your CSV file, if required, and re-import the test cases.
Want to contribute or report missing content?